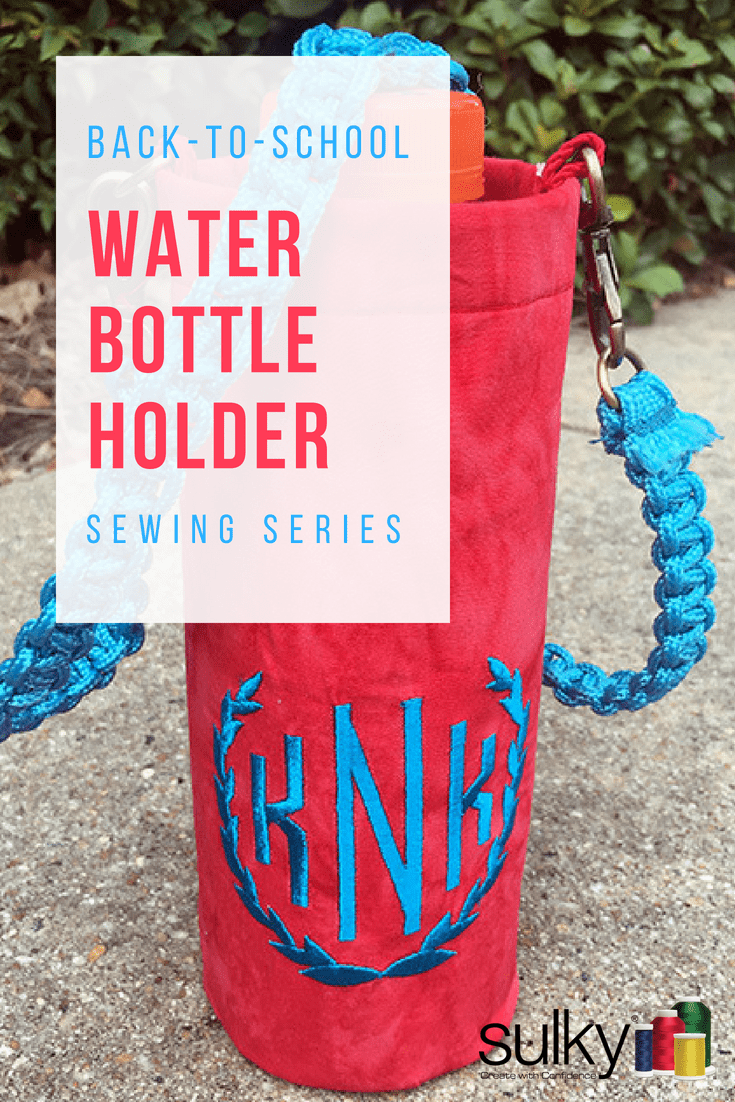
Back to School Sewing Series: How to Make a Water Bottle Holder
I am never without water to drink so making a water bottle holder seemed like a natural fit for me. I also wanted a project to try out all the fun features on my brand new Janome Horizon Quilt Maker Memory Craft 15000 (Spoiler Alert: I am in love with her!). I hope you will enjoy learning how to make this water bottle holder as much as I enjoyed creating the tutorial.
Supplies
Fabric – I used scraps in two contrasting colors. If you are buying fabric, 2 fat quarters will be plenty
Sulky® 40 Wt. Rayon Thread for machine embroidery – I used #1094 Medium Turquoise
Sulky Bobbin Thread in black for the machine embroidery
Topstitch needle 80/12
Sulky 40 Wt. Poly Deco™ for construction – I used #1039 True Red
Sulky Tear-Easy™ for Machine Embroidery
Sulky Fuse ‘n Stitch™
Tape measure (The dressmaking kind)
Dritz Small Swivel Hook & D Ring – You need two of these
Parachute cord – I bought a package that was 21 ft of cord
A few inches of shoestring
Sulky KK 2000™ Temporary Spray Adhesive
Clover Wonder Clips
Extra Fine Glass Head Pins
Directions:
-
 I did the machine embroidery first. I hooped one layer of Sulky Tear Easy Stabilizer and the fabric and used one of the monogram fonts and frames that are built into my new Janome machine. I used Sulky 40 Wt. Rayon on top and Sulky Bobbin thread in the bobbin with a topstitch needle 80/12. I love this combo for machine embroidery. The threads play nice together and it all stitched out beautifully. I kept the fabric larger than I needed so when I cut it down, I knew the monogram would be perfectly placed.
 - Measure the bottle you want to put in this holder. I measured a Gatorade bottle.
Height that you want the holder to be – add 1 1/2″ (mine measured 7″)
Around the Bottle – add 1″ to 1 1/2″ depending on how snug you want the bottle to fit. I wanted mine snug so I added 1″ (mine measured 9″ around)
Base Diameter – add 1/2″. You may need to add 3/4″ if you added 1 1/2″ to the measurement around the bottle. (Mine was 3″)  With these measurements, I was able to determine that I needed to cut two fabric pieces to 8 1/2″ x 10″ (height x around the bottle with additions) and two 4″ squares (you will cut this into circles. I will show you how in a minute)
 Cut two pieces of Sulky Fuse n Stitch to 8″ x 10″ and 2 4″ squares
 BEFORE YOU CUT THE FABRIC: Determine where you want your monogram to sit. I wanted mine closer to the bottom of the holder so I measured 1 1/2″ down from the bottom of the monogram. I used the bottom of the letters and the lines on the ruler to ensure it would be straight. Then I cut my fabric to the proper size. I cut a piece of contrasting fabric to 8 1/2″ x 10 also.
 Fuse the Sulky Fuse n Stitch pieces to the back of the outside fabric (with the monogram) and the contrasting fabric leaving 1/4″ at the top and the bottom.
Fuse the 4″ squares of Fuse n Stitch to the back of two pieces of 4″ square fabric. This can be the outside fabric or the contrasting fabric. Your choice! I’m not the boss of you. Cutting the circles: I knew I needed to cut two 3 1/2″ circles for the base of my holder but I don’t own any circle rulers, so I just started measuring all the round things in my sewing room until I find something the right size. A roll of ribbon was the solution! I used the roll and pen to draw the circle son the Fuse n Stitch and then cut the two circles out. Set them aside. You will need them in a few minutes.
 Let’s put the body together first. Put the wrong sides together of the outside fabric and the contrasting fabric and use Sulky KK 2000 to hold them together.
 Iron down towards the inside fabric 3/4″ of the top. (Note: If you want to hide the raw edge, iron 1.4″ down first, then 3/4″ down)
 Use Wonder Clips to hold the edge down and topstitch down with matching thread. I used Sulky 40 wt. Poly Deco in top and bobbin. I figure this water bottle holder may endure some pulling and tugging getting bottles in and out so I wanted the extra strength of a thicker polyester thread.
 Fold the rights sides together and sew a 1/4″ seam down the long side of the fabric.
- Grab those two circles you just cut out and use Sulky KK 2000 to hold the two pieces wrong sides together. Spray on a piece of cardboard so you can spray all the way to the edge.
 Using extra fine glass head pins (because they are thinner and sharper so they will go through the two layers of Fuse n Stitch better) to pin the circle into the bottom of the holder. The holder should still be wrong side out. You may have to fuss with this a little to get it all pinned and you will probably use more pins that you thought were necessary but it is pretty important that the bottom get sewn in nicely so go ahead, and pin to your hearts content.
 With all those layers of fabric and Fuse n Stitch, the bottom may be a little tricky to sew. My new Janome has the option to move the needle to the left which made stitching much easier.
 The key here to is go slow and don’t sew over the pins. Sew a 1/4″ seam allowance.
- Once you have sewn the bottom in, make a few clips before turning the holder right side out.
 Time for the strap! I used this tutorial to braid the parachute cord. I used a pin to hold the Dritz swivel hook in place for the start of the strap. I bought 21 ft of cord and I wasn’t sure how long I wanted by strap to be so when I finished braiding, I had four ends to deal with.
 I put all for ends through the D ring and then sewed them all down with matching thread. You can burn the ends to melt them so they won’t fray.
 I bought red shoestring to attach the other swivel hook and D ring to the bottle, but as you can see from the picture, without those little plastic stoppers it frays like the dickens!
 I put the string through the loop of the swivel hook and then did a satin stitch over the two ends. I put a piece of Tear Easy under it to help everything stay in place while sewing.
 I used my duck bill scissors to cut close to the stitching. I did the same process for the D ring
 Then I attached the hook and the ring to the body of the water bottle holder. I used a Wonder Clip to hold it in place while I stitched it on.
 Hook on the strap and you are done!
 Go show off your new water bottle holder!