
Backpack Charms for Back to School Gifts
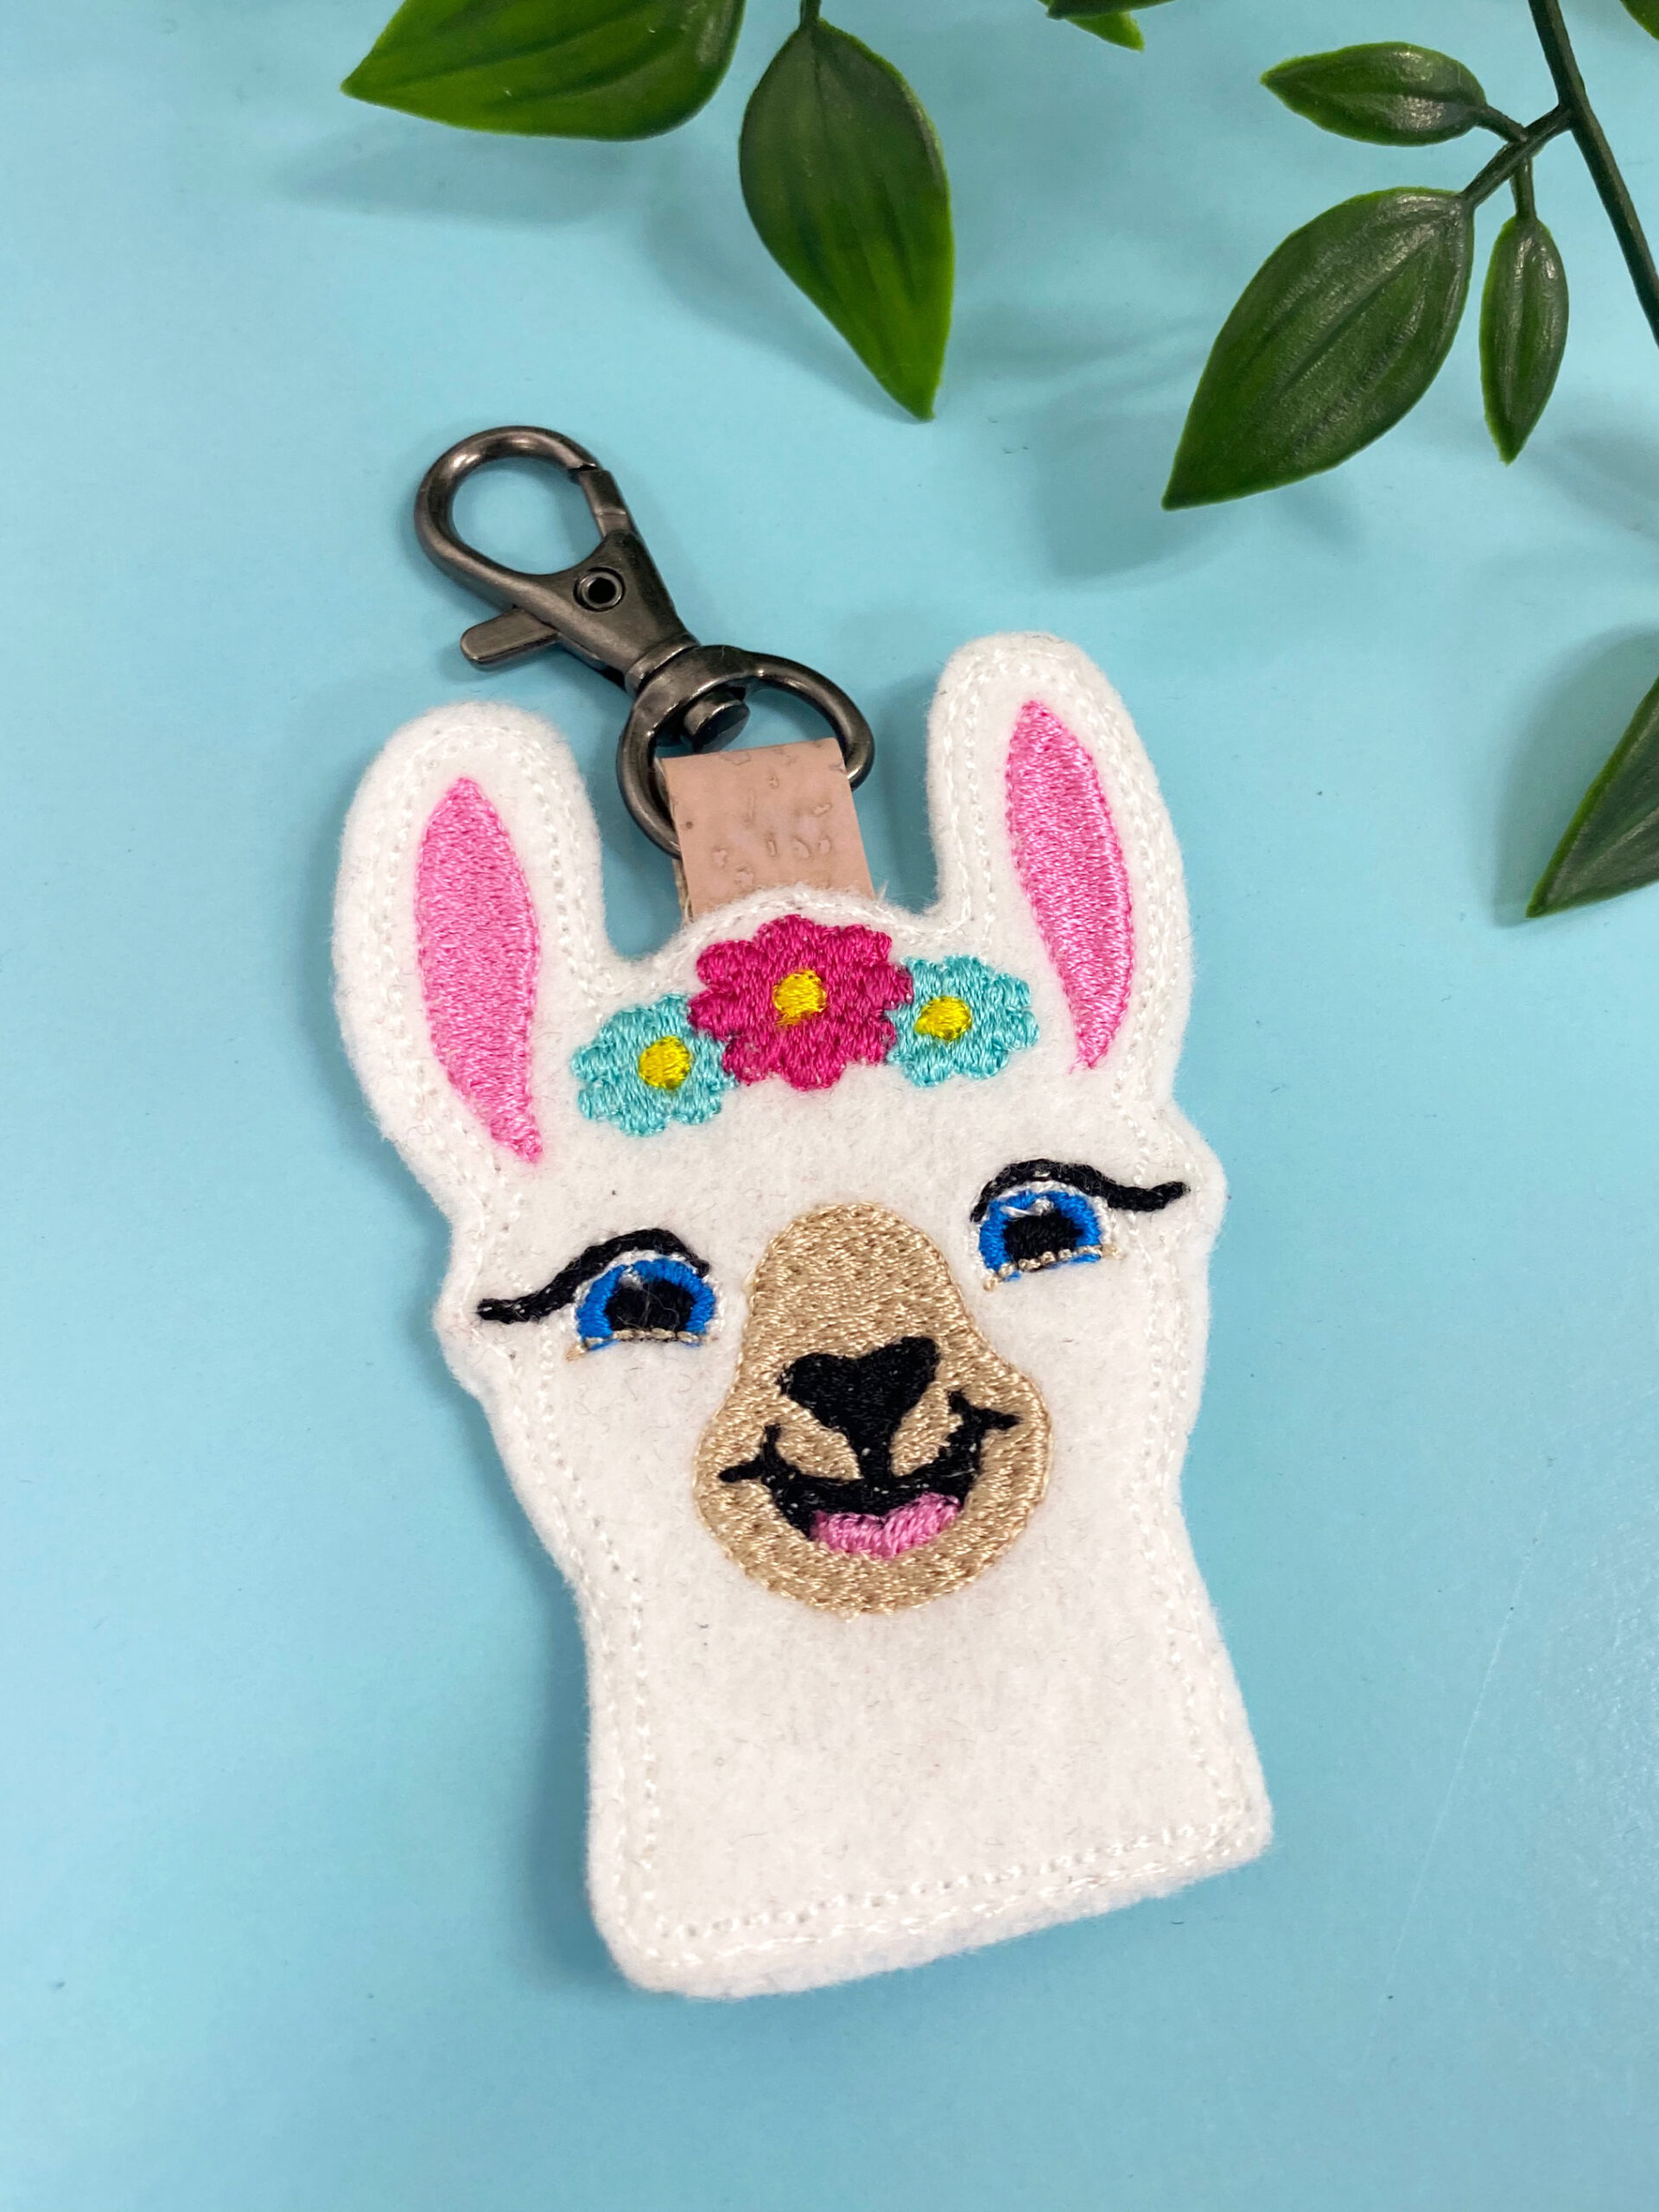
Backpack Charms
to embroider, make & give
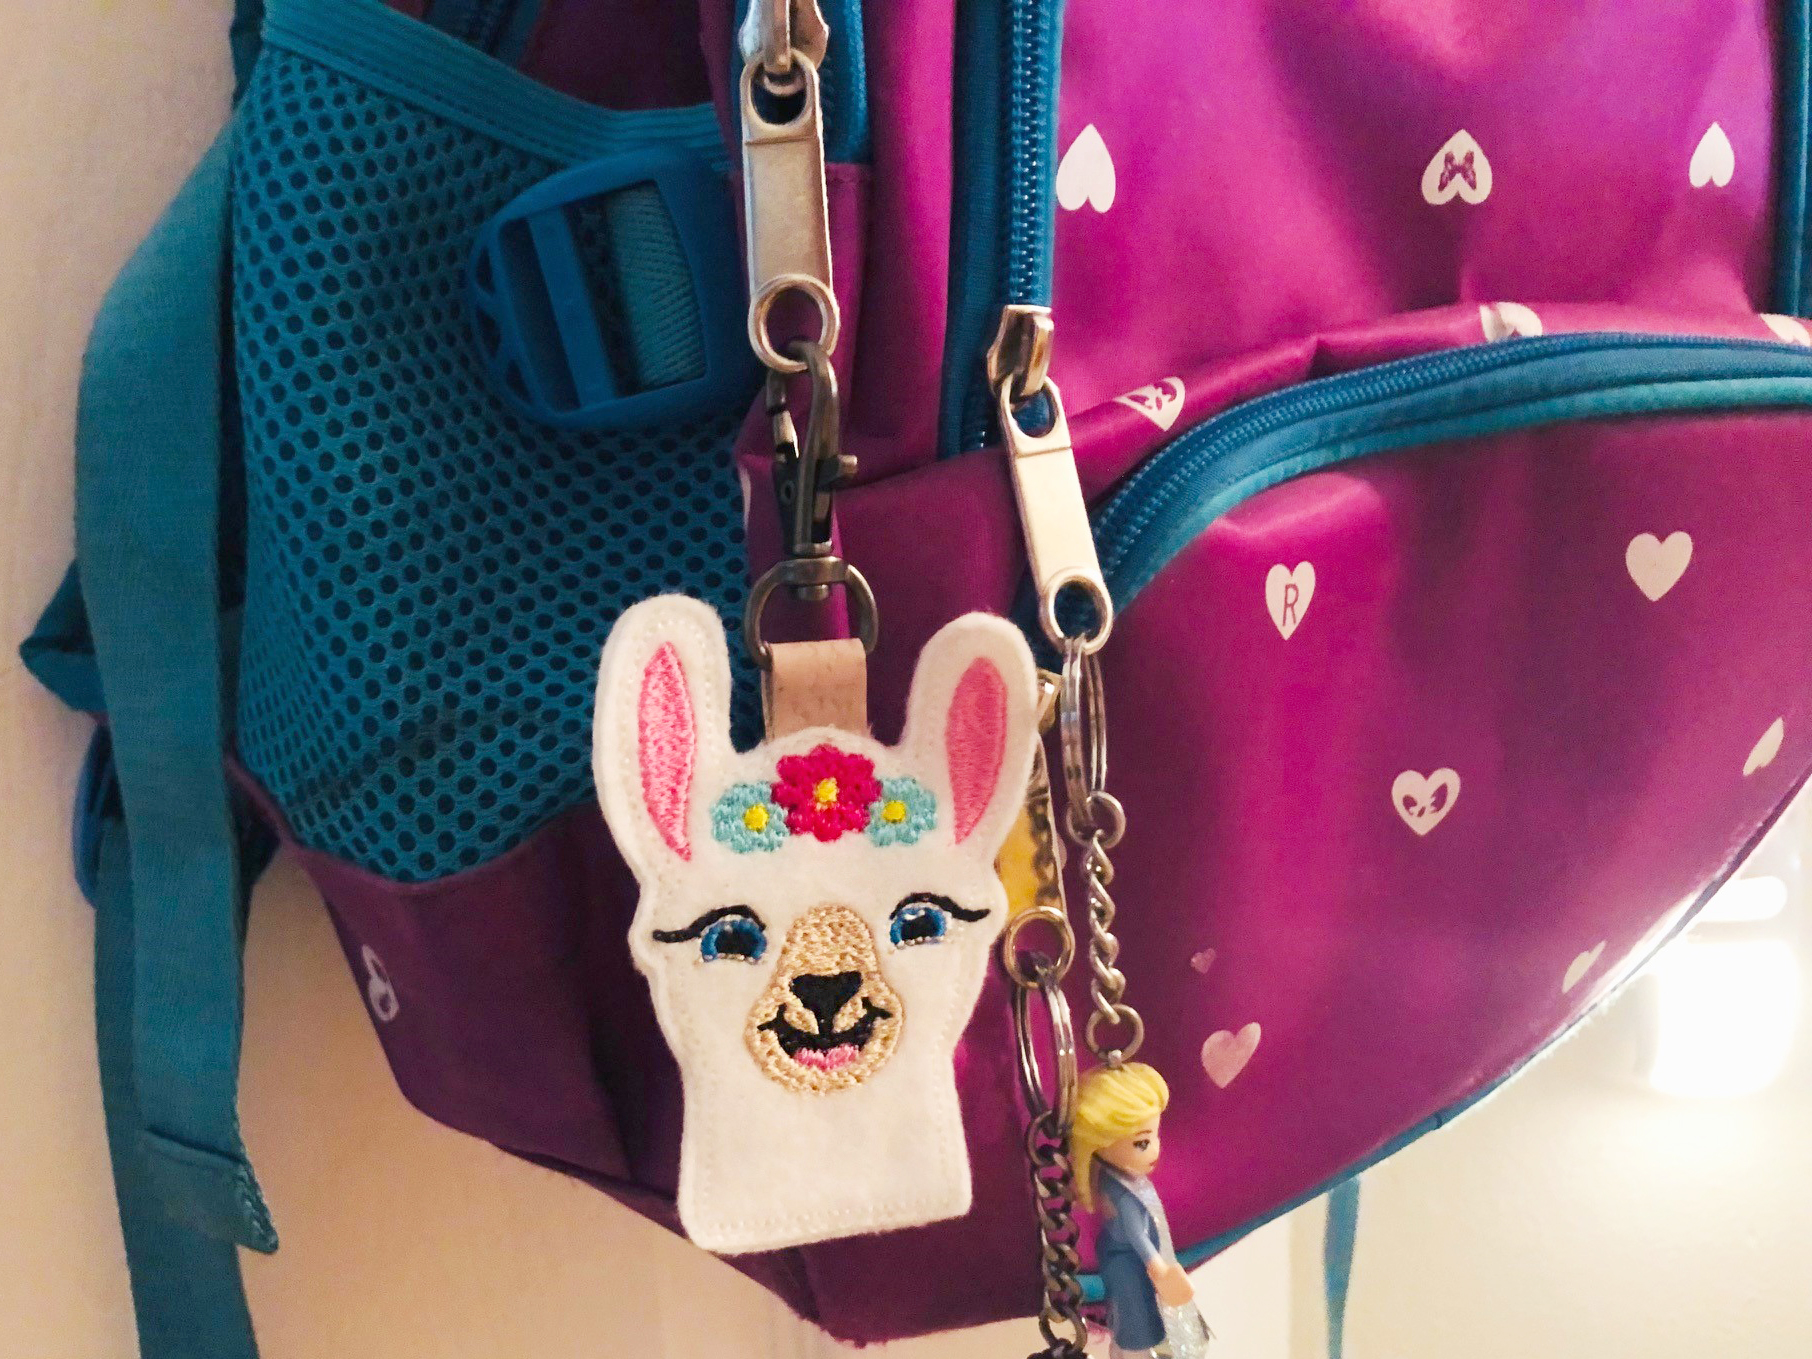
Create cute backpack charms from freestanding animals for back-to-school gifts. These embroidery designs are commonly called “felties” and are embroidered onto a felt base. Choose from a no-fray fabric, such as cork, or a printed ribbon to hang the backpack charm from a swivel hook.
SUPPLIES
- Thread: Sulky Poly Deco™ (colors according to design), Sulky Bobbin & Sulky 30 wt. Cotton (to match felt)
- 1 sheet of Felt (or scraps at least 5″ square, depending on embroidery design size)
- Stabilizers: Sulky Sticky+™ & Sulky Solvy®
- Organ® size 90/14 Embroidery Needles
- Animal feltie design, such as a Llama or Sloth (shown: Girl Llama Feltie from , Sloth from Sloth Finger Puppet Set Collection by Gracefully Geeky)
- 3″-long rectangle of 1/2″-wide no-fray fabric or ribbon
- 1/2″ Swivel clip
- Mini Wonder Clips
- KK 2000™ Temporary Spray Adhesive (optional)
- Sulky Sticky+™ Slitting Pen
BACKPACK CHARMS EMBROIDERY
Choose a design labeled “patch” or “freestanding” if possible. A “finger puppet” or “keychain” design may also work. Load the design into the machine. Note: The design size should be no longer than 3 1/4″ to not overwhelm the backpack size.
Hoop a sheet of Sticky+ with the paper side facing up.
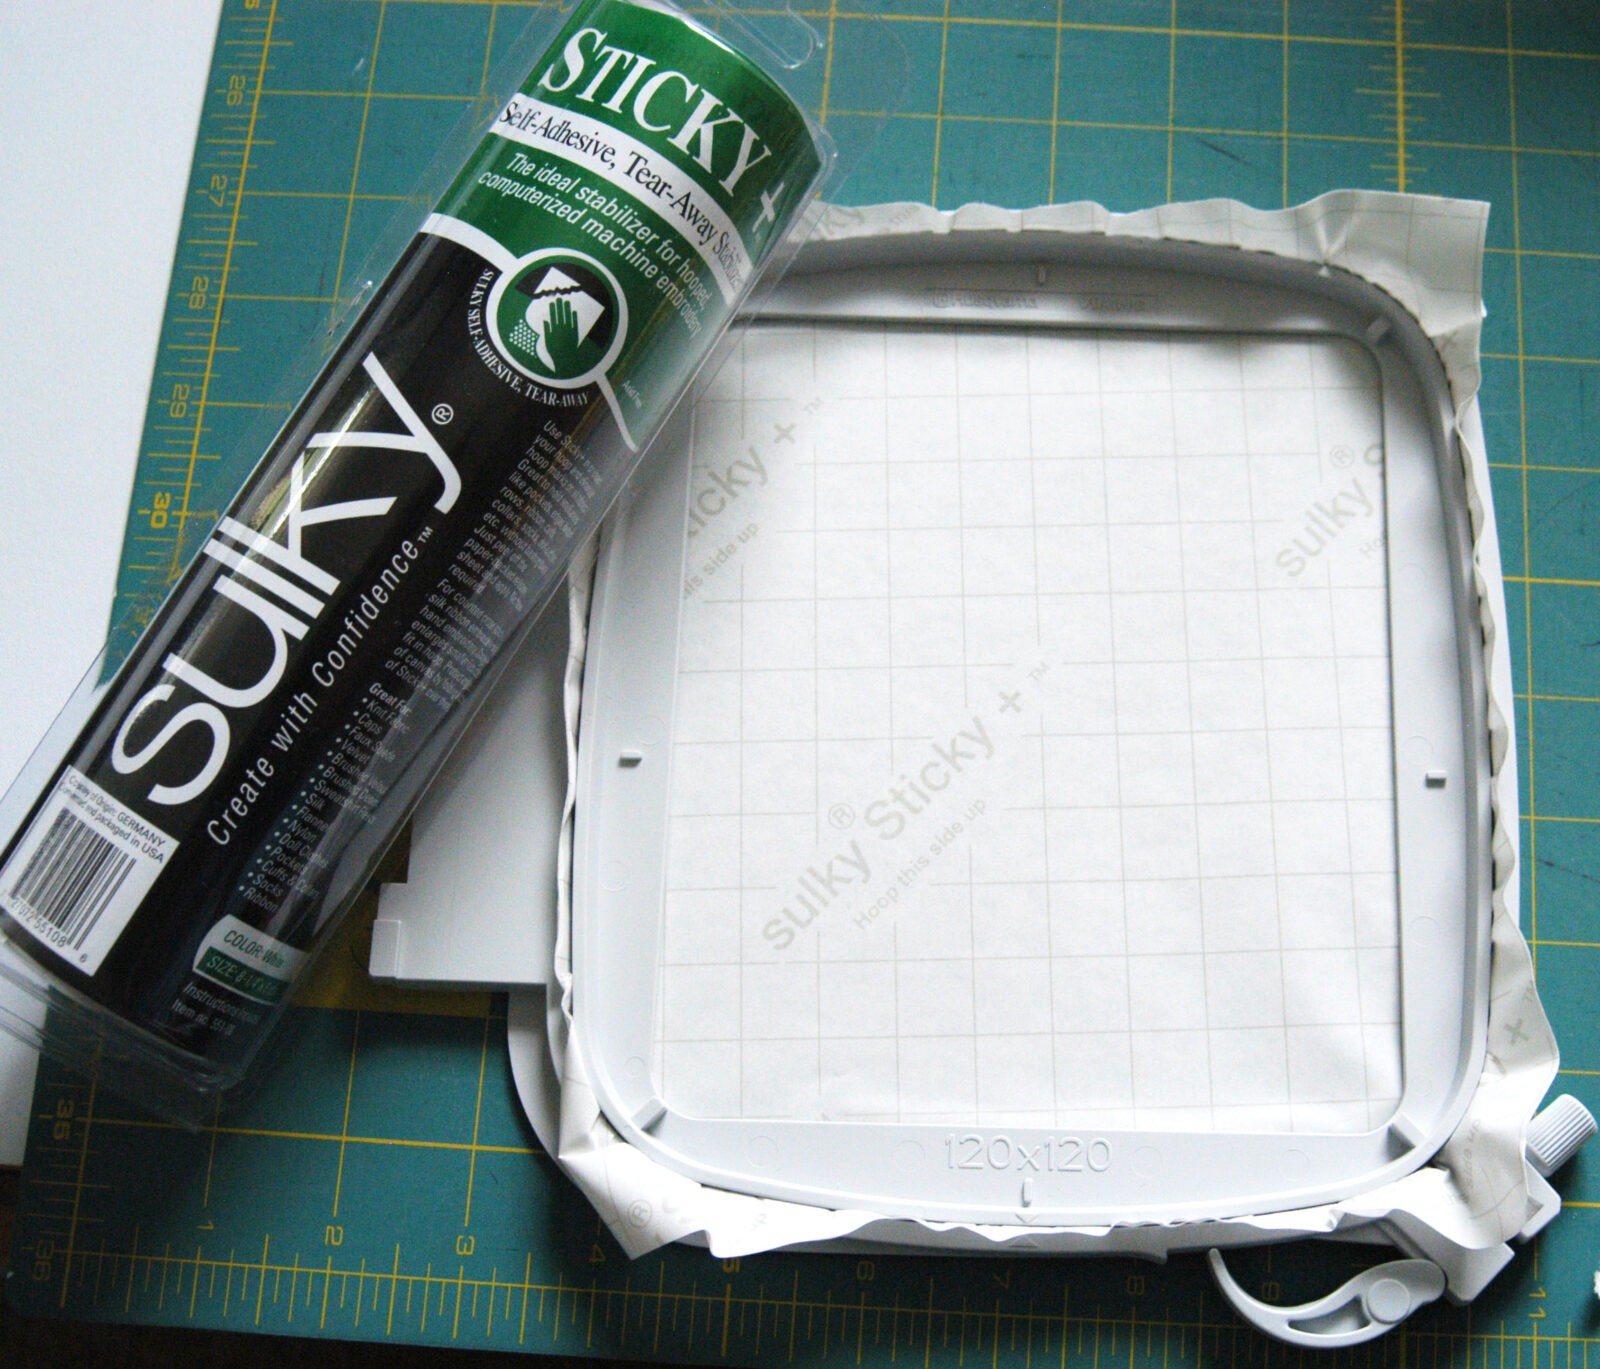
Score the paper within the inner hoop ring using a Sticky+™ Slitting Pen. Tear away the paper backing along the scored lines, and then peel away the paper to reveal the adhesive.
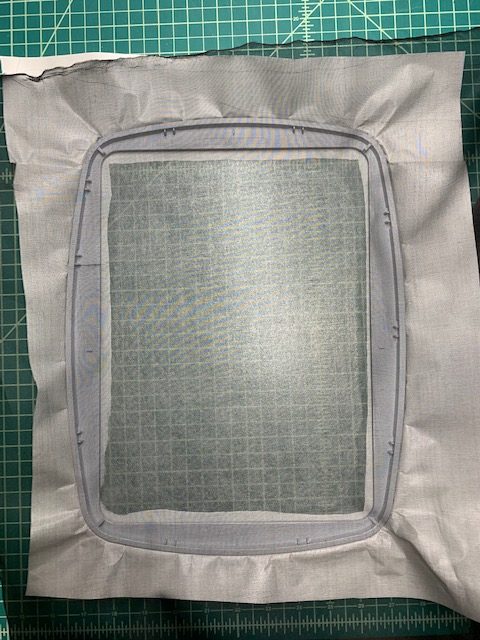
Place the felt sheet onto the sticky surface of the stabilizer.
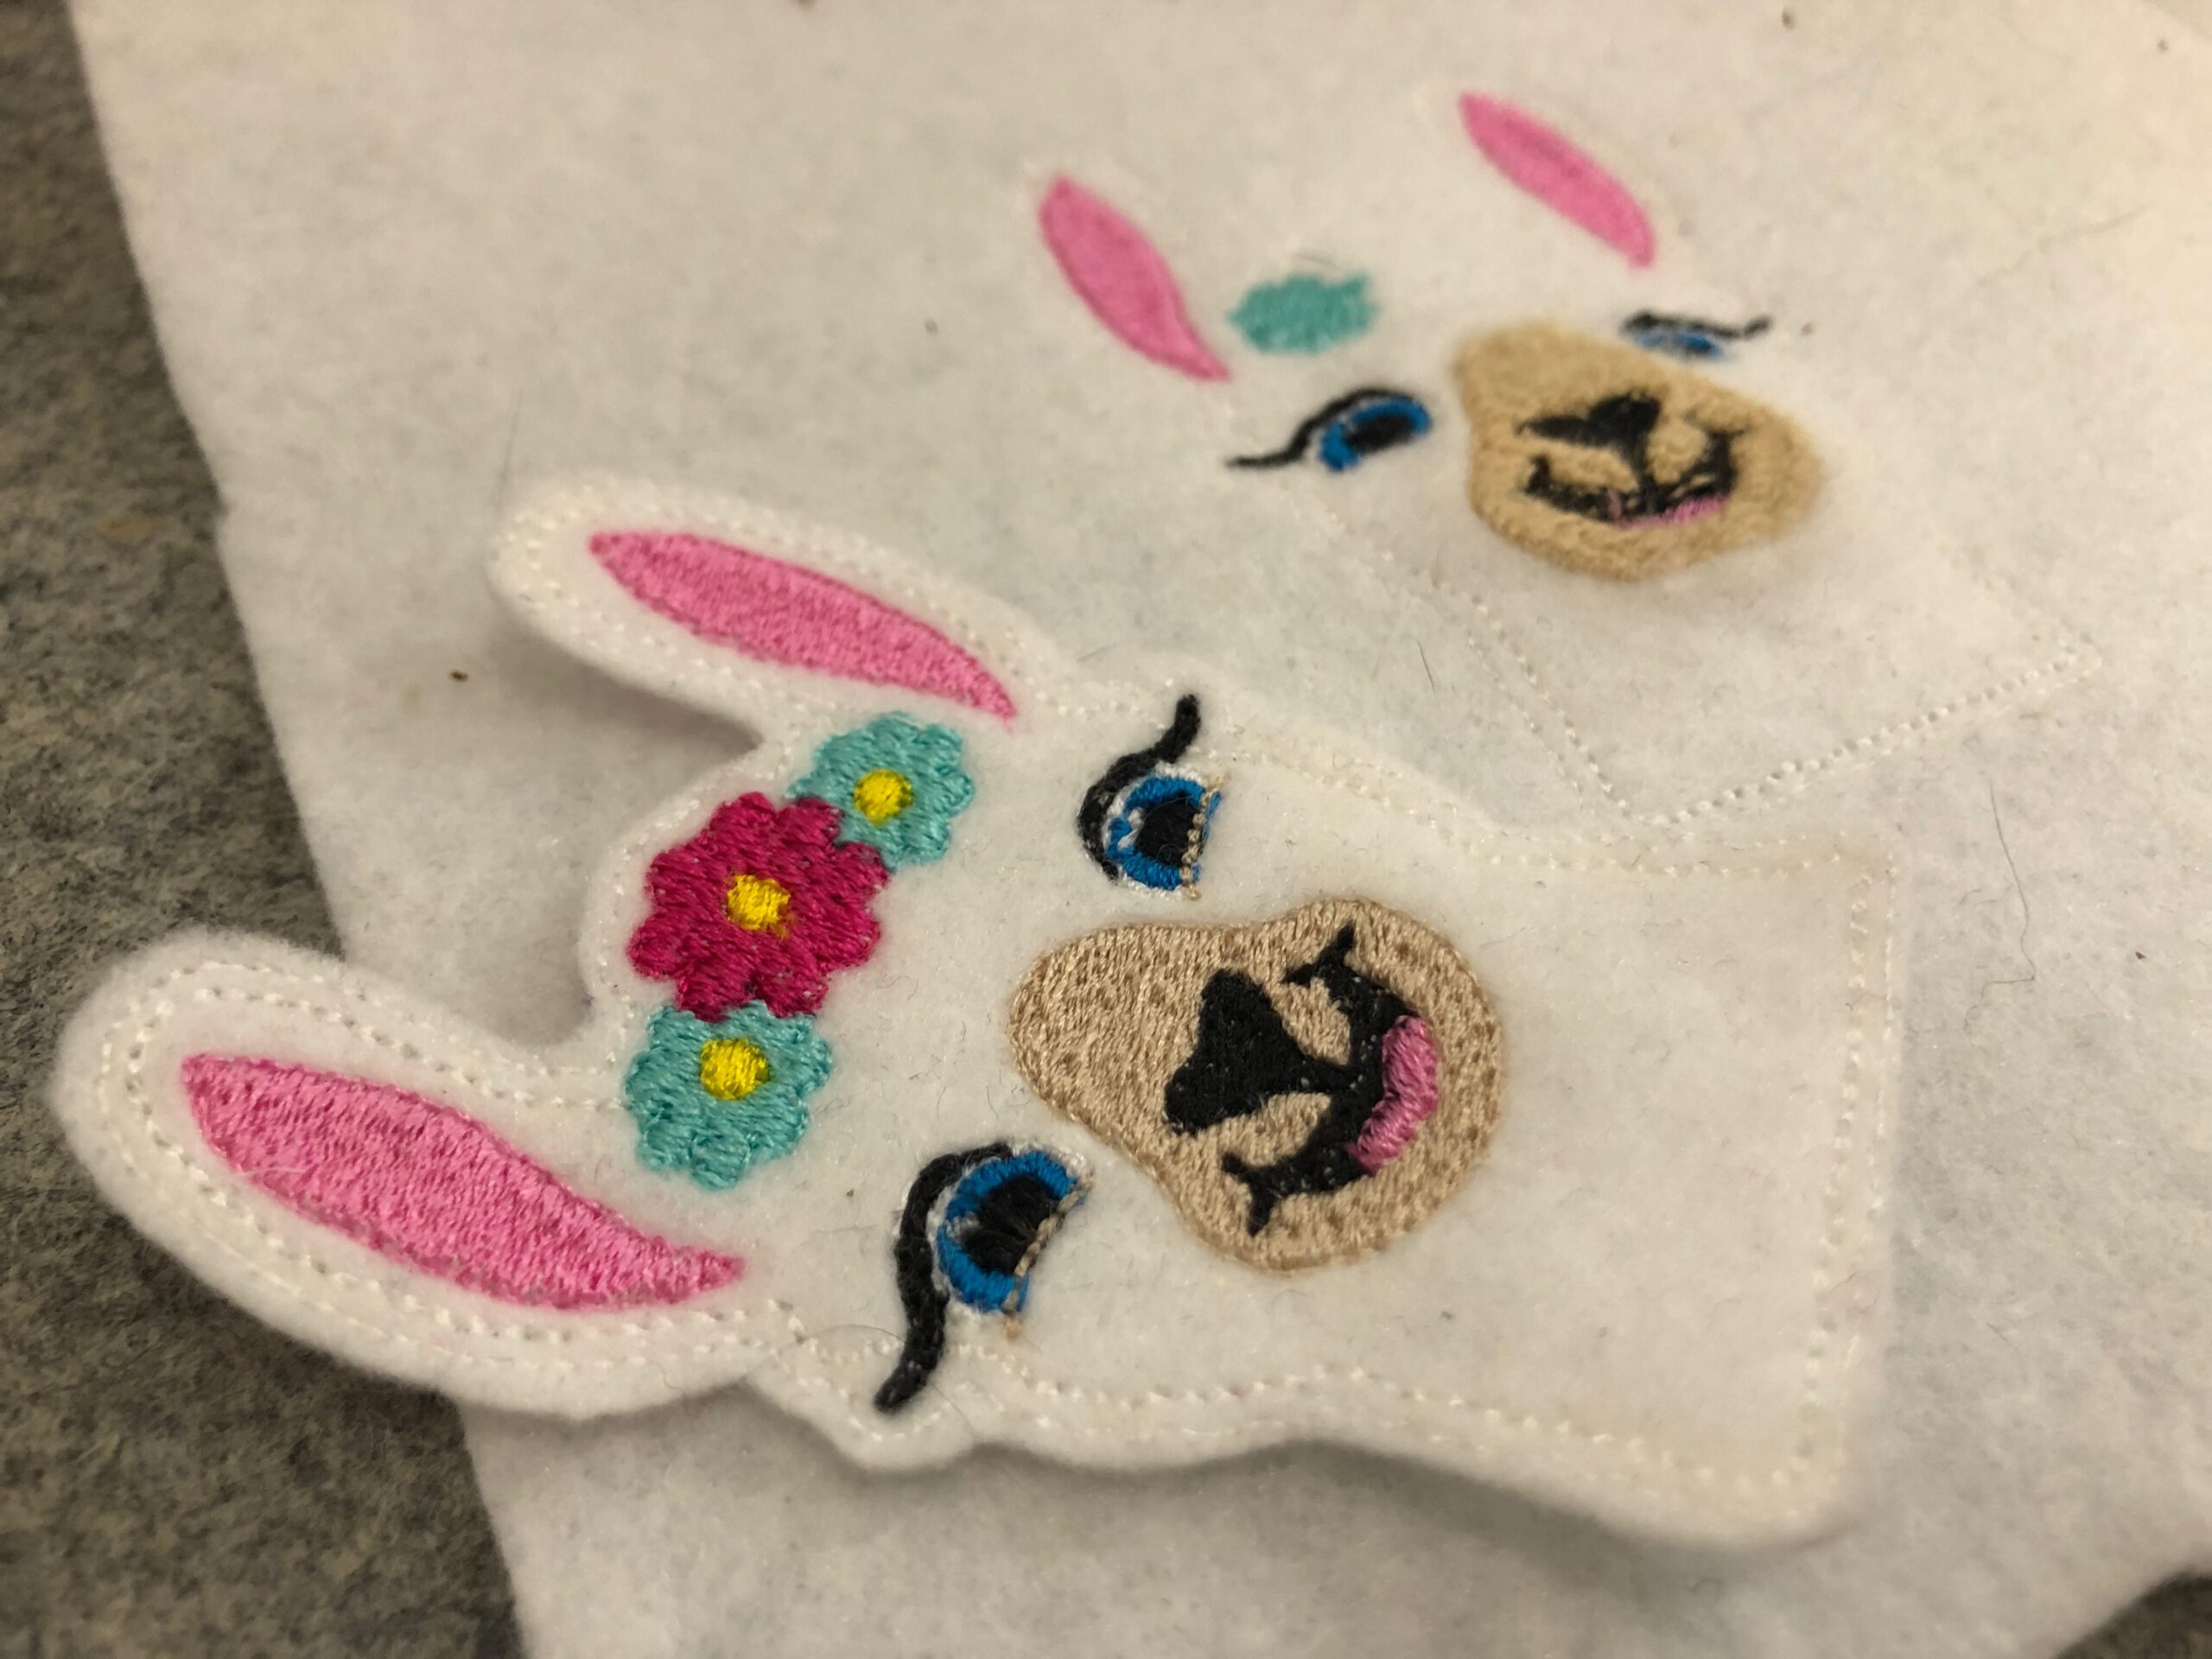
TIP: Embroider two animals in one hooping if you want the design showing on both sides, or to make multiple backpack charms.
Place the hoop onto the machine. Float a piece of Sulky Solvy over the felt. Secure with KK 2000 Temporary Spray Adhesive by spraying the Solvy, and then centering over the design area. Or use the baste-in-the-hoop function to ensure the Solvy doesn’t shift during the stitchout.
Thread the needle with the first color in the design. Load the bobbin with the Sulky Bobbin Thread color that most closely matches the felt. Embroider the design, clipping jump threads with each color change.
FINISHING THE BACKPACK CHARM
Remove the hoop from the machine and the stabilizer from the hoop. Gently lift up the felt from the stabilizer and tear away the excess beyond the outer stitching.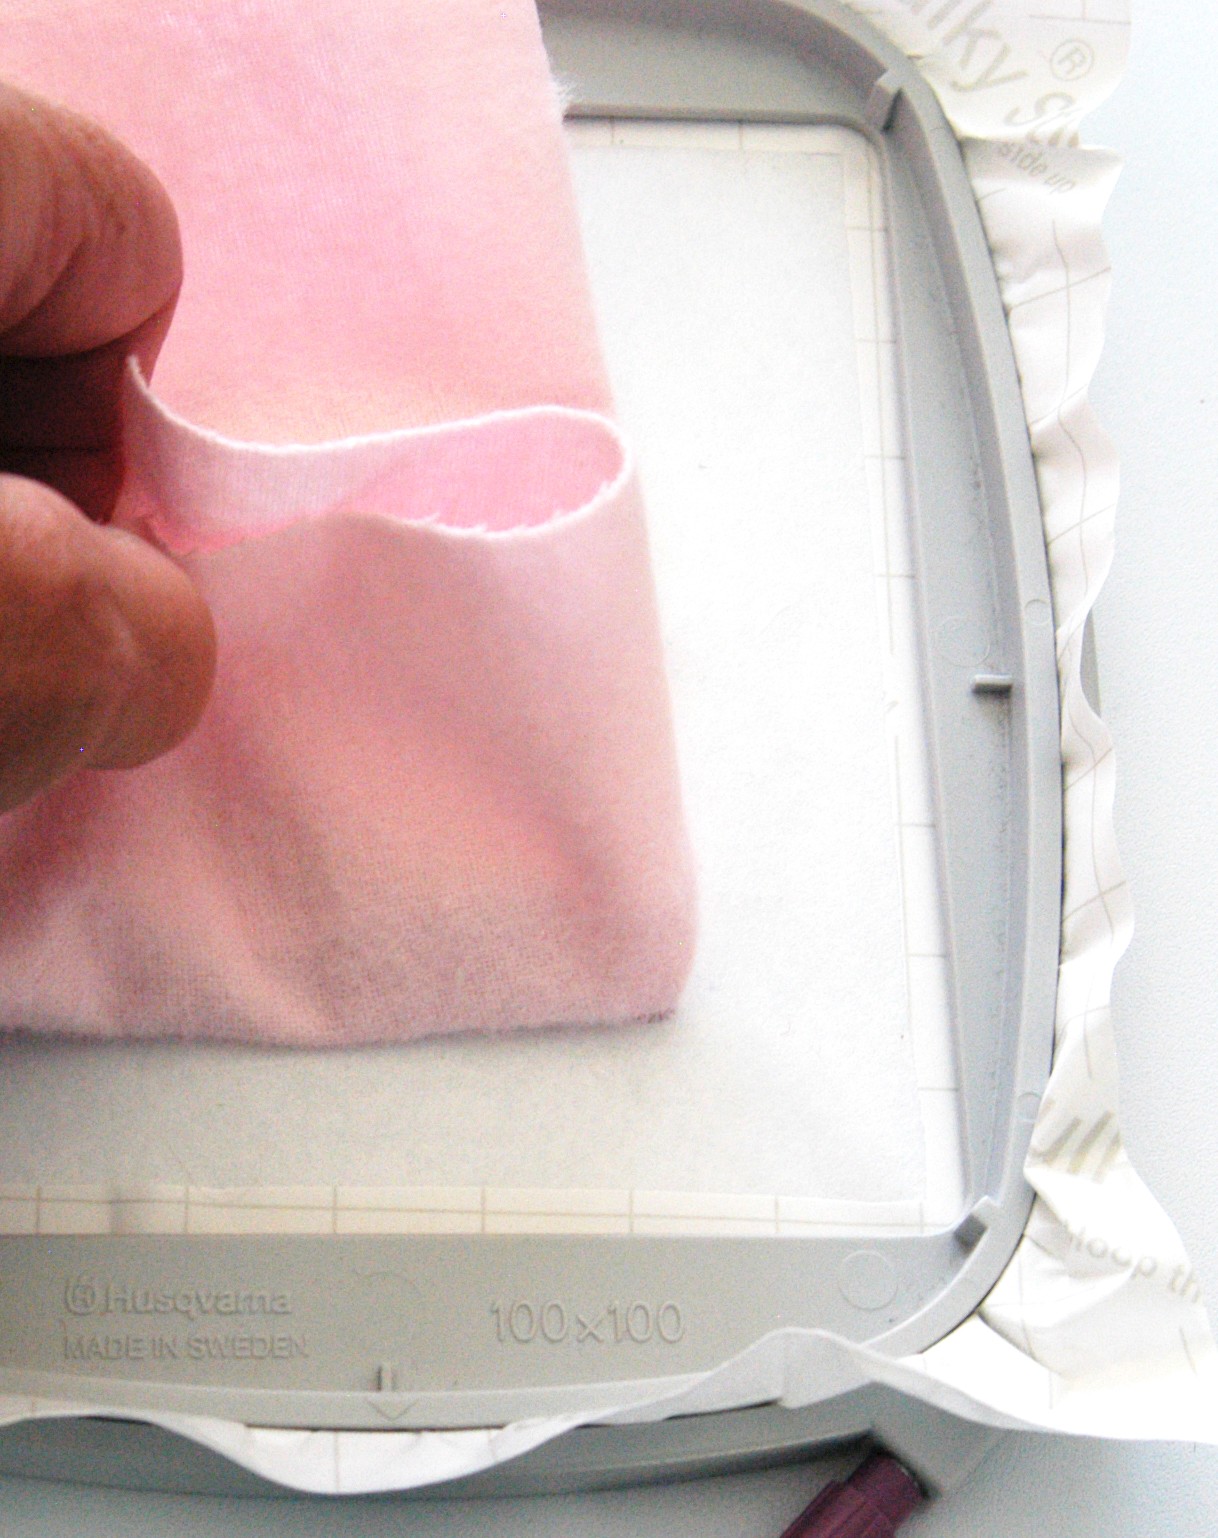
Tear away as much of the Solvy topper as possible. Wet a Q-tip or cotton swab and run it across the stitching to remove the excess.

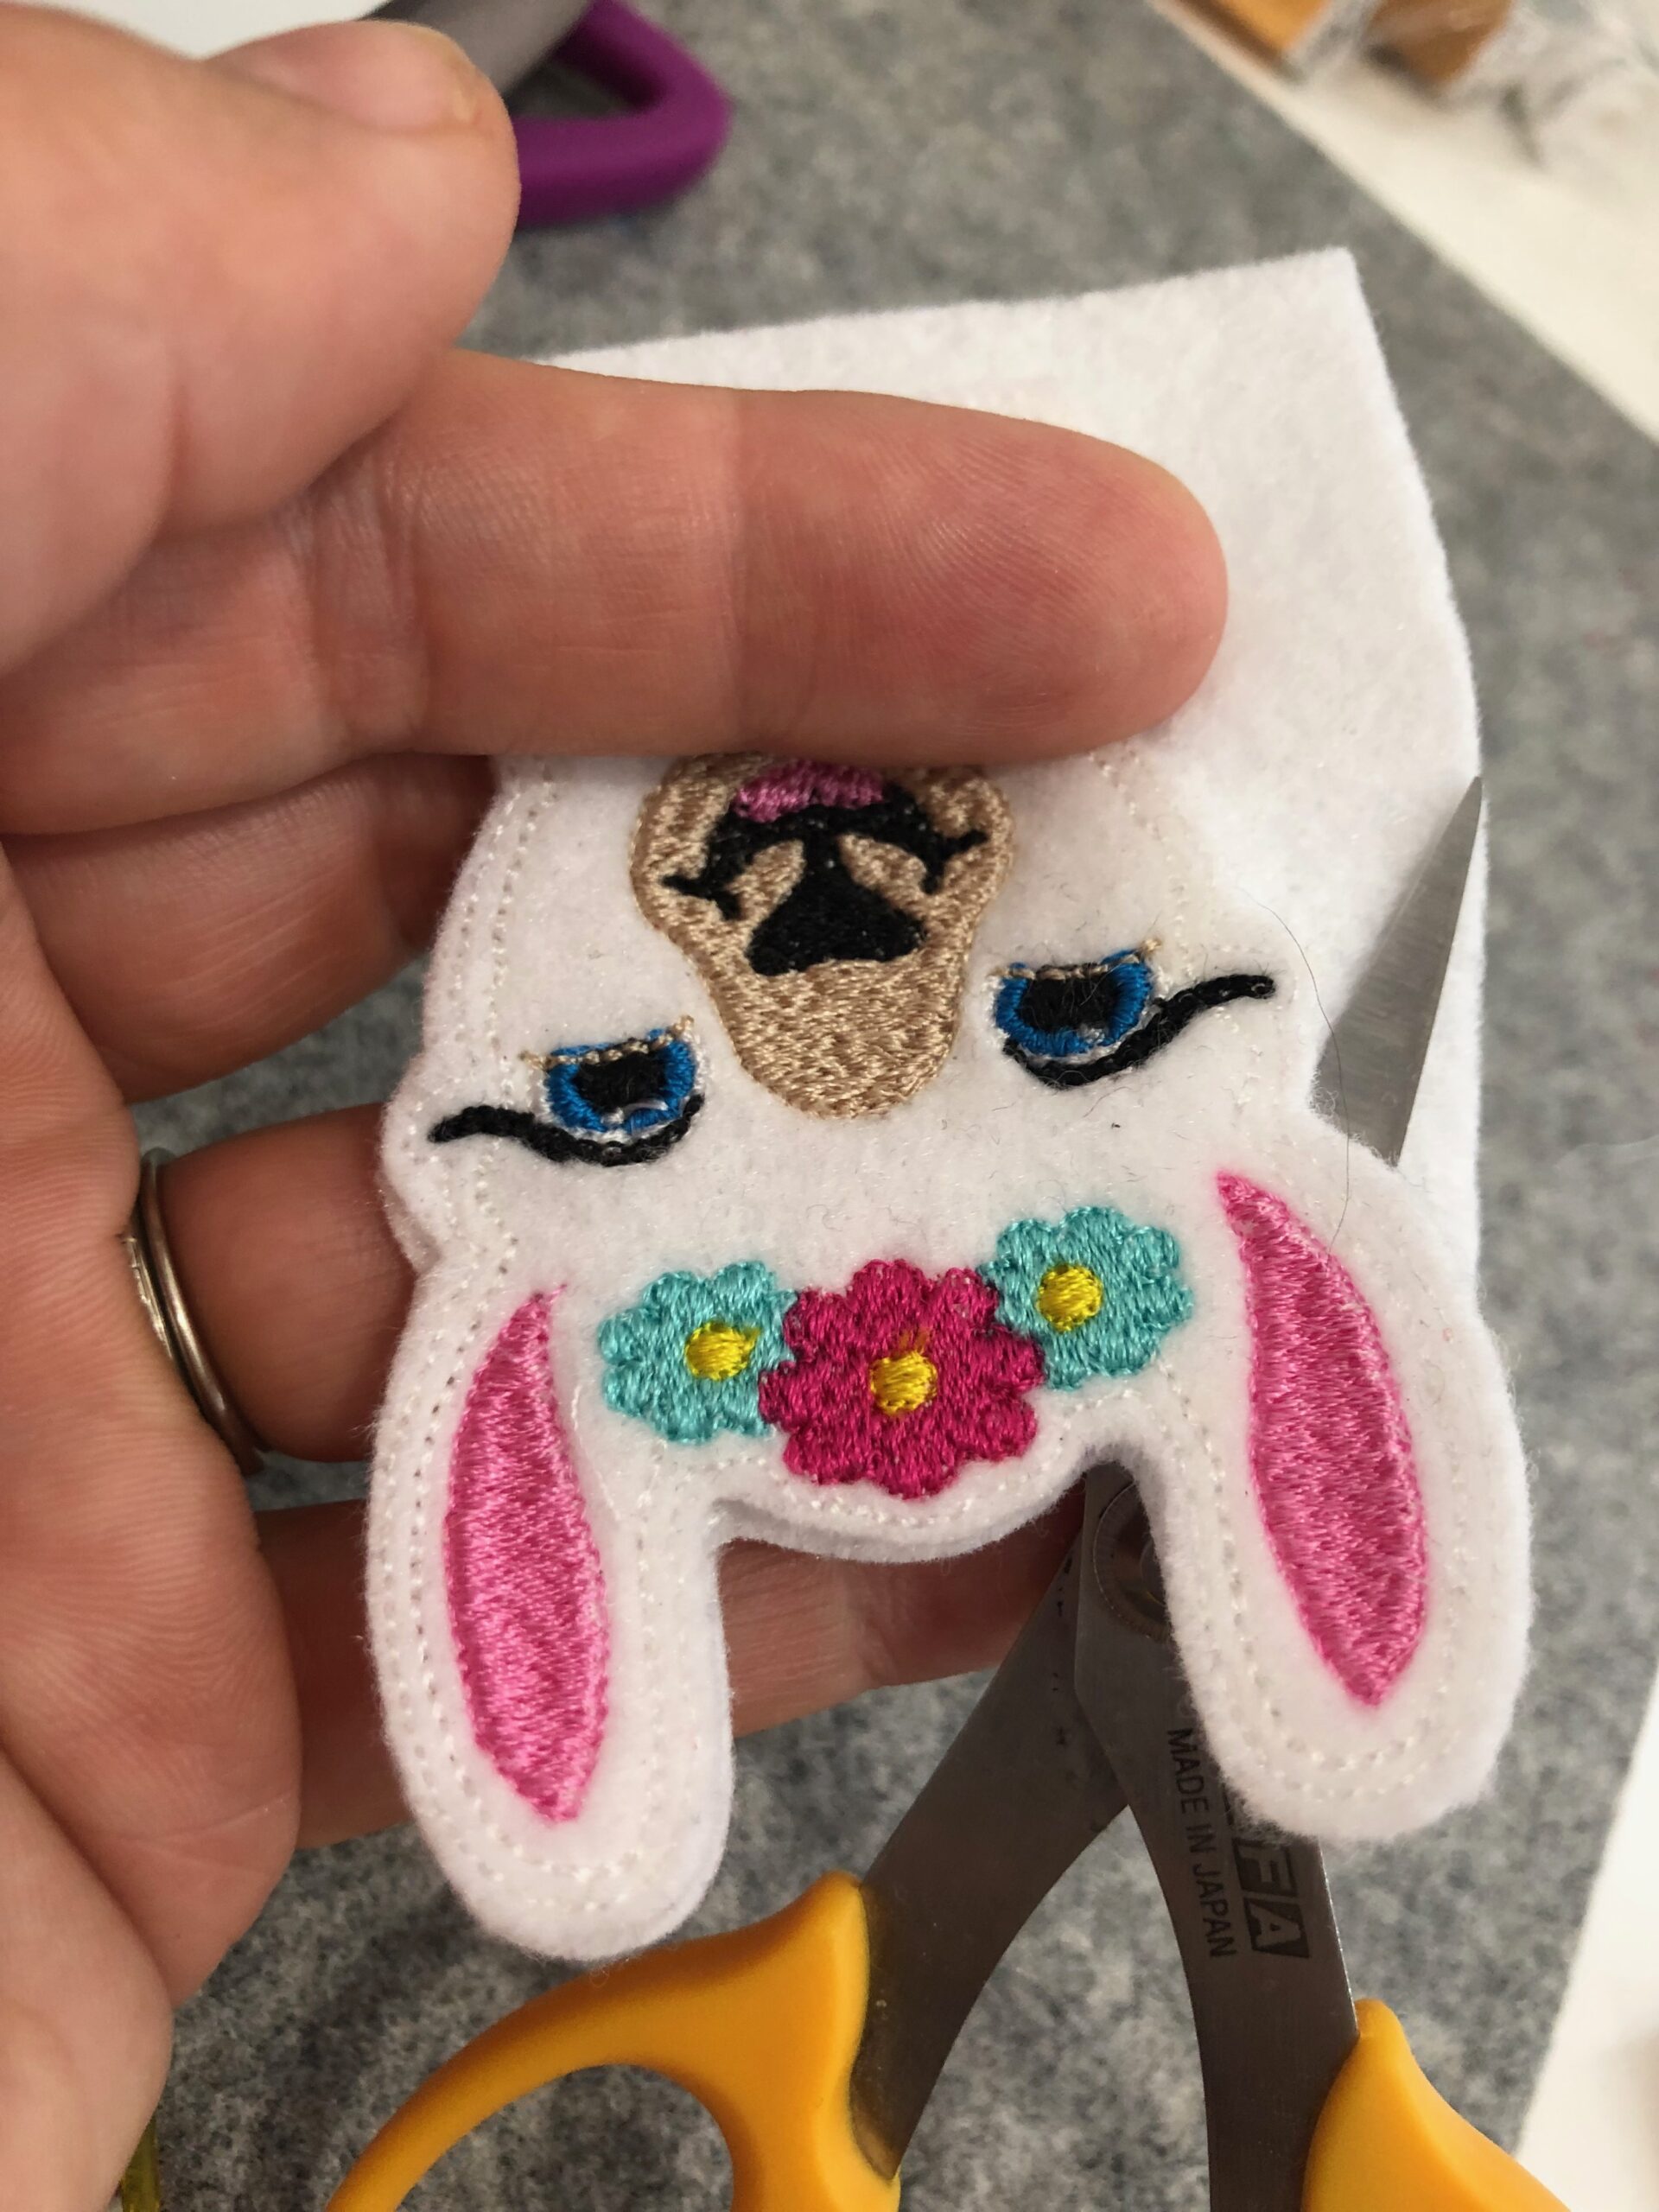
If using a patch or freestanding design, there should be an outer stitching line that outlines the animal shape. Cut out the felt about 1/8″ beyond this stitching line. If the design doesn’t have an outline stitch, either eyeball the outline or use a removable fabric marker to draw one around the design. Then, cut out the animal from the felt.
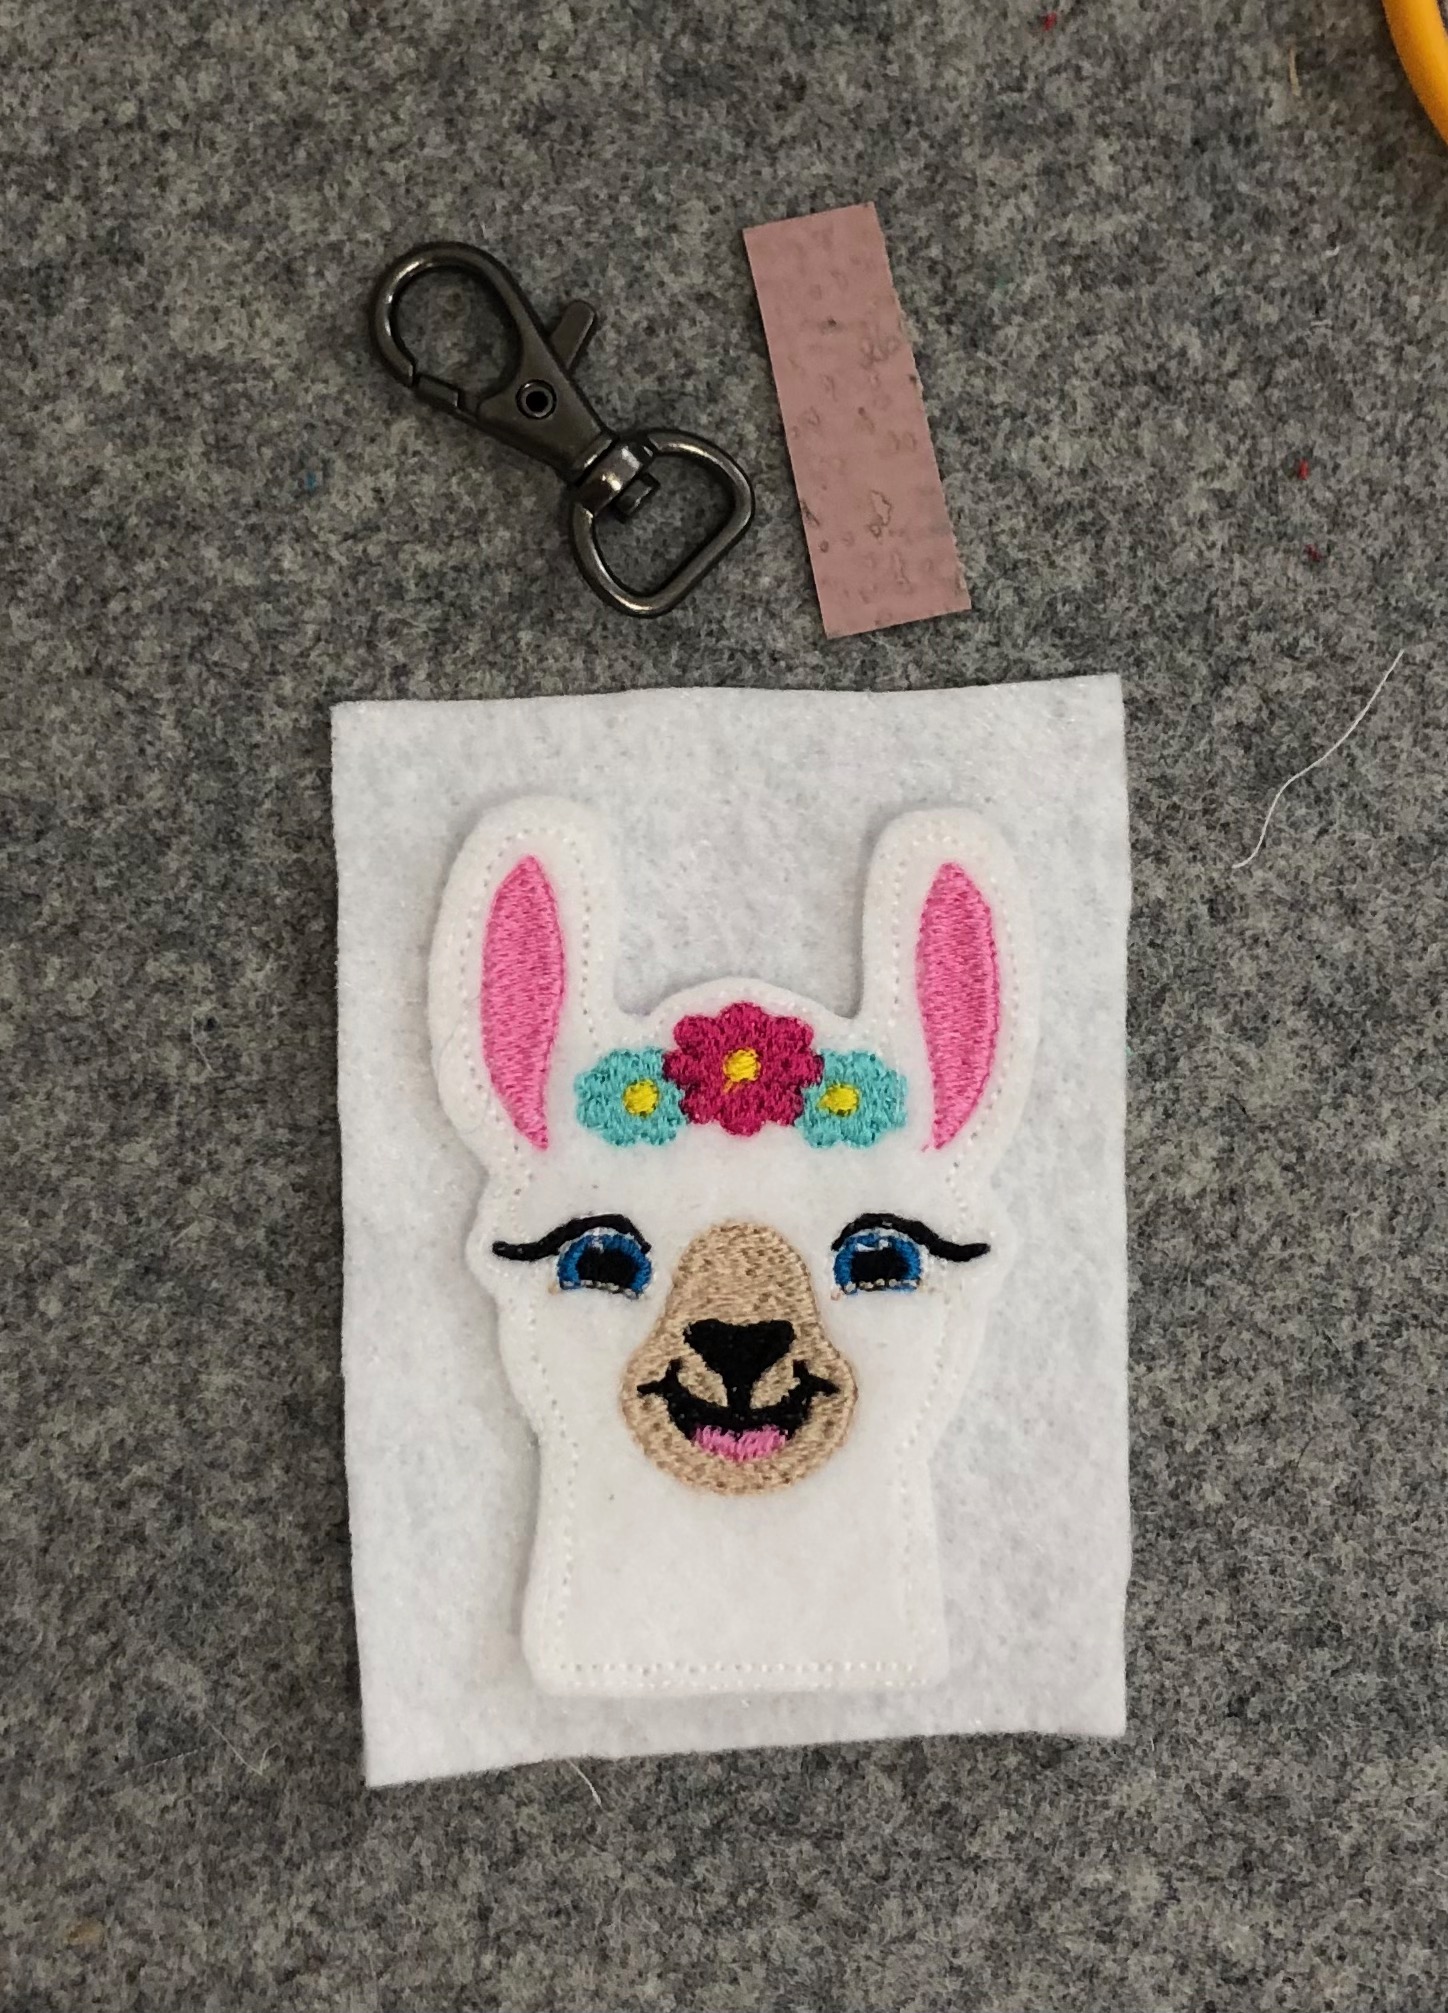
Place the cut felt over another piece of felt to use it as a cutting template. Cut out a second shape to have a backpack charm back. (If embroidering two animals for a front and back, omit this step.)
CHARM CLIP
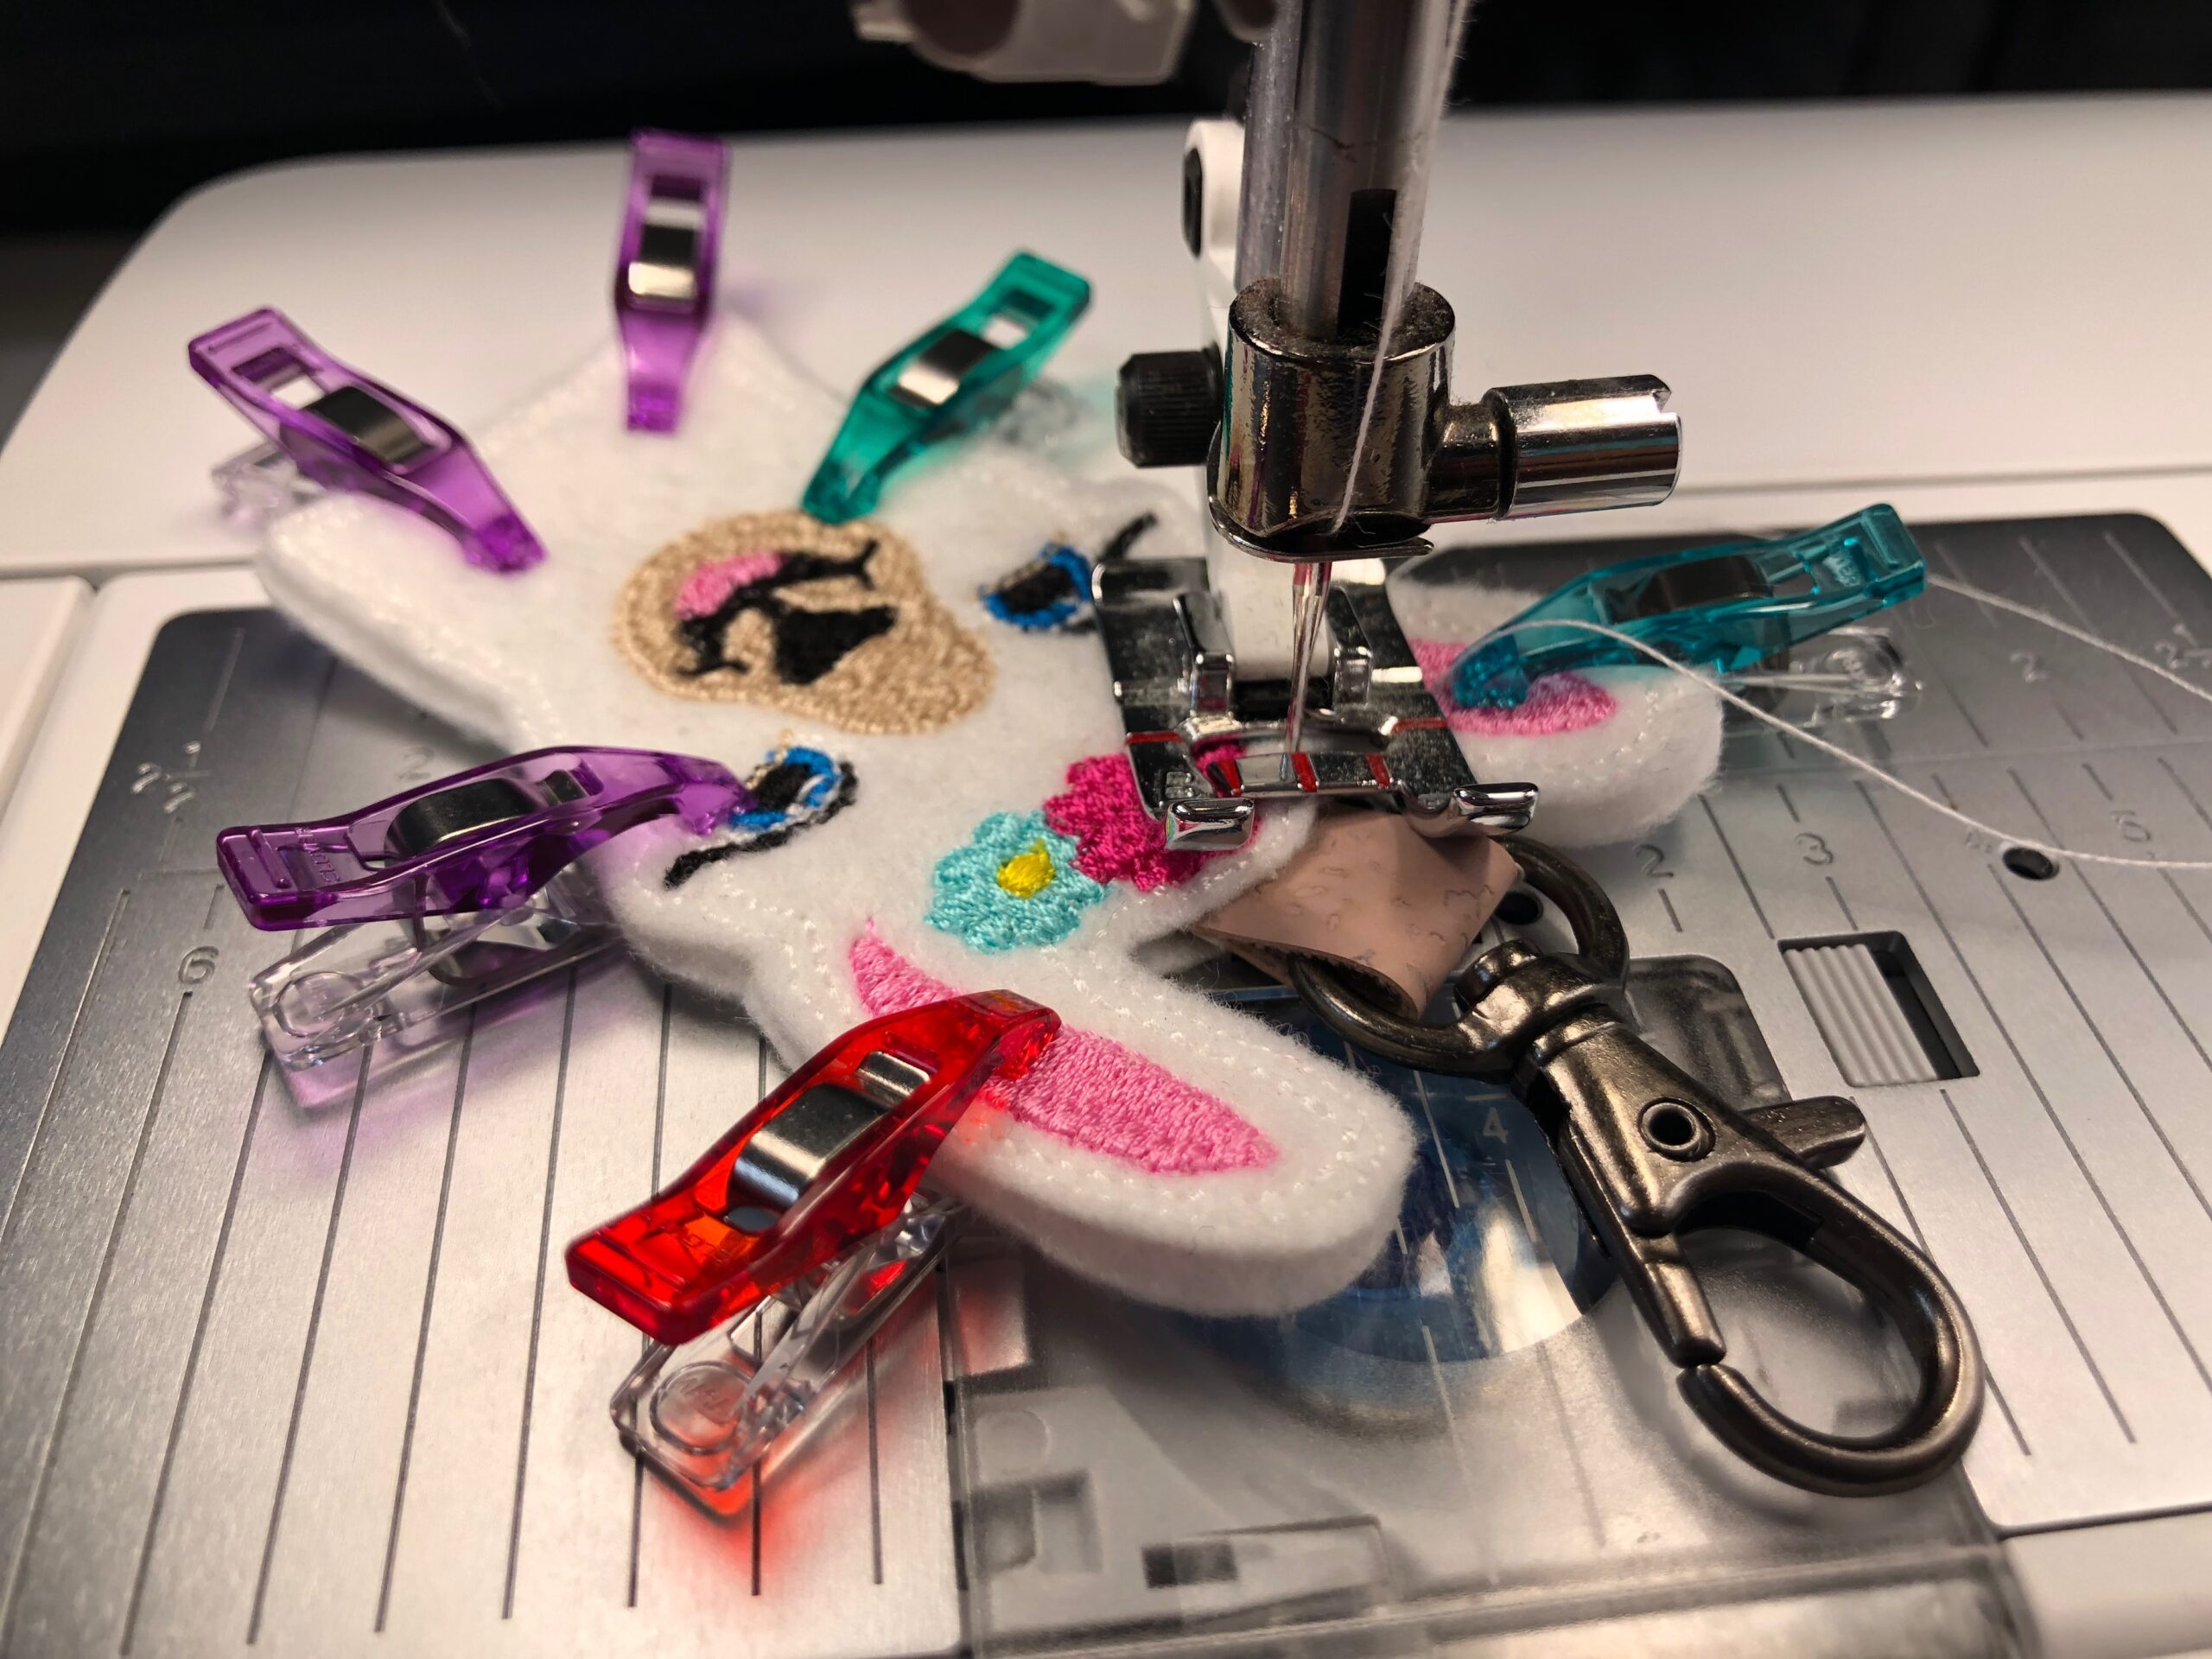
Fold the no-fray fabric or ribbon in half widthwise, around the D-ring portion of the swivel clip. Put the fabric ends inside the animal upper-edge center; use Wonder Clips to secure. (Mini Wonder Clips have a small tip, which makes it easier to secure small items, such as this backpack charm!)
Use more mini Wonder Clips to secure the charm outer edges.


Thread the needle with 30 wt. Cotton Thread that matches the outer stitching line of the animal and/or the felt. Edgetitch the perimeter, following the outer stitching lines if applicable.
Gift the backpack charm to a favorite student, along with a few fun school supplies.

Ellen March
I am the Director of Content for Sulky of America. The former Editor in Chief of Sew News and Creative Machine Embroidery magazines, I hosted Sew it All TV on PBS for nine seasons. I've appeared on It's Sew Easy on PBS, DIY Network's Uncommon Threads, Hallmark's Marie Osmond Show, MacPhee Workshop and more! Come sew with me!


One Comment
Marilyn L. Maher
verycute!