
Bloom Machine Embroidered Mini Quilt
Bloom Machine Embroidered Mini Quilt
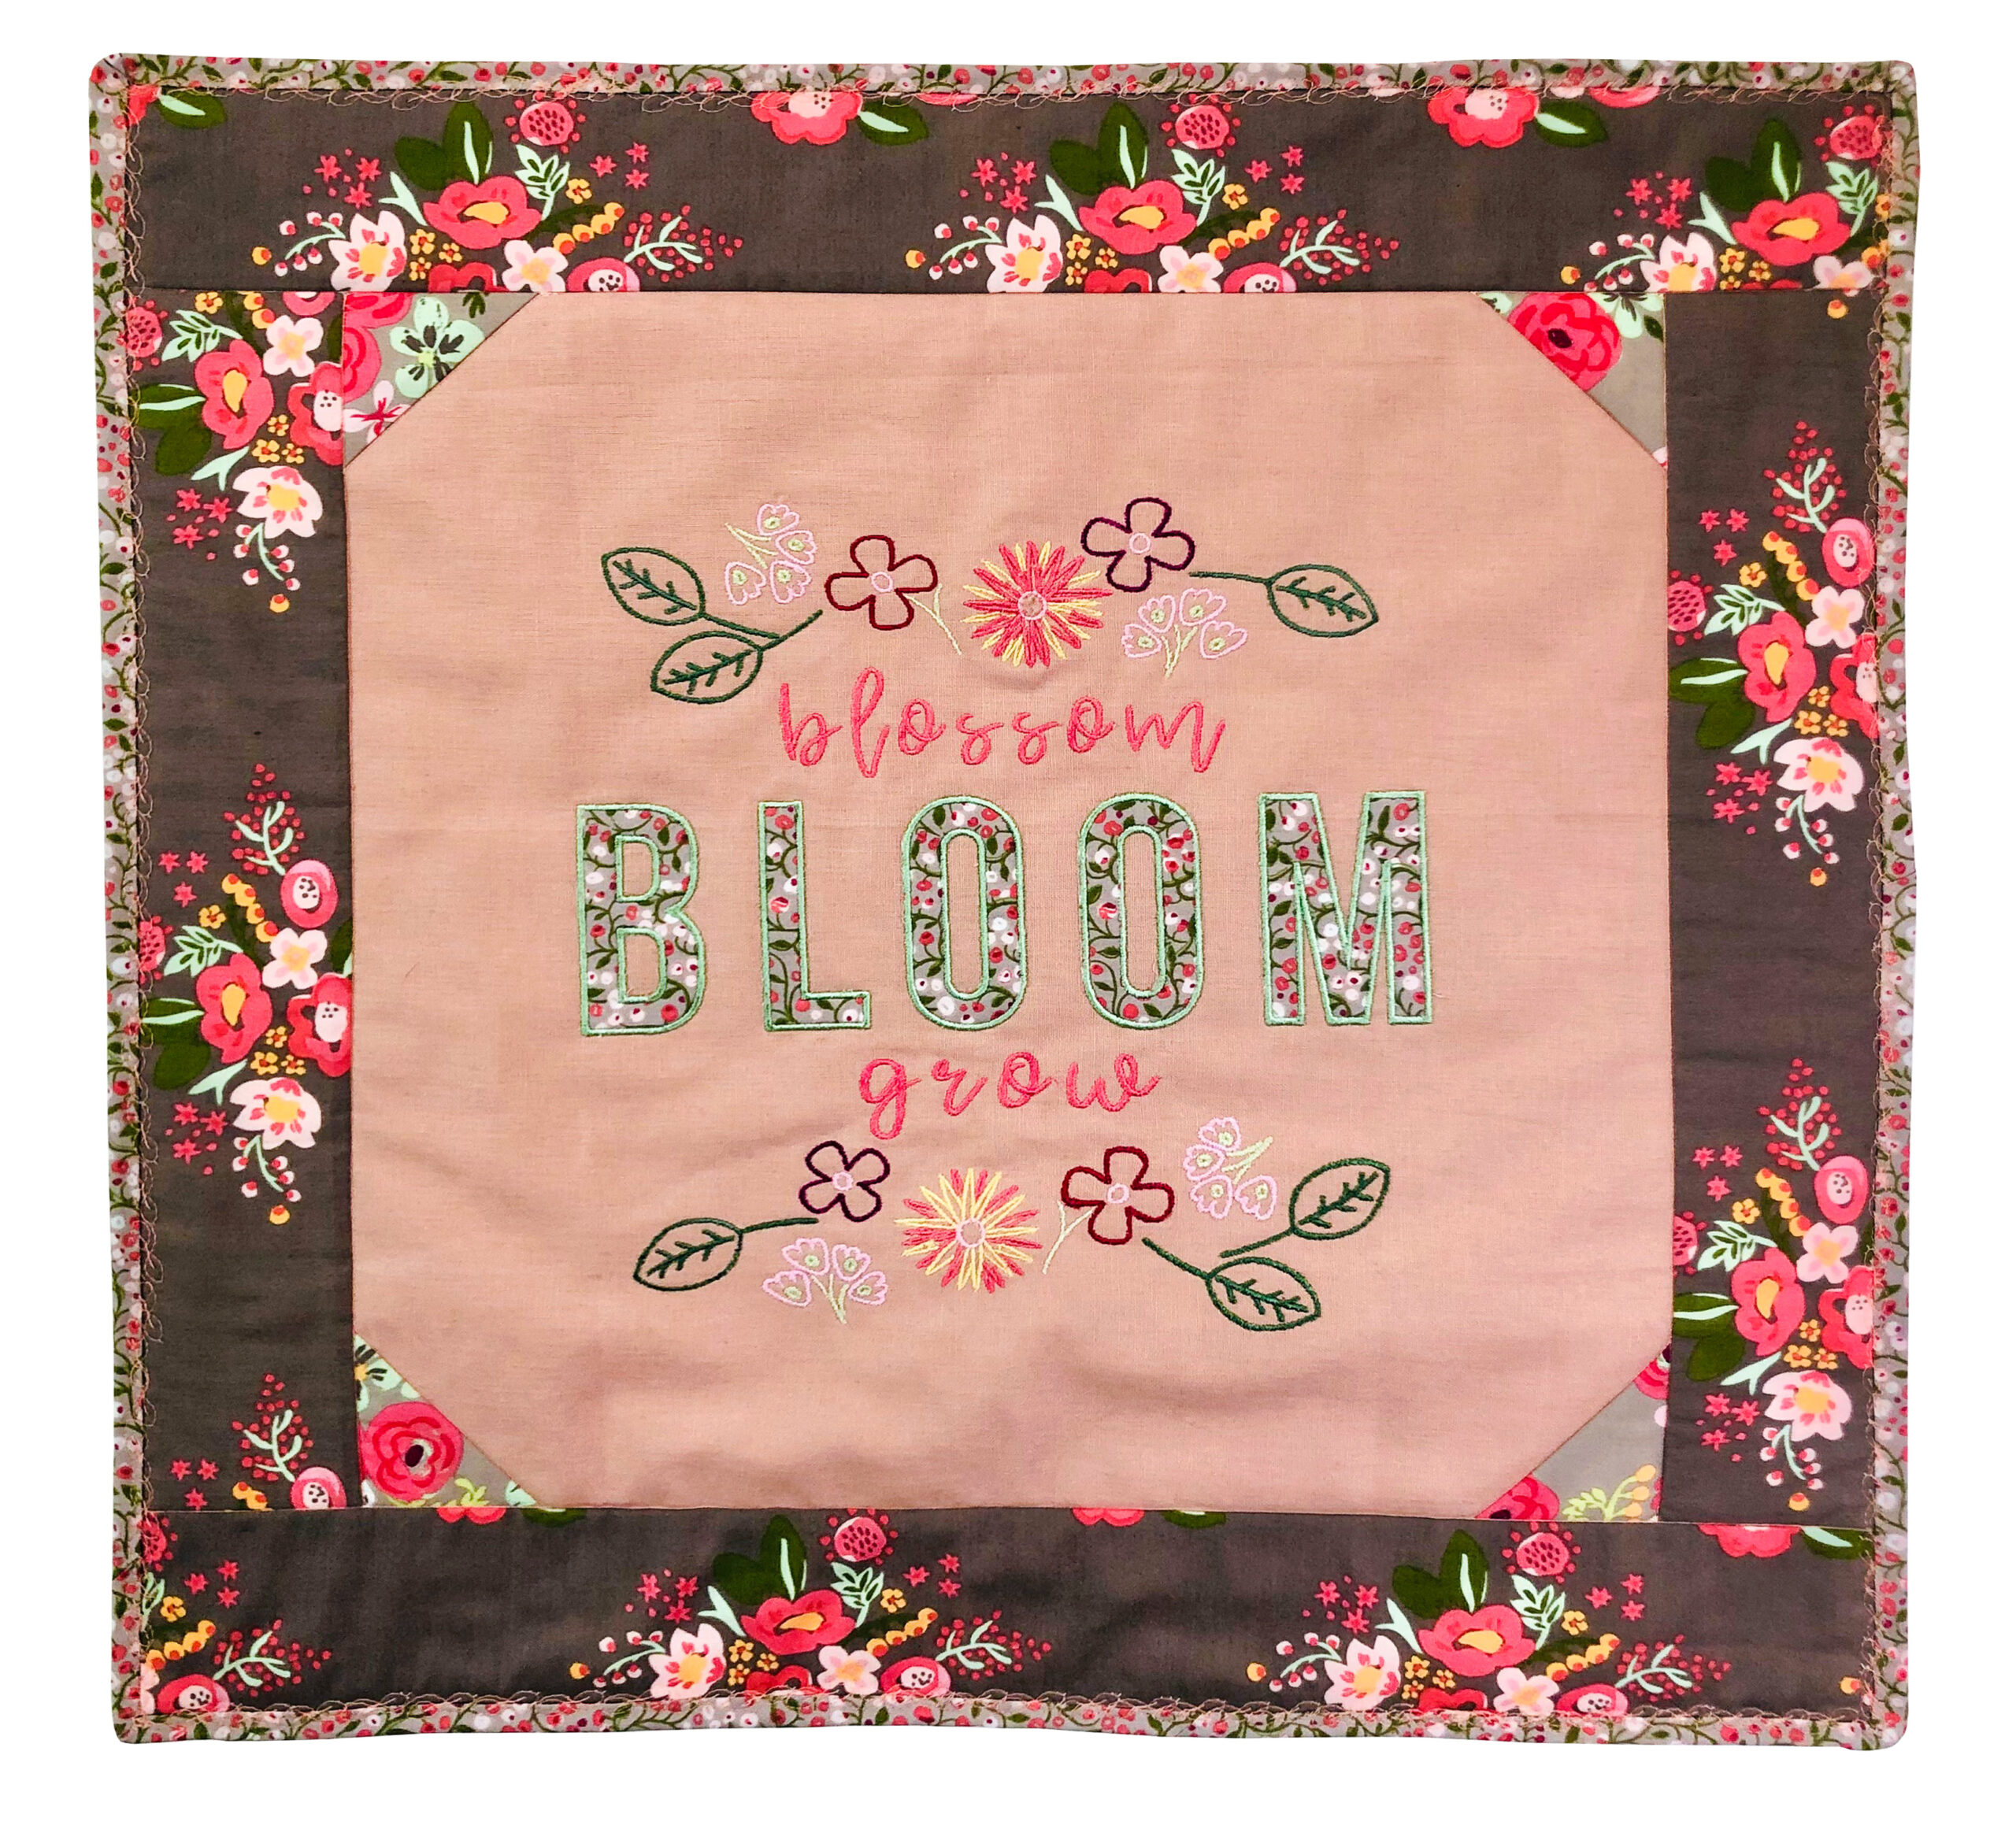
Create a machine embroidered version of our Free Bloom Hand Embroidery Mini Quilt pattern designed by Aimee Davis, featuring appliqué done entirely in the hoop of your embroidery machine. This version of the project also uses Sulky Perfect Appliqué for nice, crisp lettering that doesn’t shift during or after stitching. This design comes with three sizes, for a 5×7, 9×10 and 10×14 hoop (or larger). The featured stitchout is the largest size and a 360mm x 260mm hoop was used for the sample.
BLOOM MACHINE EMBROIDERY MINI QUILT SUPPLIES
- Bloom Embroidered Mini Quilt Pattern (it’s free!)
- Fabric & materials according to pattern guide sheet
- Bloom Machine Embroidery Design
- Sulky 40 wt. Rayon Thread
- 60 wt. Bobbin Thread
- Sulky Soft ’n Sheer™ Stabilizer
- Organ® size 75/11 Embroidery Needles
- Sulky KK 2000™ Temporary Spray Adhesive
- Clover® Wonder Clips
HOOPING & EMBROIDERY
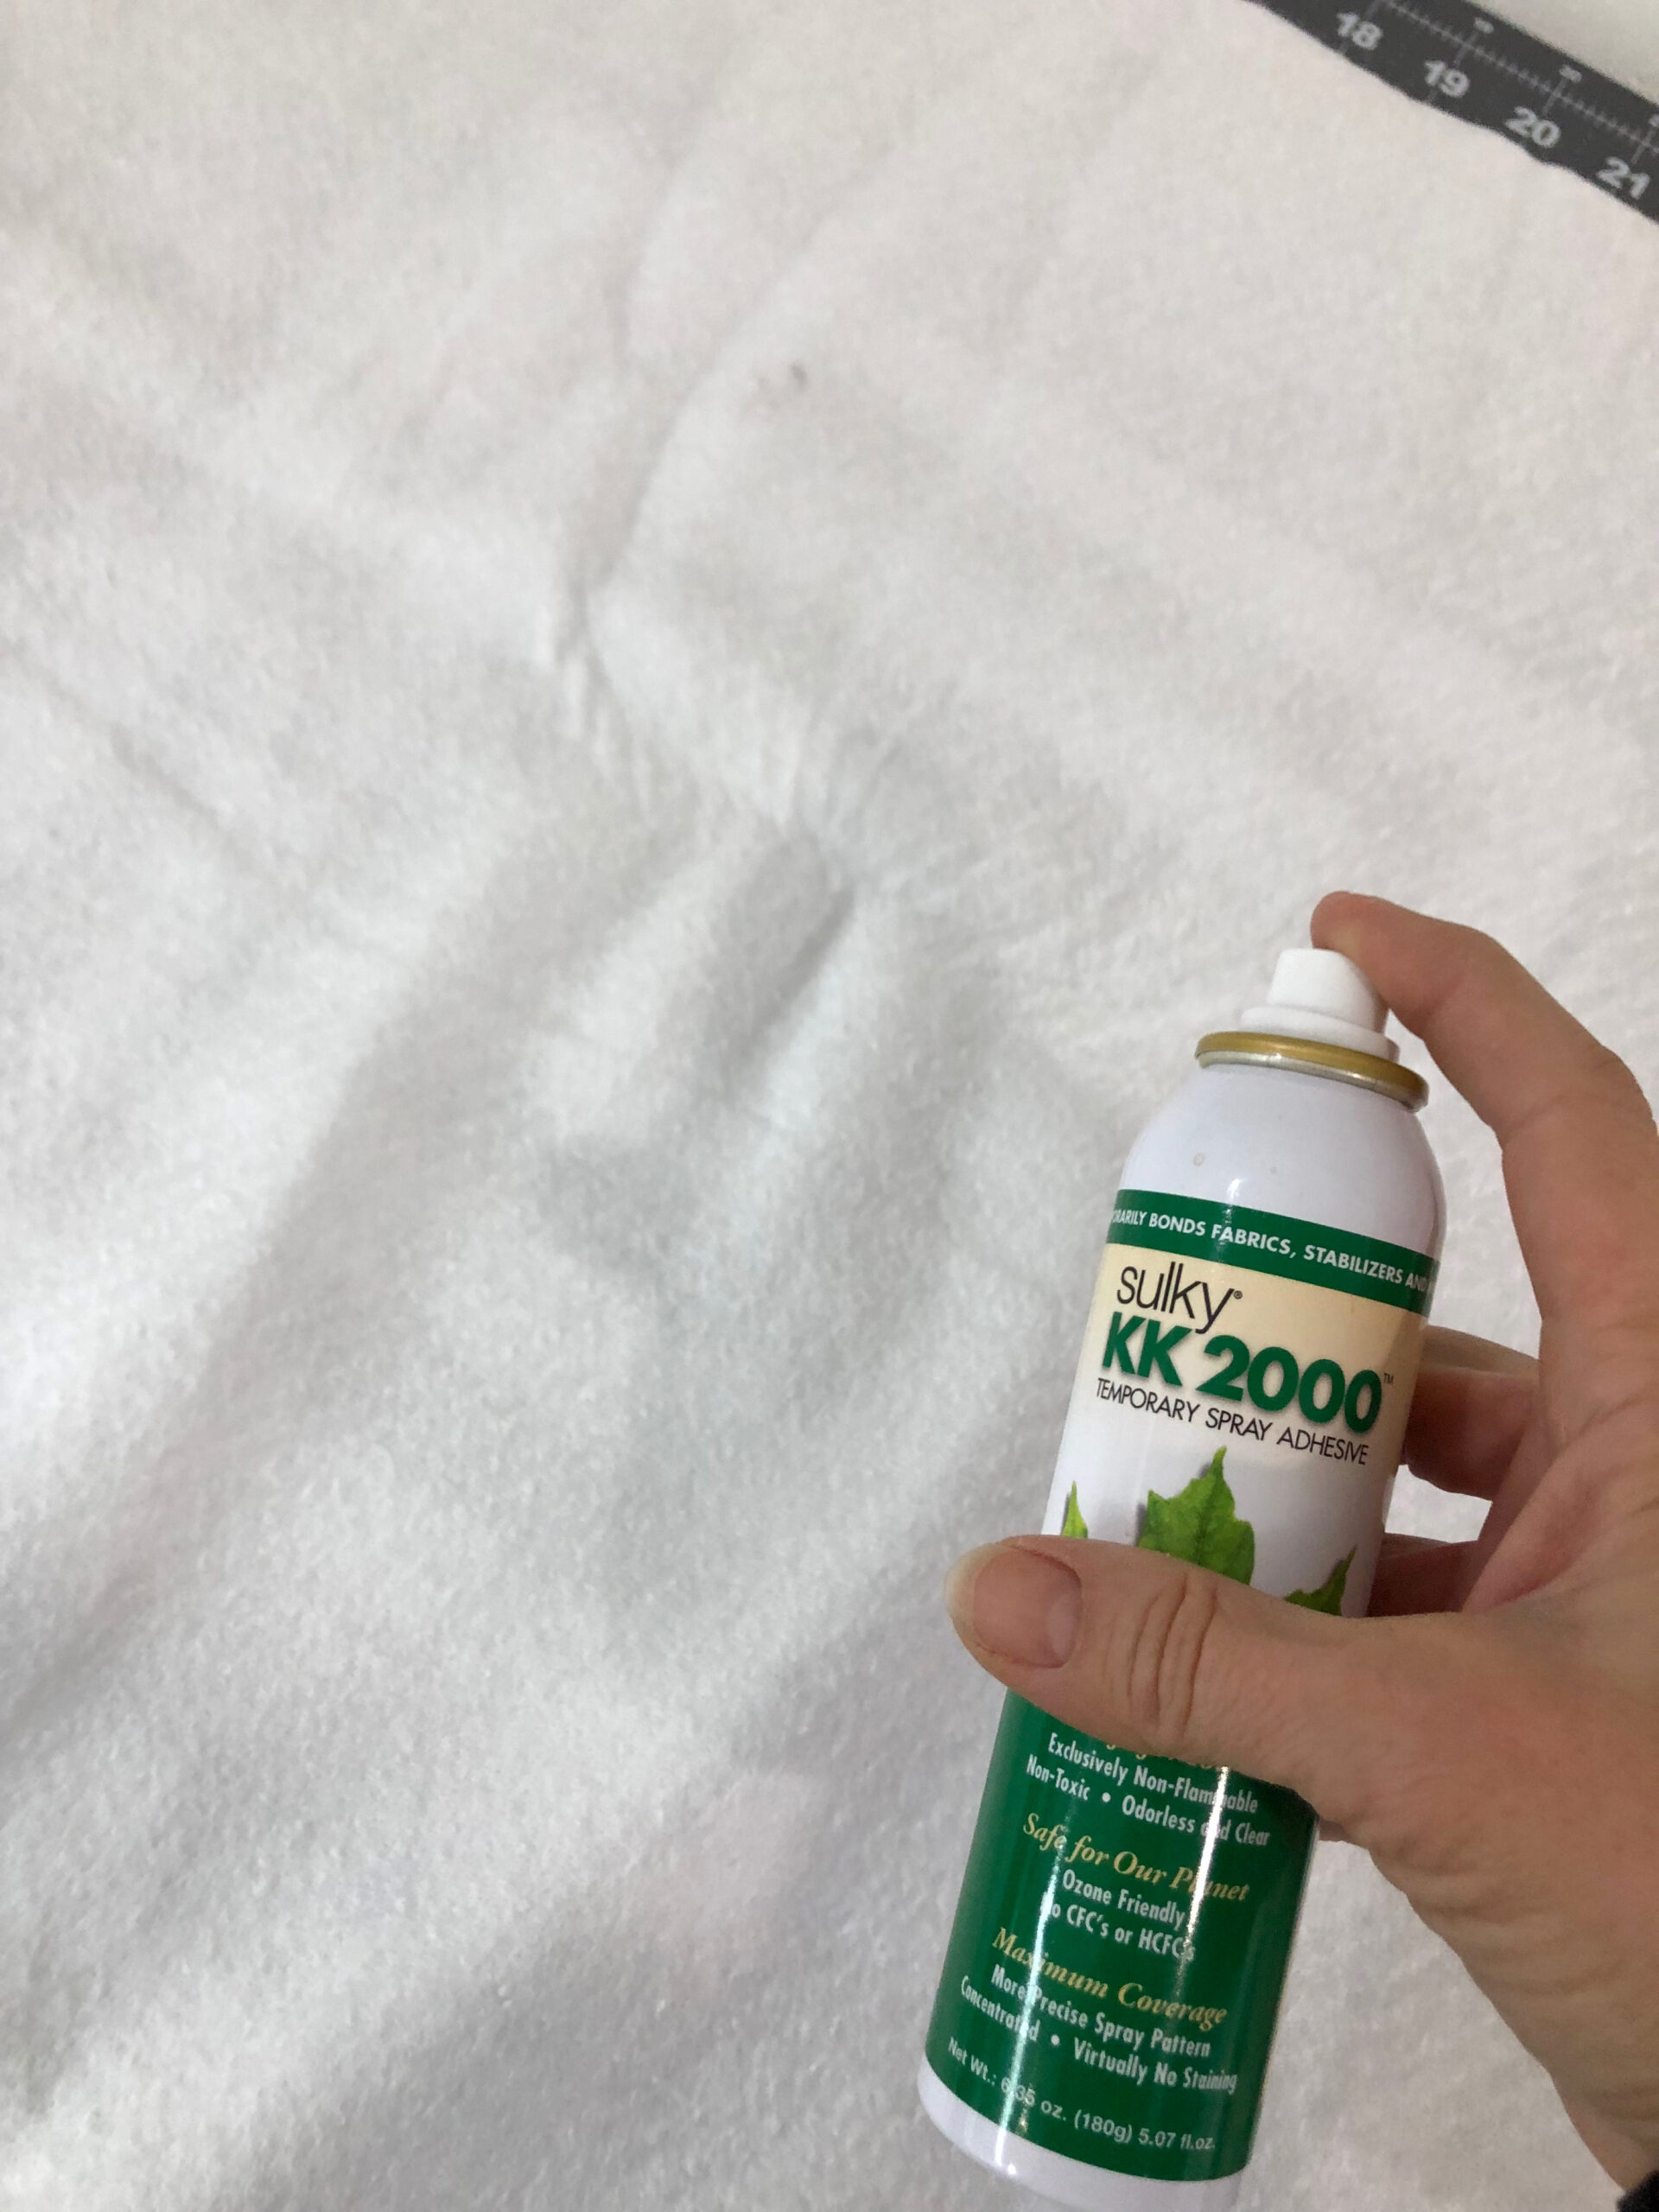
Hoop only the stabilizer & spray with Sulky KK 2000™ Temporary Spray Adhesive if working with linen or other open-weave fabric (as shown).
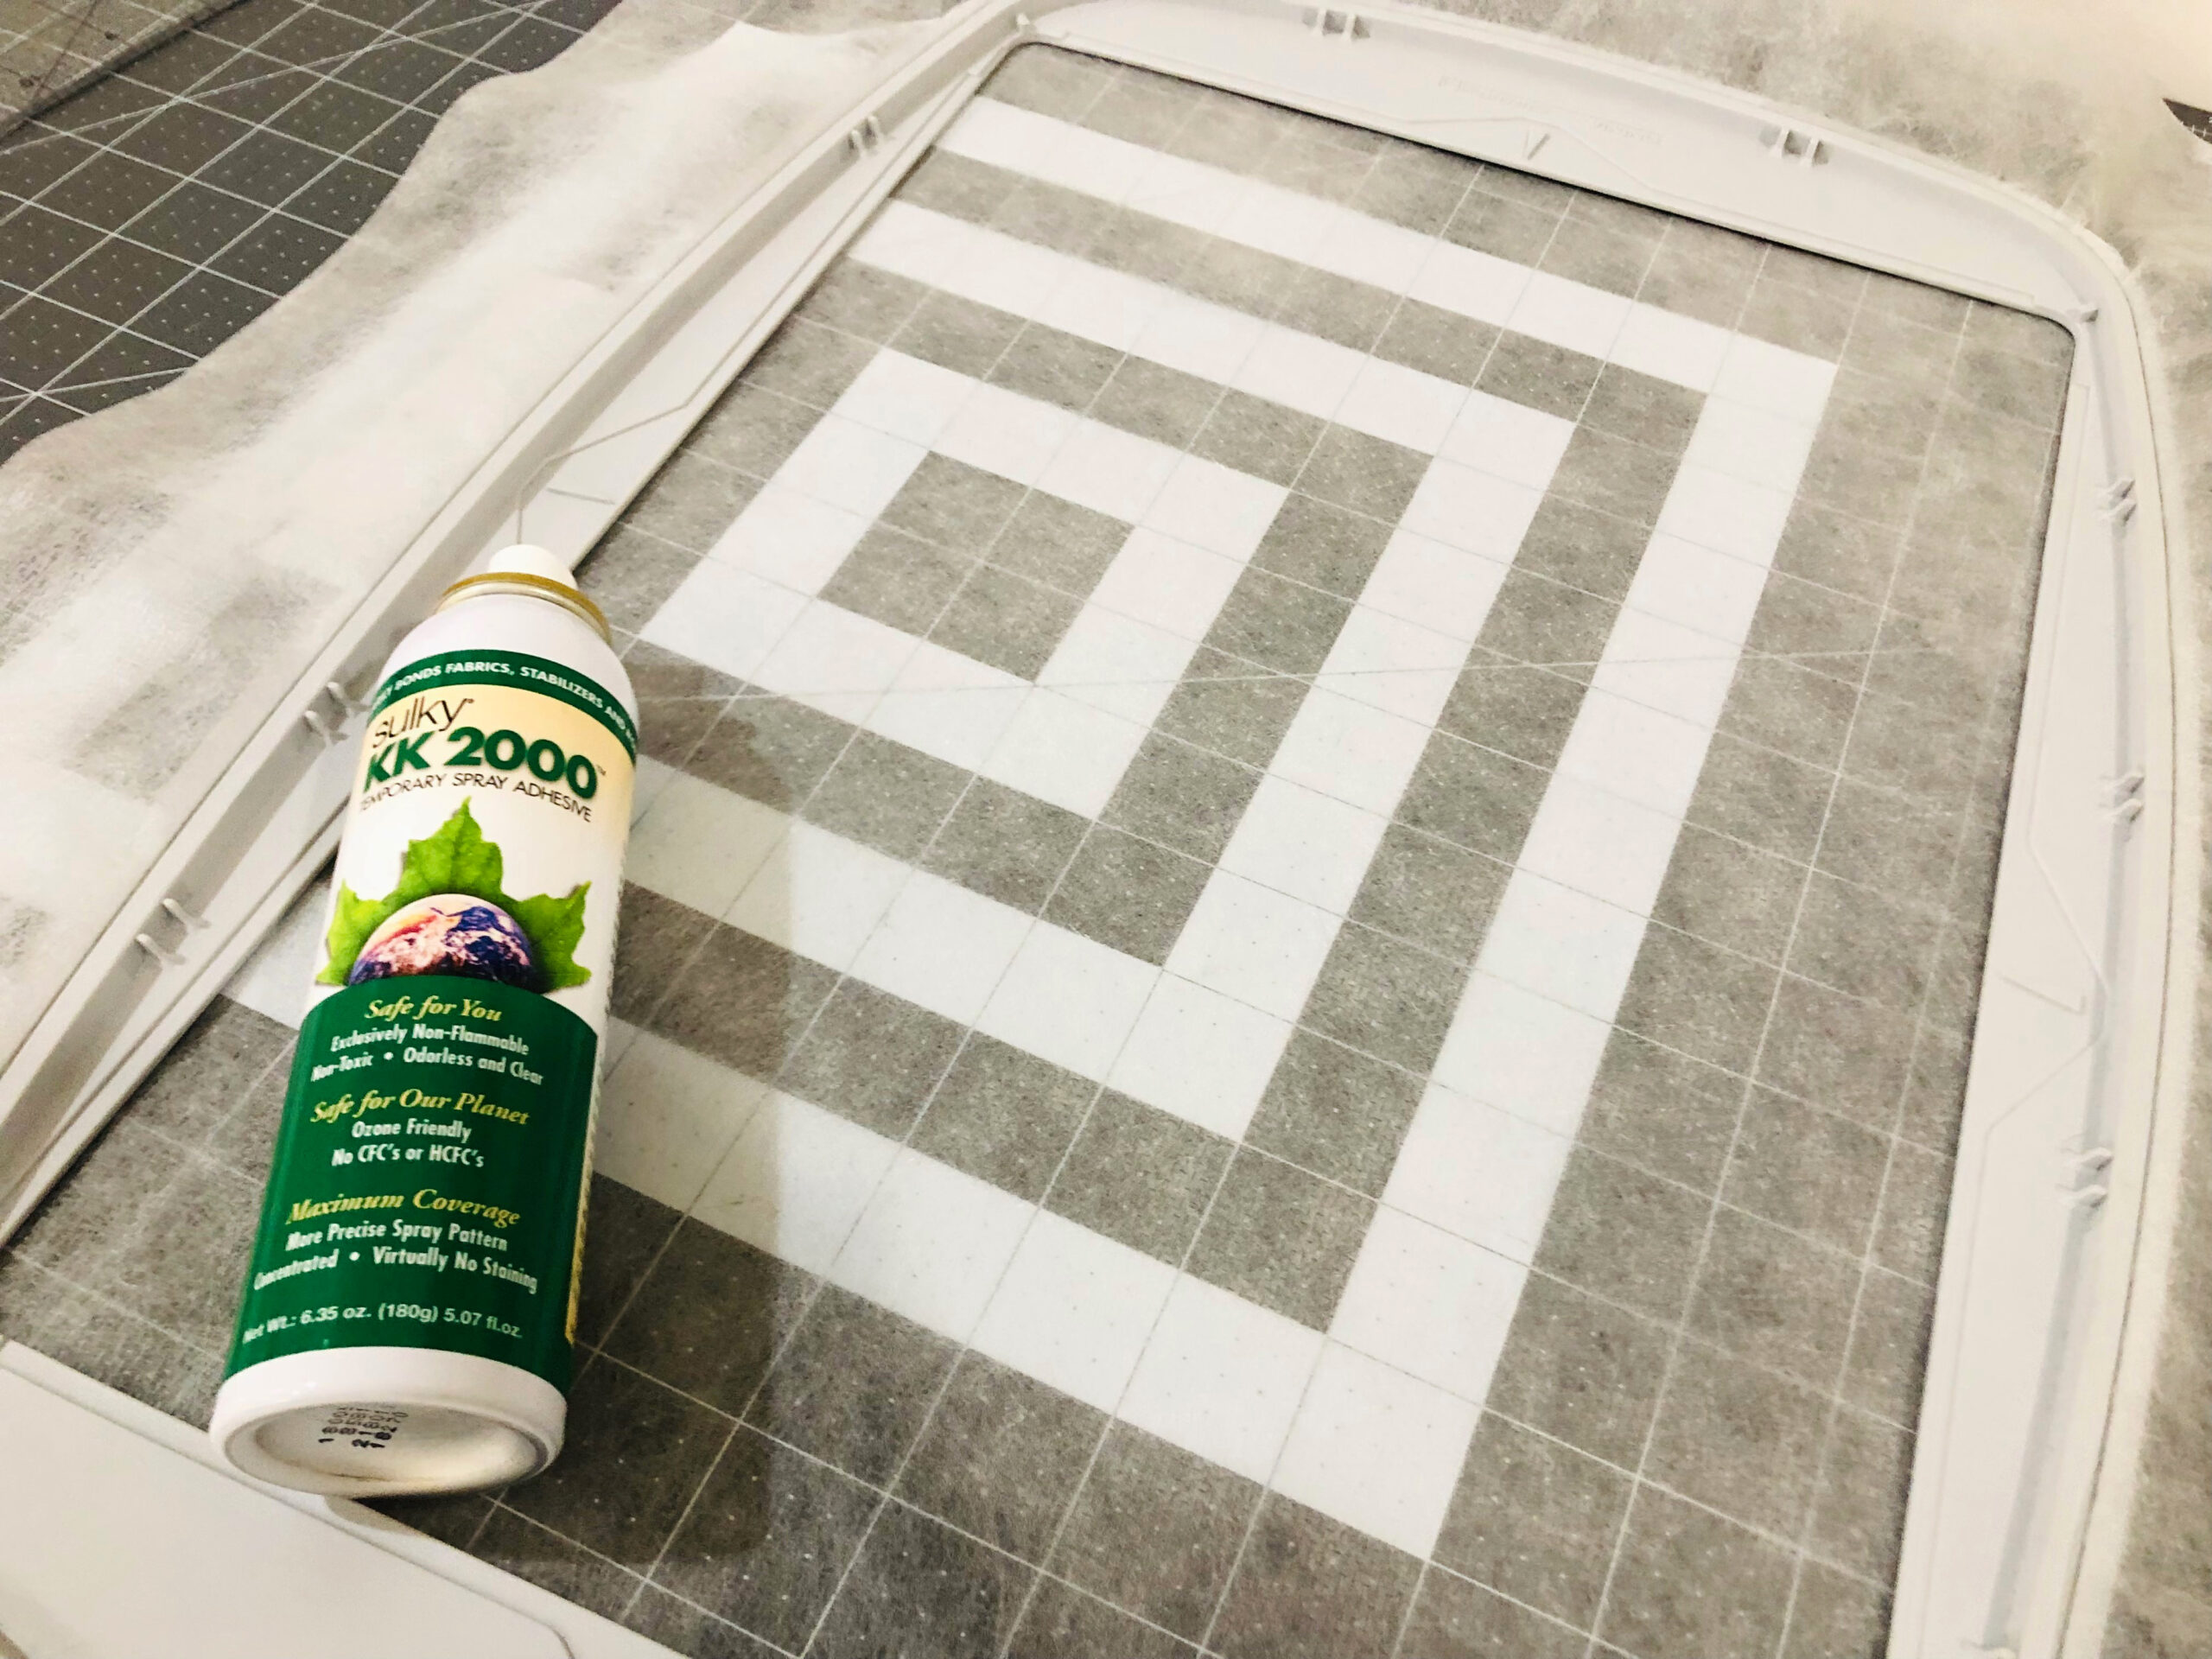
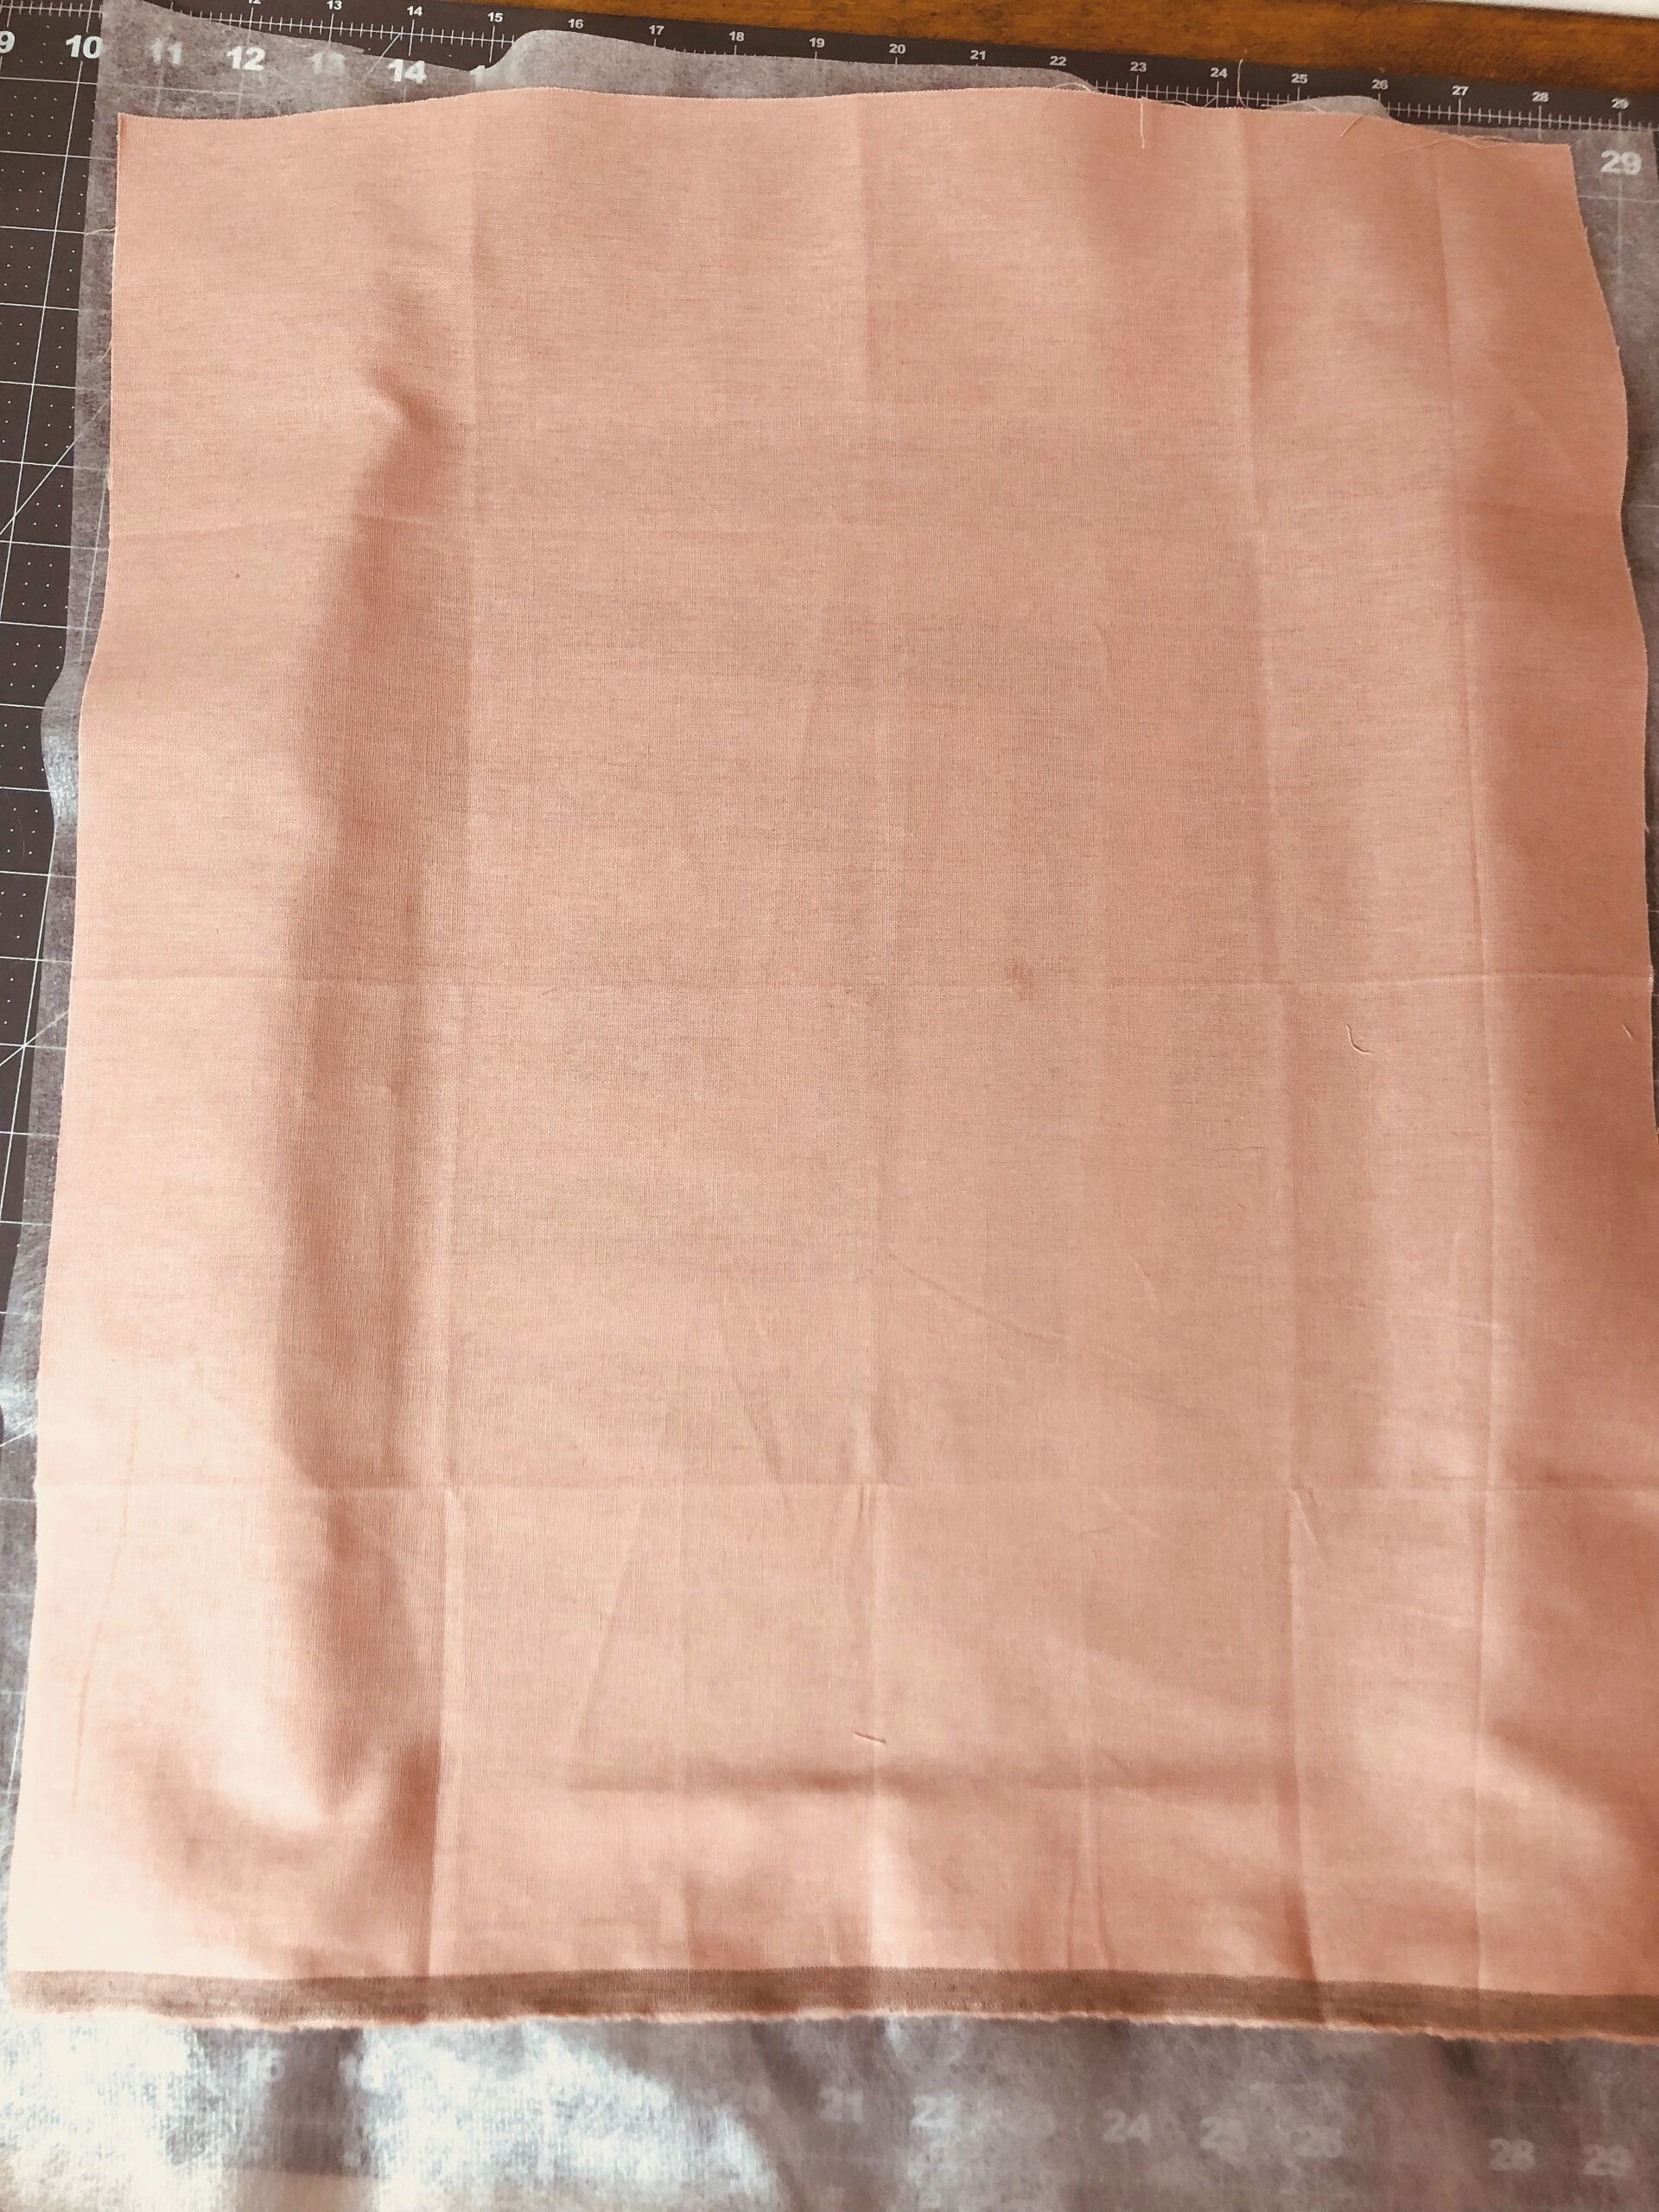
Then, place the fabric over the hooped stabilizer, securing it to the stabilizer with more KK 2000.
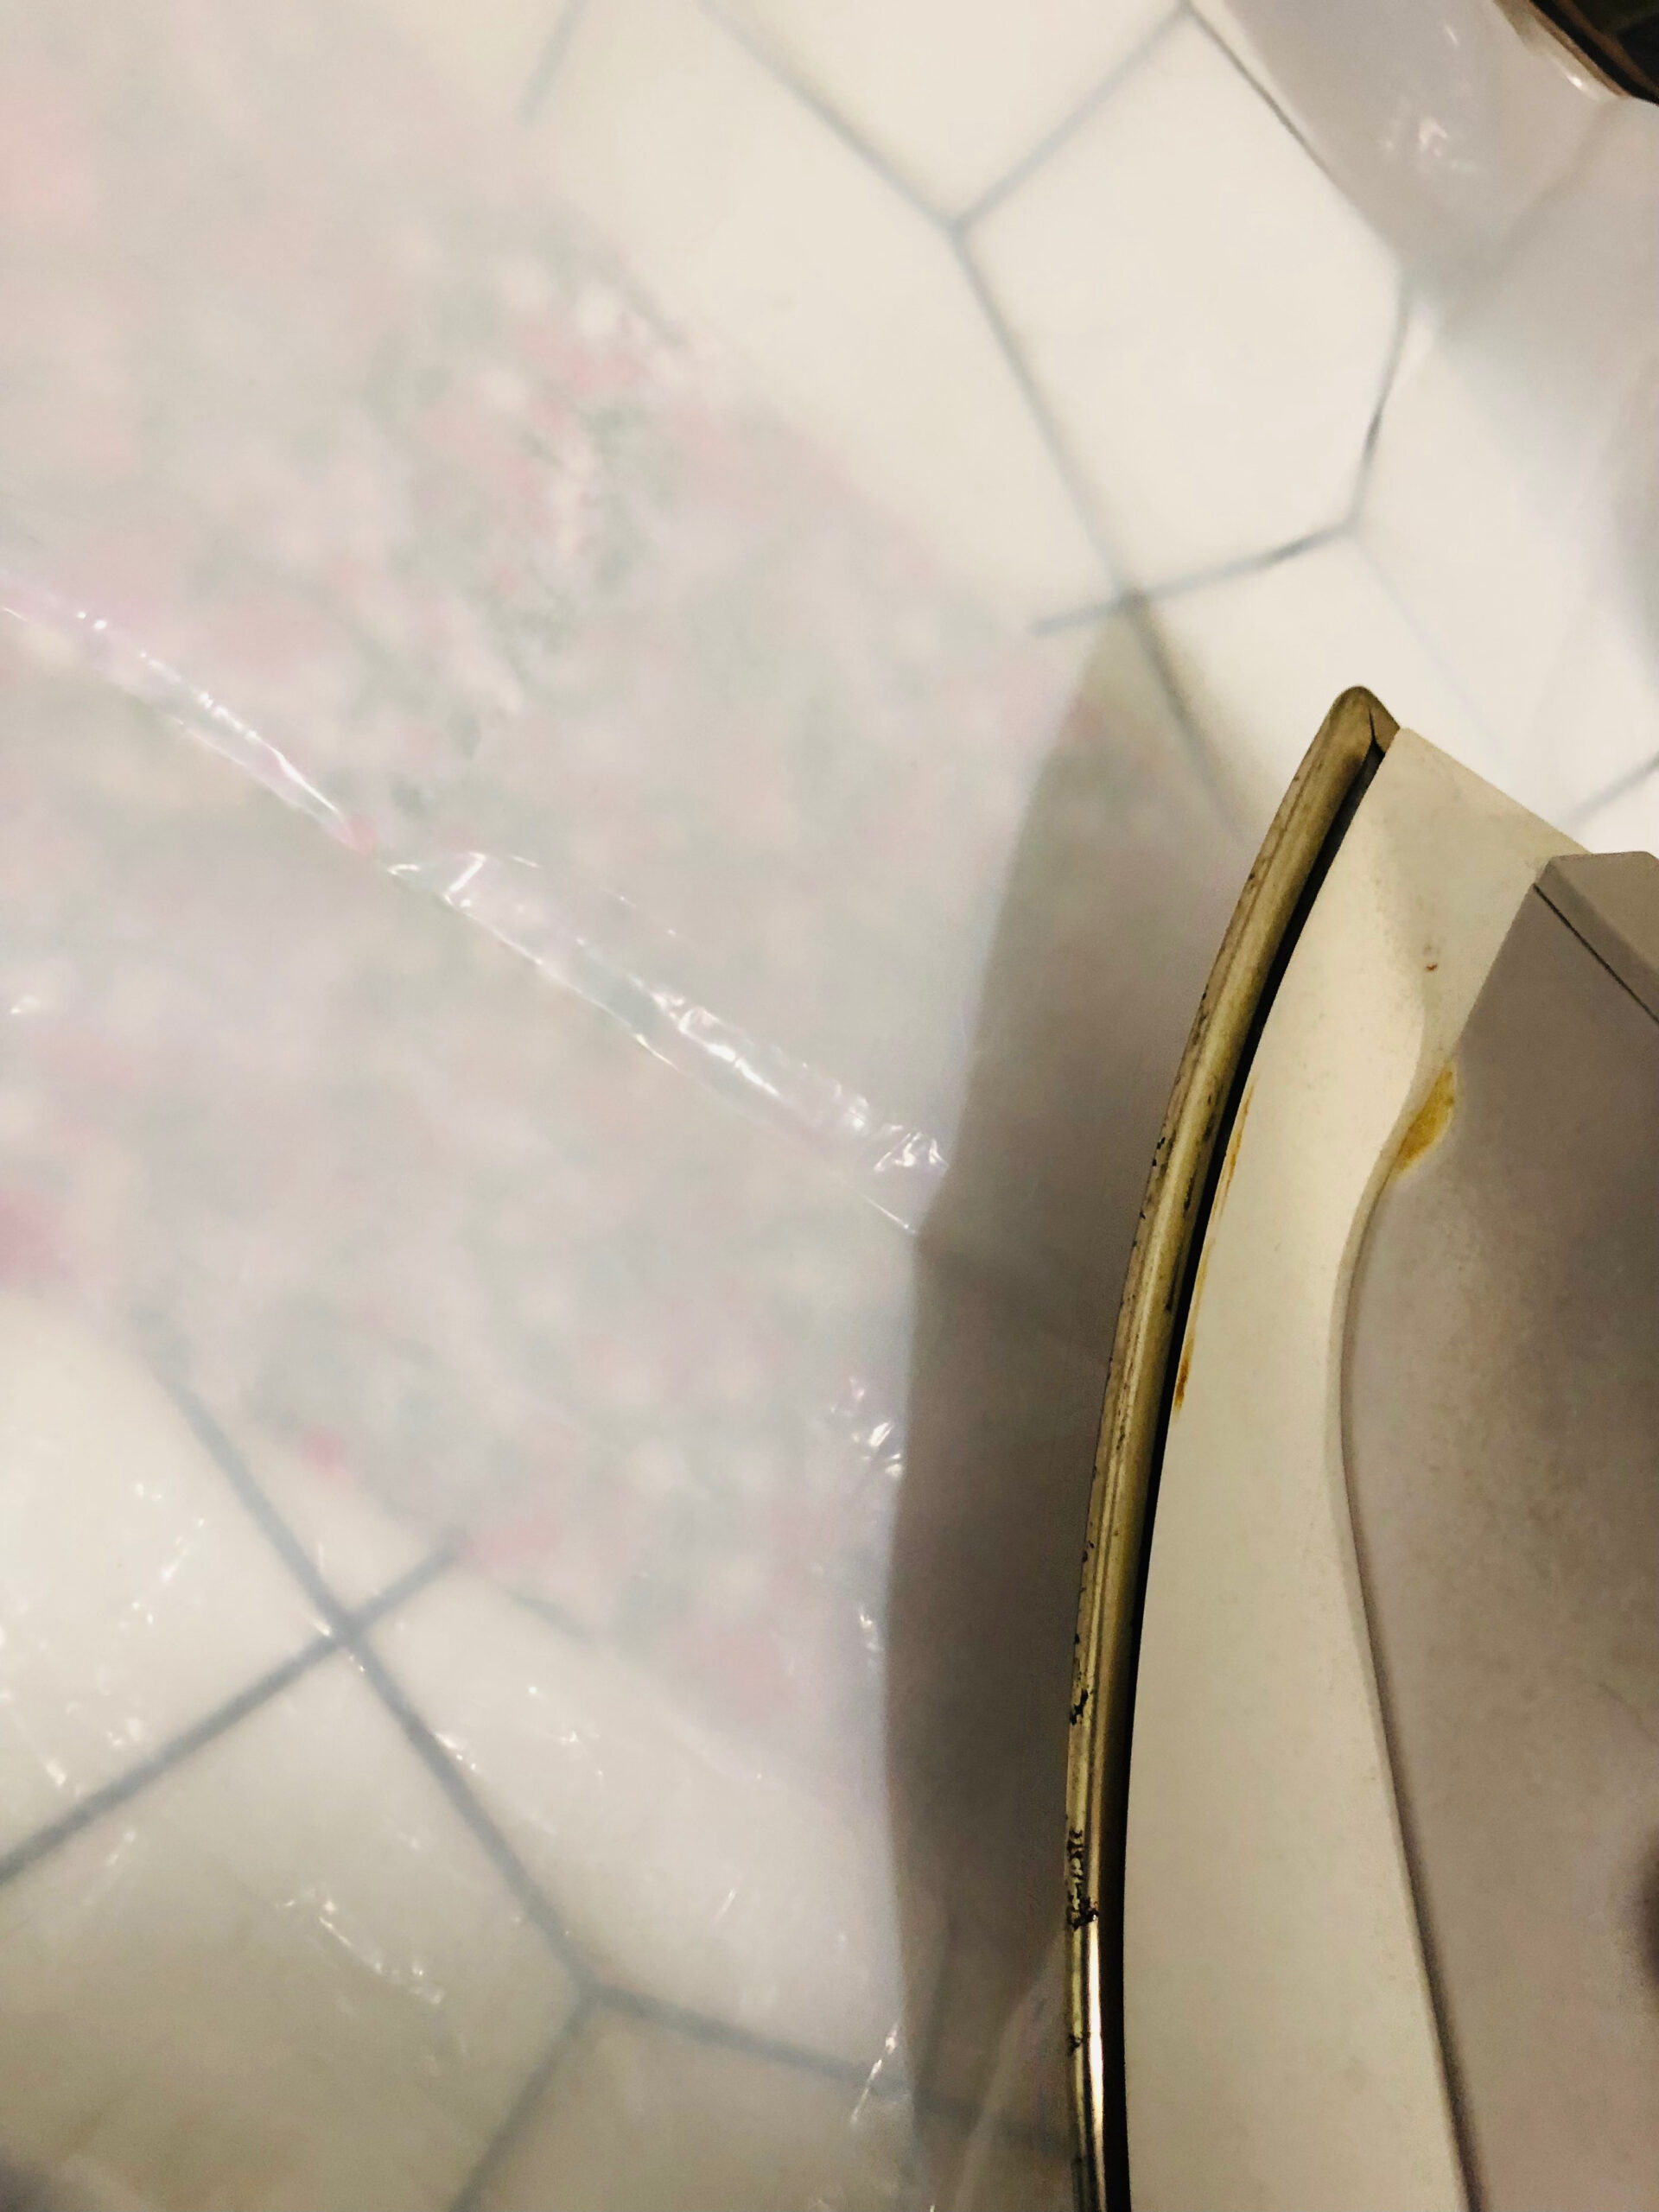
Prep appliqué fabric by applying Perfect Appliqué to the fabric wrong side. If desired, use a pressing sheet or press cloth to avoid transferring any fusible to the iron soleplate.
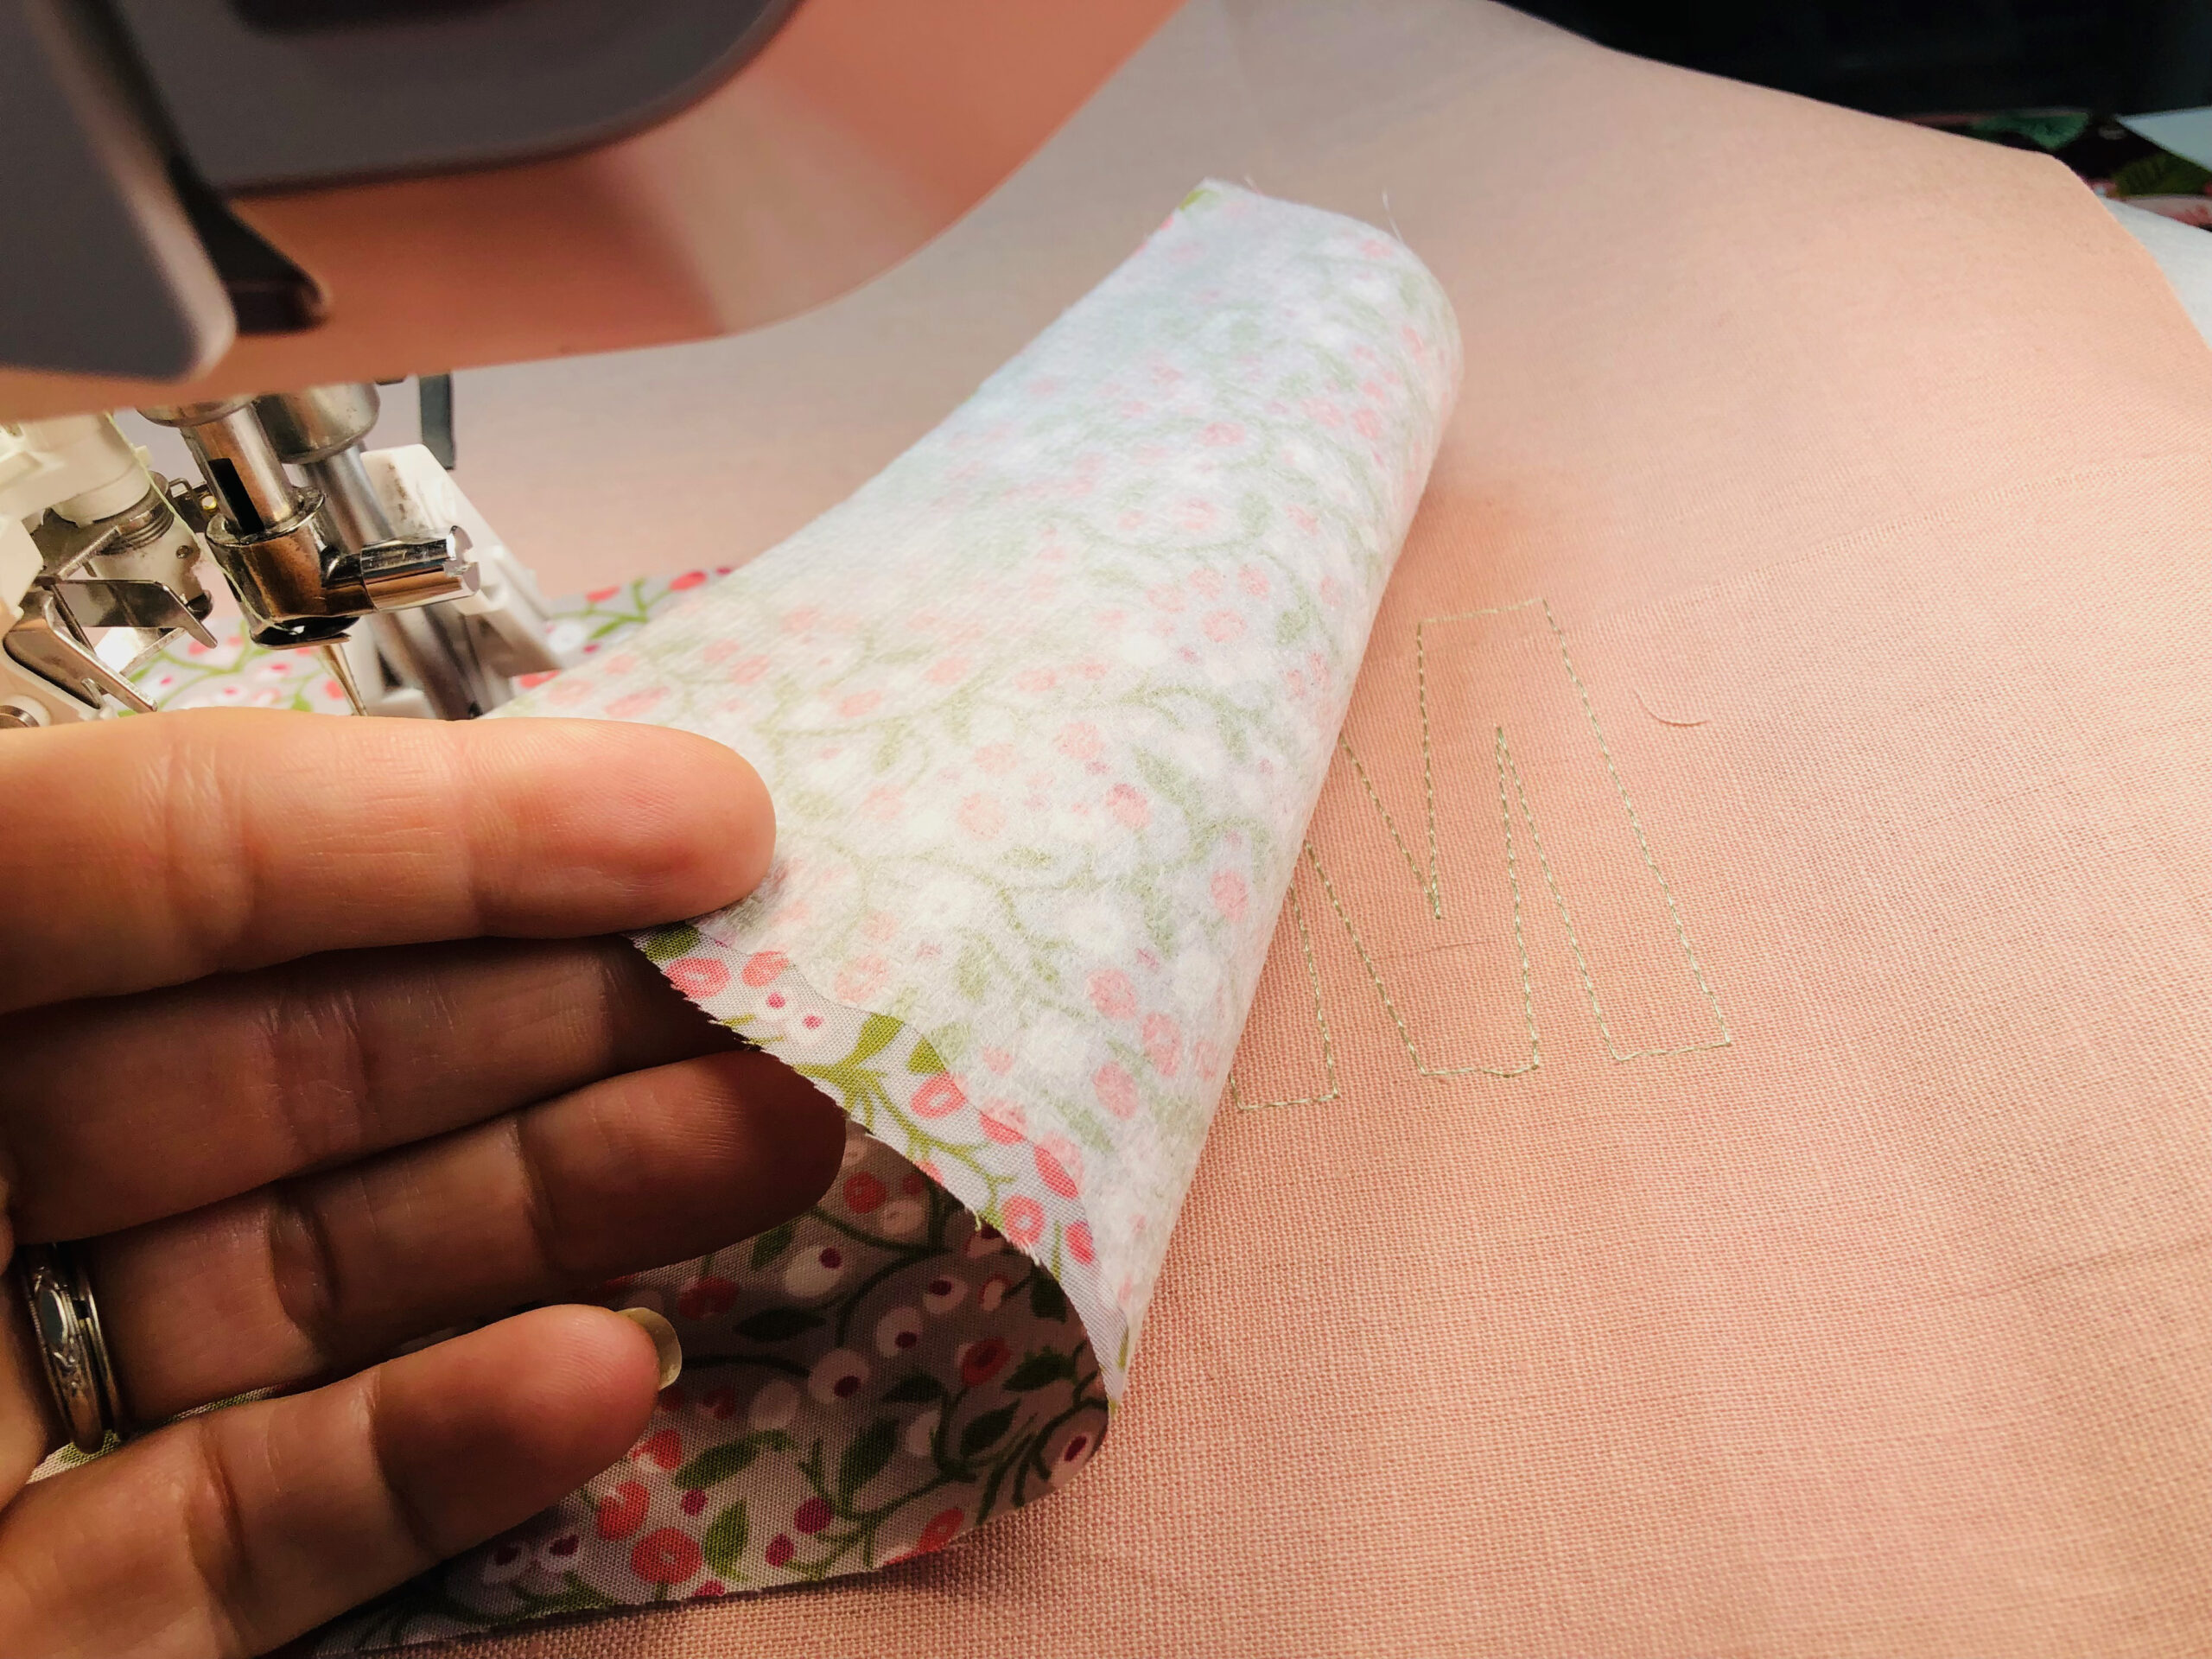
First, stitch step 1, which is the placement stitches for the BLOOM lettering.
Then, spray the appliqué fabric wrong side (with Perfect Appliqué attached) with KK 2000. Place the fabric over the stitching lines, covering it entirely.
Repeat step 1 to stitch the tacking stitches, securing the fabric. Trim the jump threads.
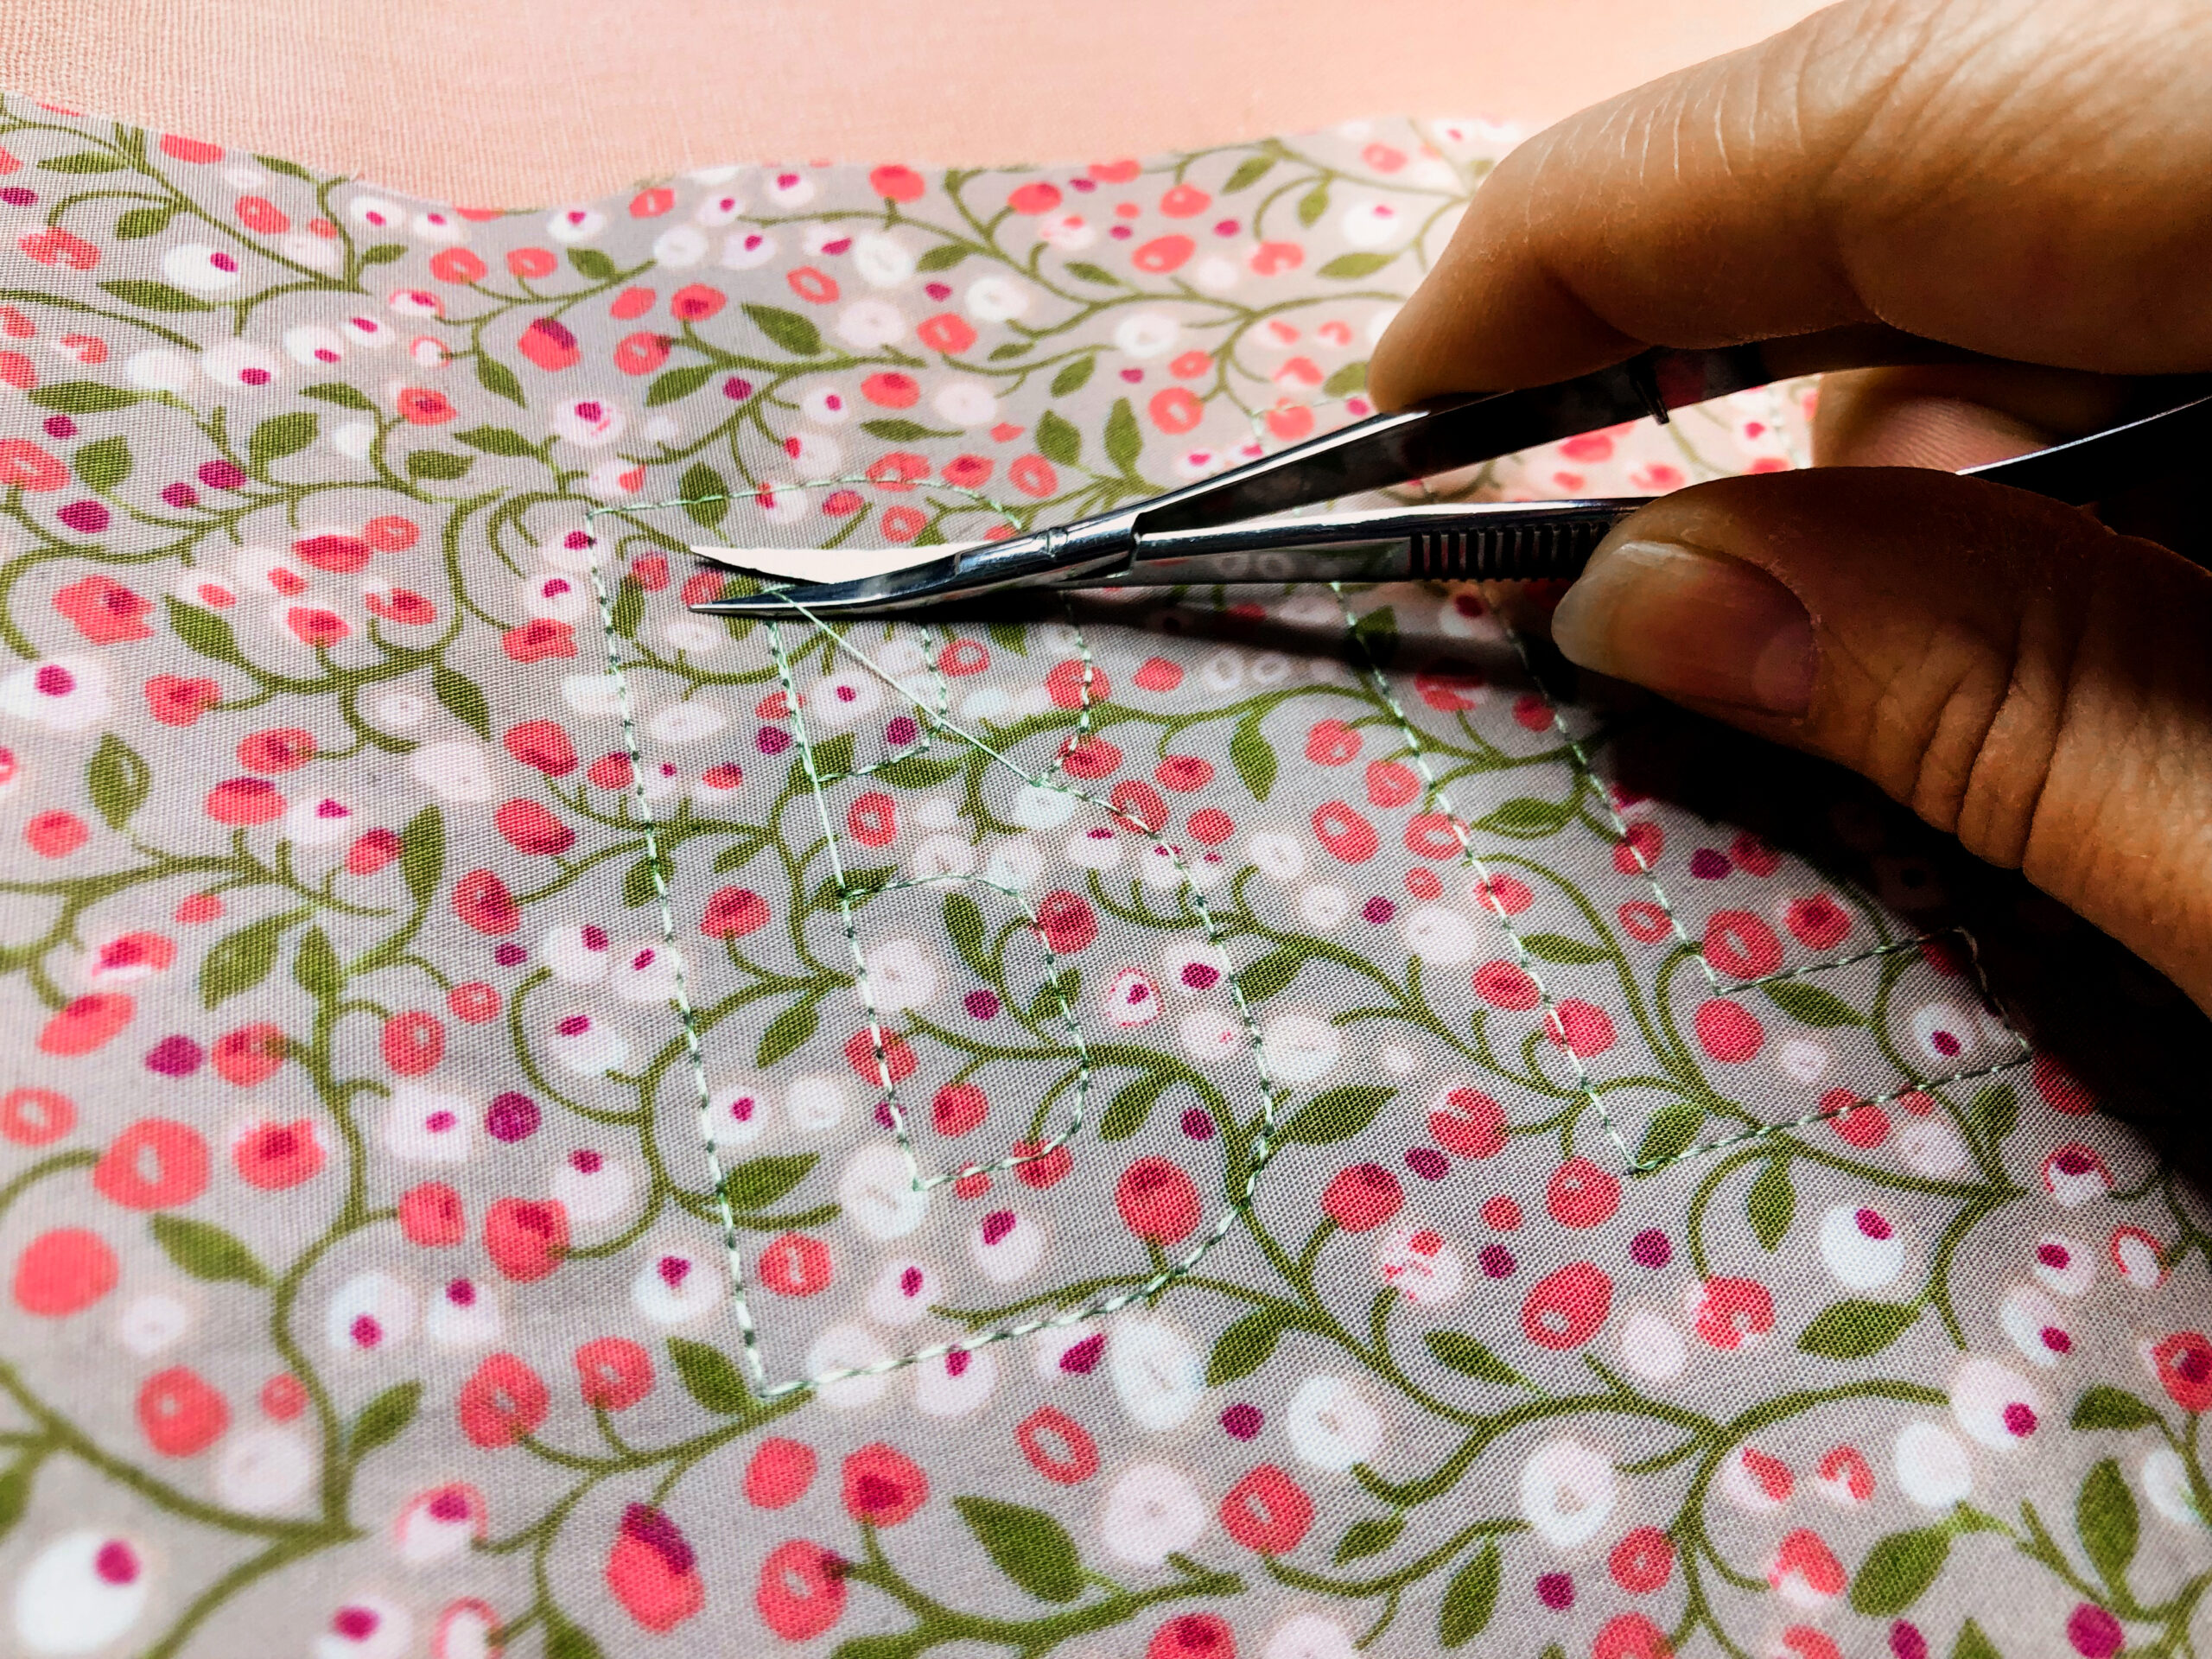
Remove the hoop from the machine. Trim close to the stitching lines.
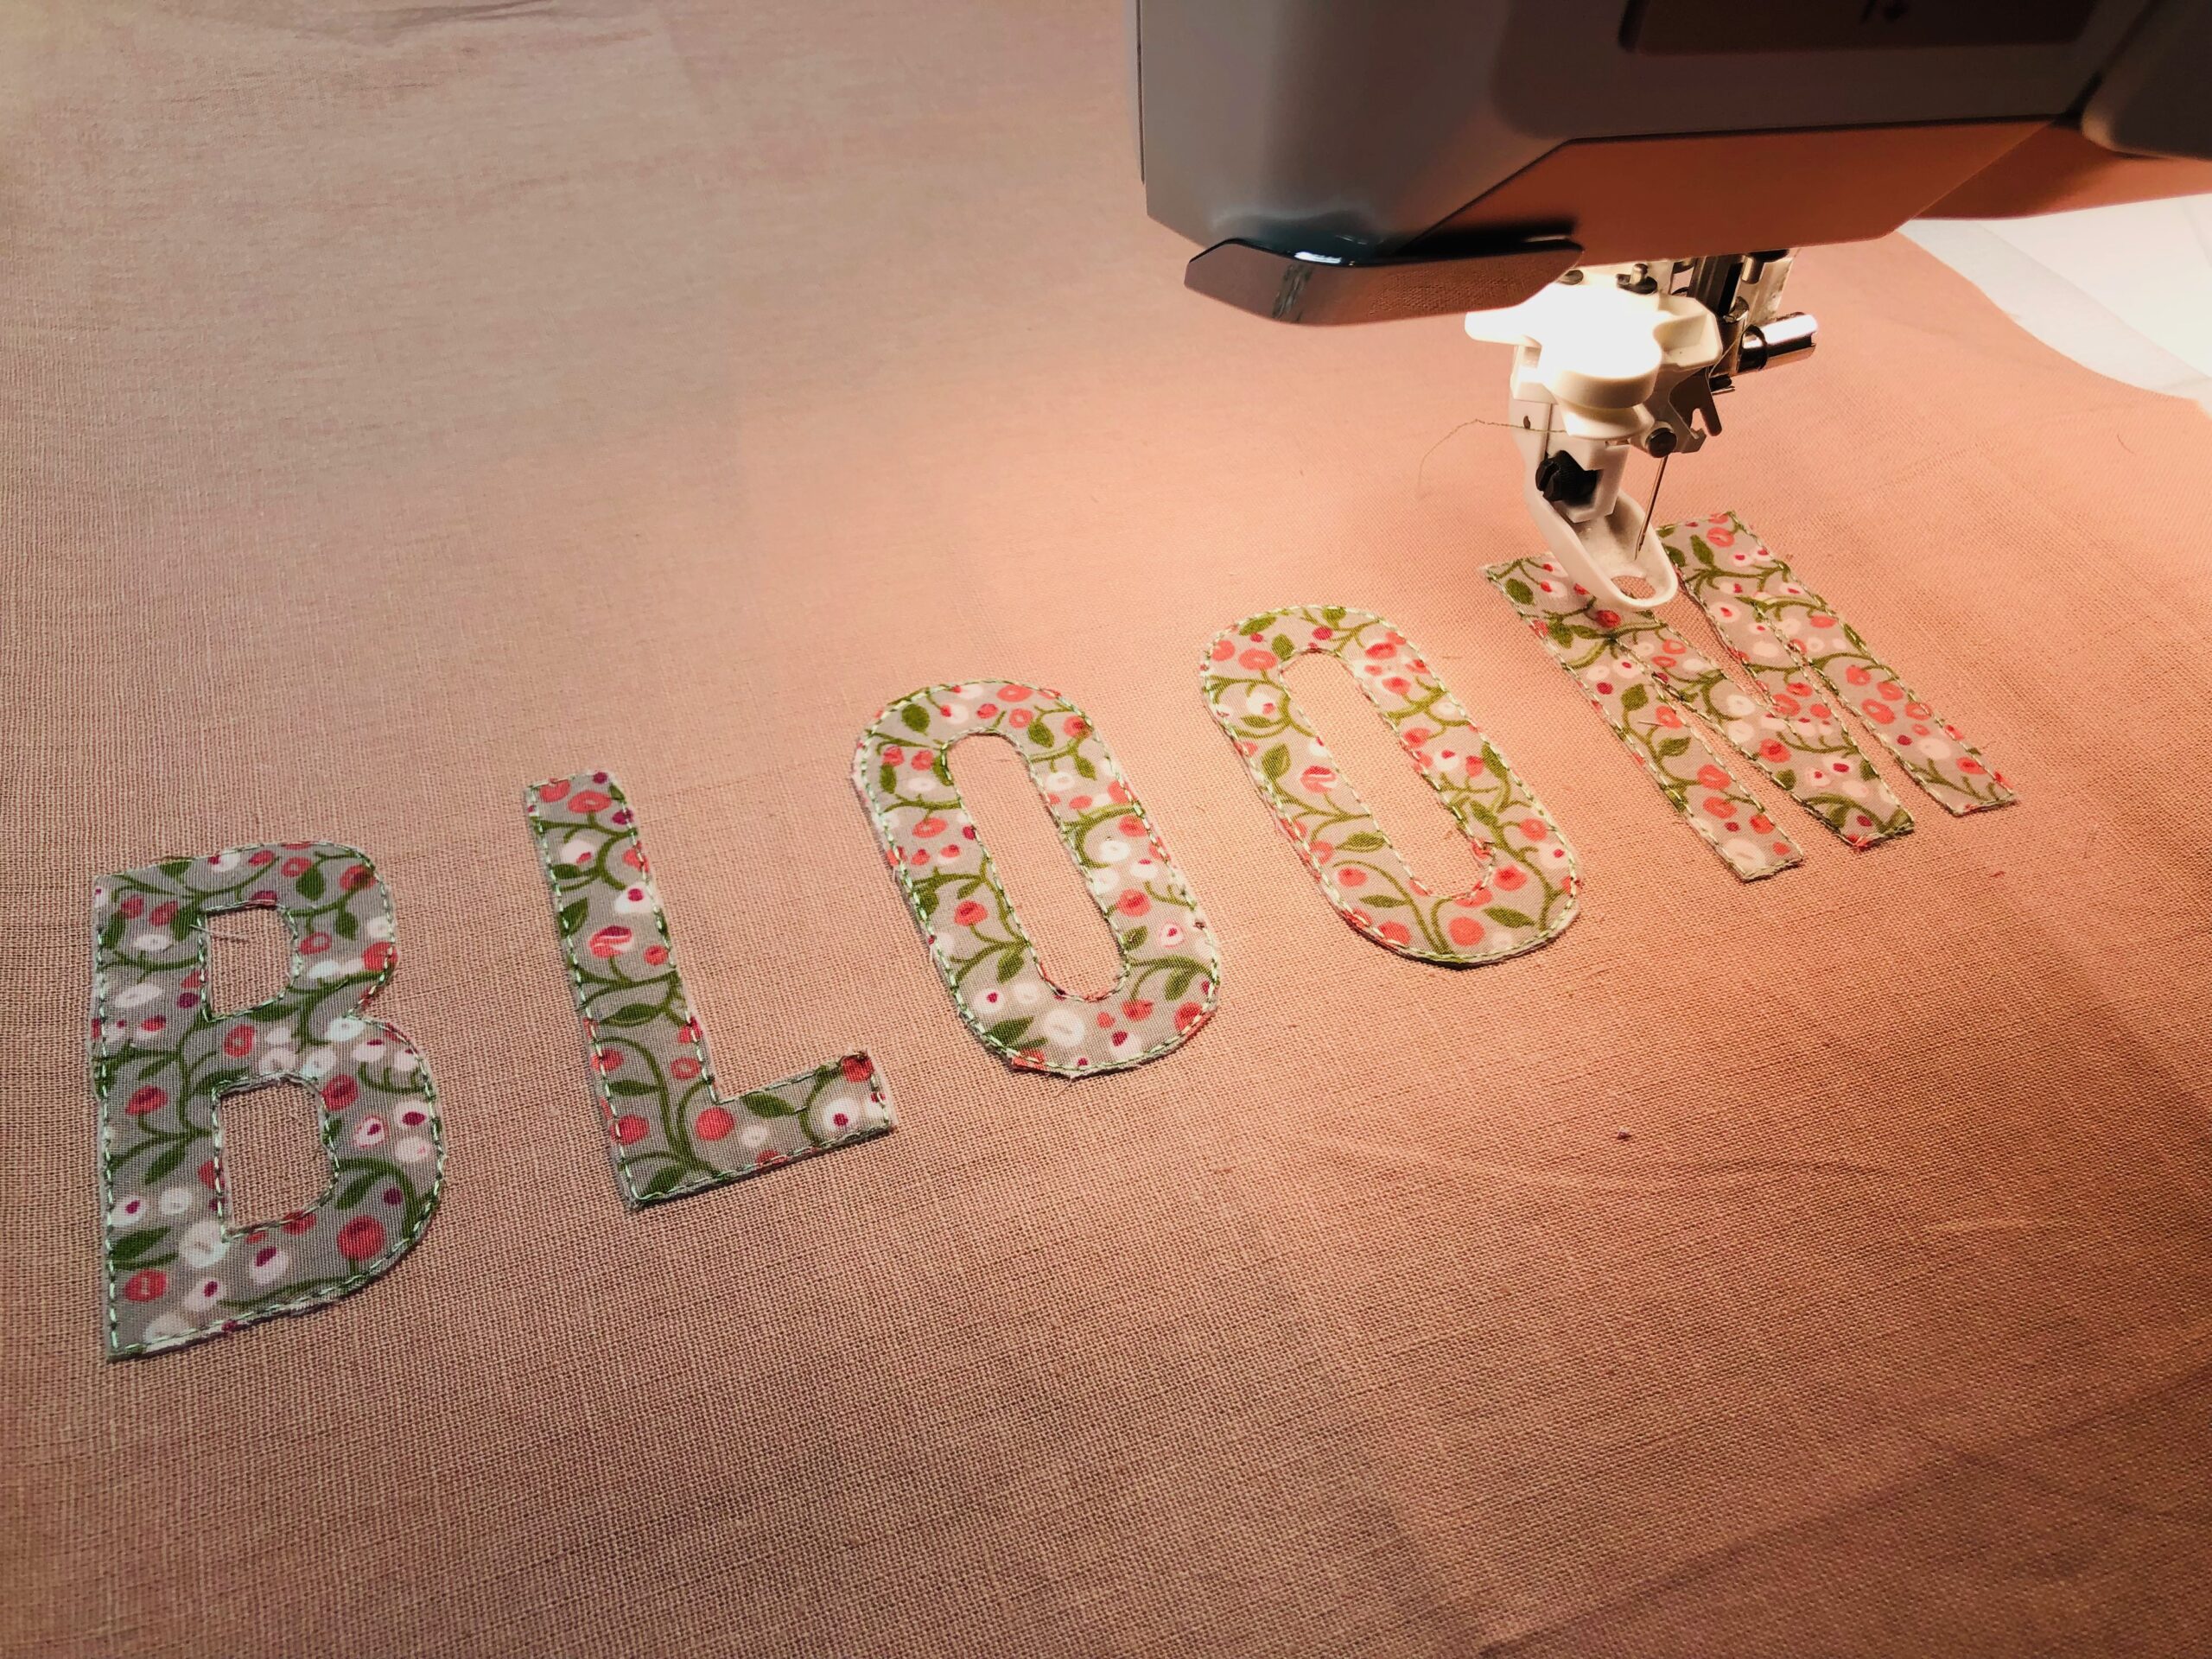
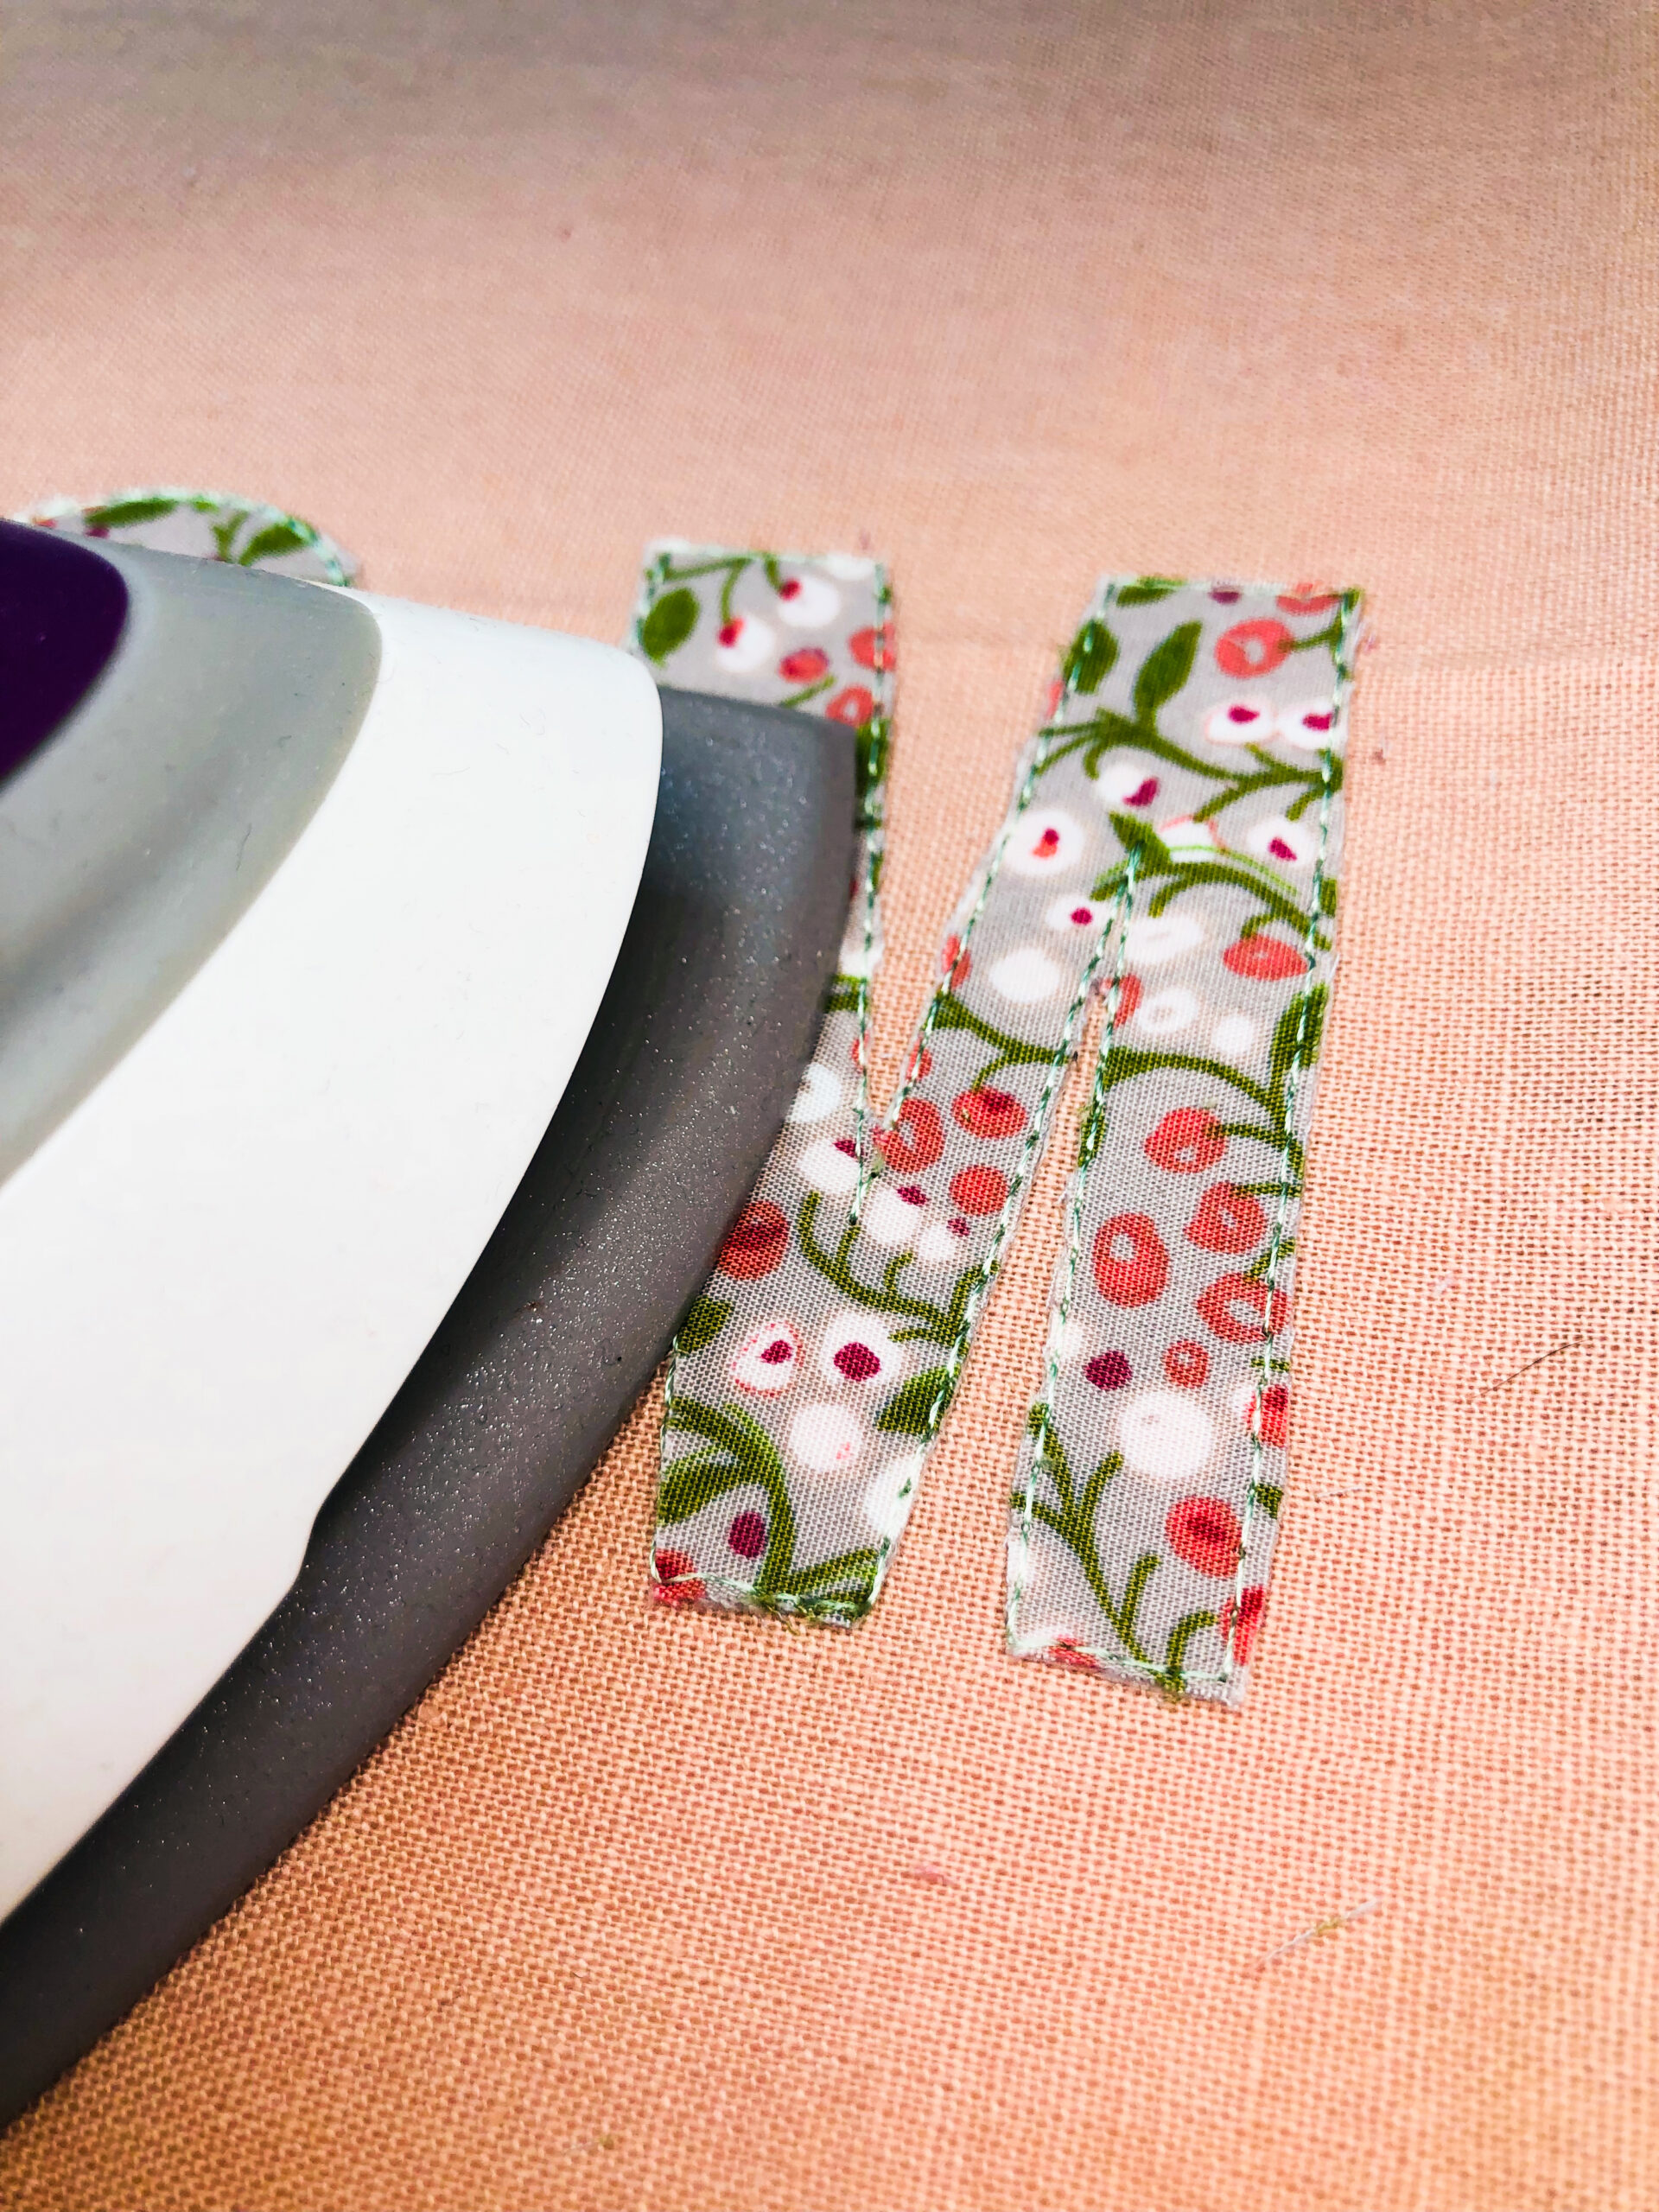
Fuse the appliqué letters.
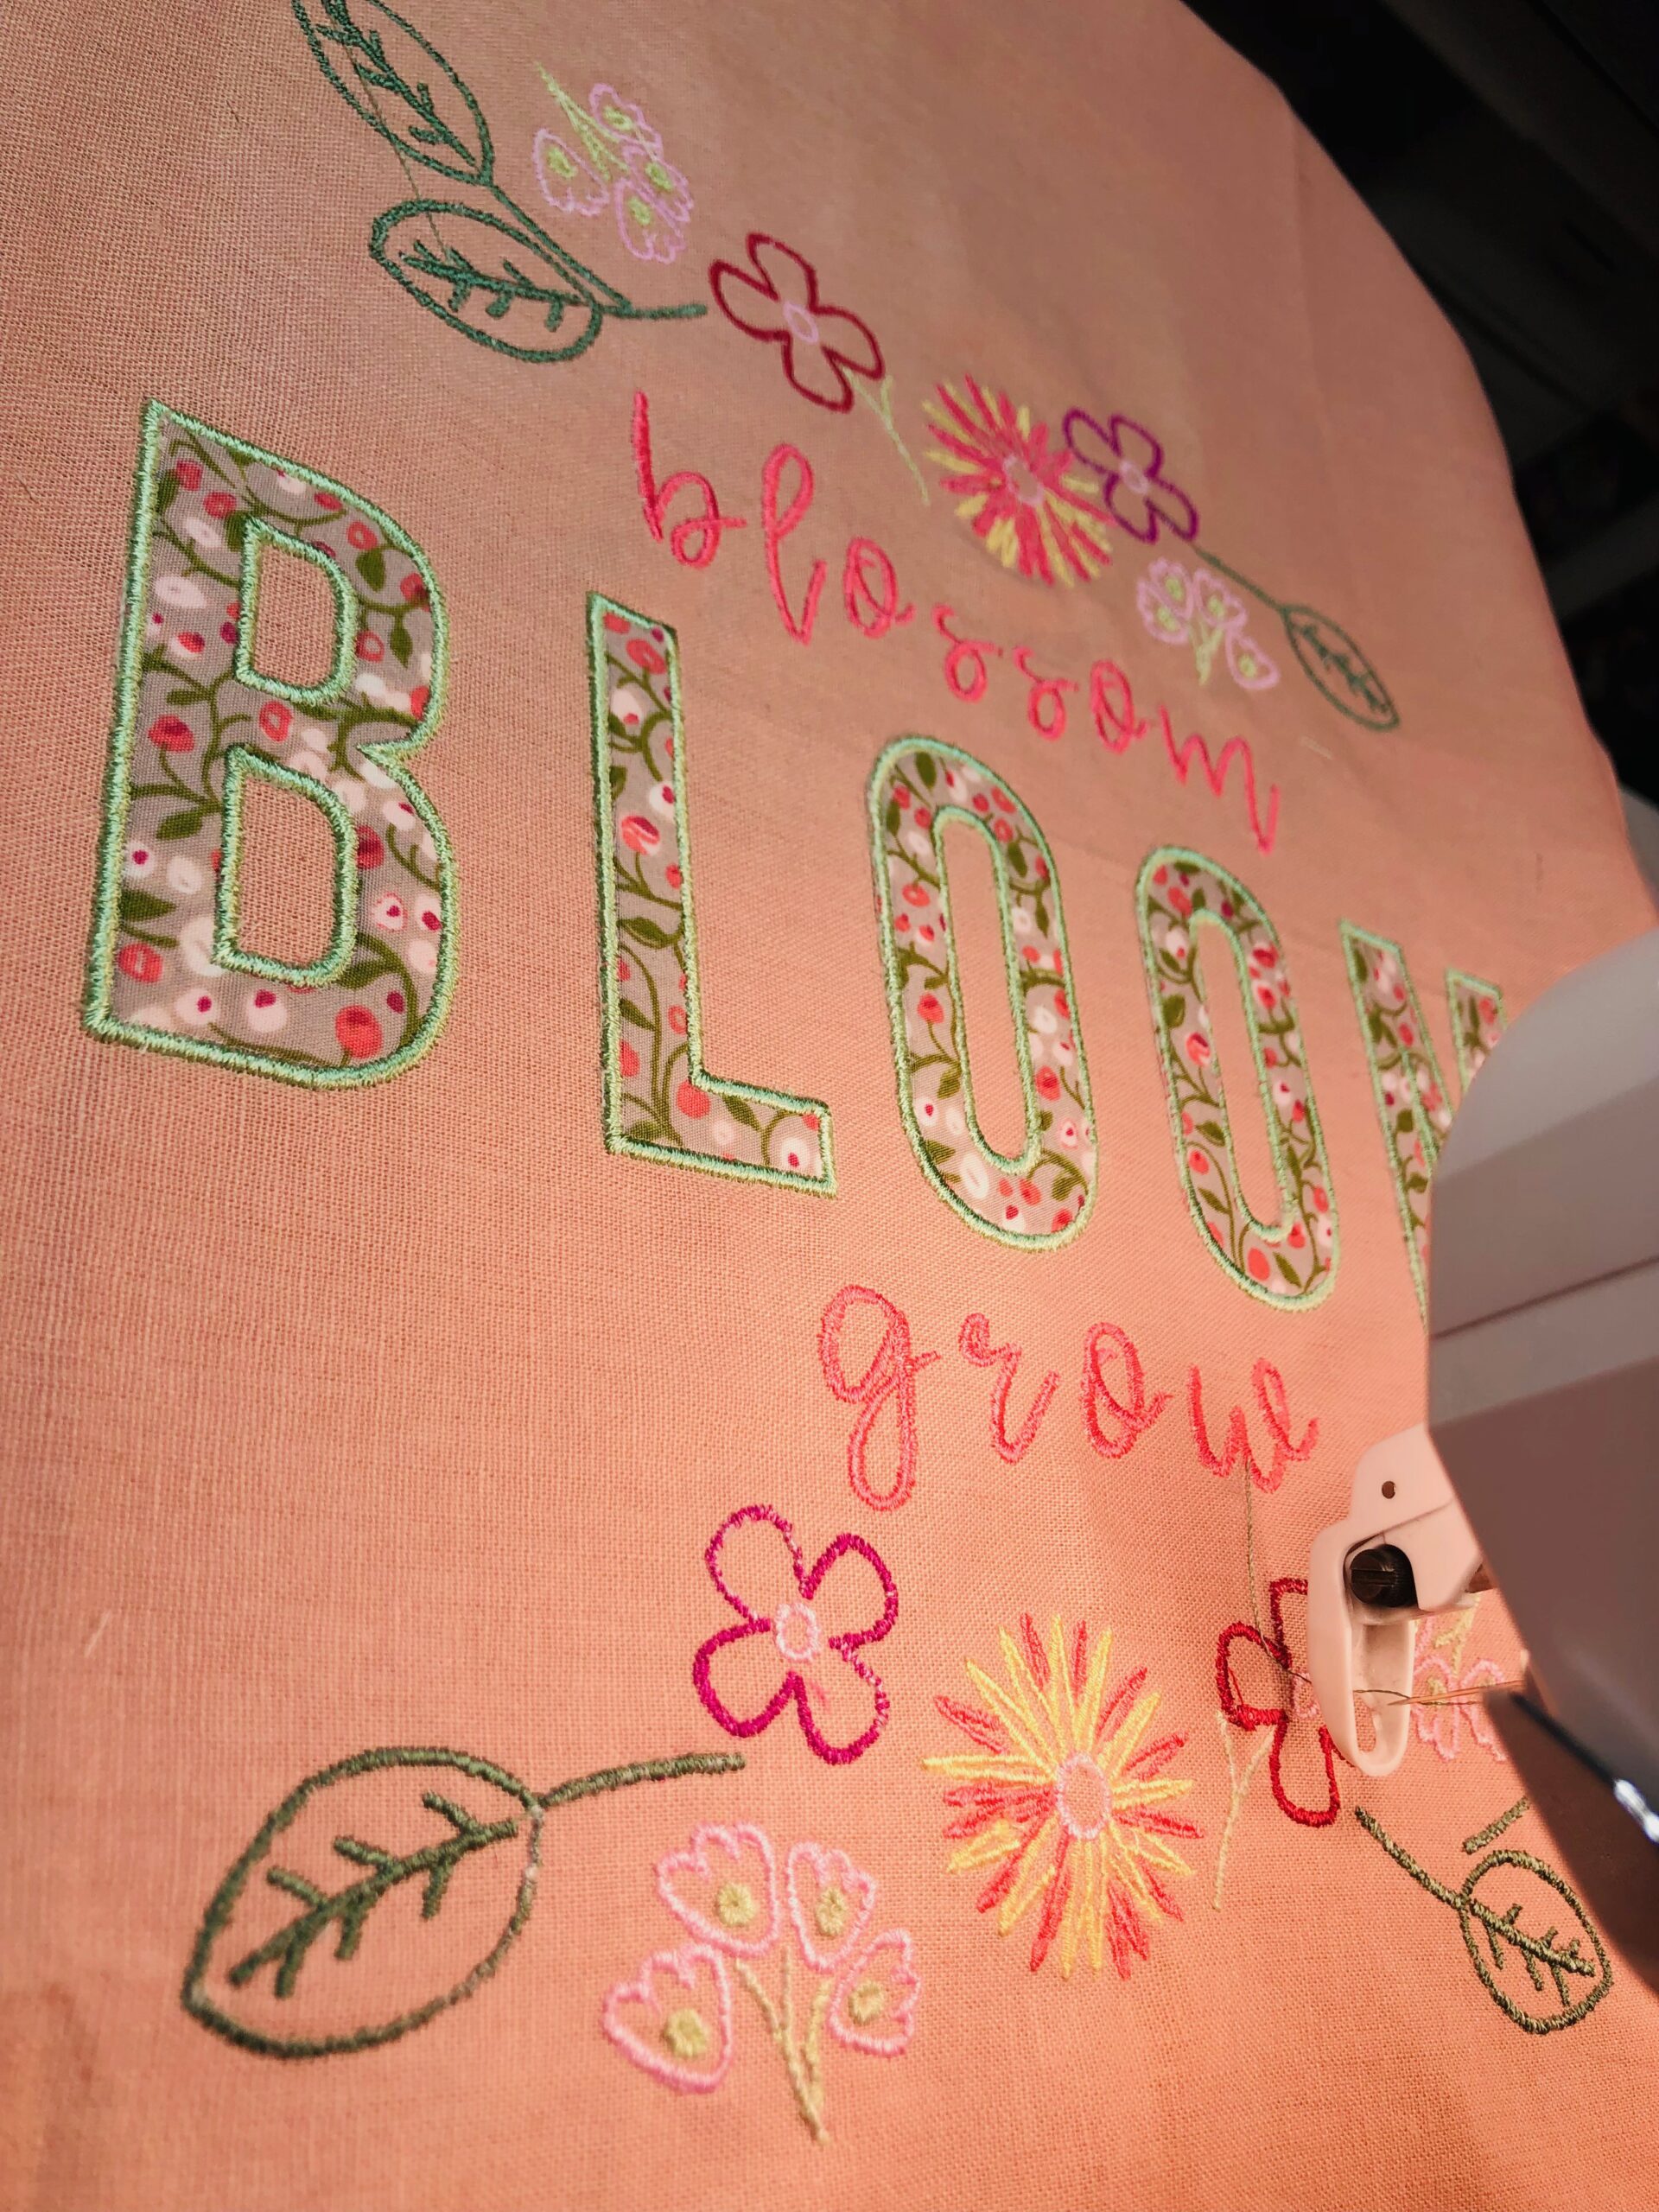
Place the hoop back onto the machine. Stitch the next step, which is the satin stitching that conceals the fabric raw edges.
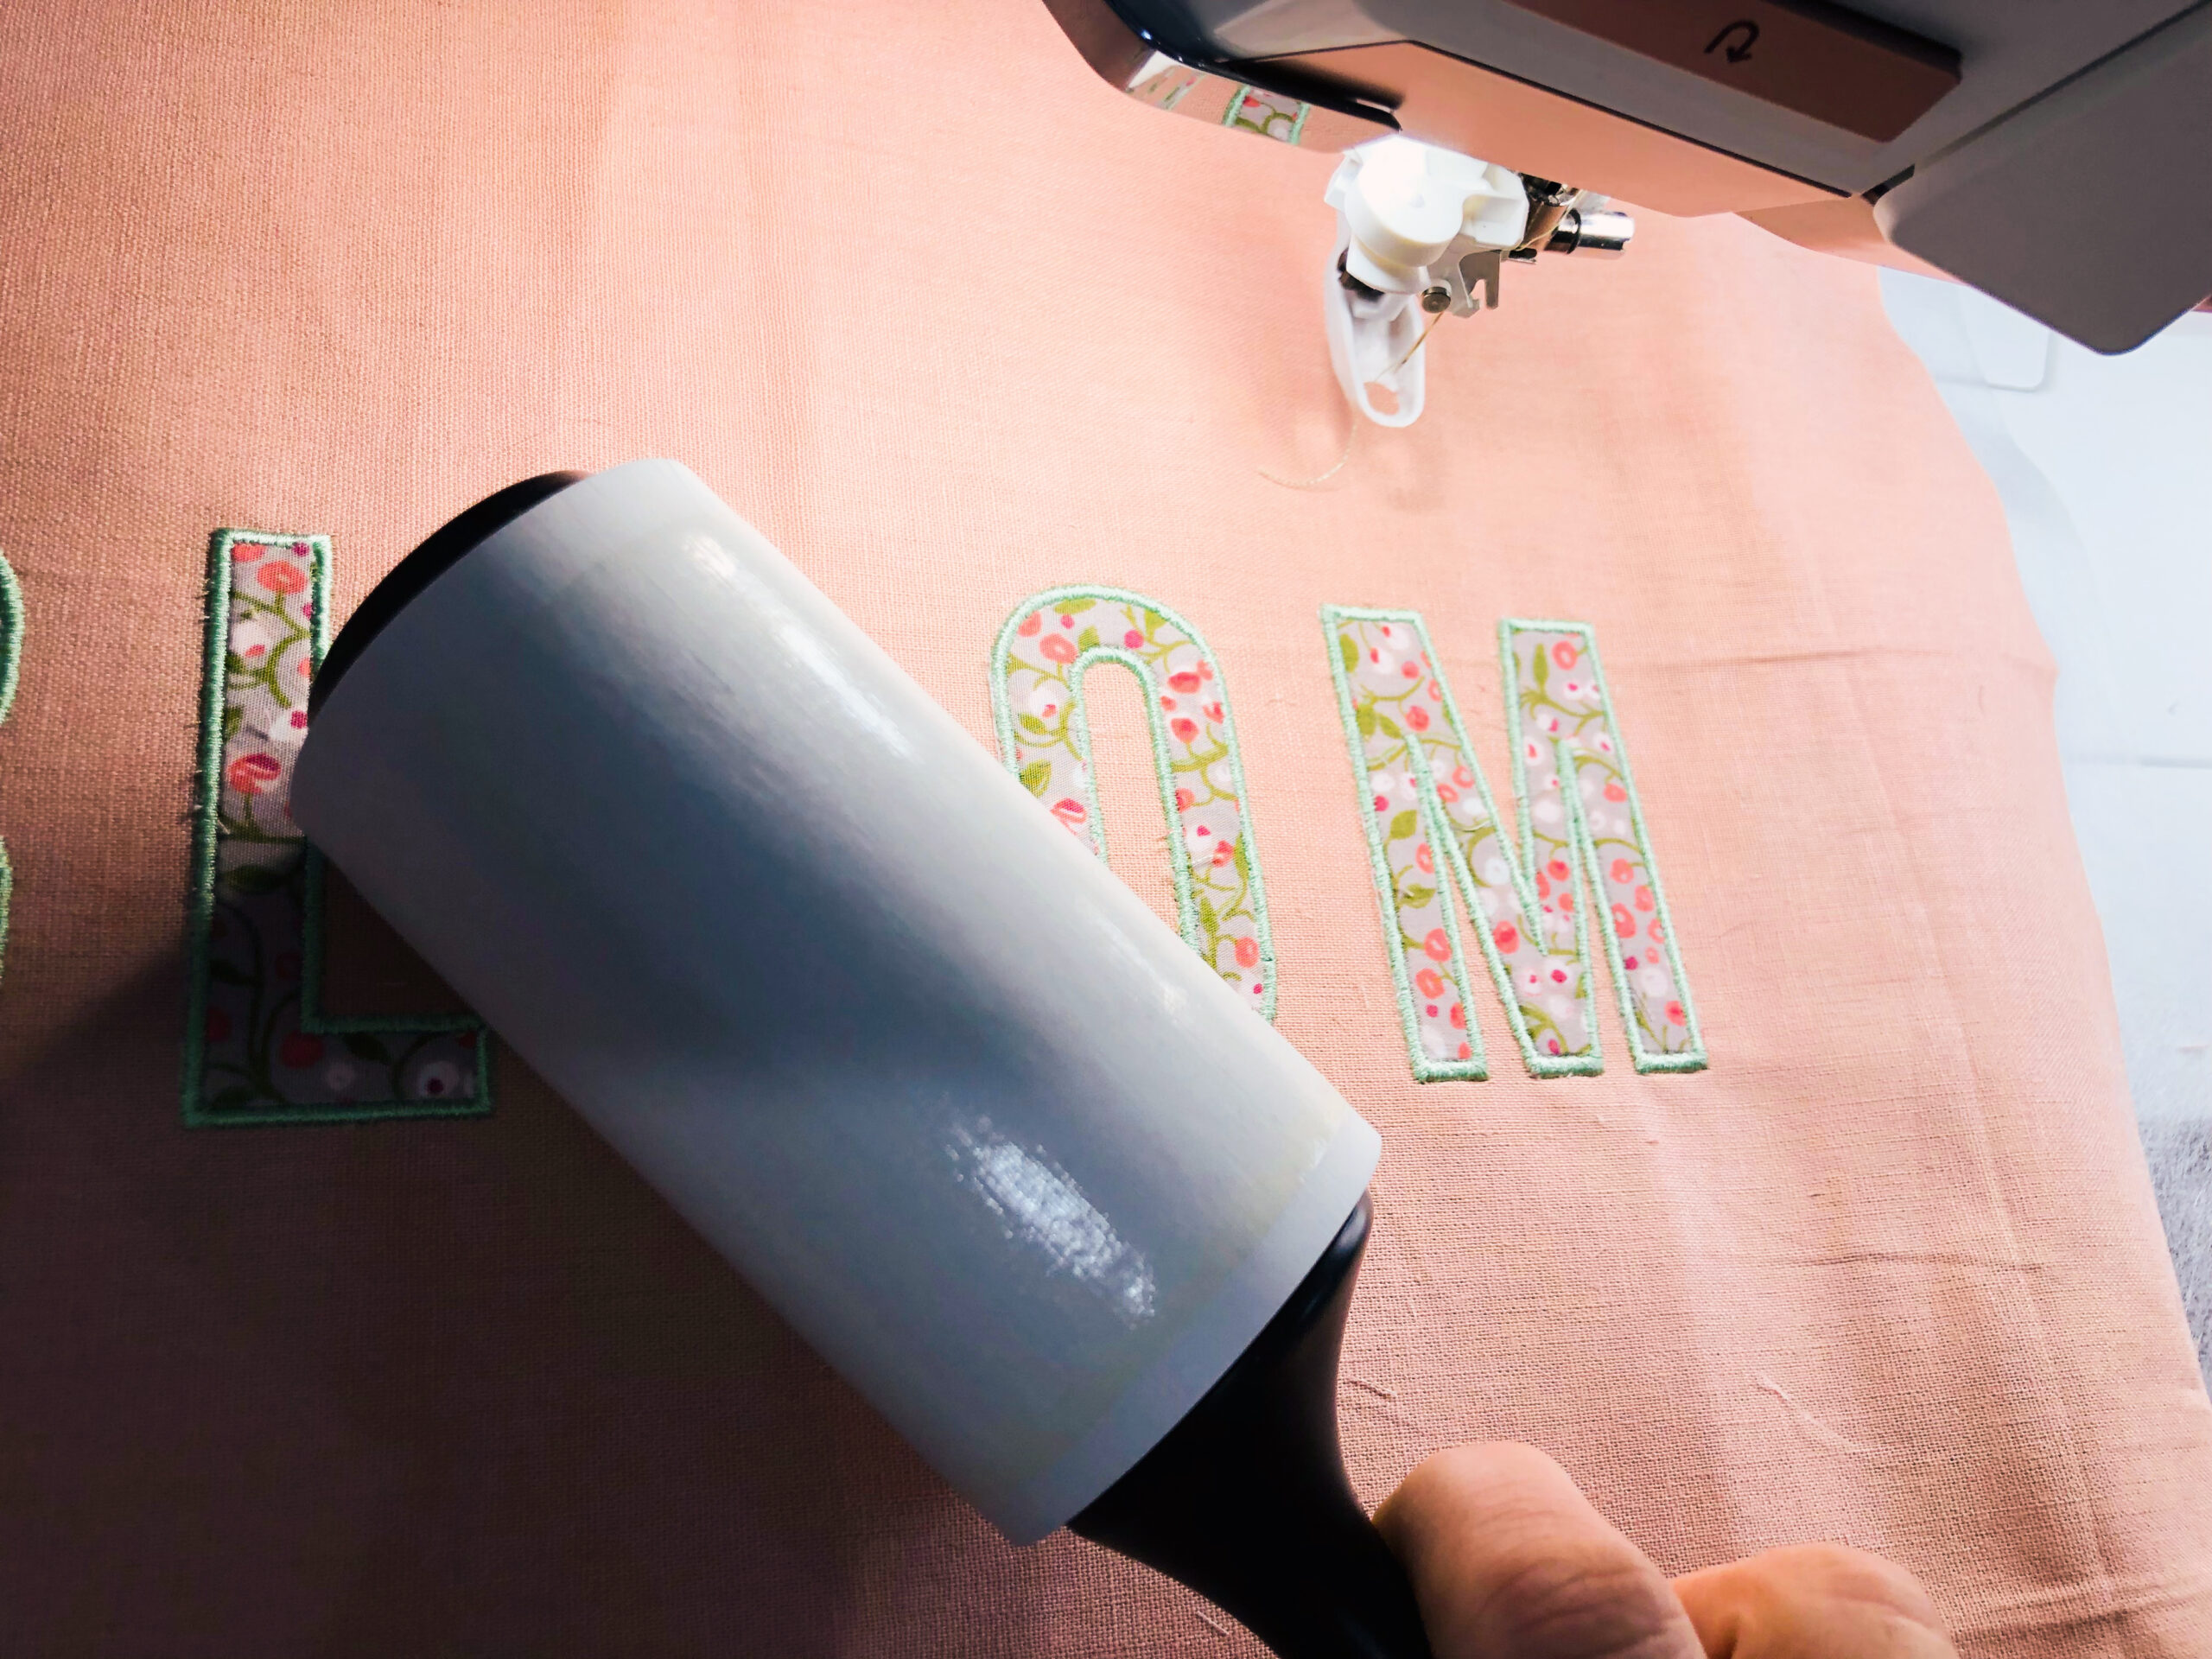
TIP: Use a lint roller to remove any stray fabric strands leftover after satin stitching. DO not remove the fabric from the hoop.
Embroider the remaining design, following the color sequence chart or using thread colors that coordinate with the chosen fabric (as shown). Clip jump threads with each thread change.
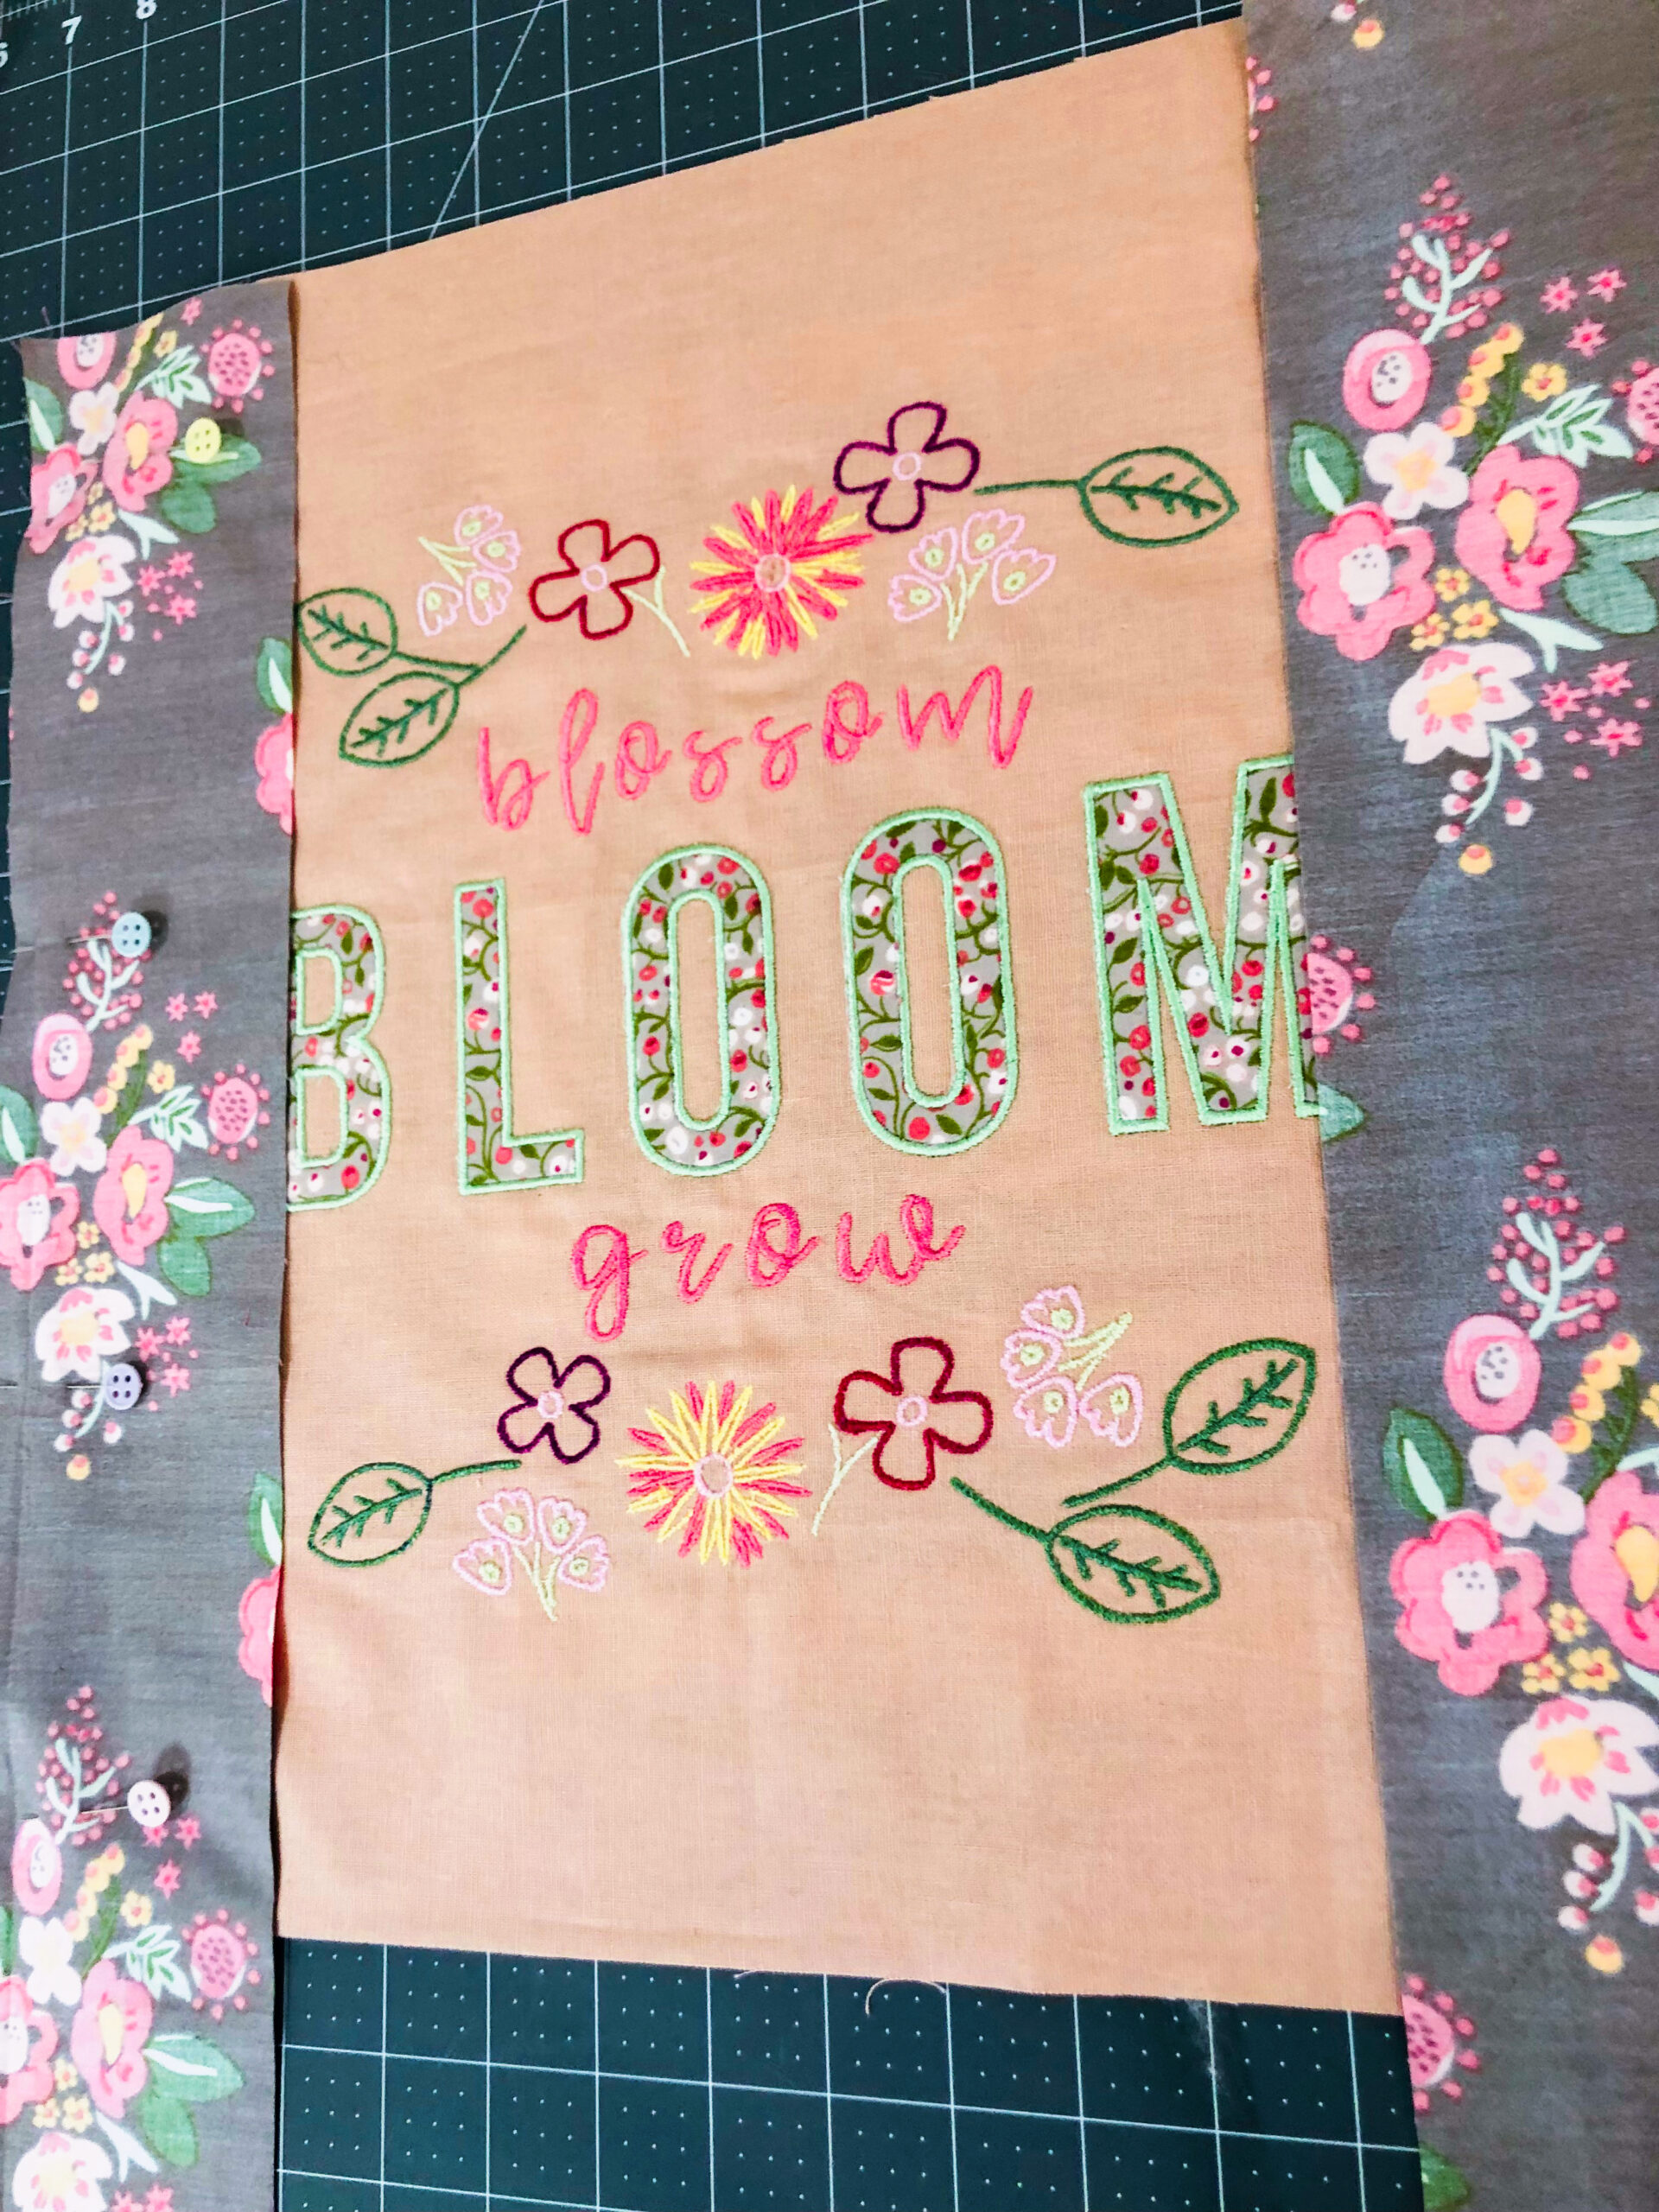
Remove the stabilizer from the hoop. Press gently from the wrong side.

Mark, and then trim the fabric to 16” square, centering the design. Leave the stabilizer intact along the entire fabric square wrong side.

MINI QUILT FINISHING
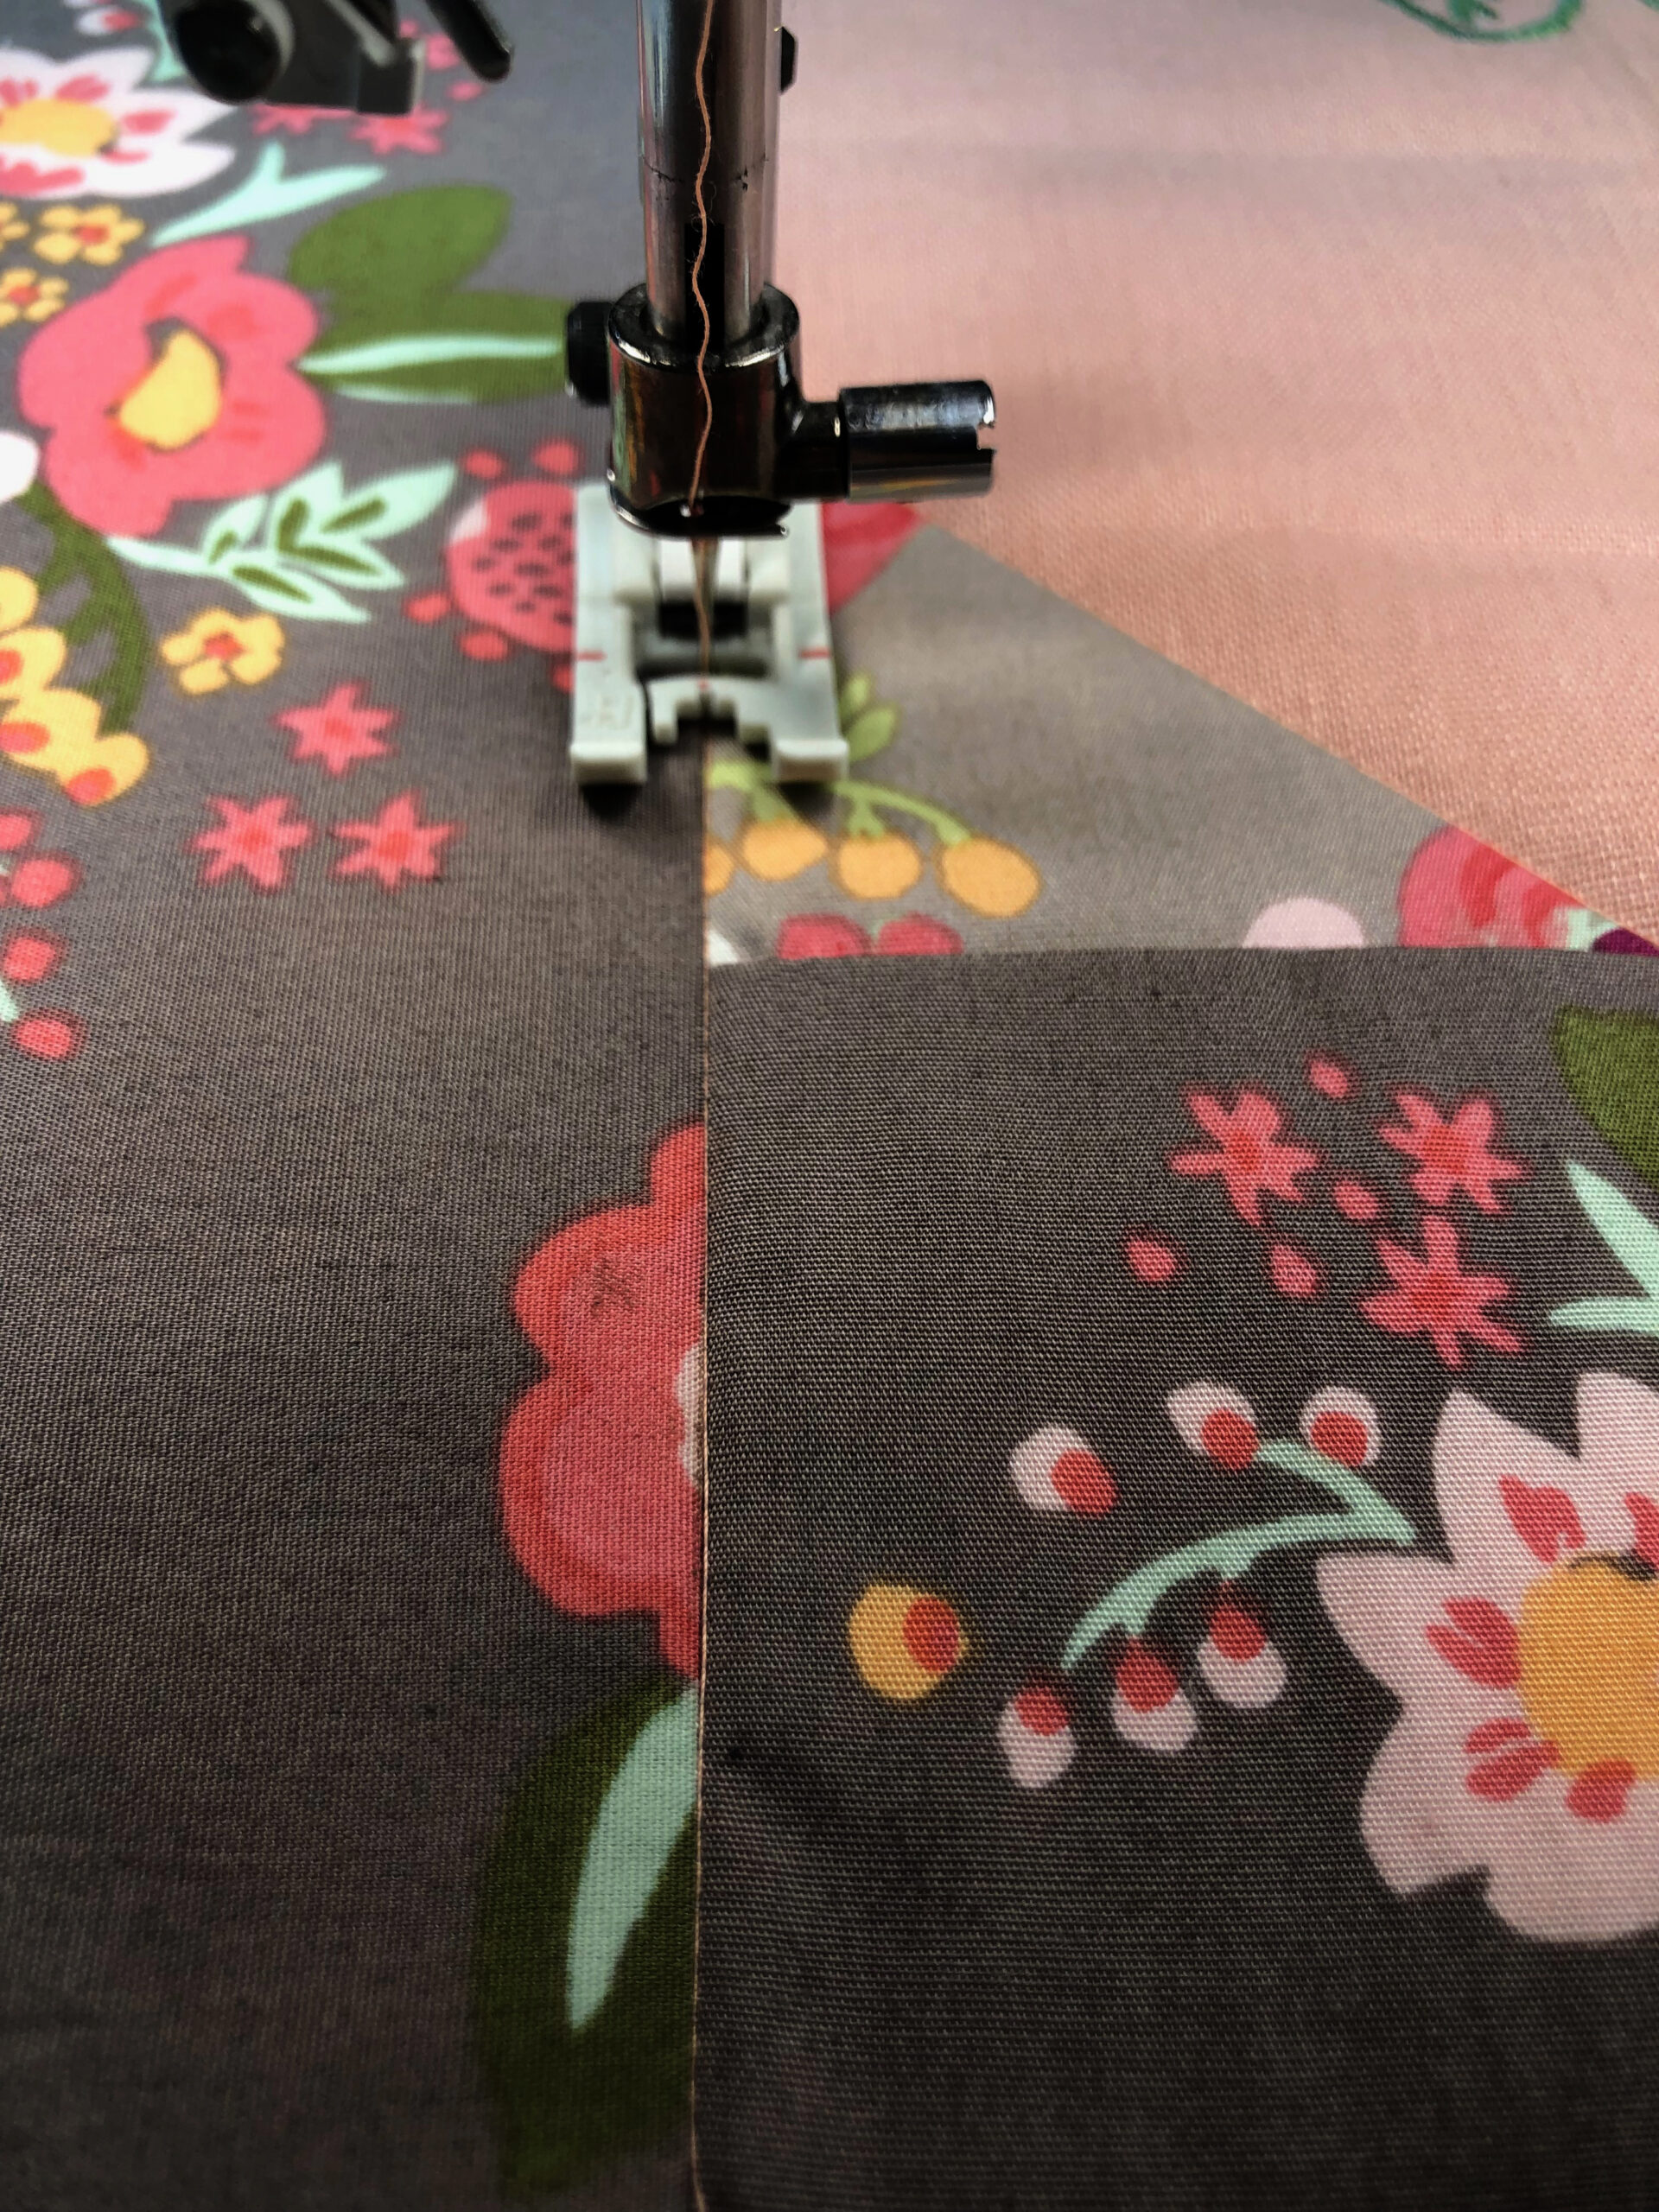
Use Sulky 50 wt. Cotton Thread for piecing.
Create a quilt sandwich with the machine embroidered top, batting and backing fabrics, using KK 2000 Temporary Spray Adhesive to secure the layers.
Quilt the piece as desired, using Sulky 50 wt. Cotton, 30 wt. Cotton solids or Blendables, hand quilt with 12 wt. Cotton solids or Blendables – so many options!
Bind in the manner of your choice, using 2 ½”-wide fabric strips.
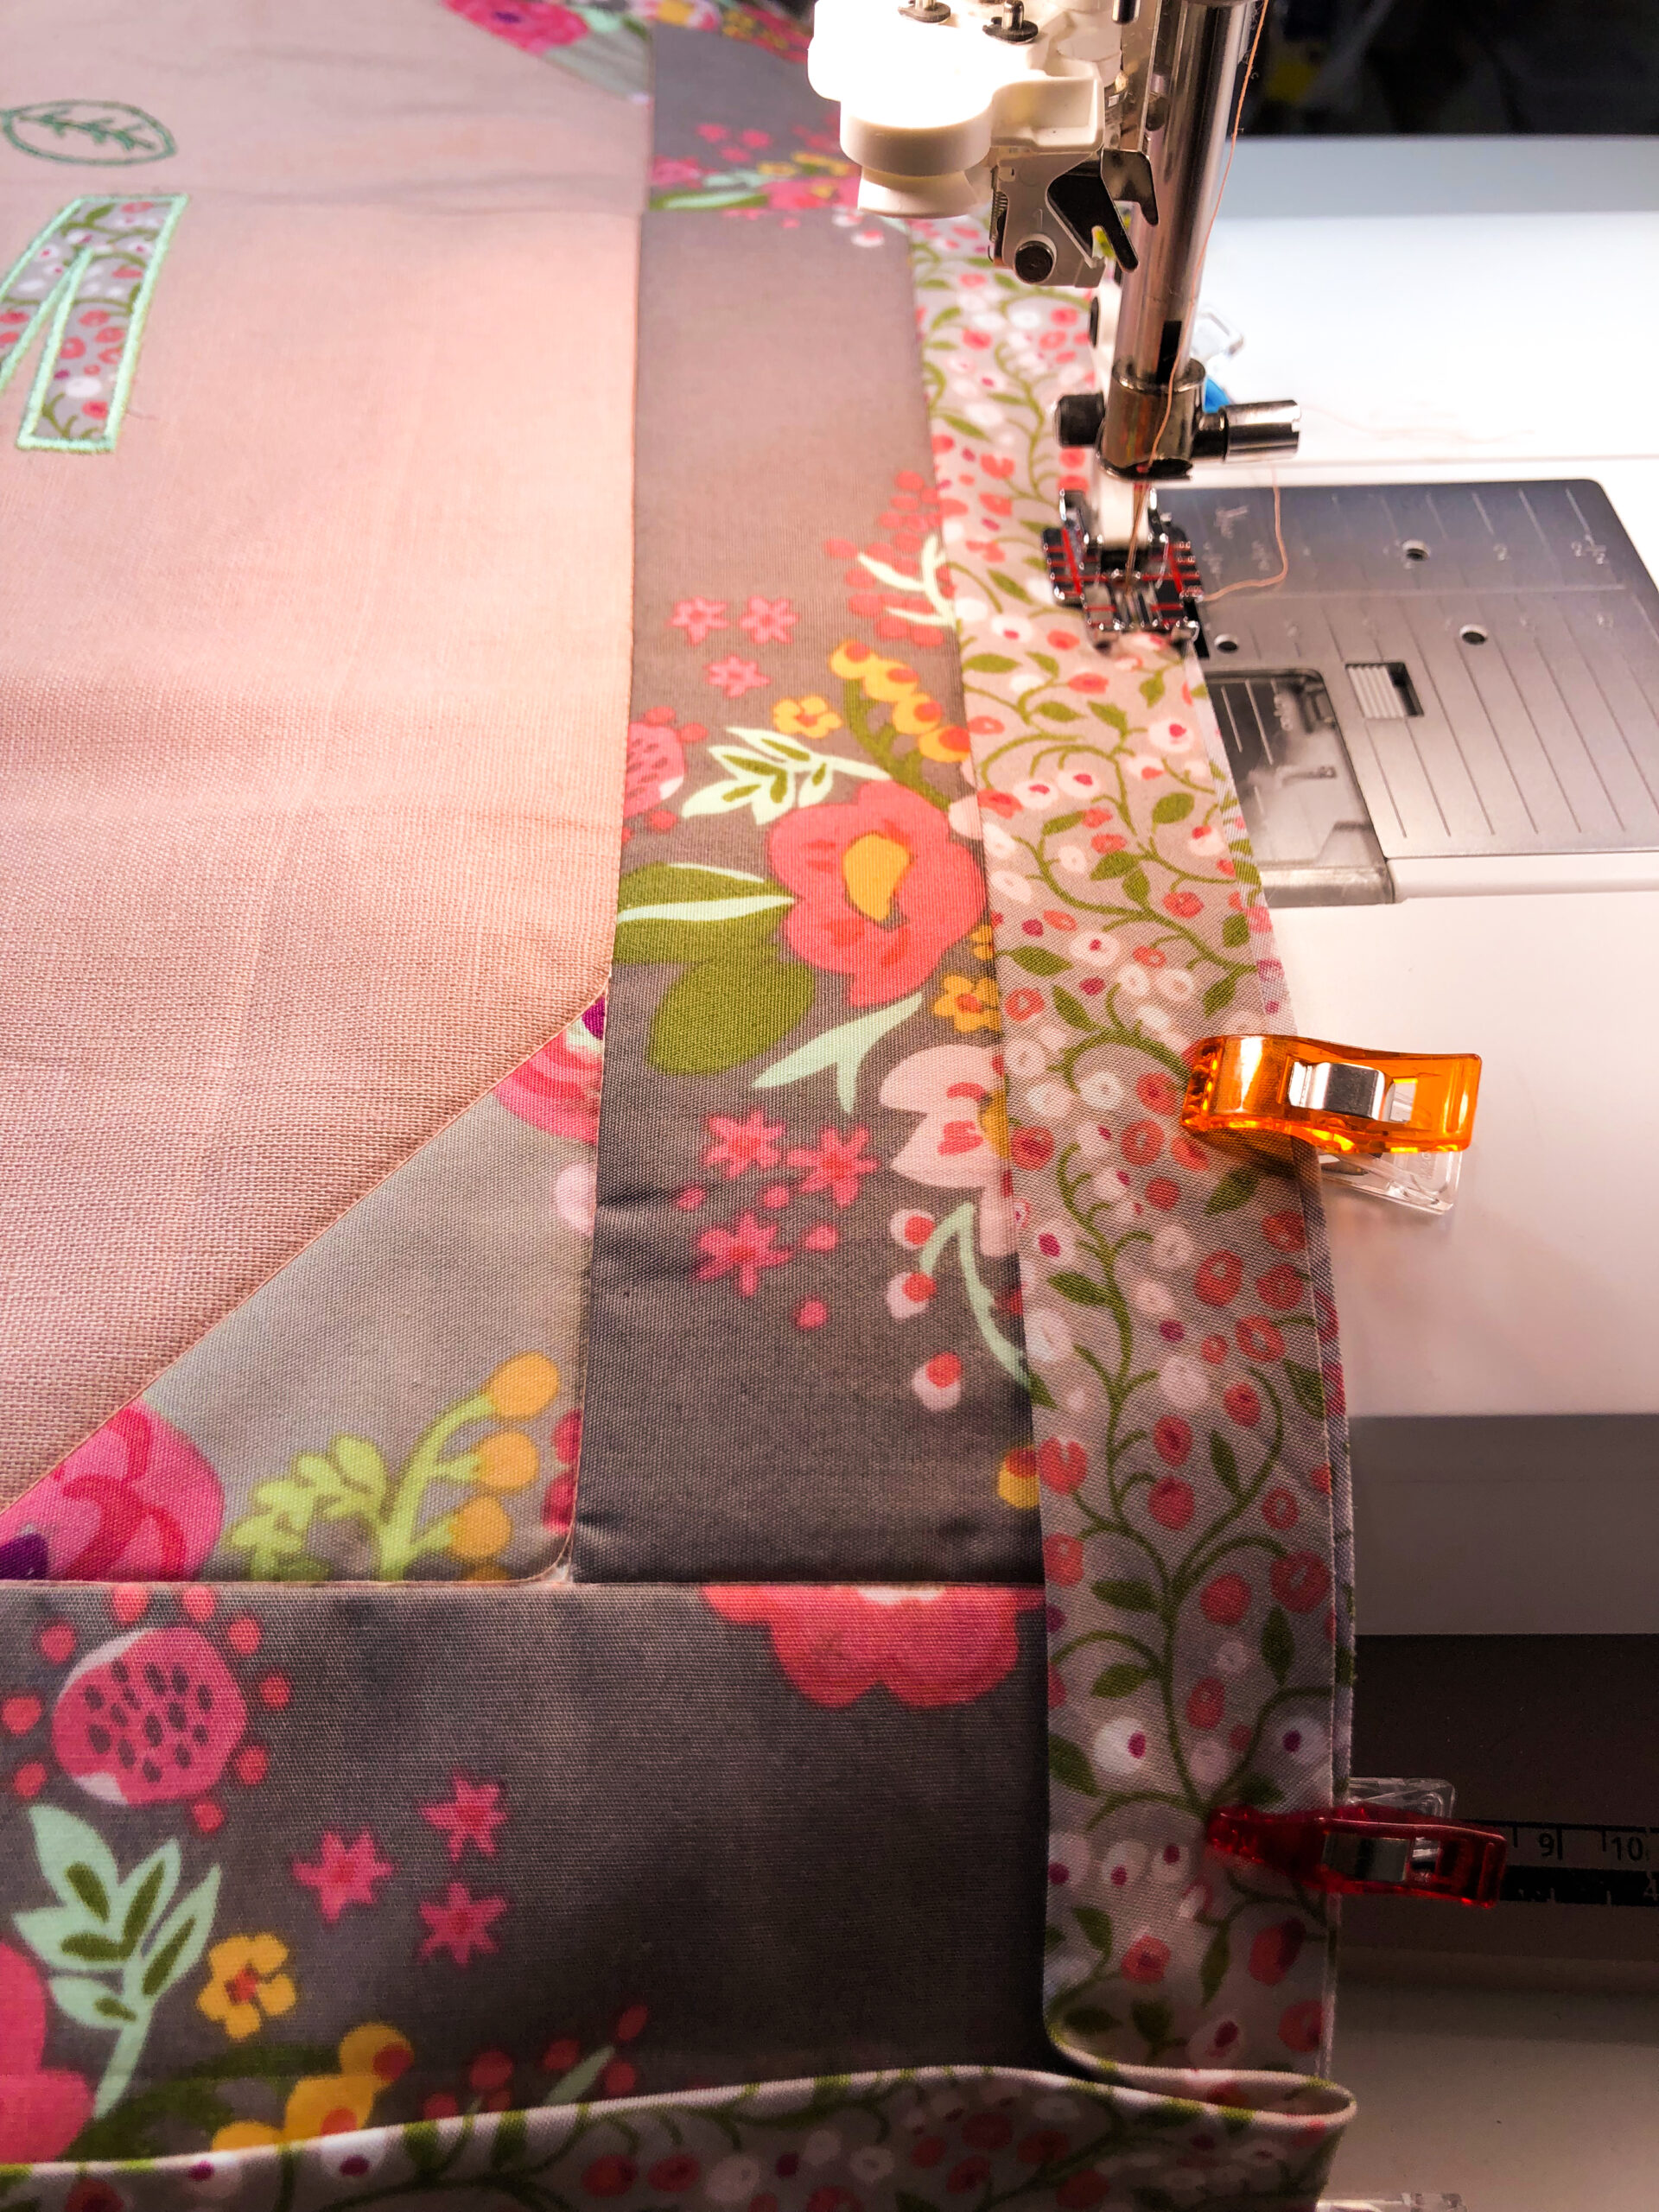
Try using a decorative stitch to secure the binding fold for a fun, decorative element.


Display the wall hanging or gift it to a friend to welcome spring.

Ellen March
I am the Director of Content for Sulky of America. The former Editor in Chief of Sew News and Creative Machine Embroidery magazines, I hosted Sew it All TV on PBS for nine seasons. I've appeared on It's Sew Easy on PBS, DIY Network's Uncommon Threads, Hallmark's Marie Osmond Show, MacPhee Workshop and more! Come sew with me!


3 Comments
Karen
This is really Beautiful. I like how you used the decorated stitch.. Also could you tell me what fabric line did you use?
Ellen March
The fabric line if from Monaluna and it’s called “Bloom,” appropriately.
Ellen March
The fabric line is from Monaluna and it’s called “Bloom,” appropriately.