
Embroidery Hoop Art – Easy Thanksgiving Décor
EMBROIDERY HOOP ART WITH AUTUMN LEAVES
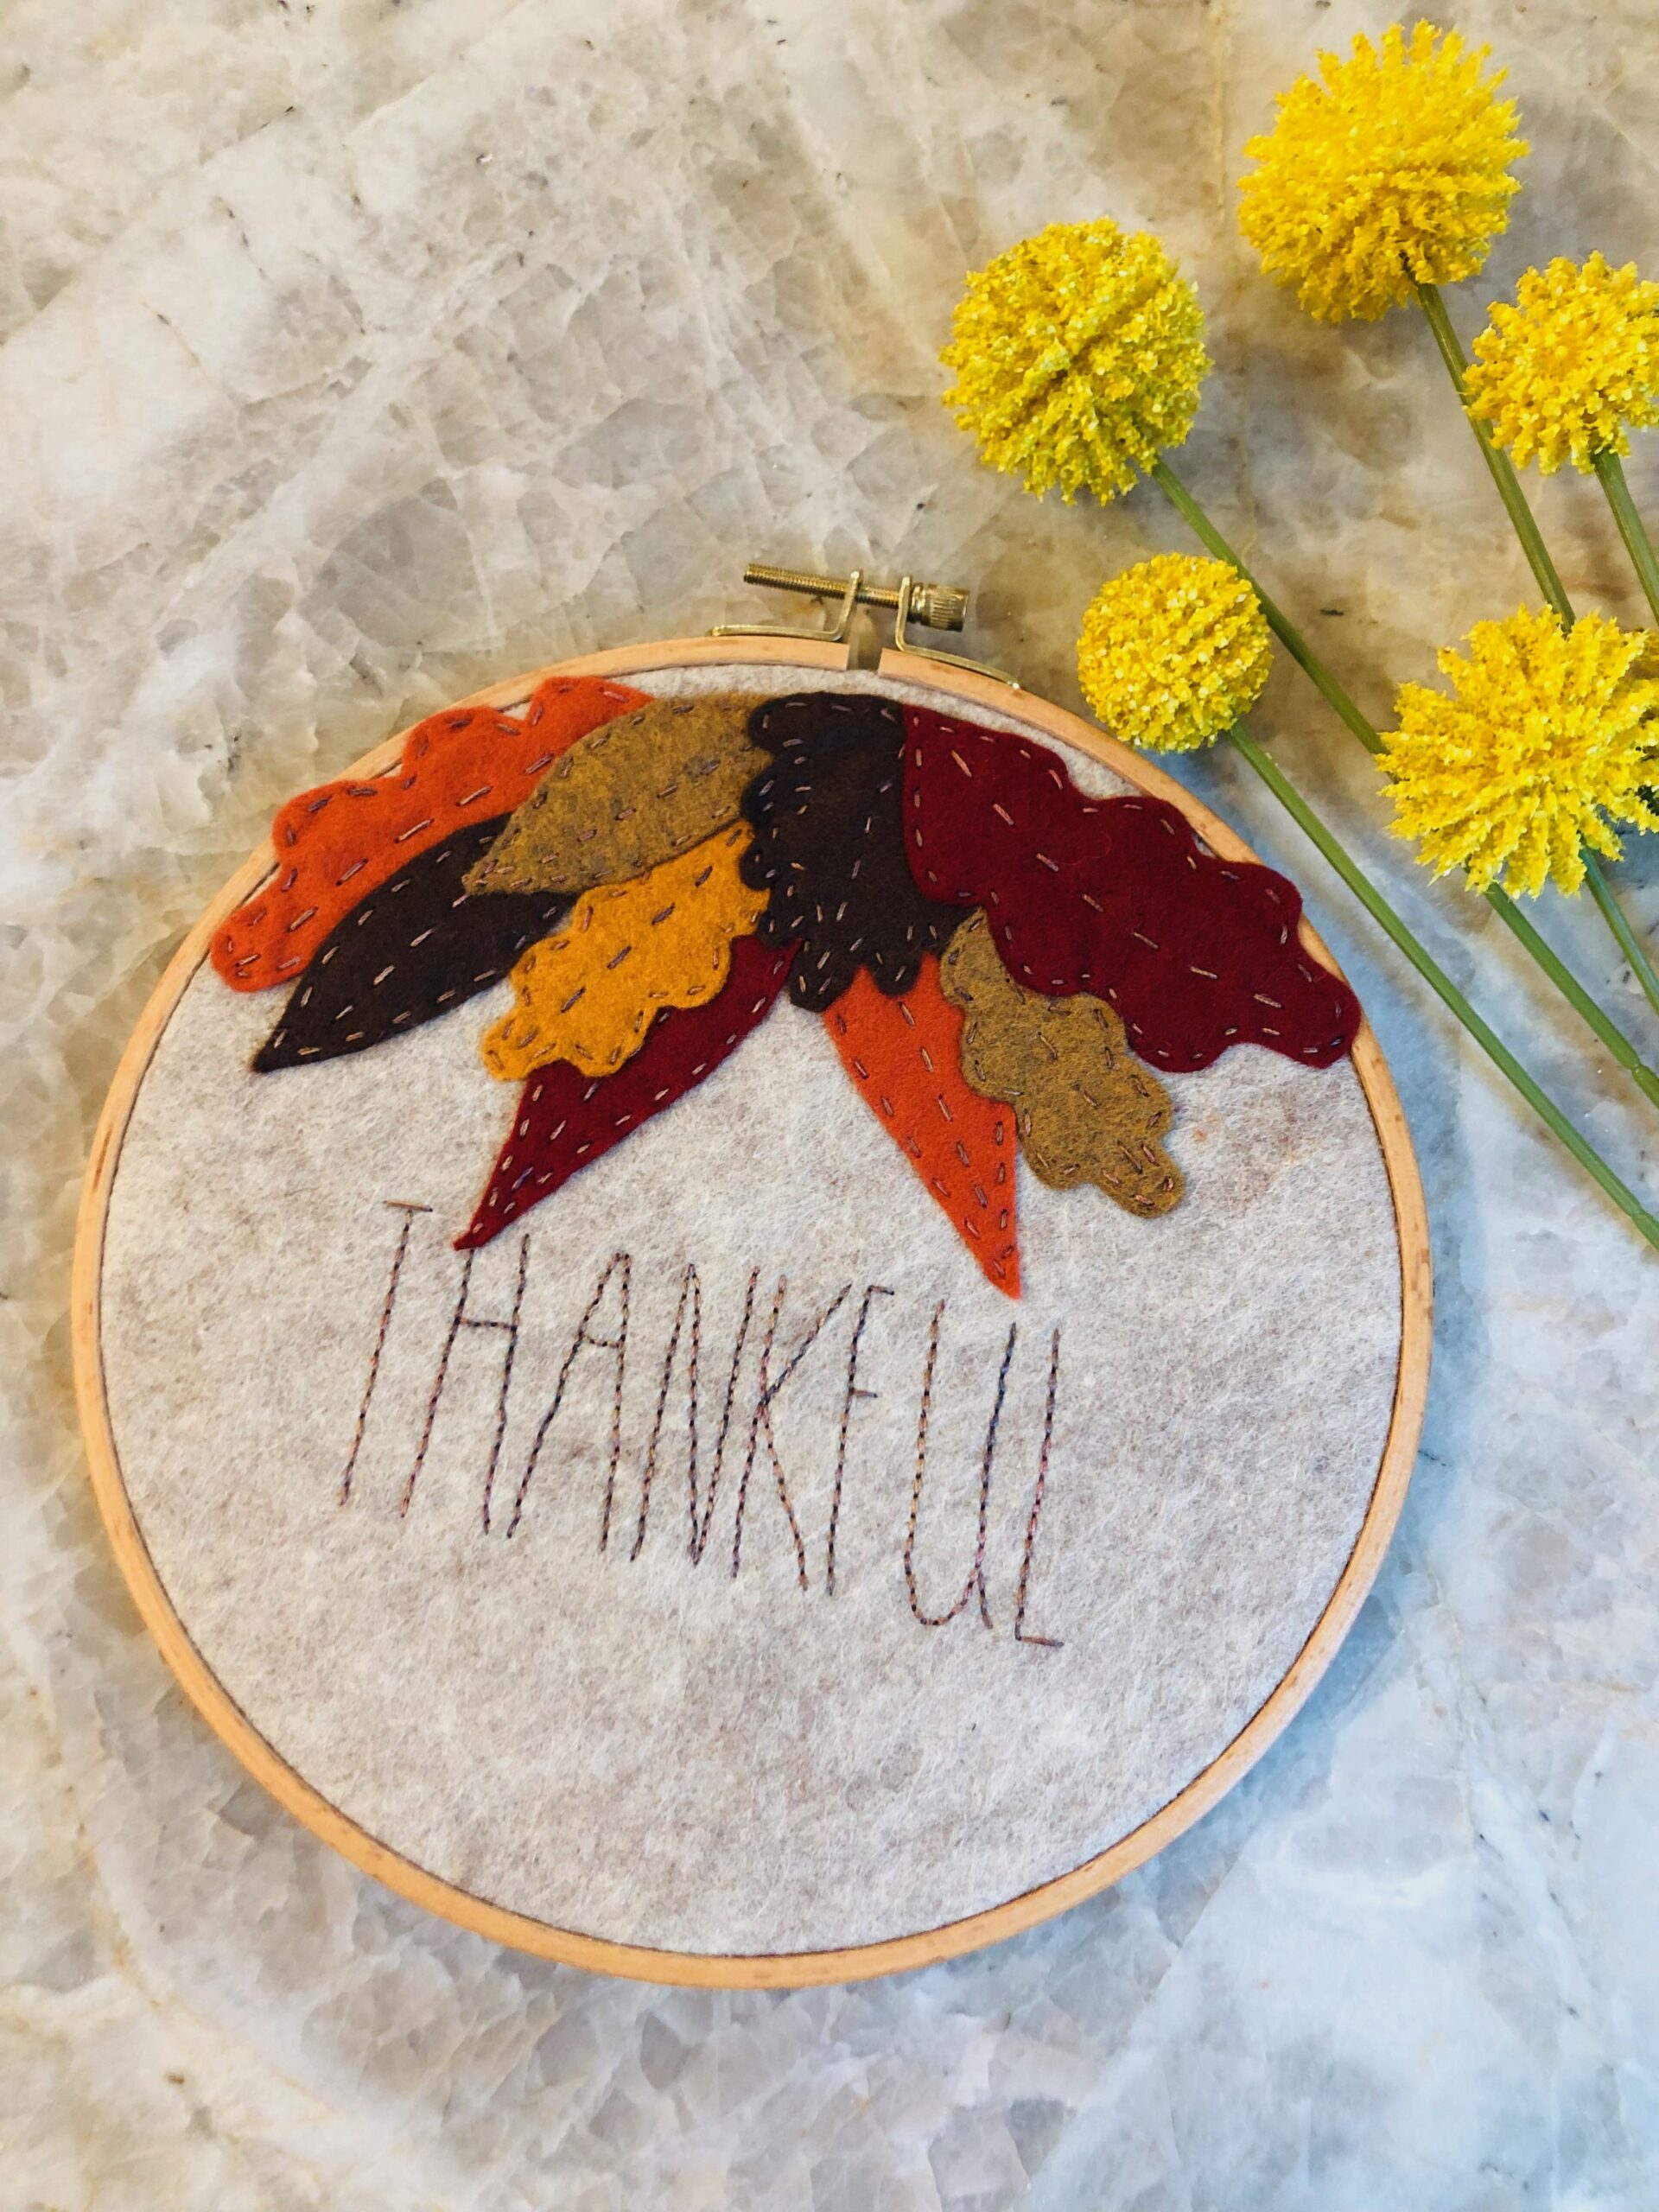
Create hand embroidered wall art to display inside a wooden embroidery hoop to welcome in the fall leaves. Beautiful wool felt comes in pretty heathered shades, which work well for this project. But any stable fabric will work as well – even craft felt. The inspiration for this project is from Rebecca Greco’s Rainbow Felt Wreath, which is reimagined with different shapes of leaves and Sulky Blendables® 12 wt. Thread.
HOOP ART SUPPLIES
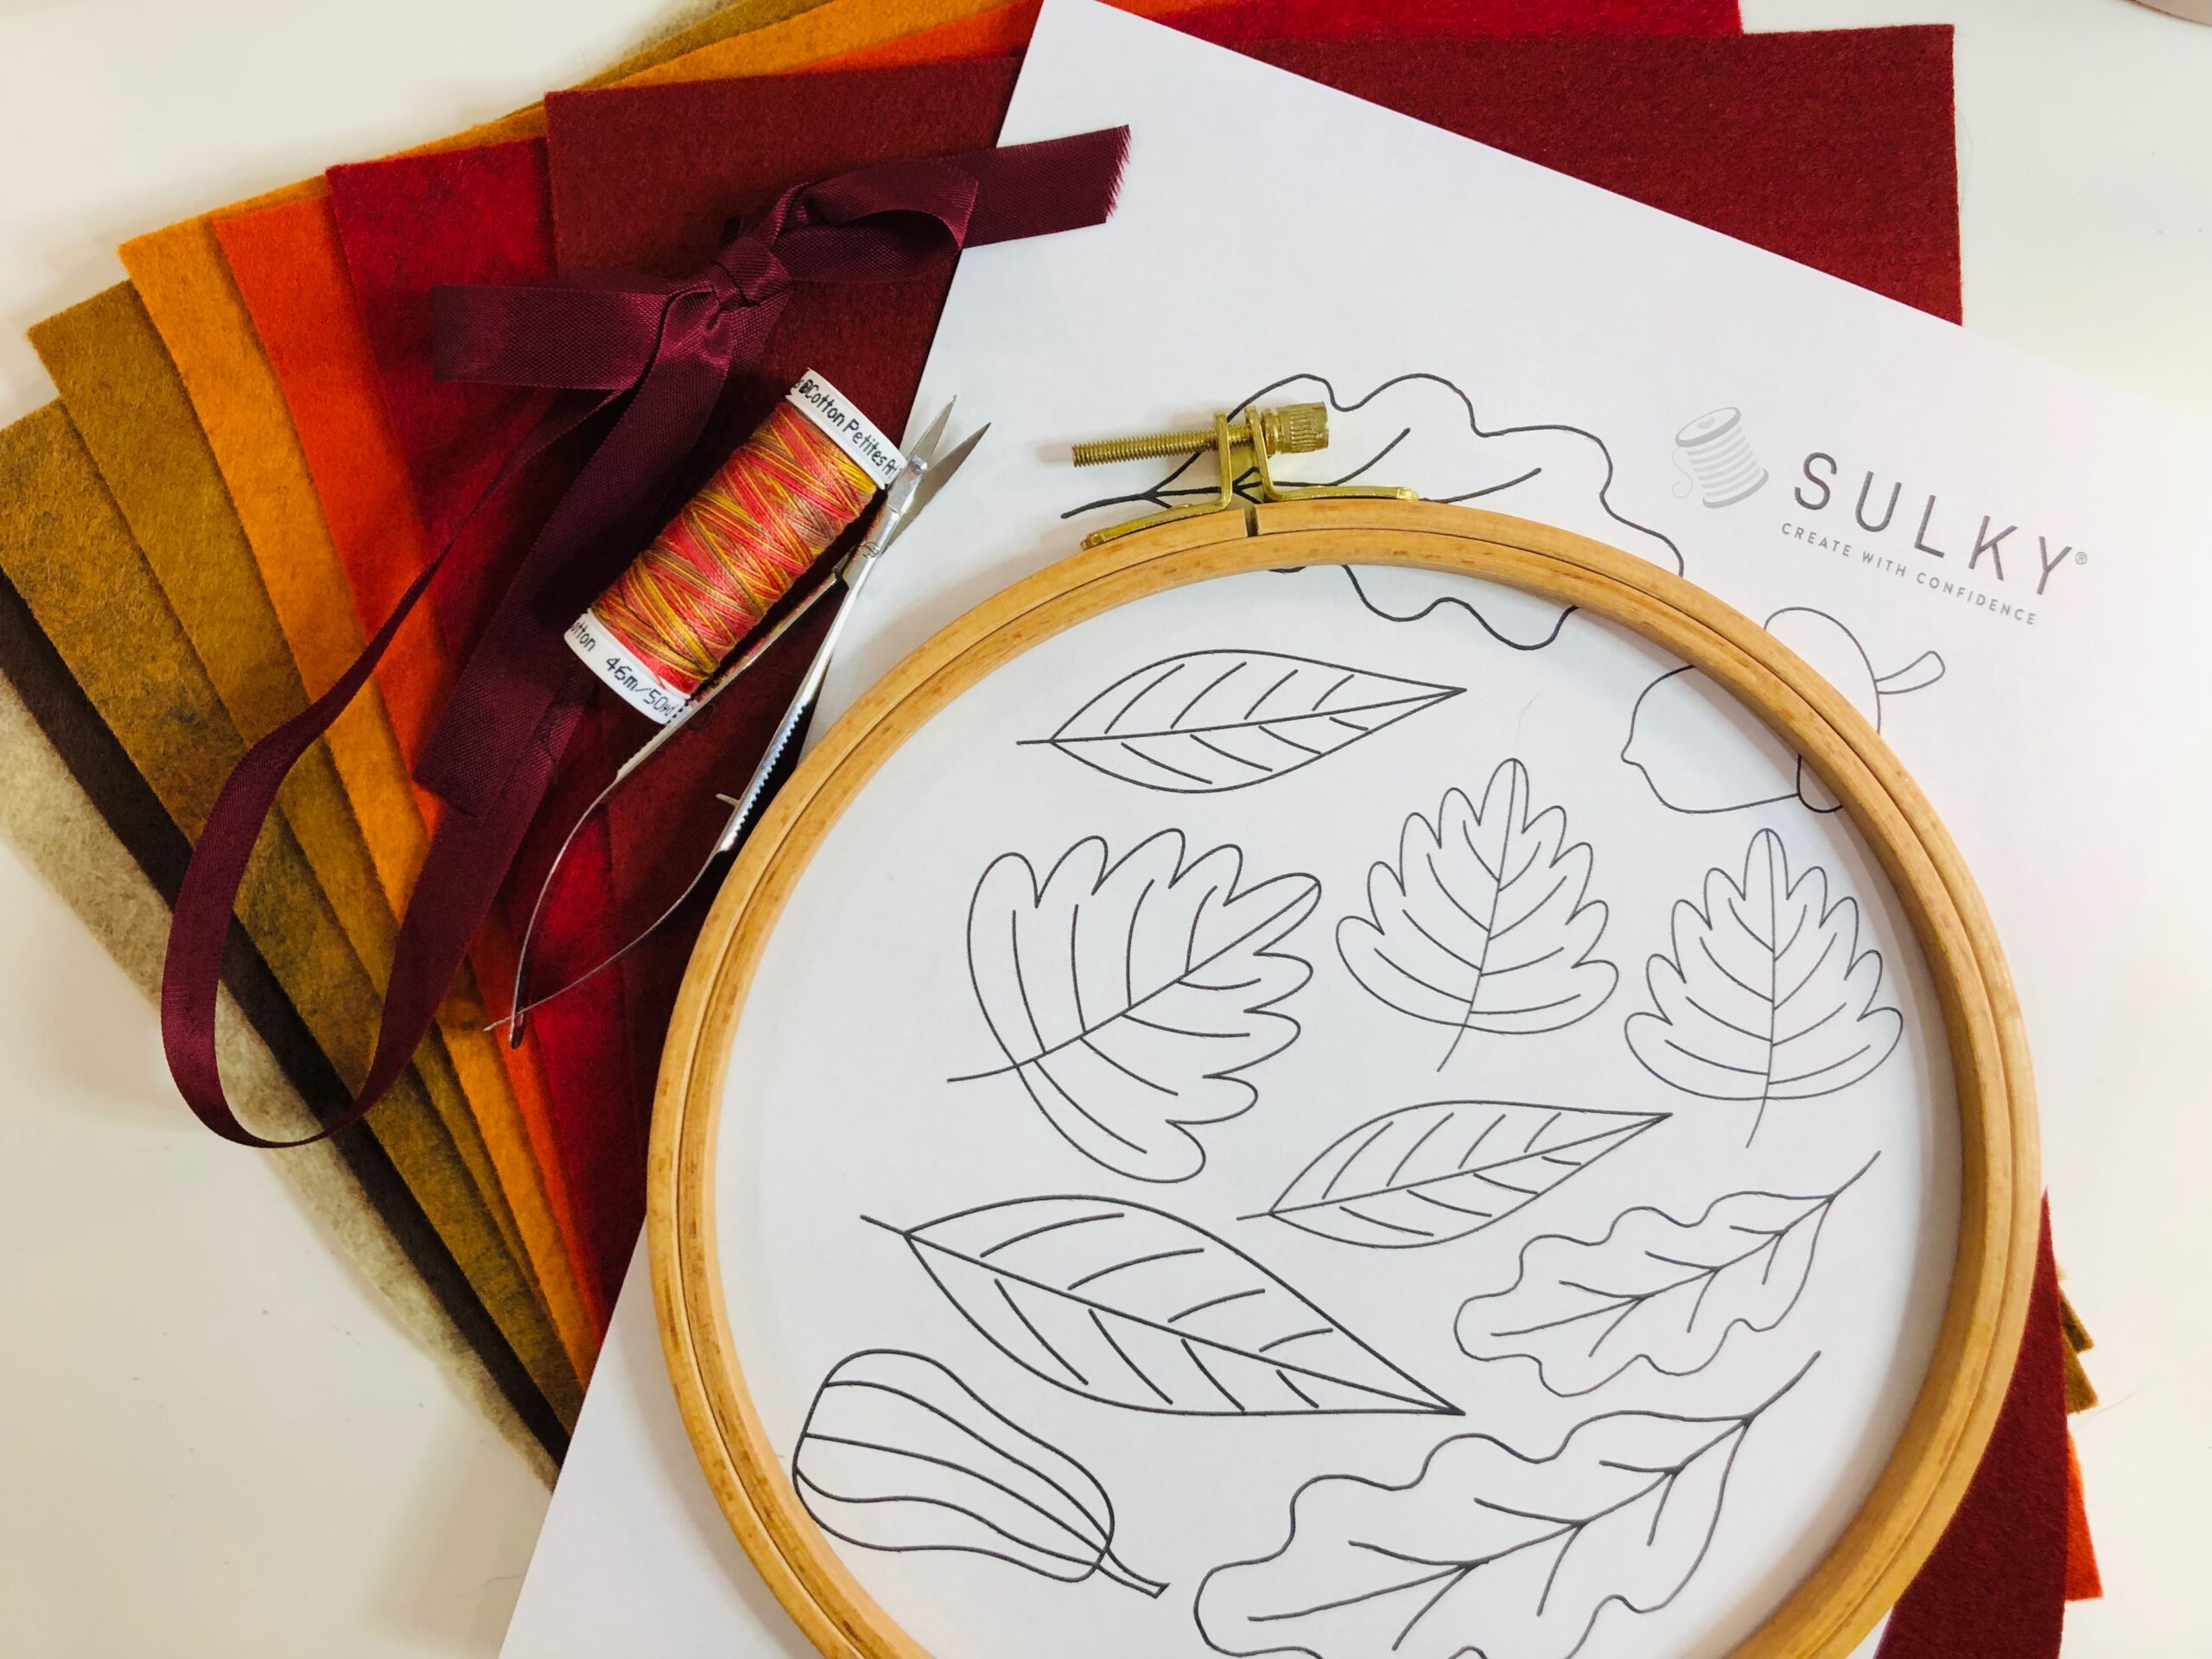
- Autumn Leaves Template
- 8” German Wooden Embroidery Hoop
- Sulky Cotton Petites™ Thread (featured colors: Autumn & Milk Chocolate)
- 9” x 12” rectangle of wool felt (or other stable medium- to heavyweight fabric); for background
- (6) 4” x 6” rectangles of various colors of wool felt (or comparable fabric); for leaves
- 10” length of ribbon
- Curved Tip Squeezers
- Hand-Sewing Needle
- Removable Fabric Marker
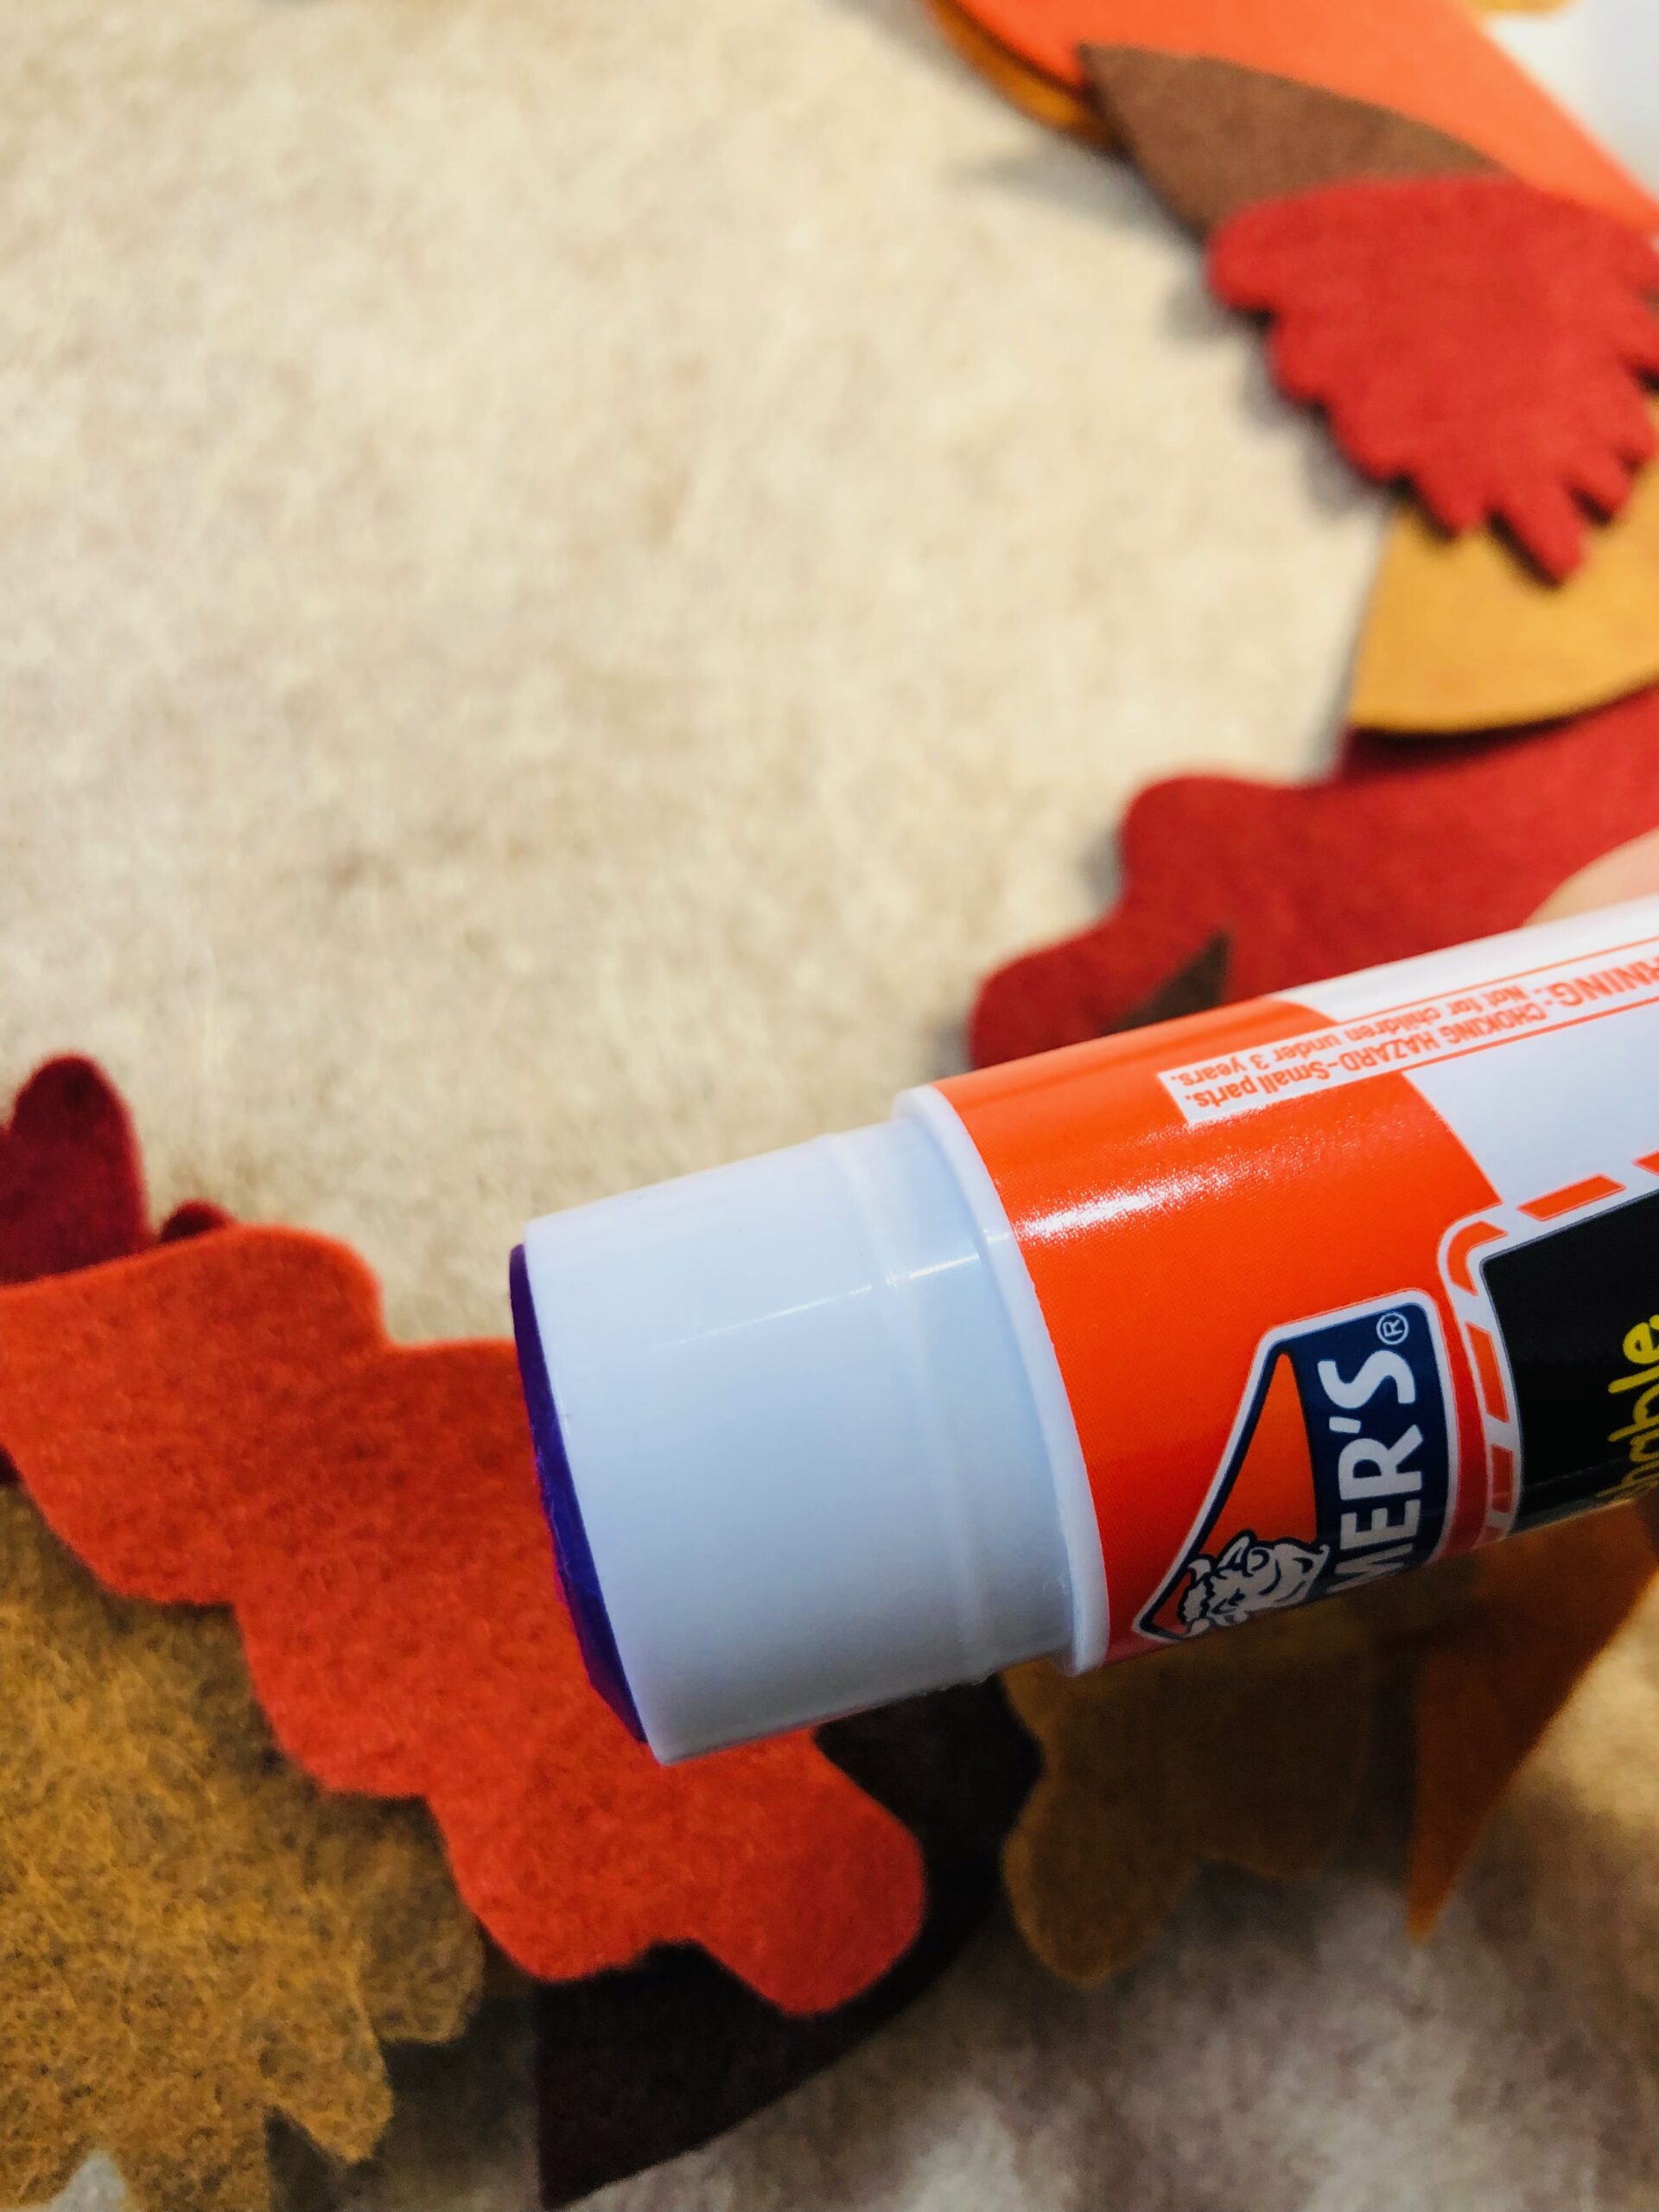
- Glue stick or KK 2000™ Temporary Spray Adhesive (optional)
- Wafer Light Box (optional)
PREP & CUTTING
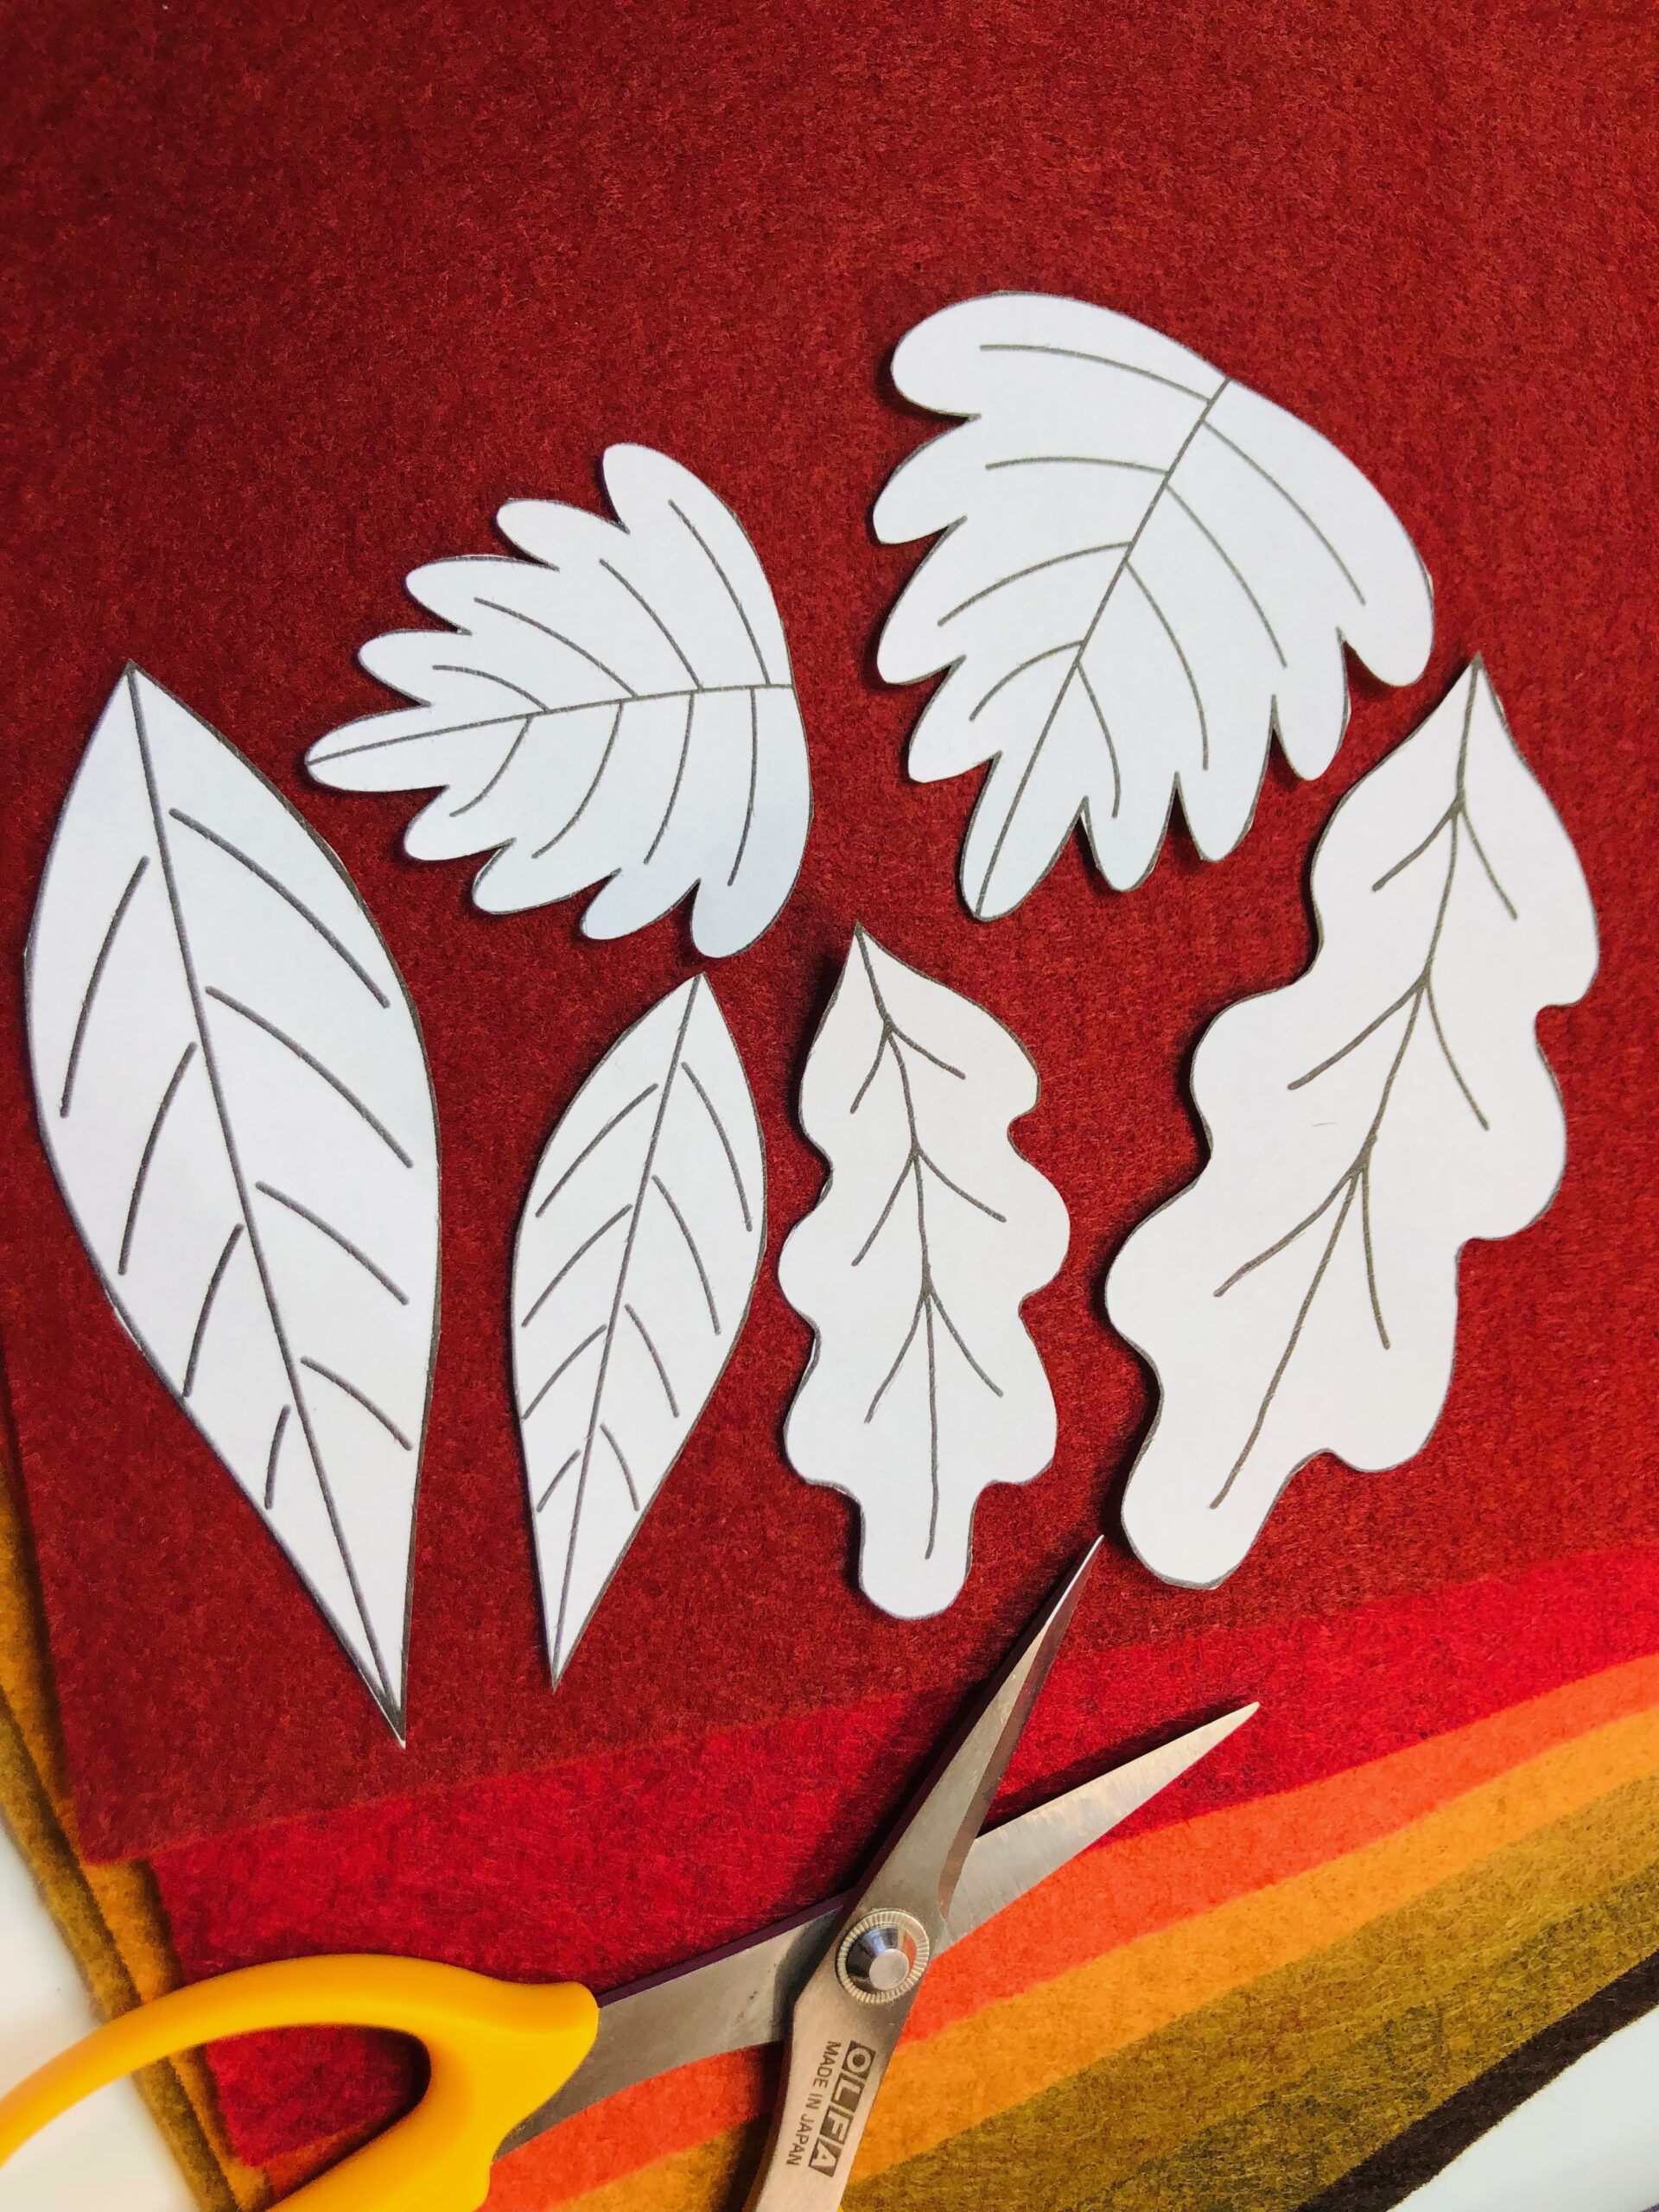
Download and print the Autumn Leaves Template. Cut out the various leaves as desired.

From the small fabric rectangles, cut out several leaves. For the featured hoop art, 9 leaves were cut, using various colors and leaf sizes per the template.
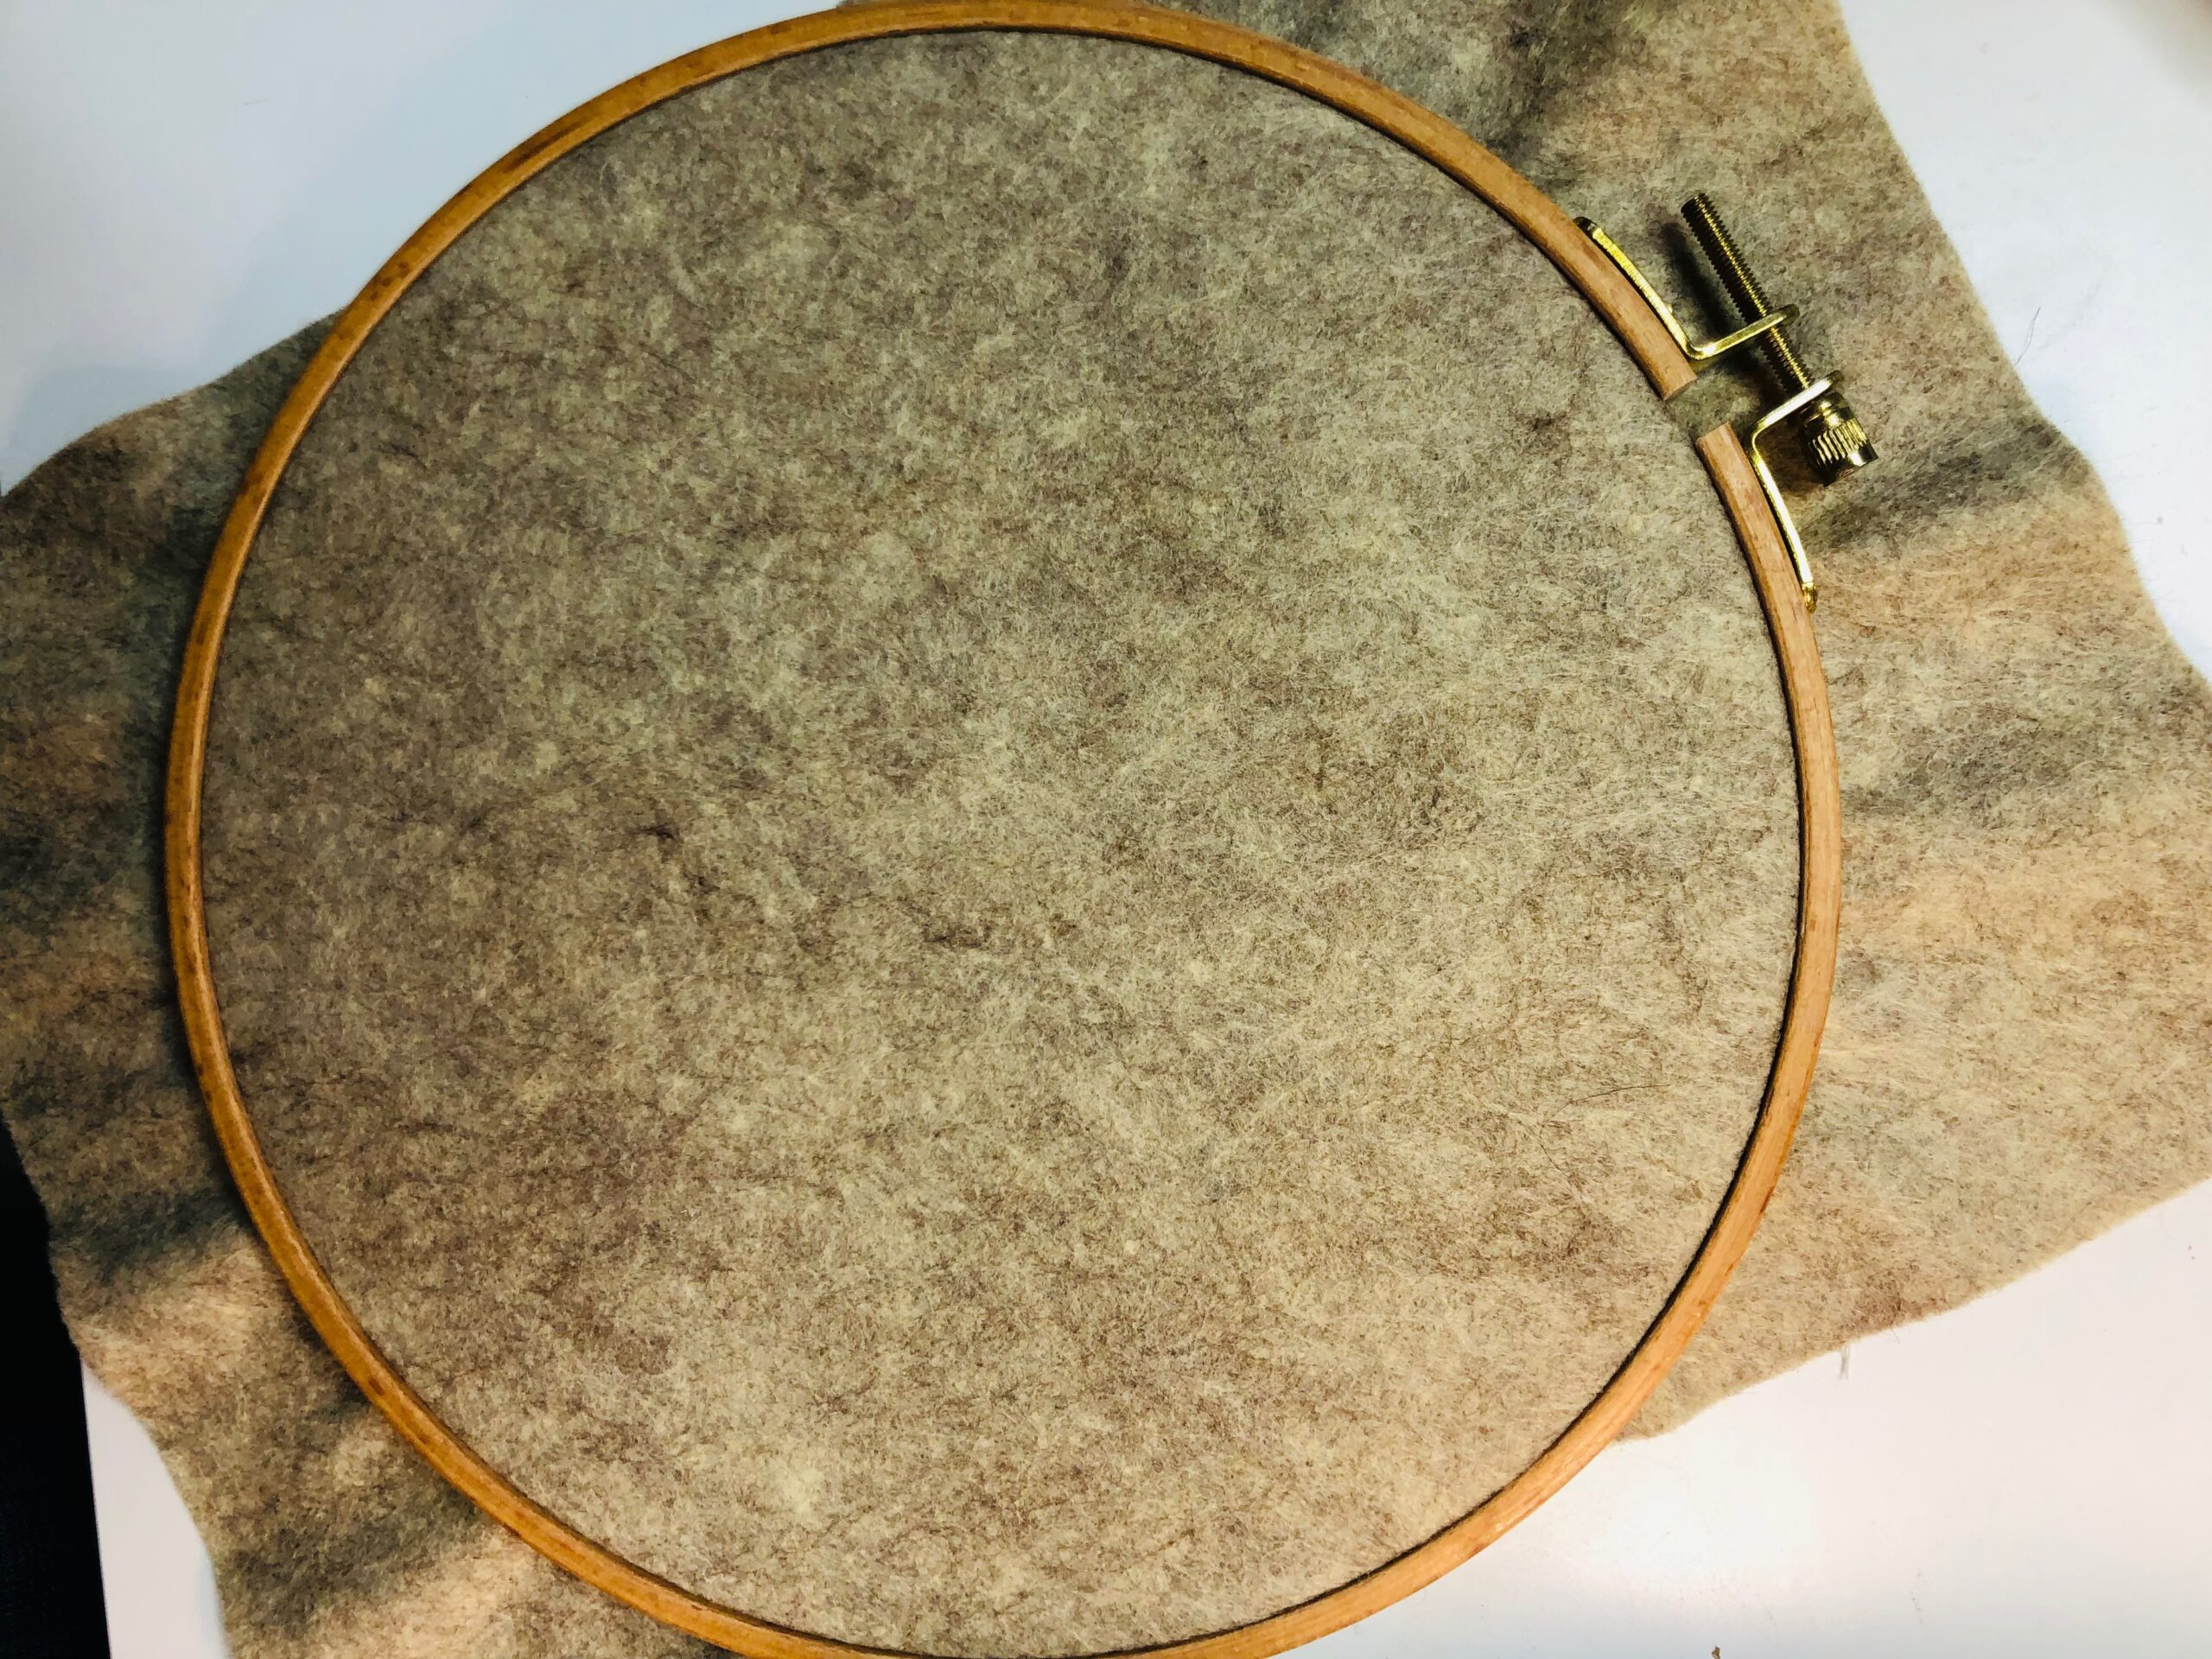
Hoop the chosen background fabric in the embroidery hoop.
HOOP ART LEAF DESIGN
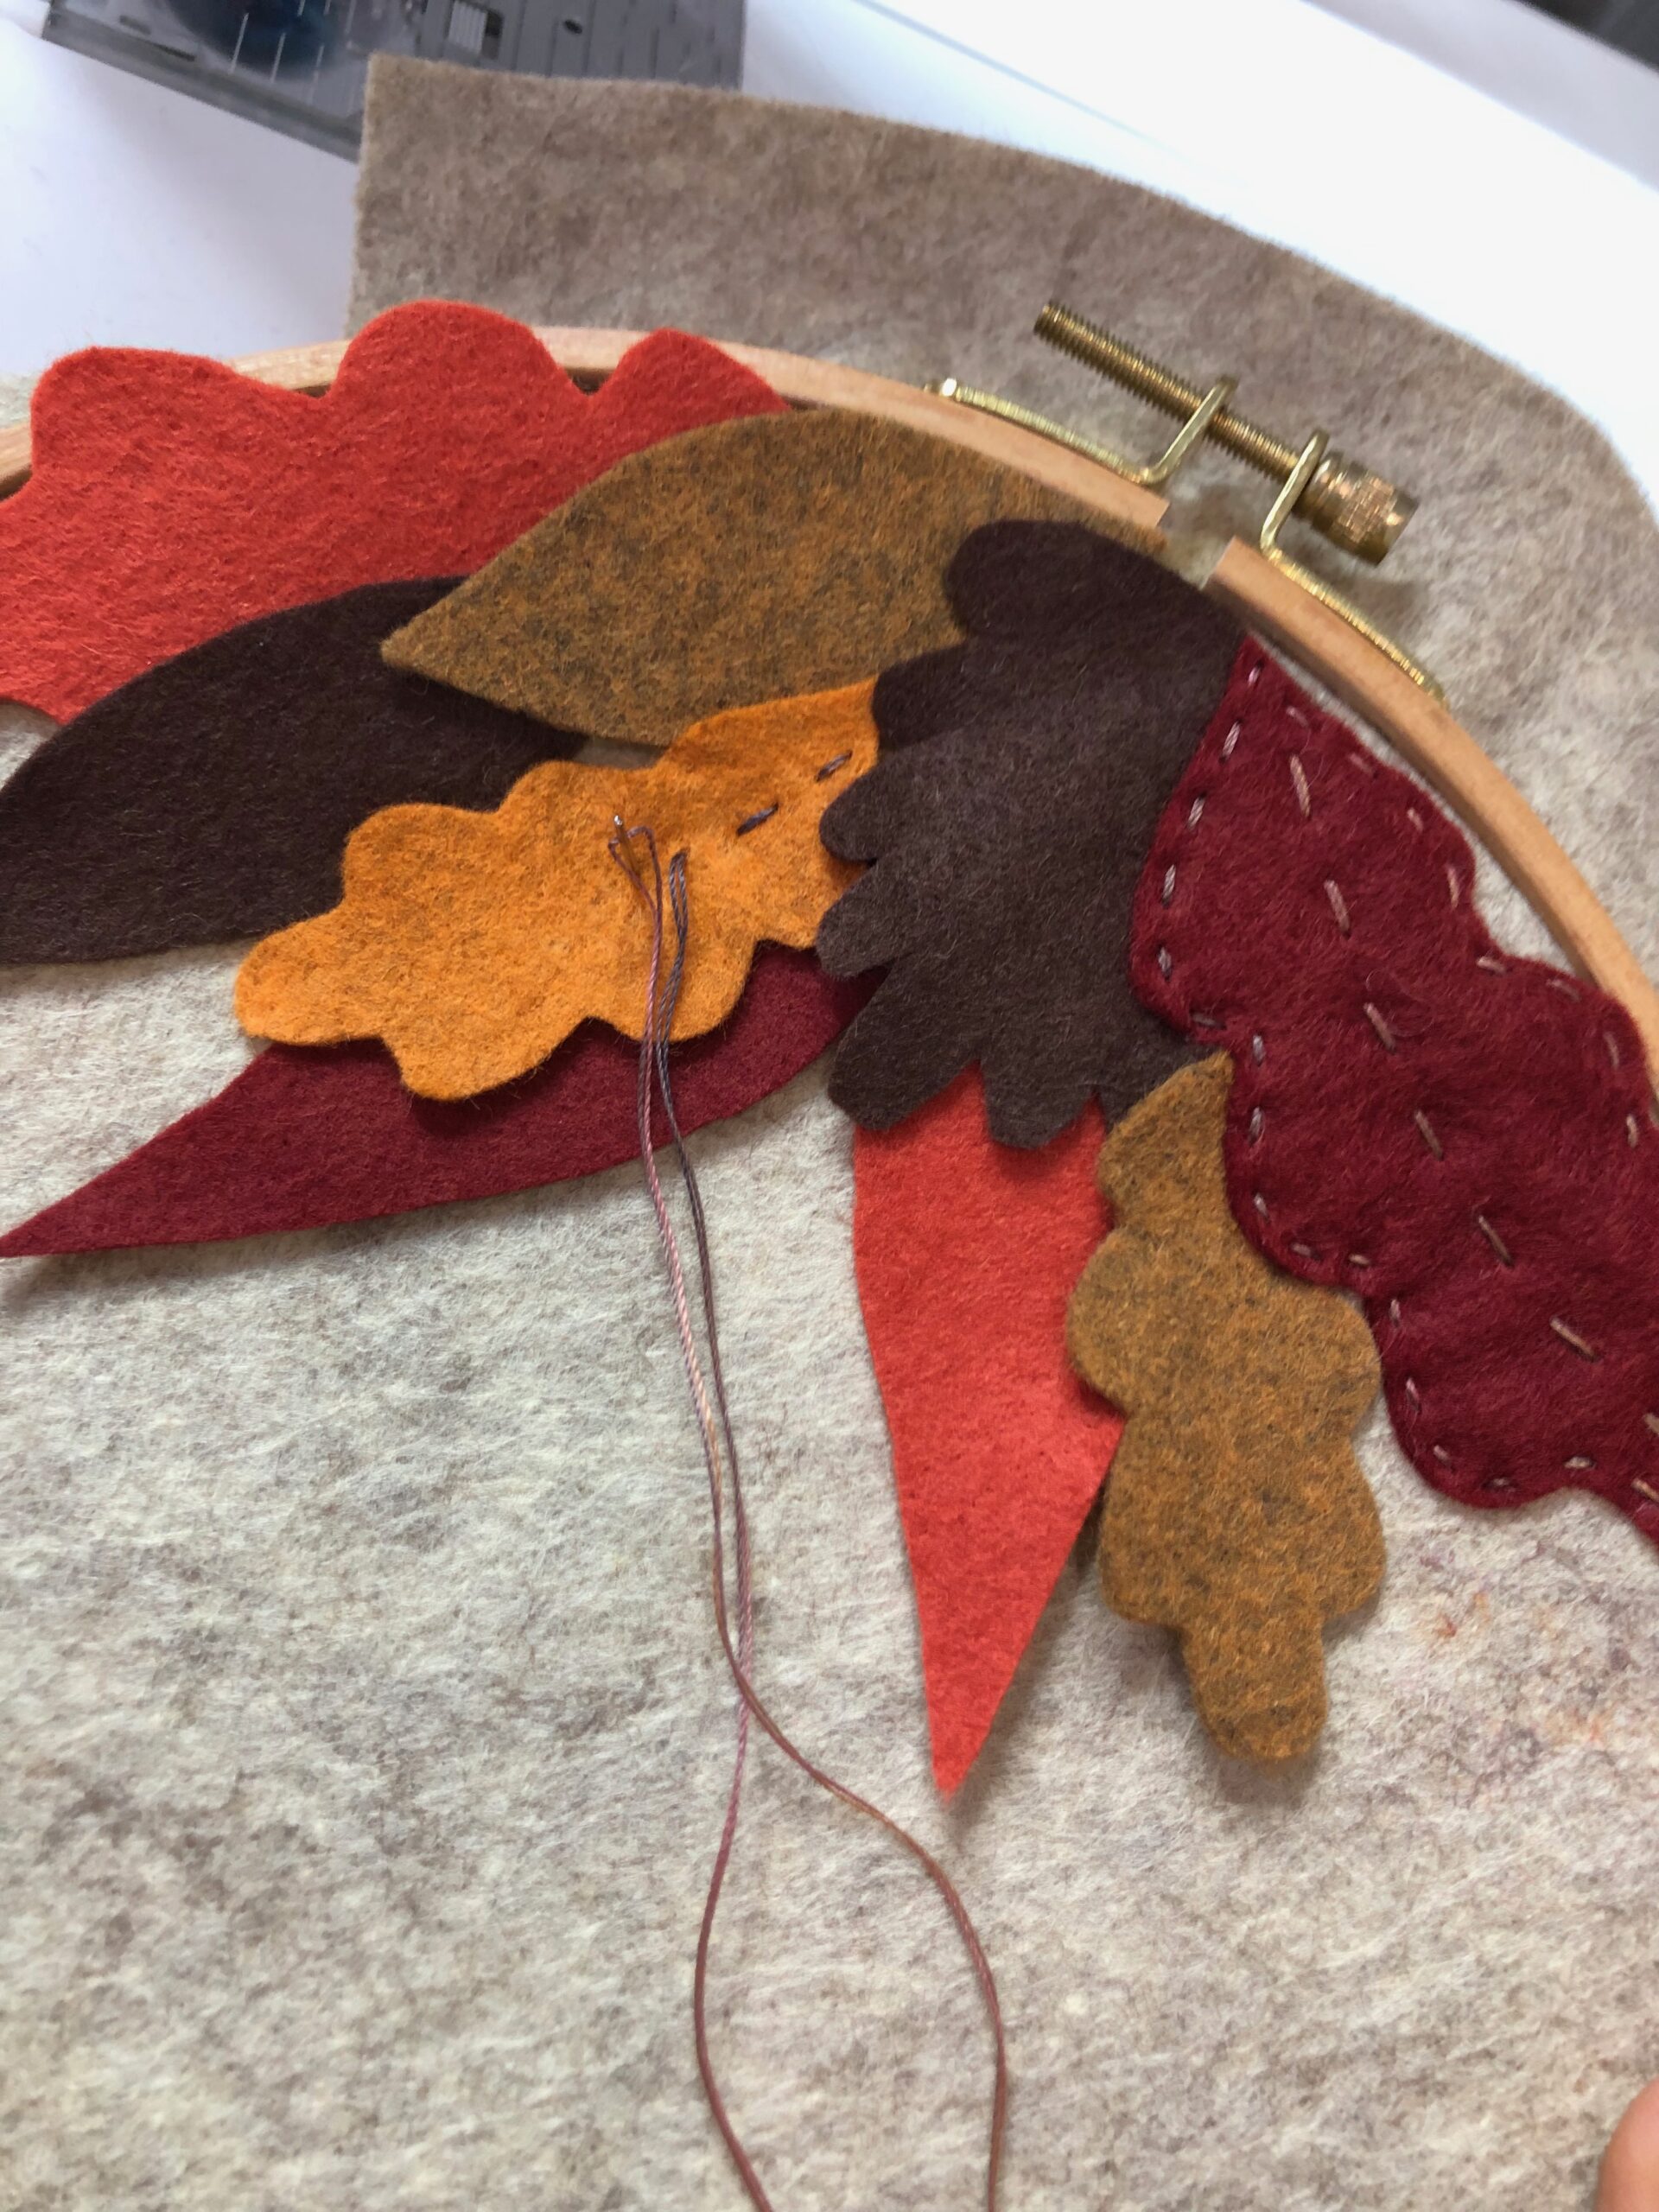
Place the leaves where desired just inside the inner hoop ring edge, creating a pleasing arrangement. Or position a cluster of leaves along the hoop upper or lower edge. Create the art you want to display!


Once the desired placement is achieved, use a glue stick to apply a small amount of adhesive to each leaf wrong side, and then re-place each leaf, gently pressing down onto the background fabric to adhere. Let dry before stitching.
TIP: Use Sulky KK 2000 Temporary Spray Adhesive to secure the leaves. The spray is air-soluble so dissipates after 36-48 hours.
TIP: The glue is completely optional. Alternatively, place each leaf as you reach it during the embroidery process, like Rebecca did for the Rainbow Felt Wreath.
HOOP ART EMBROIDERY
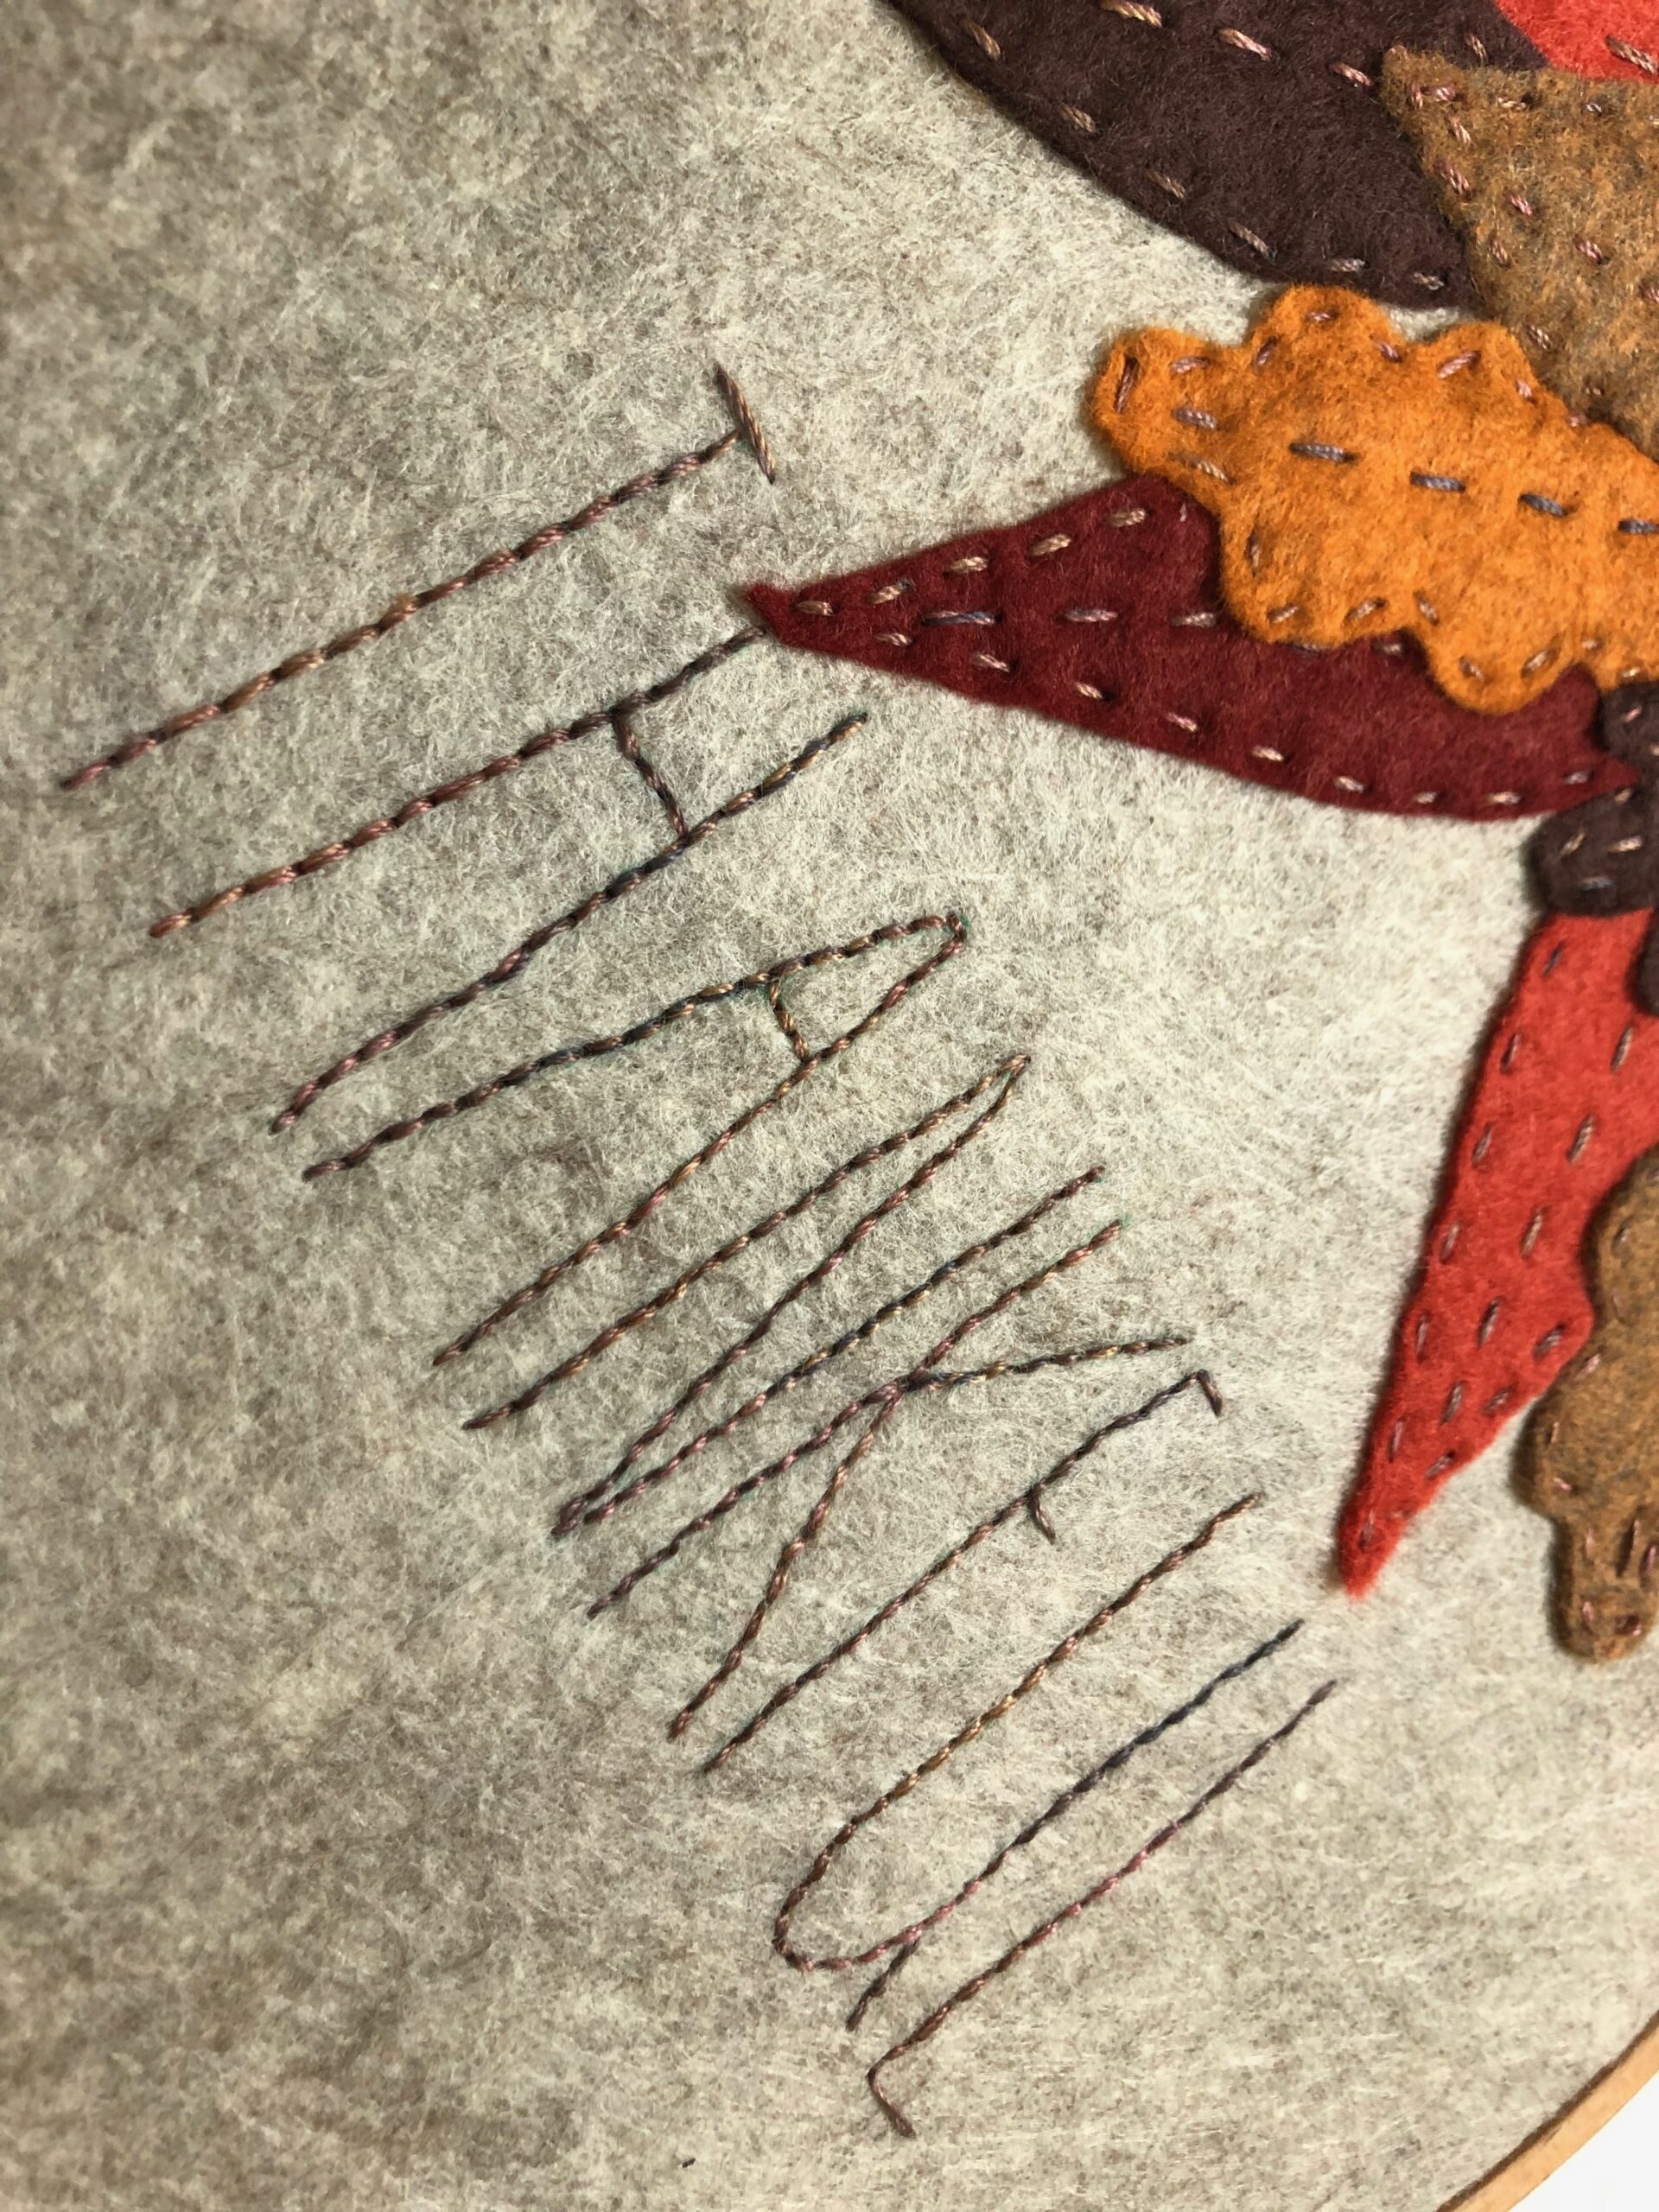
Thread the hand-sewing needle with one or two strands of Cotton Petites Thread (two strands were used for the featured sample). The Blendables Thread allows you to create color variegation without changing thread spools throughout the design.
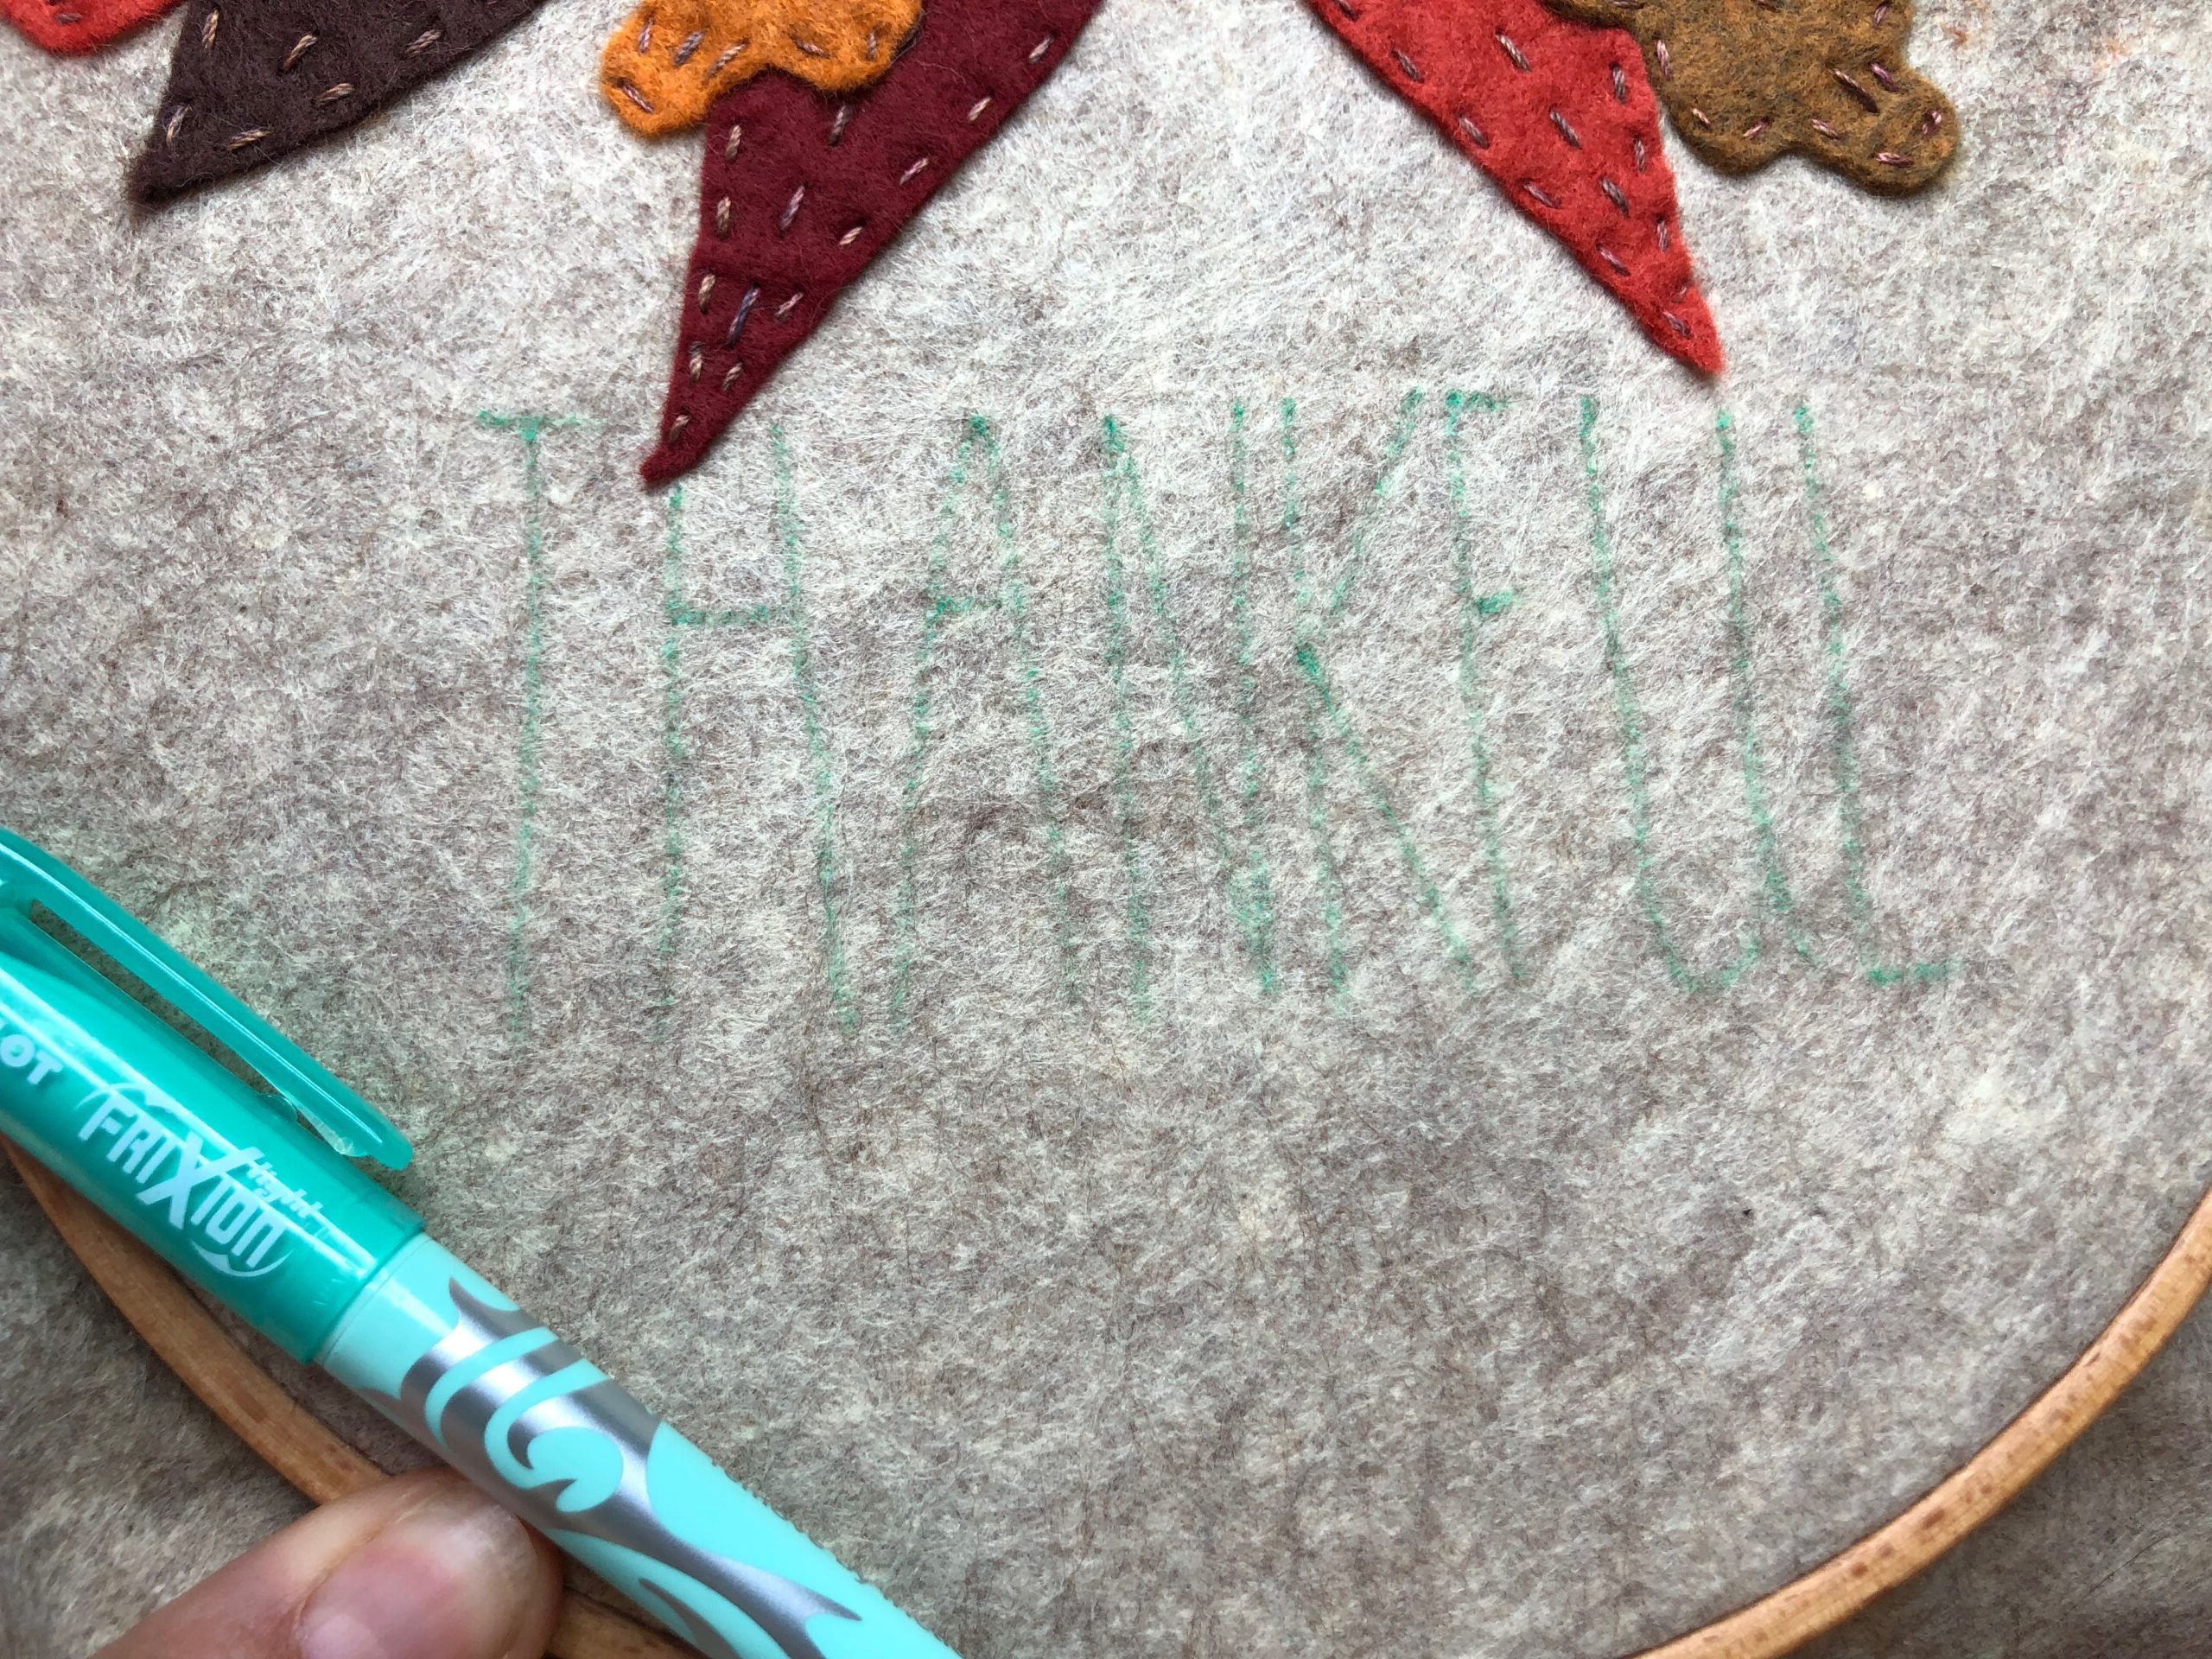
Once the leaves are attached with embroidery stitches, add a phrase to the hoop center, if desired. Choose “Grateful,” “Thankful,” or “Blessed,” for a Thanksgiving vibe. Or hand embroider a monogram or last name for front-door décor. Draw the design, phrase or word in your best handwriting or choose a font on your computer. Use a light box to transfer the design to the felt, using a removable fabric marker.


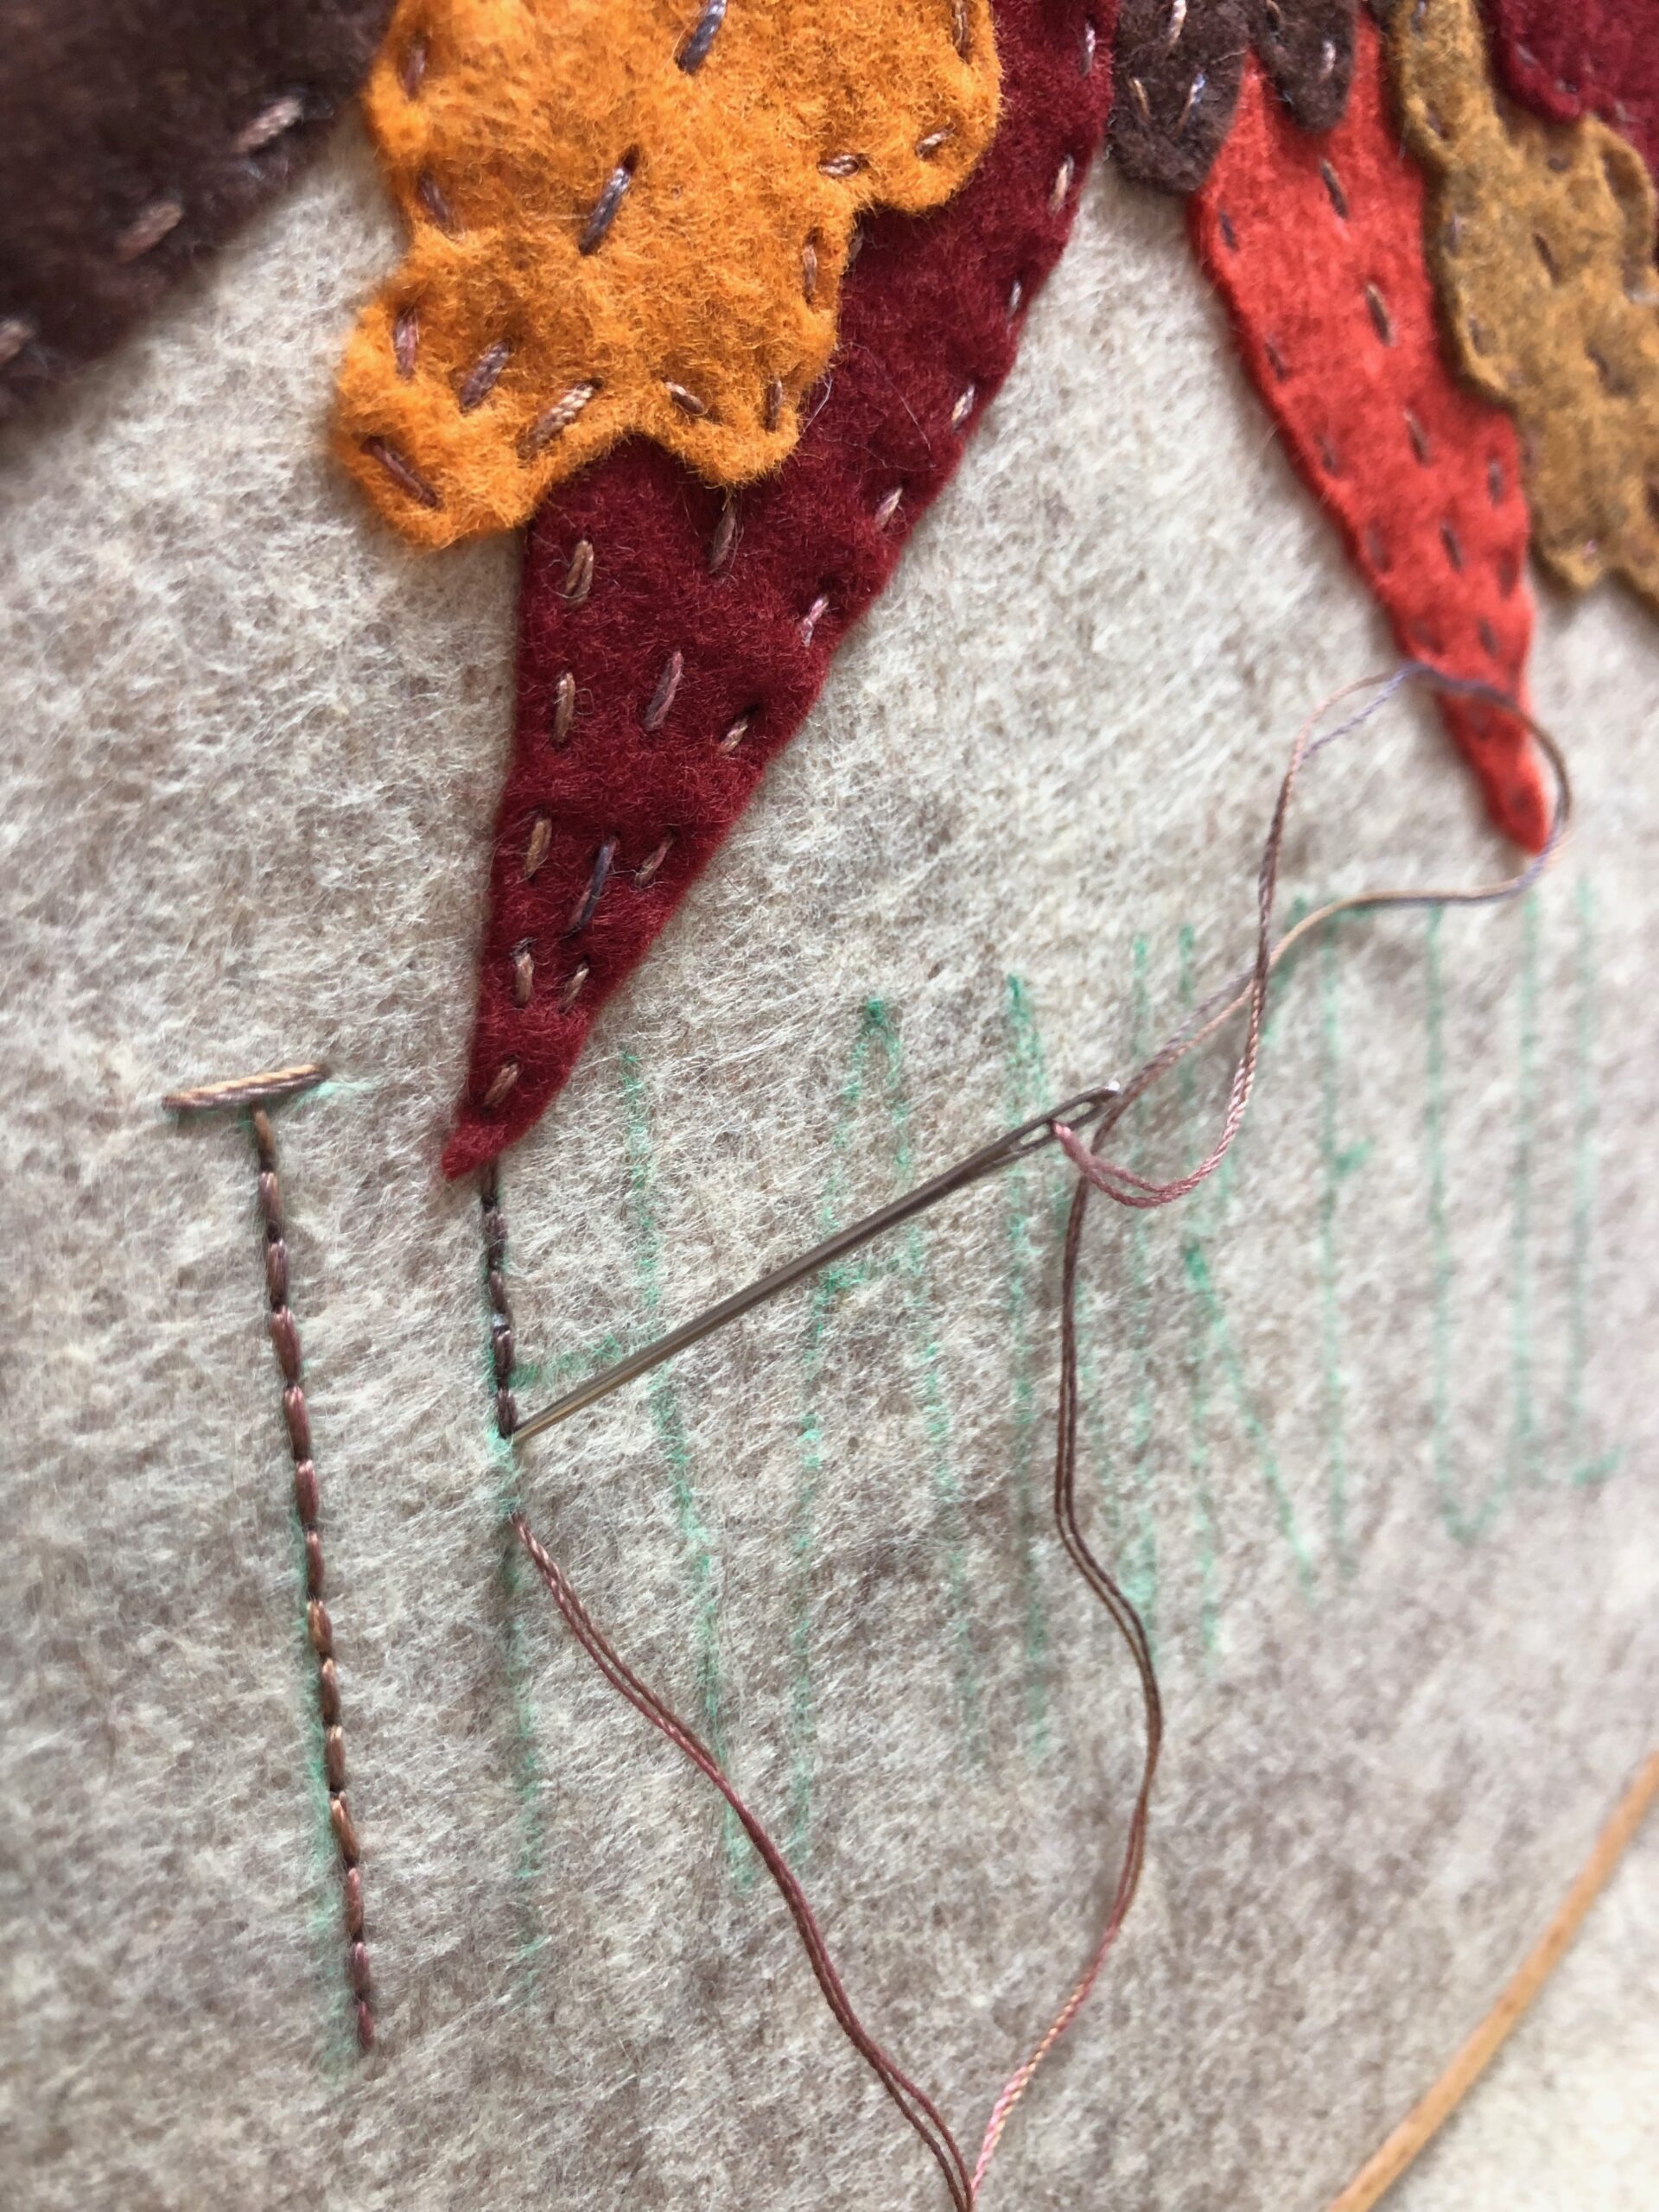
Embroider the phrase using backstitches. Leave long thread tails at the beginning and end of each letter. When embroidery is complete, weave the thread tails through stitches along the hoop wrong side.
FINISHING THE EMBROIDERY HOOP ART
When the design is complete, remove the marking pen per the manufacturer’s instructions. For the featured sample, a FriXion™ highlighter pen was used. Place just the tip of the iron along the marks to remove.
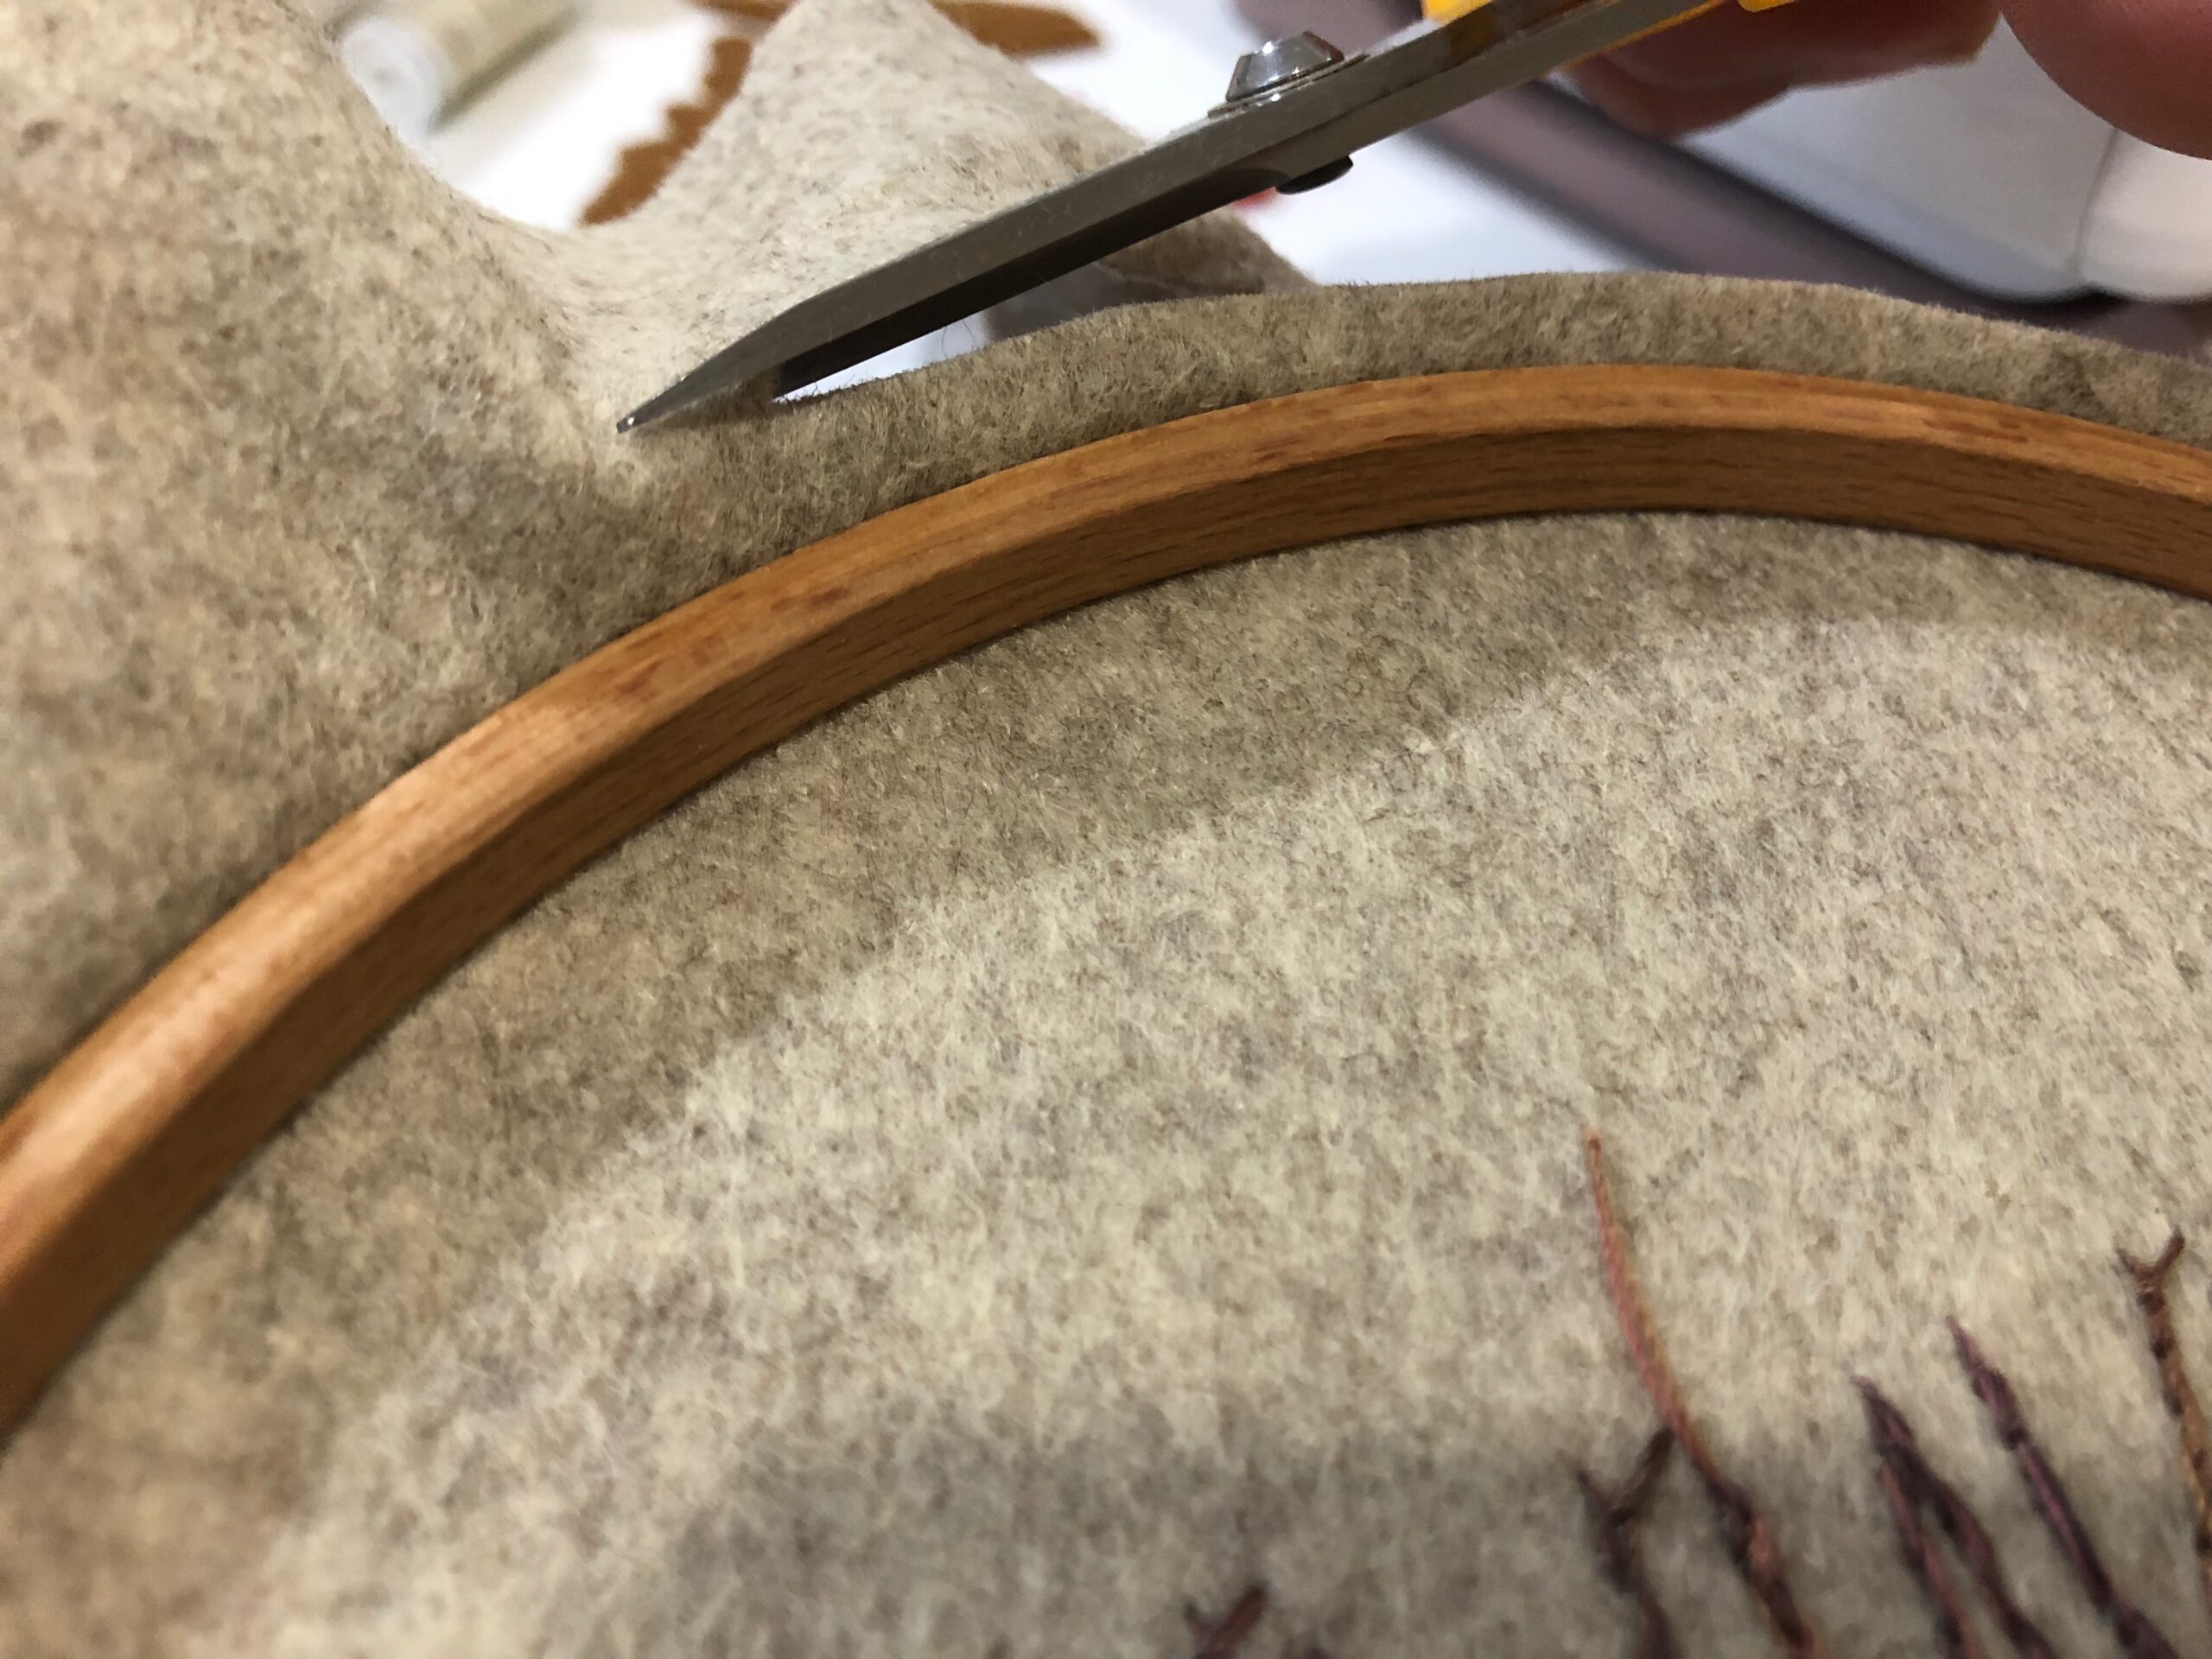
Trim the background fabric even with the hoop from the back side.
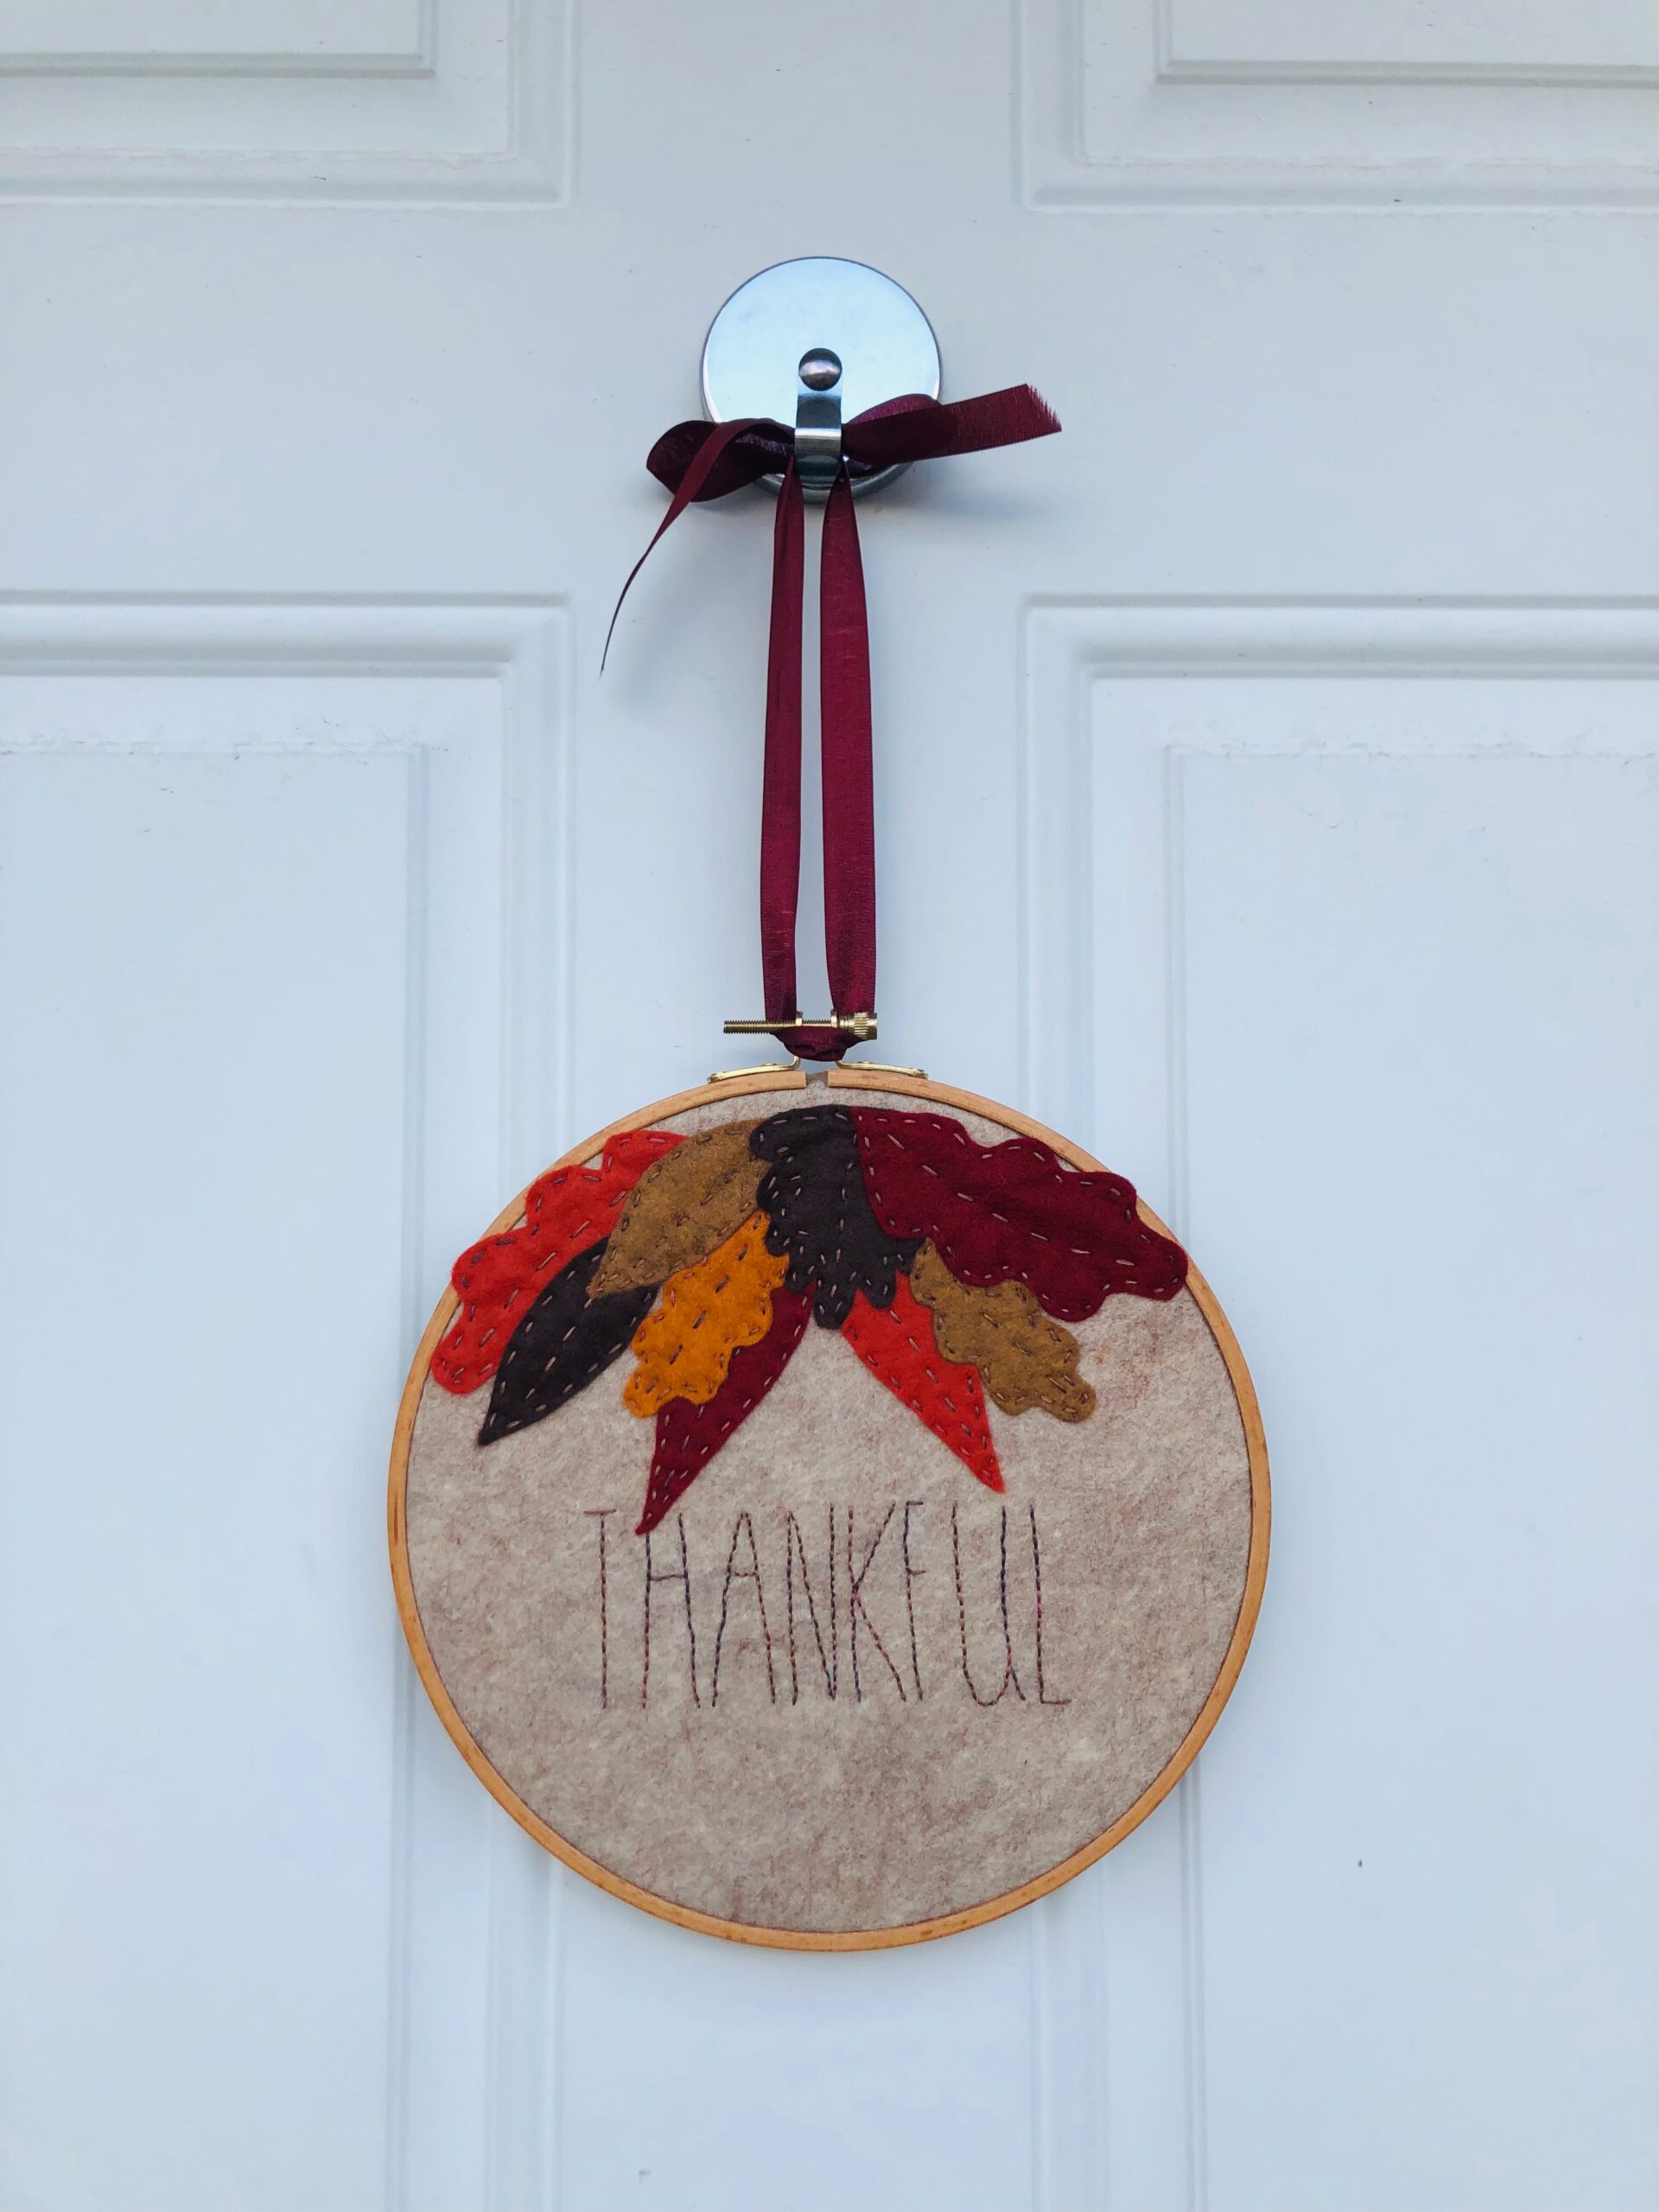
Optionally glue ribbon or trim to the back of the hoop for a permanent embellishment and to further secure the fabric edges.
Tie the ribbon to the hoop screw and hang where desired.
Project Inspiration: Create embroidery hoop art for the holidays using holly leaves and berries instead of fall leaves and a different saying, such as Ho Ho Ho, Fa La La La or Happy Holidays in the hoop center. Change it up for Hanukkah with some dreidel motifs and stitch Happy Hanukkah in embroidery.

Ellen March
I am the Director of Content for Sulky of America. The former Editor in Chief of Sew News and Creative Machine Embroidery magazines, I hosted Sew it All TV on PBS for nine seasons. I've appeared on It's Sew Easy on PBS, DIY Network's Uncommon Threads, Hallmark's Marie Osmond Show, MacPhee Workshop and more! Come sew with me!


2 Comments
Melanie Call
I love it! So perfect for fall!
Ellen March
Thanks Melanie!