
Halloween Hat with Puffy & Glowy Embroidery

Plush Hat for Halloween + Make it Glow!
by Pamela Cox
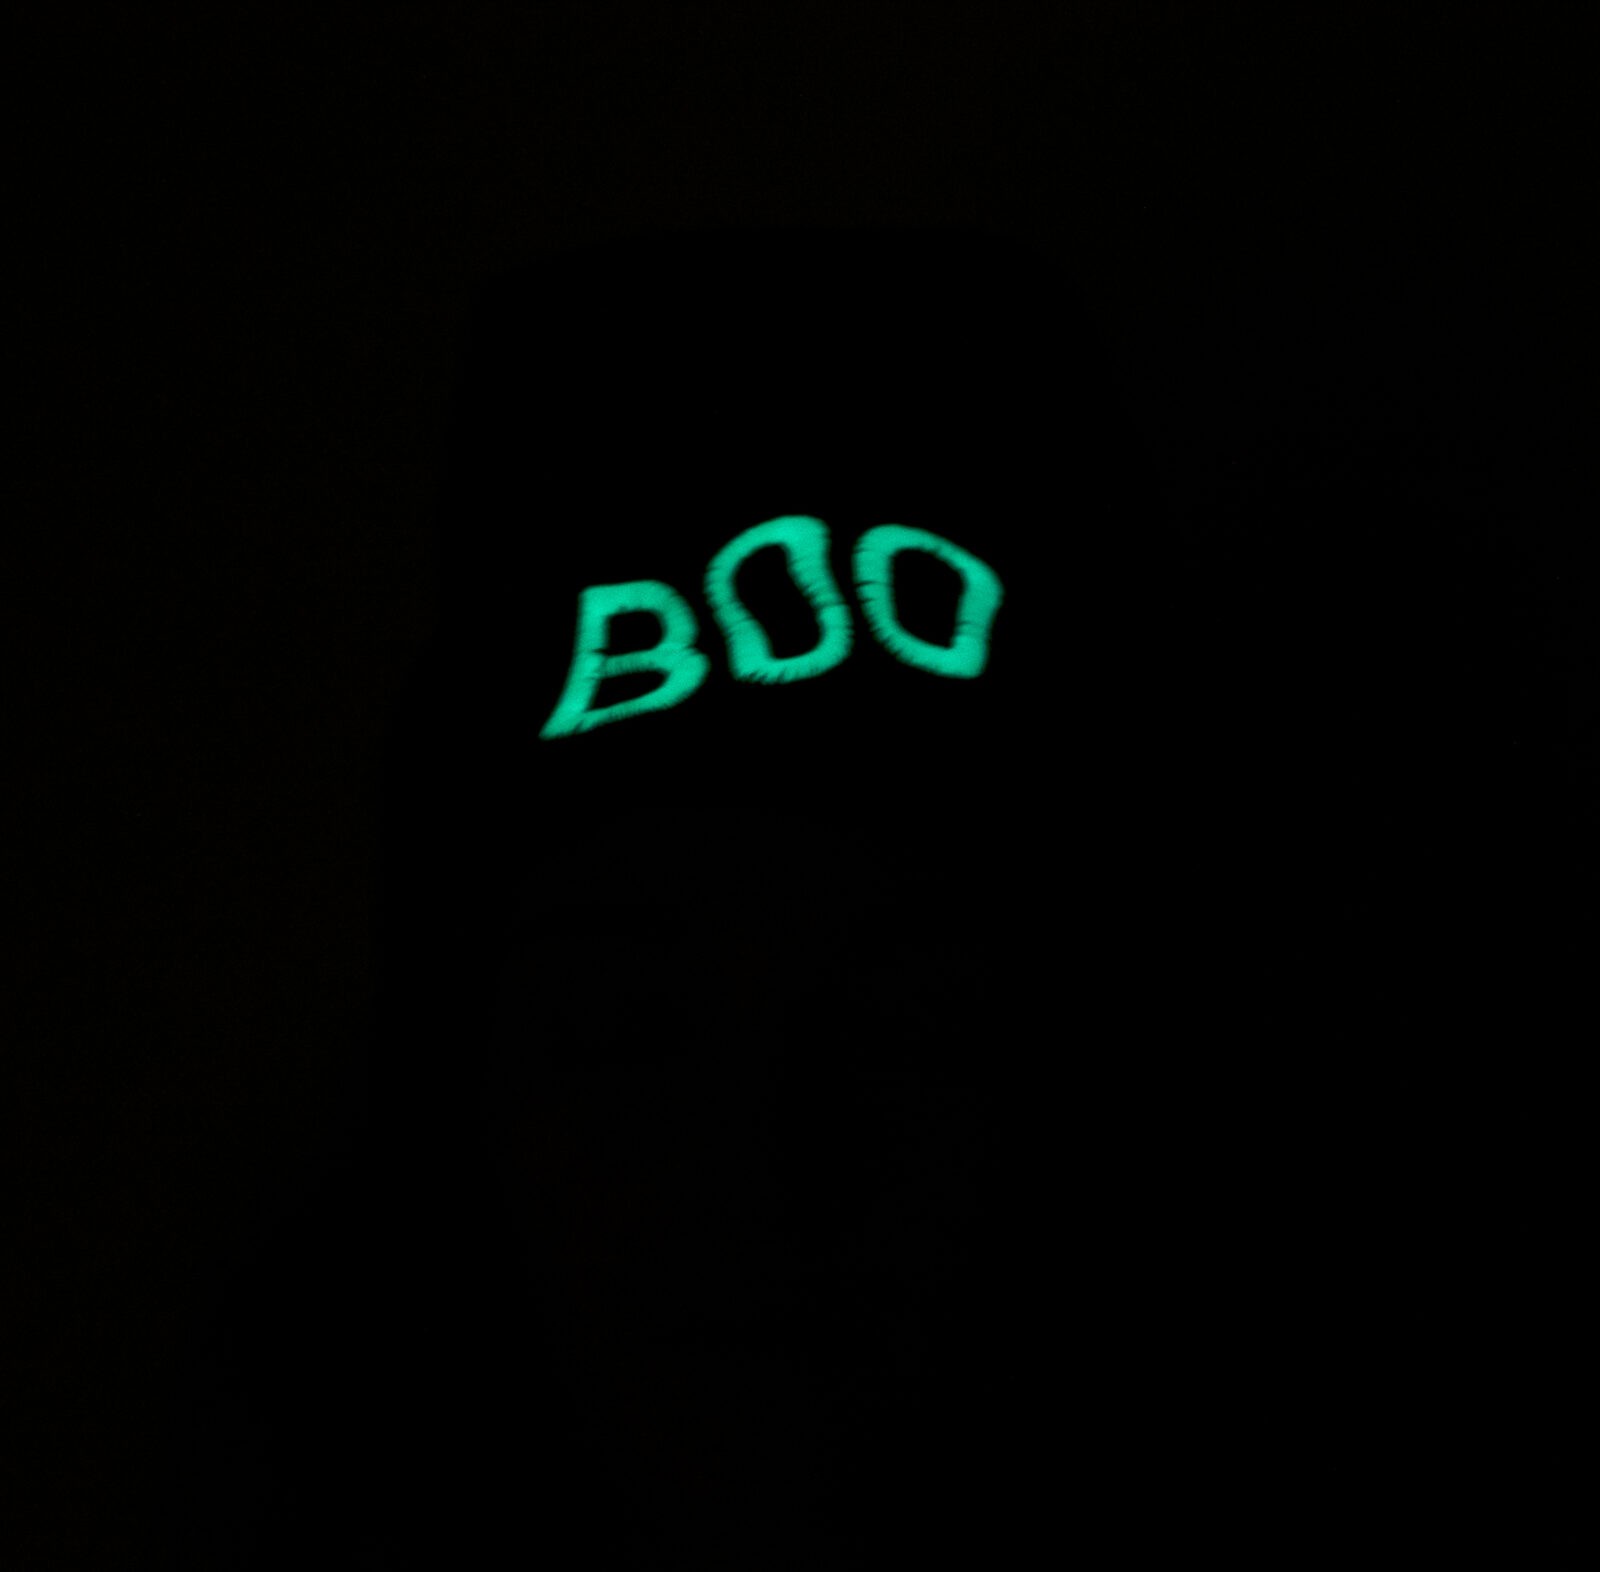
Create a fun hat with Glow embroidery to wear on Halloween night and beyond! The glow-in-the-dark thread is punctuated by Sulky Puffy Foam, which makes the embroidery stand proud atop the plush fabric surface.
HALLOWEEN HAT PREP
Download the free Sulky Fleece Hat Pattern.
Additionally, download the free  embroidery design in the format of your choice.
Gather the supplies listed in the pattern directions with the following exceptions:
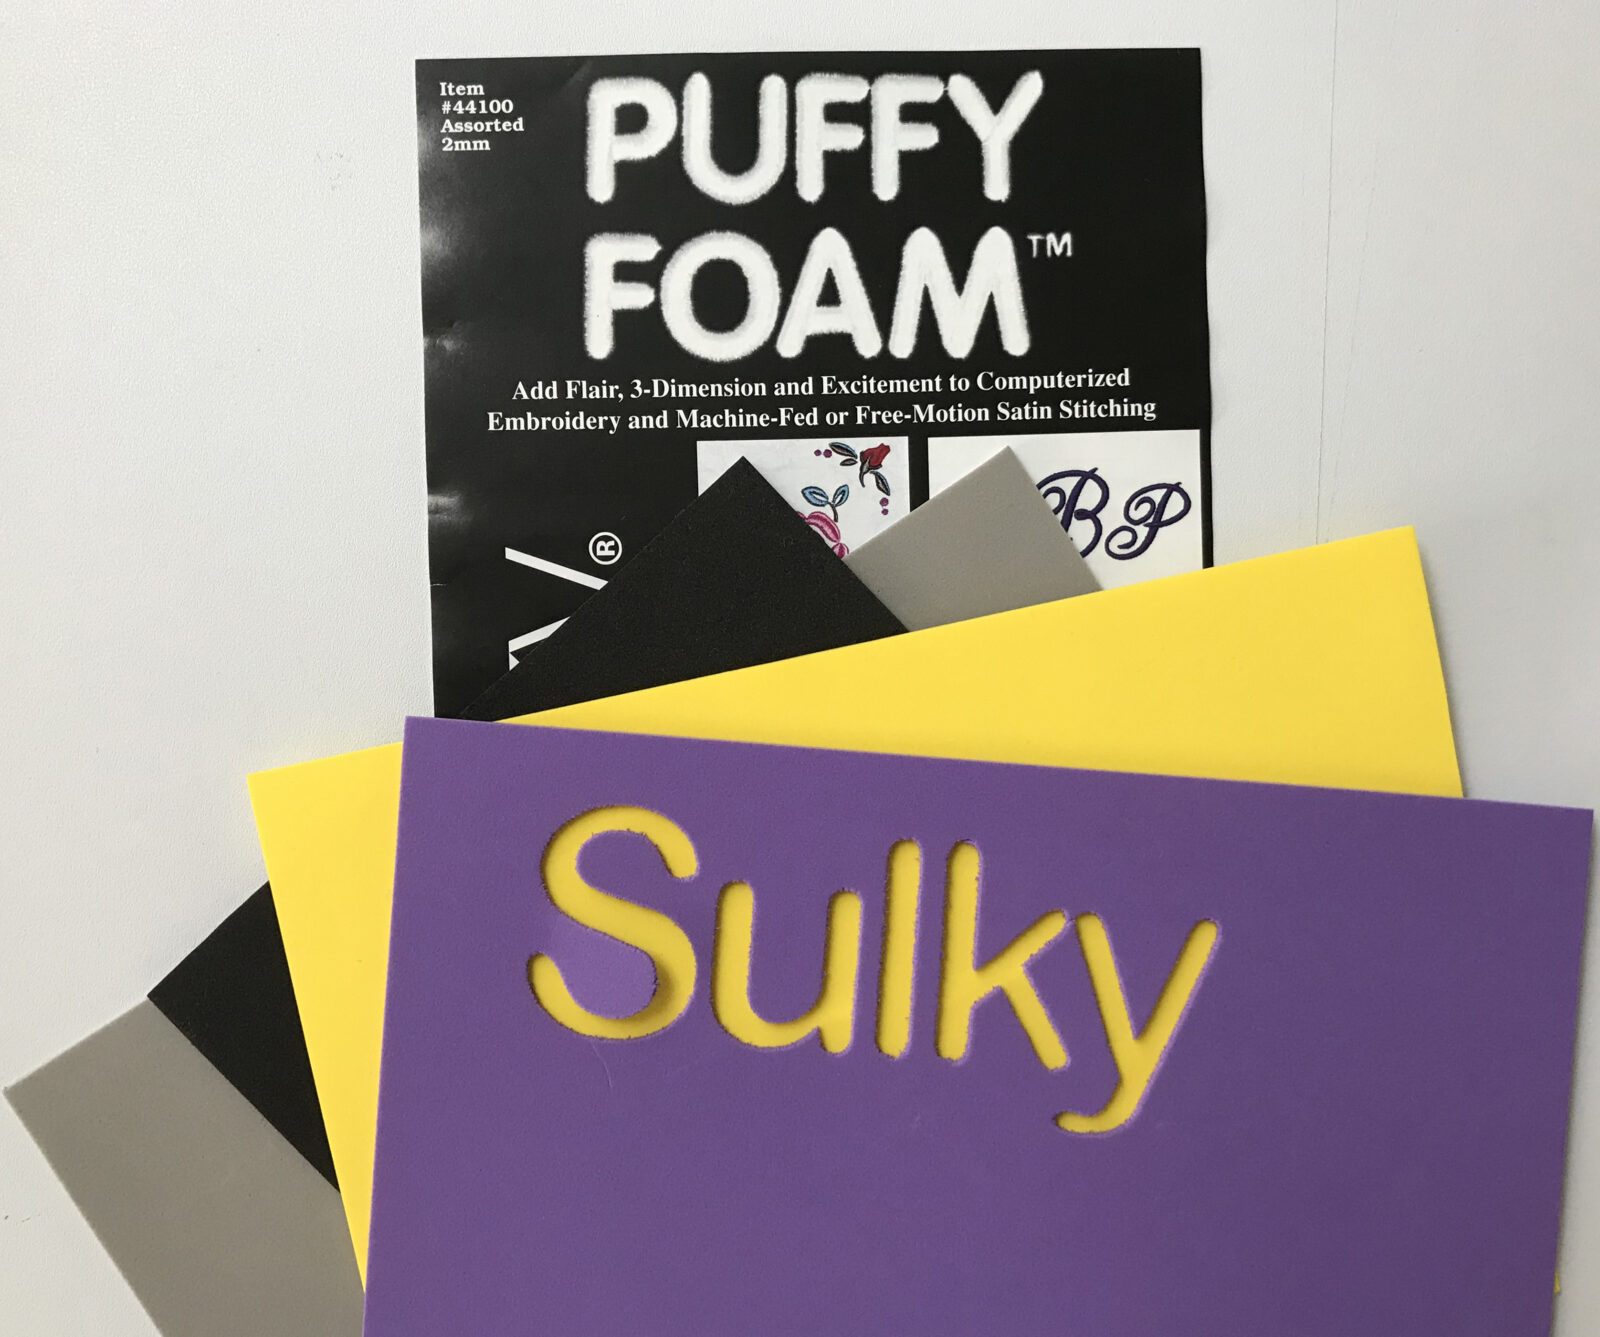
Use Sulky Puffy Foam™-2mm as top stabilizer.
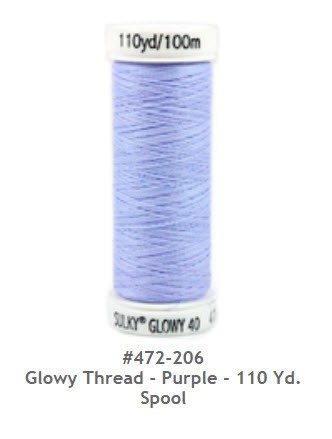
For the embroidery design, use Glowy thread in the color of your choice.
Use a size 100/16 Organ universal or topstitch needle for the embroidery.
HALLOWEEN HAT CONSTRUCTION
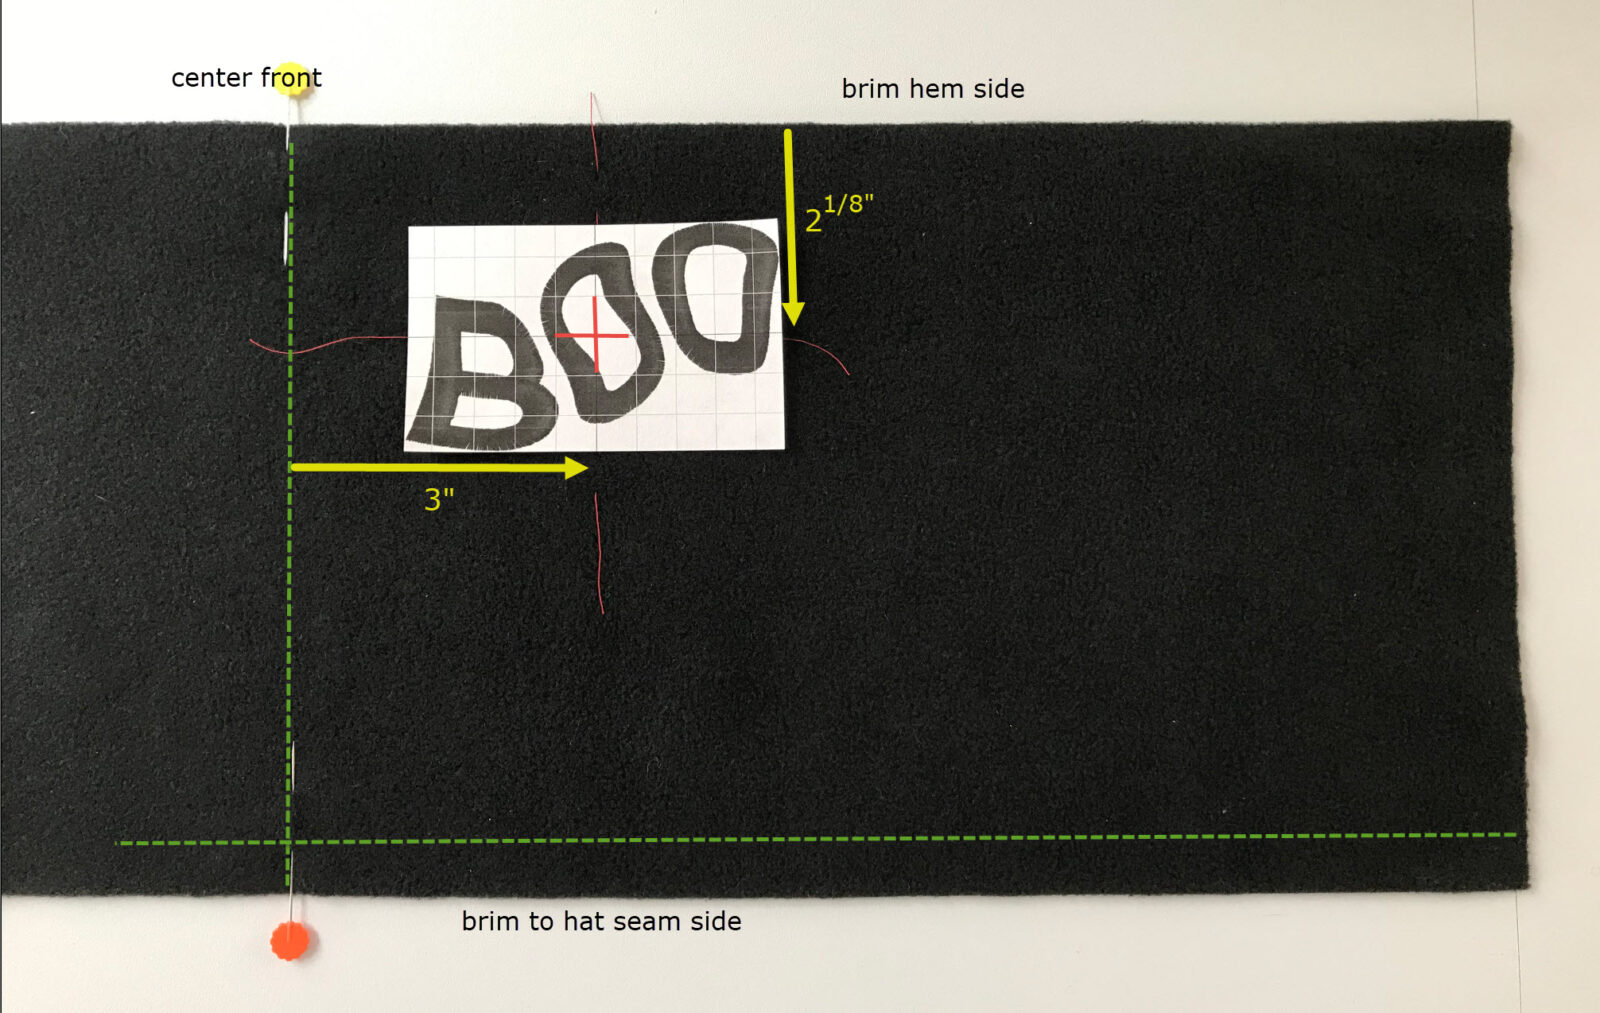
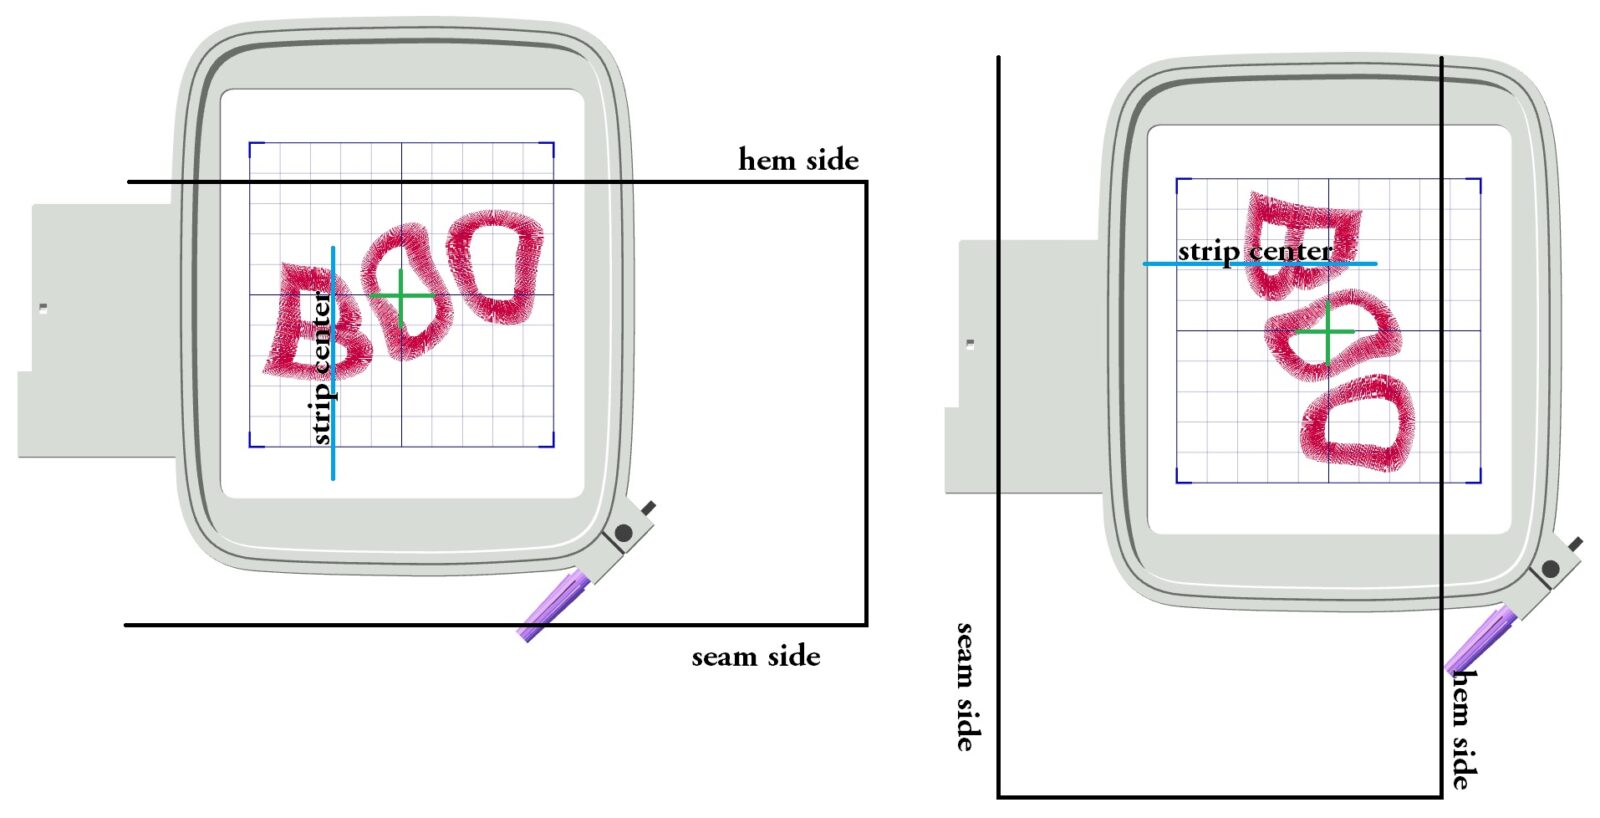
Cut out the hat pieces from the fleece. Set aside the crown pieces. Mark the center front on the brim strip ( the foldline on the pattern piece). Hand-baste a line 3” to the right of center front and 2⅛” down from the brim upper edge (the edge that will be hemmed during hat construction). The intersection of these two lines marks the embroidery center.
HAT EMBROIDERY
Thread the embroidery machine using Glowy thread in both the needle and bobbin. Slow the machine speed by at least half.
Load the design into the machine and note which way the design loads. The direction dictates the direction in which to hoop the fleece strip .
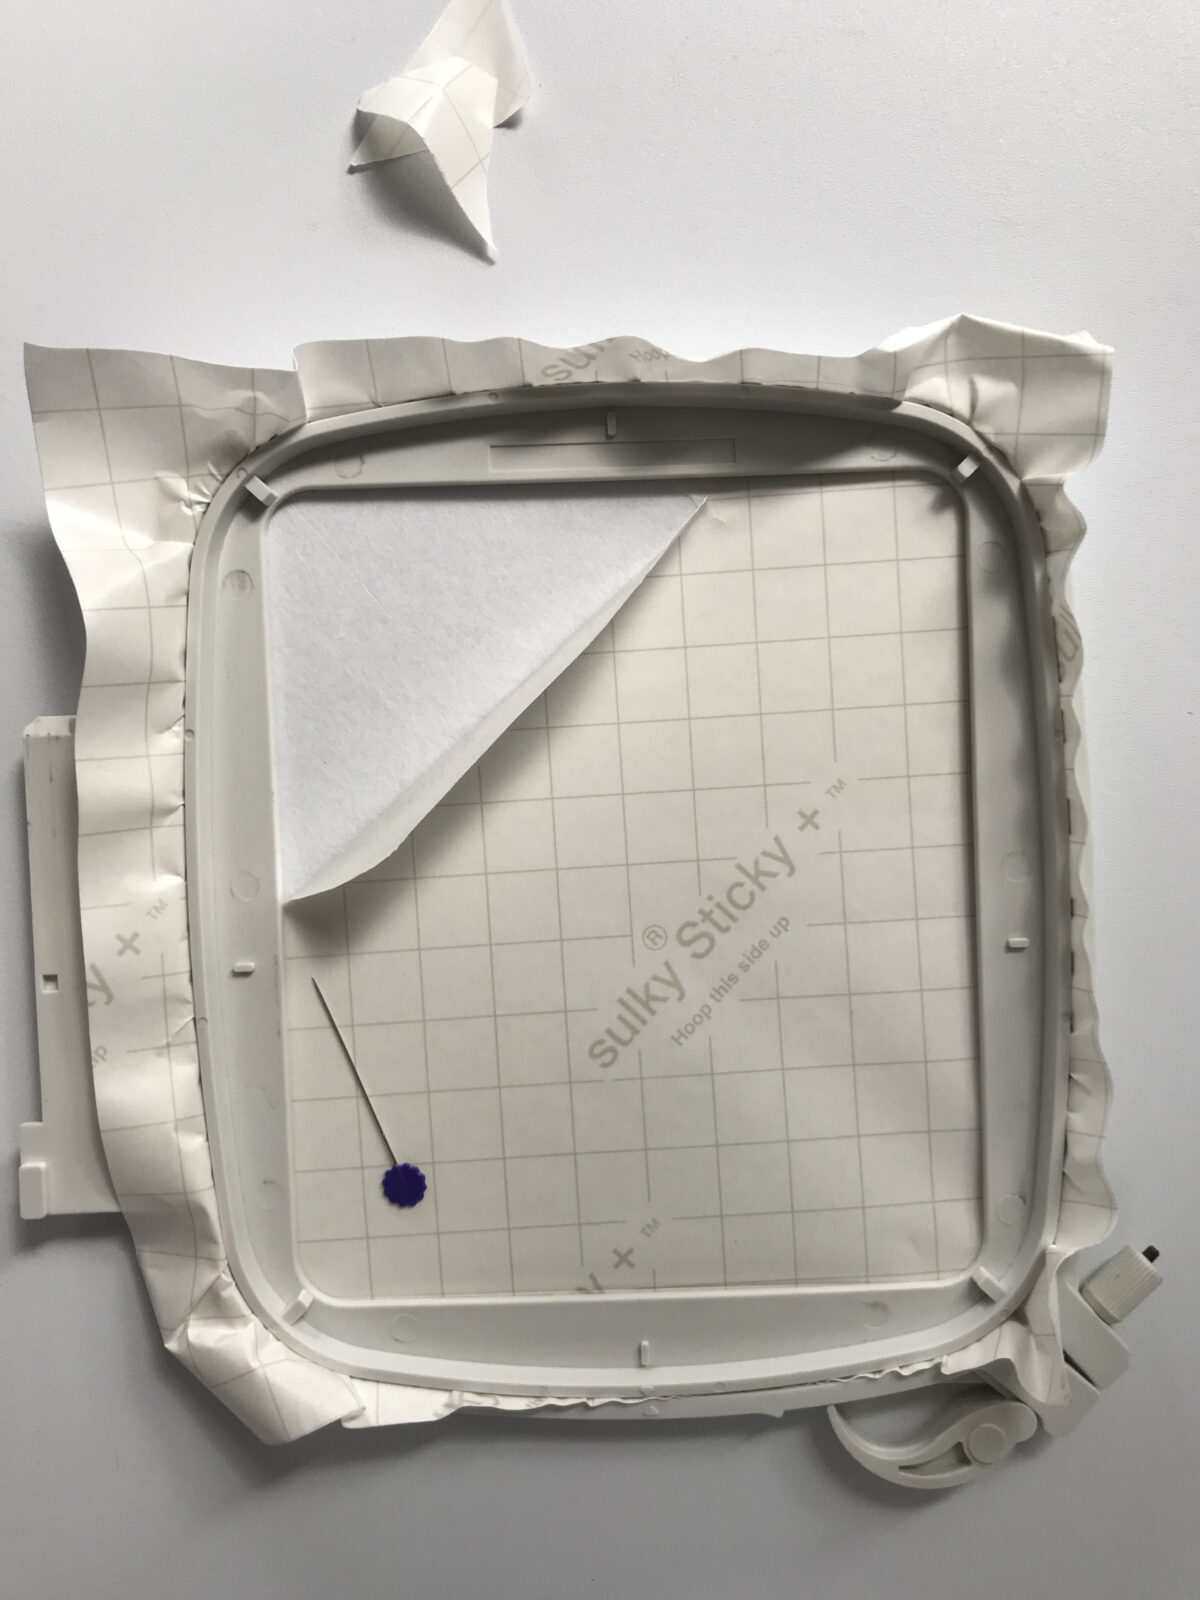
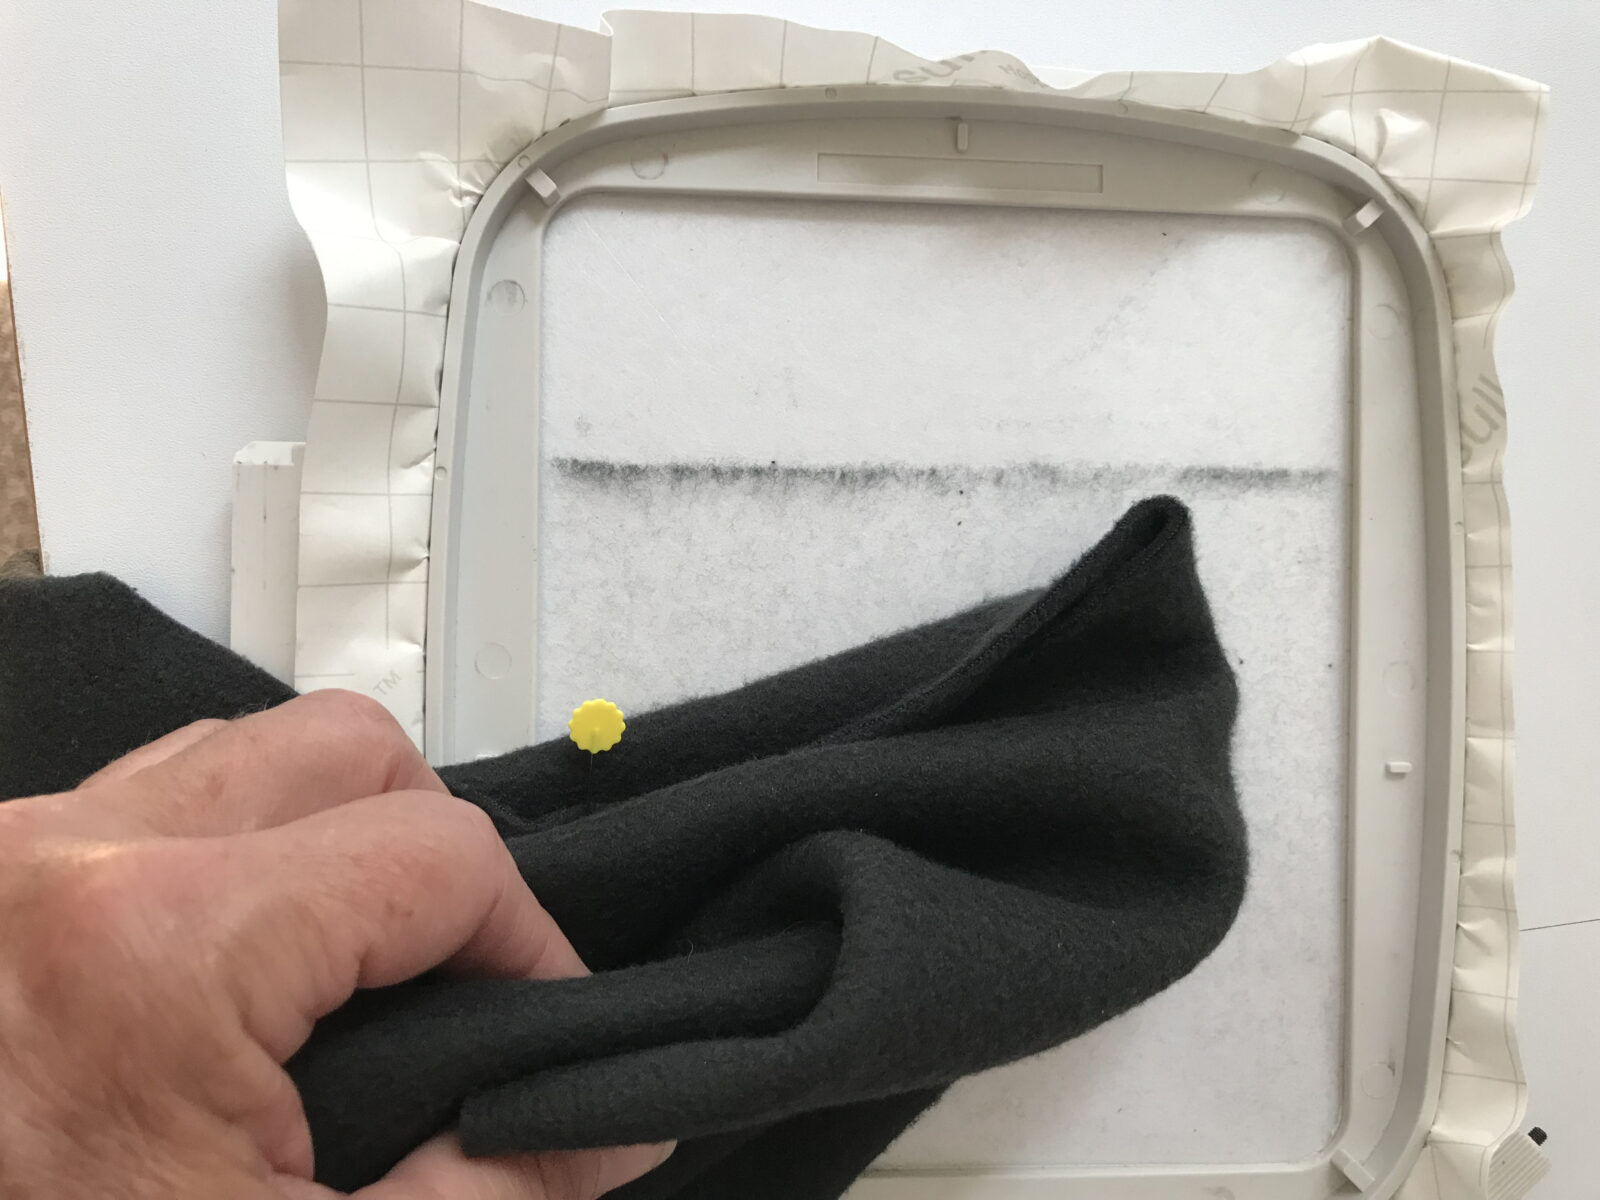
Secure a piece of Sulky® Sticky +™ directly in the embroidery hoop with the paper side intact and facing up. Gently score the paper the inside of the hoop using a pin. Remove the paper backing, exposing the sticky surface.
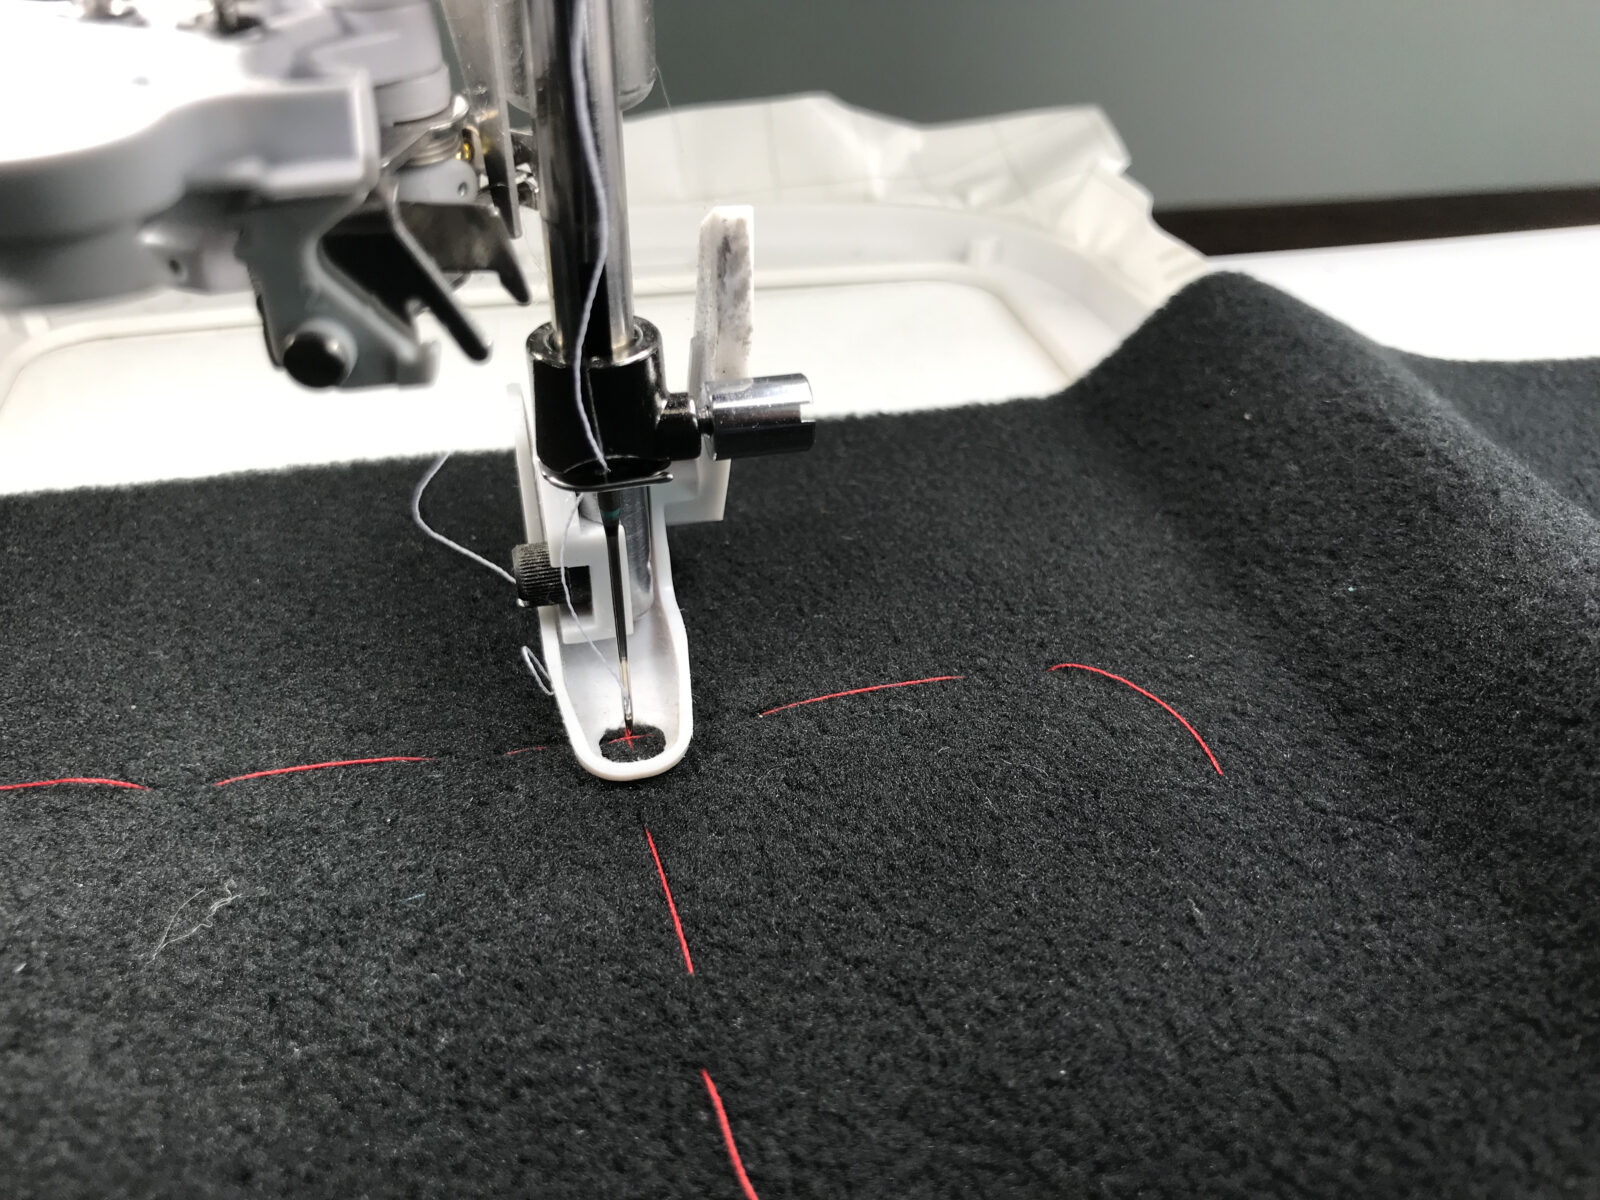
Using your hand, press the fleece firmly onto the stabilizer, matching the design intersecting center lines with the hoop center markings.
Attach the hoop onto the arm of the embroidery machine and match design center to the needle center position.
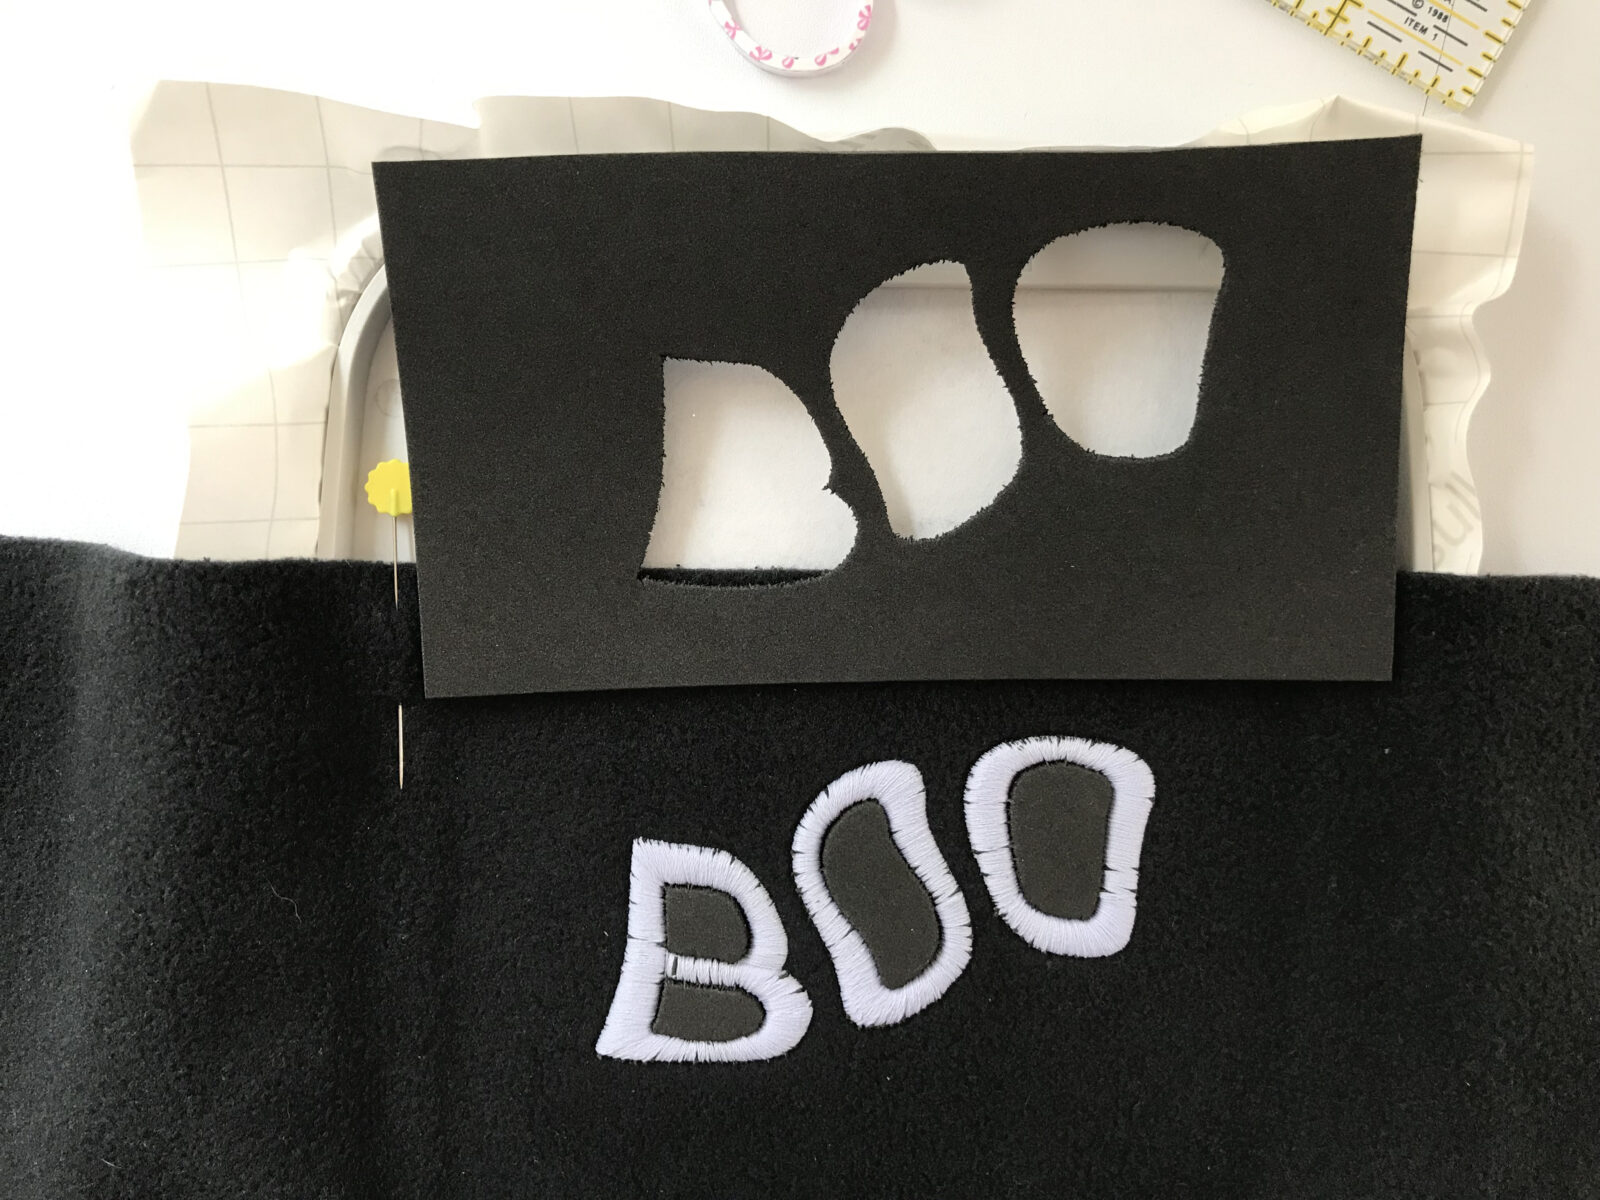
Before embroidery begins, center a 5½” x 3¼” piece of Puffy Foam™ in the hoop, ¾” down from the fleece upper edge. Hold the foam in place during the embroidery process, keeping your fingers away from the needle.
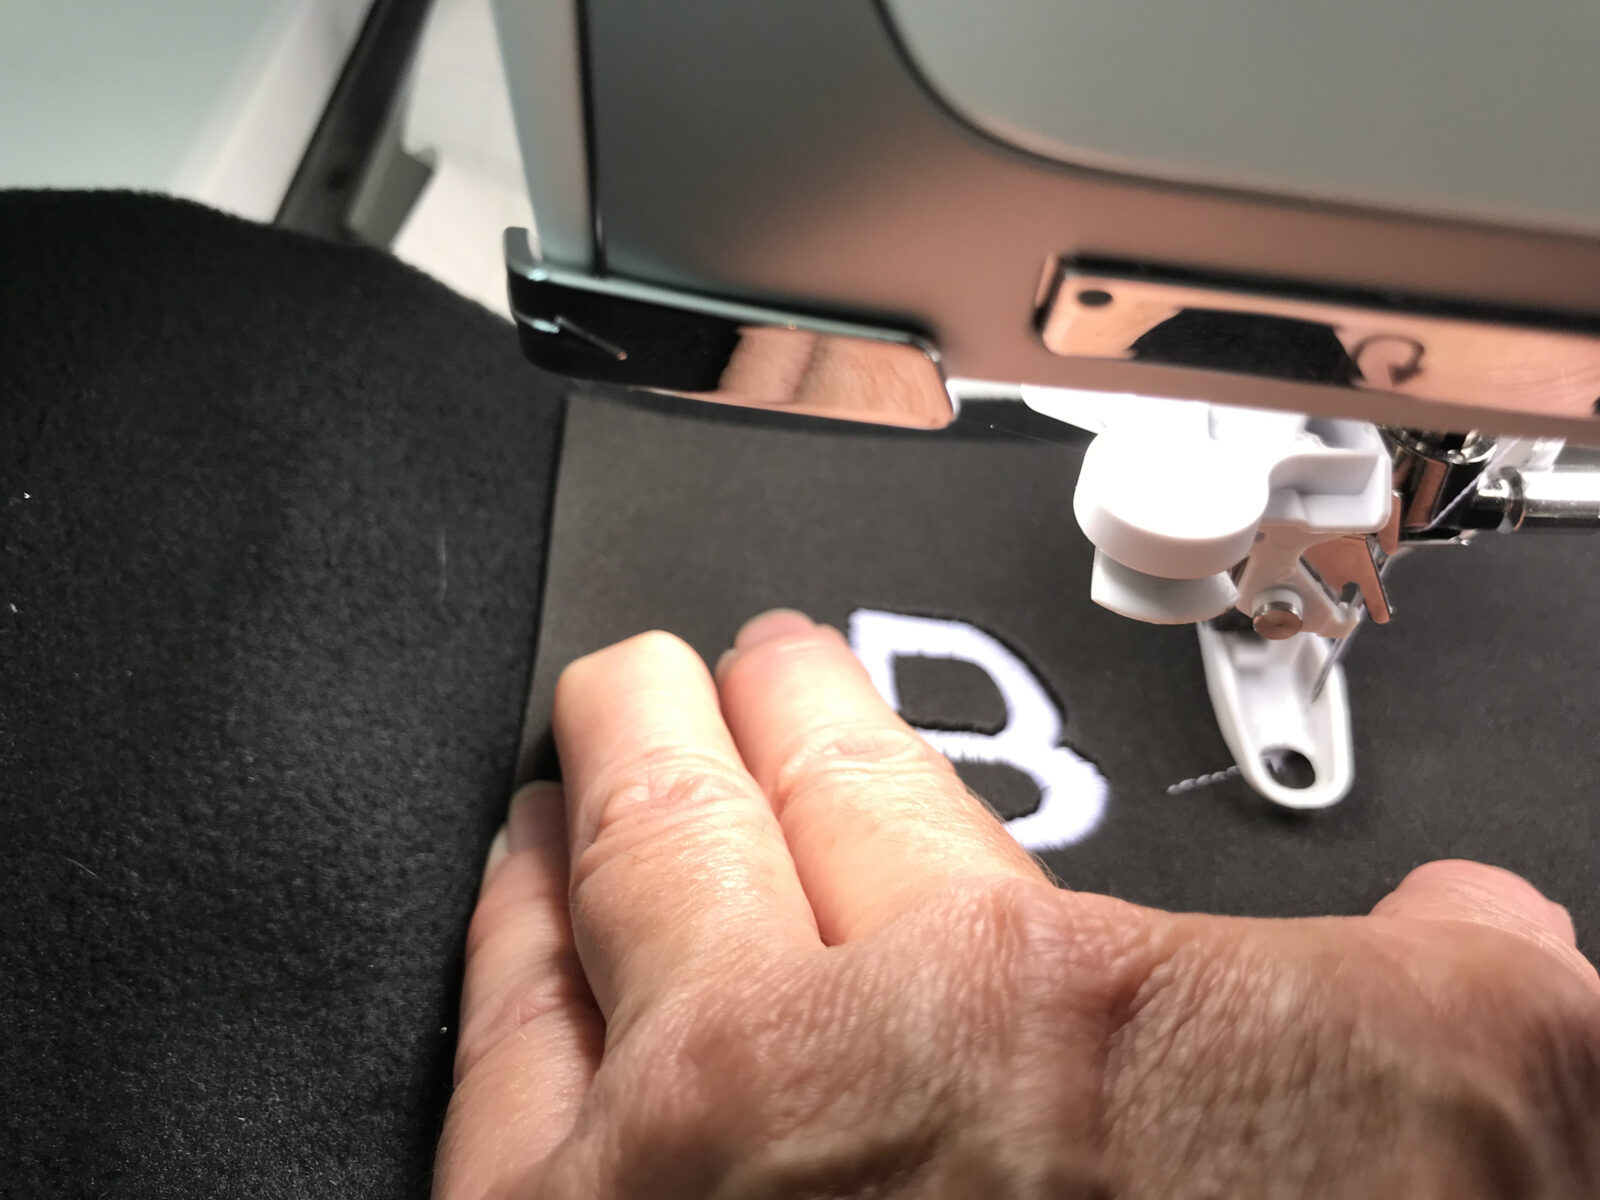
Helpful Hint: If you’re uncomfortable holding the foam in place, lightly spray the foam wrong side with KK 2000™ Temporary Spray Adhesive; firmly press it in position over the fleece.

FINISHING THE HAT
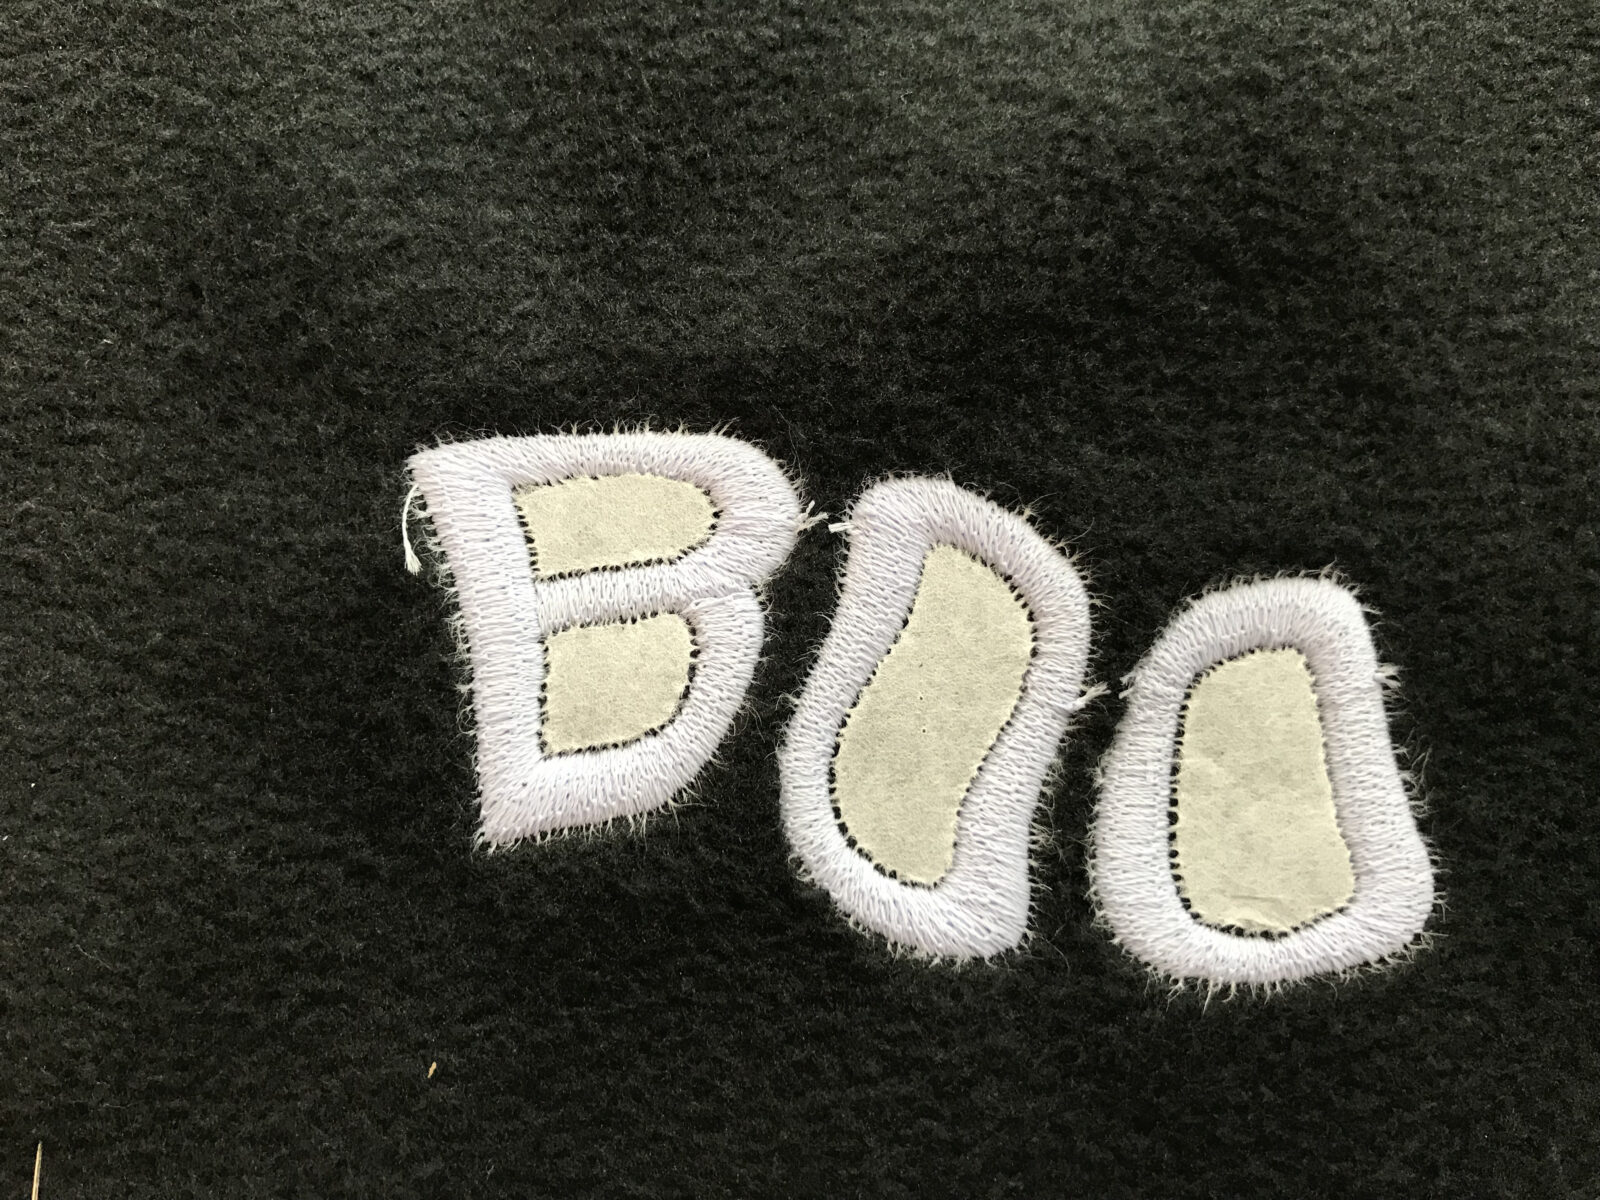
When the embroidery is complete, gently remove the Puffy Foam™ with the fabric still secured in the hoop. It easily tears away even inside the letters!
With the stabilizer still hooped, gently pull the fleece strip away from the sticky surface until only the design is anchored.
Release the hoop. Then turn the strip to the wrong side and gently tear away the excess stabilizer from the design.
Follow the pattern directions for the remaining hat construction.
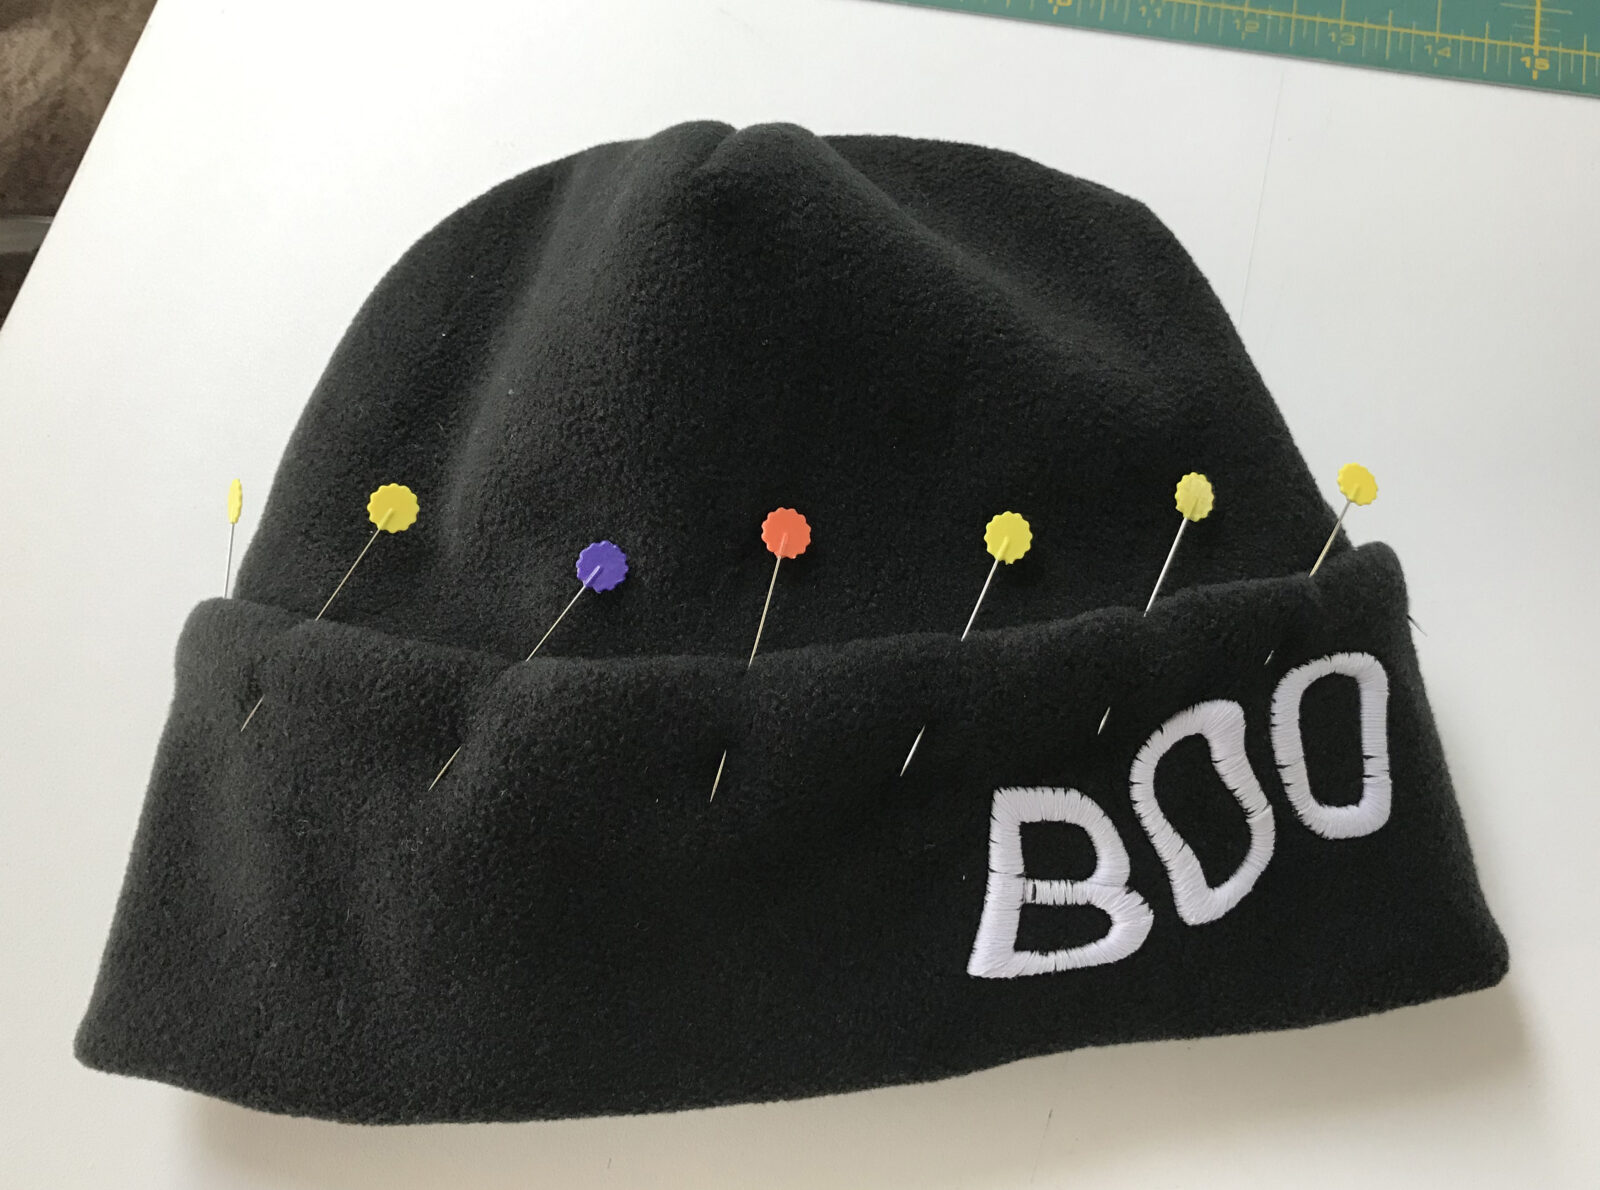
Spook your friends at night with the Glowy effects of this hat!


