
Hooded Towel Embroidery How-Tos
Hooded Towel
how to personalize a hooded towel with machine embroidery
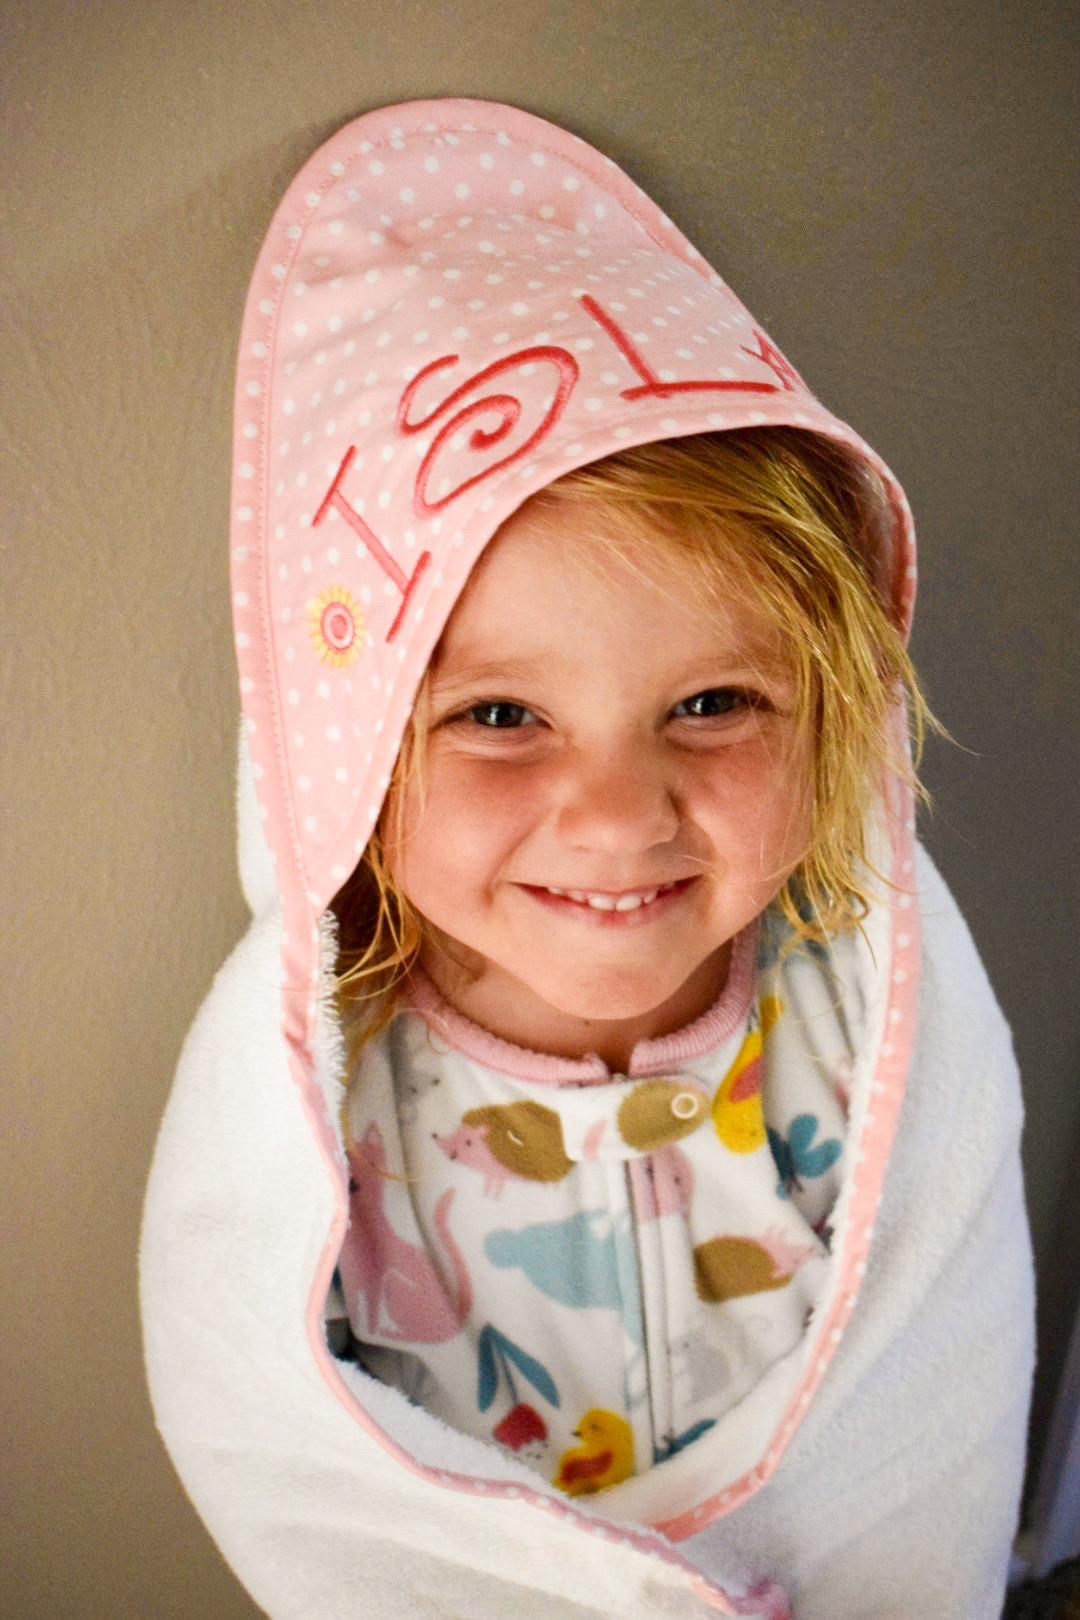
A hooded towel makes a great gift for a little one, either for a birthday or summer fun package. Read on to learn how to add machine embroidery to a hooded towel blank that’s already trimmed with cute fabric. This project is easily completed in two hours or less, depending on the complexity of the chosen design. Keep things simple with a name or monogram, or choose a motif that speaks to the recipient’s interests.
SUPPLIES
- Hooded Towel Blank
- Sulky Poly Deco™ Thread
- Organ® size 80/12 Top Stitch Needle
- Sulky Sticky+ Stabilizer
- Sticky+ Slitting Pen
- Sulky Bobbin Thread
- Machine Embroidery Designs (Choose a built-in font in your embroidery machine! And/or choose a favorite motif or licensed design that speaks to the child’s interests.)
HOODED TOWELS
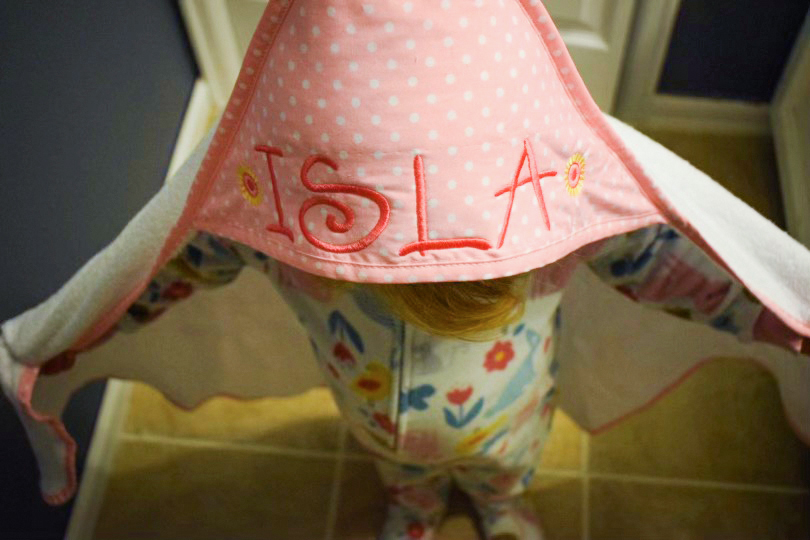
These hooded towels come in pink, blue, green and gray, each with micro polka dots. They are great gifts for infants and kids up to age 4. The hood area is triangular in shape, with short sides measuring approximately 9″ and the long edge measuring 14″. The stitching area measures approximately 2″ x 9″ along the long lower edge. There’s additional room above that area for a motif as well.

The towel is a white medium-weight terry cloth fabric. The hood is cotton woven fabric with a bound edge. The hood backing is the same terry fabric used for the towel.
DESIGN OPTIONS
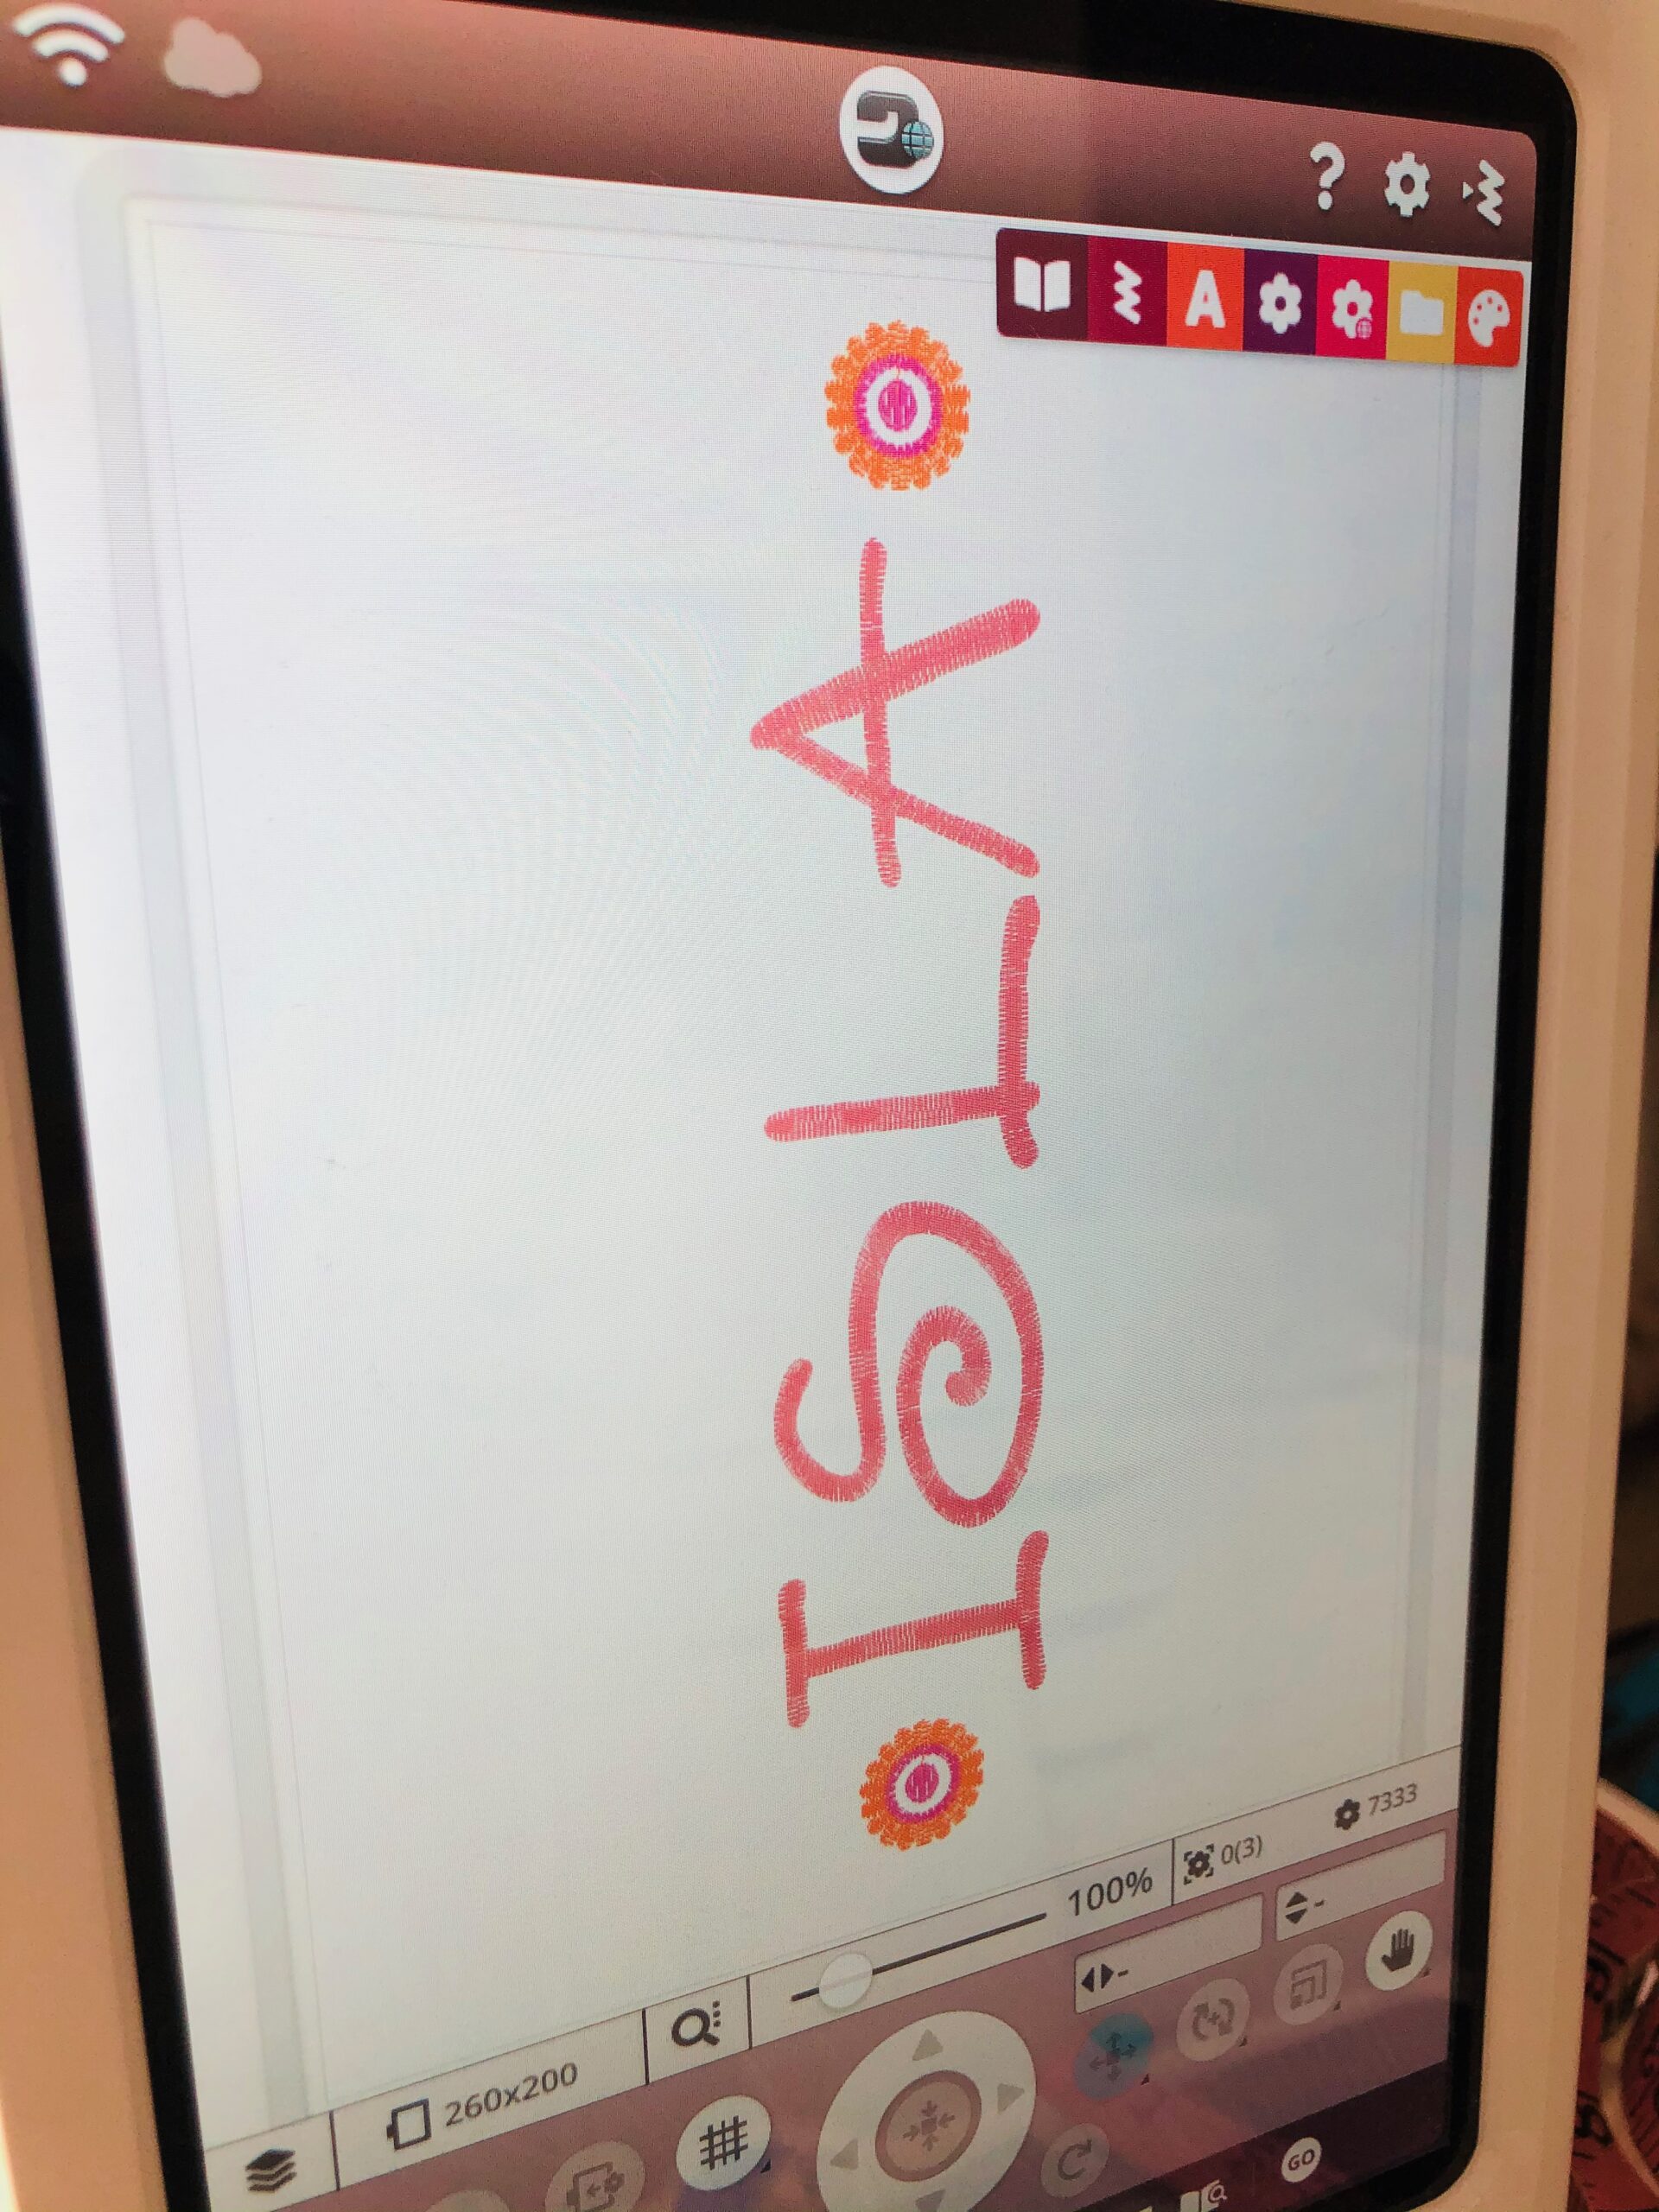
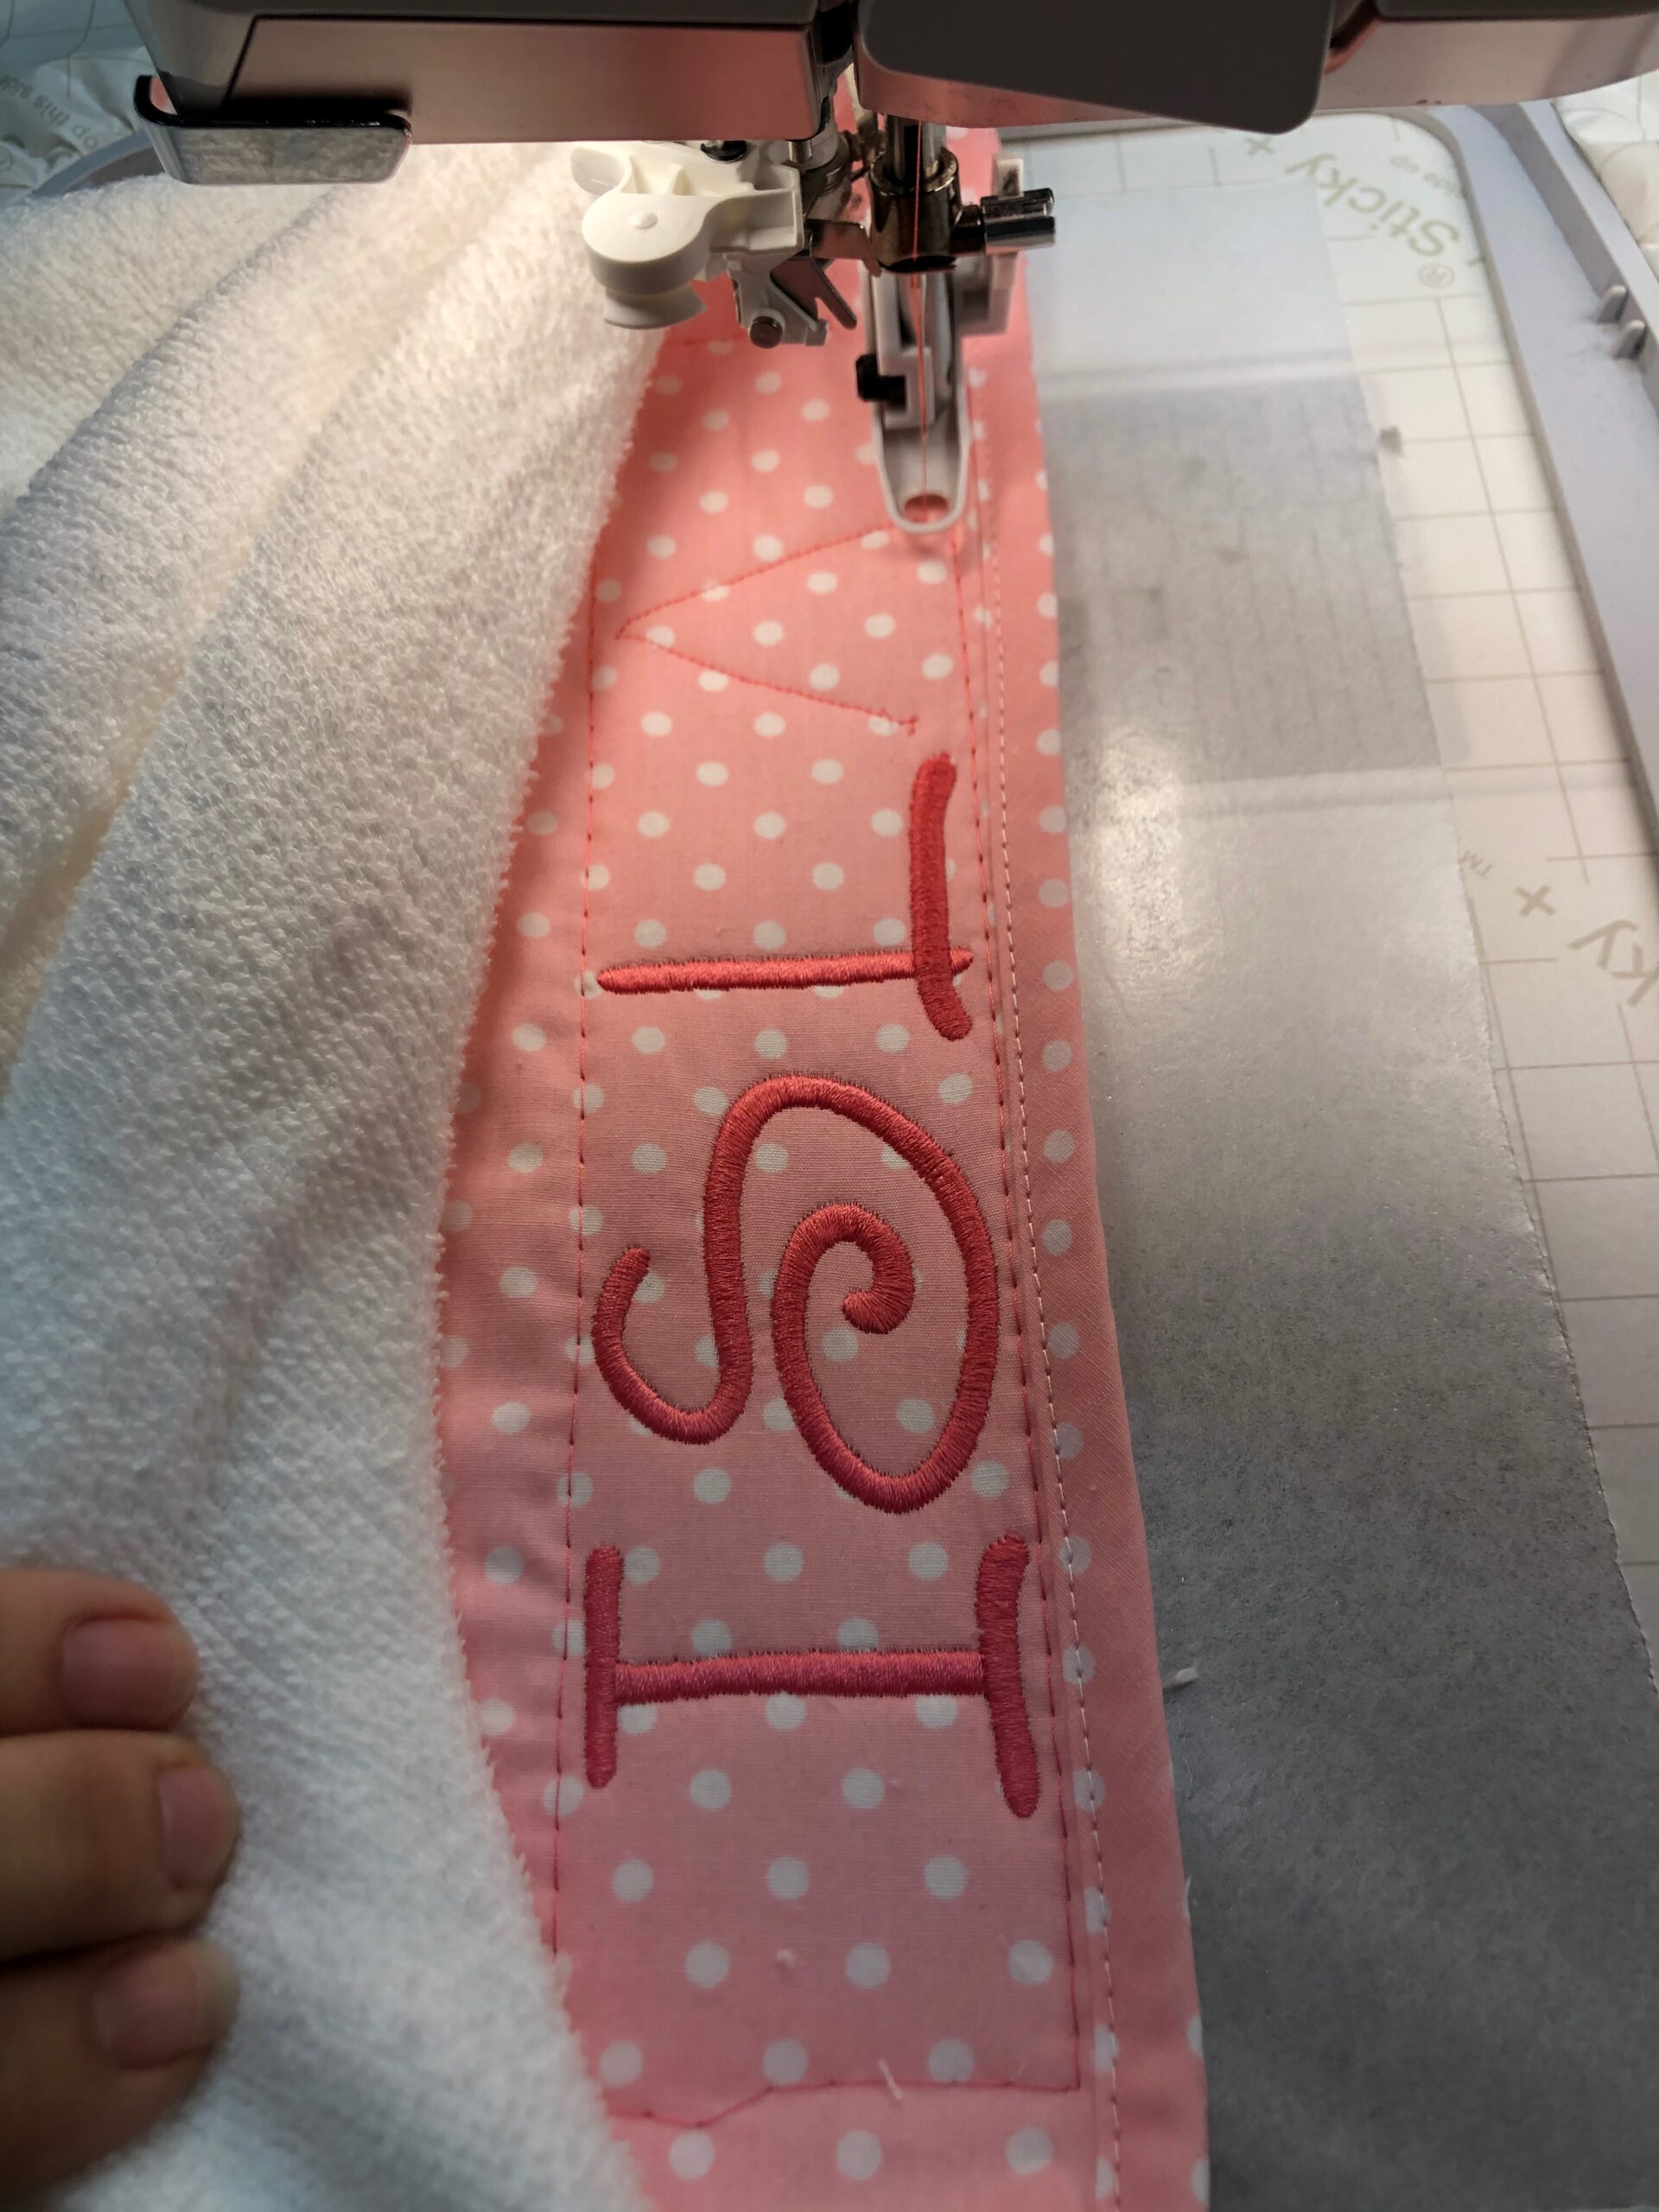
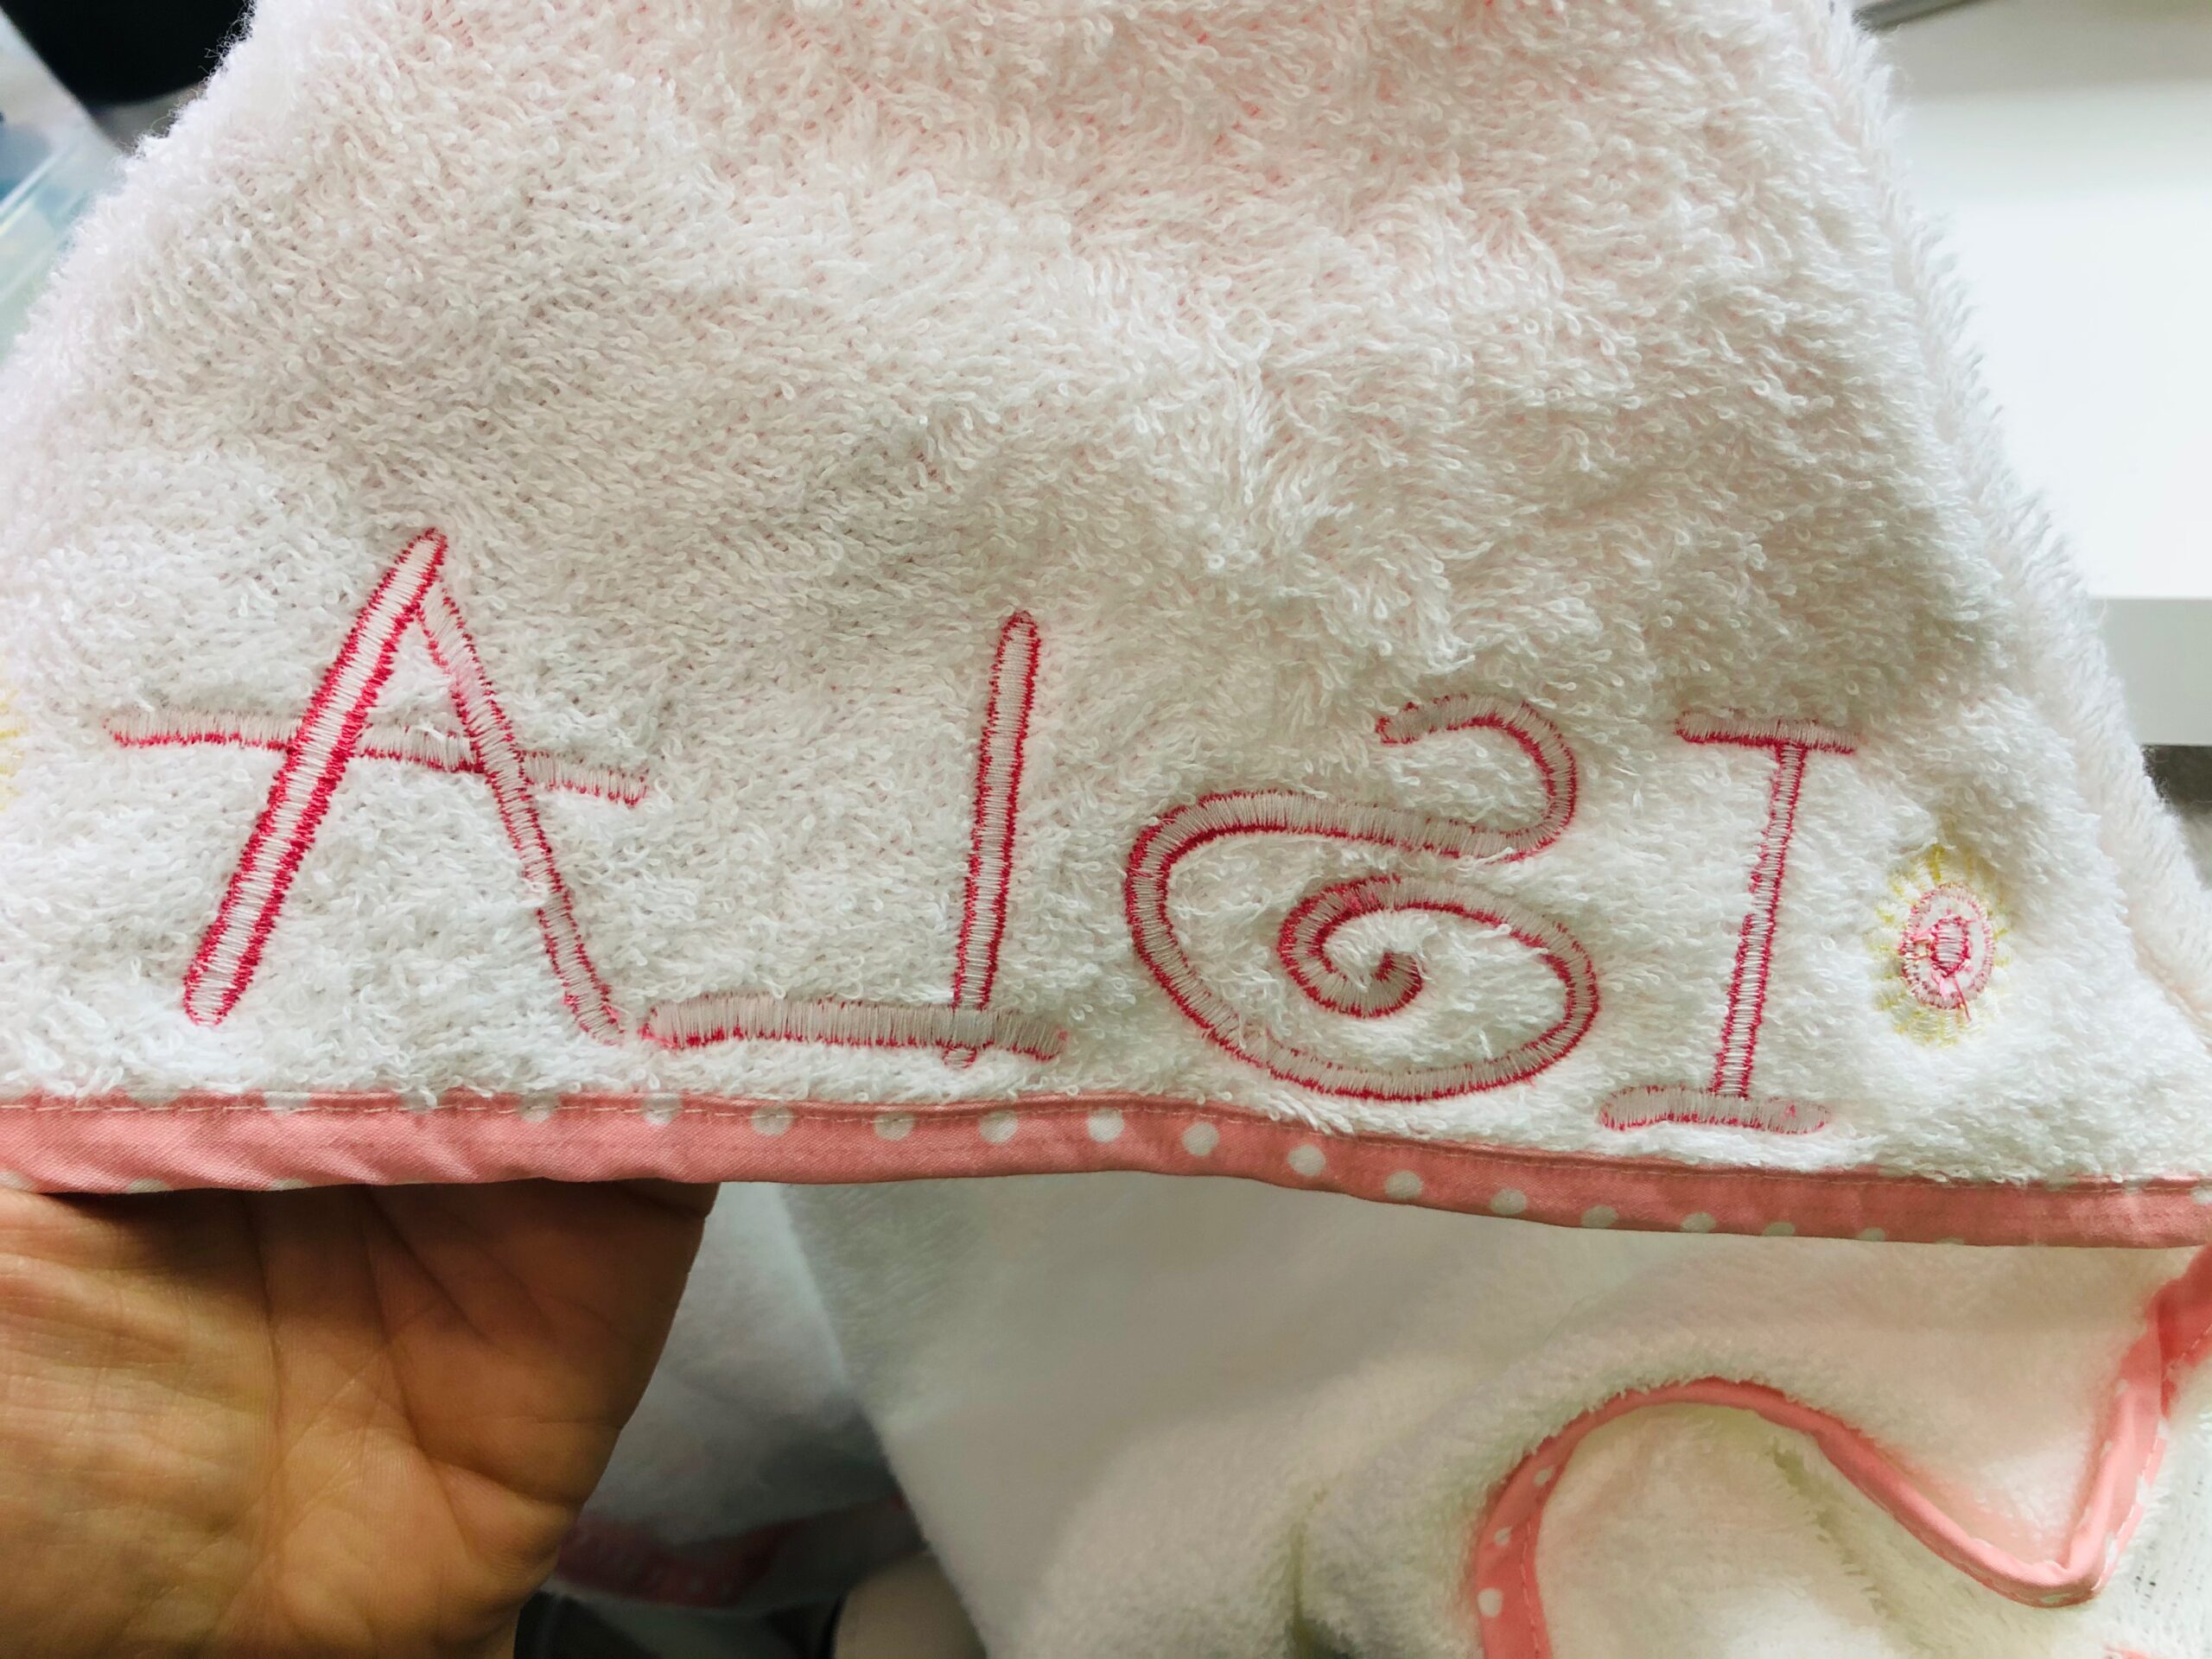
When choosing designs for hooded towel embroidery, a monogram or name is a nice choice for personalization. Choose a built-in font on your machine and spell out a child’s name. Or shop around the myriad design options on the internet to find a font you love. The featured font and design are built-in designs on the Husqvarna Viking Designer Epic 2 machine: “Swirl” font, size 50 & “N Small Designs” number 9.
Keep in mind the letter height and width when planning the monogram or name to ensure it will fit within the stitching area; or plan to resize the name to fit the needed dimensions.
If working with a short name, it’s fun to add a small motif to either end of the name.
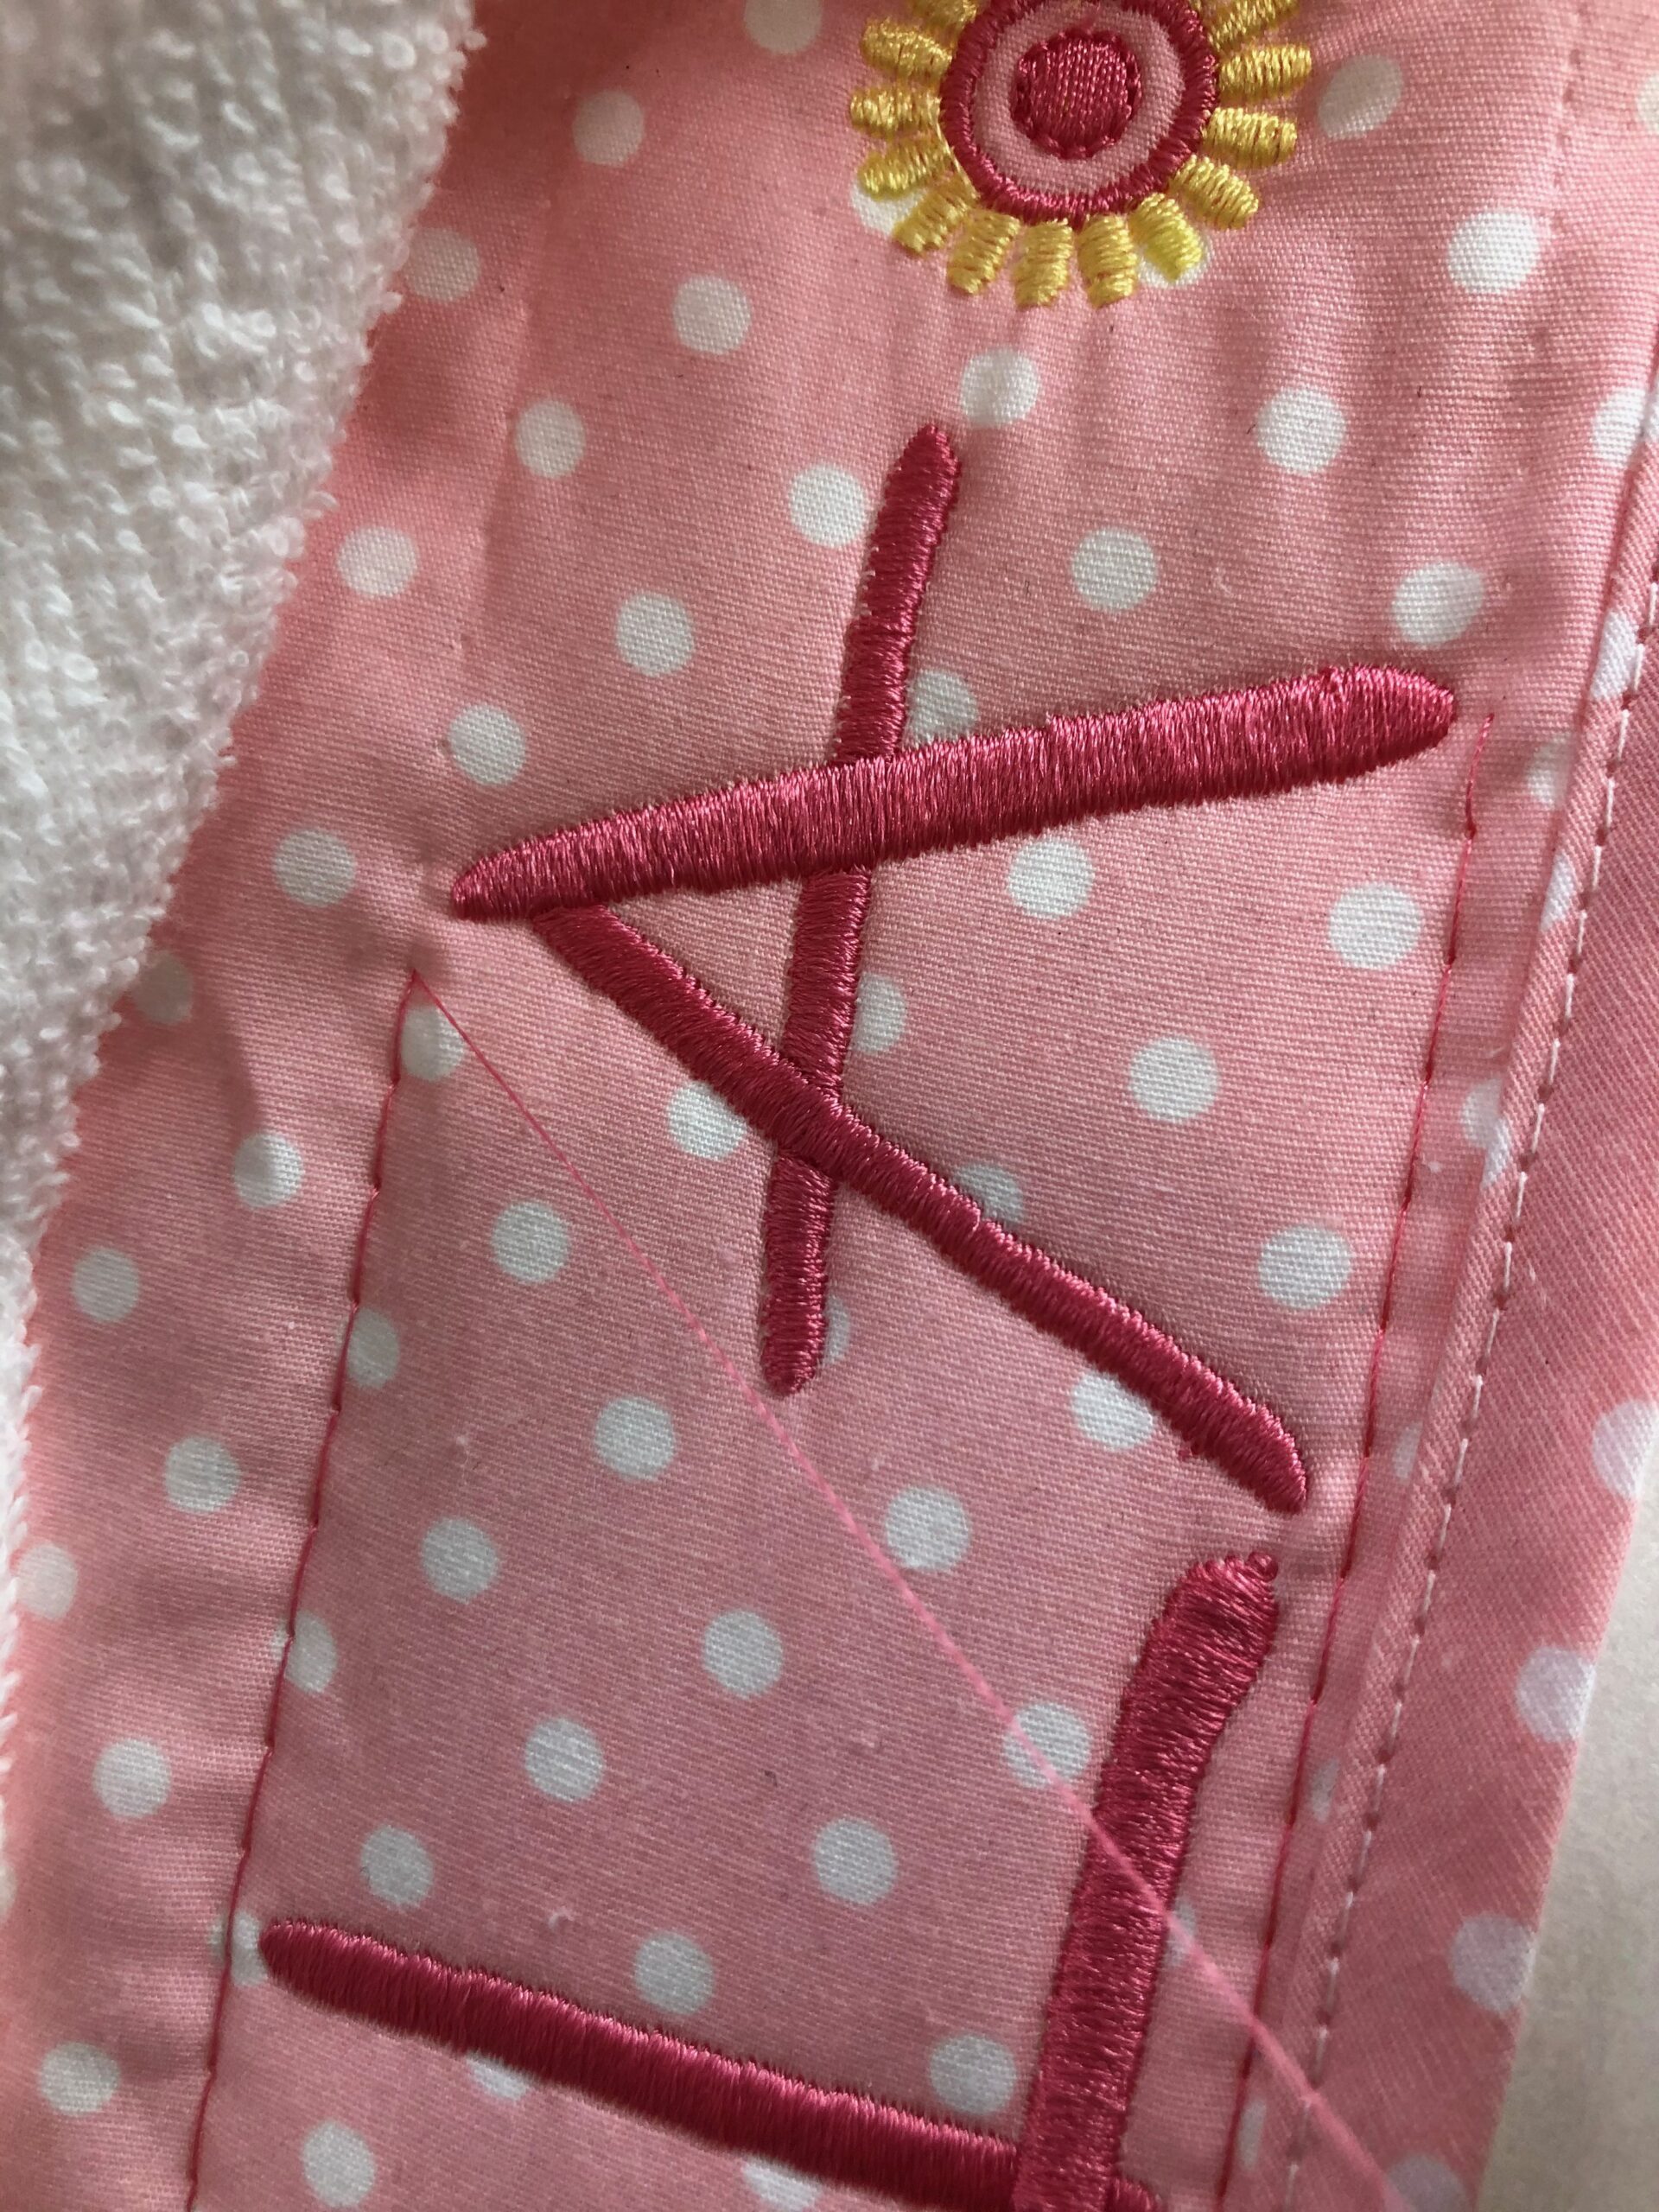
Or position a larger motif above the name, below the hood triangle point. Keep in mind that this area is trickier to embroider, since the machine foot and needle needs room to move in that tight space. You may end up embroidering “blindly” or in a “tunnel” while the machine stitches the design inside the hood.
THREAD CHOICE
Polyester thread is the best choice for toweling of any kind. It’s colorfast and bleachable and takes to multiple washings very well. The thread has a nice sheen, is bright and lustrous. Choose a contrasting color or darker color in the same family so the embroidery is easily readable over the polka dots on the hood.
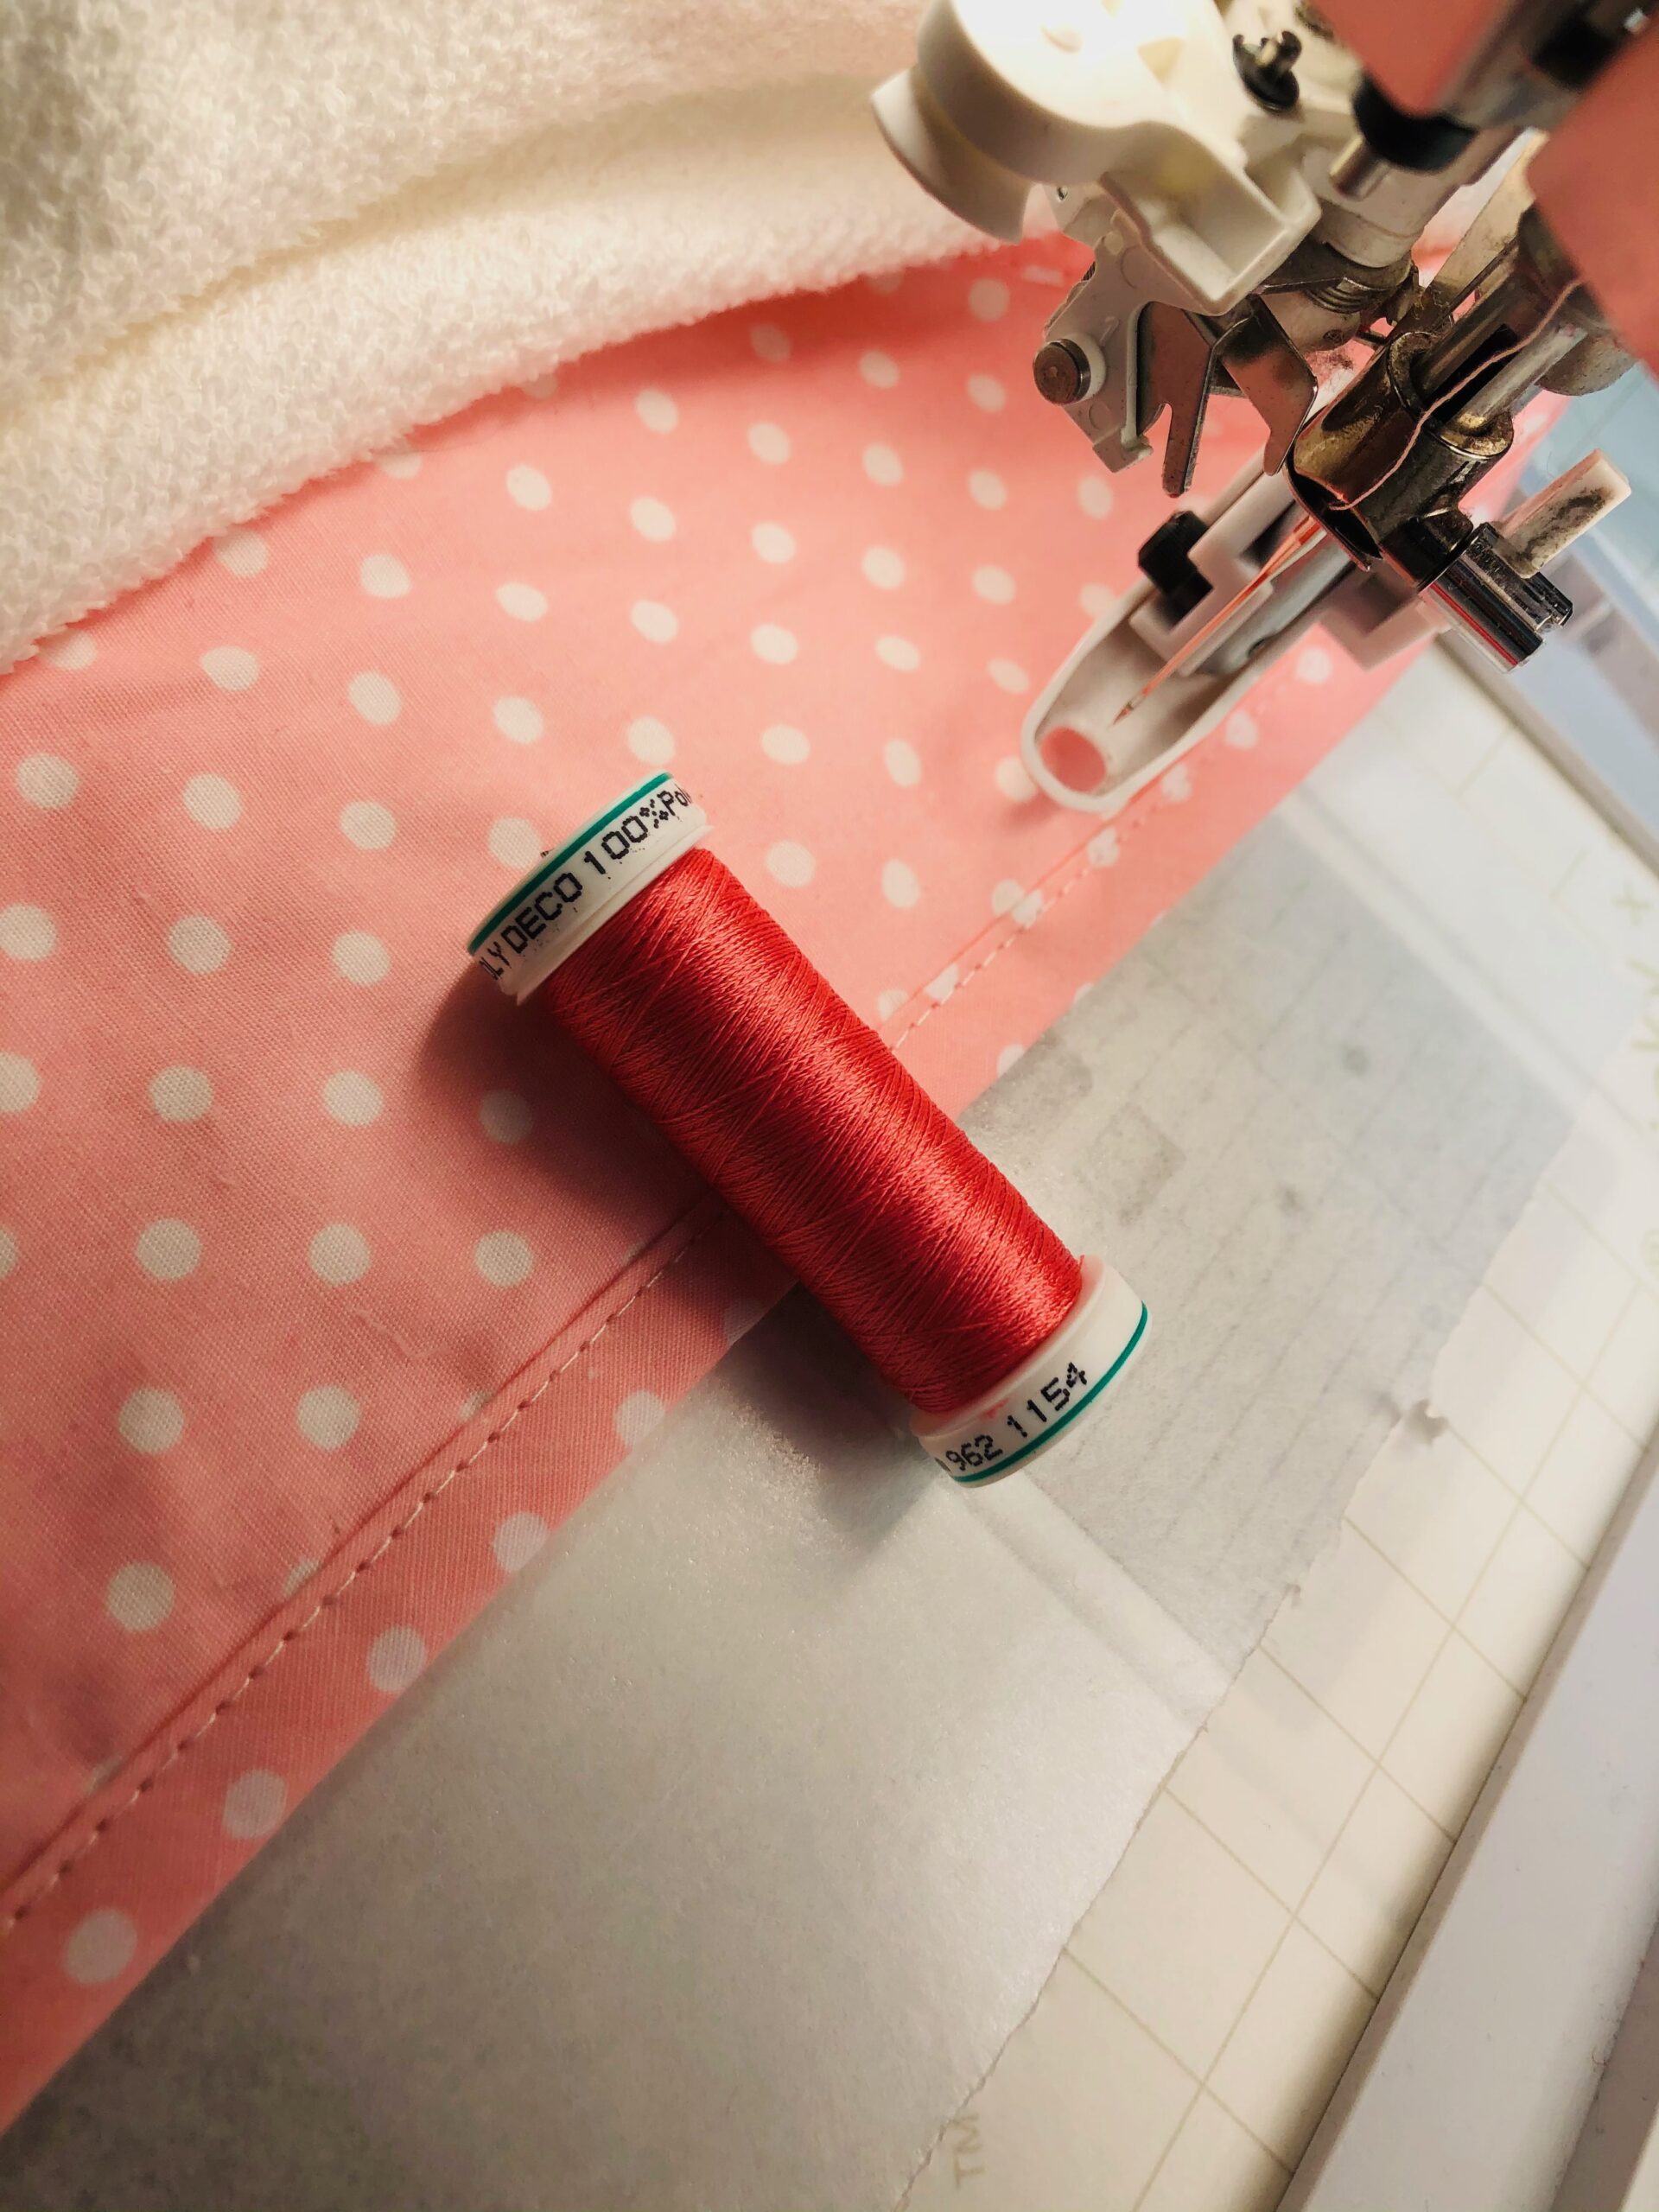
Use Poly Deco in the needle and Sulky Bobbin Thread in the bobbin. Choose a white bobbin thread to blend in with the wrong side of the toweling.
Pair the Poly Deco with a size 80/12 Top Stitch Needle. It has a nice sharp point that won’t snag or catch on the terry cloth loops during embroidery.
STABILIZER CHOICE
Traditionally when embroidering toweling, a topper, such as Sulky Solvy®, is necessary to prevent the thread from sinking into the fabric pile. However, the embroidery area of this towel is made from cotton fabric so no topper is needed.
It’s not possible to hoop the hood portion of this towel. (Even if hooping was possible, it’s not recommended as the hoop would crush the pile and/or not clamp the fabric tight enough for embroidery.) Instead, use “hoop-less” embroidery techniques (see “Embroidery” below.)
A sticky-backed adhesive stabilizer is necessary for hooded towel embroidery. Choose either a wash-away (such as Sulky Sticky Fabri-Solvy) or tear-away (such as Sticky+) variety.
HOODED TOWEL EMBROIDERY
The following how-tos are for Sulky Sticky+ Stabilizer. The same technique applies for Sticky Fabri-Solvy.
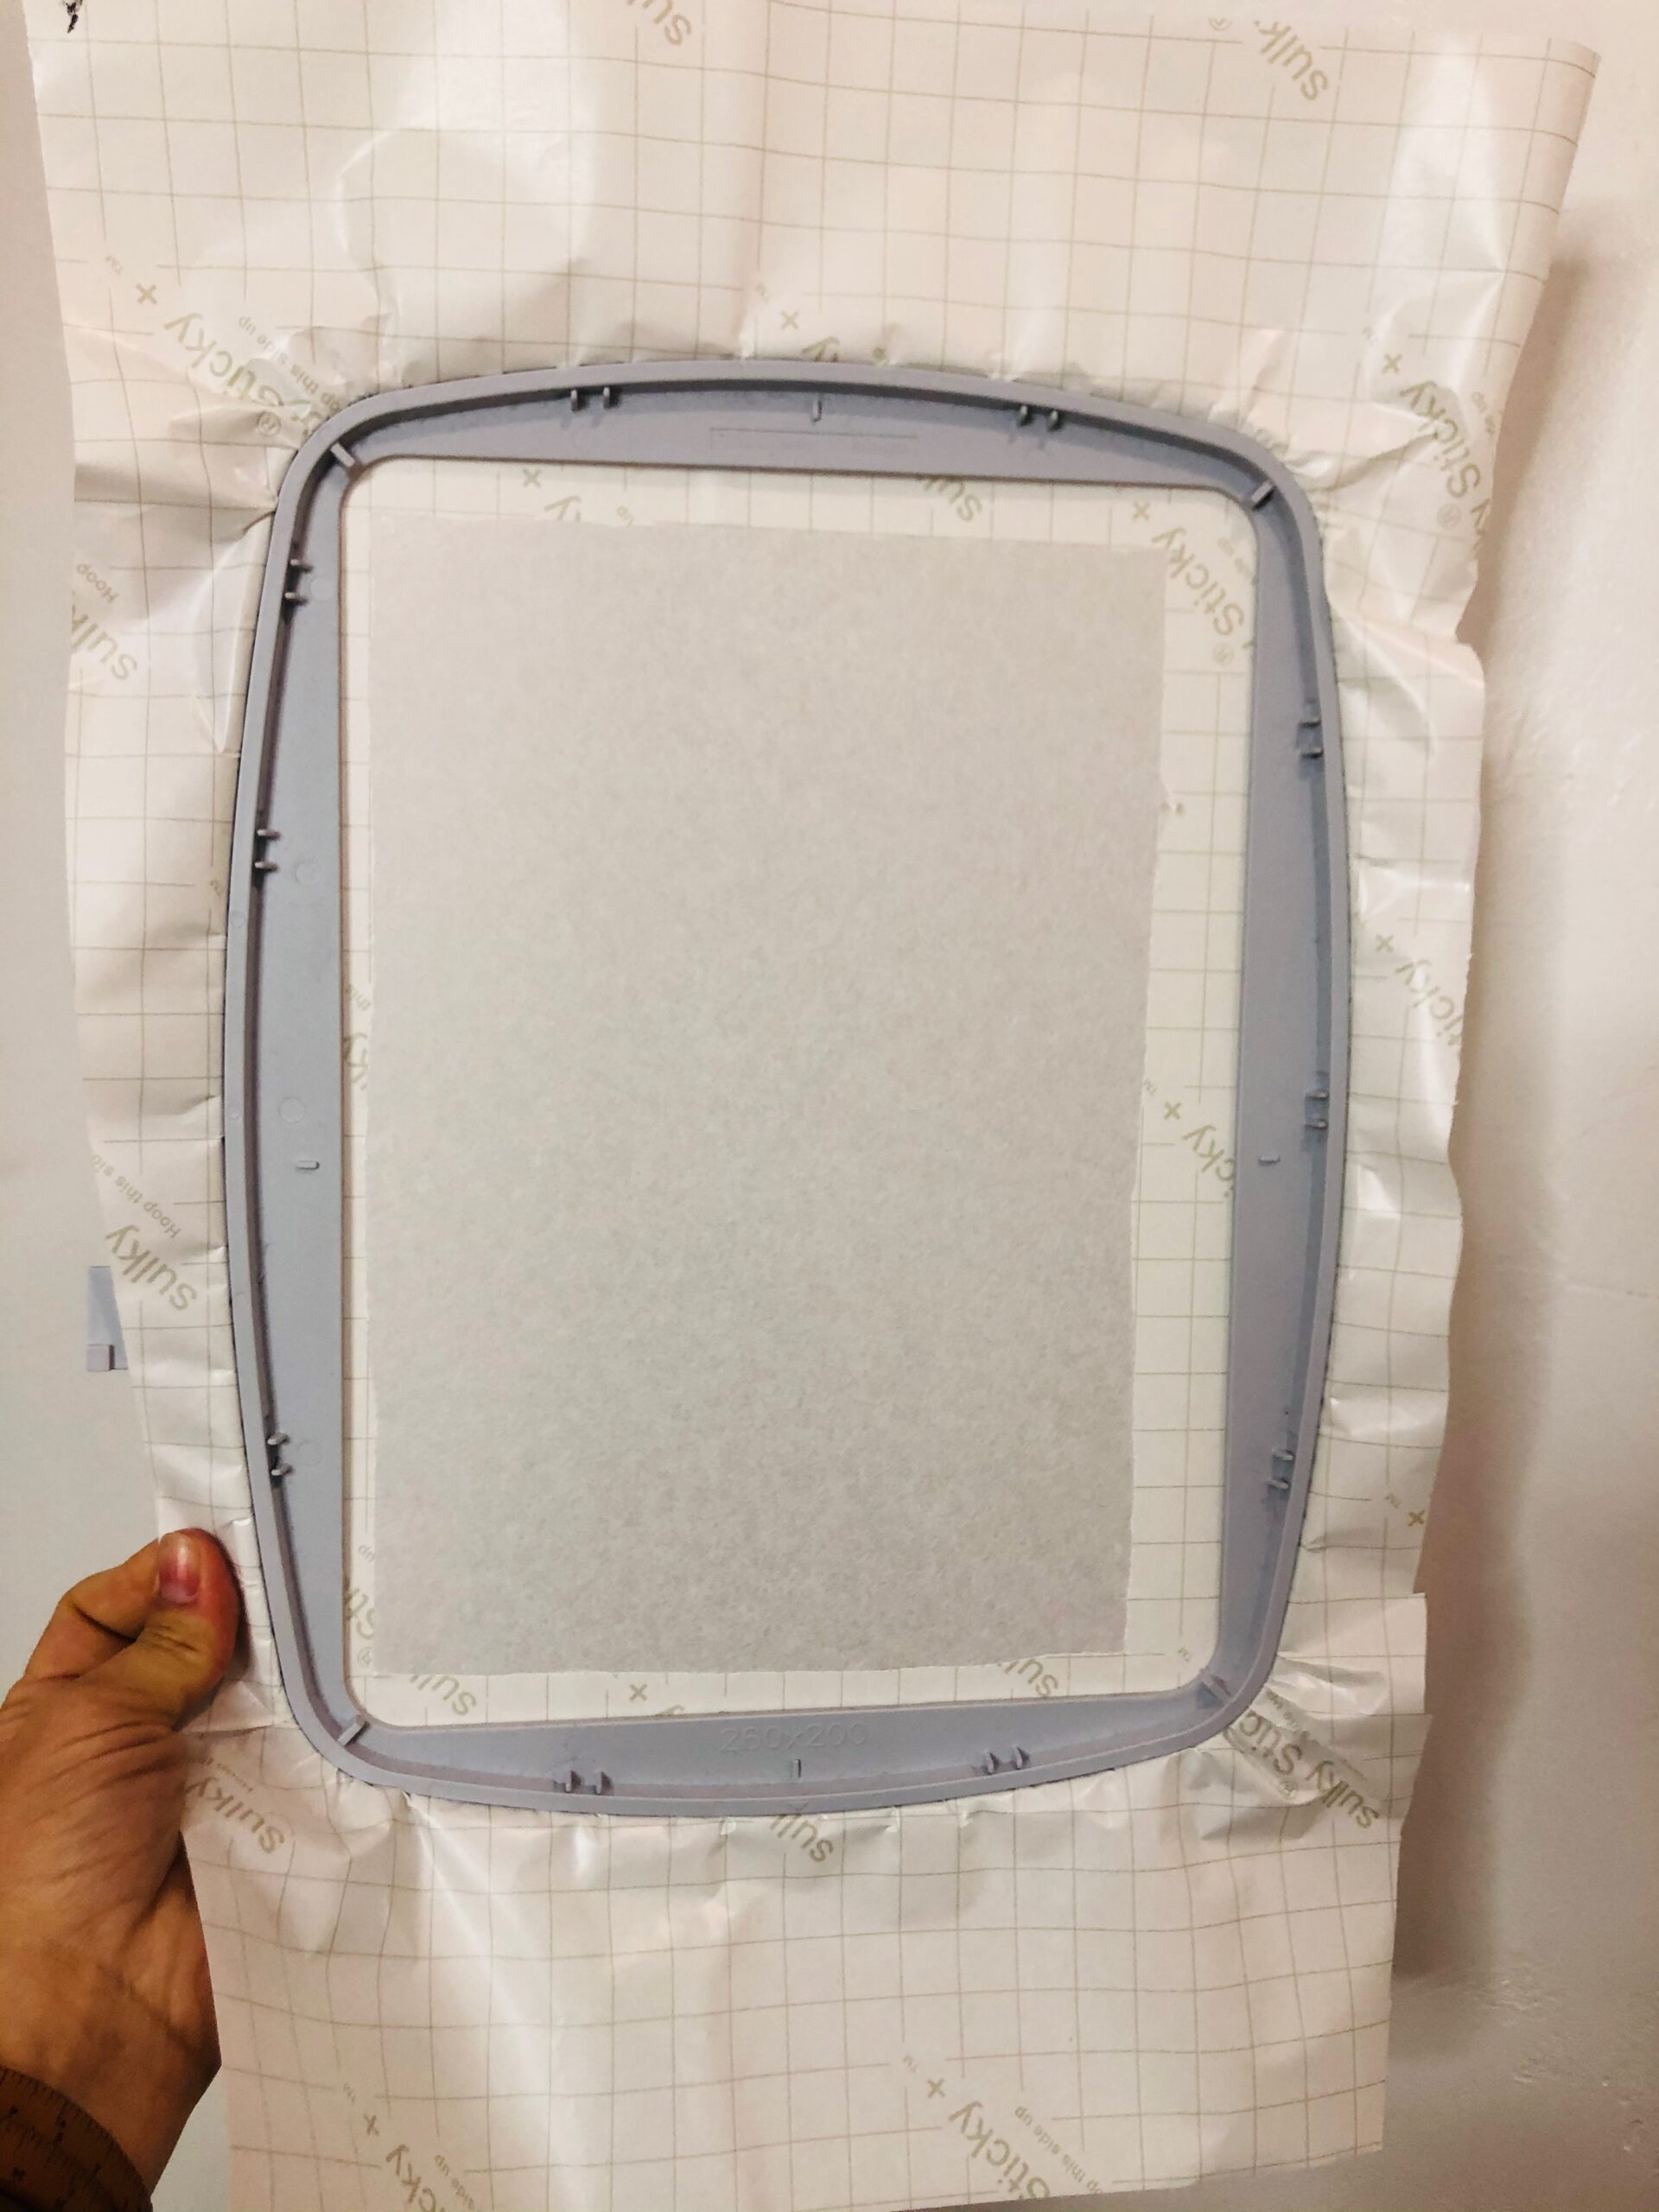
Hoop the stabilizer with the paper side facing up.

Use the Sticky+ Slitting Pen to score the paper along the outer grid lines. (The slitting pen allows you to score along the grid lines yet retain some of them along the hoop edge to aid in placing blanks for straight embroidery.)
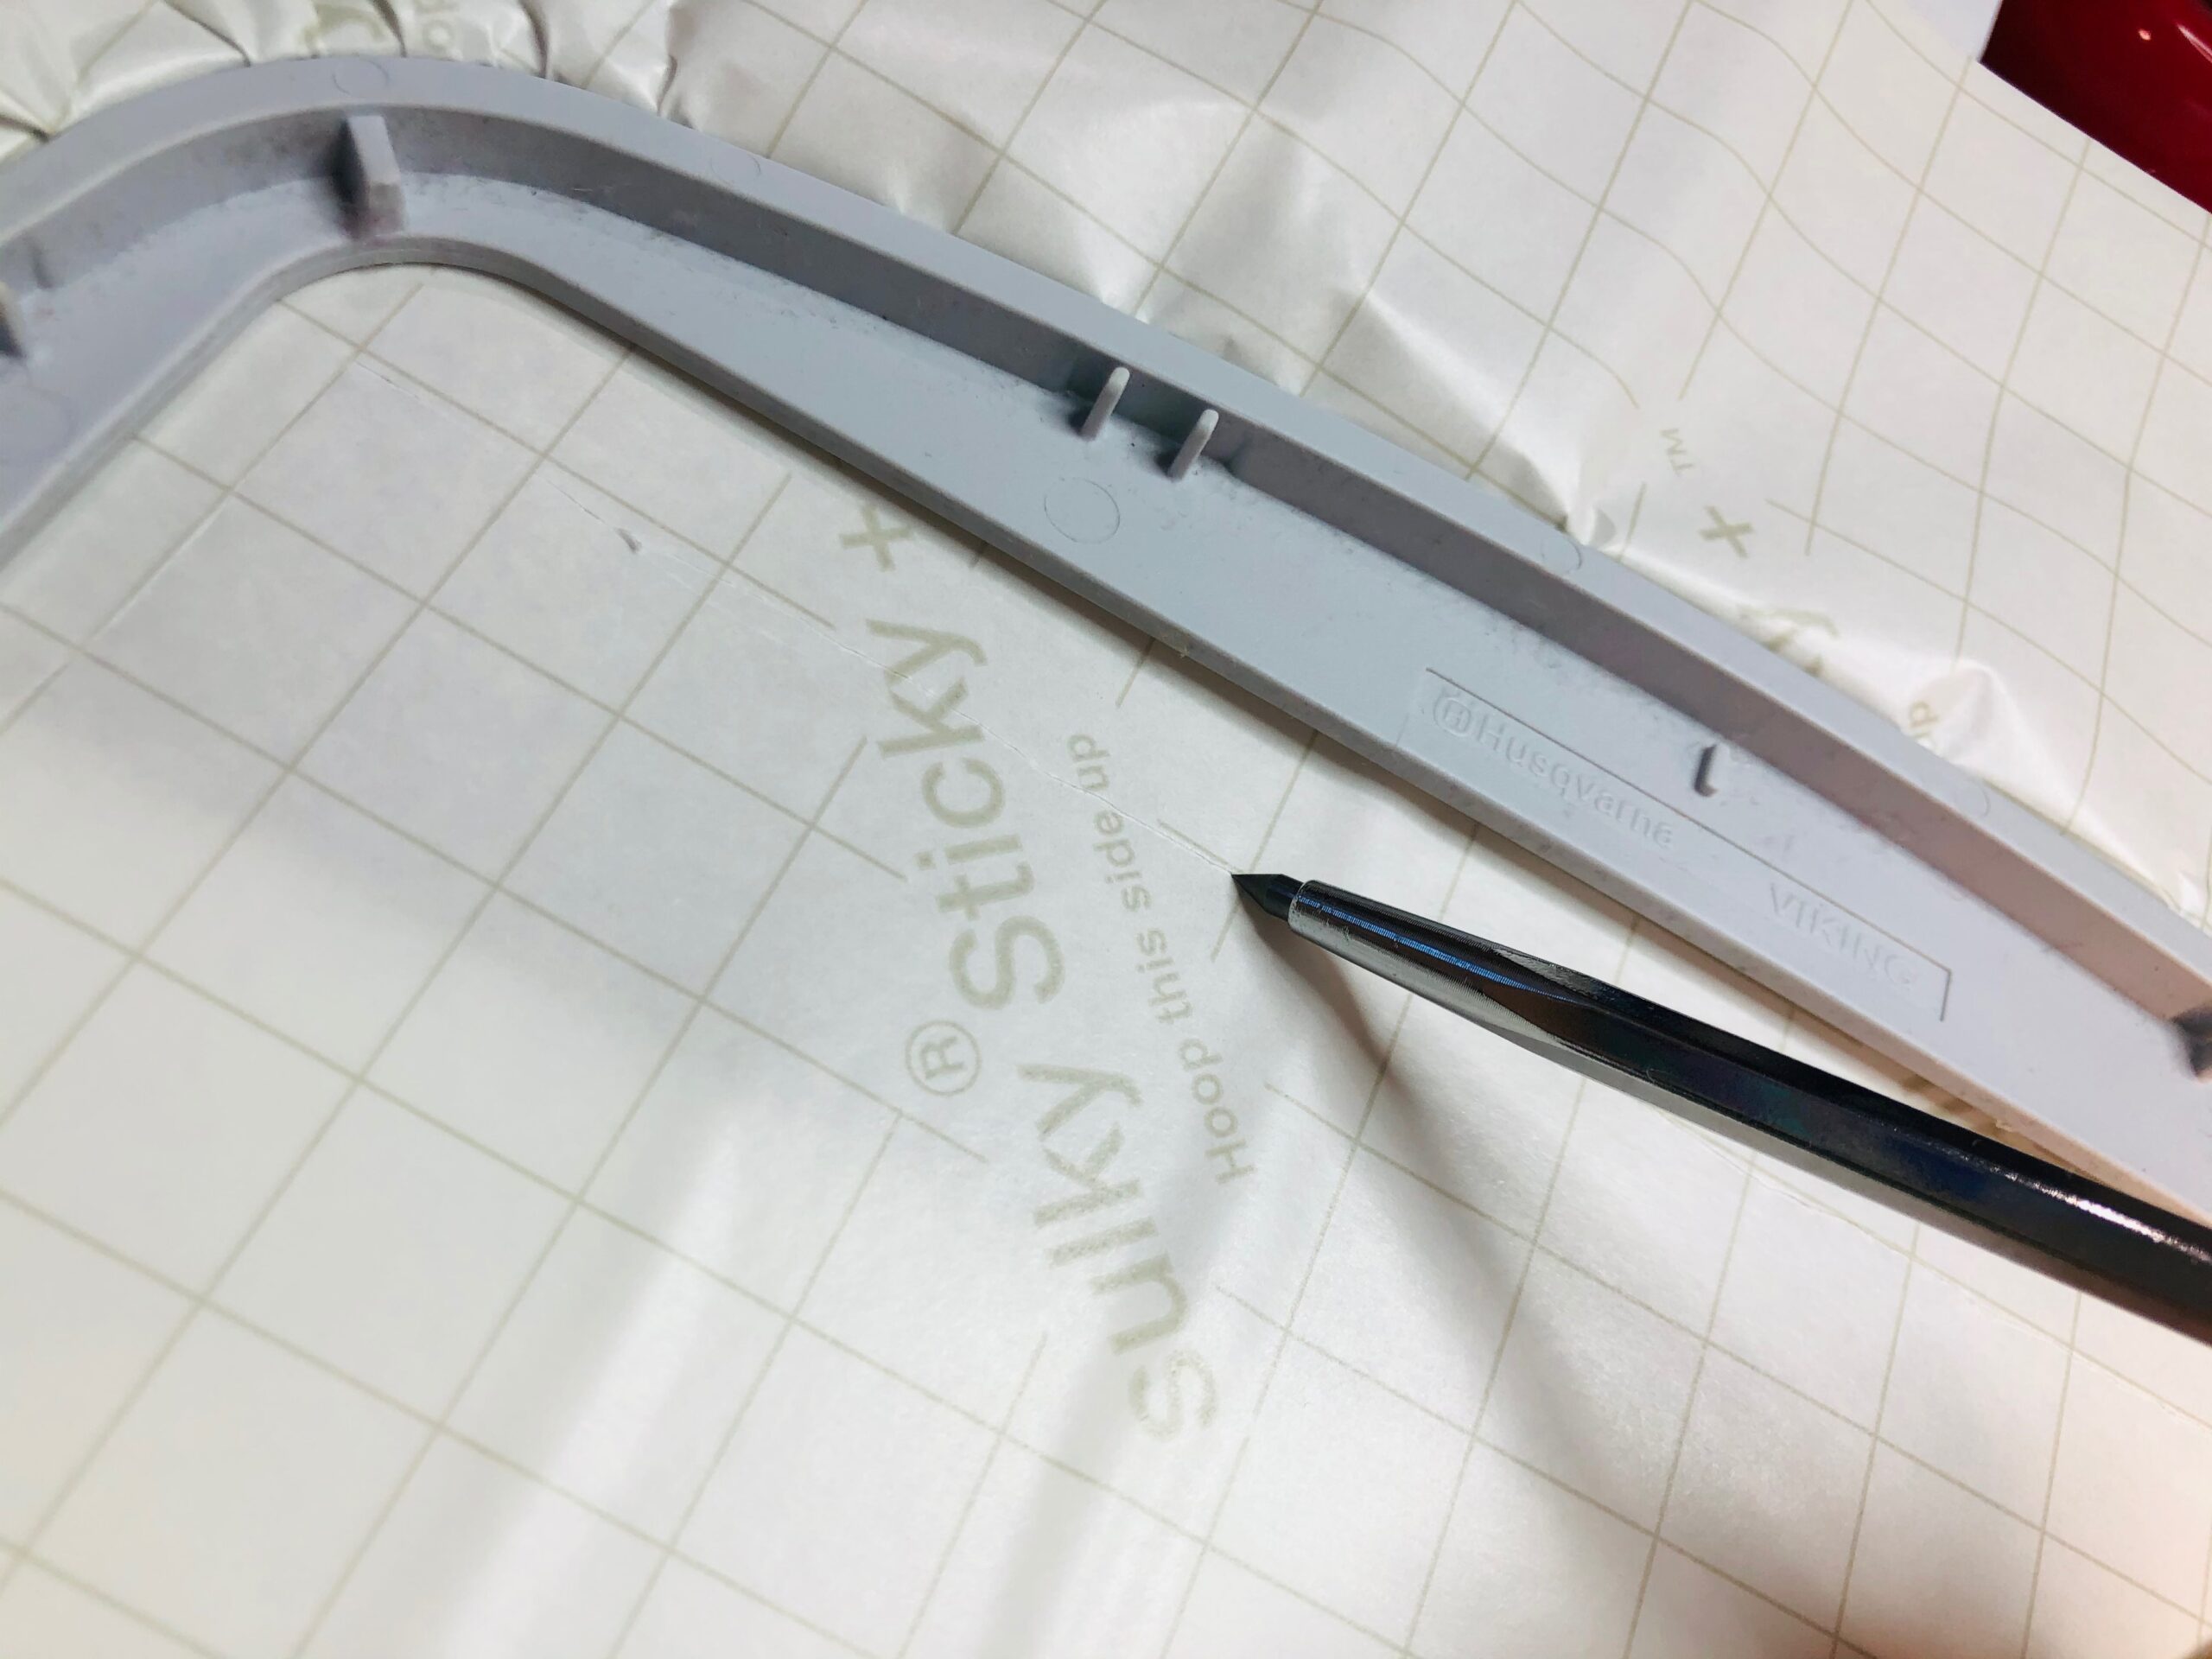
Tear away the paper within the scored lines to reveal the stabilizer sticky surface.

The stabilizer is now ready for the hooded towel blank.
TOWEL PLACEMENT IN THE HOOP
Place the hoop onto the machine. Use the baste-in-the-hoop function on the machine screen to baste a placement line directly onto the stabilizer.

Alternatively, print a template of the chosen design. Hand-baste a design perimeter box onto the towel hood where desired, using the template dimensions as a guide.
Turn the hood wrong side out. Place the hood onto the sticky surface of the stabilizer, centering the hood over the basting box to ensure perfect placement.
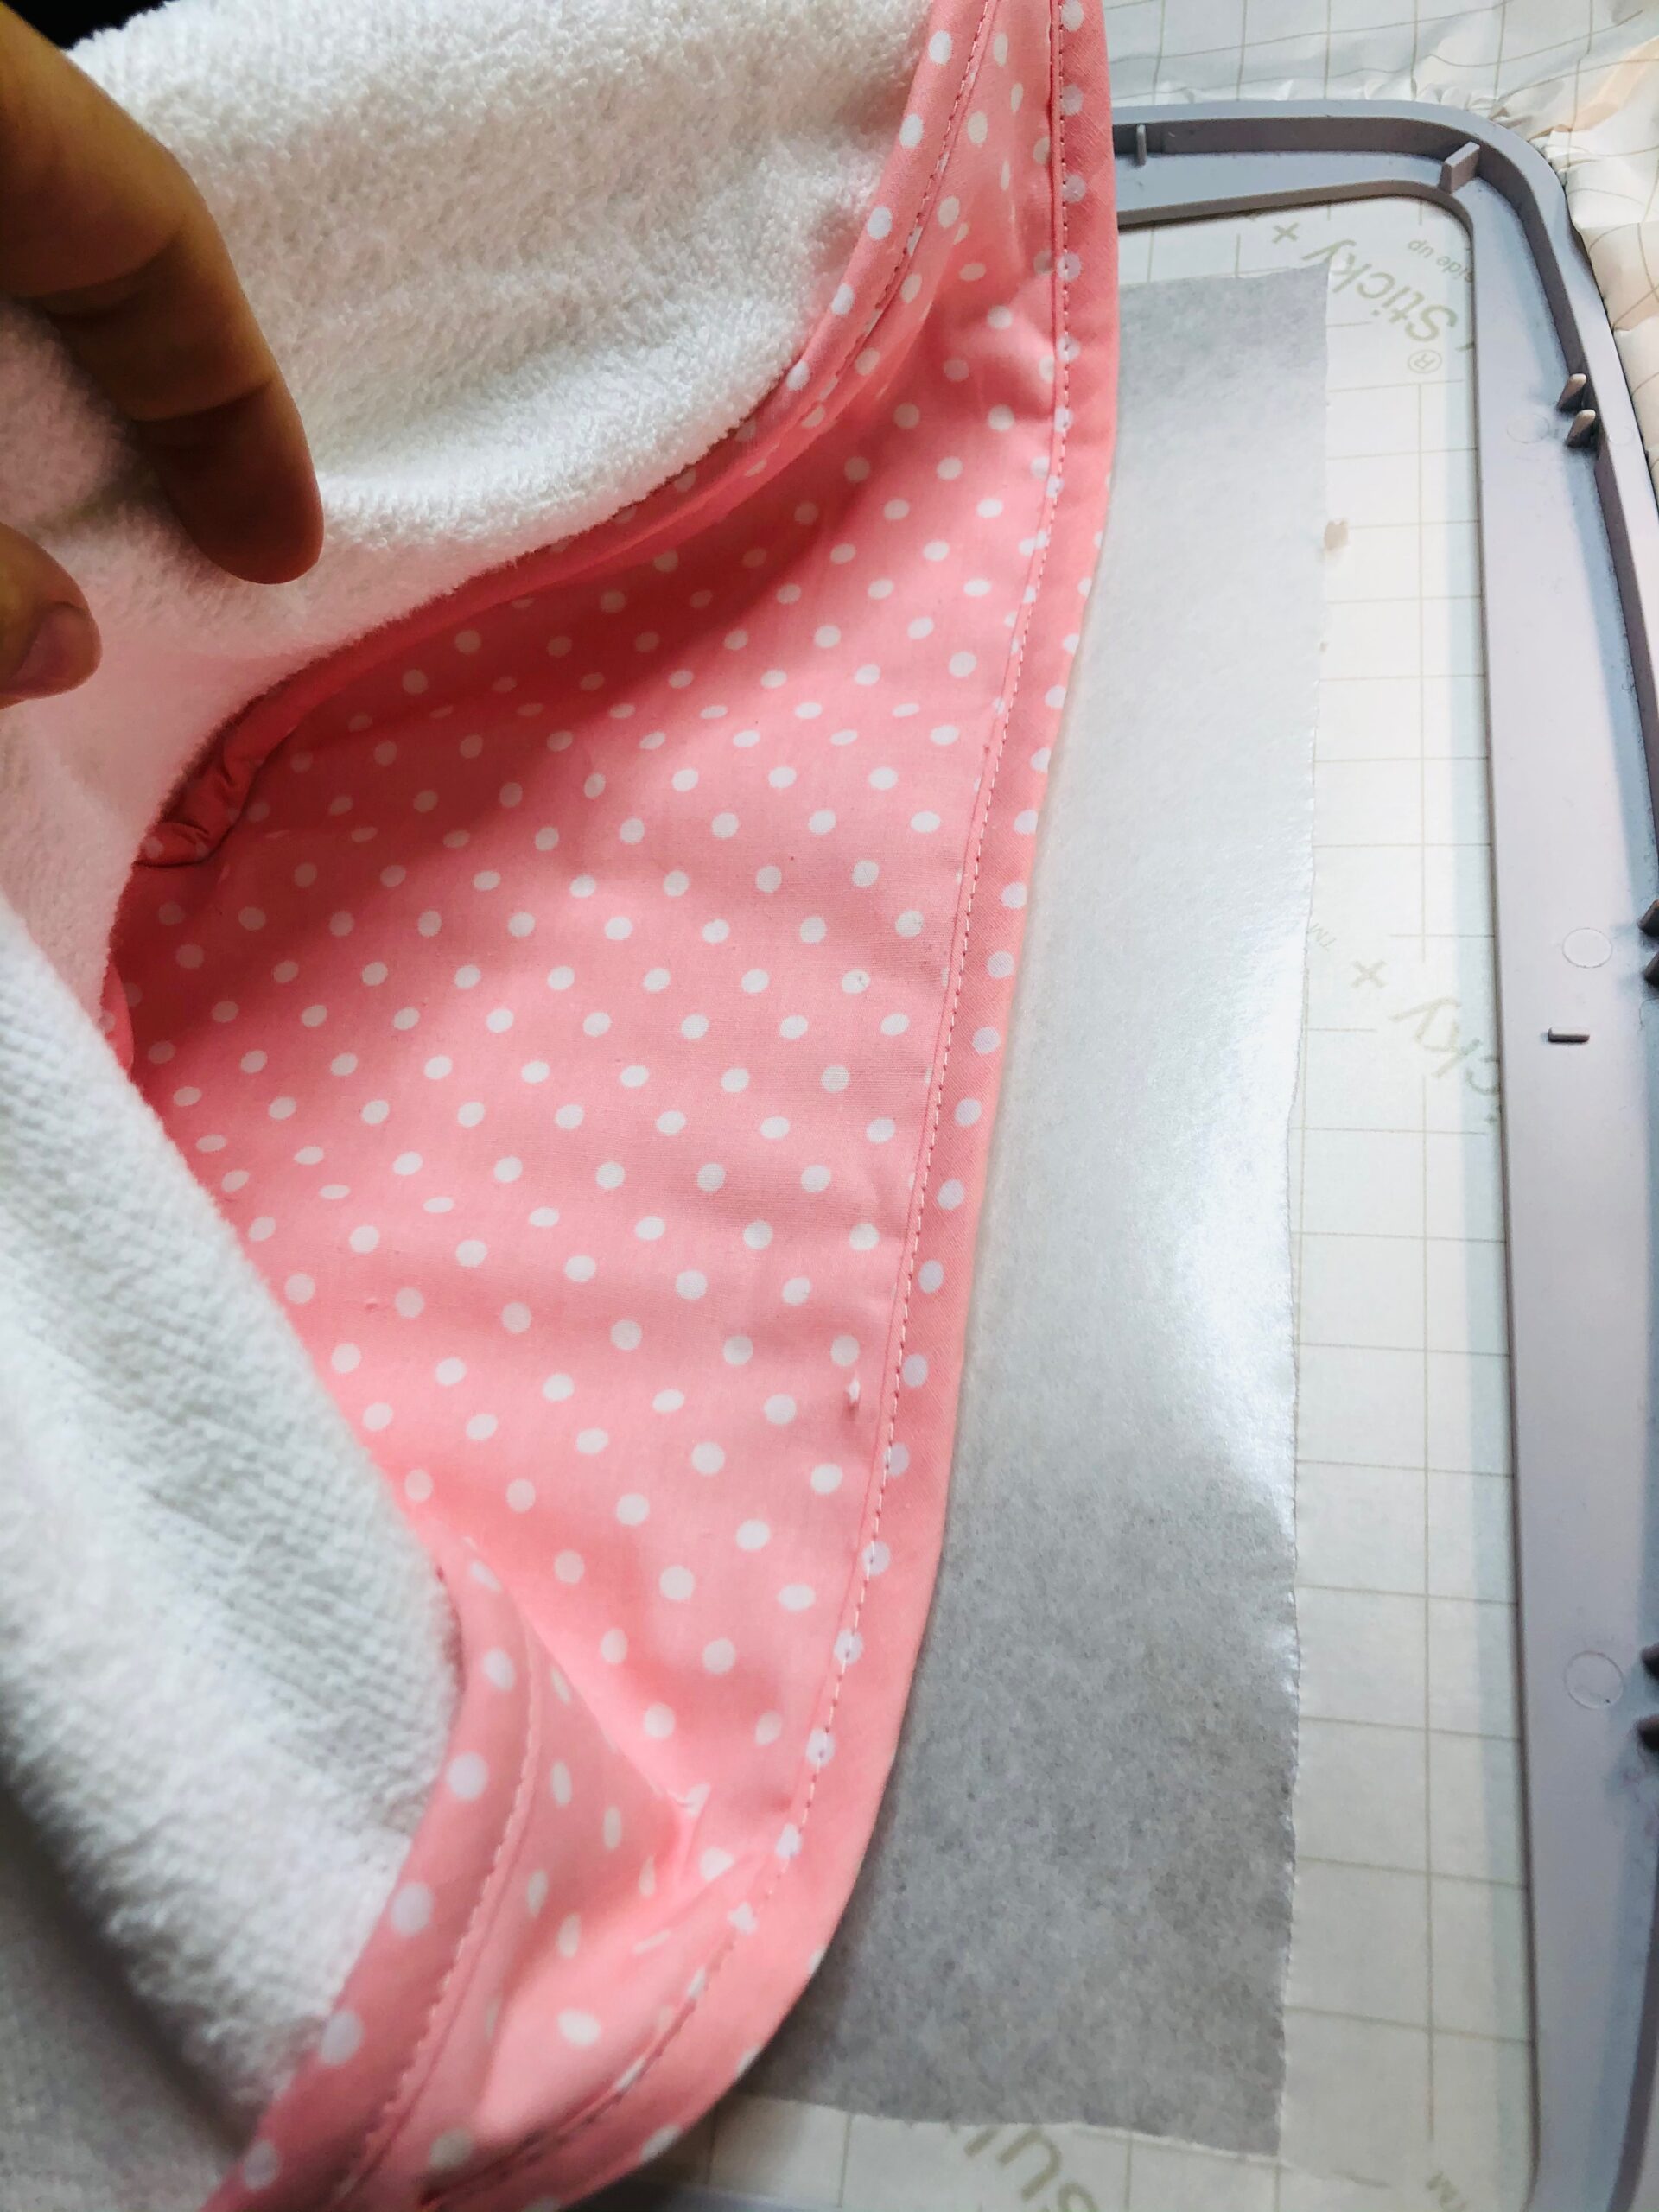
If able, perform another baste-in-the-hoop function to further secure the hood to the stabilizer. Double-check the basting placement to ensure desired results.

STITCHOUT SUCCESS
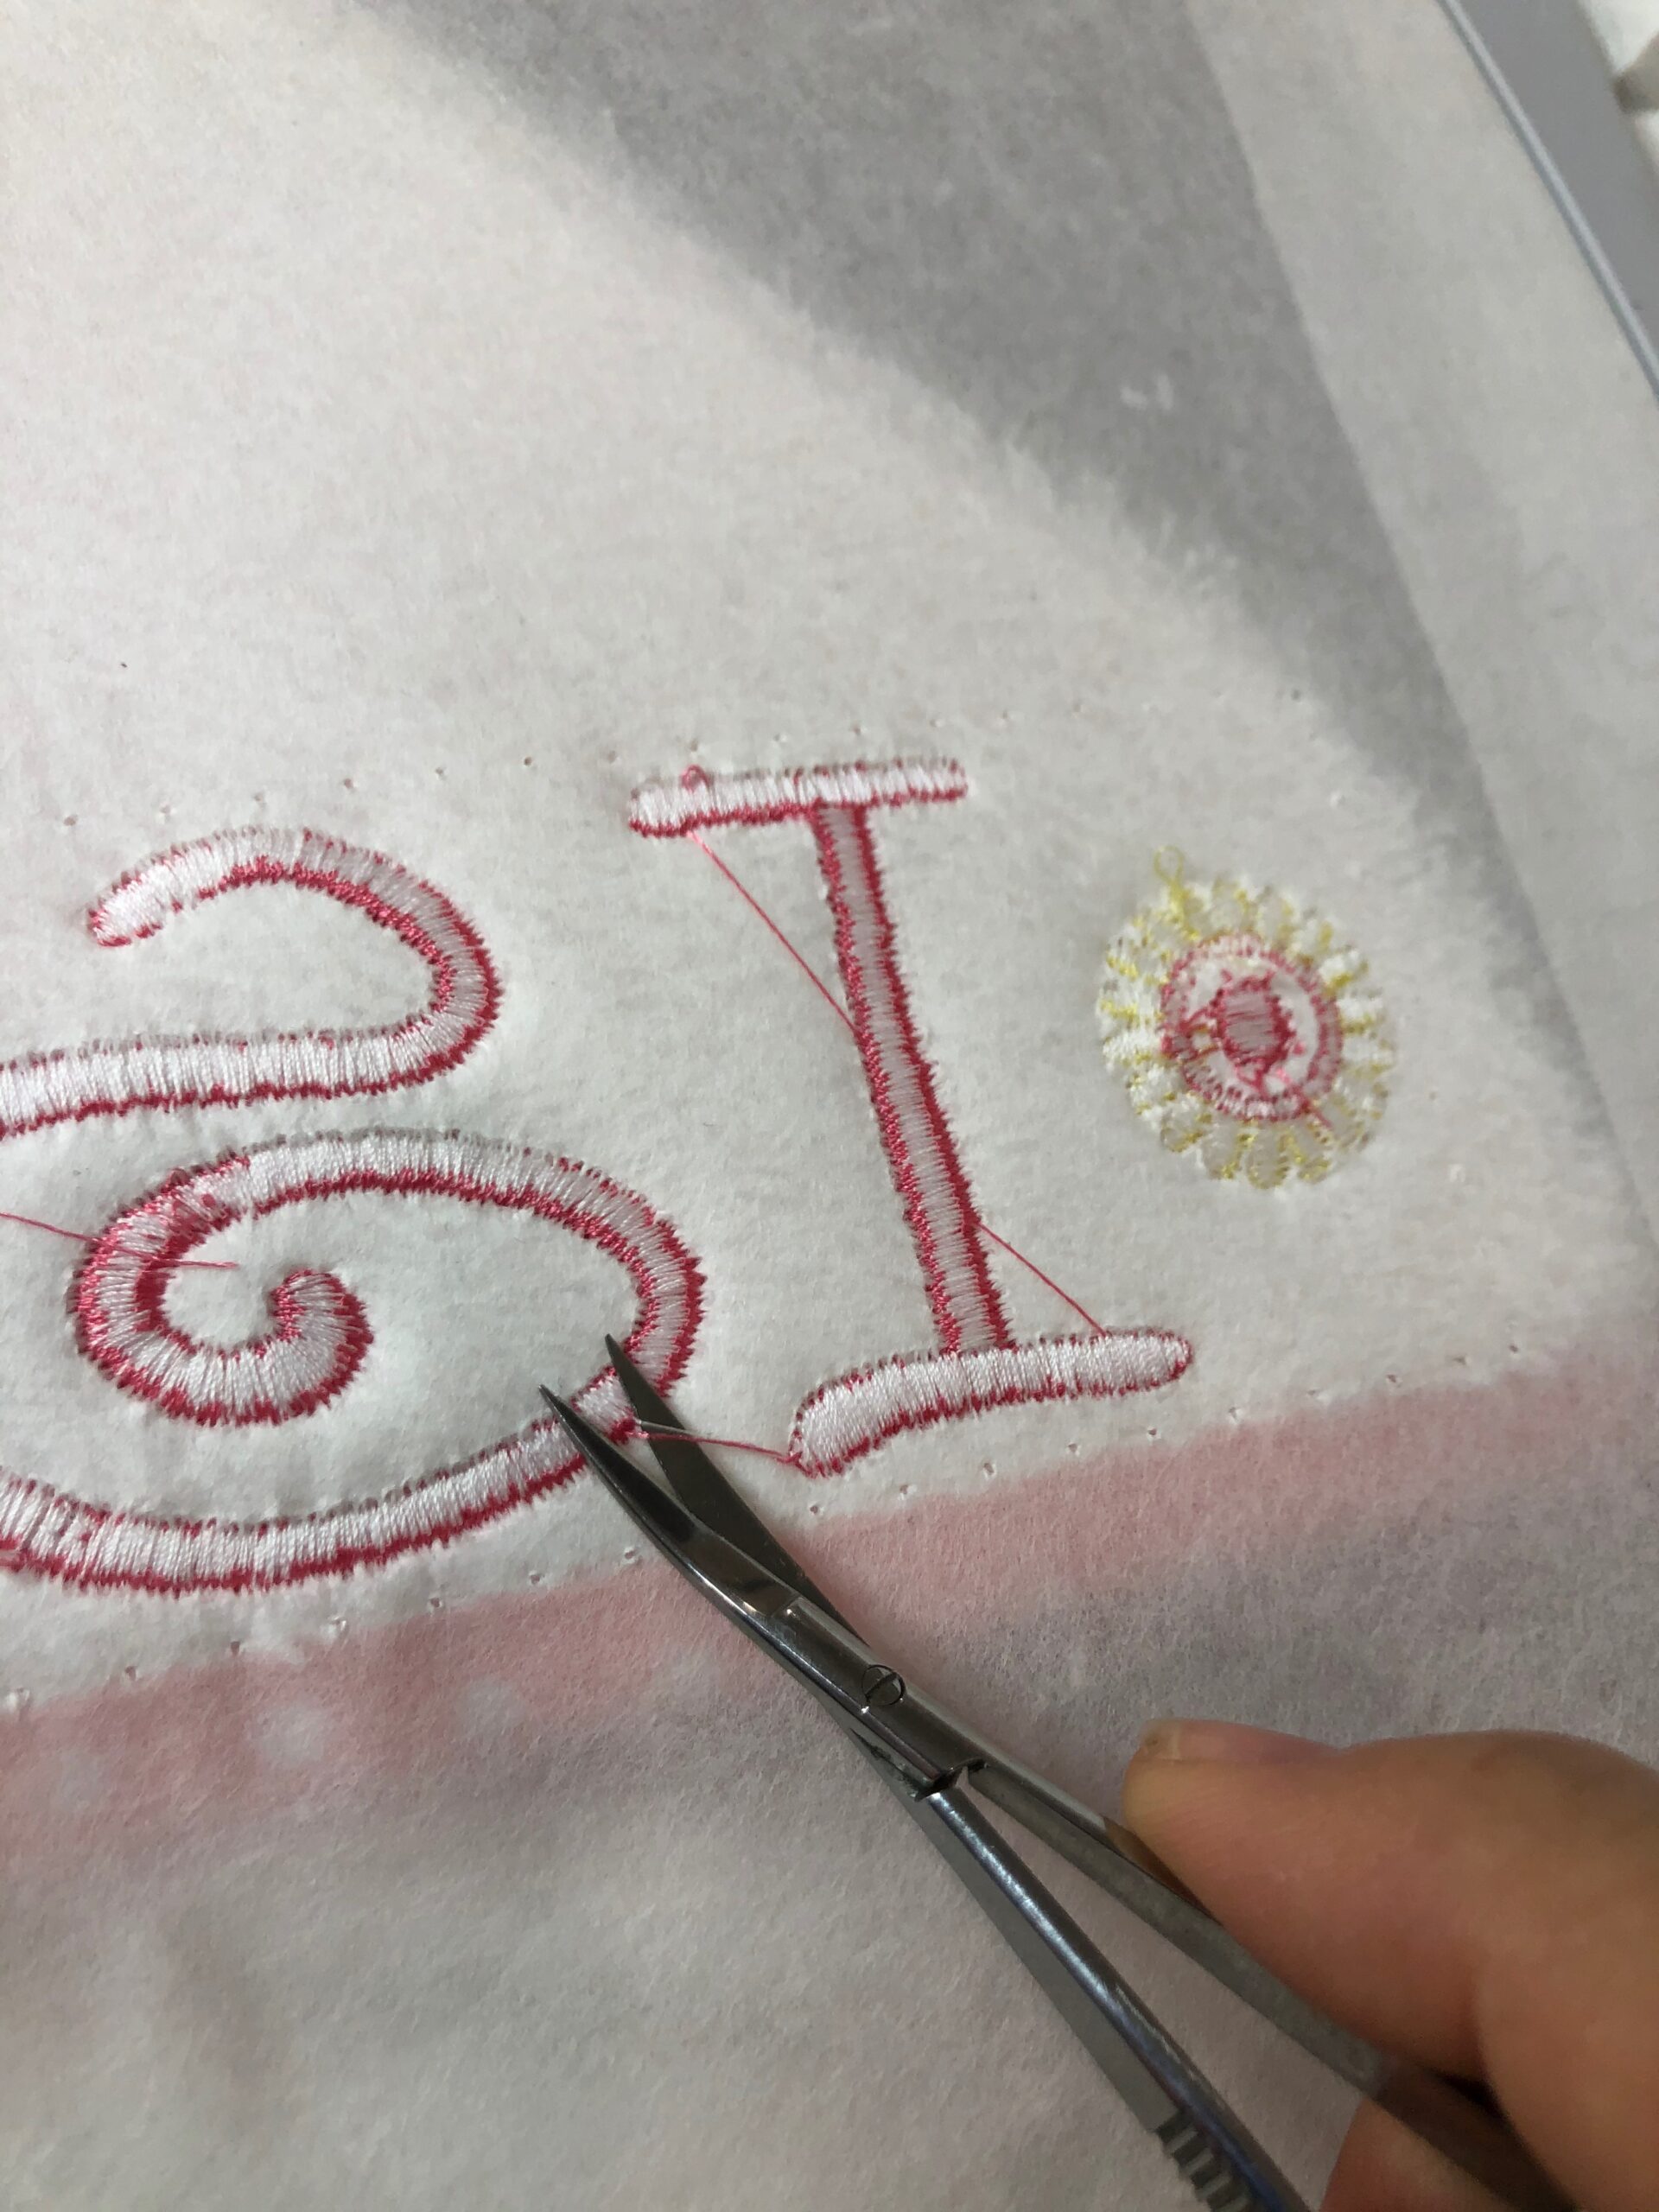
Embroider the design, clipping any jump threads with each color change.
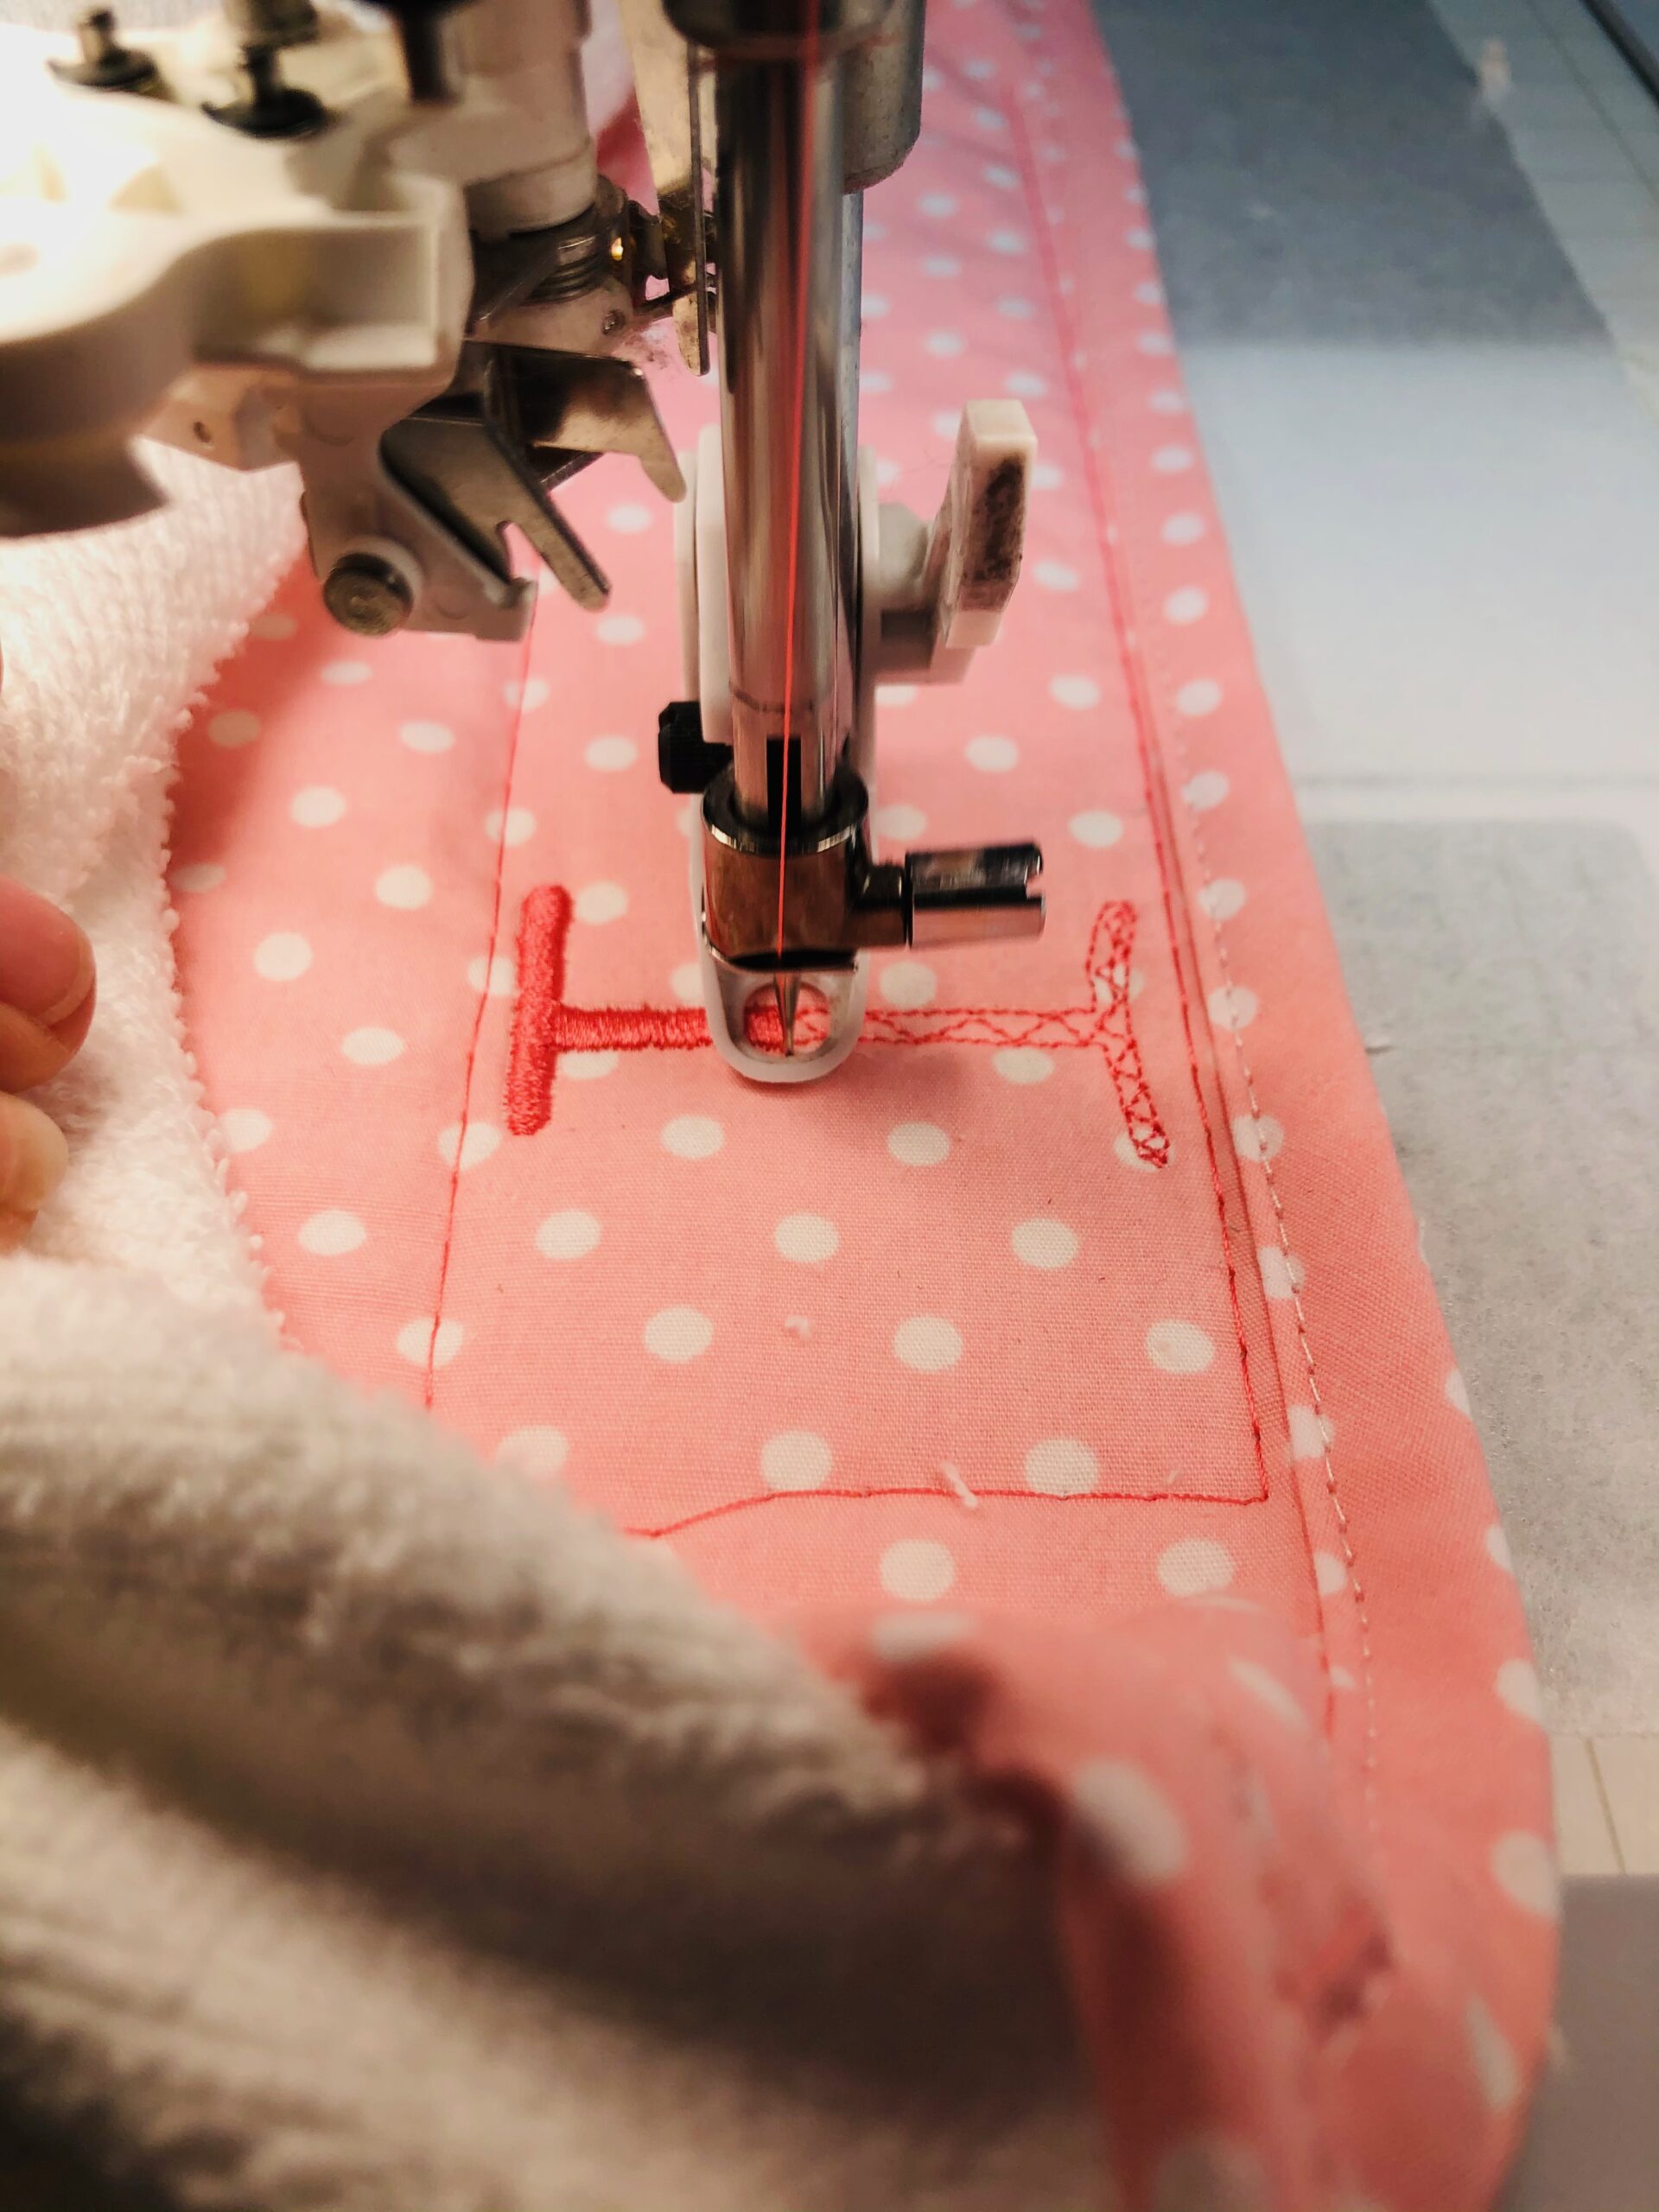
Stay close to the machine, as you may need to move portions of the hood away from the needle and/or presser foot during embroidery. If you notice that the excess towel is going to interfere with the stitchout, stop the machine, re-place the hood fabric and smooth, and then continue the design.
After embroidery is complete, remove the hoop from the machine. Remove the basting stitches.
Clip jump threads on the wrong side of the embroidery.
Remove the stabilizer from the hoop. Gently tear away the excess stabilizer beyond the design perimeter. Note: the terry loops could snag when tugging on the stabilizer for removal. Be careful and have a gentle hand and the stabilizer will tear away cleanly without problems.
If using Sticky Fabri-Solvy, trim away as much stabilizer as possible beyond the design edge. Then rinse away the remaining stabilizer under lukewarm running water. Don’t ring out the towel to dry; rather, place another towel on top of it and roll it to get rid of excess moisture before drying flat.
HOODED TOWEL GIFT
Roll the finished towel up with some bath or pool toys and tie with a ribbon. Or grab a new swimsuit to match the towel to complete the gift. This towel is great for bath time or pool time, and makes the perfect baby shower gift, too!

Ellen March
I am the Director of Content for Sulky of America. The former Editor in Chief of Sew News and Creative Machine Embroidery magazines, I hosted Sew it All TV on PBS for nine seasons. I've appeared on It's Sew Easy on PBS, DIY Network's Uncommon Threads, Hallmark's Marie Osmond Show, MacPhee Workshop and more! Come sew with me!


