
St. Patrick’s Day Lucky T-Shirt Embroidery
Embroider a Lucky T-Shirt to Celebrate St. Patrick’s Day

St. Patrick’s Day is a fun holiday to strut your leprechaun self and wear your green. An embroidered lucky T-shirt or hoodie sweatshirt is a quick-and-easy way to add a touch of green to your existing wardrobe, and our new Feeling Lucky machine embroidery collection contains designs that are just perfect.
T-SHIRT SUPPLIES
- Existing or purchased T-shirt (prewashed & dried)
- Feeling Lucky Machine Embroidery Palette (contains 10 Rayon snap spools & 6 St. Patrick’s Day themed designs in 3 sizes)
- Soft ‘n Sheer™ Stabilizer
- Tender Touch™ Stabilizer
- Organ® size 75/11 Embroidery Needles
- Sulky KK 2000™ Temporary Spray Adhesive
- Removable fabric marker or chalk
- Sulky Sticky Fabri-Solvy™, cut into 1/4″-wide strips (optional)
LUCKY T-SHIRT DESIGN
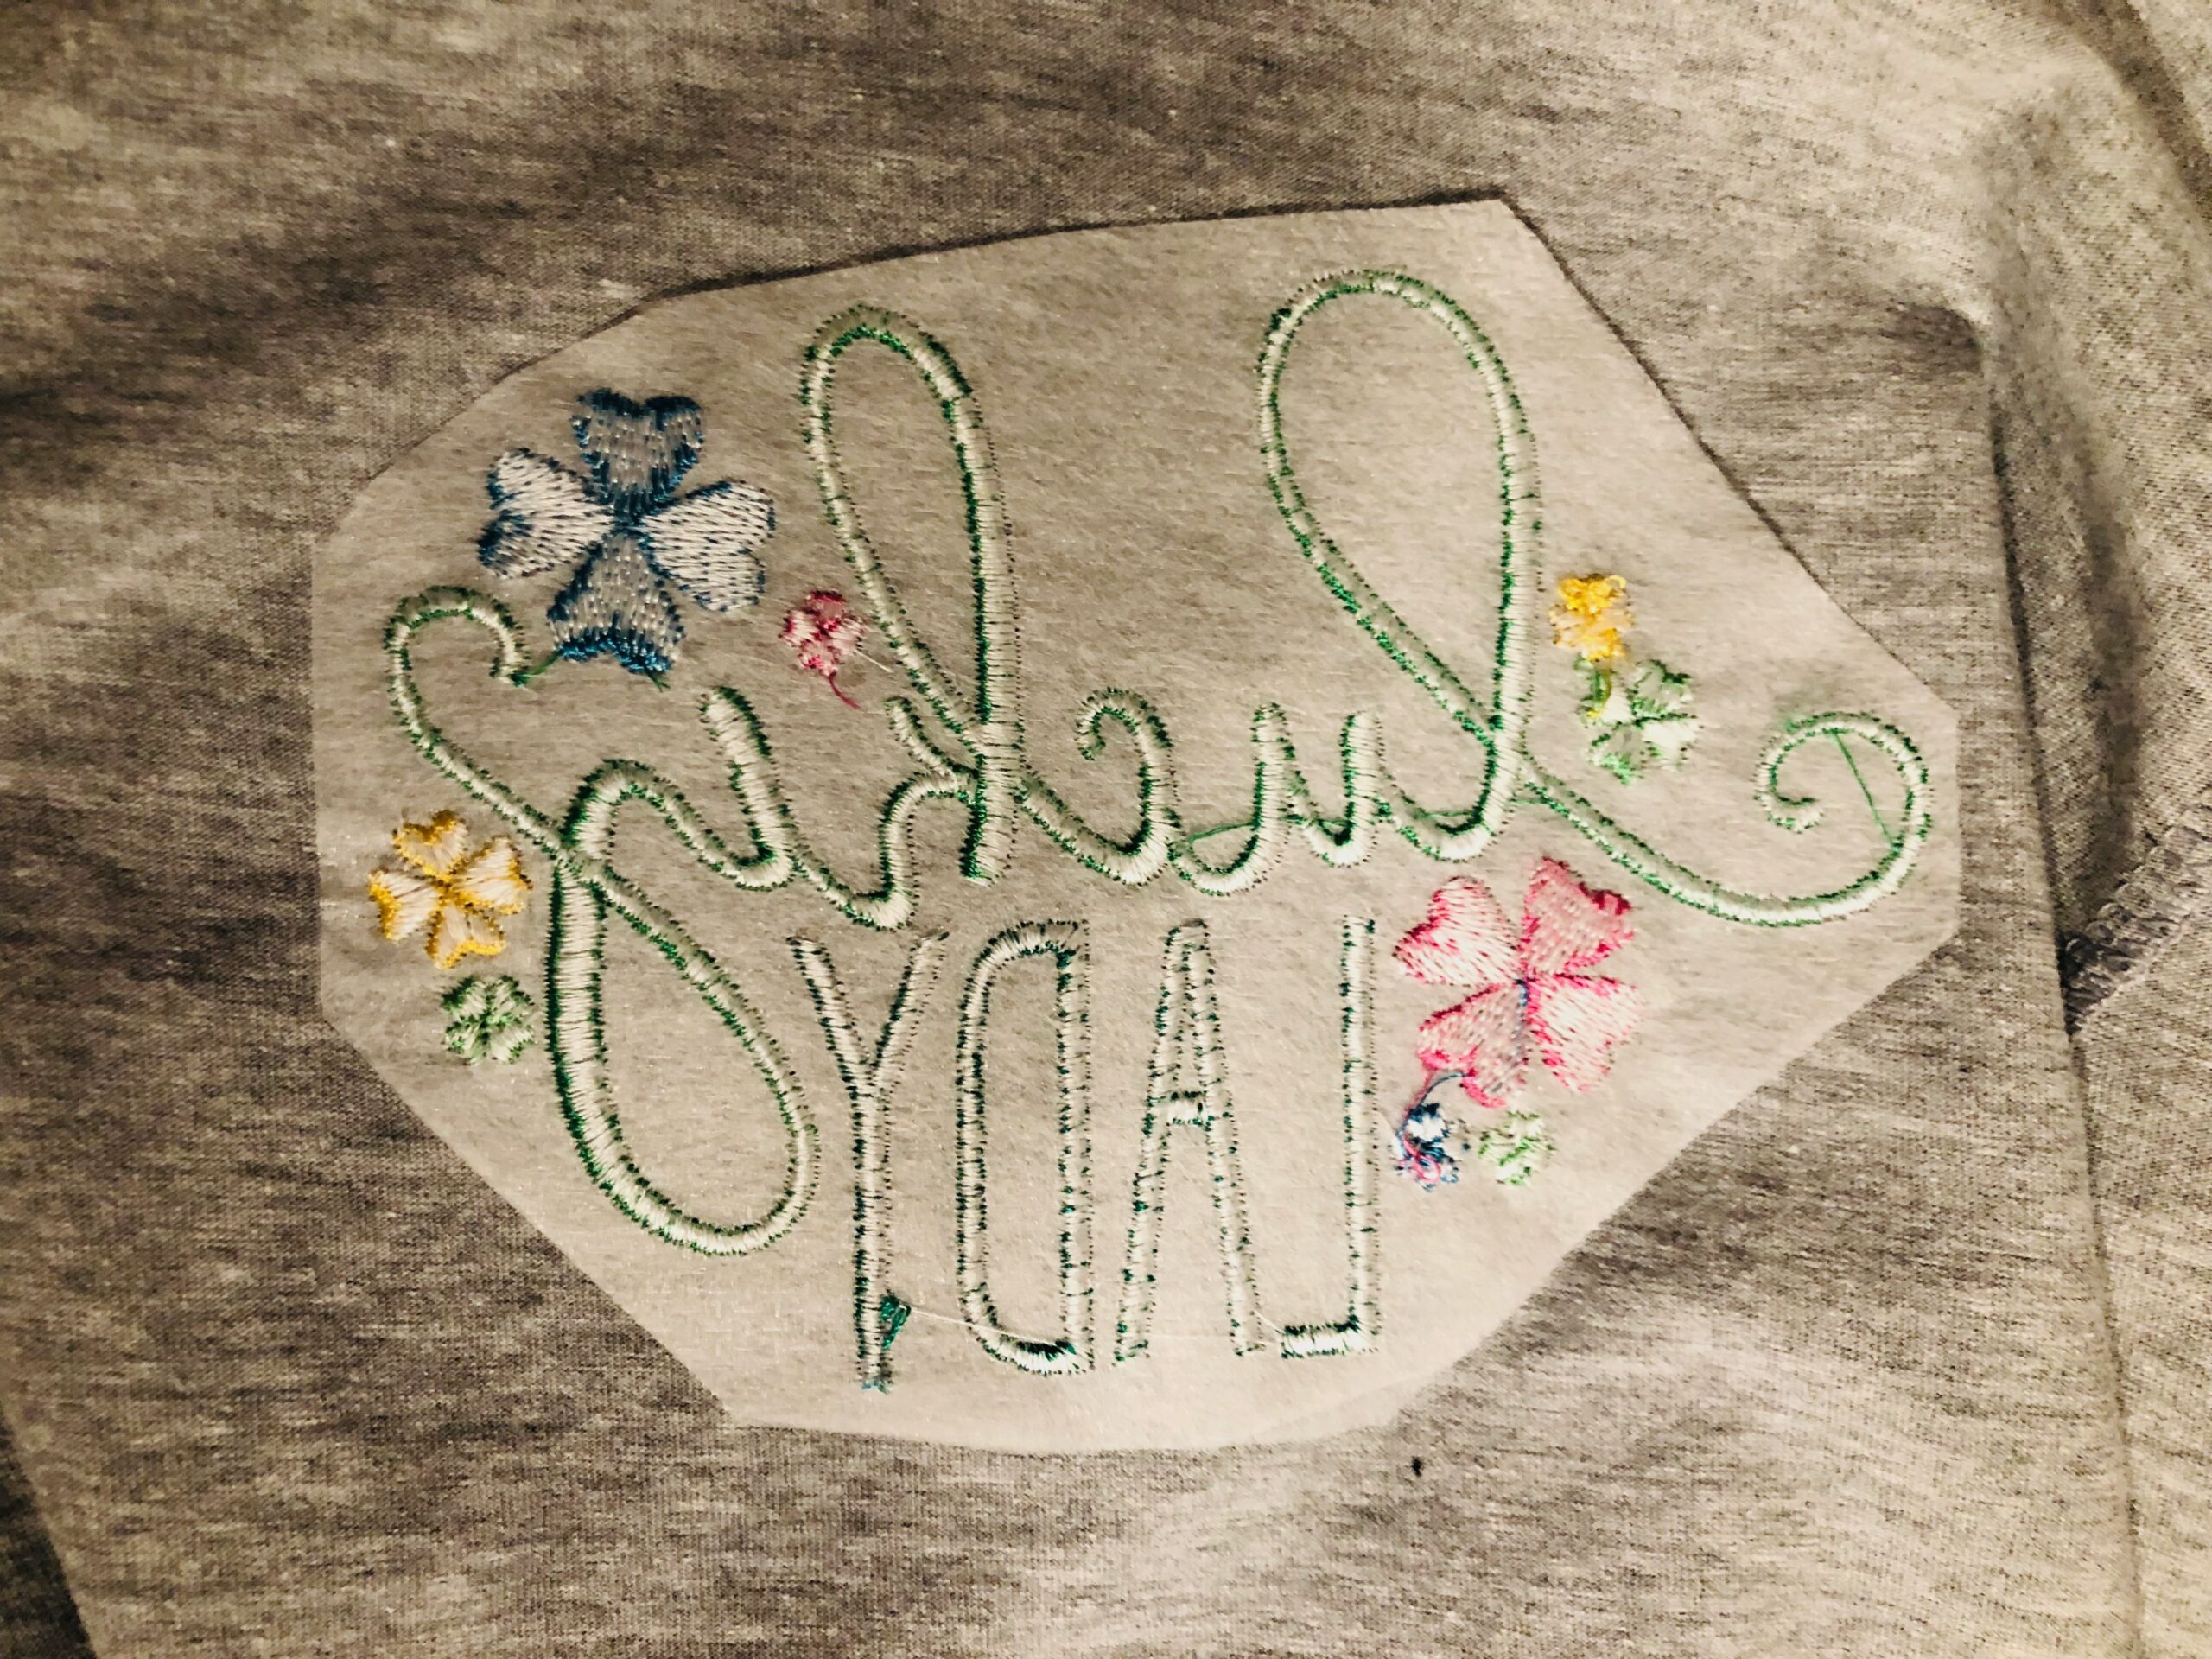
The Sulky Feeling Lucky Machine Embroidery Design Collection contains six St. Patrick’s Day themed designs in three sizes to fit a 4×4, 5×7 and 9×10 hoop. Plus, the TEAM Irish design features appliqué done in the hoop of your embroidery machine, so you can showcase a textured felt within the TEAM letters.

This design collection is available for purchase as a collection, as individual designs and bundles with a thread assortment (or “palette”) for a great price.

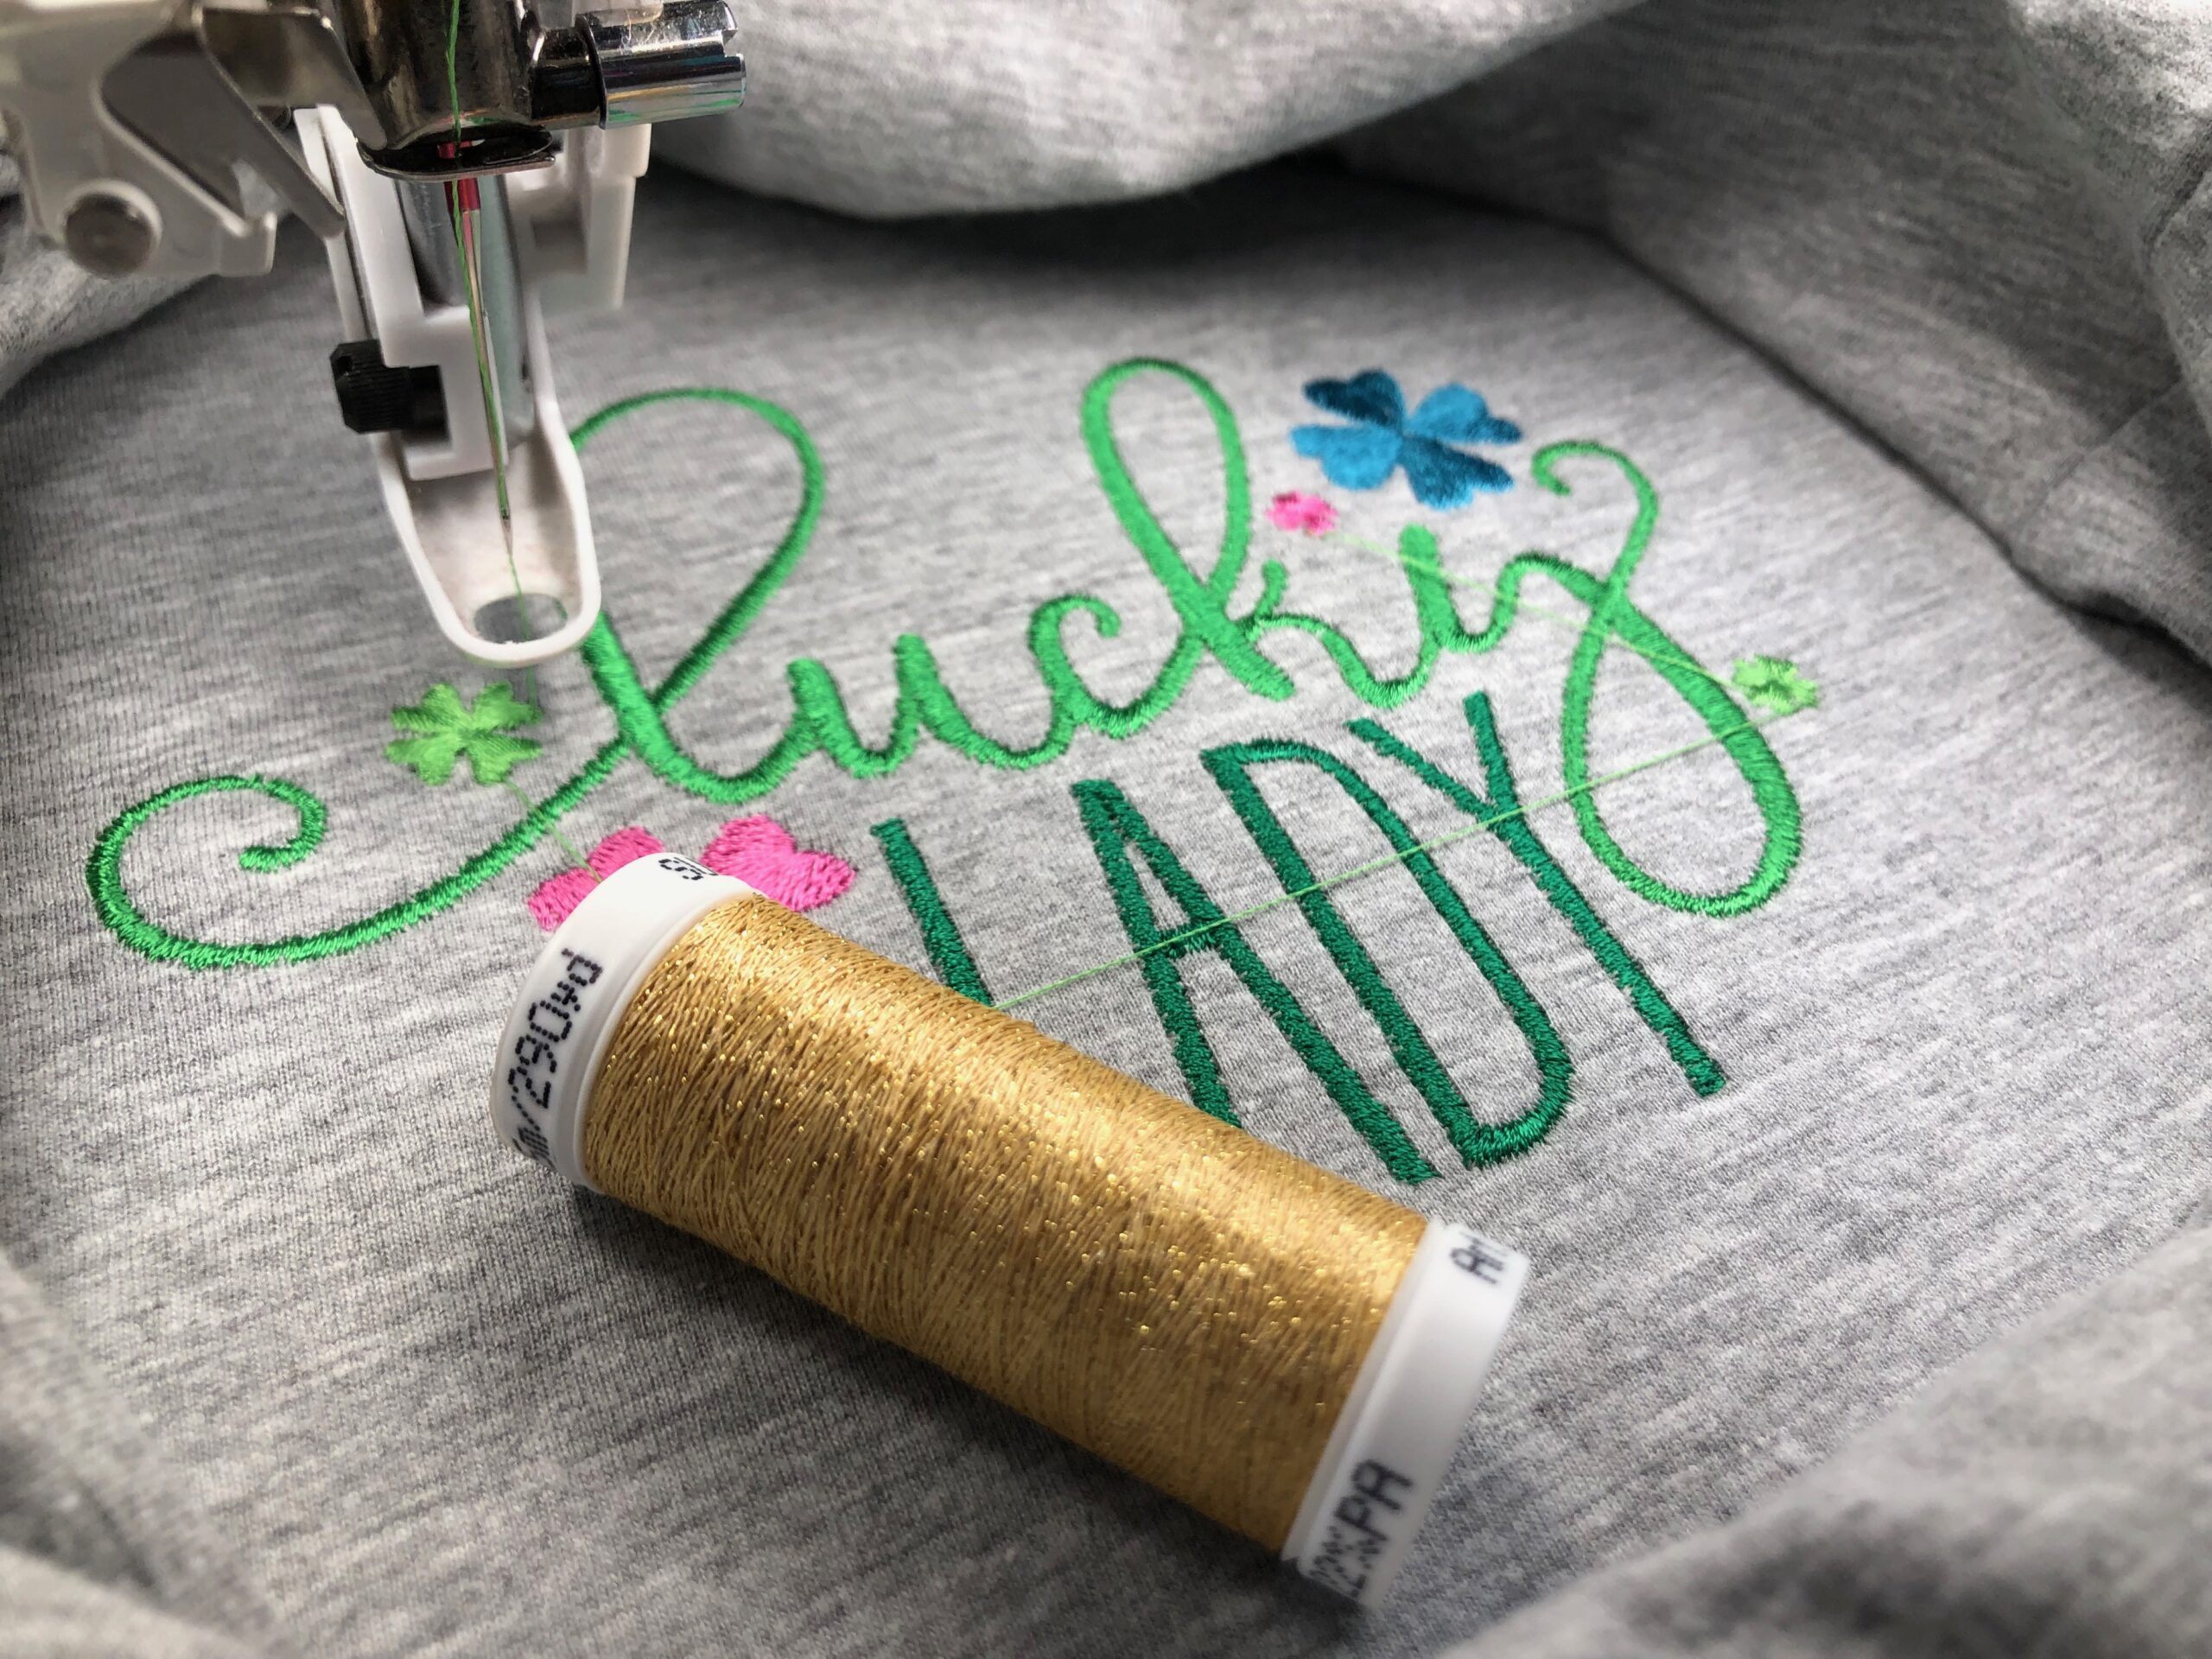
If not purchasing the thread assortment, which comes with the six designs in all three sizes, use 40 wt. Sulky Rayon Thread for best results. Pair the top thread with 60 wt. Sulky Bobbin or PolyLite Thread in the bobbin for a balanced stitchout.
T-SHIRT PREP
When embroidering T-shirt knit, pair the Rayon Thread with a size 75/11 Embroidery Needle. This needle has a slight ballpoint, so it works nicely with knit fabrics. If embroidering a loftier medium- to heavyweight knit, such as a sweatshirt, use a size 80/12 or 90/14 Embroidery Needle.
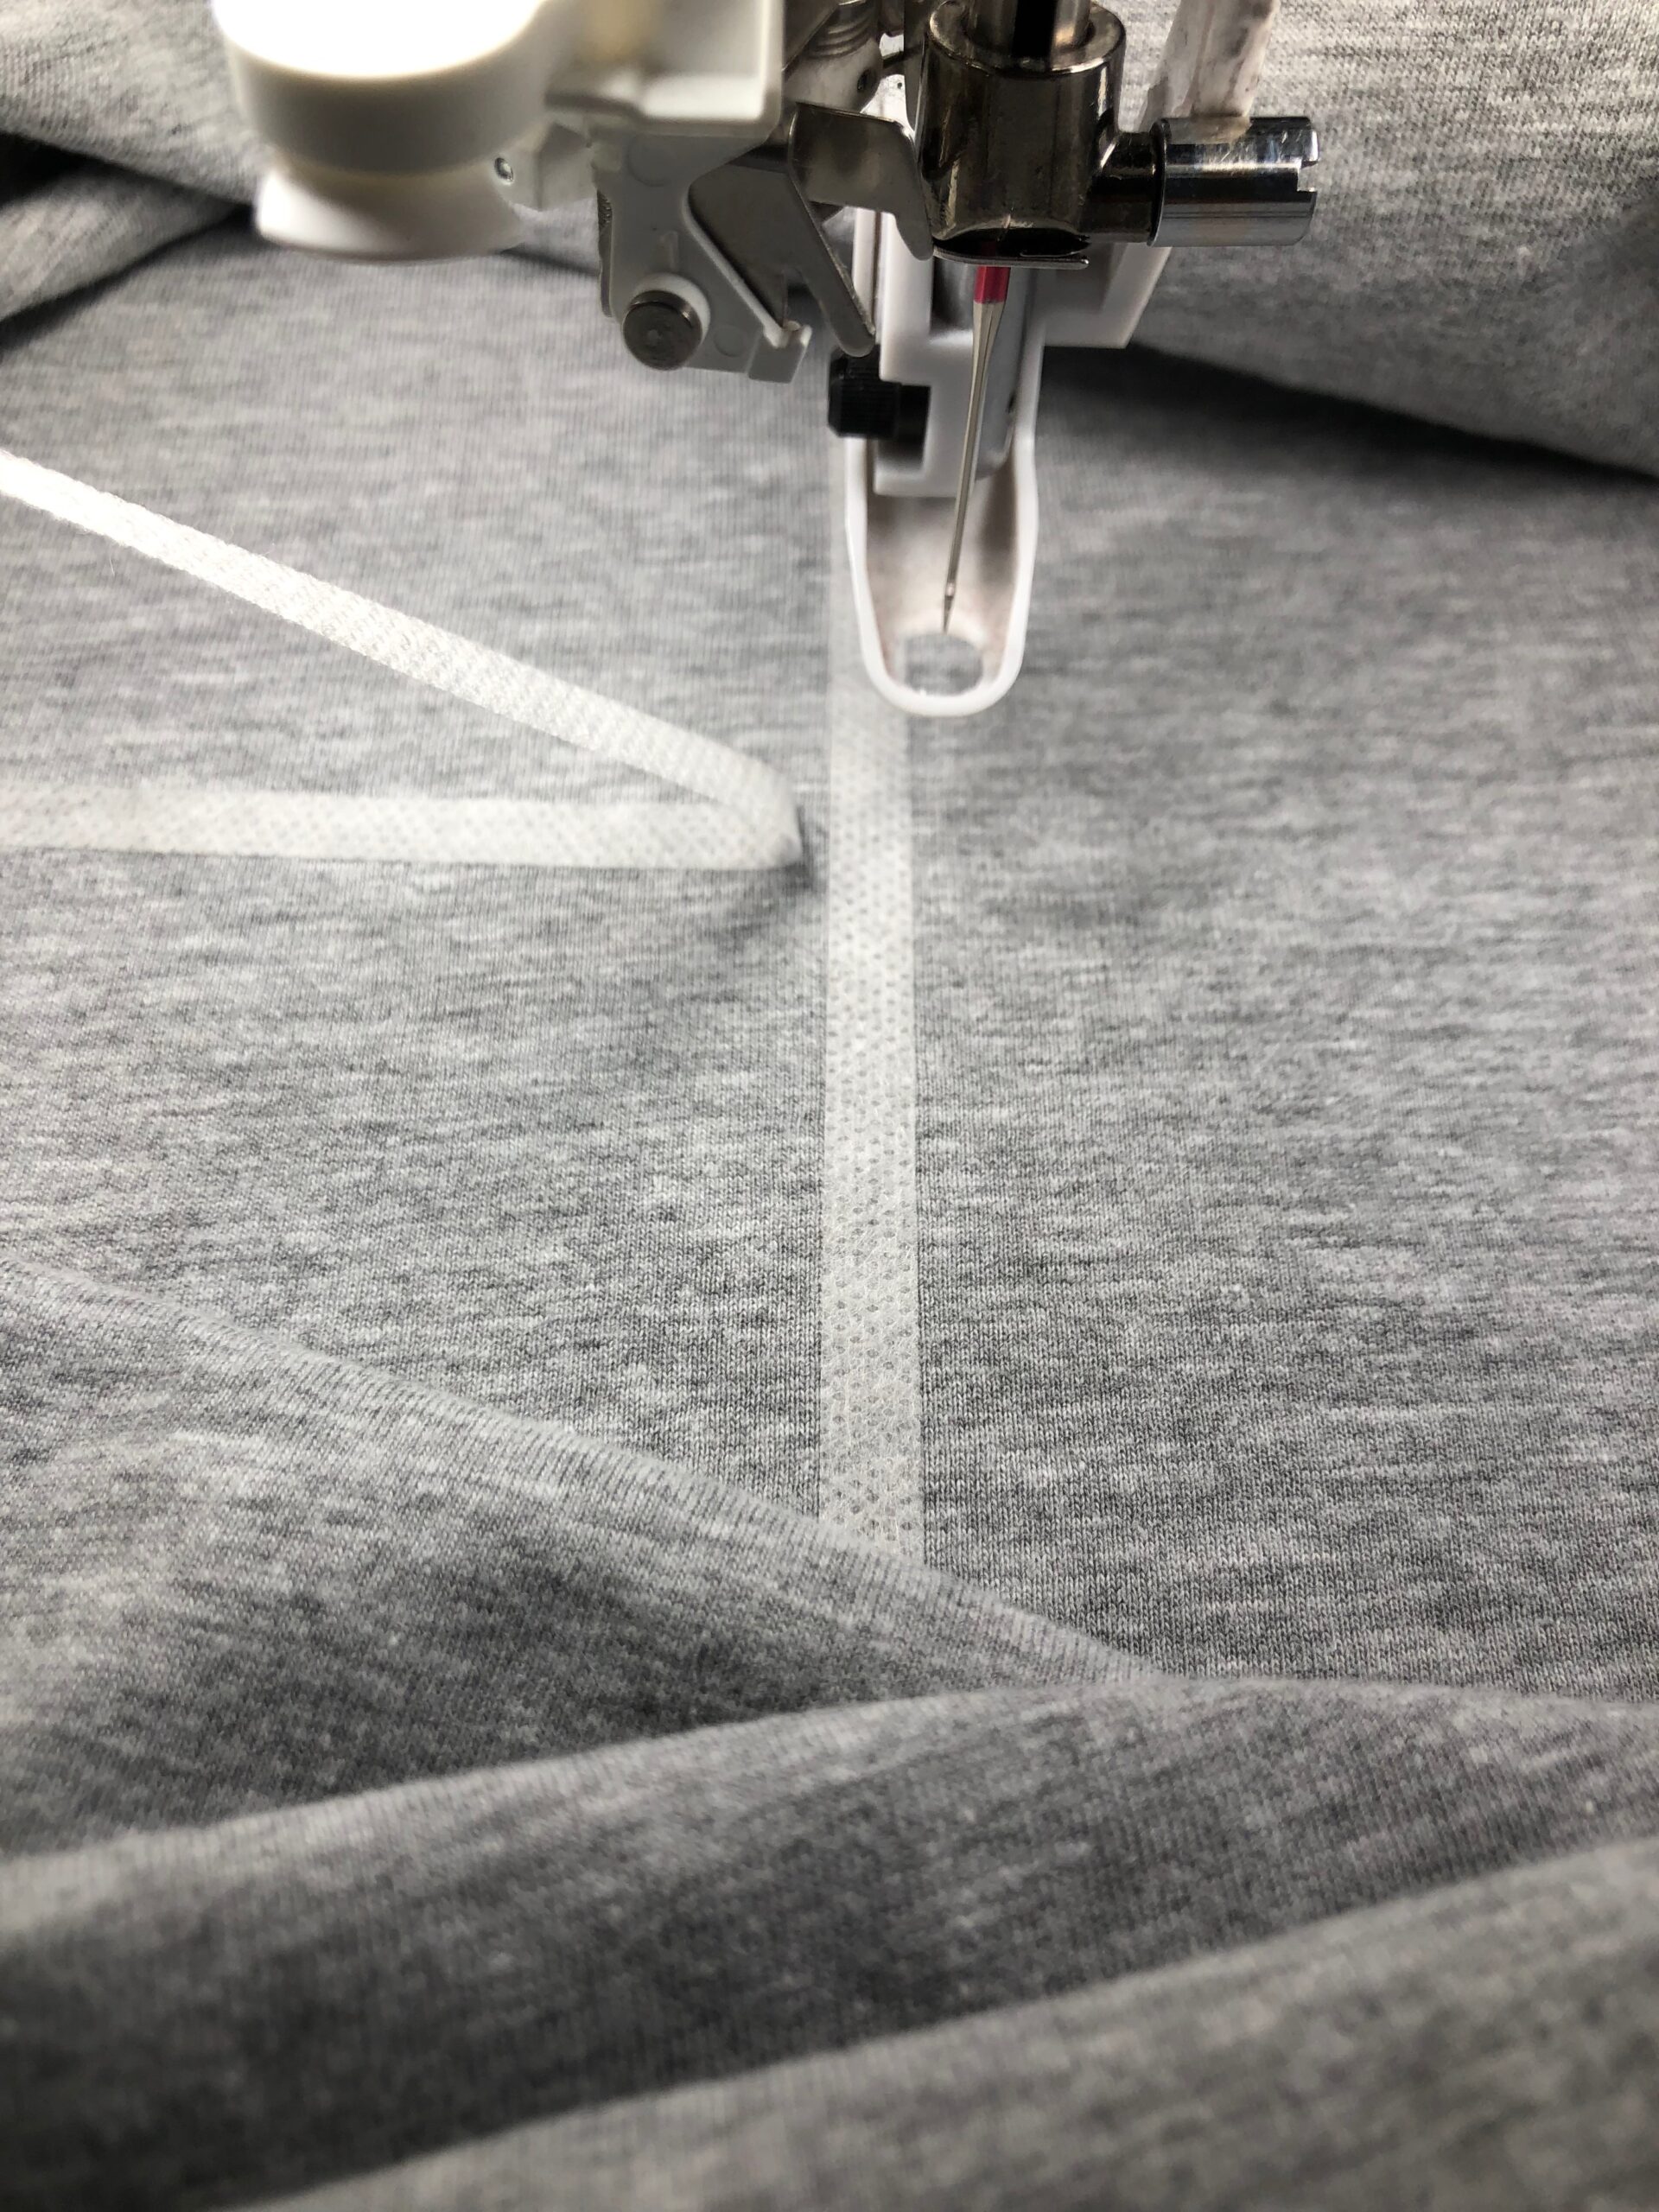
Mark the desired design placement on the lucky T-shirt (or other garment) right side, using a removable fabric marker or chalk. Draw a horizontal and vertical line to denote the design center cross-marks. Or mark the cross-marks using strips of Sticky Fabri-Solvy as tape. This way, the “tape” marks are easily repositioned and wash away completely if you forget to remove them before the embroidery begins.


Or, print our Placement Stickers PDF onto Sticky Fabri-Solvy or Stick ‘n Stitch and use them to achieve perfect machine embroidery placement. Print the PDF onto the fabric-like side of the stabilizer, and then cut out a circle to use on the fabric right side to denote the desired embroidery center. Embroider the design, and then remove the stabilizer using running water (if the fabric can withstand water); or remove the stabilizer sticker before embroidery begins.

Alternatively, if you have a placement method you prefer, follow those instructions. The important thing is to ensure the design is centered where desired and not slanted or askew.
The featured design is “Lucky Lady,” in the 5×7 hoop size. HINT: Sub Poly Sparkle™ Thread for portions of the design to add a bit of metallic glitz! Sub a 90/14 needle is using this thicker 30 wt. thread.
LUCKY T-SHIRT HOOPING
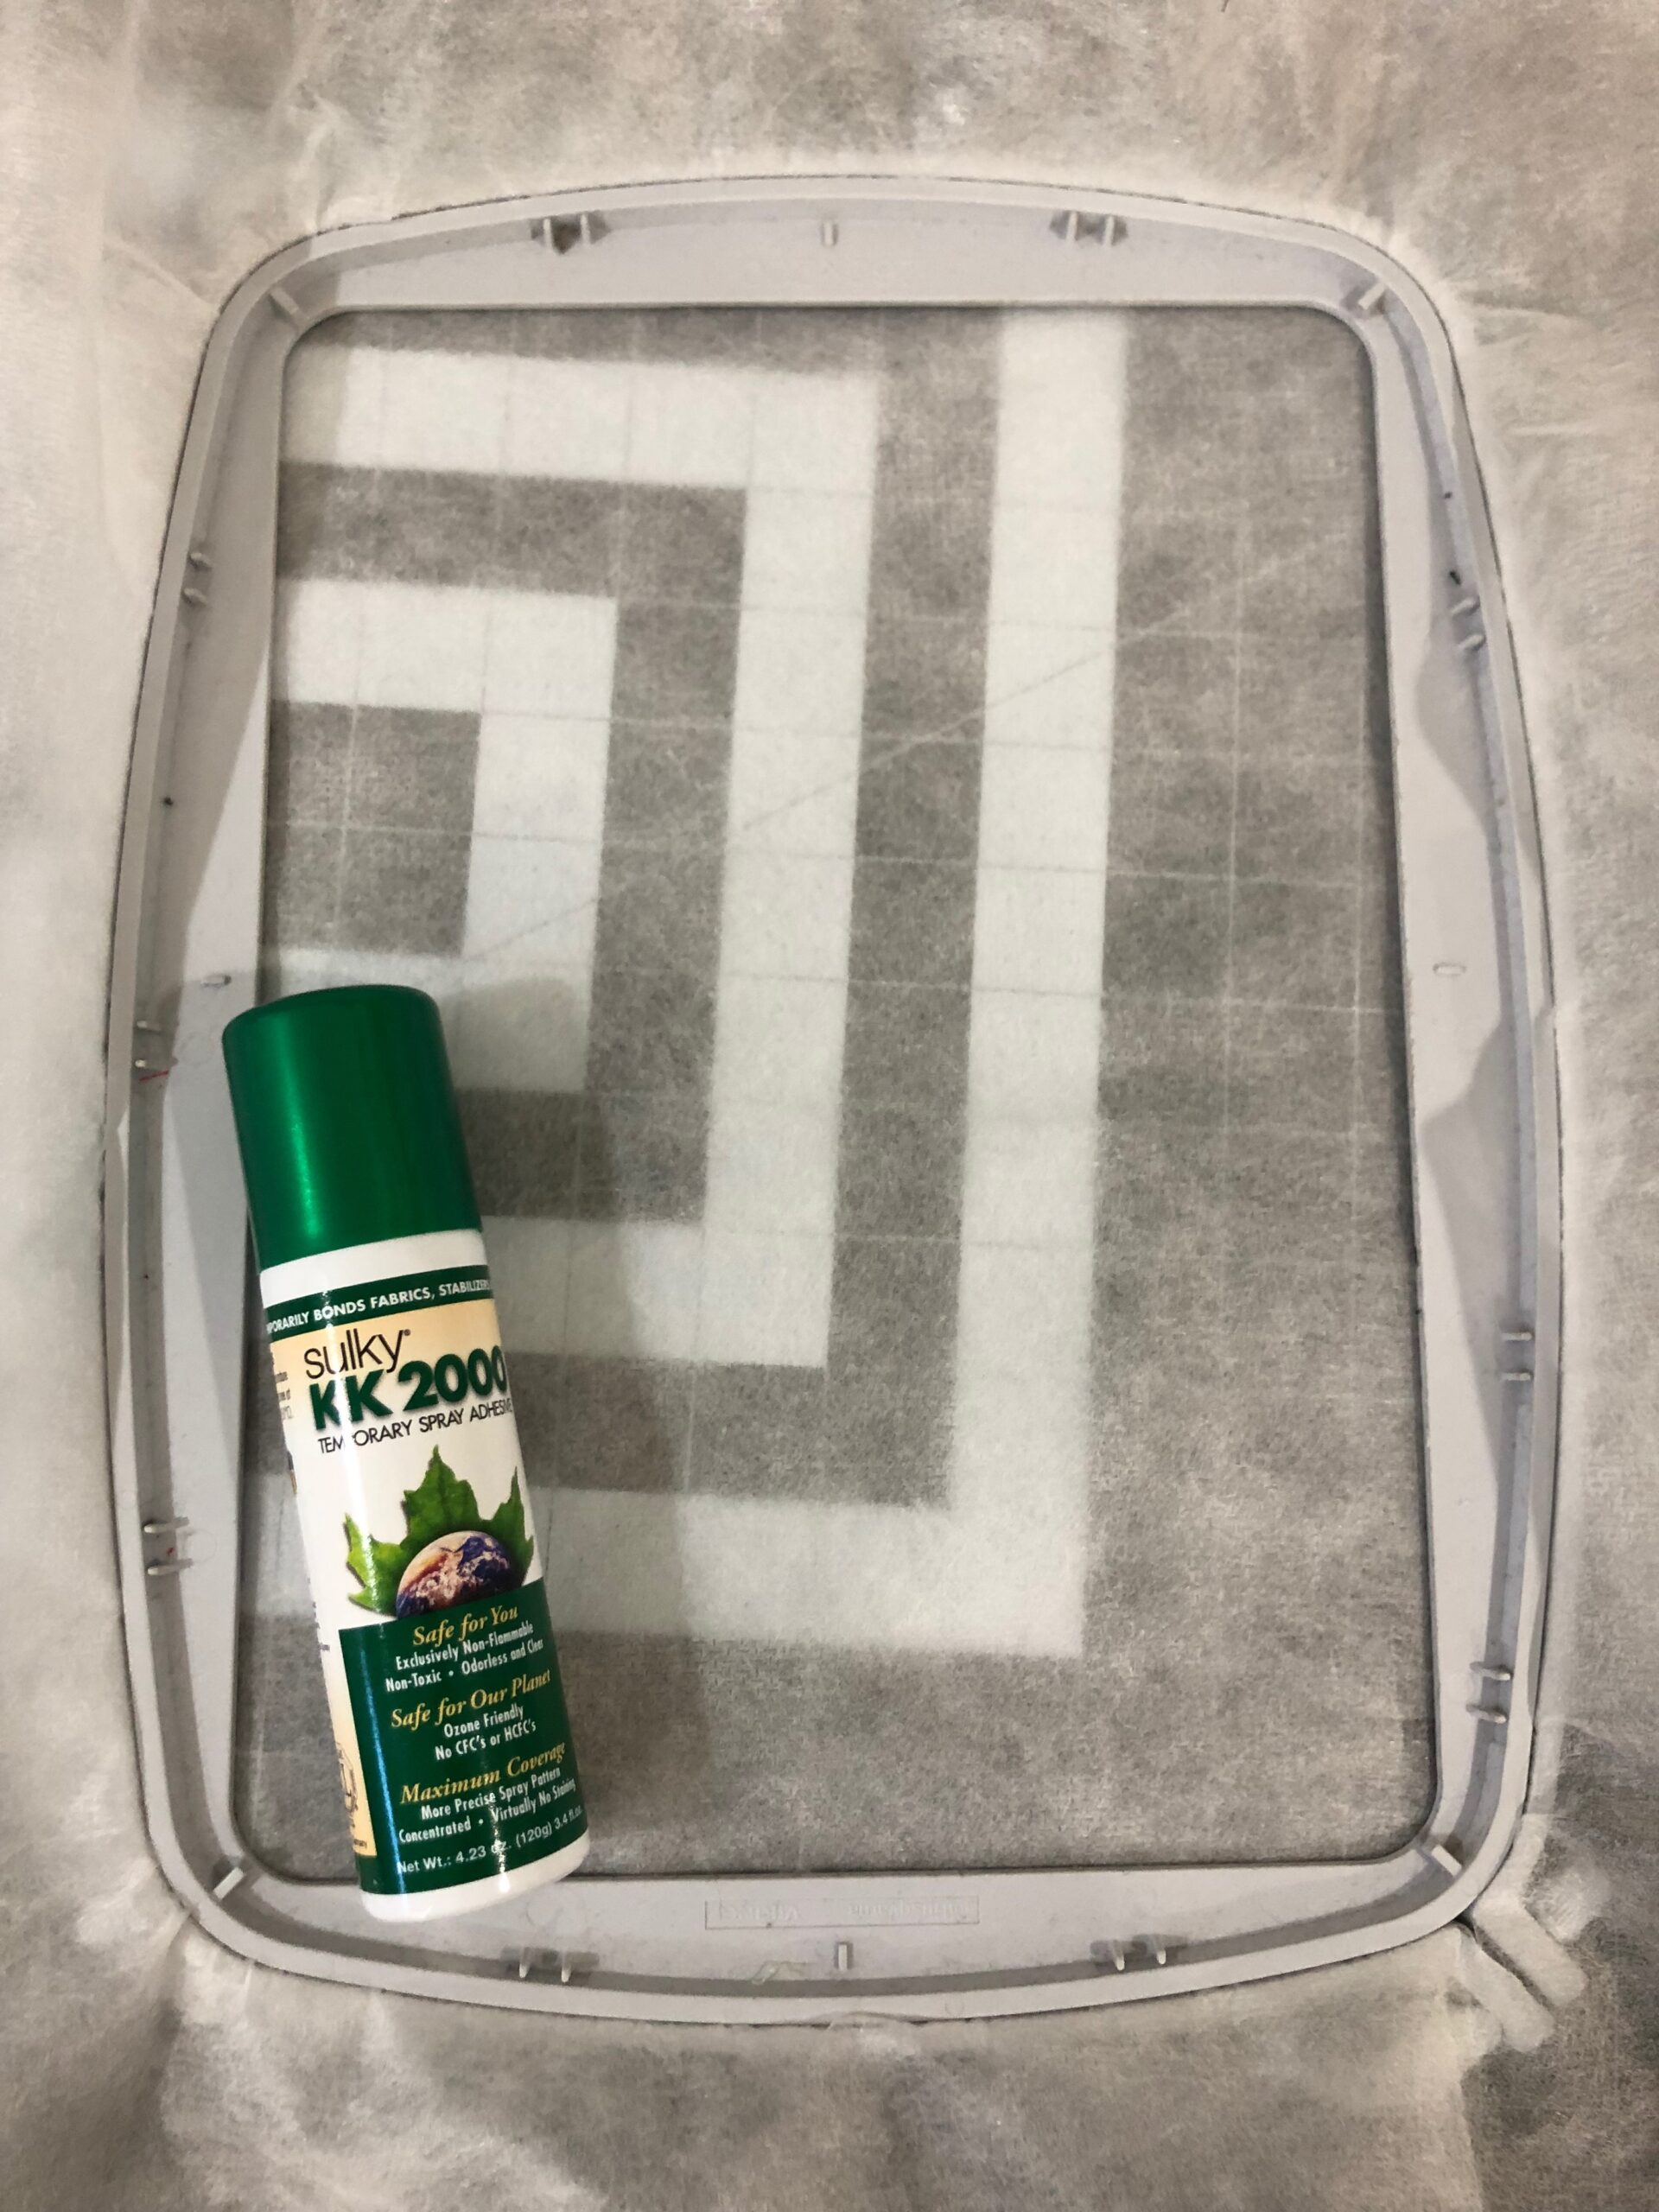
Hoop two layers of Sulky Soft ‘n Sheer stabilizer.
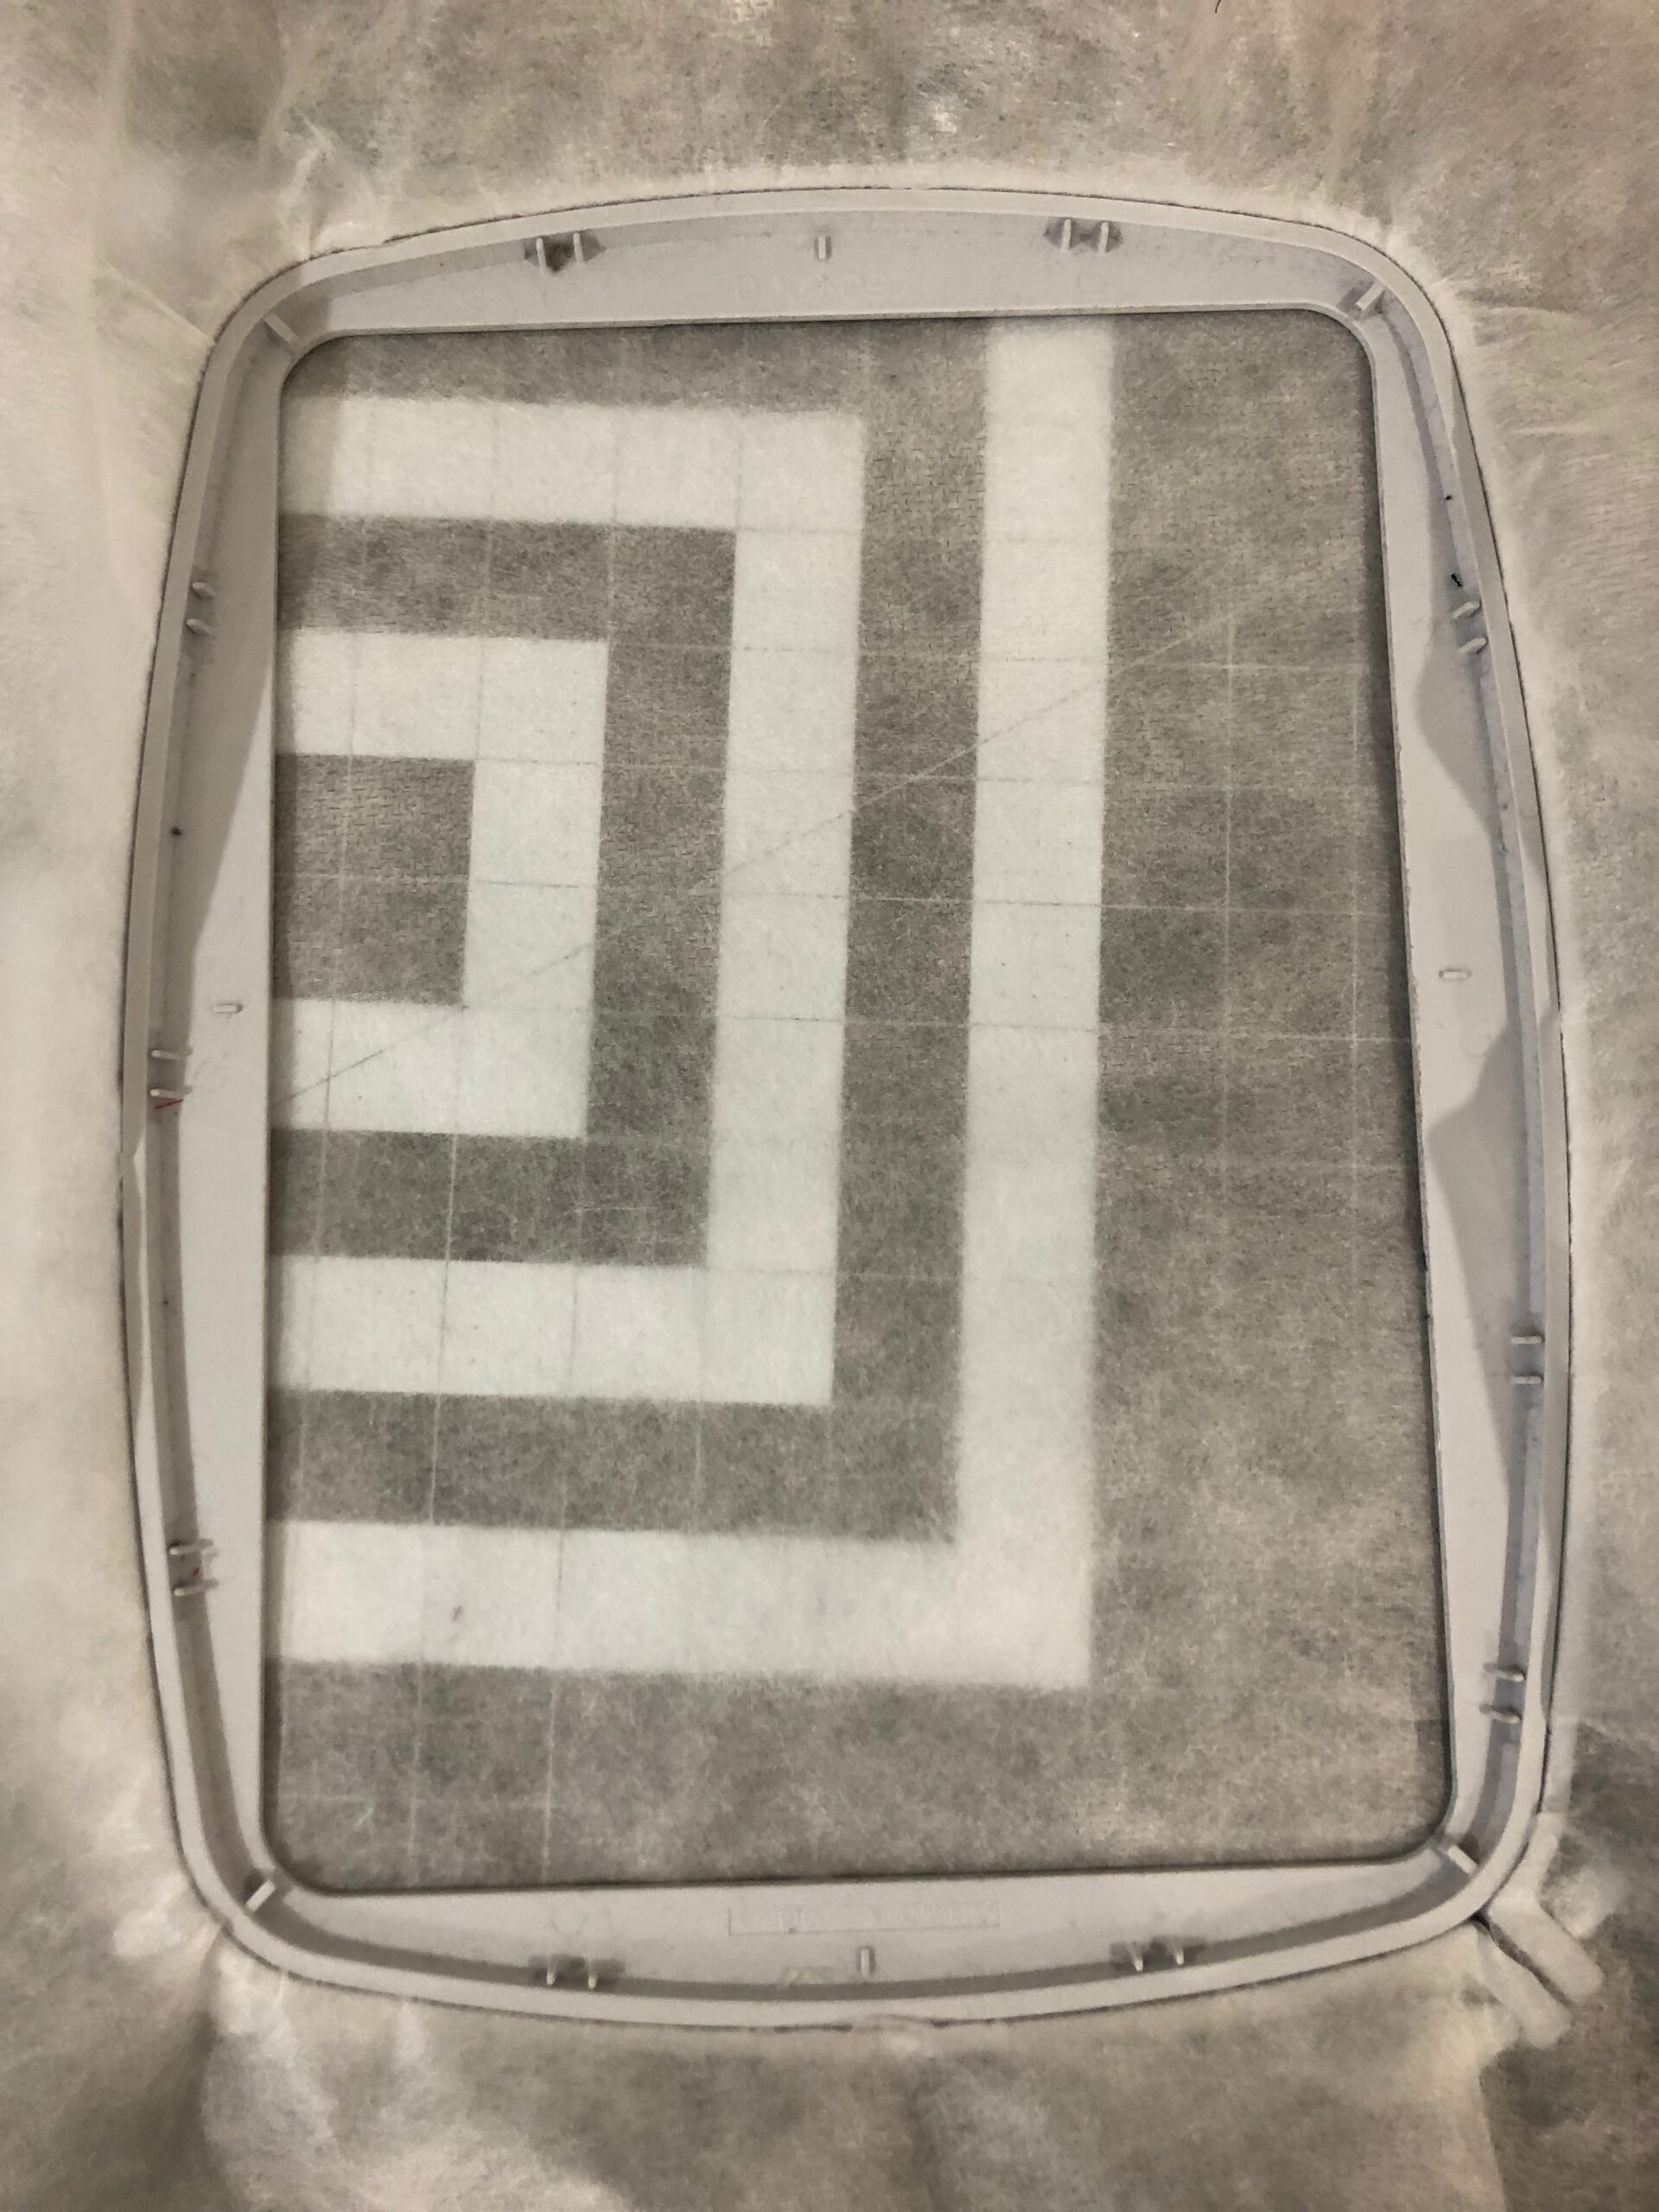
Spray the stabilizer with Sulky KK 2000 Temporary Spray Adhesive. For a stronger bond, spray the T-shirt wrong side as well, if desired.
Turn the T-Shirt wrong side out. Place the shirt wrong side onto the sticky stabilizer, centering the marked lines within the hoop. The hoop markings may not appear centered – be sure to use those to align the T-shirt, rather than the “actual” hoop center! The hoop likely came with a placement aid of some kind, such as a plastic template. Use this to ensure the shirt is properly aligned in the hoop.
LUCKY T-SHIRT EMBROIDERY
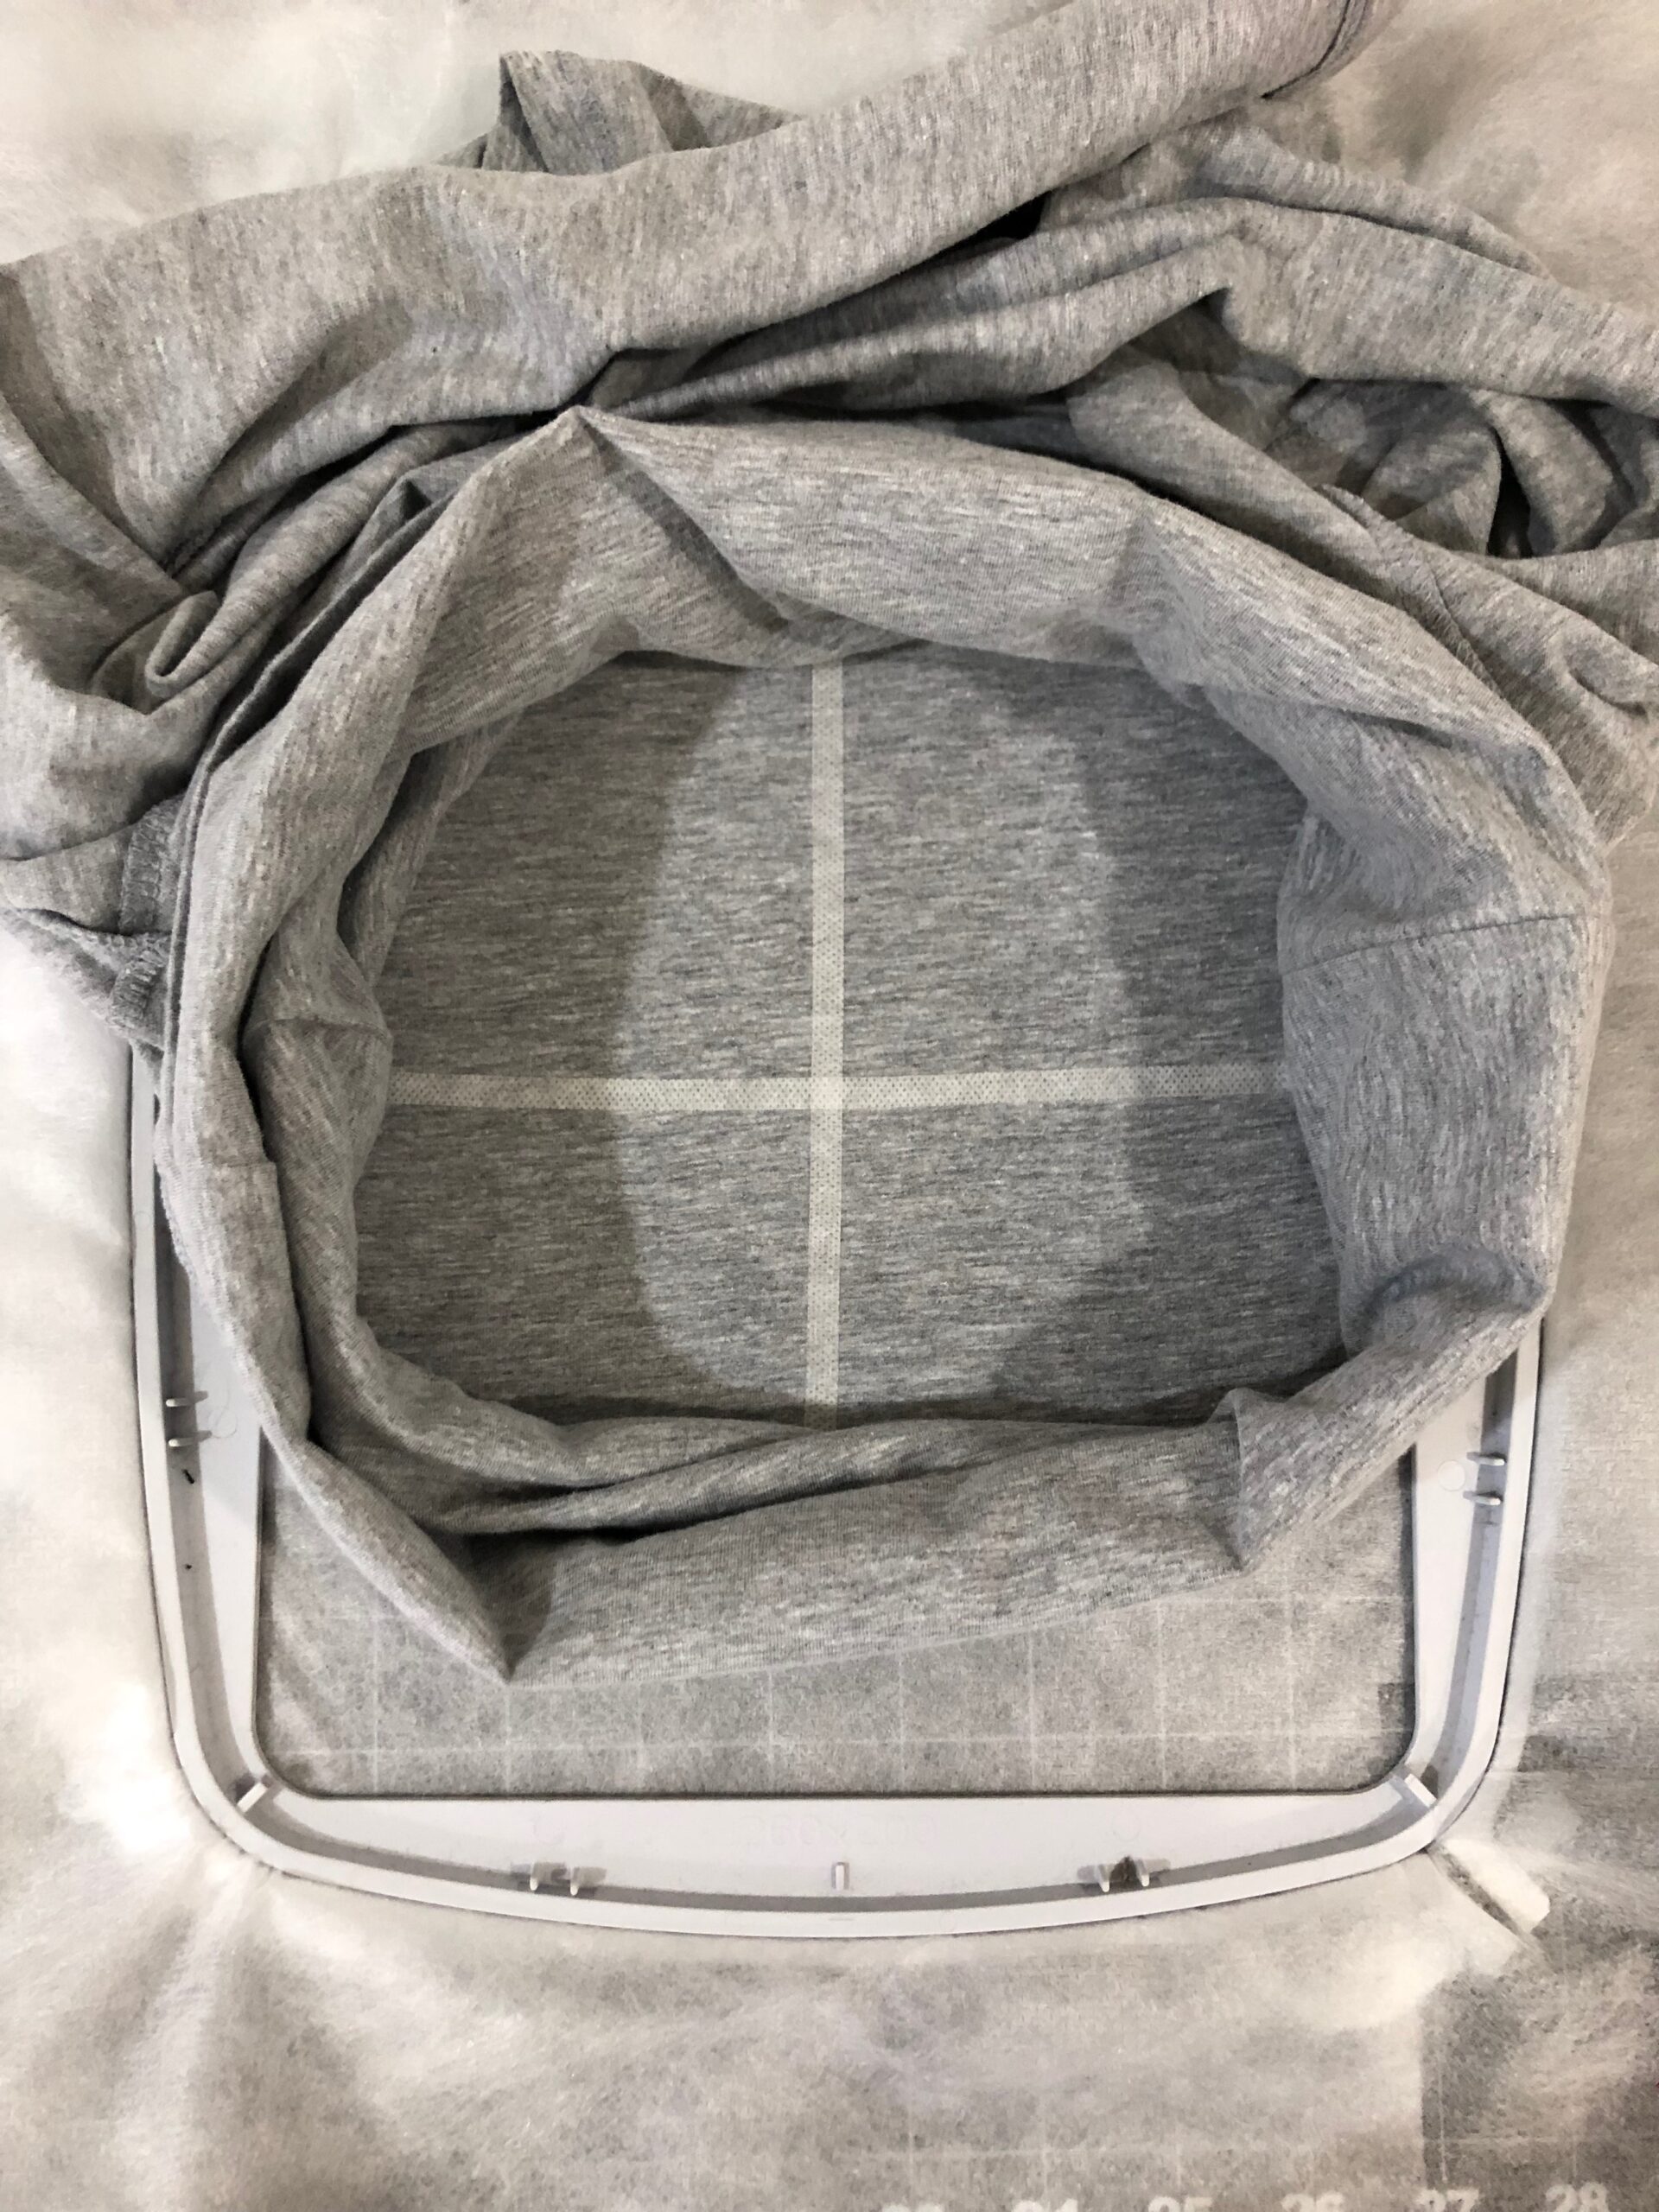
Place the hoop onto the machine. The T-shirt will look like a “tunnel” of sorts. Move the excess fabric out of the way of the machine arm and needle. If the shirt is large enough, it may be possible to clip the excess fabric to the outer hoop ring during the stitchout (your machine may have come with hoop clips, too). If working with a onesie or smaller T-shirt size, you may need to stop and start the machine during the embroidery to ensure the needle won’t snag or catch on the excess fabric.
Remove the Sticky Fabri-Solvy strips, if using. make sure the knit fabric is not stretched on the stabilizer. Smooth it flat without puckers.
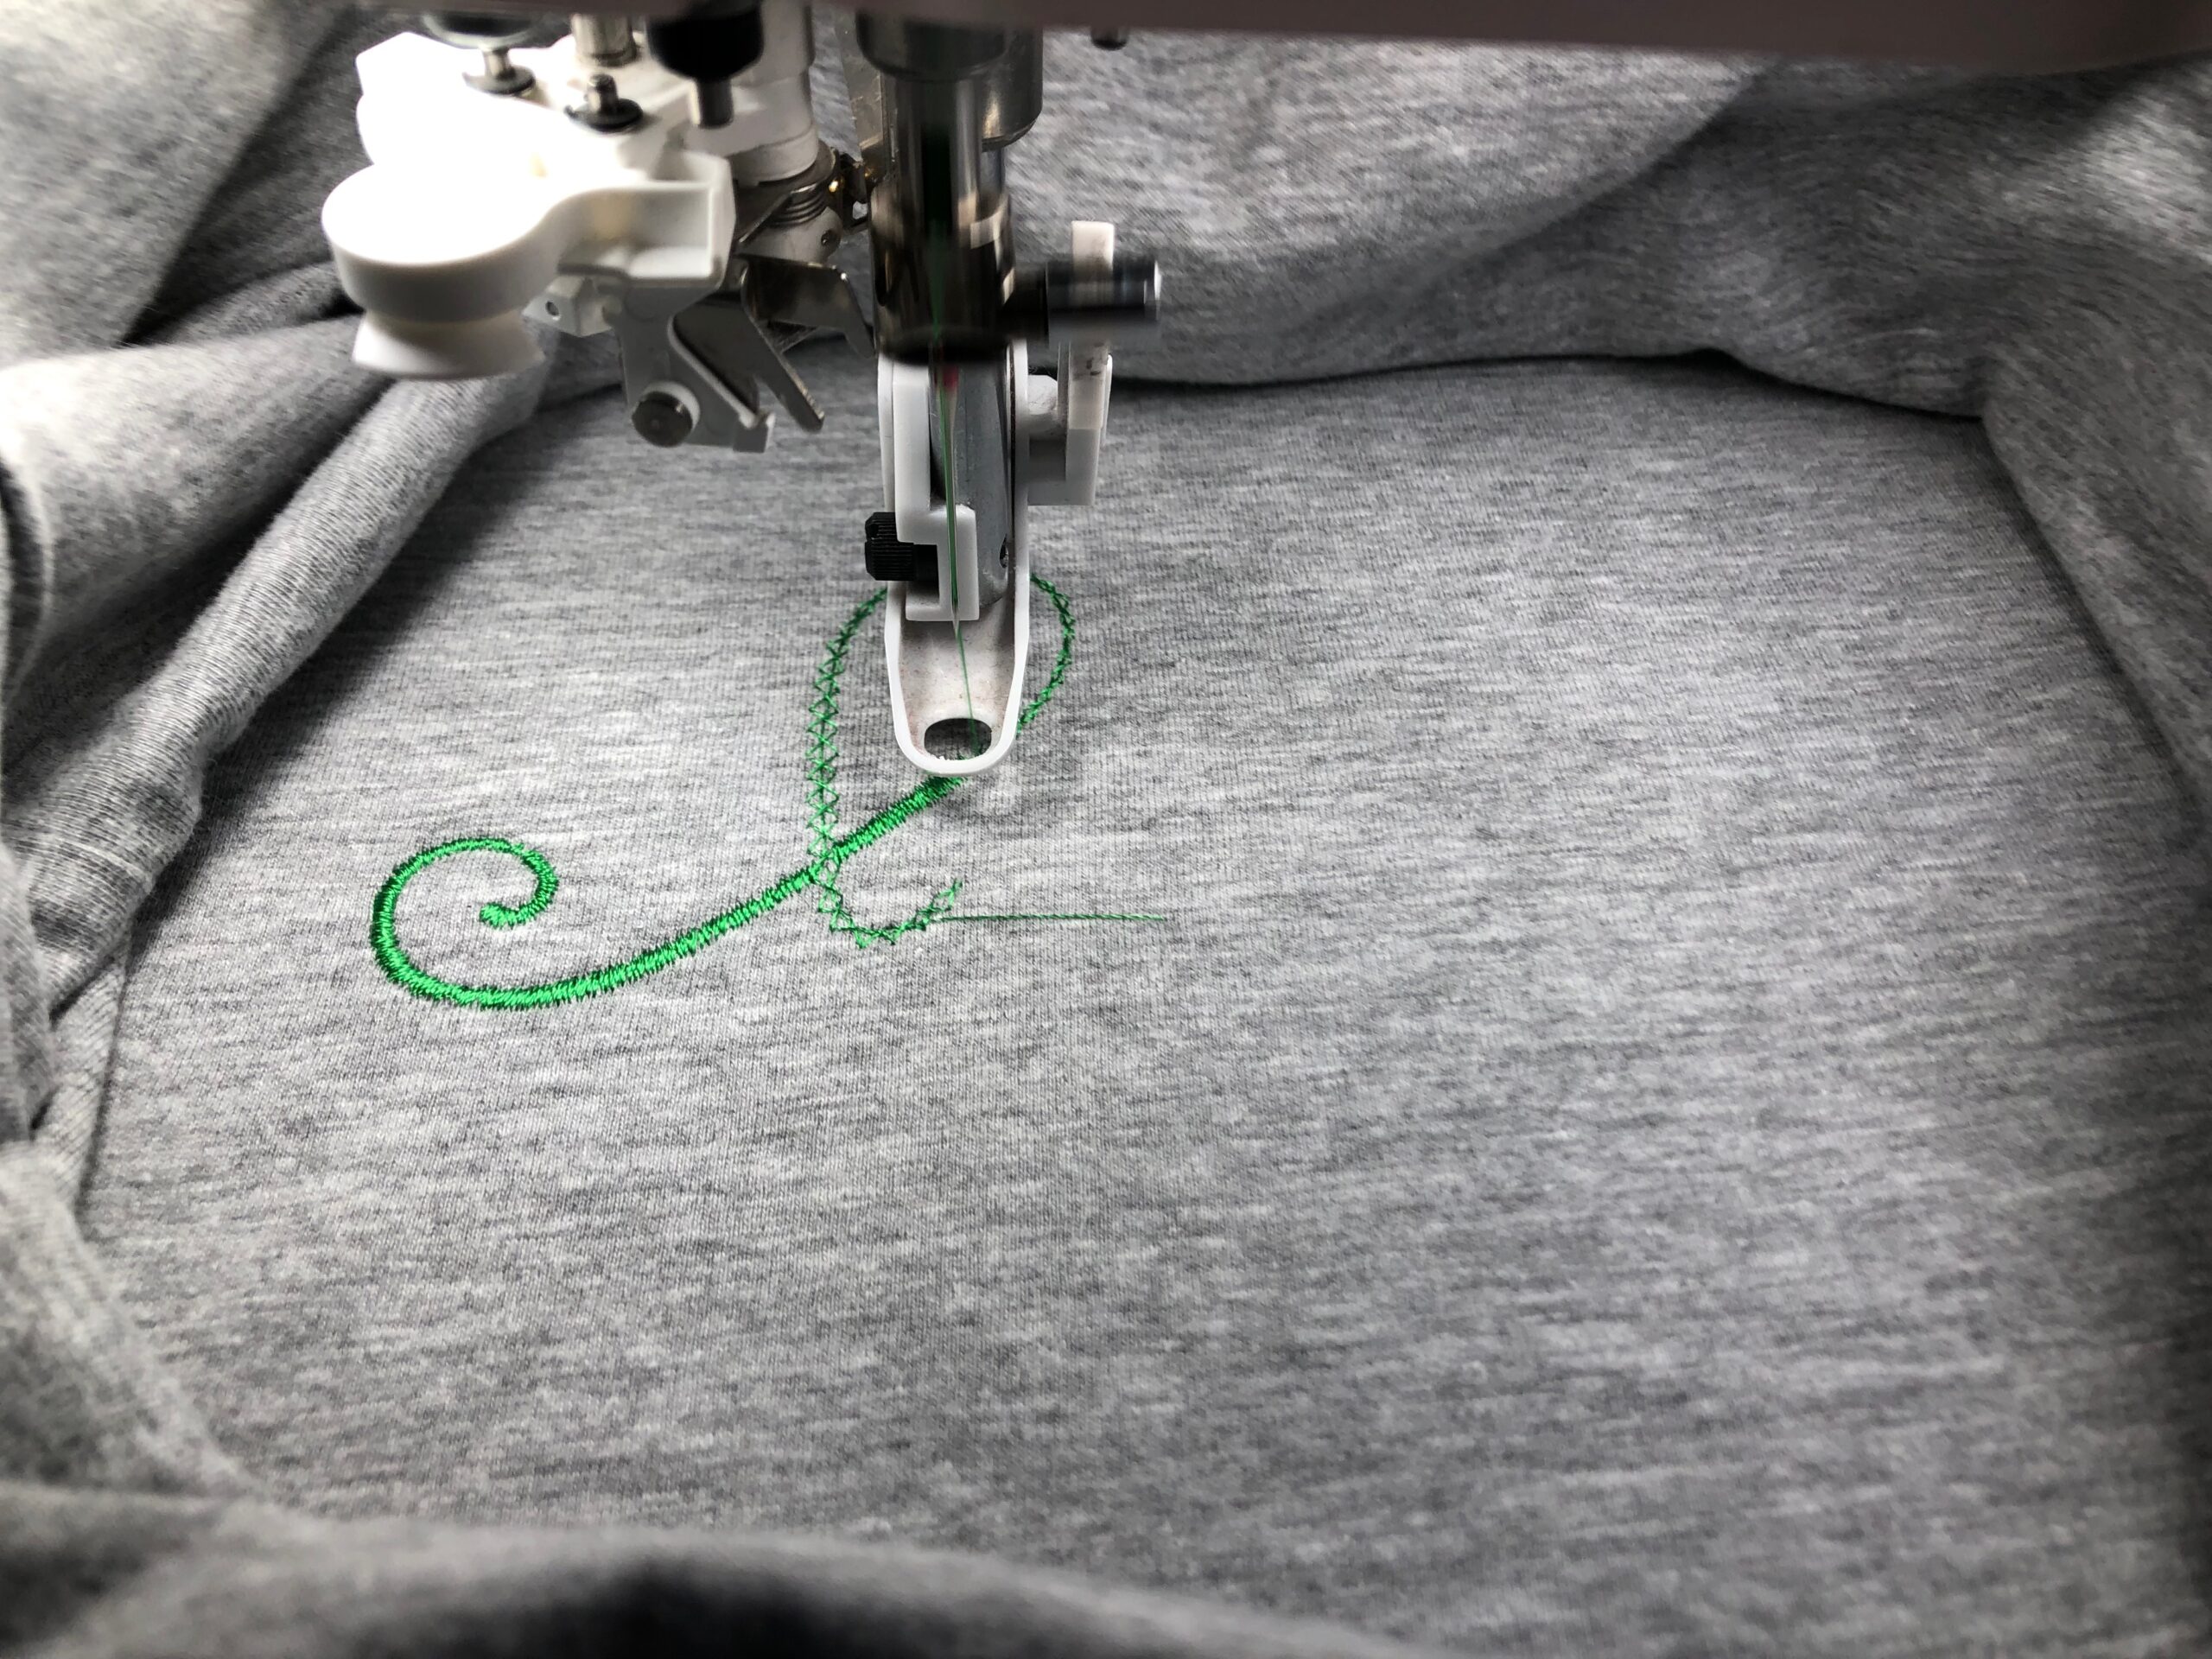
Embroider the design, clipping jump threads with each thread change.
FINISHING
When the embroidery is complete, remove the hoop from the machine. Turn over the hoop and clip the excess jump threads from the embroidery wrong side.
Remove the stabilizer from the hoop, and then trim away the stabilizer layers independently, leaving a 1/4″ or so border around the stitching perimeter.
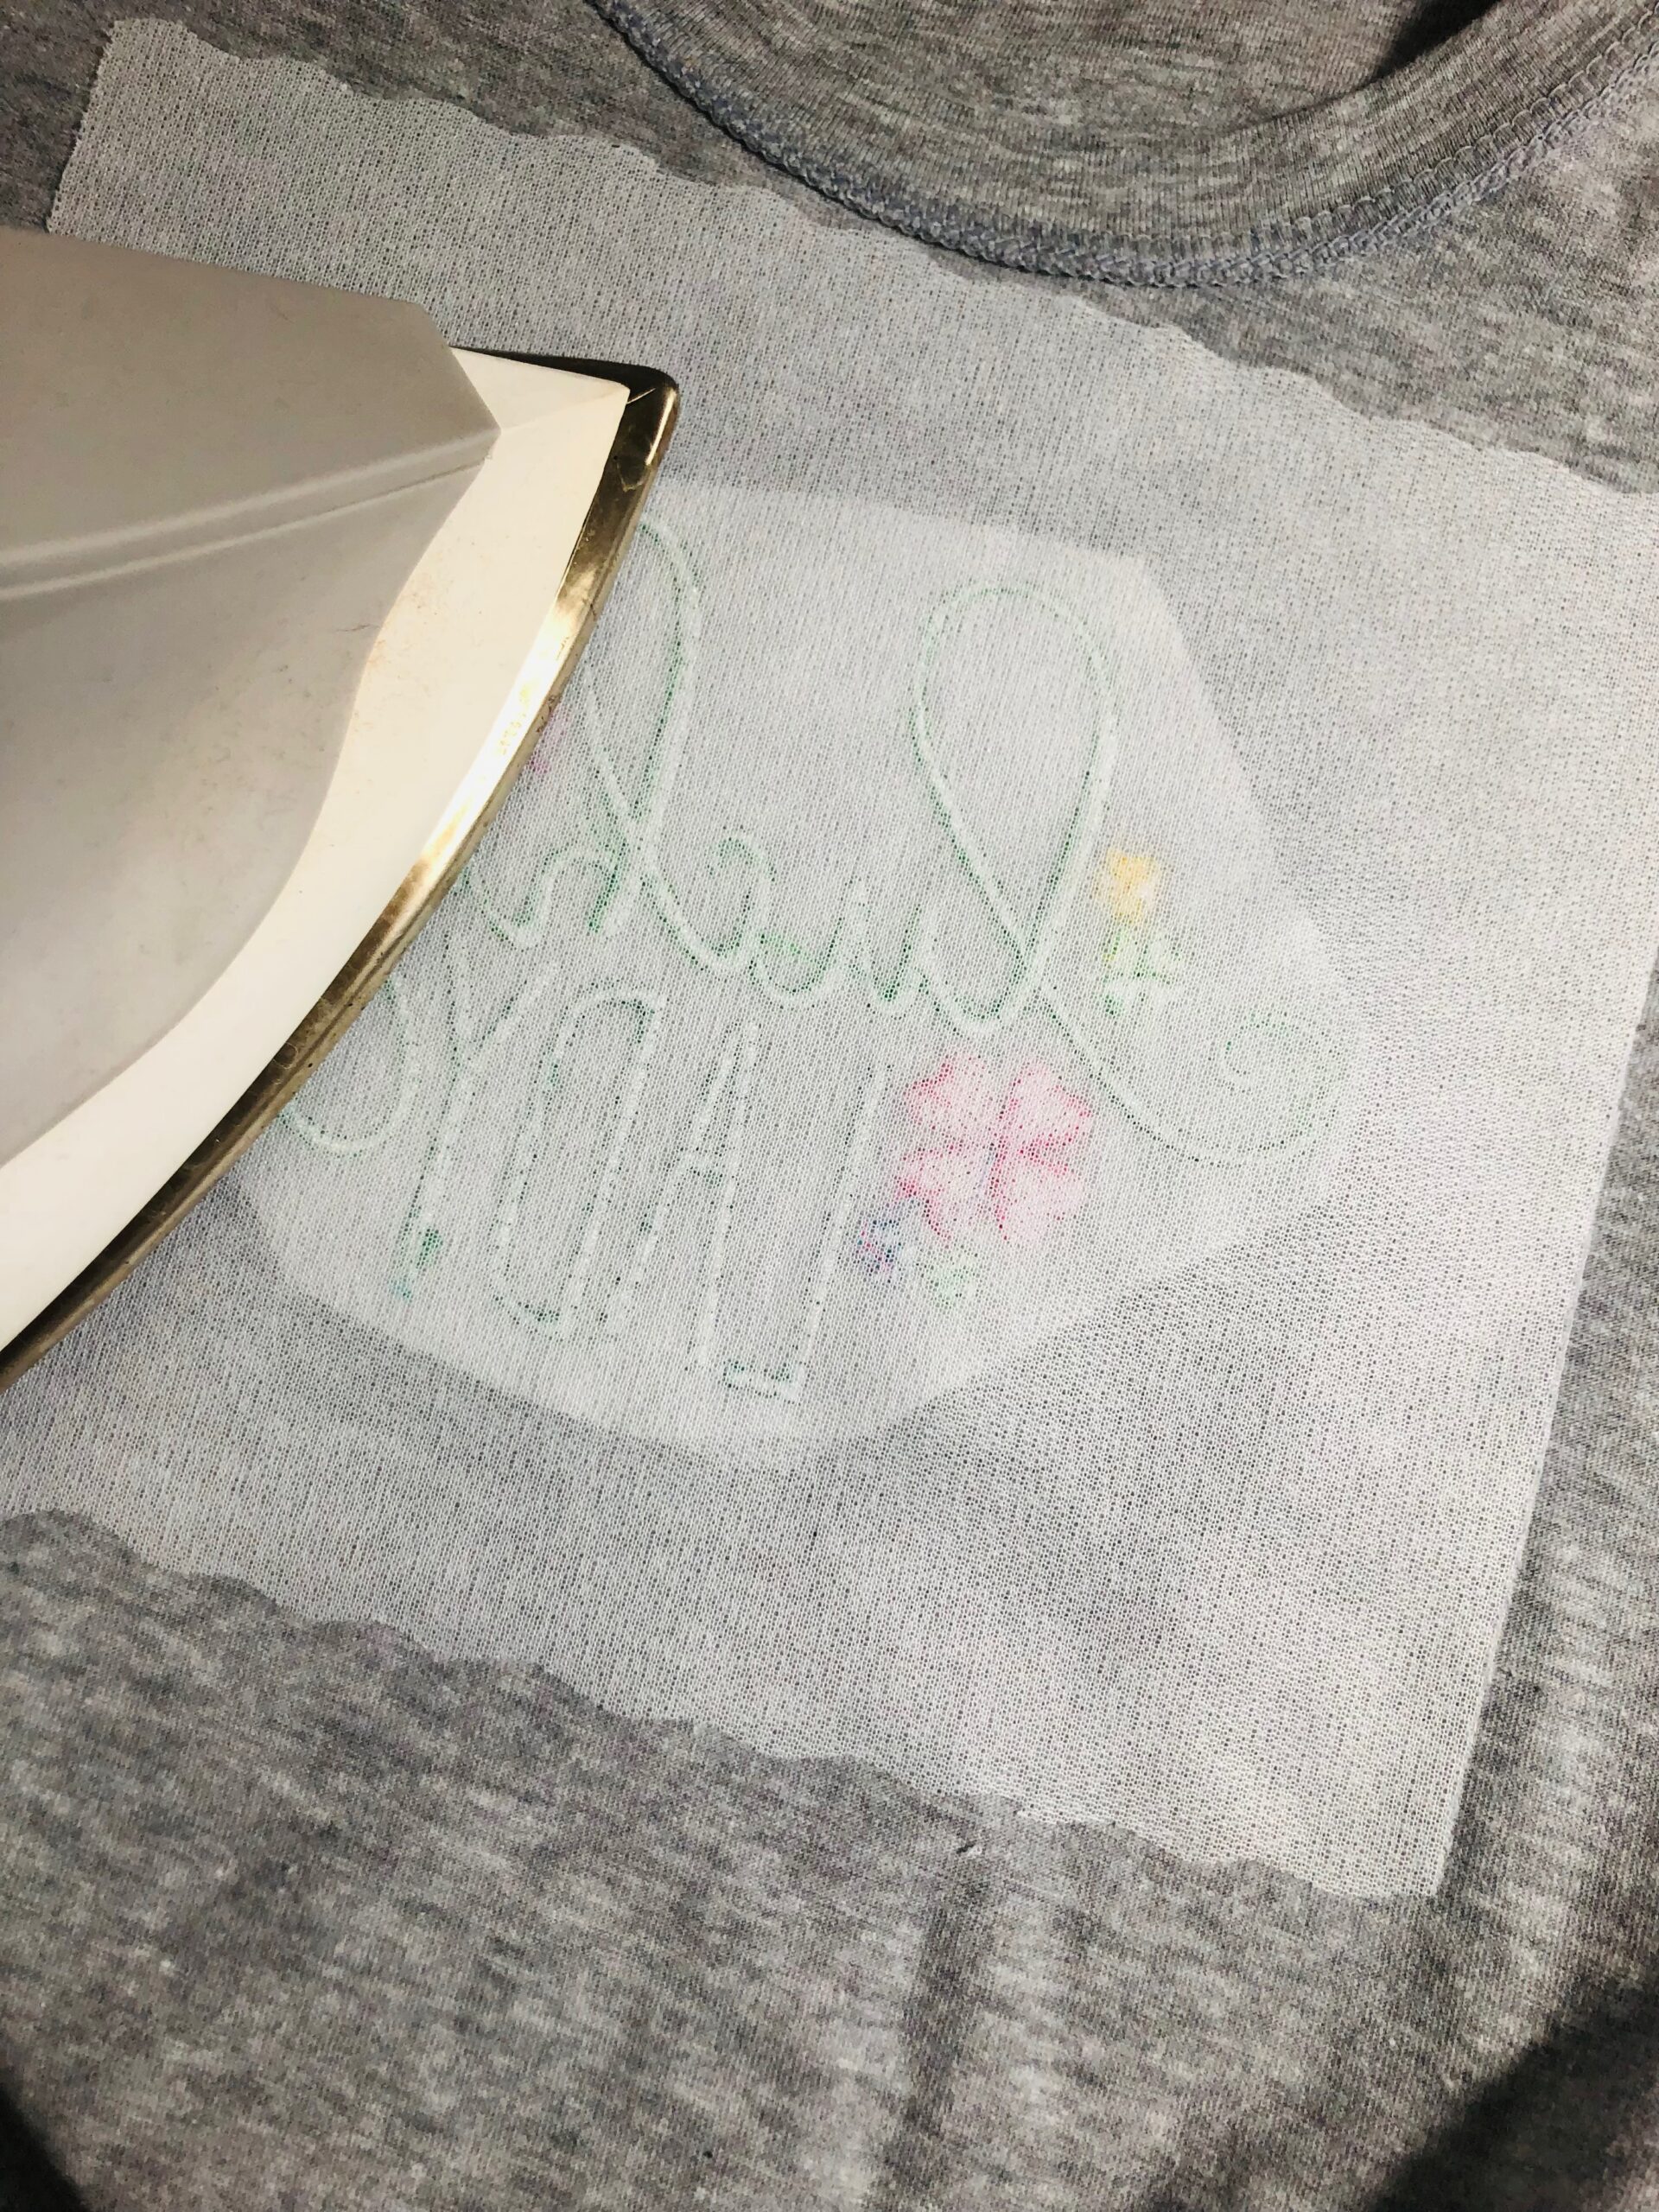
Cut a piece of Tender Touch slightly larger than the embroidery wrong side. Use pinking shears or a wavy rotary blade to cut the stabilizer for a long-lasting fuse and nicer looking result.
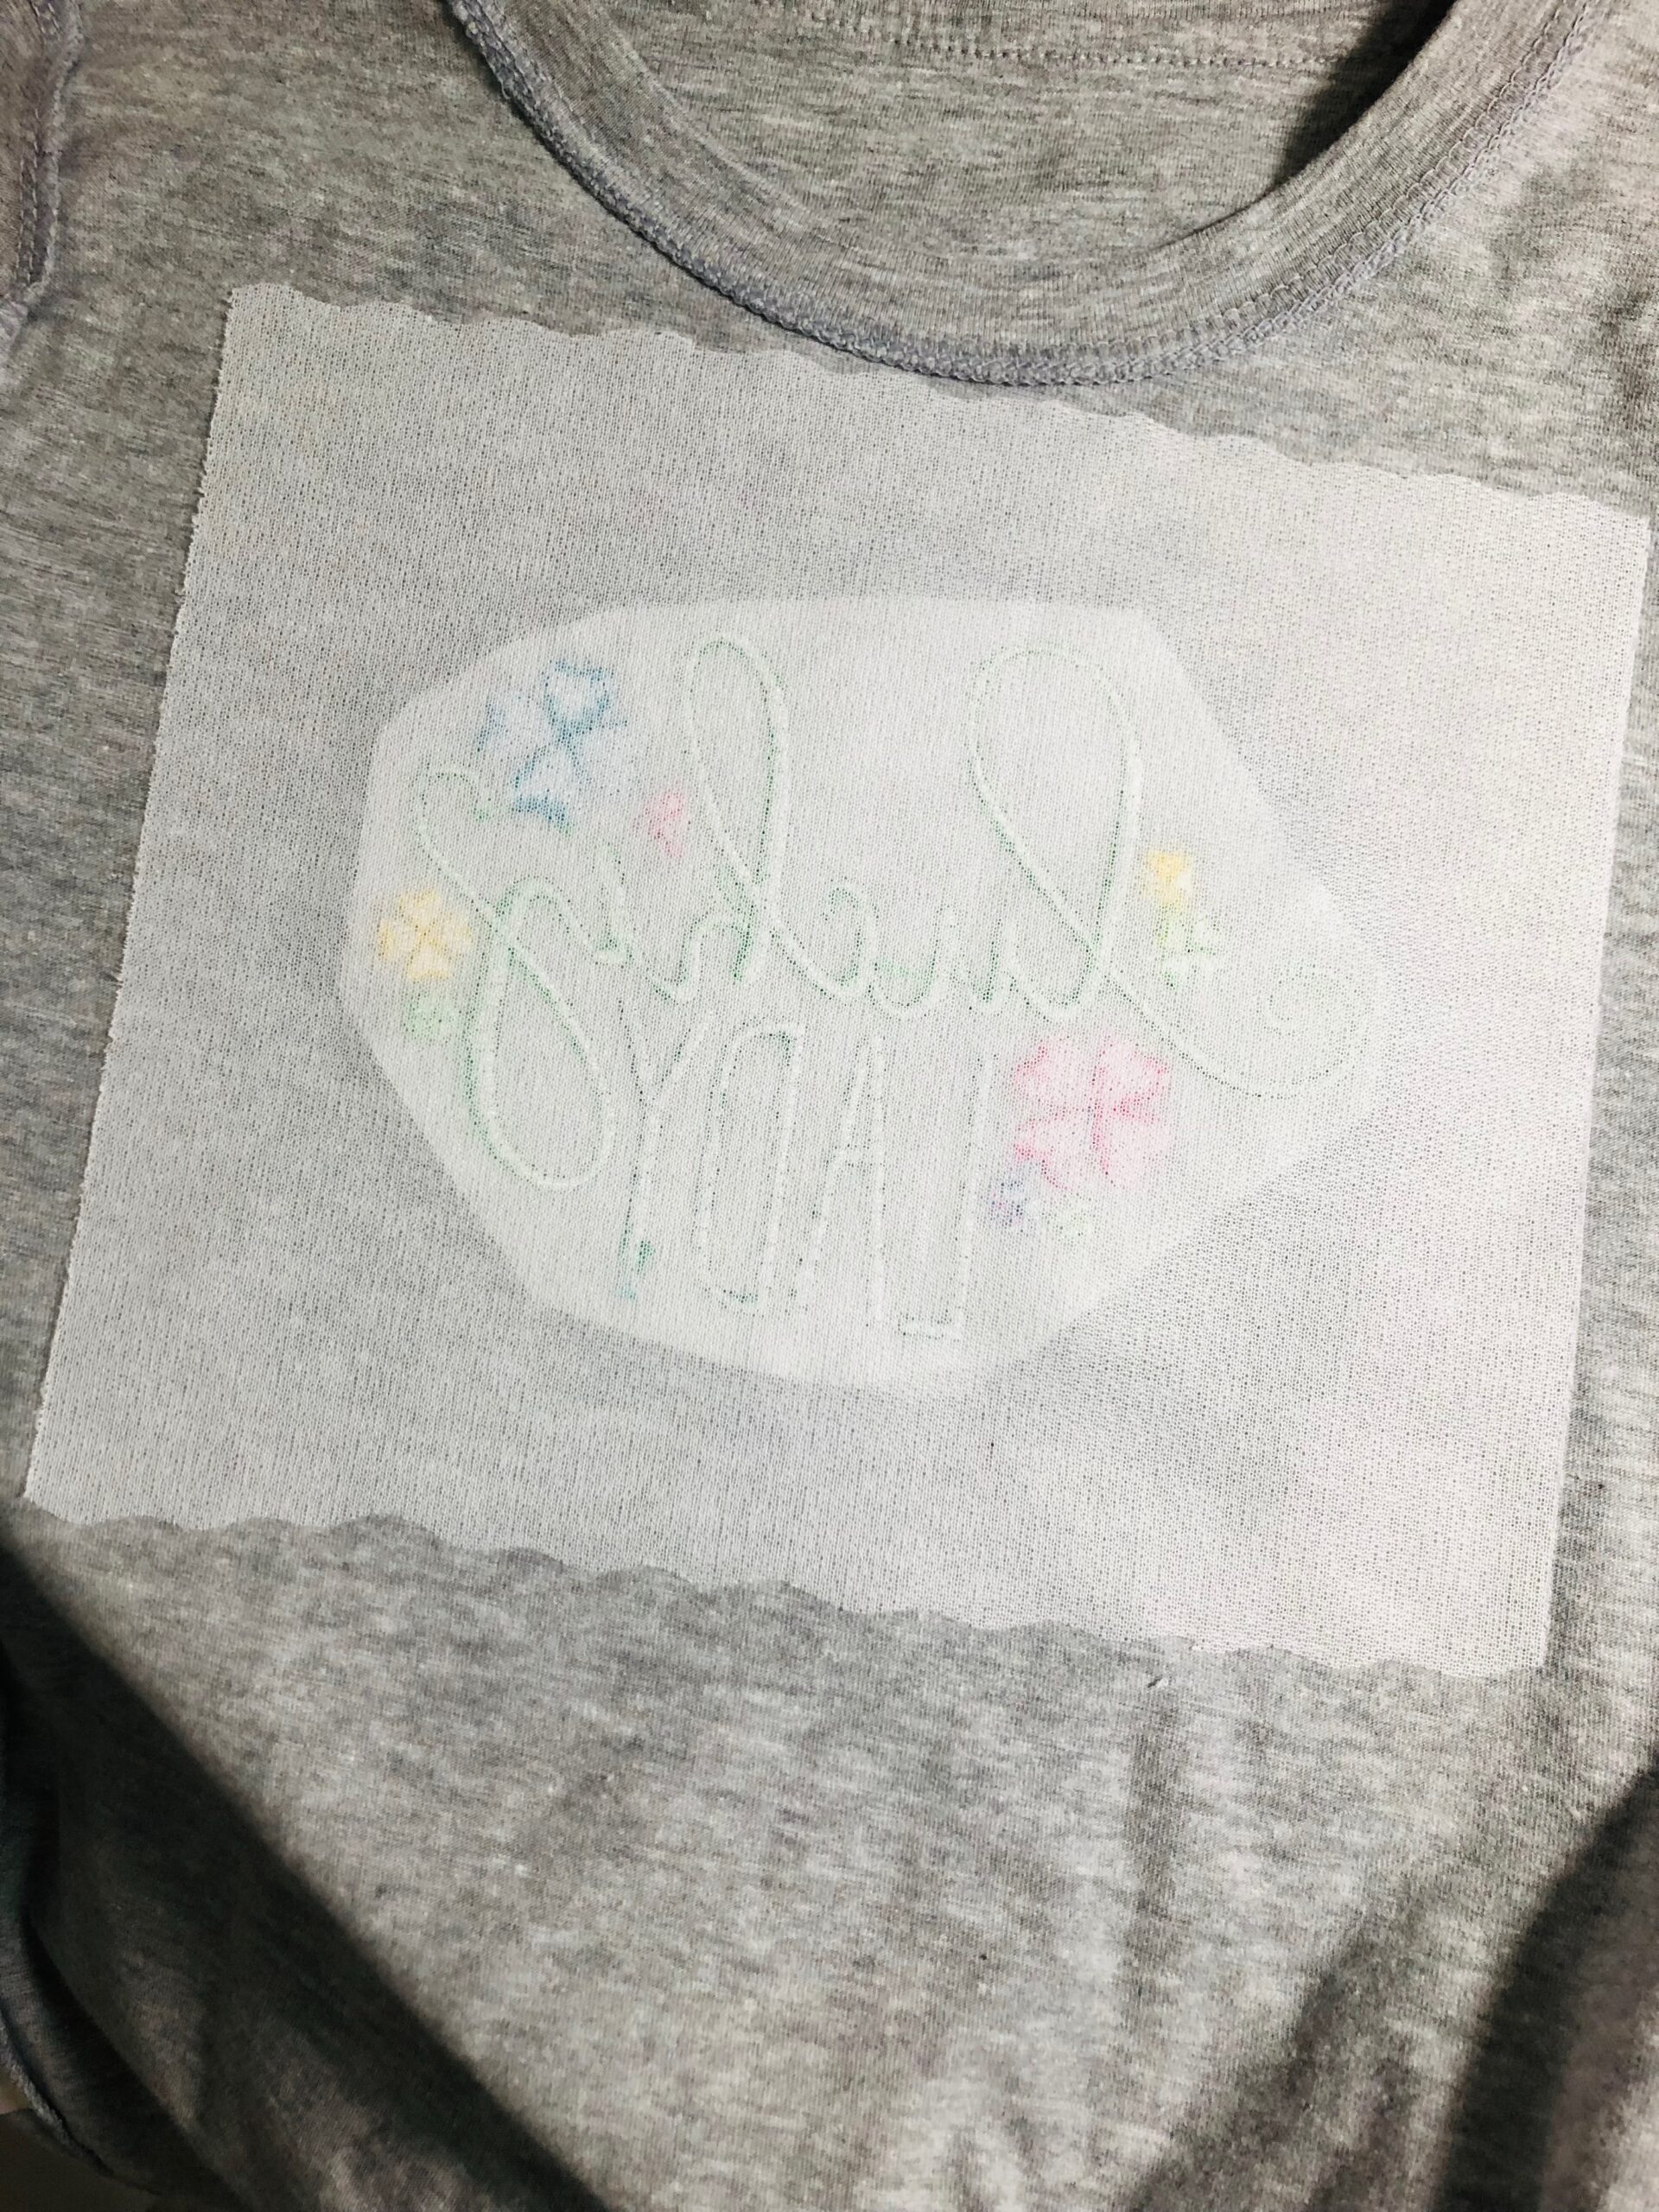
Fuse the Tender Touch to the fabric wrong side, using a low-to-medium heat iron.
SWEATSHIRT or FLEECE VERSION
To embroider one of the Feeling Lucky Machine Embroidery Designs onto a heavier weight garment, such as a sweatshirt or fleece jacket, follow the instructions above, substituting Sulky Cut-Away Plus for the Soft ‘n Sheer. Do not apply Tender Touch if the garment cannot withstand heat from an iron.


Ellen March
I am the Director of Content for Sulky of America. The former Editor in Chief of Sew News and Creative Machine Embroidery magazines, I hosted Sew it All TV on PBS for nine seasons. I've appeared on It's Sew Easy on PBS, DIY Network's Uncommon Threads, Hallmark's Marie Osmond Show, MacPhee Workshop and more! Come sew with me!


2 Comments
Penny Schneider
I was using Sulky metallic thread in quilting-what a mess-the thread broke with every stitch. I am so very disappointed.
Patti Lee
Hi Penny. I’m so sorry you had issues with metallic thread. Generally when this happens it’s the needle size or top tension. You need to use a 90/14 needle, and some machines prefer a 90/14 topstitch or metallic needle. You also may have to lower your top tension a number or two. If it’s one of the flat metallic threads like Sliver or Holoshimmer, you may have to lower the tension two or three numbers. Also the flat metallic threads need to be placed in a vertical position, so that the thread comes off flat without twisting. There are other things that help like the Thread Director available at http://www.sulky.com or Sewer’s Aid a thread/needle lubricant. If you’d like to discuss this further, please contact me at info@sulky.com or call 800-874-4115, ext 173, if these tips don’t resolve the issue for you.