
Machine Embroidered Jewelry Case: Easy Gifts Using Blanks
Machine Embroidered Jewelry Case
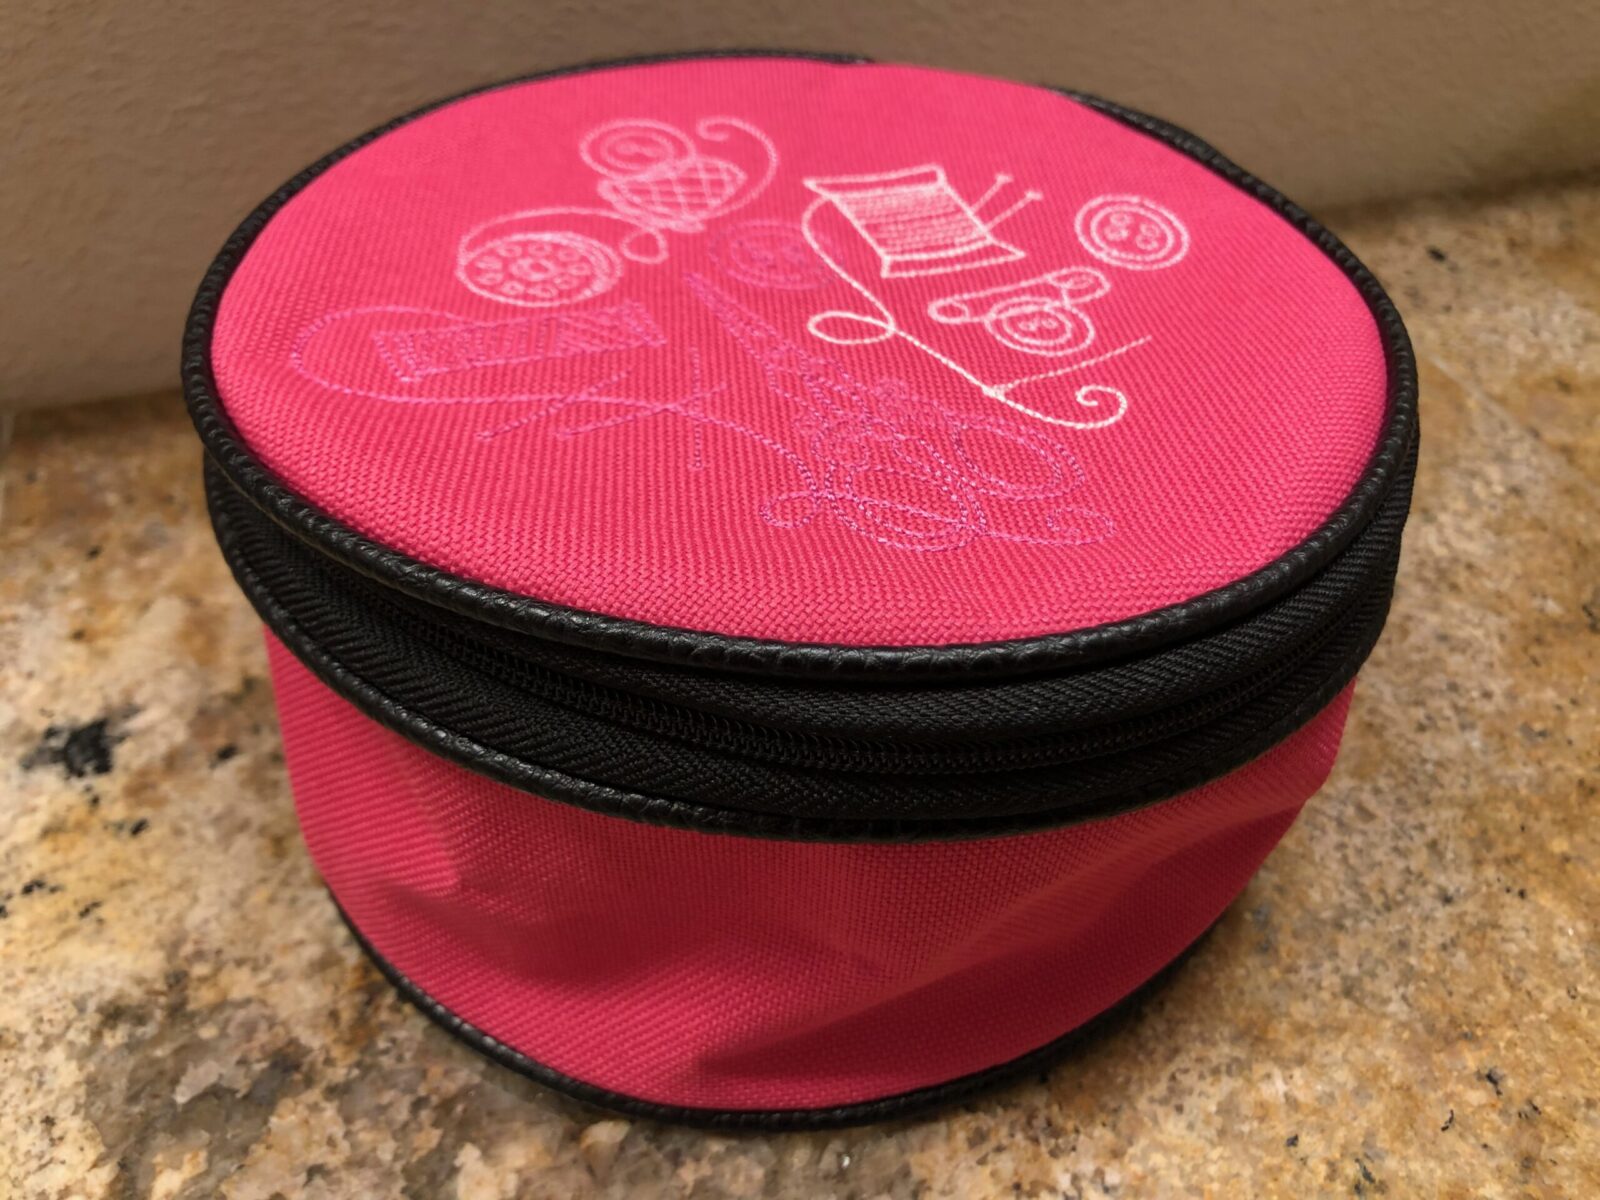
An embroidered jewelry case is a great holiday gift, or gift for any time of year. A jewelry case “blank” is meant for embroidery embellishment, and makes quick work of finding the perfect case to embroider.
Machine embroidery on blanks, or premade items, are the easiest decorations and gifts you can make for the holidays. Stock up on blanks and choose a different embroidery design to personalize each one for different friends and family. From pillows to napkins and towels to bags and totes, there’s a blank suitable for everyone on your gifting list.
BAG & TOTE BLANKS
Purchased bags and totes are great canvases for machine embroidery embellishment. This small embroidered jewelry case is a great gift for sisters, nieces and granddaughters. Add a special necklace inside before wrapping. Not only can the case hold jewelry for travel and storage, but it is also the perfect size for sewing notions! Personalize the case with embroidery, and place several thread spools, a pack of needles and a small pair of scissors inside to complete the gift.
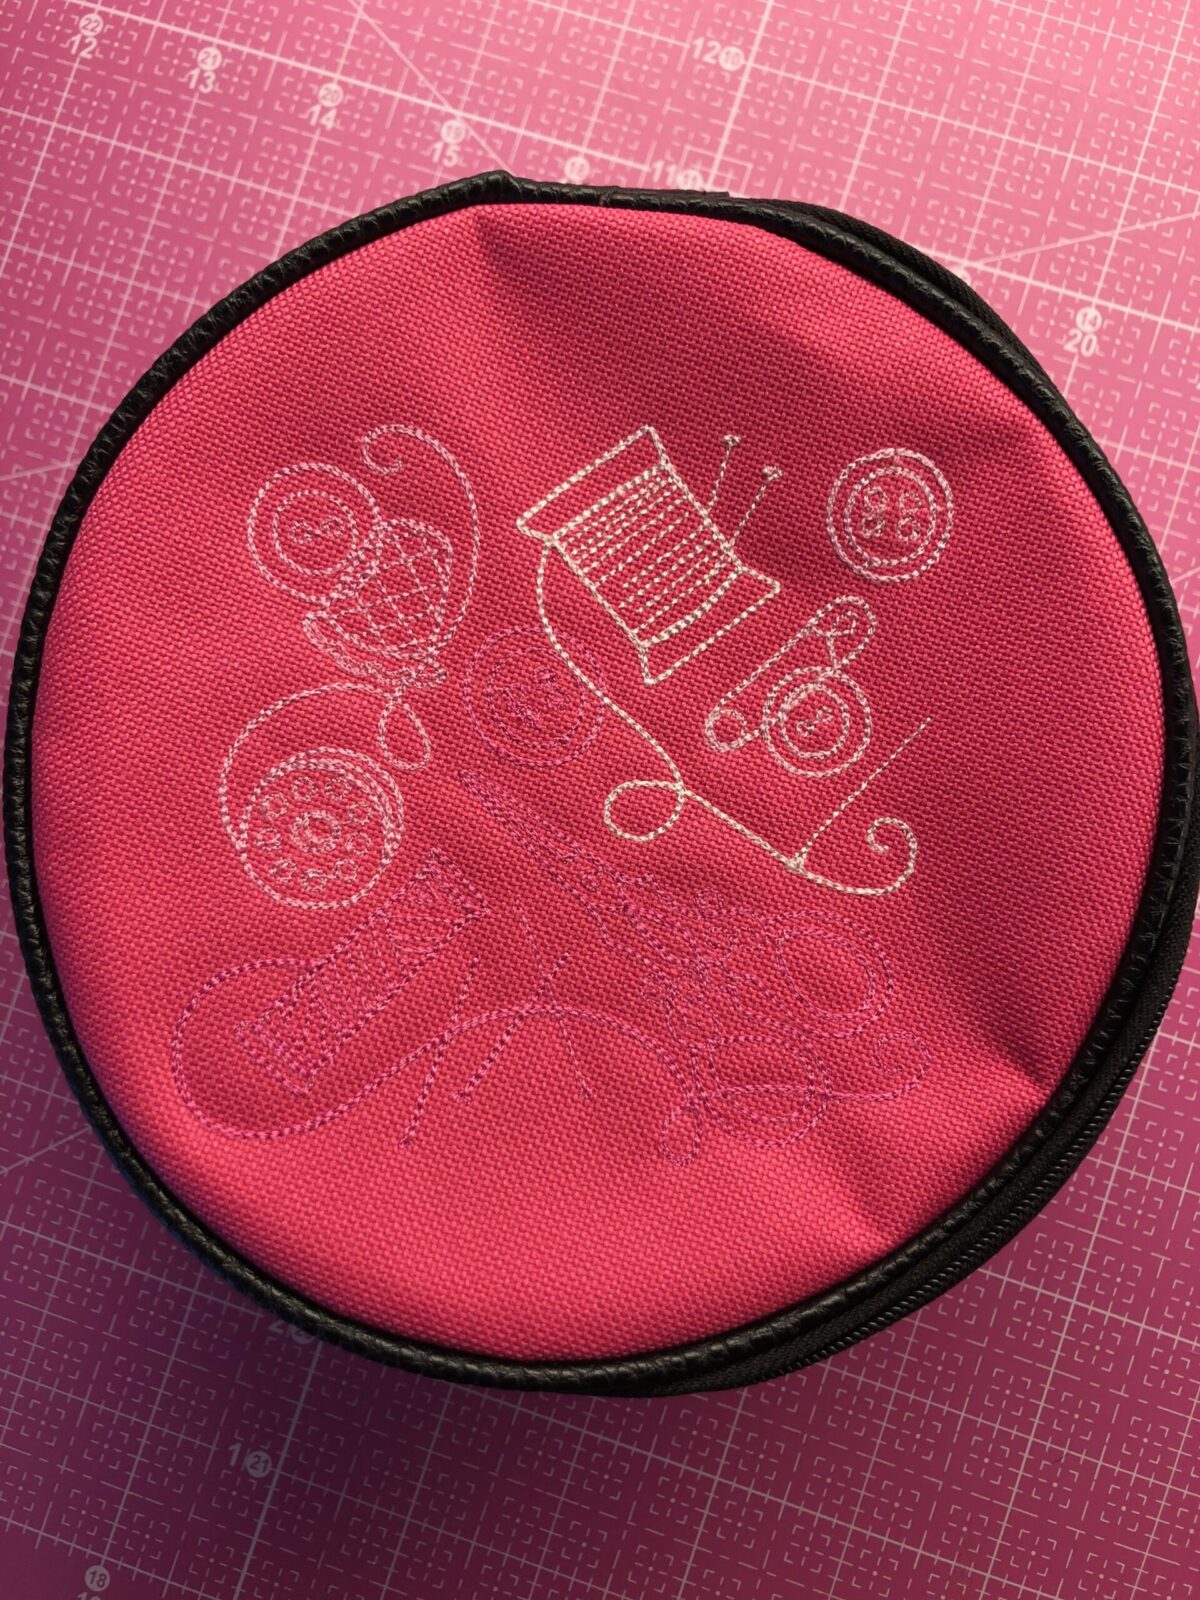
EMBROIDERED JEWELRY CASE
To add embroidery to this blank, choose a design that’s no larger than 4 1/2″ square/diameter. The featured Sewing Collage design by Urban Threads comes in three sizes; choose the 4.88″ square version and reduce the size by 20%.
Make sure to install a size 80/12 or 90/14 embroidery needle into the machine. Have small curved embroidery scissors on hand to clip jump threads with each thread change.
Choose the desired Sulky 40 wt Rayon or Poly Deco™ thread needed for the chosen design.
Create the embroidered jewelry case by first hooping Sulky Sticky+™ with the paper side facing up. Score the paper inside the inner hoop ring using a pin, and then tear away the paper to reveal the adhesive. If your chosen design has a lot of stitches, consider using Sticky Fabri-Solvy™ in the same way. The only difference is that Sticky Fabri-Solvy will wash away when embroidery is complete and Sticky+ will tear away.


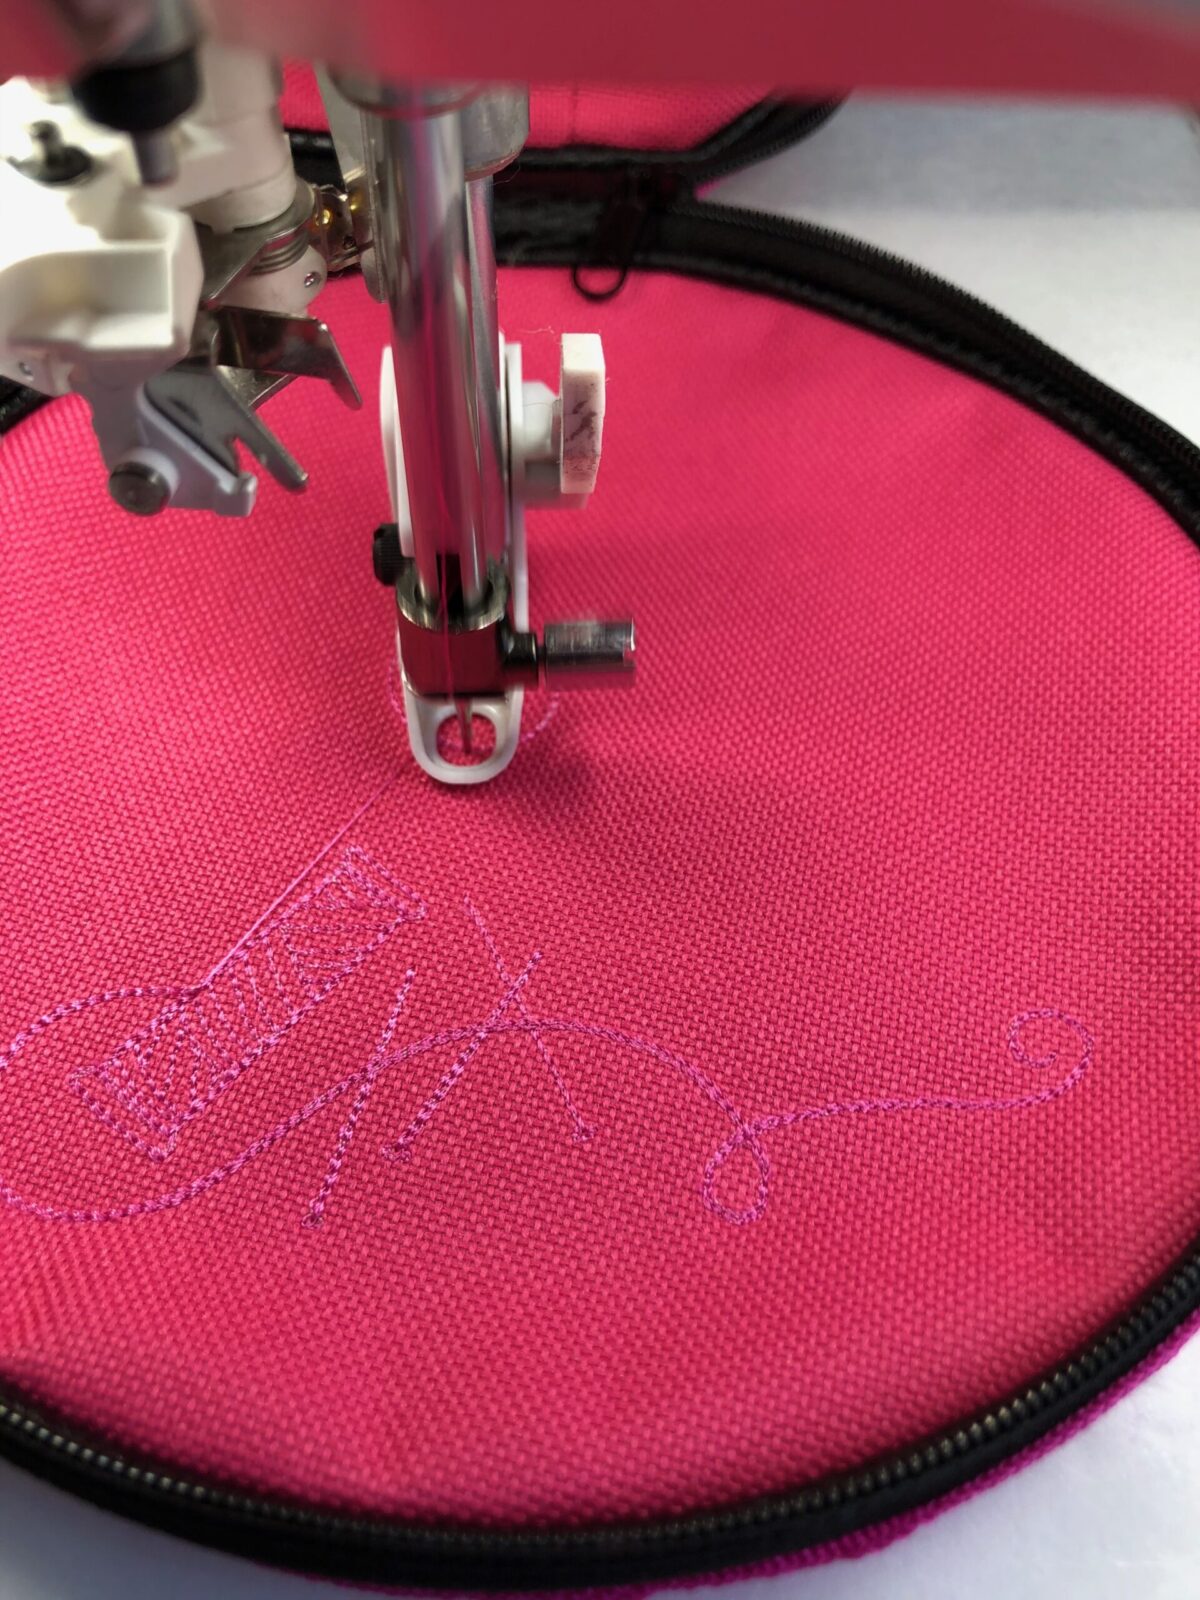
Unzip the jewelry case. Center the jewelry case lid in the hoop, using your hand to press it onto the stabilizer until it’s secure. Place the hoop onto the machine. (Depending on your machine brand, you may need to position the jewelry case in the hoop after it is on the machine in order to fit the bulk of the case through and beneath the presser foot.)


Move the zipper so it allows the lid to sit flush with the stabilizer. Embroider the design. Choose a thread color that matches the case for the bobbin, as it will be seen when the jewelry case is opened.
FINISHING THE EMBROIDERED JEWELRY CASE
After embroidery is complete, remove the hoop from the machine.

Trim thread tails and any remaining jump stitches from the embroidery right and wrong side.
Remove the lid from the stabilizer. If using Sticky+, tear away the remaining stabilizer along the embroidery wrong side. If using Fabri-Solvy, rinse away the remaining stabilizer; let dry.
Fill the jewelry case with sewing supplies.

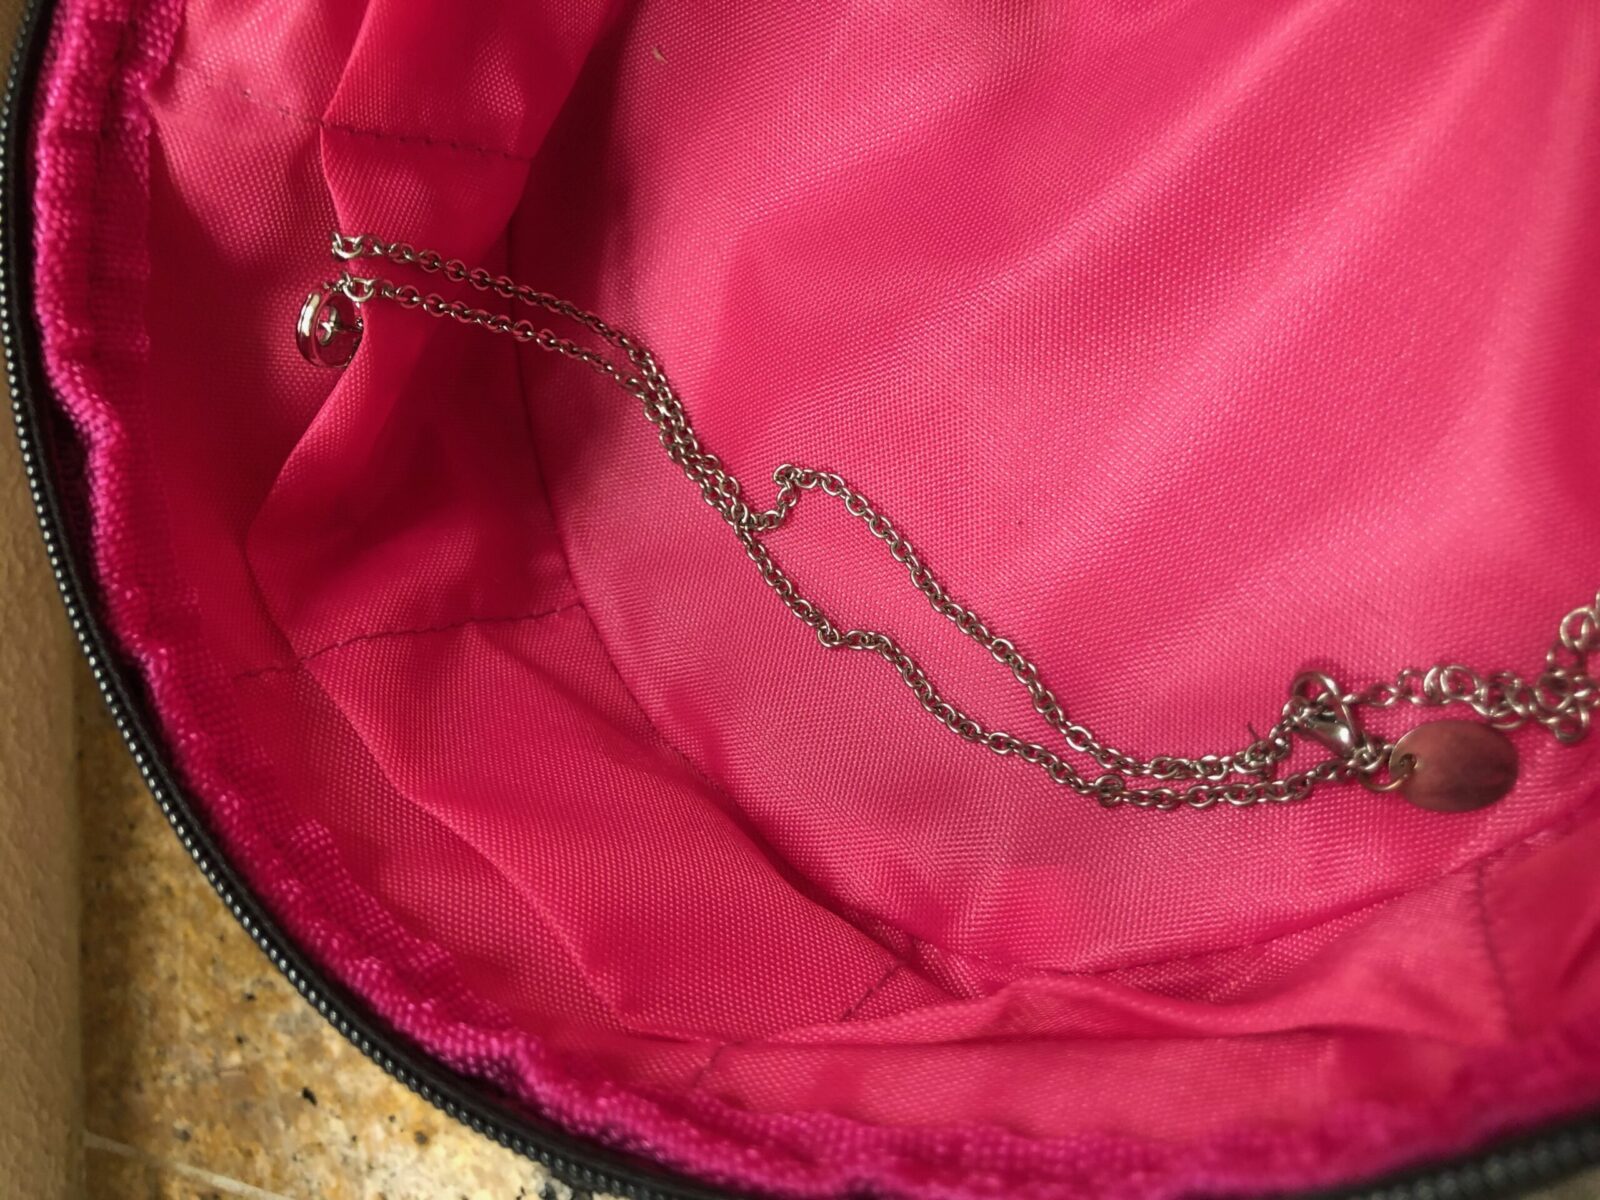
Or fill the jewelry case with a special necklace or pair of earrings. The small pockets inside are super handy!
Gift the jewelry case to a good friend or family member!
CREDITS
Sewing machine used for the featured project: Husqvarna Viking Designer Epic™ 2
Scissors and Double-Sided Rotary Cutting Mat by Havel’s

Ellen March
I am the Director of Content for Sulky of America. The former Editor in Chief of Sew News and Creative Machine Embroidery magazines, I hosted Sew it All TV on PBS for nine seasons. I've appeared on It's Sew Easy on PBS, DIY Network's Uncommon Threads, Hallmark's Marie Osmond Show, MacPhee Workshop and more! Come sew with me!


2 Comments
JD
Love the blank you chose for your project. These will be super gifts and so easy to get finished.
nikkikmeans
So glad you enjoyed it!