
Machine Embroidery Basics + Tools for Success
Machine Embroidery Basics
It’s National Embroidery Month, and to kick things off we want to make sure you’re set up for machine embroidery success with these machine embroidery basics. Computerized embroidery may seem intimidating, but it’s actually one of the easiest embellishment techniques to do. The machine does most of the work for you–all you have to do is make sure you have the right tools at your fingertips and the right combination of supplies for the fabric you’re using. Sometimes it takes a bit of trial and error, which is one of the reasons we’re here.
We want to make sure you have the resources you need to embroider with confidence every time. Read on to set up your sewing area for machine embroidery success and gain access to a number of techniques to reference at your leisure. Whether you’re a beginner or more advanced sewist delving into the art of machine embroidery, these tips, tricks and techniques will prepare you for any project you want to create.
MUST-HAVE PRODUCTS FOR MACHINE EMBROIDERY
Along with having an embroidery-capable machine, there are a few items you’ll need to ensure you can embroider any fabric at the ready:
The right thread.

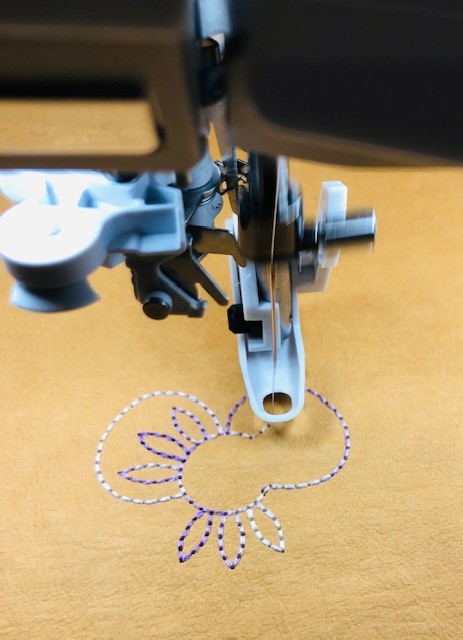
Good quality thread makes all the difference when your machine is running at super speed. To ensure lint and fuzz-free results, choose a thread that doesn’t break easily and runs through the machine and needle effortlessly. Many designs are digitized for 40 wt rayon thread (pictured above). But depending on the desired look, you can switch things up with cotton, polyester and metallic.
An assortment of stabilizers.
 From tear-away to cut-away to wash-away to heat-away, stabilizers make all the difference in machine embroidery. Depending on the fabric and technique, different stabilizers are needed to tame the fabric and make sure there’s no puckering or perforating during the stitchout. Our Stabilizer Selection Tool is a great resource to decipher which stabilizer you need for your project.
The right needles.

An embroidery needle has a bit of a blunt point to not perforate the fabric during multiple needle penetrations. It’s essential to use an embroidery needle for machine embroidery, and change it often. IF you’re noticing skipped stitches or thread shredding, change the needle. Oftentimes when the stitchout is failing, it’s due to an old, bent or burred needle.
Enough space for your machine to move around…a lot.
Specialty scissors.

Small scissors are essential for clipping jump threads while the fabric is still in the hoop. If you have a pair of double curved scissors (pictured above), it’s even easier to get close to the design without accidentally clipping into the finished embroidery.
MACHINE EMBROIDERY BASICS
Familiarize yourself with these techniques to better understand how the machine and its accessories work together to produce a perfect stitchout:
If you’re interested in a more “hands on” approach to learning machine embroidery, but in the comfort of your own home, look to our Embroidery Zen courses, available to start anytime. Our certified instructors take you through techniques while making fun projects so you can learn how to get the most out of your embroidery machine.
Happy Embroidering!

Ellen March
I am the Director of Content for Sulky of America. The former Editor in Chief of Sew News and Creative Machine Embroidery magazines, I hosted Sew it All TV on PBS for nine seasons. I've appeared on It's Sew Easy on PBS, DIY Network's Uncommon Threads, Hallmark's Marie Osmond Show, MacPhee Workshop and more! Come sew with me!


