
Mini Quilt Garland to Embroider & Hang on Display
No Peeking Mini Quilt Garland

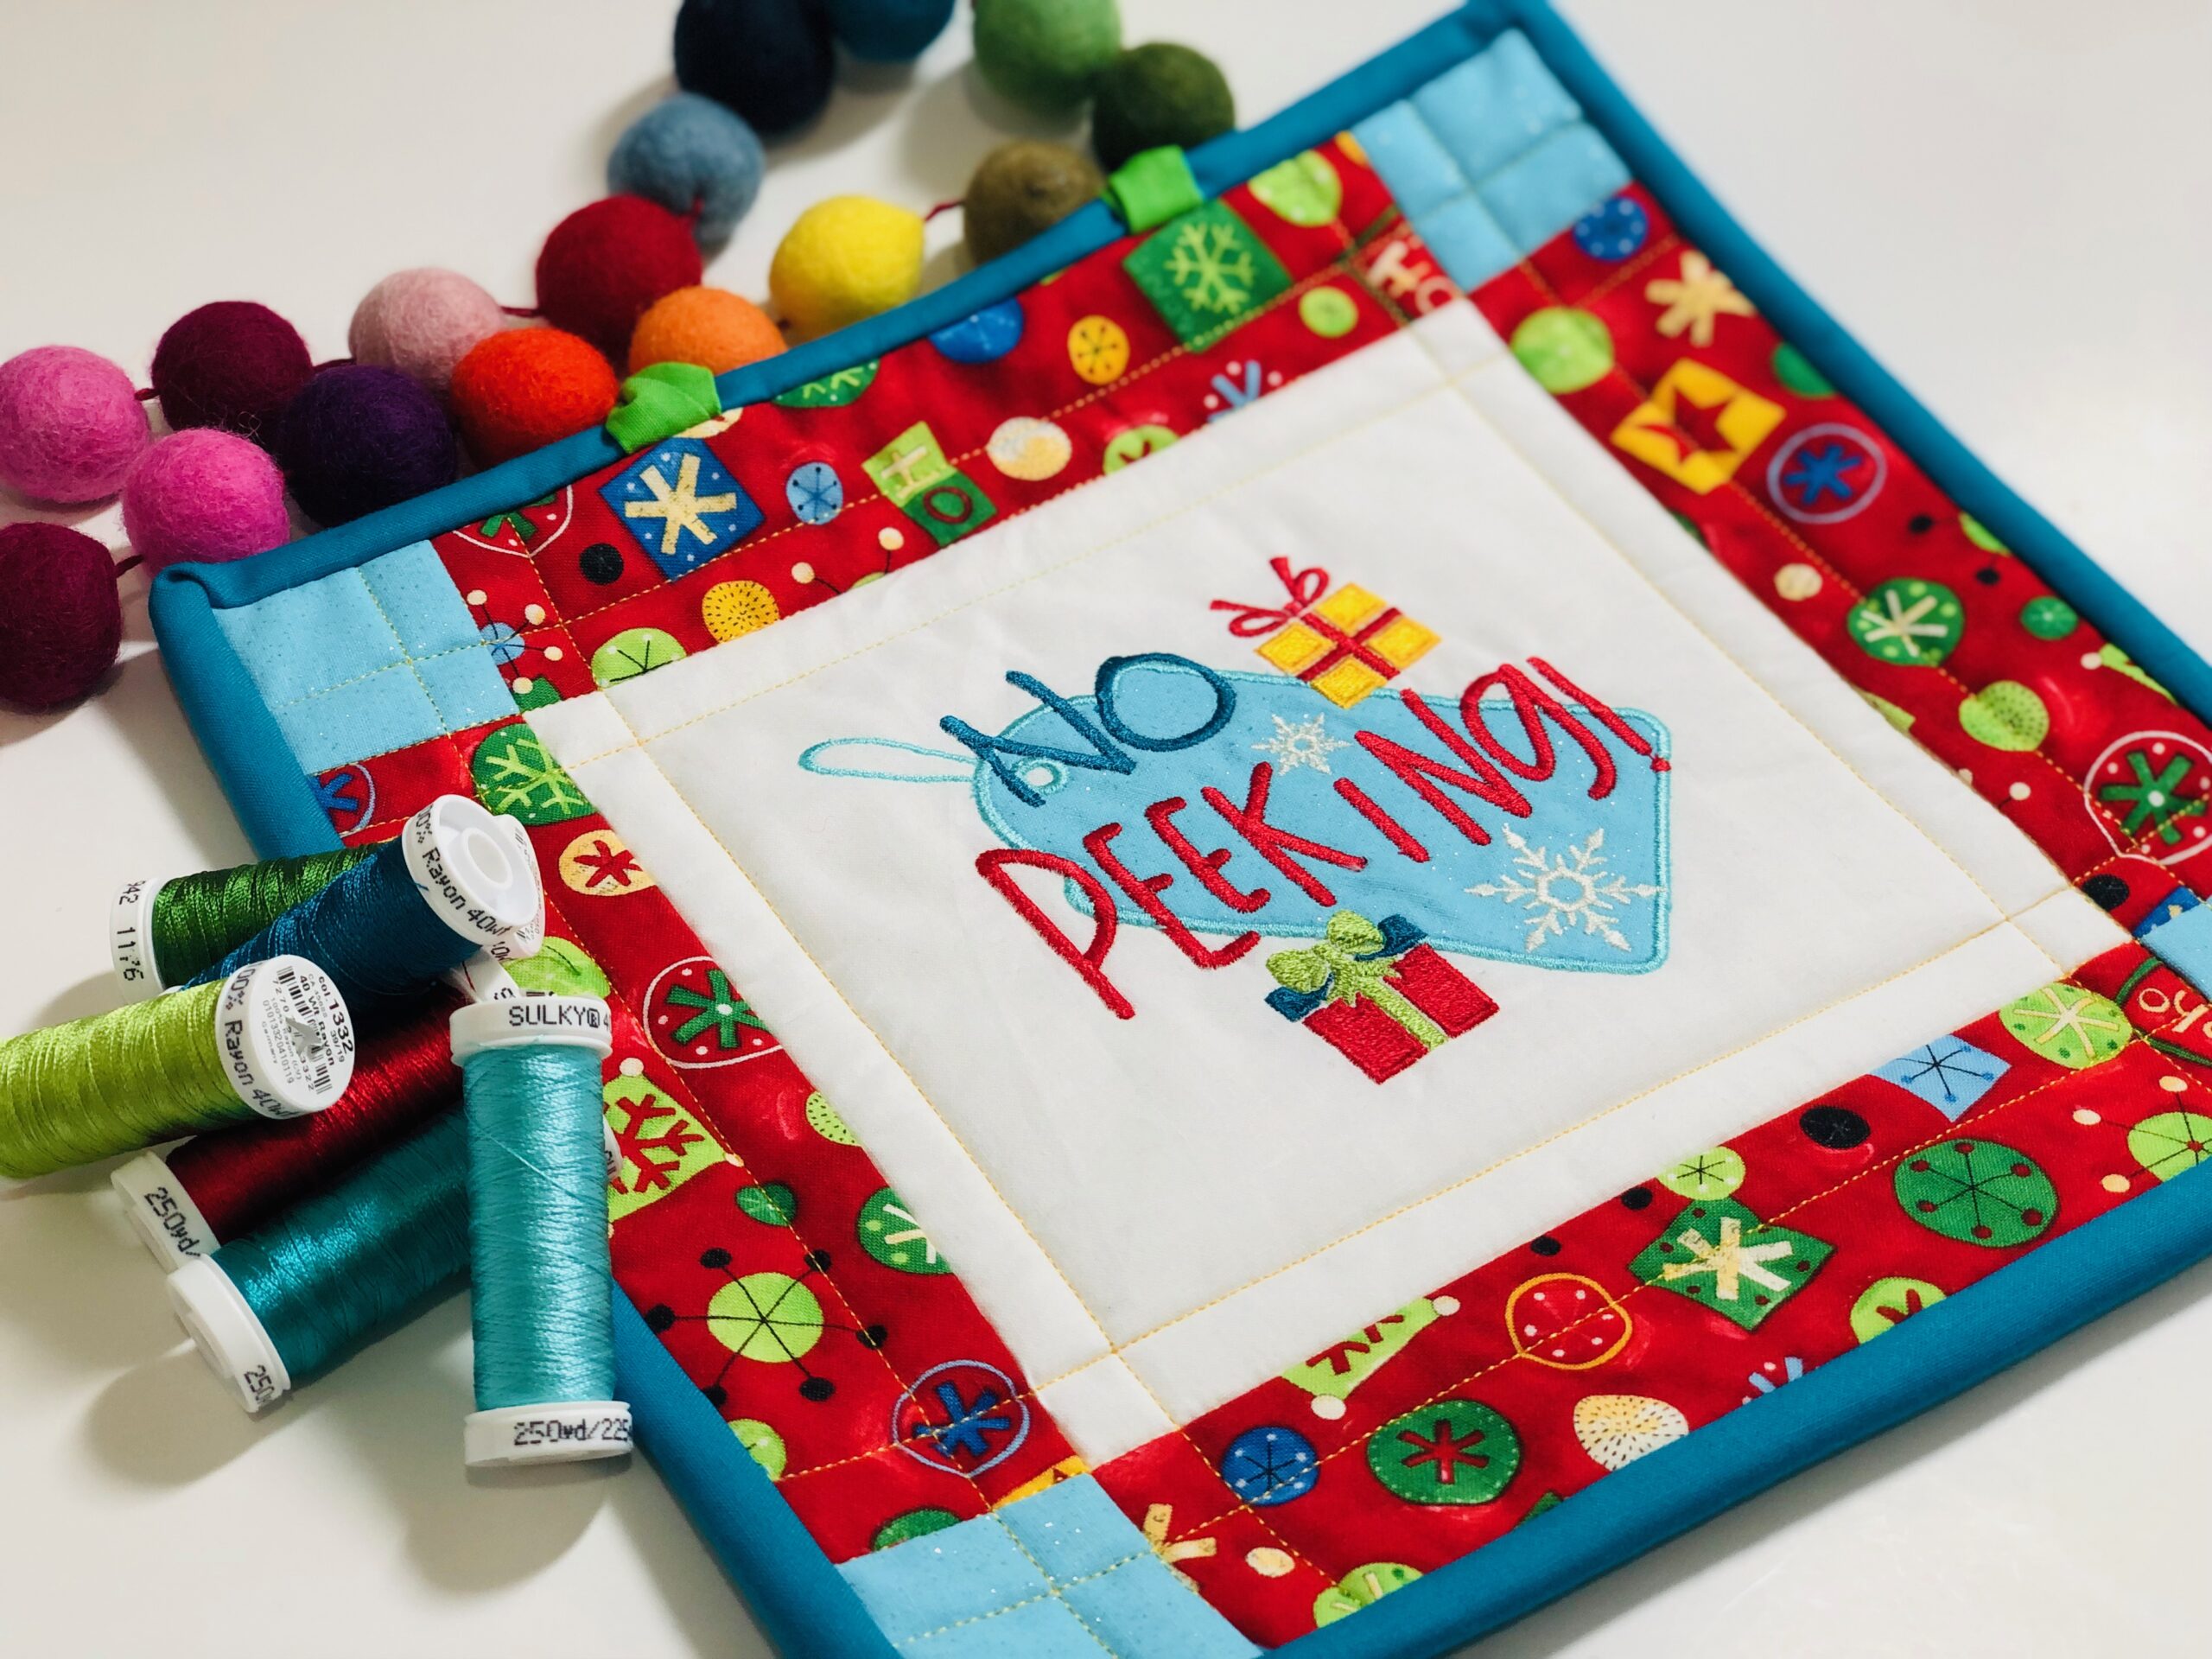
Create a mini quilt garland to embroidery and display on a Christmas tree or holiday garland, hanging above the stockings on the mantel. The featured No Peeking design is from the Sulky Santa Sayings machine embroidery collection, and it includes an appliqué gift tag. Use a fun sparkly fabric, solid or fabric with minimal print for the appliqué in the hoop to not compete with the thread work.
MINI QUILT GARLAND SUPPLIES
- Santa Sayings Machine Embroidery Palette
- Sulky Bobbin Thread (or PolyLite™ Thread in a color to match background fabric)
- Machine Embroidery Design (featured design from Santa Sayings Machine Embroidery Collection: No Peeking), measuring 4.69” x 4.15”)
- 50 wt. Cotton Thread (to match background fabric; construction & quilting)
- Sulky Soft ‘n Sheer™ Stabilizer
- Organ® Needles:
- 75/11 Embroidery
- 70/10 Universal (construction)
- Removable Fabric Marker (such as a Frixion Highlighter)
- 13” square of low-loft batting
- Fabric:
- 10” square of solid fabric (background; or larger, depending on chosen design)
- 13” square of print cotton fabric (backing)
- 3” x 5” rectangle of coordinating solid fabric (tag appliqué; optional, if using the No Peeking design)
- 2 1/4” x 8” rectangle of coordinating solid fabric (cornerstones)
- 8” x 9” rectangle of coordinating print cotton fabric: (borders)
- 2”-wide x 44” long binding strip
- (2) 3/4”-diameter buttons
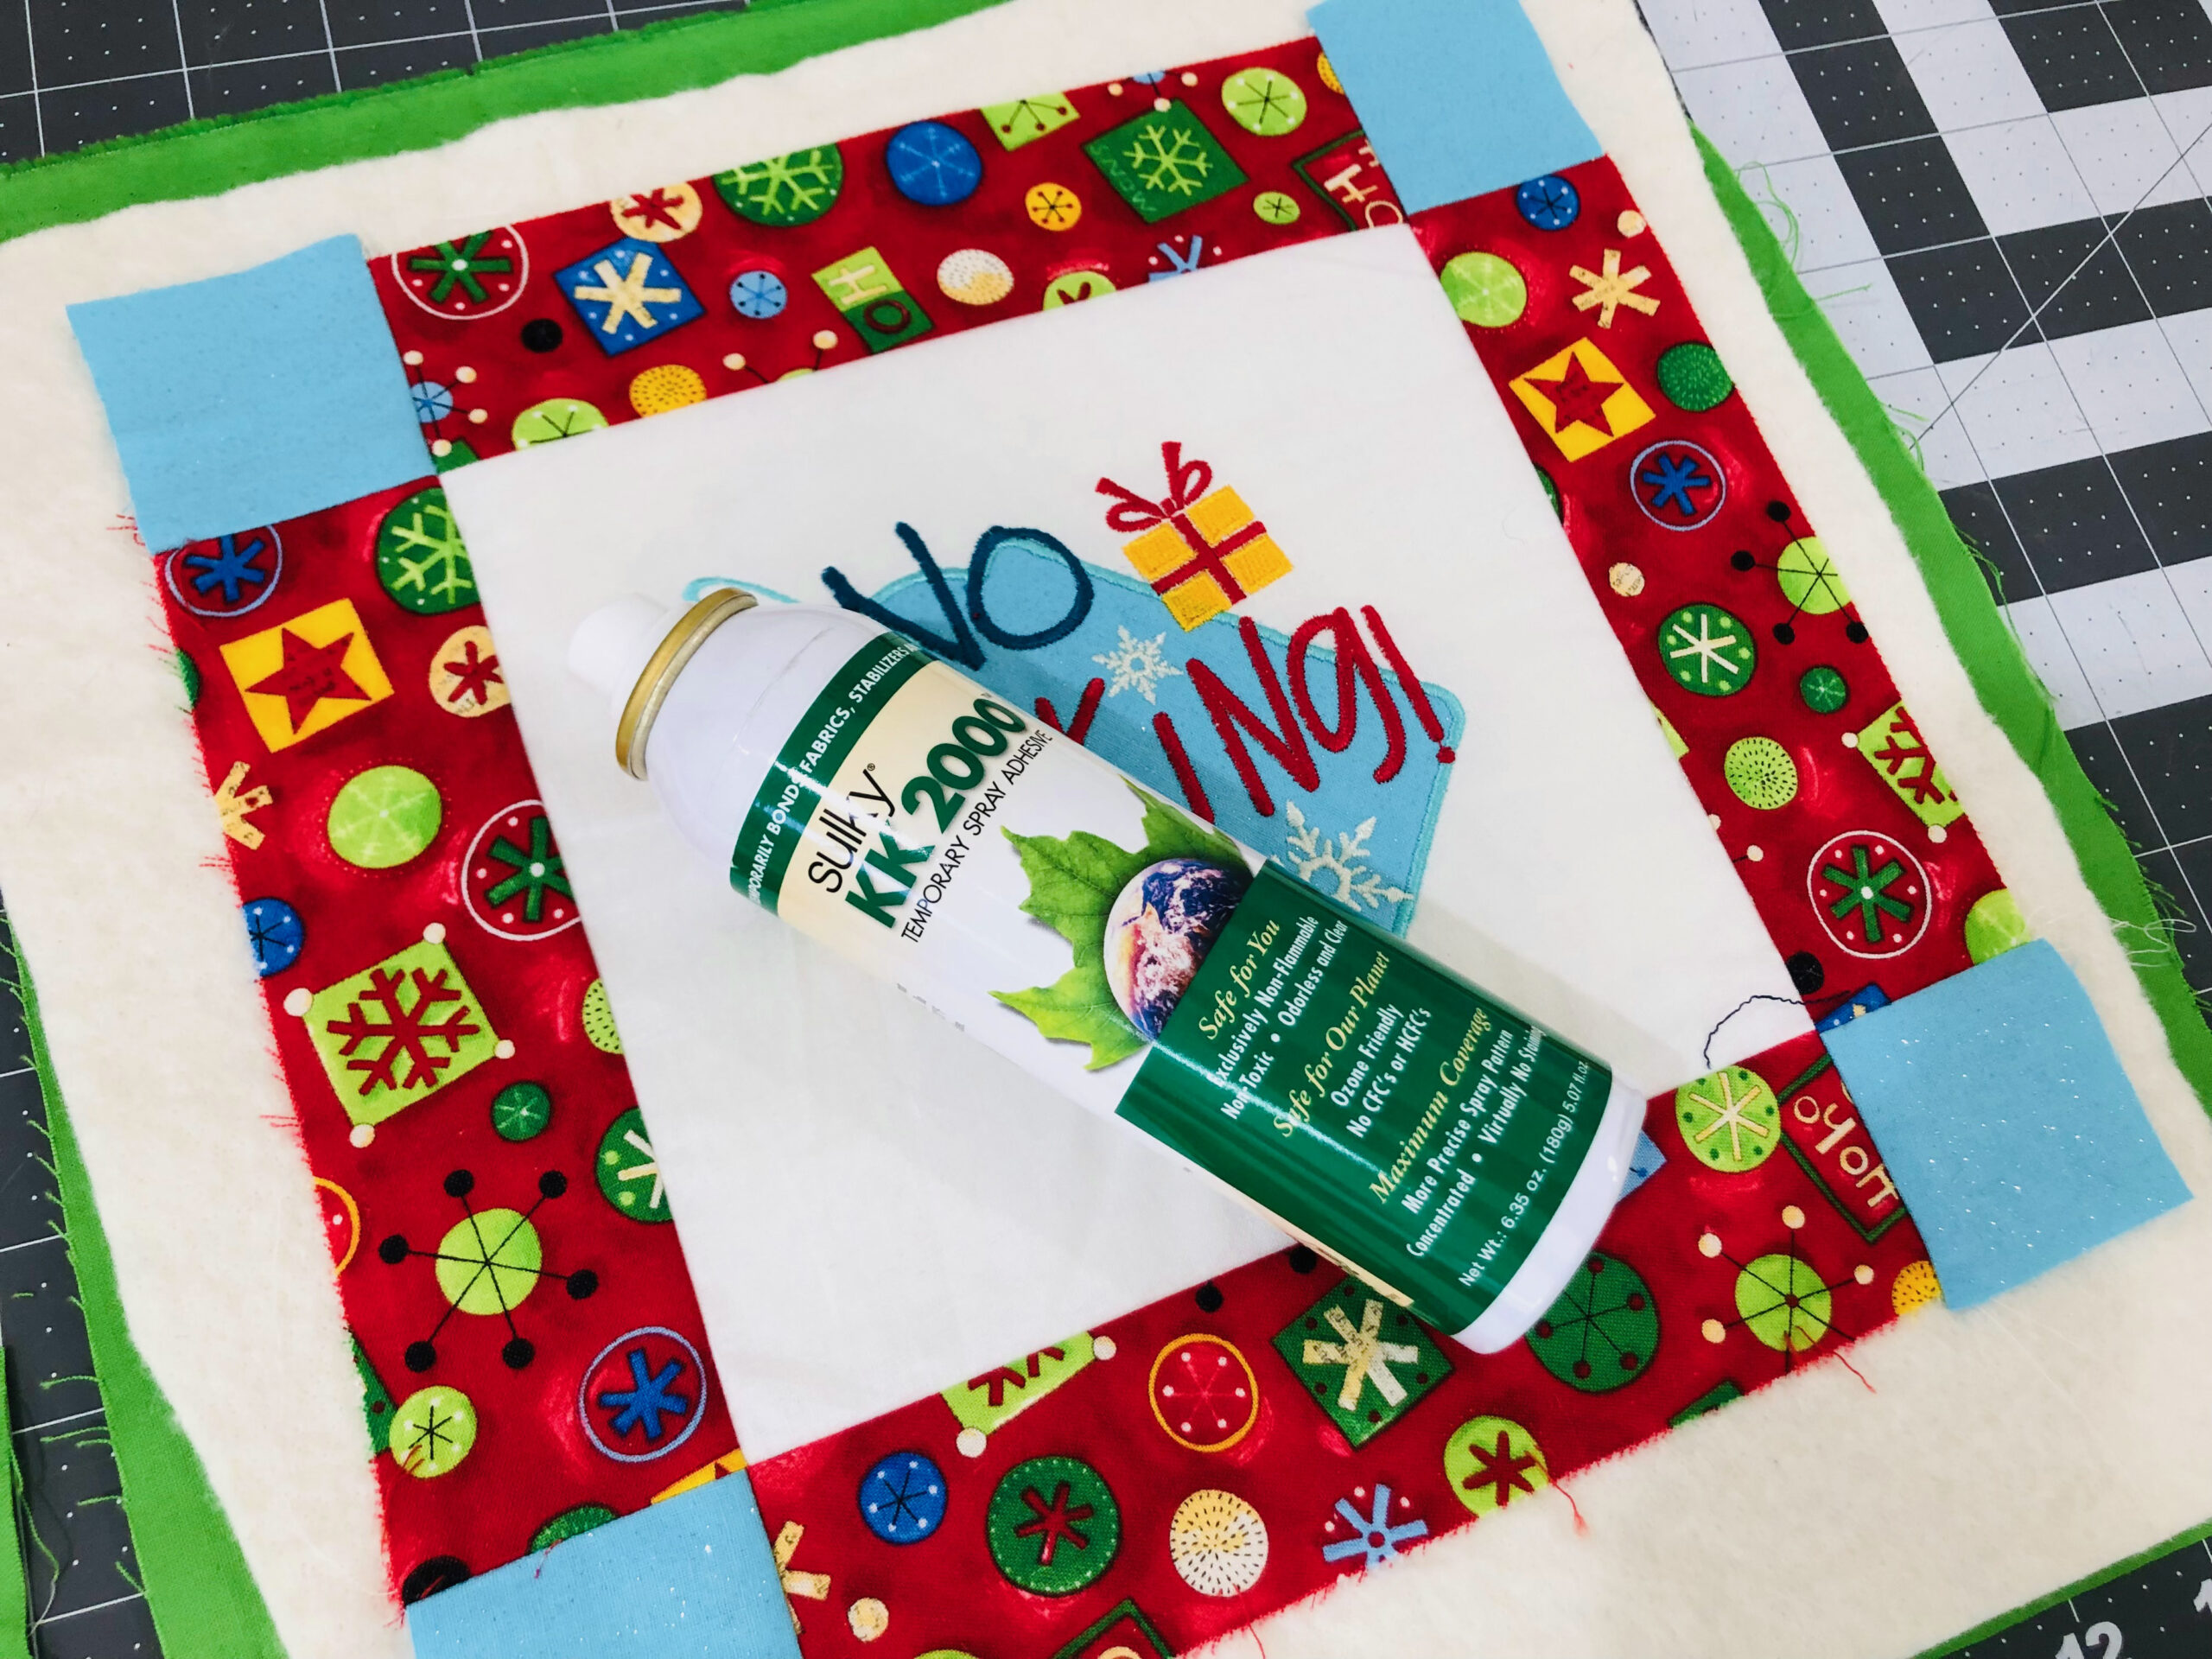
- Sulky KK 2000™ Temporary Spray Adhesive
- Pom-pom garland or string (for hanging)
- Turning tool (such as a blunt knitting needle)
- Appliqué scissors
- Fine-tip Curved Squeezers
- Clover Wonder Clips (optional)
*We may earn a commission from products purchased through the above links.
MINI QUILT EMBROIDERY
Load the design into the machine. Install a size 75/11 Embroidery Needle. Thread the needle with the first thread color for the design, and load the bobbin with Sulky Bobbin Thread that matches or coordinates with the background fabric.
Hoop the background fabric with a layer of Sulky Soft ‘n Sheer Stabilizer.
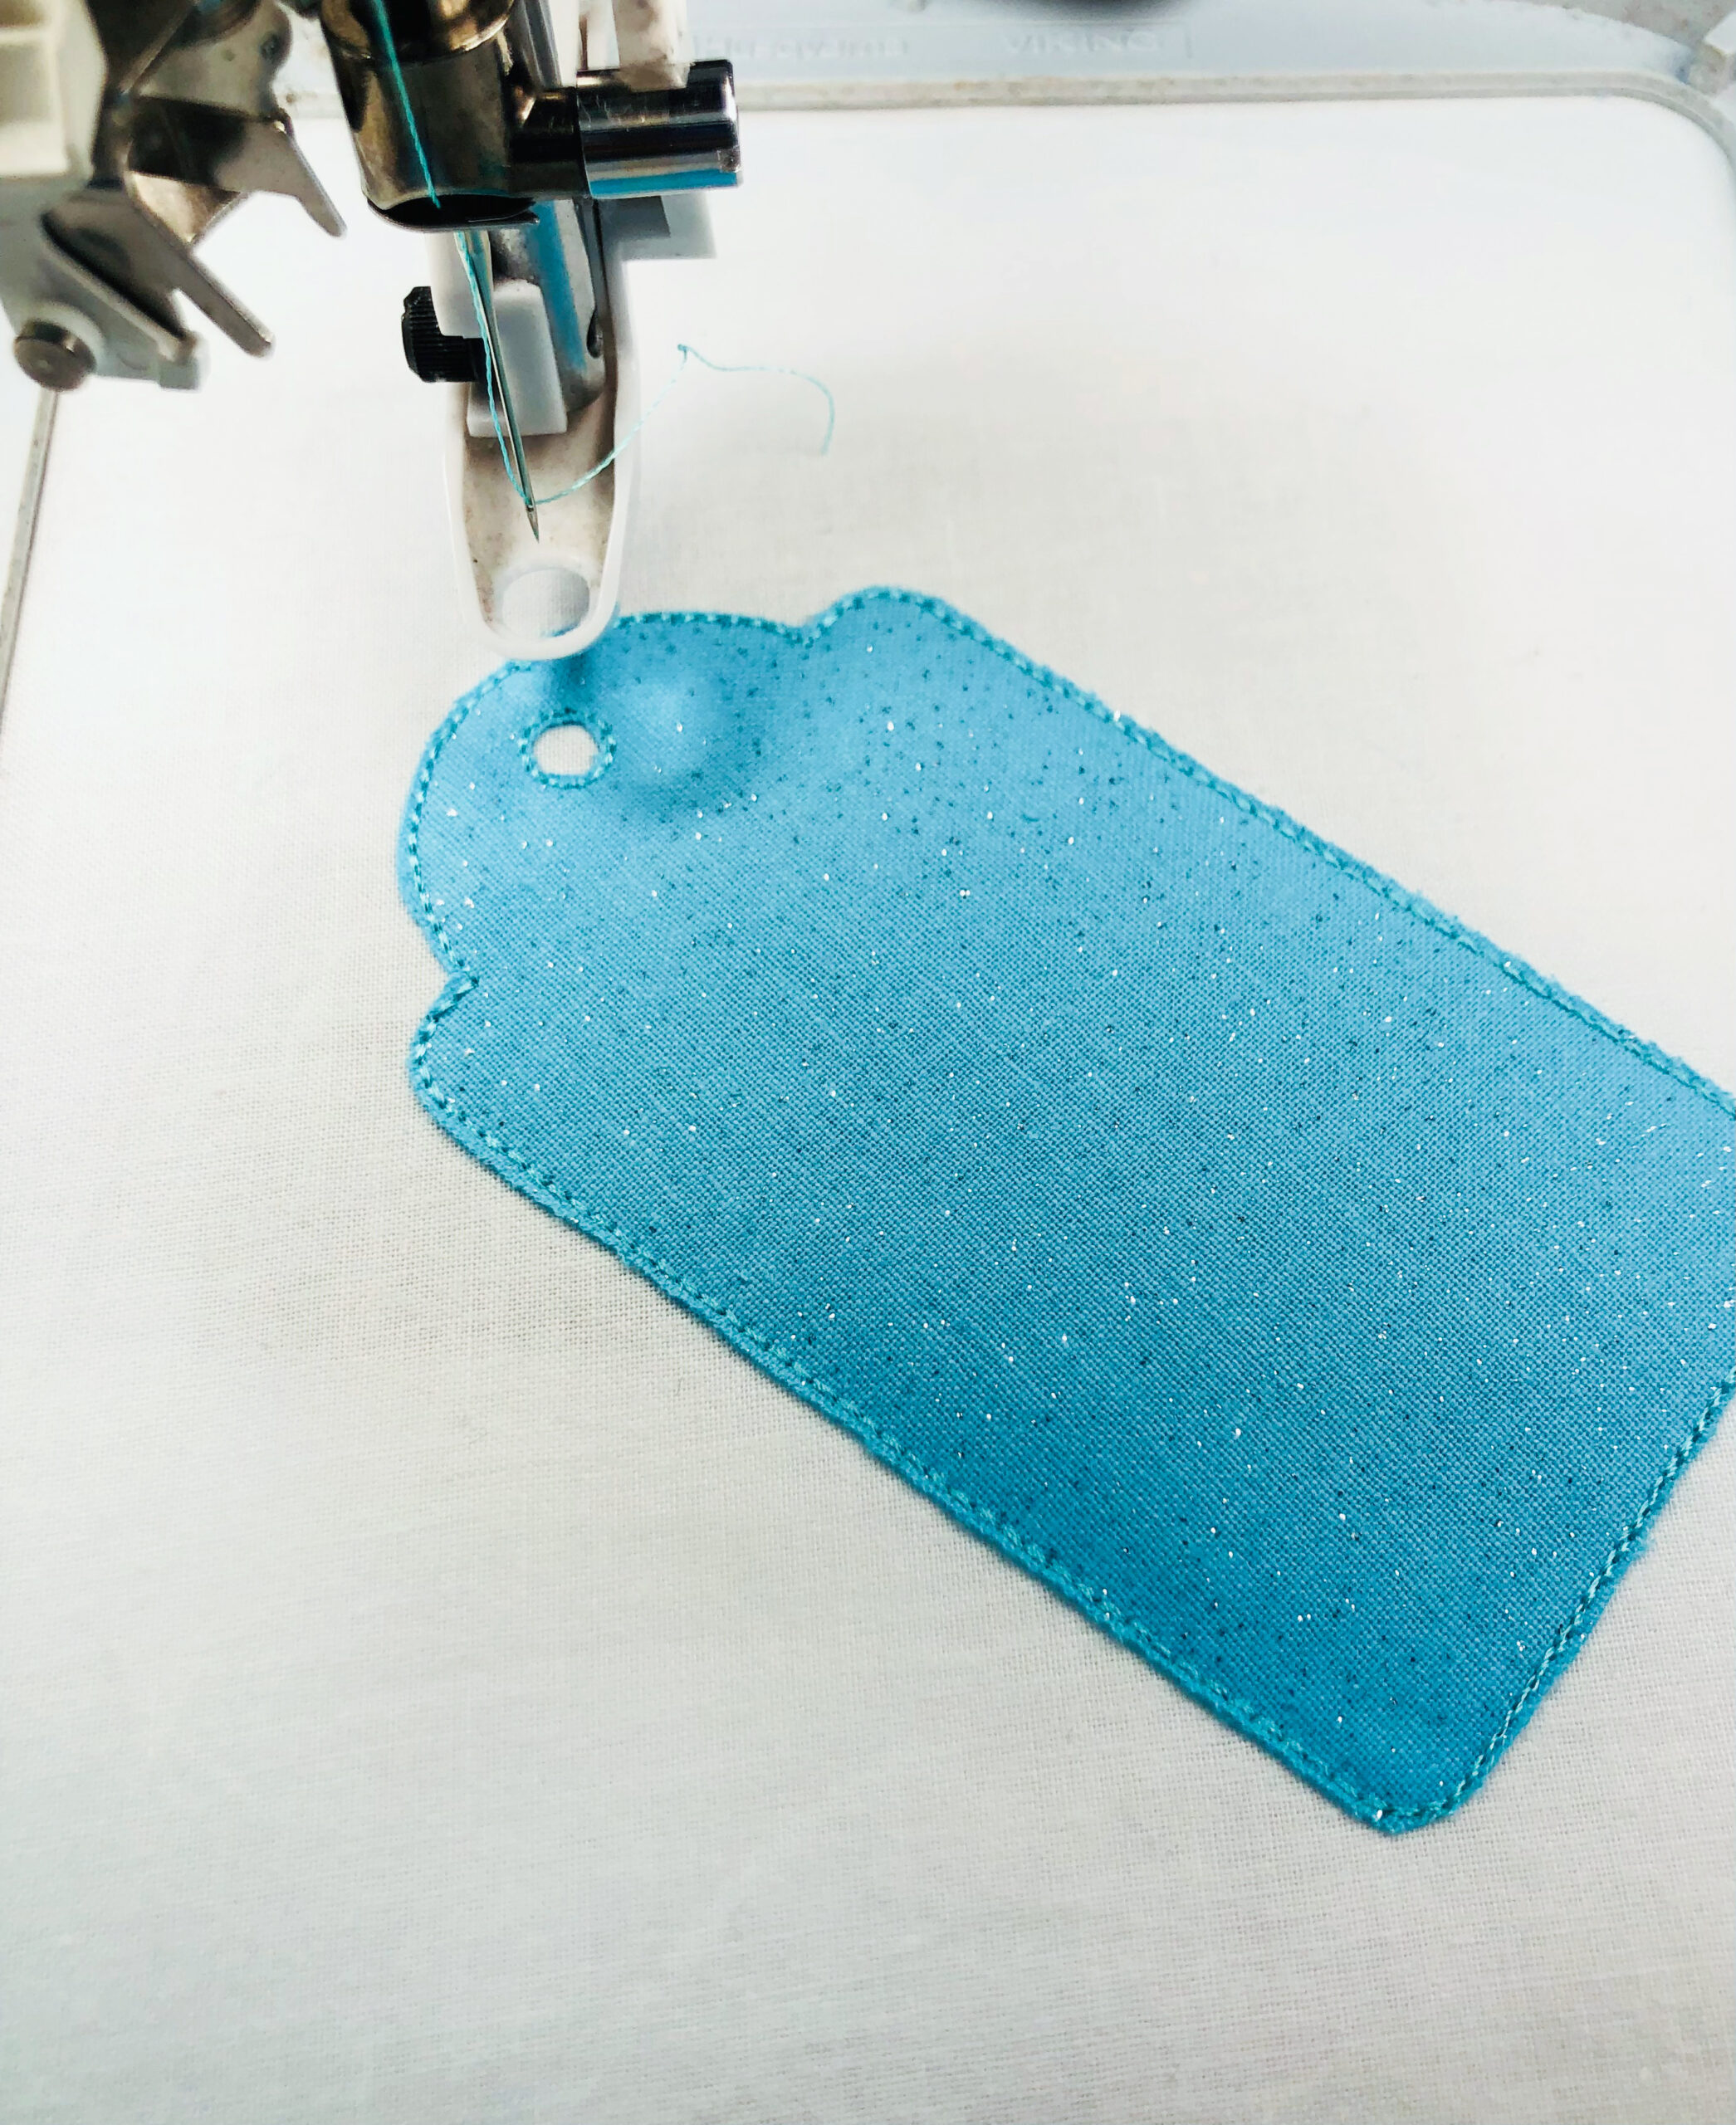
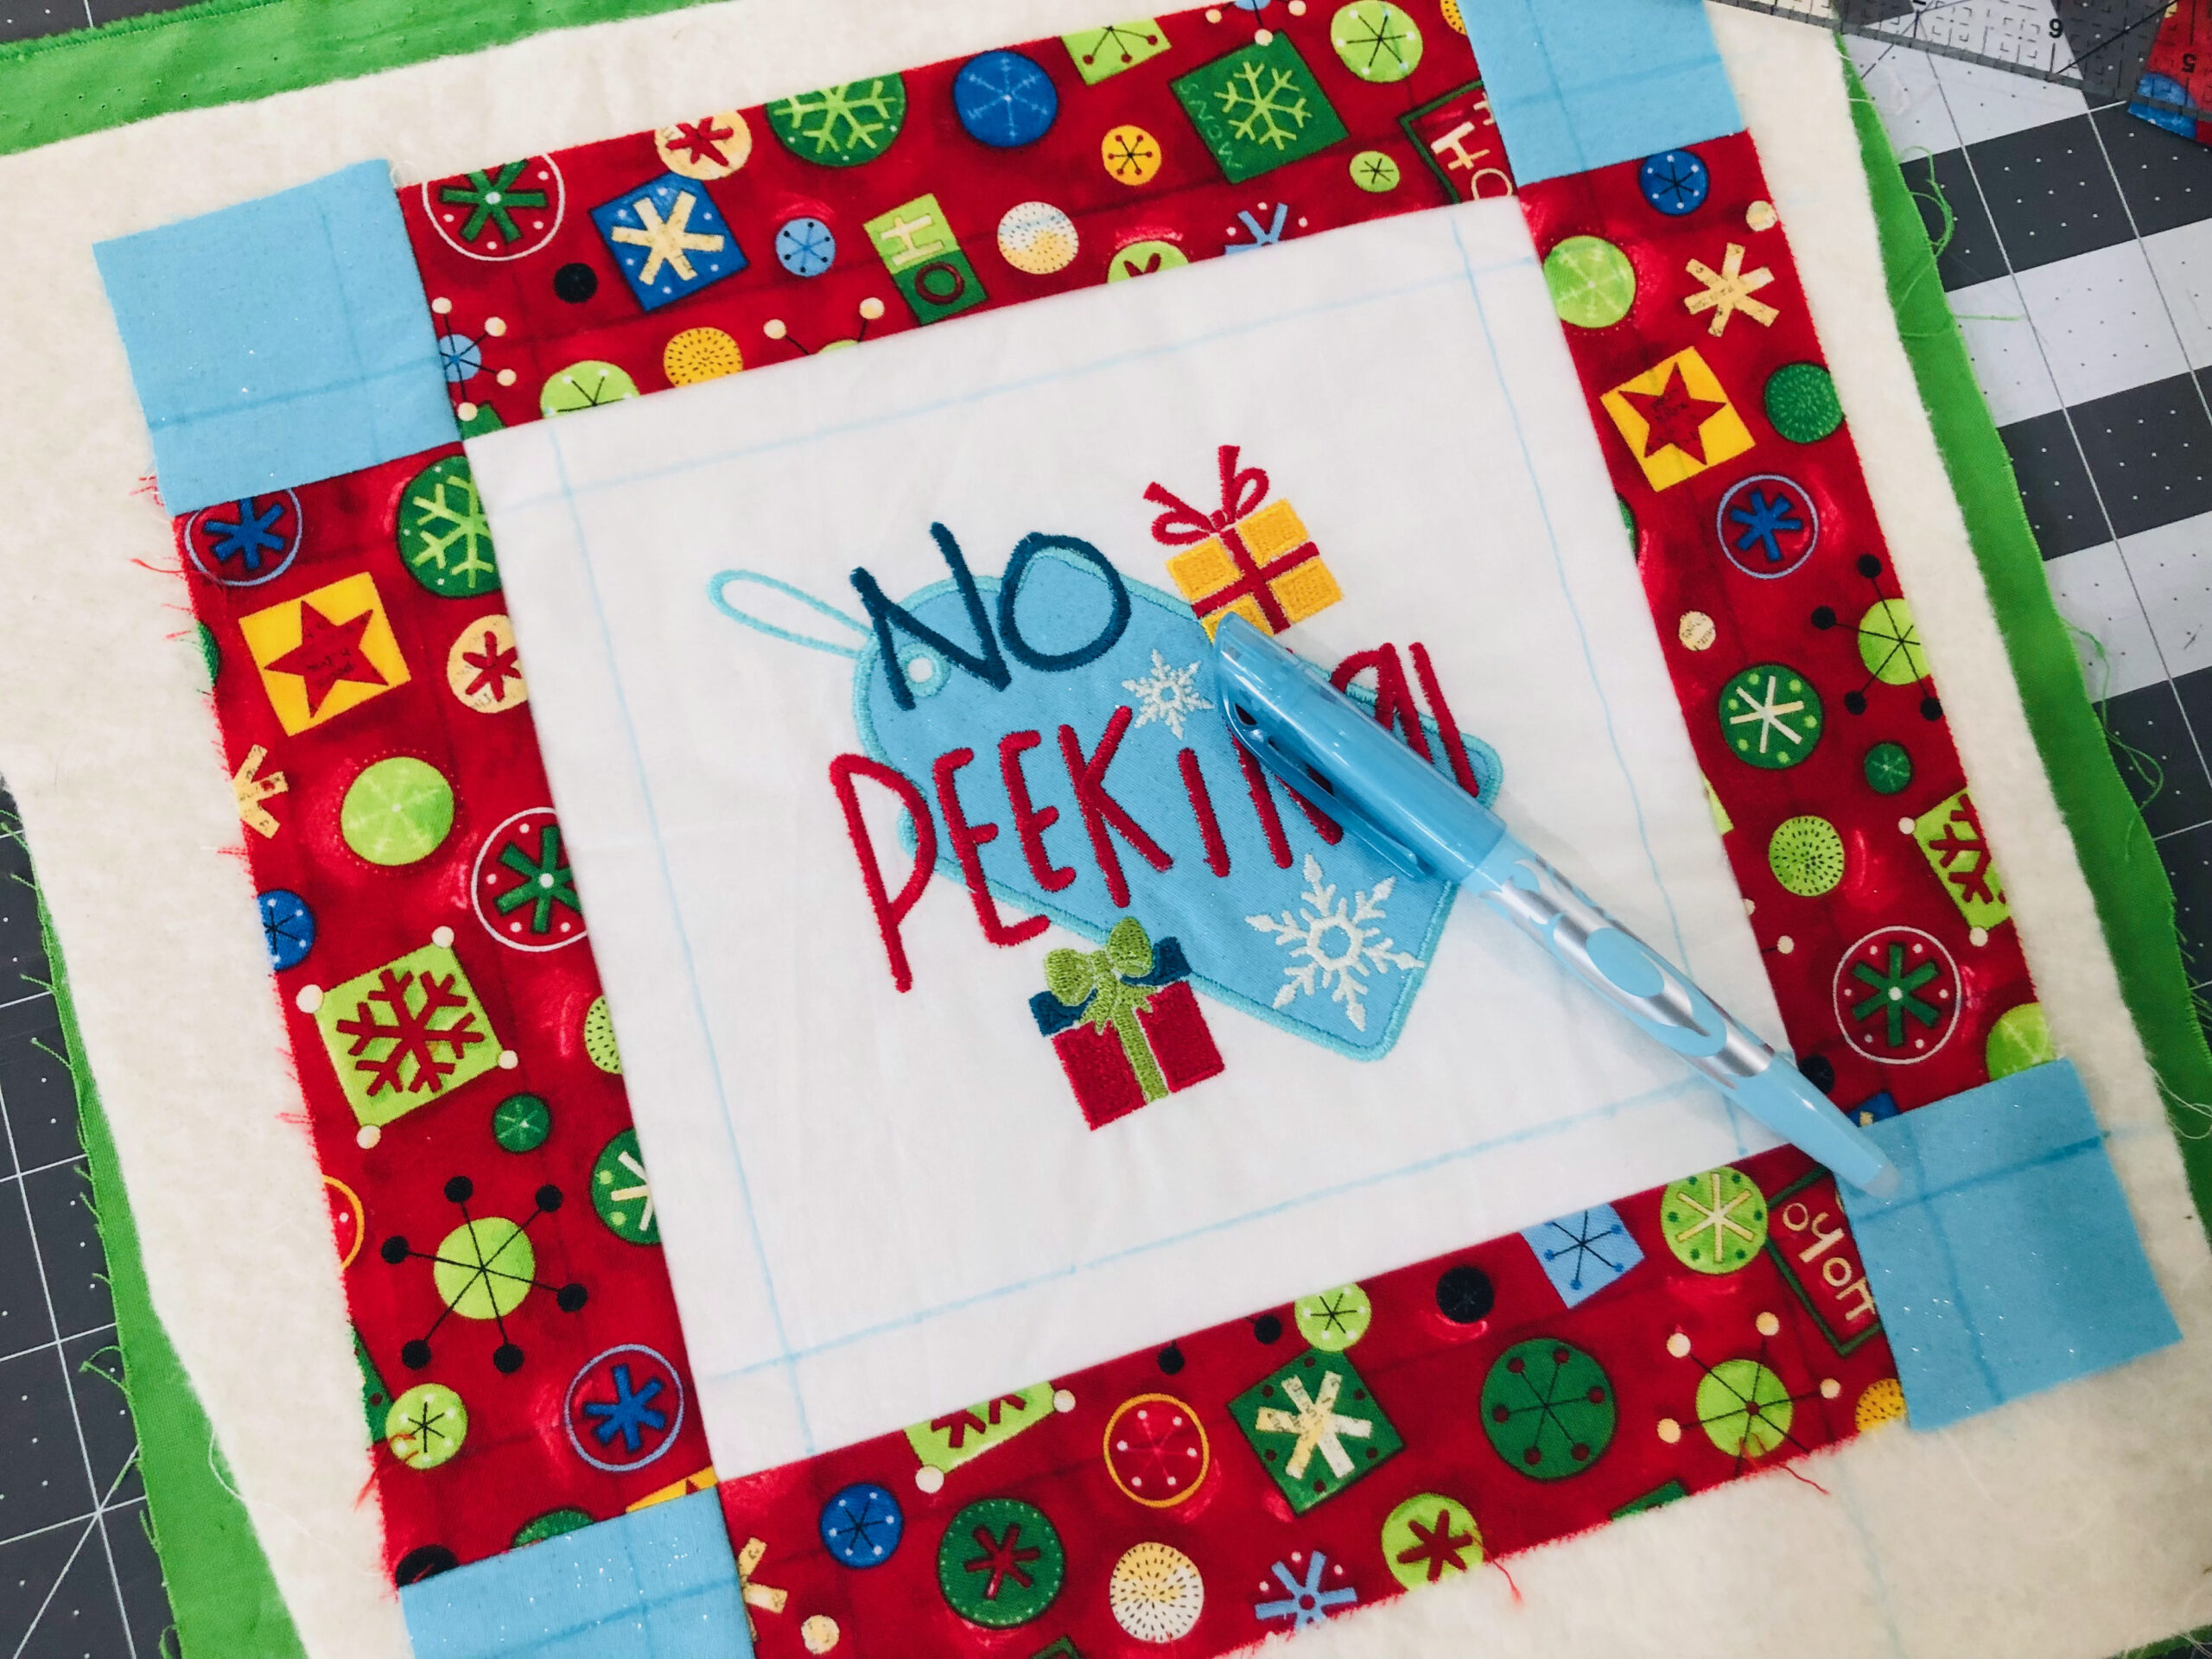
Embroider the design, clipping jump threads with each thread change. If working with an appliqué design, as shown, follow the steps to add the appliqué fabric before the tacking stitch sequence. Use appliqué scissors to carefully trim away the fabric just beyond the stitching line before the final satin stitch outline.

TIP: The featured gift tag appliqué has a hole. You may choose to leave the fabric intact within the hole stitching or carefully cut away the appliqué fabric ONLY inside the hole stitching. If the latter, use a fine-tipped curved squeezers to avoid nicking the background fabric beneath the appliqué.
When embroidery is complete, remove the fabric from the hoop. Press lightly to remove any hoop marks beyond the design.
ADDING BORDERS
Use ¼” seam allowance unless otherwise stated.
Trim the embroidered fabric to 7 ¾” W x 7” H (or 1 ½” beyond the design perimeter along all edges). Set aside the leftover fabric to use for the loops.
From the border fabric, cut four 2” x 9” strips.
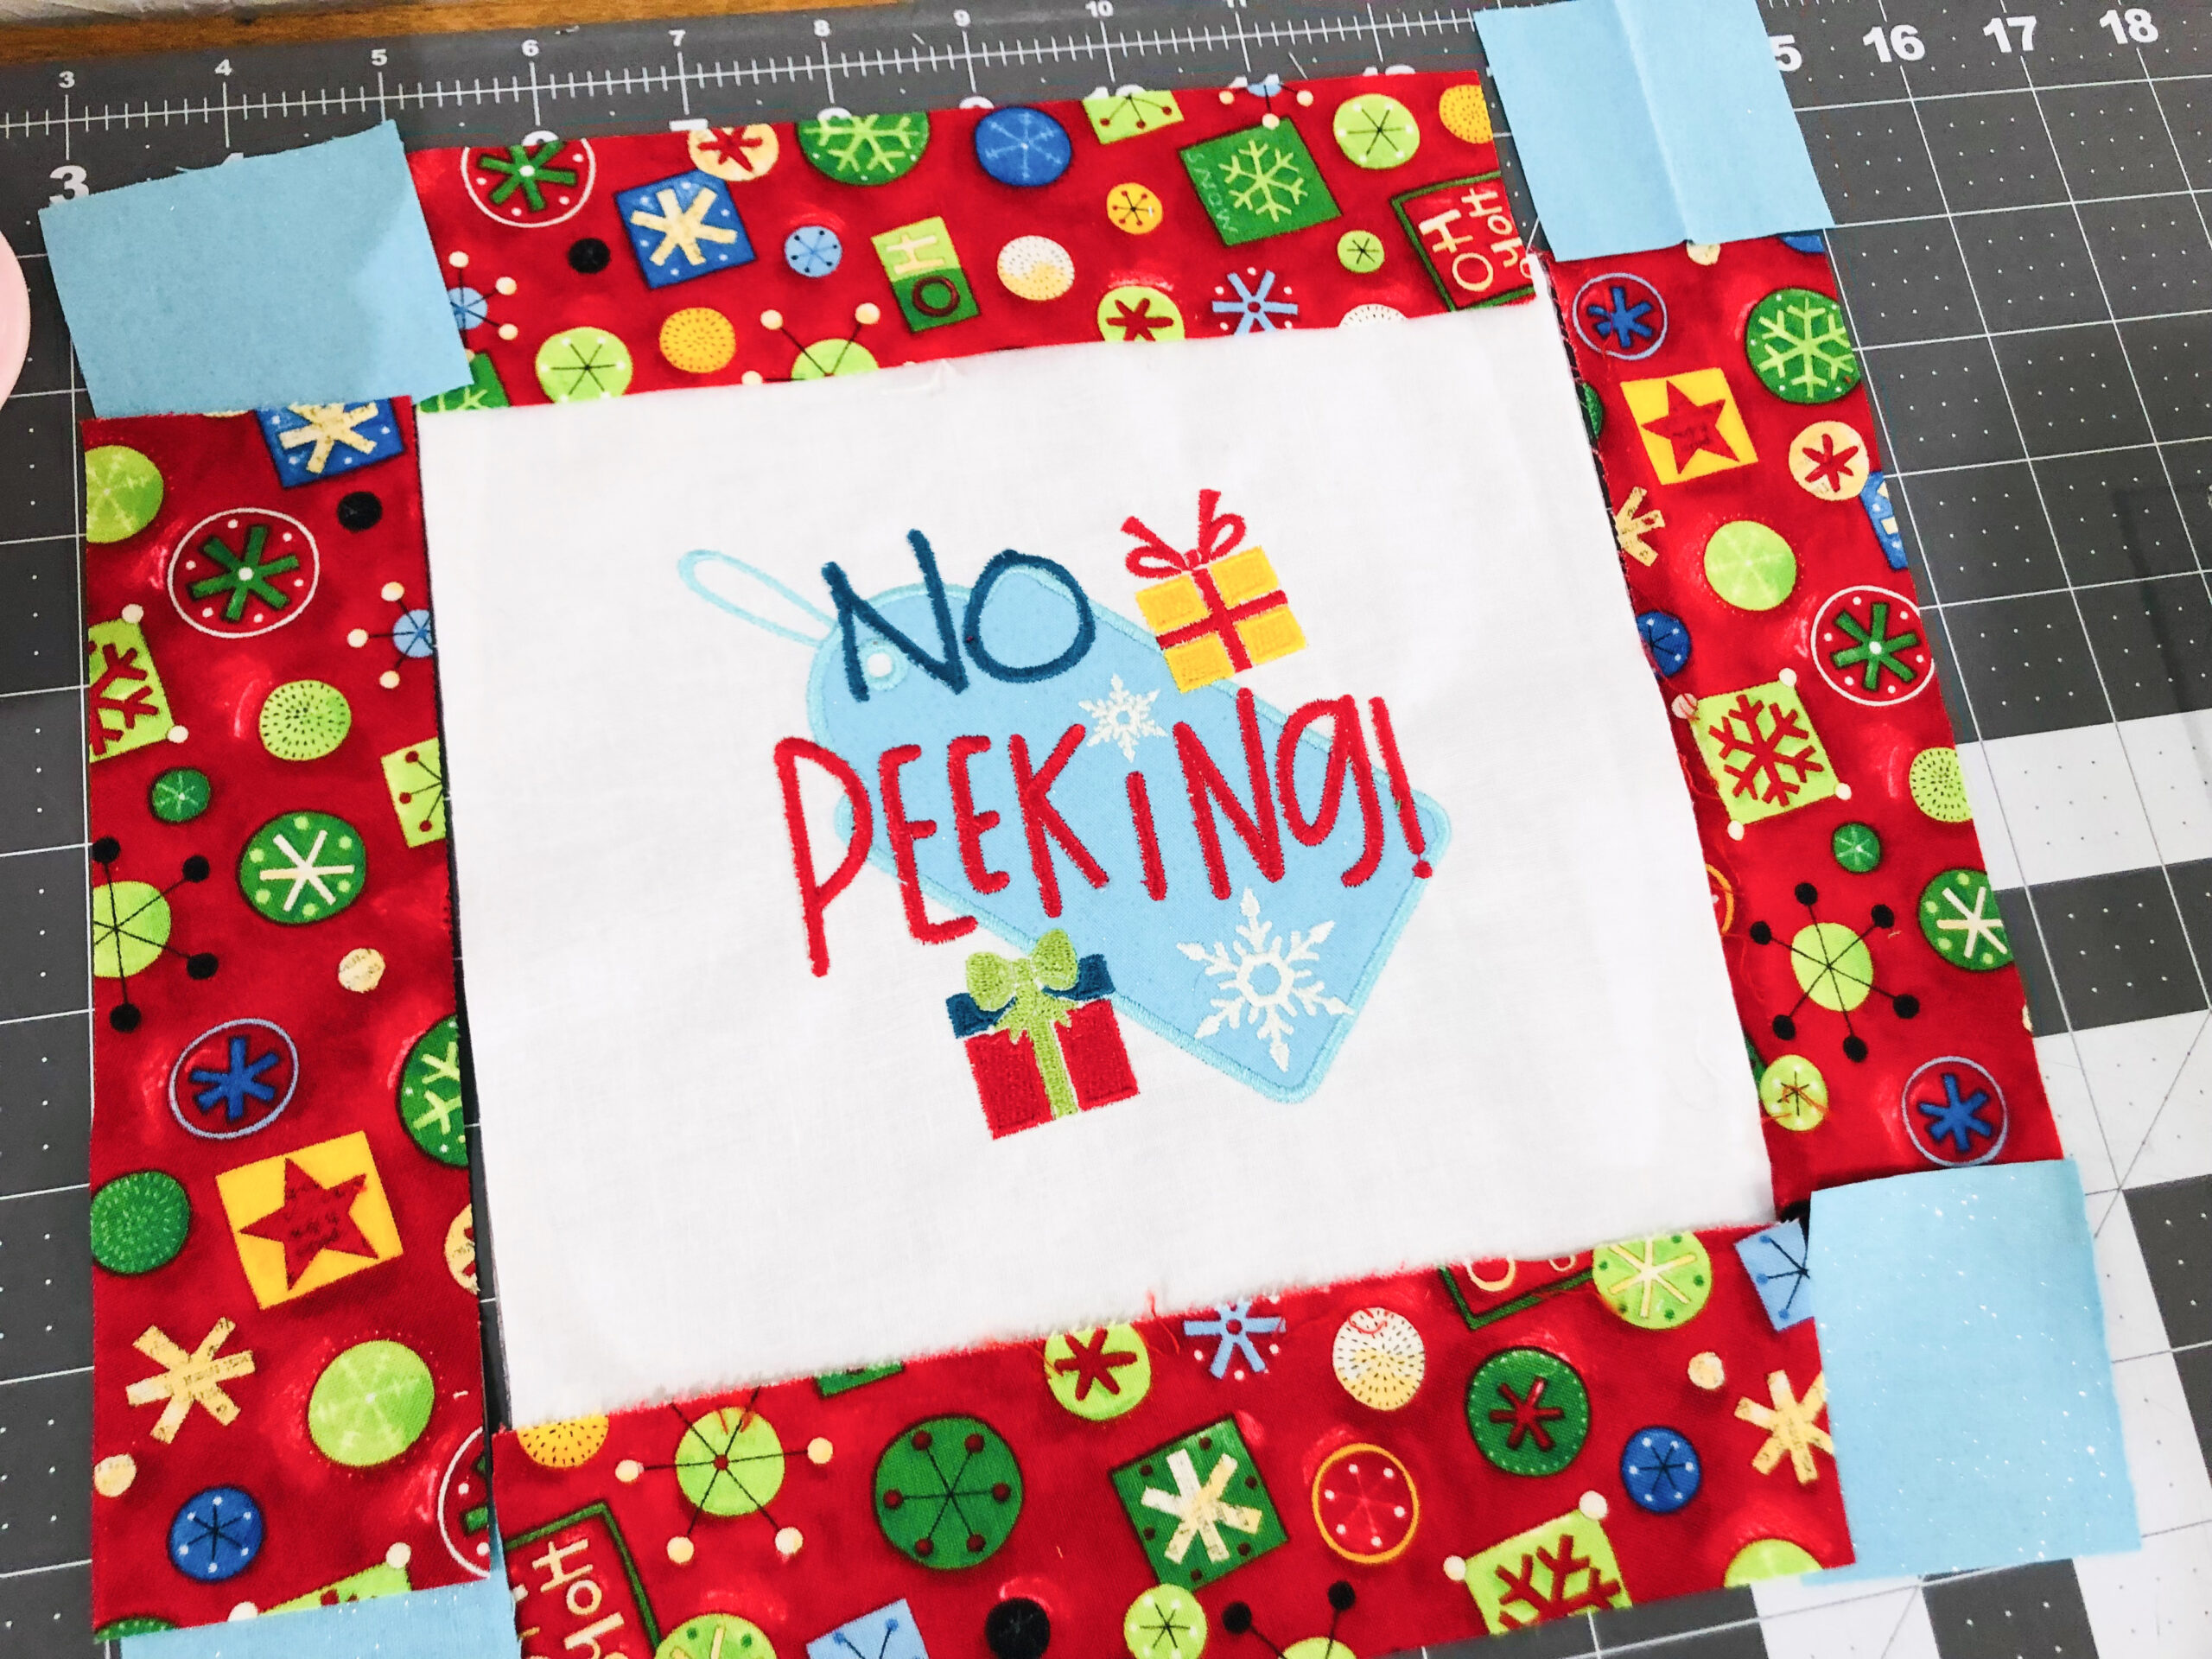
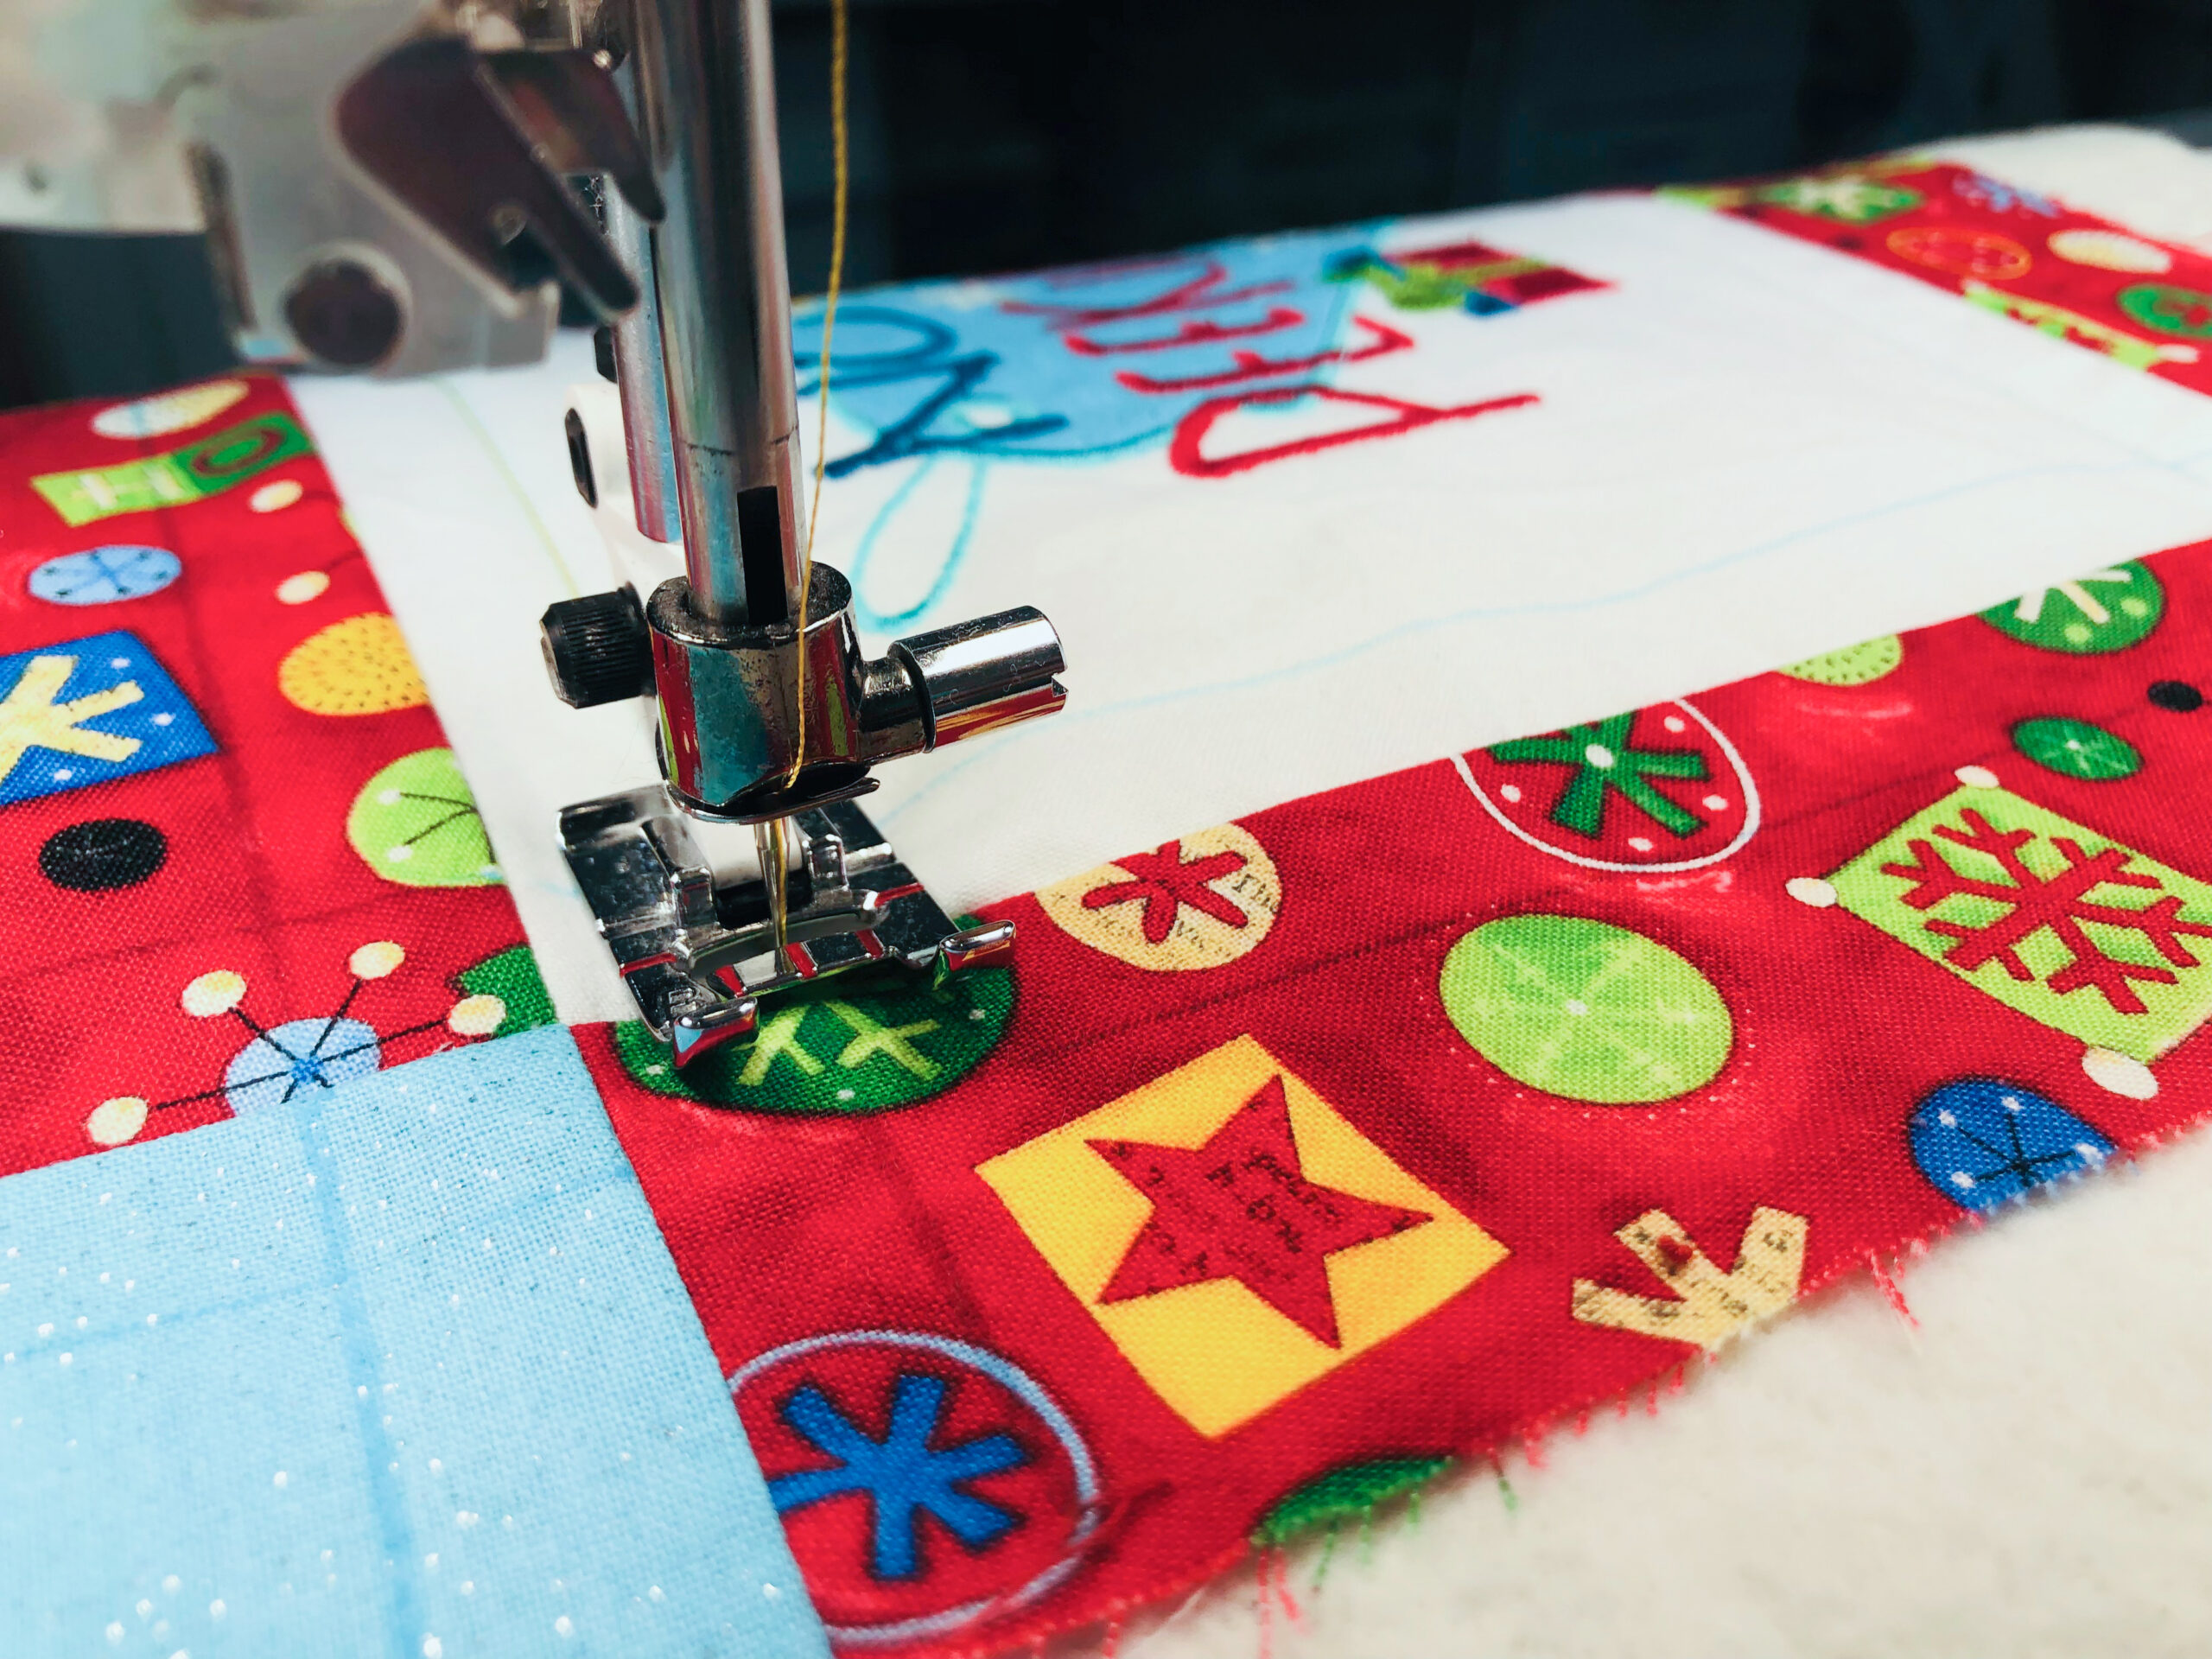
Stitch one strip to the embroidered fabric upper edge with right sides together. Press the seam toward the darker fabric. Repeat to stitch another strip to the embroidered fabric lower edge.
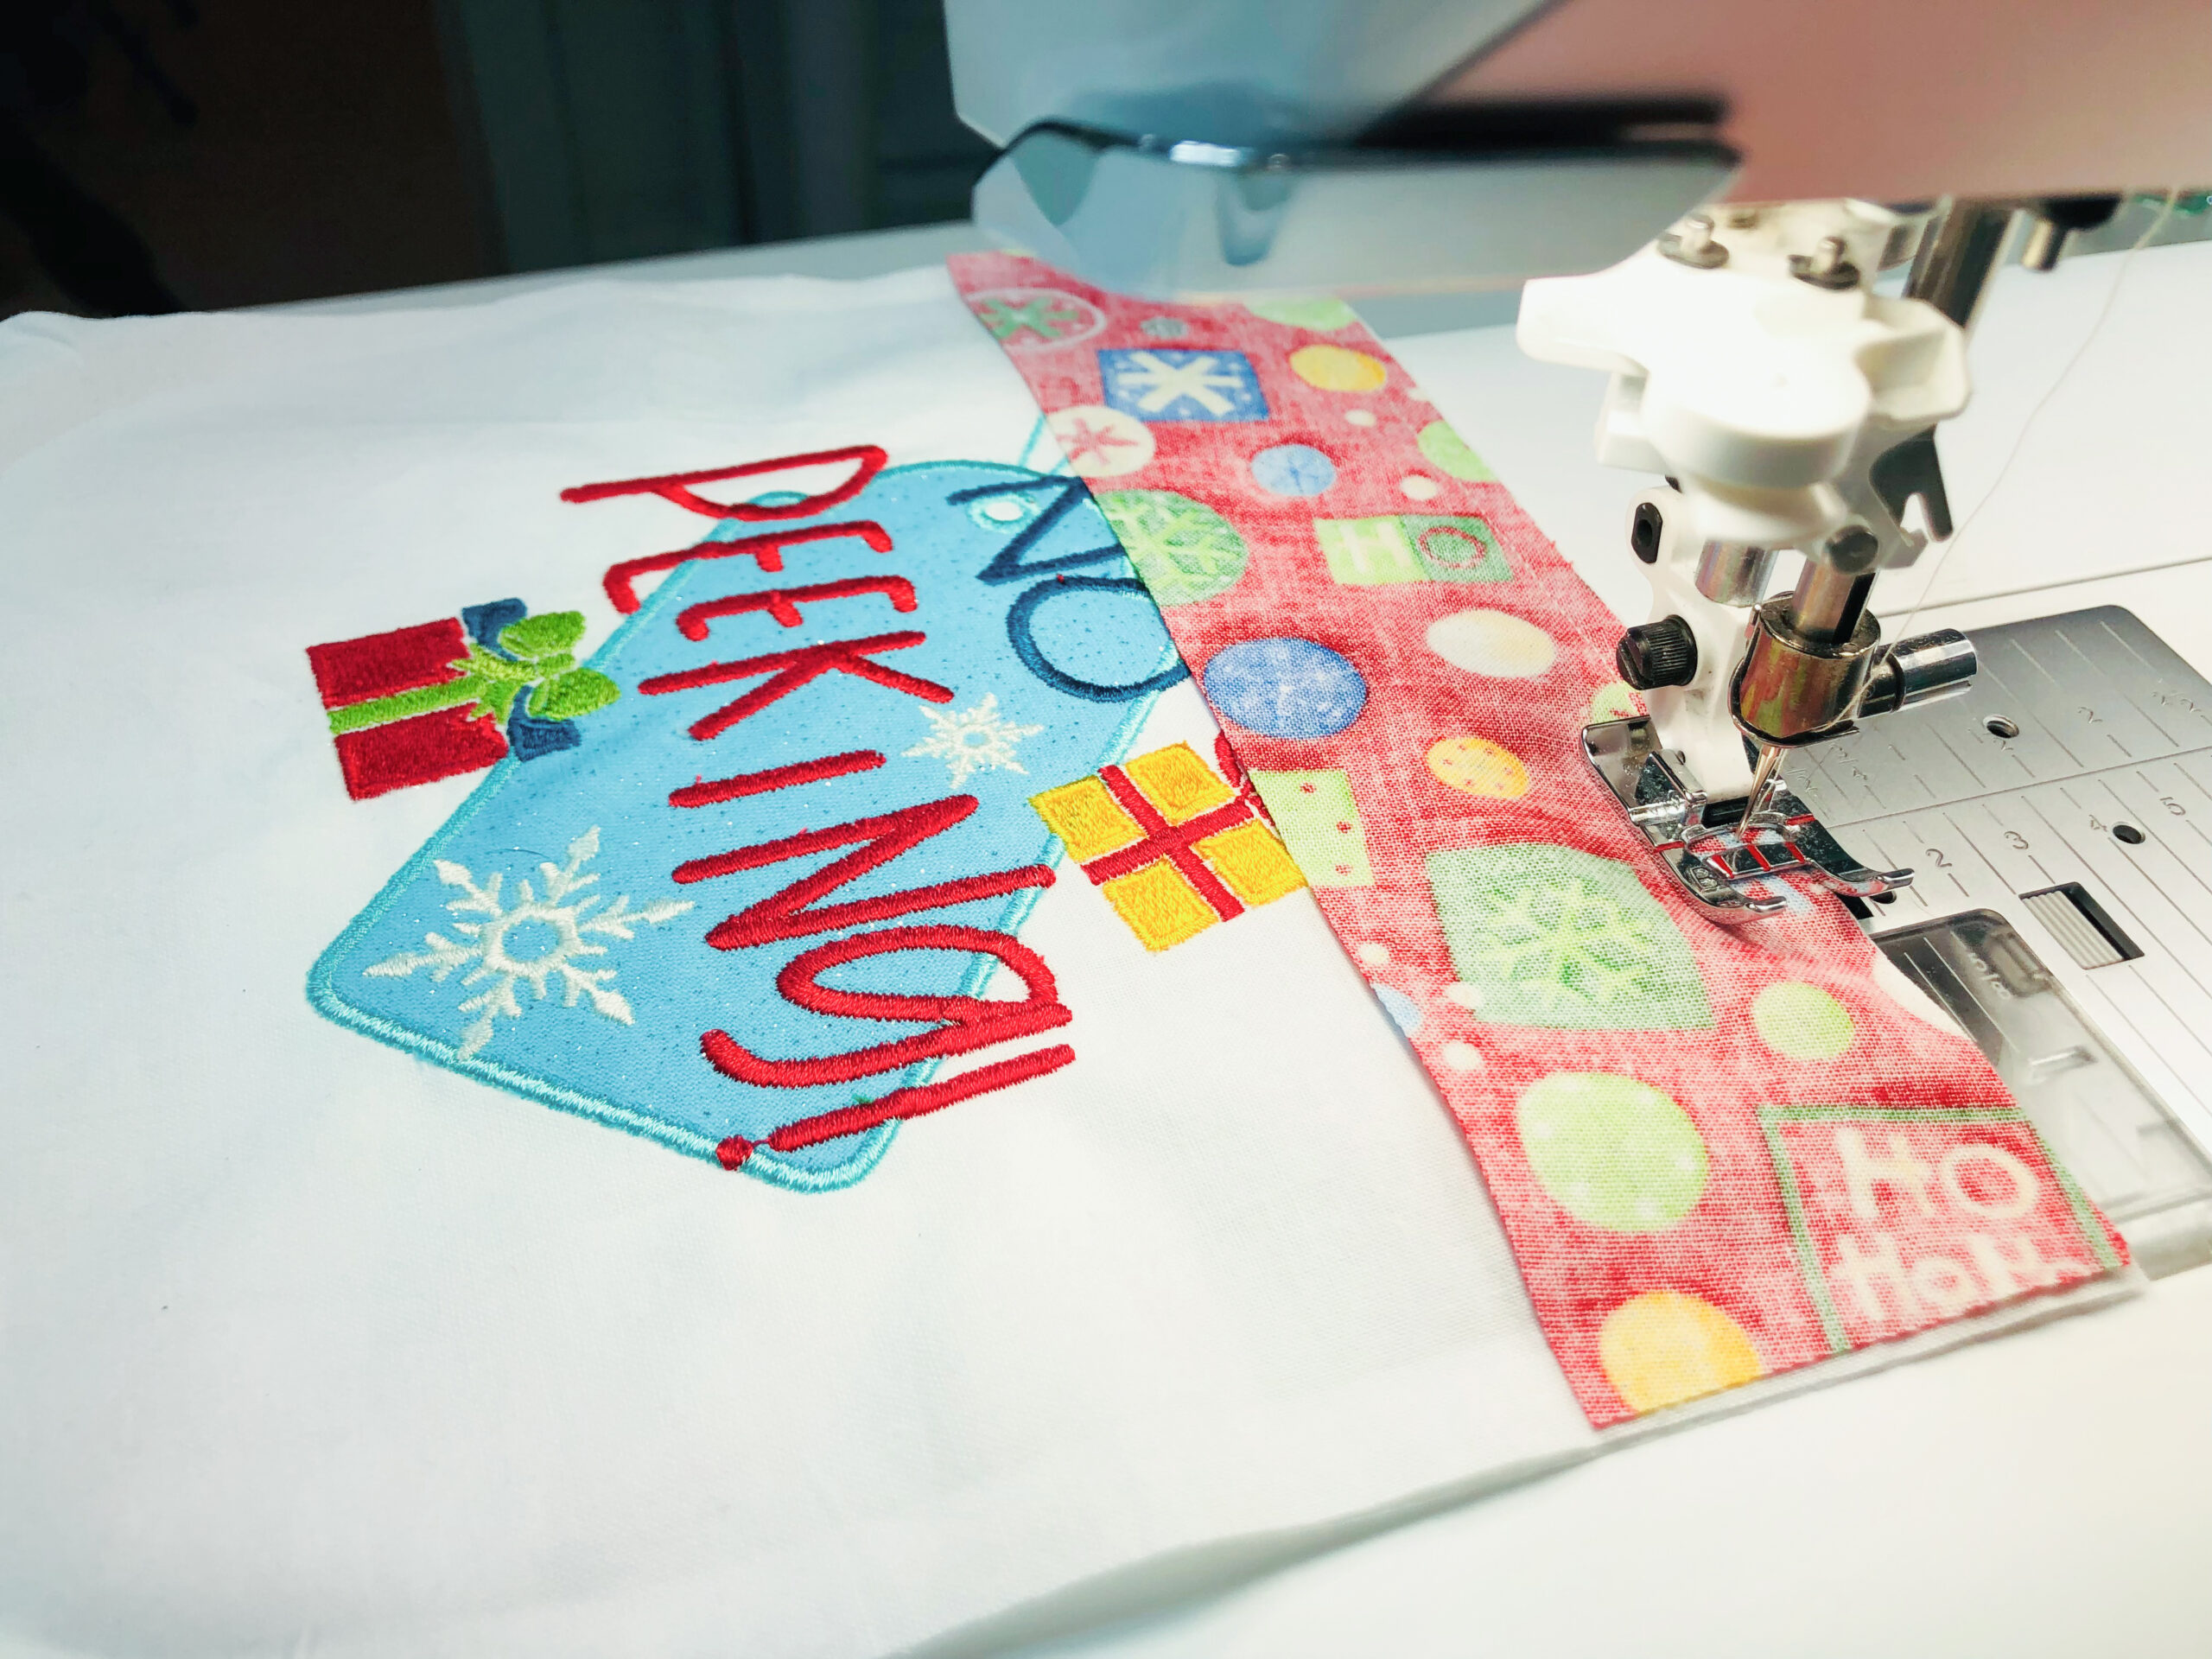
Trim the strips even with the embroidered fabric.
Cut the cornerstone fabric into four 2” x 2 ¼” rectangles.
Cut the remaining fabric strips to 2” x 7”. Place a cornerstone to each short end of the remaining rectangles, matching the 2” edges. Pin, and then stitch with right sides together. Press open the seams.
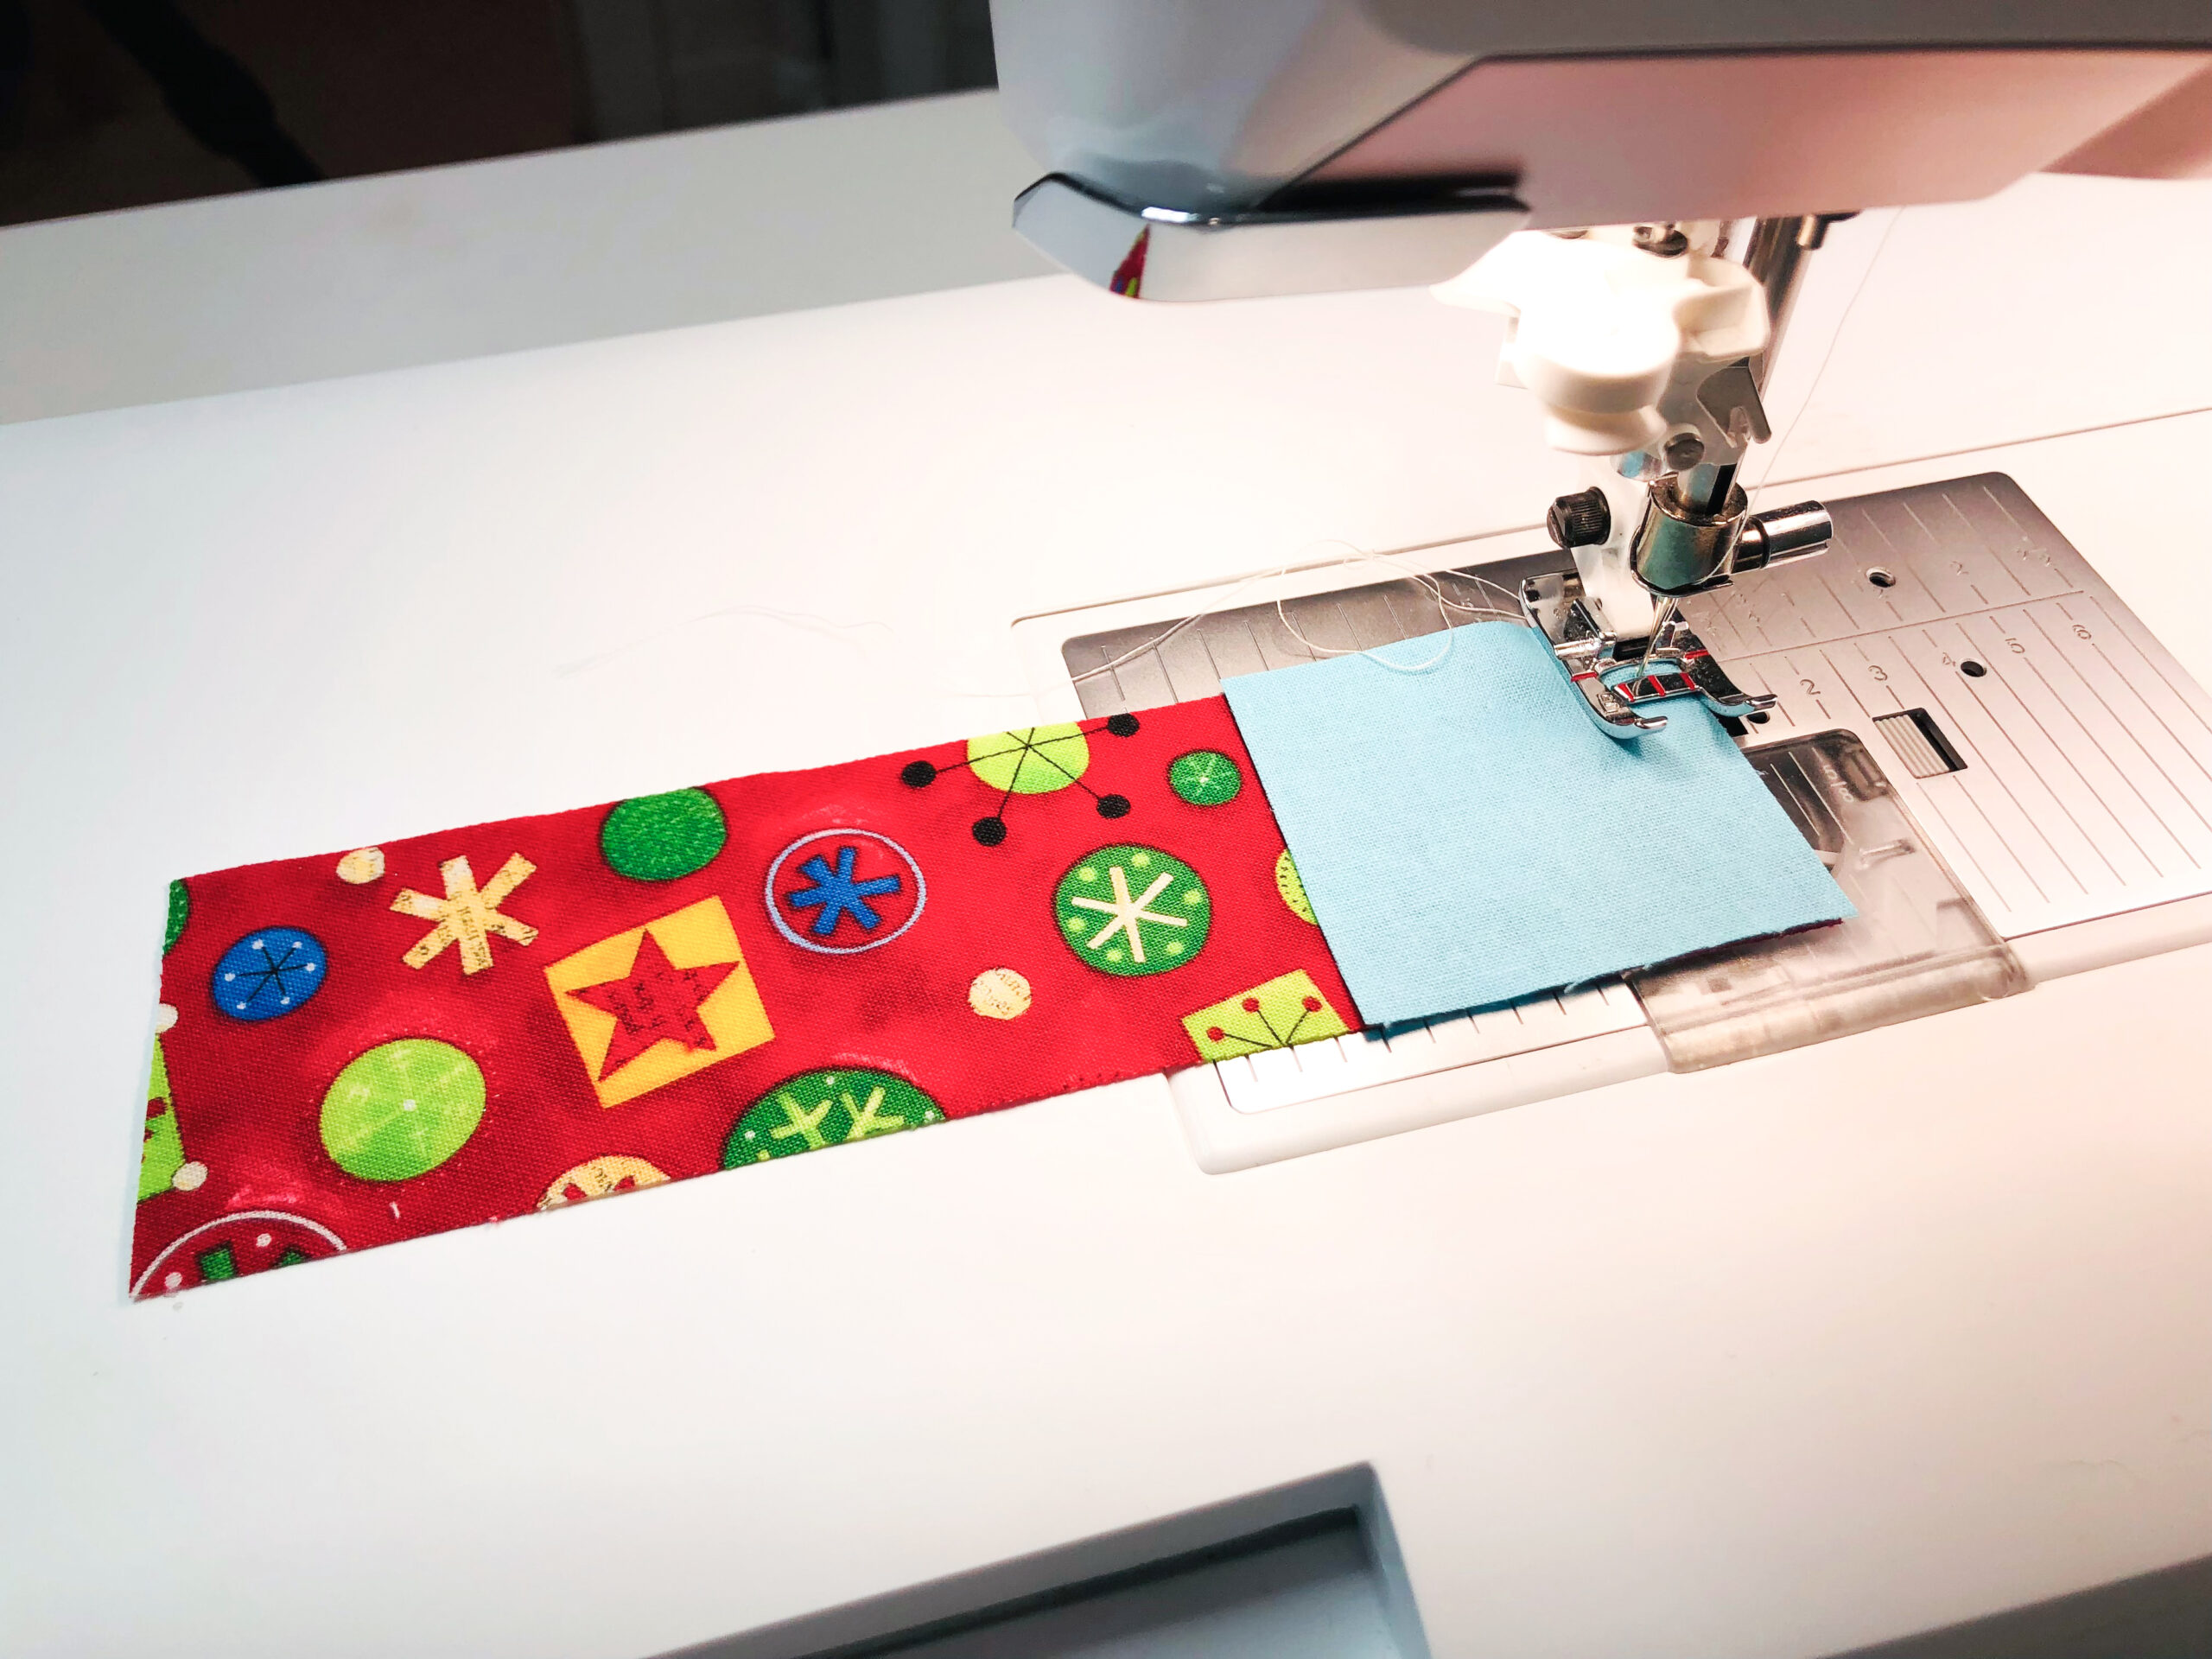
Stitch each resulting rectangle to the embroidered rectangle side edges, making sure to match the cornerstone seamline with the upper- and lower-edge rectangle seamlines. Press the seams away from the center.

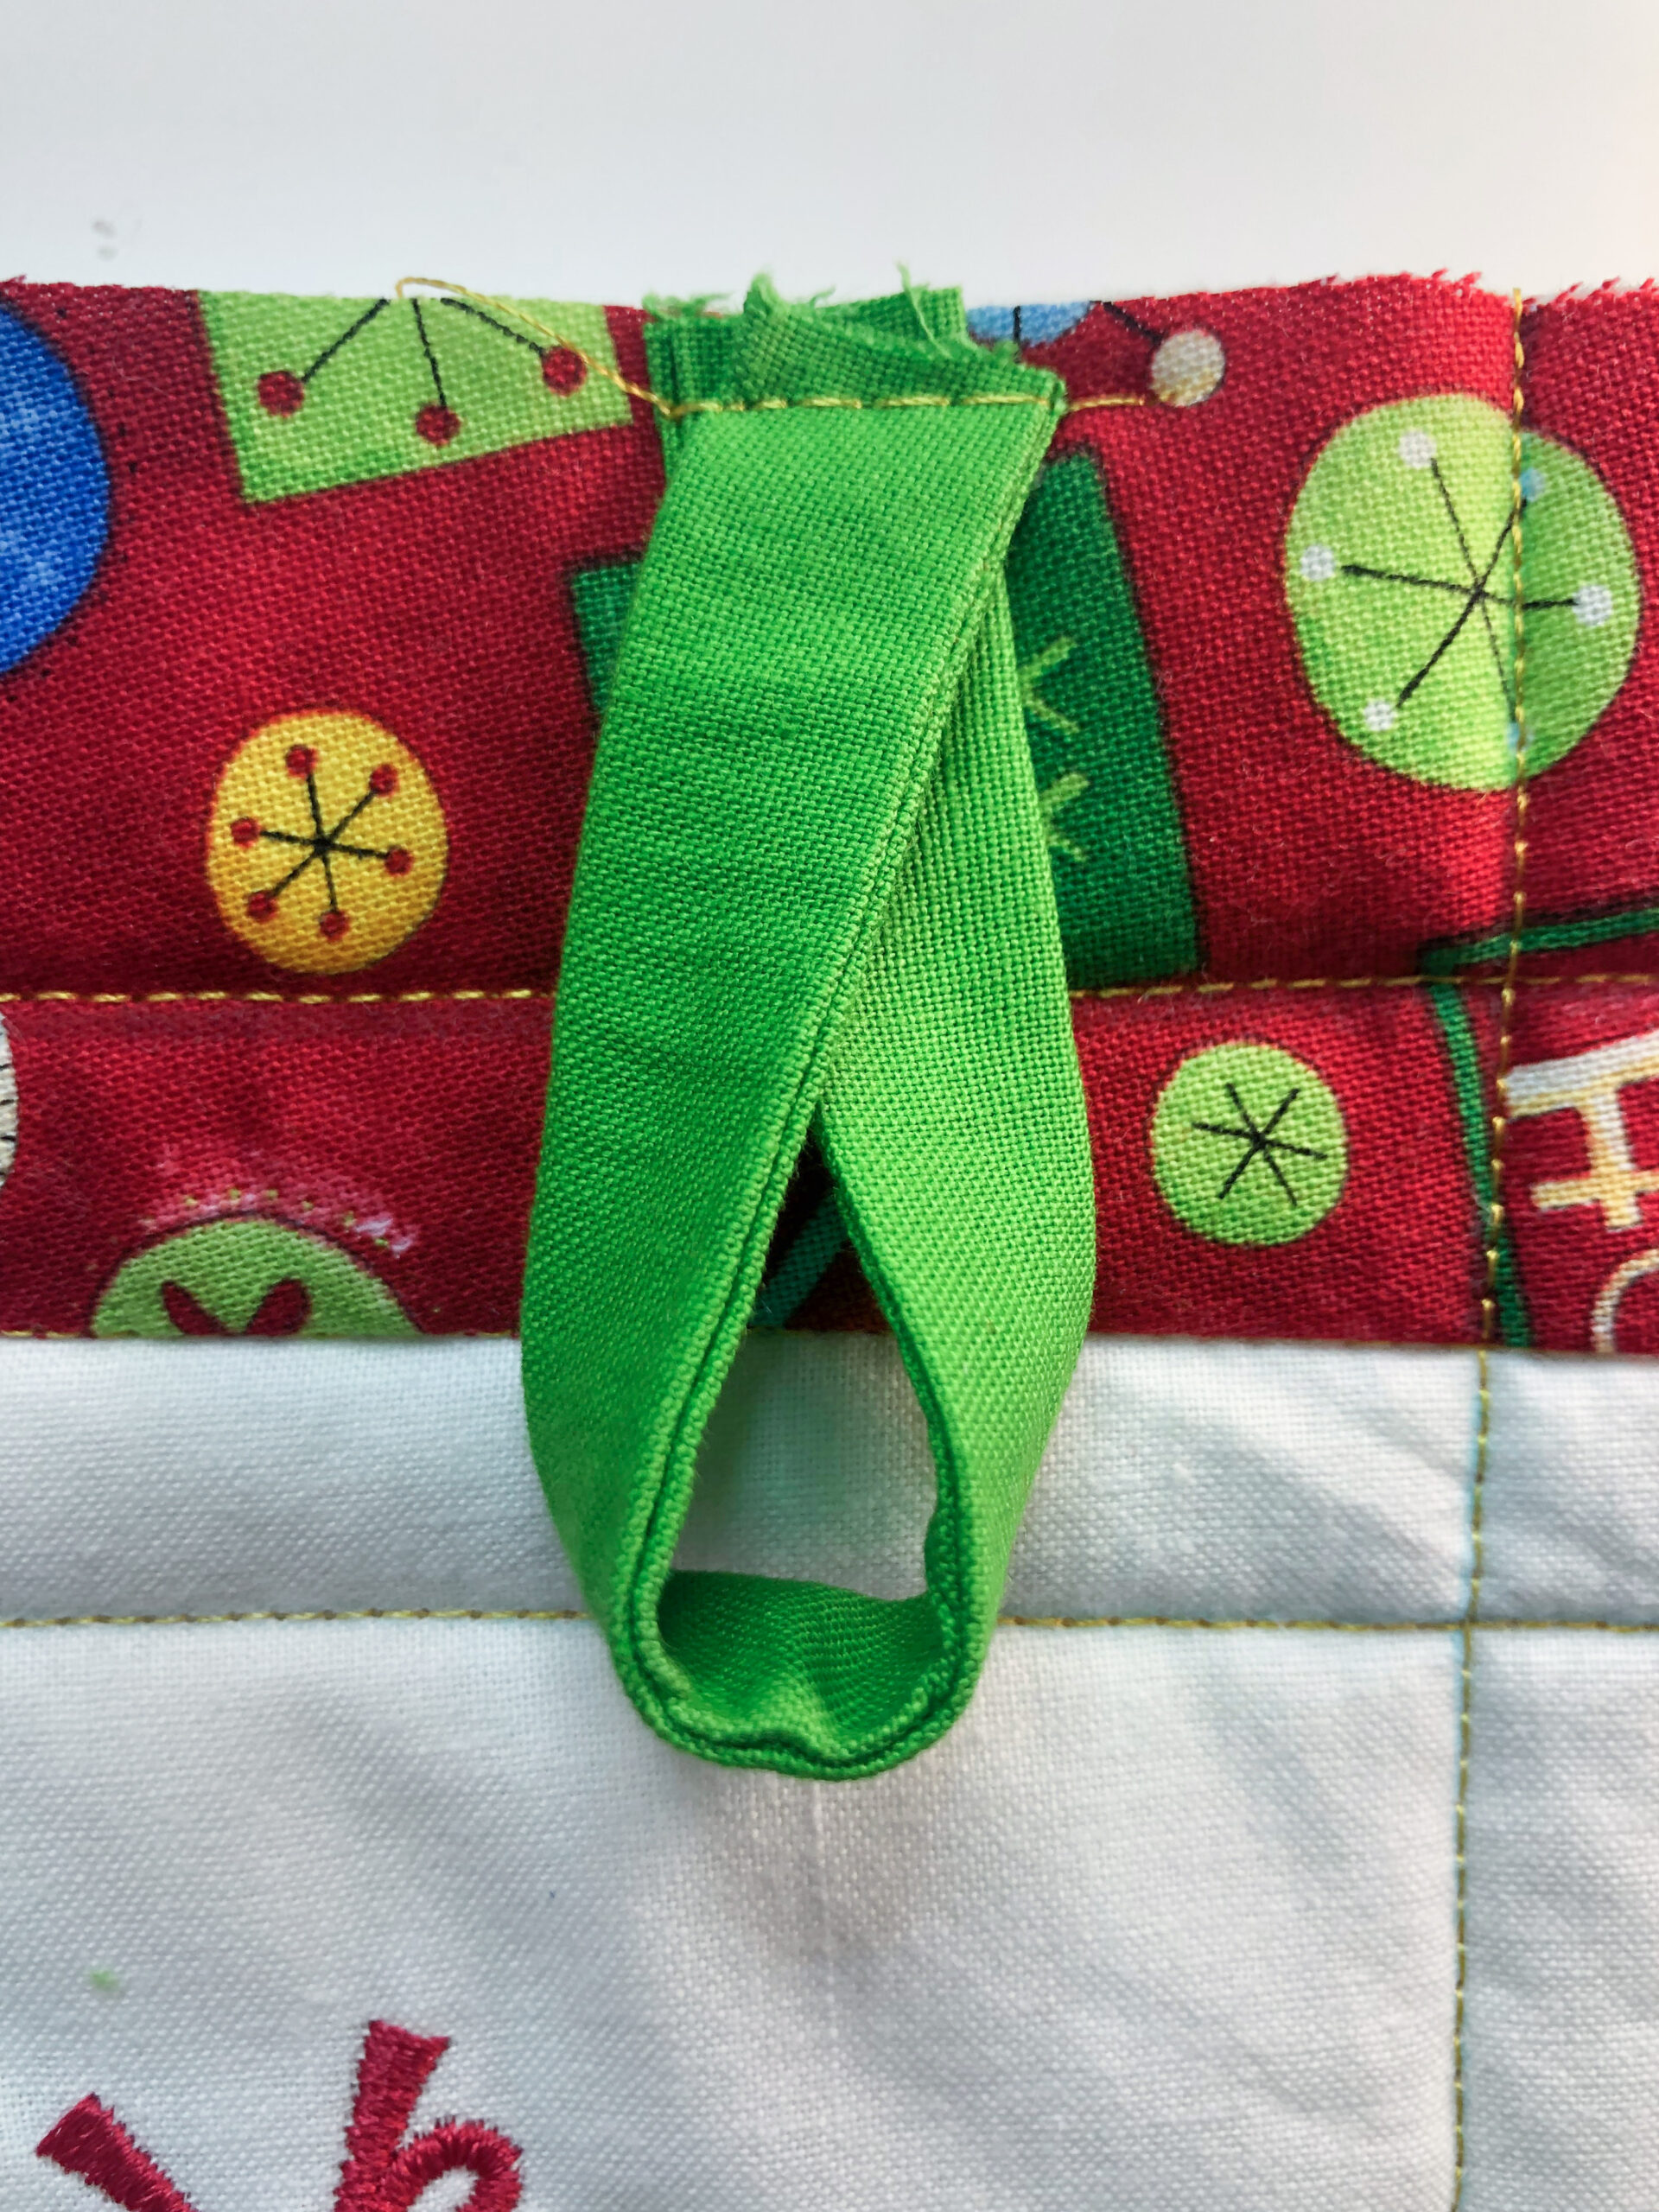
From the remaining background fabric, cut one 1 ½” x 10” strip. (If you don’t have enough length, cut two 1 ½” x 5” strips.) Fold the strip(s) in half lengthwise; press. Stitch the long edge and one short end. Turn the strip(s) right side out, using a blunt knitting needle or turning tool. Trim away the stitched end. If working with one strip, cut it into two equal strip lengths. Fold each strip in half widthwise and pin the raw ends together. Set aside the finished loops.


QUILTING
Place the backing square wrong side up on a flat work surface. Spray the wrong side with KK 2000 Temporary Spray Adhesive. Place the batting square over the batting; smooth to adhere.
Spray the back of the embroidered rectangle with more KK 2000. Center it over the batting; smooth to adhere.
Set the machine up for the quilting method of your choice. Choose free-motion, and lower the feed dogs. Or choose to quilt in the ditch of each border seam, and add echo quilting around the embroidery design.
Mark the quilting lines on the mini quilt right side, if desired, using a removable fabric marker.
Use the same thread you used for the piecing, or choose a color from the embroidery design for the quilting.
Once quilting is complete, trim the backing and batting even with the mini quilt top.
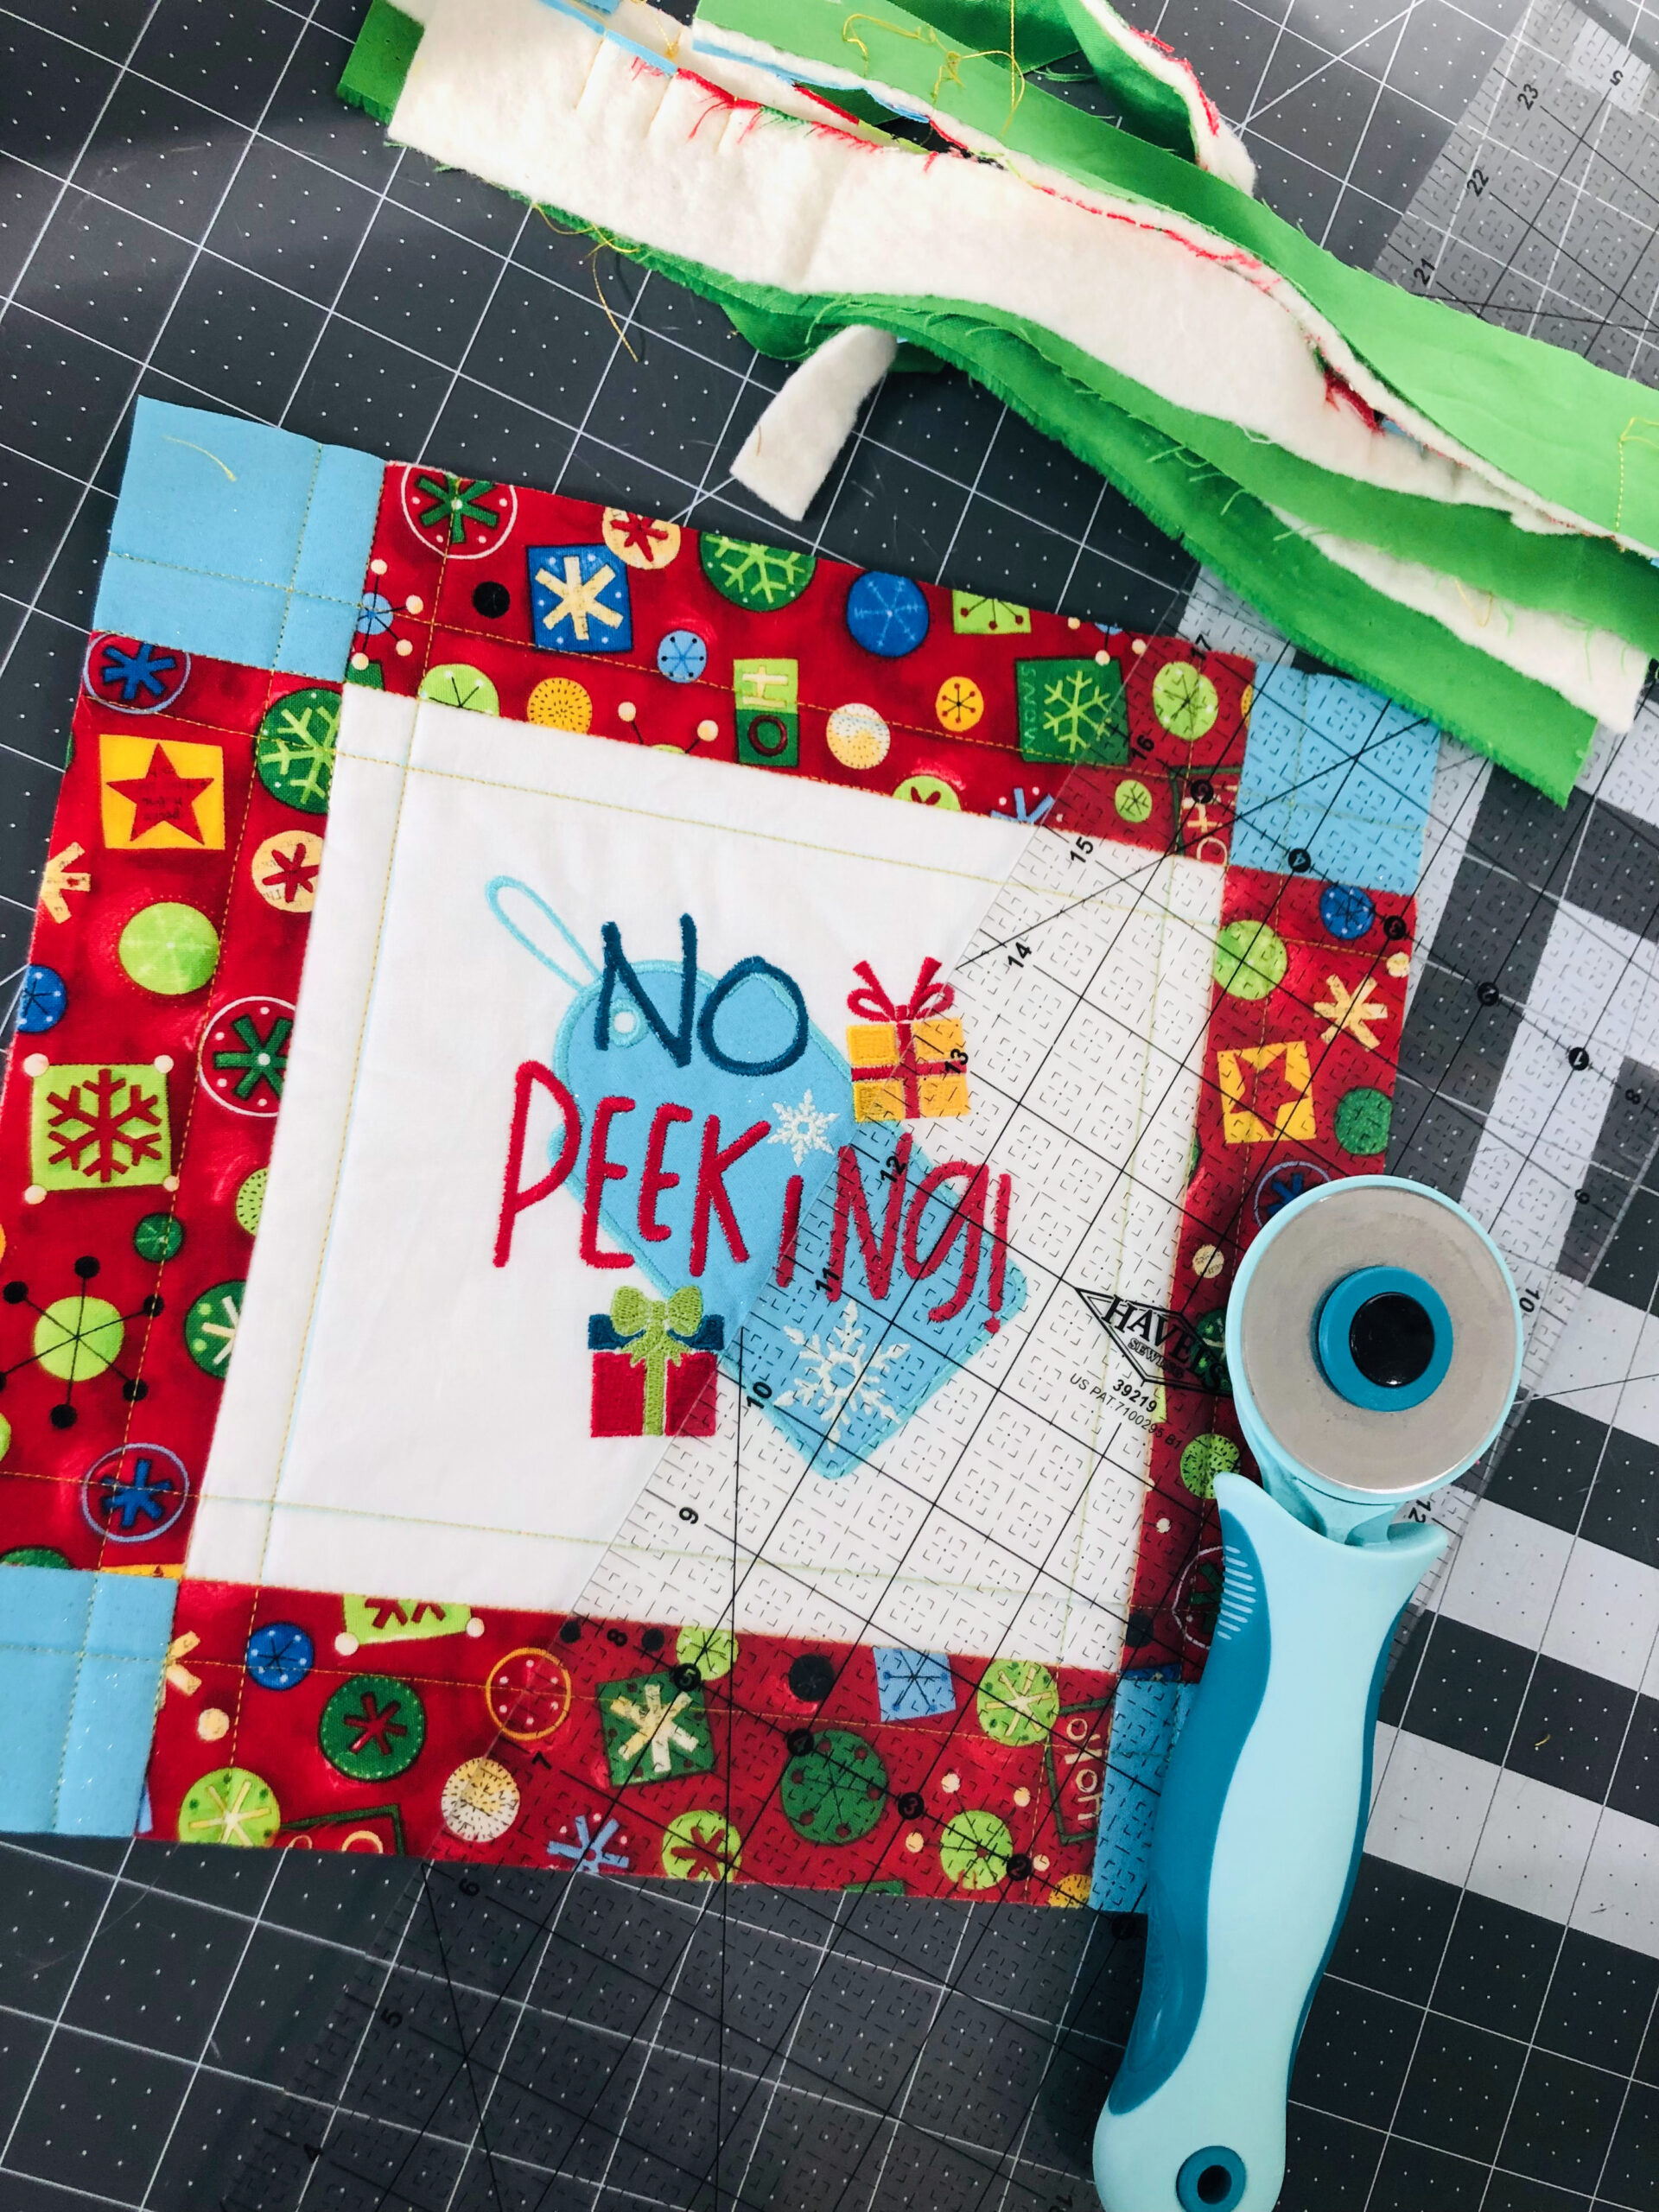
Remove the fabric marker following the manufacturer’s instructions, if applicable.
FINISHING THE MINI QUILT
Place each loop raw ends 3 ¼” from the upper-edge corners; pin or clip in place.
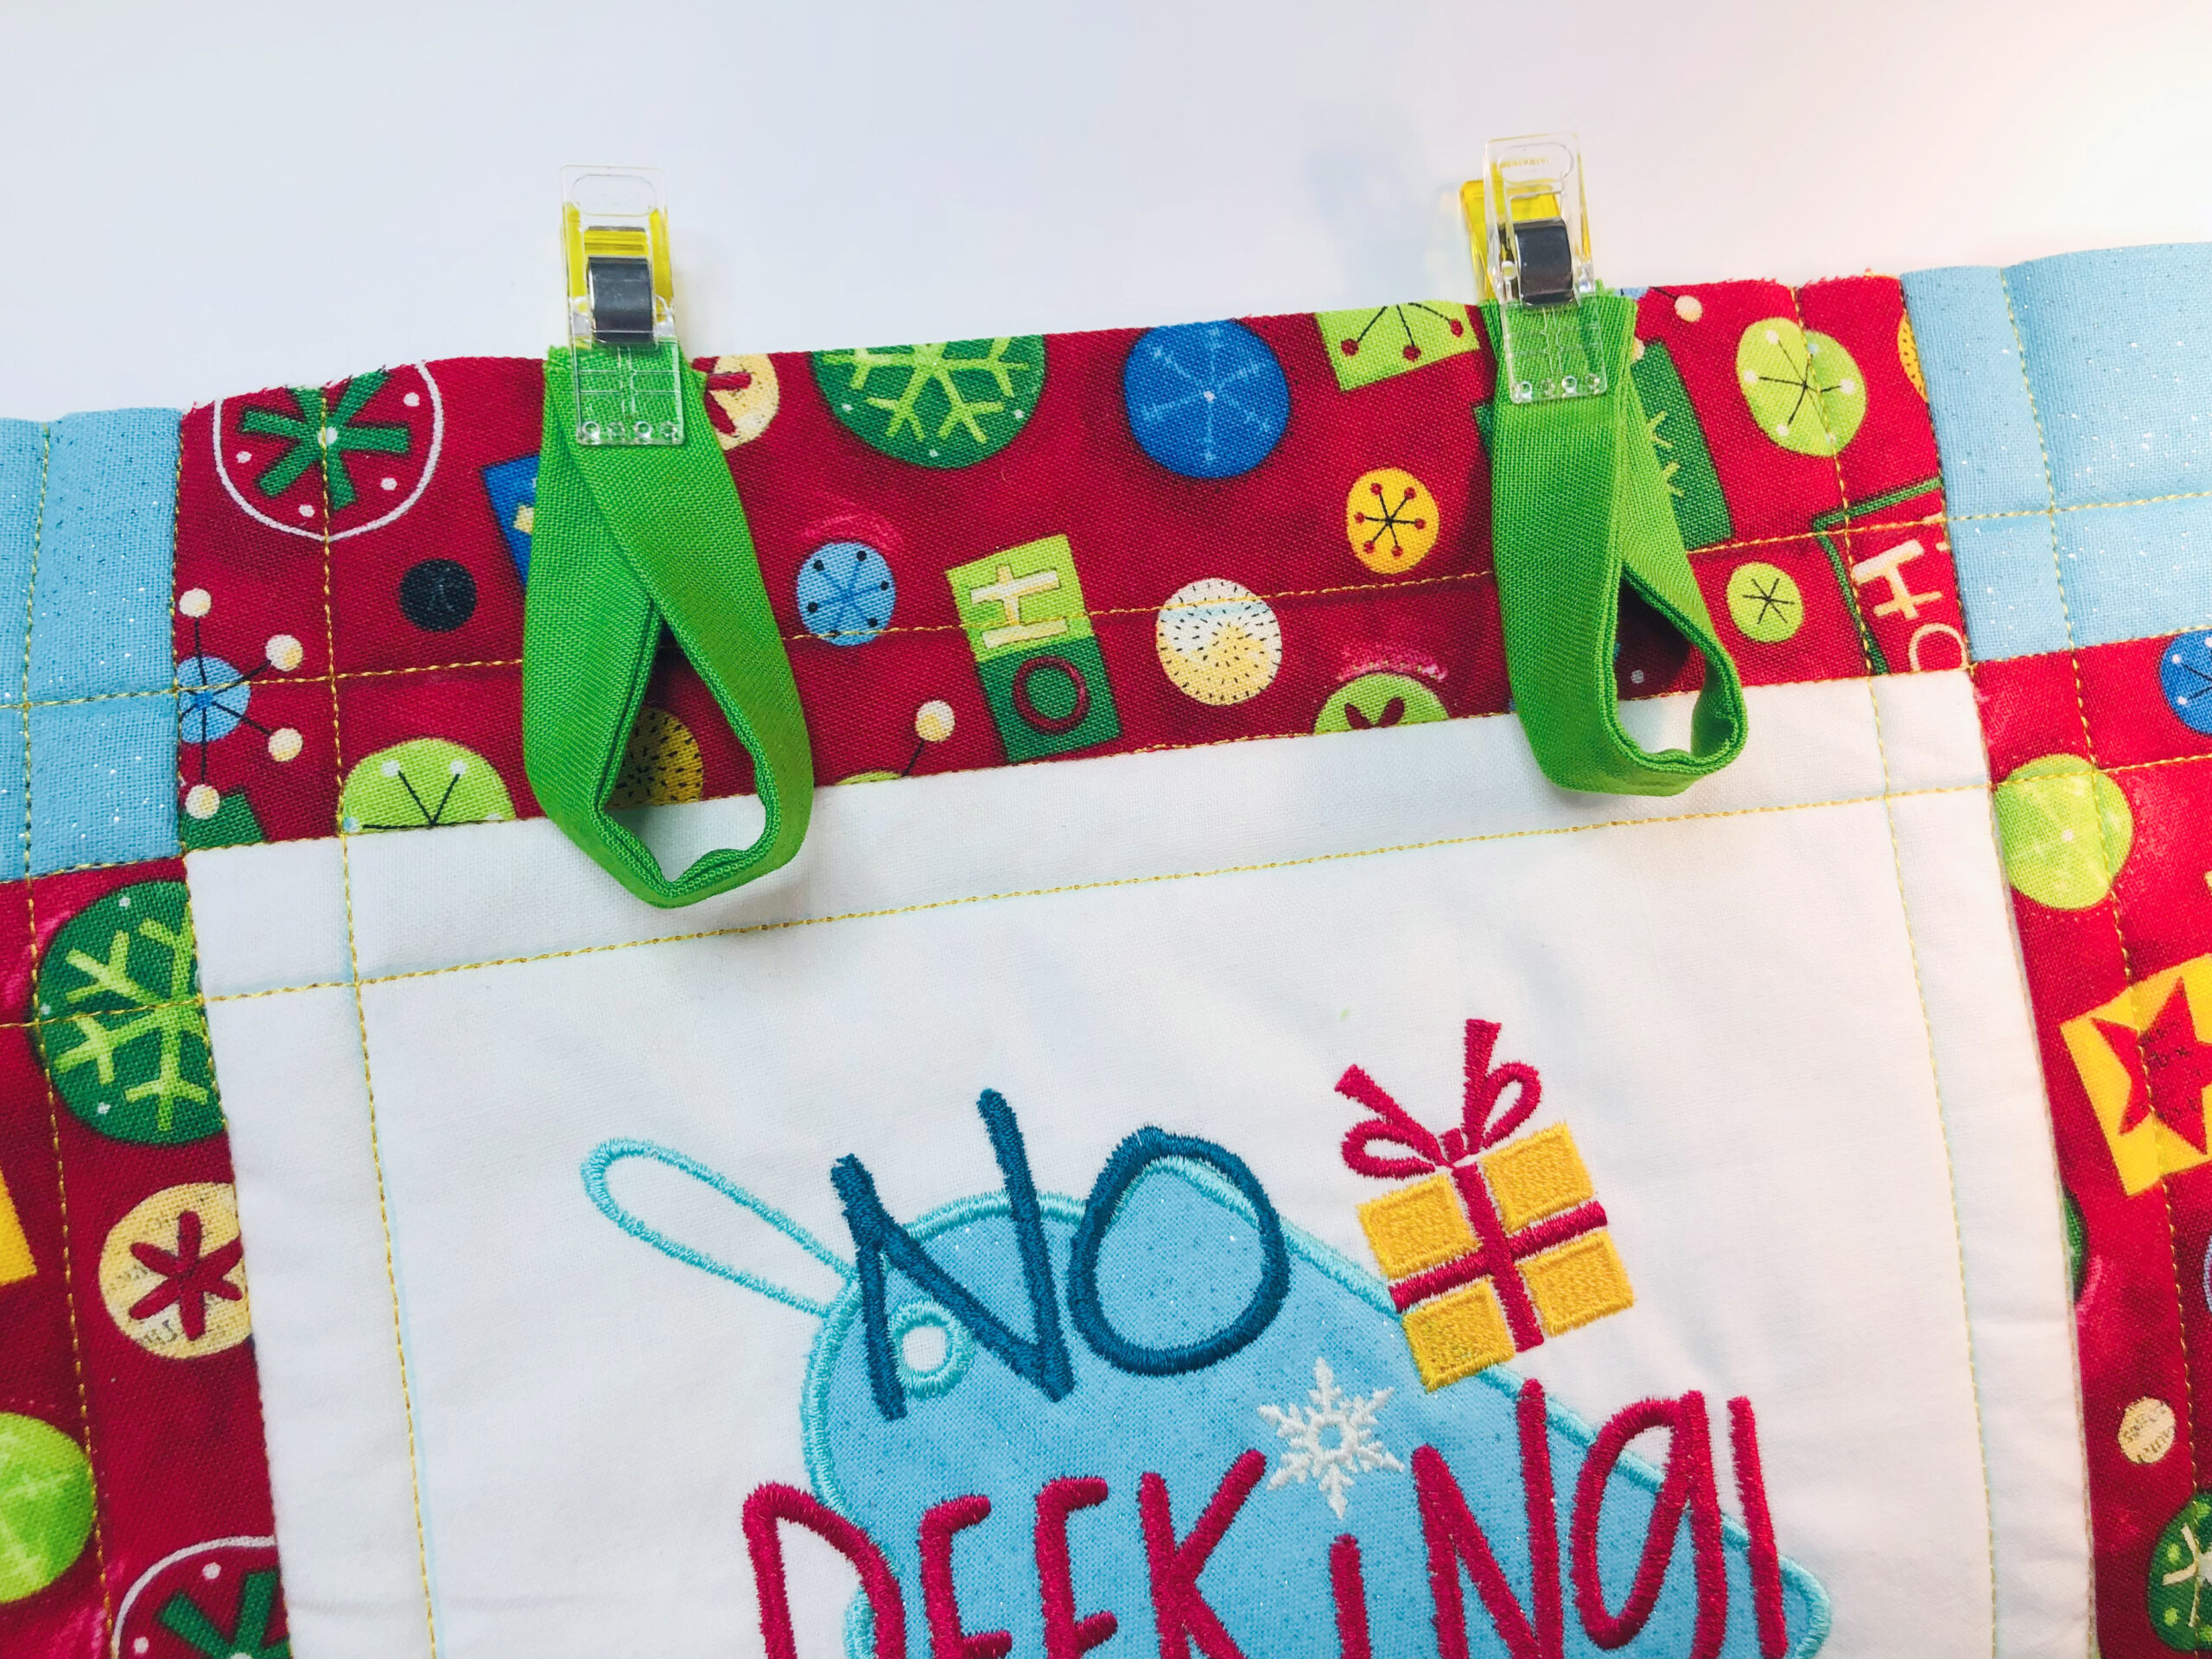
Baste the loop ends to the quilt upper edge using a 1/8” seam allowance, making sure the loops are facing the quilt center.
To add the binding, first fold the binding strip in half lengthwise with wrong sides together; press. Bind the mini quilt using the method of your choice, aligning the binding raw edges with the mini-quilt raw edges and mitering the corners as you reach them. Make sure to keep the hanging loops between the binding and mini quilt and secure the loop ends with the binding stitching.

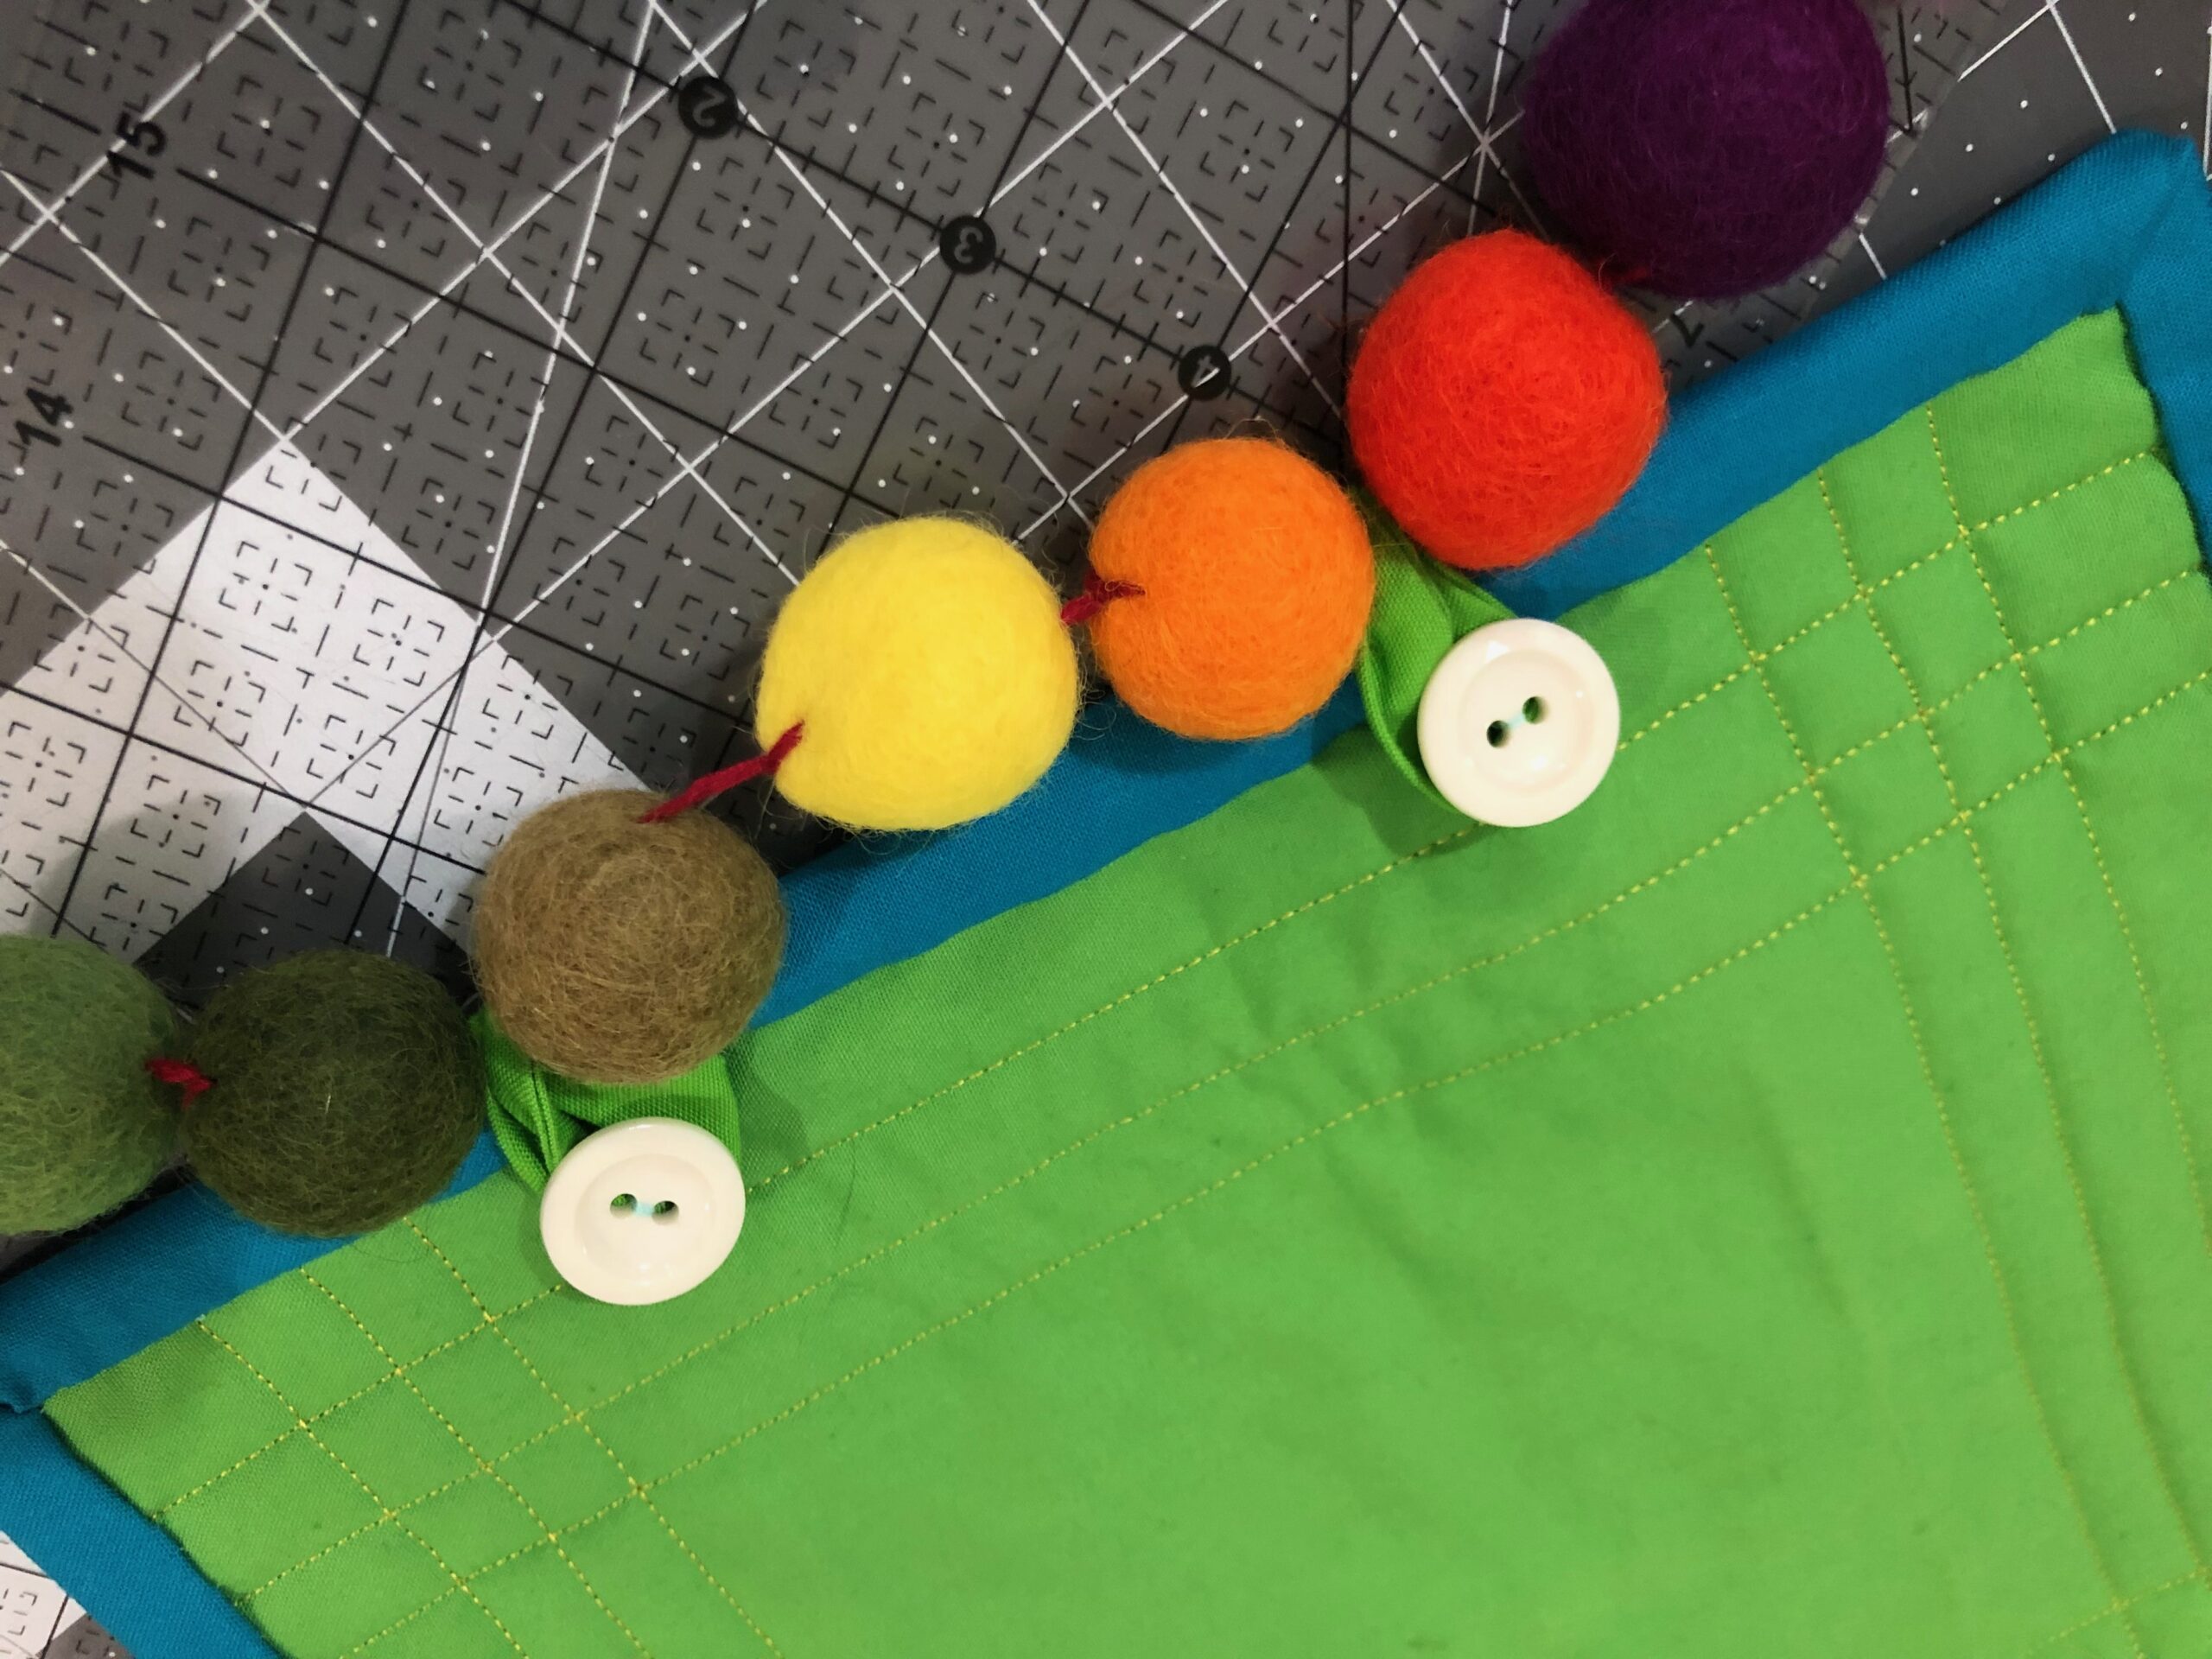
When the binding is complete, audition the button placements along the mini quilt back. Wrap the loops around to the mini quilt back. Place each button at each loop location, and then hand sew the buttons to secure.

Place the garland on a flat work surface and find the center. Center the mini quilt along the garland center, and then wrap the loops around the garland and secure with the buttons.
Hang the garland on the lower portions of the tree or on the mantel above your stockings hung with care.

Ellen March
I am the Director of Content for Sulky of America. The former Editor in Chief of Sew News and Creative Machine Embroidery magazines, I hosted Sew it All TV on PBS for nine seasons. I've appeared on It's Sew Easy on PBS, DIY Network's Uncommon Threads, Hallmark's Marie Osmond Show, MacPhee Workshop and more! Come sew with me!


