
Pumpkin Carving Tools for Success (even with kids!)
Pumpkin Carving Tools for Success
Pumpkin carving tools are made for a reason – carving a pumpkin is hard work! From scraping out all the guts to carving the actual jack-o-lantern, it’s exhausting work–especially if you’re carving more than one or creating an elaborate scene.
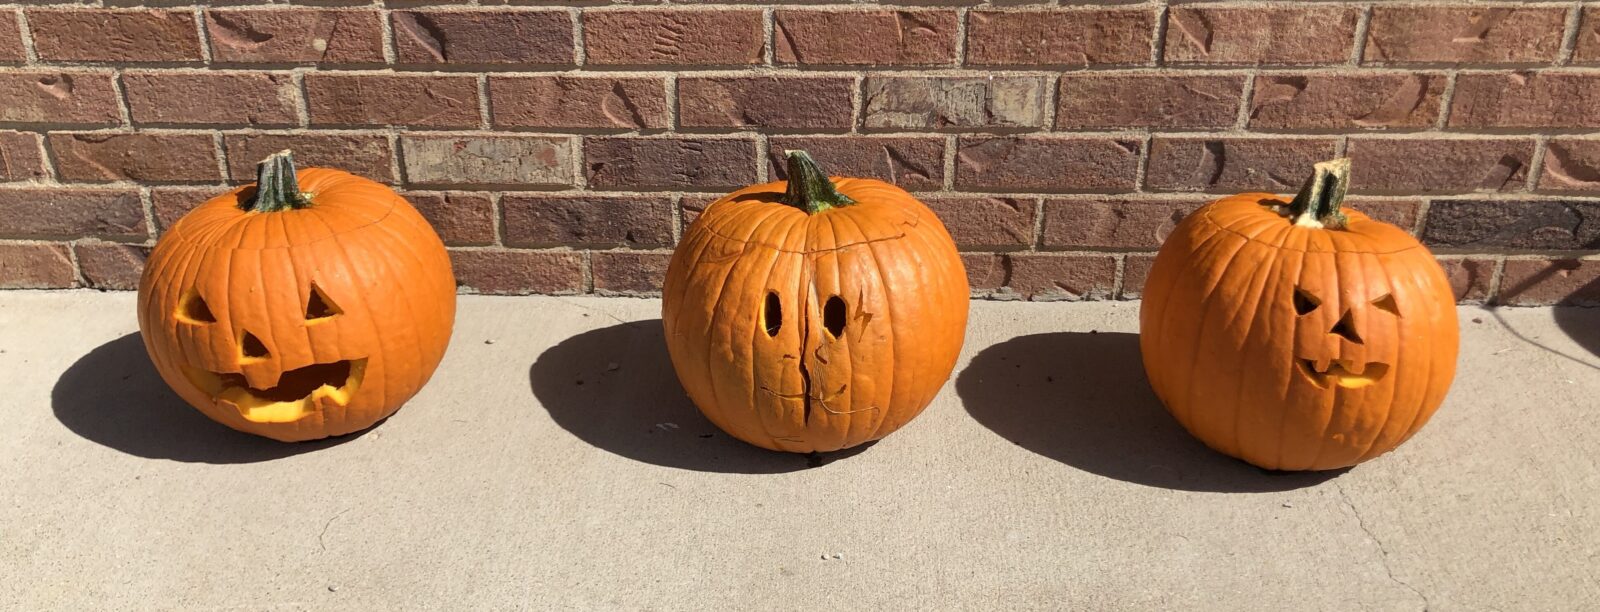
Now, the pumpkins shown above were carved by my three small children. So there were no elaborate scenes going on here. However, I will say that they did them all by themselves! Even my five-year-olds drew the faces and carved their pumpkins without help. Sulky Stick ‘n Carve made it so that they didn’t have to draw directly onto their pumpkins. If they made a mistake or wanted a do-over, they simply marked over it until the design was to their liking.
Stick ‘n Carve makes it easy to transfer a design to your pumpkin, no matter how elaborate or simple that design is.

The package of water-soluble sheets also comes with 10 designs that you can transfer to the sheets! You (or your kids) can trace the designs onto the sheets, or copy them using a printer! How cool is that?
How It Works
My kids already had designs in their minds, so they opted to not use the pre-made designs. But they already want to get more pumpkins and carve more before Halloween. So consider this fair warning that it’s addictive!
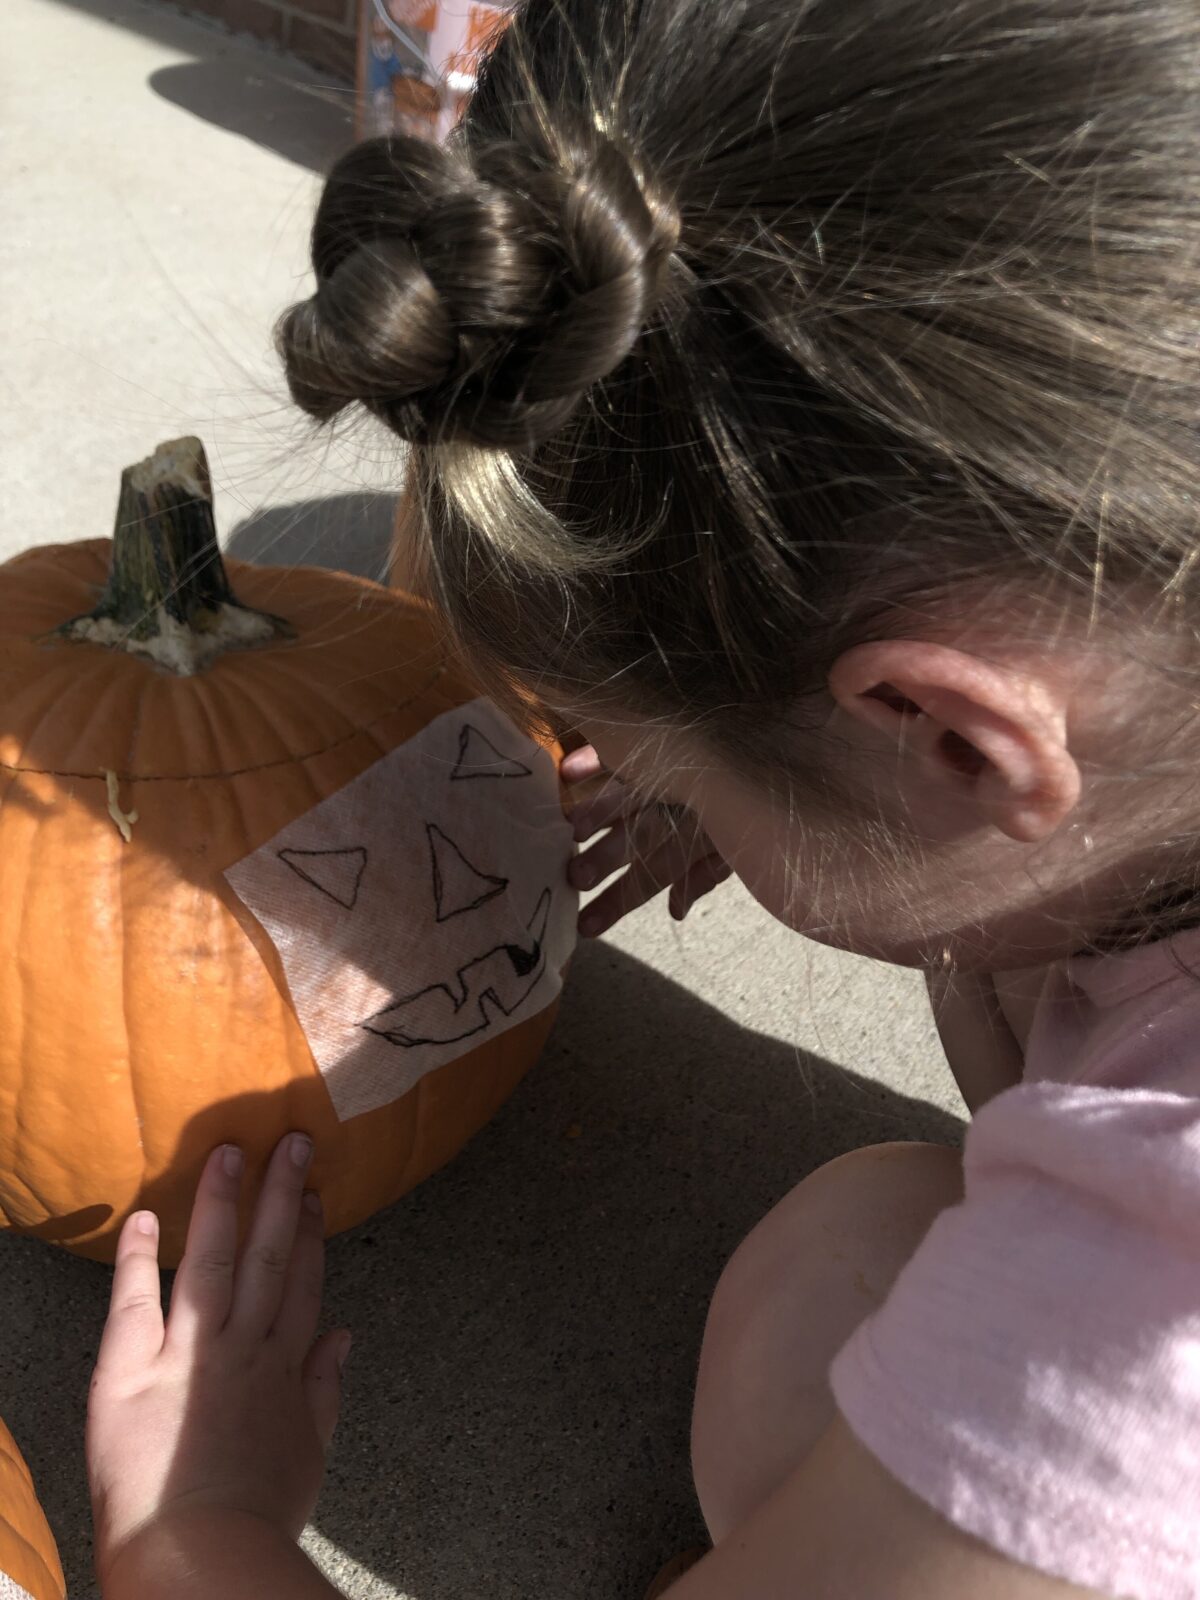
First, each kid drew their pumpkin face onto the Stick ‘n Carve sheet. I gave them just a few rules: Keep the design within a certain area so it wasn’t too big for the size of pumpkins we bought, start with pencil in case they wanted to change anything before going to the pumpkin.


Once the designs were finalized, they drew over the pencil with a dark marker so as to see the lines better when it was placed onto the pumpkin.
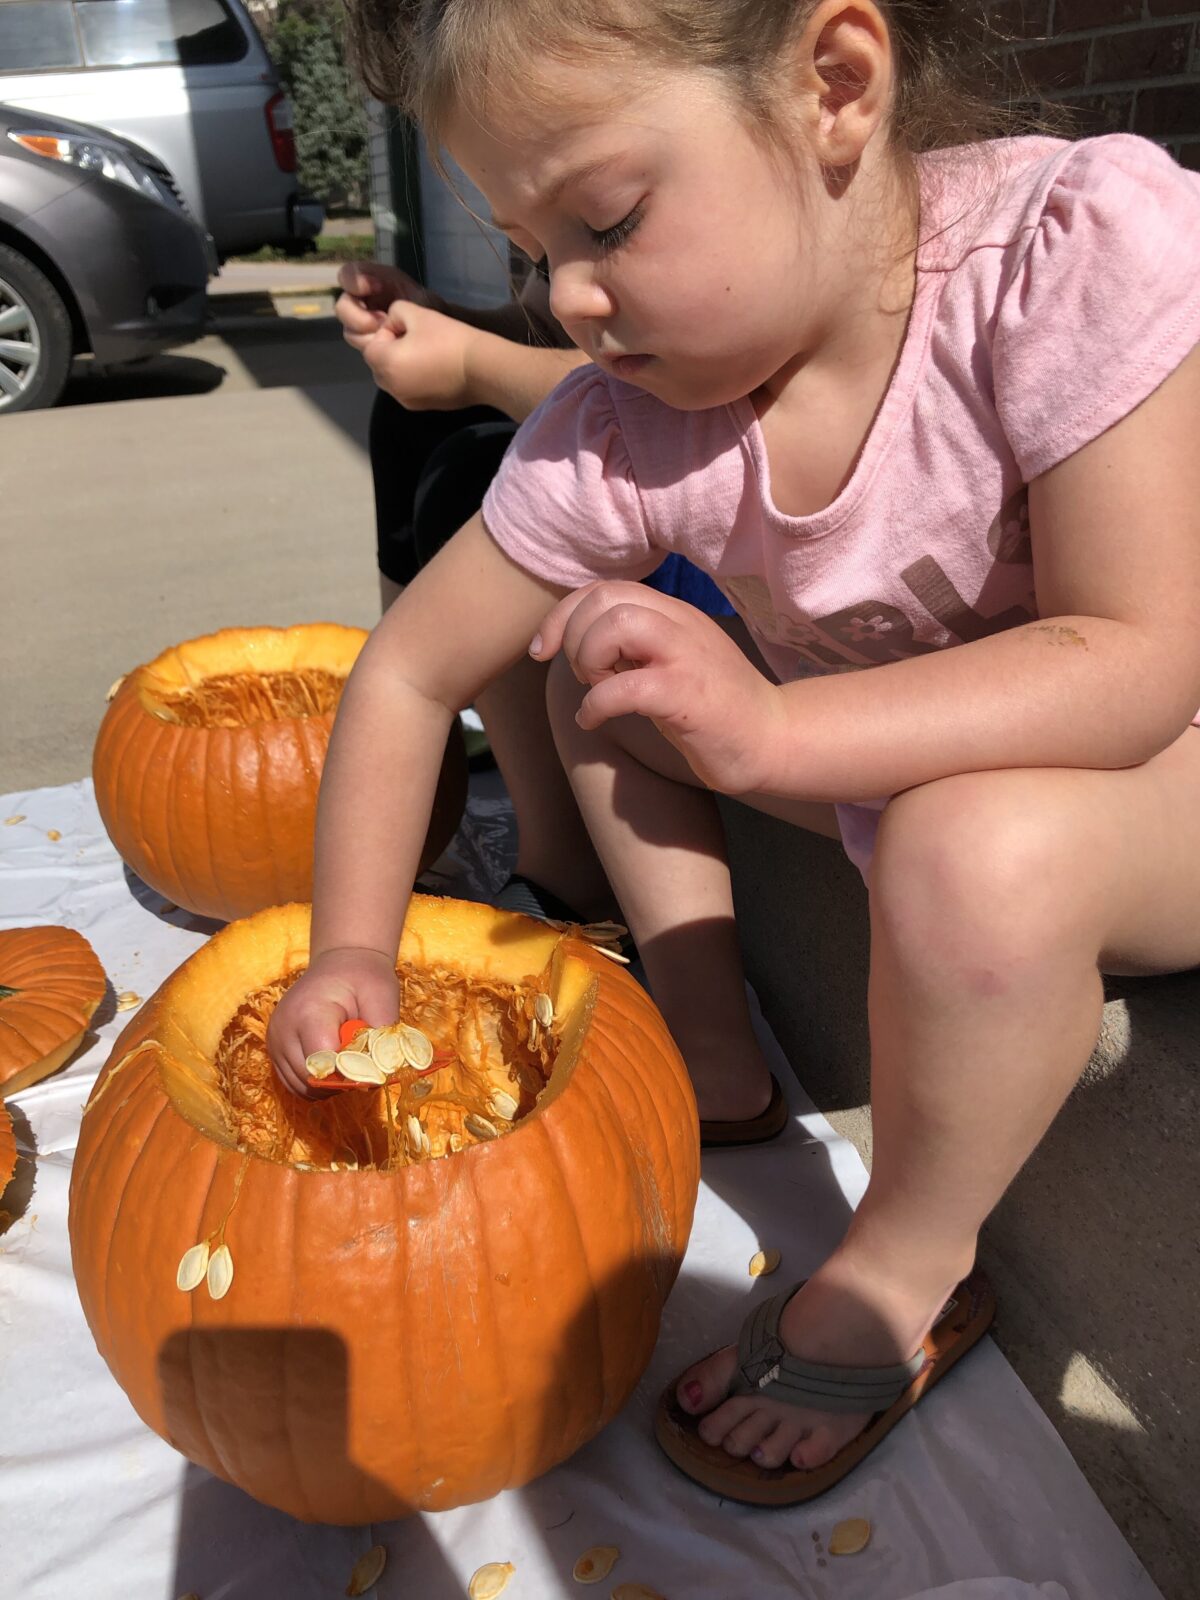
We washed the pumpkins and dried them off after removing the guts. Then the fun began!
First, cut out the design from the sheet, leaving a good margin to make sure it still sticks to the pumpkin after you start cutting. Then peel the paper backing off of the Stick ‘n Carve sheet and place the sheet onto the pumpkin surface.


I used the little plastic pumpkin-carving tools and instructed each kid to begin with the biggest cutouts first. In this case, that was the eyes. We had a little lesson in keeping our hands and fingers away from the blade, and how to operate the knife in a back-and-forth motion. I was a nervous wreck watching this, but it turned out fine! I must have had some luck on my side this afternoon because no one was injured in the making of these pumpkins.
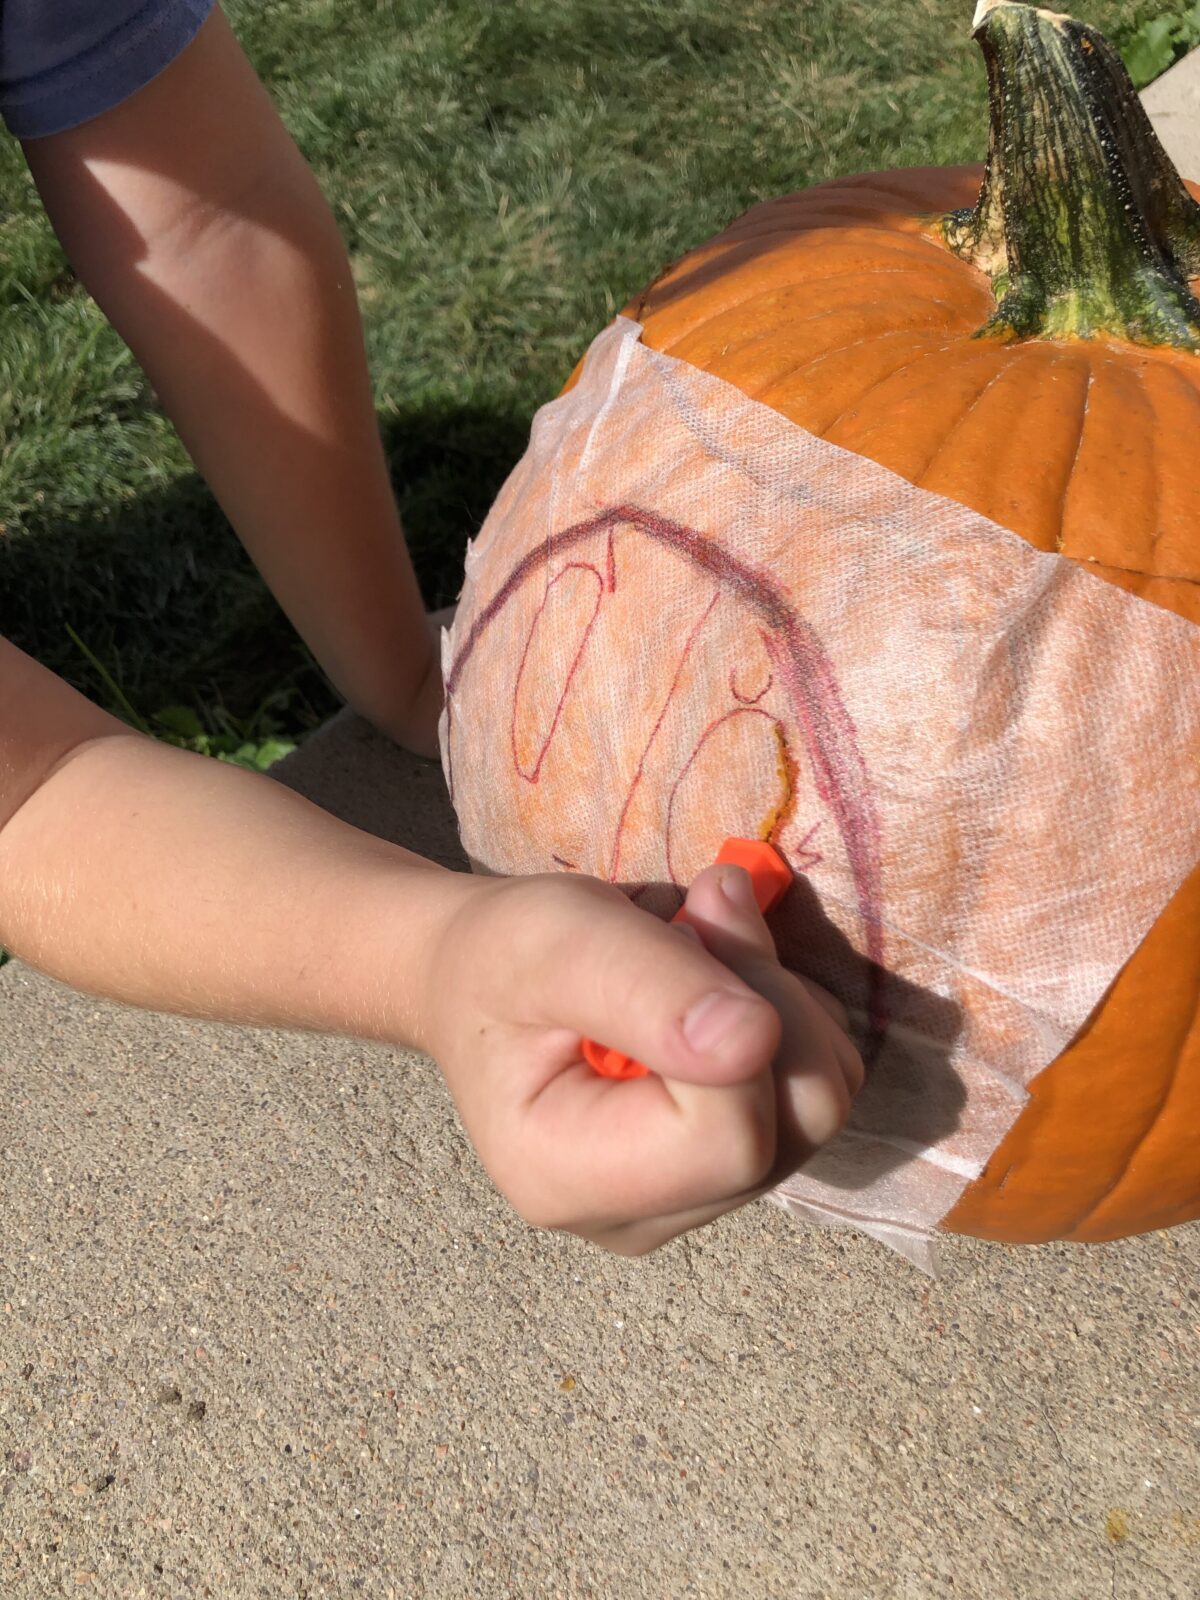
The Stick ‘n Carve stays in place, fully adhered to the pumpkin, while you cut. It’s a great tool that is easily trimmed by the pumpkin carving tool, too.
Finishing the Designs
Once everything is cut out, peel away any remaining Stick ‘n Carve, and wipe the pumpkin with a wet rag or damp paper towel. All of it comes right off! Some of the edges might be a bit gooey, but that comes with the pumpkin-carving territory, right?
You’ll love pairing this tool with your pumpkin carving tool kit! Try it out and see how you like it. It comes in 3- 10 and 24-sheet packages. If you have leftover sheets, you can use them to transfer designs onto sewing projects, too!

Ellen March
I am the Director of Content for Sulky of America. The former Editor in Chief of Sew News and Creative Machine Embroidery magazines, I hosted Sew it All TV on PBS for nine seasons. I've appeared on It's Sew Easy on PBS, DIY Network's Uncommon Threads, Hallmark's Marie Osmond Show, MacPhee Workshop and more! Come sew with me!


One Comment
Pingback: