
Reindeer Stuffy to Embroider & Give
Reindeer Stuffy – How to Embroider an Embroider Buddy
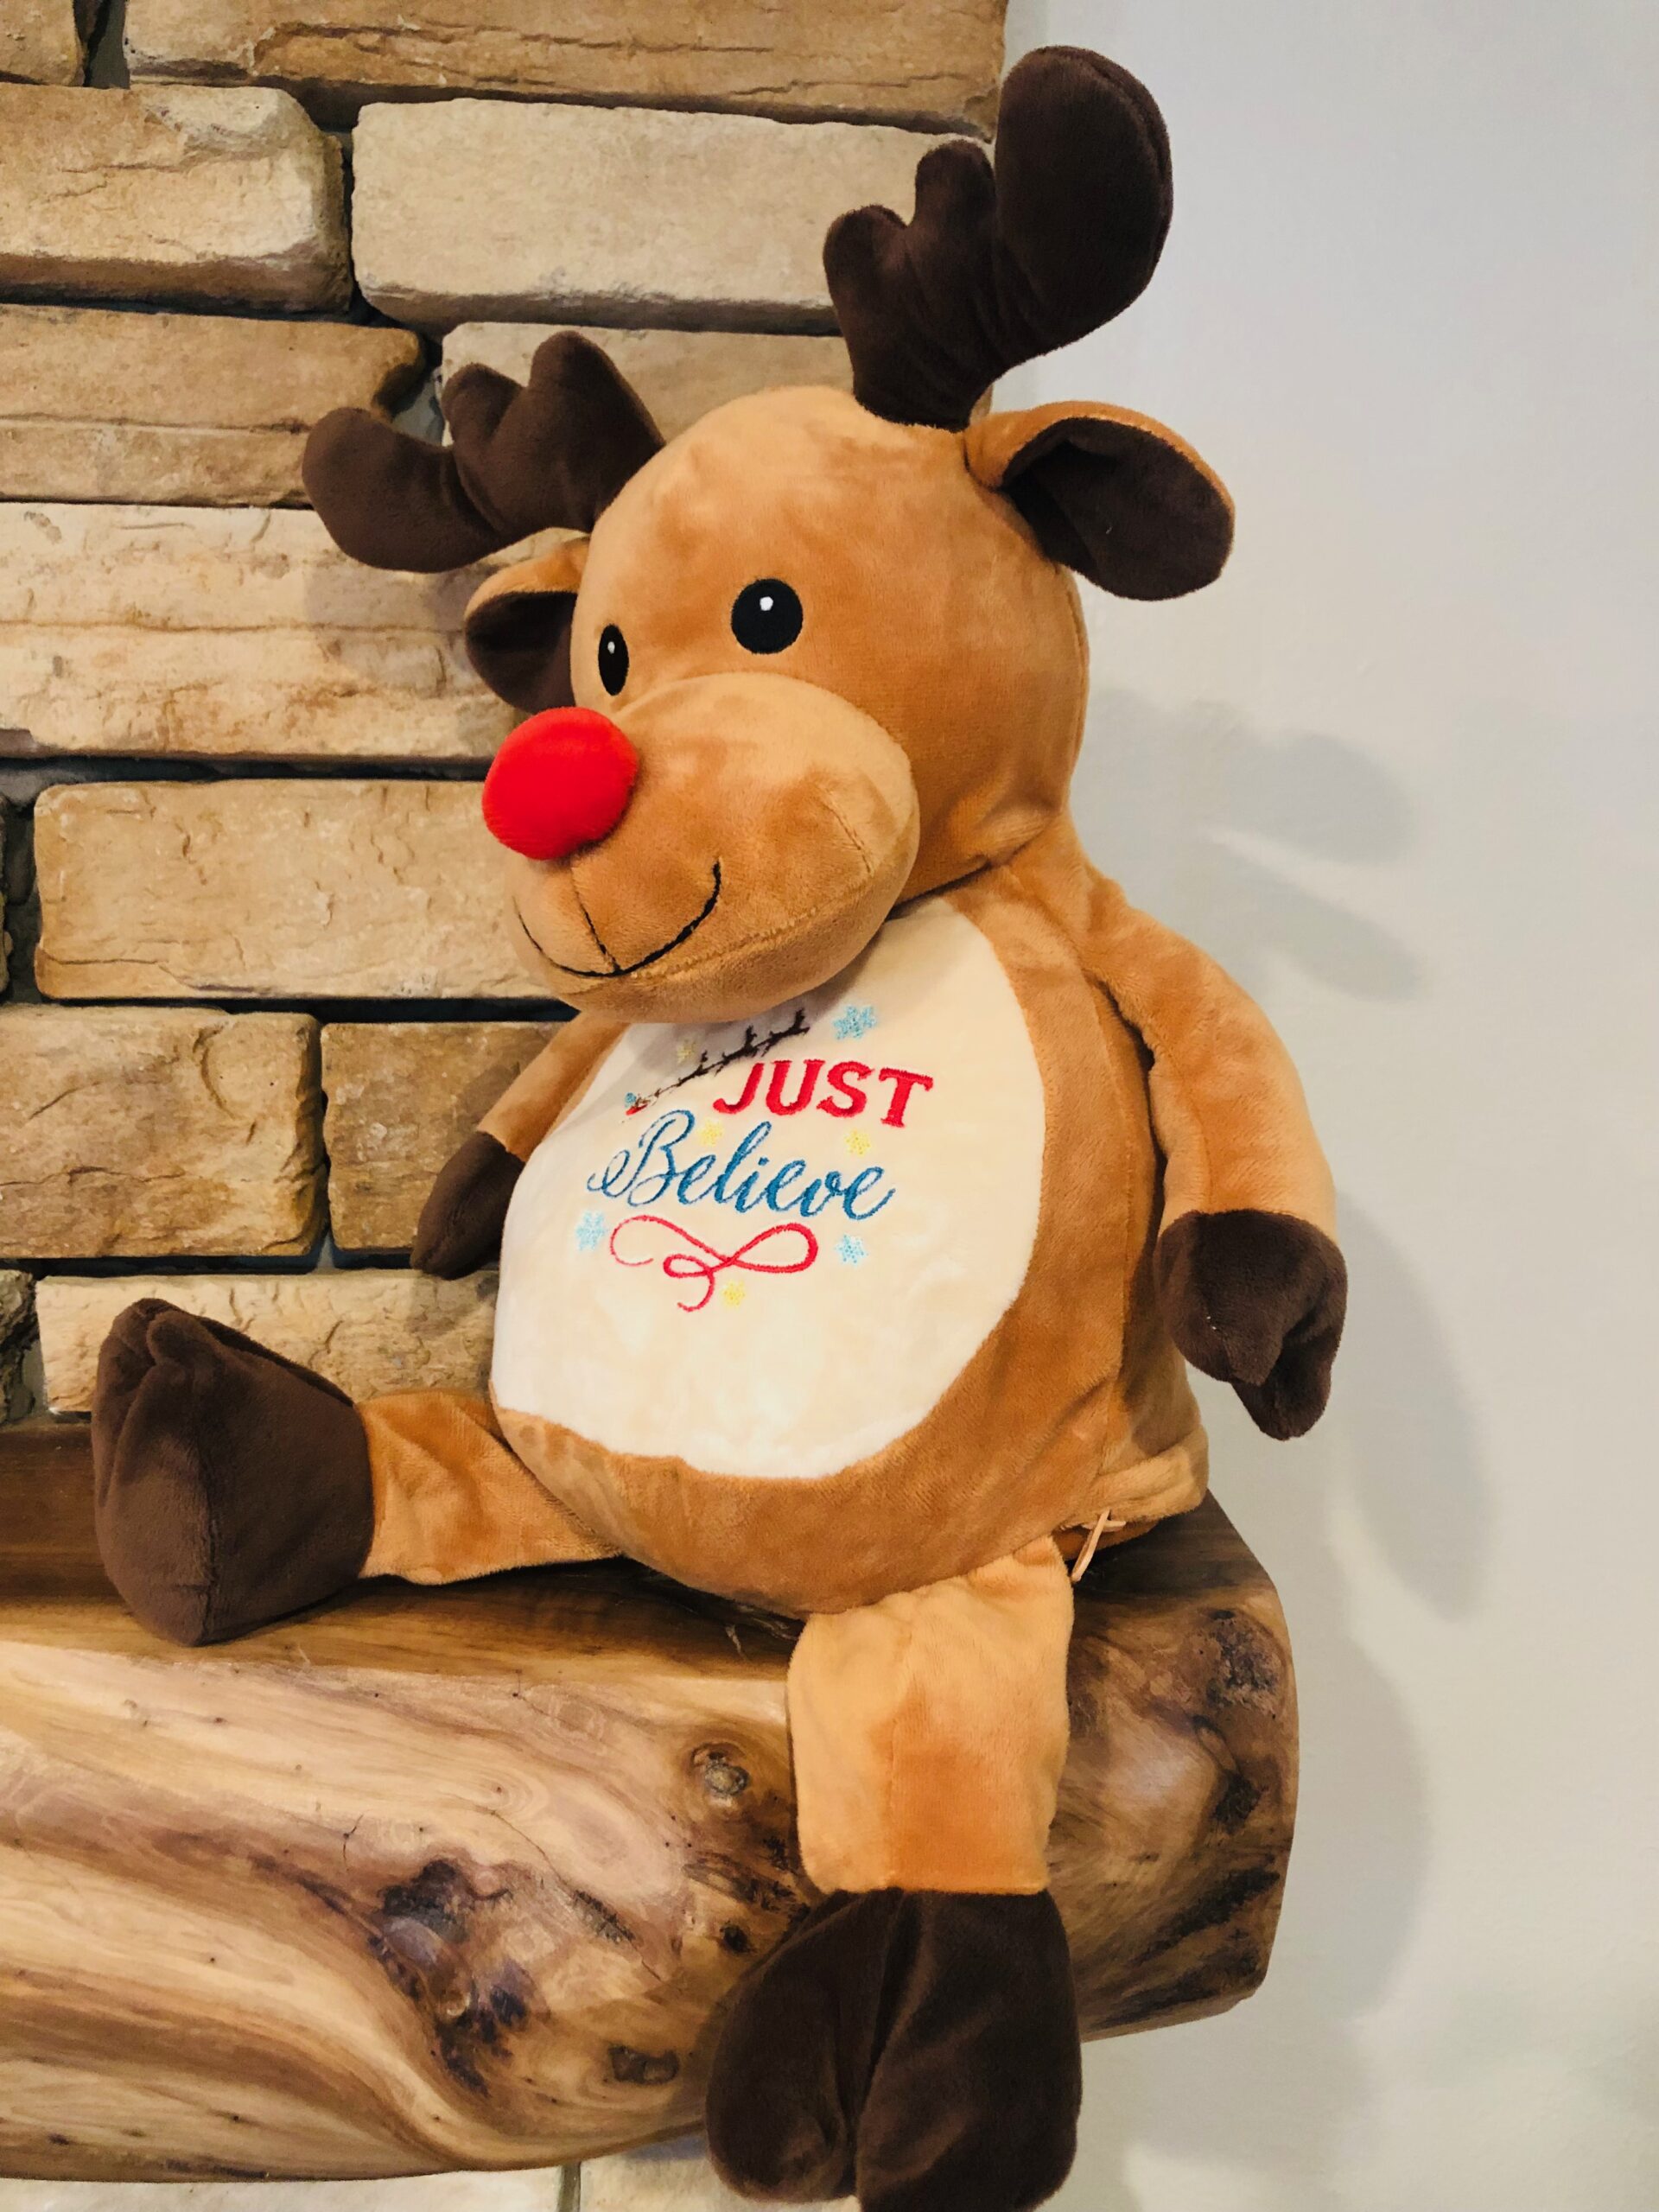
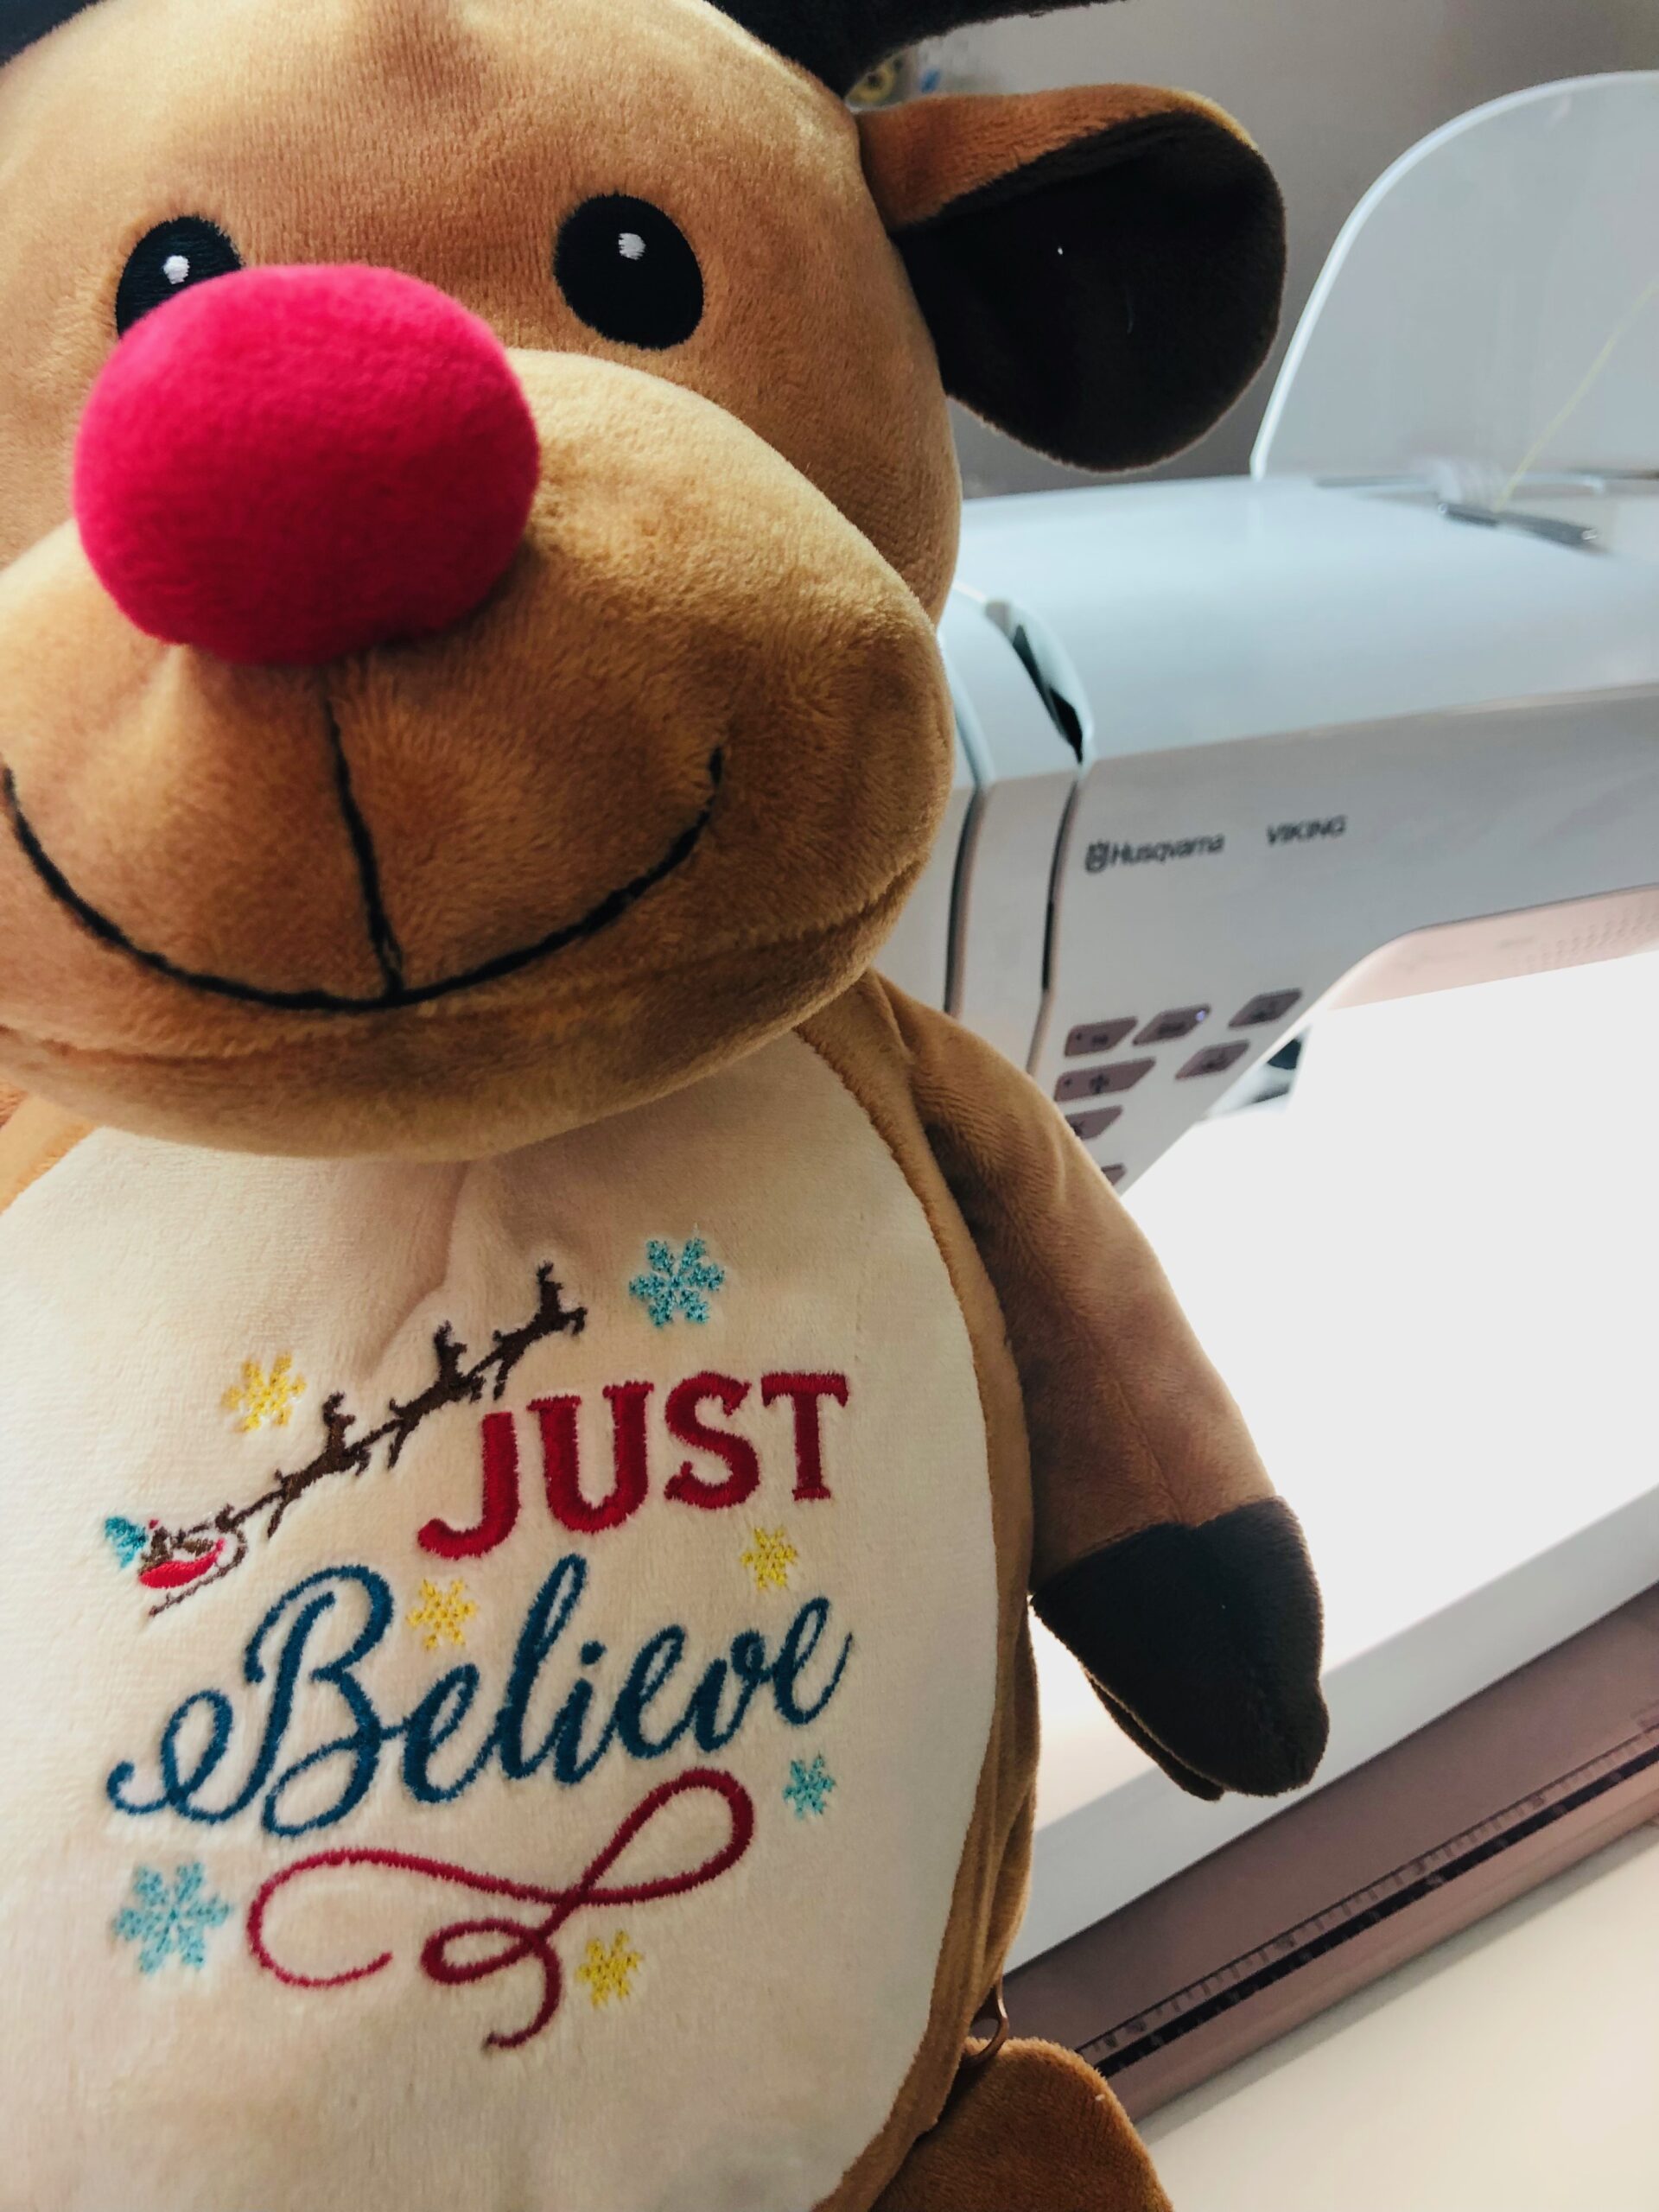
A reindeer stuffy is a great gift idea for Santa to leave inside a stocking this year. The reindeer stuffy is an Embroider Buddy, meaning he is specifically meant for machine embroidery embellishment. The stuffing is enclosed in small “pillows” for easy removal, allowing you to access the tummy and place it flat on the hooped stabilizer.


REINDEER HOOPING
All Embroider Buddies are basically the same as far as how to remove the stuffing. Unzip the animal along the lower edge and remove the stuffing “pillows.” The reindeer stuffy has two removable “pillows” and one that stays put (in the the nose).
Load the chosen design into the machine. The featured “Just Believe” design is from Sulky’s Santa Sayings Machine Embroidery Collection, available individually or as part of the collection or as part of the Santa Sayings Machine Embroidery Thread Palette.


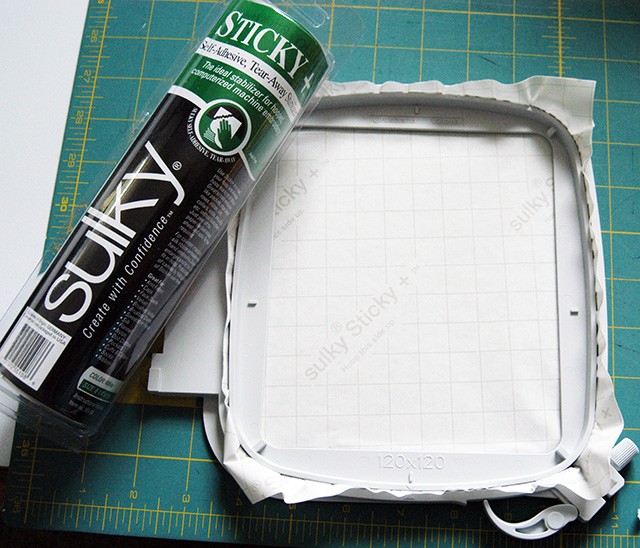
Hoop one layer of Sulky Sticky+ with the paper side facing up. Use the Sticky+ Slitting Pen to score the paper inside the inner hoop ring. Then, lift up the paper to reveal the adhesive.
Mark the center cross marks on the Reindeer stuffy’s tummy (or wherever you want the design). Make sure to use a removable fabric marker that is easily removed from the plush fabric.
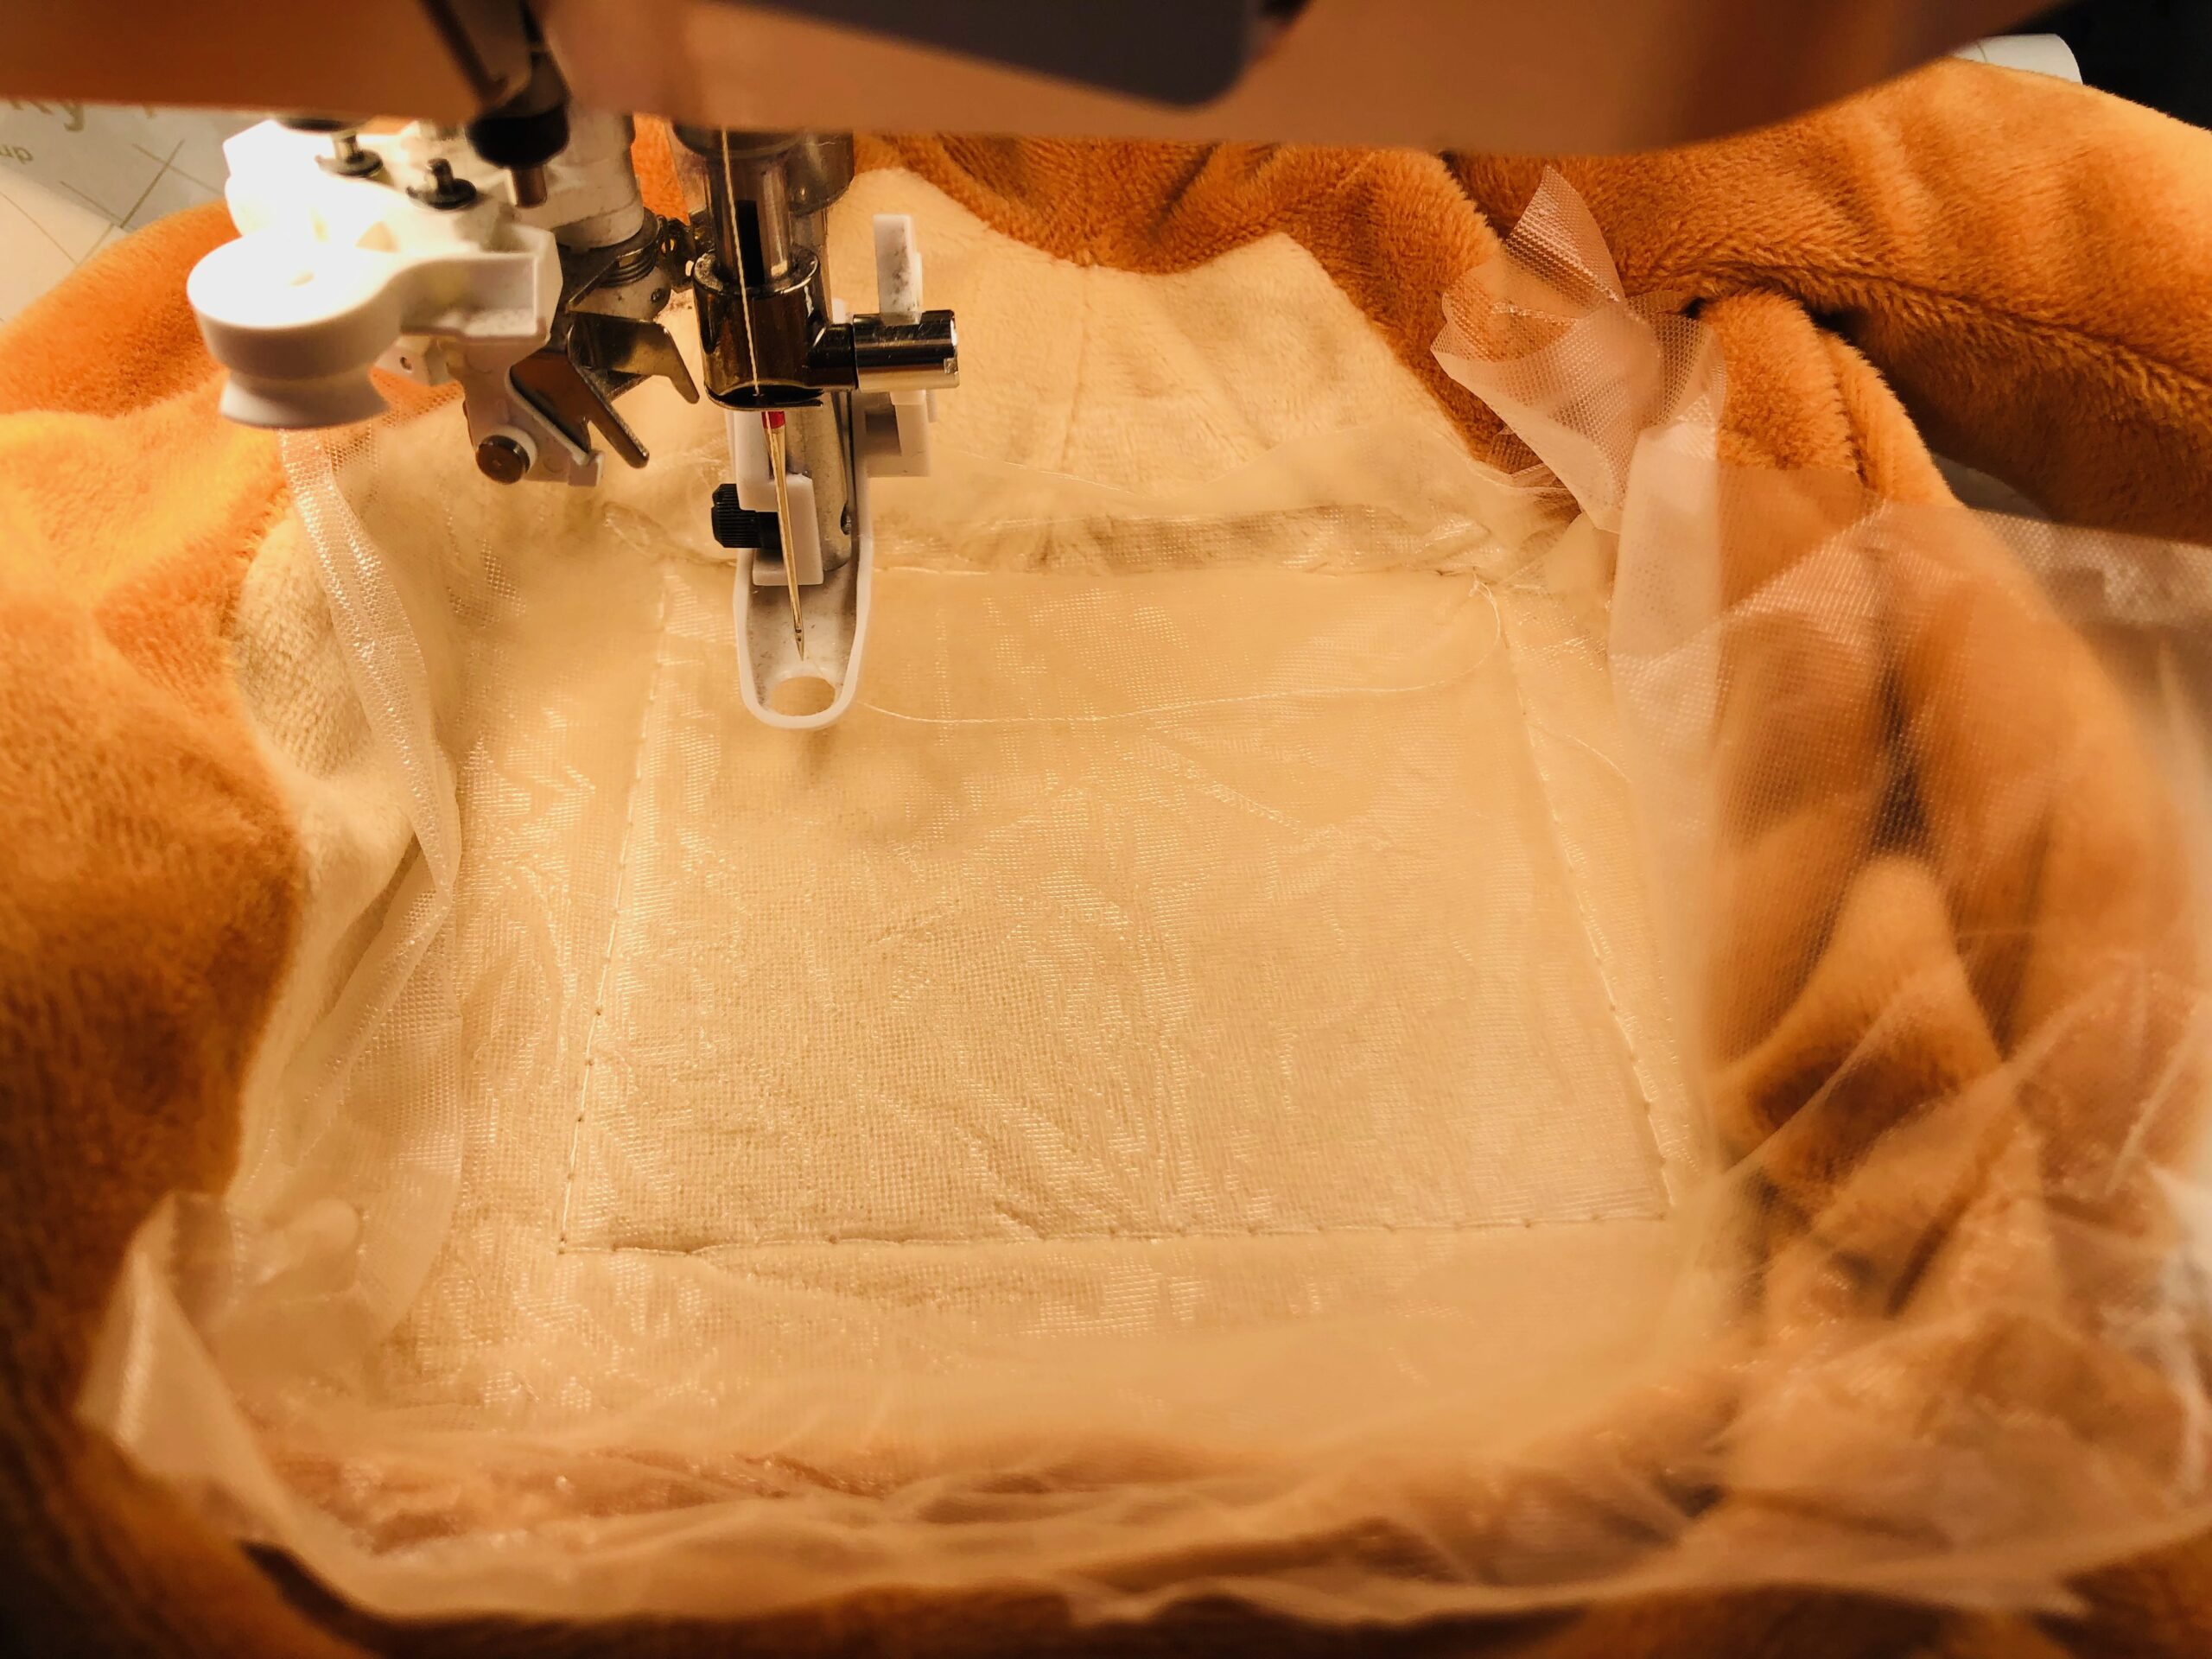
Move the excess fabric beyond the reindeer tummy so it’s away from the stitching area, and then place the tummy right side up over the sticky stabilizer. Gently pat the fabric to stick it in place. “Brush” the fabric pile in a downward direction to ensure it all faces the same way.
Place the hoop onto the machine.
FABRIC CONSIDERATIONS
The reindeer stuffy, and most of the Embroider Buddy line, are made of a plush fabric. It’s important to use a topper to ensure the thread sits atop the fabric surface, rather than sinking into it.
Place a piece of Sulky Solvy over the fabric right side once the hoop is on the machine. Perform a baste-in-the-hoop function, and baste beyond the design perimeter (not hoop perimeter). This further secures the fabric in the hoop while also securing the Solvy topper.
Double-check that none of the basting stitching went through multiple layers. If needed, remove the stitching and readjust the reindeer stuffy so the excess fabric is out of the way of the perimeter stitching.
EMBROIDER THE REINDEER
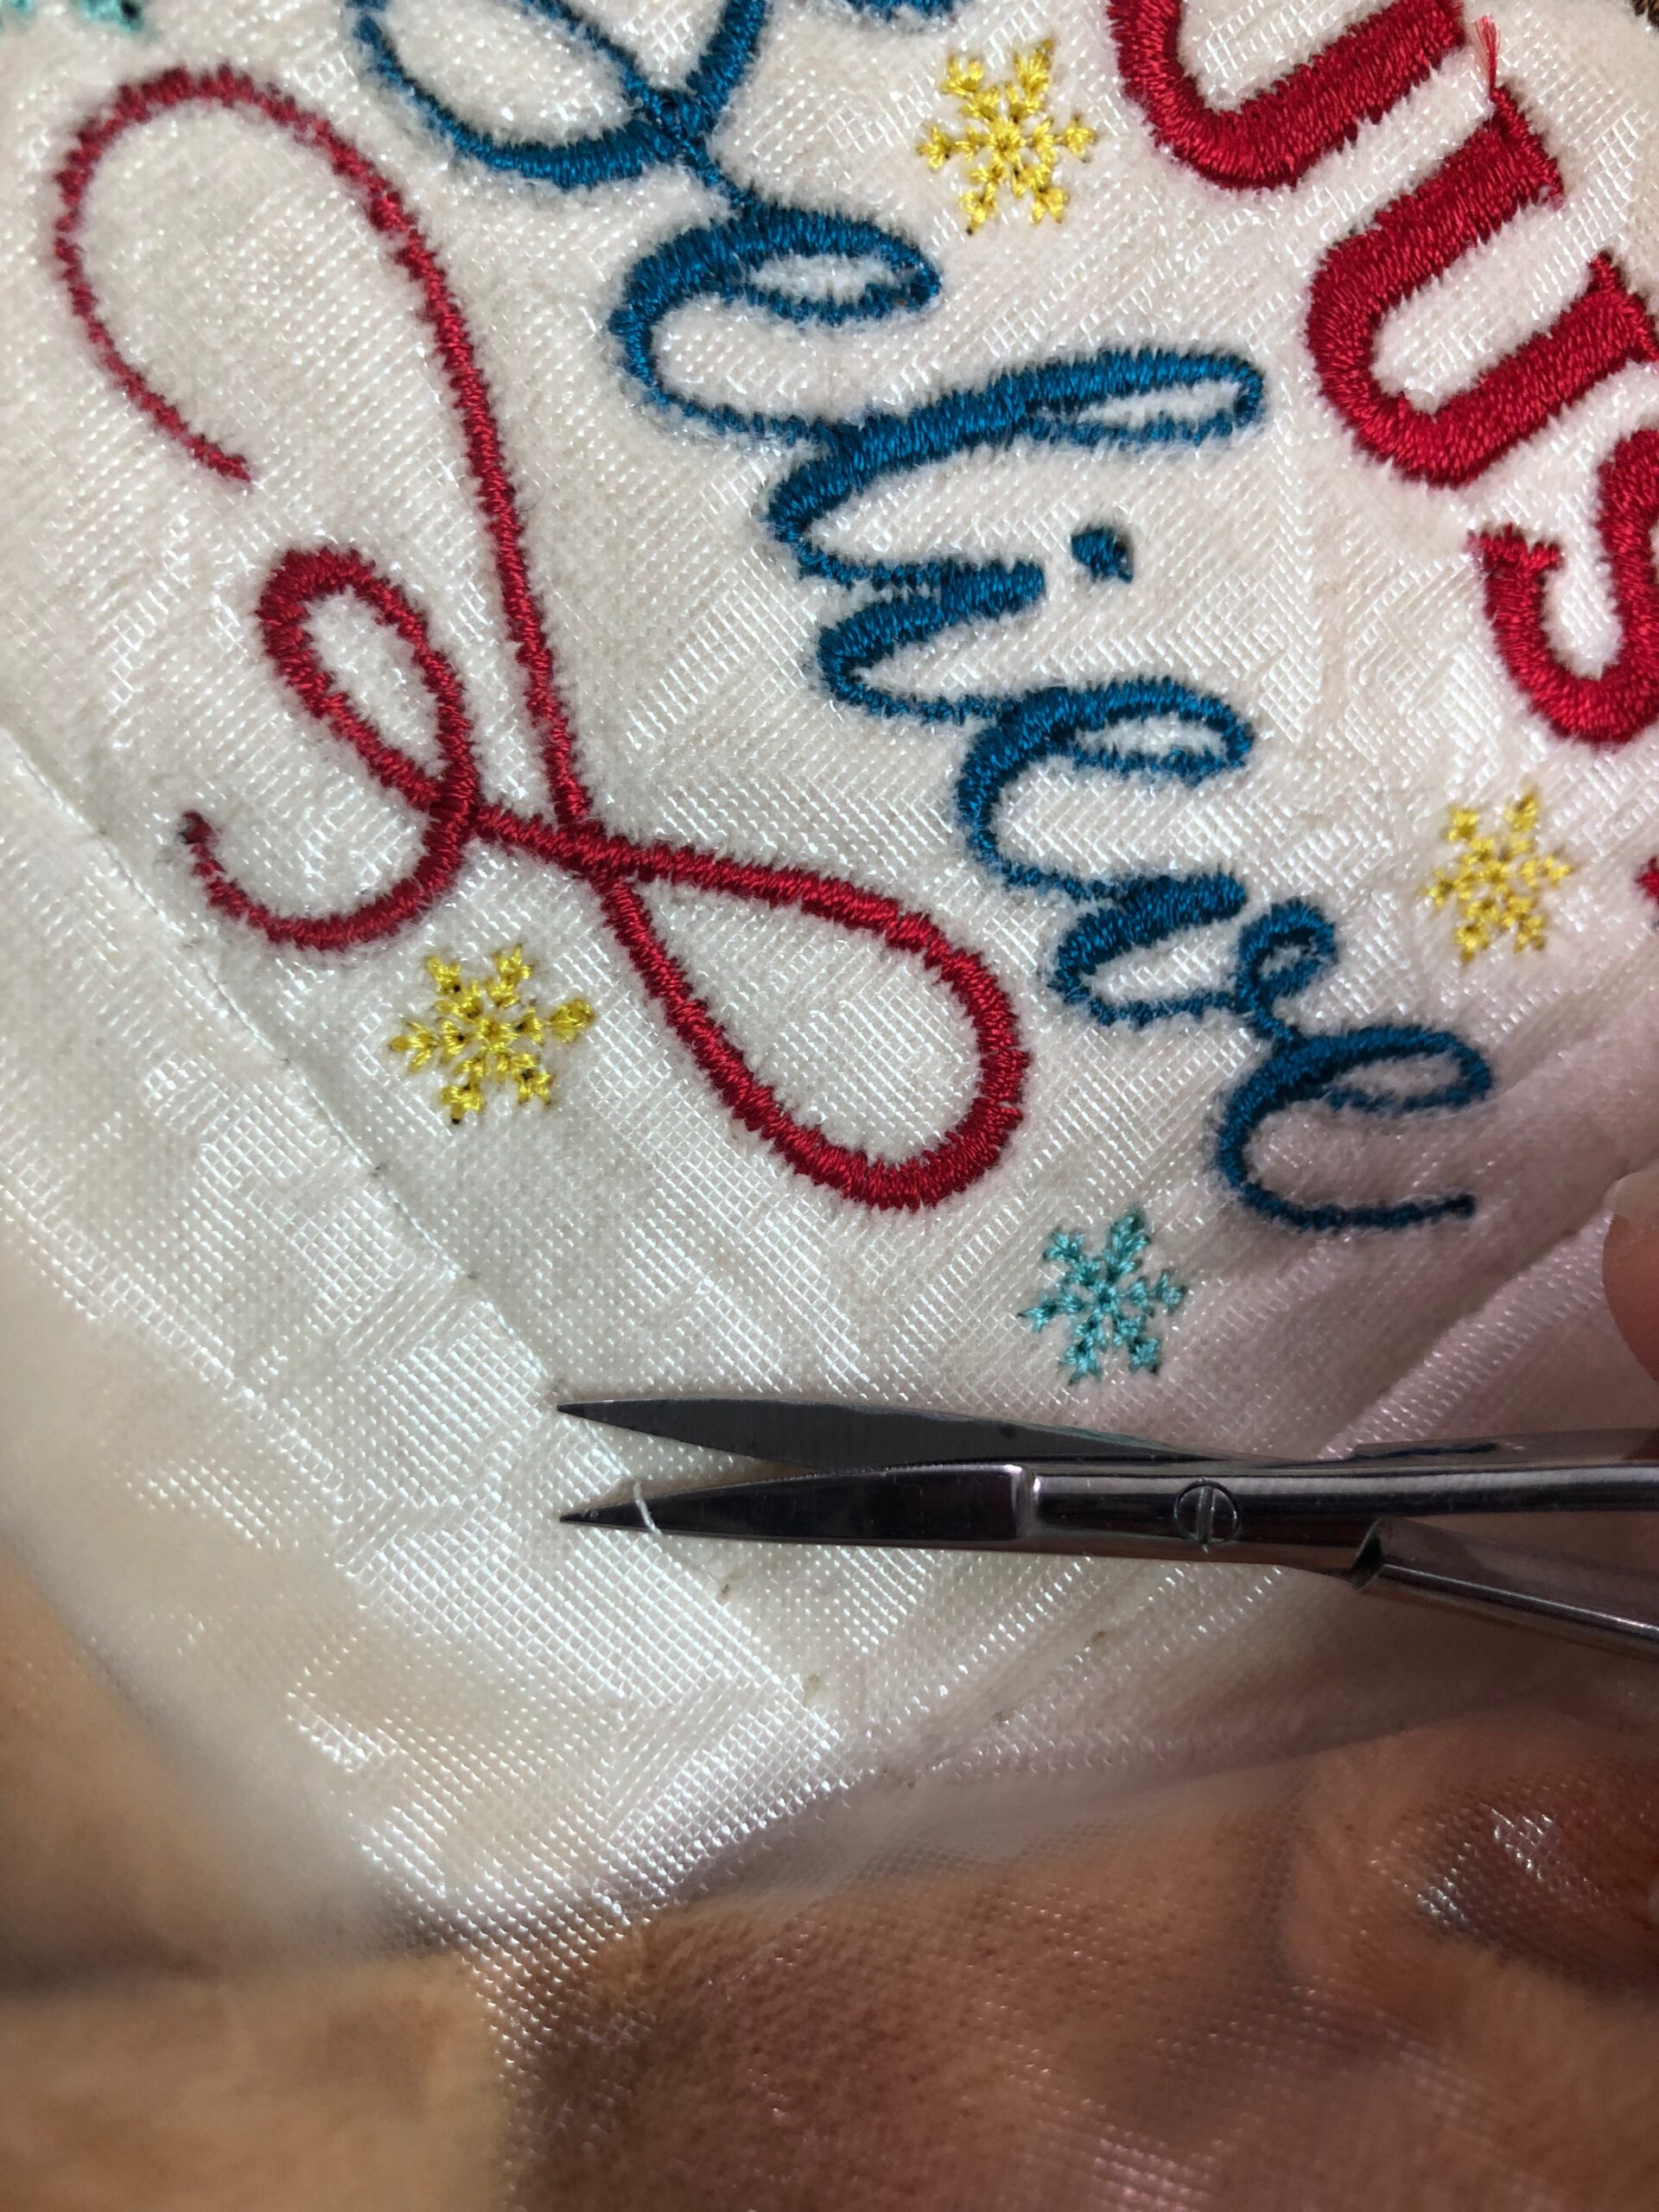
Begin the embroidery. Clip jump threads with each thread change. Make sure to stay with the project during the stitchout in case the needle approaches an area of dense fabric along the perimeter. In that case, stop the machine, readjust the fabric, and then continue the stitchout.
A pair of Curved Tip Squeezers make quick and efficient work of clipping jump threads without the danger of piercing through the fabric.
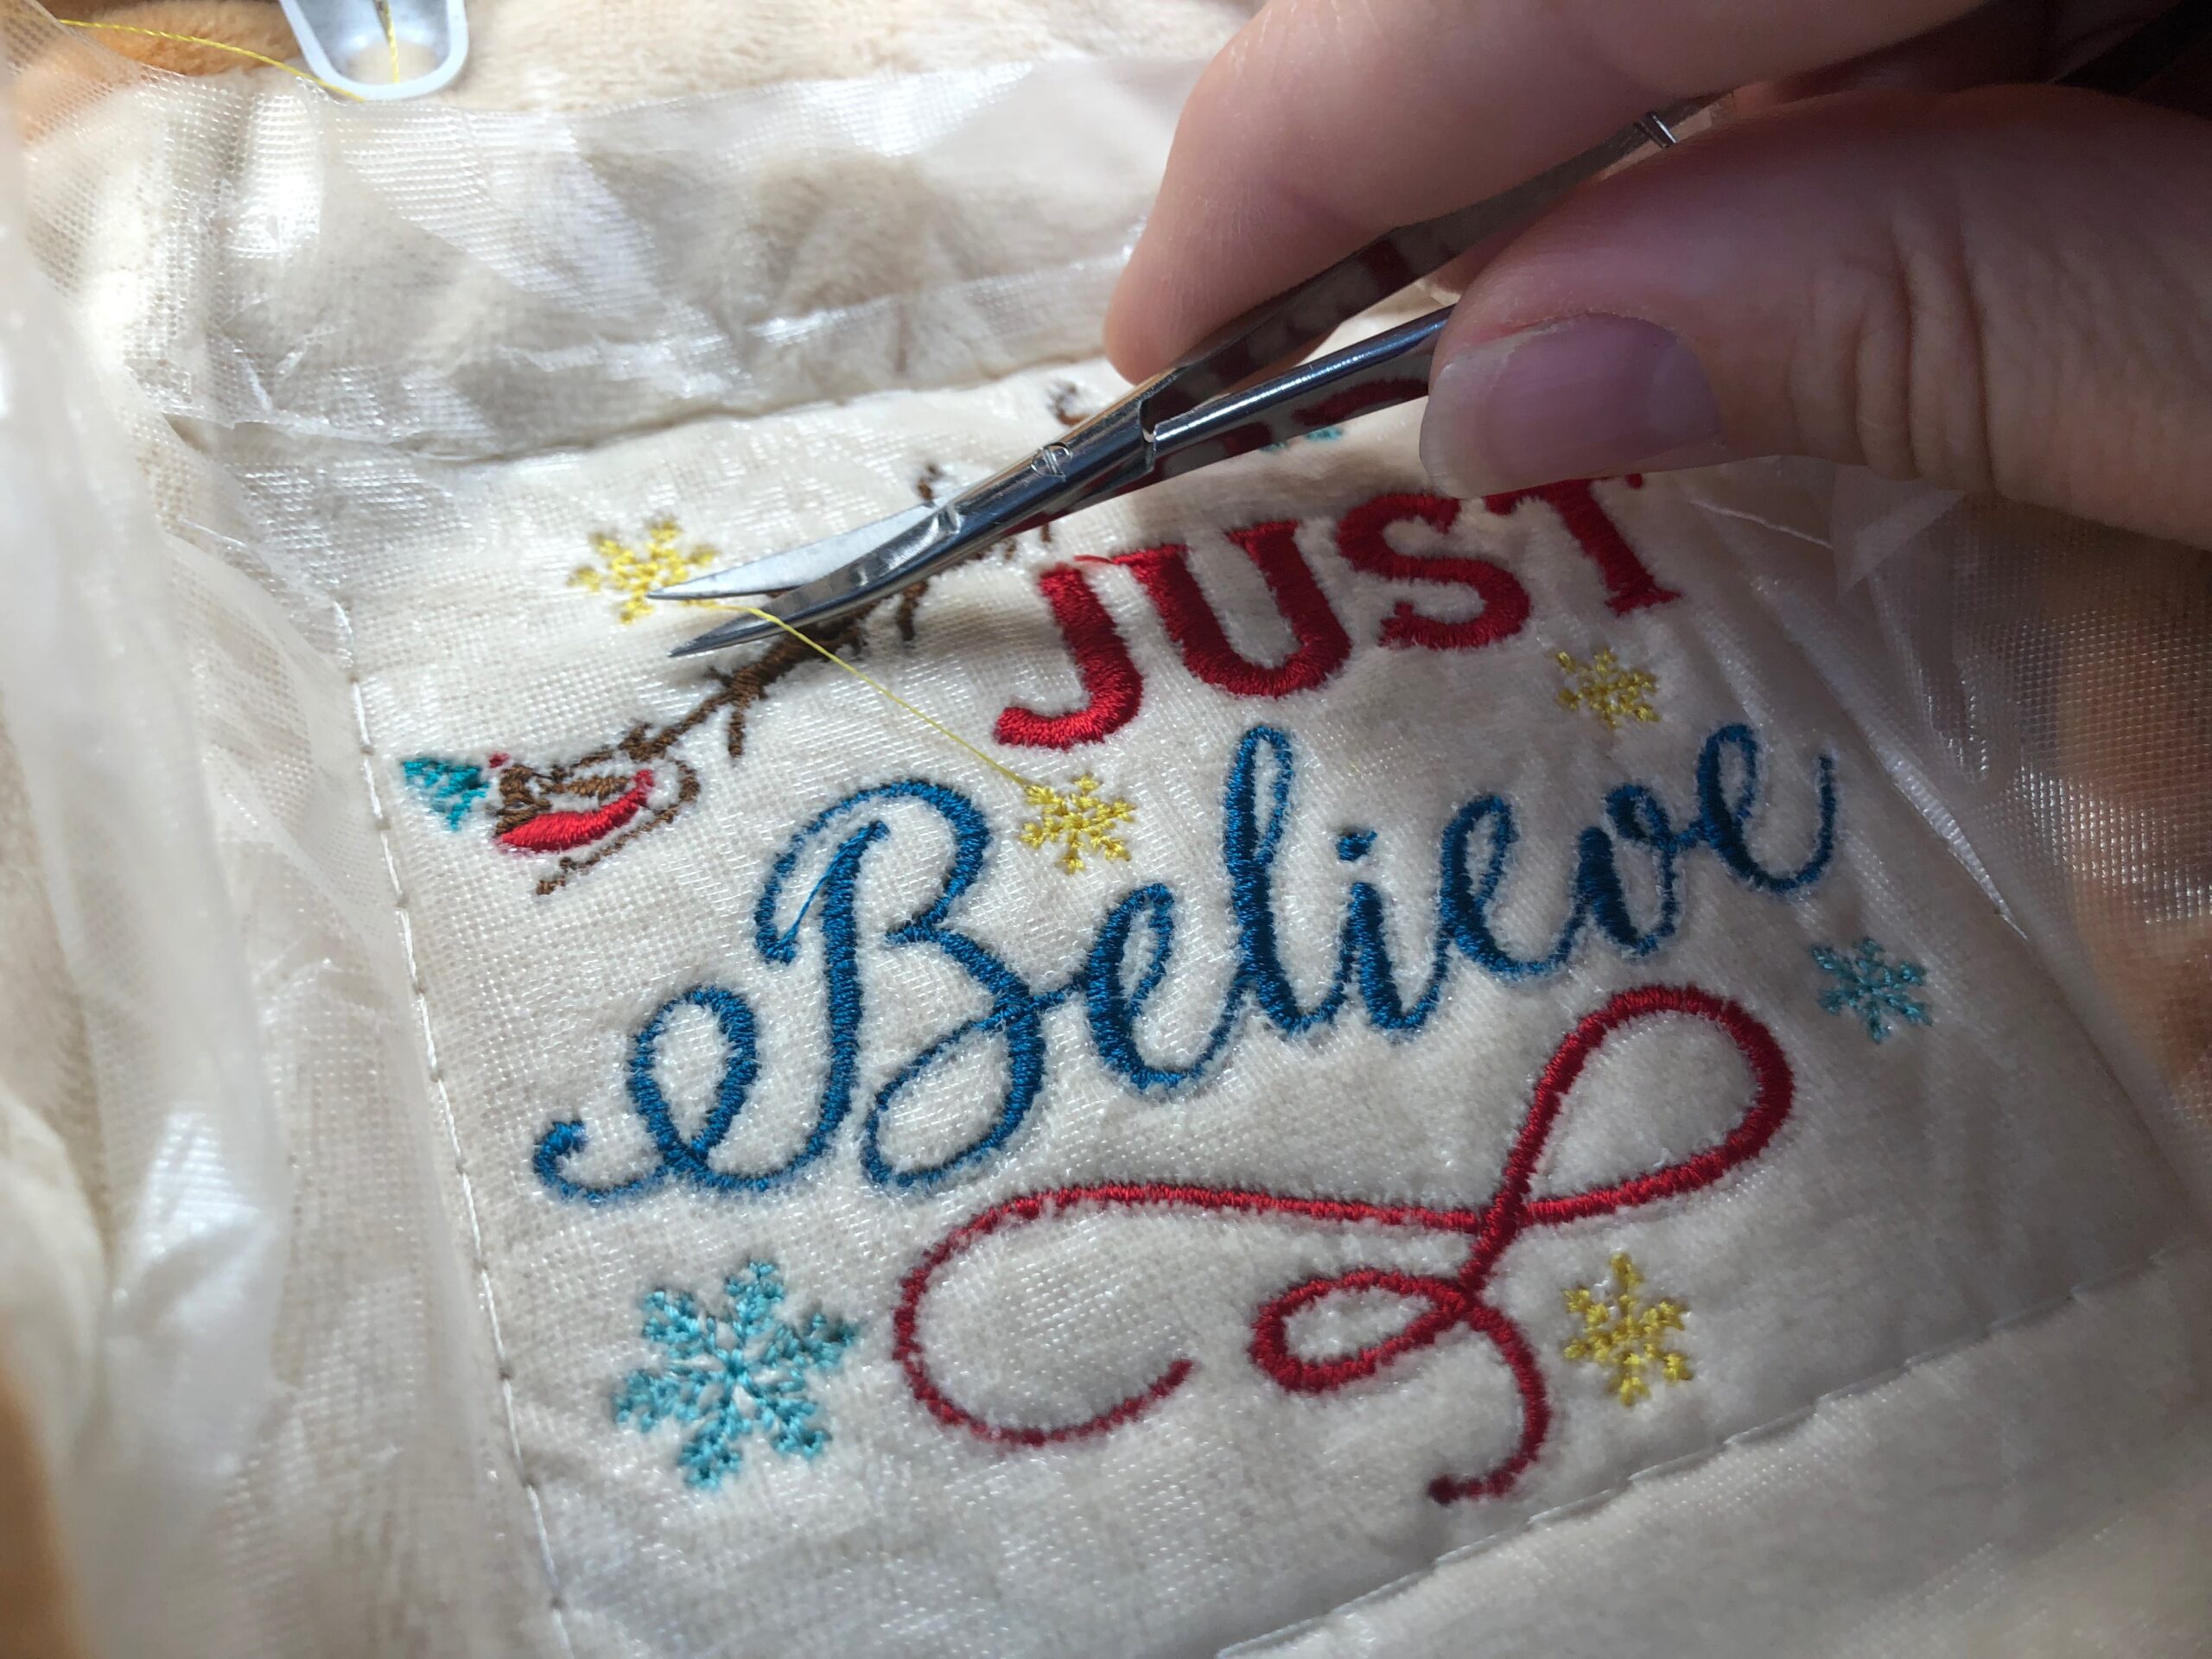
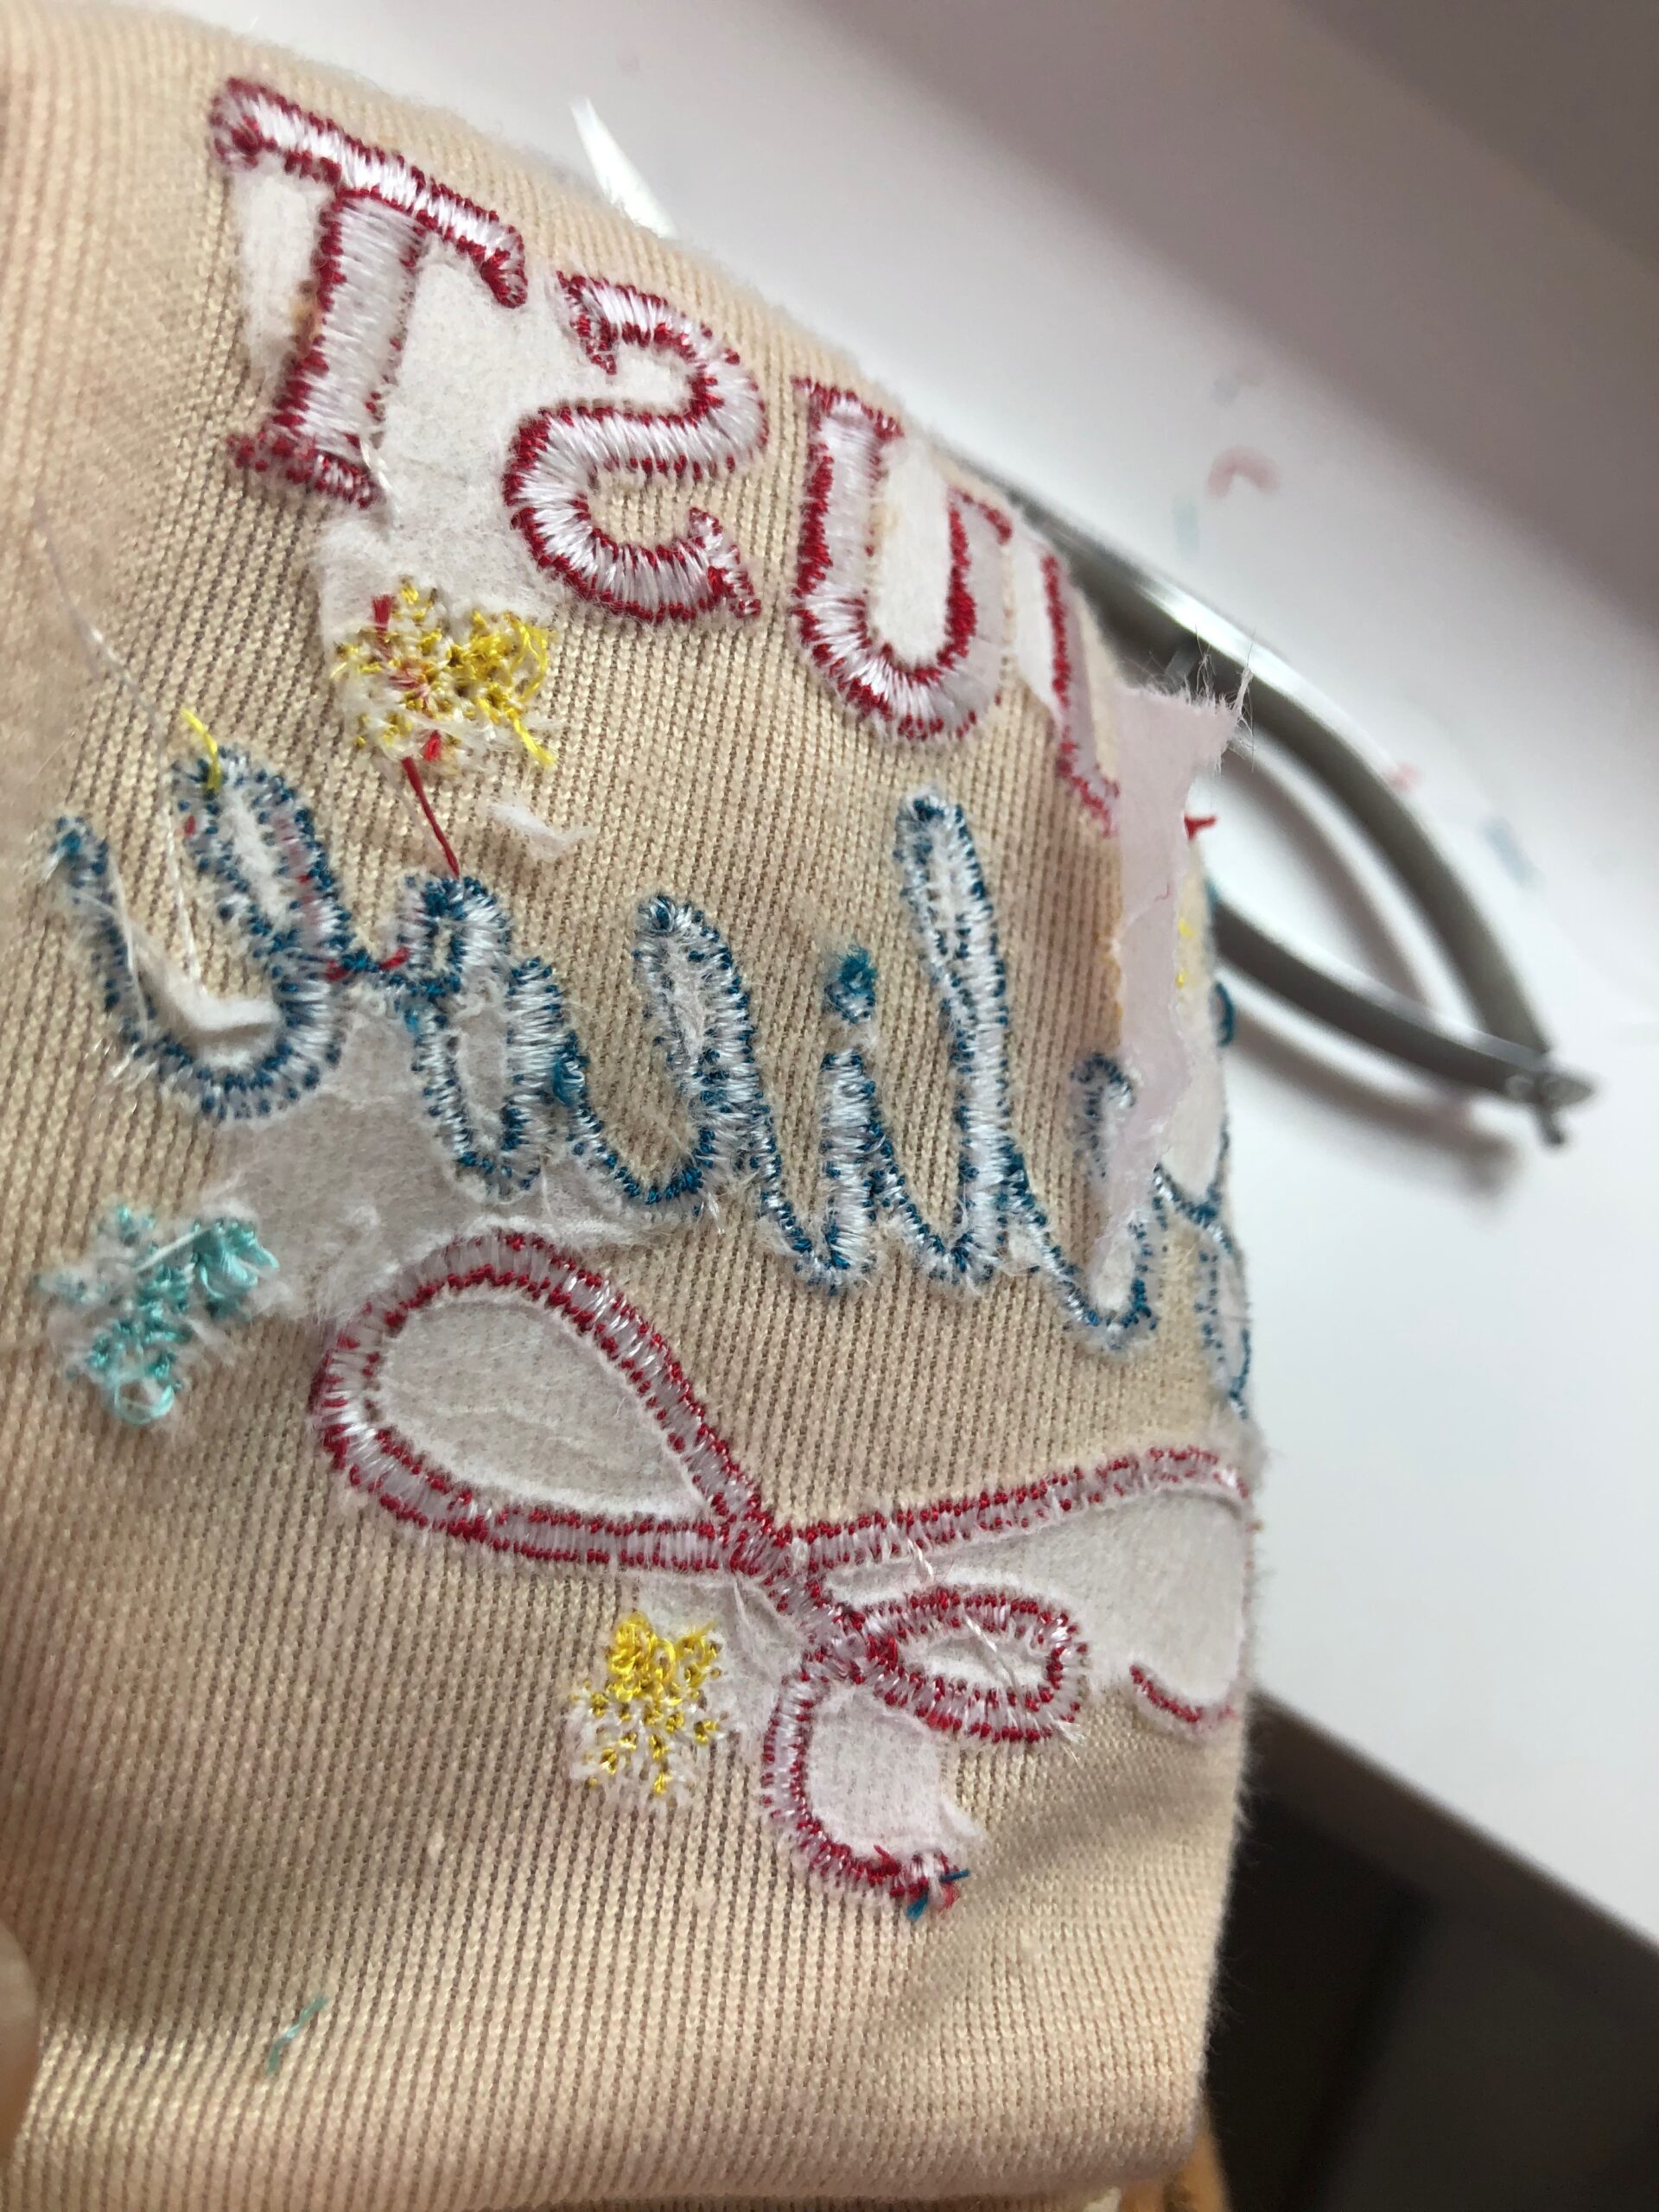
Once the embroidery is complete, remove the hoop from the machine. Then, clip the basting stitches to remove.
Tear away the Solvy topper (as much as possible).

To remove any excess topper, apply a wet cotton swab or Q-tip along the stitching to release it.
Then, remove the reindeer stuffy from the stabilizer, gently tearing it away.

Remove as much of the stabilizer as possible from the reindeer wrong side.
FINISHING REINDEER STUFFY
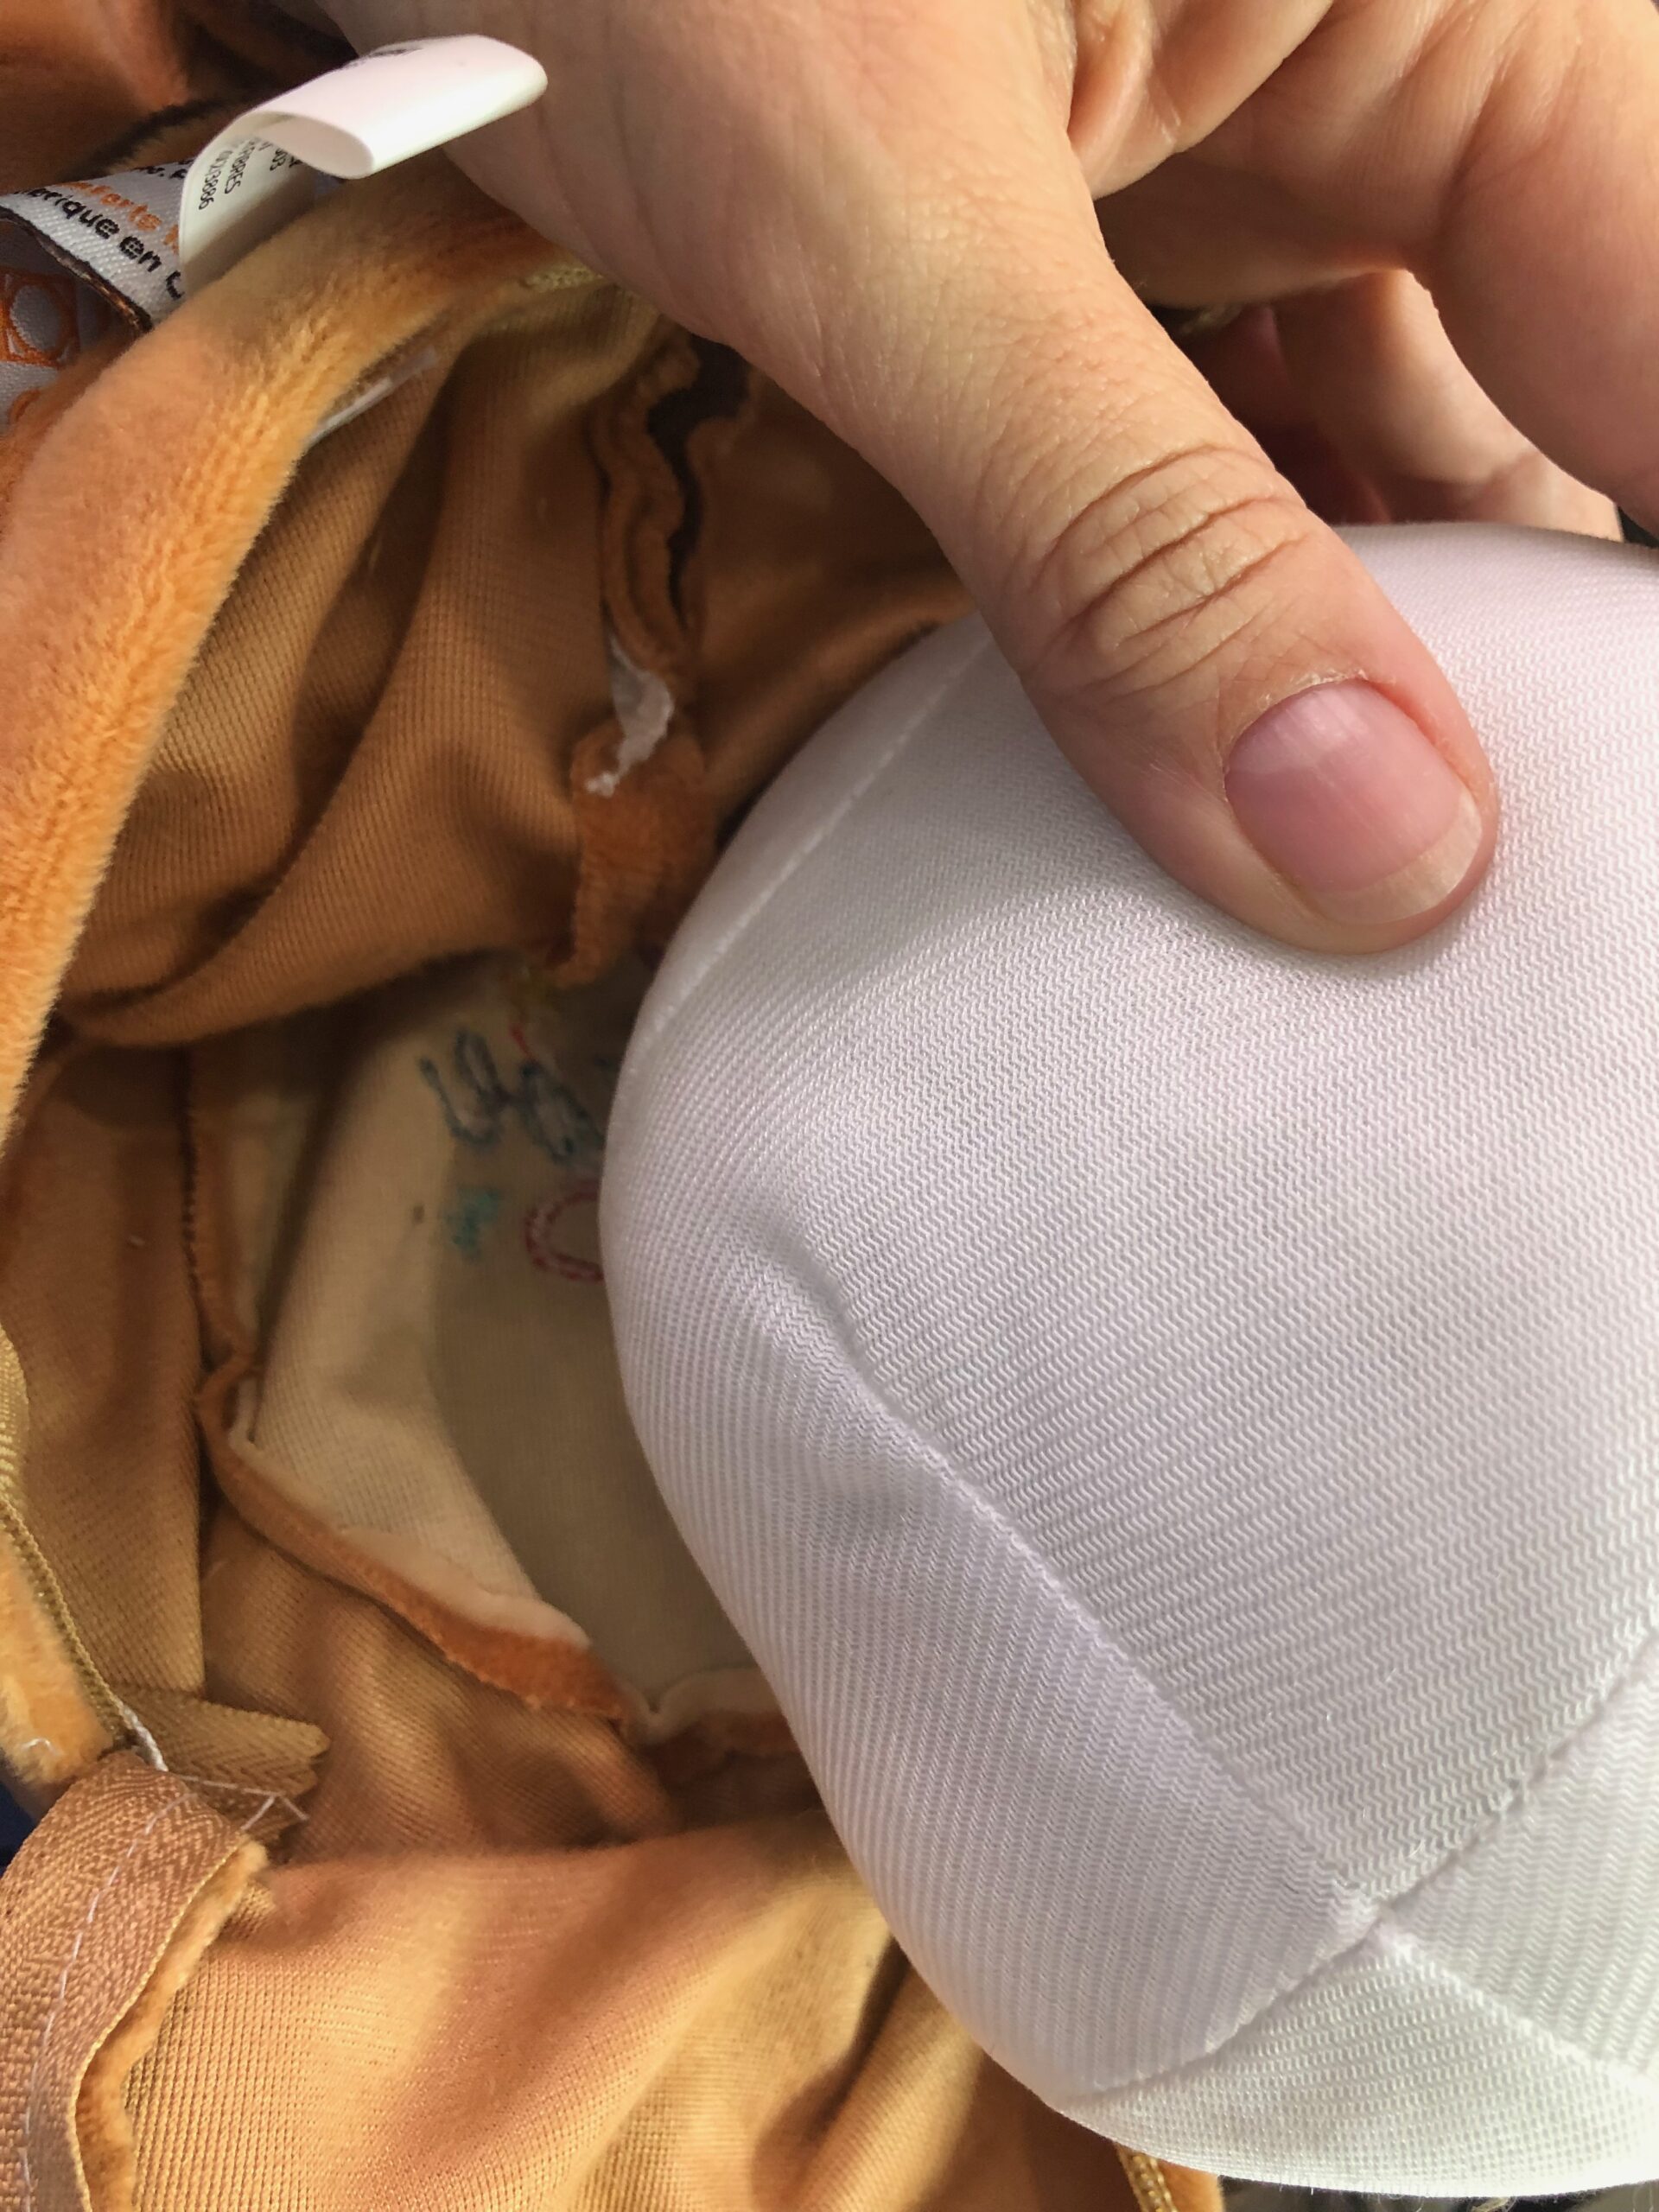
Turn the reindeer right side out, if needed.
Insert the stuffing “pillows” back into the Embroider Buddy.
Admire your handiwork!

Ellen March
I am the Director of Content for Sulky of America. The former Editor in Chief of Sew News and Creative Machine Embroidery magazines, I hosted Sew it All TV on PBS for nine seasons. I've appeared on It's Sew Easy on PBS, DIY Network's Uncommon Threads, Hallmark's Marie Osmond Show, MacPhee Workshop and more! Come sew with me!


10 Comments
Susan
Thanks! Perfect timing-I have the snowman to do. Happy Thanksgiving!
Liz Baker
That is so adorable! I love it.
Diana Thompson
I looked for the link to purchase the “stuffy”, I couldn’t find it. Where is it for sale?
Ellen March
Hi Diana,
Here is the link: https://sulky.com/randy-reindeer-embroider-buddy
Enjoy!
Jane
how do you buy the reindeer stuffy i could not find a link?
Ellen March
Hi Jane,
Here is a link to the Reindeer Embroider Buddy: https://sulky.com/randy-reindeer-embroider-buddy
Barbara
Is there a link for the pen you used to cut the sticky
Ellen March
Hi Barbara,
here is a link to the Sticky+ Slitting Pen: https://sulky.com/filmoplast-slitting-pen
Dawn Mitchell
Hi, Ellen! I just finished embroidering Reindeer Stuffy for my new great niece and he is so cute I ordered another one for myself! Nice feature to be able to take the stuffing out. I watched your video and tutorial and both were a great help. Enjoy your videos, so keep them coming!
Ellen March
Great! I’m glad you enjoyed it. Happy Holidays!