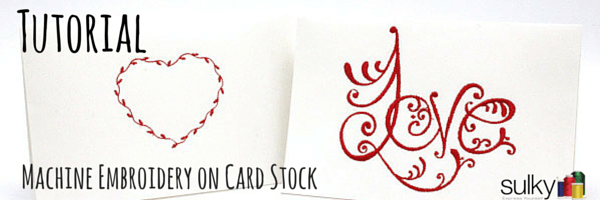
 With so many amazing embroidery designs out there, creating awesome and very personal cards can be easy and fun!
When I started doing research about this, I discovered that most people were saying that you could only use certain kinds on designs if you want to do machine embroidery on paper. The rebel in me couldn’t help but figure out how to do ANY design on paper. I mean, why not! Who says machine embroidery is just for fabric? People have figured out how the do embroidery on toilet paper for goodness sake, why not card stock and any design? So I figured it out and here is the tutorial just for you.
Supplies
Card stock – It comes in different weights. Everything from 65 lb – 110 lb. Any weight works fine, so choose the weight based on how thick or heavy you want your card. NOTE: The thicker the paper, the more often you may have to change your needle if you are making multiple cards.
Sulky Fuse ‘n Stitch™ – This is the key to being able to put any design on paper. Sulky Fuse ‘n Stitch is a heavyweight fusible stabilizer that will fuse perfectly to the card stock and keeps the embroidery design looking great.
Sulky 40 wt. Rayon Thread – You could use any of the Sulky threads: Rayon, Cotton, Metallic, or Polyester; but since most embroidery designs are digitized for 40 wt. rayon and I love the way the thread shines next to the matte of the card stock, I chose Sulky 40 wt. Rayon in Lipstick #561 (It’s my favorite red in the Sulky Rayon line). Remember…because the designs are generally digitized for the 40 wt. thread, using a lighter wt. thread it may not fill in as well, using a heavier thread maybe require some enlargement. So test when using different weights and types of thread. And remember to adjust your needle size accordingly.
Sulky Sticky Plus™– This stabilizer is just sticky enough to hold the card in place during the embroidery, but not so sticky that it will tear the card stock when it finished.
Organ Microtex Needle – I used a size 12/80. This needle is perfect because it pierces through the card stock and the stabilizer nicely, but doesn’t leave a huge hole behind. Use a new needle!
Dry iron – You are going to iron on paper. Paper and water don’t mix.

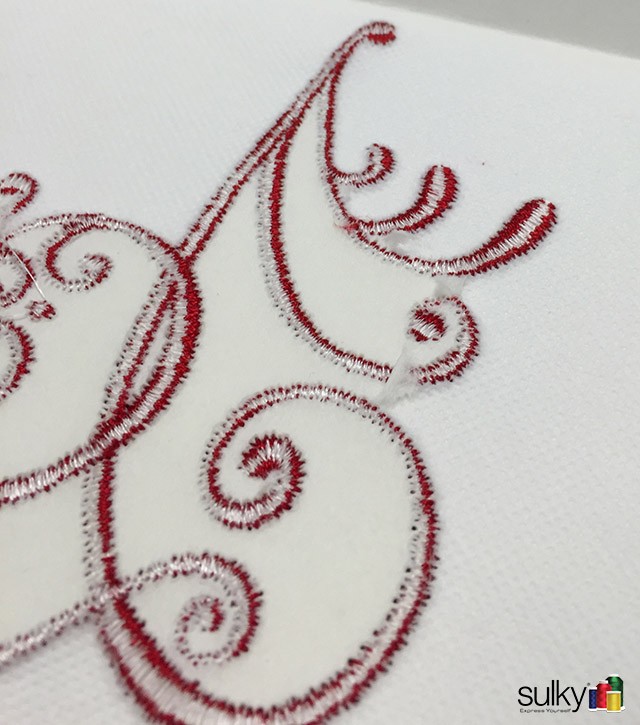
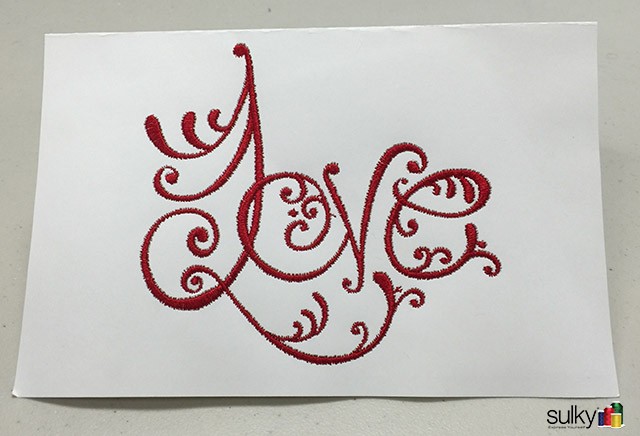
Start by picking your design. I chose this Love design. It’s a pretty intricate design and is almost 10,000 stitches so if this design will work, just about any design will if you follow these steps. If you choose a design with a satin stitch, you may want to test it first, just to be sure it doesn’t tear through the paper.
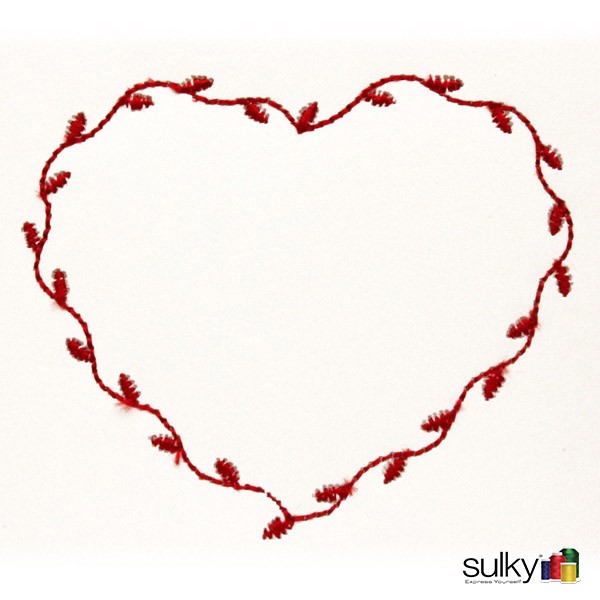
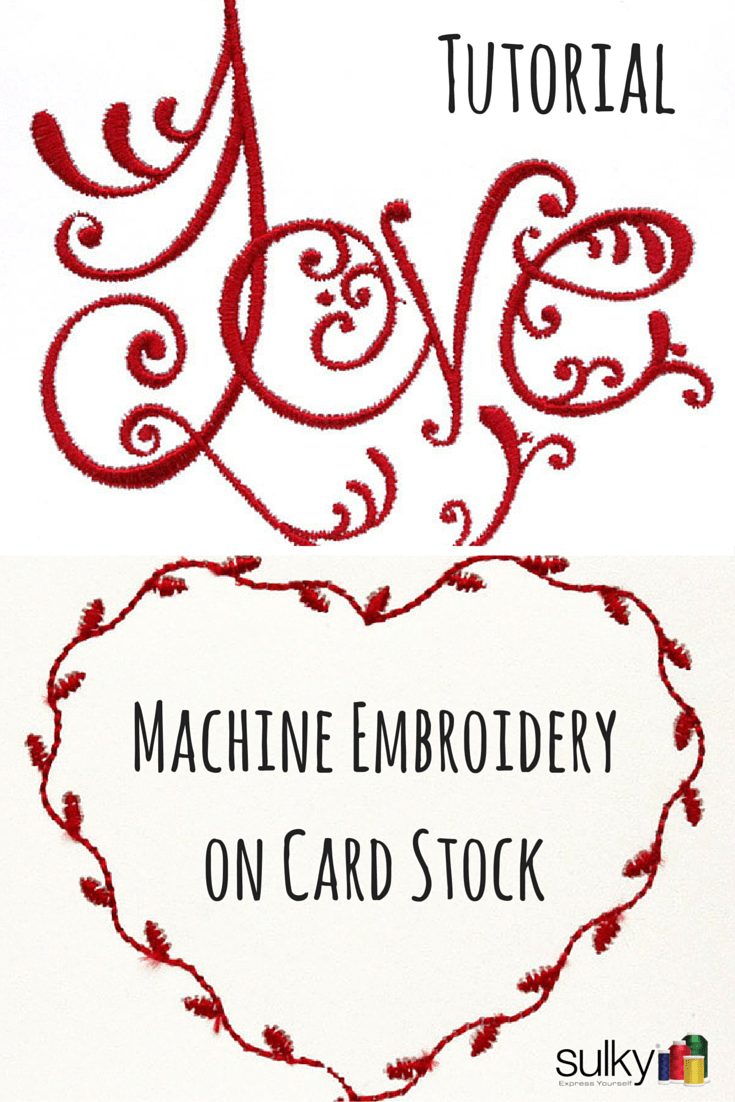
You can do a simpler design like this heart that is a built in design on my machine.
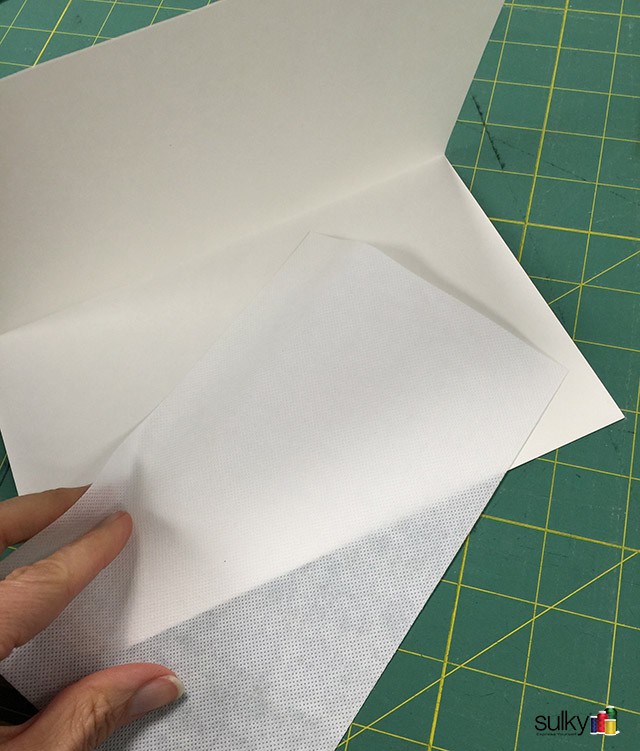
Fold your card stock in half and decide which side is the front of the card. On the back of that side, fuse a piece of Sulky Fuse ‘n Stitch.
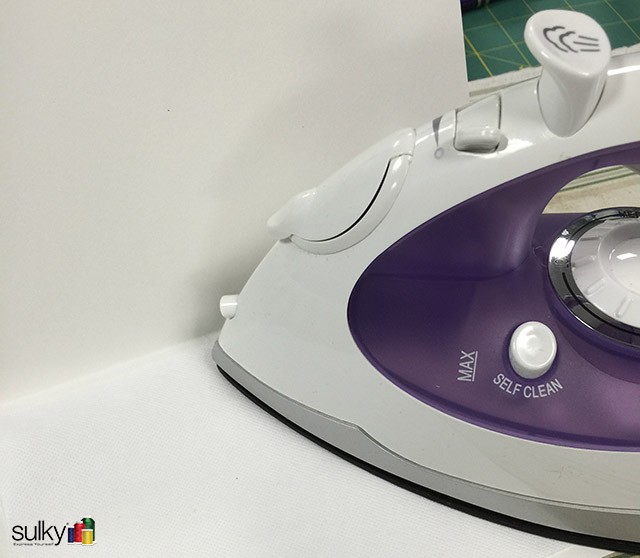
Iron just as the directions say, but do not use steam.
Hoop Sulky Sticky+ in the proper size hoop for your design with the gridded, release sheet side up.
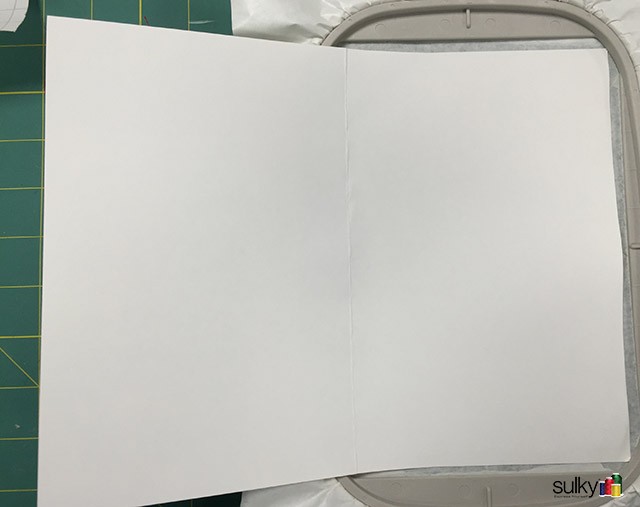
Score the release sheet with a pin and remove it to expose the sticky part. Stick the card to the Sulky Sticky+ with the Fuse ‘n Stitch side sticking to the Sticky Plus.
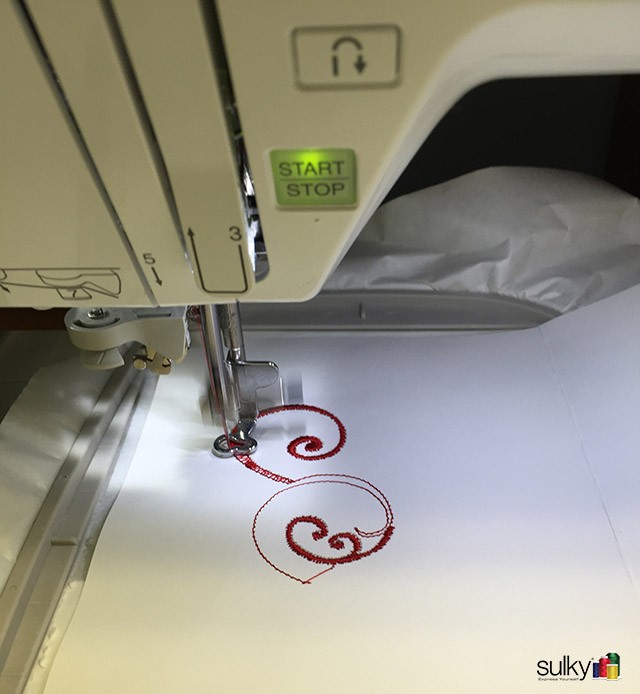
Attach the hoop to your machine and sew away!
I used the Sulky Prewound bobbins in white for the bobbin thread, but you could also wind a bobbin with the same thread that you are using on the top. (Wrong side shown above and below.)
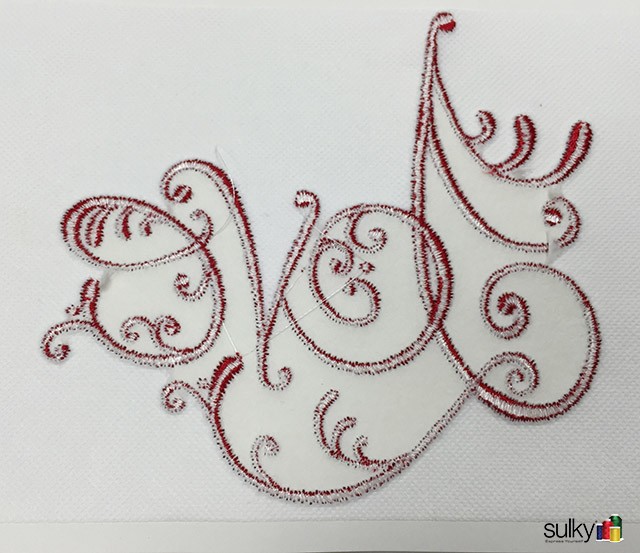
Once the design is finished stitching, carefully remove the Sulky Sticky+ from the hoop and carefully remove the Sticky+ from the card. Be sure to tear towards the stitching line.
You may need to iron the card again and then let it cool under a book, or something heavy, so the card doesn’t curl.

TADA! You have beautiful and very personal cards.
Happy Sewing

Great tutorial! Have to admit…I googled “embroidery on toilet paper” after reading your post 🙂
Thanks for the information. I have had luck with embroidery on laminated burlap (Walmart). It comes in 8-1/2 x 11 sheets and I cut it into four equal rectangles. After the embroidery, I attach it to the front of the card with very tacky tape. I made all my holiday cards this way.
great project. Kelly. I like to make my cards as tri-fold. That way the embroidery is stitched in the center third. When completed, another third of the card stock folds and covers the wrong side of the embroidery. The last third allows me to write my message.
Looking forward to experimenting with the laminated burlap. Sound interesting.
Sunshine & Smiles,
Thanks for this tutorial. I am going to do it.
Great post Kelly. I came across your site while doing some research. I’ve been having some customers come into the store asking for just this. I had no idea what they were talking about. You definitely helped out!
Thanks! They are sew fun to make.
Awesome tutorial Kelly, I’m glad I found your blog I will pursue my embroidery project next month. Love the ideas.
Have just made 3 lovely cards using this method. It’s the first time I have had any success embroidering directly onto card. I have always had to embroider onto fabric and attach it in some way, but this makes the card look so much more professional. Thank you for such a helpful tutorial.
I have been wanting to do this for a while, now I can do it!!!
Thanks for the tutorial! What is the rule of thumb for needle change frequency?
I asked our VP of Consumer relations this question and here is her answer. It’s some pretty great advice!
If you google this, it’s all over the place. It’s hard to say…but generally speaking after about 8 to 10 hours of sewing. However, it depends on what you’re sewing through, how well the design is digitized (if it’s “thunking” through heavy thicknesses of stitches, that is hard on a needle). If you’re using quality stabilizers and threads. If you’re breaking threads, it’s often because of too much pressure on the needle. So other things come into play besides just the hours. I made a bunch of gifts in-the-hoop where I was sewing over nylon zippers. I changed my needle more often then, because I knew it was occasionally hitting those zipper teeth. And a dull or damaged needle can damage your embroidery or tear your stabilizers. Case in point…free-standing lace.
When in doubt, change it. It’s far cheaper than a machine repair. A bent needle can cause all kinds of timing issues and bobbin case damage.
hi kelly,
the guidelines were pretty good, when we wanted to do an embroidery work, we should follow these steps. the design you put above was also awesome
This is amazing! Could anyone share the links as to where to get nice cardstock and also special embroidery paper?
Thanks!
I just used regular cardstock that I purchased at an office supplies store, such as Staples
I’m looking for a card stock font in sipe script that I could stitch out my own message. Any suggestions that dot tear the paper?
Wanda,
It’s best to use a less dense design to stitch on card stock. Check out Designs By Juju for some great options!
Thank you for the lovely design and for the awesome tutorial
Great tip! I like to cover the back side of my embroidery too! I will definitely use this tip on future cards Thank you for sharing this awesome time saving tip.
Embroidery library has a package or single card stock designs. They sew out beautifully!! Not to high stitch count. Which seem to not punch though your card stock…..
Thank you for the great suggestion Karen!
Sounds like a great idea. I wanted to make my own cards too. is it possible for you to share some pictures of your work. thanks.. just wanted to get an idea…xoxoxo
I have a lot of designs for embroidering on card stock. I would like to know what font to use for adding to an existing design. Does the additional lettering have to be one that is designed for card stock? Is there any alphabet designs available specifically for card stock. I’ve look but can’t find any specifically.
Hi Eileen,
Designs by Juju is a great resource for this! They have greeting card tutorials and designs. If you are embroidering directly onto card stock, you don’t want a design that has too much fill. Choose something that’s more of an outline style to avoid perforating the card. Or you can embroider on felt or another material and then apply it to the card, too.