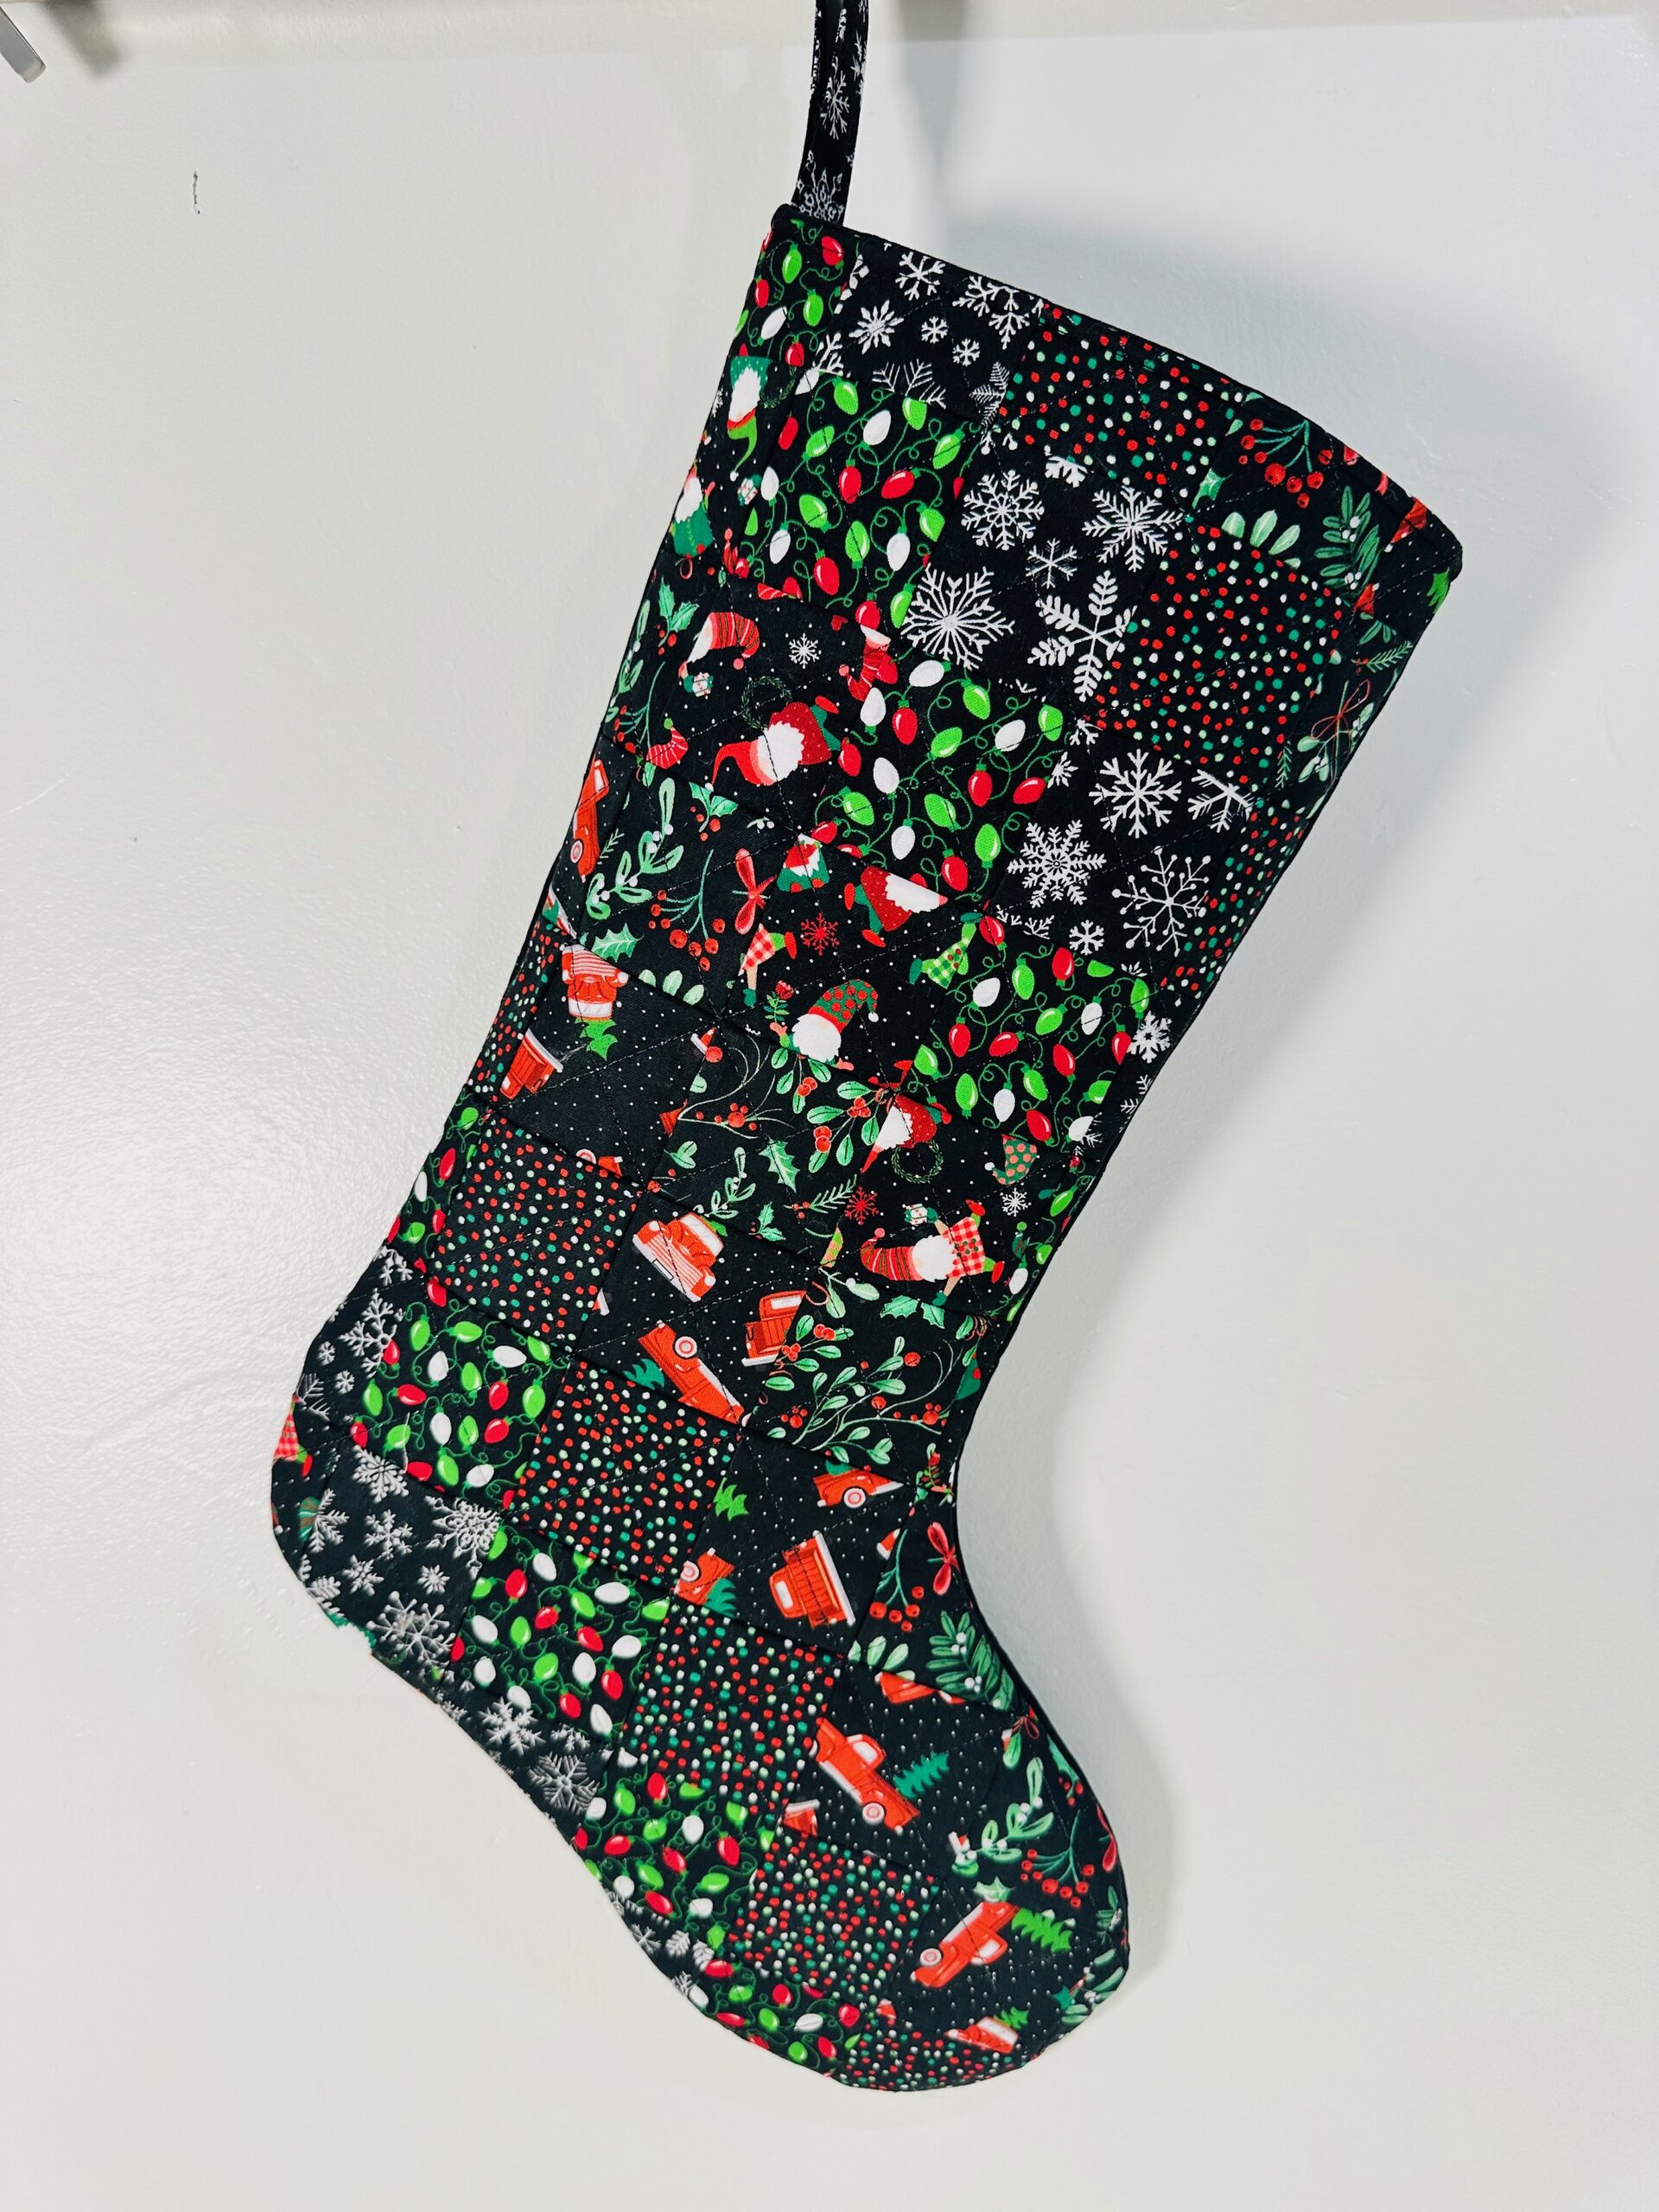
Patchwork Christmas Stocking

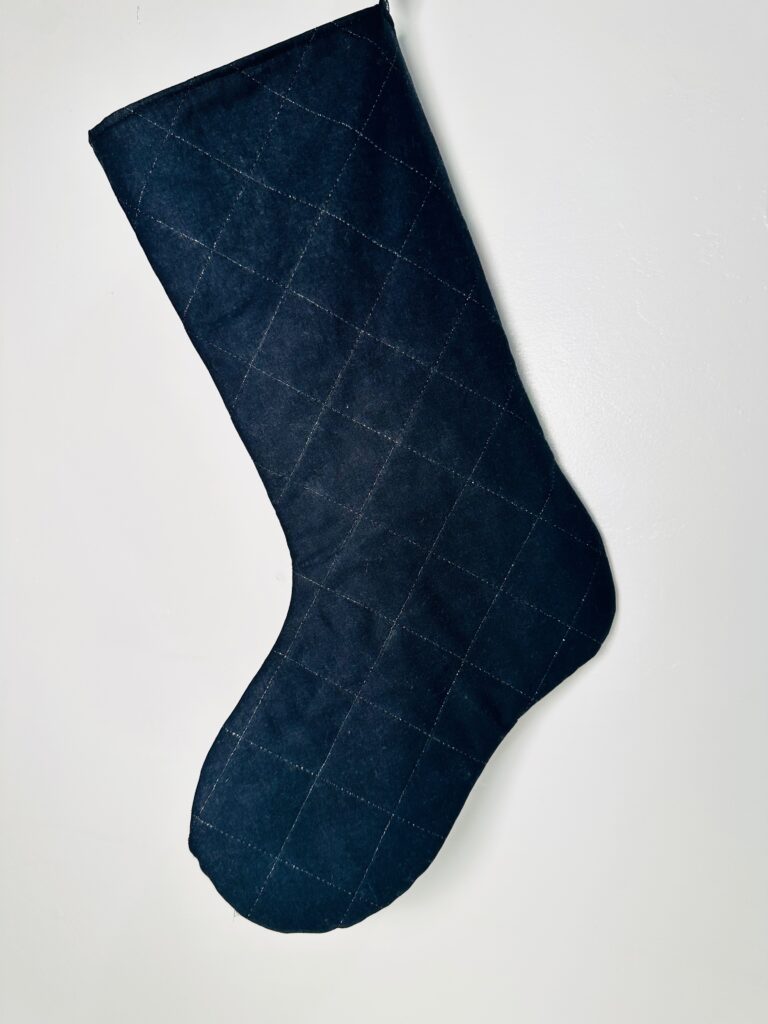
Sew a Patchwork Christmas Stocking using a stabilizer grid for accurate piecing. Quilt the stocking for dimension and interest, bringing in specialty threads that add sparkle. Create a matching set or coordinating stockings that feature the same or similar fabrics, speaking to the recipient’s interests.
PATCHWORK CHRISTMAS STOCKING SUPPLIES
The following supplies are enough to make one stocking.
- Sulky Soft ‘n Sheerâ„¢ Extra Stabilizer
- Printed Stocking Template (Courtesy of Lunden Designs; print pages 3, 4, and 5, omitting the cuff instructions)
- Sulky 50 wt. Cotton Thread (piecing & construction)
- Sulky 30 wt. Poly Sparkleâ„¢ Thread (quilting)
- Assorted 2 1/2″-wide fabric strips (for patchwork front; enough for 77 squares)
- 14″ x 22″ rectangle of coordinating fabric (stocking back)
- 1/3 yard each of muslin (optional), lining & low-loft batting
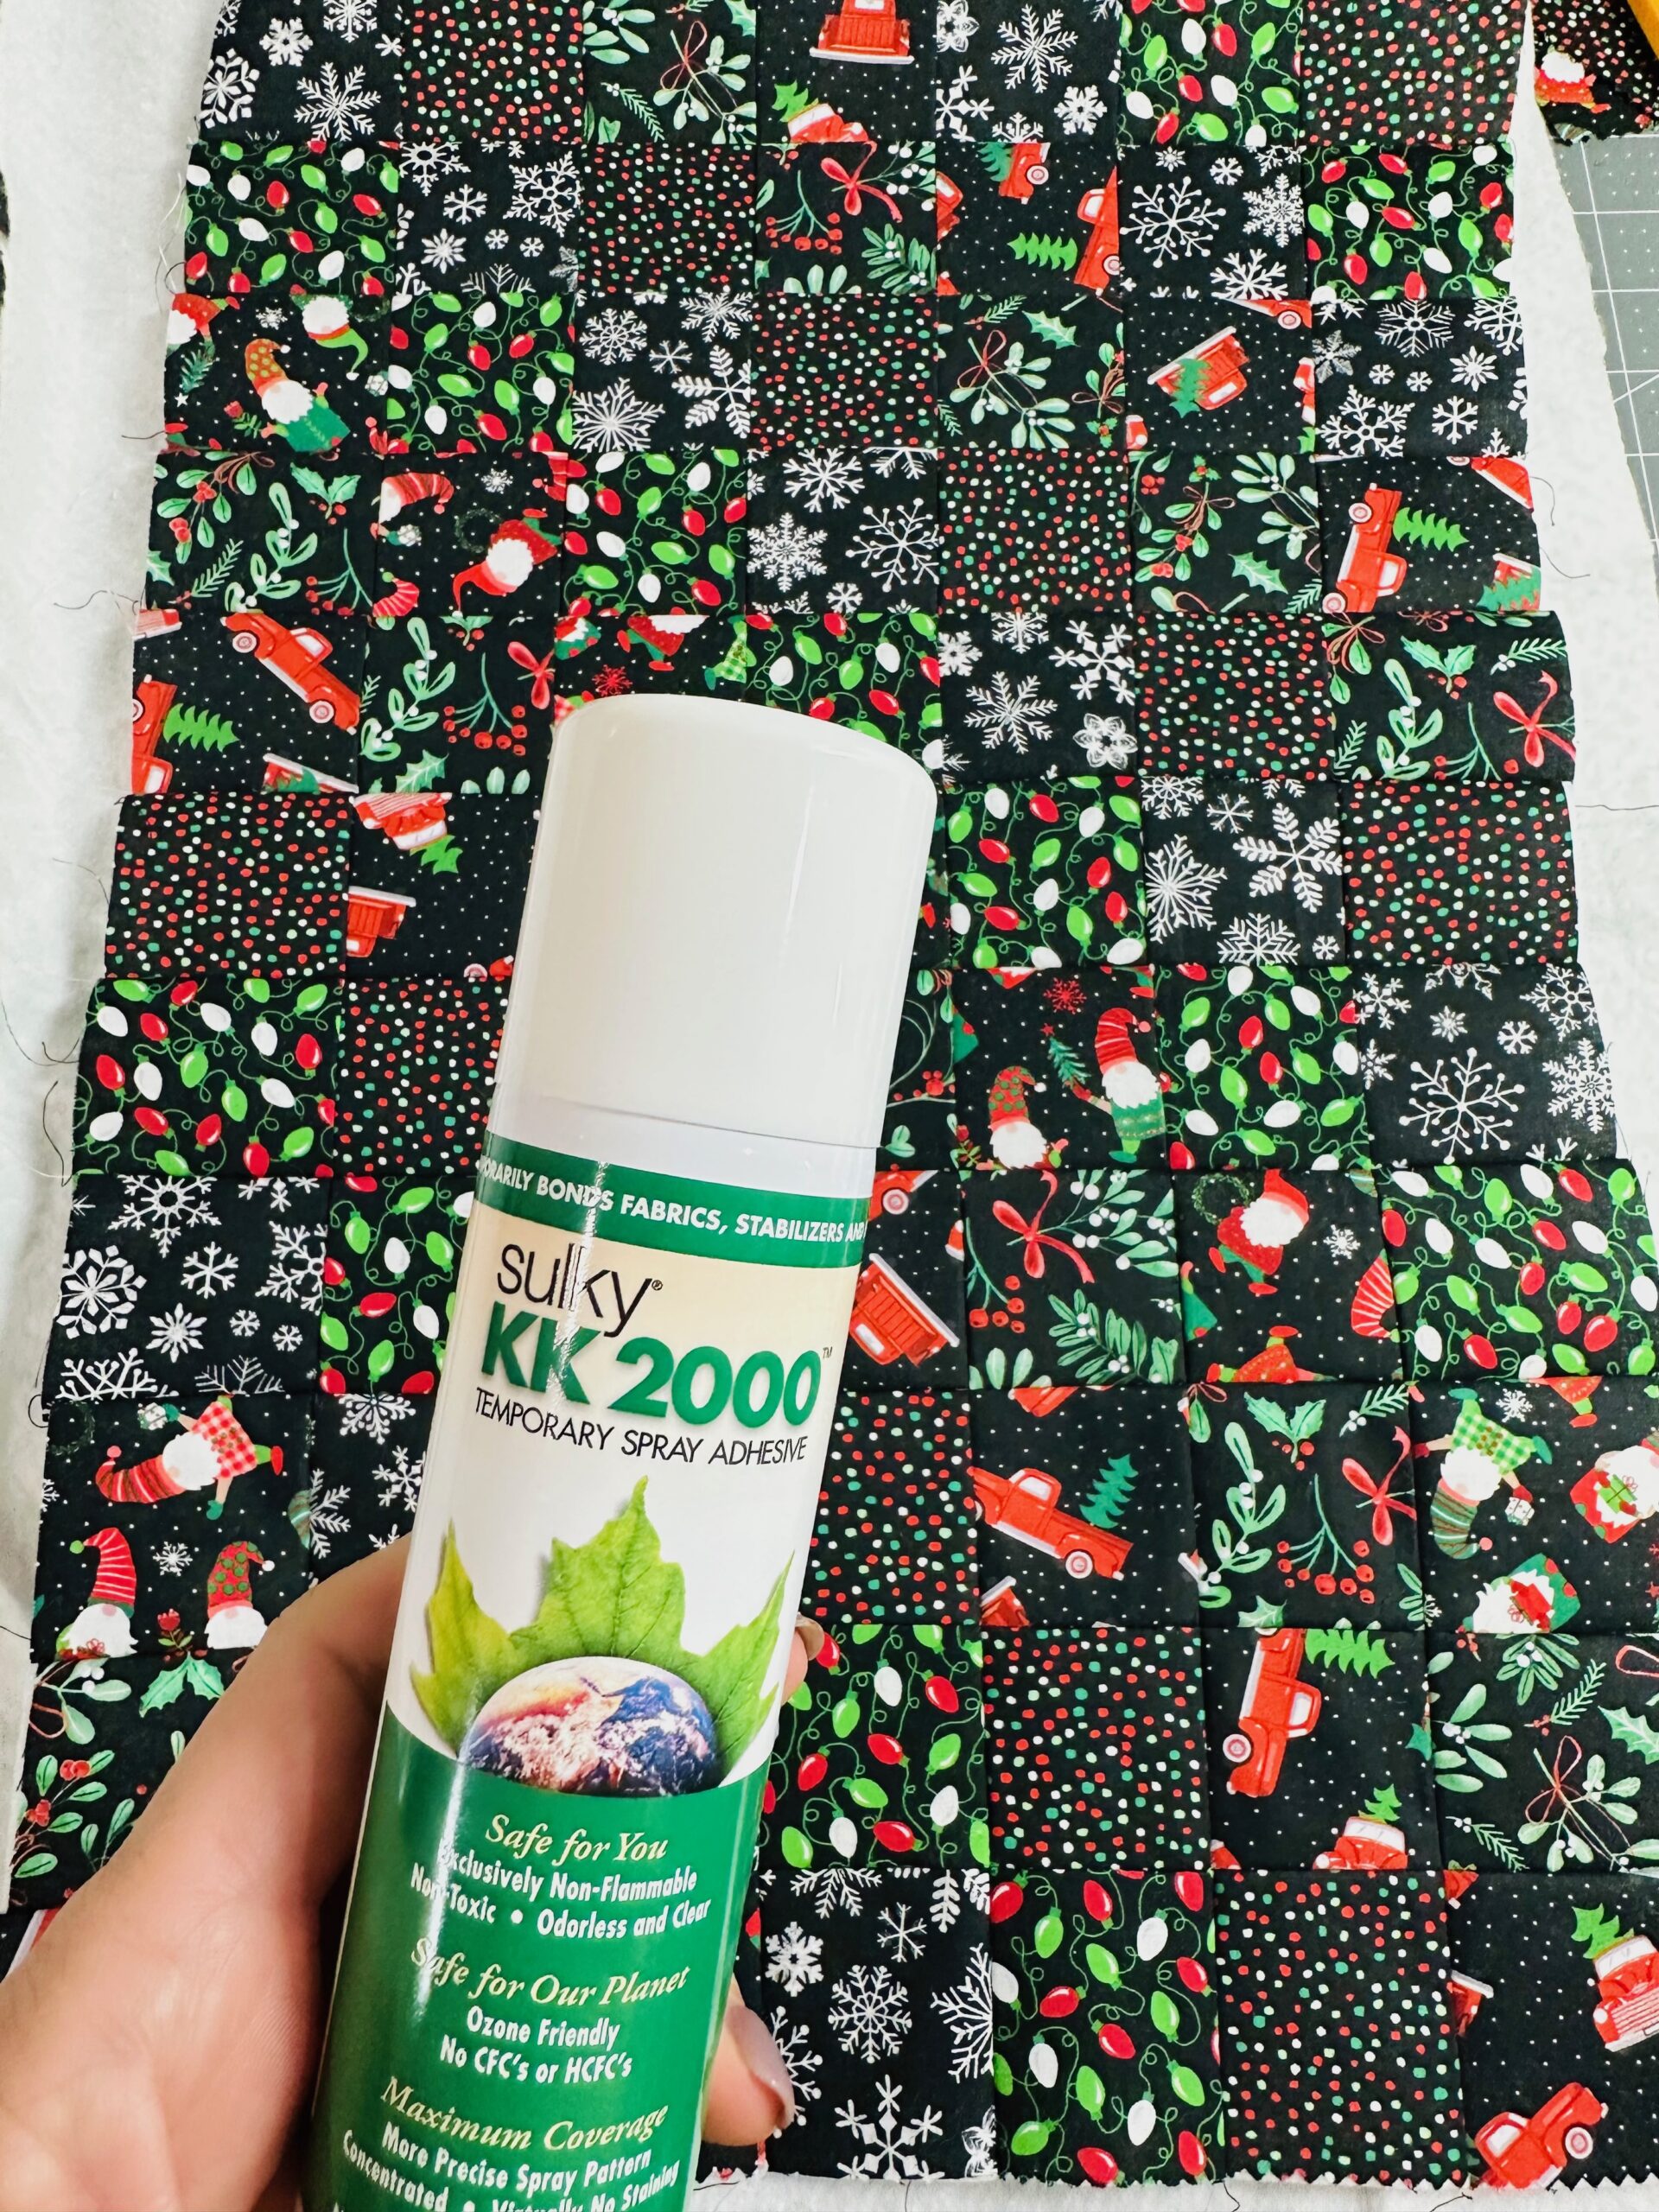
- Sulky KK 2000â„¢ Temporary Spray Adhesive
- 5 ½” length of ribbon or trim (hanging loop)
- Size 70/10 Universal Needle (piecing & construction)
- Size 90/14 Quilting Needle (quilting)
PATCHWORK STOCKING INSPIRATION
I originally came across this stocking pattern on the Suzy Quilts blog. The version featured there is quite striking, using her Fly Away Quilt Pattern for the featured blocks.
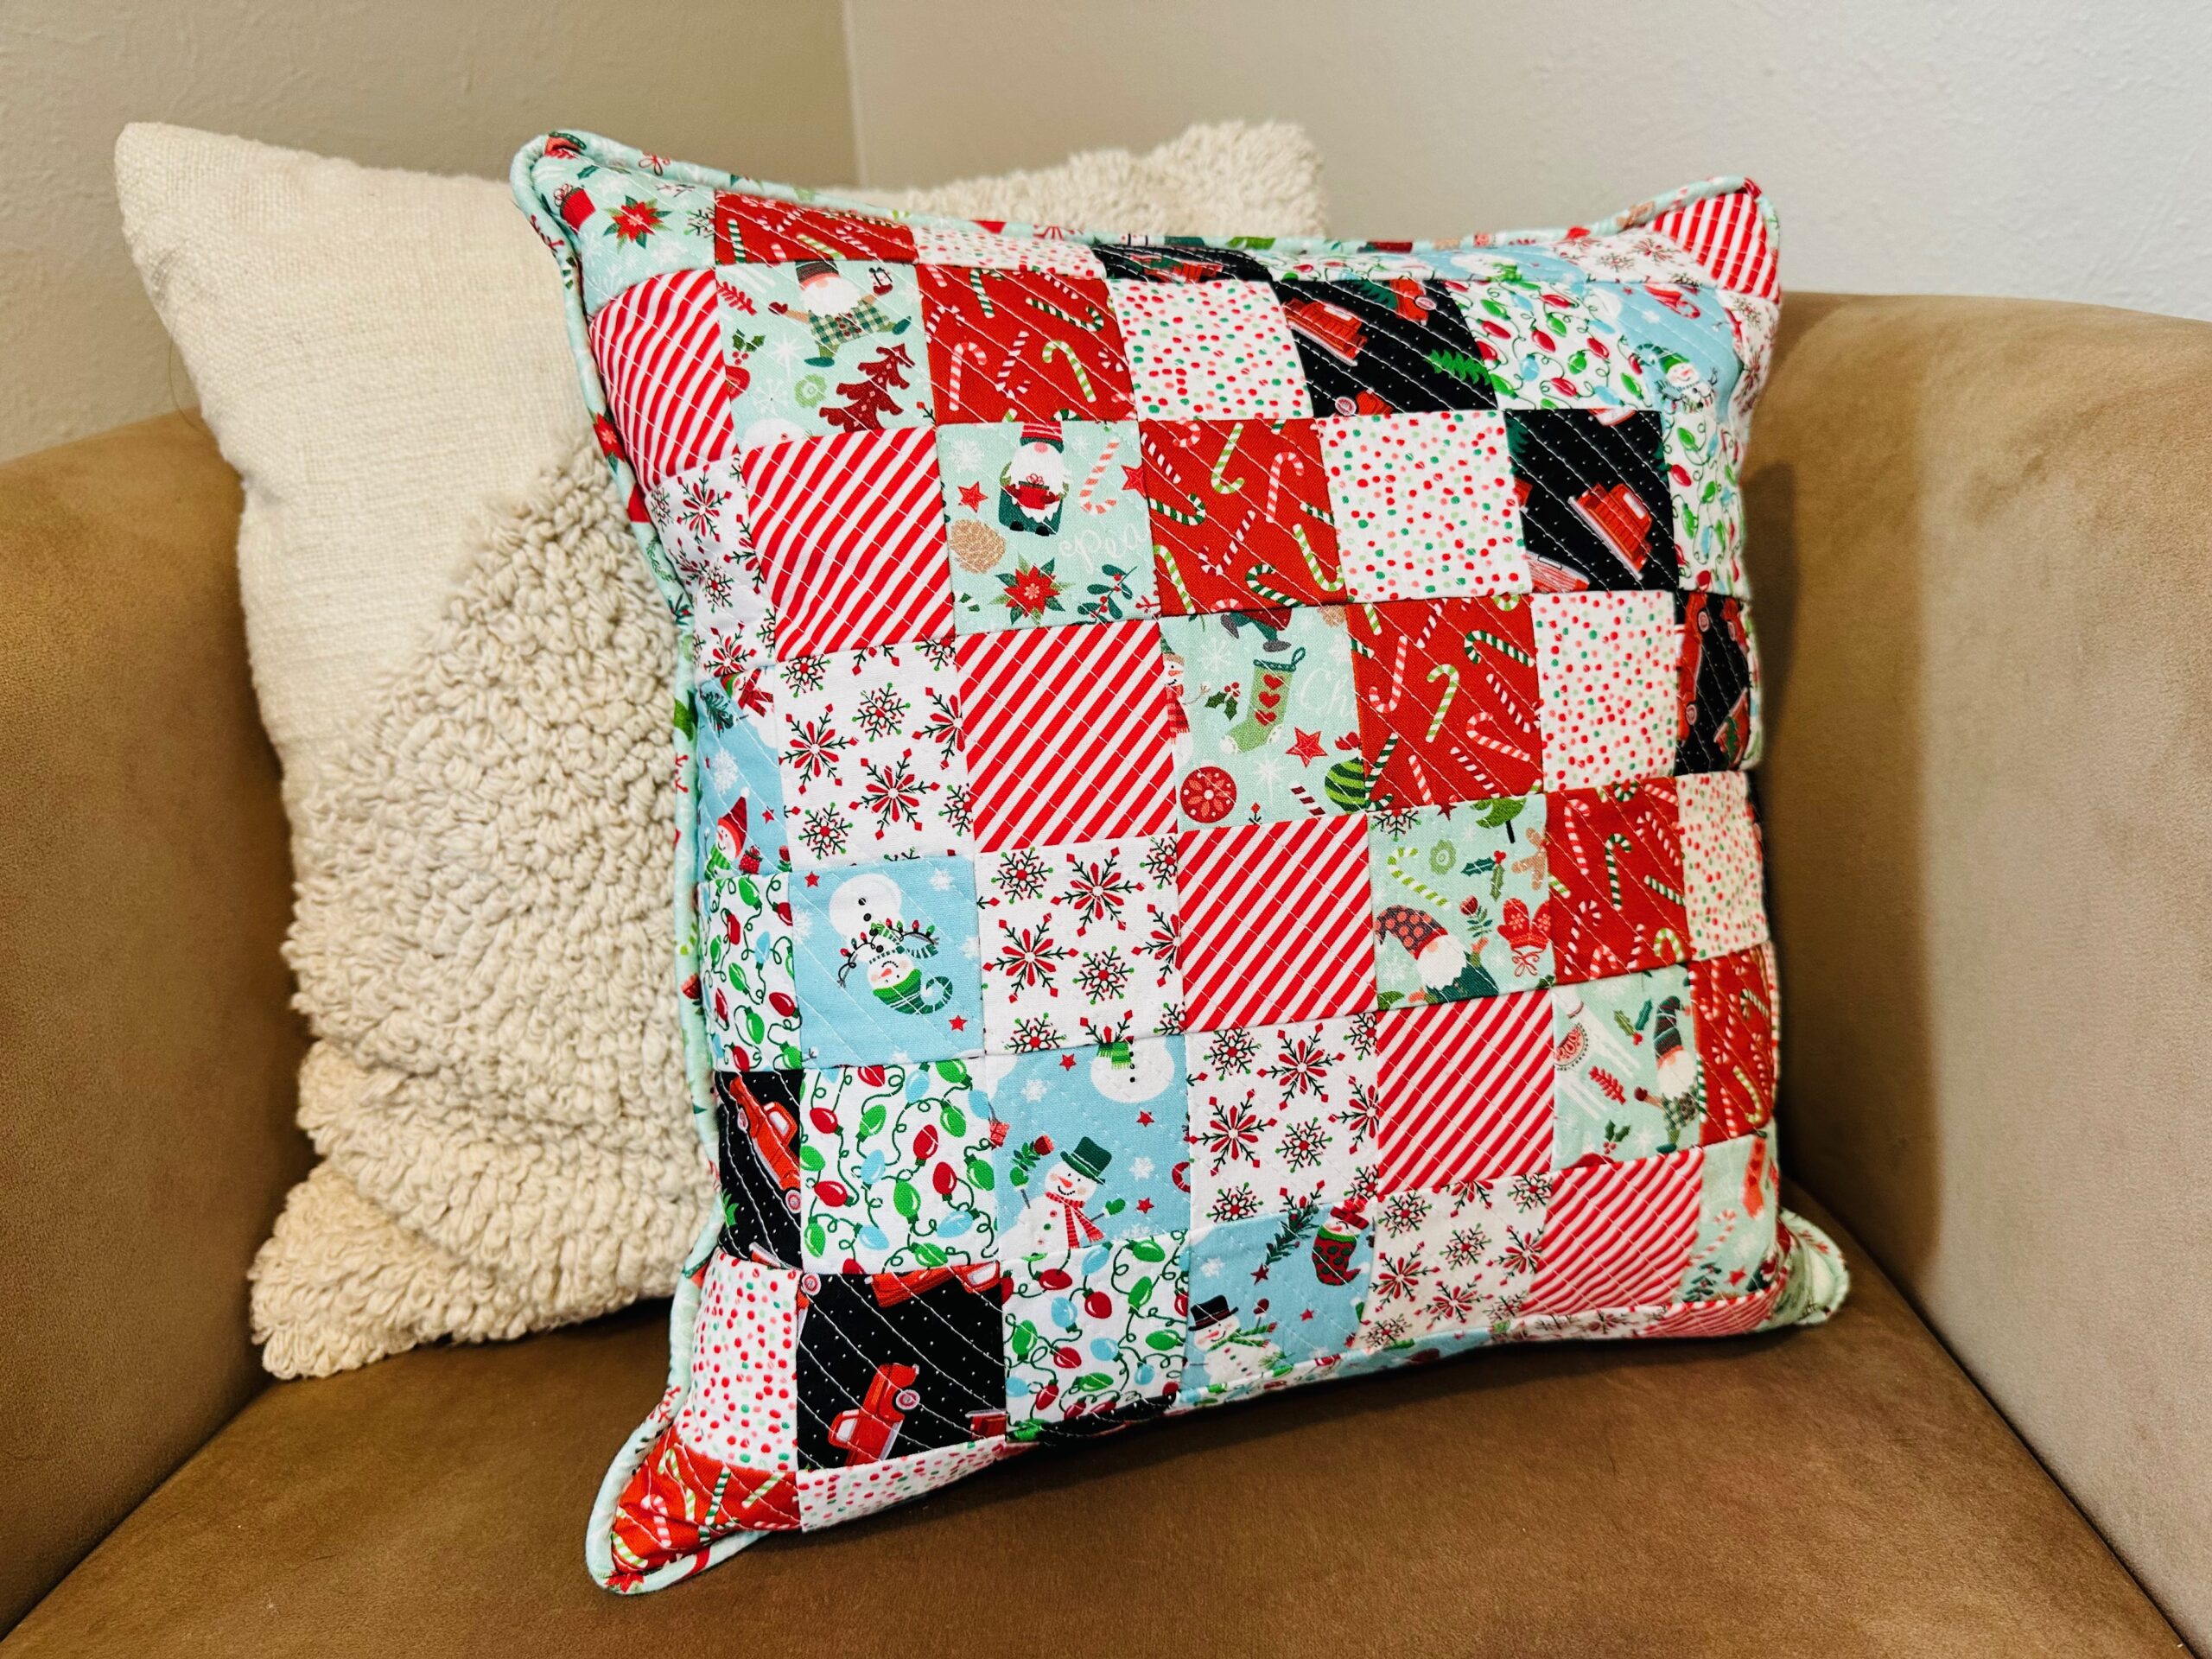
Instantly, I thought of our Patchwork Christmas Pillow pattern, released earlier this month, and knew that the stabilizer grid technique would work for a Patchwork Christmas Stocking.
So I grabbed the free pattern from Lunden Designs, from the Suzy Quilts page, and taped together the required pieces.
I happen to LOVE pom-pom fringe trim, so I was delighted to see that used for the hanging loop! But if you have a decorative ribbon or other no-fray option that coordinates with your chosen fabric, that’s perfectly suitable and equally adorable. Or, create a fabric strip with no raw edges showing to use as the hanging loop.
For constructing the patchwork stocking, I opted for a different method than that of the pattern, which I’ll outline below. This is my go-to stocking construction method, and it eliminates having to use the free arm to stitch the upper edges of the exterior and lining together.
NOTE: You can choose to create a patchwork front and back or just a patchwork front, with a solid or coordinating print on the stocking back. If doing the former, omit the stocking back fabric and plan to use more fabric strips to create two patchwork pieces for the stocking exterior.
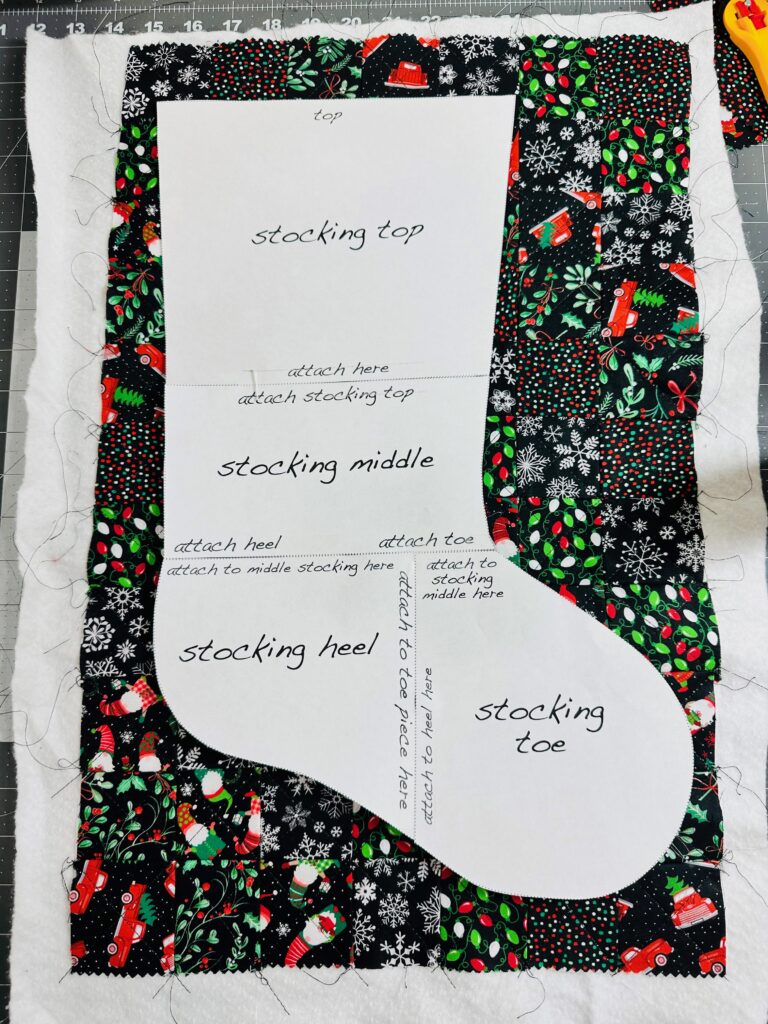
STABILIZER GRID
After cutting out the stocking pattern, tape it together. Then, cut a 18″ W x 28″ H rectangle of Sulky Soft ‘n Sheer Extra.
Draw a horizontal and vertical center cross mark on the stabilizer to denote the center.
Next, draw horizontal and vertical lines, spaced 2 1/2″ apart, across the entire stabilizer rectangle. (I used a 2 1/2″ grid because I had leftover Jelly Roll strips from my Patchwork Christmas Pillow project. But you may want to use smaller squares, depending on the desired finished look.) You should have 11 rows of seven squares each.
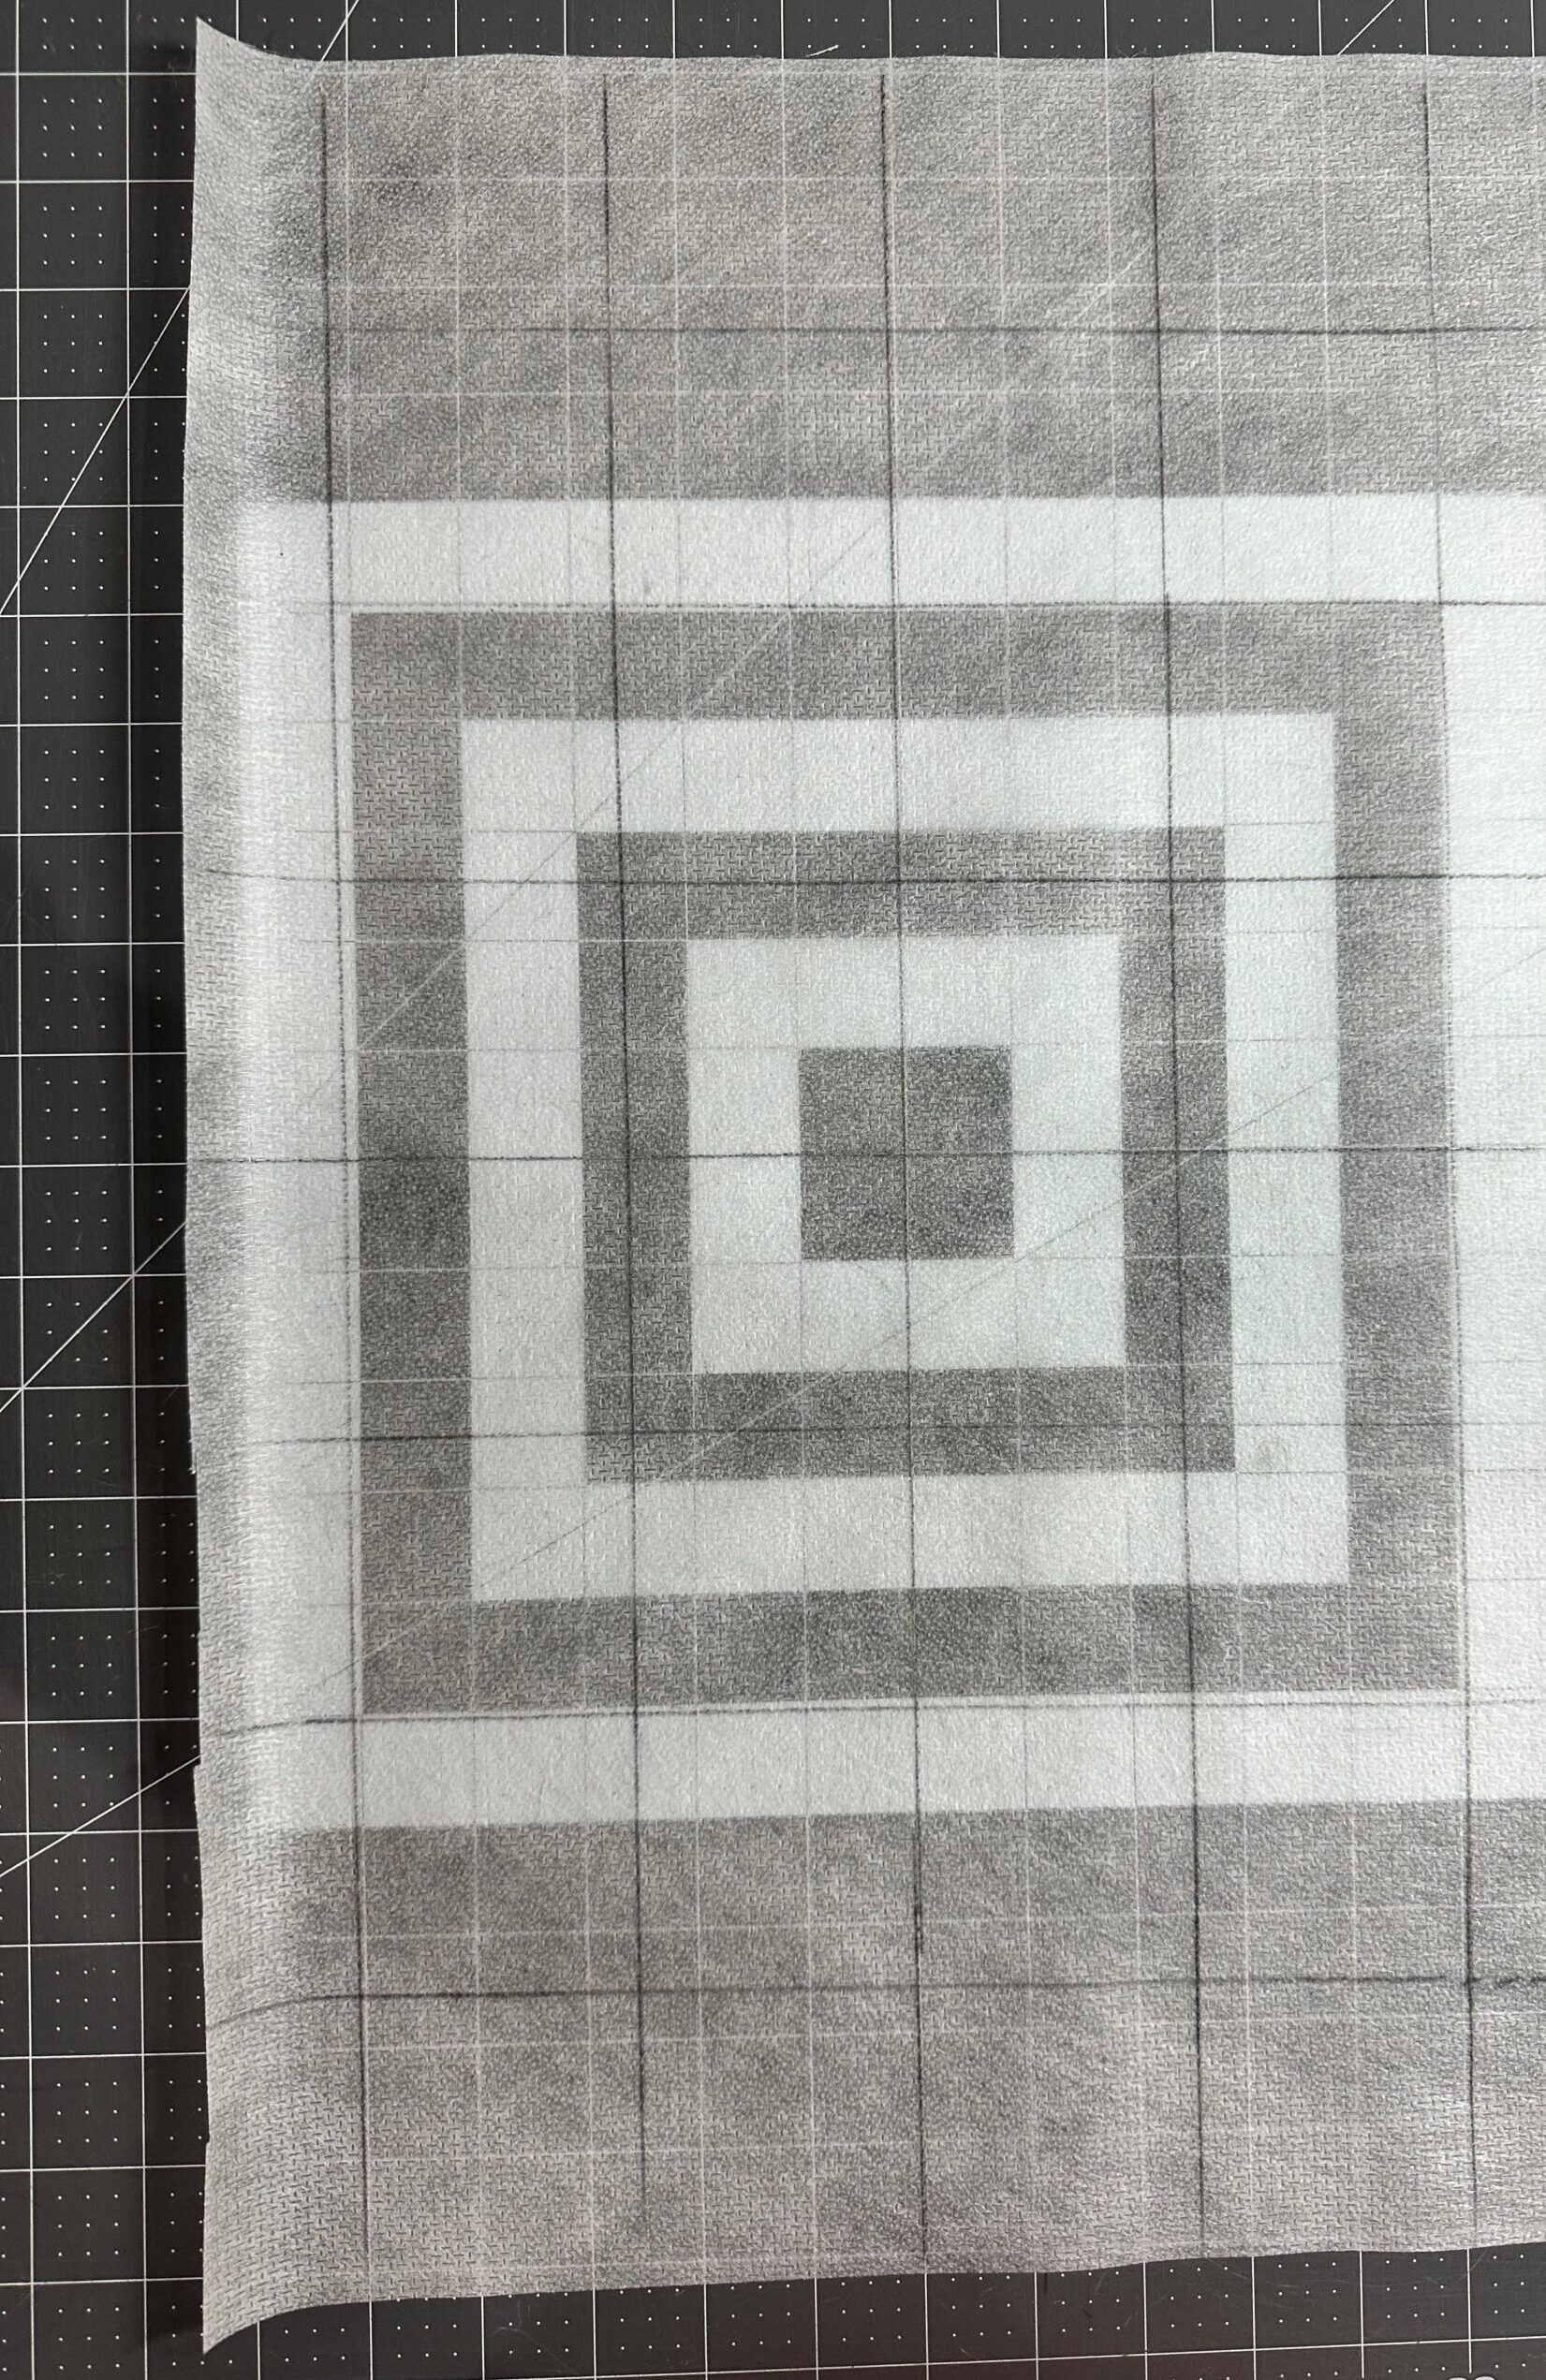
Use fabric chalk or a removable fabric marker that’s dark enough to see through both sides of the stabilizer. (I used a pencil so you could see it in the photos.)
From the fabric strips, cut 77 assorted 2 1/2″ fabric squares. Arrange the squares in the patchwork pattern of your choice on the fusible side of the gridded stabilizer.
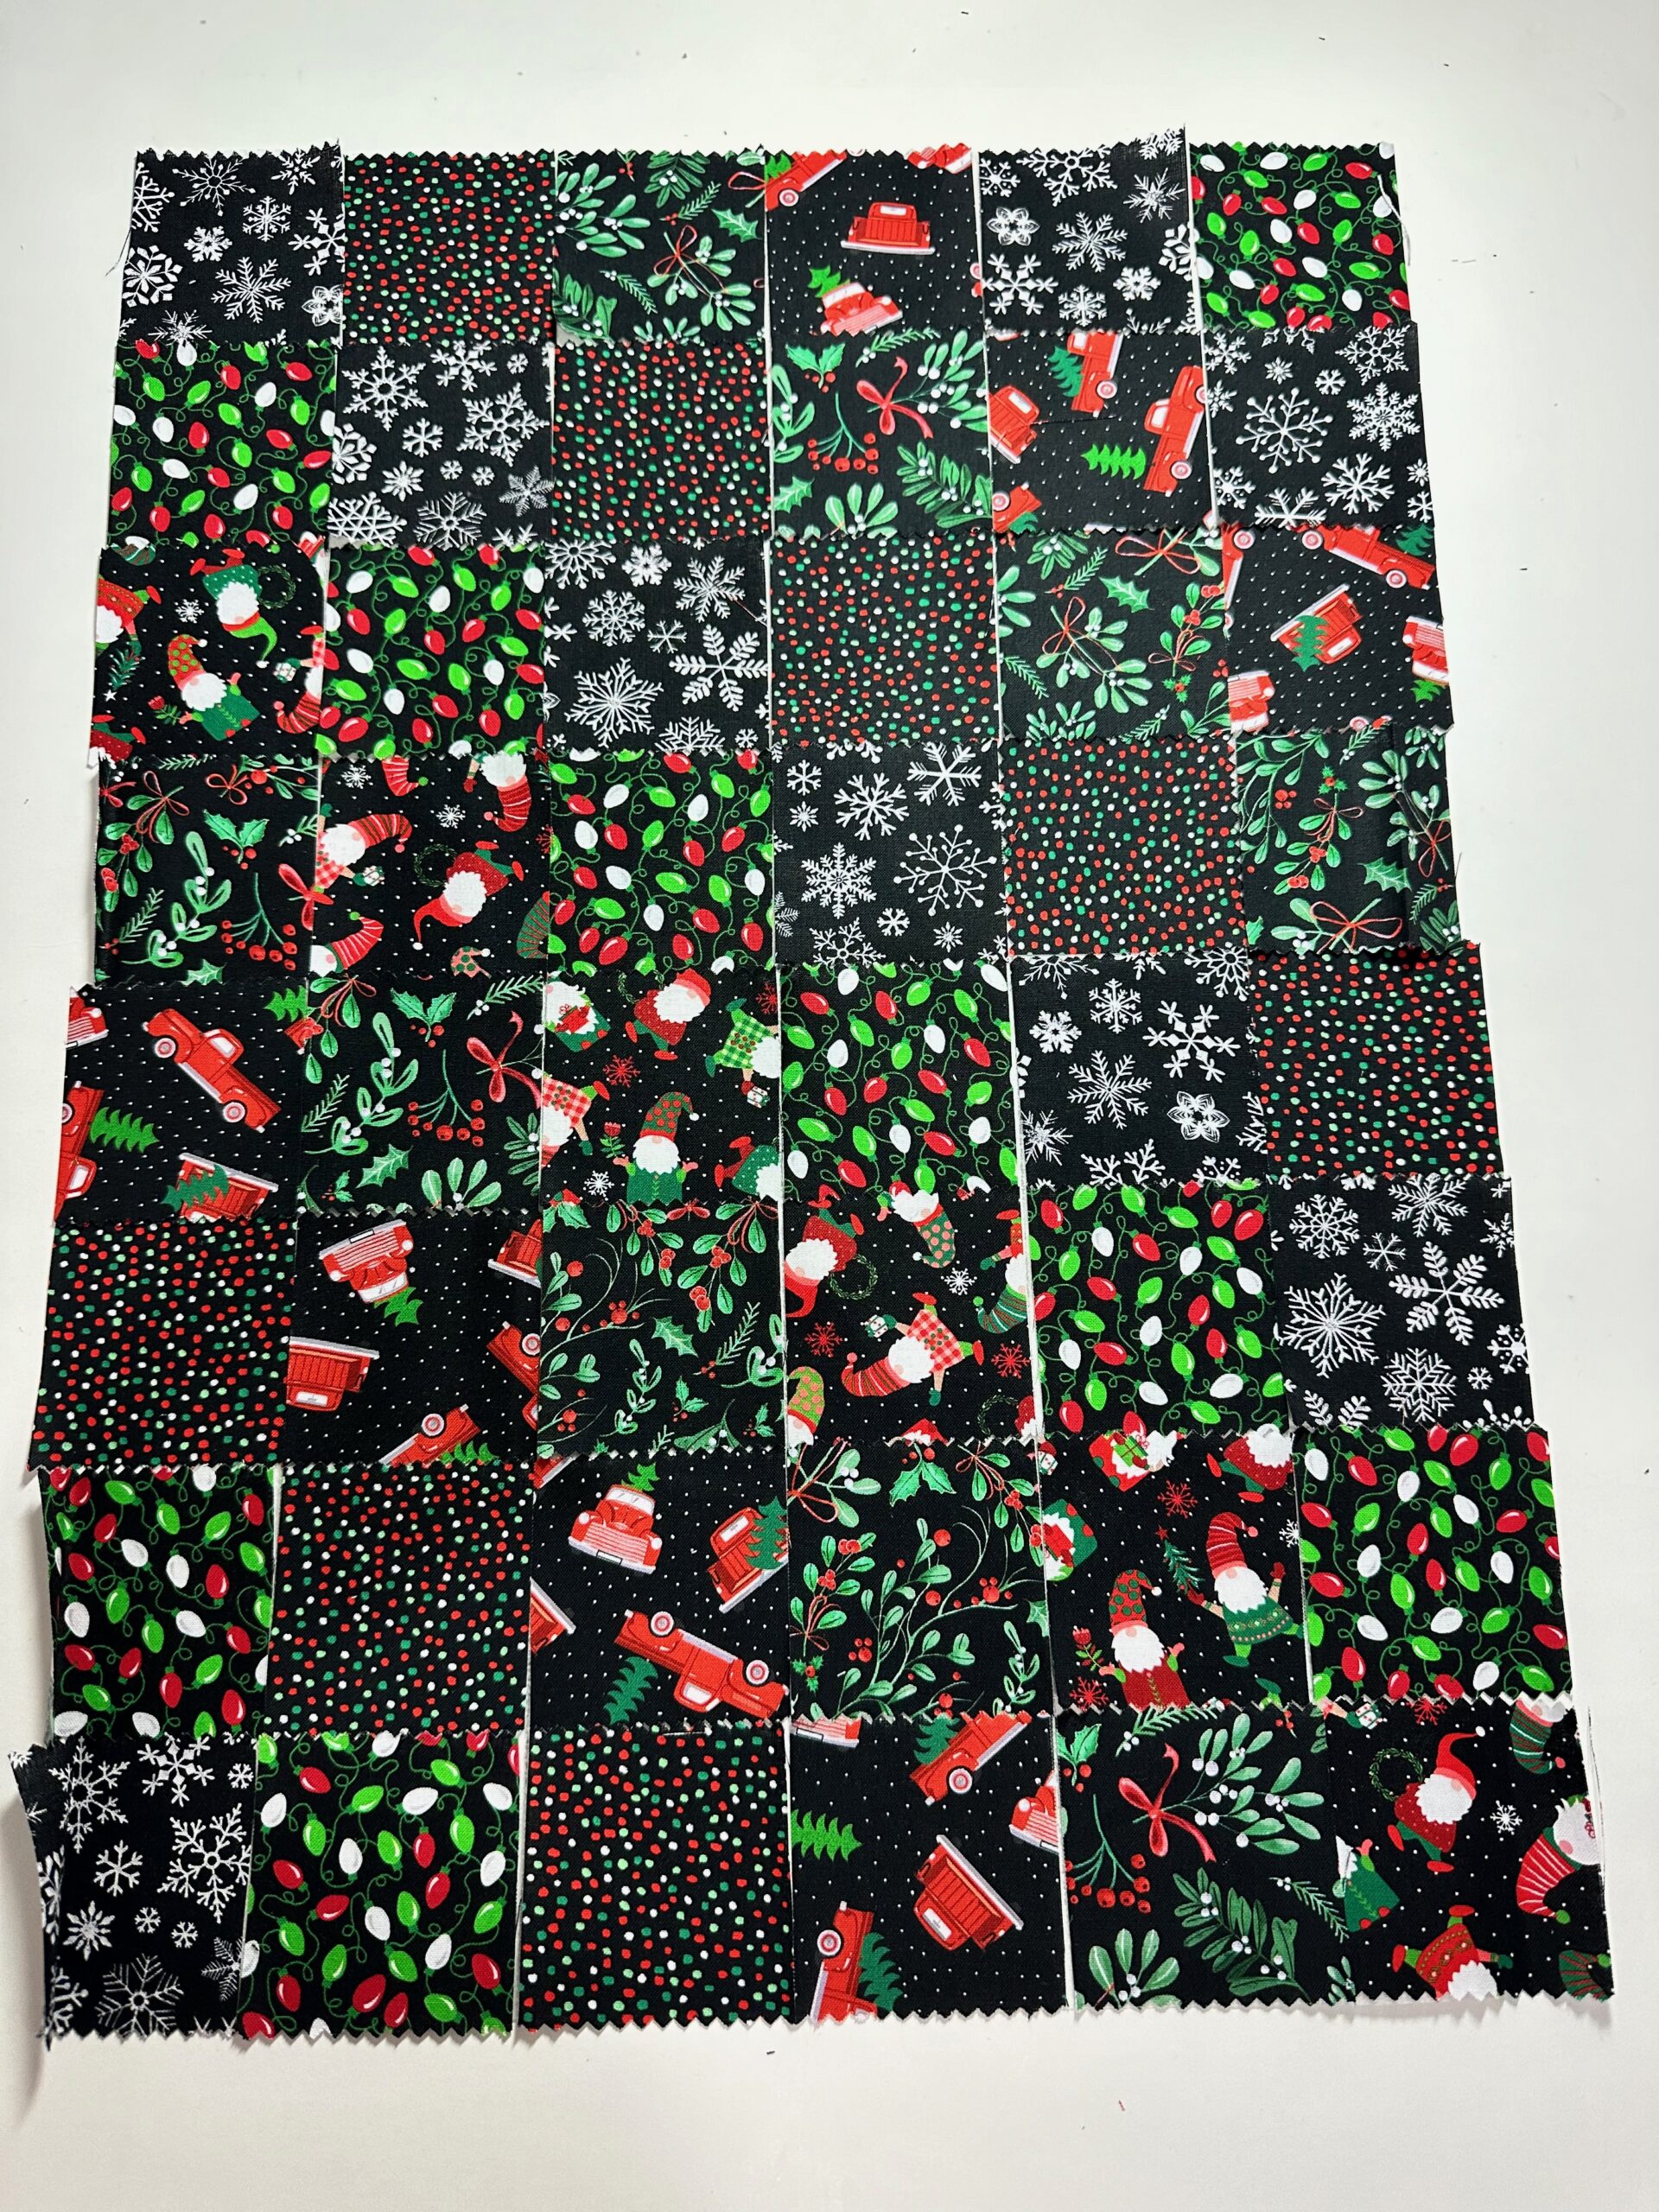
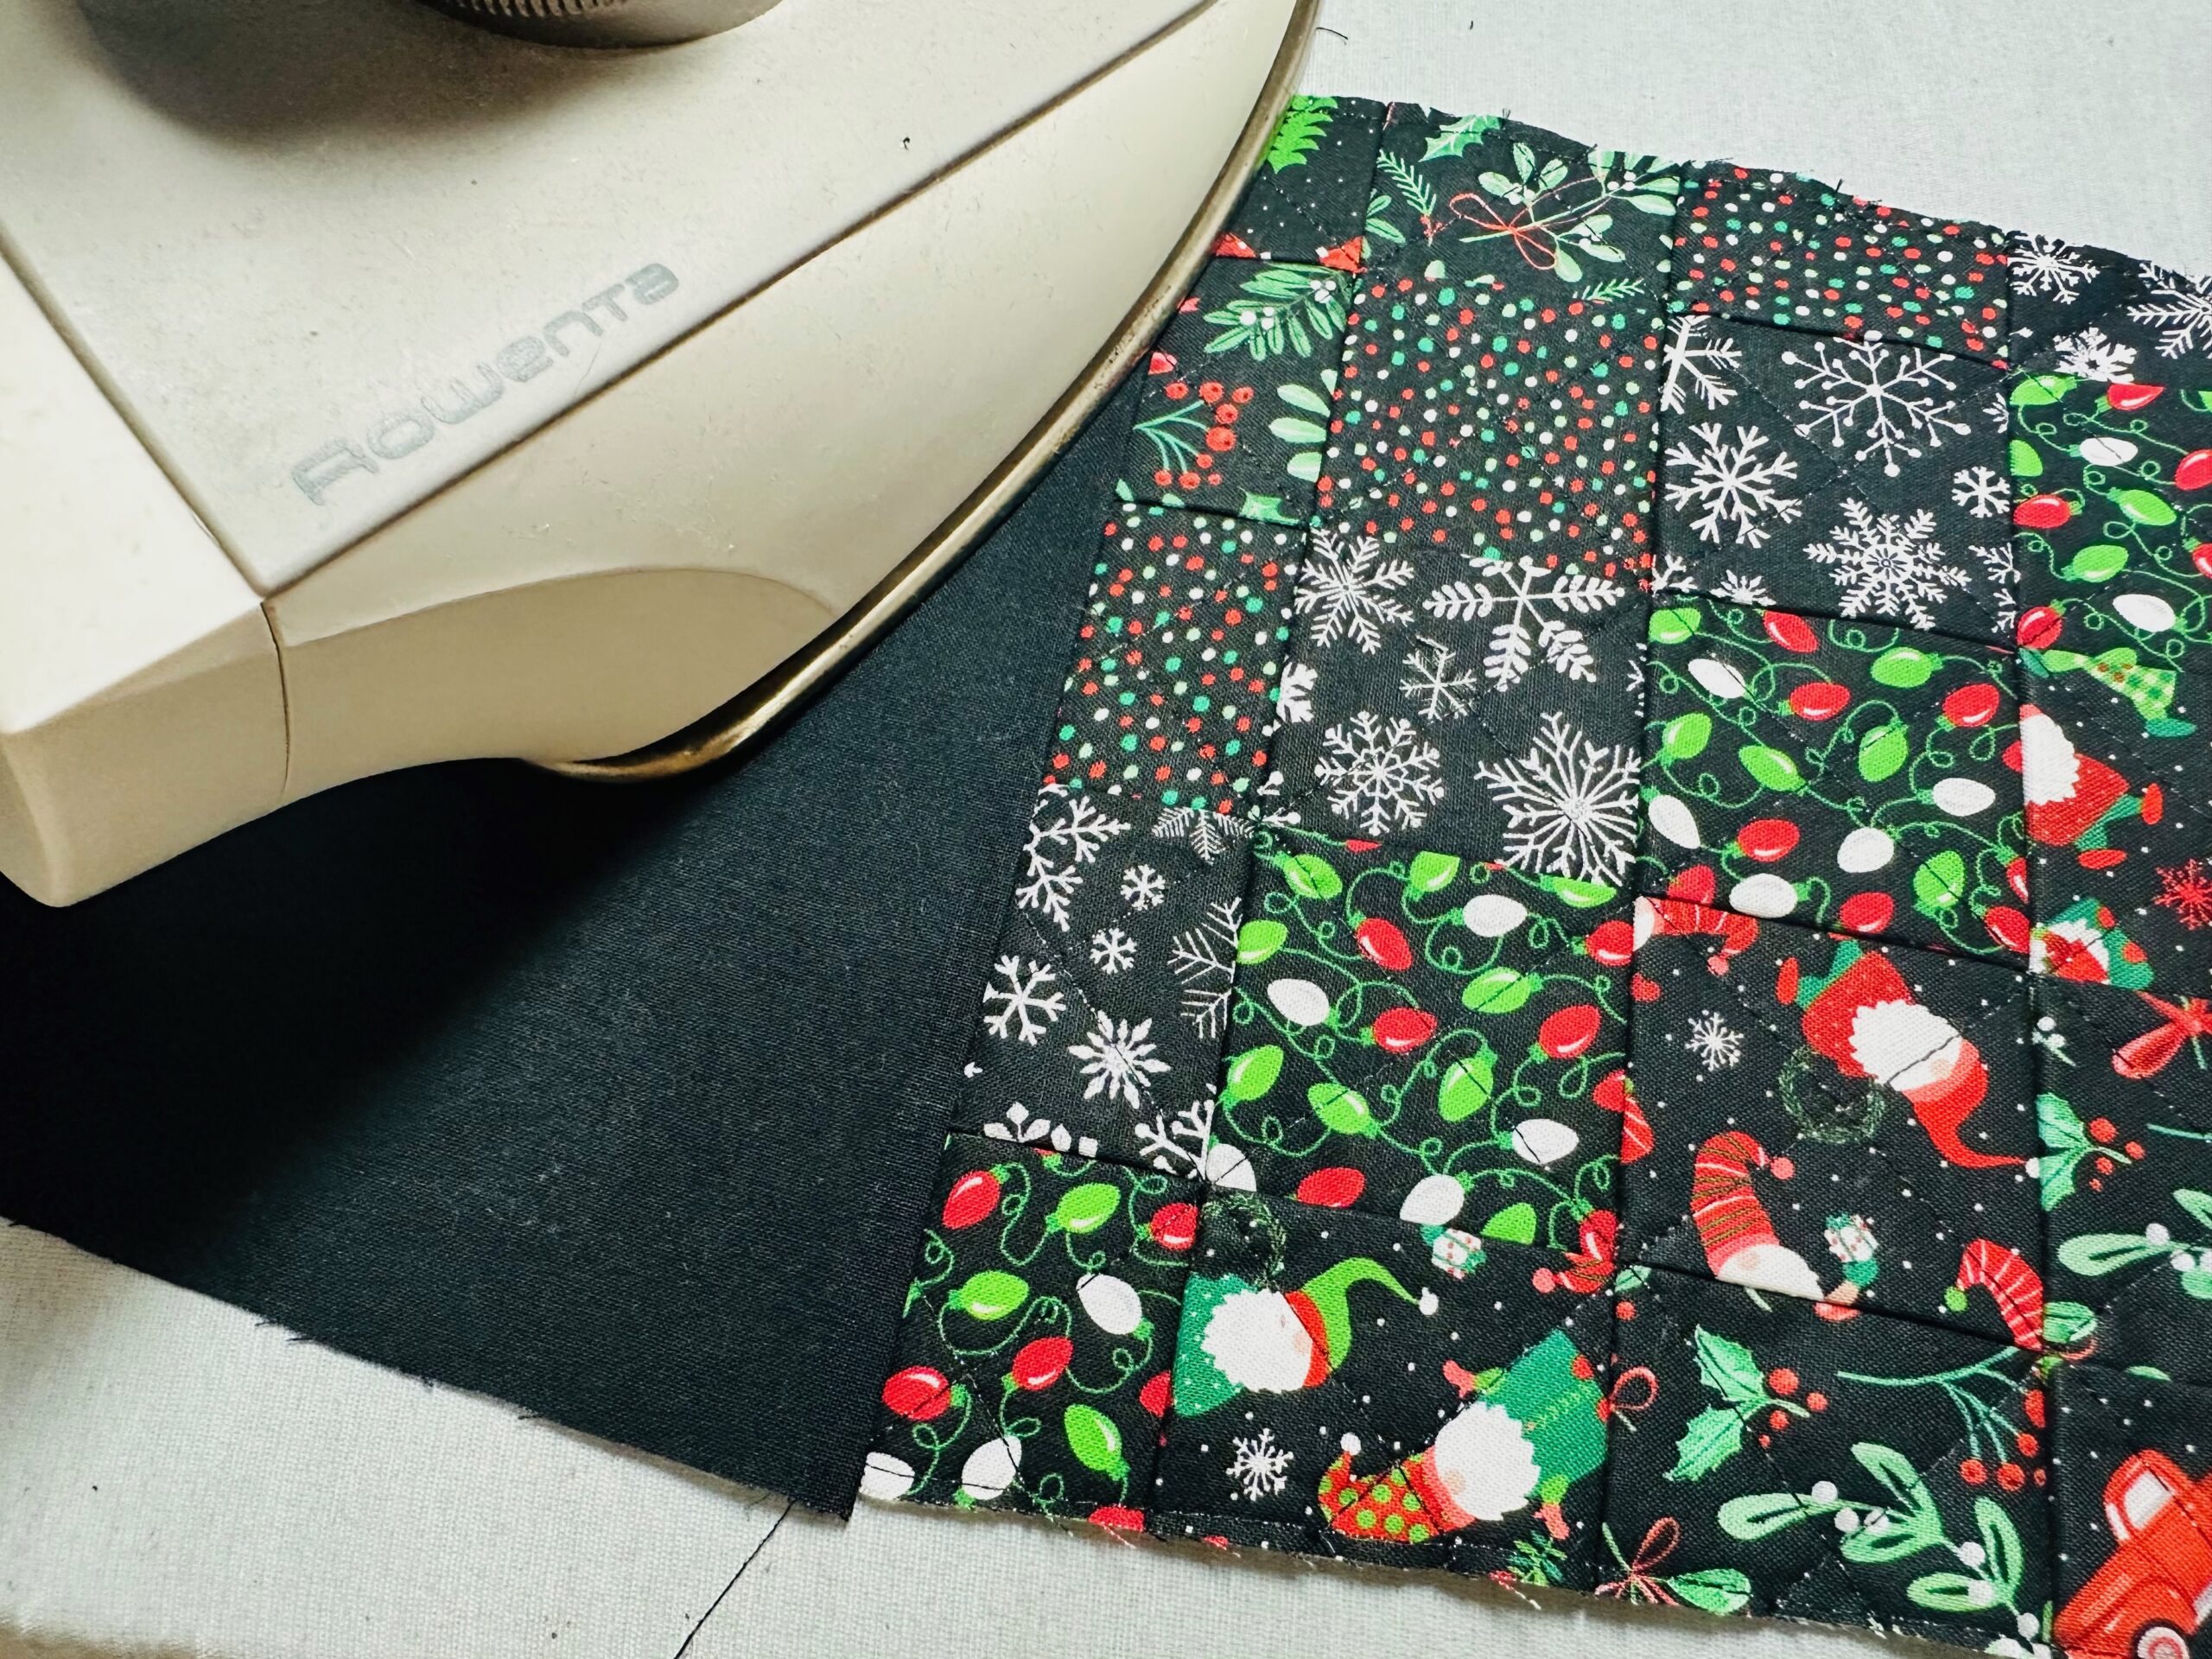
Place a press cloth over the right side of the fabric squares/stabilizer. Press to fuse the squares in place.
PATCHWORK
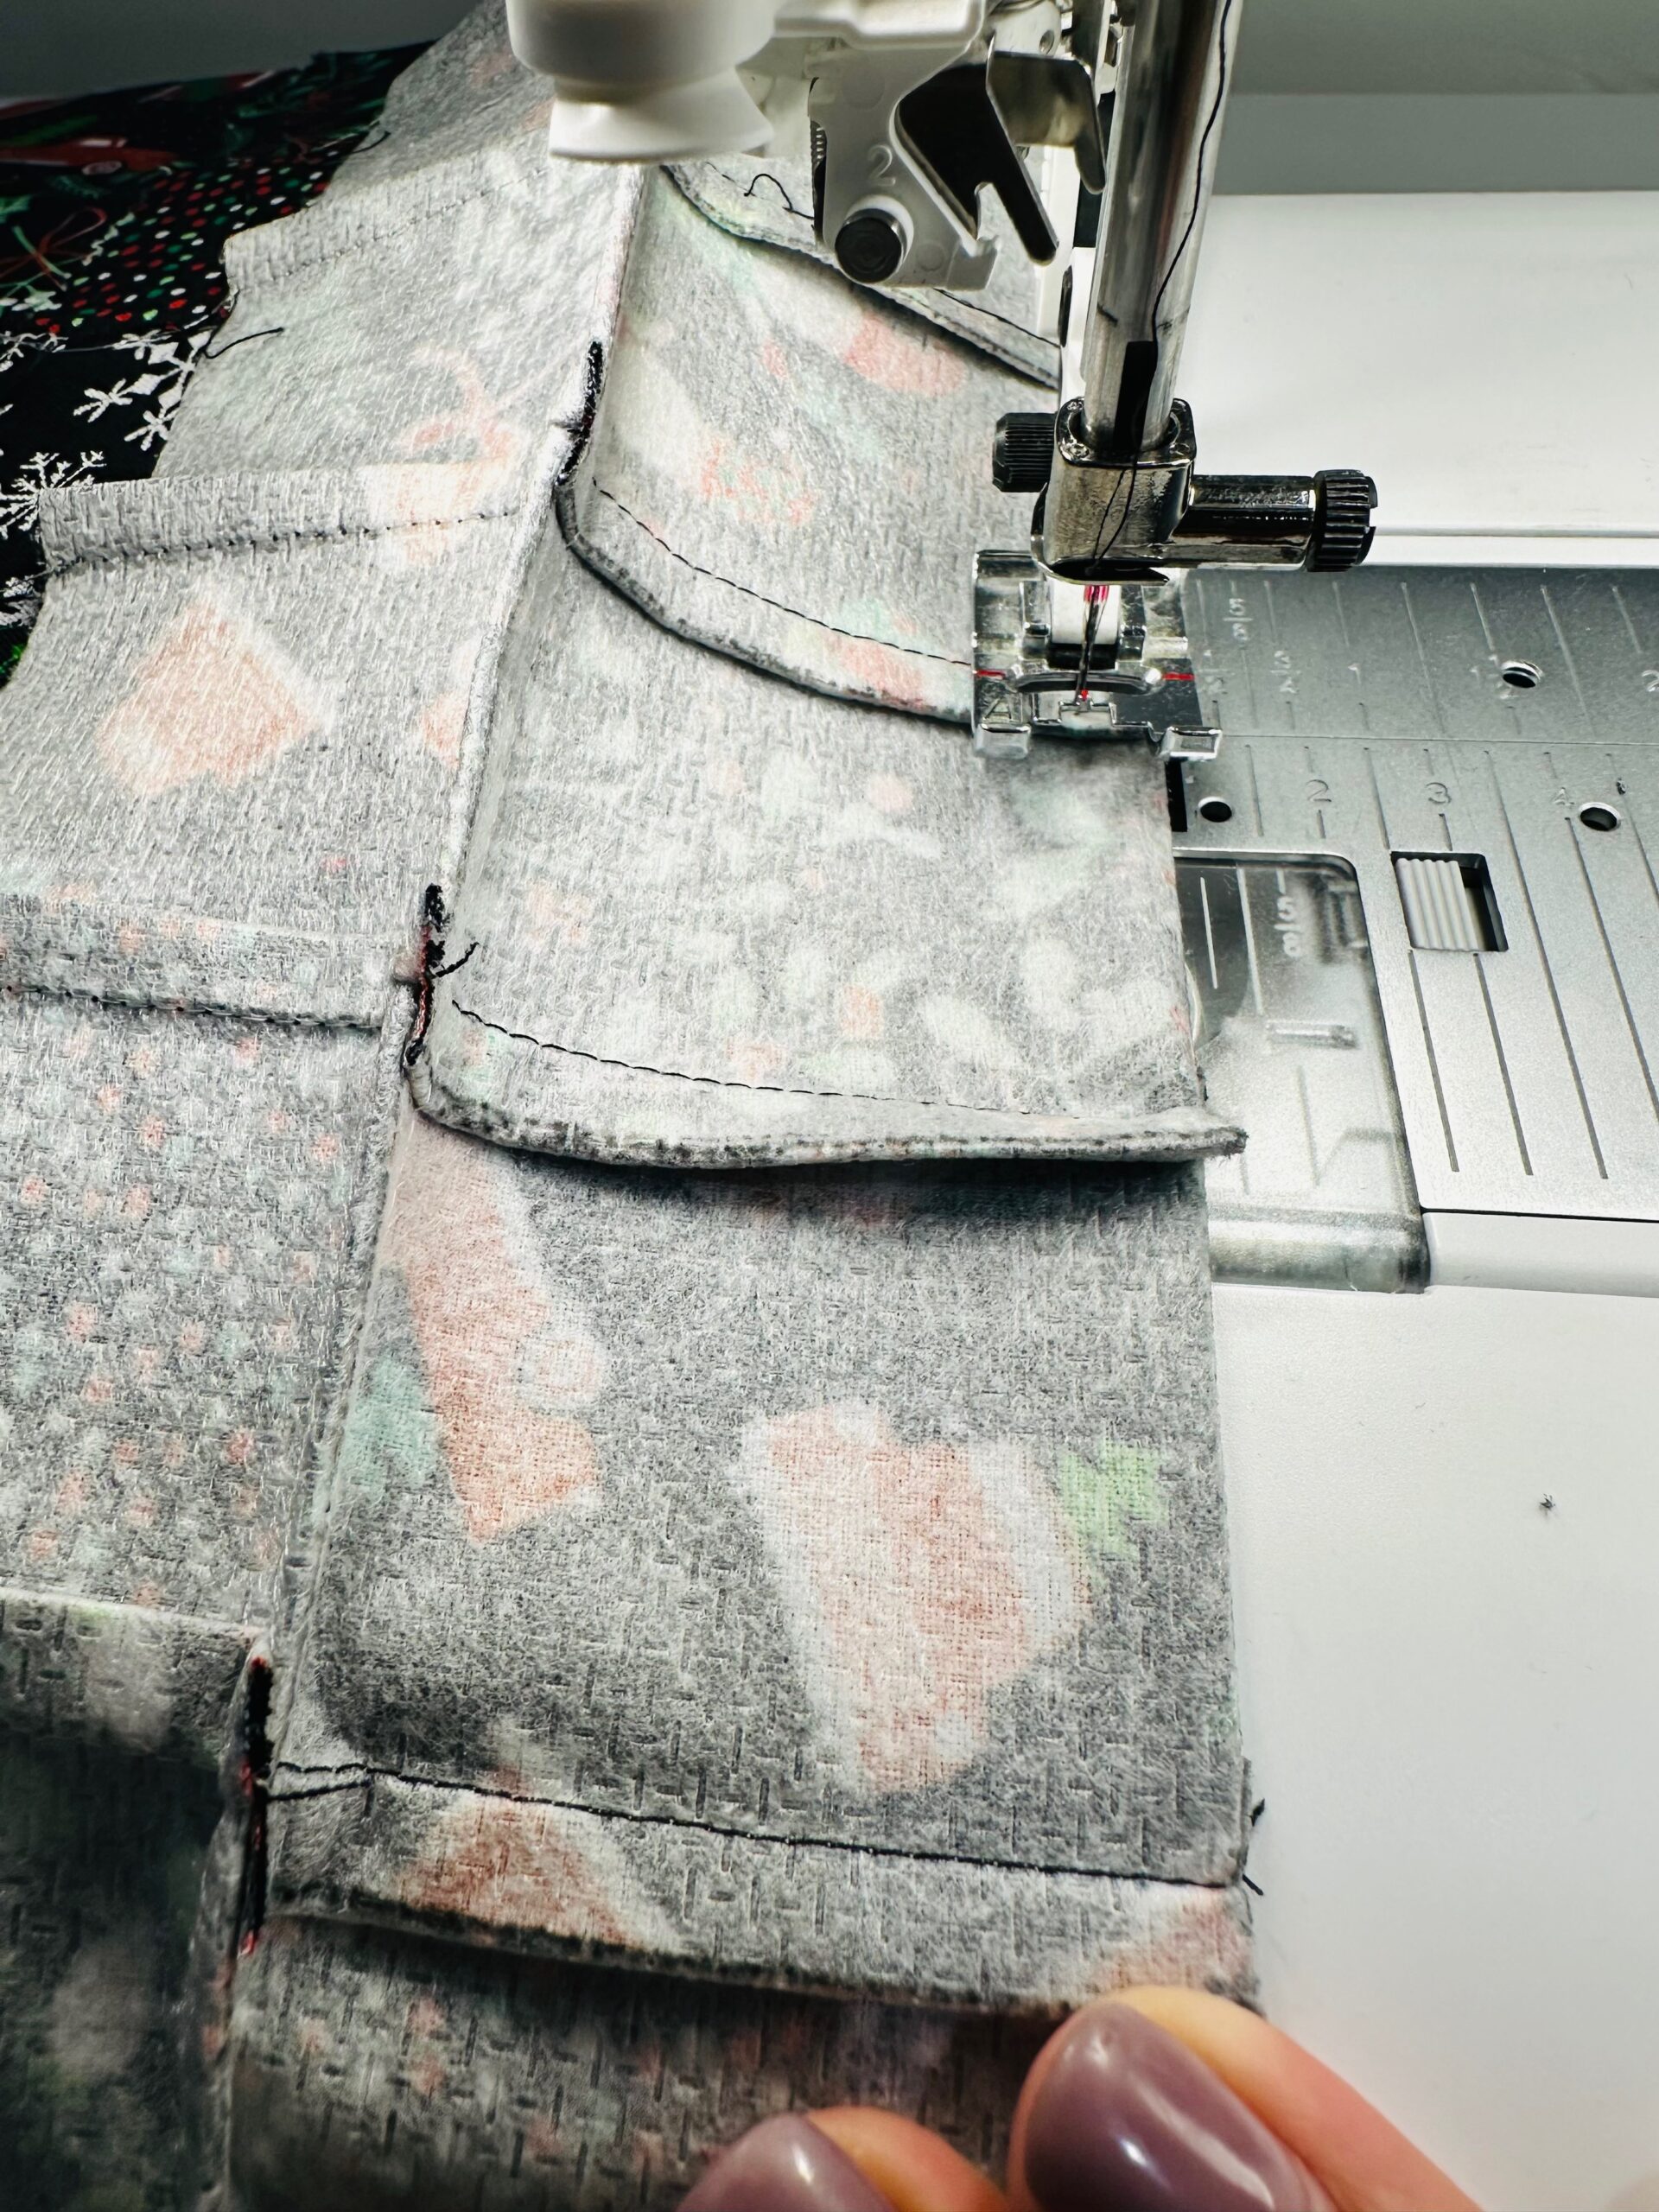
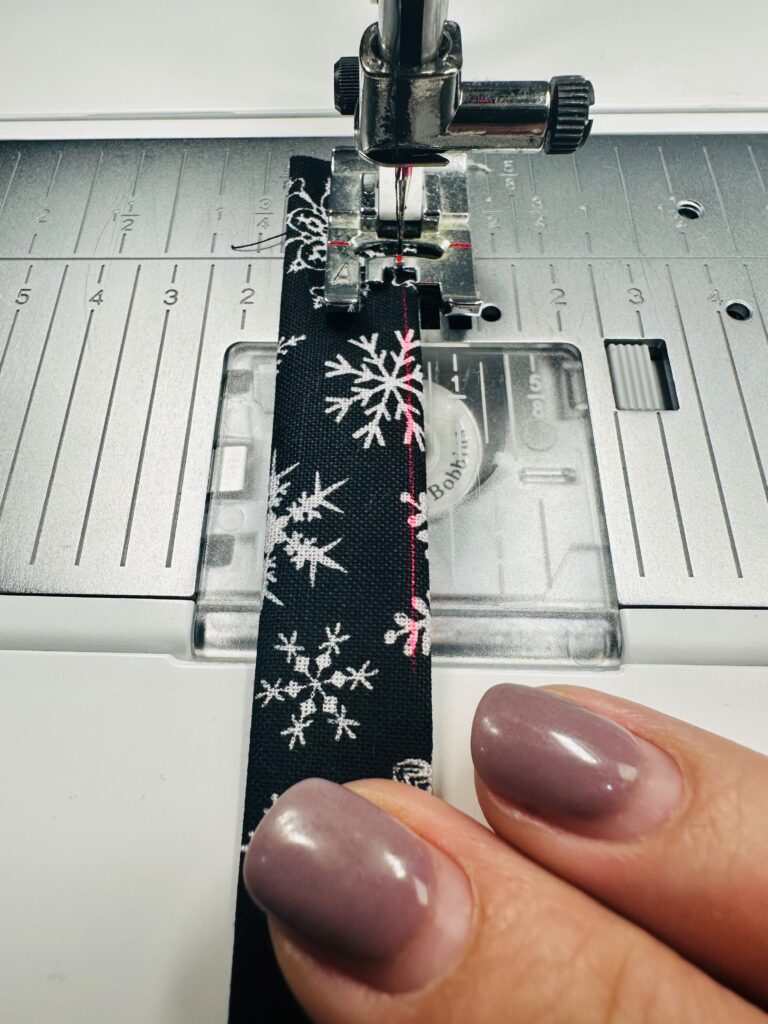
Fold the first column toward the right side along the grid line. Then, stitch 1/4″ from the fold.
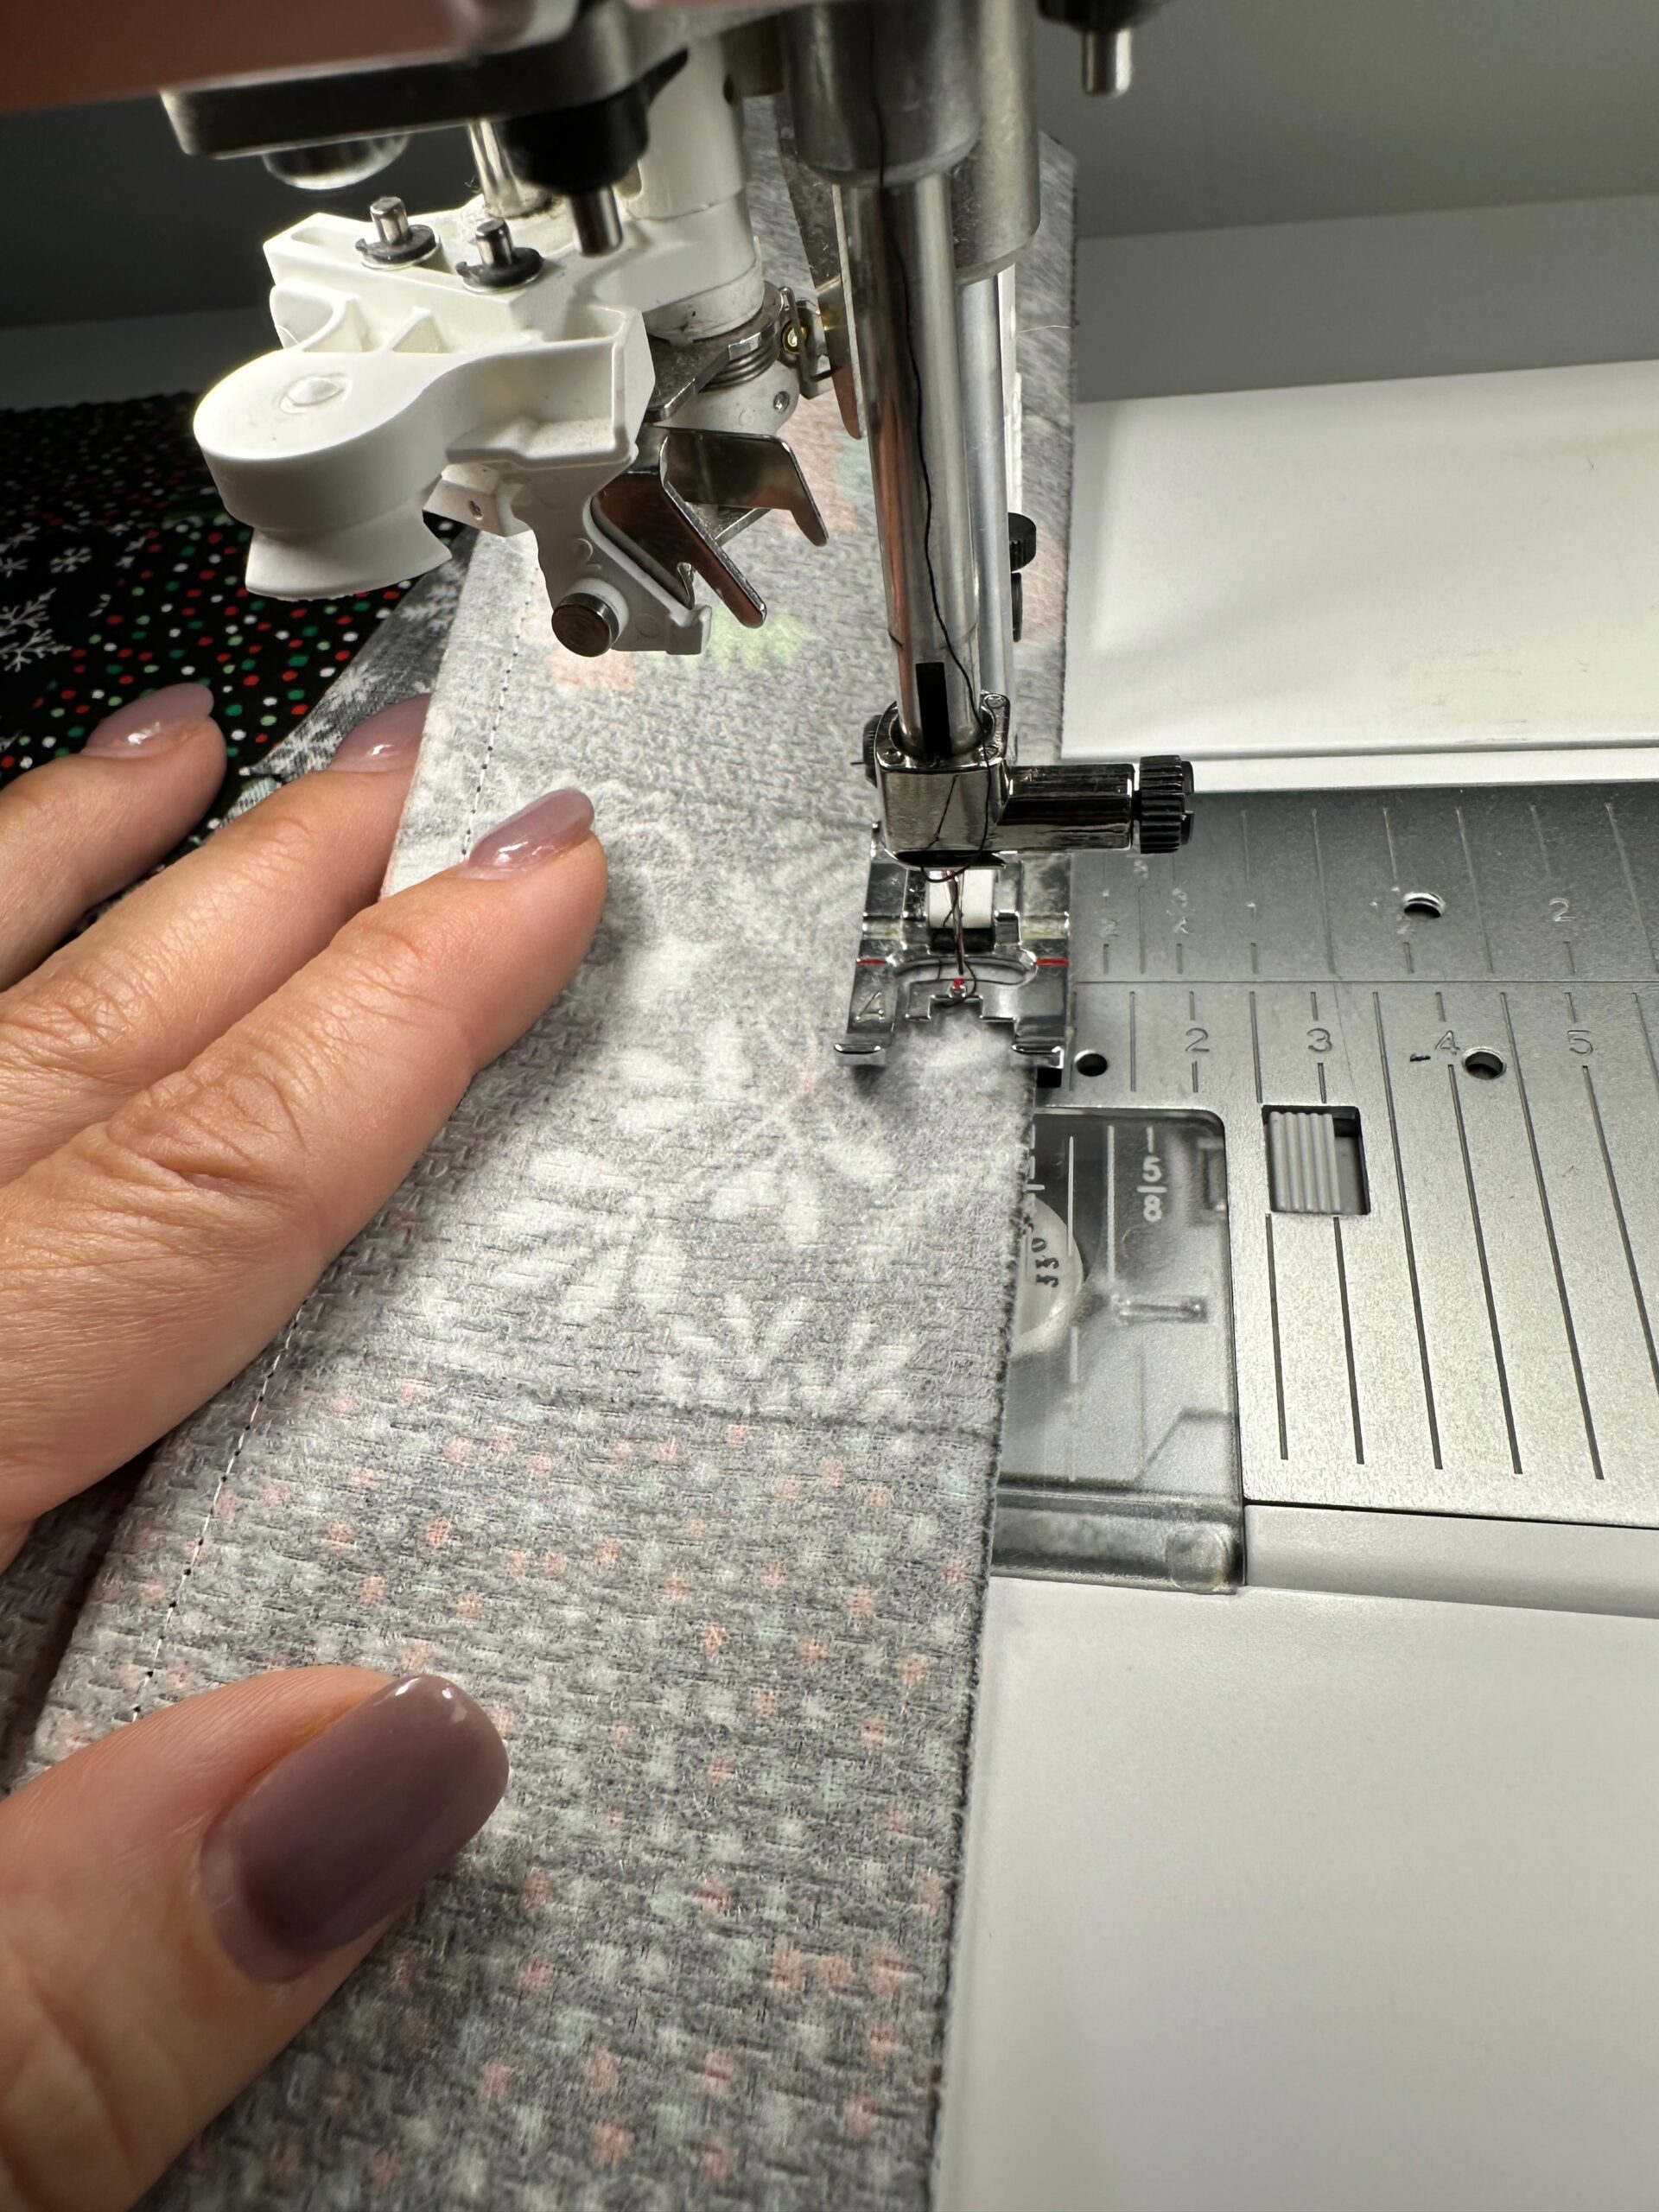
Continue to stitch each column.
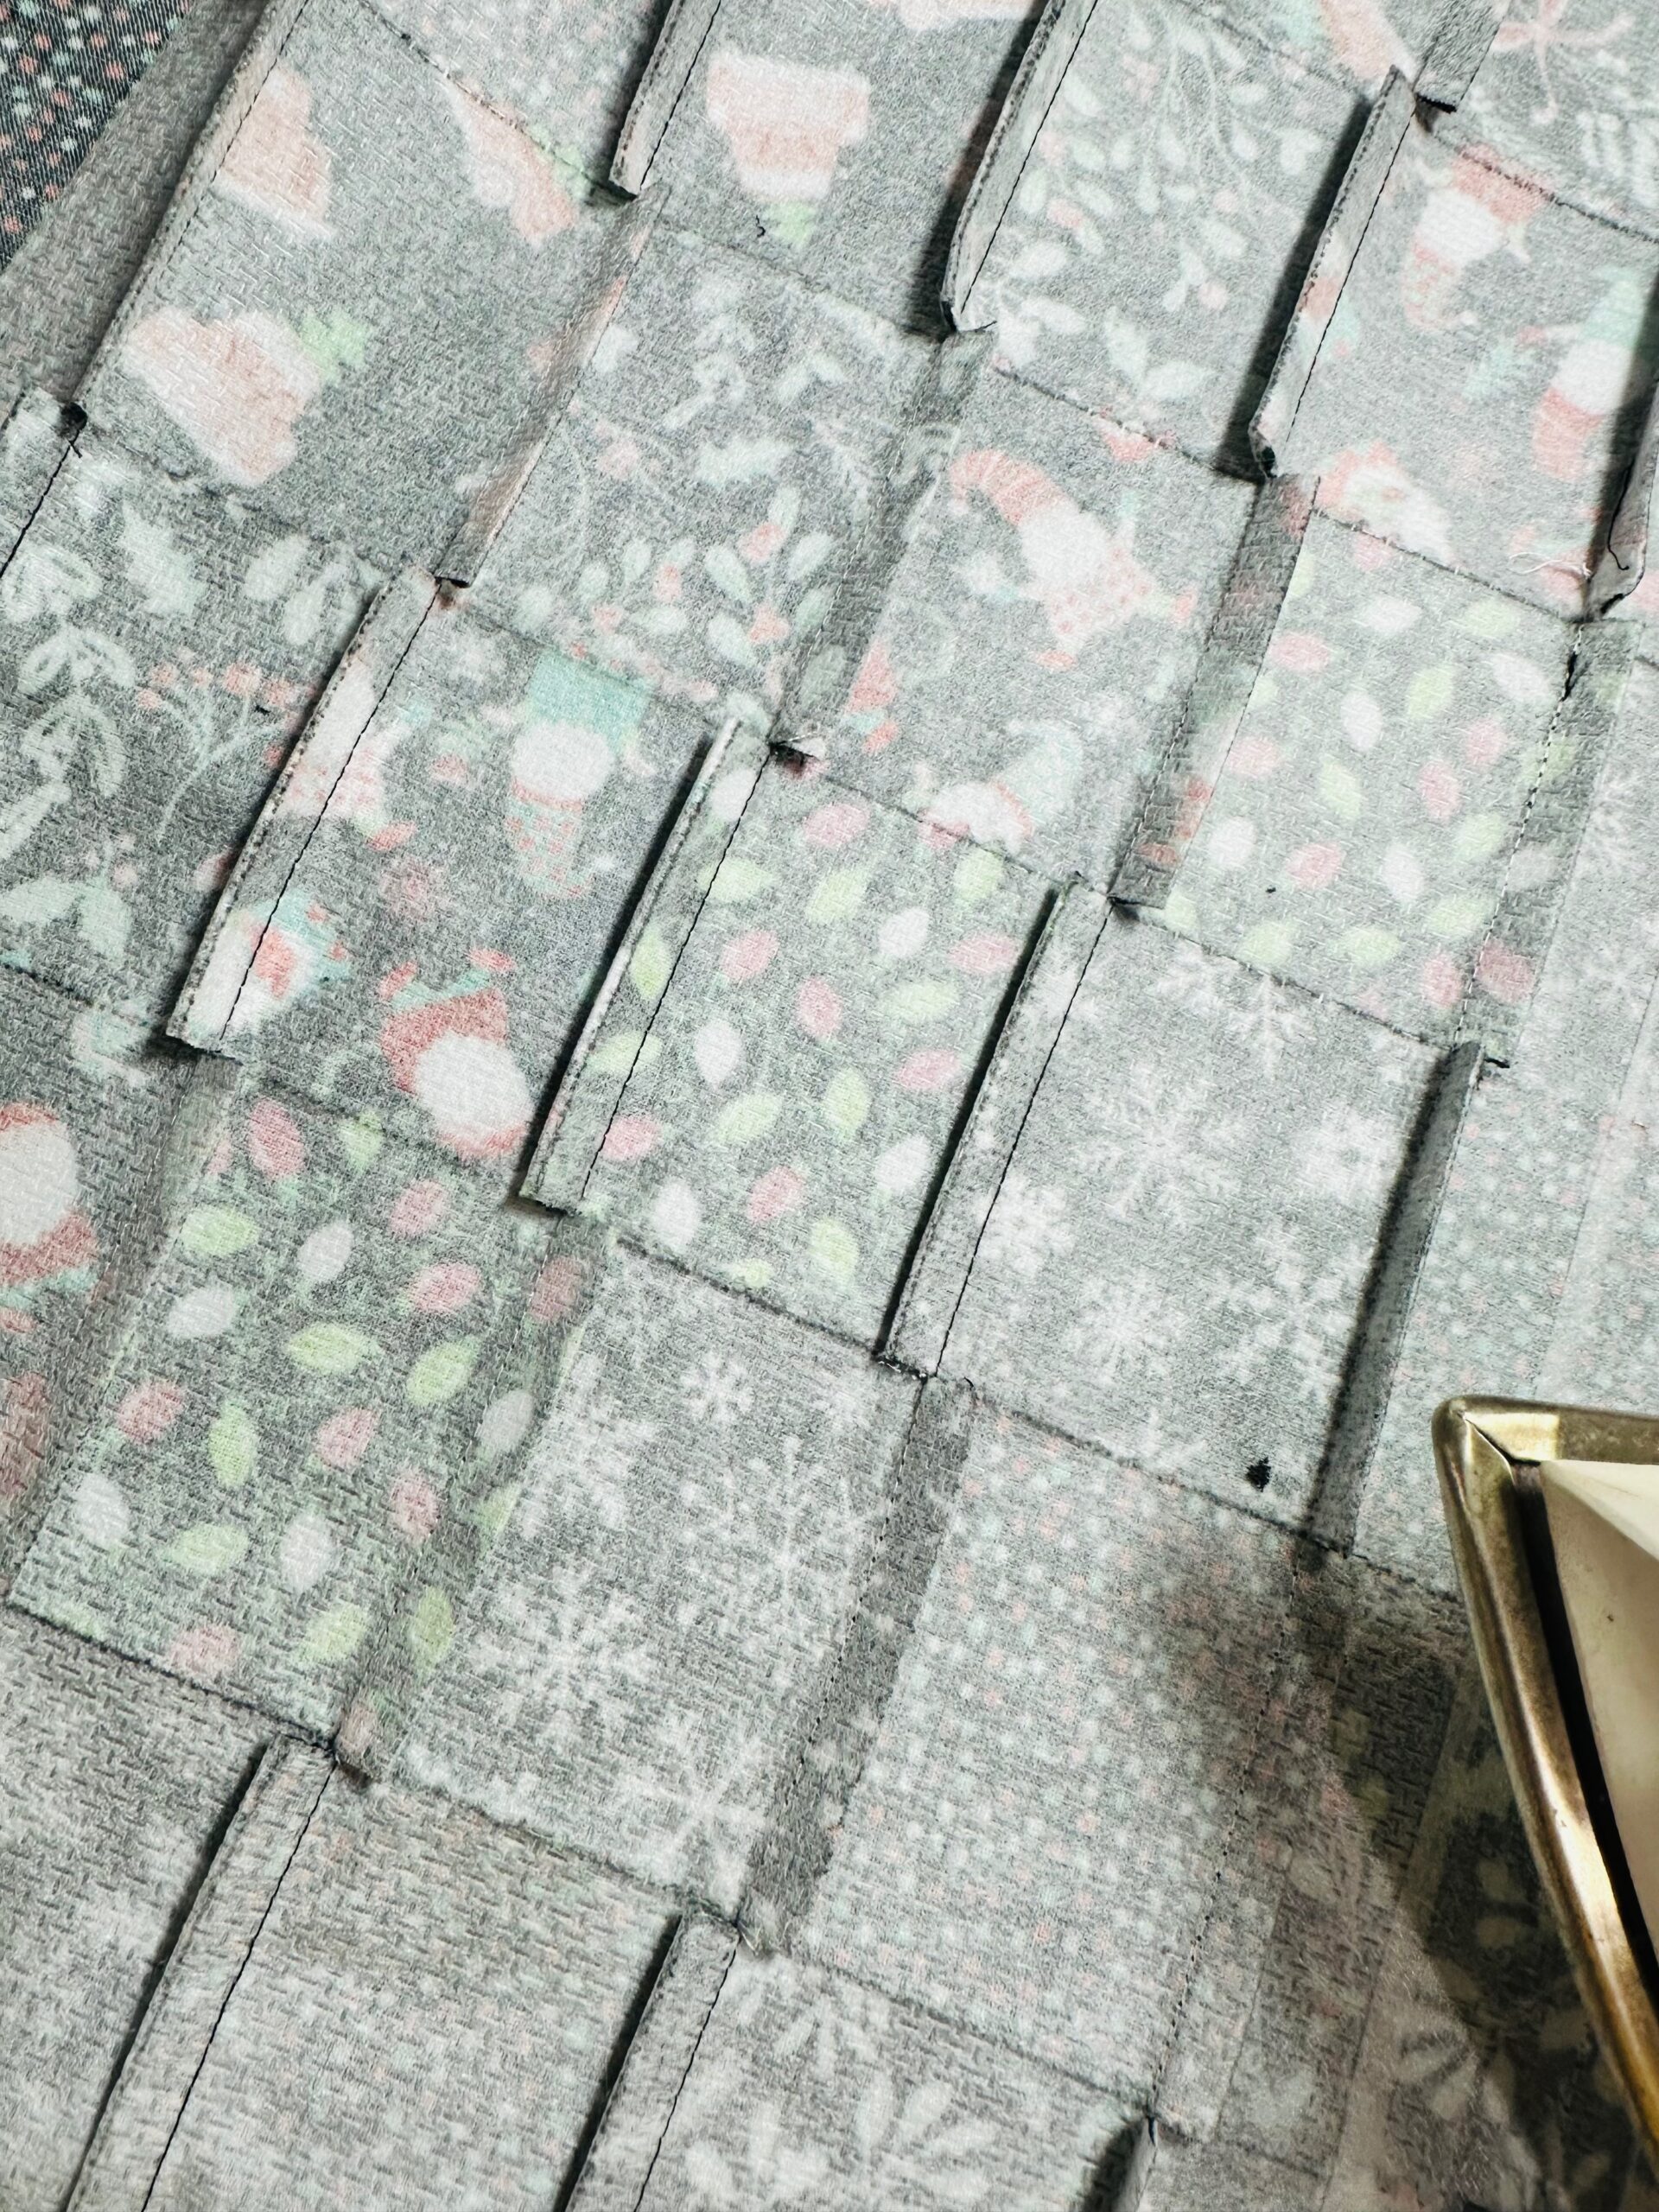
Flip the piece so the stabilizer is right side up. Clip into the stabilizer at each grid-line intersection. Clip up to, but not through, the stitching.
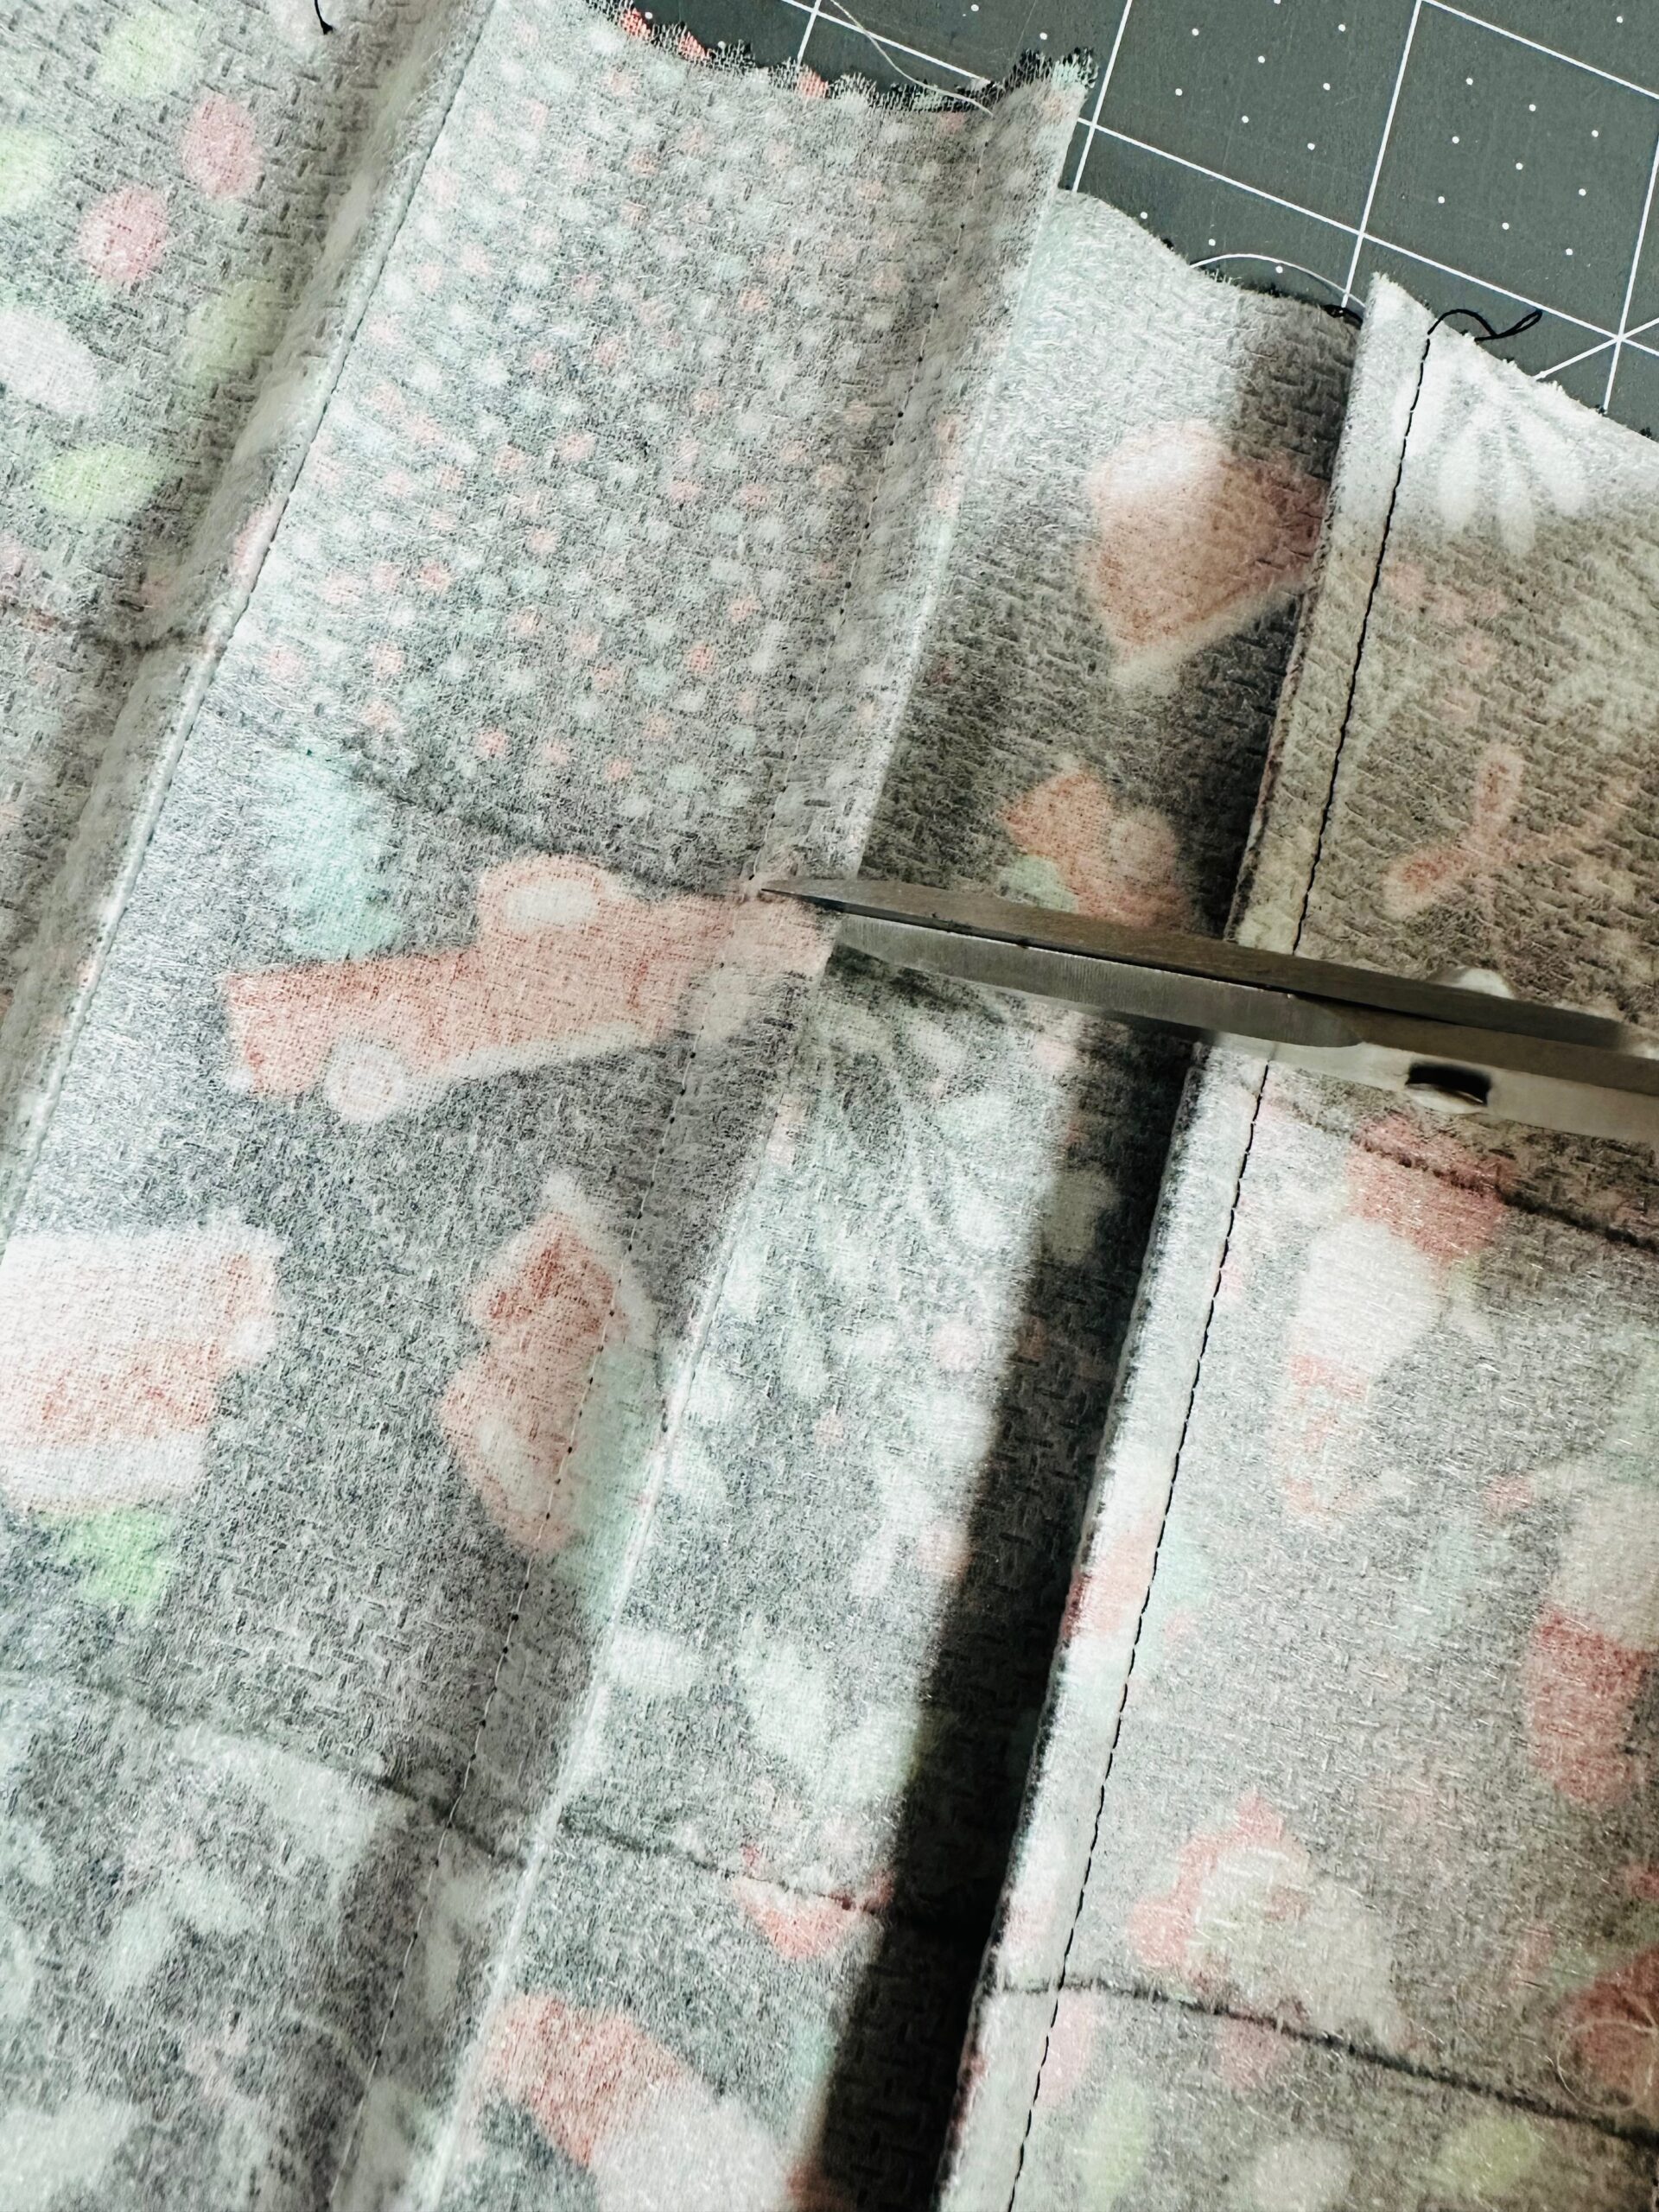
Next, press the seams in opposite directions to reduce bulk.
Next, fold the first row toward the wrong side along the grid line. Then, stitch 1/4″ from the fold.
Continue to stitch each row.
Press the fabric flat, making sure the column seams are still nested in opposite directions.
Place the patchwork piece over a 14″ x 22″ batting rectangle. Use KK 2000 Temporary Spray Adhesive to secure the layers. If using the optional muslin fabric, place that behind the batting to create a “sandwich.” The muslin helps the patchwork piece glide over the feed dogs without snagging, as batting may catch during quilting.
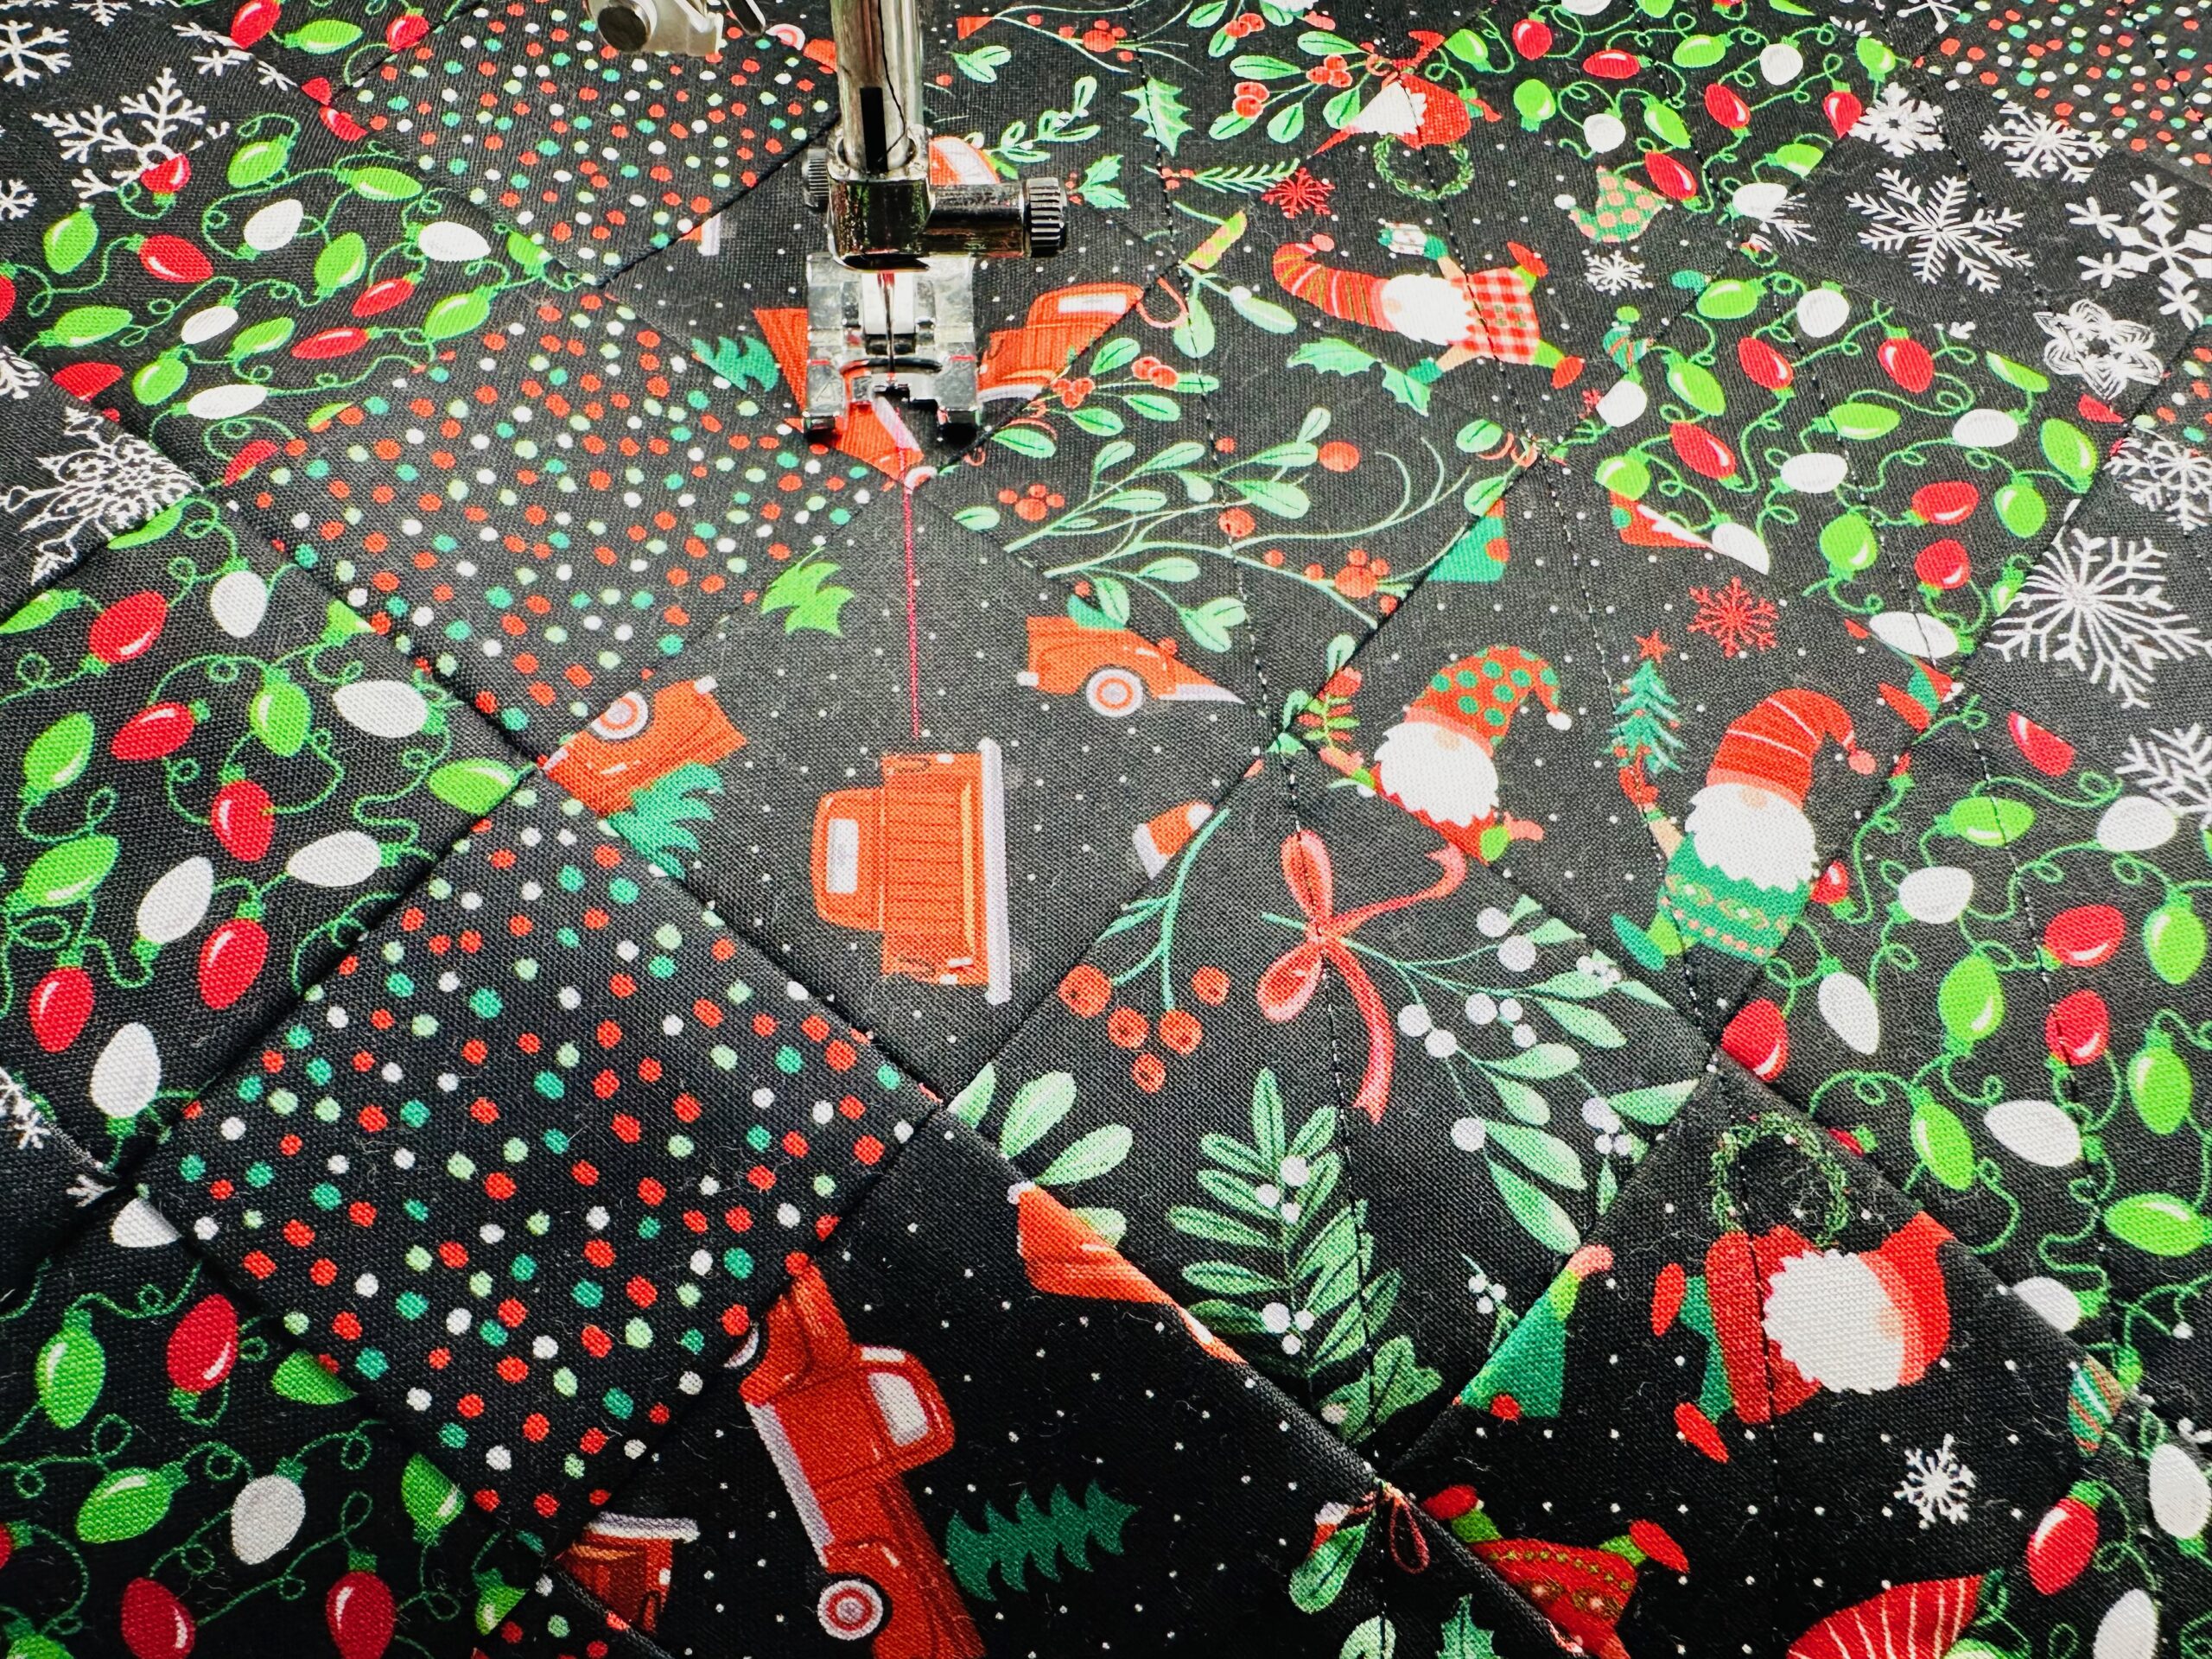
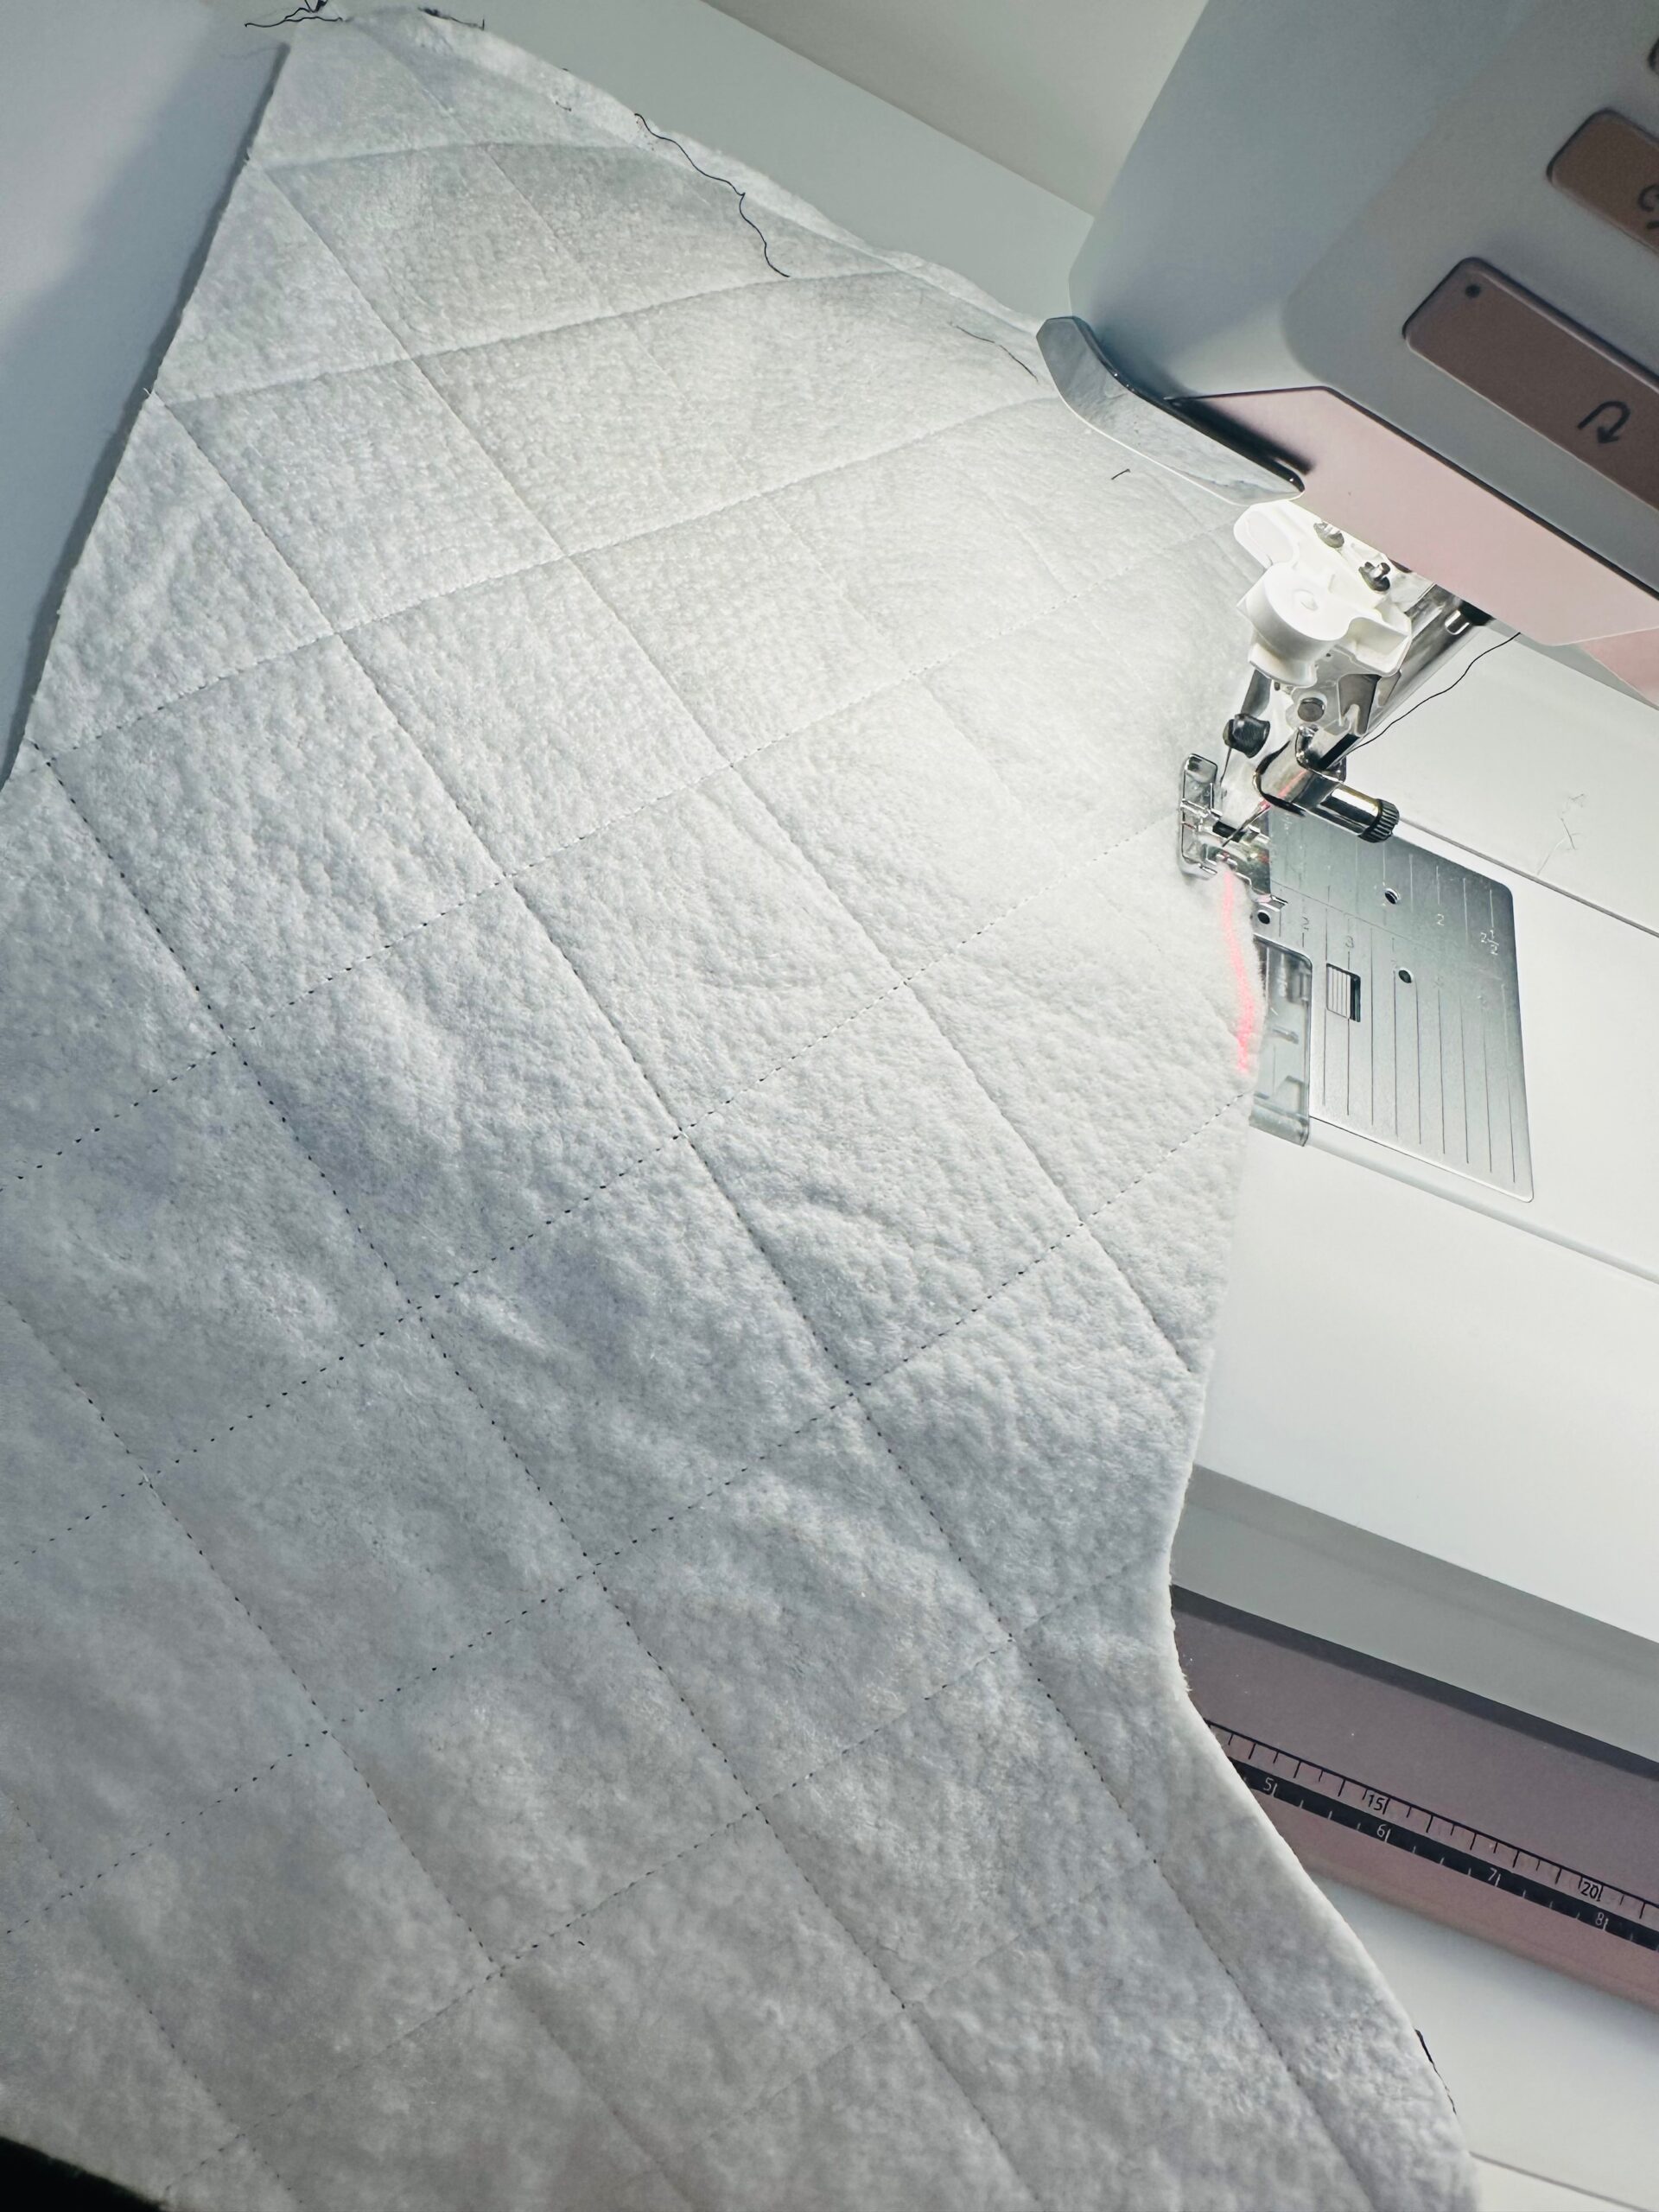
QUILTING
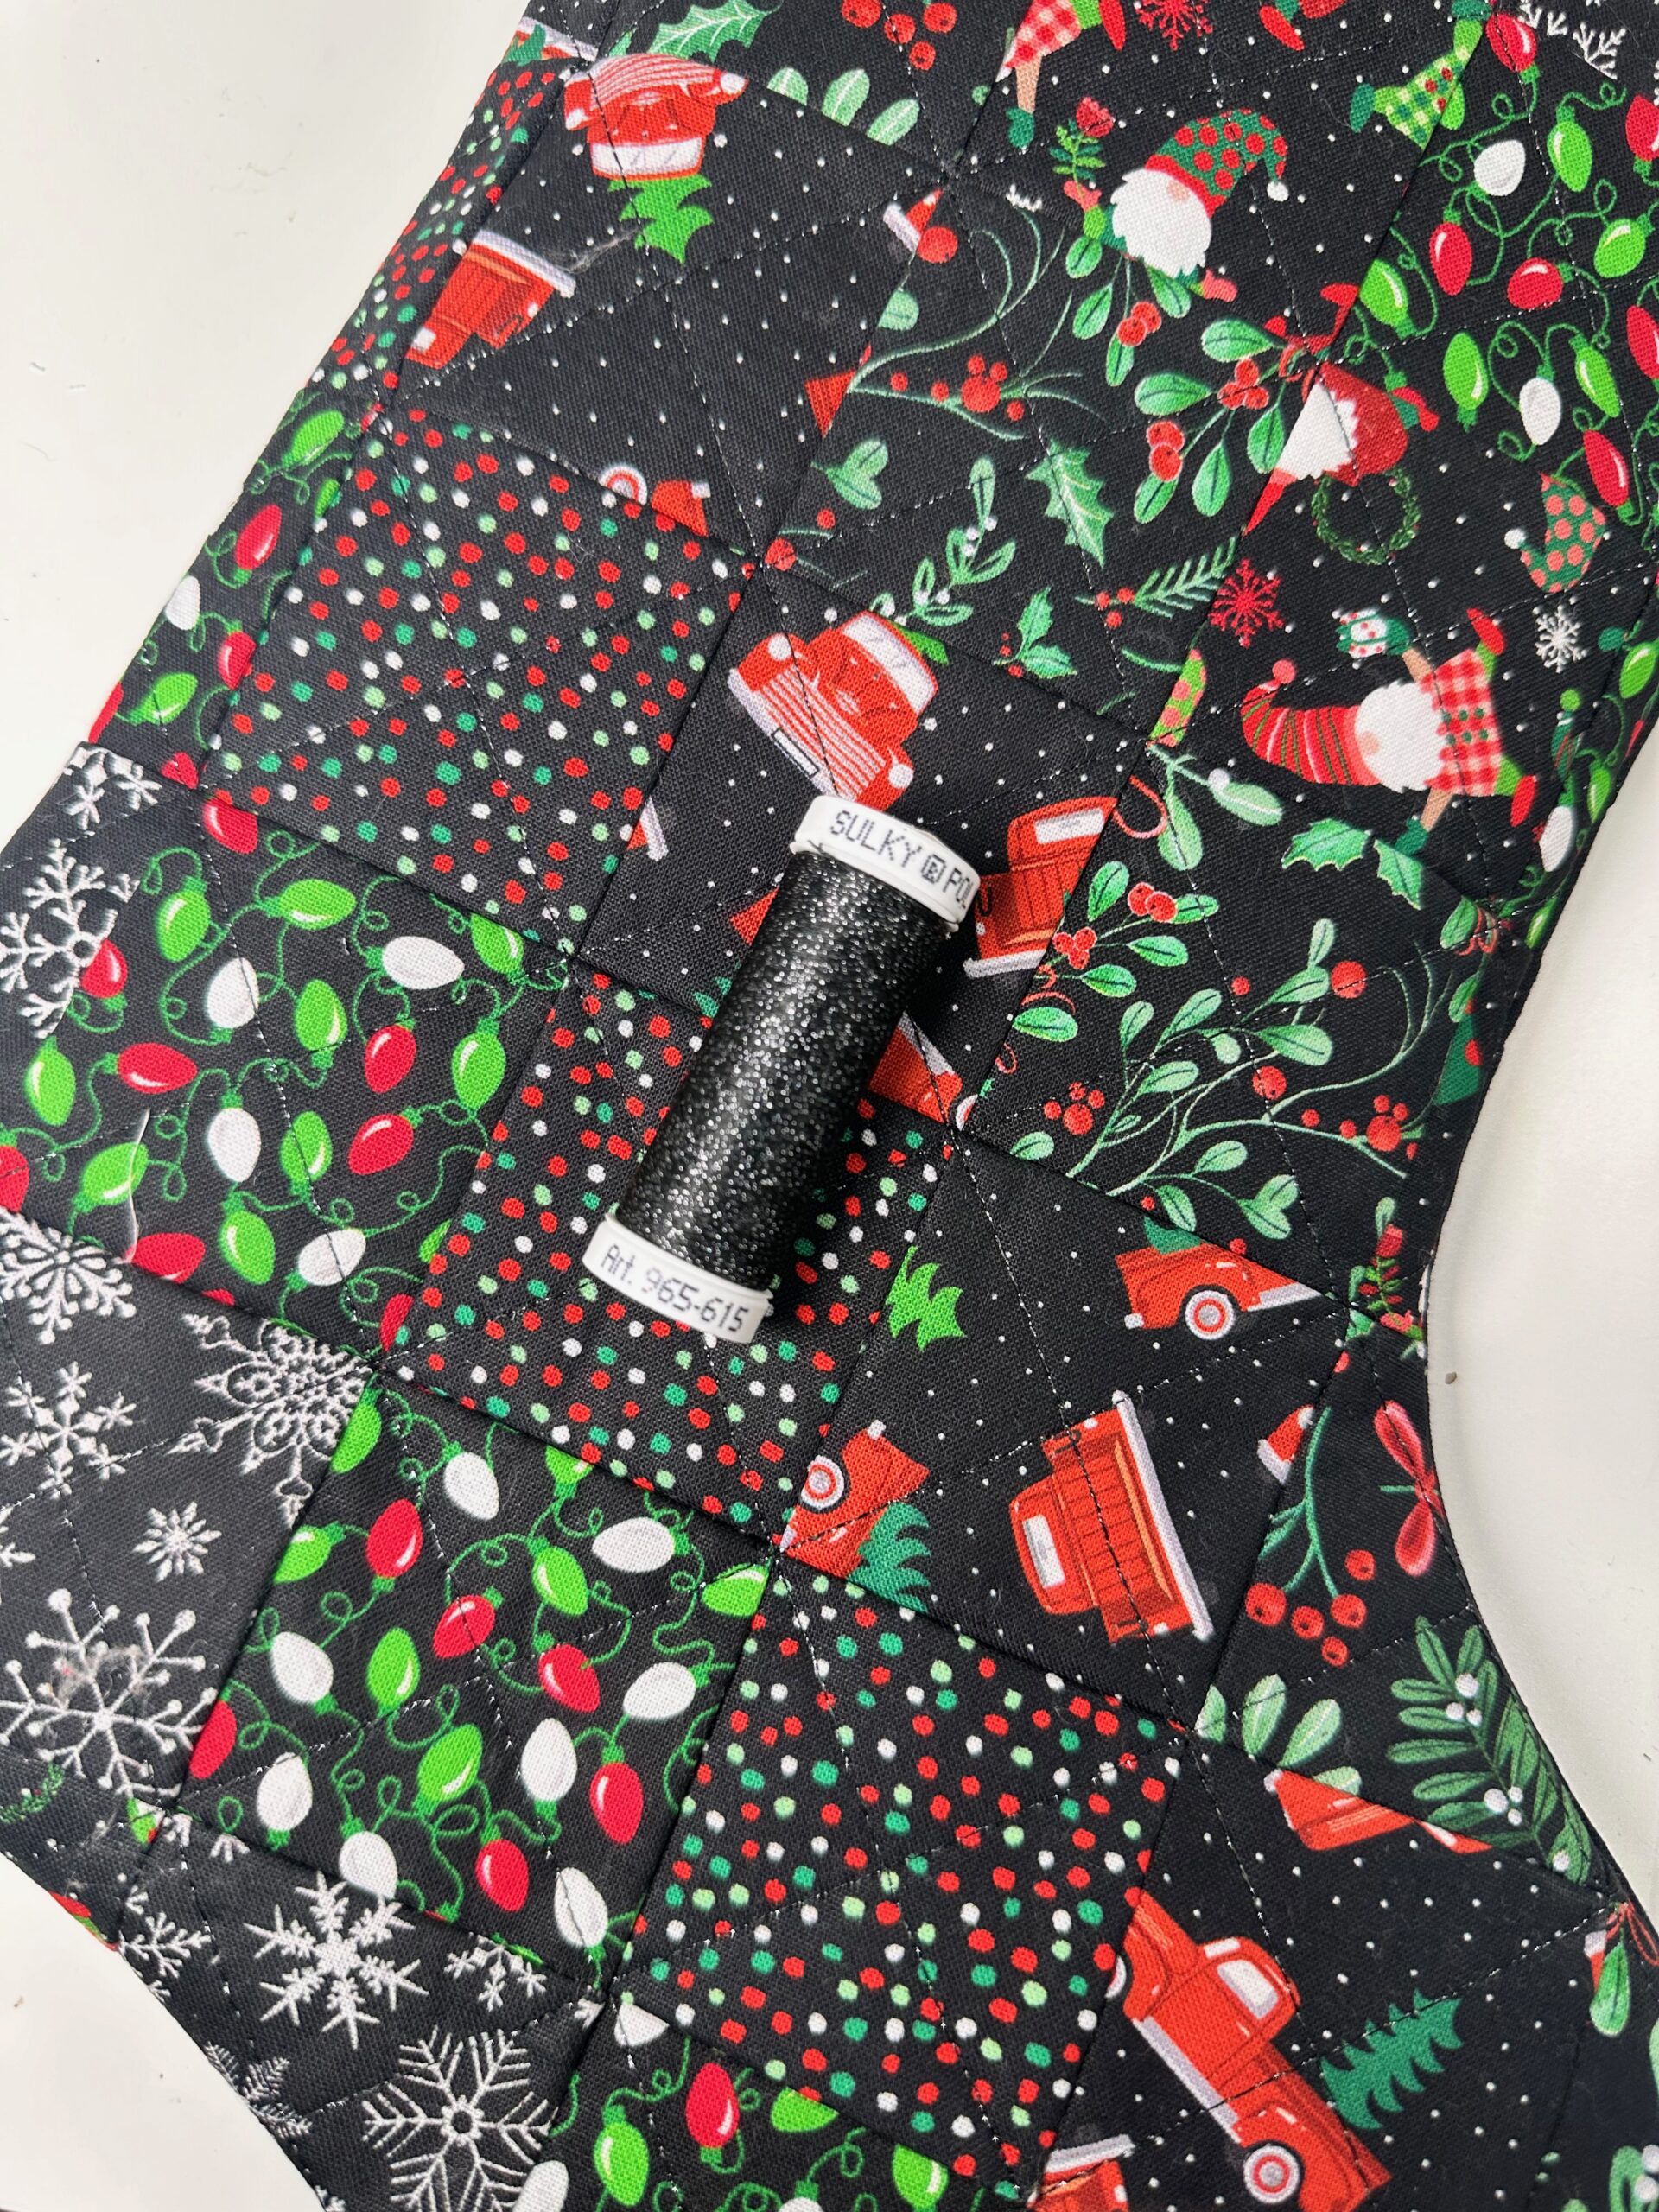
Quilt the piece as desired, using a 90/14 Quilting Needle and Sulky 30 wt. Poly Sparkle Thread for a touch of glitz.
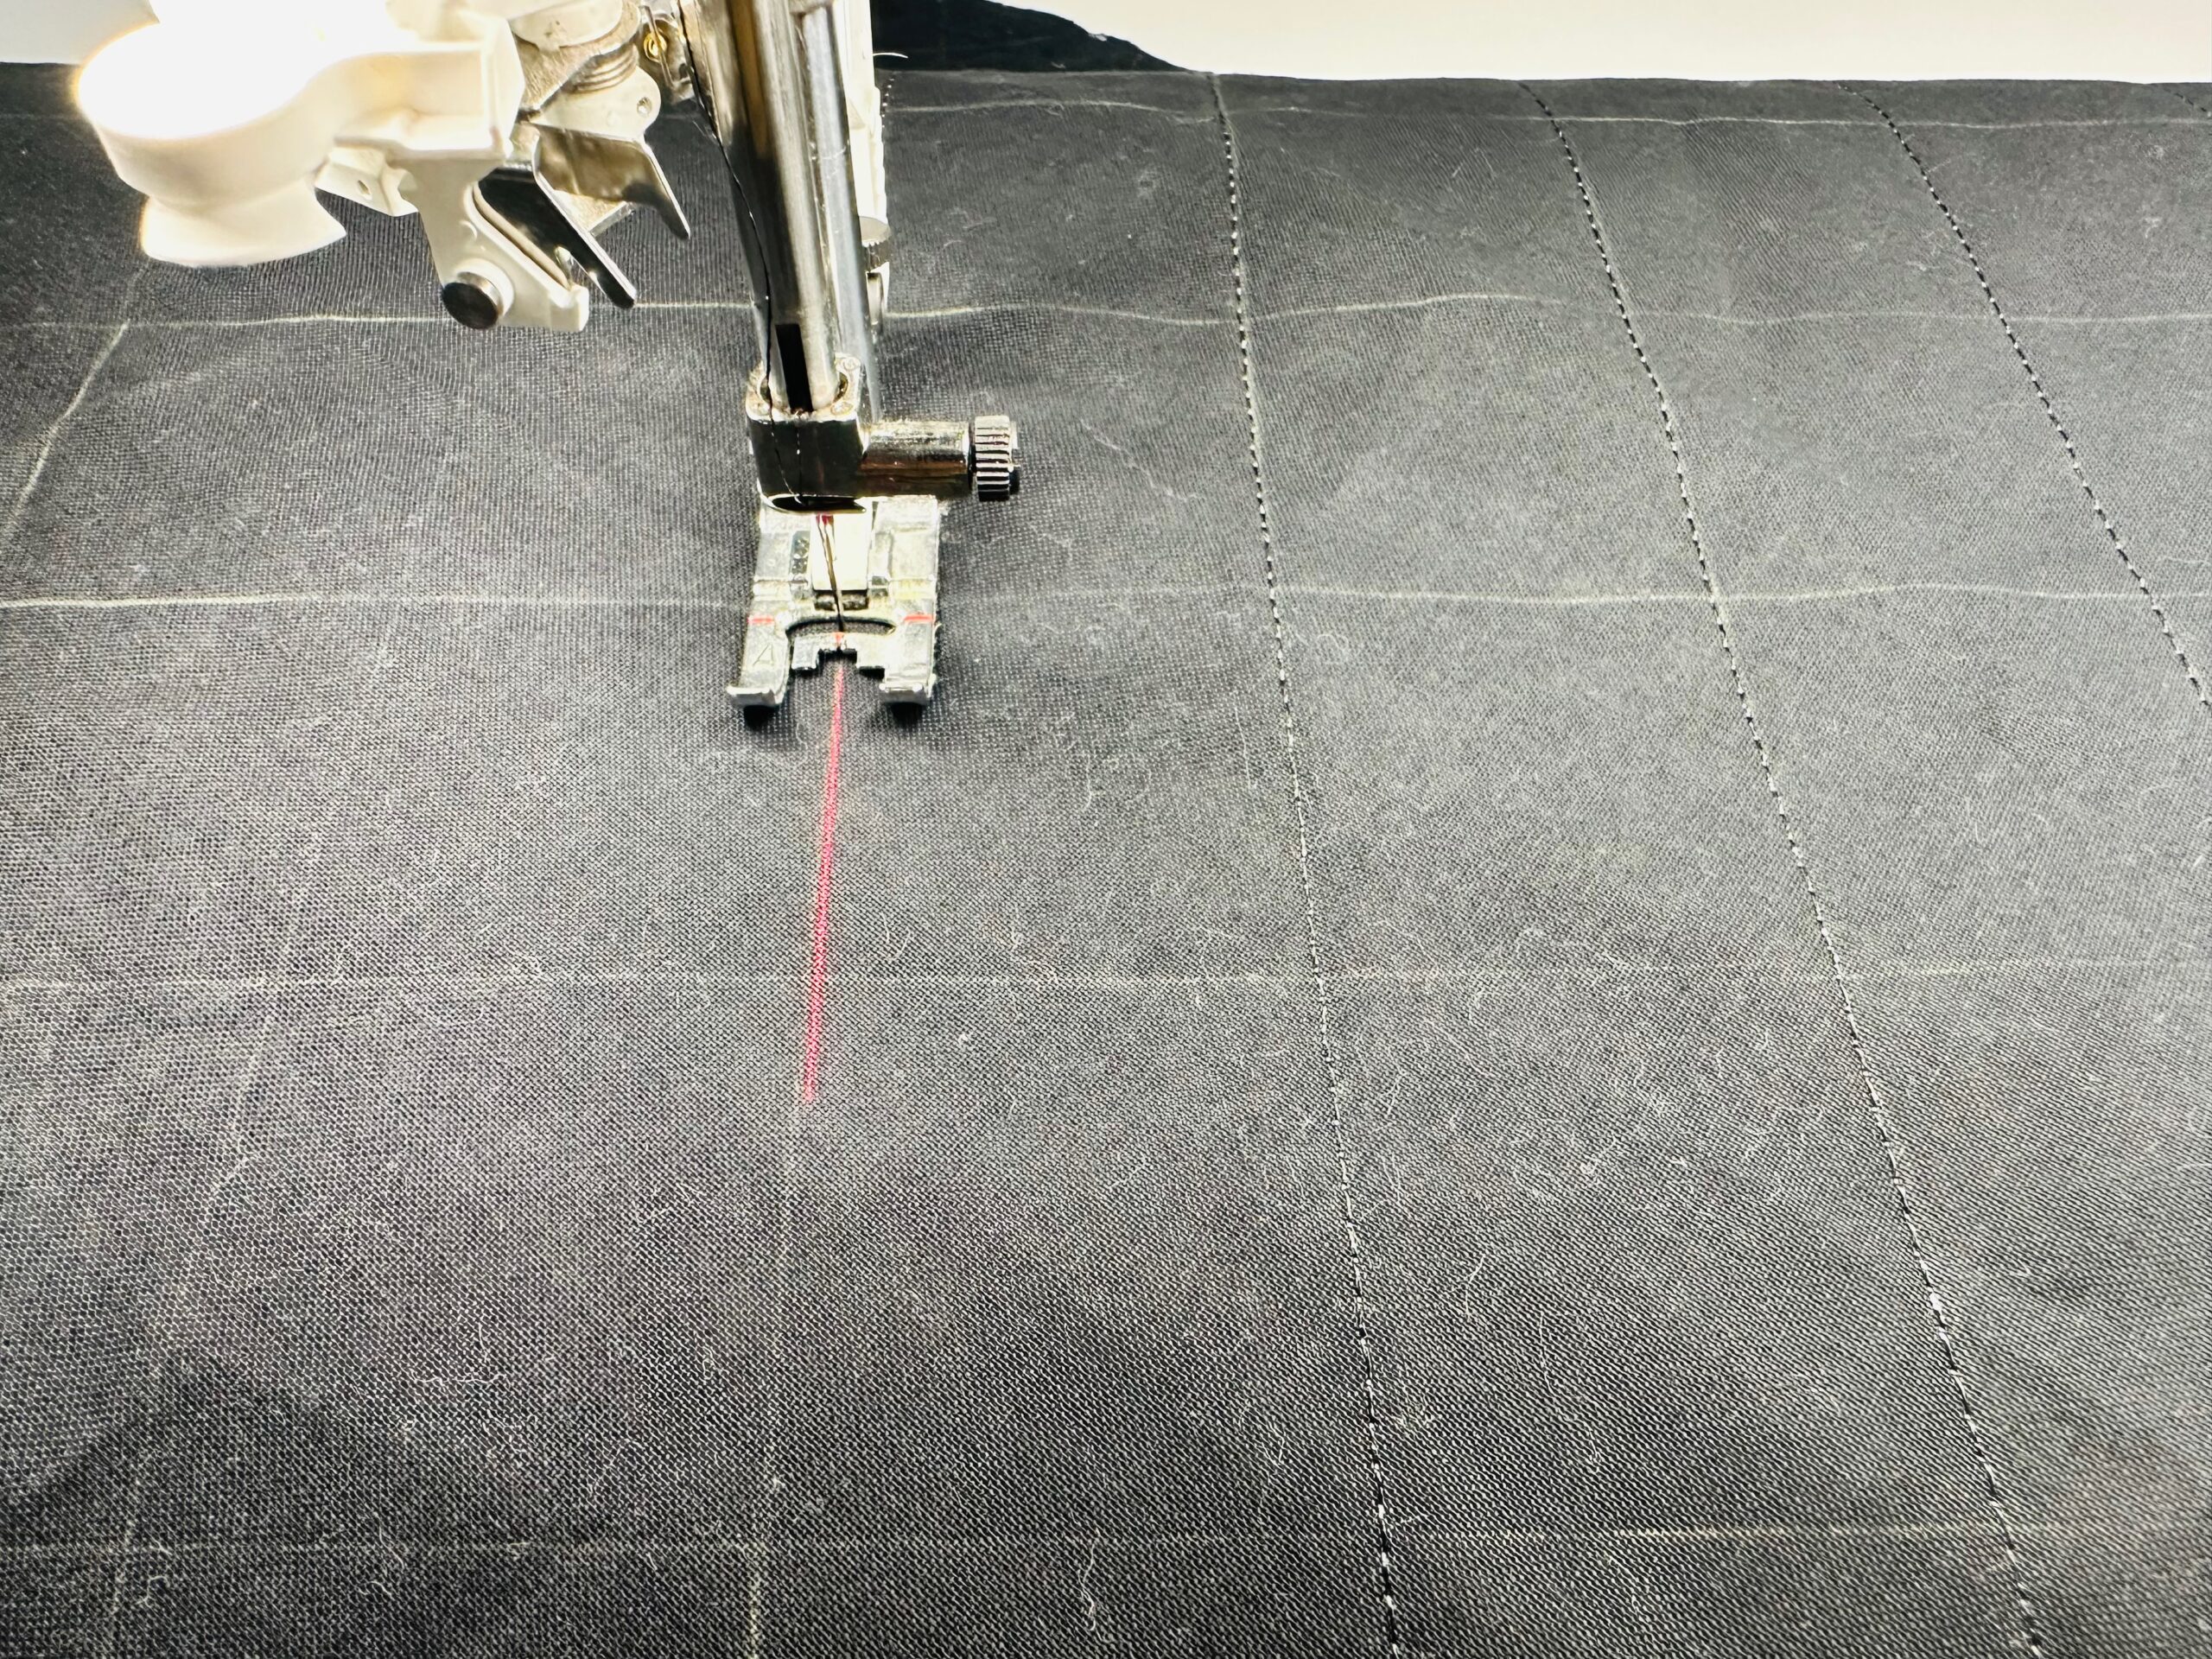
Place another 14″ x 22″ batting rectangle on a flat work surface. Center the backing-fabric rectangle right side up over the batting. Use KK2000 to secure the layers. Quilt these layers in the same manner as the patchwork piece, adding the muslin layer (if using). Note: If creating two patchwork pieces for the stocking exteriors, repeat to quilt the second patchwork piece, omitting the backing fabric.
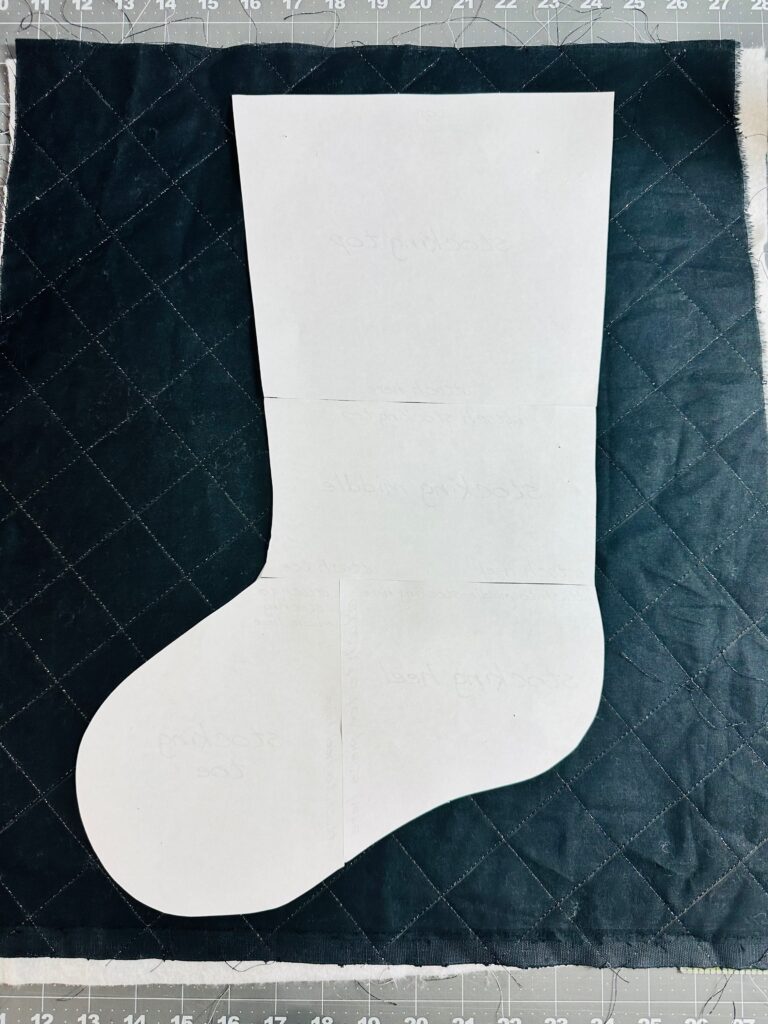
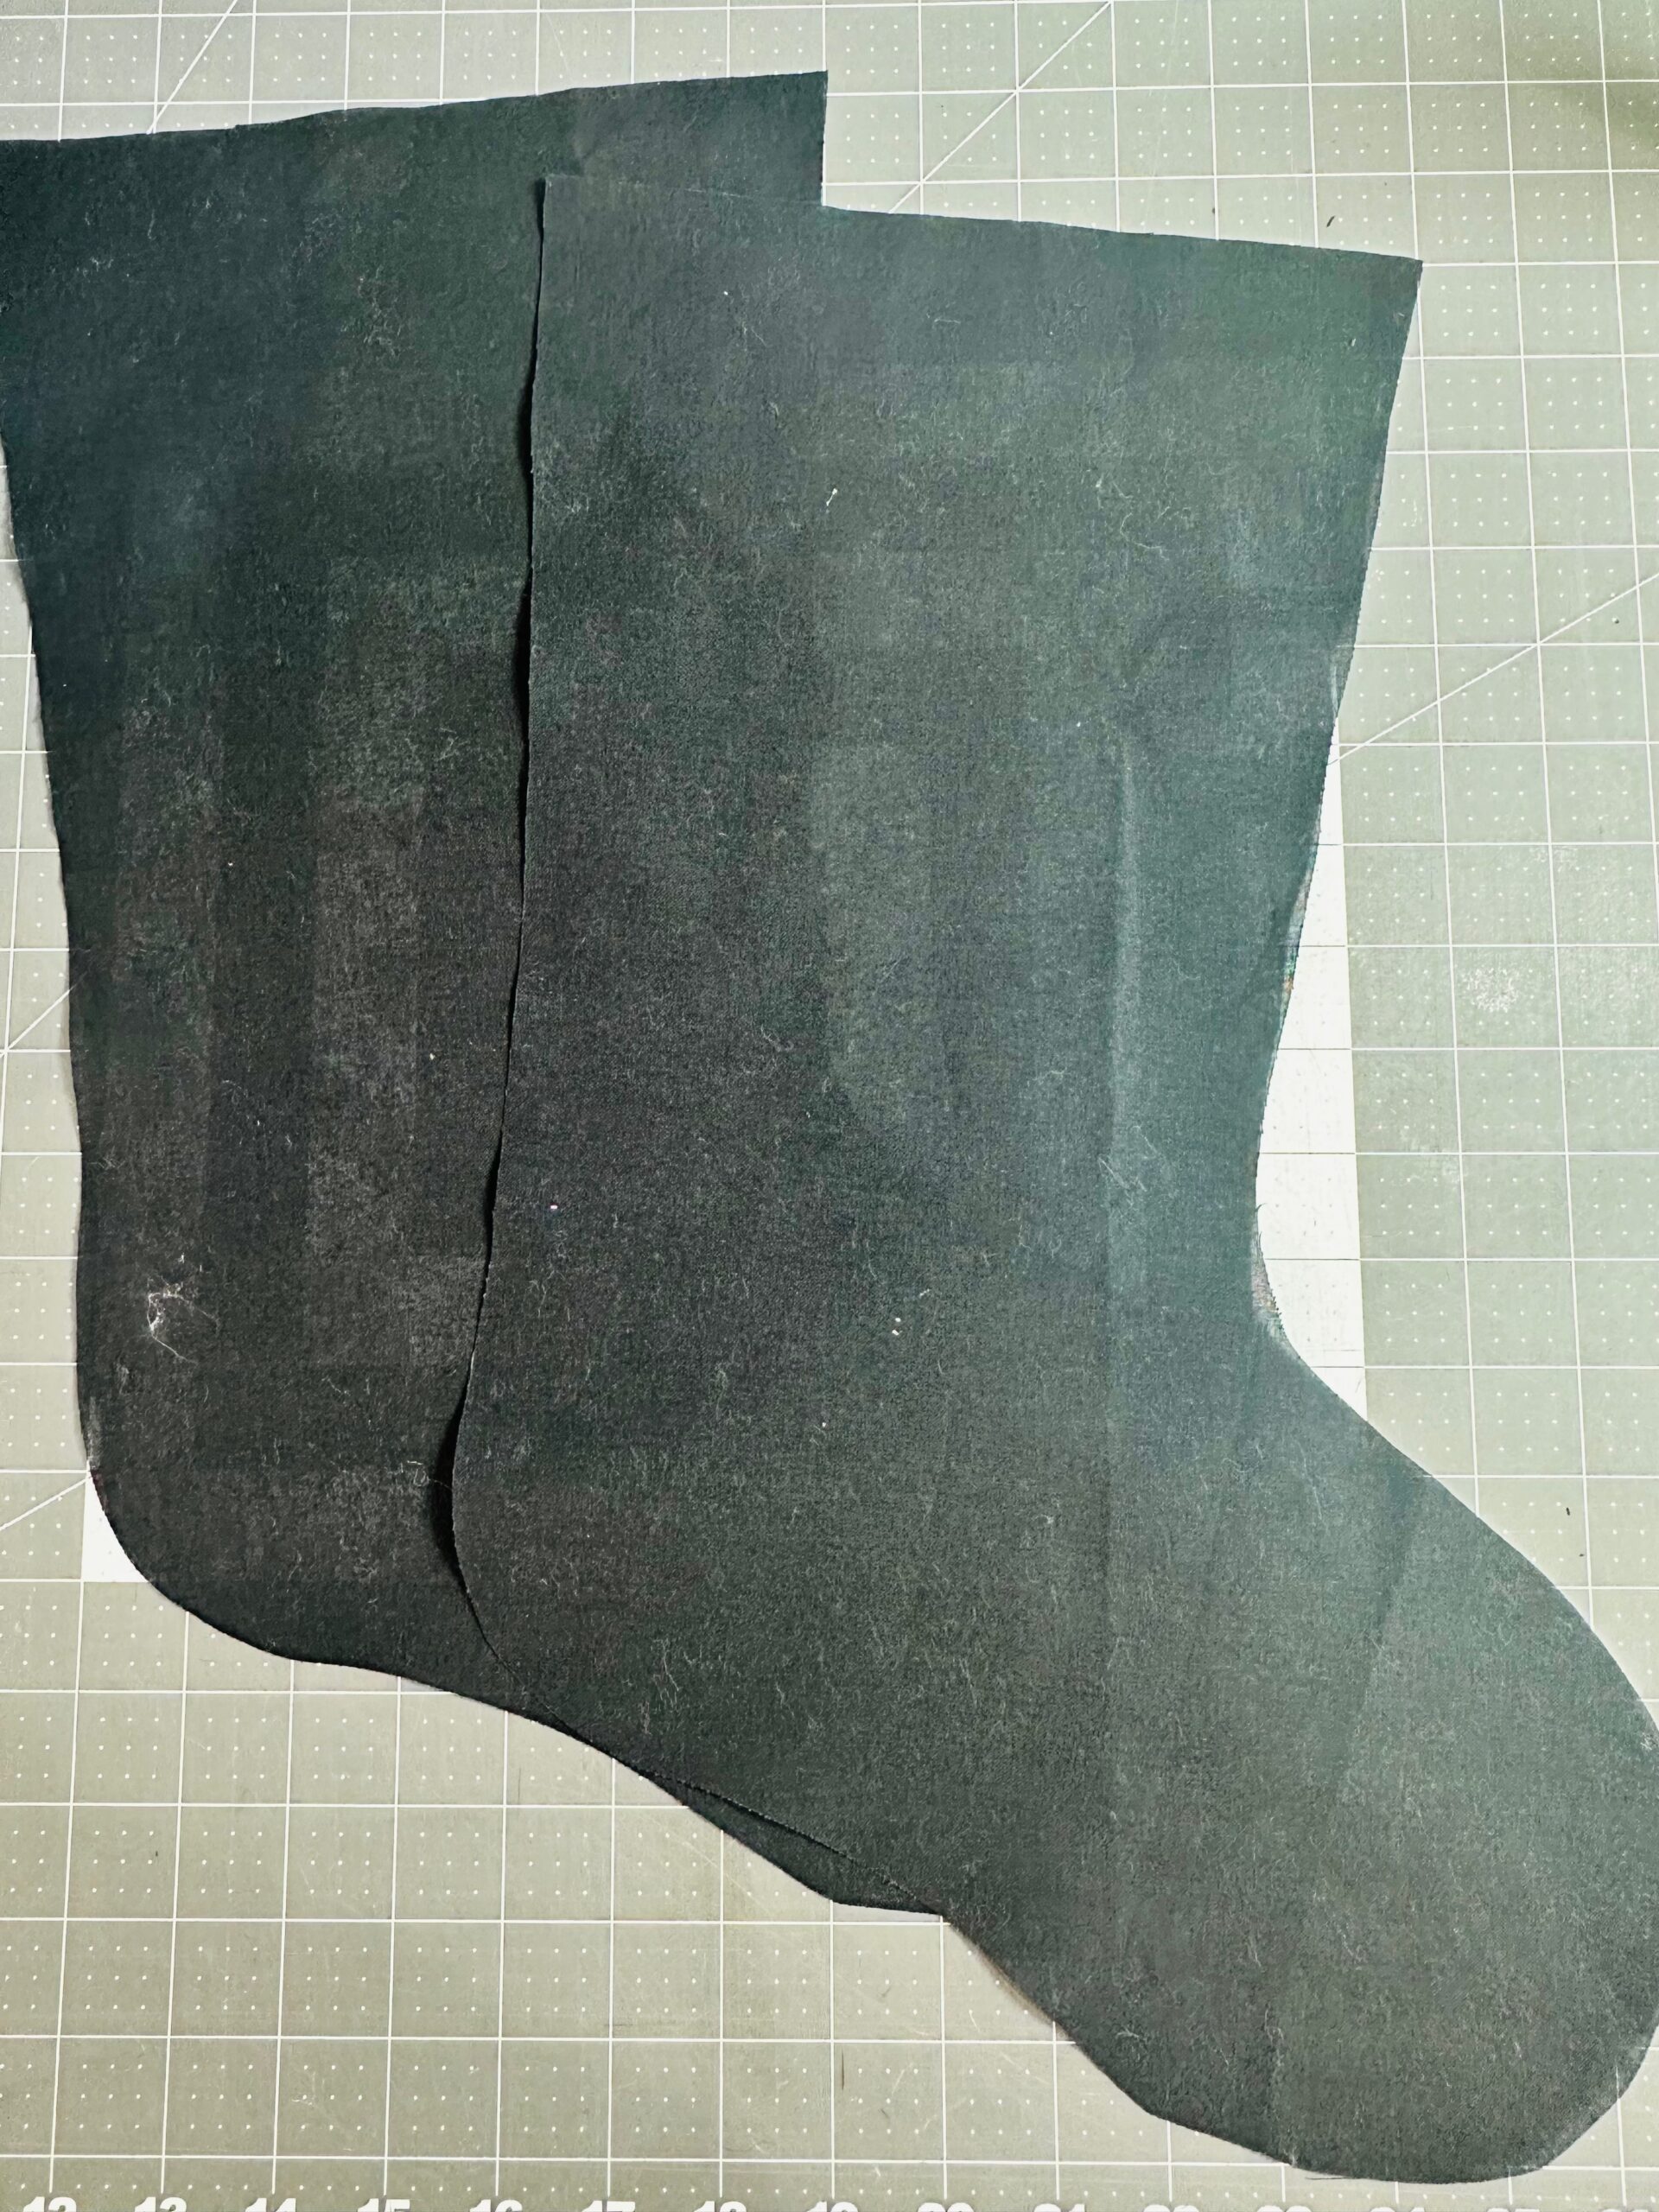
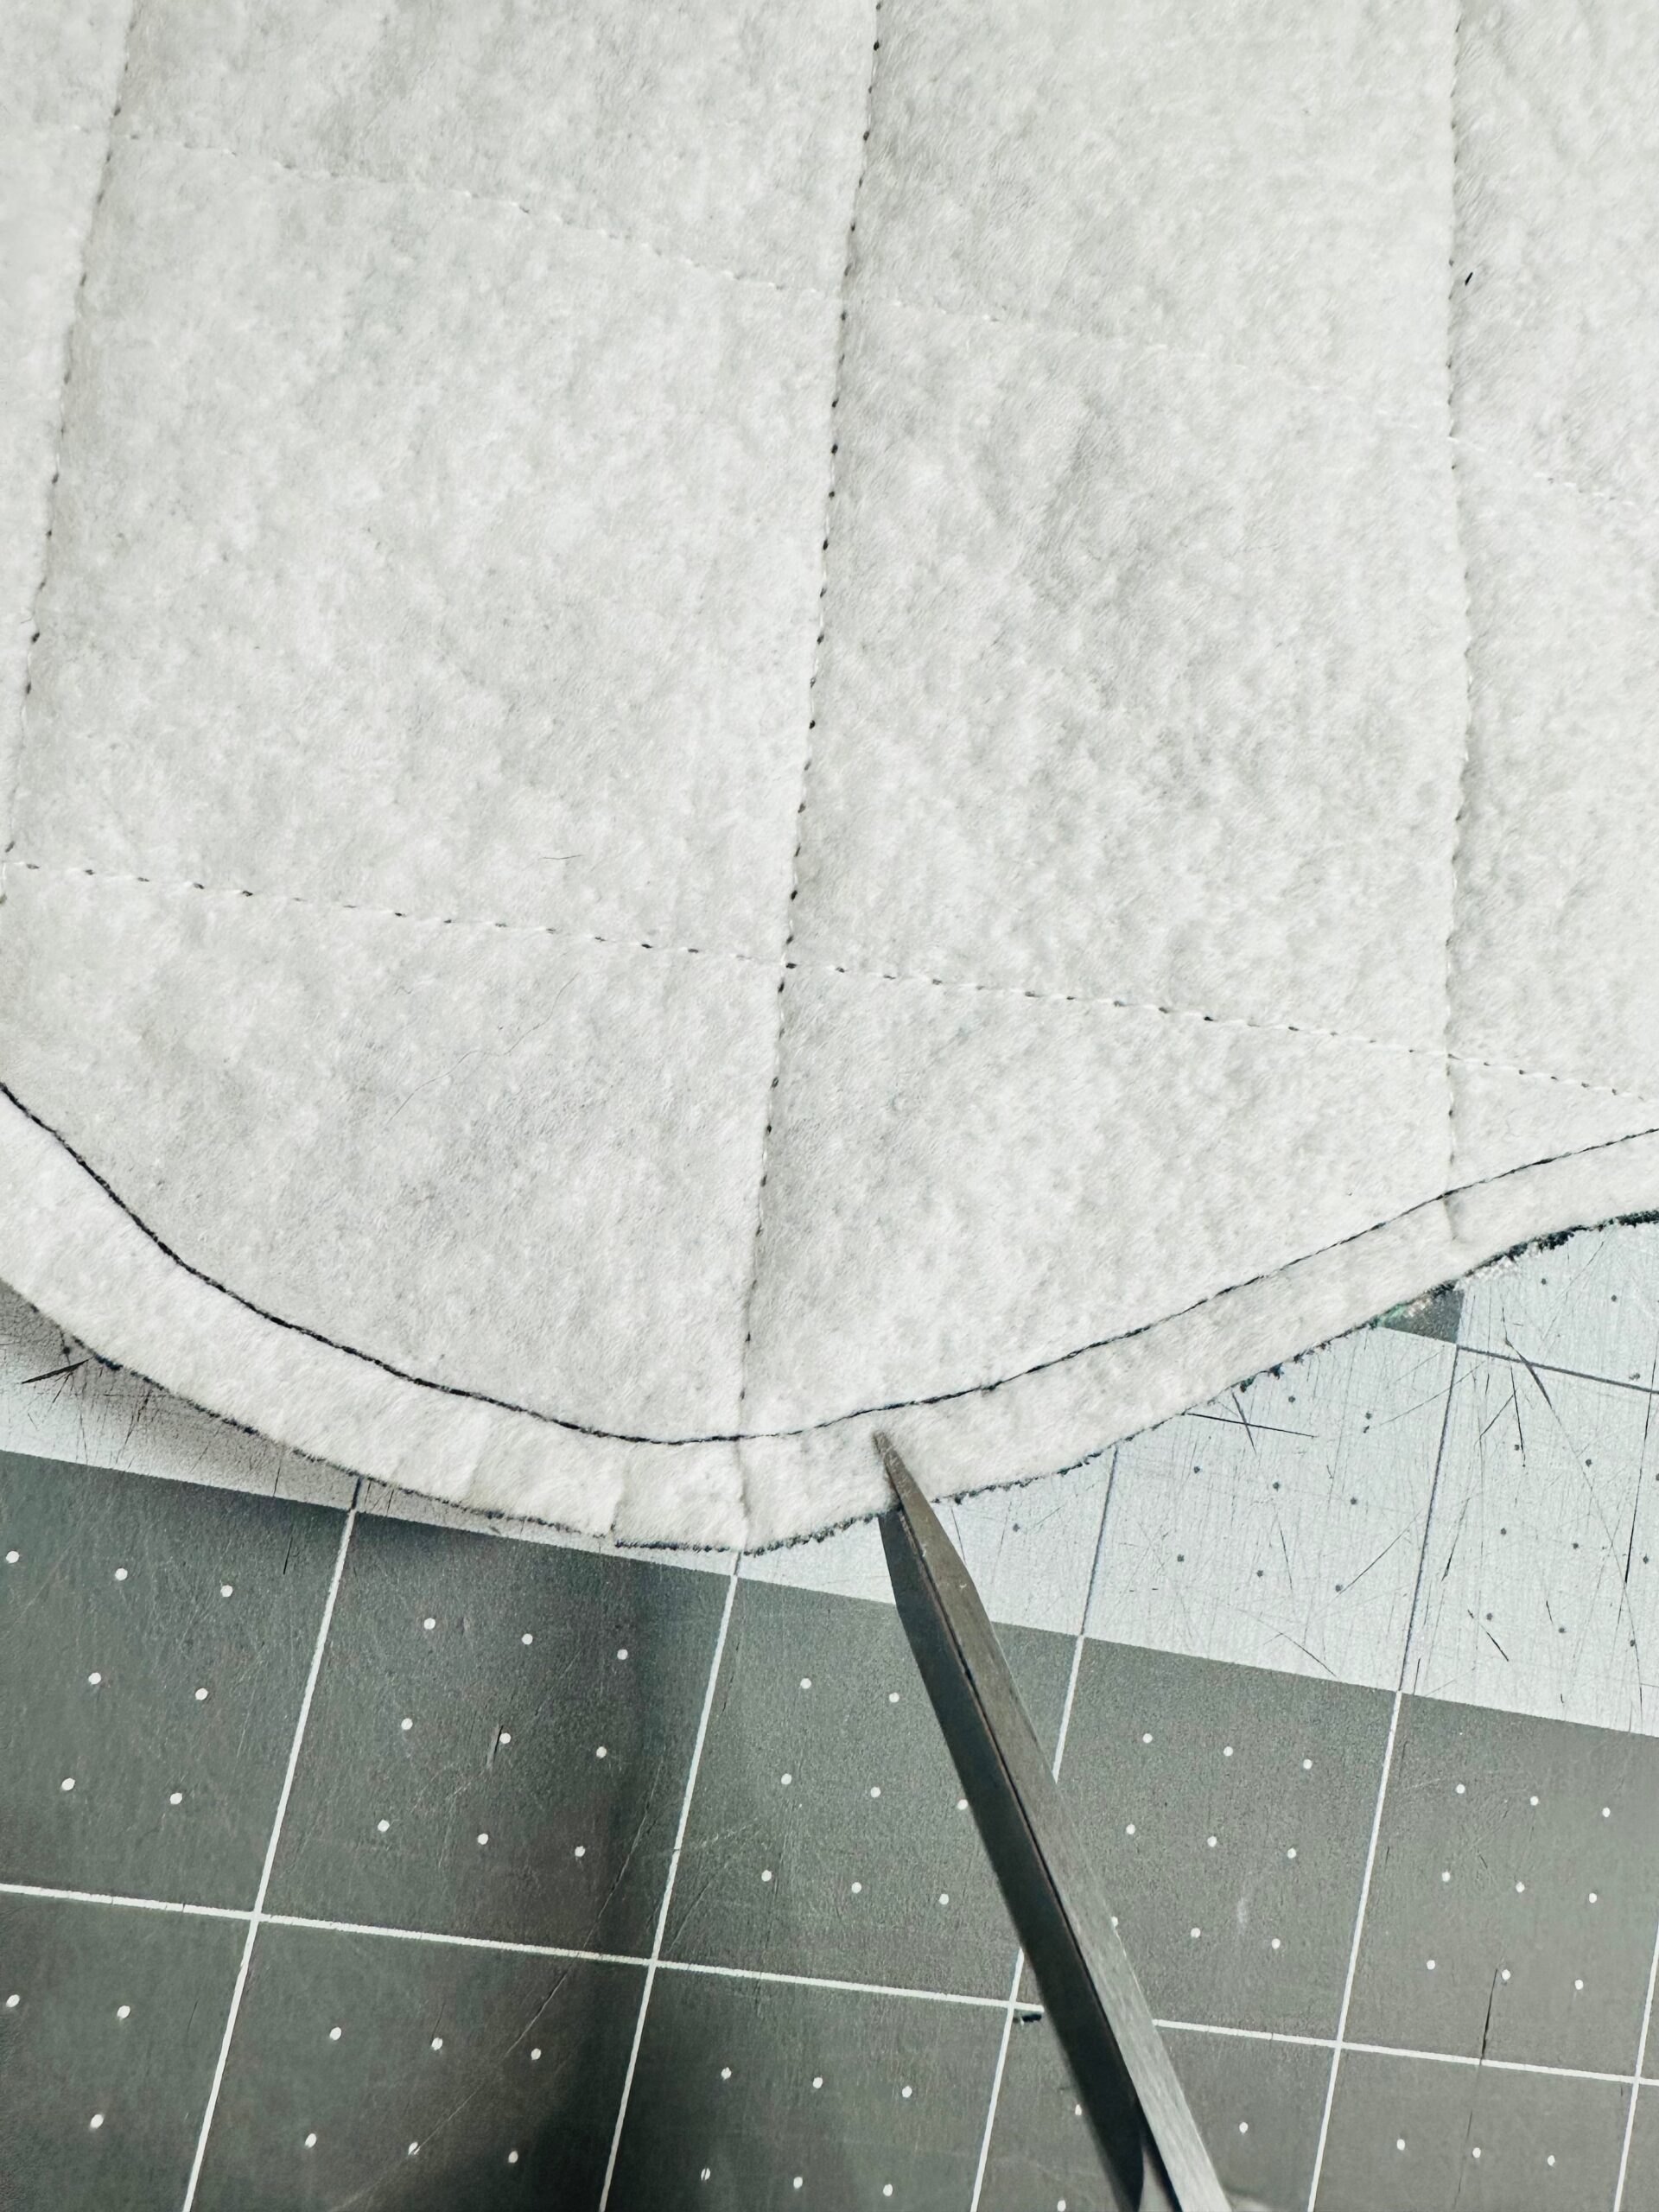
When the quilting is complete, cut two stockings (a front from the patchwork piece and a back from the coordinating piece) for the stocking exteriors.
Cut a front and back interior stocking from the lining fabric.
STOCKING CONSTRUCTION
These instructions differ from those in the featured pattern.
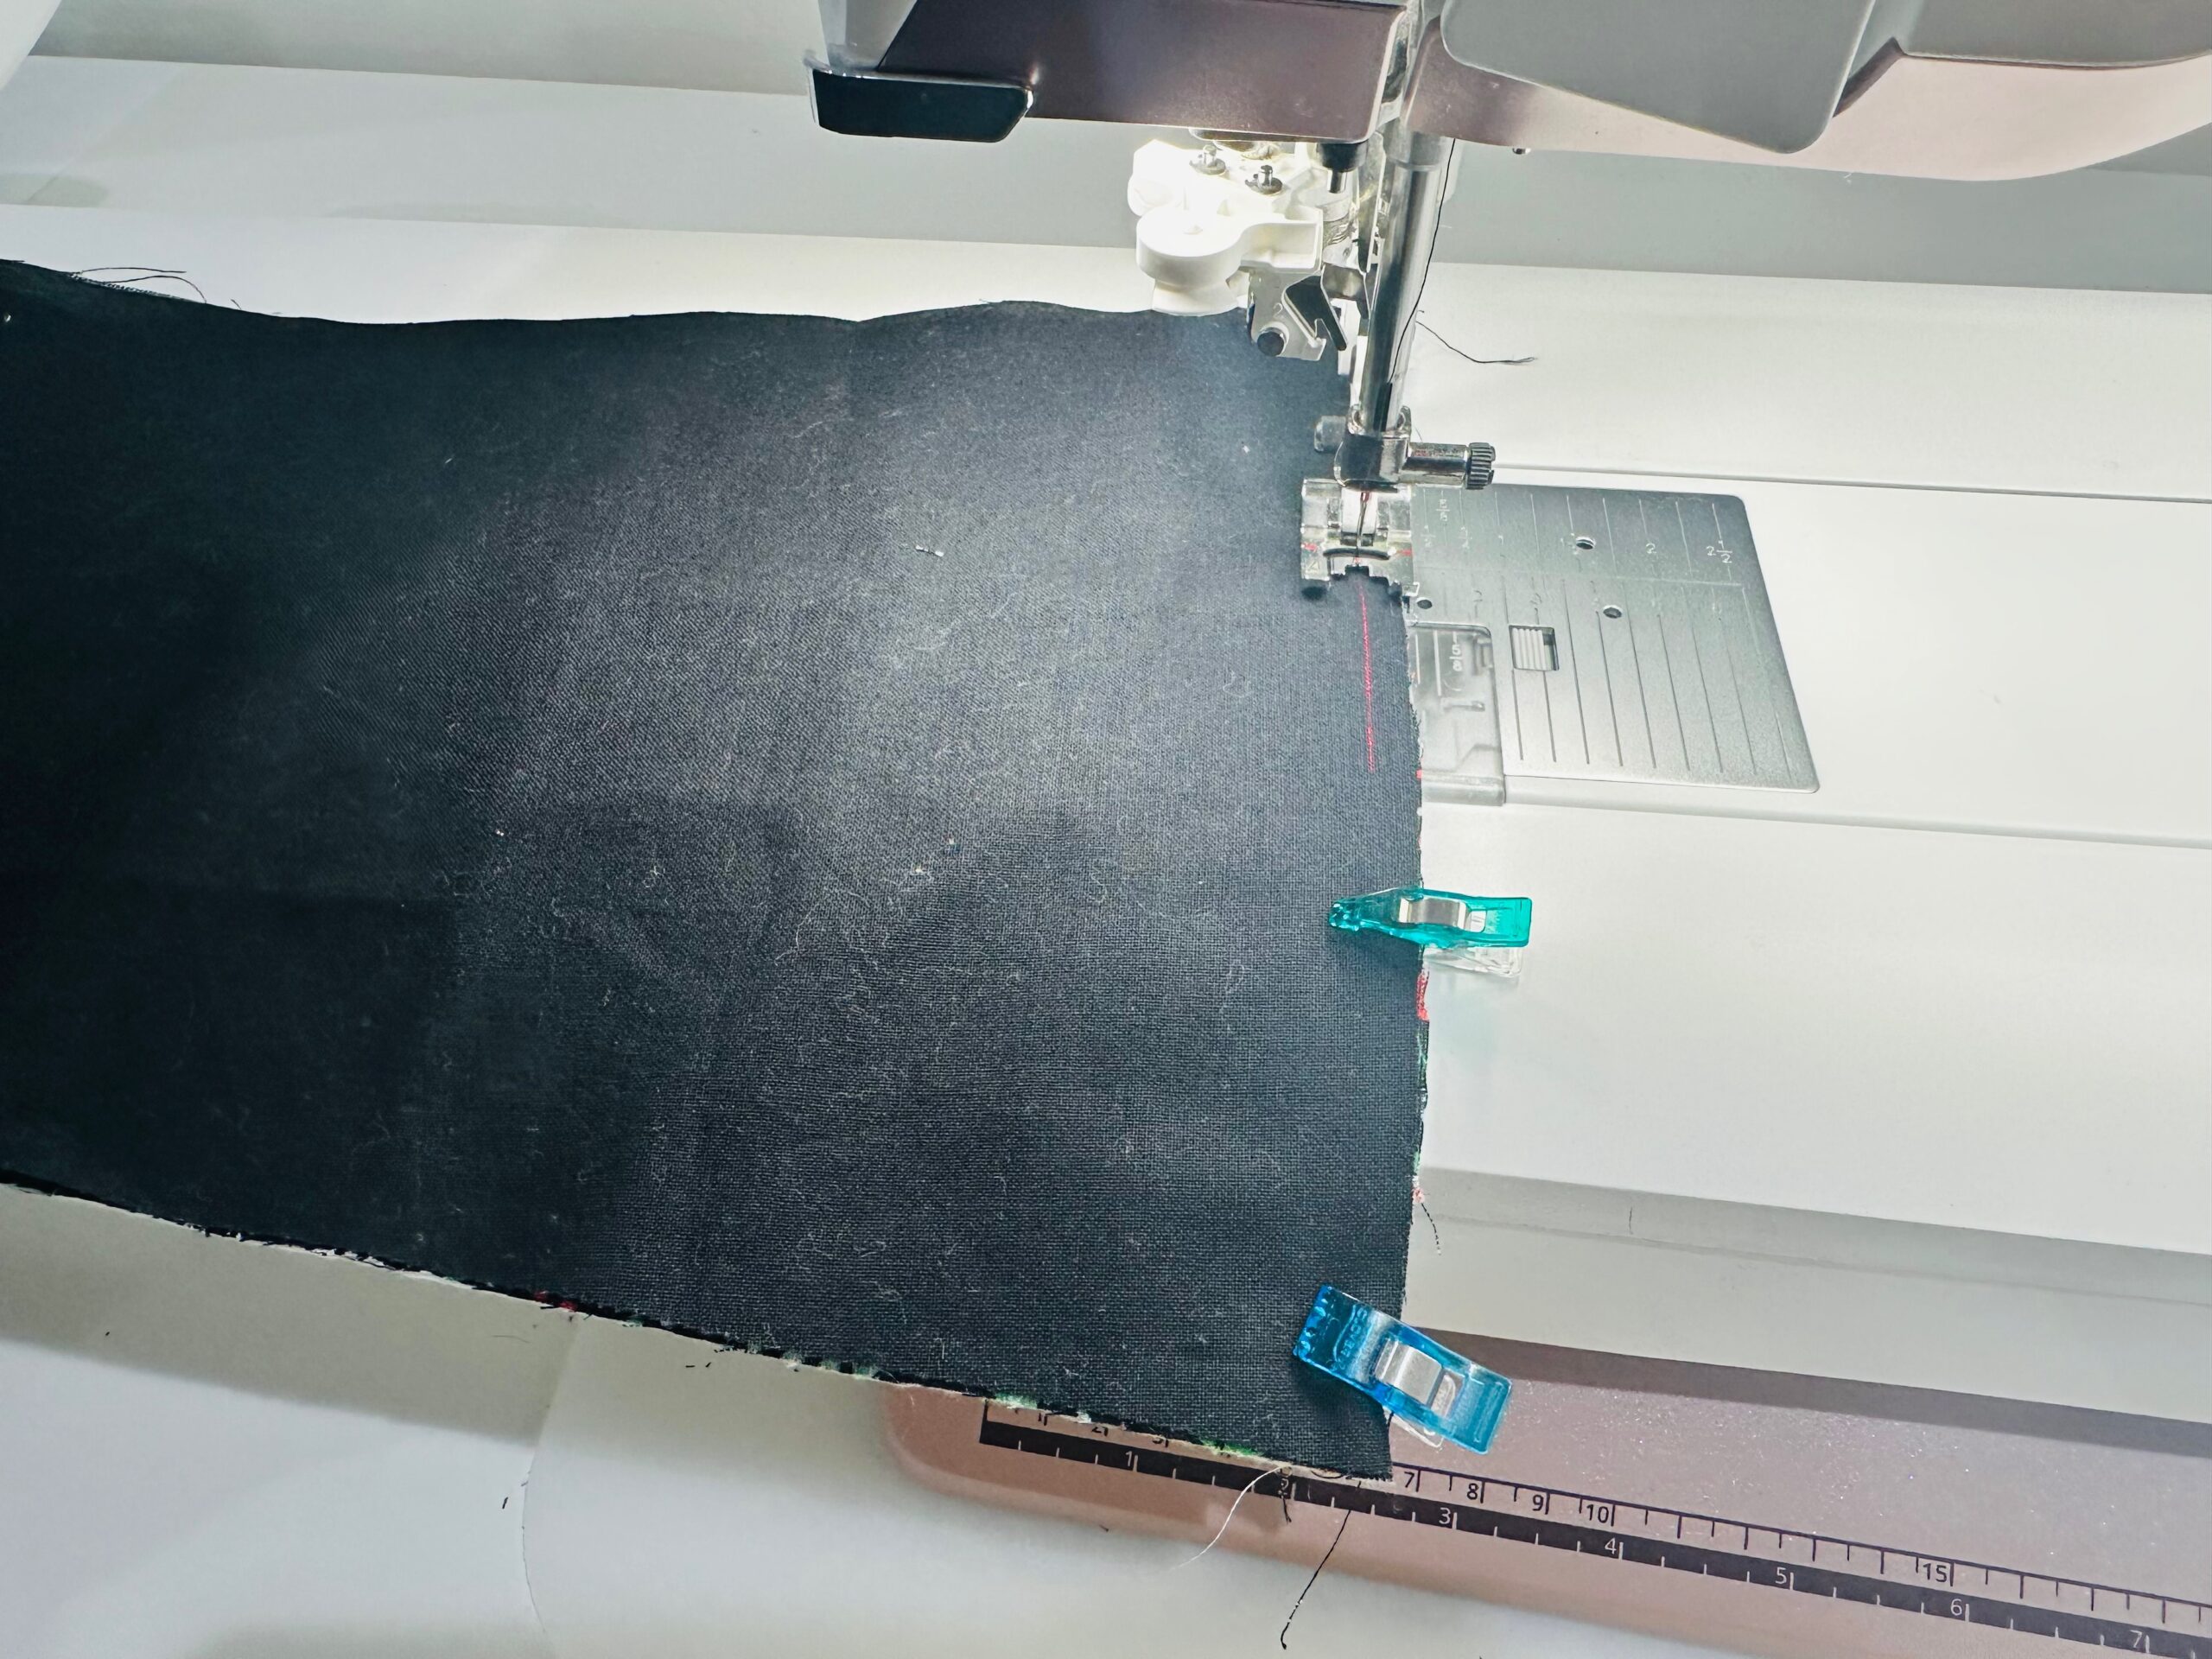
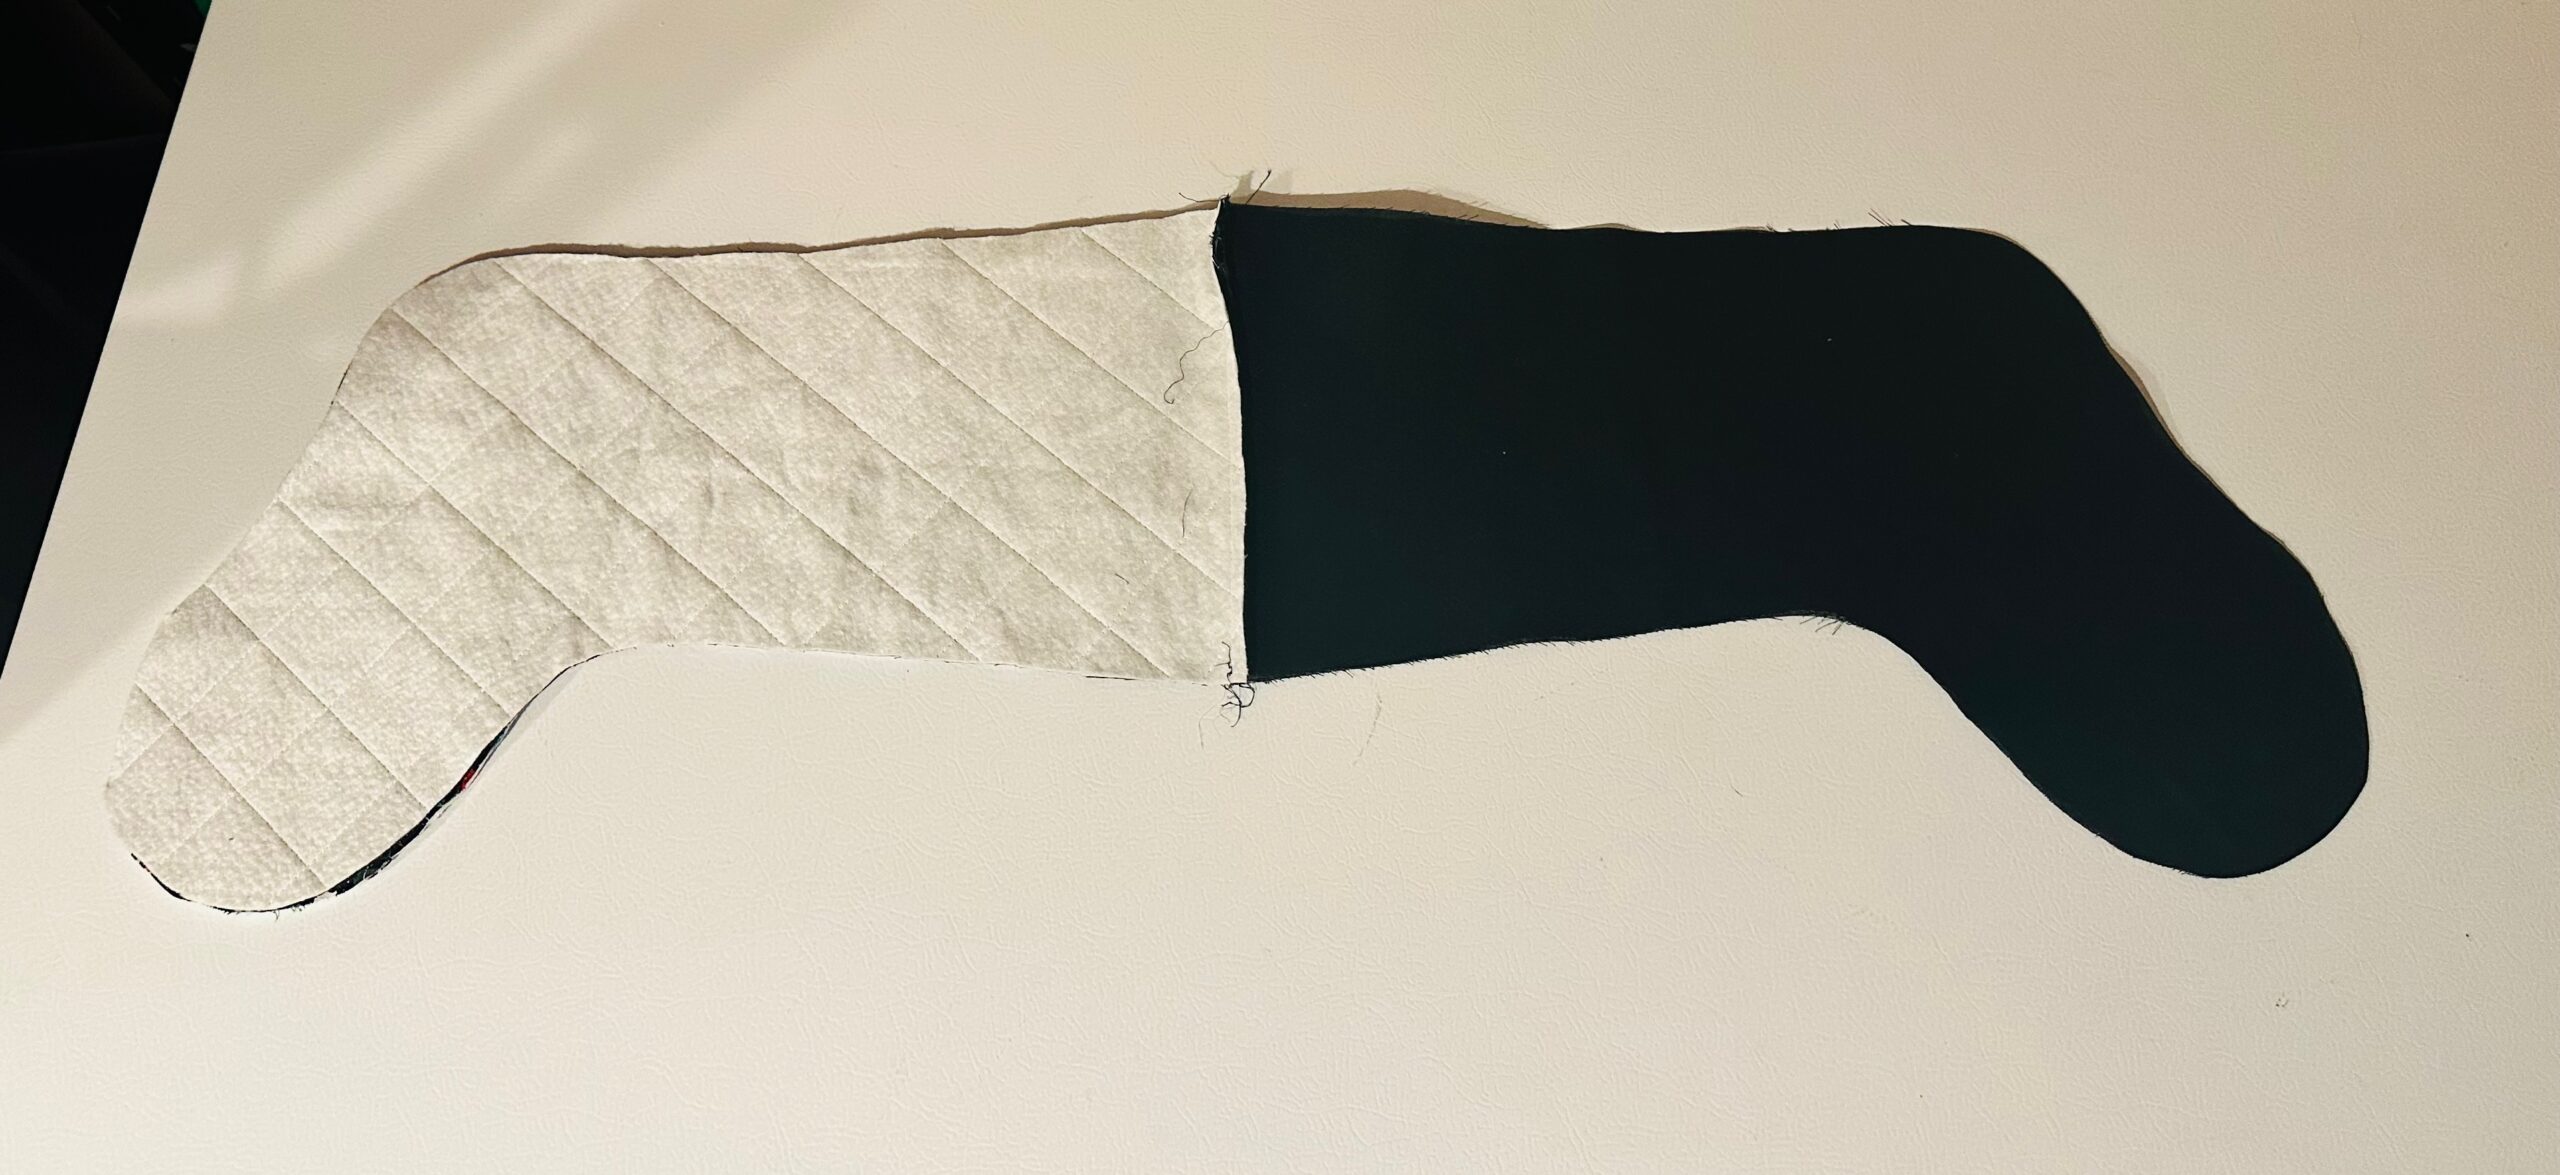
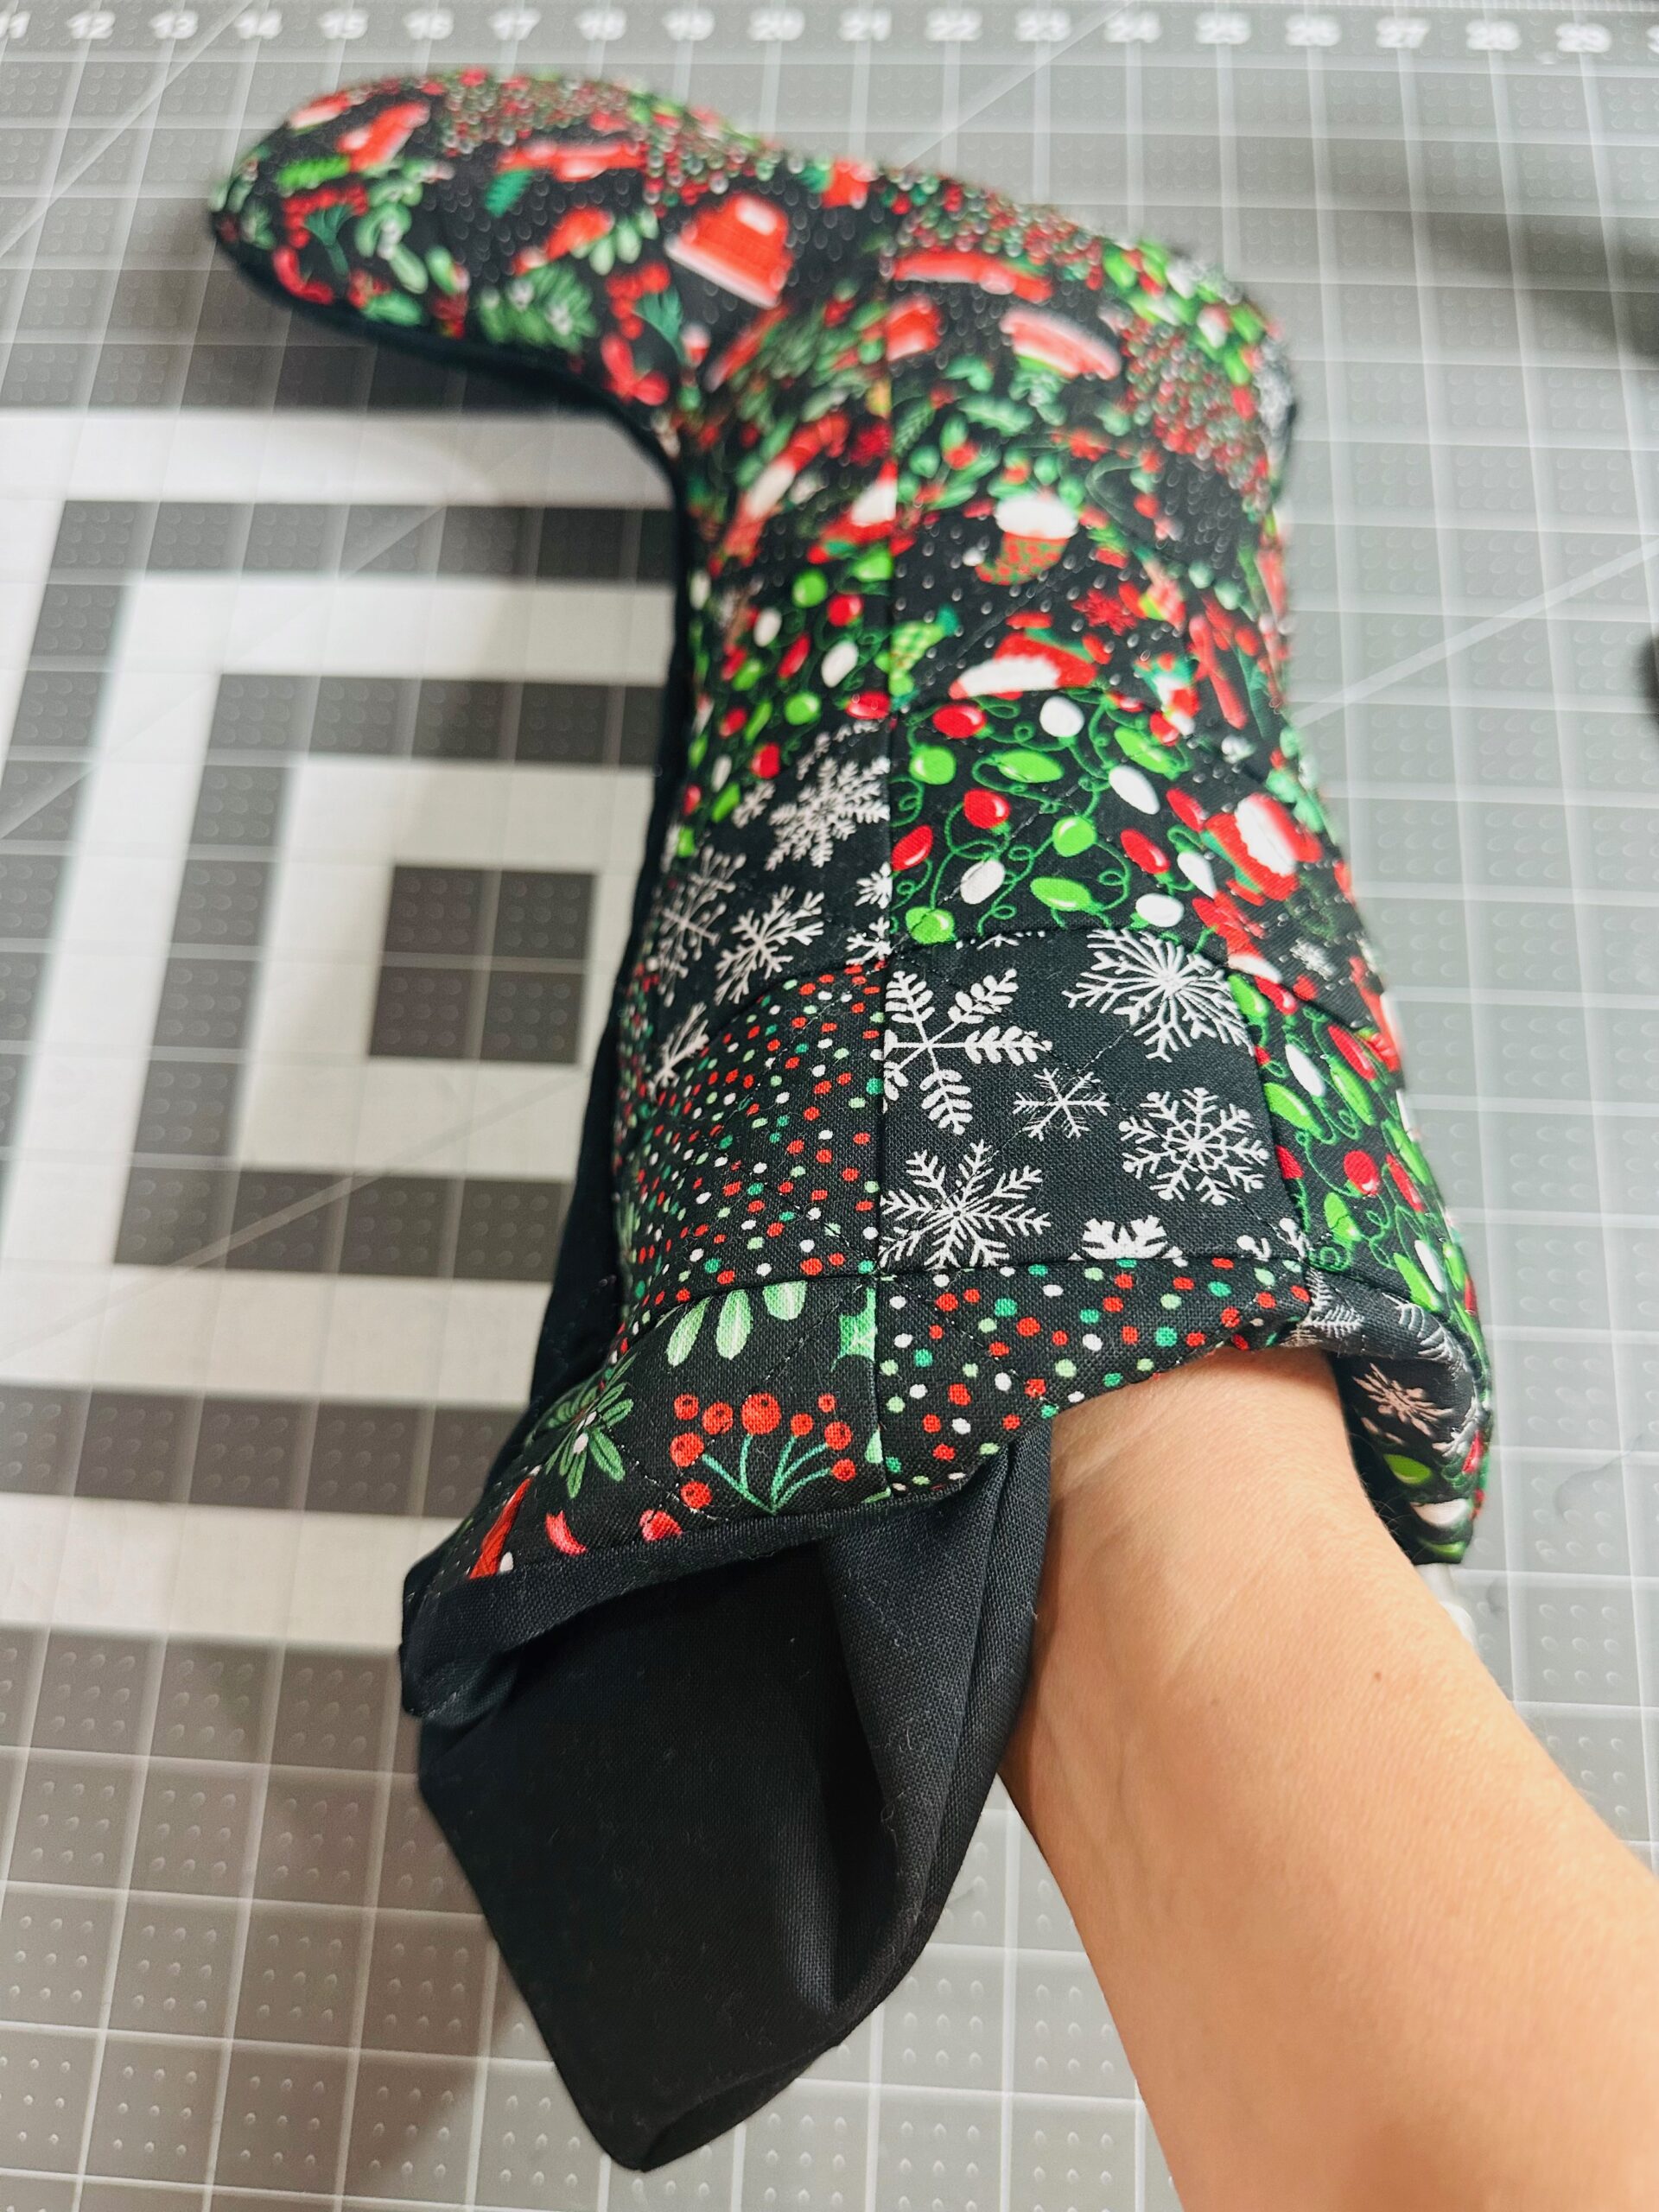
Place the patchwork exterior stocking and one lining stocking right sides together. Stitch the straight upper edge.
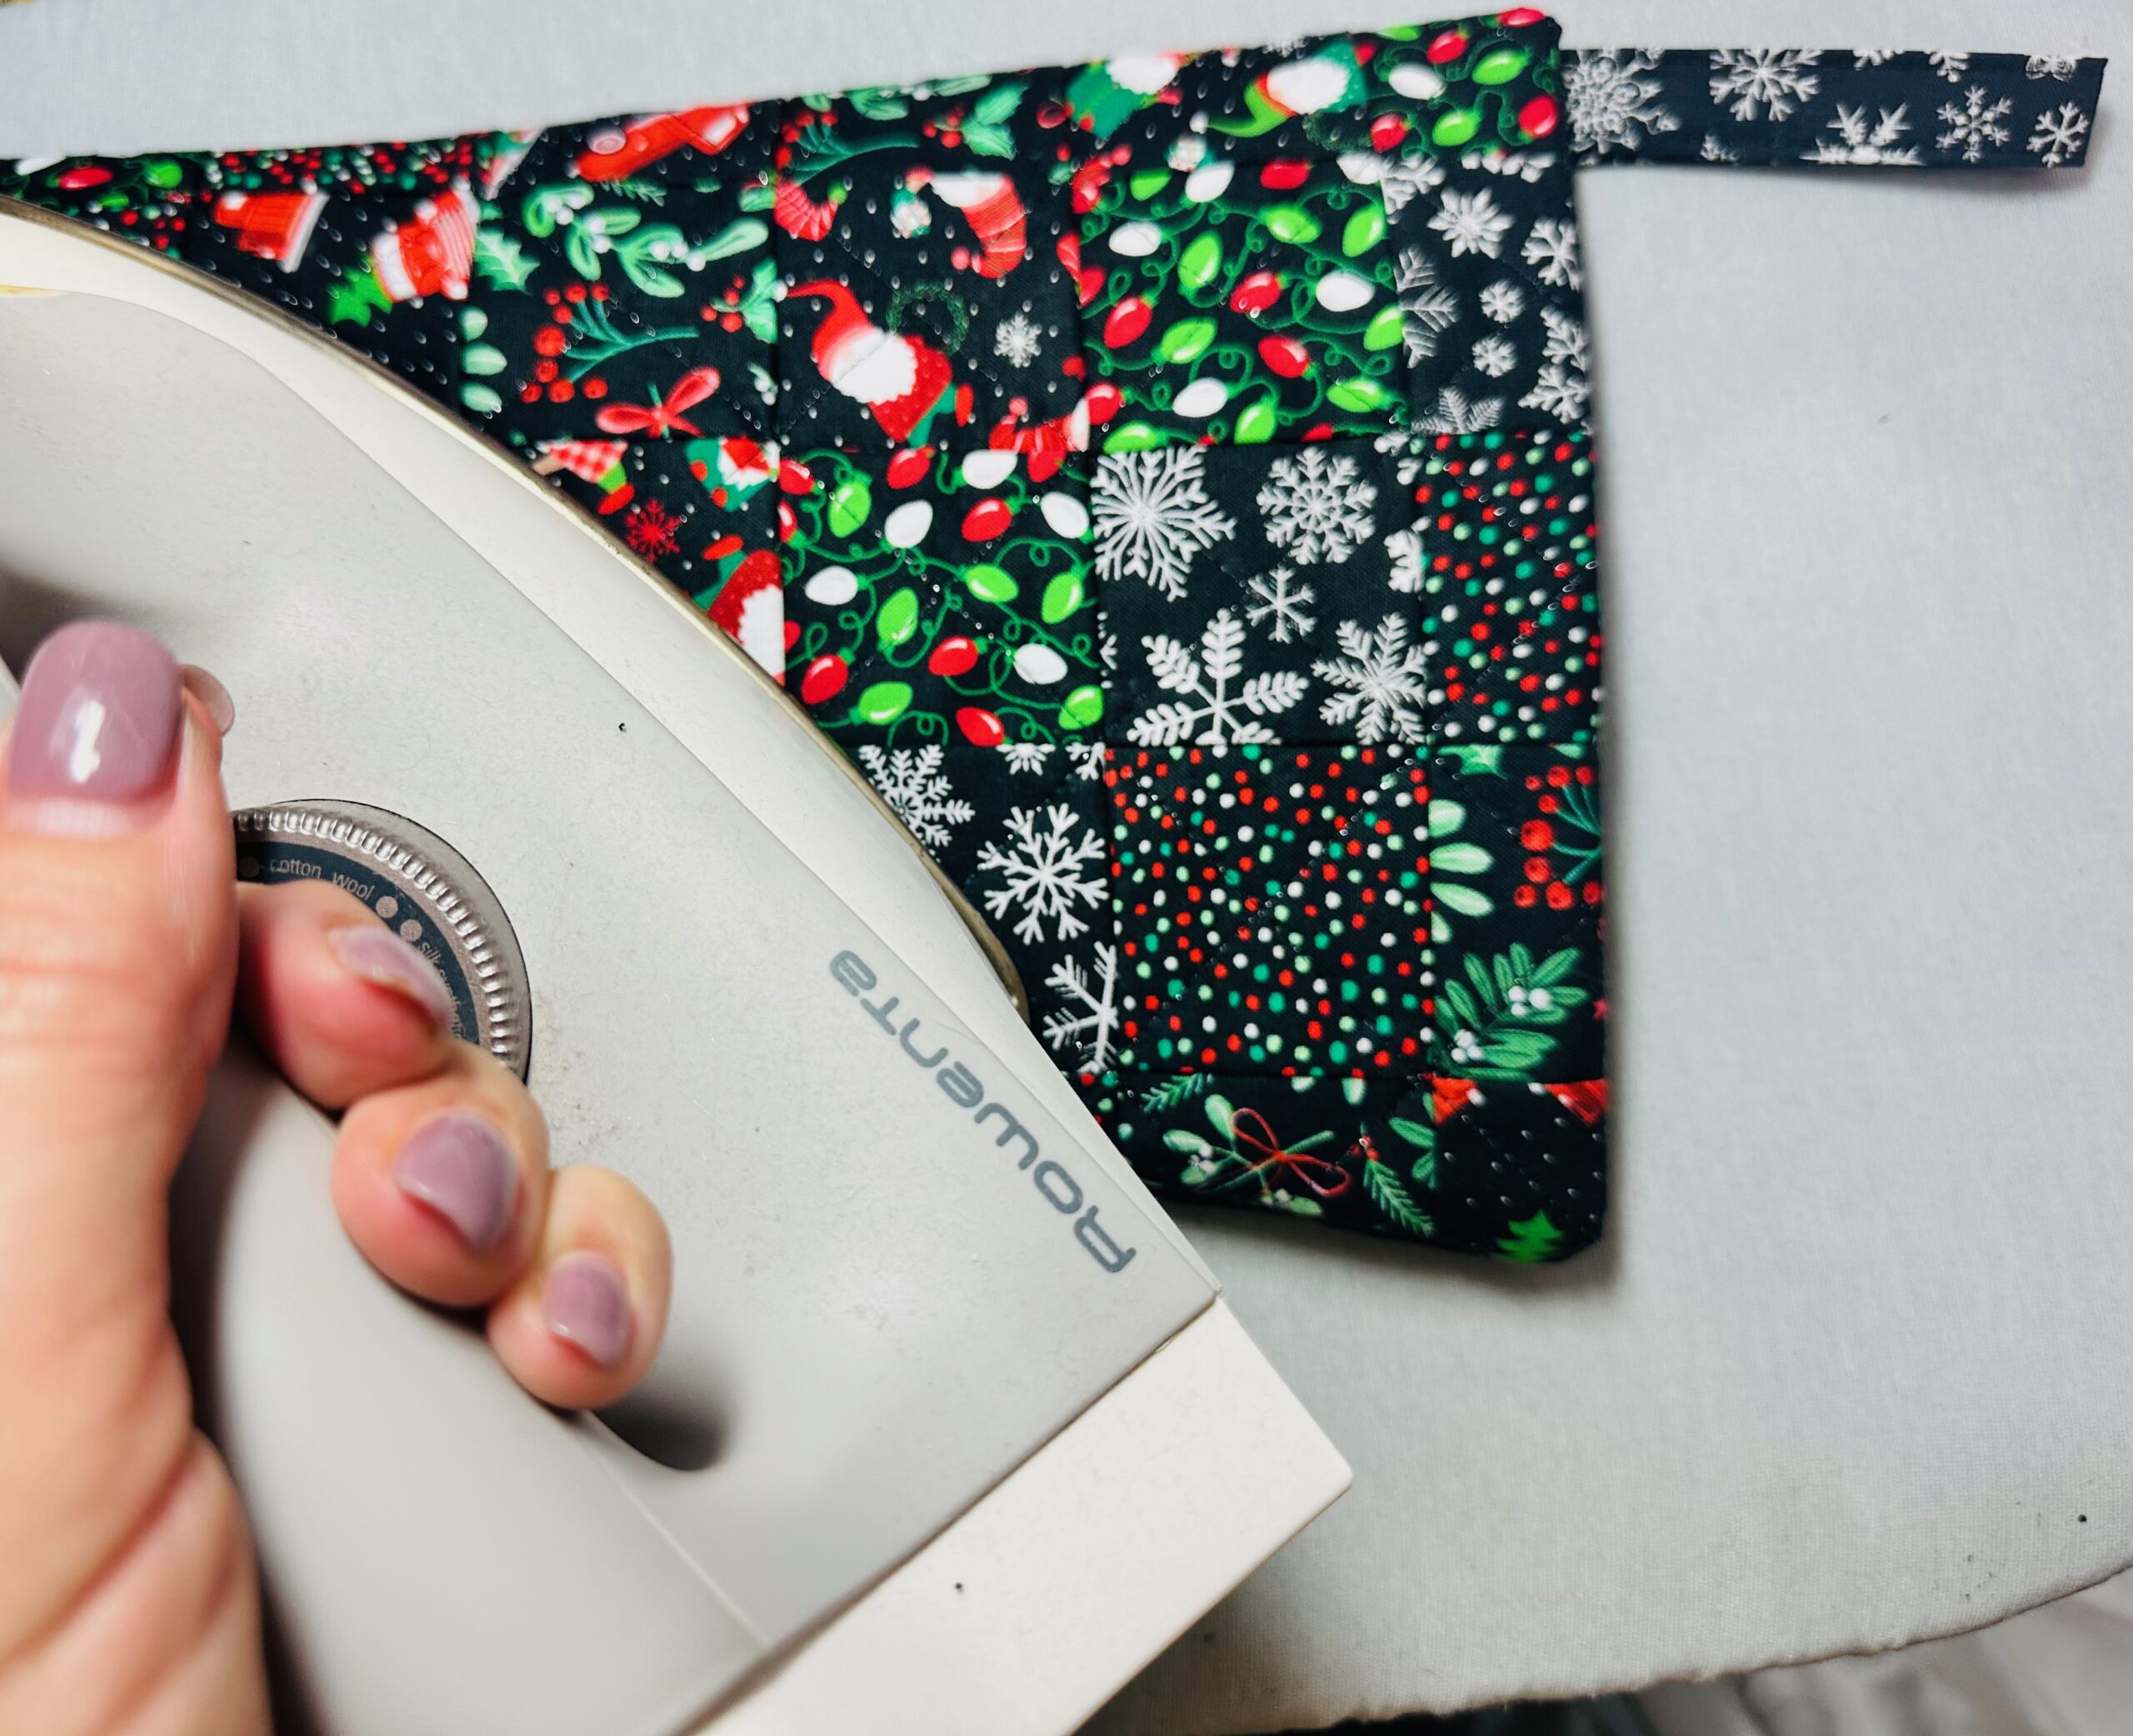
Then, turn the piece right side out. Press the seam allowance toward the lining.
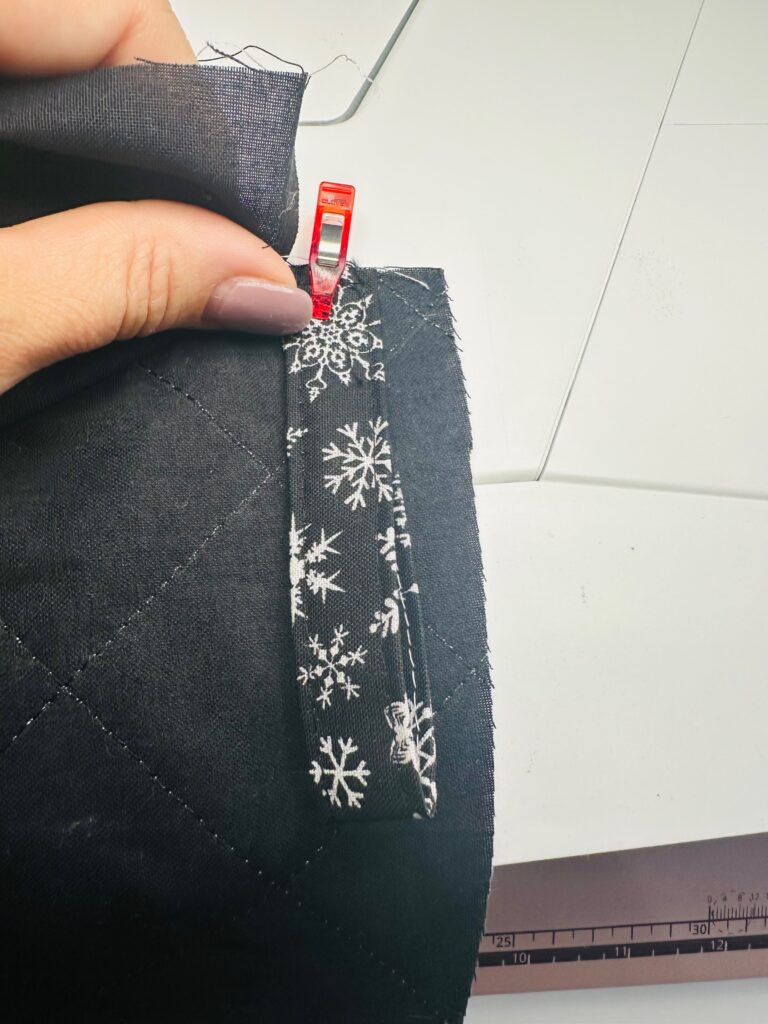
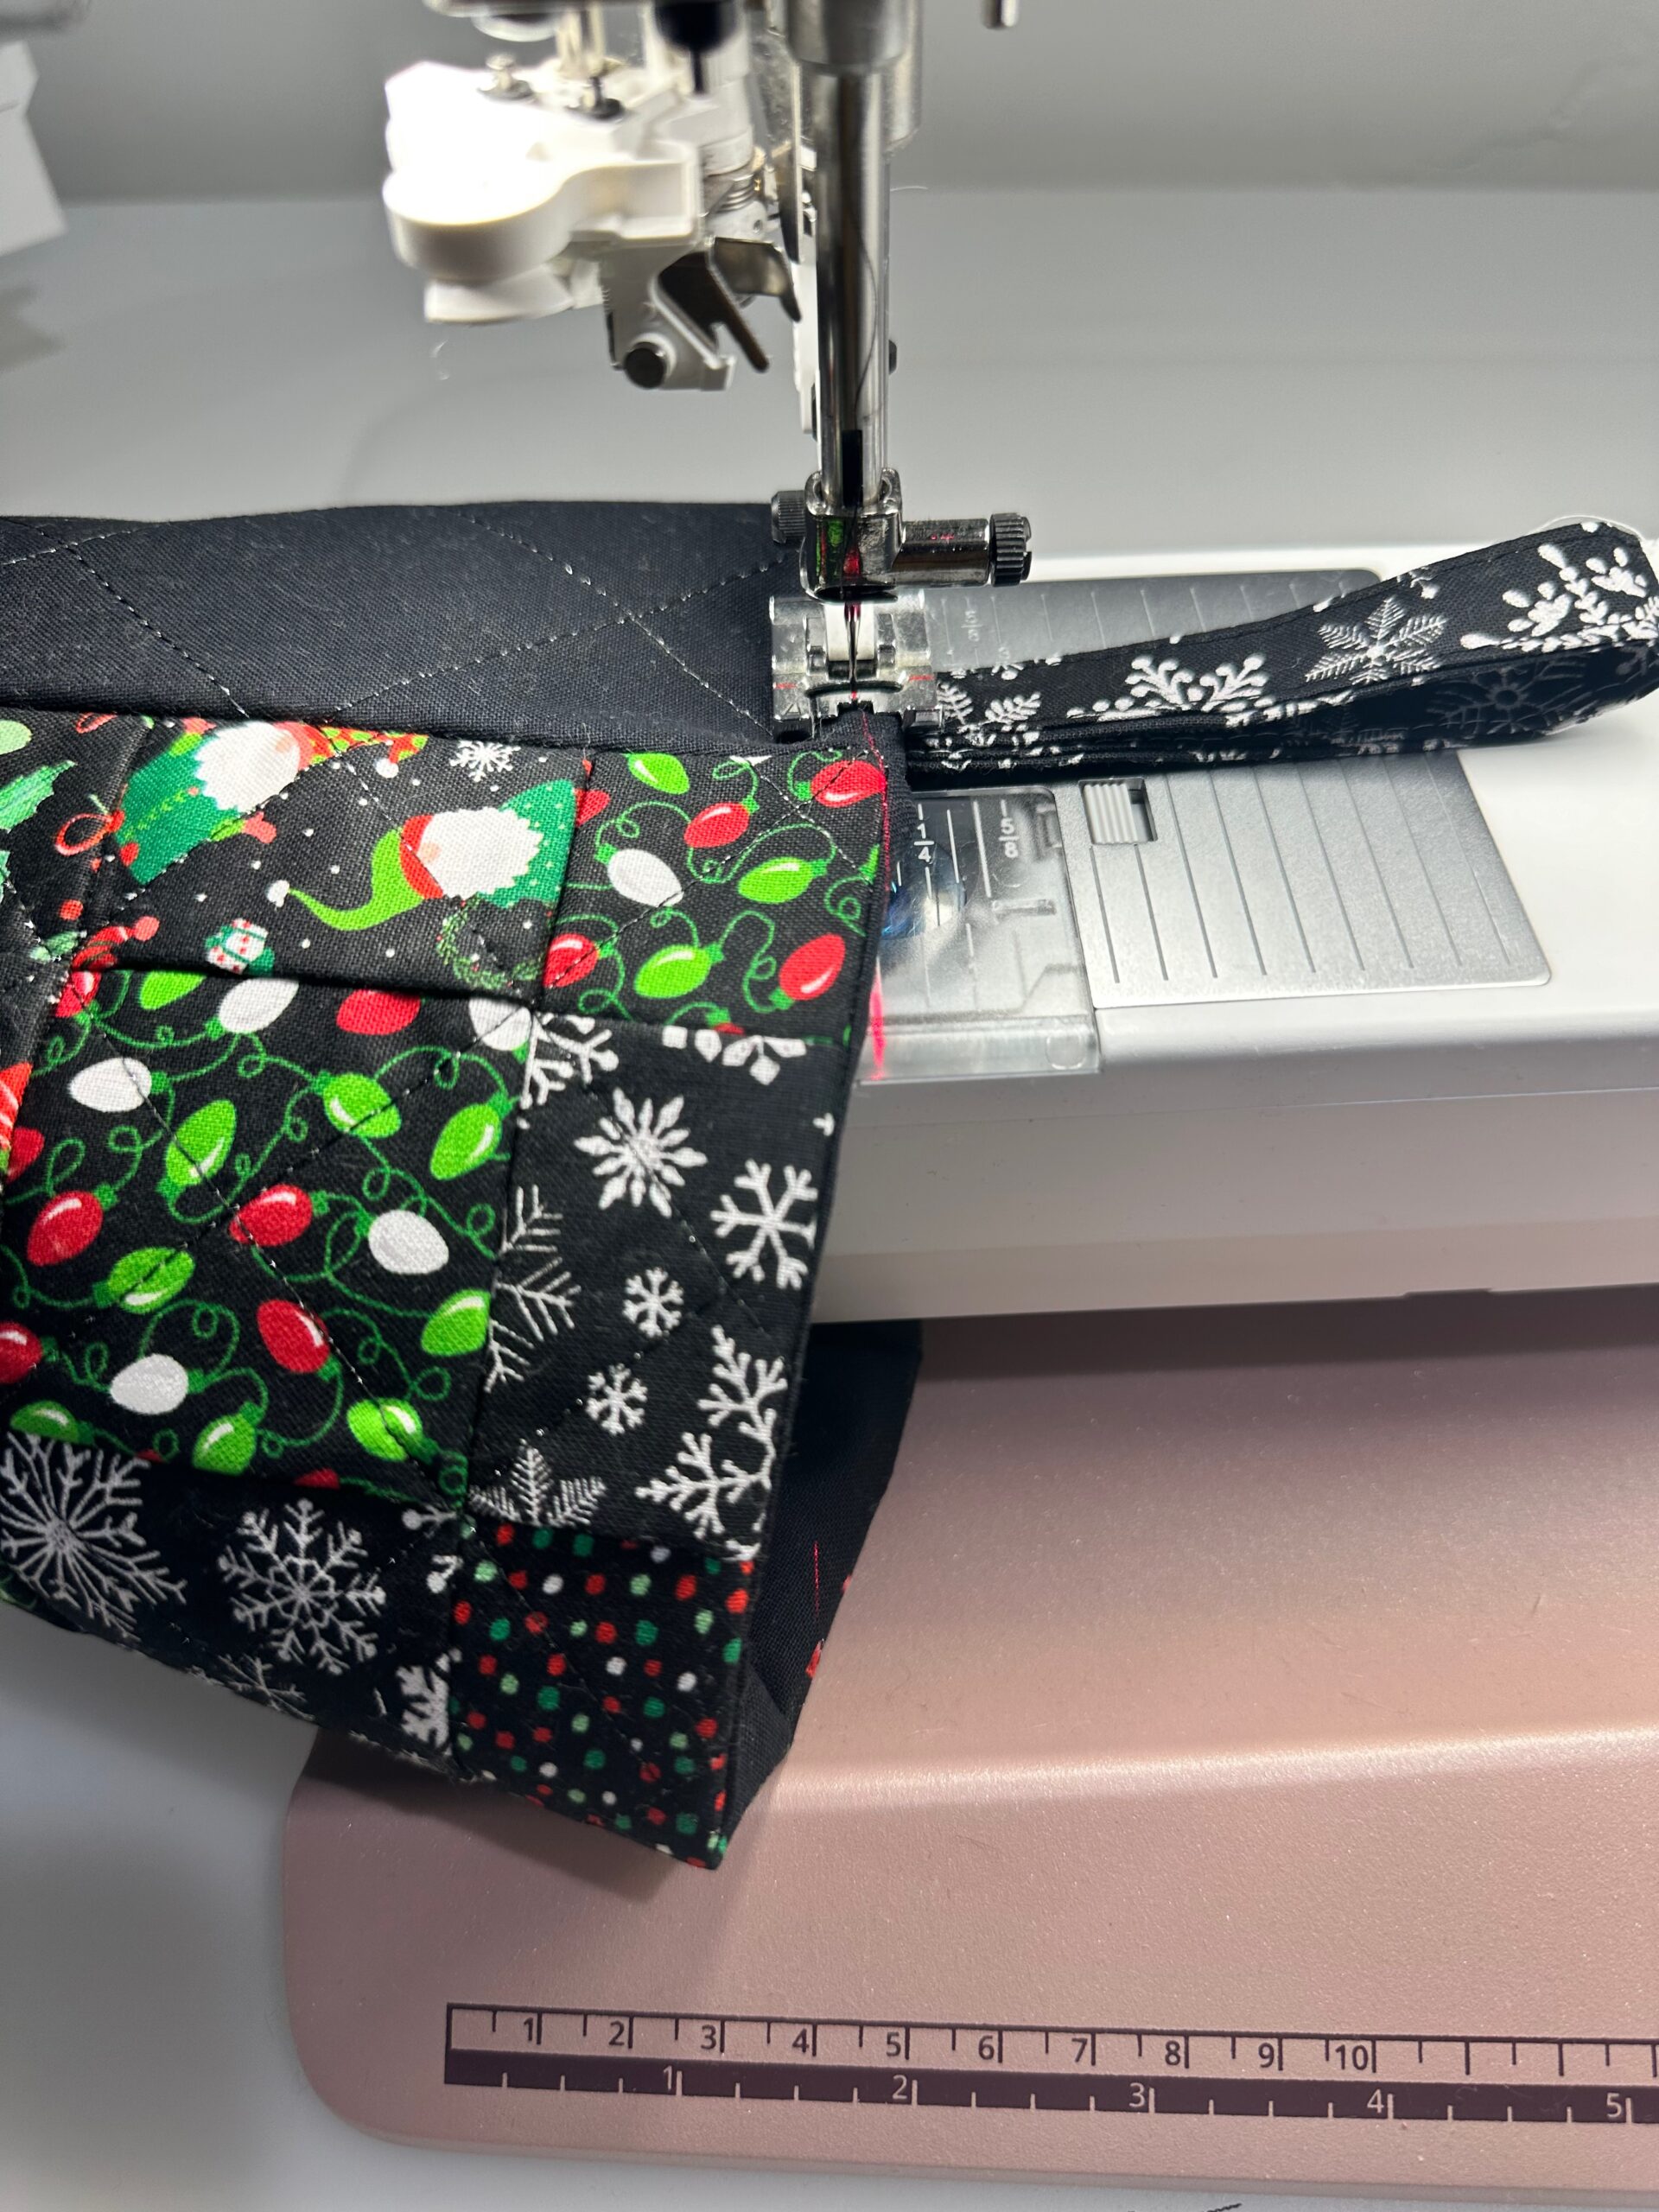
Fold the hanging loop of your choice (trim, ribbon or fabric) so the ends are together and wrong sides are facing. Pin or clip the hanging-loop ends 1/2″ from the remaining exterior-stocking upper-edge corner.
Then, place the remaining lining stocking over the exterior, matching the upper edges. Stitch along the upper edge, securing the hanging loop in the process. Turn the piece right side out. Then, press the seams toward the lining.
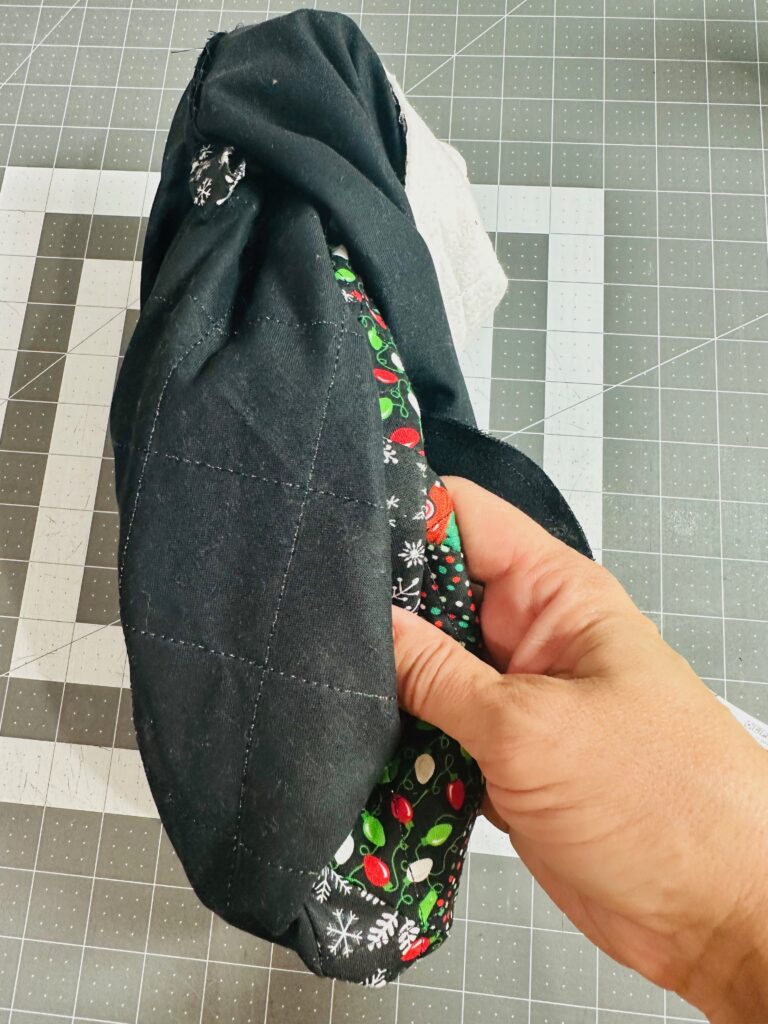
Place the two stocking pieces right sides together, with the exteriors and linings matching.
Stitch the stocking perimeter, leaving a 6″ opening along one straight lining seam for turning.
STOCKING FINISHING
Clip into the curved seam allowances so they relax along the seams.
Turn the stocking right side out through the opening. Press, turning the opening seam allowances toward the wrong side.
Hand sew or topstitch the lining opening shut.
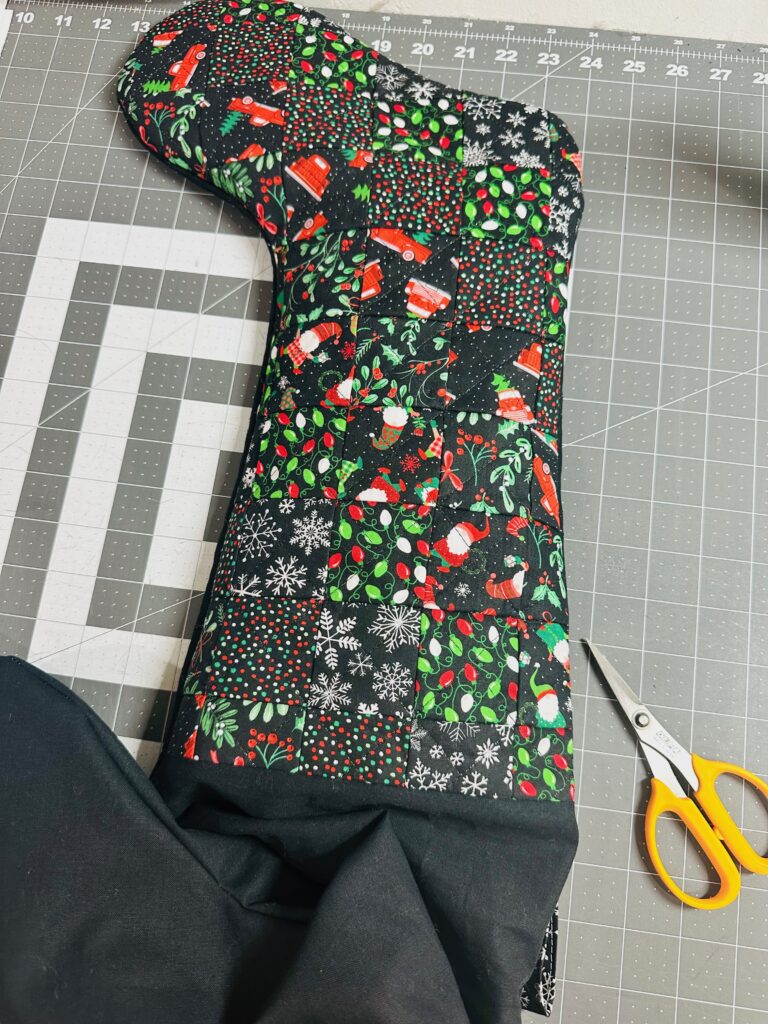
Push the lining stocking into the exterior stocking. Roll the upper edge to favor it toward the lining. If needed, press the upper edge flat.
If desired, topstitch the upper edge, about 1/8″ from the edge, keeping the hanging loop up beyond the stocking edge. Use the same Poly Sparkle Thread used for quilting to stand out or the 50 wt. Cotton Thread to blend in.

Love the stocking. Where do I find the pattern?
You can find it here: https://fabricworm.com/wp-content/uploads/2023/08/Lunden-Designs-Stocking-Pattern-1.pdf