
This series is written by guest blogger, Pamela Cox. Pamela is an expert embroiderer, designer, digitizer and all around wonderful girl! We are so happy to have her contributing to the Sulky Blog!
Dads & Grads
Can there be any busier month than now? School is getting out, summer is in full swing and we have two exceptional people to make gifts for! Embroidering distinctive gifts becomes a little easier when starting with a premade item. Most of us are familiar with embroidering on t-shirts, sweatshirts and towels and they should not be overlooked as possible gifts. Any one of them can be embellished with a design specific to the occasion and many “celebration” designs are available at Sulky’s Embroidery Club.
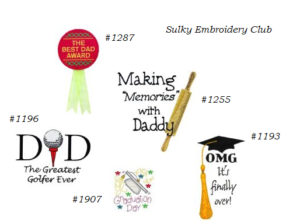
Many Sulky® Embroidery Club designs can be combined with a personal message. Use fonts from an editing software program or those available in your embroidery machine to share inspirational wishes…


or get creative with a whimsical message for items such as laundry bags – a staple for grads heading off to college and traveling Dads!
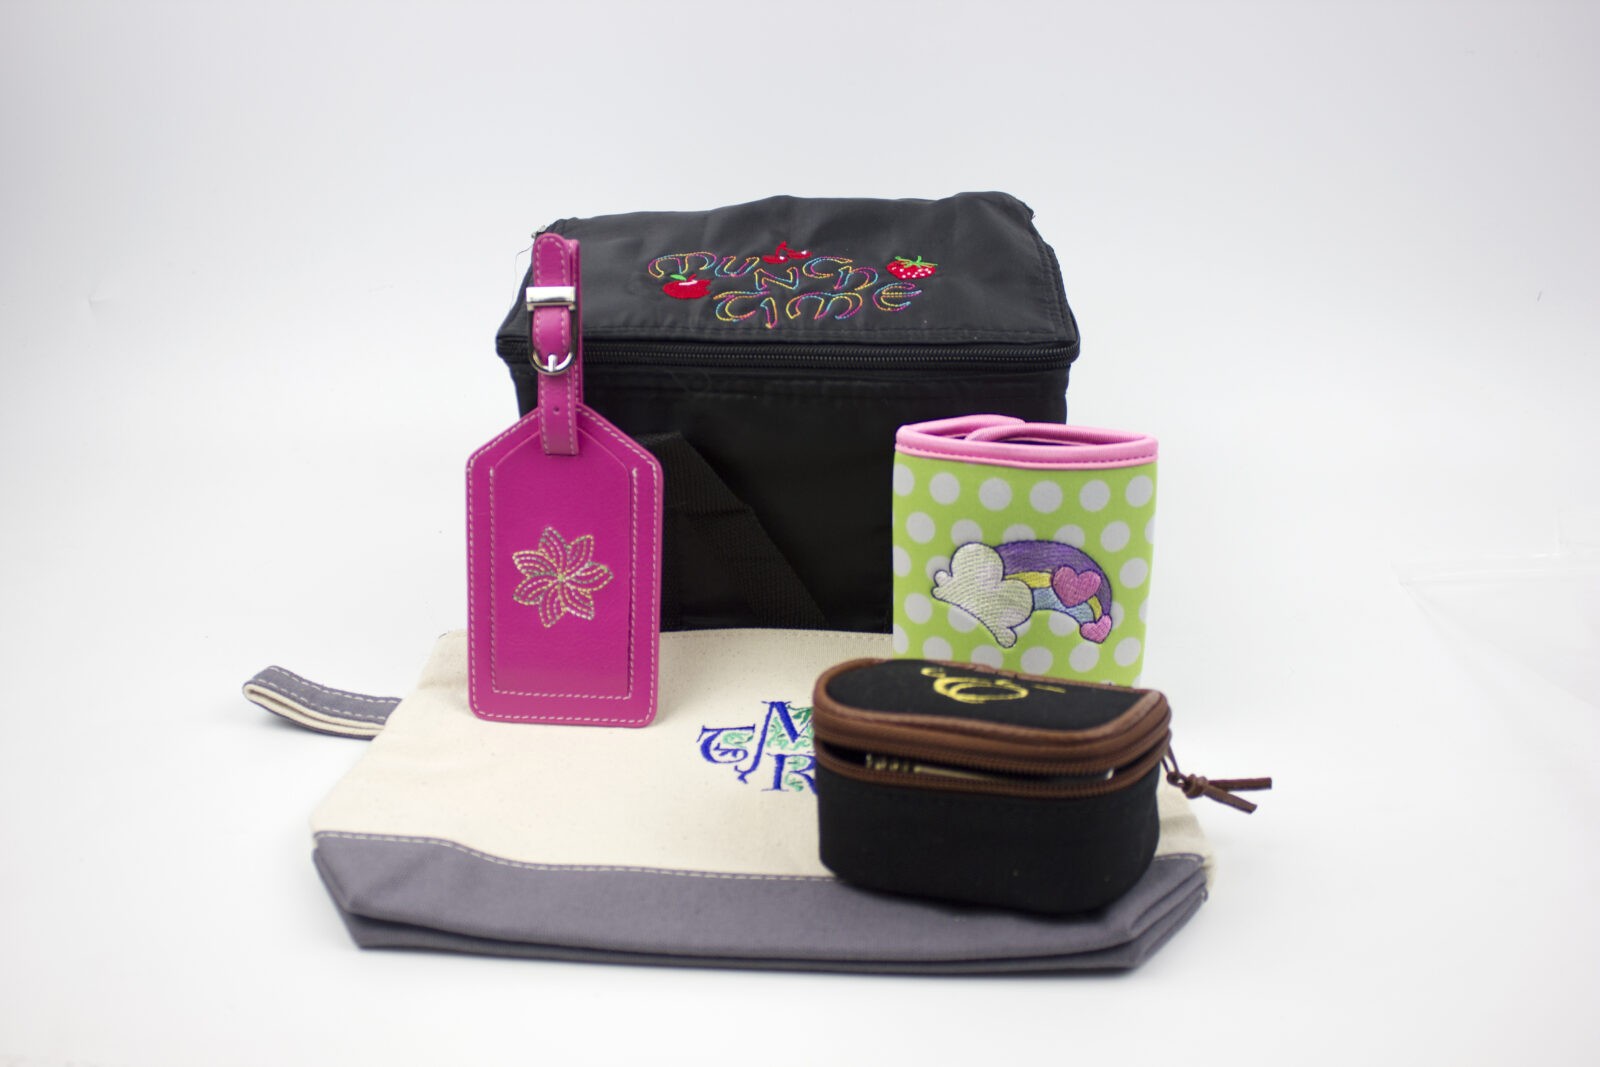
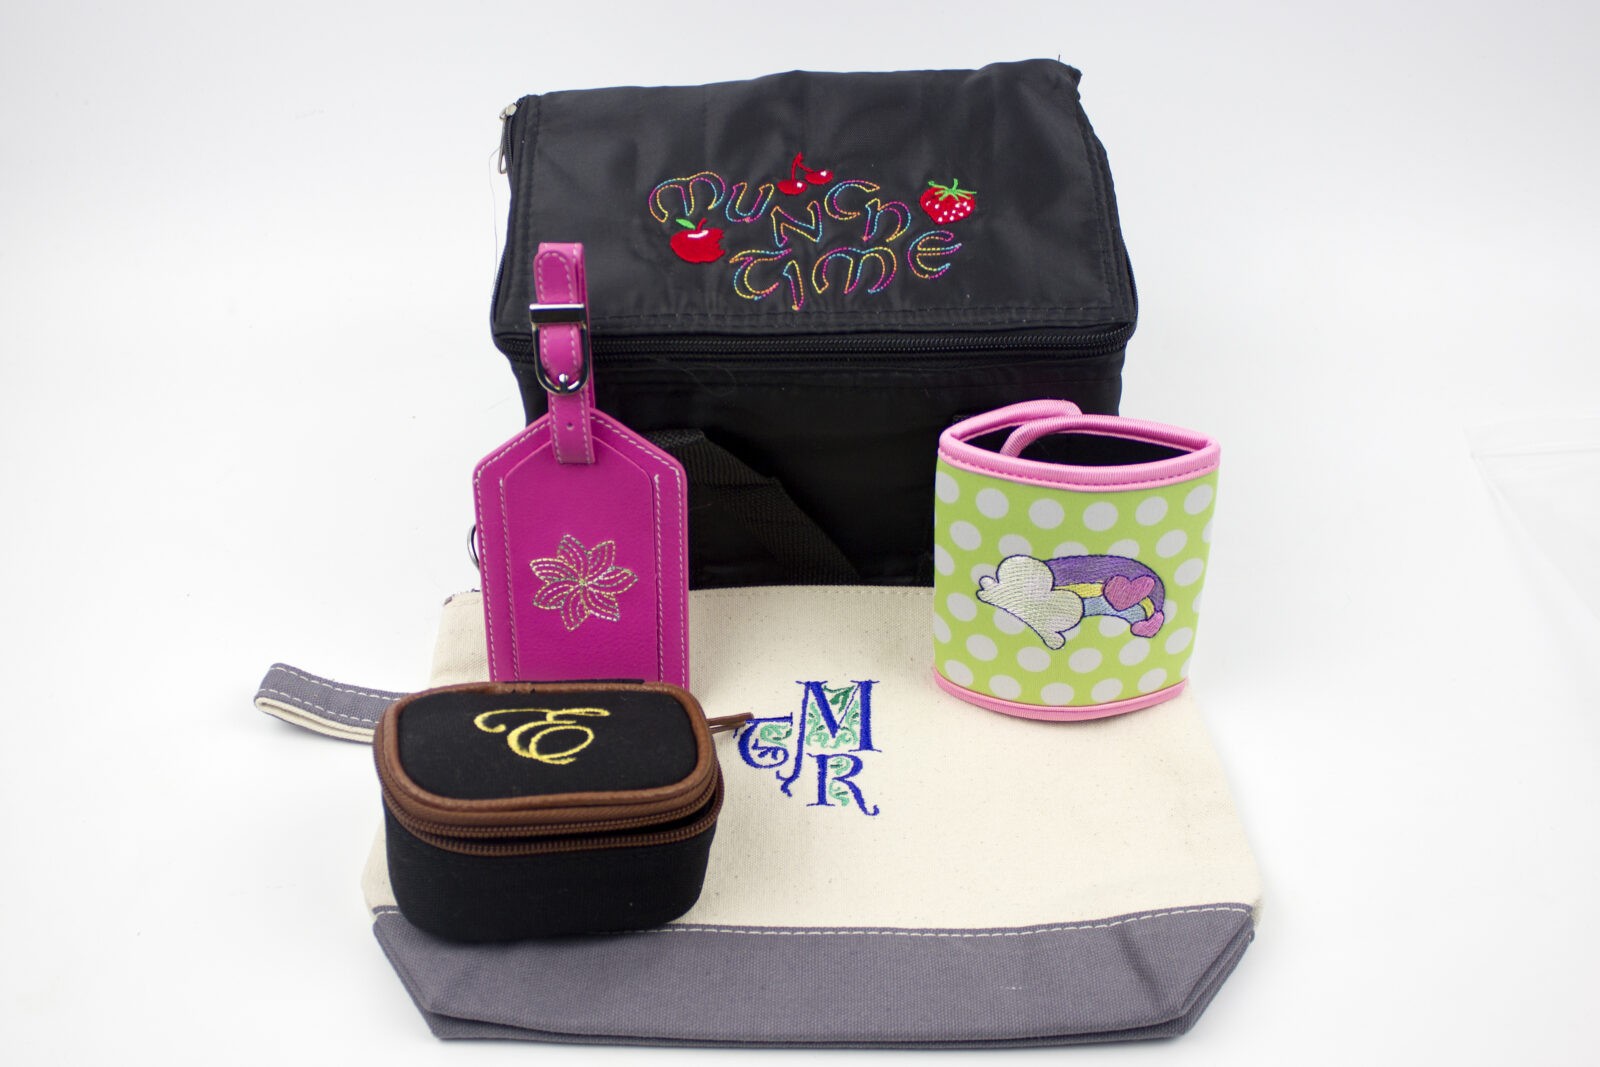
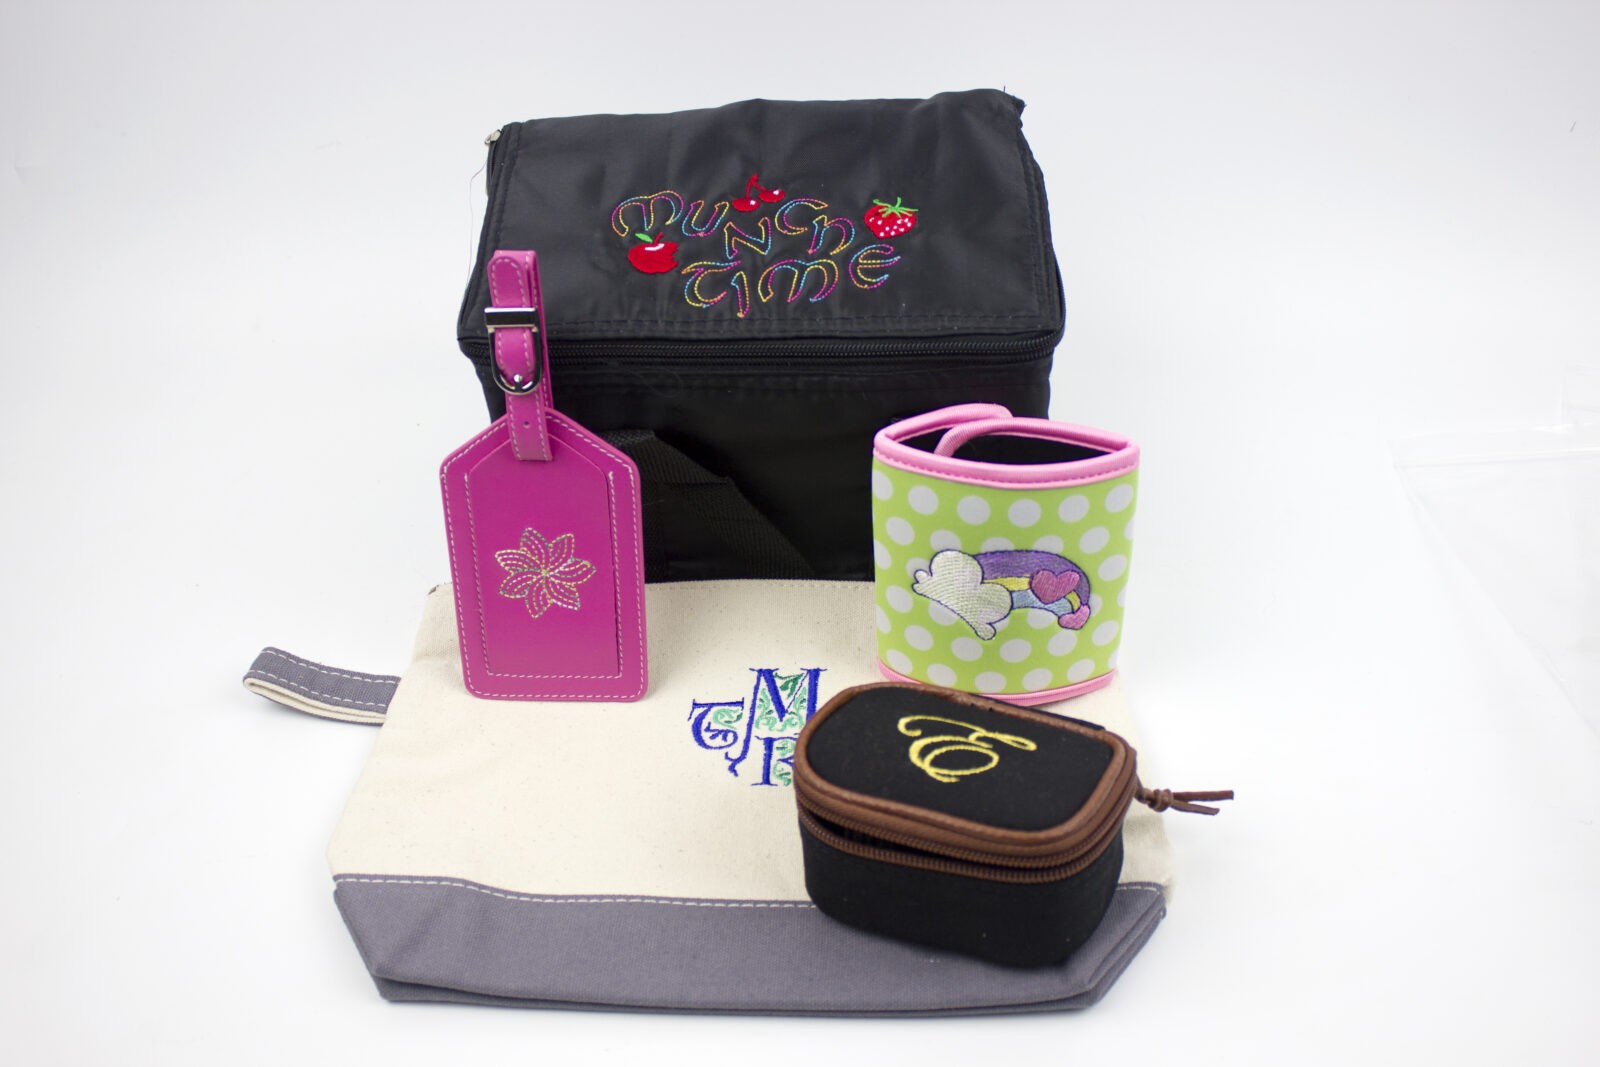
There are many unique items that are appropriate for both Dads and Grads, including: luggage tags, snack bags, toiletry bags, koozies, and even a pouch for shot glasses (although not recommended for the Grad!). Simply add a suitable embroidery design for a special touch!
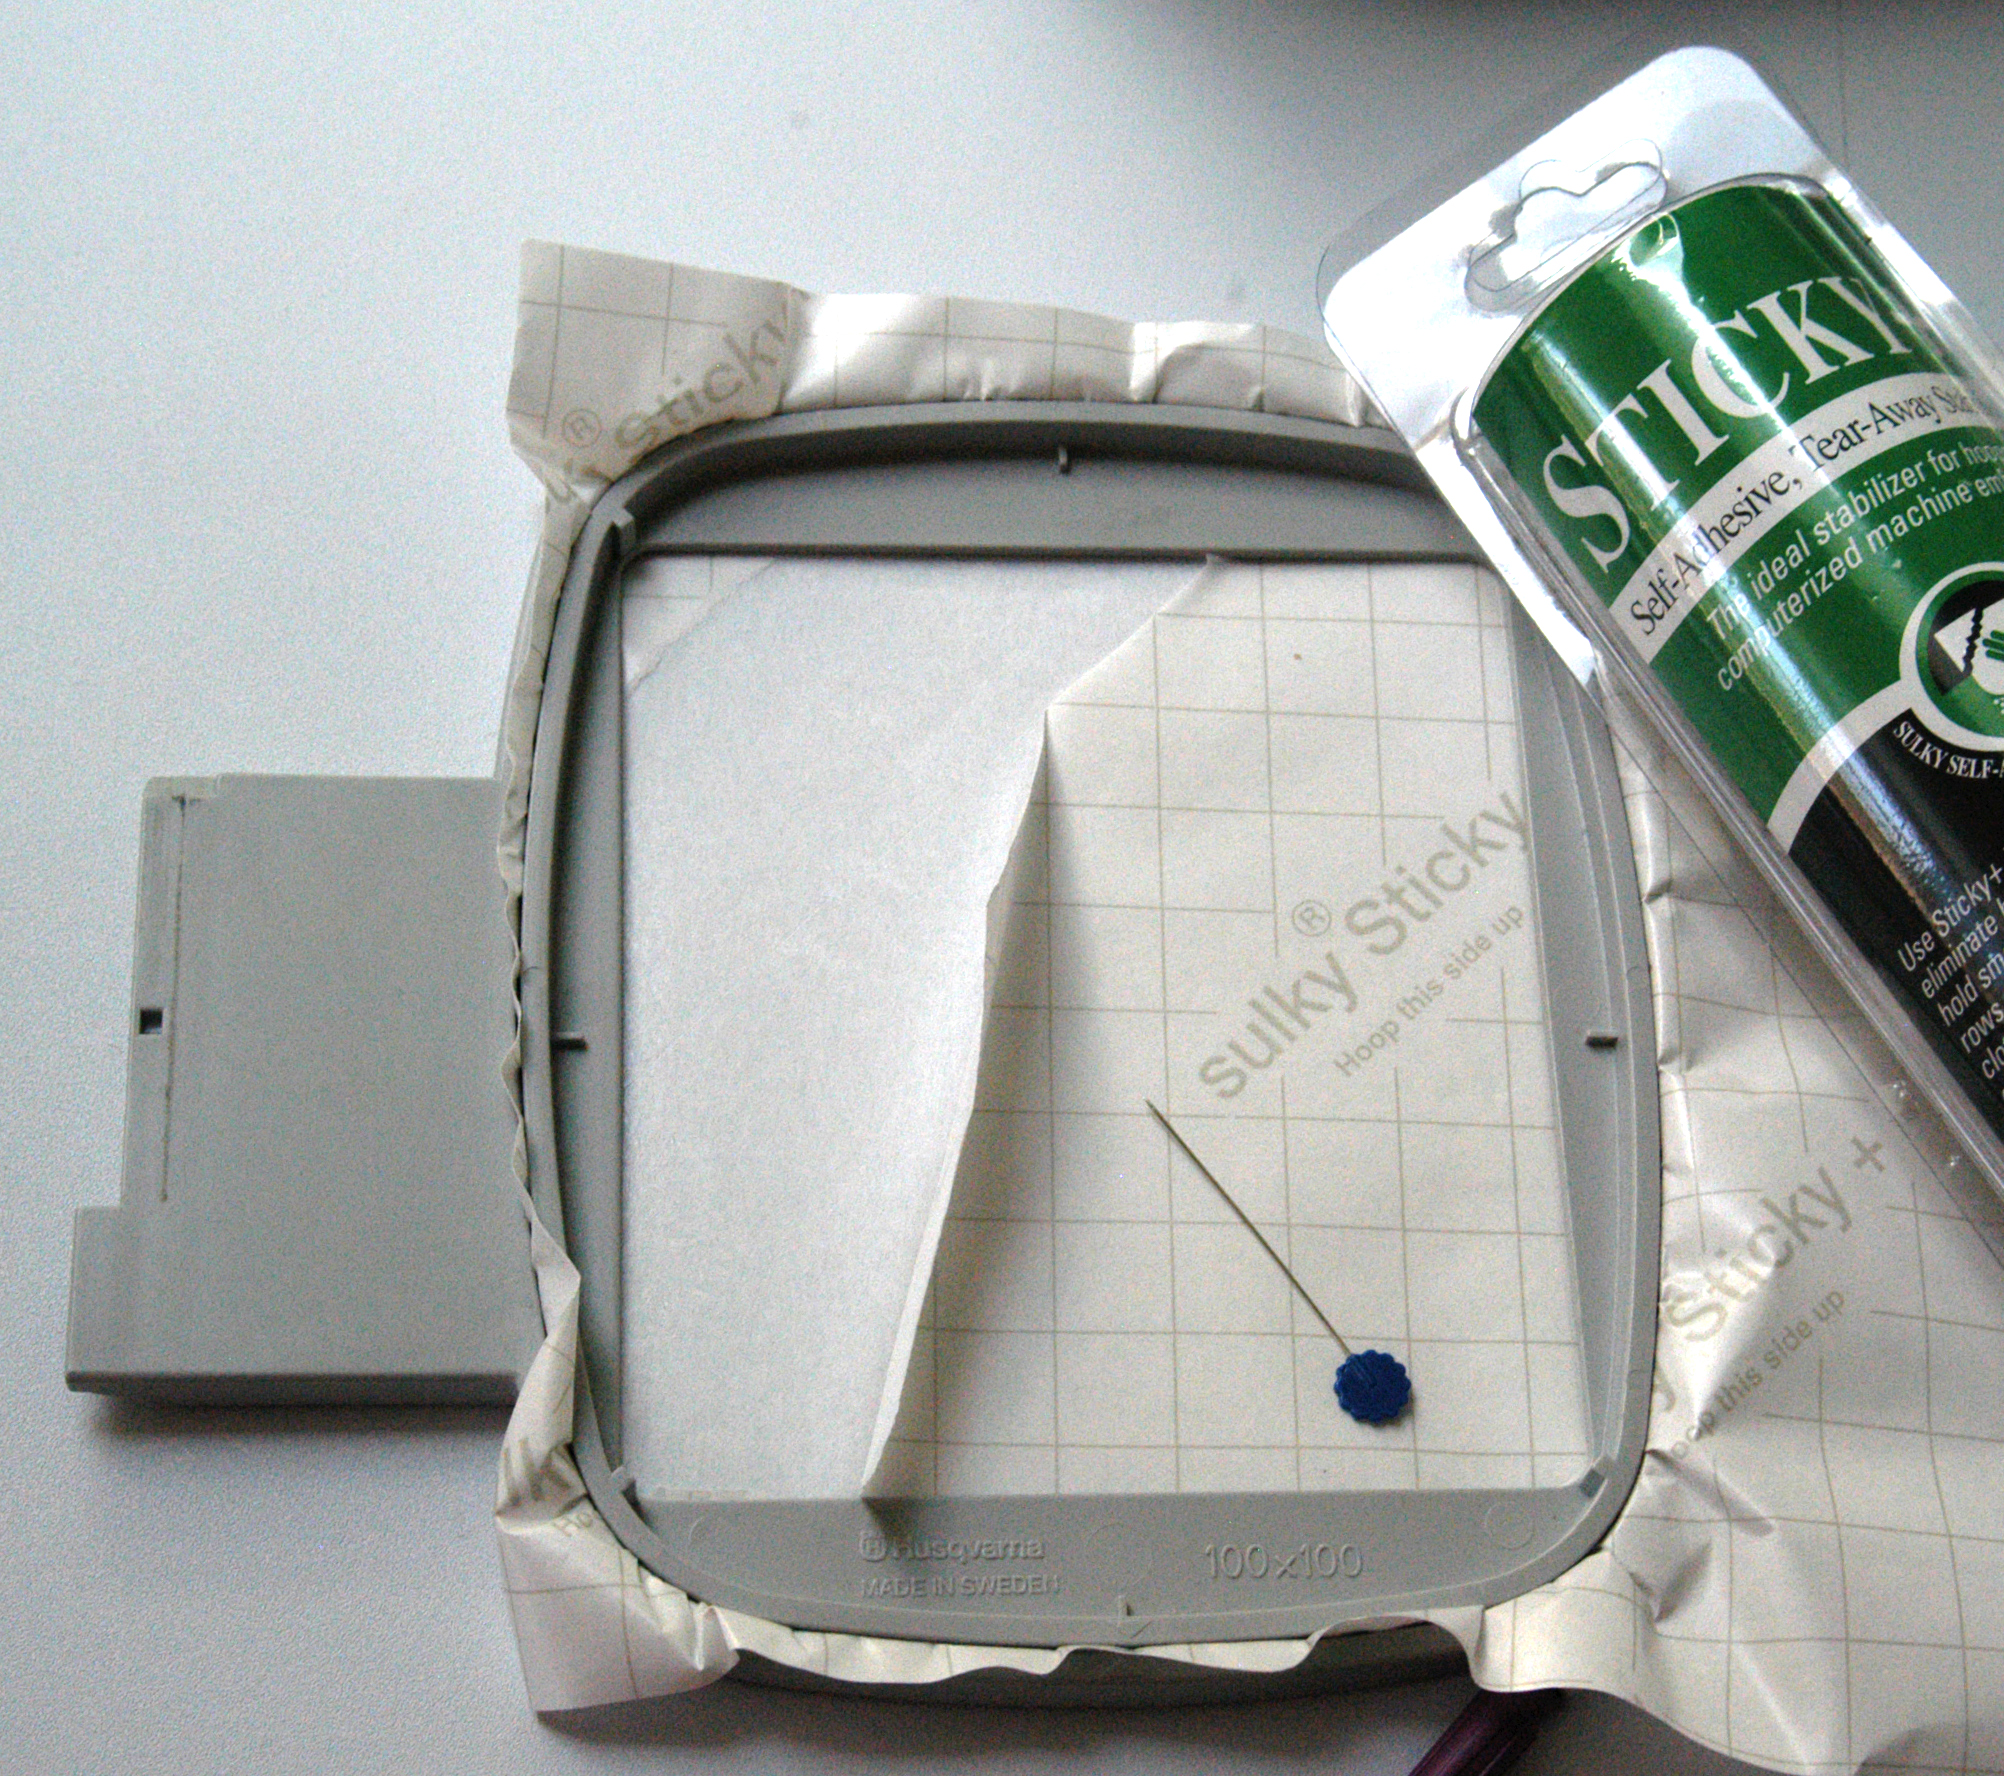
Often, it is hard to secure a premade item directly in the frame of an embroidery hoop. Sulky Sticky +™ Stabilizer is the solution so make sure you have a roll on hand.
Here’s How
Secure the stabilizer directly in the hoop with the protective paper still in place. Gently score the surface-paper with a pin, removing it to expose a tacky surface.
Sticky + Stabilizer is notable for several reasons:
Fabric, or in this case an item, can be initially placed upon the surface, but also removed for re-positioning if necessary. It is suggested that the fabric/item is at first gently pressed to the sticky surface until final positioning is confirmed, when it is then firmly pressed on the stabilizer.
Once fabric/item is firmly pressed in place, it remains secure throughout the embroidery process.
Yet…excess stabilizer can be gently torn away from the embroidered design!
During the embroidery process on premade items, it is important to monitor the entire stitching process. Since many pre-made items need to be “creatively hooped”, it is important to ensure that only the intended area is exposed to the stitching path.
A few other suggestions, both for safety and to insure a professional result, include:
- Know the type of material the article is made from and choose an appropriate type of embroidery design. Refer to the series of Sulky blogs explaining successfully embroidering on various fabrics if additional information is required.
- Reduce the speed of the machine at least by half.
- Monitor the stitching process! This is a hard-fast rule! Not doing so could result in damage to the embroidery machine if a zipper is struck or excess material folds onto itself.
- Always use a sharp needle for any embroidery project. Most pre-made items require a large gauge since they are stitching through layers of a finished item. Top-stitch needles, matching gauge to material/design density, is usually a safe bet.
Let’s get down to some actual gifts!
Luggage Tags
Luggage tags, with a unique identifying feature, are always a well welcomed gift since so many suitcases look alike!

The tag’s covering flap, which protects personal information, can be laid flat onto Sulky Sticky + Stabilizer. Tag is placed straight, centered in hoop and pressed firmly onto the sticky surface.
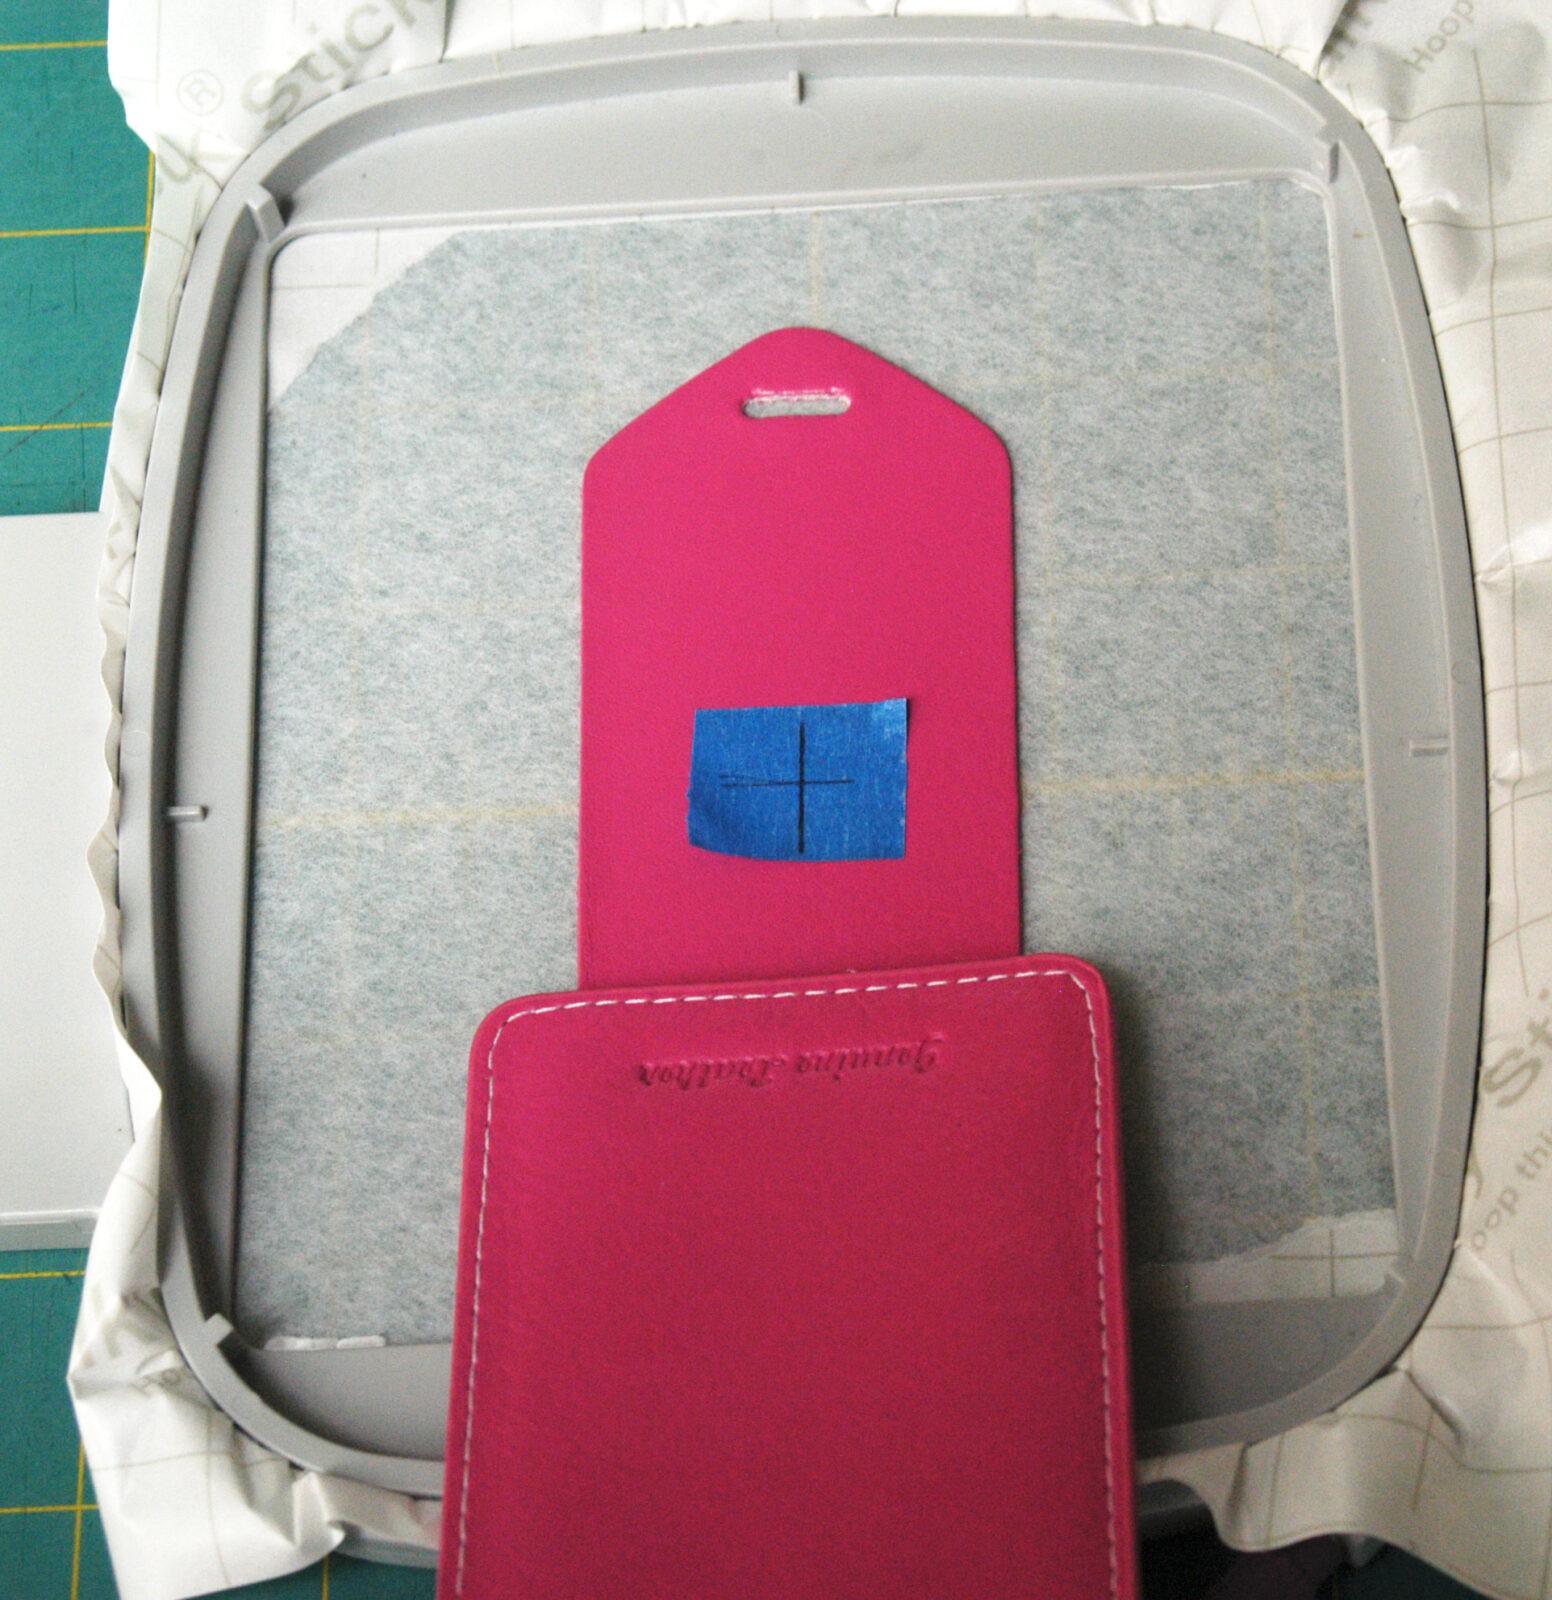
The luggage tag is leather. Indicate center design placement with a piece of painter’s tape to avoid any unnecessary needle marks. Line designs or are best for leather products. The tag was embroidered using an 80/12 gauge leather needle. Read more about embroidering on leather in this blog.

Just as with all embroidery projects, begin by matching design and machine needle centers.
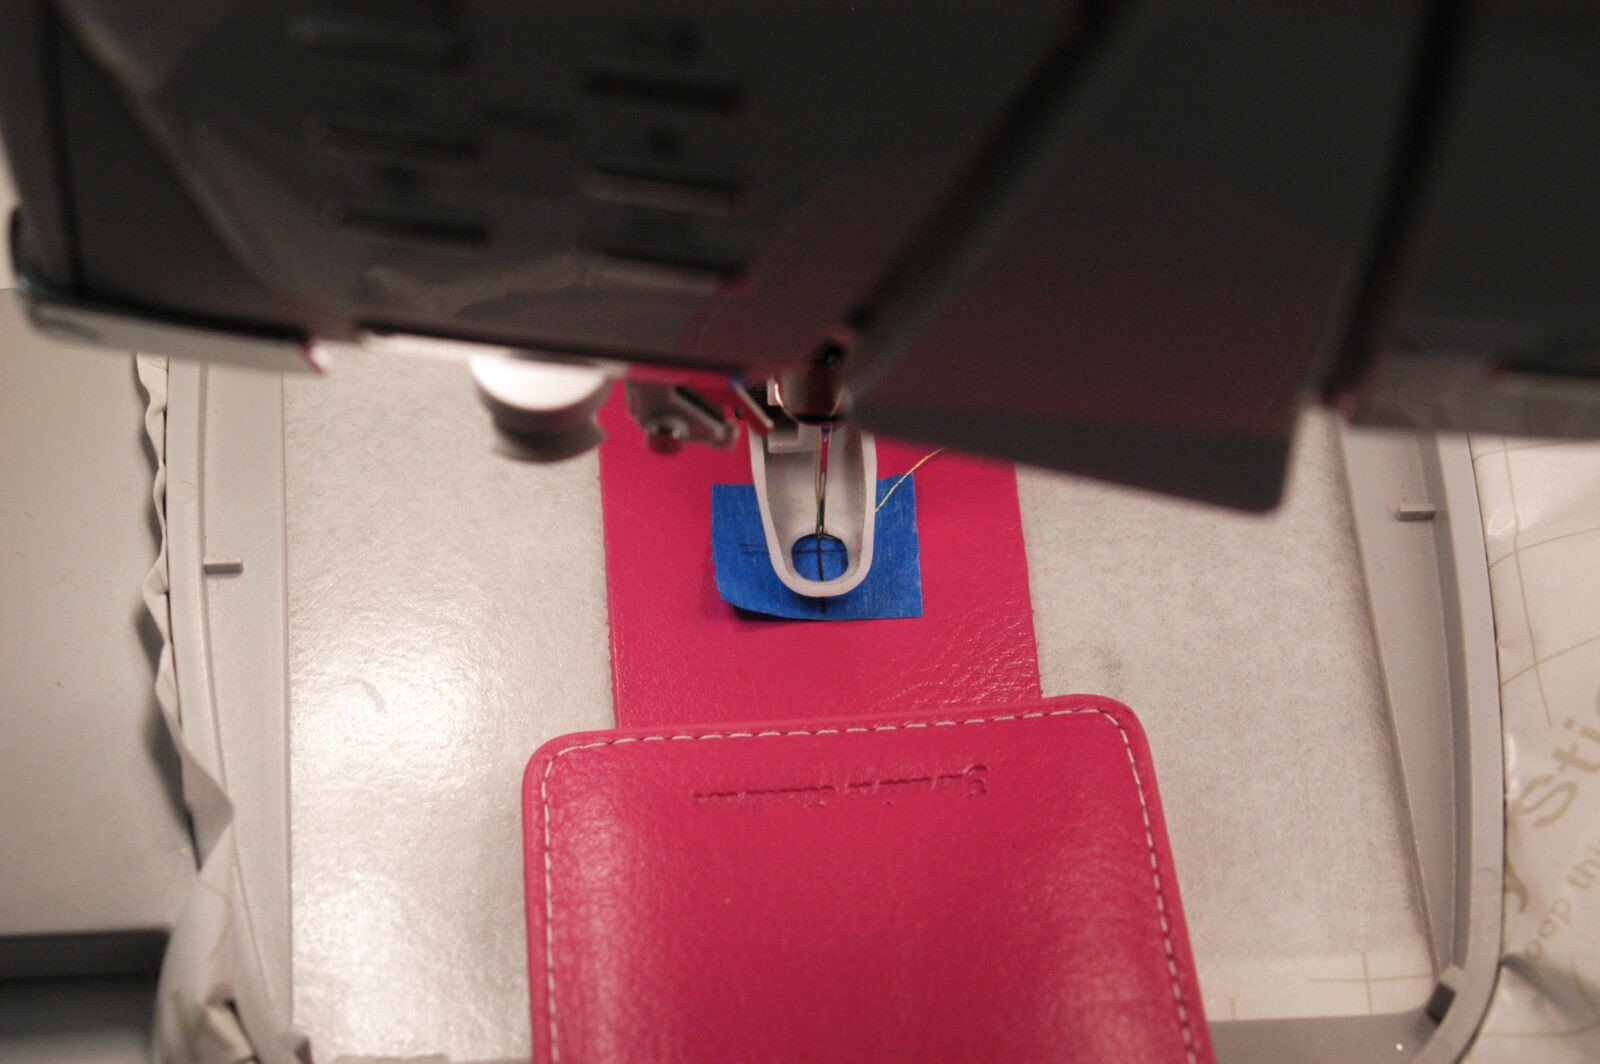
However, with premade articles, “clearance” of limited areas must also be confirmed. In this case, the lower edge of the tag was checked to ensure that the design, and the pressure foot, cleared the thicker portion of the tag.
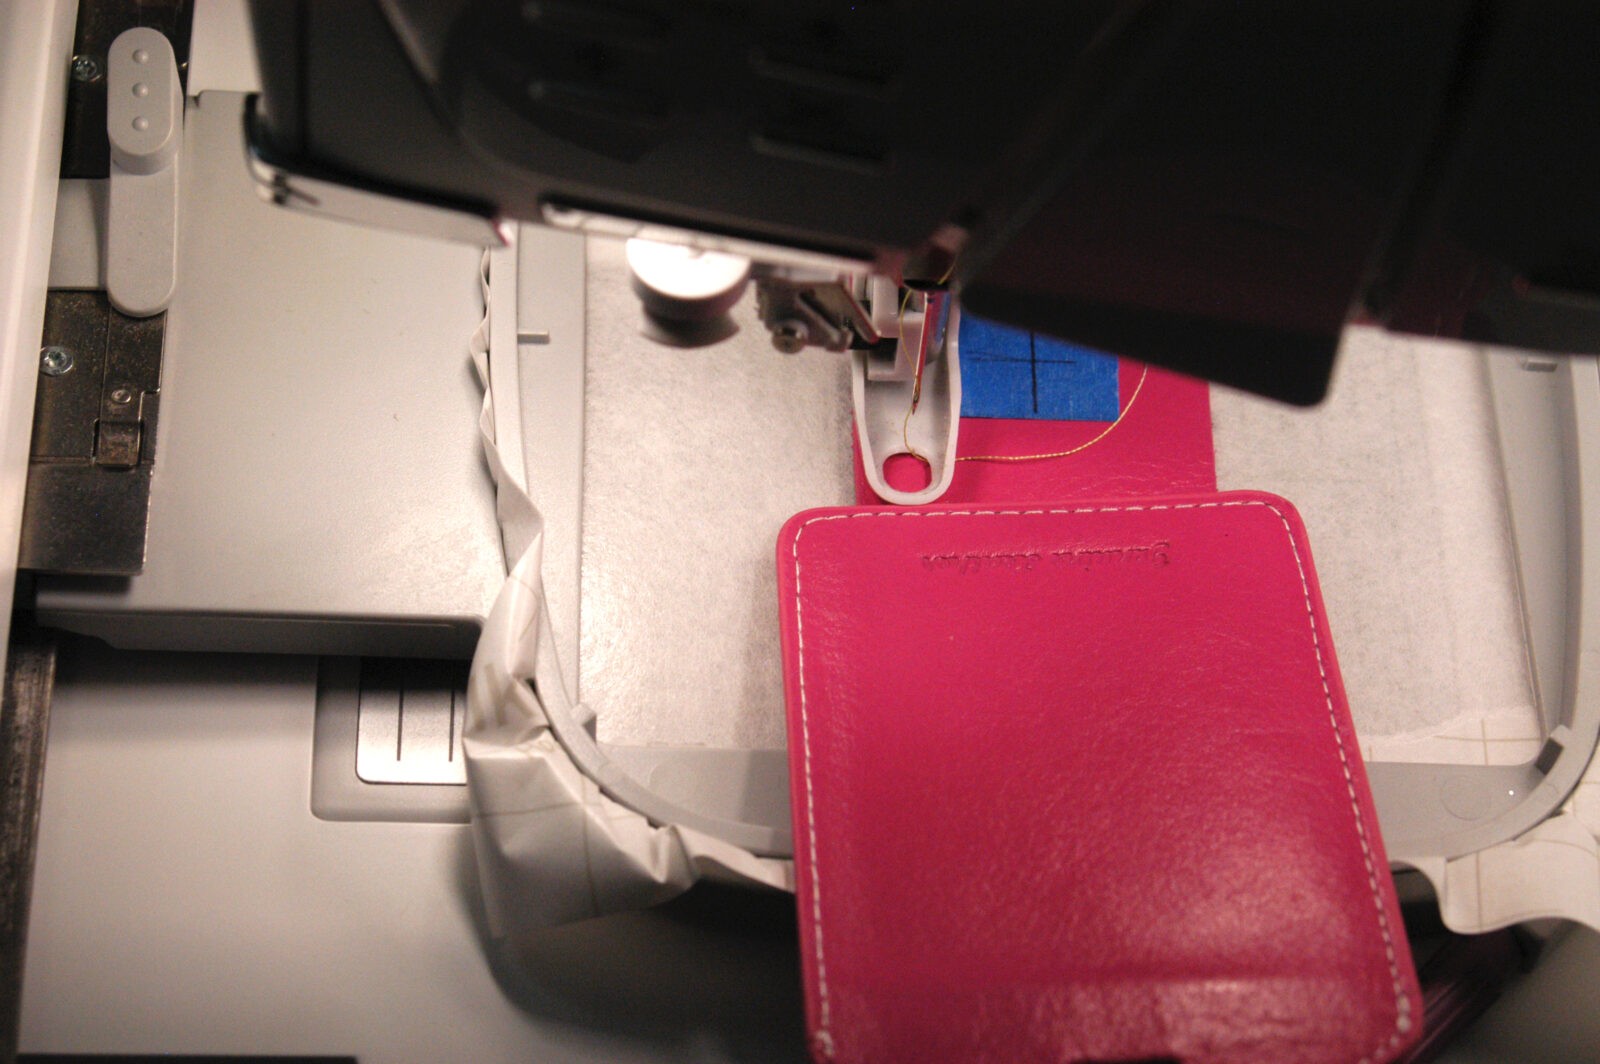
Stitched in Sulky PolyLite™ Multi-Color #5013, the entire stitching process was monitored, making sure that the non-secured, lower part of the tag did not shift into the stitching area.
Be sure to remove painter’s tape and Sticky + before stitching.
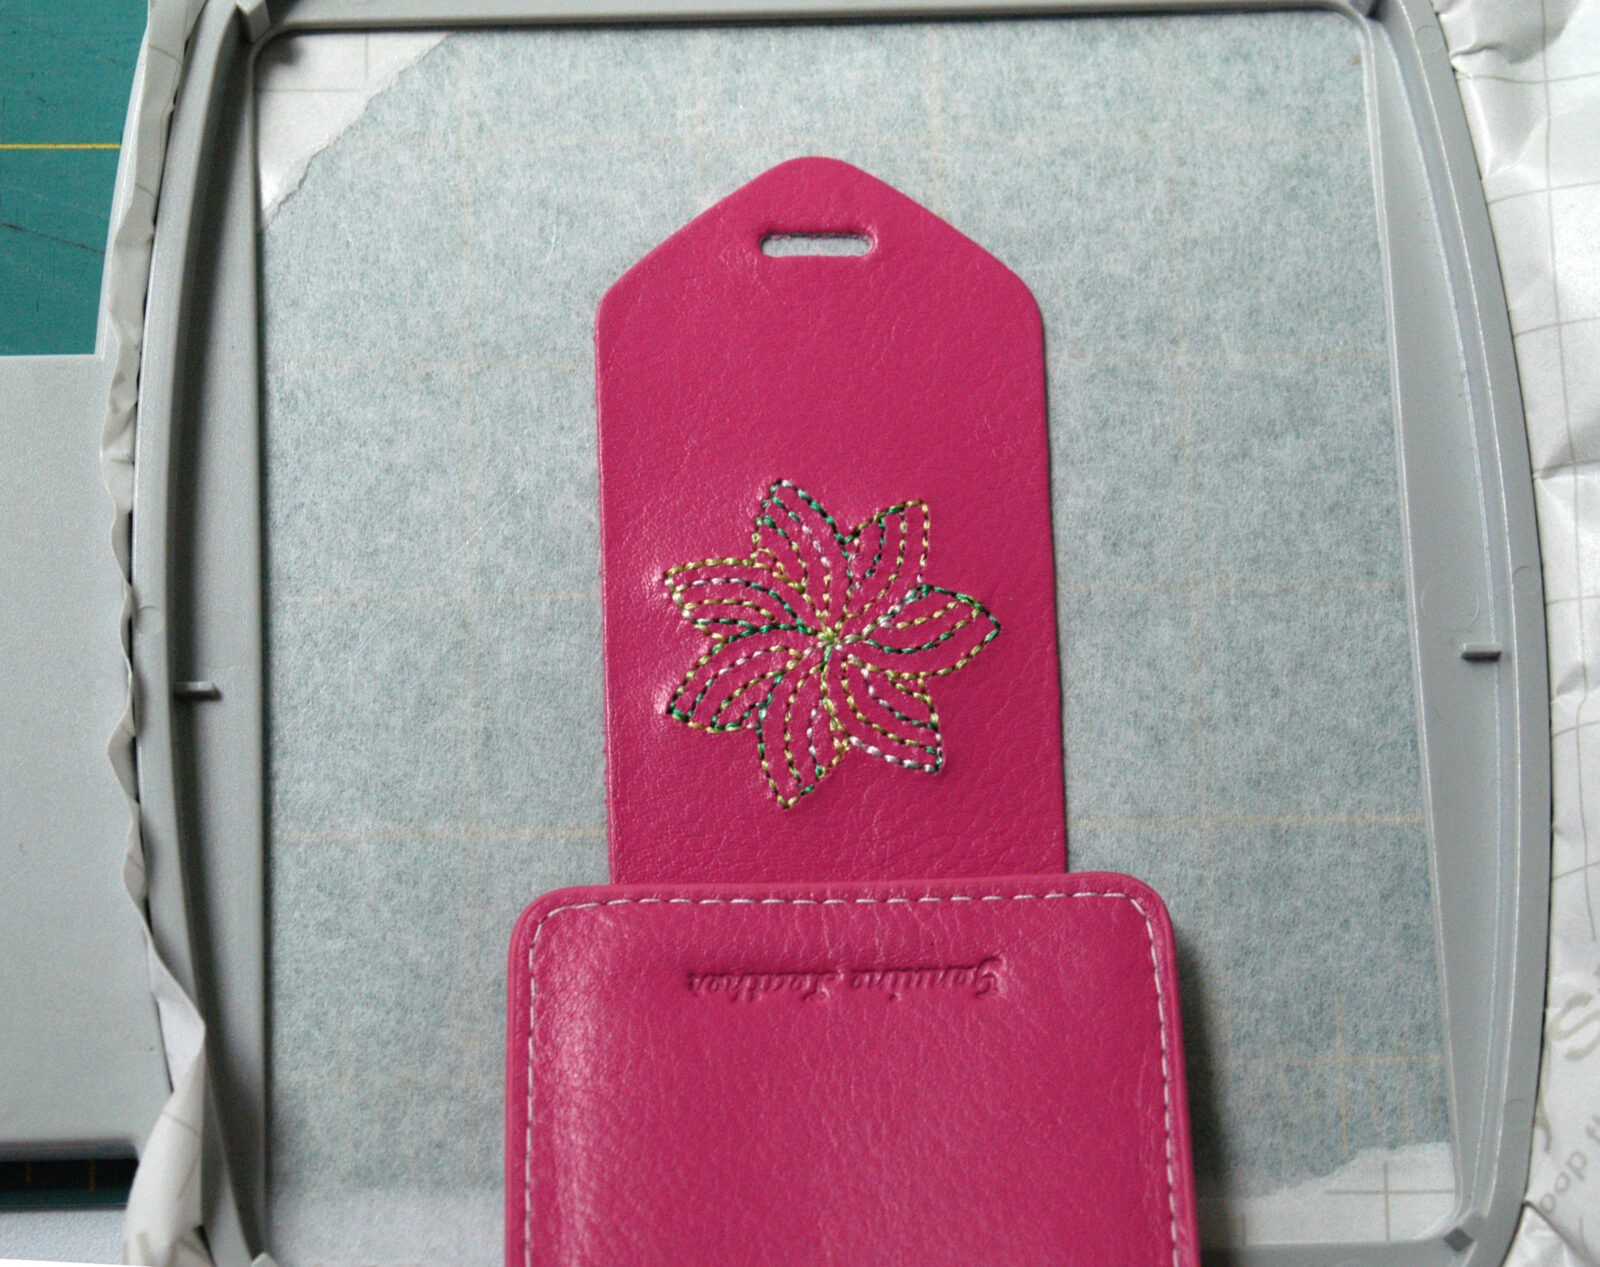
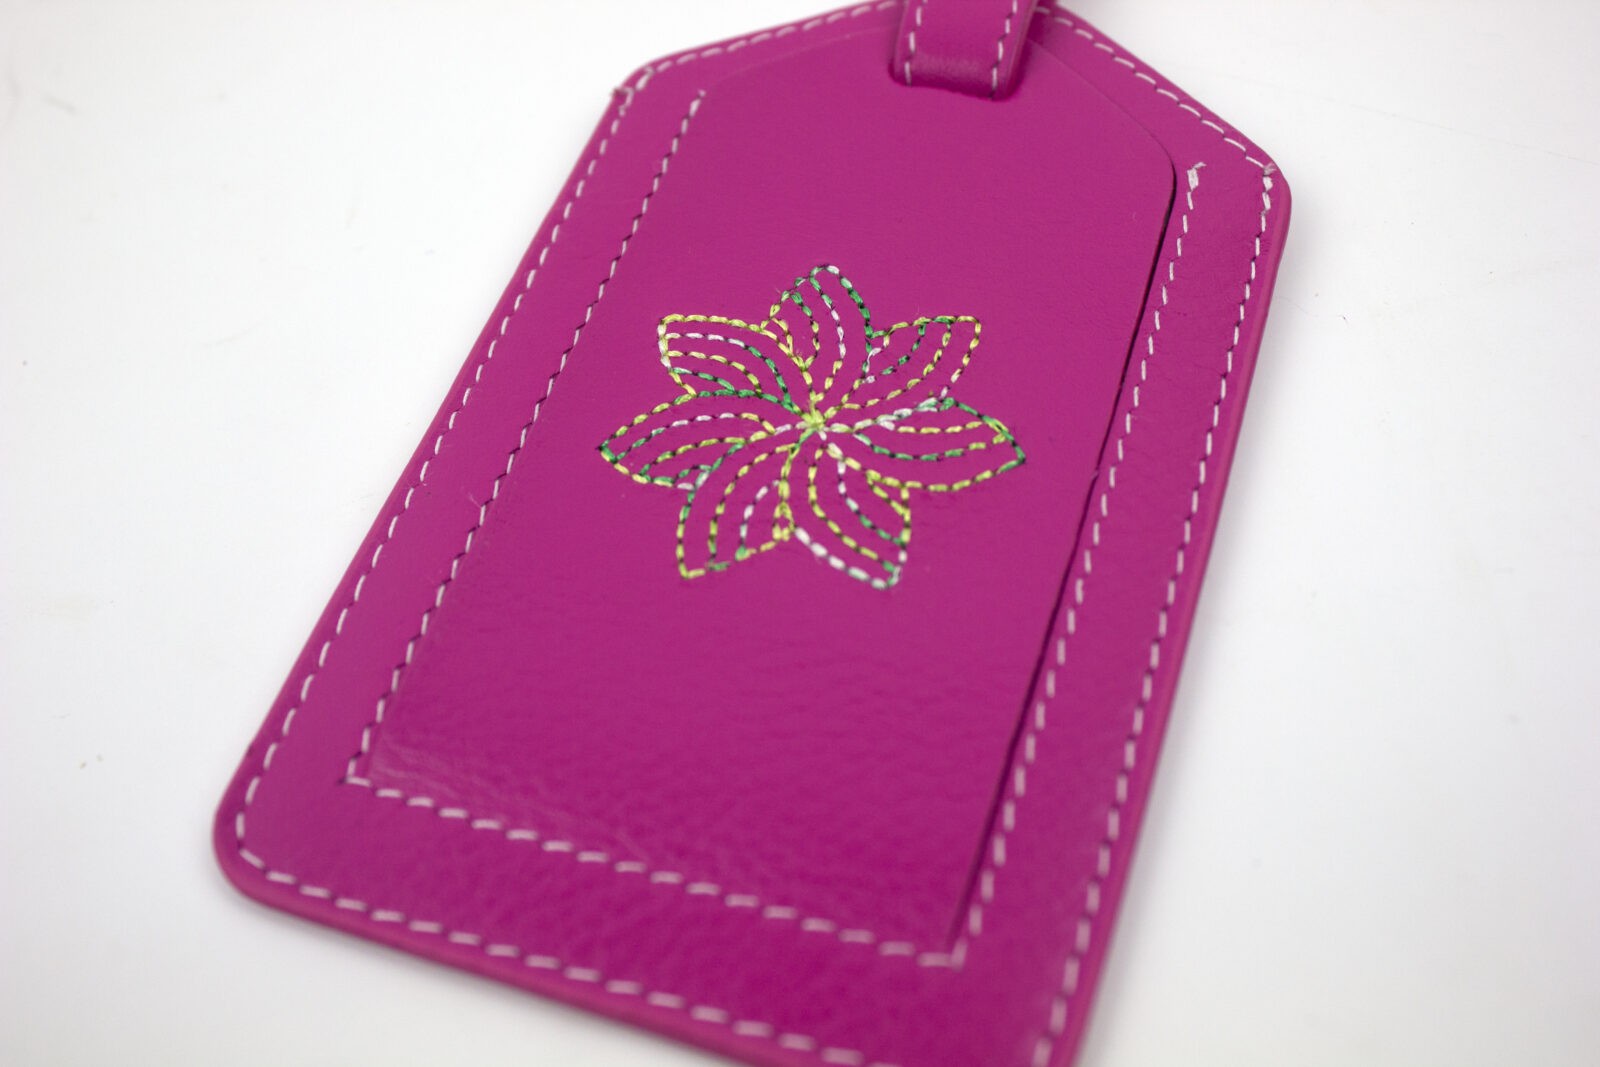
Once stitching was finished, excess stabilizer was gently peeled from the exterior of the design, gift wrapped, and ready to present!
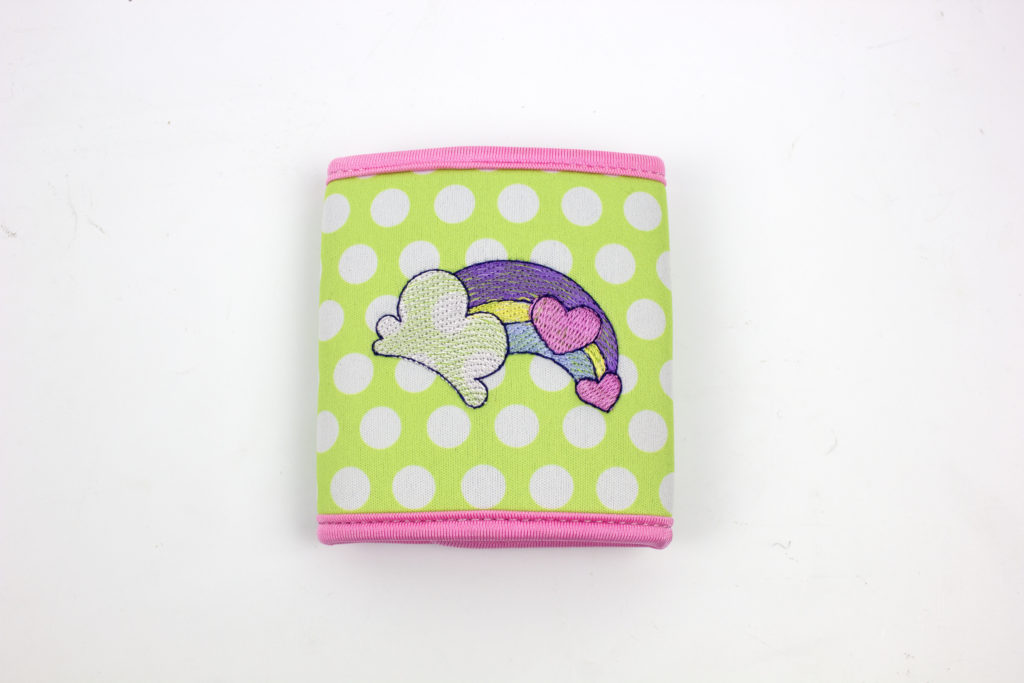
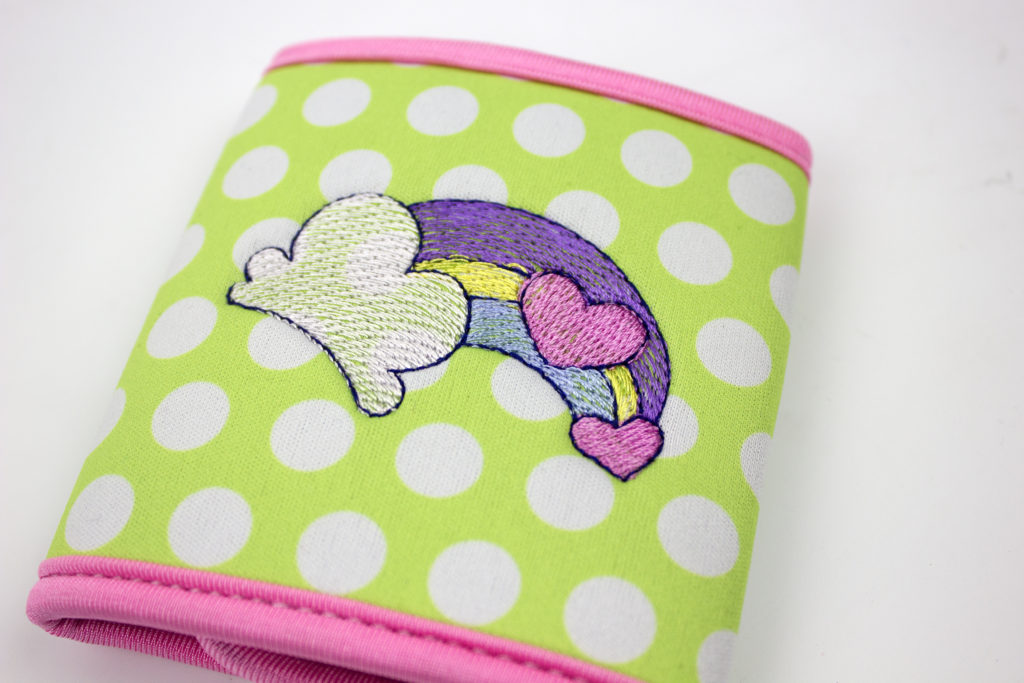
Koozies
Another quick and easy, but most welcomed, gift to personalize are koozies.
Mark the center of holder and use its finished edges to keep it straight in the hoop as it is pressed firmly onto Sticky + Stabilizer.

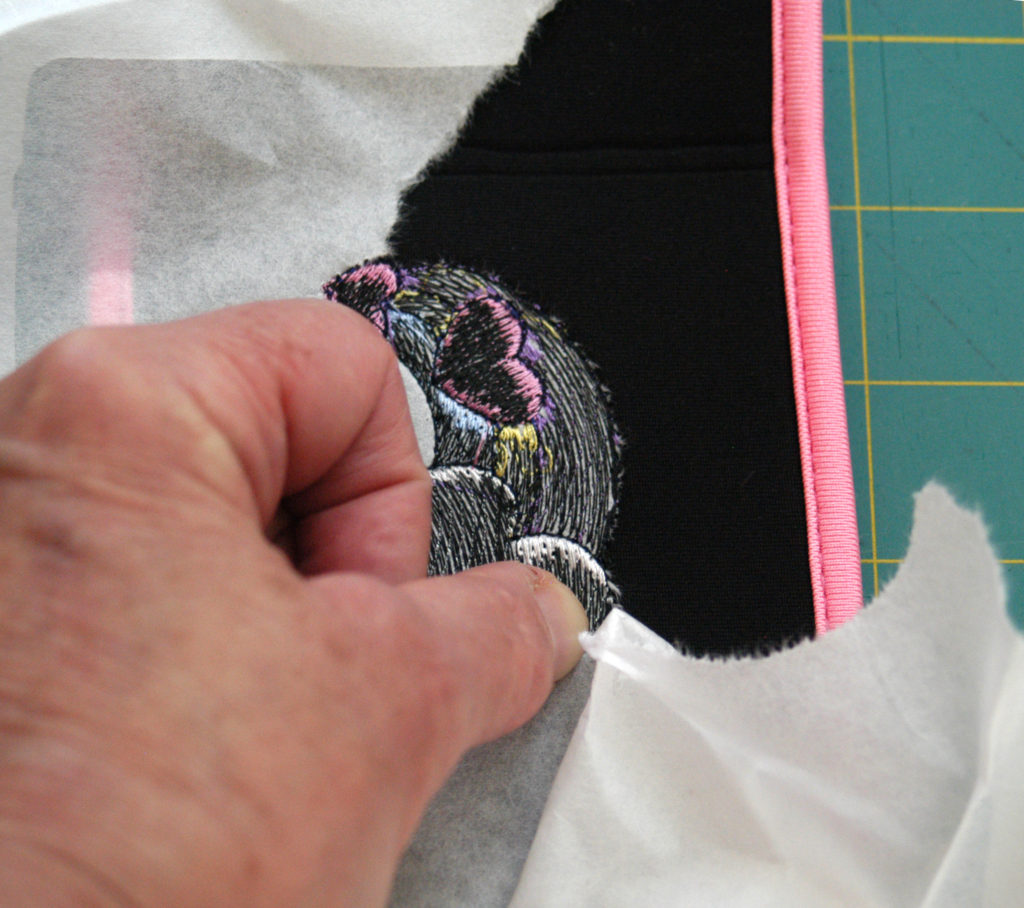
Since this koozie was made from a knit material, an 80/12 Ball-point embroidery needle was used. The back of the holder was black, so black bobbin thread was chosen. Once the design was stitched, back jump threads were trimmed and excess stabilizer was gently torn from the design.
The back of the koozie looks almost as good as the front!
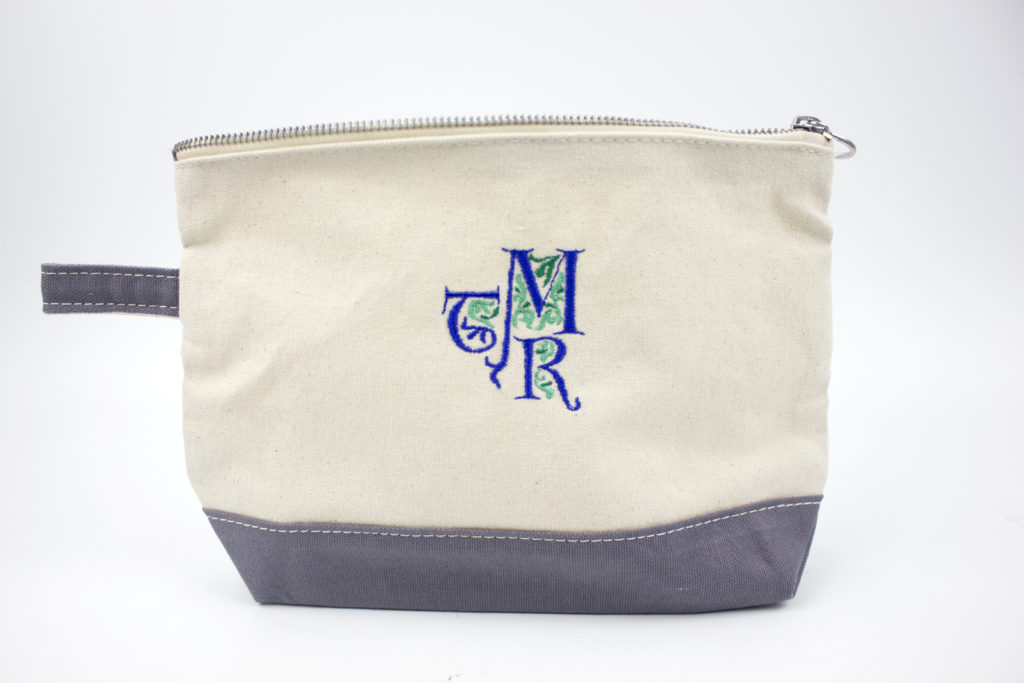
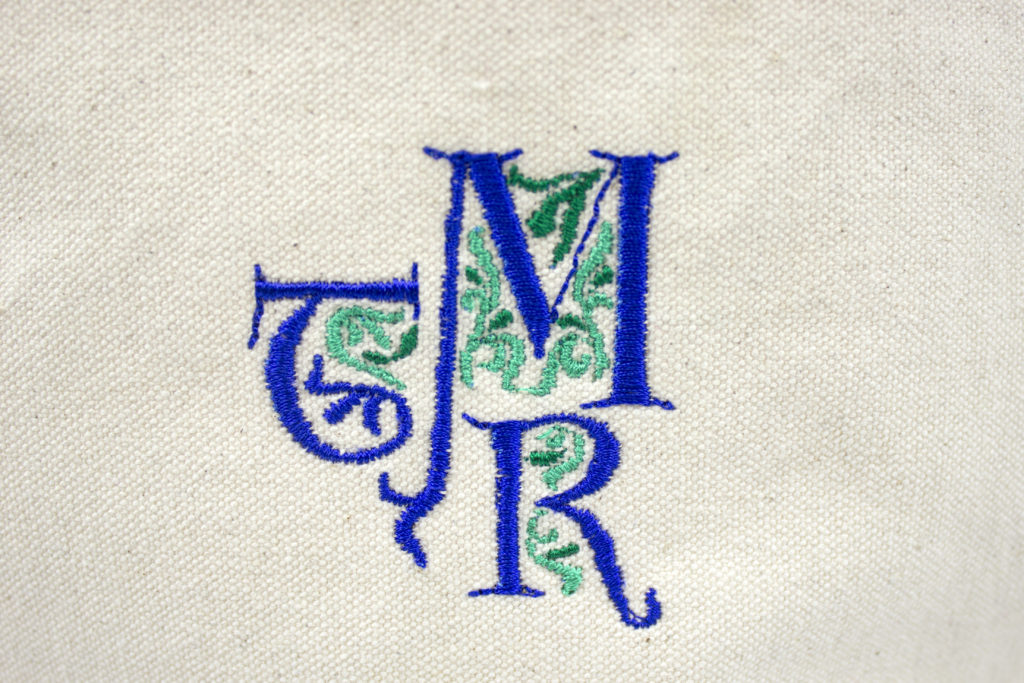
Doppler Bag
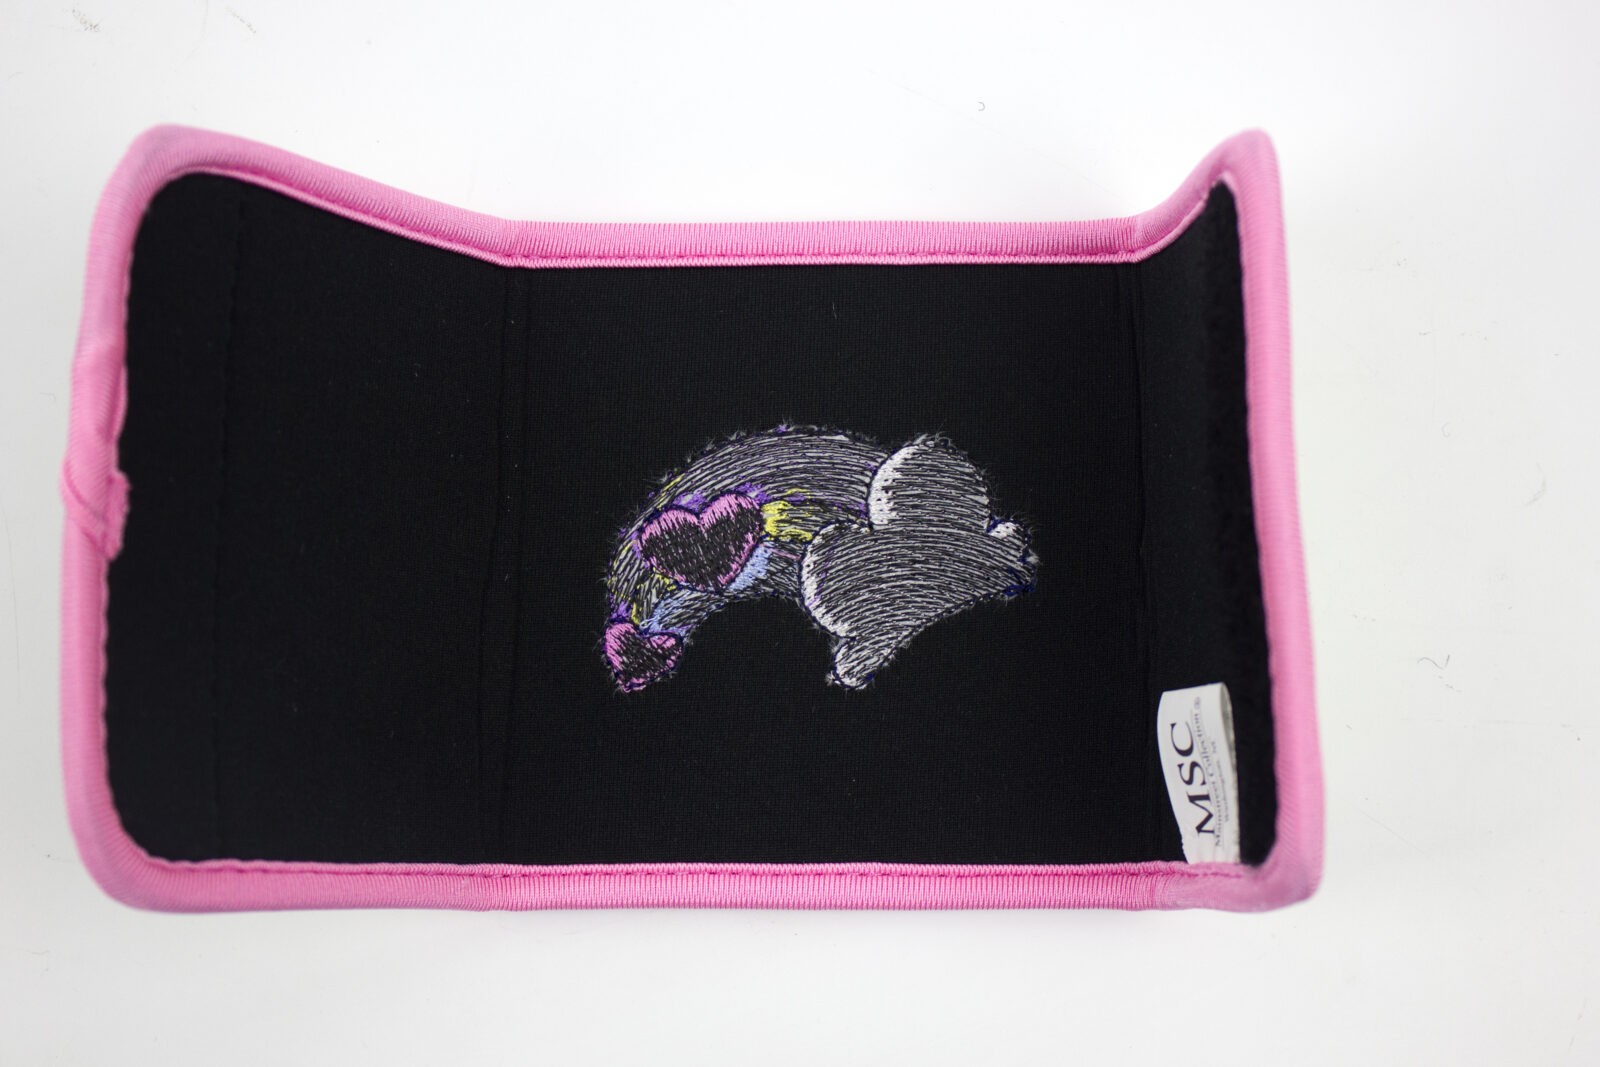
Depending on the project’s shape, size, and construction, some items are easier to embroider if they are turned inside-out. A pre-made Doppler bag (another name for cosmetic bag or toiletries bag) is a prime example.
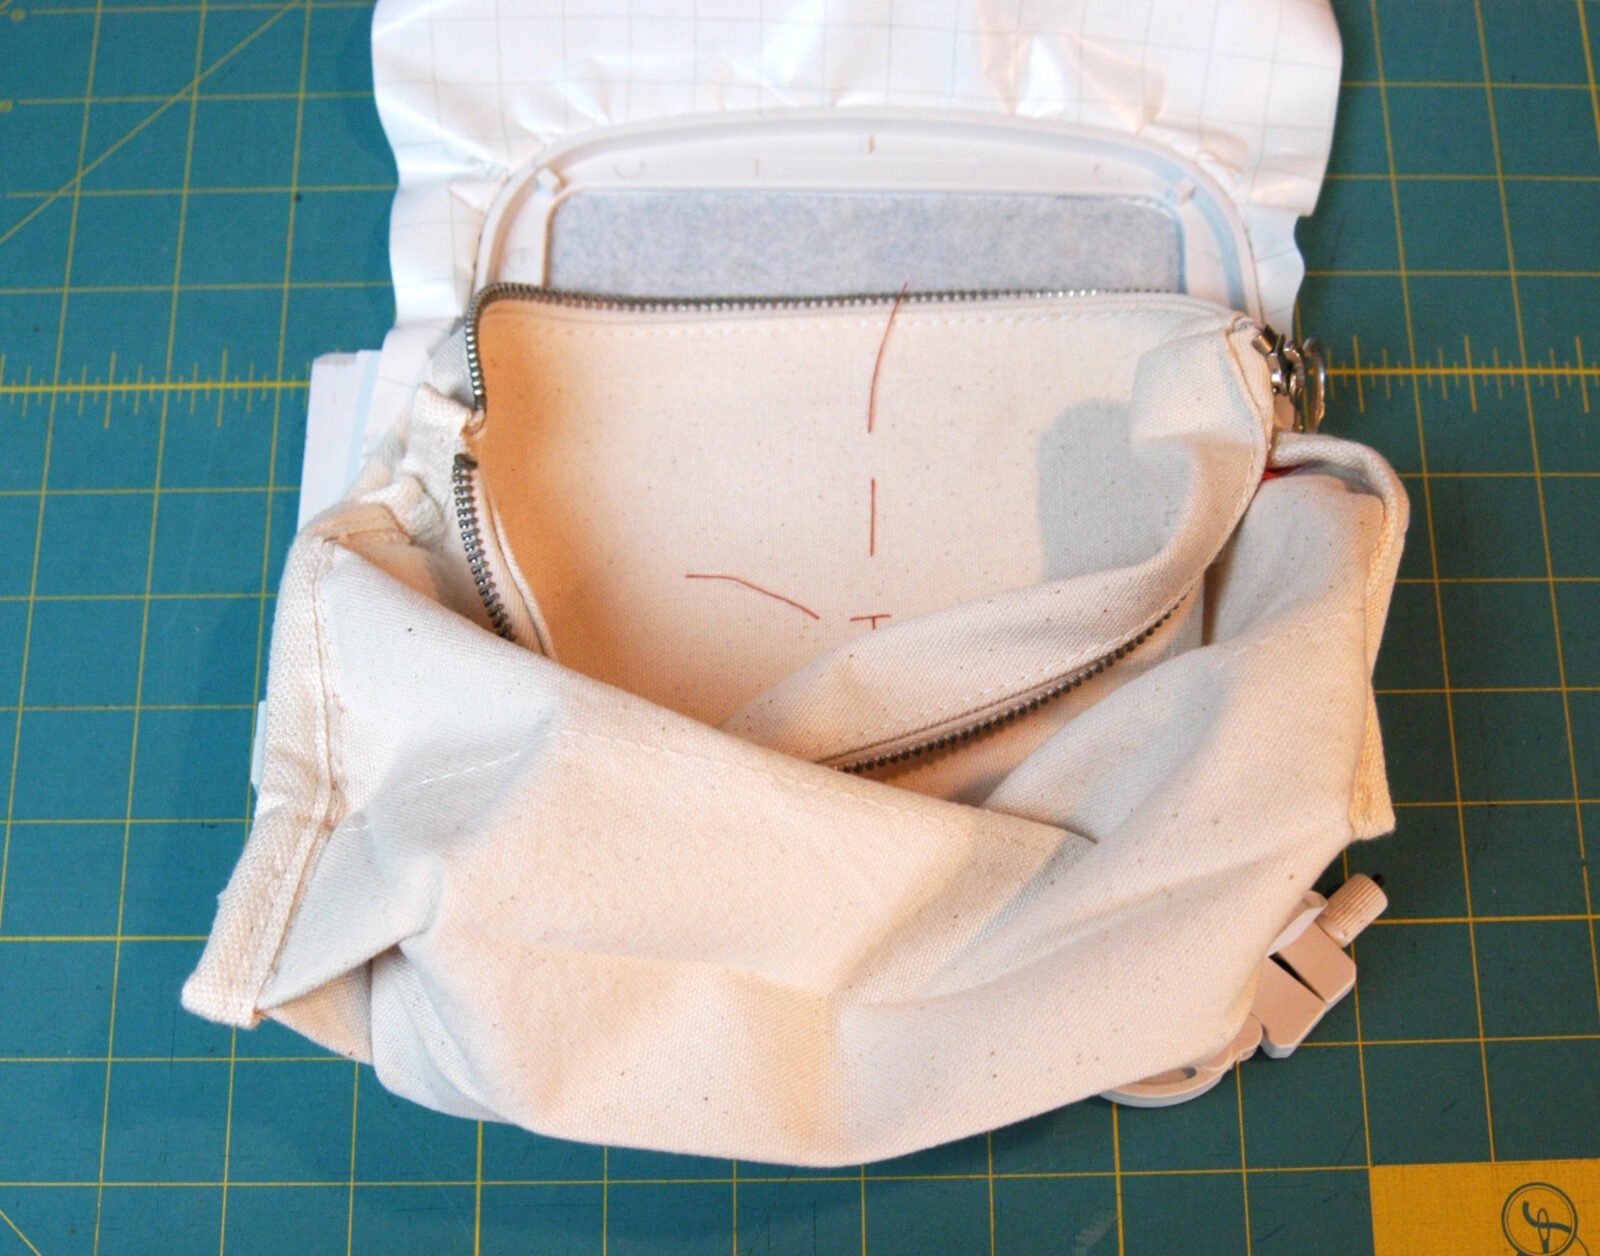
Turning it inside out allows the “right side” to lay flat within the hoop and be pressed firmly down, securing the bag to the hooped stabilizer.
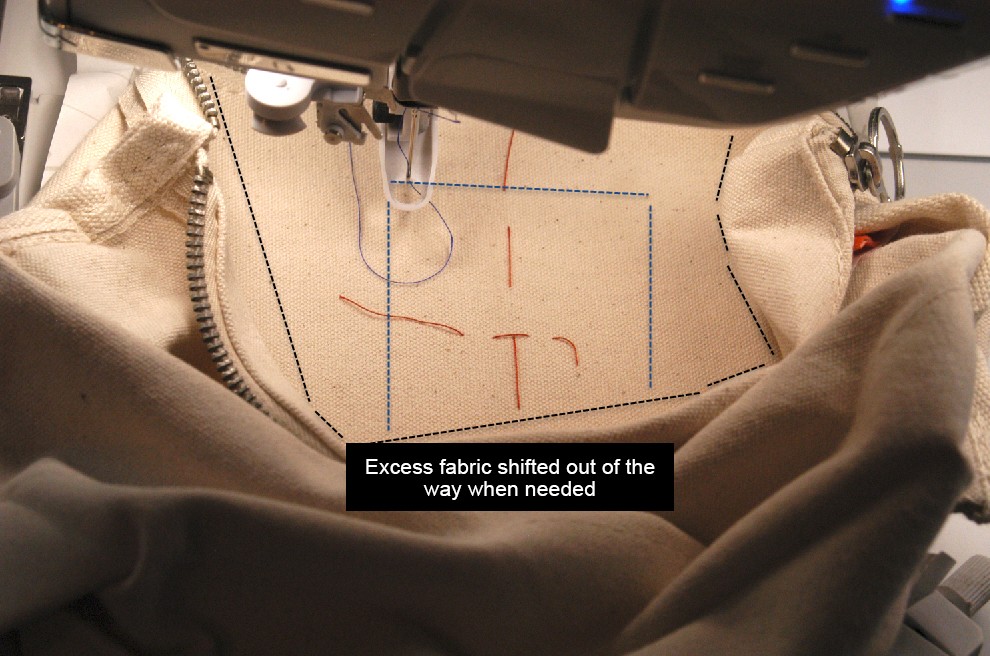
Before stitching begins, make sure the needle head can move around the design area.
![]()
Sometimes this means shifting unsecured sides of the item after one area of a design is embroidered to allow a bit more stitching freedom when embroidering another portion of the design.
Grads and Dads would love to include this travel item! A female grad would especially enjoy flowers, make-up items, etc. embroidered on the bag for a special touch!
Shot Glass Bag
As machine embroidery enthusiasts, we have been taught to use the smallest hoop possible for the intended embroidery design. However, there are times, especially with premade items, that it is beneficial to use a slightly larger hoop than required by design size.
A larger hoop allows more freedom in moving the design for centering. This becomes important for items requiring exact design placement
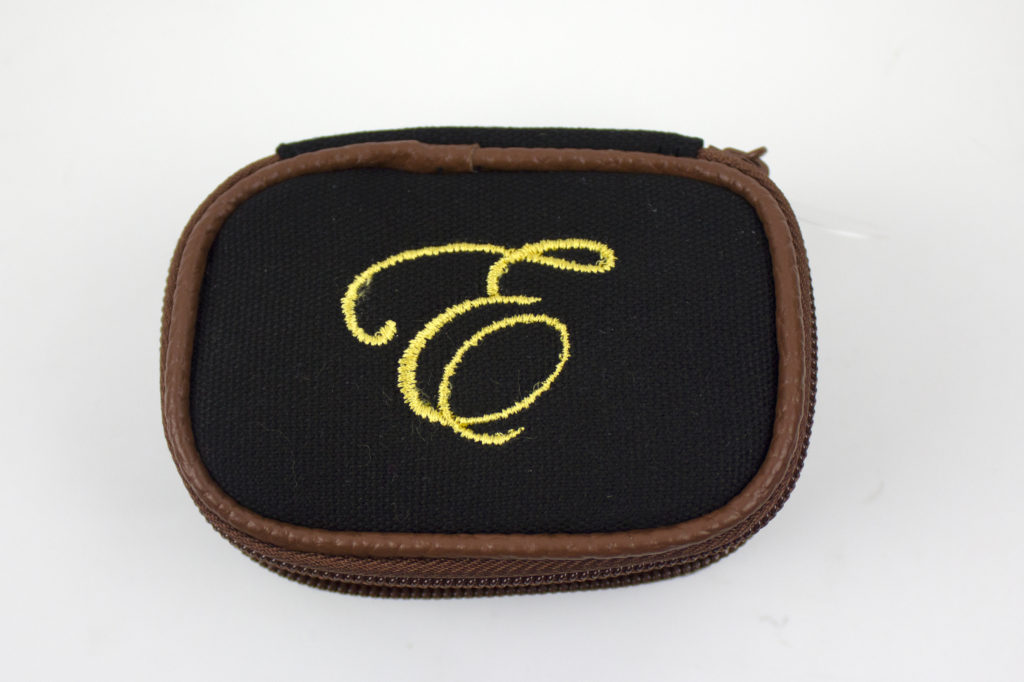
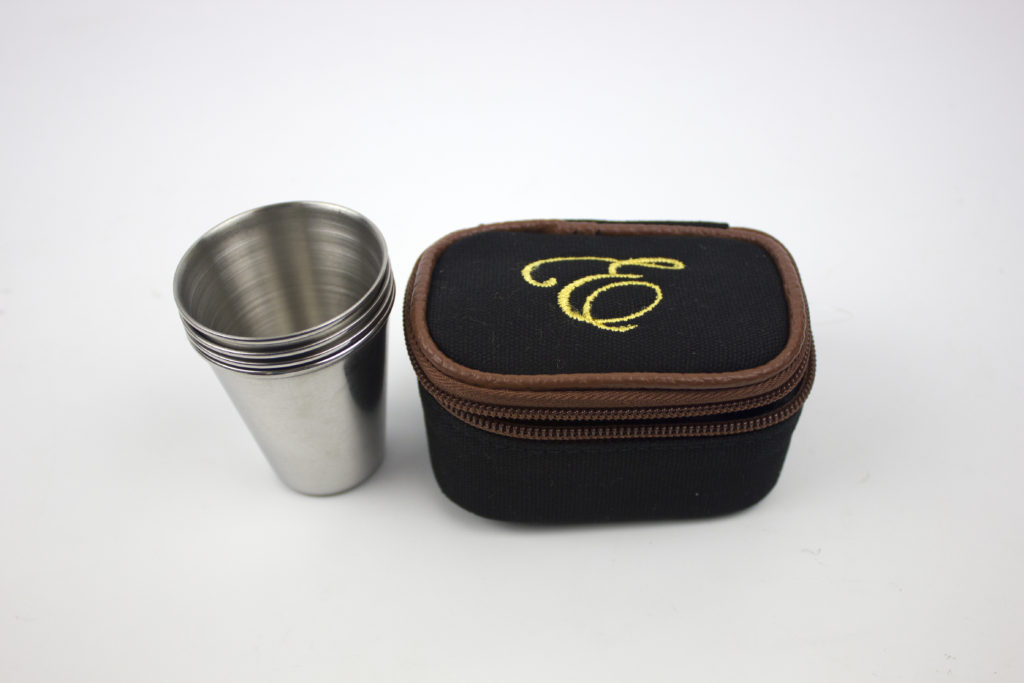
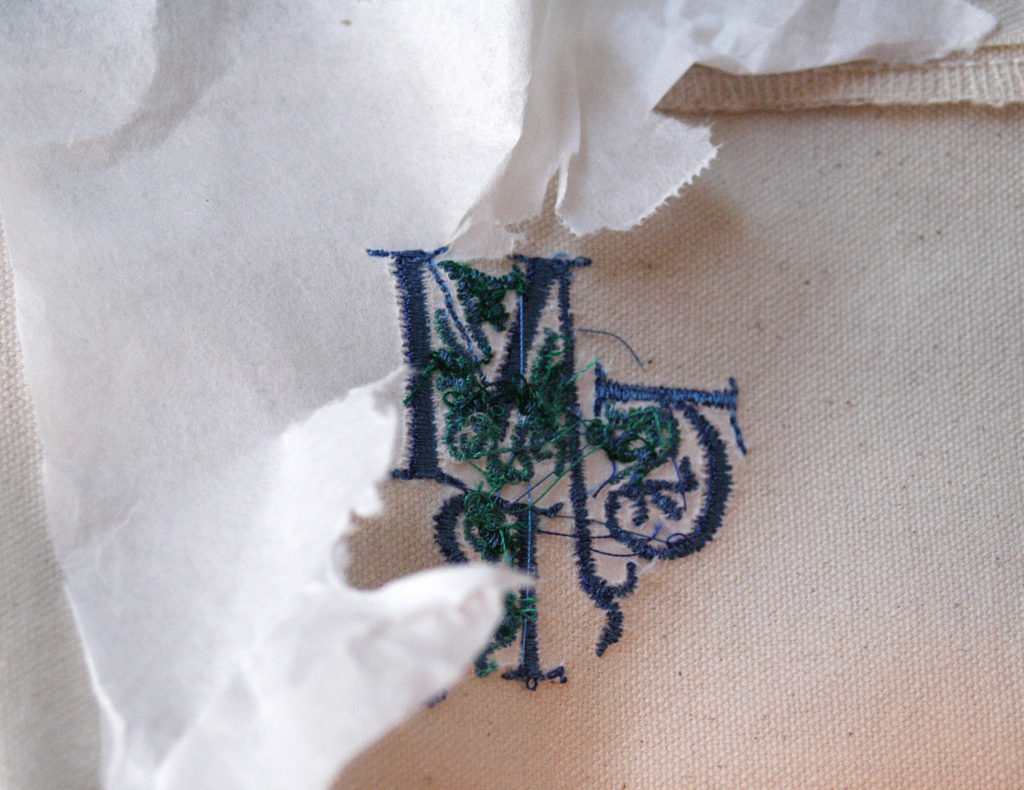
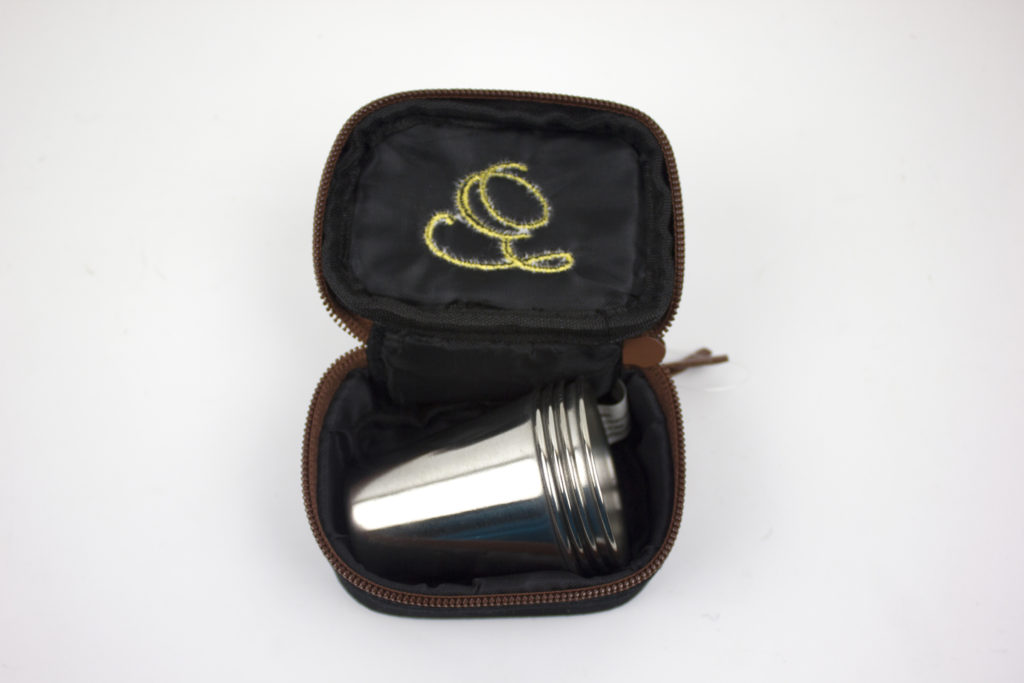
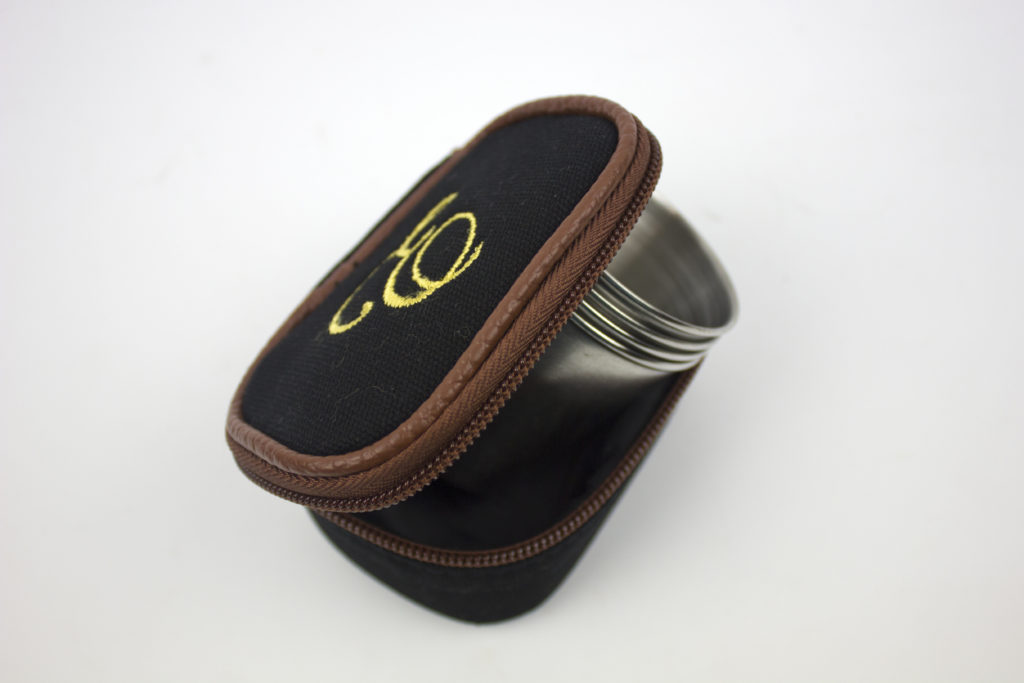
such as this single initial embroidered on a shot glass case.
Center was first located on the top and a scrap piece of Sulky Sticky + Stabilizer was used to mark it, knowing that the stabilizer offered a little more “staying power” than painter’s tape.

Although the design could be stitched in a 80mm hoop, the case would have to be pretty accurately centered in the hoop as well, since there is little room to move the design and keep within the stitching area. It was decided to use a 120mm hoop.
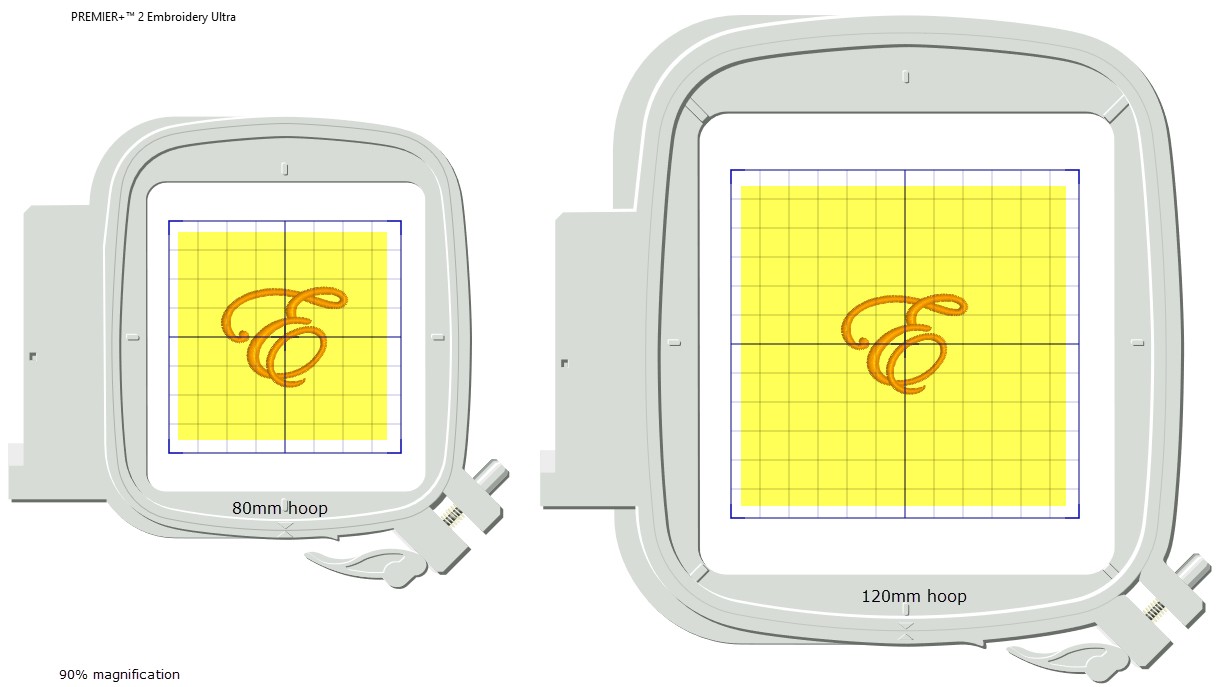
The design can safely be moved right or left, up or down to match design and needle centers remaining in the stitching area.
A larger hoop will allow a bigger area of the sticky stabilizer surface to be exposed, anchoring more of the item. In this example, the entire case top was able to be anchored in place thanks to the larger hoop.
![]()
When checking that the needle will clear ridged portions of a pre-made item, remember to also check that the needle-bar, clamp, and screw will also be able to freely move without getting caught.
Lunch Box
Sometimes it is helpful to rotate a design to allow additional clearance – like this.
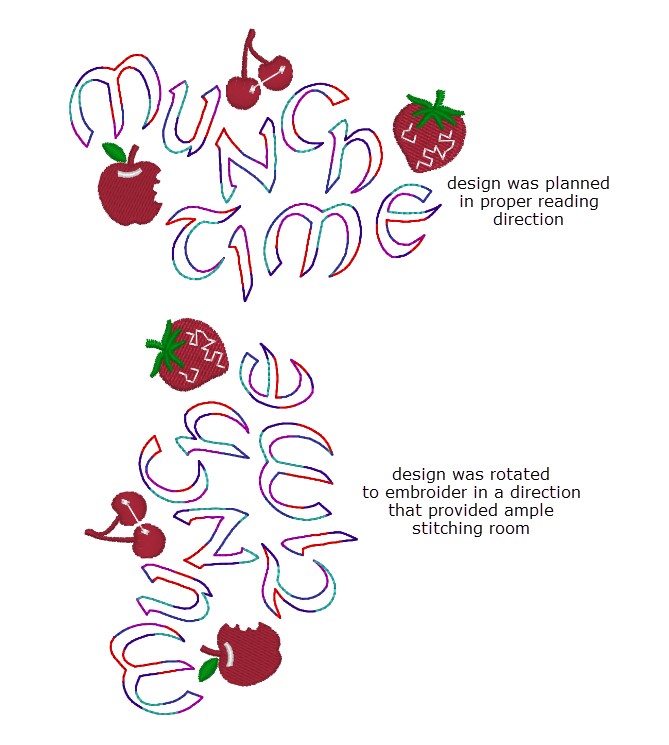
Always double-check that the pre-made article is hooped in the proper direction to accommodate the rotated design.
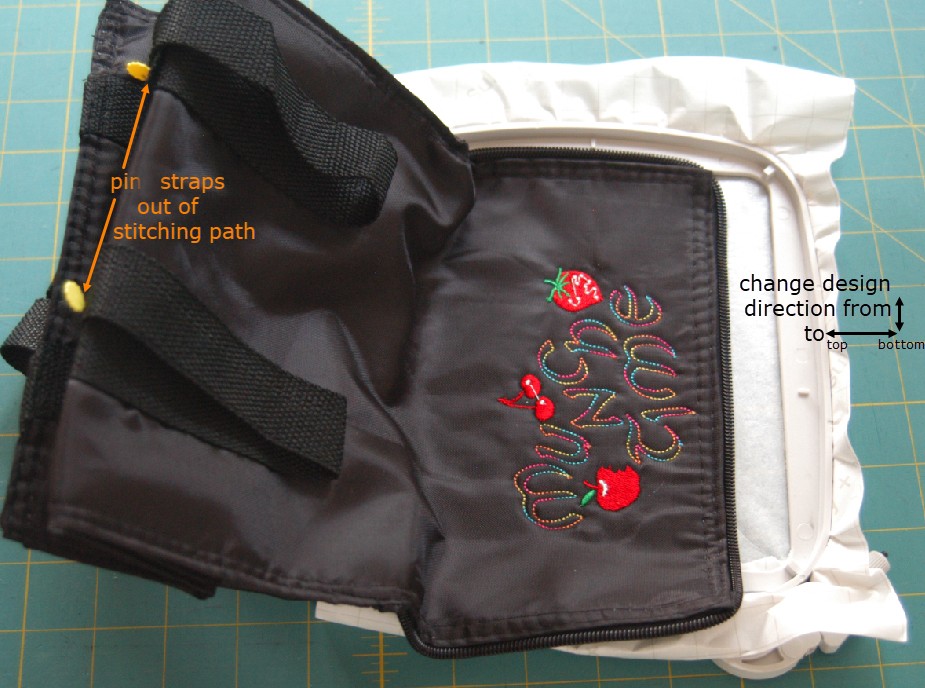
The canvas straps were temporarily pinned to prevent the excess length from accidentally dropping into the stitching area and the lid was “hooped” facing to the right; the same direction as the rotated design.
Another wonderful Sulky product that was used in finishing this project was Stitch ‘n Seal™,
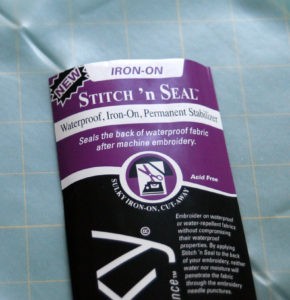
a waterproof, iron-on permanent stabilizer. You can read more about Stitch ‘n Seal here.
Protecting the lunch box with a pressing cloth, a piece of Stitch ‘n Seal was fused to the wrong side of the finished embroidery. Embroidery threads are now covered, allowing the lunch pouch to simply be wiped clean.

Lunch bags come in many sizes, shapes and colors! They are easy to personalize and who doesn’t need a thermal bag to hold a bite to eat? Dads and grads can showcase their favorite sport or hobby with a simple embroidery design!
Keep in mind, the embroidery design does not have to be involved! Line designs and fonts become very festive when stitched in one of the many Sulky decorative threads, as witnessed in “Munch Time”.
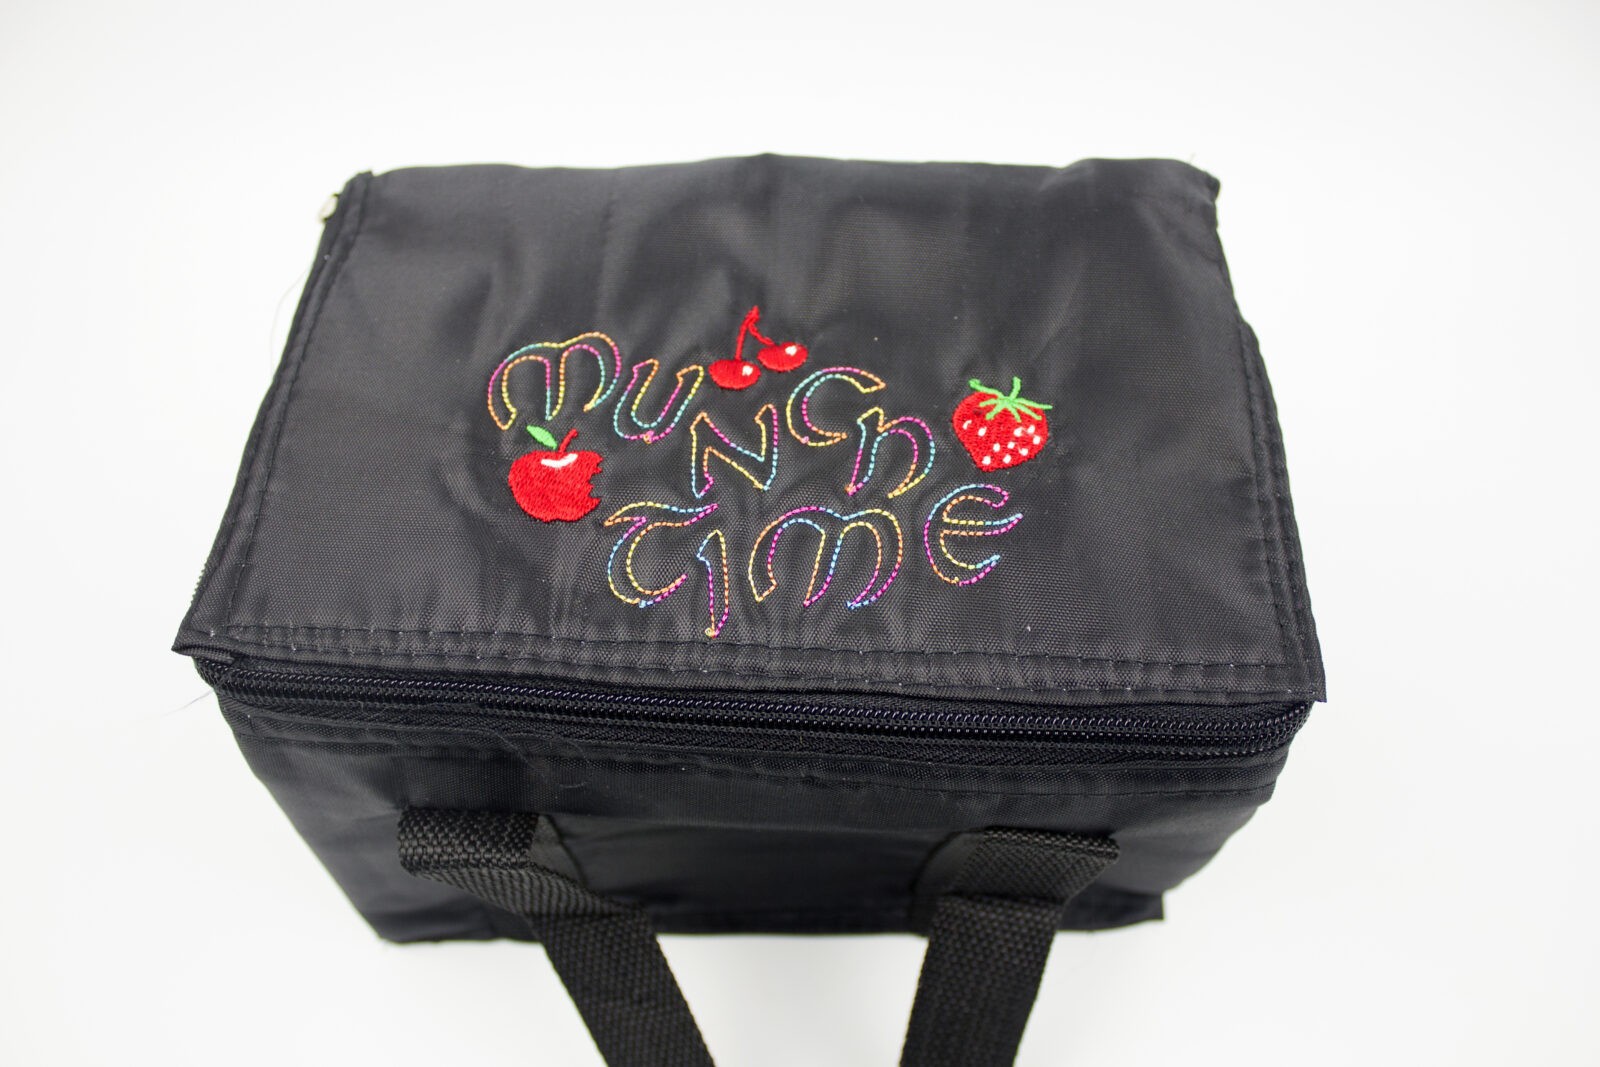
Keep it simple! Make it personal! And create a gift that will always be treasured!
Credits:
Sulky Stabilizers and Threads available at www.sulky.com
Pre-made items available at www.allaboutblanks.com
Designs:
Shot glass initial: Graceful Embroidery Georgiana Monograms – available at www.gracefulembroidery.com
Munch Time fruit designs: Cotton+Steel Scout Embroidery Collection – available here.
Inspiration Butterfly: only available at www.sulkyembclub.com
Other fonts and designs were created on Premiere+™ 2 Software – available at your local Husqvarna/Viking dealer
