By: Eric Drexler, Master of Free-Motion
Did you know that today is National Handwriting Day? I don’t know about y’all, but I am personally NOT a fan of my handwriting (yikes!). But you know what, we should be proud of those messy, crooked letters! 🙂 On the blog today, we have Eric Drexler, Sulky Educator and Master of Free-Motion, talking about how he incorporates his own handwriting in his quilts! Here’s what he has to say…
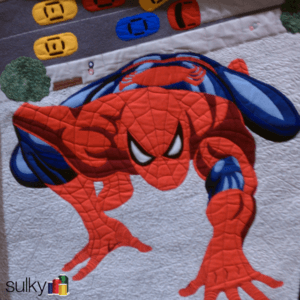
 The first time I even thought about “signing” my quilt was at one of my first guild lectures. When the ultra-fun trunk show of beautiful Sulky® quilts, and some of my own, was over, one of the guild members approached me and asked, “Why don’t you sign your quilts?” I had never thought about it before and had always used pre-printed labels on the back. Since then I have always tried to slip my signature in there somewhere.
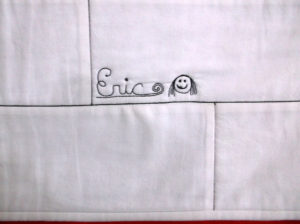
Most of the time it is visible, but if I can find a way to hide it in the quilt somewhere, it is way more fun. I have added it to the stippling which is easy to do in bubble letters with my name. I have also hidden it in some of the artwork on my Zentangle quilts.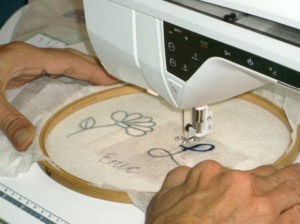 Any way you do it is fine. Be proud of the work of art you created and sign your work like the true artist that you are (You are to someone). Quilts last a long time and are often passed from generation to generation.
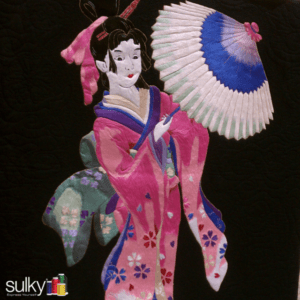
My all-time favorite way is to actually autograph on the quilt. I described a method in my Fearless Free Motion online classes.
Here’s how…
Start by writing your name on a piece of paper as large as you would like it to be on the quilt. You might have to do it a few times like I did because my (sloppy) check signature is not like my (legible) autograph.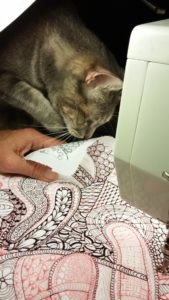
Next, lay a piece of water-soluble, such as Sulky Solvy®, Super Solvy™, Fabri-Solvy™, or Sticky Fabri-Solvy™, over the autograph and trace it with either a water-soluble Fade-away, or FriXion™ pen.
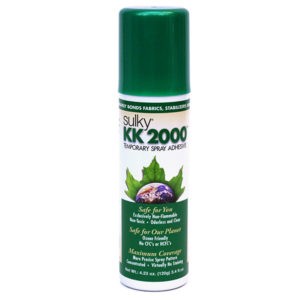
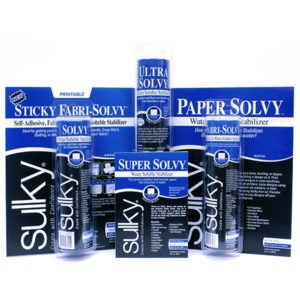 If you are using Sticky Fabri-Solvy, simply cut it out, peel off the release sheet, and stick it where you want it. Of course, if you are using Sticky Fabri-Solvy you already know that you can just scan your autograph into your printer then print directly onto the 8 ½” X 11” pre-cut piece. Be frugal and make sure to write or print it in the corner so you still have plenty of space to play with later. For all the other Solvy Stabilizers, turn them over and lightly spray Sulky KK 2000™ (a non-flammable temporary spray adhesive) on the wrong side, then flip and apply.
Now you have a perfectly placed autograph without having to write directly on the quilt with the possibility of making a mistake.
Set your machine for straight stitch, feed dogs down, and free motion foot on. It is important to tie off at the beginning and end to avoid losing stitches. Trace the lines with the machine, making sure to pay attention to stitches per inch. This can also be done with zig-zag, but usually has to be larger writing to allow for the needle swing.
There you have it! I hope this helps. I hope to cover monogramming in the next installment of Fearless Free Motion video, so be on the look-out!


Love this! Love Eric!
Great Job Eric! Hopefully more and more people will lose the fear of free motion! It is always fun to see light bulbs come on when we teach it!
Sweet! I give my students your name and tell them about your free motion class all the time! Many of the people I work with are interested in free motion quilting. I teach new baby lock owners at my local dealer and I am a Licensed Martha Pullen Teacher as well, so I do encounter a bunch of students. I loved your class, and that’s what I tell them!!! <3
Such a great idea Eric. I’m definitely going to FM my name on my next quilt. Thanks for all the great tips.