Backpack Organizer

This backpack Organizer is a fun and functional holder for a standard spiral notebook, papers, pens and pencils and more. The vinyl pocket fits an ID, business cards and lens wipes, too. Stitch a Backpack Organizer for anyone entering school this summer/fall or make one for a tote bag. All your papers, receipts and mail is kept neat and tidy in one place.

FINISHED SIZE: Approximately 9 3/4″ W x 11 3/4″ H
BACKPACK ORGANIZER SUPPLIES
- Sulky 50 wt. Cotton Thread (construction & quilting)
- Organ® size 70/10 Universal Needle
- Light- to mediumweight fusible interfacing
- Quilting cotton fabrics
- (2) 12 1/2″ x 20″ rectangles (main exterior & lining)
- 11 1/2″ x 22″ rectangle (gathered interior pocket)
- 16″ x 12 1/2″ rectangle (outer interior slip pocket)
- 14″ x 12 1/2″ rectangle (inner interior slip pocket
- 6″ x 12 1/2″ rectangle (divided interior pocket)
- 6″ x 4 1/2″ vinyl rectangle
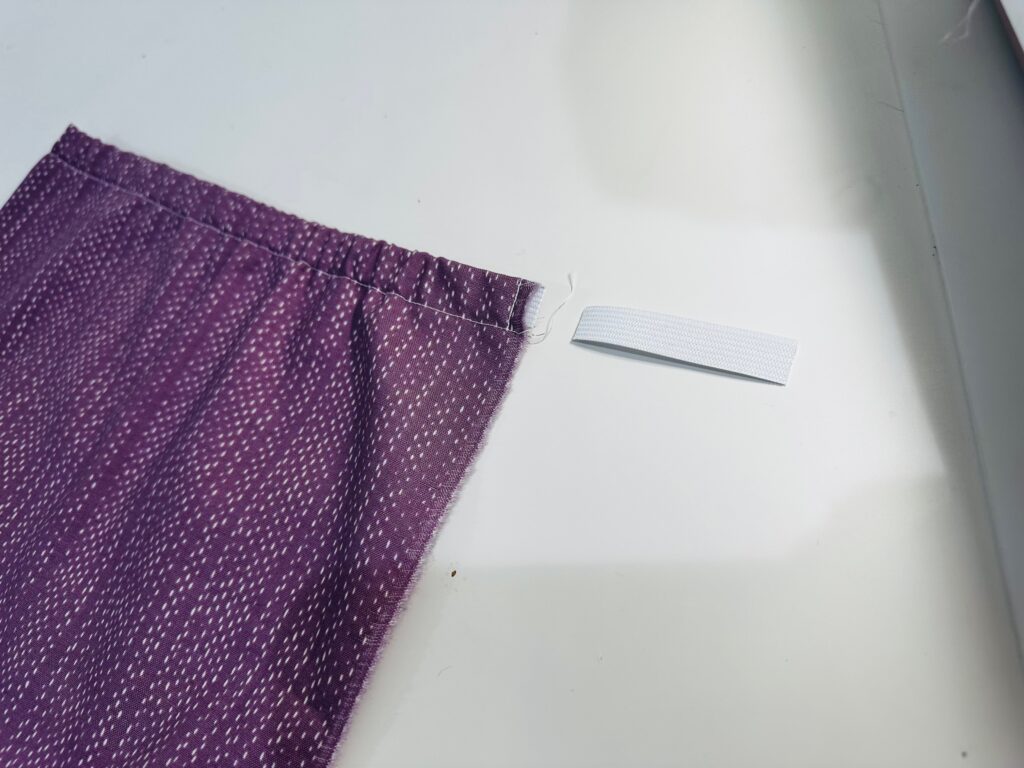
- 11 3/4″ length of FOE (fold-over elastic)
- 11″ length of 1/2″-wide elastic
- 12 1/2″ x 20″ rectangle of low-loft batting
- Sulky KK 2000™ Temporary Spray Adhesive
- Removable fabric marker or chalk
- Clover® Wonder Clips
BACKPACK ORGANIZER POCKETS
To begin, install a size 70/10 Universal Needle onto the machine. Thread the needle and wind a bobbin with 50 wt. Cotton Thread that matches or contrasts the fabrics.
GATHERED INTERIOR POCKET
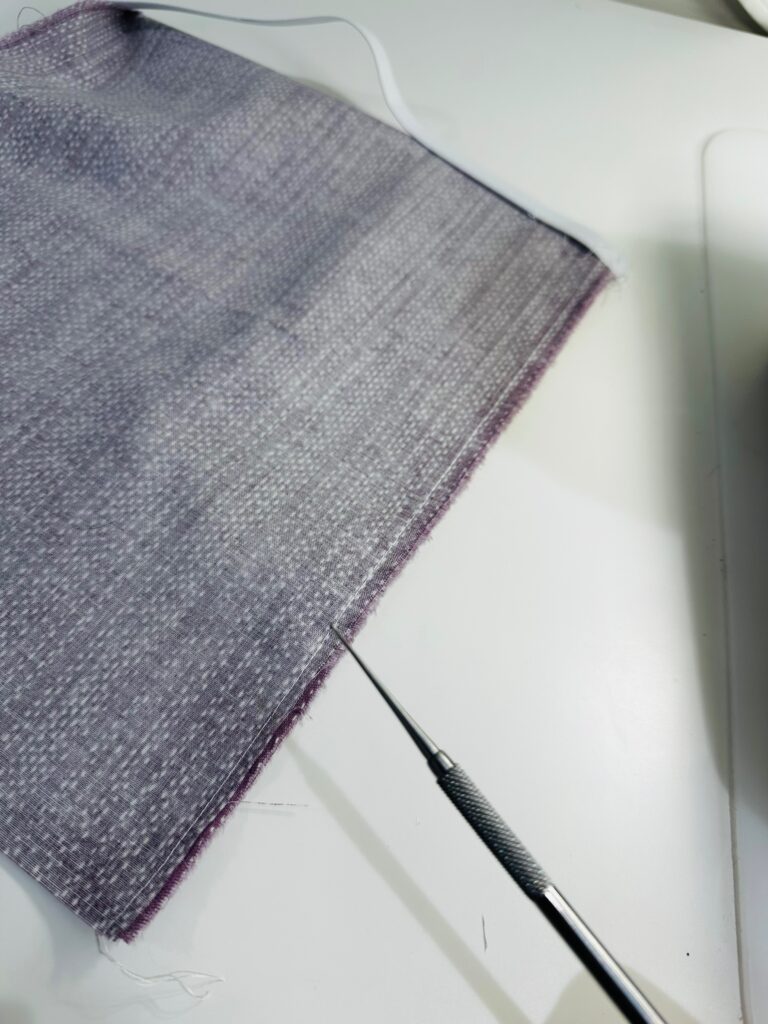
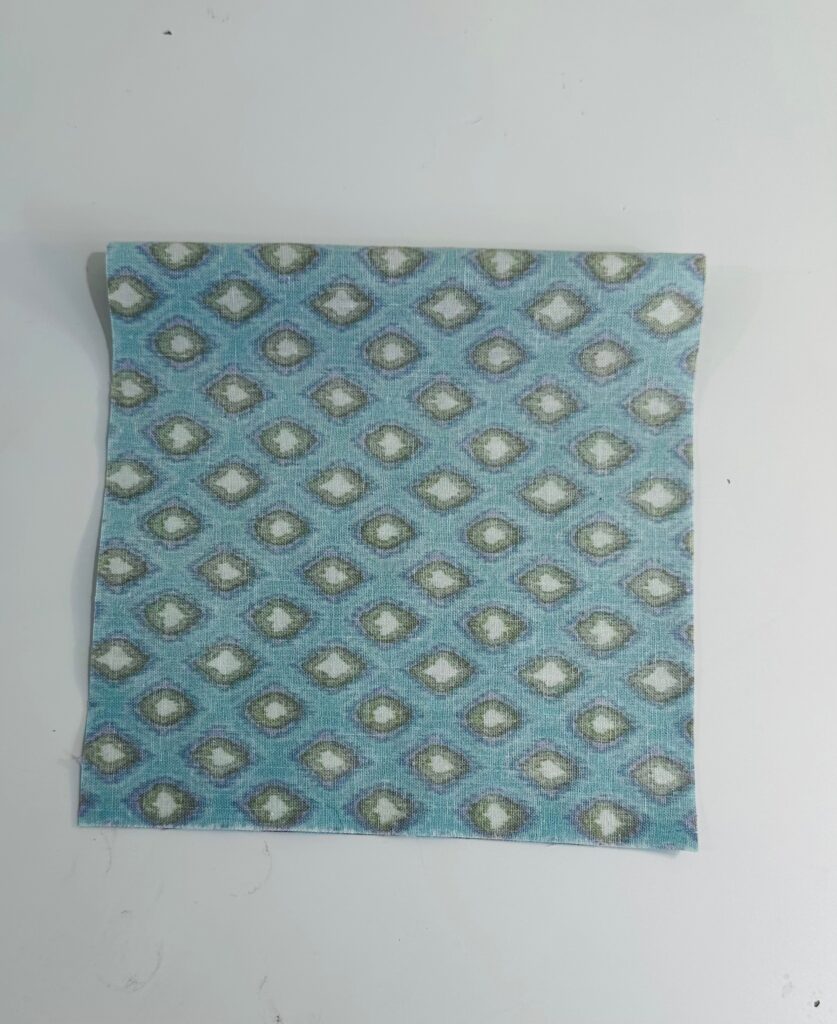
First, prepare the gathered interior pocket. Fold the fabric rectangle in half widthwise with wrong sides together. Press to set the foldline. Then, turn the pocket so the wrong side is facing out.
Insert the 1/2″-wide elastic between the fabric layers, abutting the elastic long edge with the fabric foldline.

Pin or clip the elastic end in place, and then baste to secure along the pocket right edge.

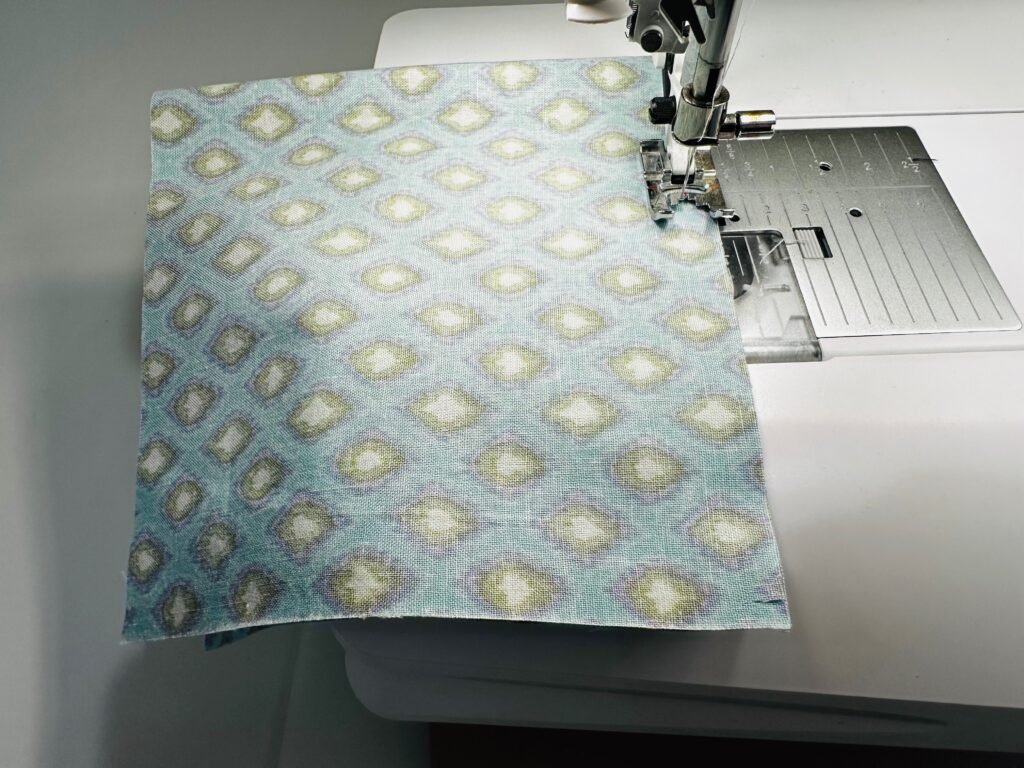
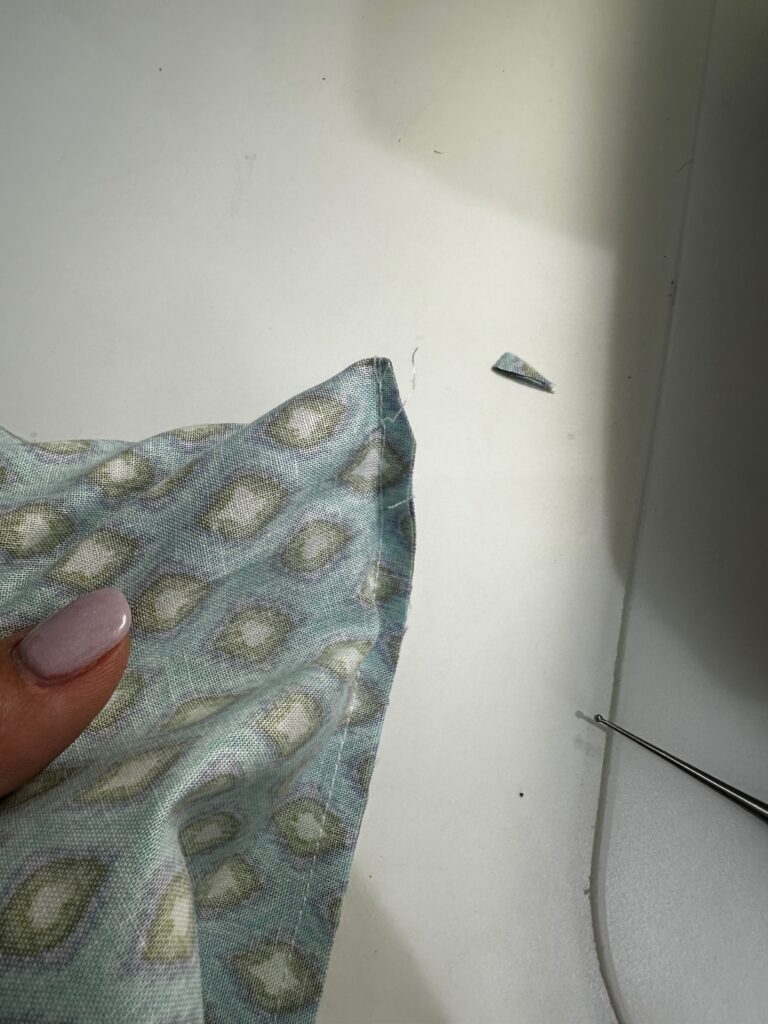
Stitch the right raw edge, using a 1/4″ seam allowance. Then, turn the pocket right side out, using a Sulky Turning Tool to push out the corner and flatten the seam.
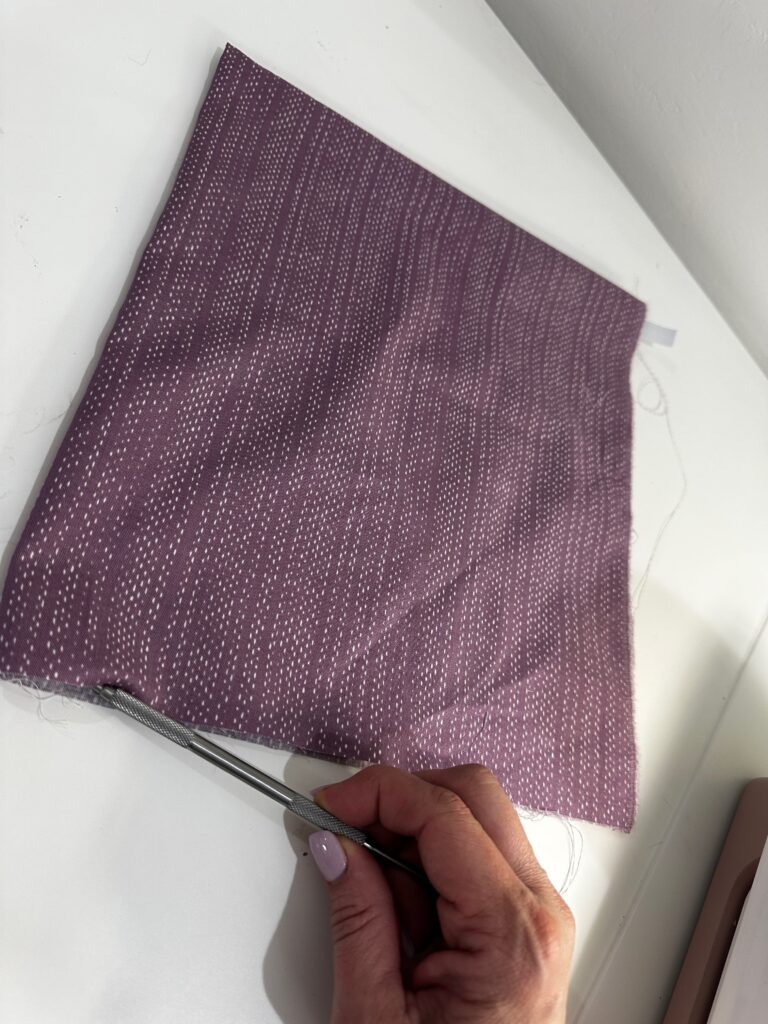
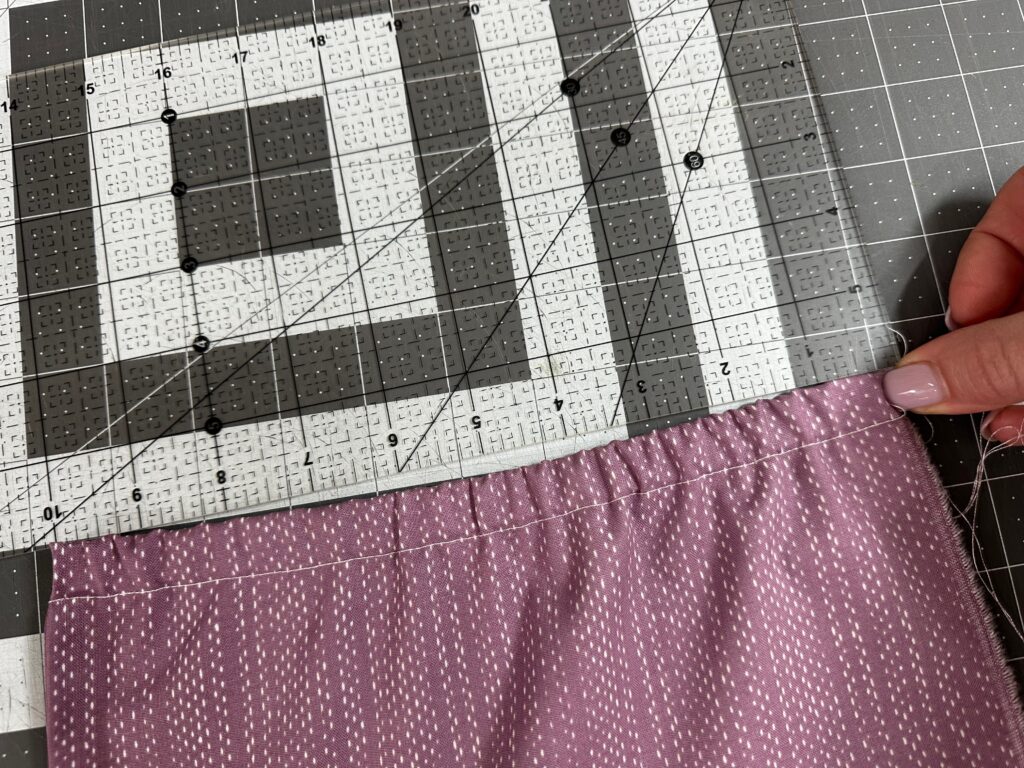
Stitch 5/8″ from the foldline to create a casing for the elastic. Make sure the elastic is snug between the fabric fold and stitching line.

Pull the elastic free end until the pocket upper edge measures 10″. Pin or clip the end in place, and then stitch to secure. Trim the excess elastic beyond the stitching.
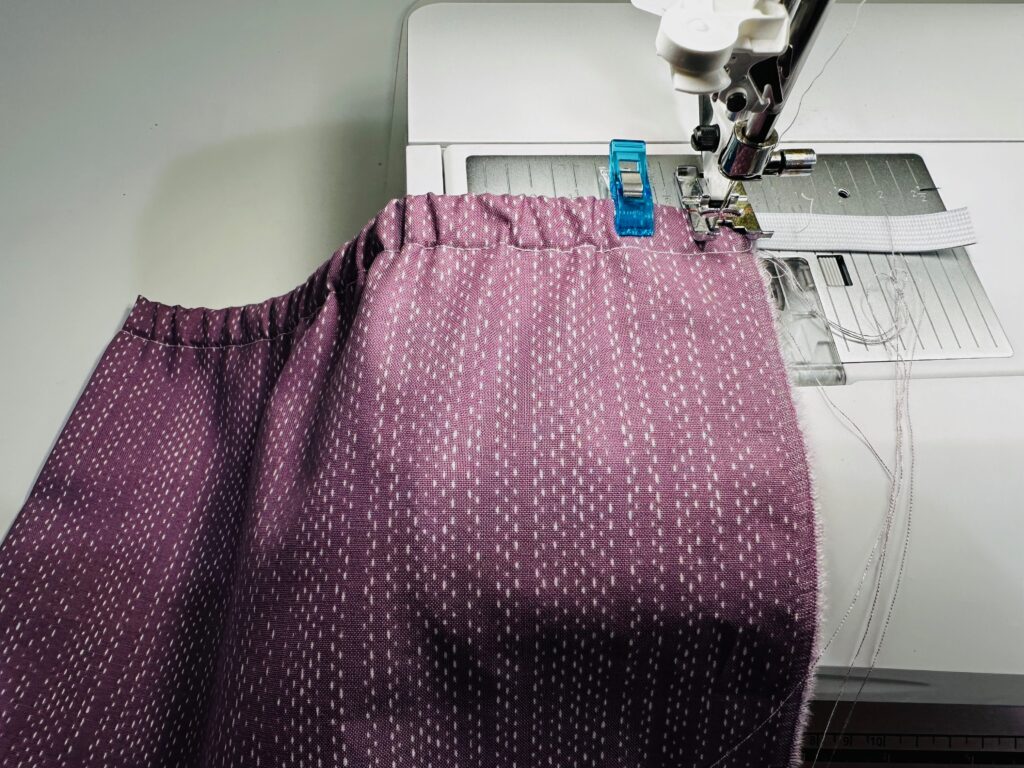
Baste the side and lower edge. Then, set aside the gathered interior pocket.
OUTER INTERIOR SLIP POCKET
Fold the fabric rectangle in half lengthwise with wrong sides together; press. Stitch 1/8″ from the foldline.
Then, baste the raw edges together. Set aside.
Repeat to prepare the inner interior slip pocket.
DIVIDED INTERIOR POCKET
Fold the fabric rectangle in half widthwise with right sides together; press. Then, stitch the right edge using a 1/4″ seam allowance. Clip the corner, and then turn the pocket right side out; press again.
Using a removable fabric marker or chalk, mark the pocket divider lines. Determine the pocket widths based on personal preference and on the items that will be stored inside them. Or, simply divide the pocket into fourths.
Stitch 1/2″ from the pocket foldline.
Then, set aside the divided interior pocket.
EXTERIOR QUILTING
Place the batting rectangle wrong side up on a flat work surface. Center the exterior fabric rectangle over the batting, using KK 2000 to secure.

Plot the desired quilting lines onto the fabric right side, using a removable fabric marker or chalk.

Stitch along the plotted lines.
Measure 1 1/2″ from the right edge along the upper and lower exterior edges; mark. Place the FOE ends at each mark, making sure it’s not twisted. Place the FOE right side up on the exterior fabric right side. Baste the FOE ends in place (it will stretch slightly to fit).

BACKPACK ORGANIZER INTERIOR CONSTRUCTION
Apply fusible interfacing to the interior fabric rectangle, following the manufacturer’s instructions.
Place the interior fabric rectangle right side up on a flat work surface.
Position the gathered interior pocket right side up on the fabric, aligning the right edges. Stitch along the right edge.
Place the pocket left edge along the interior fabric rectangle lengthwise center; topstitch the left edge 1/8″ inside the previous pocket seam.

Pin or clip the pocket lower edge to the interior fabric lower edge. Fold the pocket lower-edge fabric to create a box pleat with the excess fabric. Place the pleat folds where desired, equidistant from the pocket lower-edge center.

Then, baste the lower edge, securing the pleat.

POCKET LAYERING
Place the inner interior slip pocket right side up with the stitched long edge as the right edge.
Position the divided interior pocket right side up on the inner interior pocket, aligning the left raw edges and lower edges; pin or clip in place.
Stitch 1/8″ from the long raw edge to secure the layers. Then, stitch along each marked divider line on the pocket, backstitching at the beginning and end.

Place the vinyl pocket right side up over the interior slip pocket, aligning one long vinyl edge with the pocket upper edge and one shirt vinyl edge with the pocket left edge. Use Wonder Clips to secure the edges, as pins will leave permanent holes.

BACKPACK ORGANIZER ASSEMBLY
Place the outer interior slip pocket right side up over the interior fabric rectangle, aligning the left, upper and lower edges.

Then, place the layered inner interior slip pocket right side up over the outer interior slip pocket; clip the edges to secure.

Stitch the layered pockets to the interior fabric rectangle using a 1/4″ seam allowance.

Place the outer rectangle over the inner rectangle with right sides together and all edges and corners aligned; clip generously. Make sure the FOE is tucked between the layers.

Stitch the perimeter, leaving a 5″ opening along one long edge.
Clip the corners and trim the seam allowances to 1/8″.

Turn the Backpack Organizer right side out through the opening. Topstitch 3/8″ from the edges, moving the FOE out of the way of the stitching as you reach it.

Lastly, hand sew the opening shut using a slipstitch or whipstitch.

Fill the Backpack Organizer with papers, notebooks, pens and pencils.

To close the organizer, fold it in half to conceal the contents, and then wrap the FOE around the front of the project.

