Cancer Fighting Wall Hanging Tutorial
I went and got my mammogram a few weeks ago. I have to admit, they are not fun but they aren’t the end of the world either. The nurse was really sweet, they got me in and out pretty quickly. Truthfully, I’d rather get a mammogram than go for a 5K run :).
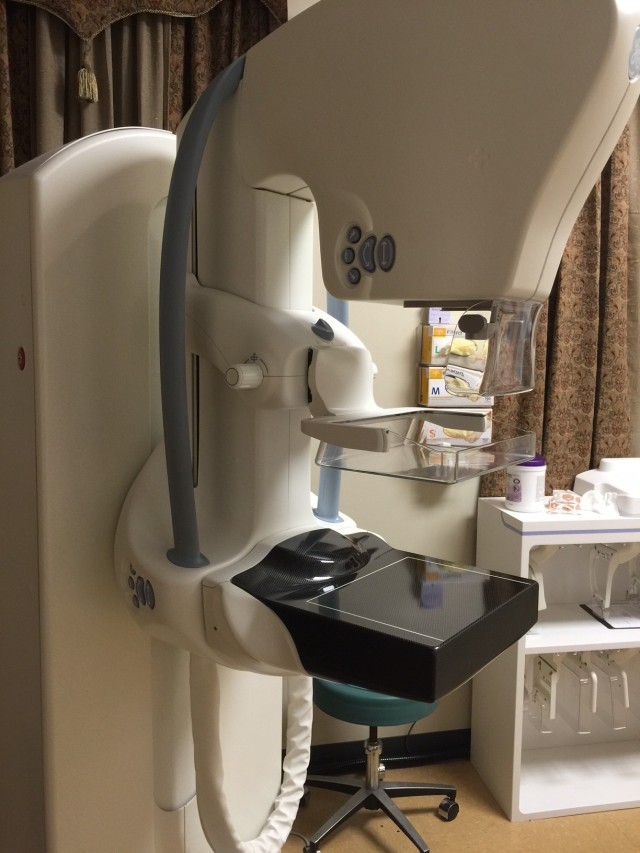
The results came back normal, which is great. Have you gotten your mammogram done? One of the things National Breast Cancer Foundation does is help women get their mammograms through a National Mammography Program. They partner with medical facilities across the country to provide free mammograms and diagnostic breast care services to underserved women through the NBCF National Mammography Program. In addition, the NBCF National Mammography Program requires that medical facilities within our network have the capacity to continue treatment after an abnormal finding or diagnosis of breast cancer. It’s such a simple test, it could save your life, and it’s more fun than running. What do you have to lose!
Now onto the Wall Hanging Tutorial. This little quilt is a great way to show someone you love them and are thinking and praying for them during this journey.
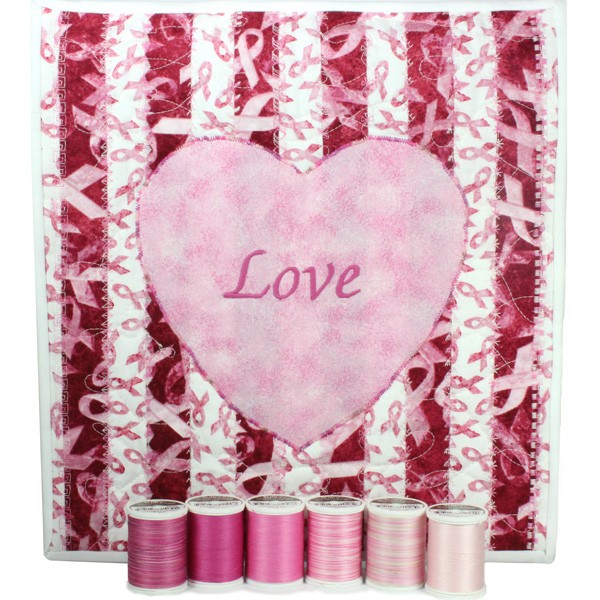
Supplies
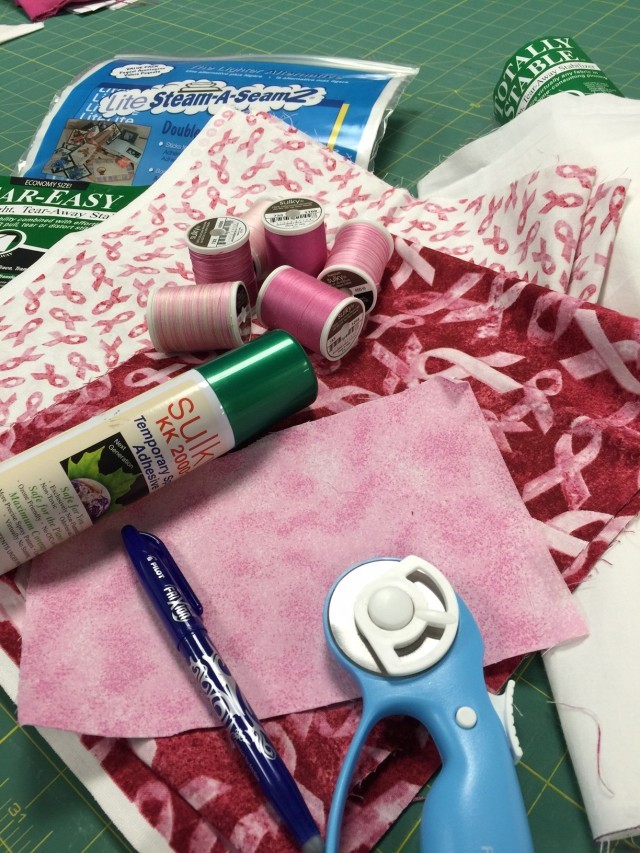
- 4 Fabrics – I chose two fabrics with pink ribbons on them, one light and one dark, and then complemented them with white fabric for the backing a binding and a light pink fabric for the heart in the center.
- Batting – The finished size is 12″x 12″ so you need a piece about 15″ square to start
- Fusible Web – I used Lite Steam-a-Seam 2
- Sulky Totally Stable®
- Sulky Tear Easy™
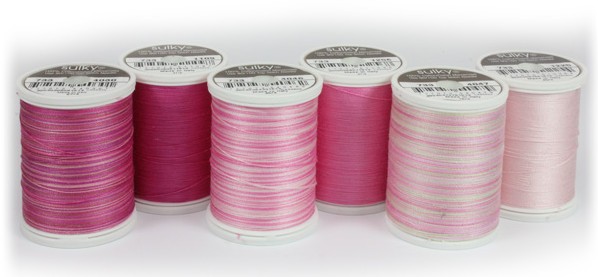
- The Pink Ribbon 30 wt. Cotton Thread Set (10% of the proceeds go to NBCF)
- Sulky KK 2000 Temporary Spray Adhesive
Instructions:
First, cut a 13″ square out of the base fabric and set aside (I used the lighter ribbon fabric). Following the manufacturer’s directions, add fusible web the darker fabric. You will need about 13″ x 10″ of fabric with fusible on the back.
If you use Lite Steam-a-Seam 2, you can take off the release sheet to expose the fusible which is slightly sticky. Gently press onto the mat and cut 1″ strips.
Place your strips about 1″ apart on top of the base fabric, then fuse. I recommend using an applique pressing cloth between the project an your iron, just to be safe.
Put the applique pressing cloth down onto the ironing board and turn the piece over. On the back, iron a piece of Sulky Totally Stable.
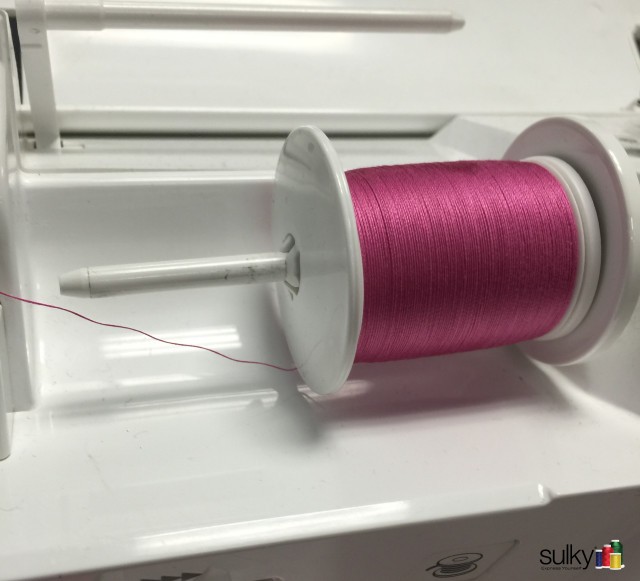
Now its time for some fun. Pull out the Pink Ribbon Cotton Thread set and choose one. HINT: Be sure you use the spool cover that is slightly bigger than the spool. This helps the thread to come off easily and at the correct tension.
You know all those wonderful decorative stitches on your machine? Today you get to use them! Pick one and start sewing along the edges of the strips you use fused down. The Sulky Totally Stable will ensure that even if you are stitching a very intricate stitch design, there won’t be any puckering or tunneling.
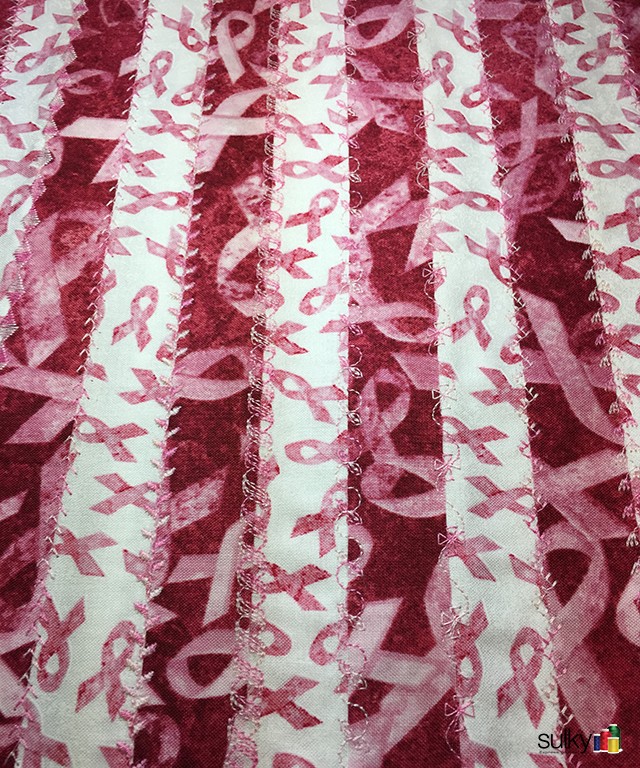
You can use the same stitch through out the whole piece or do like I did and choose a different stitch and different thread for each line. This was ‘sew’ fun and ‘sew’ easy to do.
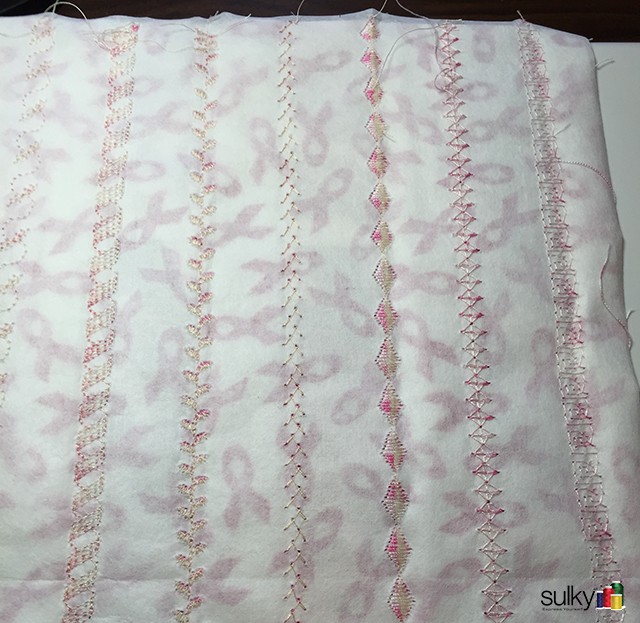
You can tell from the back how well the Sulky Totally Stable held the fabric ‘totally stable’ while I was sewing (yes, the pun was intended. hee hee).
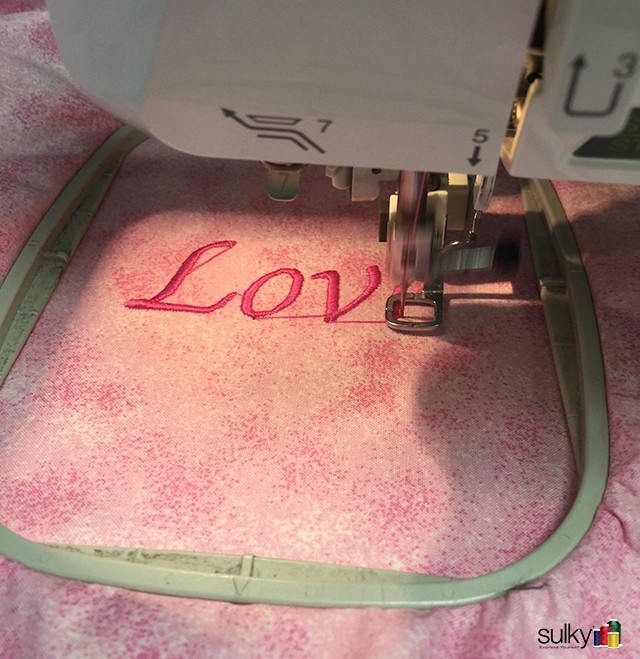
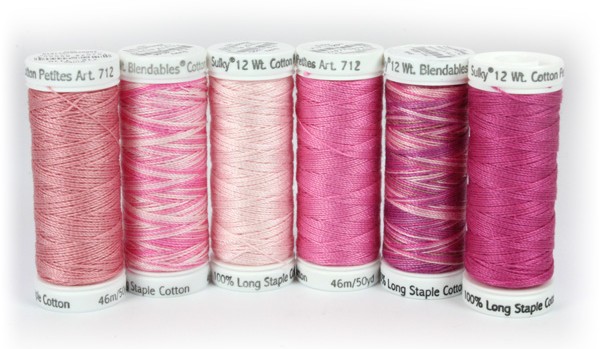
Now it’s time to embroidery on the heart. You can do it by hand with the Pink Ribbon 12 wt. Cotton Petites Collection or you can machine embroider with the Pink Ribbon 30 wt Cotton Thread Collection. I chose to machine embroider the word ‘Love’ on mine. You could do ‘Love’ or ‘Hope’ or your friend’s name.
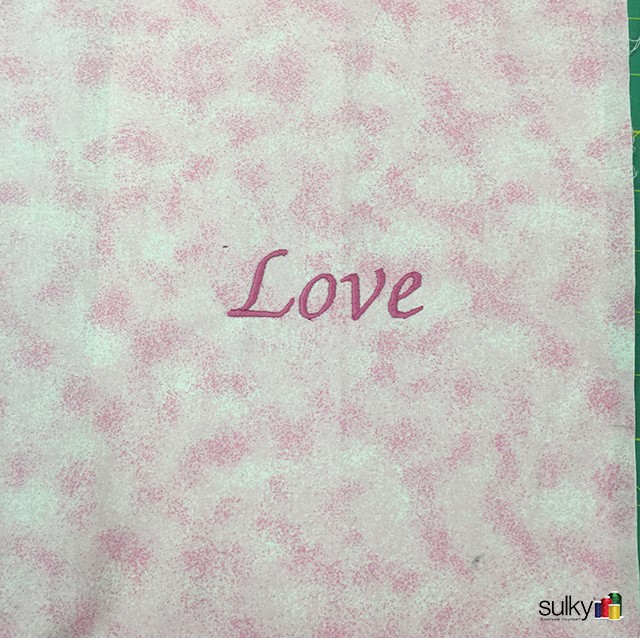
I hooped Sulky Tear Easy and the fabric then embroidered with Sulky 30 wt. cotton. Next add fusible web to the back of the fabric, large enough that fusible will be on the entire heart when you cut it.
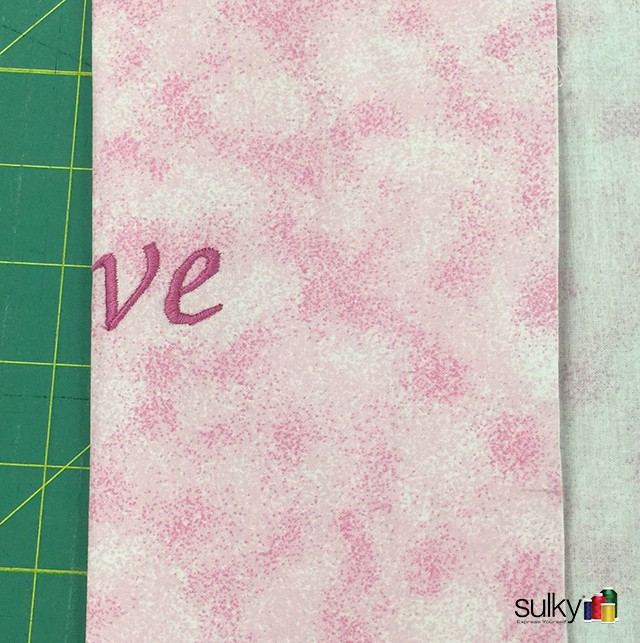
To cut the heart, fold the fabric in half long ways with the word centered.
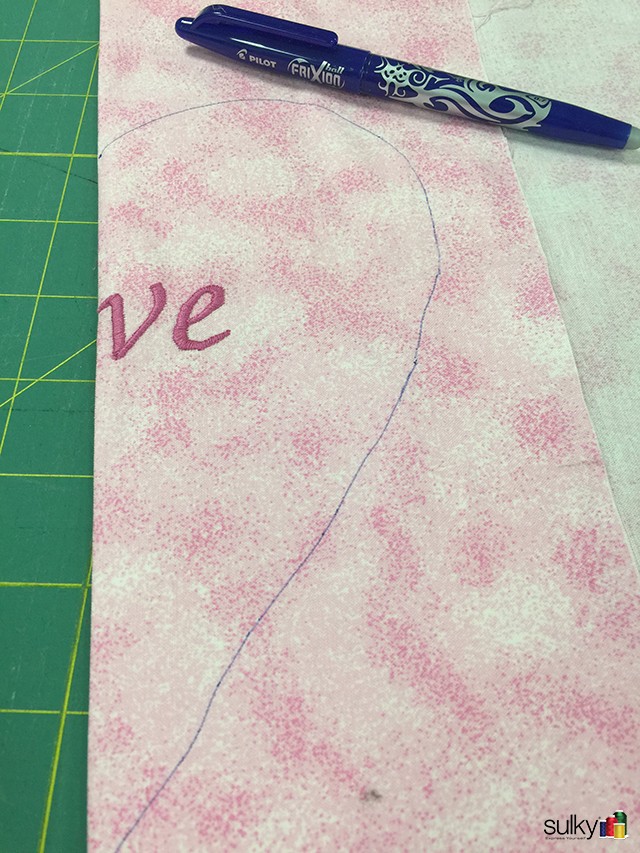
Use a FriXion pen and draw half the heart. You can free hand this, I promise.
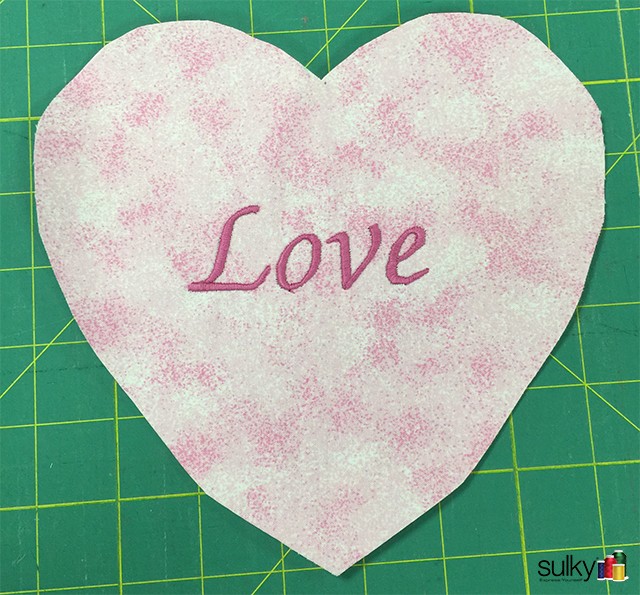
Cut along your line with the fabric folded and viola!
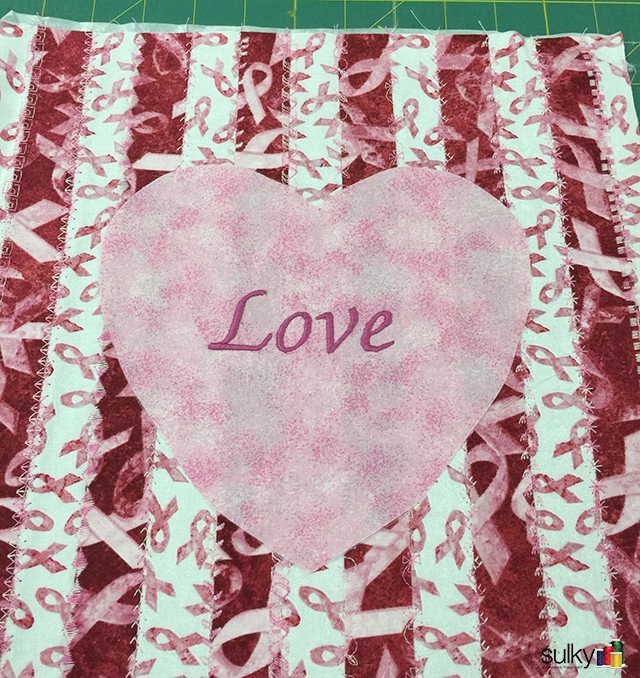
Fuse the heart down to the center of your piece.
Make a quilt sandwich with the backing and the batting. I use Sulky KK 2000 to hold the three layers together. Use one of the Sulky 30 wt. cotton threads in the pack to satin stitch the heart down and the quilt as desired. I did loops that sort of look like the support ribbon.

After quilting, square up your project to 12″ x 12″, add a hanging sleeve to the back and bind with the white fabric. Now you are ready to share some love with your friend. This project only takes a few hours to do, but it will mean the world to someone struggling through cancer.
Remember to shop in the Beat Cancer shop on Sulky.com for your threads. 10% of the proceeds will go to National Breast Cancer Foundation. These threads are not just great for these projects, they make great gifts for sewists as well.



Love it Kelly! You ;splain it so nicely! Pat B.
Thank you, Pat!
Wish I could have had this when I was helping treat so many ladies and one fellow with breast cancer as an oncology nurse. I could have made everyone a reminder of some sort that we were there to help them through!
Thanks for sharing!
Thanks for sharing.