Carving Pumpkins with Sulky Stick ‘n Carve
with tips from Cathie Filian
It’s almost time for carving pumpkins, so Sulky partnered with the craftiest of all crafty gals, Cathie Filian, to bring you pumpkin carving tips and tricks for working with Sulky Stick ‘n Carve!
ABOUT STICK ‘N CARVE
Stick ‘n Carve are water-soluble design transfer sheets that easily stick to real or fake pumpkins for easy carving. They come in 3-, 10- or 24-sheet packs. The cool thing is that if you’re already familiar with Sulky Stick ‘n Stitch and Sticky Fabri-Solvy…these are the same sheets! BUT, the ones labeled “Stick ‘n Carve” come with 10 FREE printable designs from Zombie Pumpkins, accessible through a code inside the packaging. So if you want to also use Stick ‘n Carve to transfer hand embroidery or stamped cross-stitch designs, or for myriad other applications, you CAN! Just be sure to purchase Stick ‘n Carve if you want access to the free pumpkin designs.
The Stick ‘n Carve sheets are so easy to work with. Host a pumpkin carving party and supply one sheet per guest. Each person can draw their design right onto the sheet. Or, you can pre-print a design from Zombie Pumpkins onto each sheet for guests to choose from.
To print on the Stick ‘n Carve sheets, place the sheet in the printer so the textured, fabric-like side will accept the ink. Set the printer for the lowest ink setting (sometimes called “draft” setting).
After printing, cut out the design, leaving a slight border.
Remove the paper backing, and then stick the sheet to the pumpkin. Choose a relatively flat side of the pumpkin for the sticker, if possible.
Use your favorite pumpkin carving tools to cut right through the Stick ‘n Carve sheet and the pumpkin. (Be sure to remove the seeds and guts first, if using a real pumpkin!)
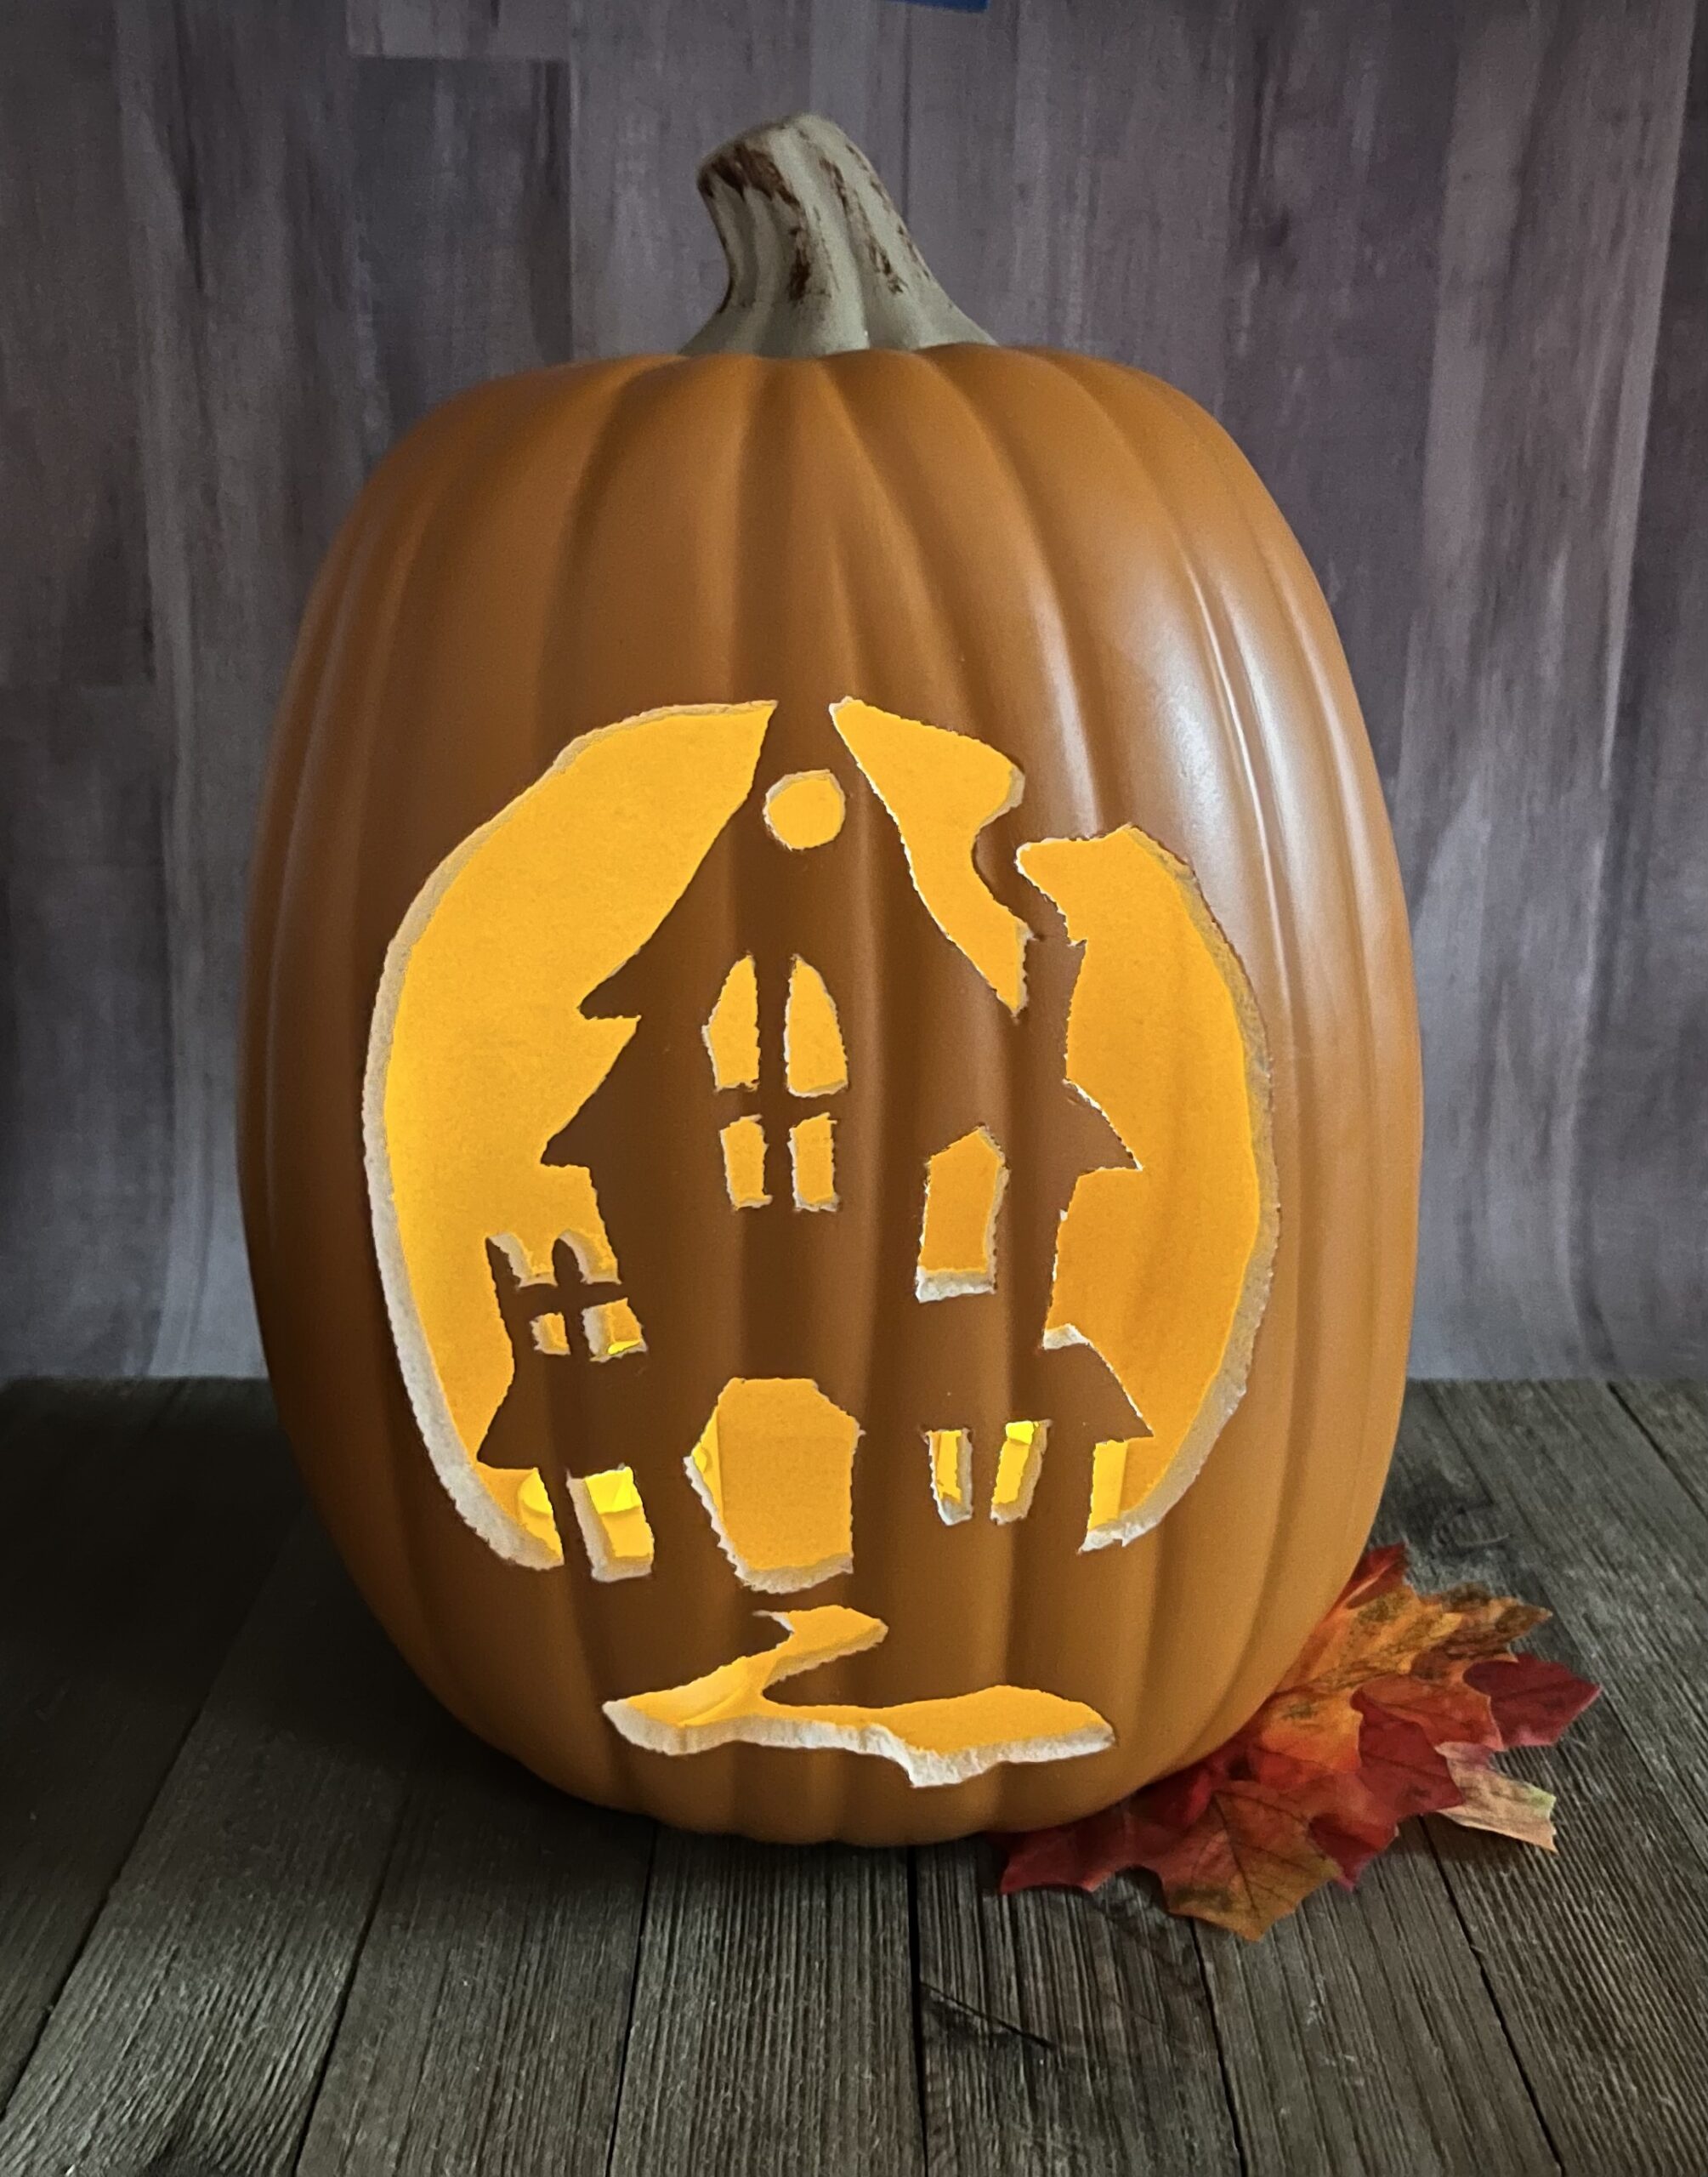
CATHIE’S HAUNTED HOUSE PUMPKIN
Cathie Filian, former host of Creative Juice on the DIY Network and self-proclaimed crafty mom, mess maker and content creator, took Sulky Stick ‘n Carve for a spin. Here is her journey!
From Cathie:
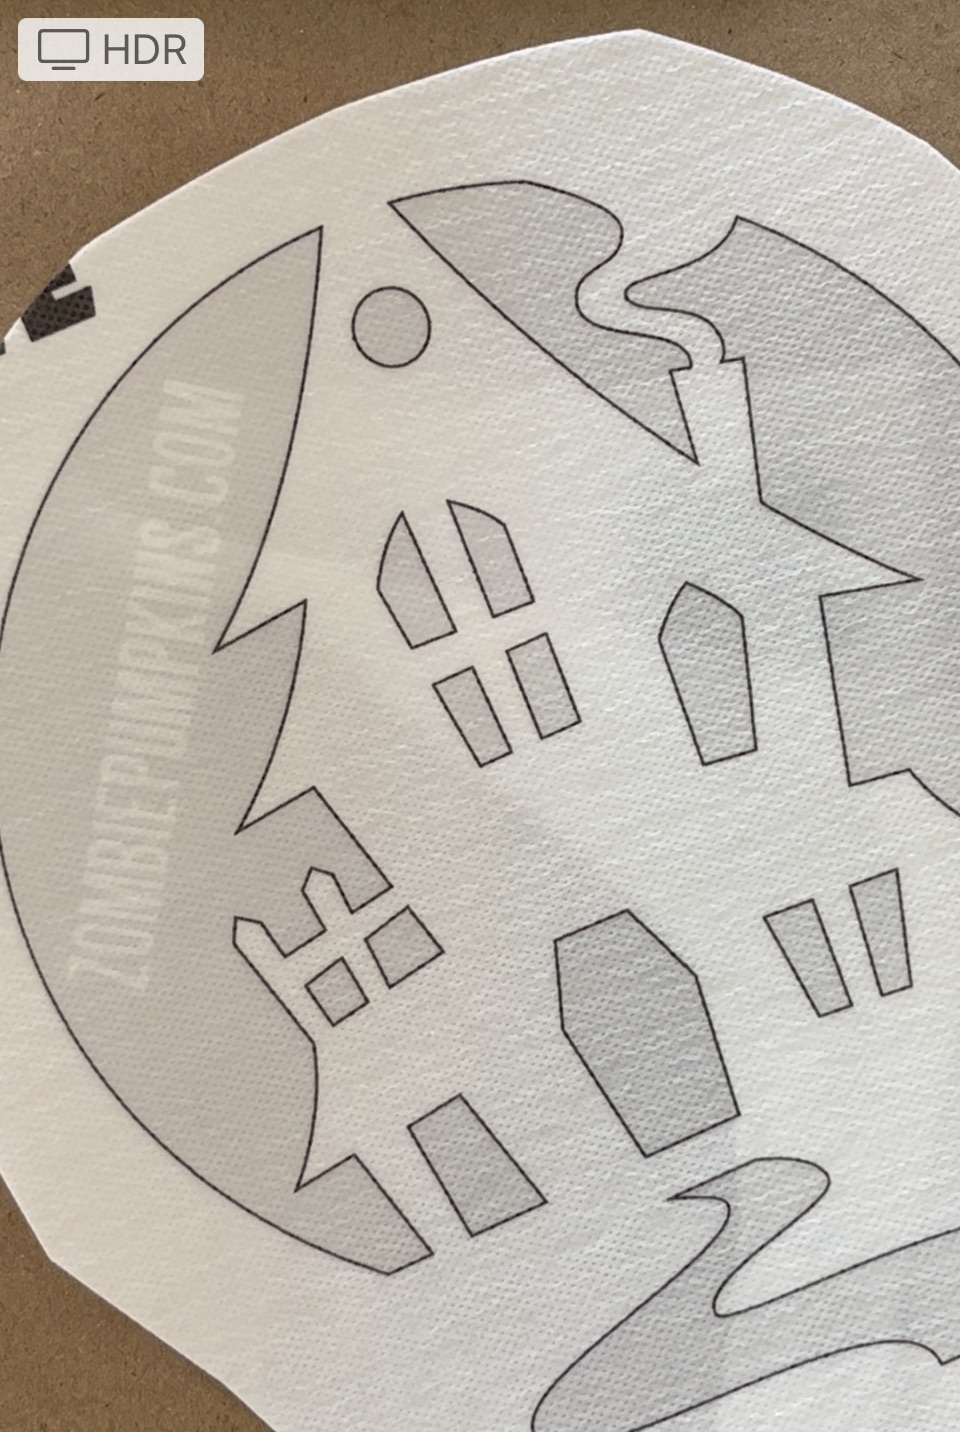
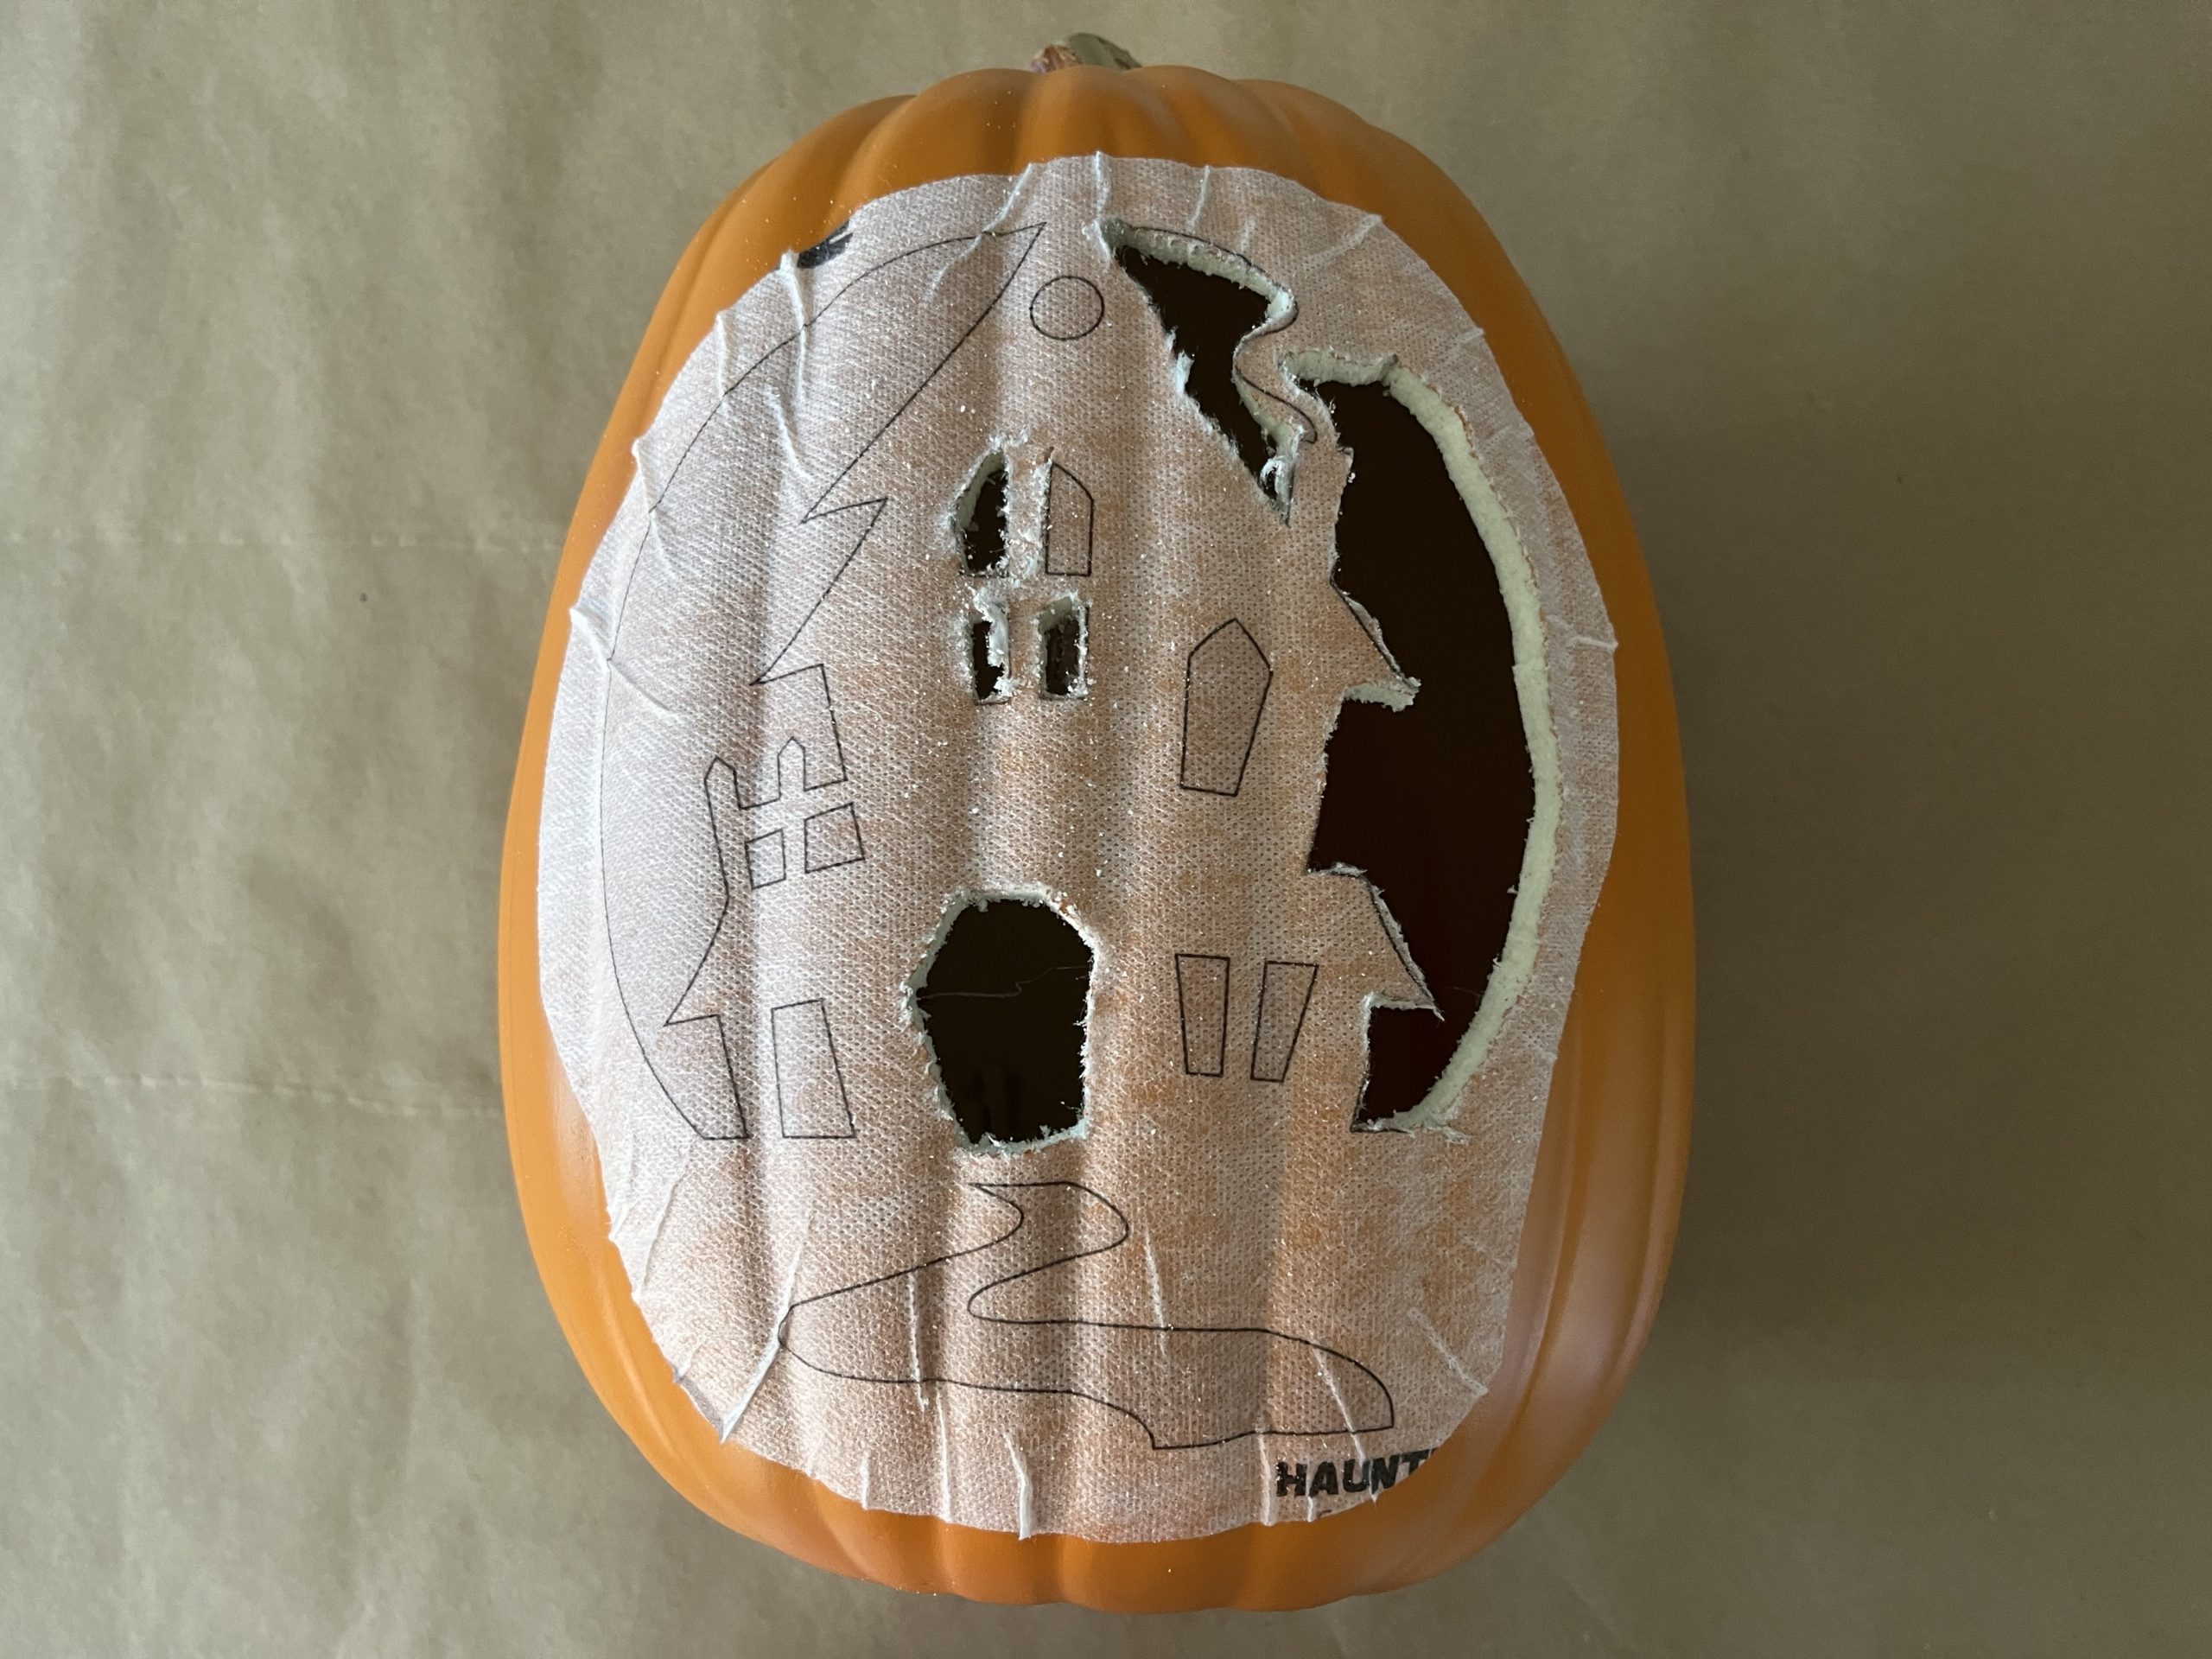
I printed this traditional haunted house design on my inkjet printer.
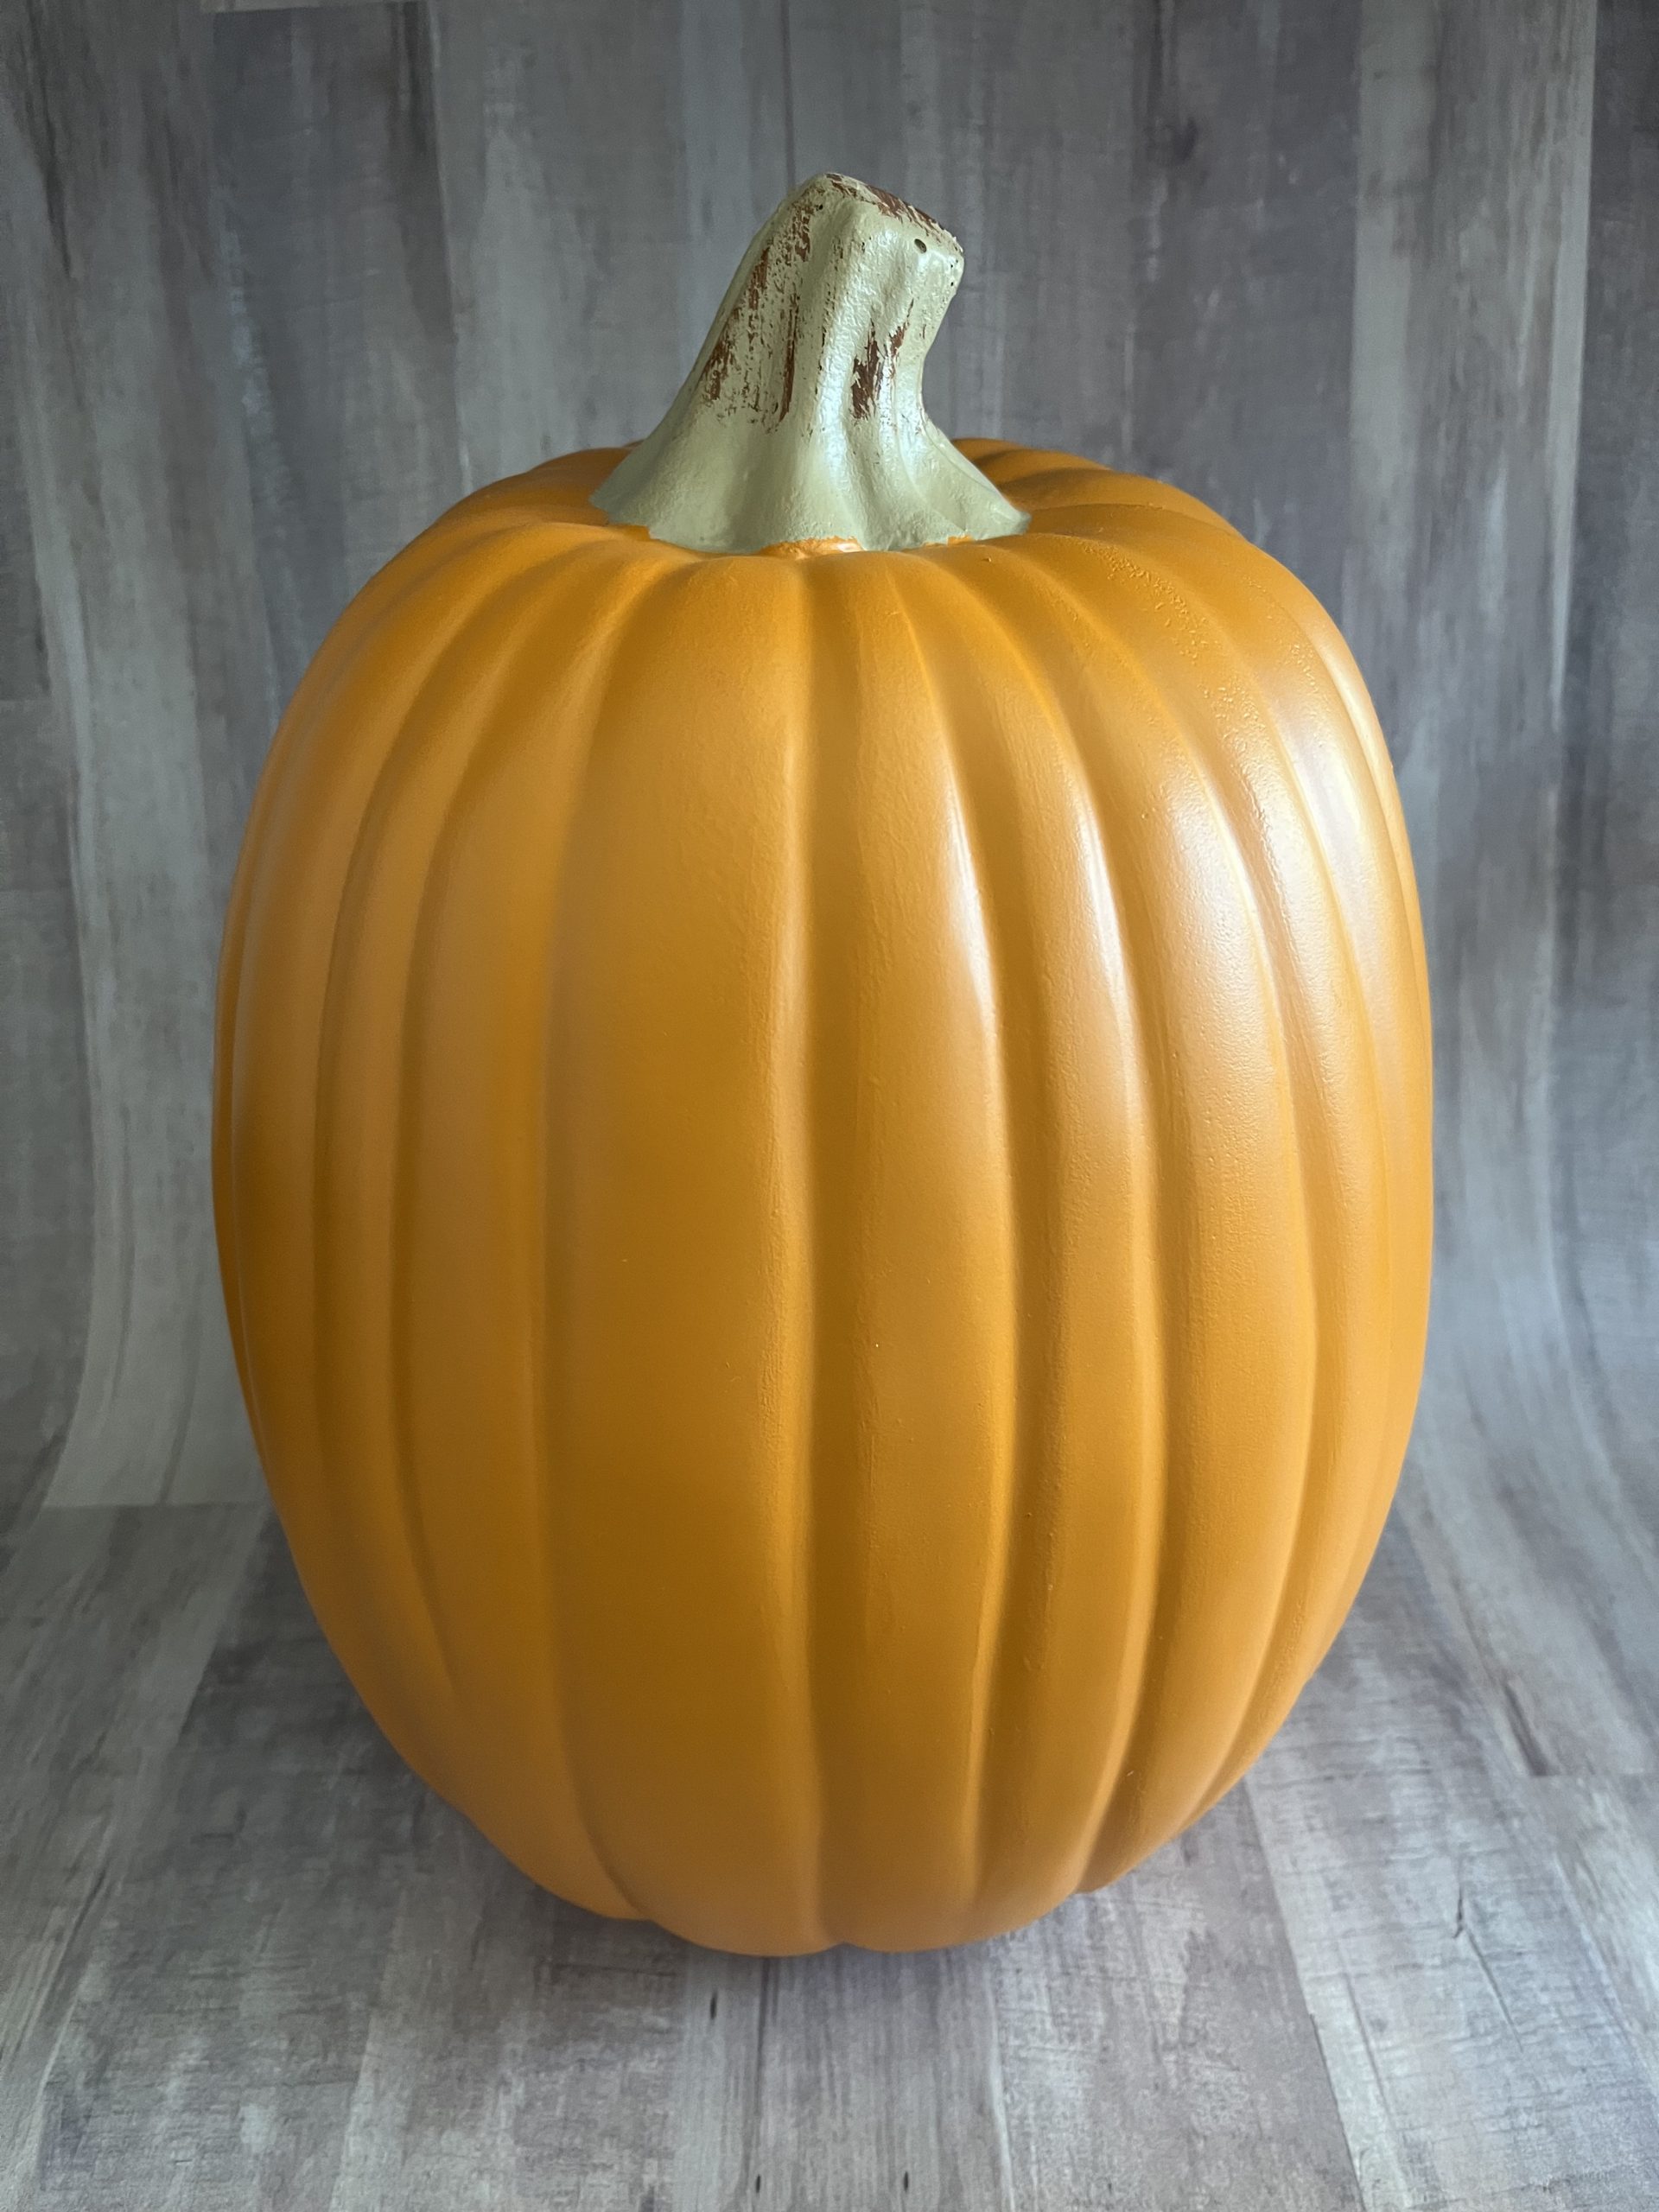
I’m using a foam/fake pumpkin but these sheets work on real pumpkins too.
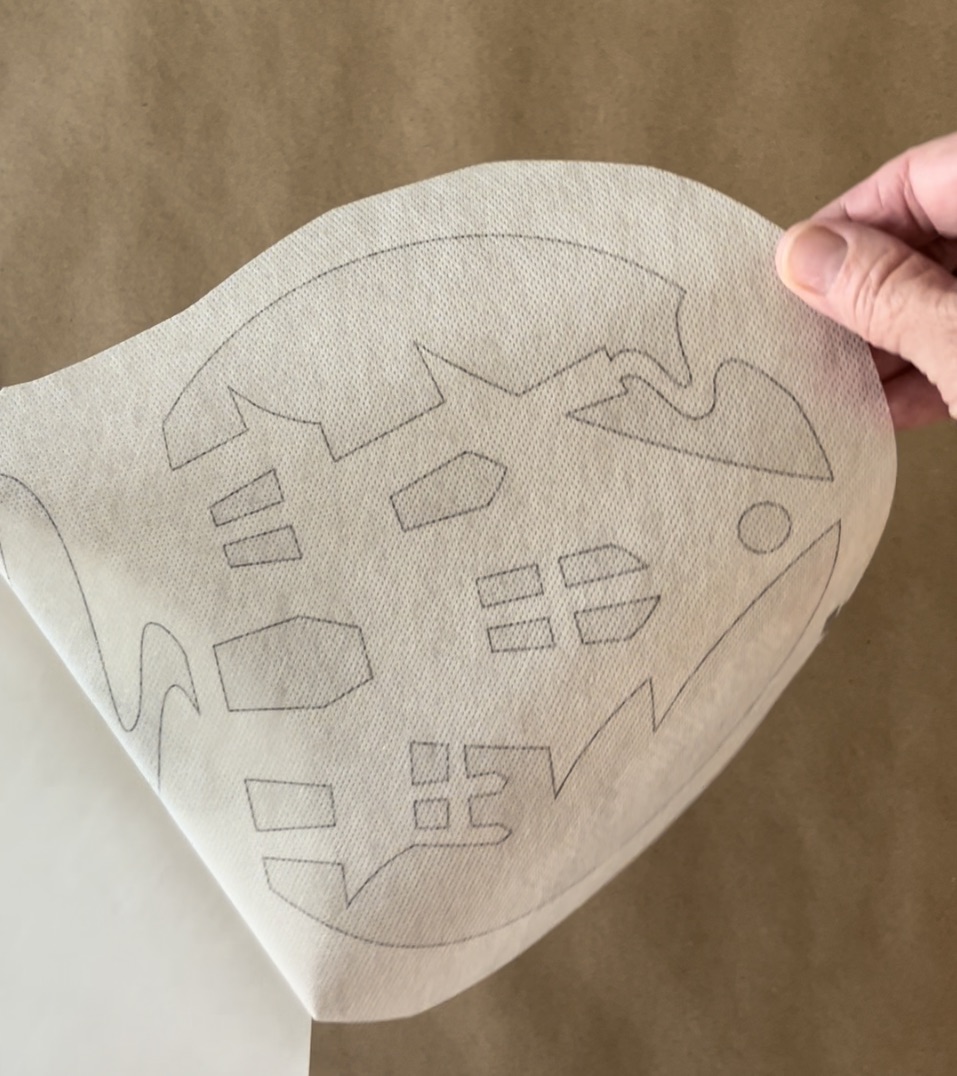
After printing, you will want to trim around your design leaving about a 1″ border. Next, you peel the printed sheet from the backing sheet.
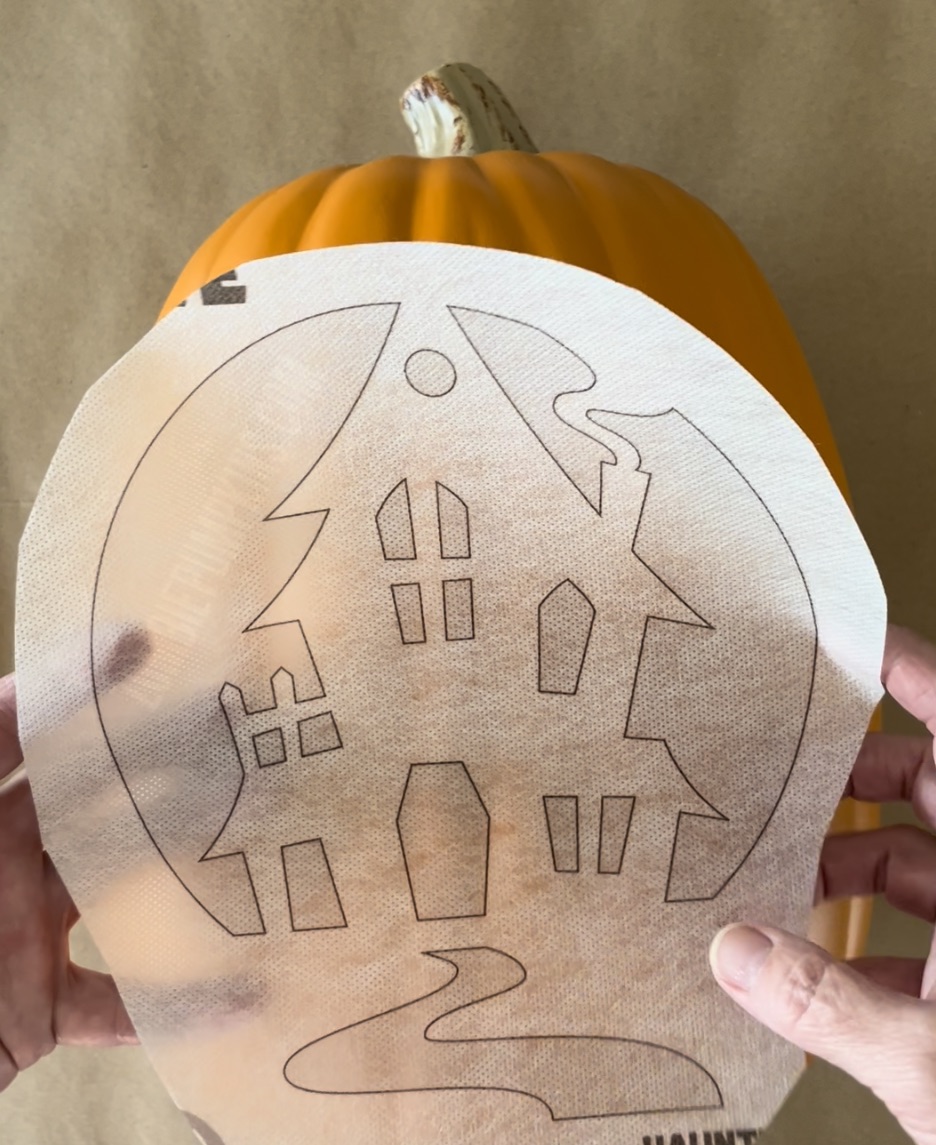
You will want to place the sheet on the flattest part of the pumpkin. The sheet is like a big sticker so it will just stick down.
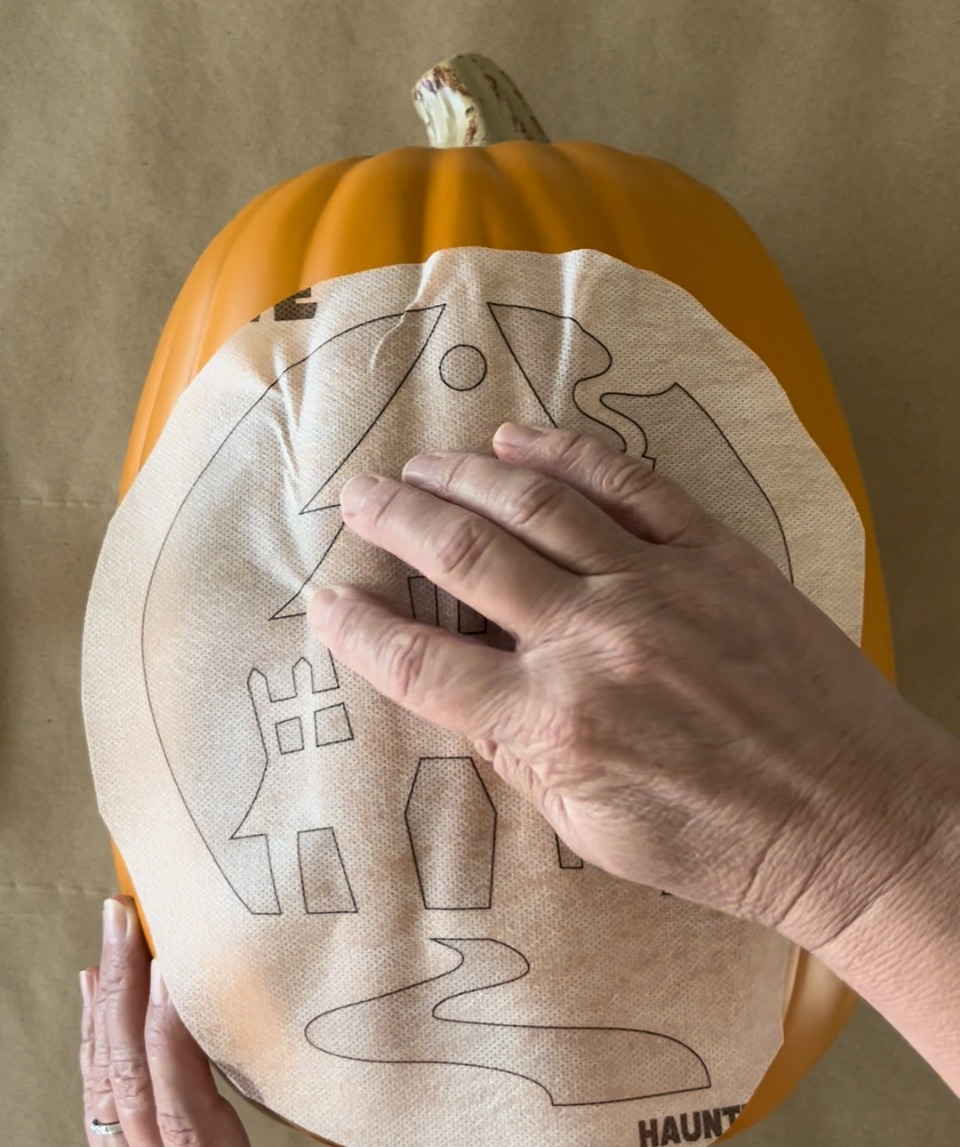
Press and smooth the sheet with your fingers. You might need to pinch and gather the sheet over the curves.
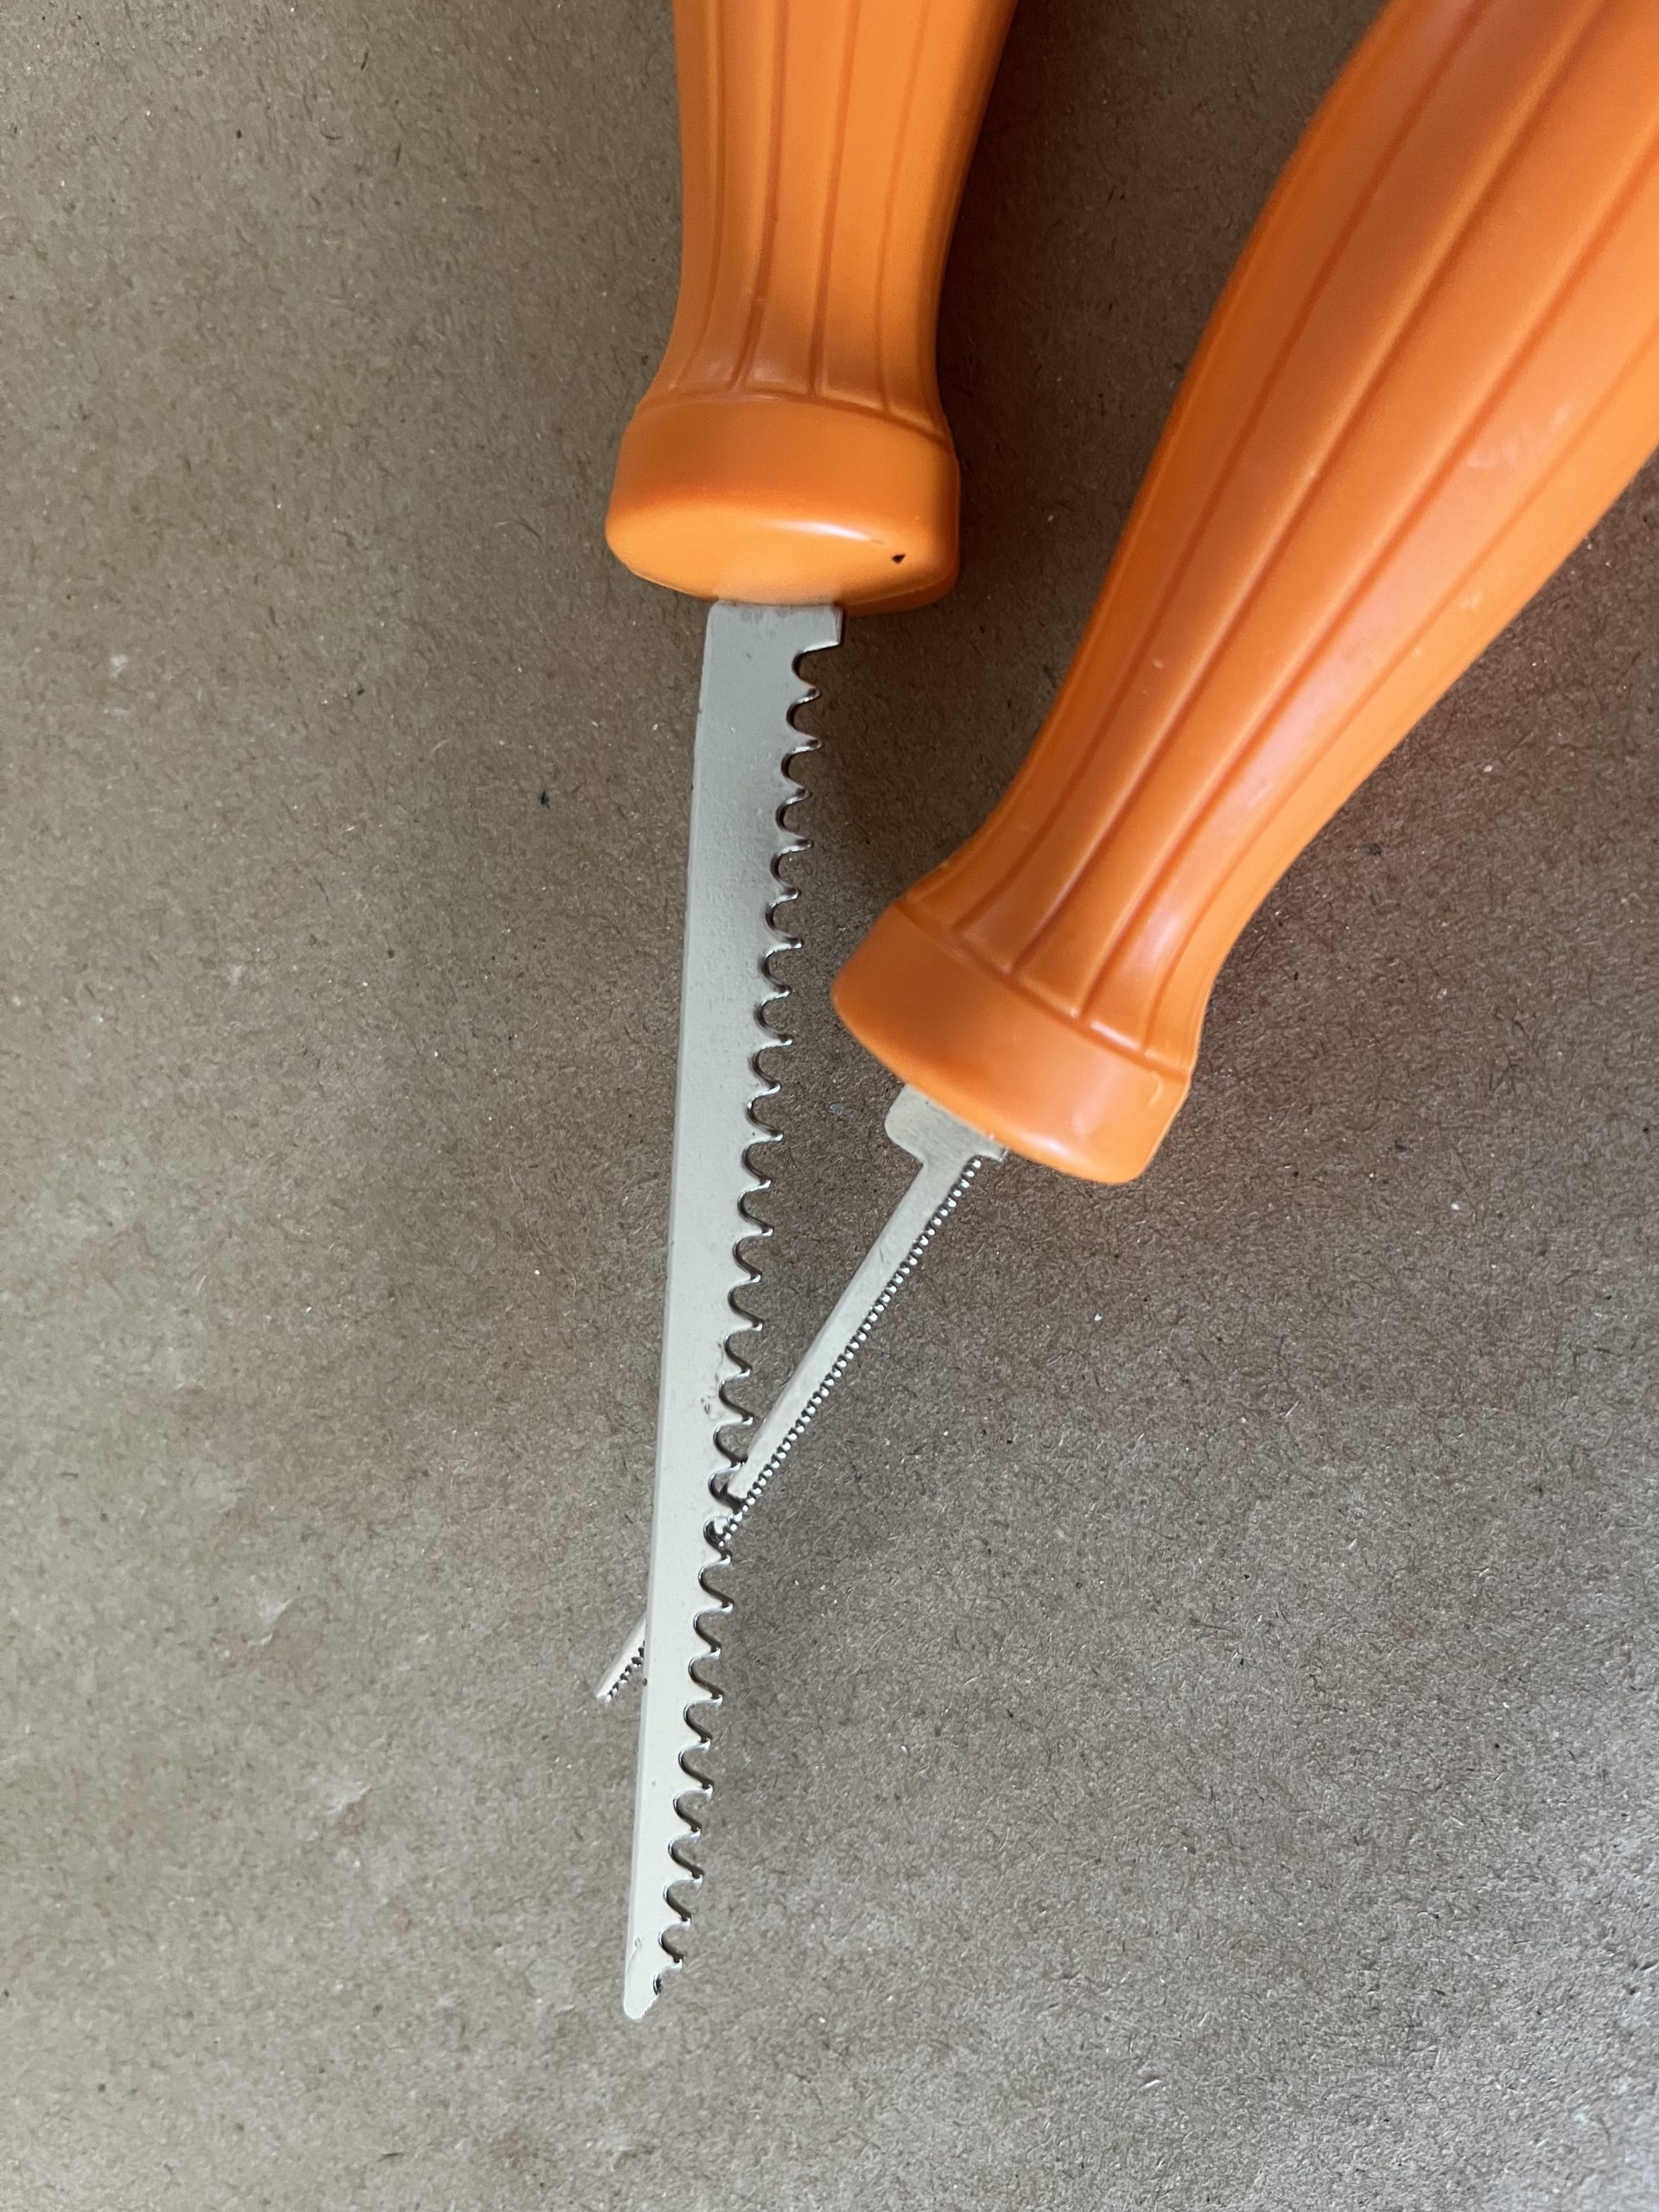
Grab some carving tools.
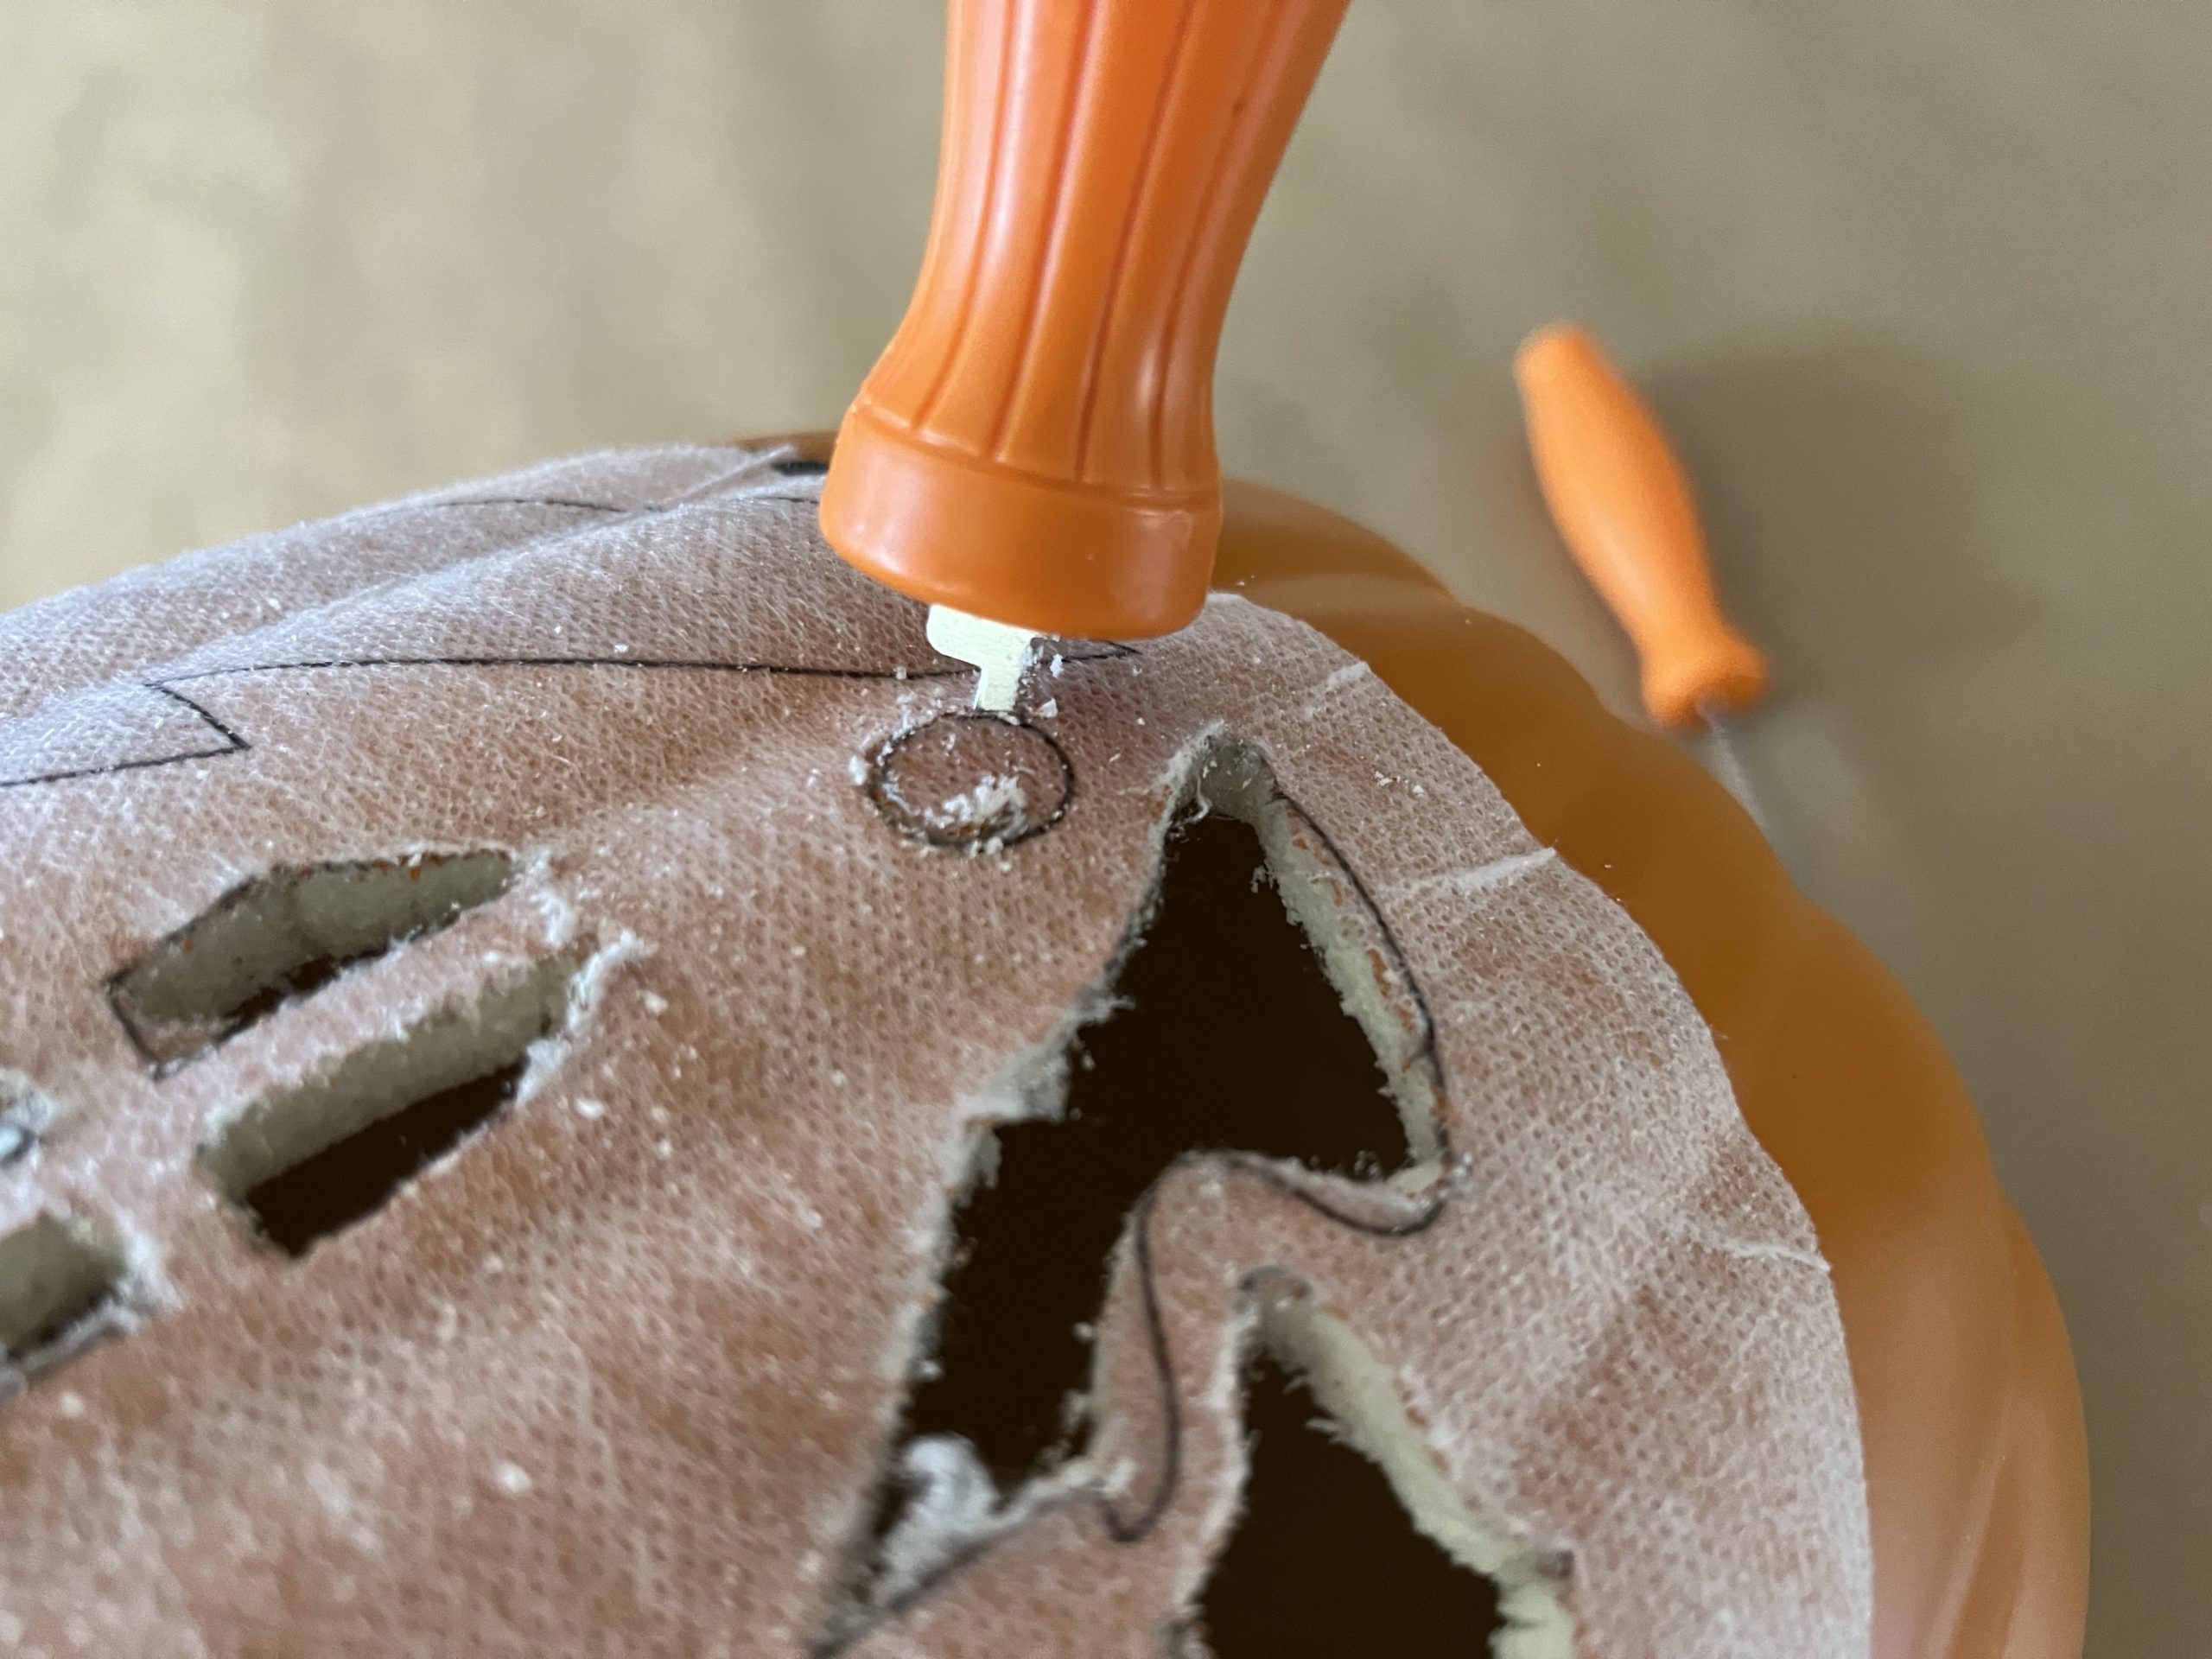
Begin with the smaller shapes and carve on the printed lines.
Keep carving until the whole design is complete. Pop the pieces out or in…..don’t force them. Use the carving tools to loosen any parts that might be stuck. Then you will just peel the top layer of the paper off the pumpkin.
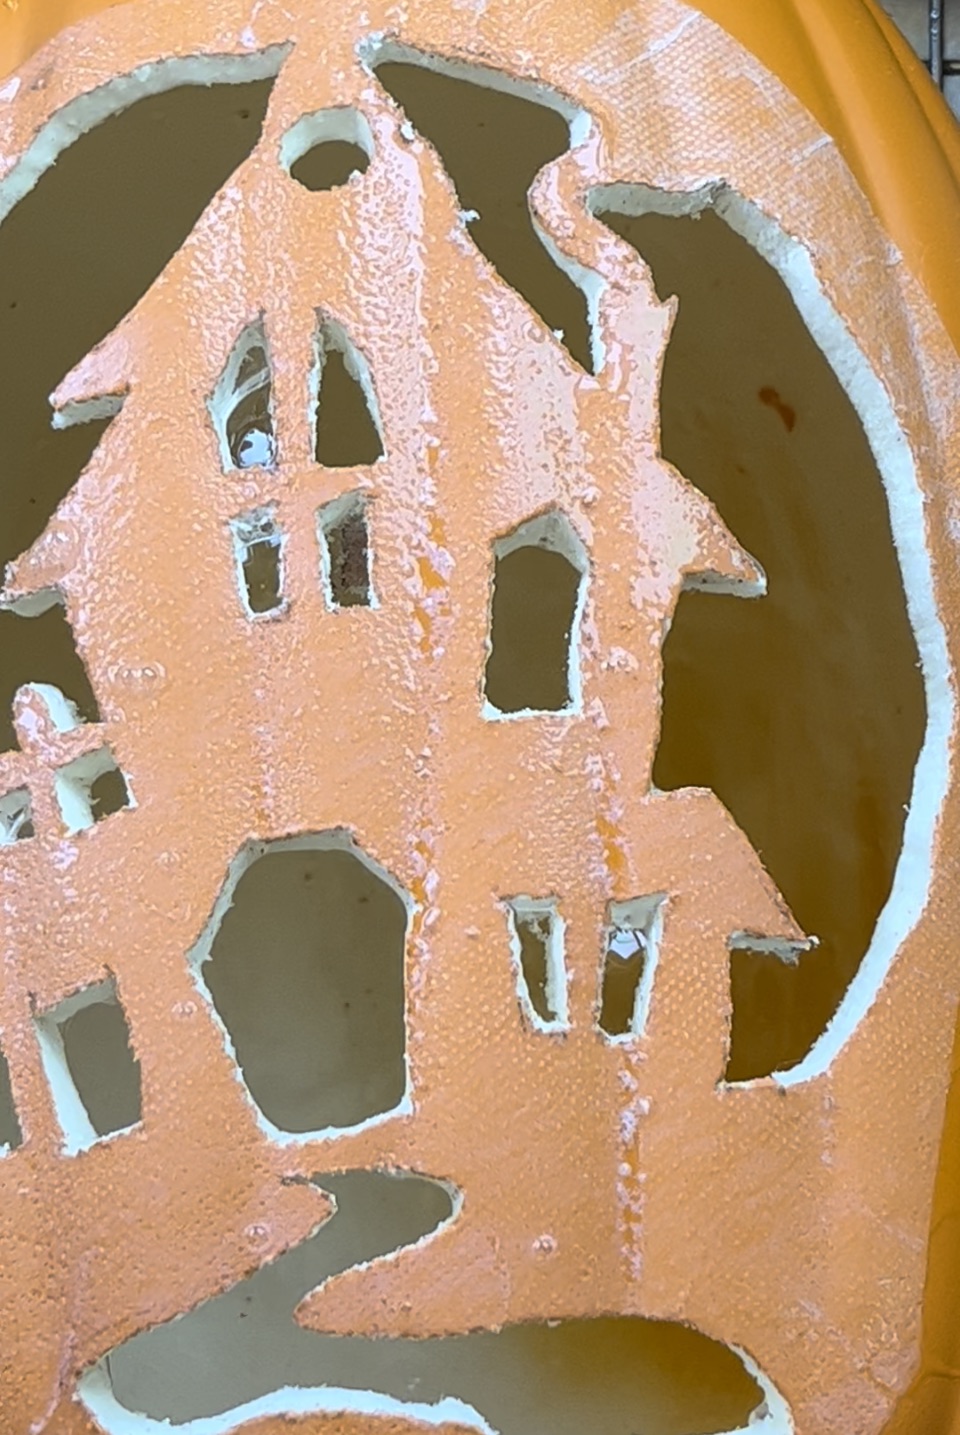
After you peel the top layer, run your pumpkin under water the “sticky” party will melt away and any carving pumpkin dust will wash away.
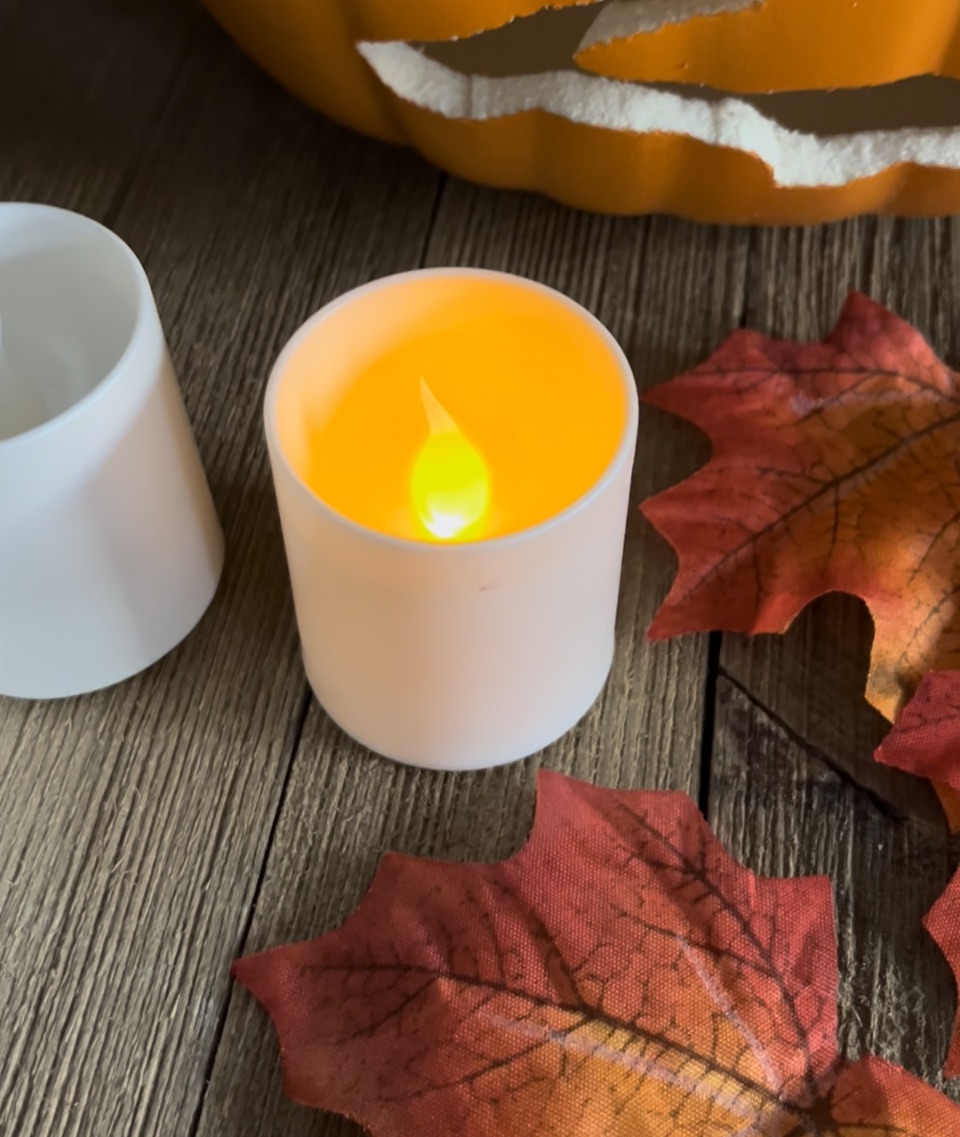
I like to use battery candles to light the pumpkins. I would caution against using a real candle or flame. Glow sticks are also a fun to use. You can get them in different colors for a fun colored glowing effect.

Happy Halloween! Have fun carving pumpkins…and remember these foam pumpkins can be used year after year. Grab your Stick ‘n Carve HERE>

so good
I’m always interested in new ideas and products. Sometimes I share these ideas with a sewing group I belong to, because they are also of value for sewists as well as machine embroiderists.
Love that!