 As I was preparing for this series, I knew I wanted to do some kind of fun stocking. I love hanging the stockings on the mantel every year. I love opening my stocking on Christmas morning! In my house, everyone gets a stocking, even the dog.
But during my search for inspiration (and I was spending way too much time on Pinterest), I began to wonder, why are almost all the Christmas stockings shaped like…stockings? I found tons of creative ones: R2D2, Minions, funny boots, even snowmen, but they were all shaped like a stocking.
So I made a decision: Stockings in my house will no longer be shaped like stockings! Instead they will be shaped like something that represents the recipient. So I began, of course, with a spool shaped stocking!
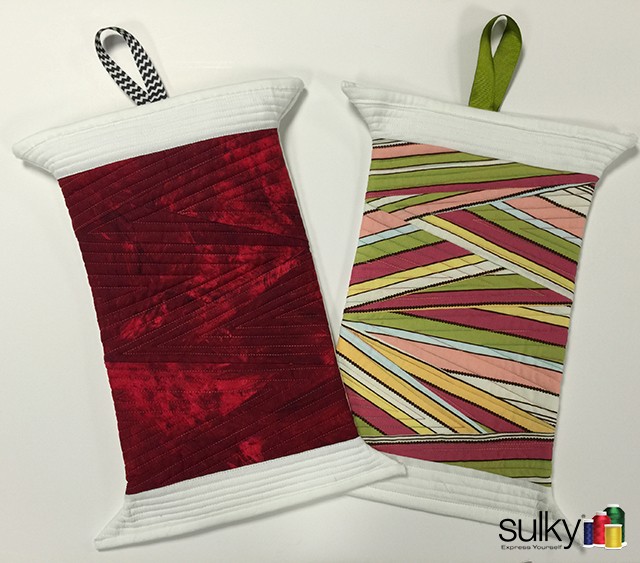
I love it and here are the directions –
Sulky Spool of Thread Stocking
Supplies
1 fat quarter of fabric for the ‘thread’ (stripes work great!)
3/4 yard of white fabric
Approx. 15″ batting
Approx. 15″ square of Soft n Sheer™ Extra
4″ of grosgrain ribbon
Sulky PolyLite™ thread for piecing and bobbin
Sulky 30 wt. Cotton Blendables® Thread to match fabric
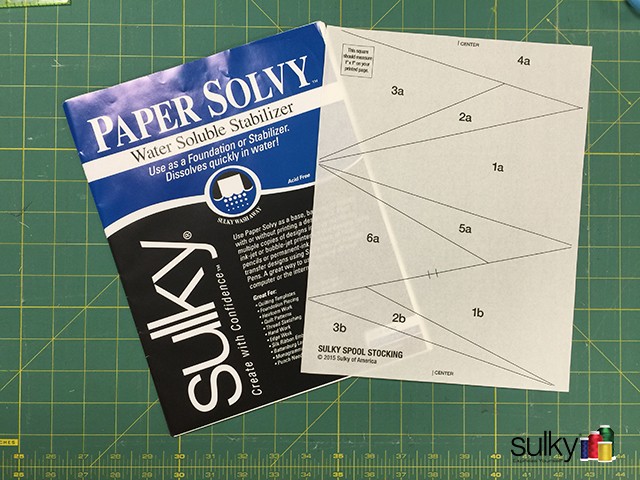
Sulky Paper Solvy™ Water Soluble Stabilizer
Sulky KK 2000™ Temporary Spray Adhesive
1 piece of heavy card stock (I use an old postcard)
FriXion™ Pen
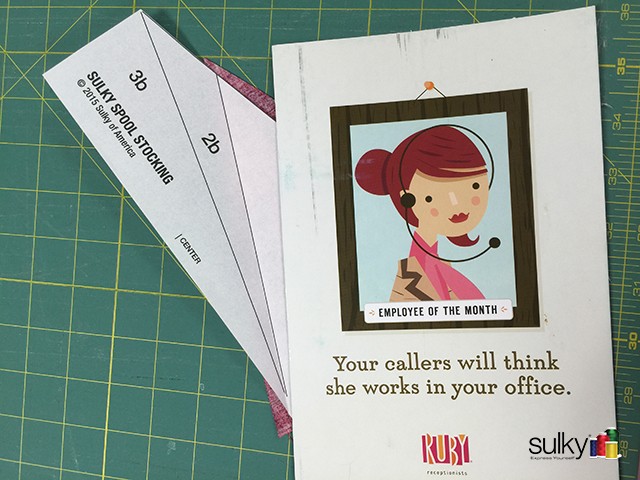
Pattern Download: Thread Spool Stocking Pattern
Start by printing out the pattern onto the Sulky Paper Solvy. I suggest using a draft setting on your printer. If you have never used Paper Solvy, it is this awesome stuff that looks and feels like regular paper. You can print on it like regular paper, but it is actually a water soluble stabilizer! That means you can use it to do paper piecing and it won’t hurt your needle and it dissolves away like magic without distorting your stitches! I’ll show you the magic part in a just a bit, but first, lets take the fear out of paper piecing.
Paper piecing isn’t scary and if you have never tried it before, this is a great first-time paper piecing project.
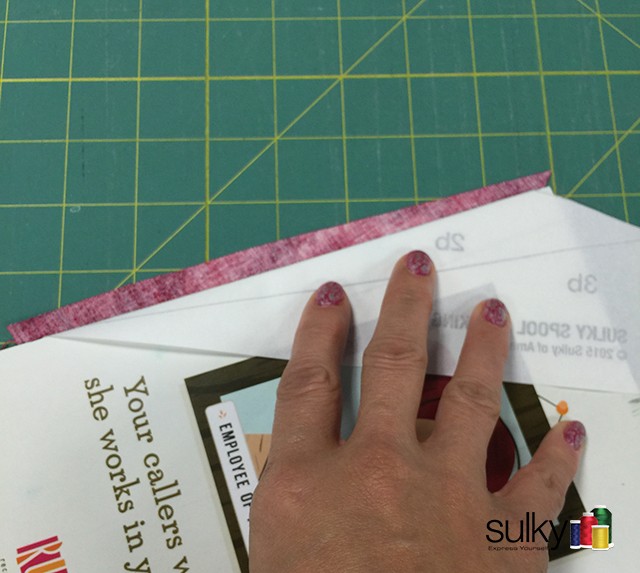
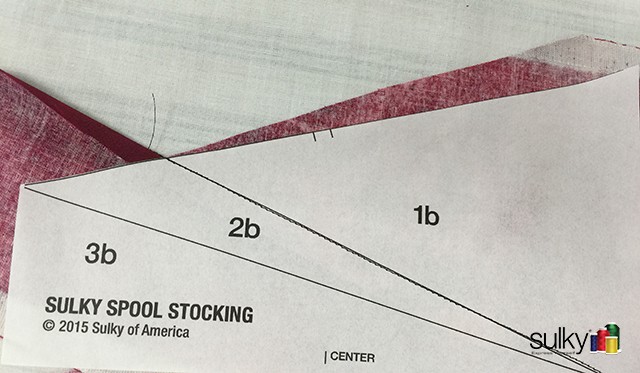
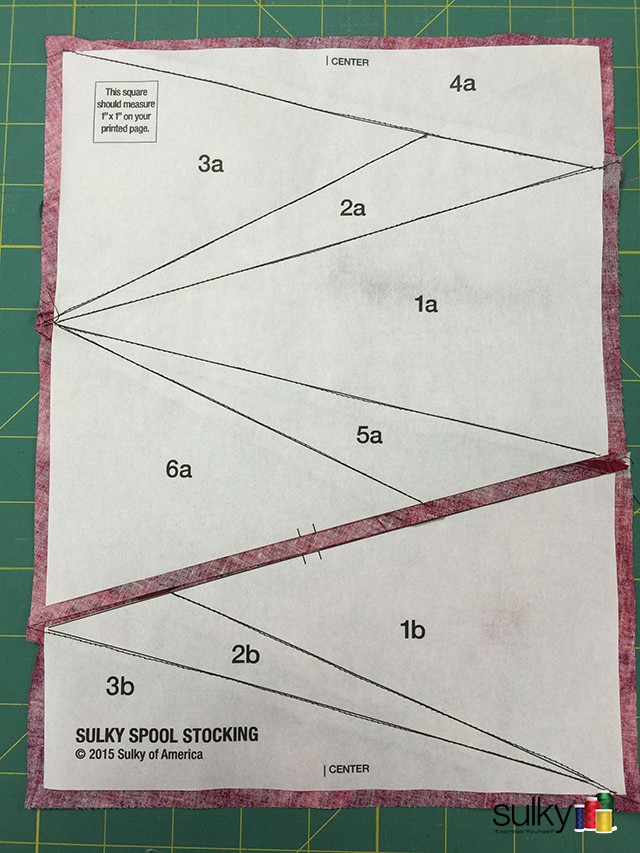
Once the pattern is printed, cut it into 2 sections, the ‘a’ section and the ‘b’ section, on the horizontal line with the 2 registration marks (see the picture).

With paper piecing, you are basically doing paint-by-numbers with fabric. Start with number 1 and keep adding fabric until all the numbers are covered. In this case you have two sections to complete first, then you will sew the two sections together matching the registration marks. You can do either the ‘a’ section or the ‘b’ section first. For this pattern, it doesn’t matter.
The first step is to cut out a piece of fabric bigger than the number 1 section (I chose to start with 1b).
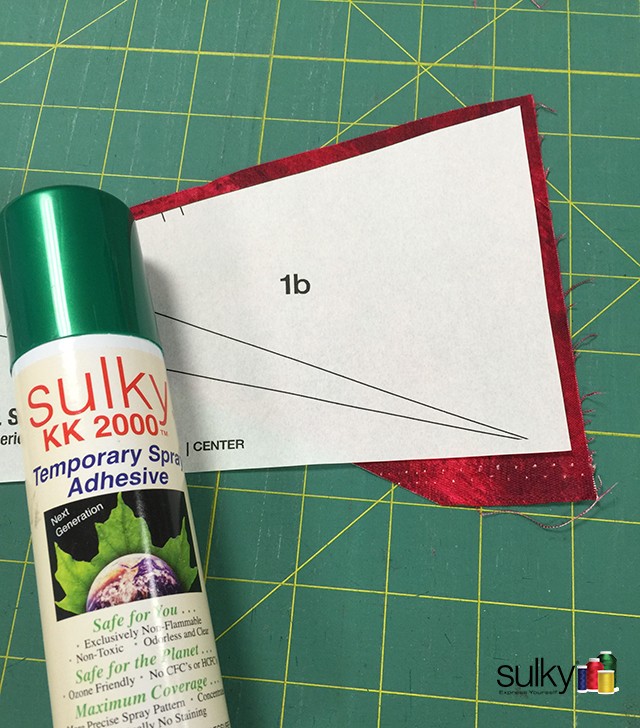
Use a shot of Sulky KK 2000 to stick the wrong side of the fabric to the wrong side of the paper pattern.
Take out that piece of card stock or old postcard and use it to fold back the paper directly on the line between 1 and 2.
With it folded, you should see about 1/4″ of the wrong side of the fabric covering area 1 beyond the fold line.
HERE IS A MAGICAL HINT! I tell you this because if you do this, you will never ever again sew on a piece of fabric that is too small or doesn’t cover the area completely. While the paper is still folded, put your next piece of fabric underneath, right sides together with the first fabric. If the fabric you are about to sew on, covers area 2 completely while it is folded, it will cover it once it is sewn and unfolded. I promise. Every time.
Just be sure that you are covering the area plus a 1/4″ all the way around and you are good to go.
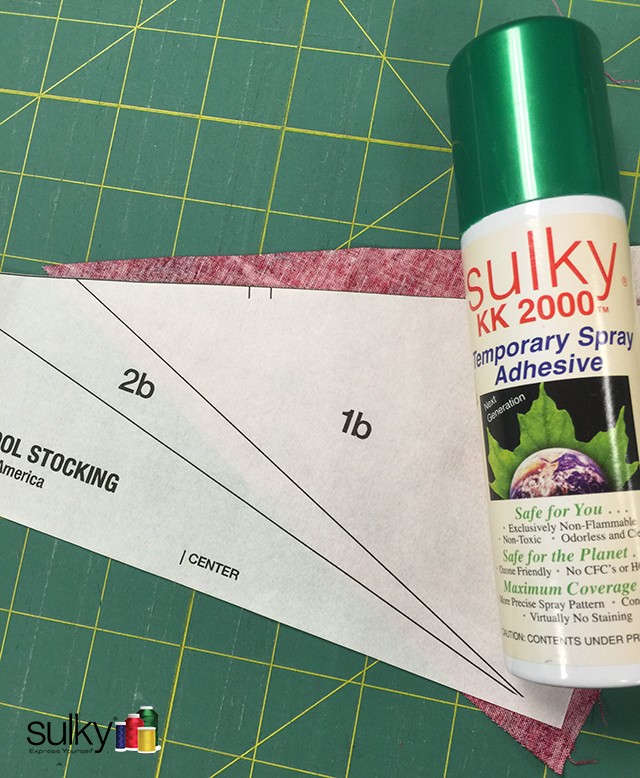
Now unfold the paper and sew on the line on the paper side
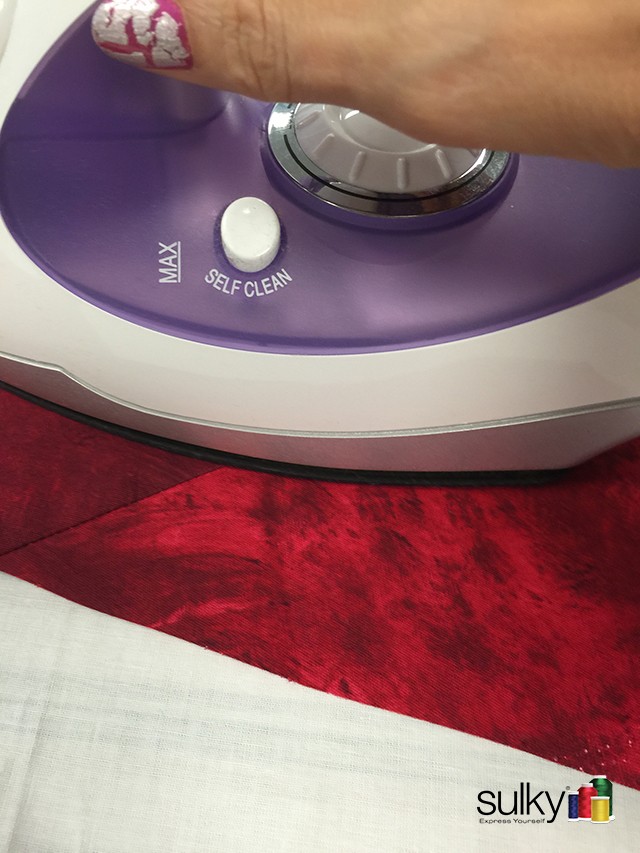
Iron the fabric open
Tada! You have your first 2 sections sewn together and they both fit!
Use your trusty card stock postcard once again and fold back the paper on the line
Use a ruler and cut a perfect 1/4″ seam beyond the paper. There are special rulers to help you do this, but I have always just used my regular ruler.

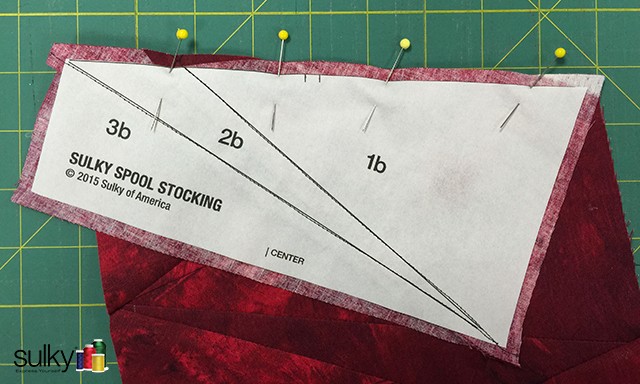
With a perfect 1/4″ you can line up your fabric for the next area, just like you did before. Keep repeating the process until you have all the number areas covered on both sections
See those 2 little registration marks? Now is when they come in handy
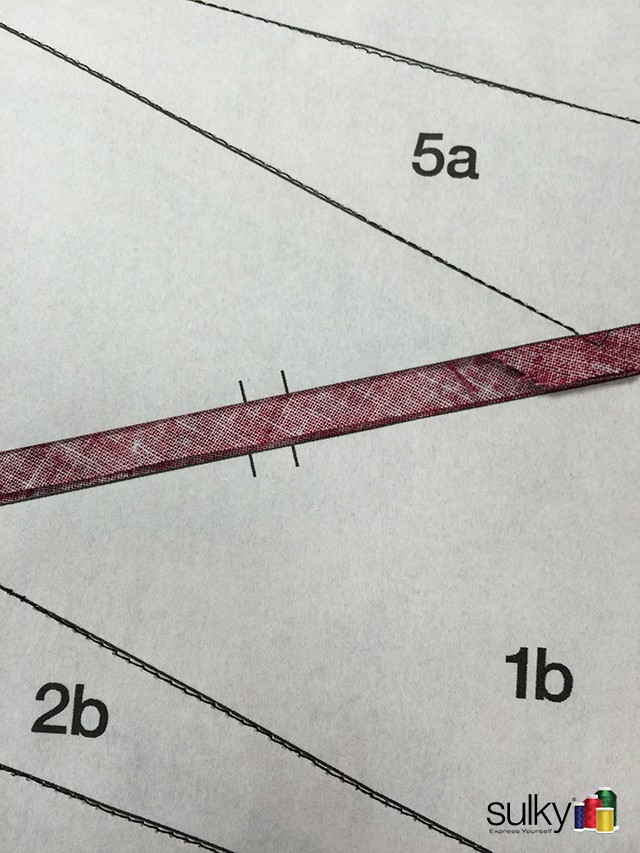
In order to match up your 2 sections perfectly, put the two sections right sides together and line up those marks as best you can. Then take two pins and go straight down right at the marks.
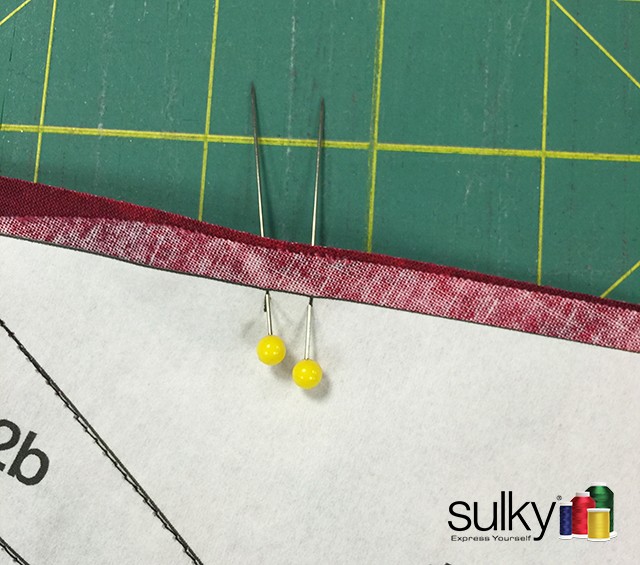
Adjust the bottom section until the pins are coming out right at the registration marks.
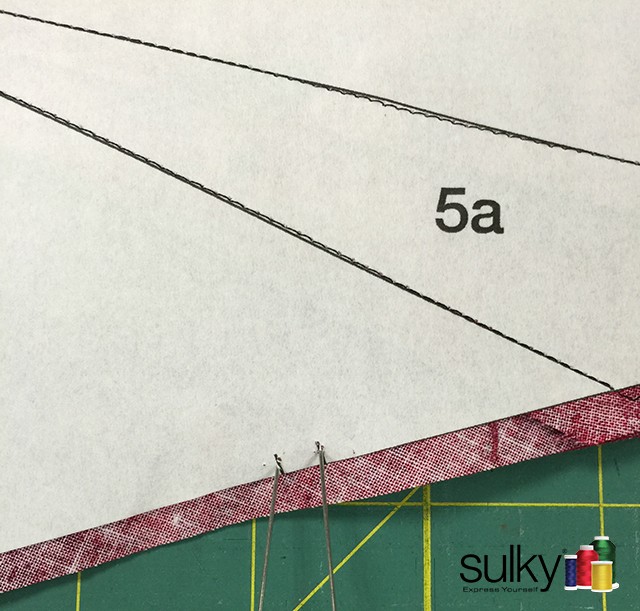
Once you have them lined up, take pins and pin the two sections together and sew right next to the paper.
Now your spool center is finished! Trim up the center and be sure to have a 1/4″ around all sides beyond the paper. If some areas are slightly off, it’s not a big deal. You can have as little as 1/8″ seam allowance; as long as you have some, you should be good.
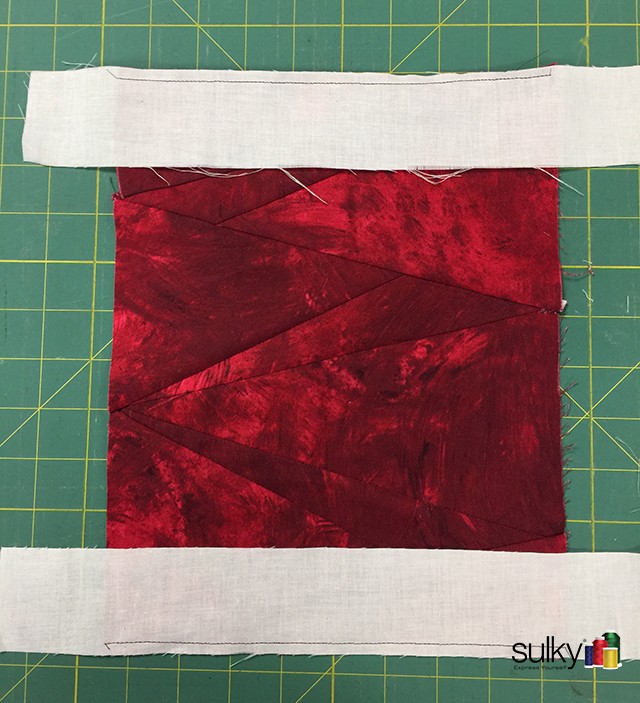
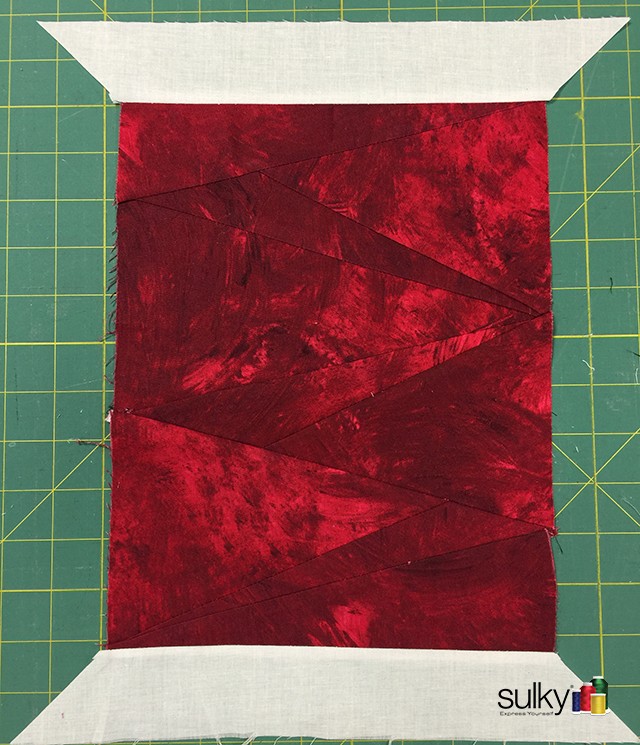
Cut 2 white strips 2″ x 13″. Sew these strips centered onto the top and bottom of the spool center that you just created. The pattern has the center line marked and you can use this to help you center the white strips.
Now it’s time to remove the paper! Take a cotton swab and dip it into a cup of water.
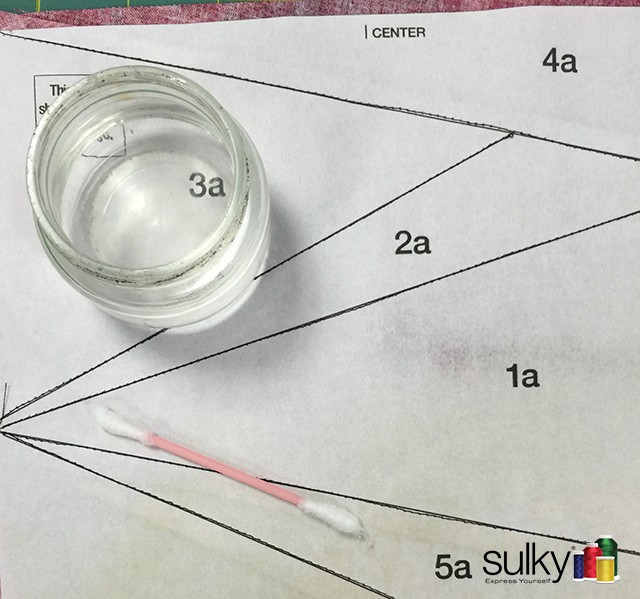
Run the wet swab over the stitching line.
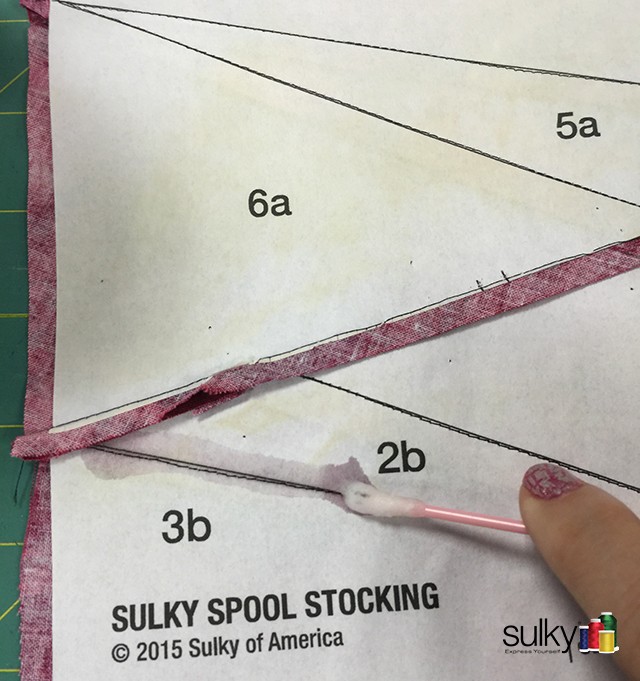
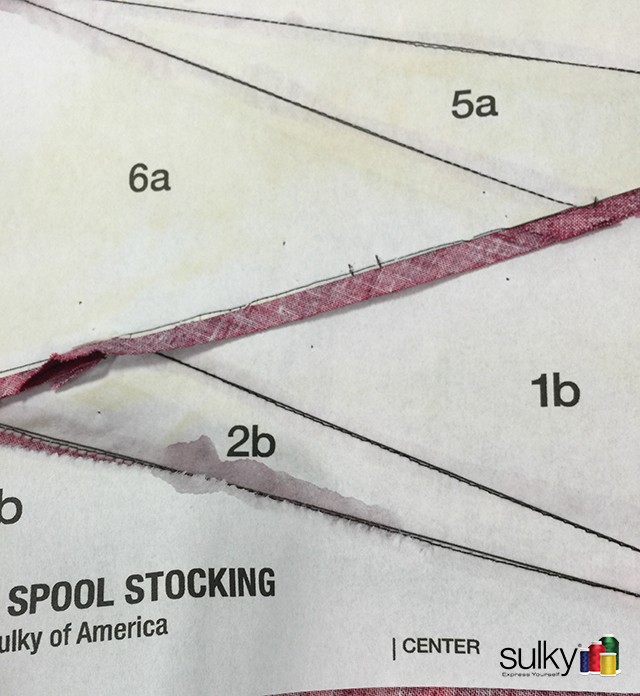
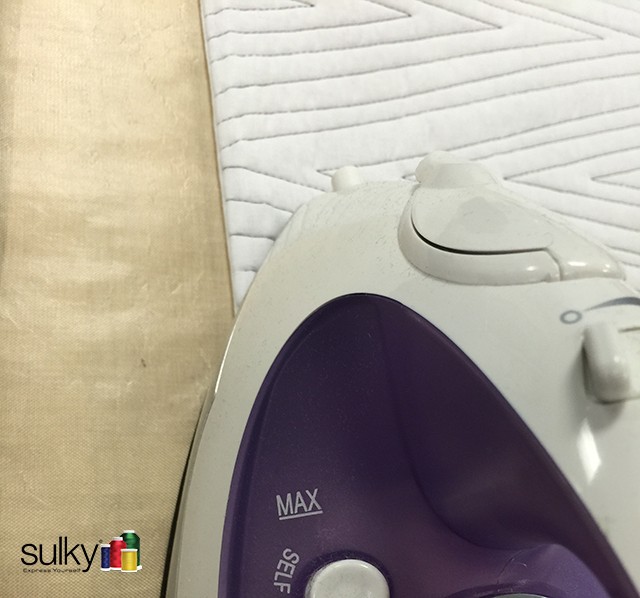
Magically, the paper dissolves and you can remove all the paper without pulling on your stitching or distorting your fabric. Cool, huh! If you have any little bits of paper that won’t come out, just spray the entire back with water from a spray bottle, put a paper towel down and iron on top of the paper towel. It will iron your piece nice and flat and dissolve any of the left over Paper Solvy which will be picked up by the paper towel.
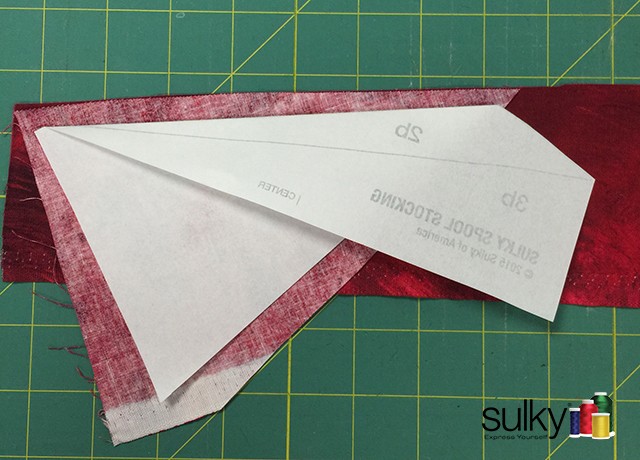
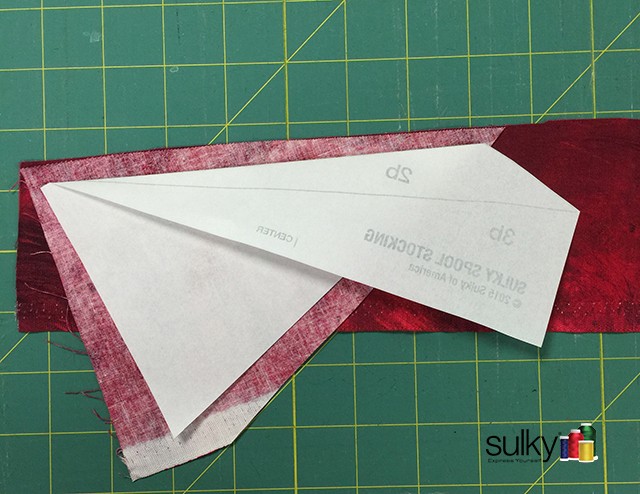
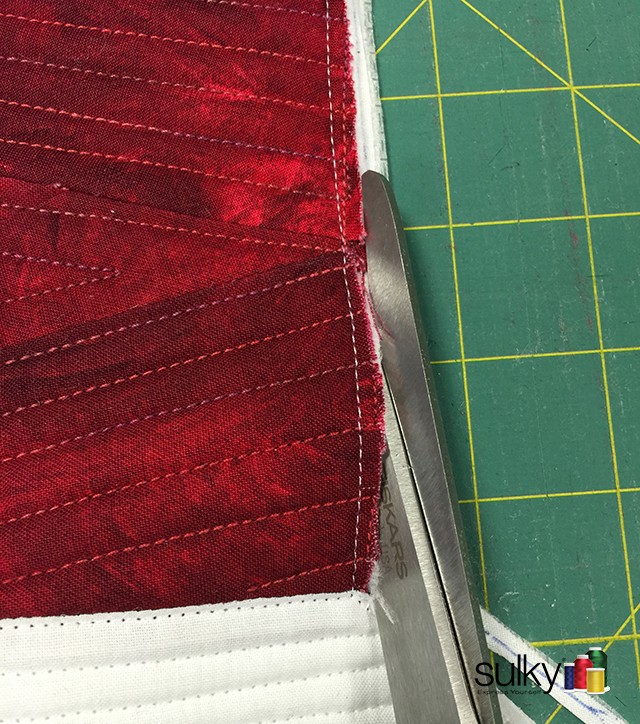
Now back to the top and bottom of the spool. Take your ruler and line the 45° line up with the bottom edge of the white strip so you have a 45° angle from the edge of the ‘thread’ on the spool to the bottom of the white strip. Cut.
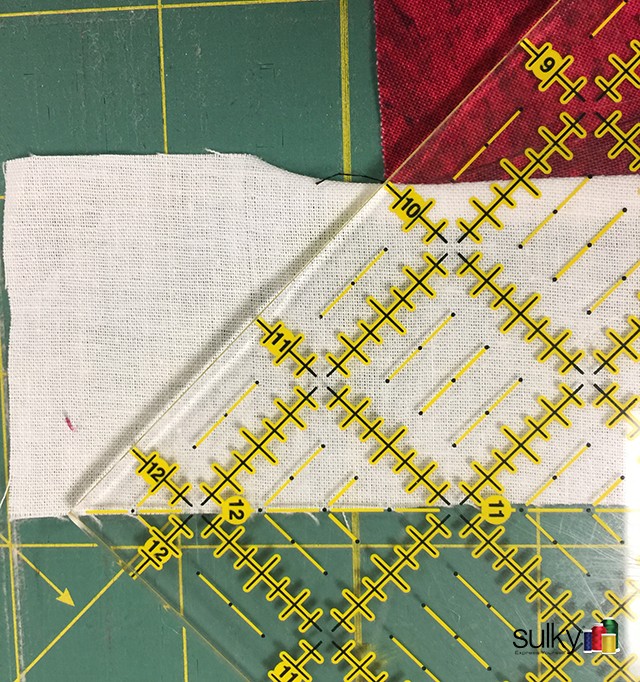
Do this on all four corners so each side is angled out. Now it’s starting to really look like a spool of thread!
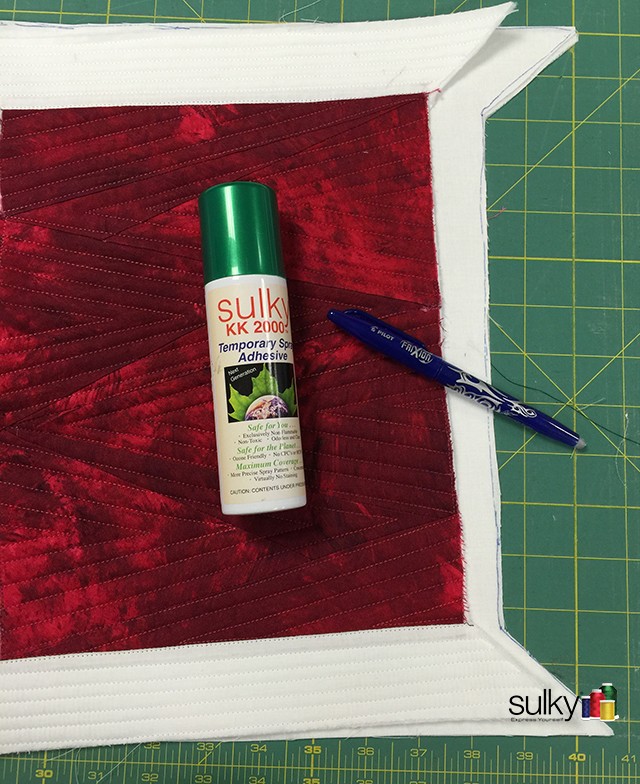
Layer your spool, batting and backing together using Sulky KK 2000 to hold it all together.
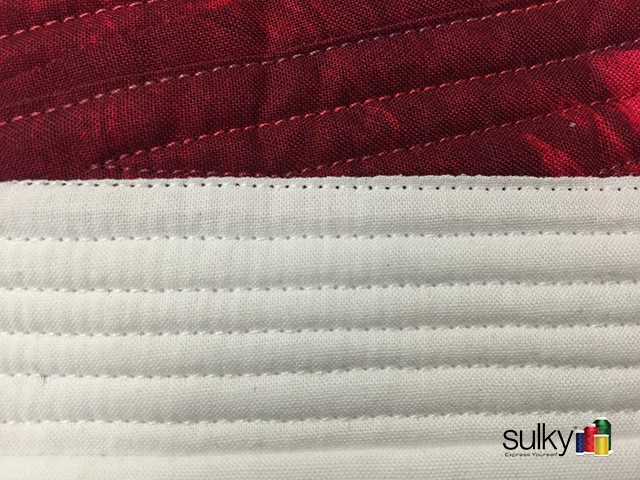
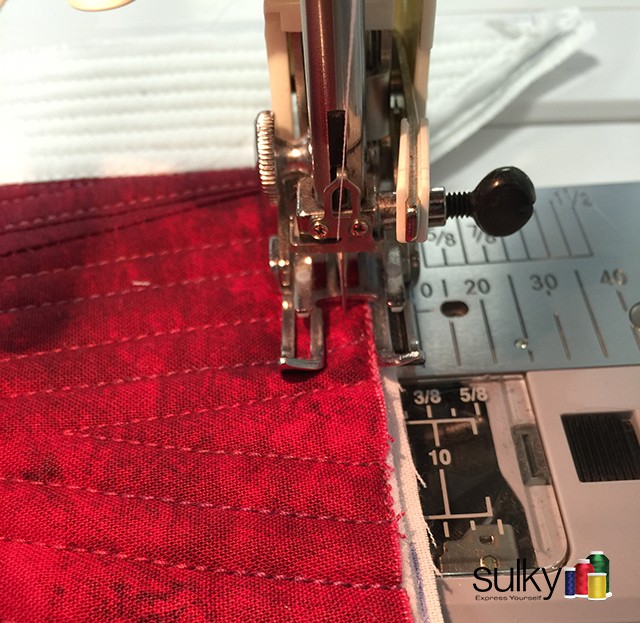
Quilt the spool! I chose a Sulky 30 wt. Cotton Blendable Redwork #4042 because it went so well with my fabric. I quilted a ‘V’ pattern so it would look like thread.

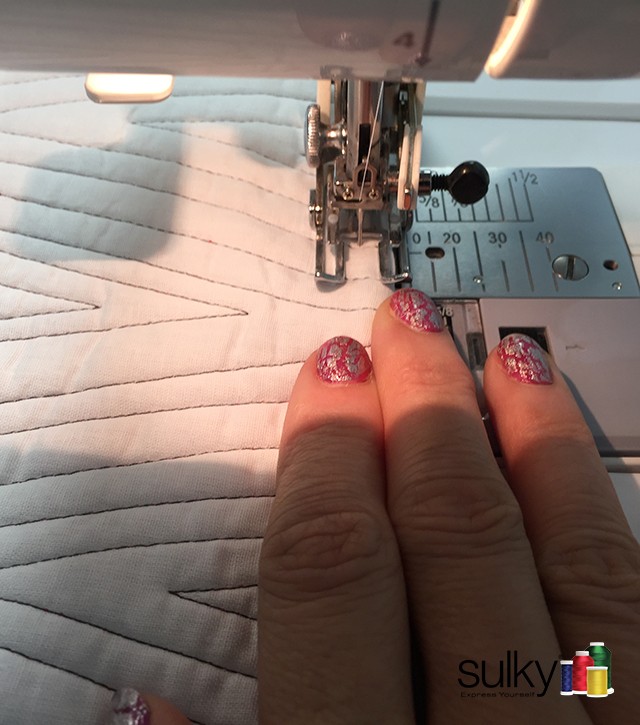
On the white part, I did straight lines with Sulky 60 wt. PolyLite in white.
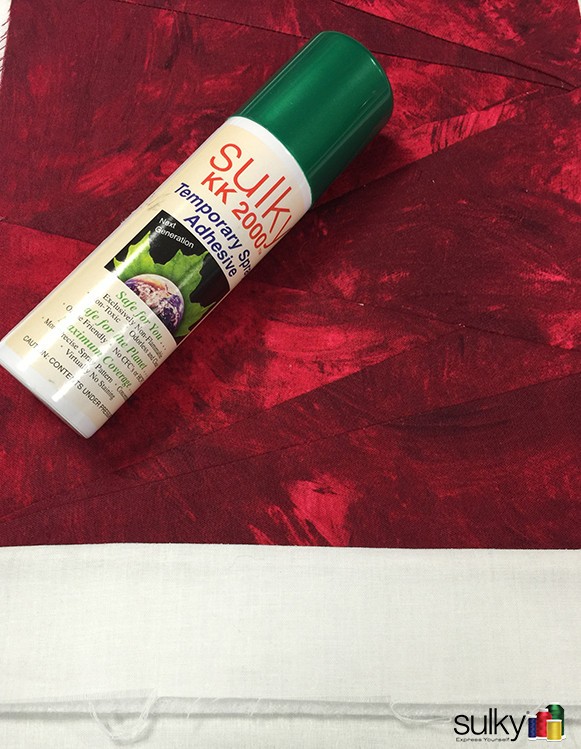
Once the front is quilted, it’s time to make it into a stocking! Take a piece of white fabric approx. 15″ square and fuse Sulky Soft ‘n Sheer Extra to the wrong side for some extra stability.
Use KK 2000 and layer another piece of white fabric on top of the now stabilized piece of white fabric (Stabilizer in between the two white fabrics, with WRONG sides together.). Use a FriXion pen to trace around your front and cut the back out.
Using Clover® Wonder Clips, clip the sides together. We are going to sew the sides with a French seam so the spool front should be facing up and the back layered behind it.

Sew very close, approximately a scant 1/8″ seam down each side only (don’t sew the top or the bottom yet).
NOTE: I used my walking foot for the rest of the steps in this project. With this many layers, a walking foot helps to keep everything feeding through evenly.
Trim up the sides.
Turn the spool inside out and press, especially where the spool angles out.
Now sew along the two sides again about 1/8″. Use your fingers to to be sure the raw edge is being caught inside the new seam you are sewing. Turn and press.
Congratulations! You just sewed a French seam and it wasn’t even that hard. 🙂
Now let’s bind the bottom. Cut a white strip 2-1/4″ x 15″. Fold it in half, wrong sides together, and clip it with all the raw edges to the bottom edge of the spool. Sew with a 1/4″ seam allowance.
Cut off any dog ears you have from the French seam.
Hand sew the binding down on the back just like you would with any quilt. You can trim and fold in your raw edges on the two sides and hand sew them down as well.
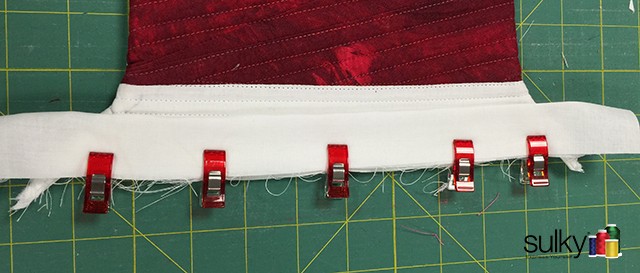
For the top, cut 1 strip 2-1/4″ wide WOF (width of fabric). Fold it in half, wrong sides together, and clip the raw edge to the top center of the back of the opening. Fold 1″ back as well. Clip all the way around the edge as you normally would to bind. Be sure to press your French seam to the back of the stocking.

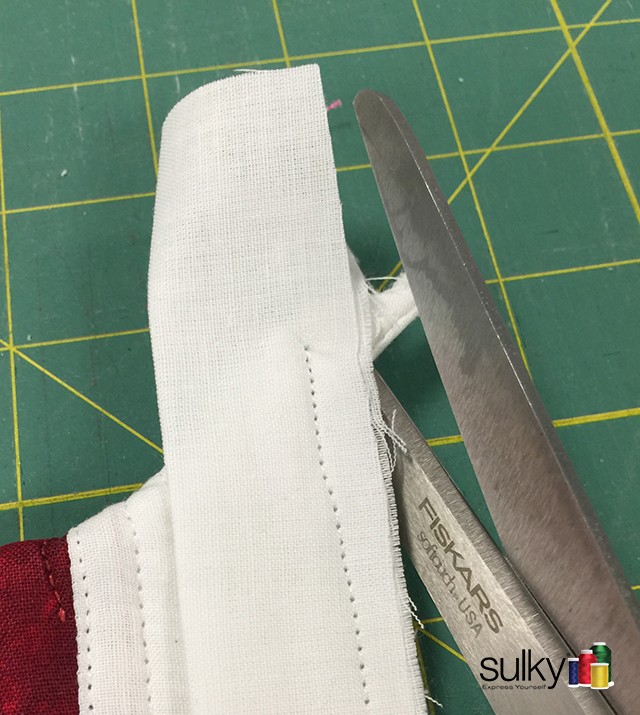
When you get back to where the binding started, clip the second end, folded as you did with the first (see the picture).
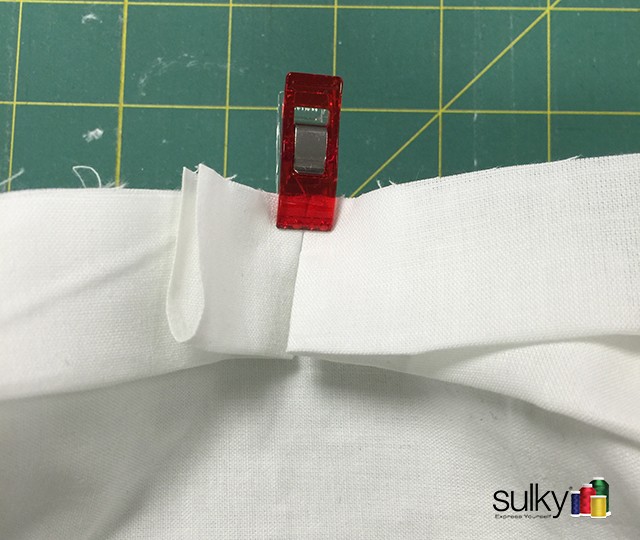
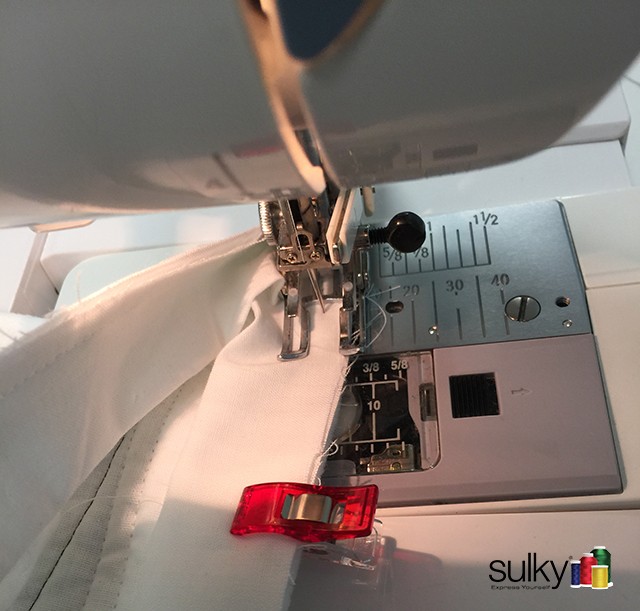
Be sure to finger press. Unclip and sew these two ends right sides together, and trim the seam allowance. Now you have your top binding ready to sew! Just sew it on as you would any other binding. I chose to sew from the inside and then hand sew the outside of the binding down. Be sure to have a 1/4″ seam allowance here. If you are using your walking foot like I did, use the guides on the throat plate or put a piece of blue painters tape at the 1/4″ mark to use as a guide.
Attach the ribbon to hang the stocking on top of where you joined the binding together.

You are done! Aren’t they wonderful!?!
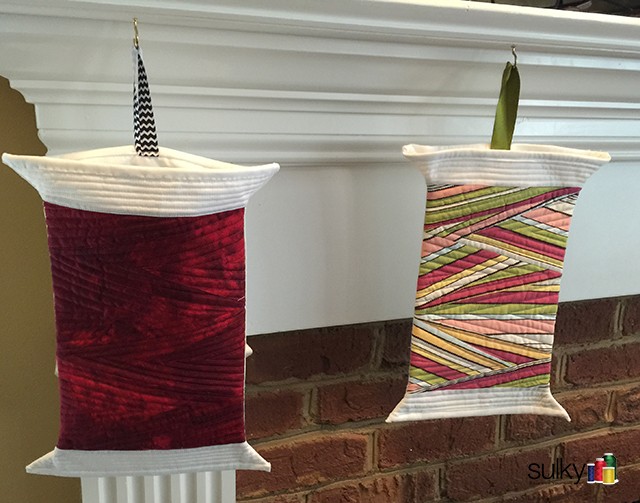
I love the red one as my stocking for Christmas but I think this pink and green one is going in my sewing room to hold sewing things!
If you make a stocking, post pictures on our Facebook Page and tag me on Instagram! I am @Sulkythreads
Happy Sewing!

How very creative and pretty.
Now this is an awesome idea. I sadly must admit that many of the spools of thread ideas I’ve seen in the past were not for me, but THIS? THIS is such a great idea!! I LOVE IT! It’s the perfect gift to make for any of your sewing buddies, no matter whether they are machine embroidery buddies, sewing, or quilting buddies. Any of them would love one of these with some extra goodies put inside as a nice surprise.
Thank you!
With a little adaptation of size, these could be pot holder/hot mitts. Now that I could use. And I wouldn’t mind if Santa that a spool of thread was mine hanging on the mantle.
Hi, this is my first look at your blog, I’m very impressed. I just love your spool stockings. What a great idea for sewers. Thanks for the inspiration. Penny
Thanks, Penny! I hope you will keep reading and keep being inspired!
I like this pattern, but 45 pages are a lot to print.
Carol
Carol, The directions are so long because of all the detail and pictures. You could just save the post as a pdf and print out the paper piecing download only, which is one page. Then you can look at the directions on your computer or tablet and you sew. I hope this helps!
Well, I have to agree with Carol/.. How about making a pdf of the whole pattern. I noticed that you made one for just the center of the stocking, but that my not be enough for those of us just learning,.
These are adorable! I have been trying to think of what to make for my quilting buddies for Christmas and this will be perfect! I will have to make one for myself too! Thank you!
I am in the process of making the spool stockings for my sewing group for Christmas/ I love them and each one will be different. What fun!
That’s wonderful! I would love to see pics when they are done. Post then on our Facebook page or instagram @sulkythreads.