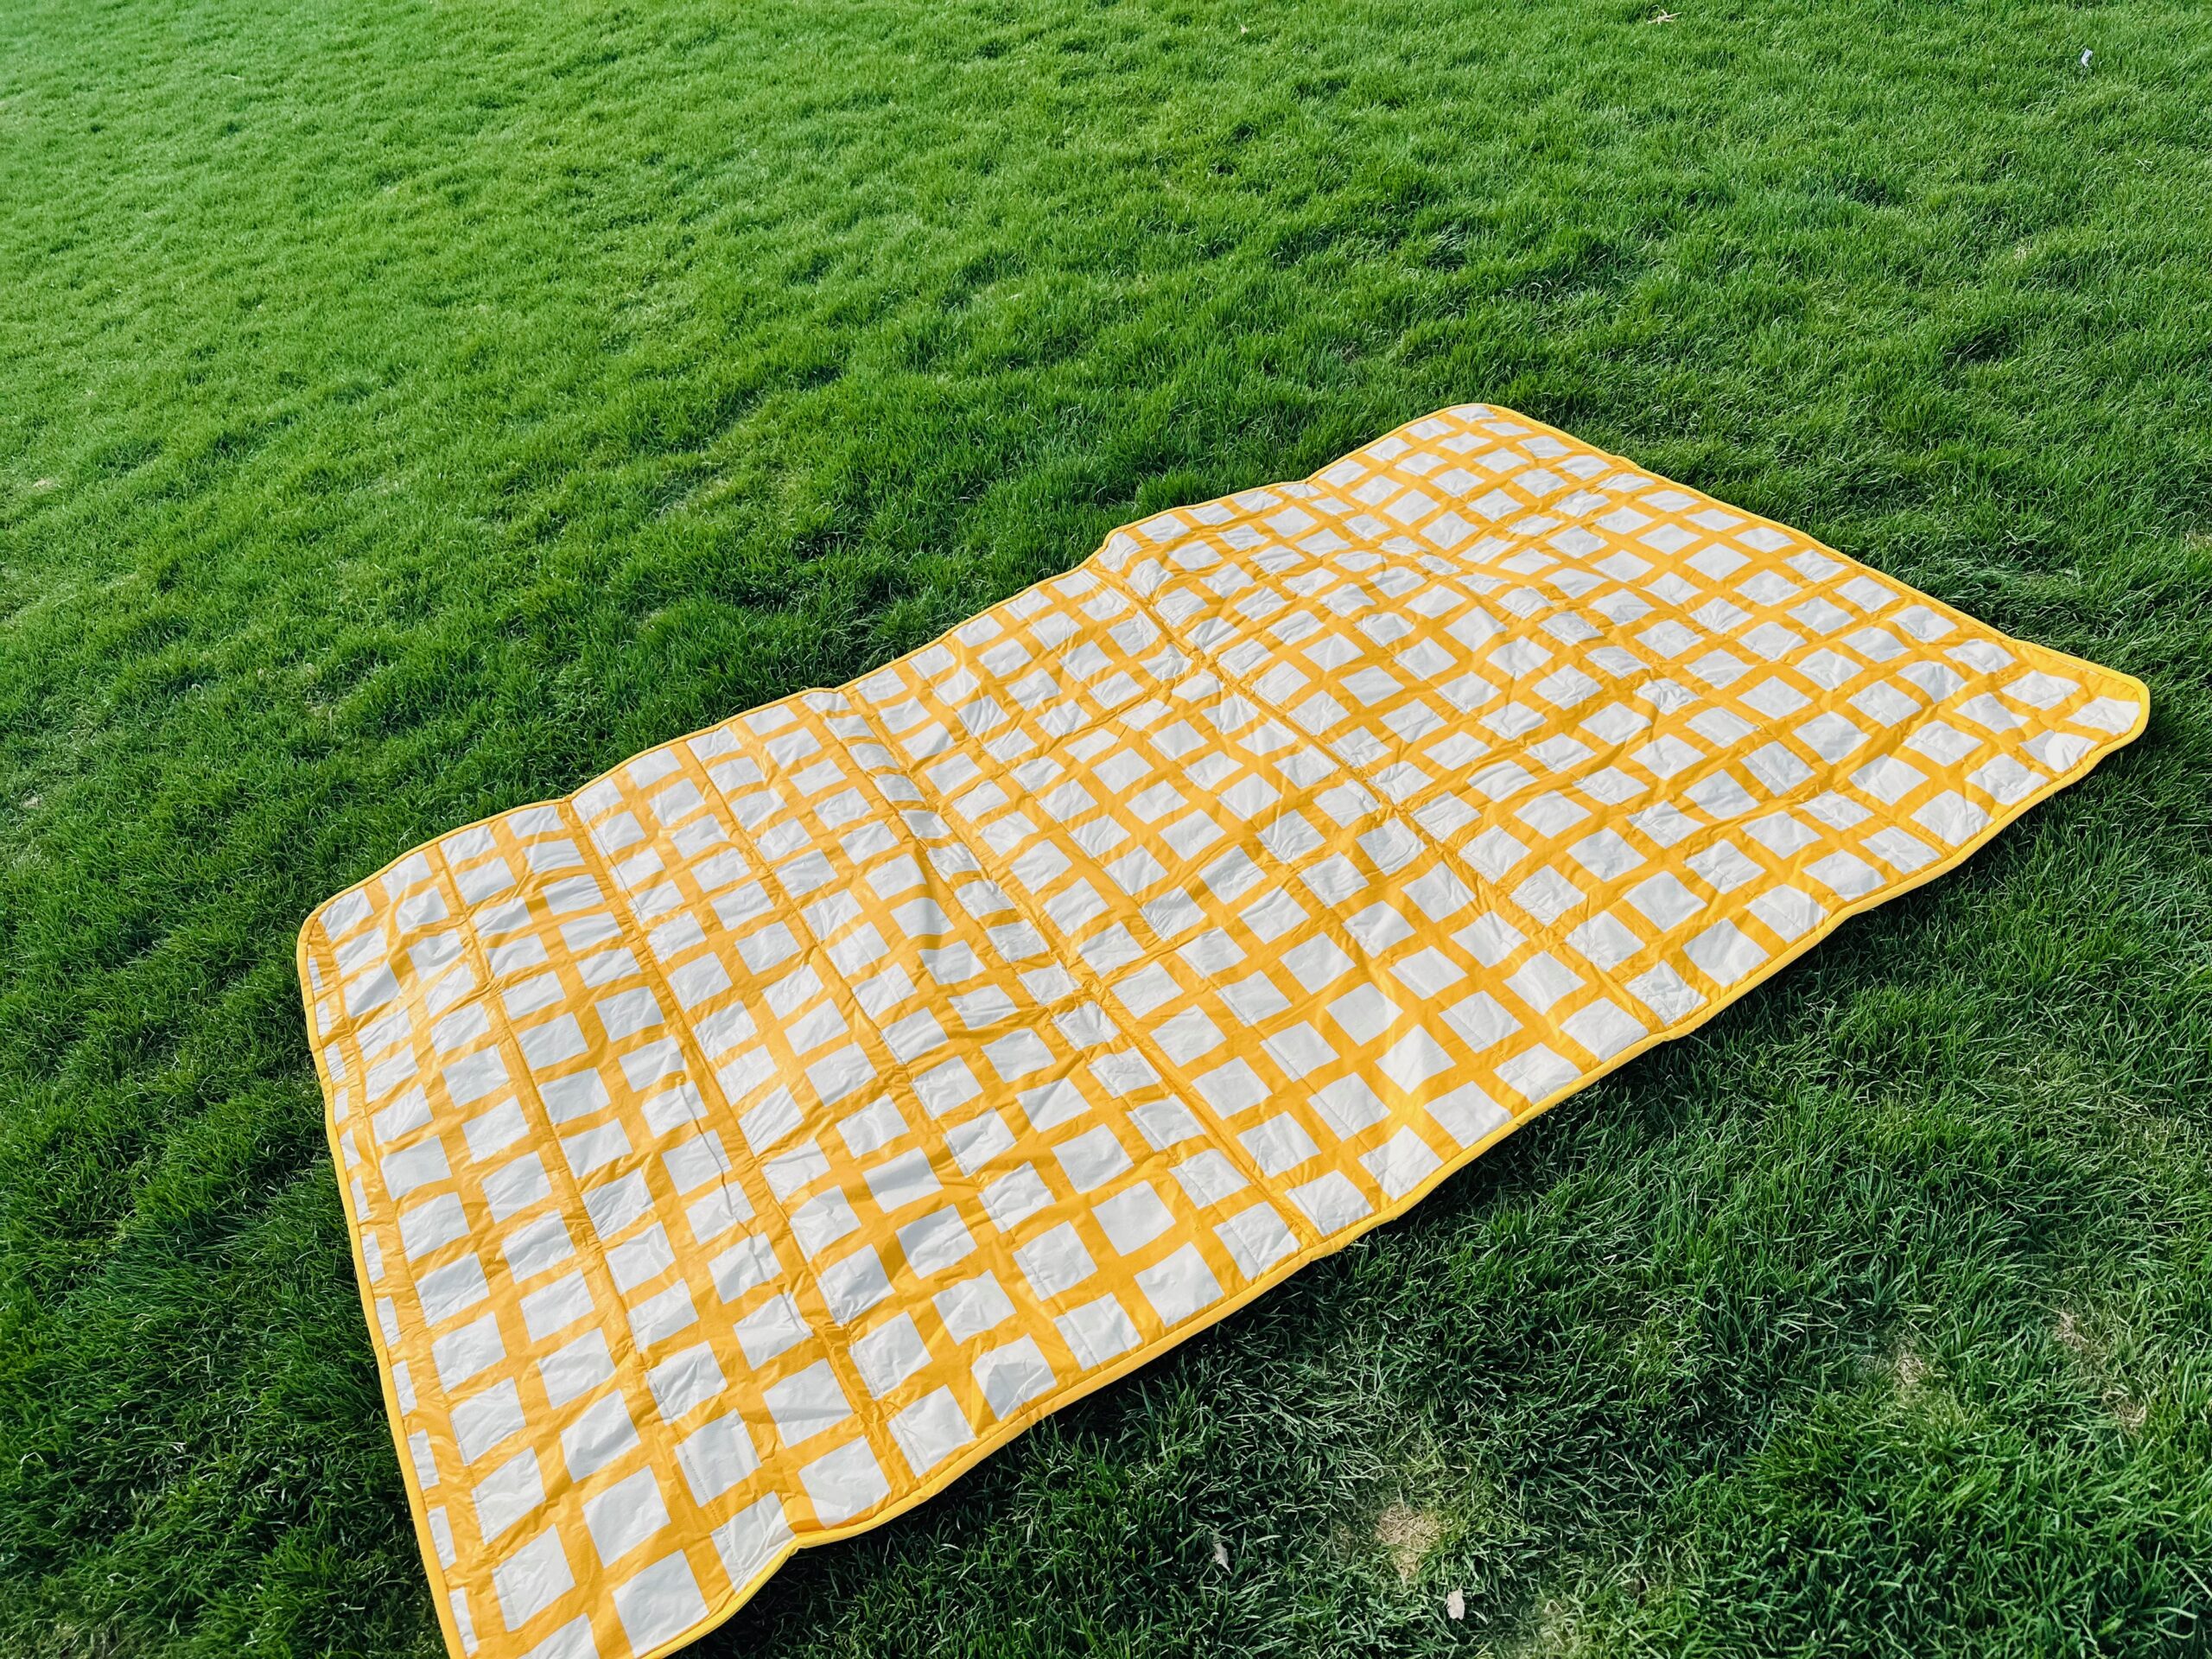
Sew a Convertible Picnic Blanket
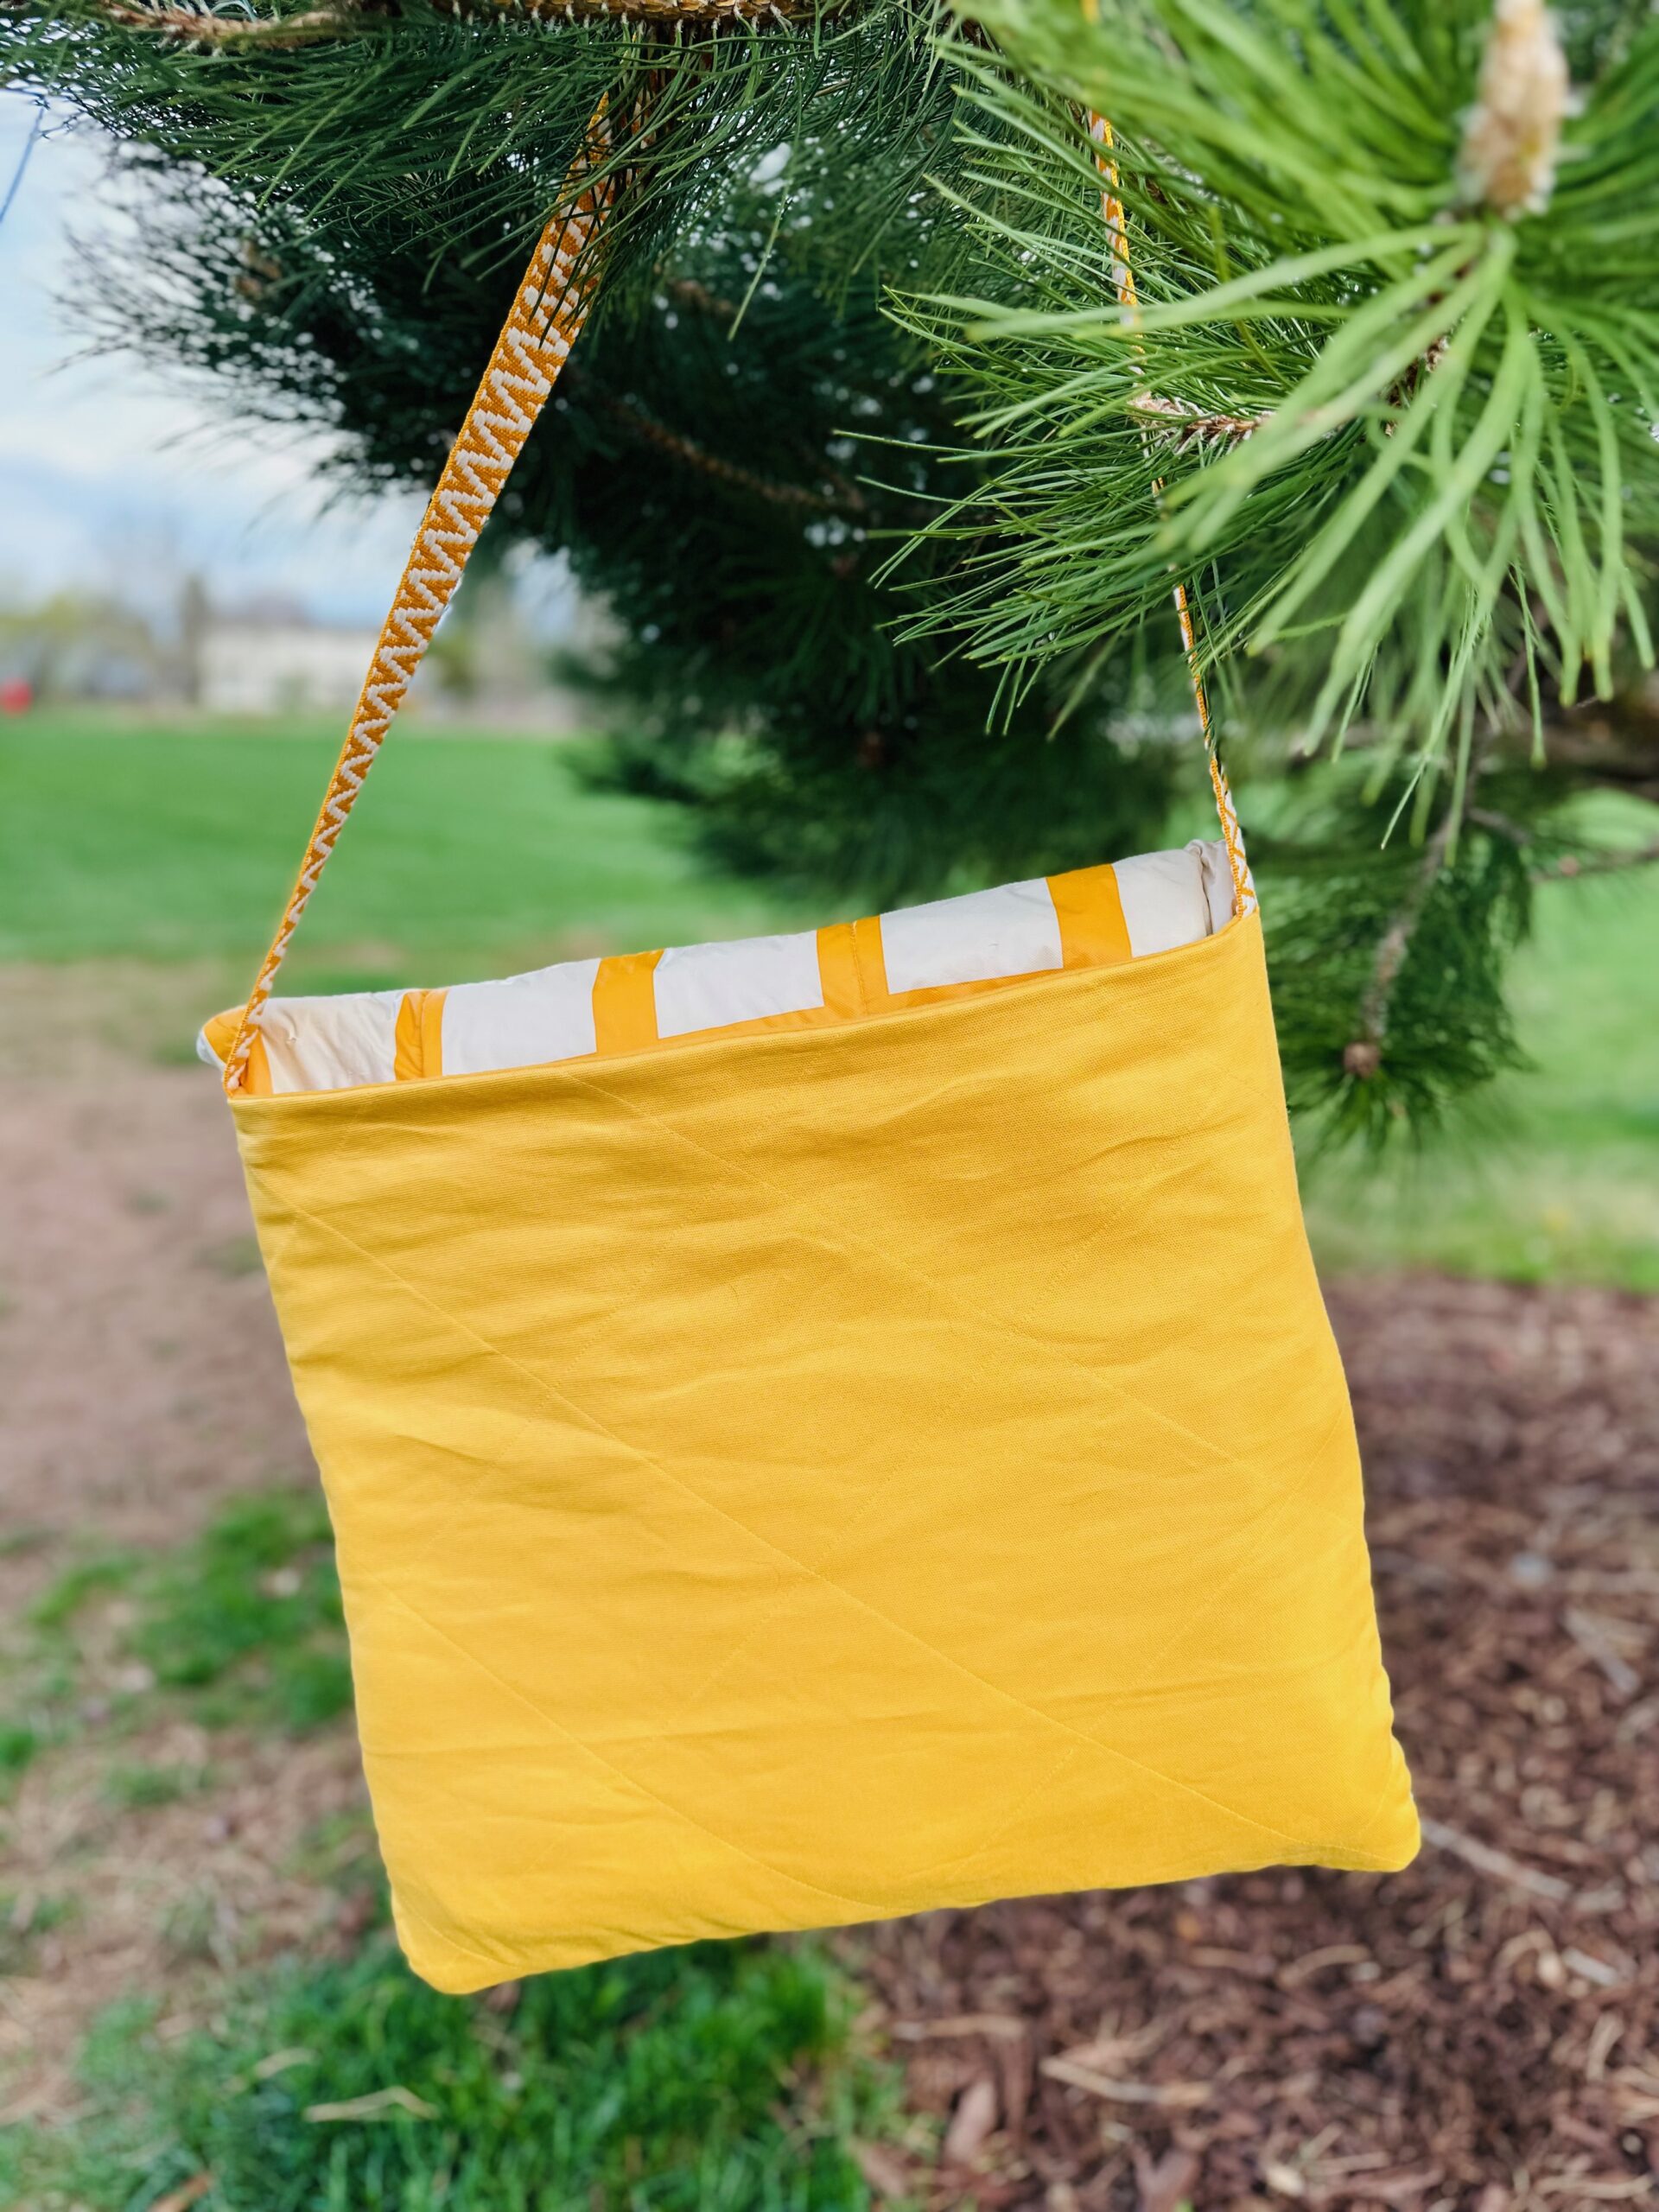
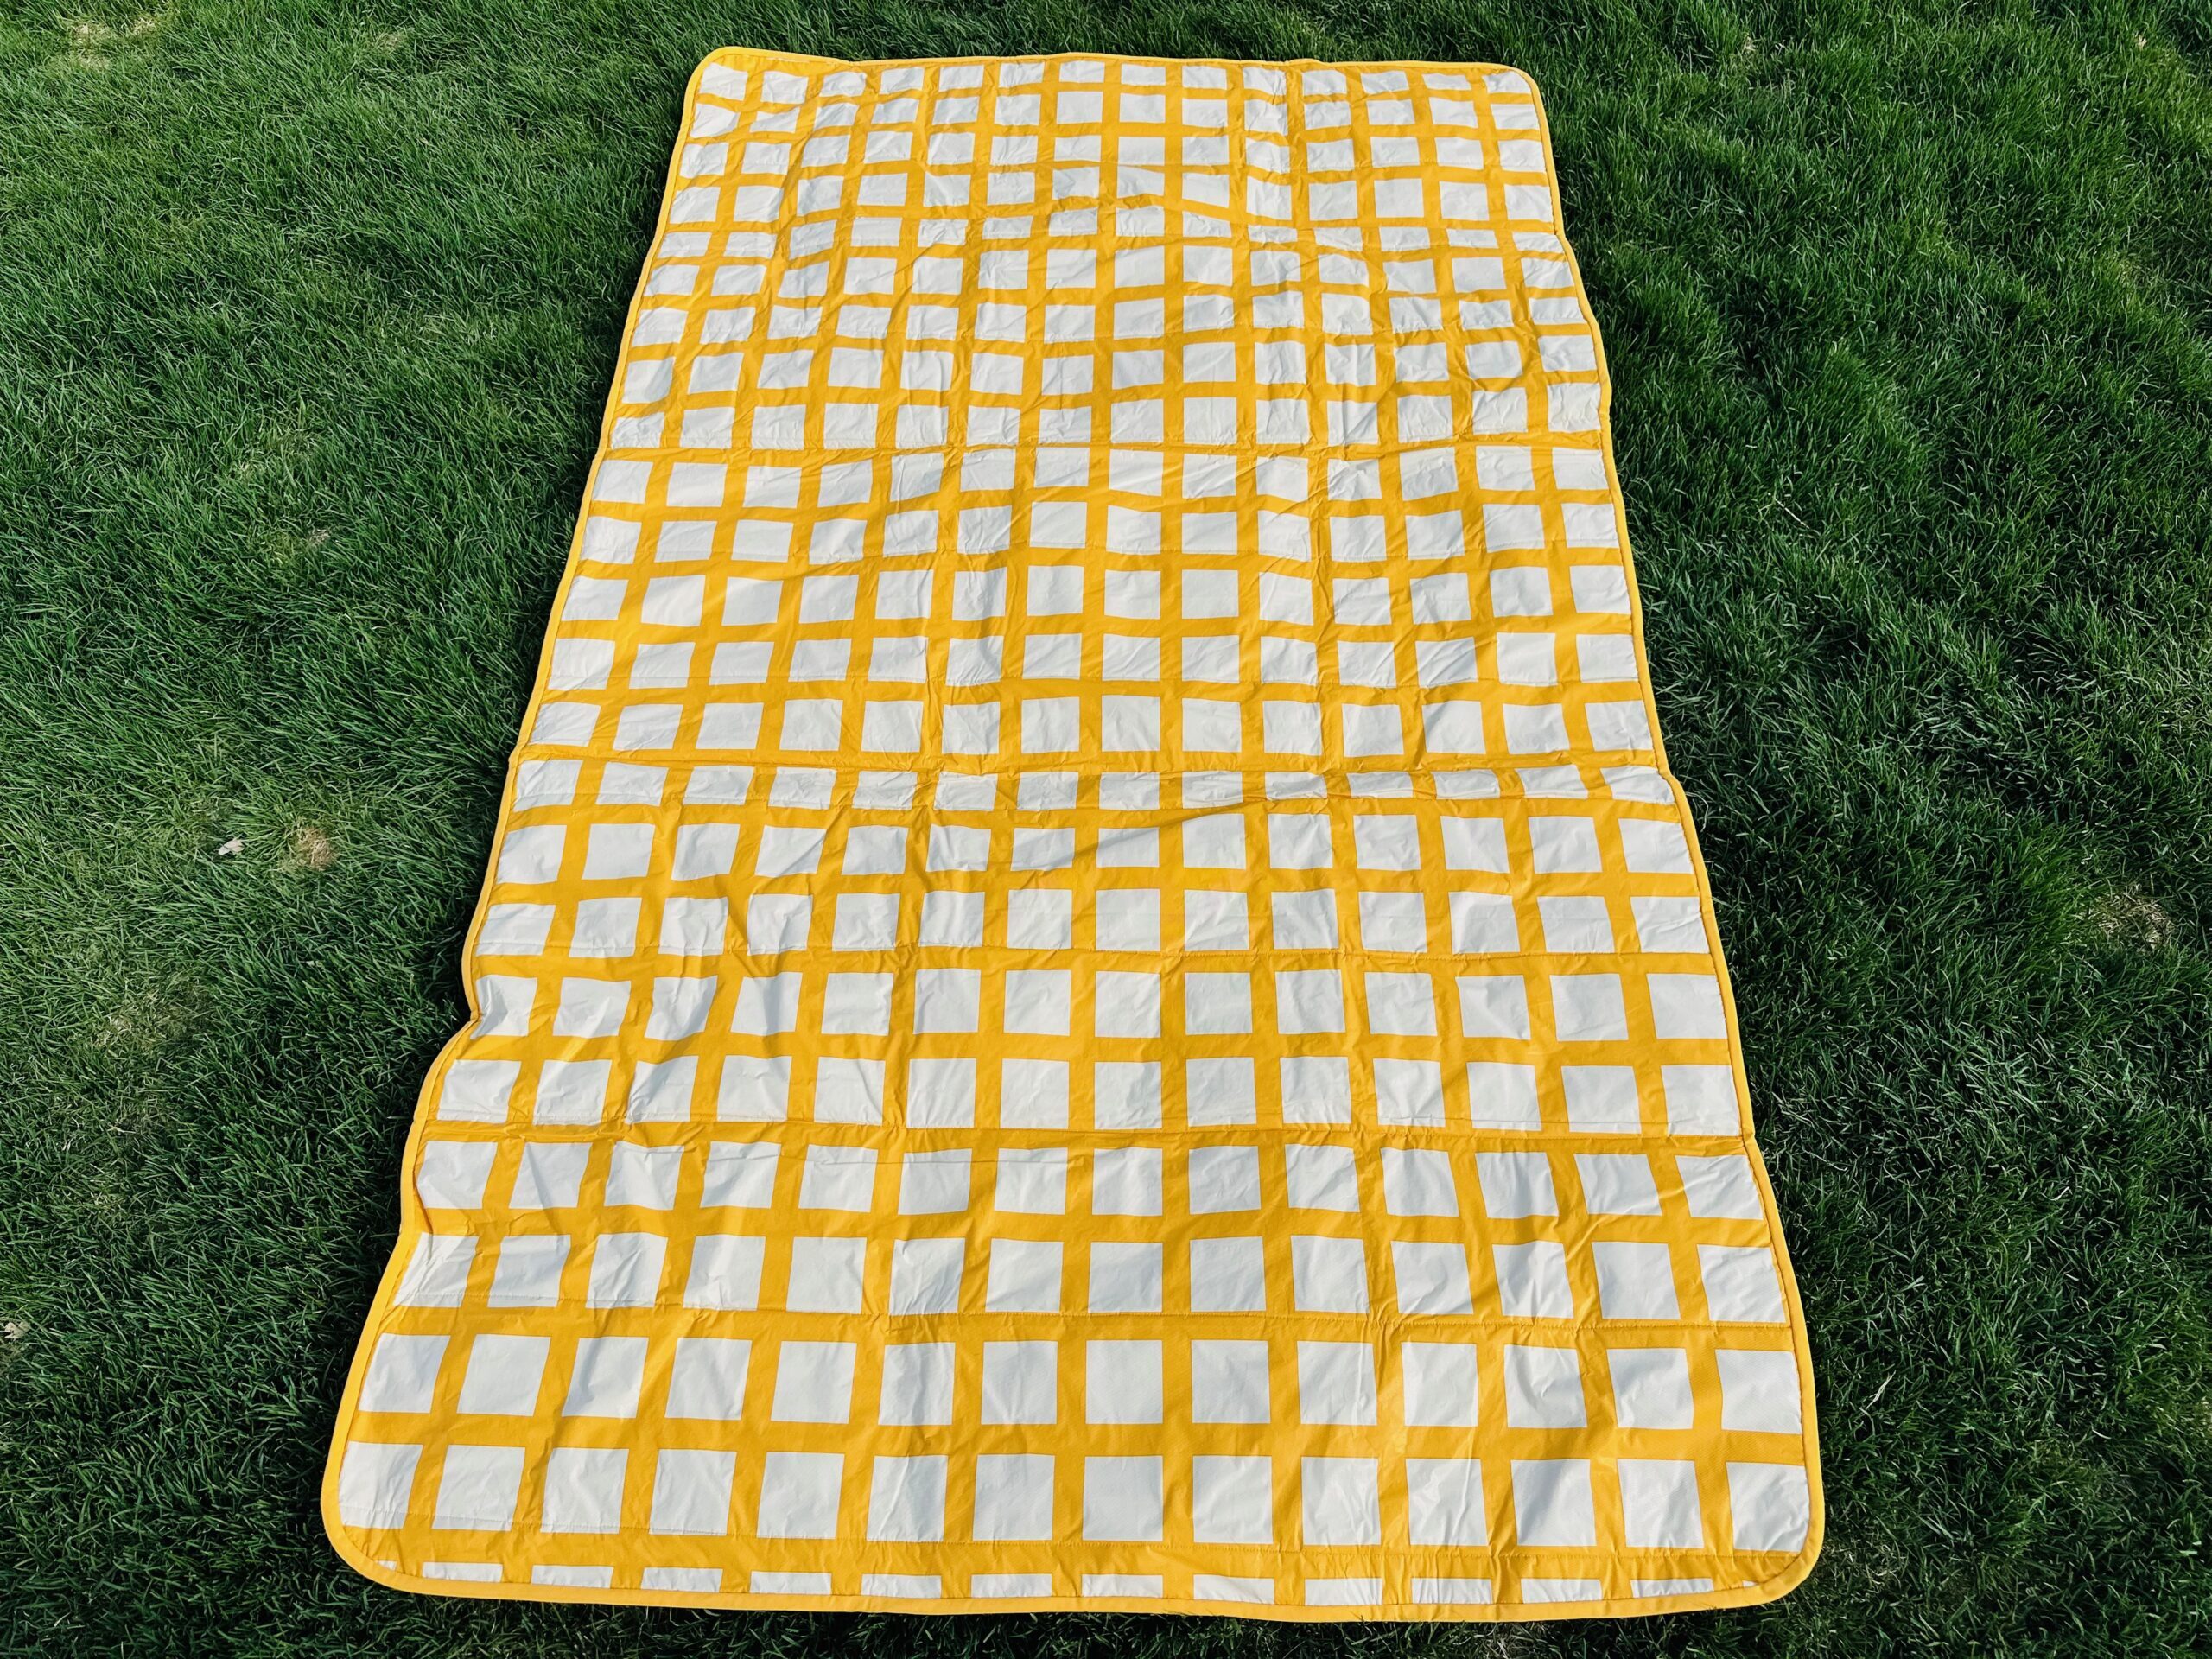
This picnic blanket converts into a tote with a few simple folds, making it great to take to the park, beach or on the road. The shoulder strap is tucked into the pocket when using the blanket, keeping it out of the way. Stuff the pocket with plates and cutlery for your picnic, a small pillow for a relaxing nap or conceal personal items when taking a dip in the water. The picnic blanket is made of two easy-clean vinyl tablecloths, so you’re protected from damp grass, wet sand or muddy lakefront.
PICNIC BLANKET SUPPLIES
Materials listed are enough to make one 52″ x 90″ (approximate) picnic blanket that measures 18″ x 20″ when folded into a tote.
- Matching Sulky Poly Deco Thread
- Organ® size 80/12 Microtex Needles
- (2) vinyl tablecloths (approximately 52″ x 90″)
- (2) 18 1/2″ x 20 1/2″ rectangles of outdoor or home-dec fabric (outer & lining pocket rectangles)
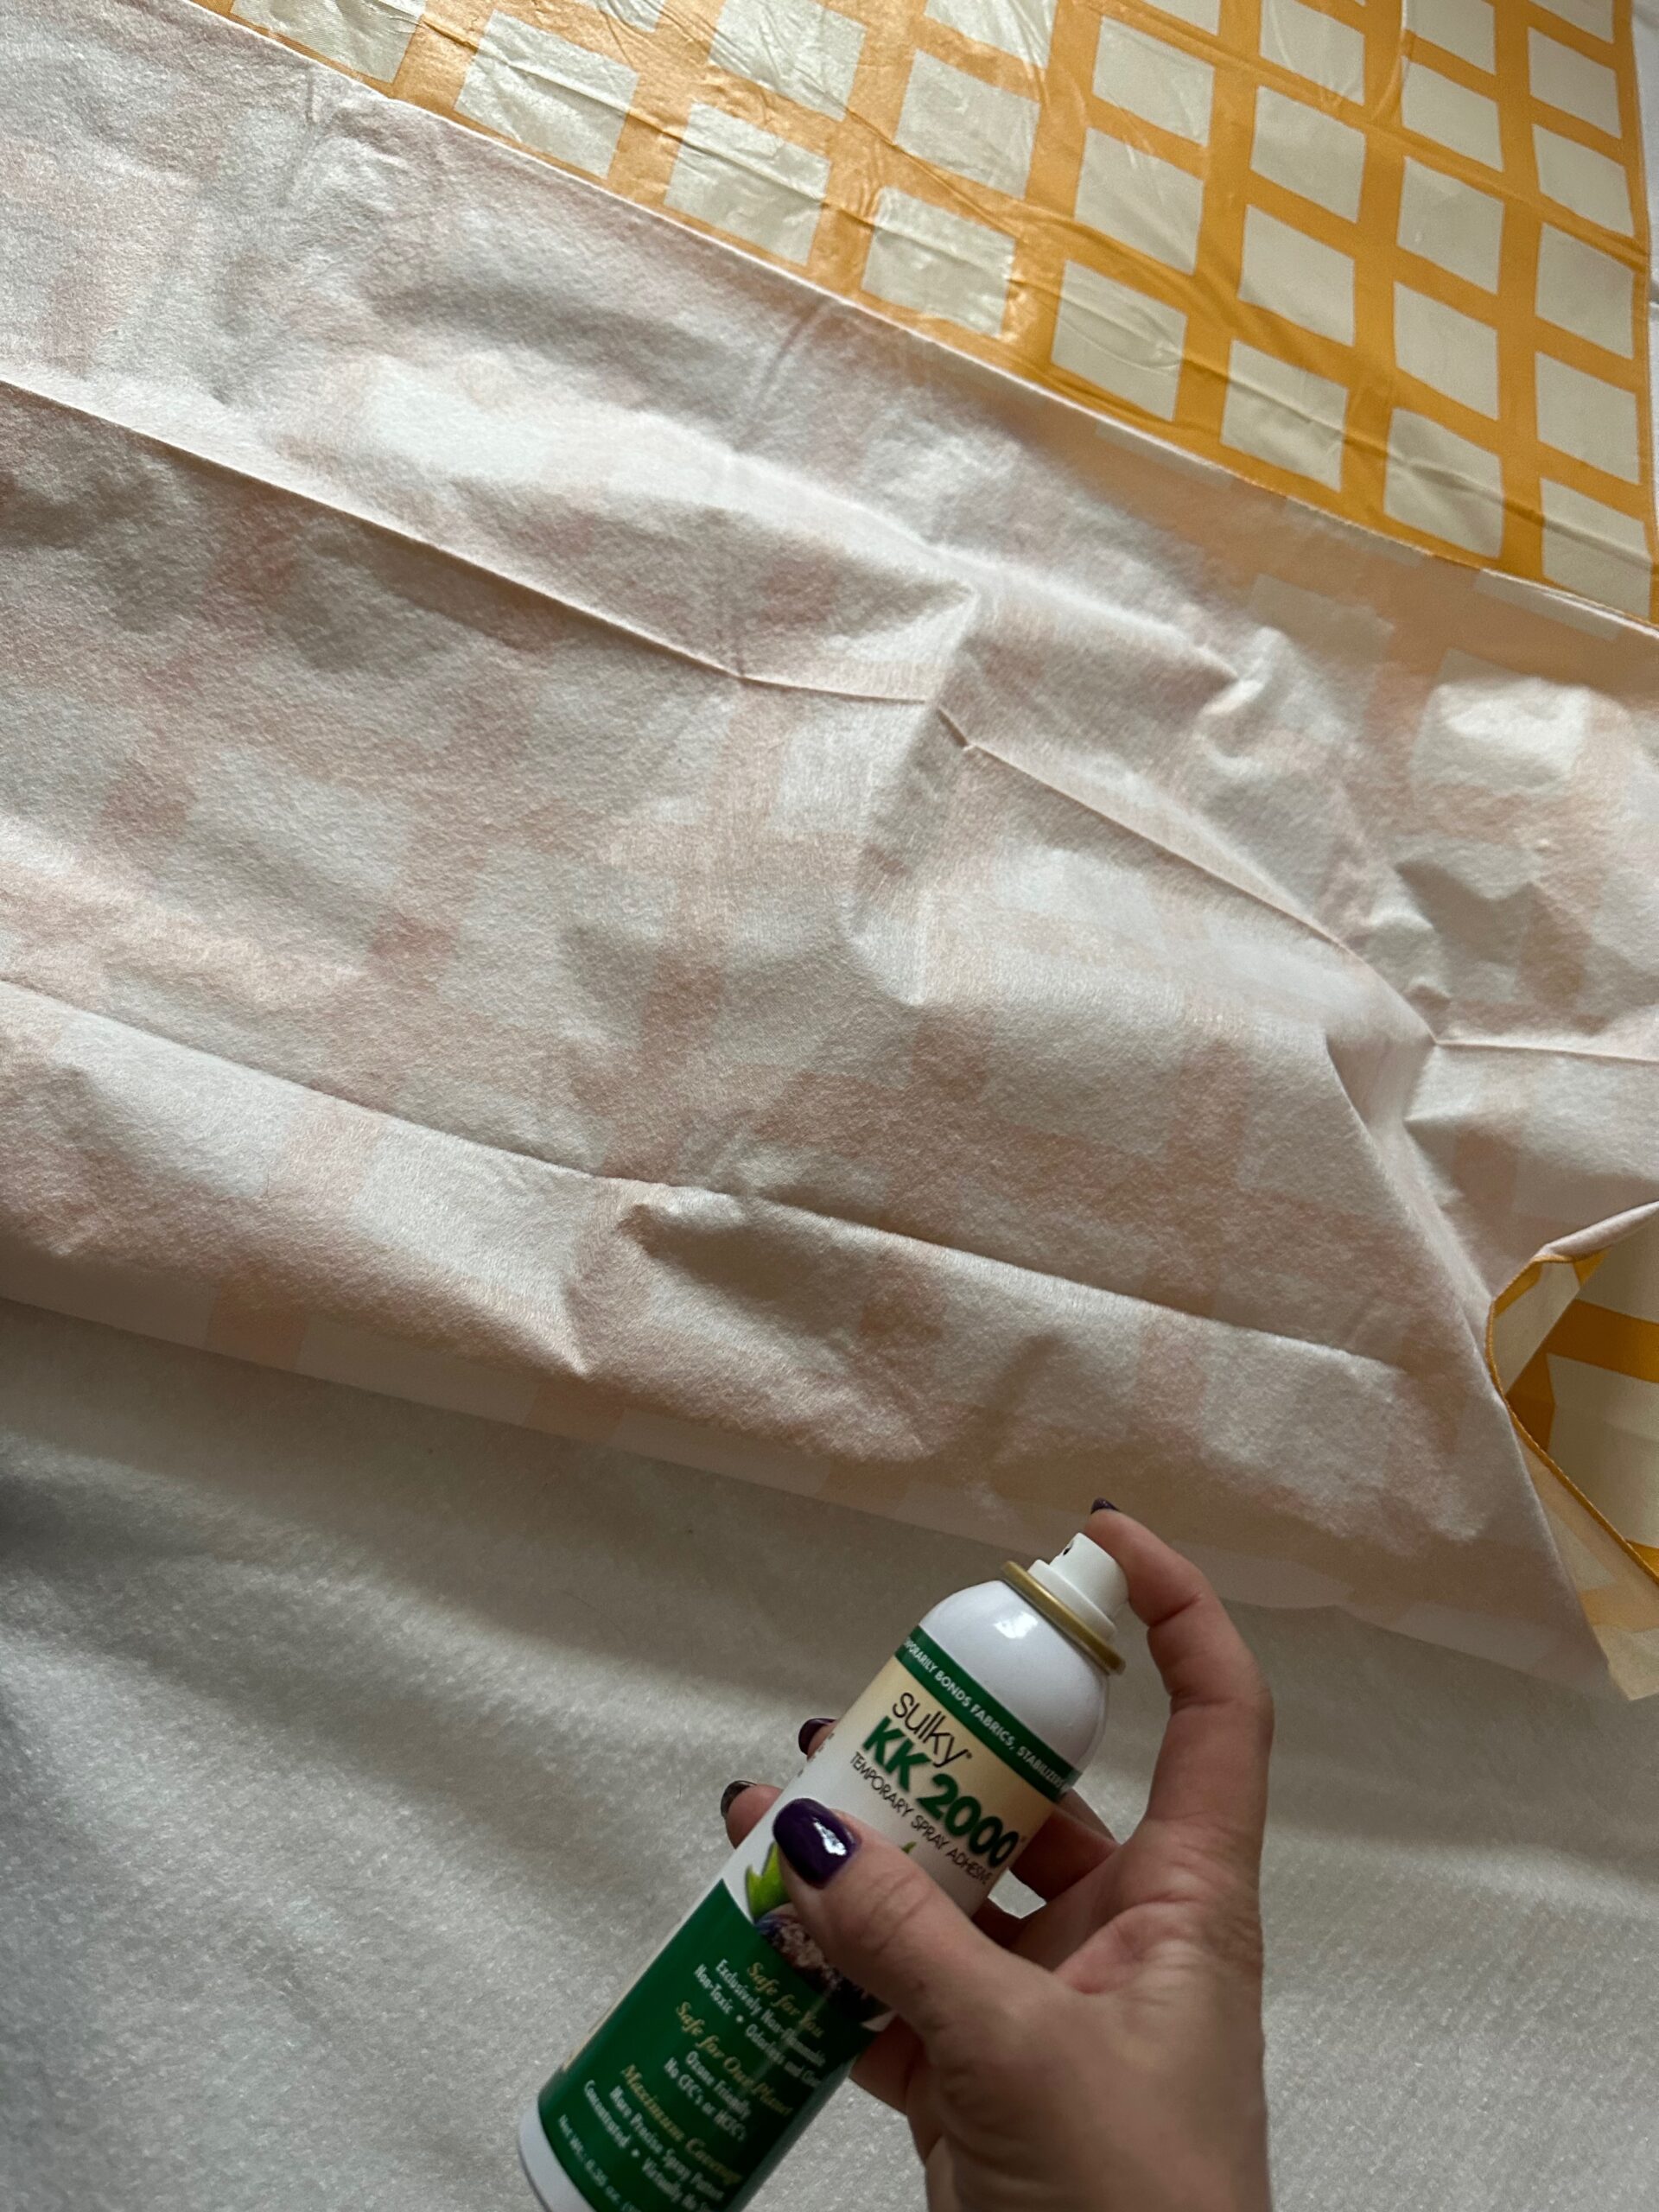
- Sulky KK 2000 Temporary Spray Adhesive
- Twin size low-loft batting (72″ x 90″)
- 40″ length of 1 1/2″-wide nylon or woven webbing
- Self- or pre-made double-fold bias binding
- (4) Seamless nylon or elastic hair bands
- Clover® Wonder Clips
PICNIC BLANKET PREP & QUILTING
If the vinyl tablecloths don’t have curved corners, use a plate or other round object to mark and trim each corner into a curve for easier binding later.
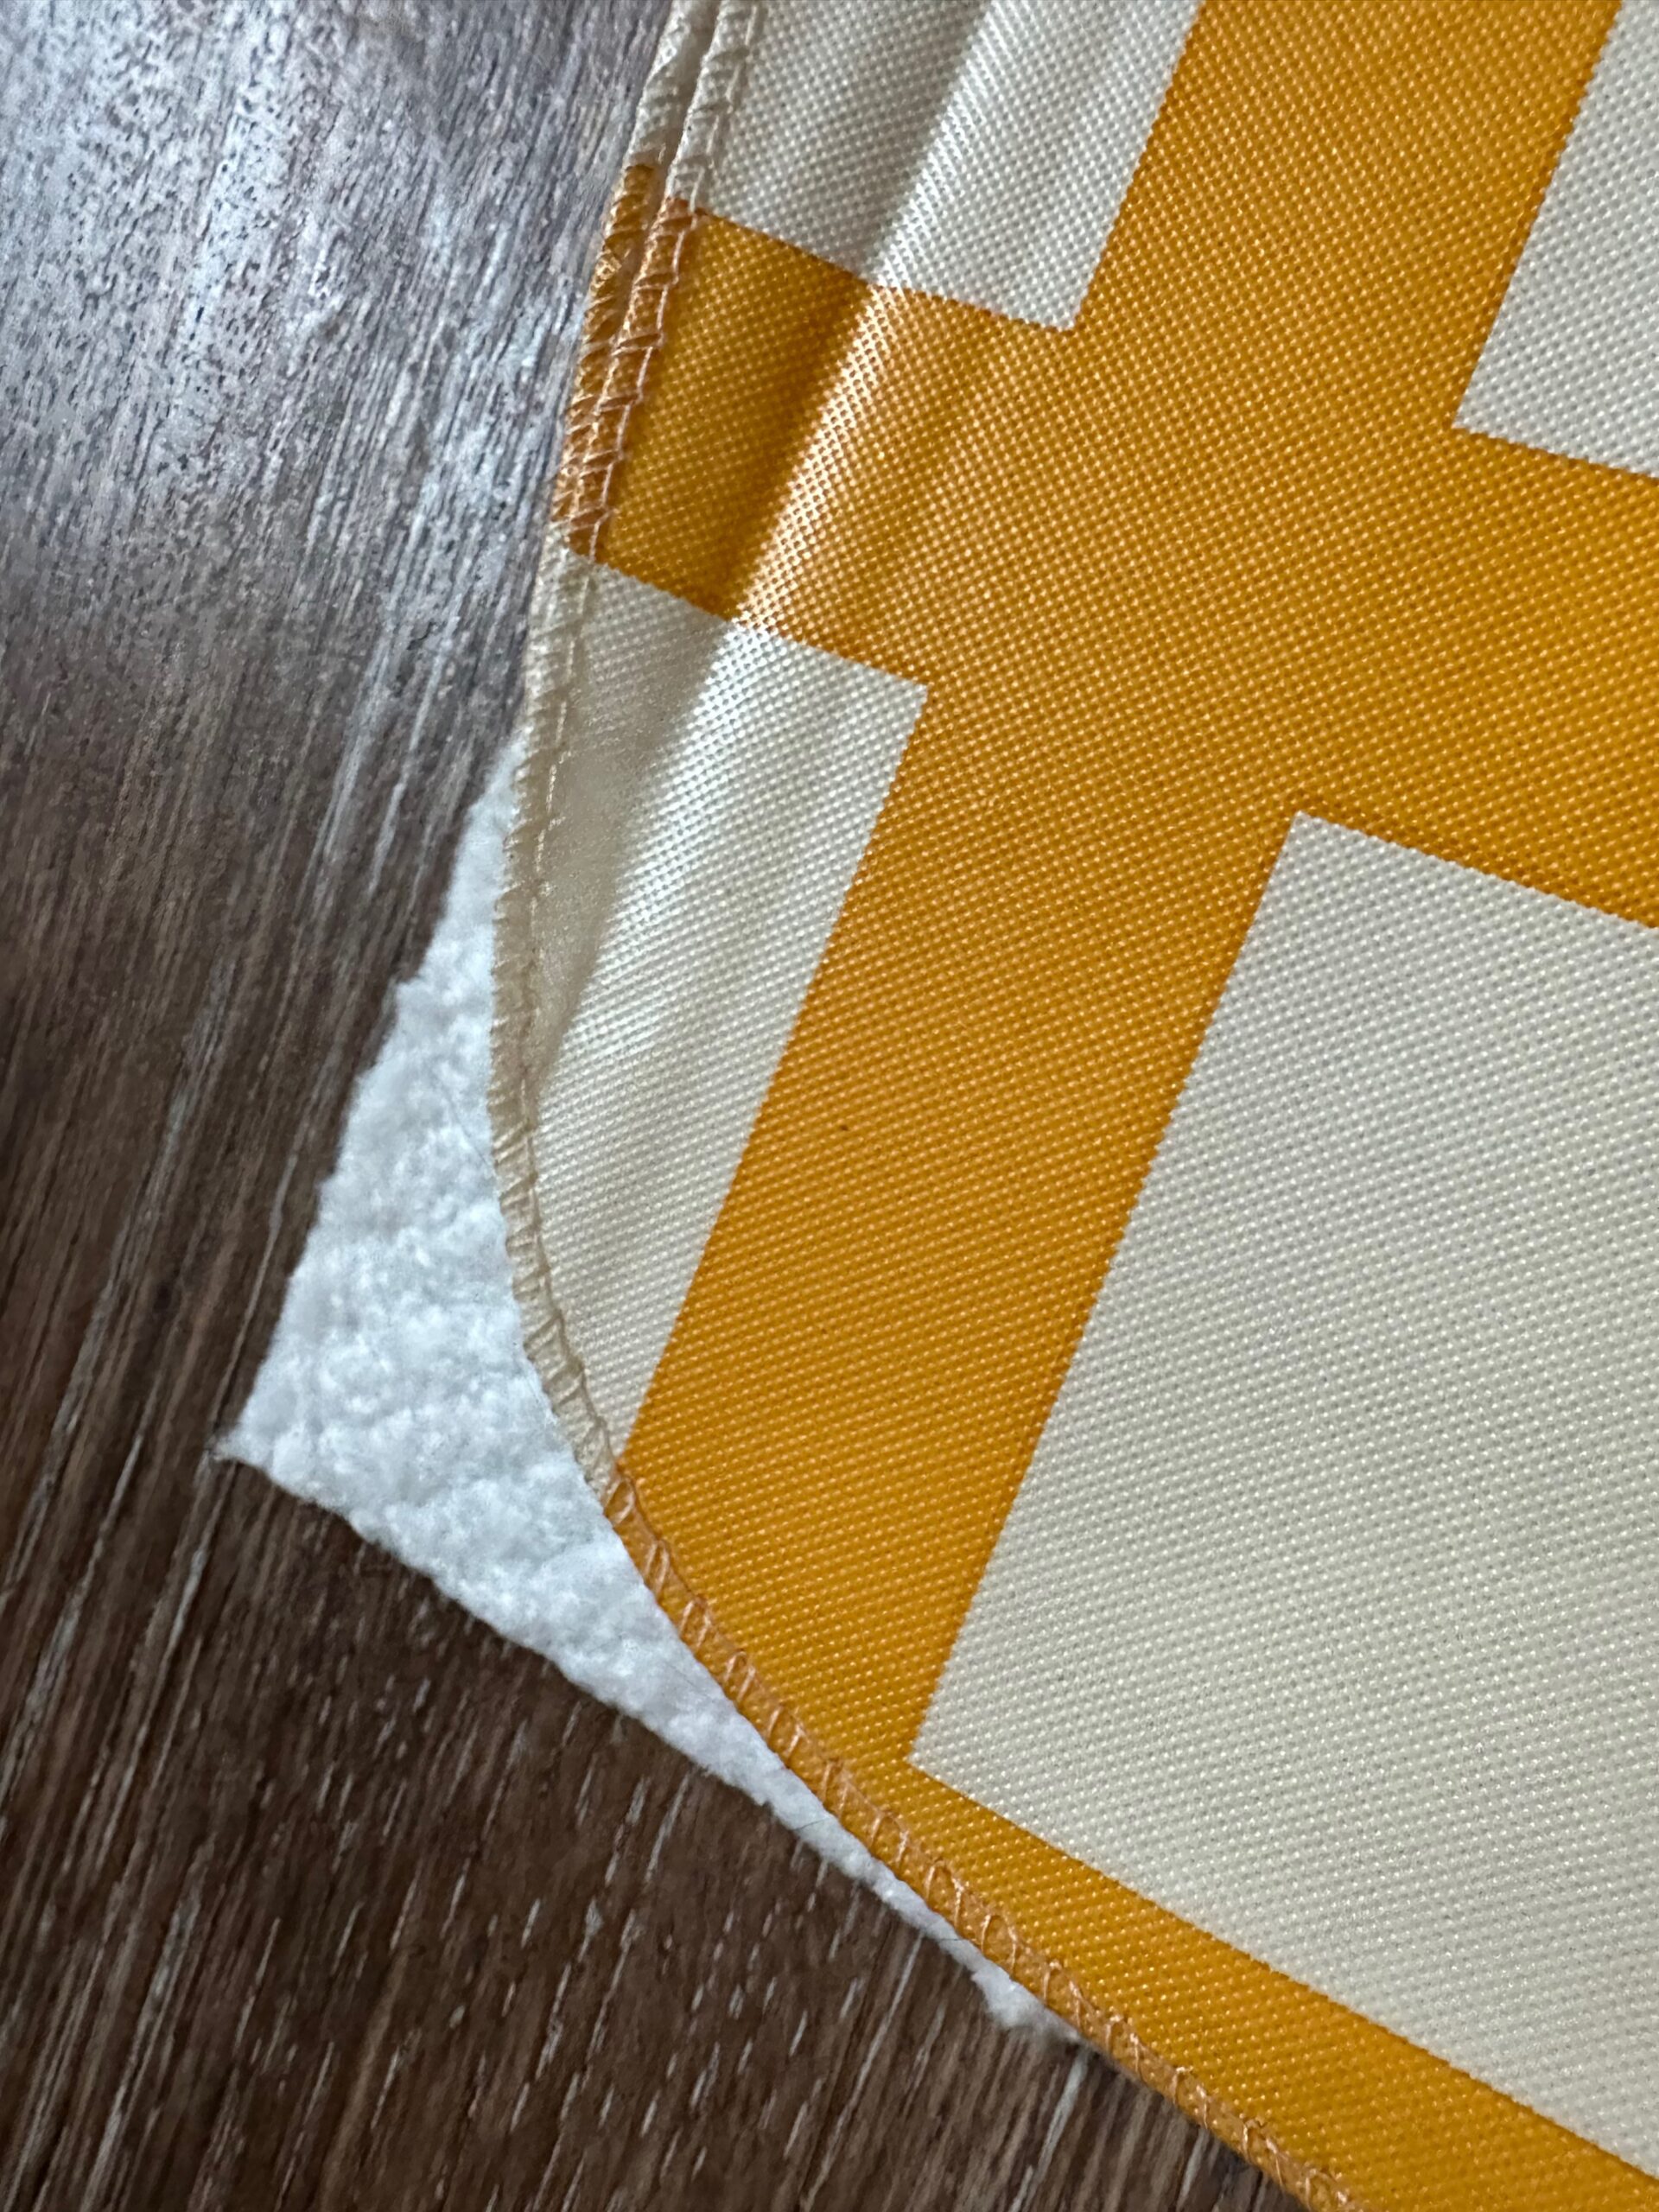
Trim the batting so it measures 52″ x 90″; reserve the excess.
Place the tablecloths wrong sides together with the batting sandwiched between. Use Sulky KK 2000 to secure the layers.
Thread the needle and wind a bobbin with matching Poly Deco Thread. Install a new size 80/12 Microtex Needle. This needle has a nice slim point that won’t snag the vinyl or create too large of a hole for the thread to pass through.
Stitch across the tablecloth rectangles from corner to corner in both directions for a crosshatch look. Or stitch straight lines vertically and horizontally. Straight line quilting works best for this blanket, as opposed to free-motion quilting or computerized quilt designs. The latter adds too many needle penetrations, which almost damages the vinyl with perforations. Keep the quilting about 7″ to 12″ apart for best results. Be sure to begin quilting in the center and work outward, stitching all lines in the same direction.
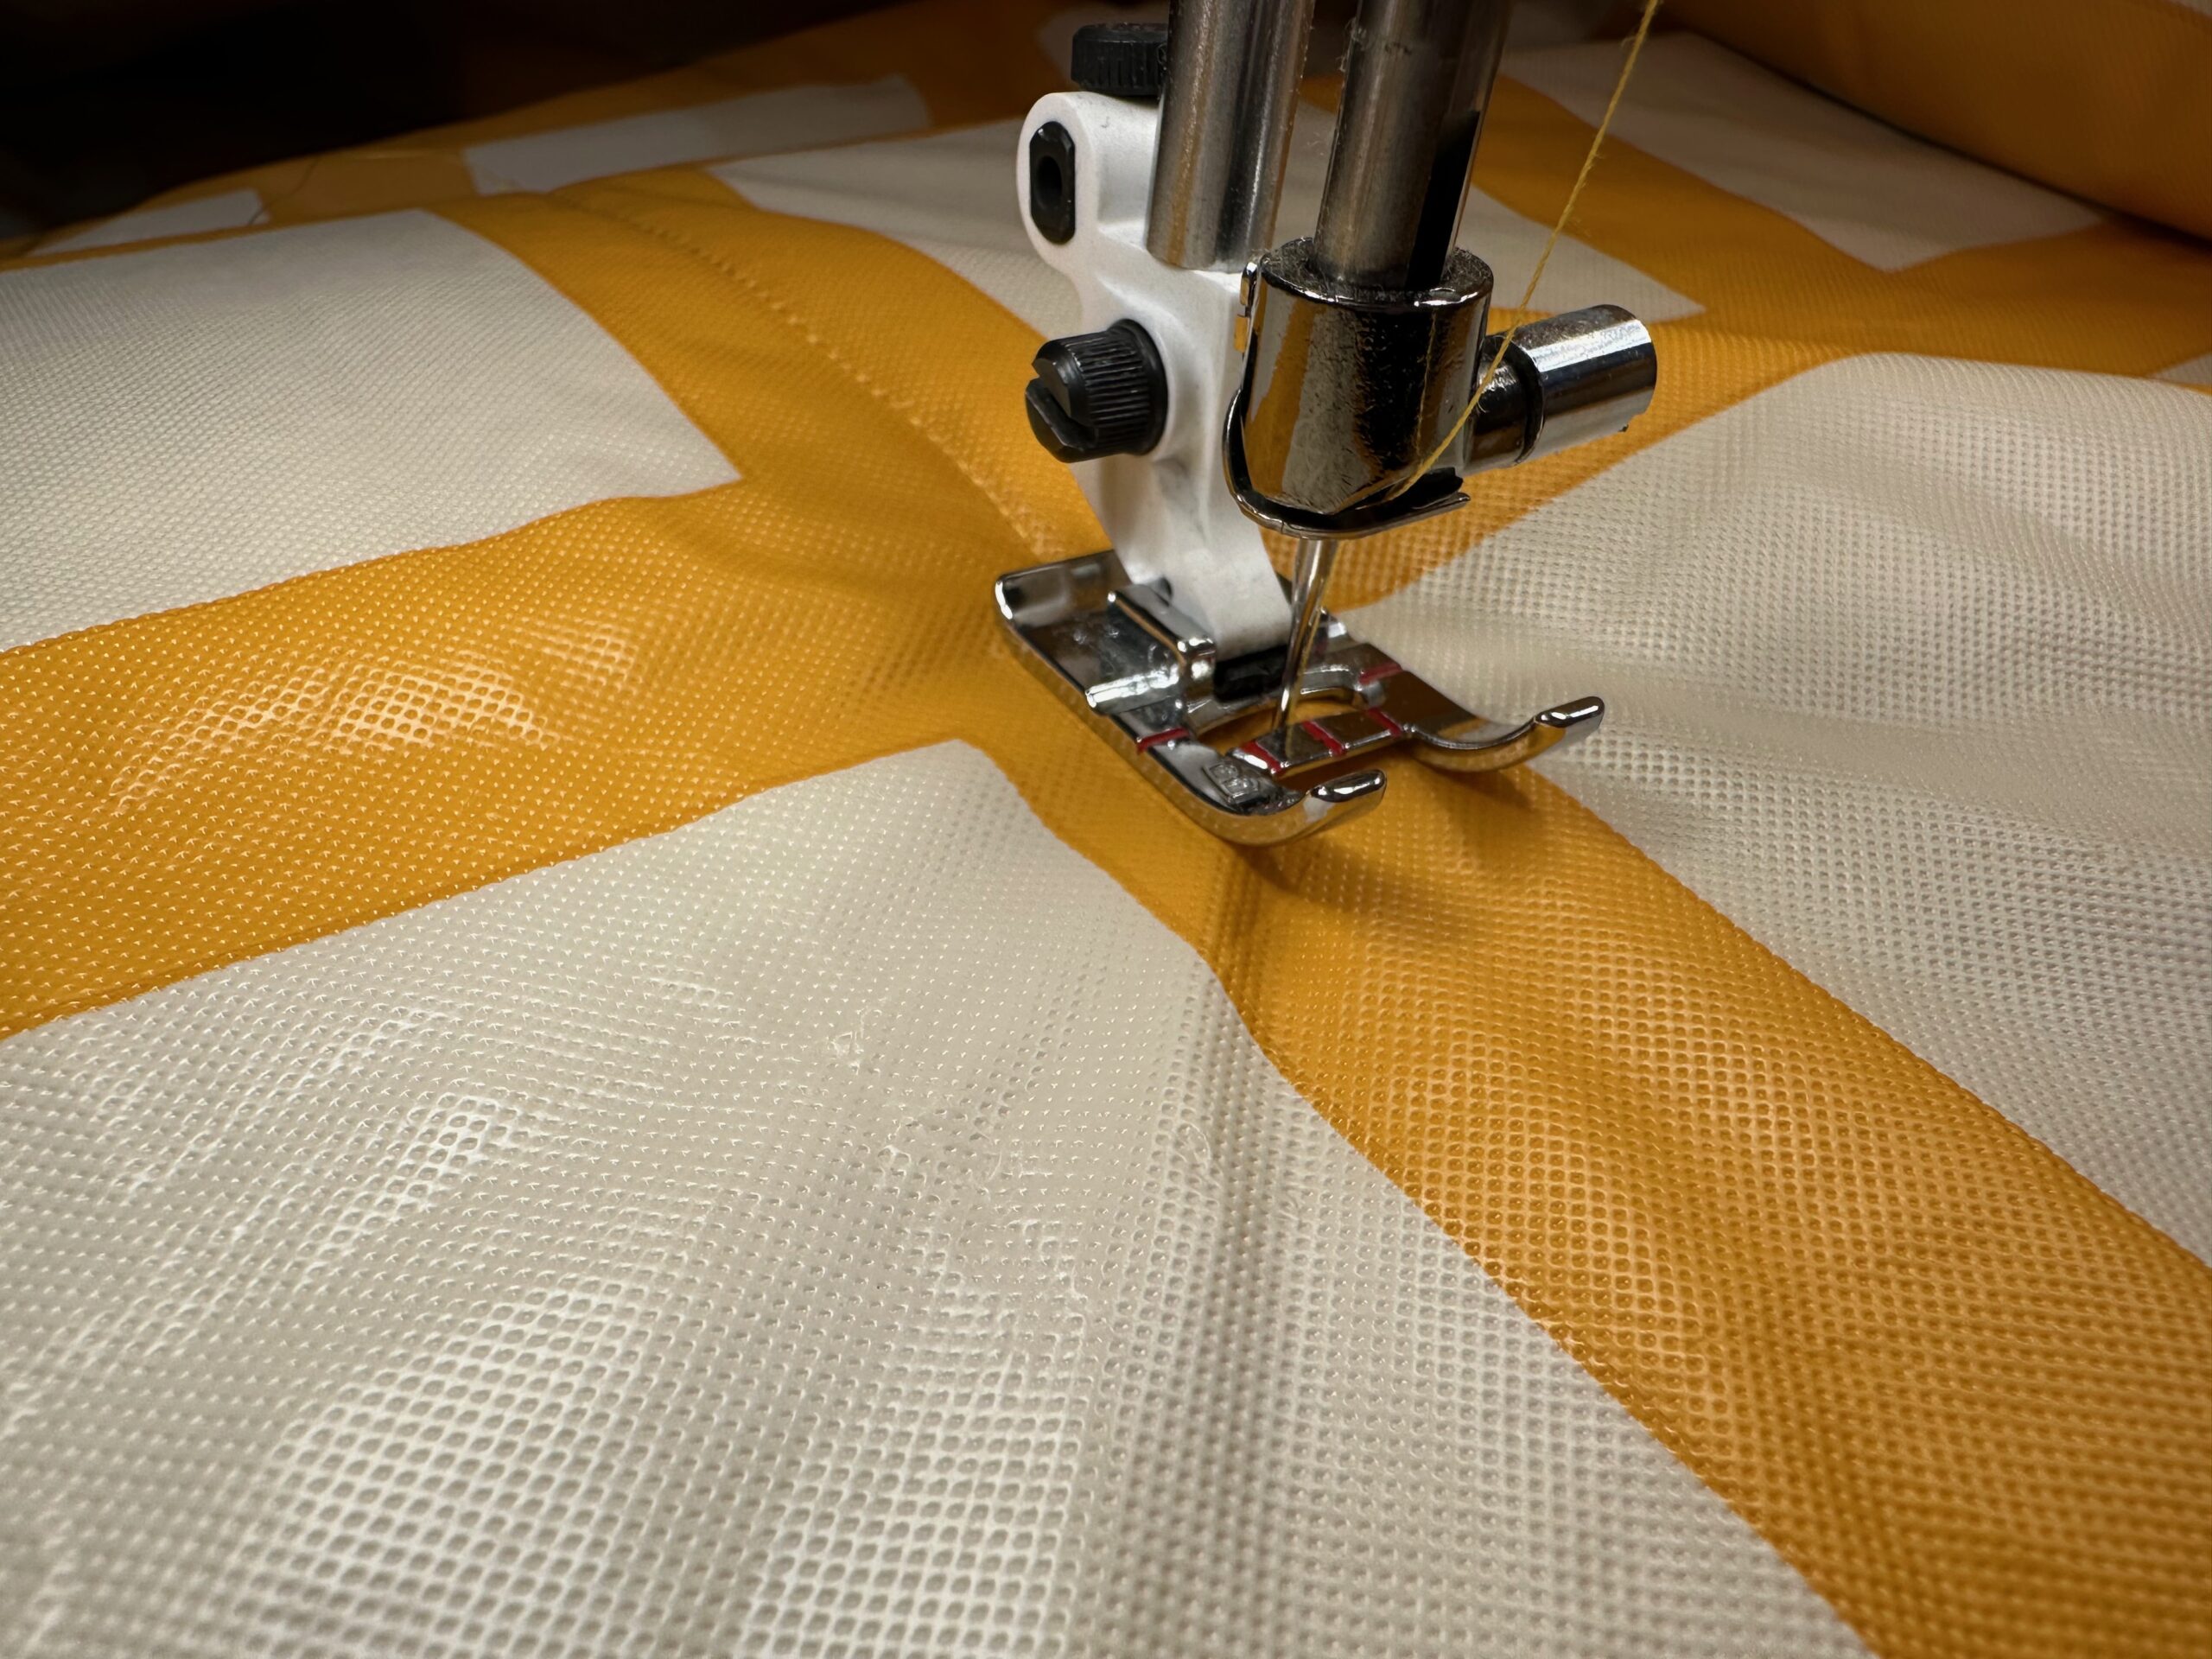
If the foot is sticking to the vinyl, install a non-stick foot.

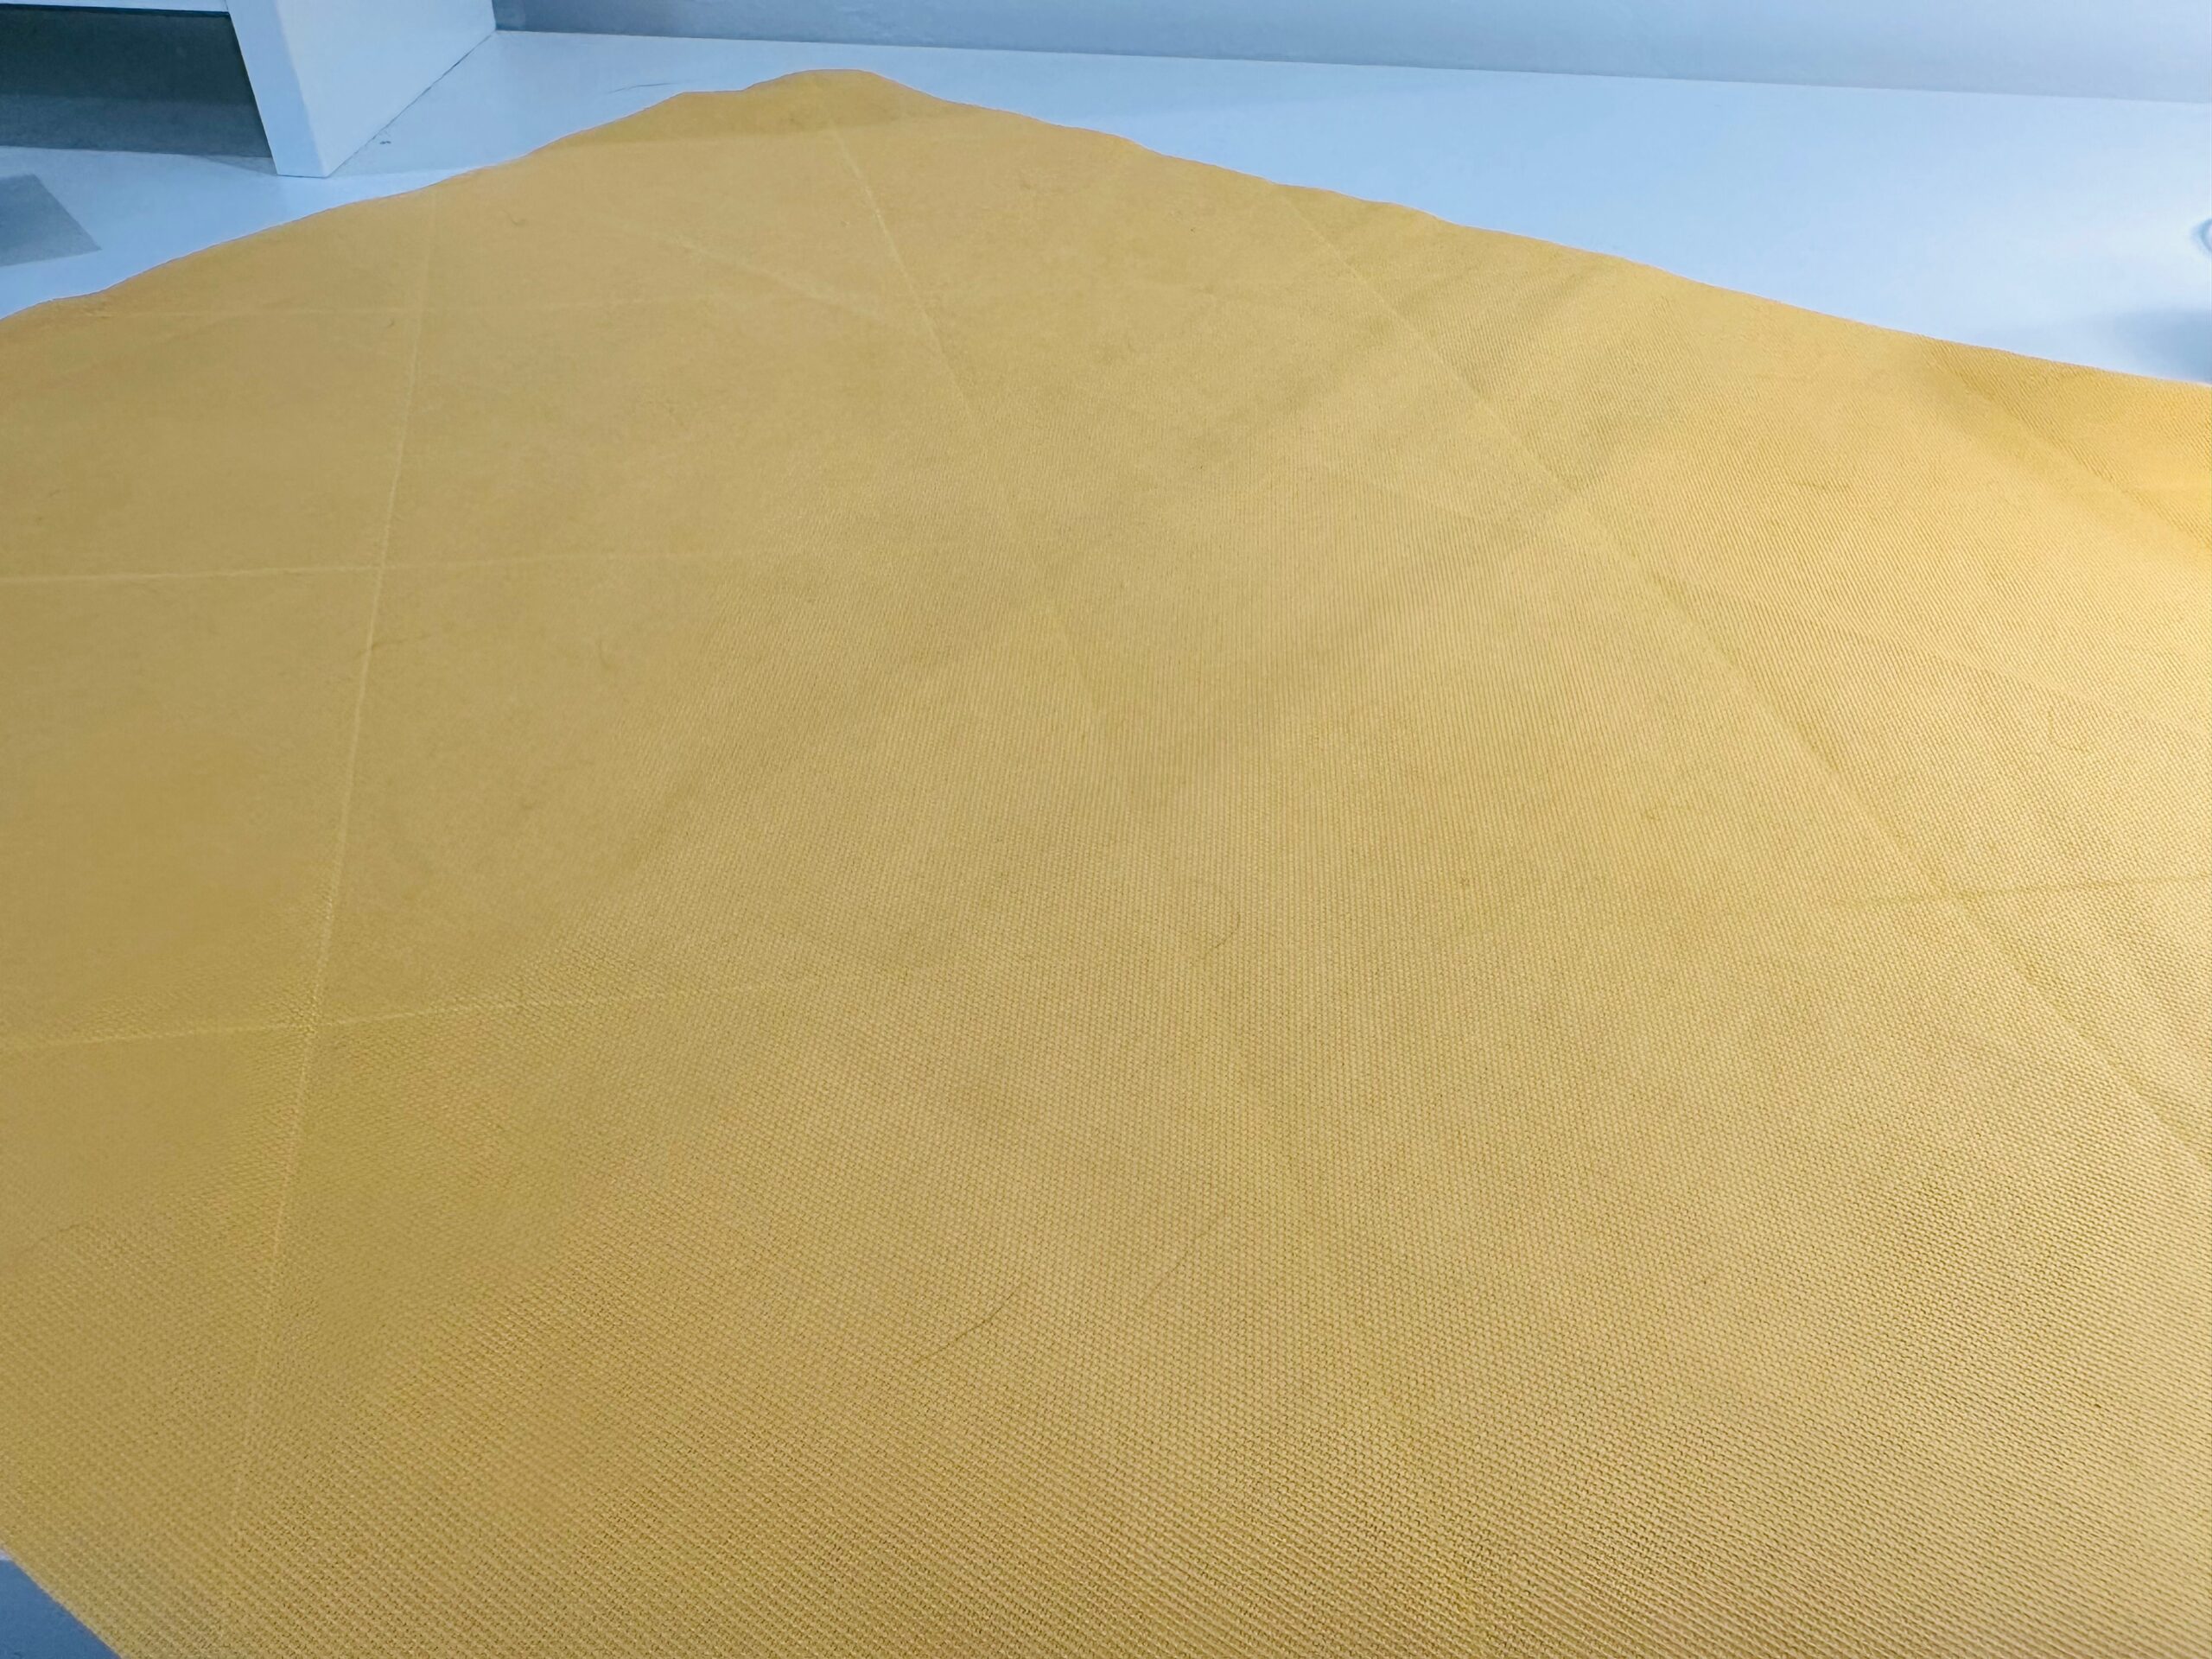
When the quilting is complete, trim the batting even with the blanket edges. If needed, trim the blanket so all edges are even (there may be some shifting during quilting and that’s ok! This is a generously sized blanket so there’s room to trim as needed).
STRAP & POCKET PREP
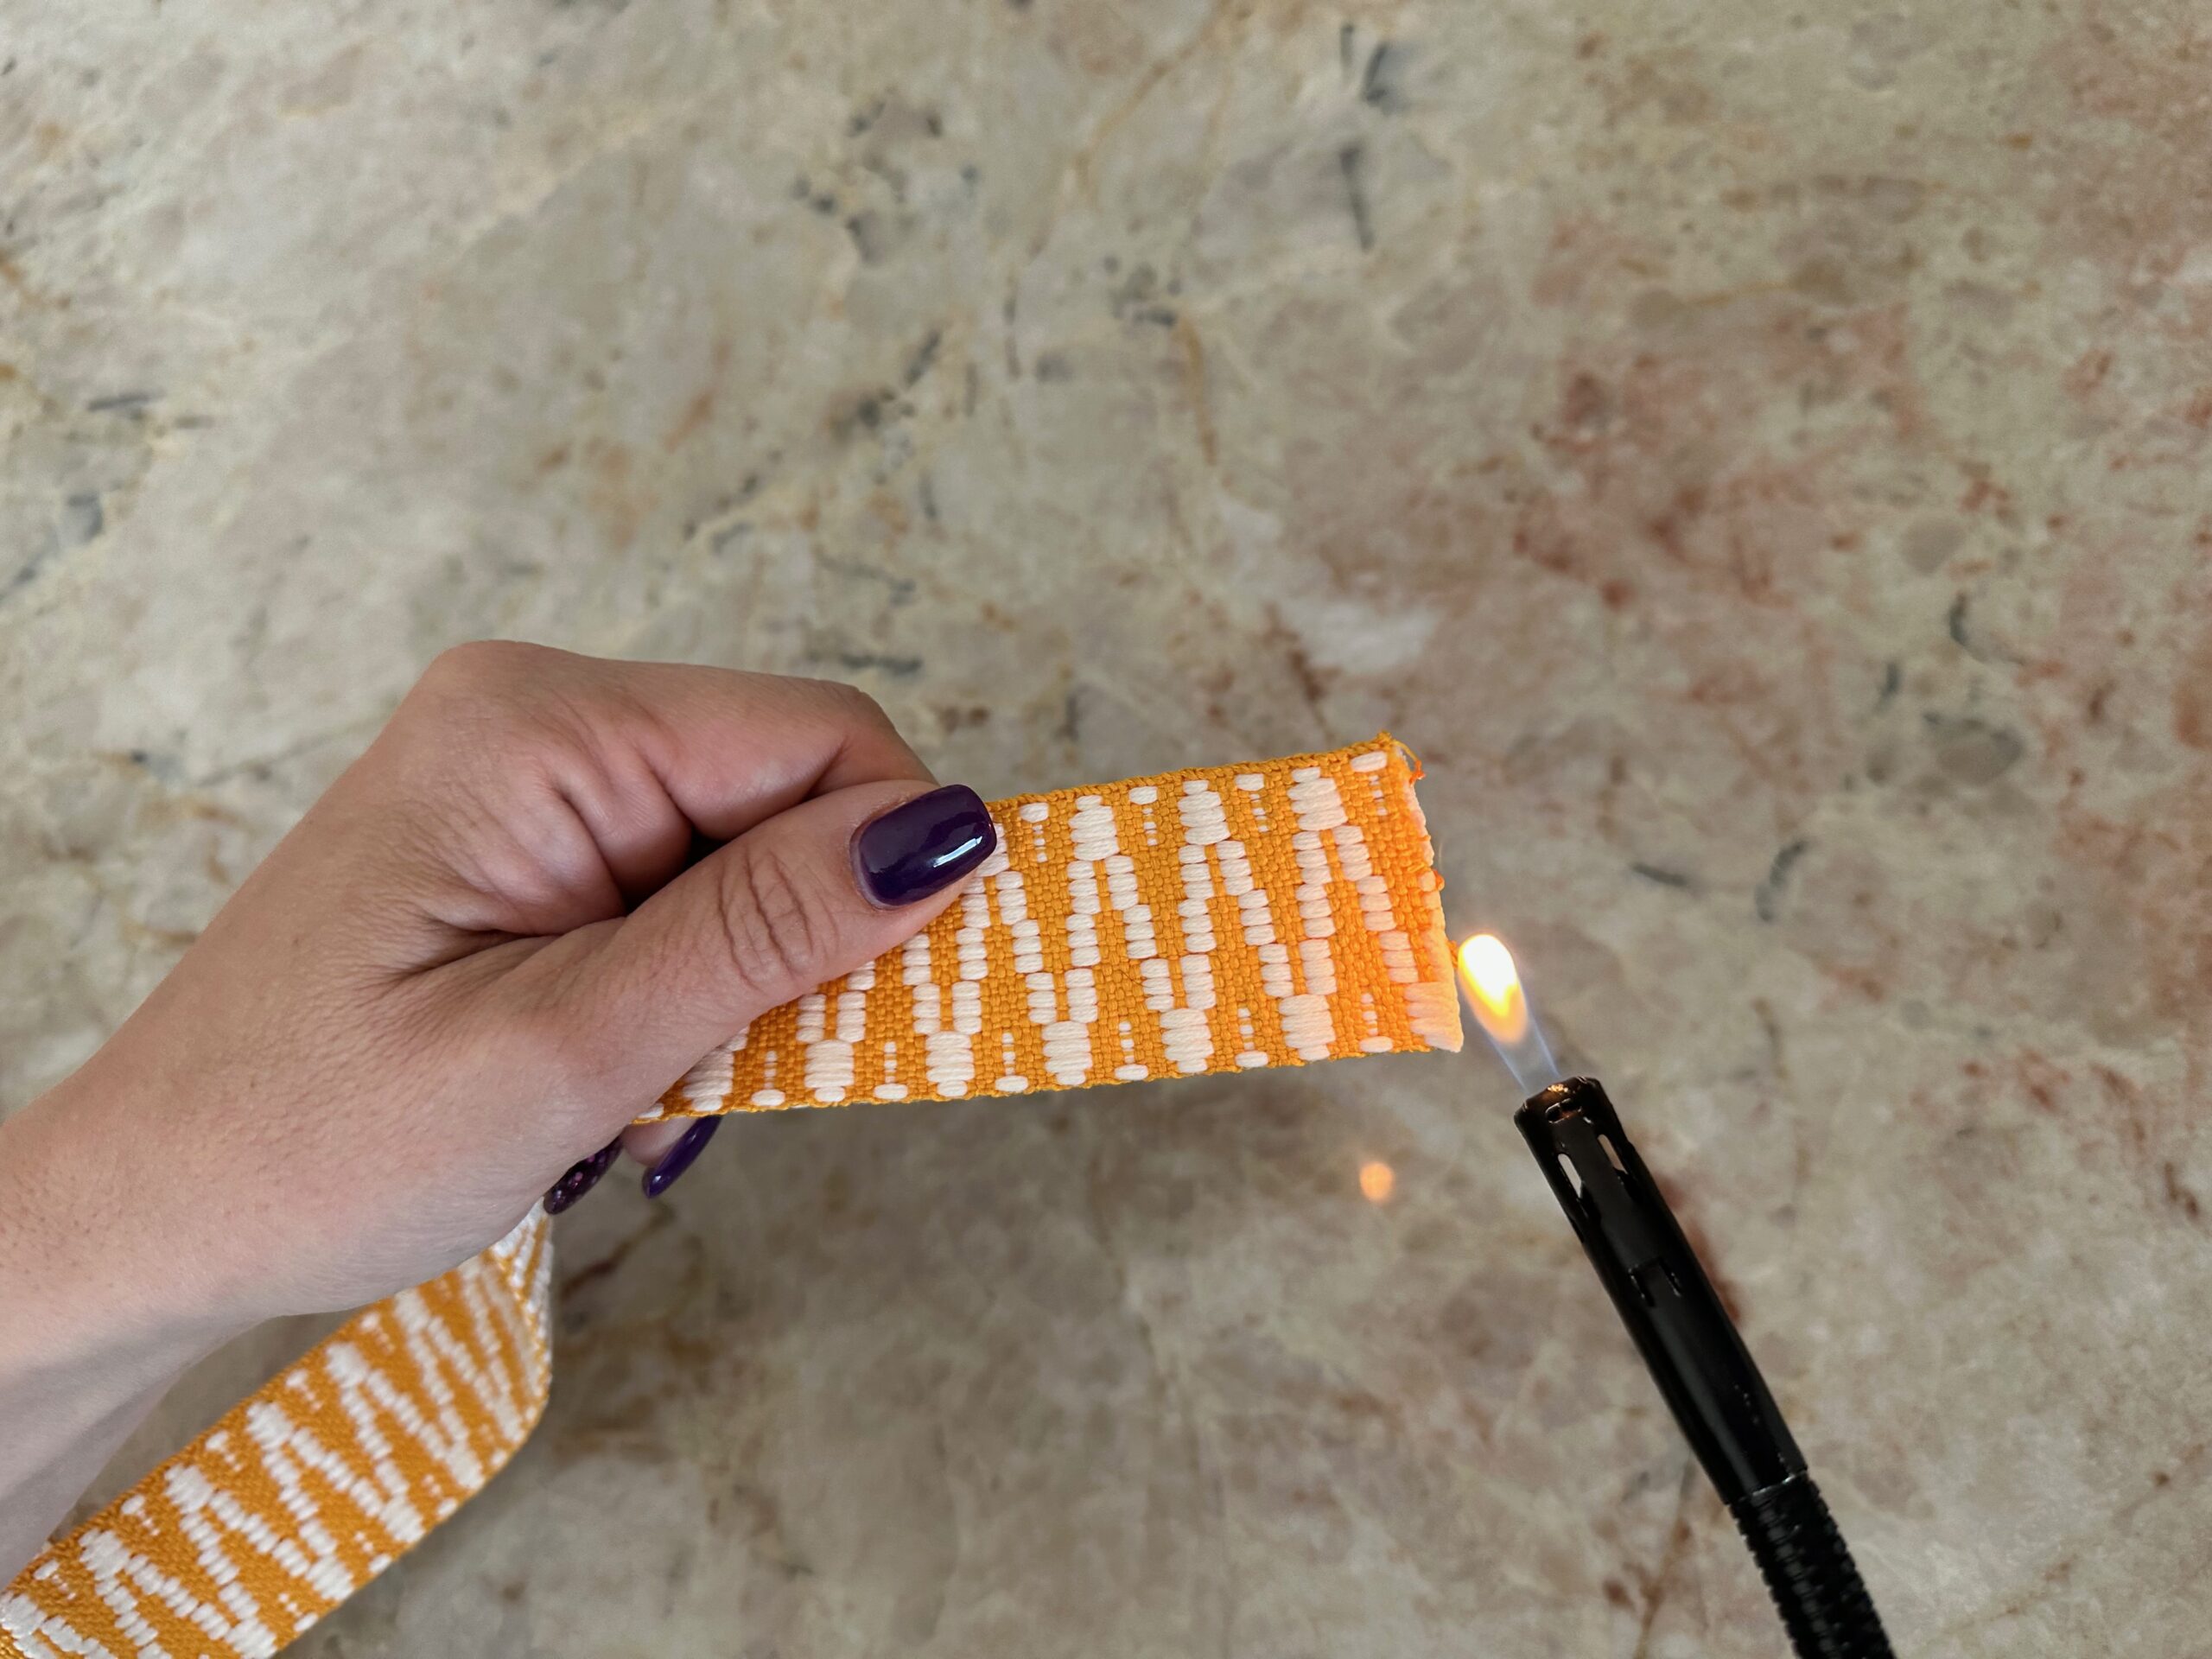
Use a lighter to singe each end of the webbing to prevent fraying. Alternatively, turn under each end 1/2″ toward the wrong side and topstitch twice to secure.
Note: If you want your strap longer or shorter, feel free to personalize the length based on your preference.
From the reserved batting piece, cut a 17 1/2″ x 19 1/2″ rectangle.
Place one pocket rectangle wrong side up on a flat work surface. Center the batting rectangle on the rectangle, using KK 2000 Temporary Spray Adhesive to secure.

Quilt the pocket, stitching from the right side. Follow the same pattern used for the blanket or deviate and quilt something new. Follow suit with the blanket and quilt from the center working outward. The batting is already trimmed inside the seam allowance for the pocket, so there isn’t any wiggle room for shifting.
TIP: The pocket rectangle is a great place to add machine embroidery in lieu of quilting. If desired, embroider a summer-themed motif or personalize the pocket with a monogram or licensed sports logo. Our Hello Summer design collection, also available as a Palette that comes with 10 spools of Sulky Rayon Thread, has a bunch of great options.
When quilting is complete, place the remaining pocket rectangle over the quilted pocket rectangle so right sides are together and all edges and corners aligned.
POCKET CONSTRUCTION
Position each strap end 1/2″ from the upper-edge corners, between the layers. Make sure the strap isn’t twisted. Clip the strap ends in place.
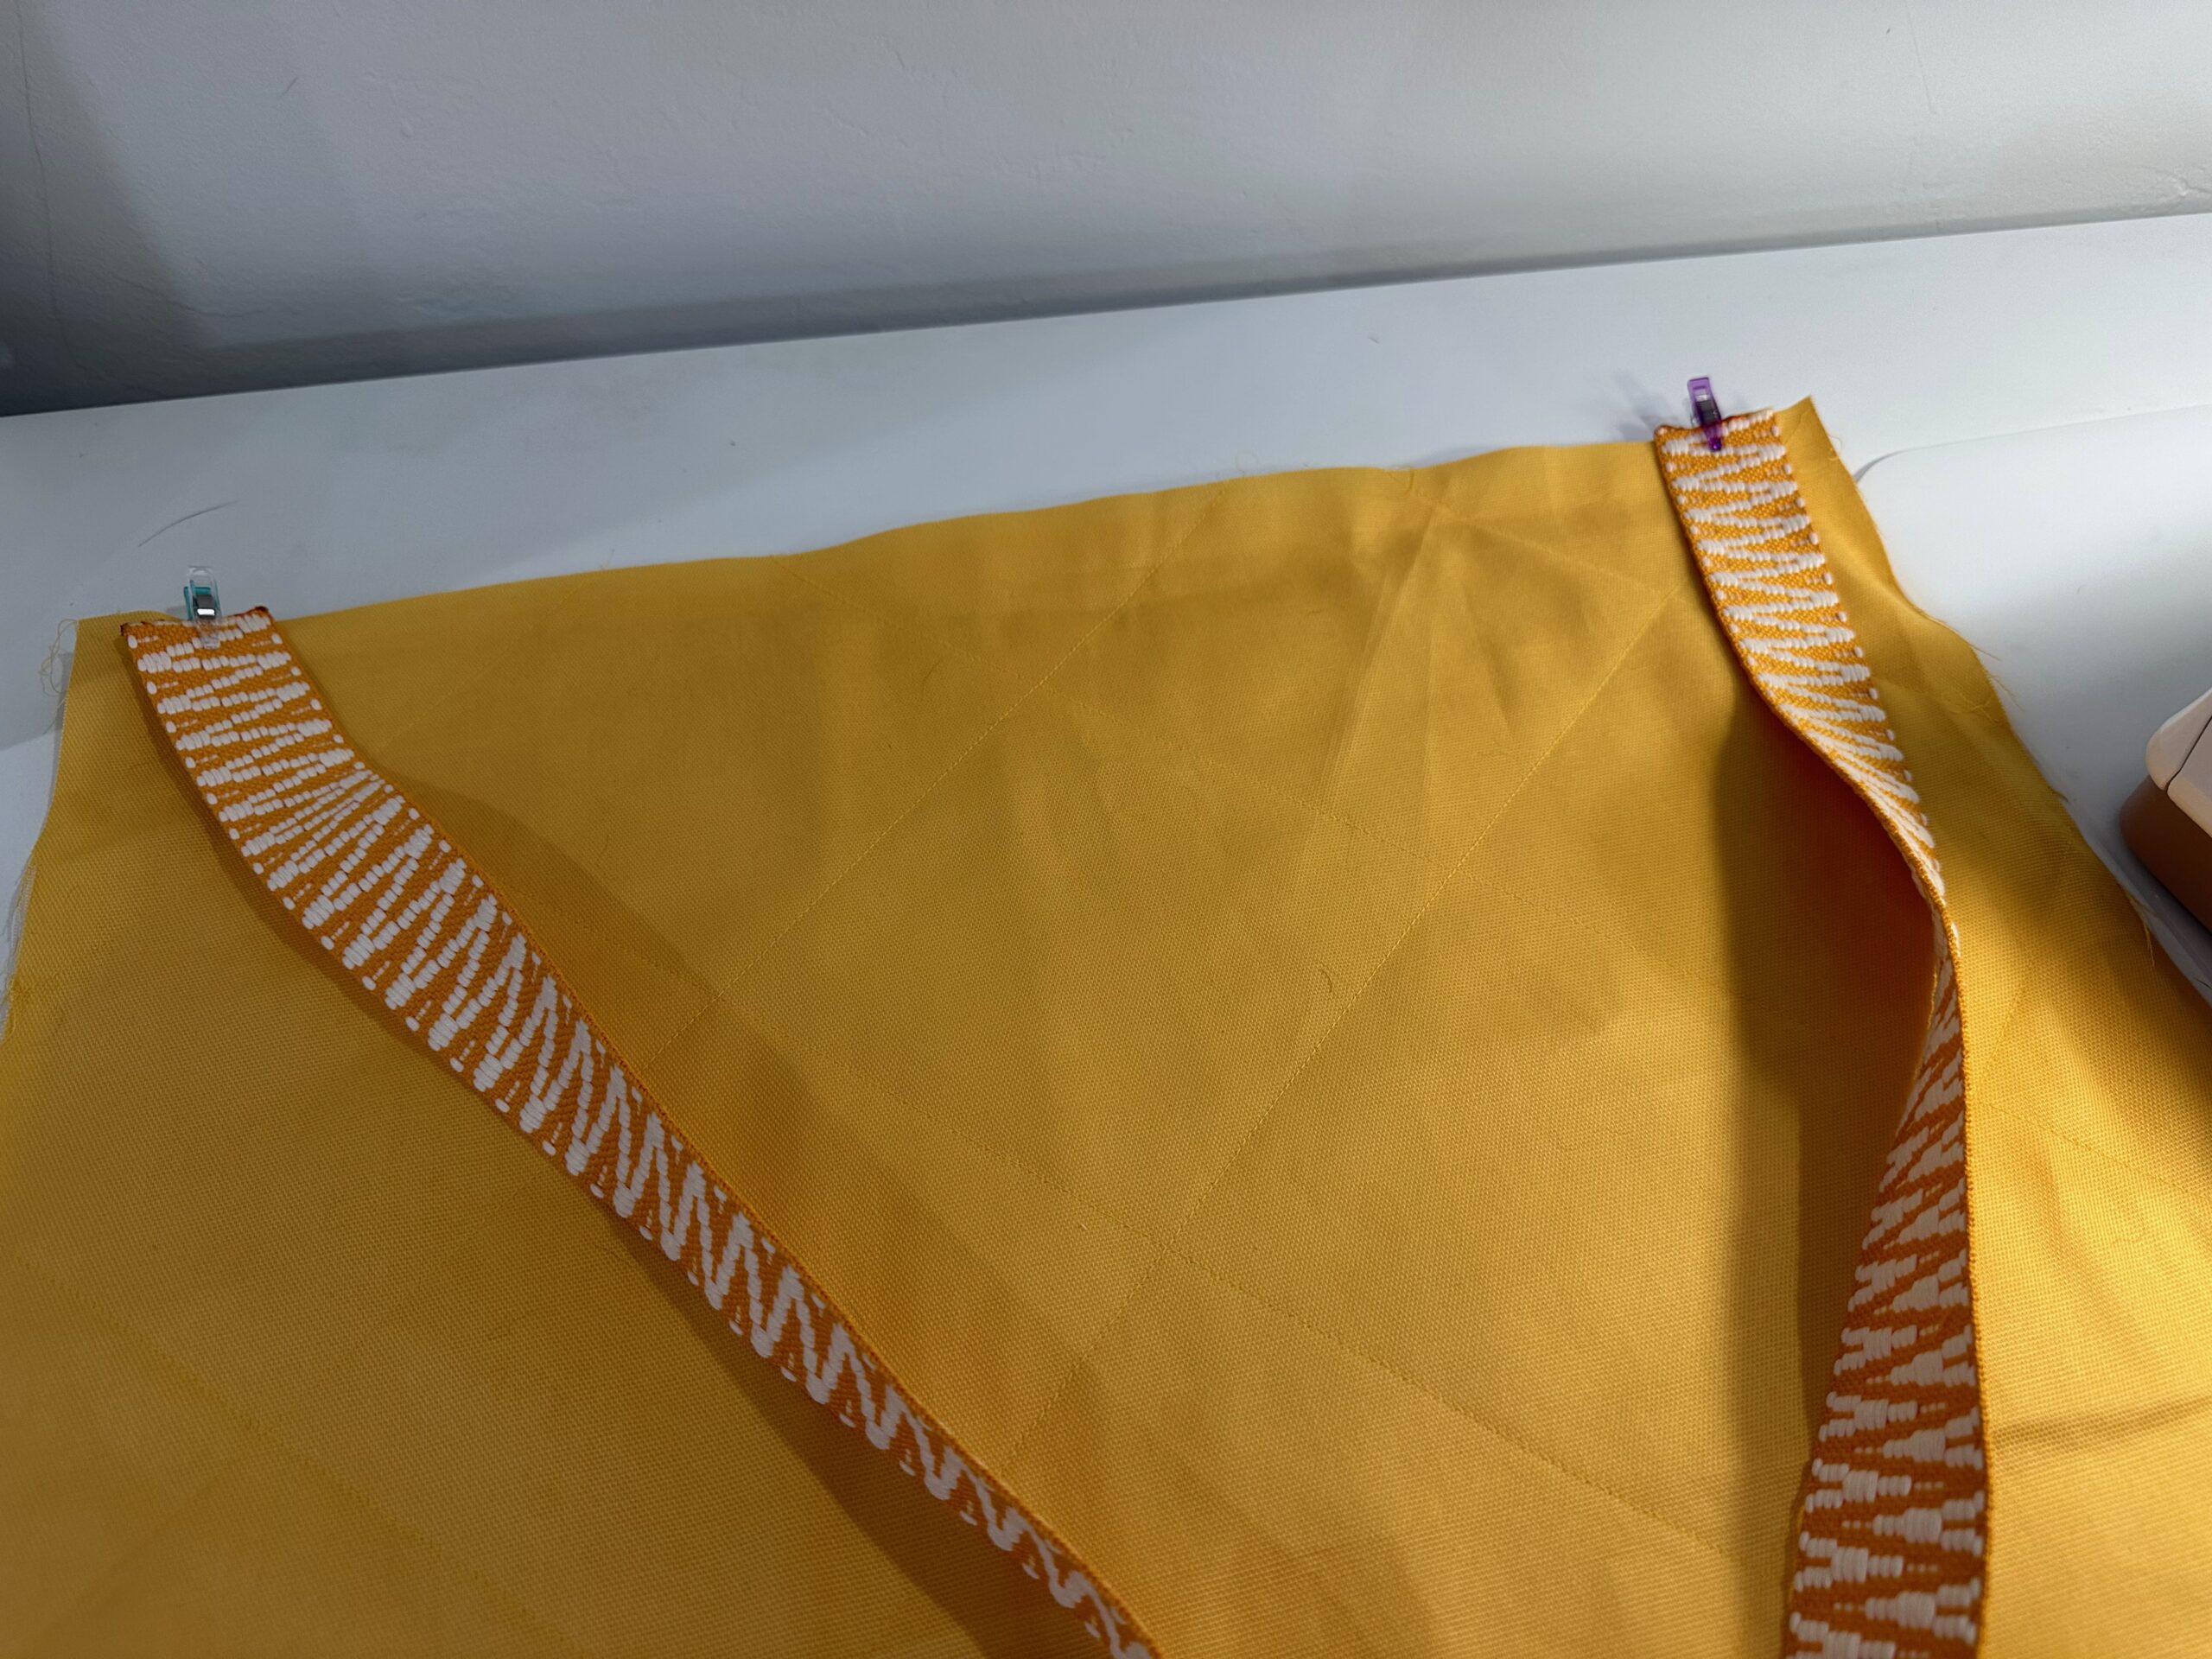
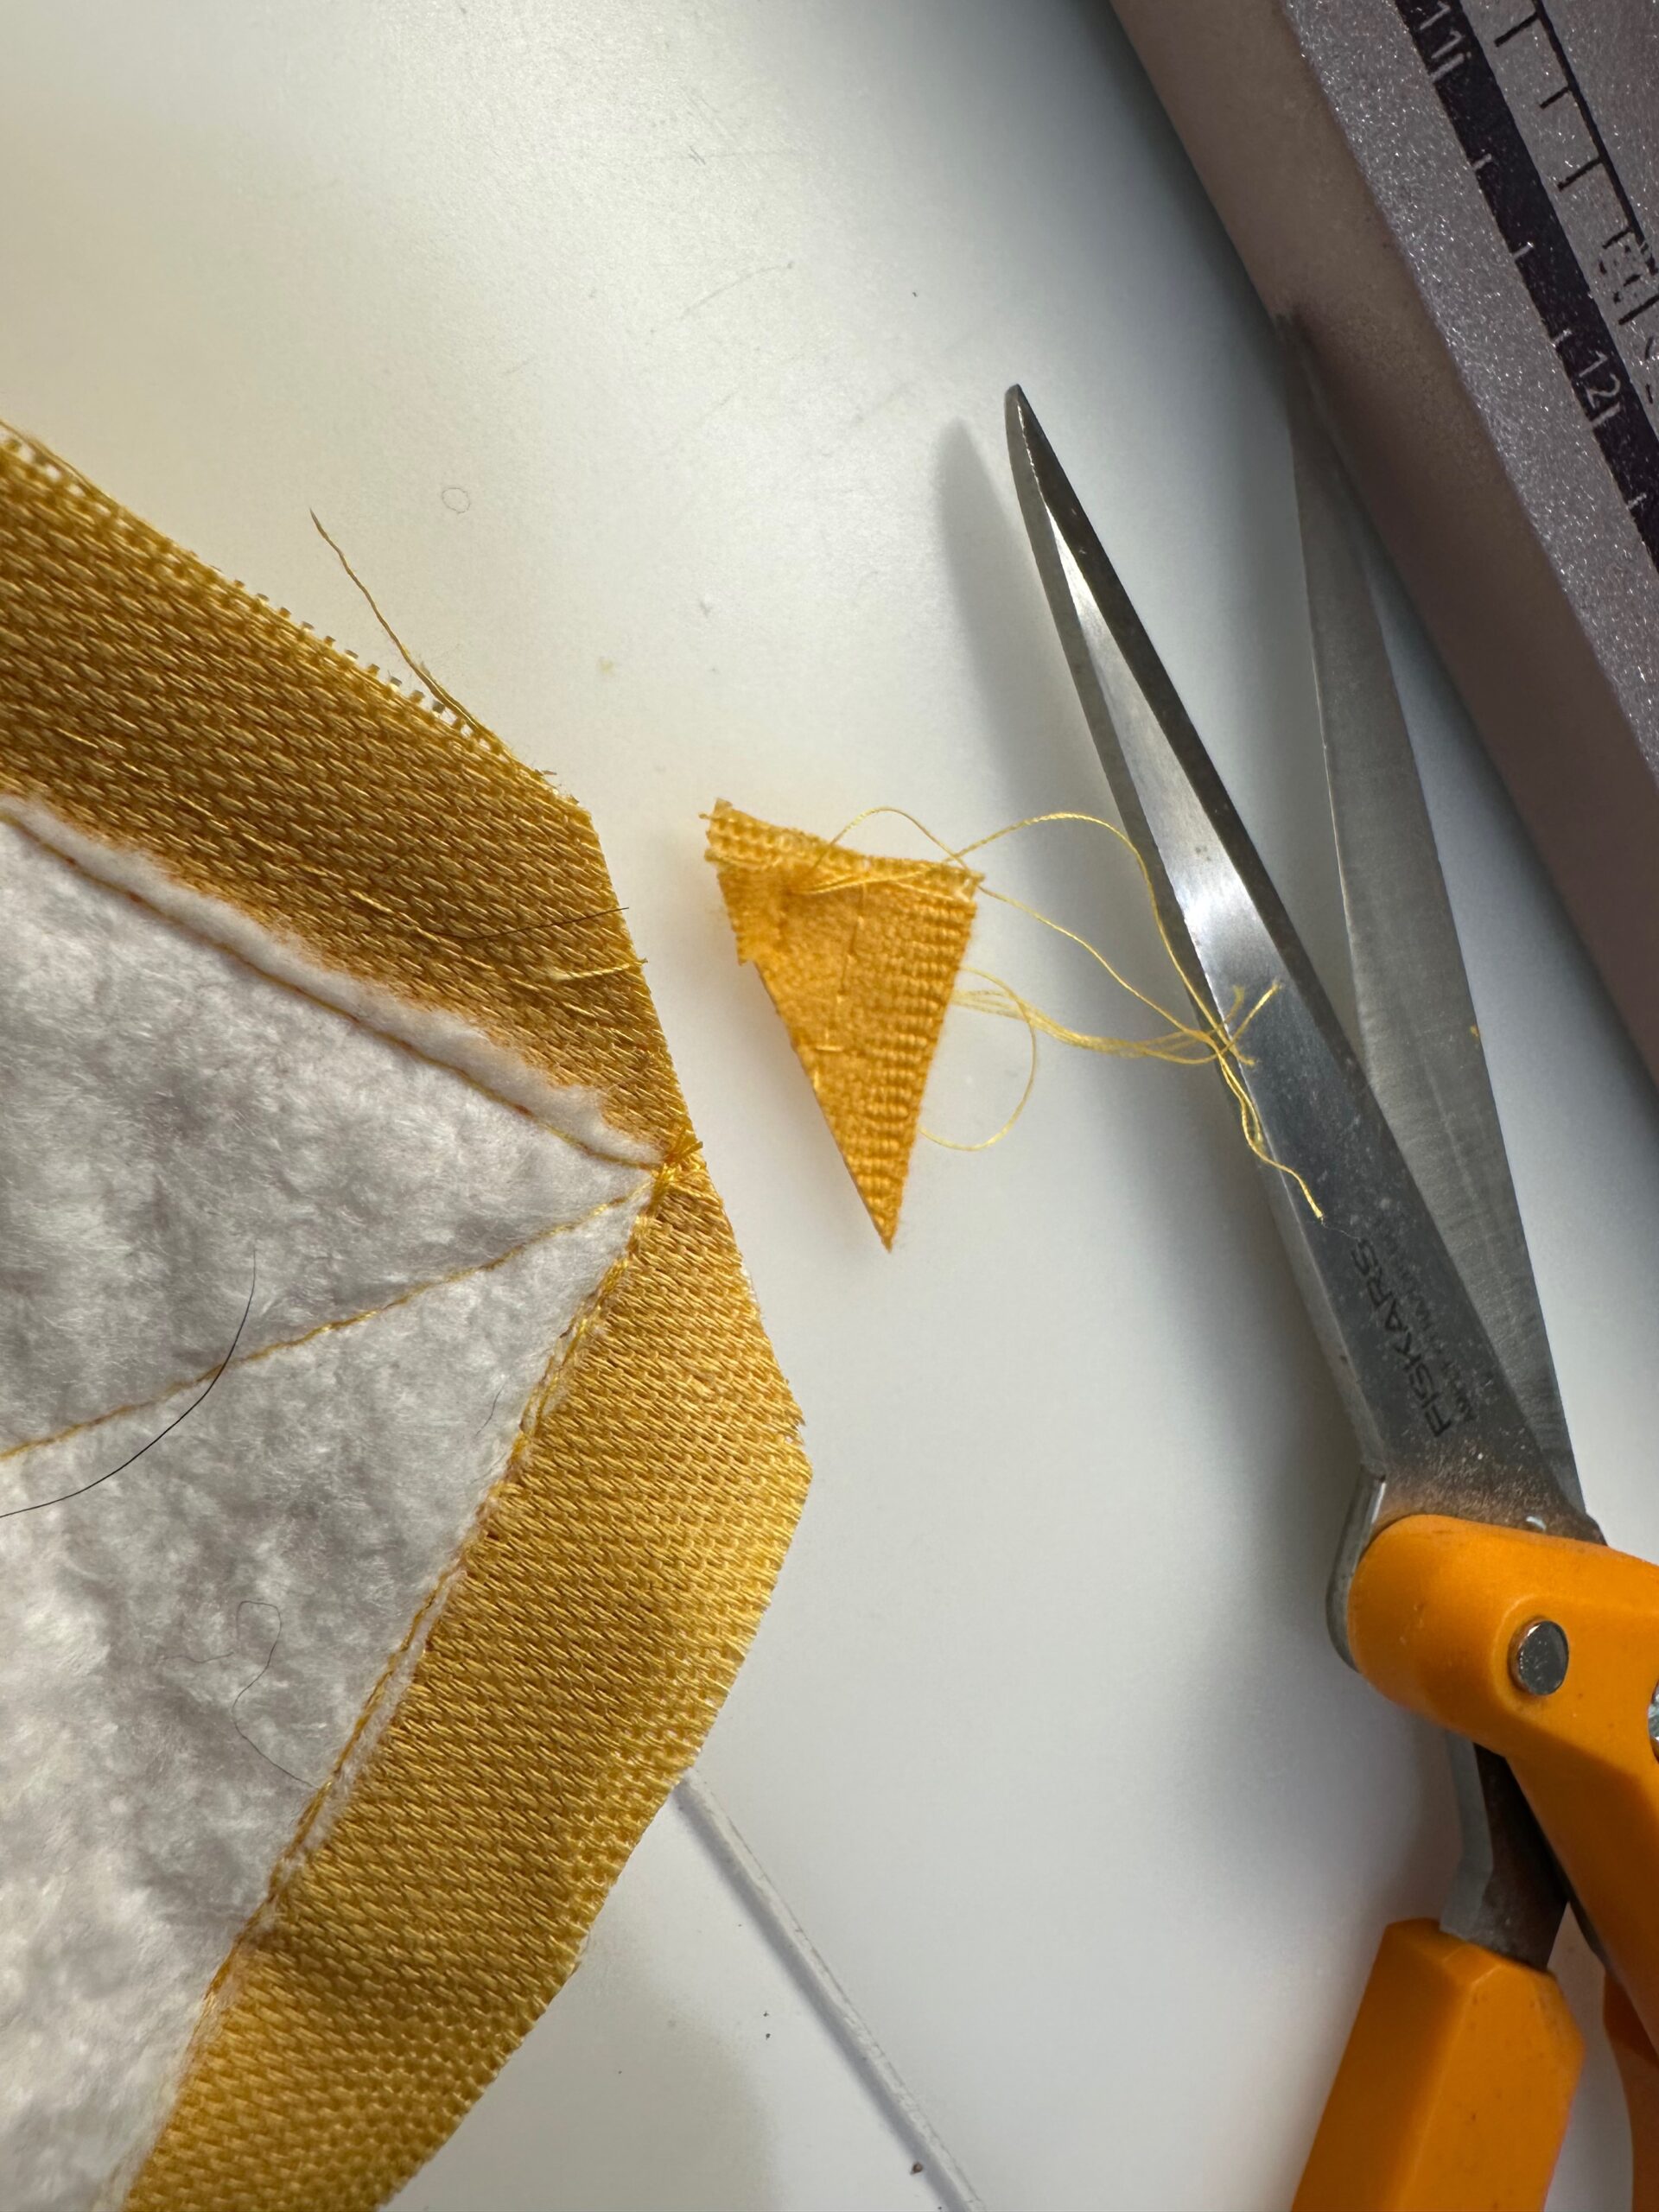
Stitch the pocket sides and upper edge, using a 1/2″ seam allowance. Clip the upper-edge corners up to but not through the stitching line.
Then, turn the pocket right side out.

Tug on the strap ends, and then press the pocket flat.
Choose a blanket side for the “right” side (they should look the same at this point.) Place the blanket right side up on a flat work surface (or floor).
The quilted side of the pocket can either be the outside when displayed on the blanket or the outside when carried as a tote. (When carried as a tote, the pocket is turned inside out so the blanket bulk fits inside.) Decide on the pocket side to display on the blanket and position it that side up on the blanket right side. Center the pocket lower edge along one blanket long edge, making sure the strap is out of the way and toward the blanket center. Clip the lower edge generously to secure all layers.

PICNIC BLANKET BINDING
Baste or serge-finish the blanket perimeter to keep the layers together and flatten the edge for binding. These stitches also secure the pocket lower edge.
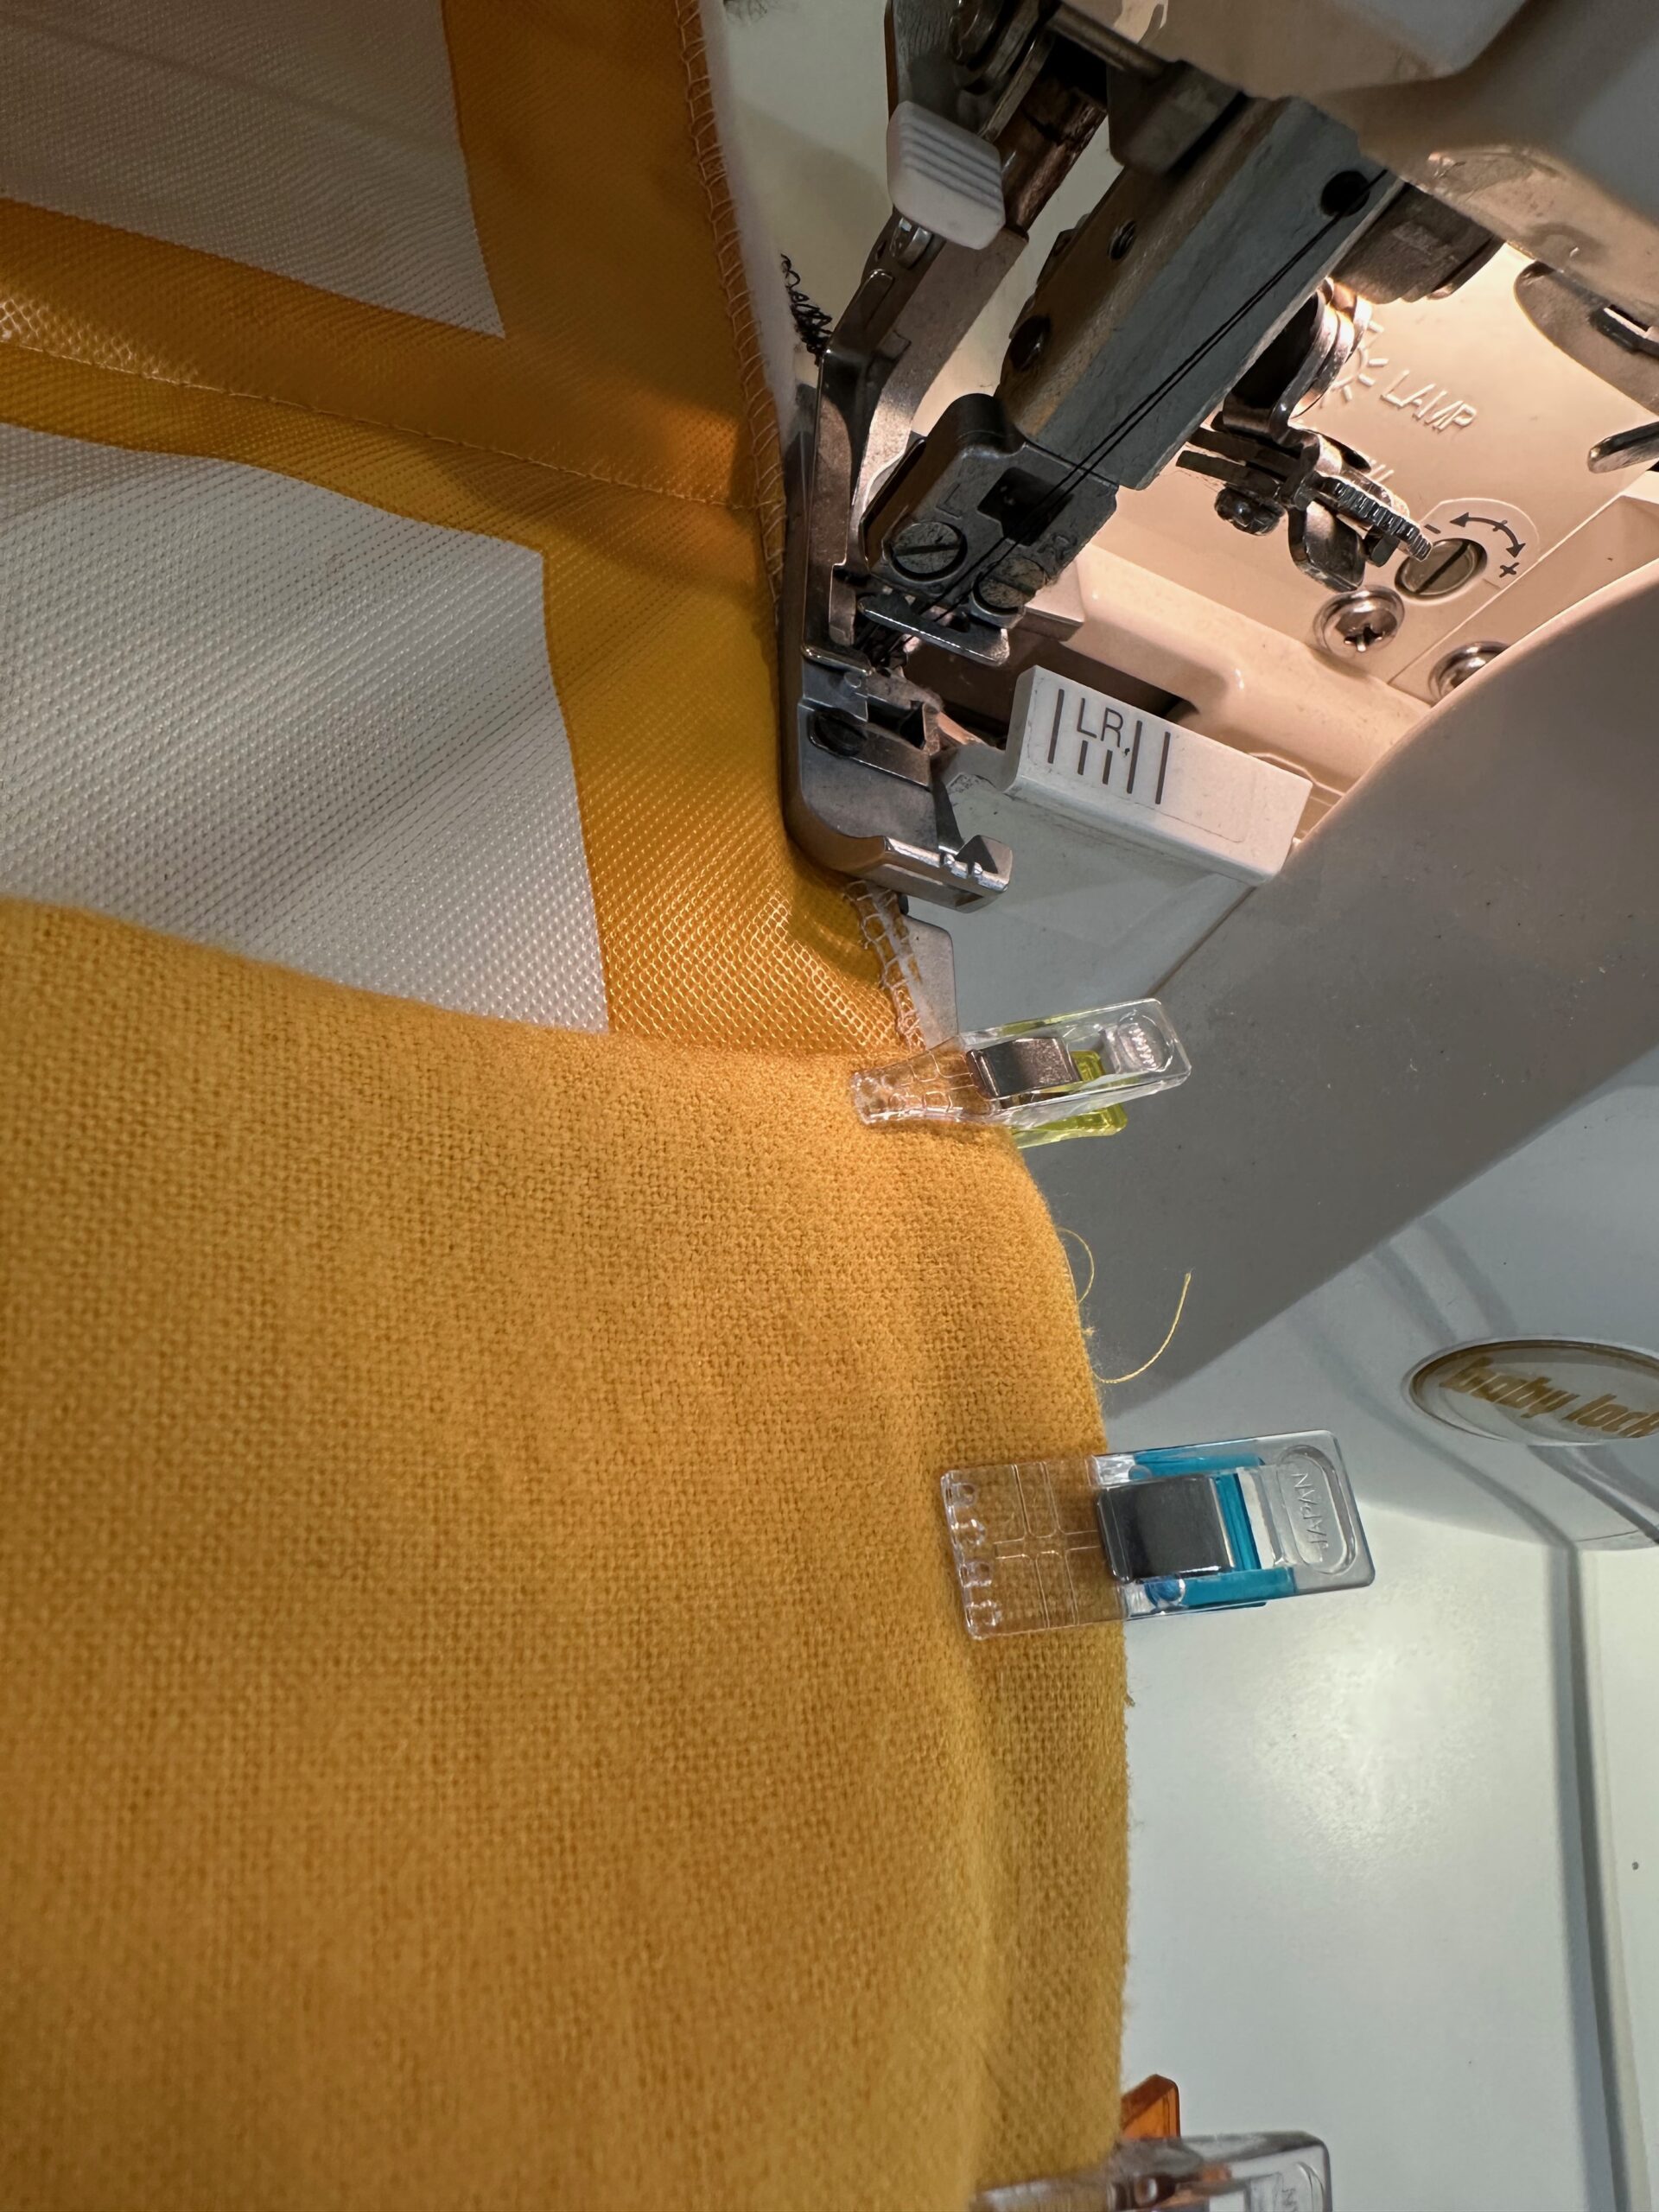
Then, stitch the pocket sides from the lower edge to the pocket upper edge.

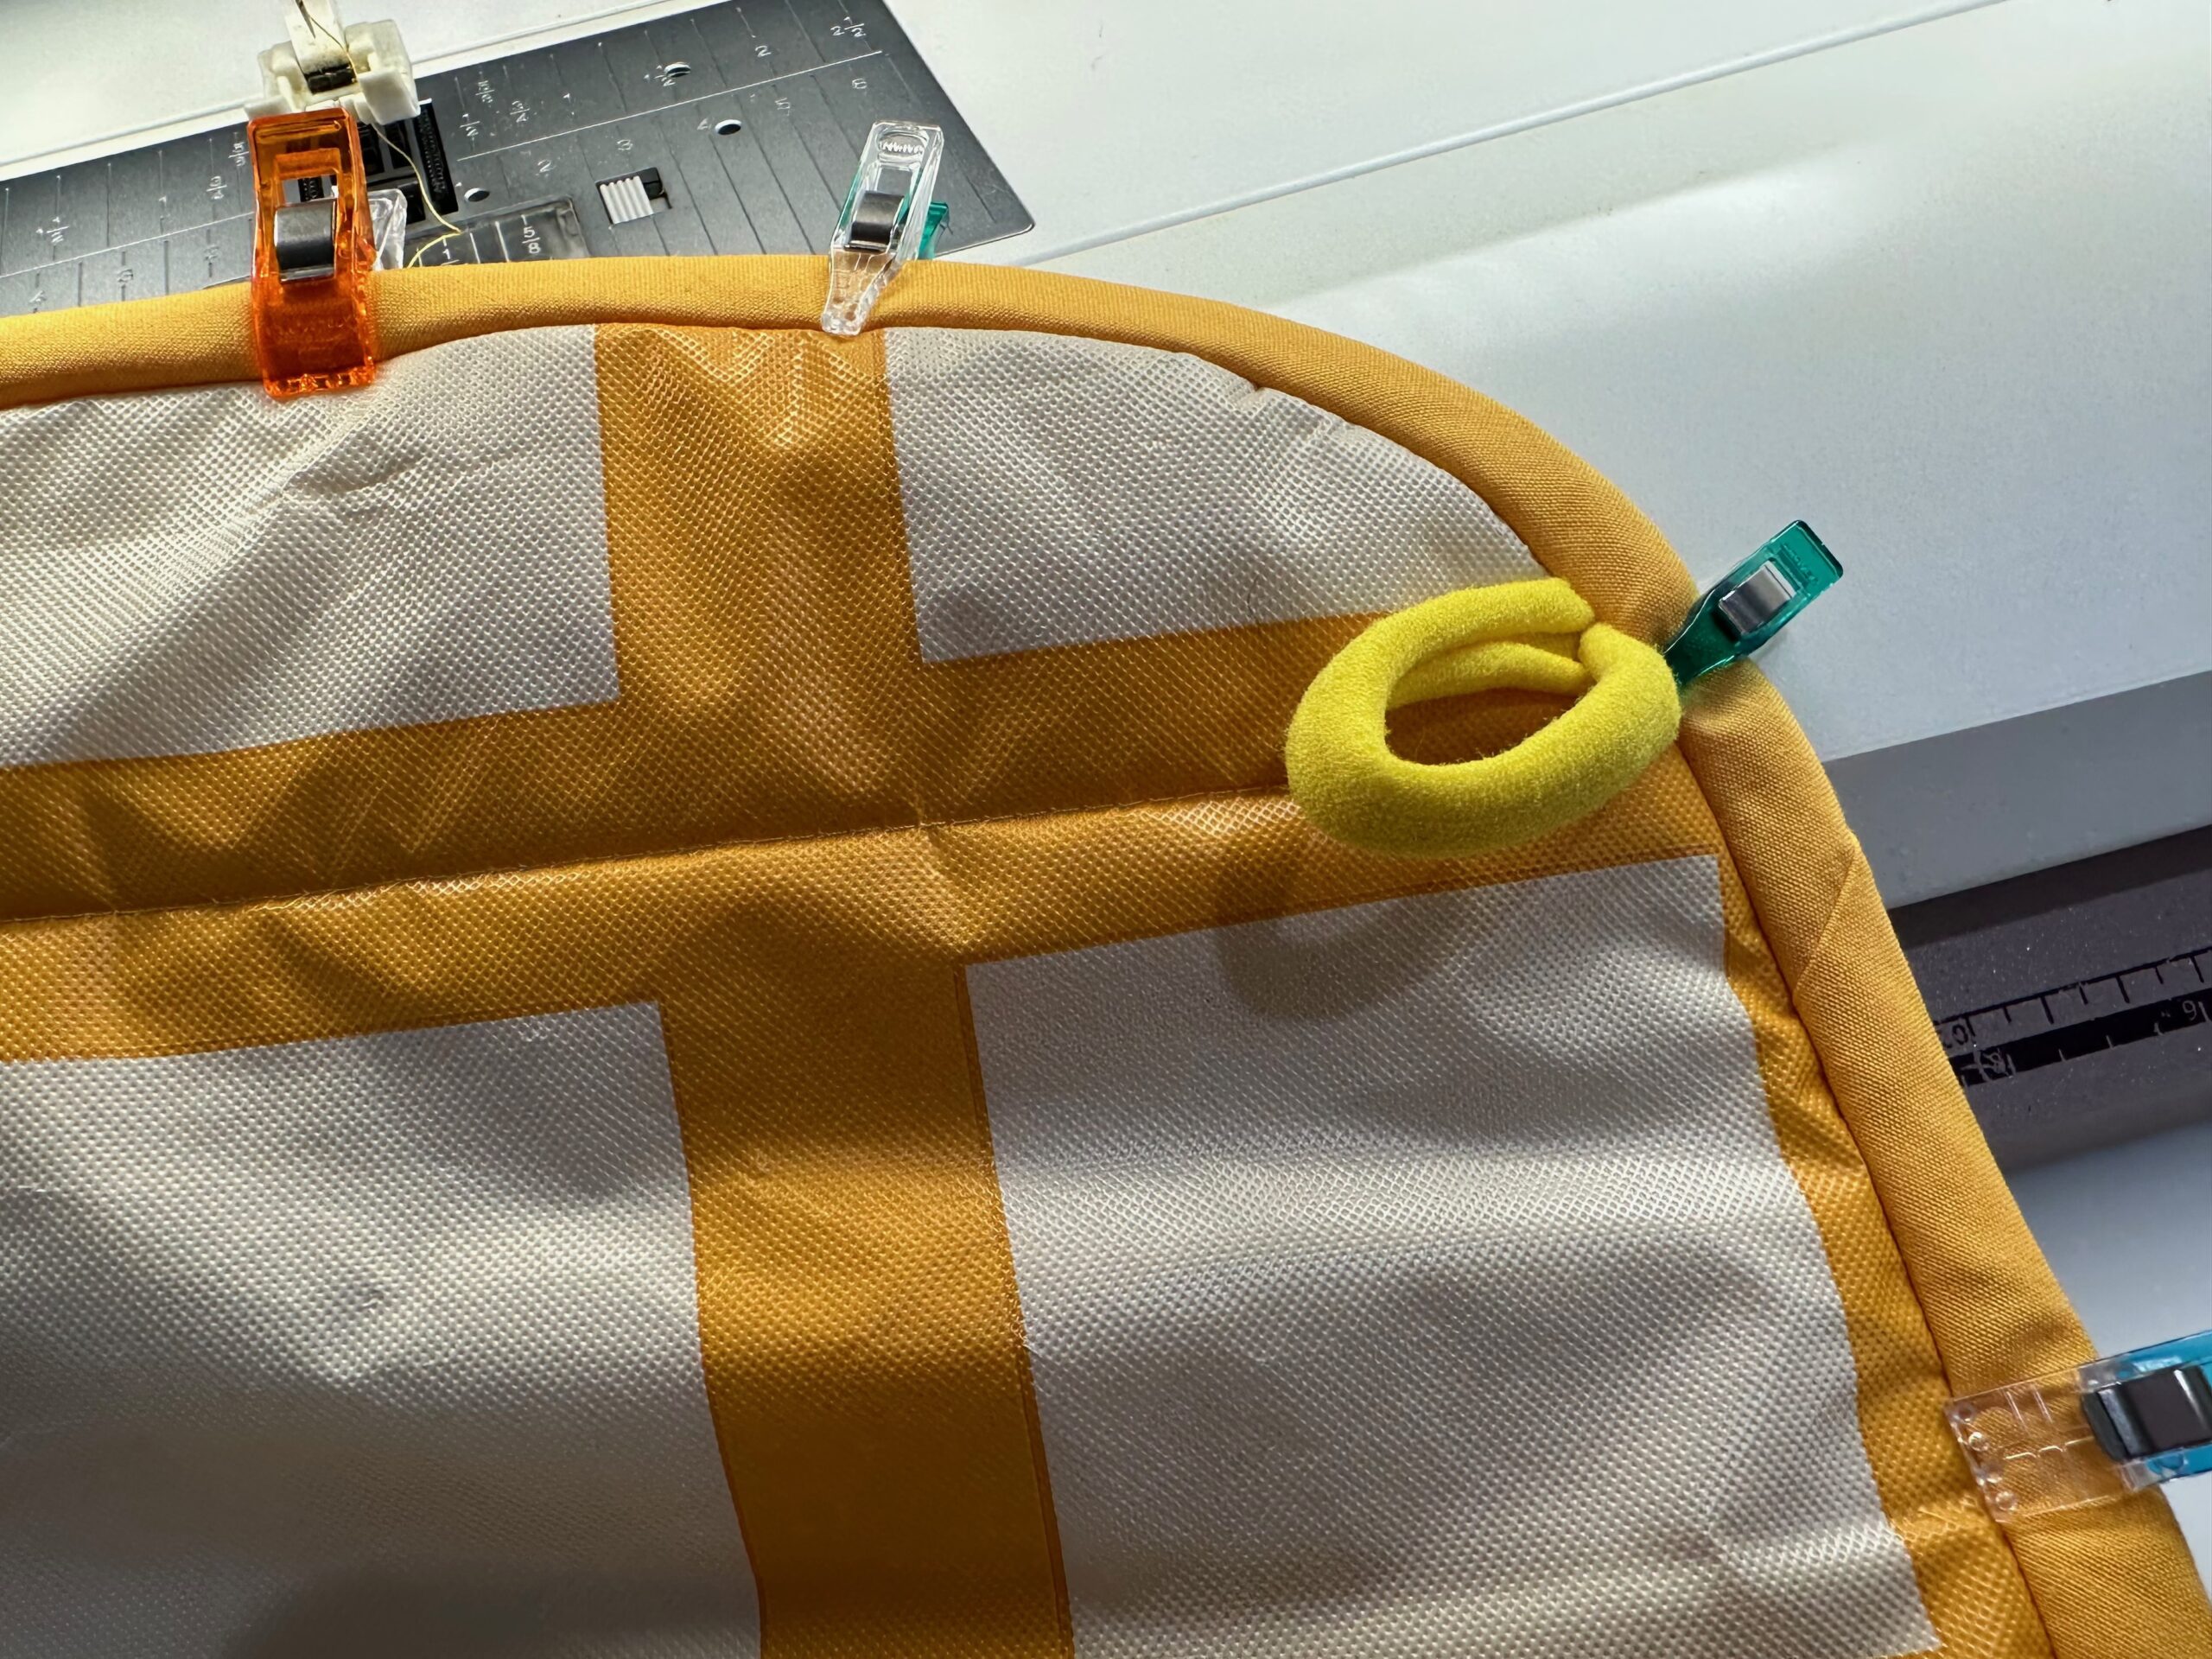
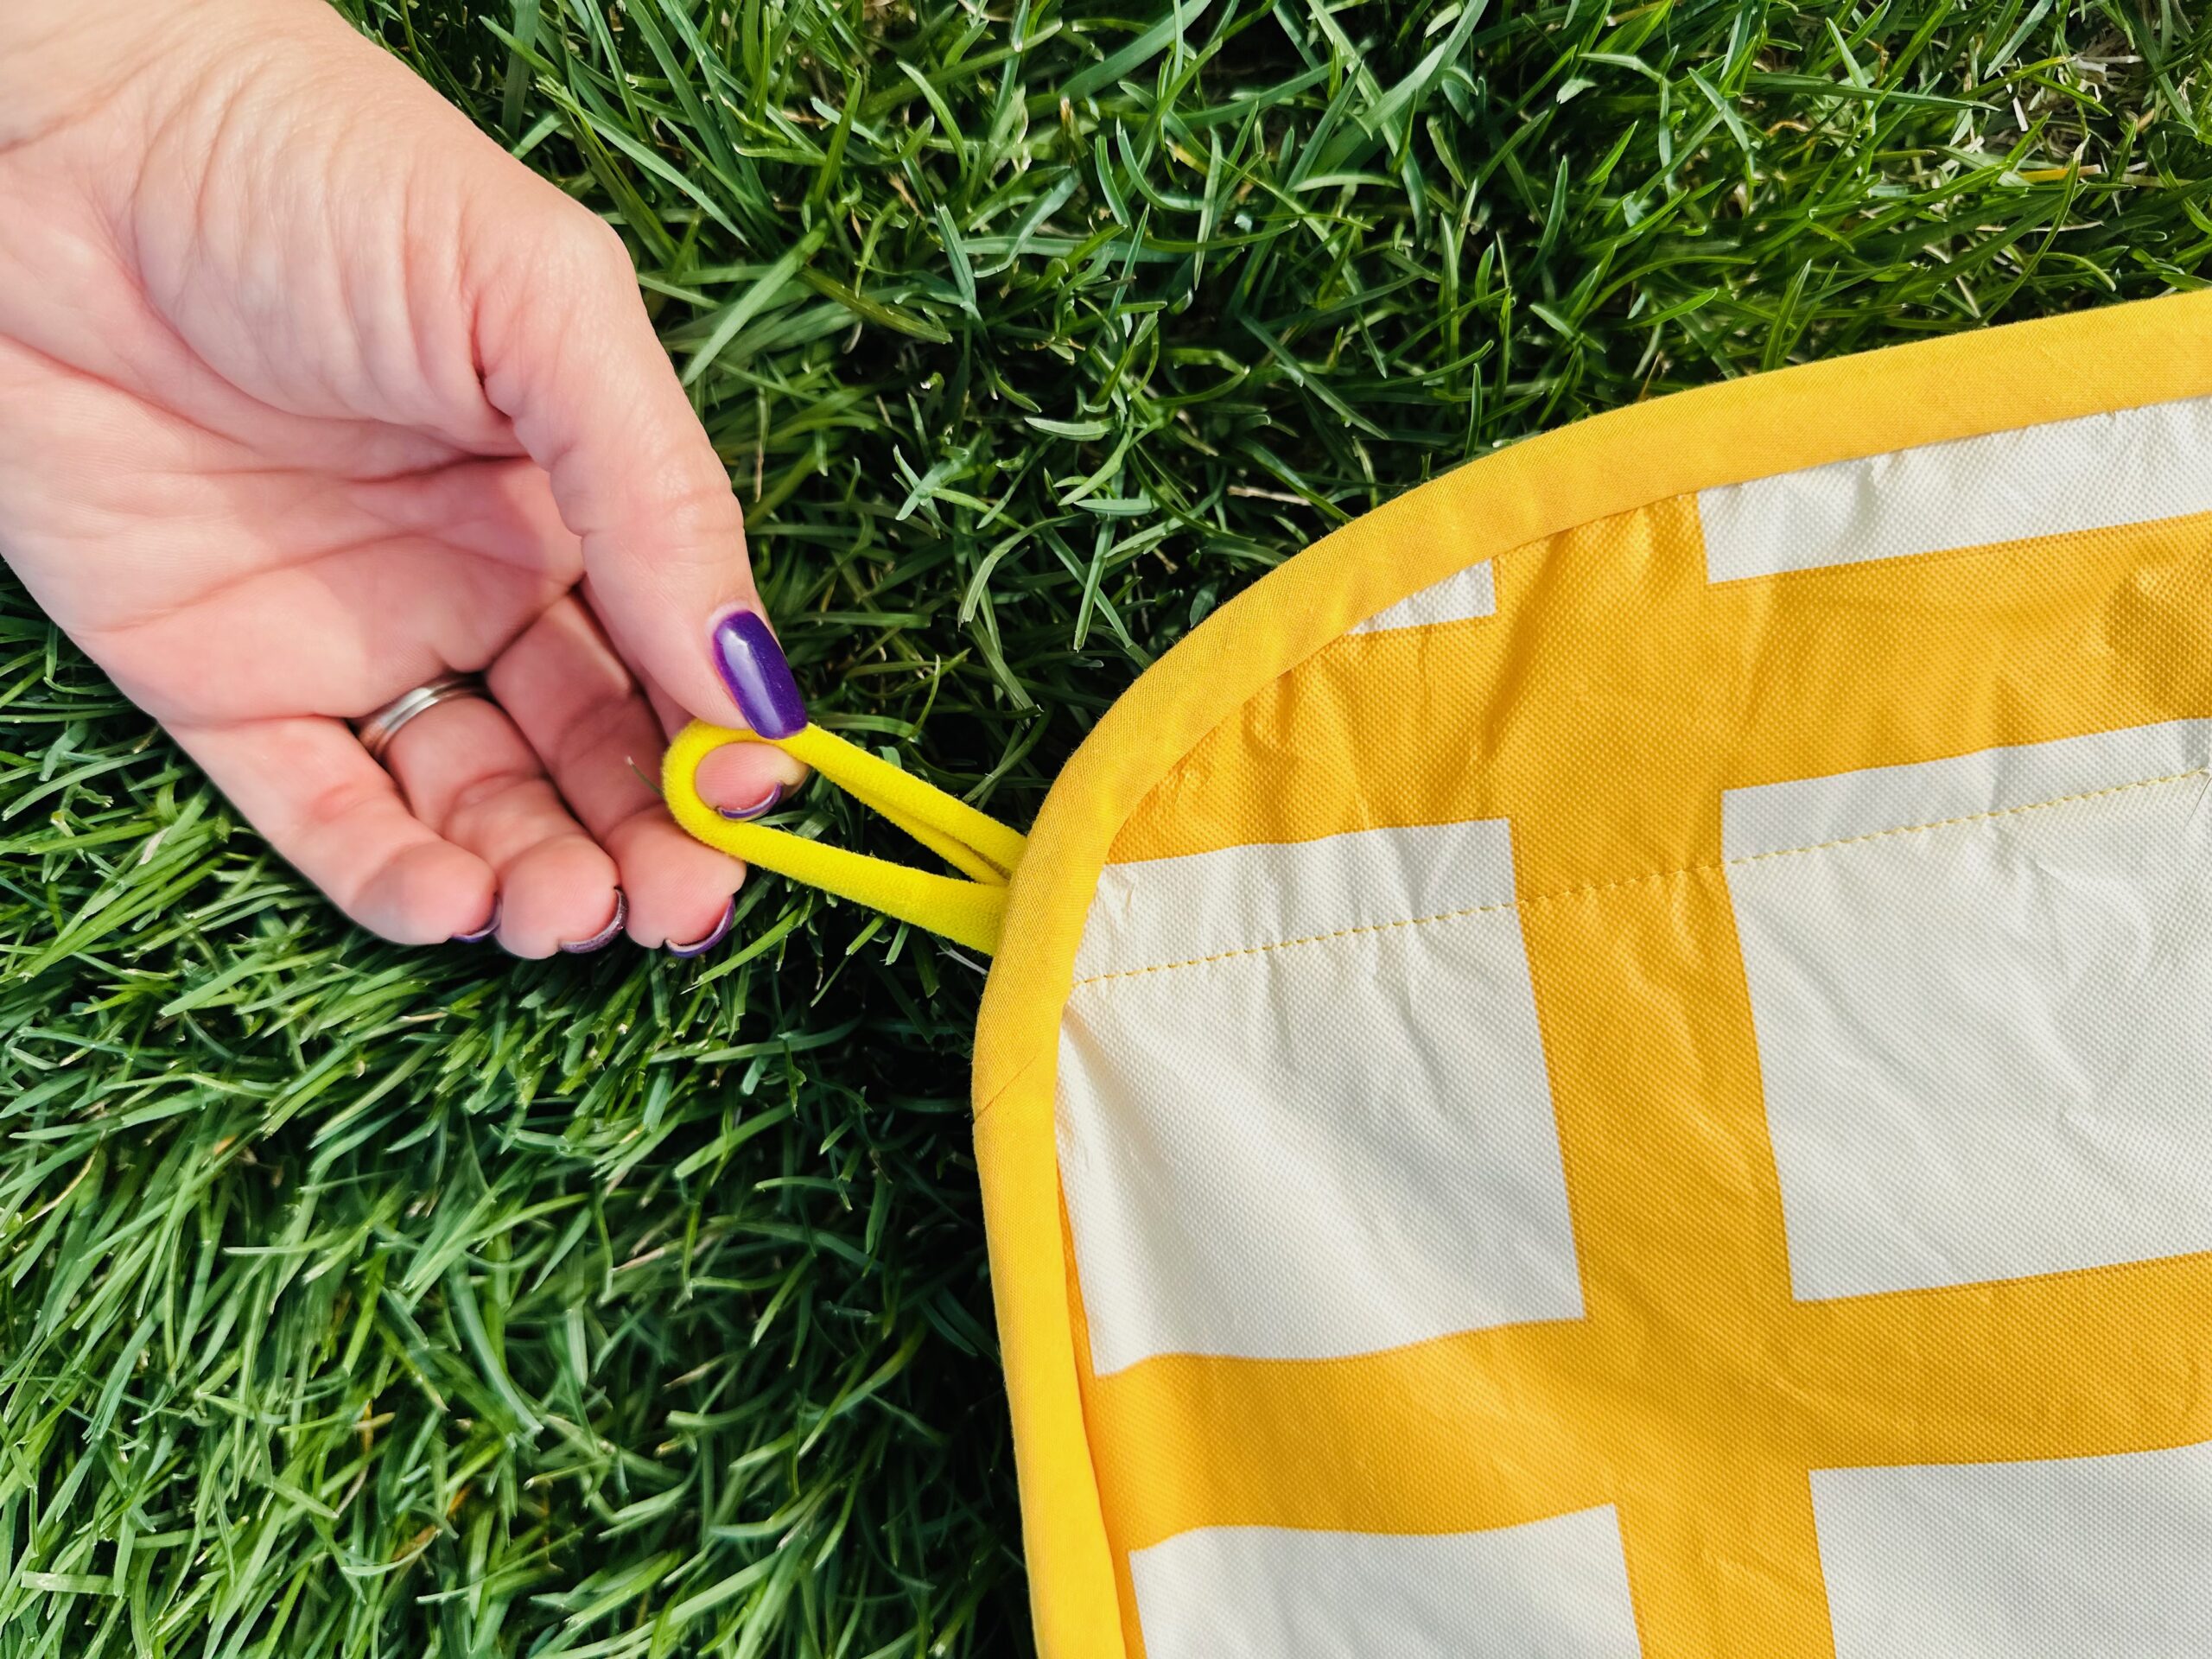
At each corner, tack a nylon/elastic hair band. Squeeze a hair band together at one end; clip to each corner.
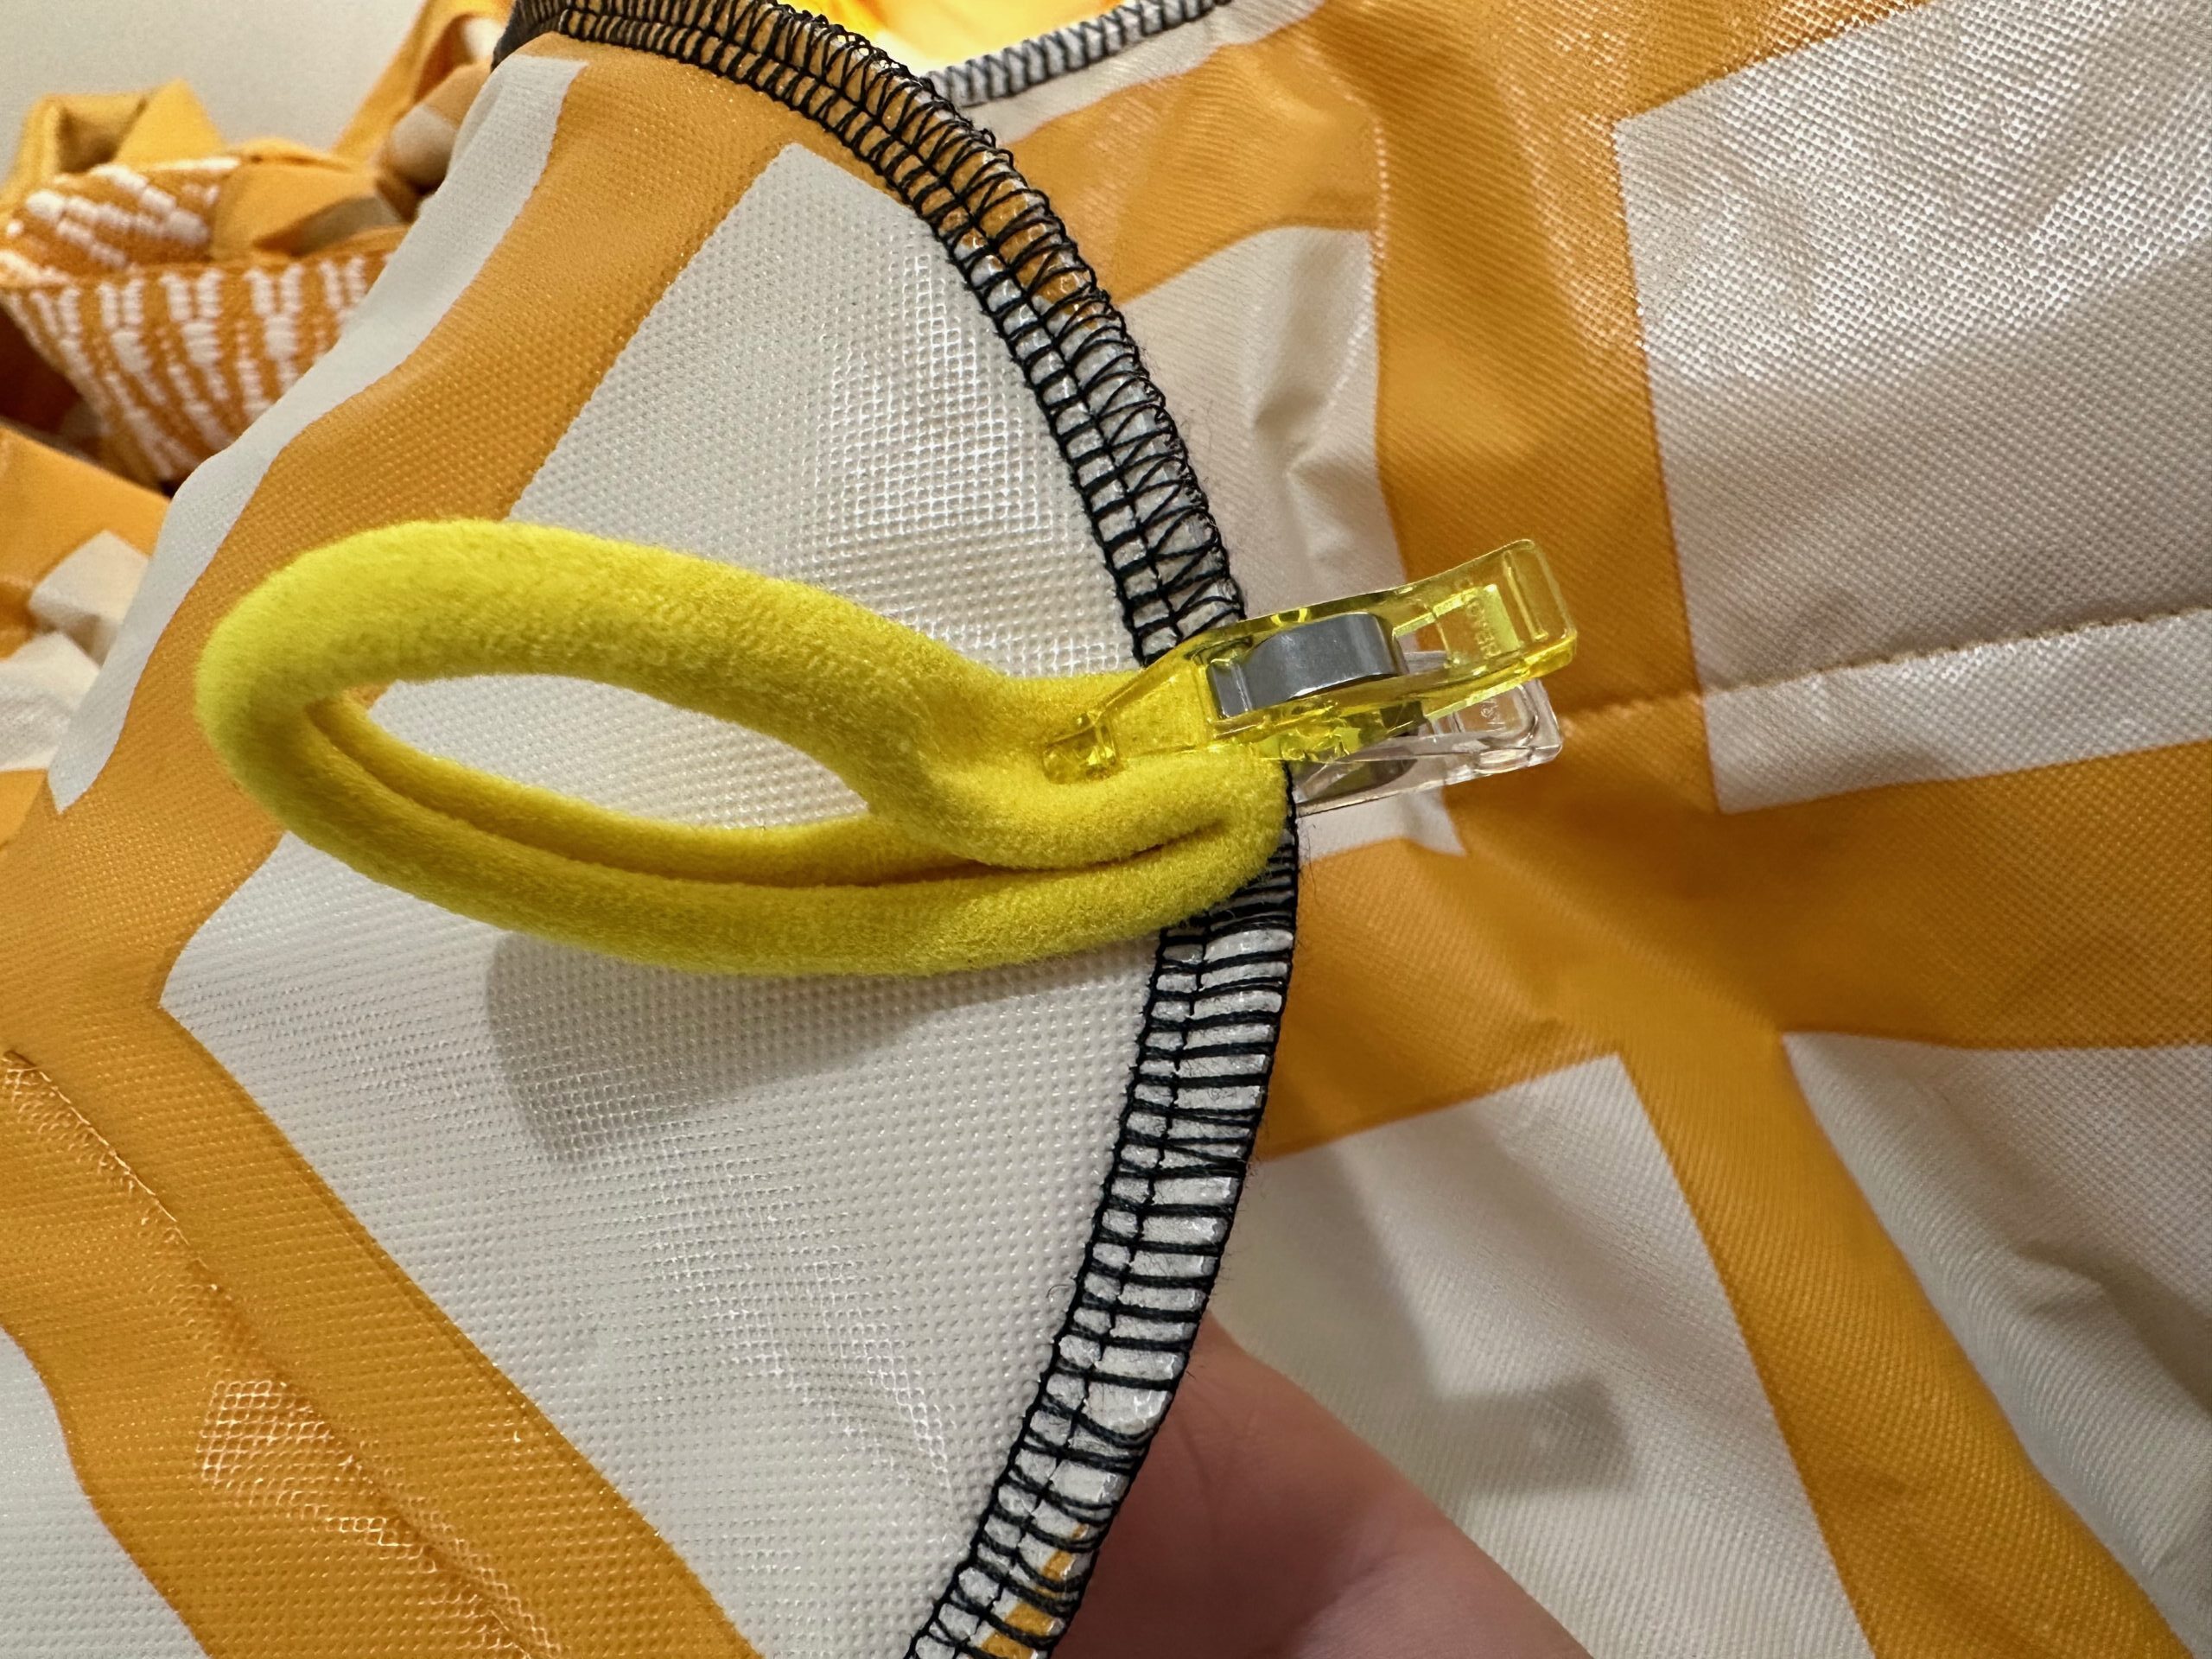
Bind the blanket perimeter using self- or pre-made double-fold bias binding. Begin and end the binding along the edge opposite the pocket. Make sure to stitch the binding along the hair band ends at each corner to secure them.
USING THE PICNIC BLANKET
When placed on the grass or dirt, secure the hair bands at each corner using a tent stake. (Then carry the stakes inside the pocket when not in use.)
To carry the picnic blanket as a tote, place the blanket on a flat surface with the pocket on the underside.
Evenly double-fold one short edge toward the blanket center.
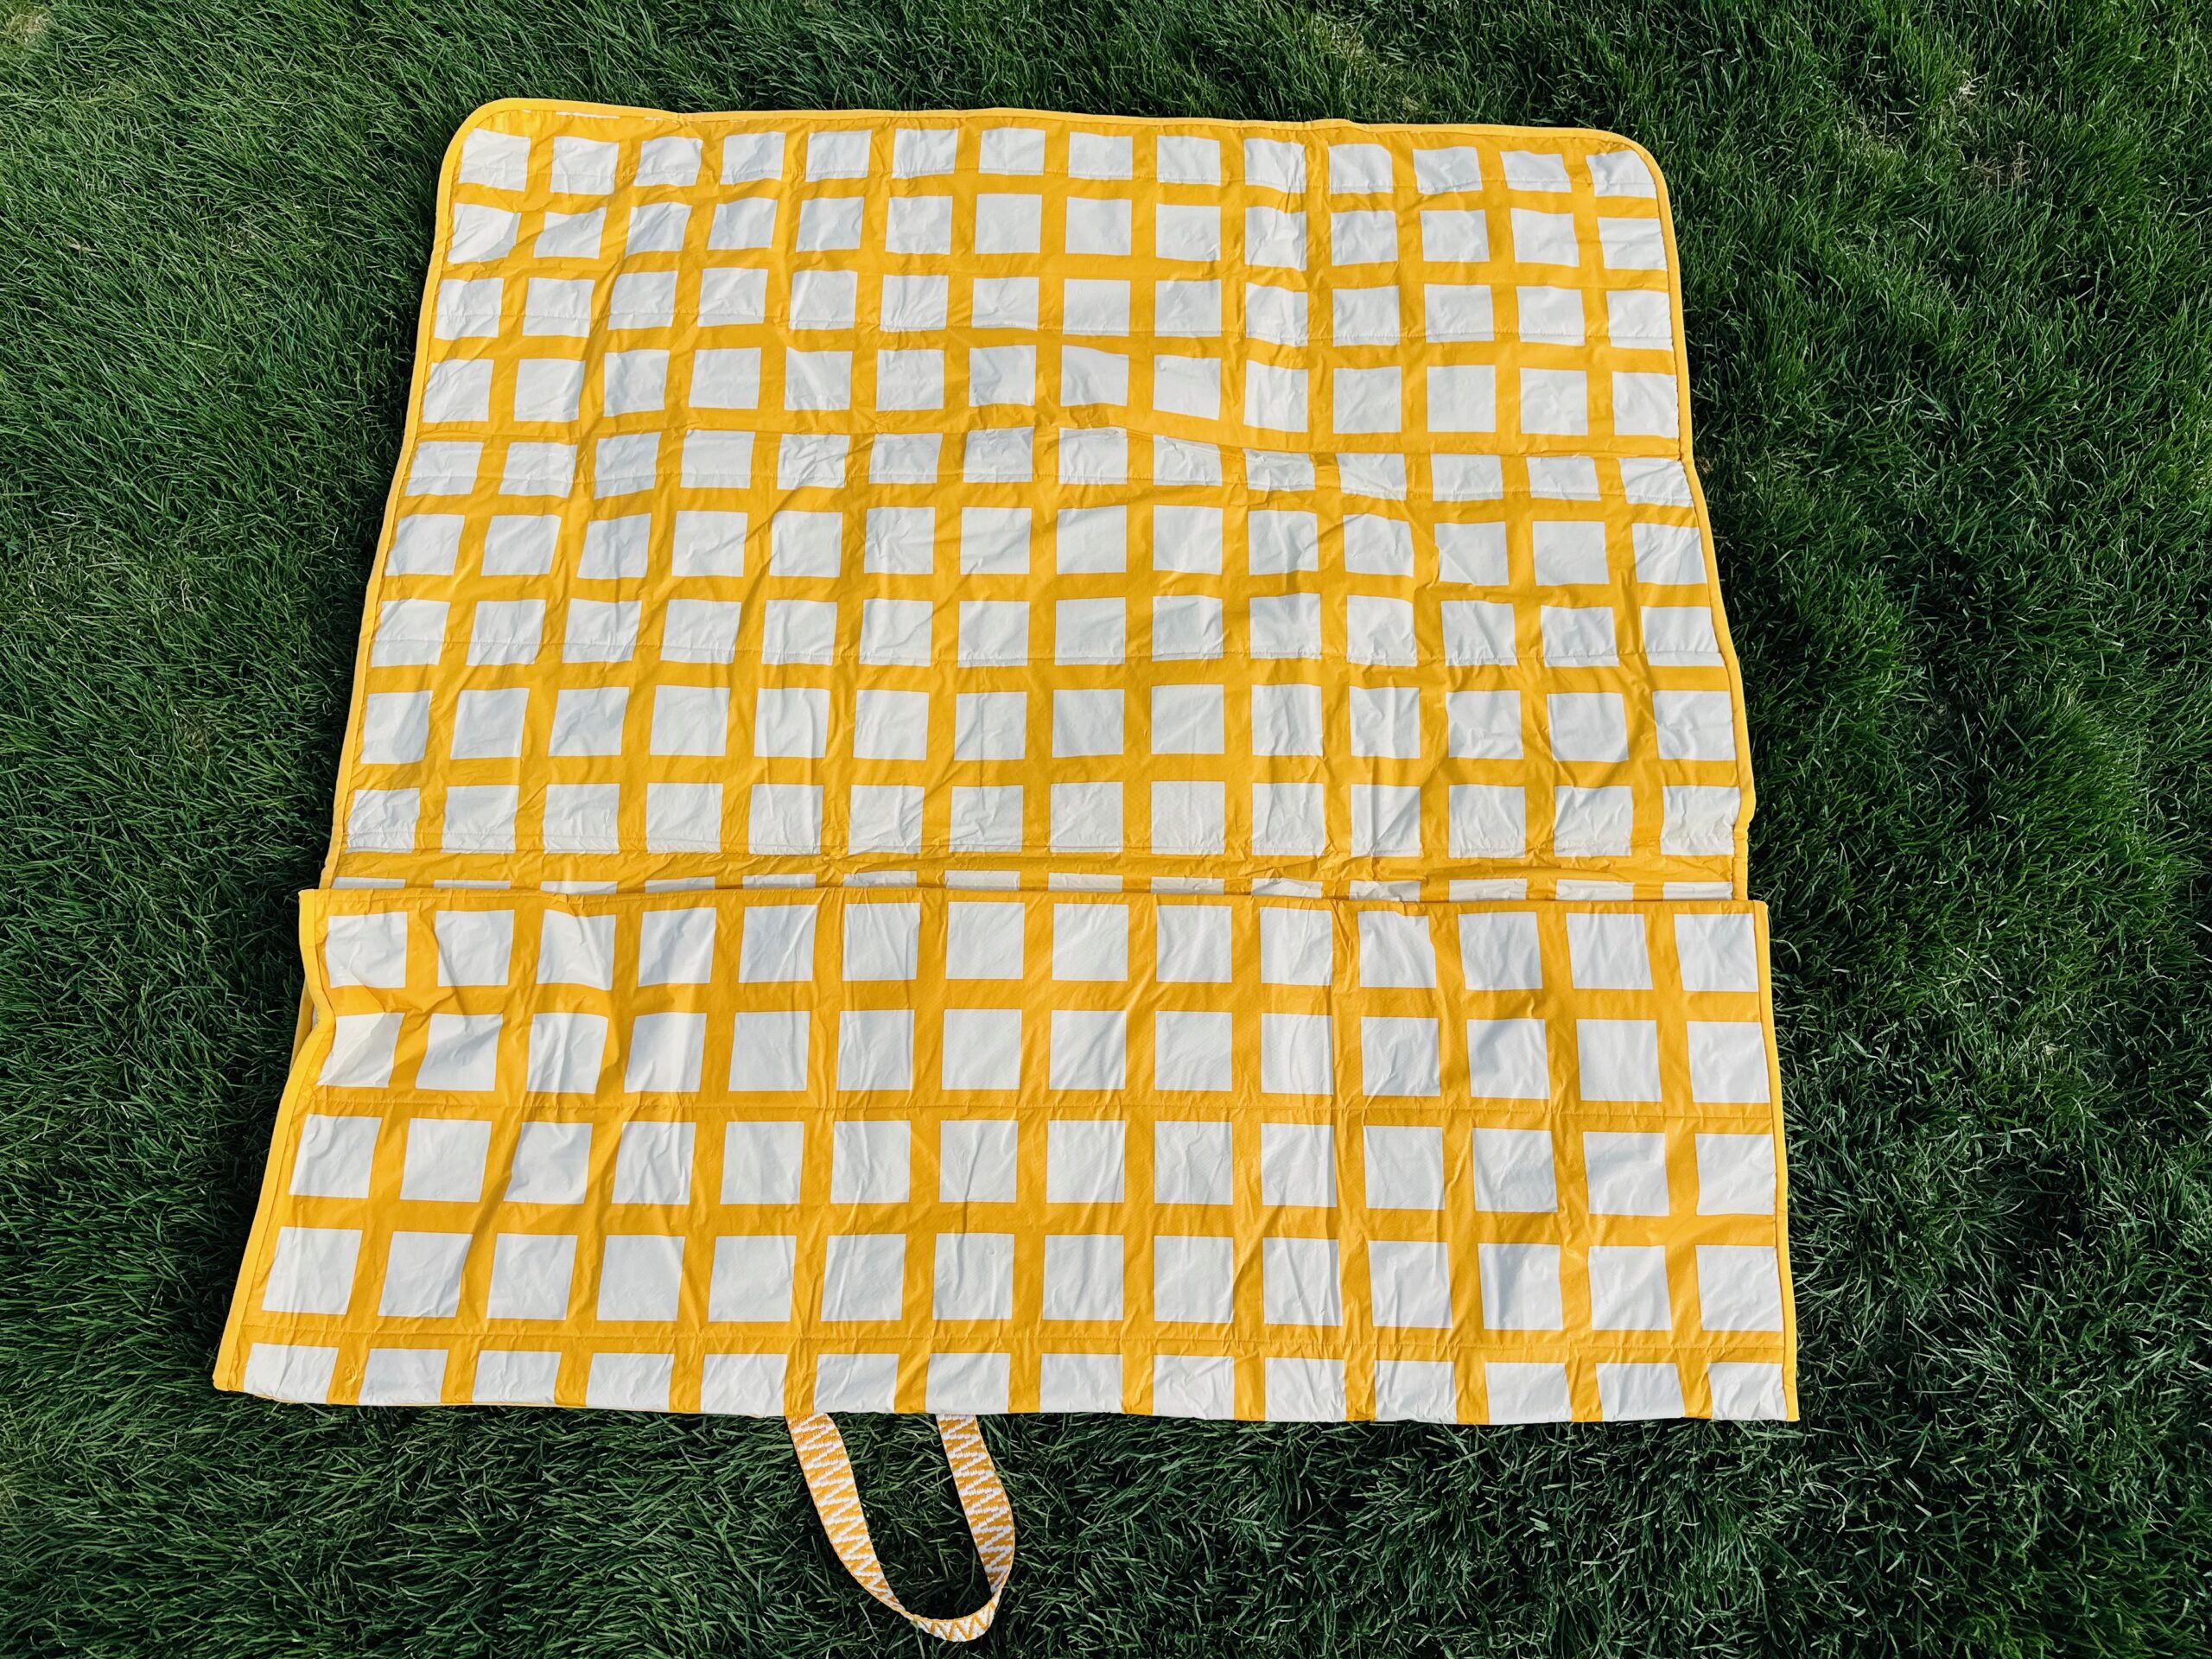
Then, evenly double-fold the opposite edge toward the blanket center. The second folded edge will overlap the first.
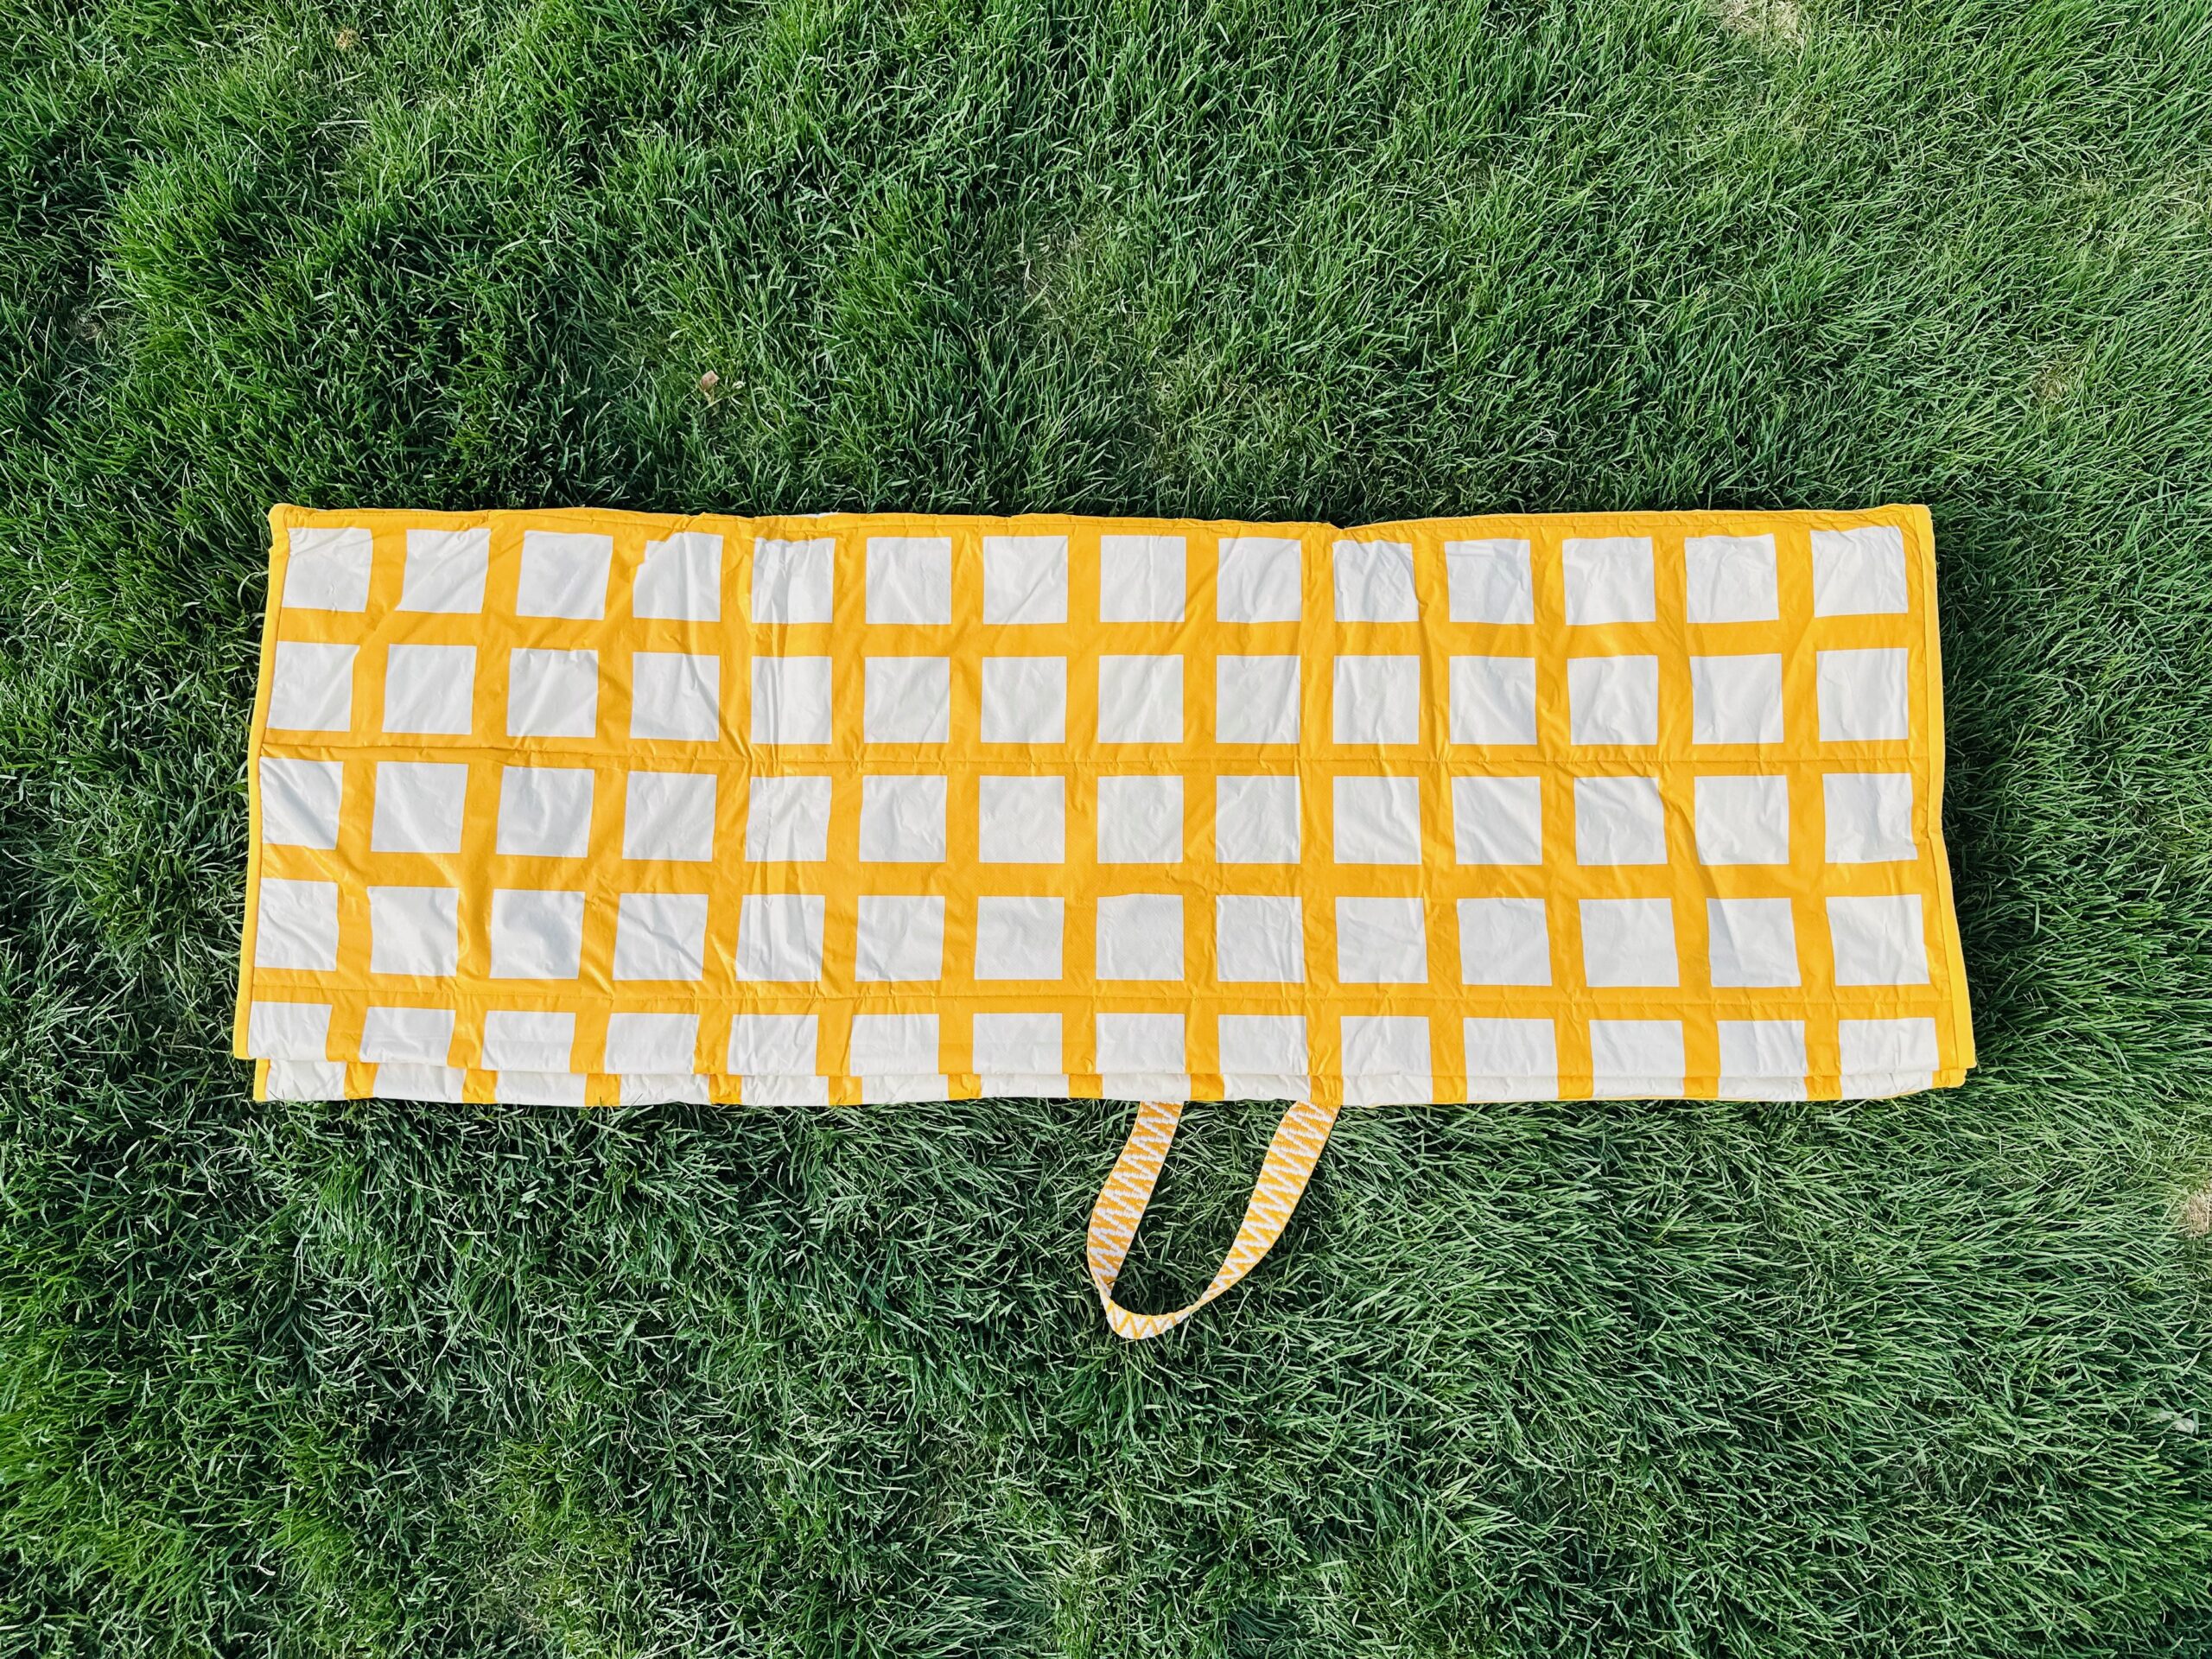
Turn the pocket wrong side out, so a third of the bulk is now inside the pocket.
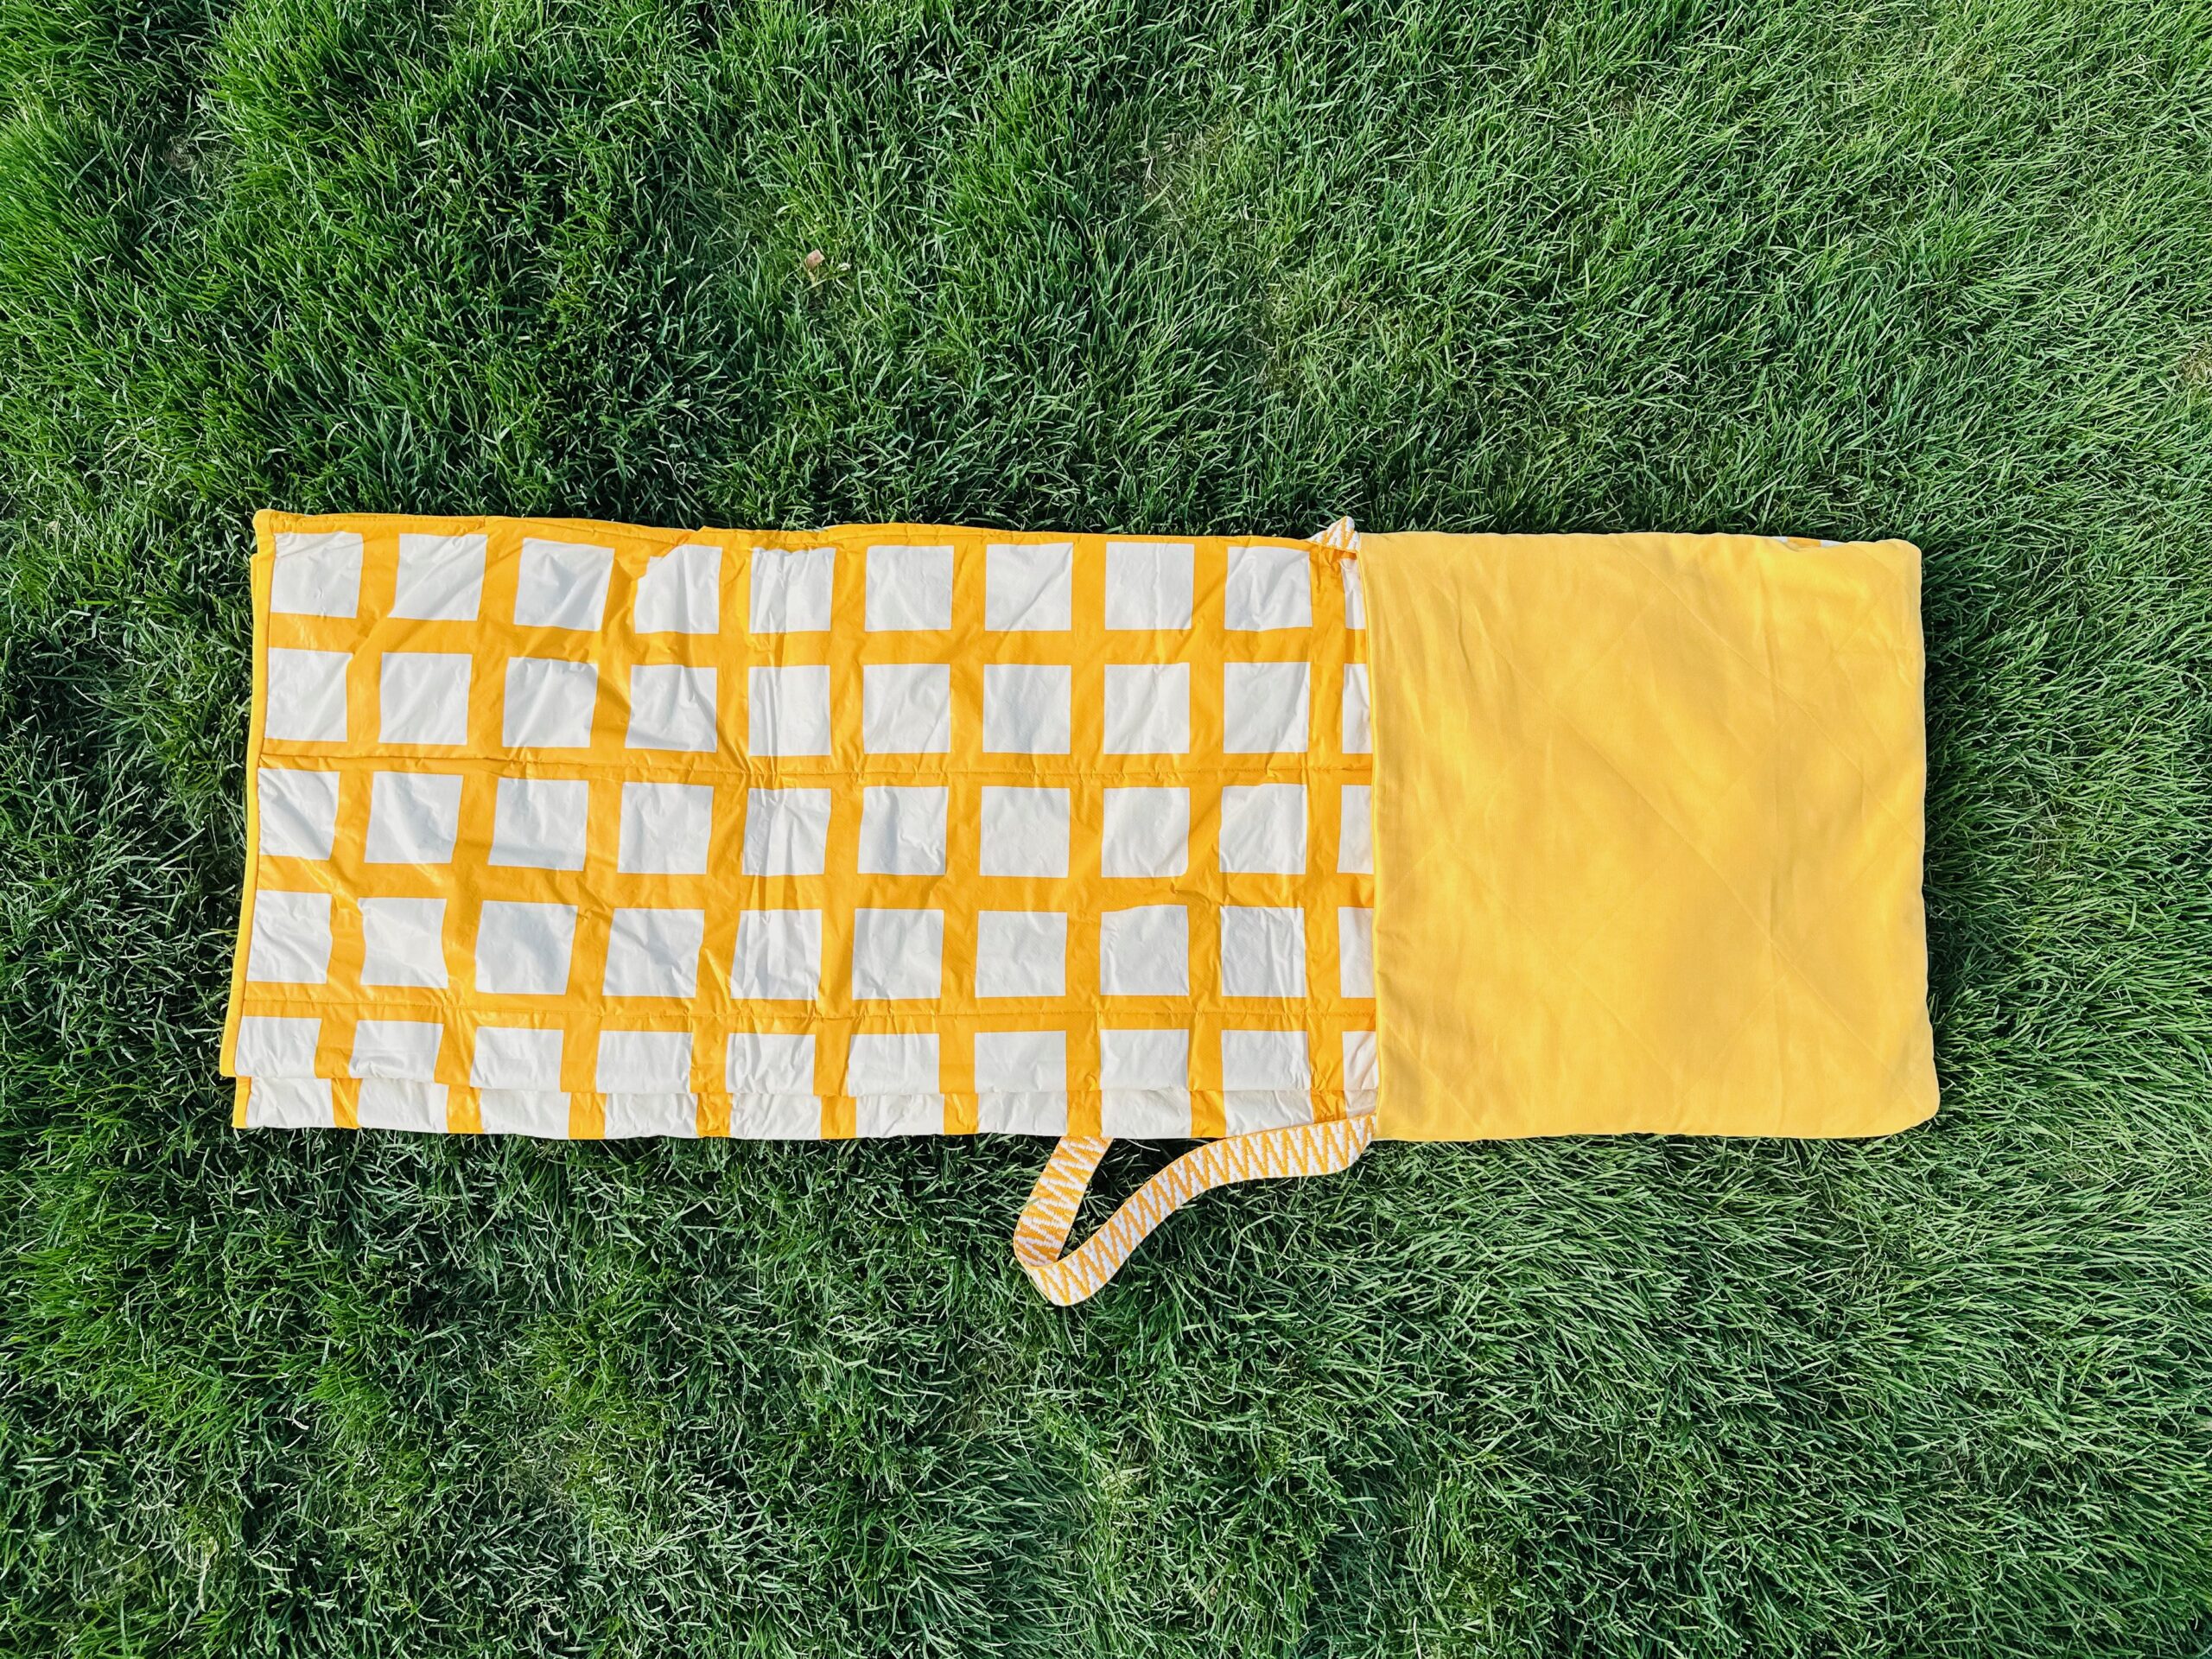
Next, double-fold the blanket into the pocket, pushing out the corners from inside the pocket. Tug on the strap to ensure it’s outside the pocket for carrying.

Place a few items into the pocket, such as plates and napkins, sunscreen and sunglasses or a small pillow for napping.
