Travel Tech Roll
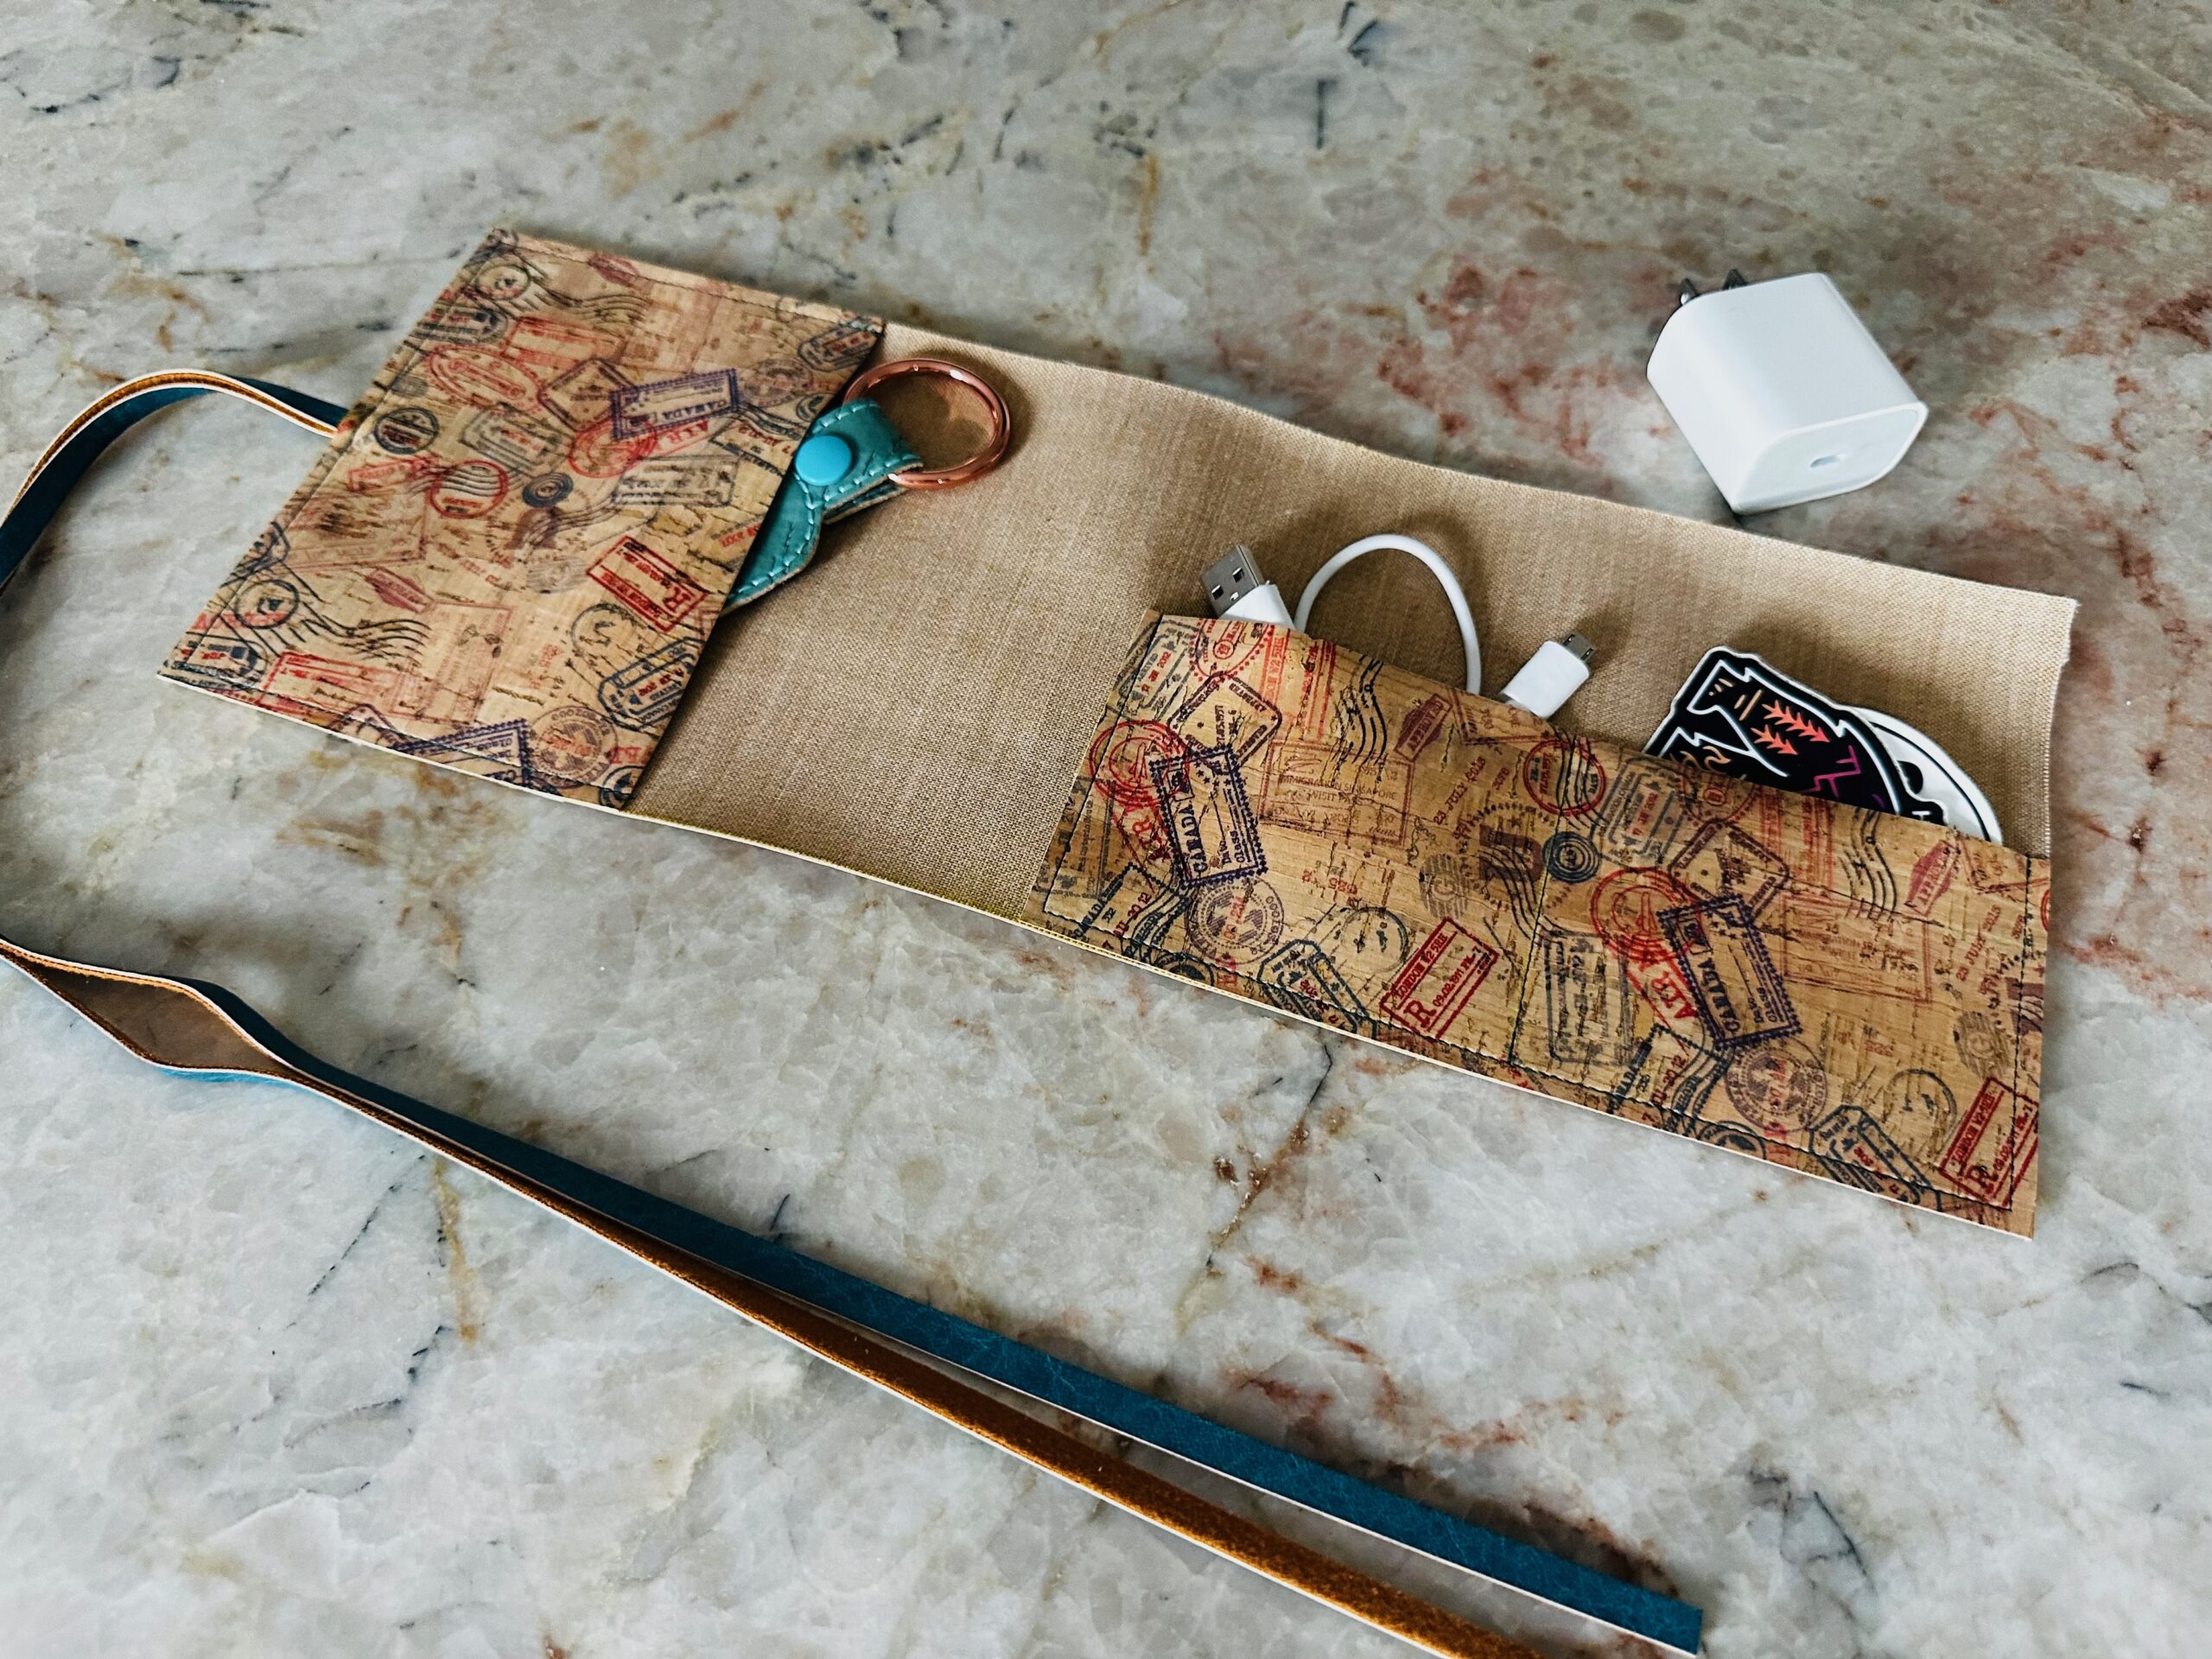
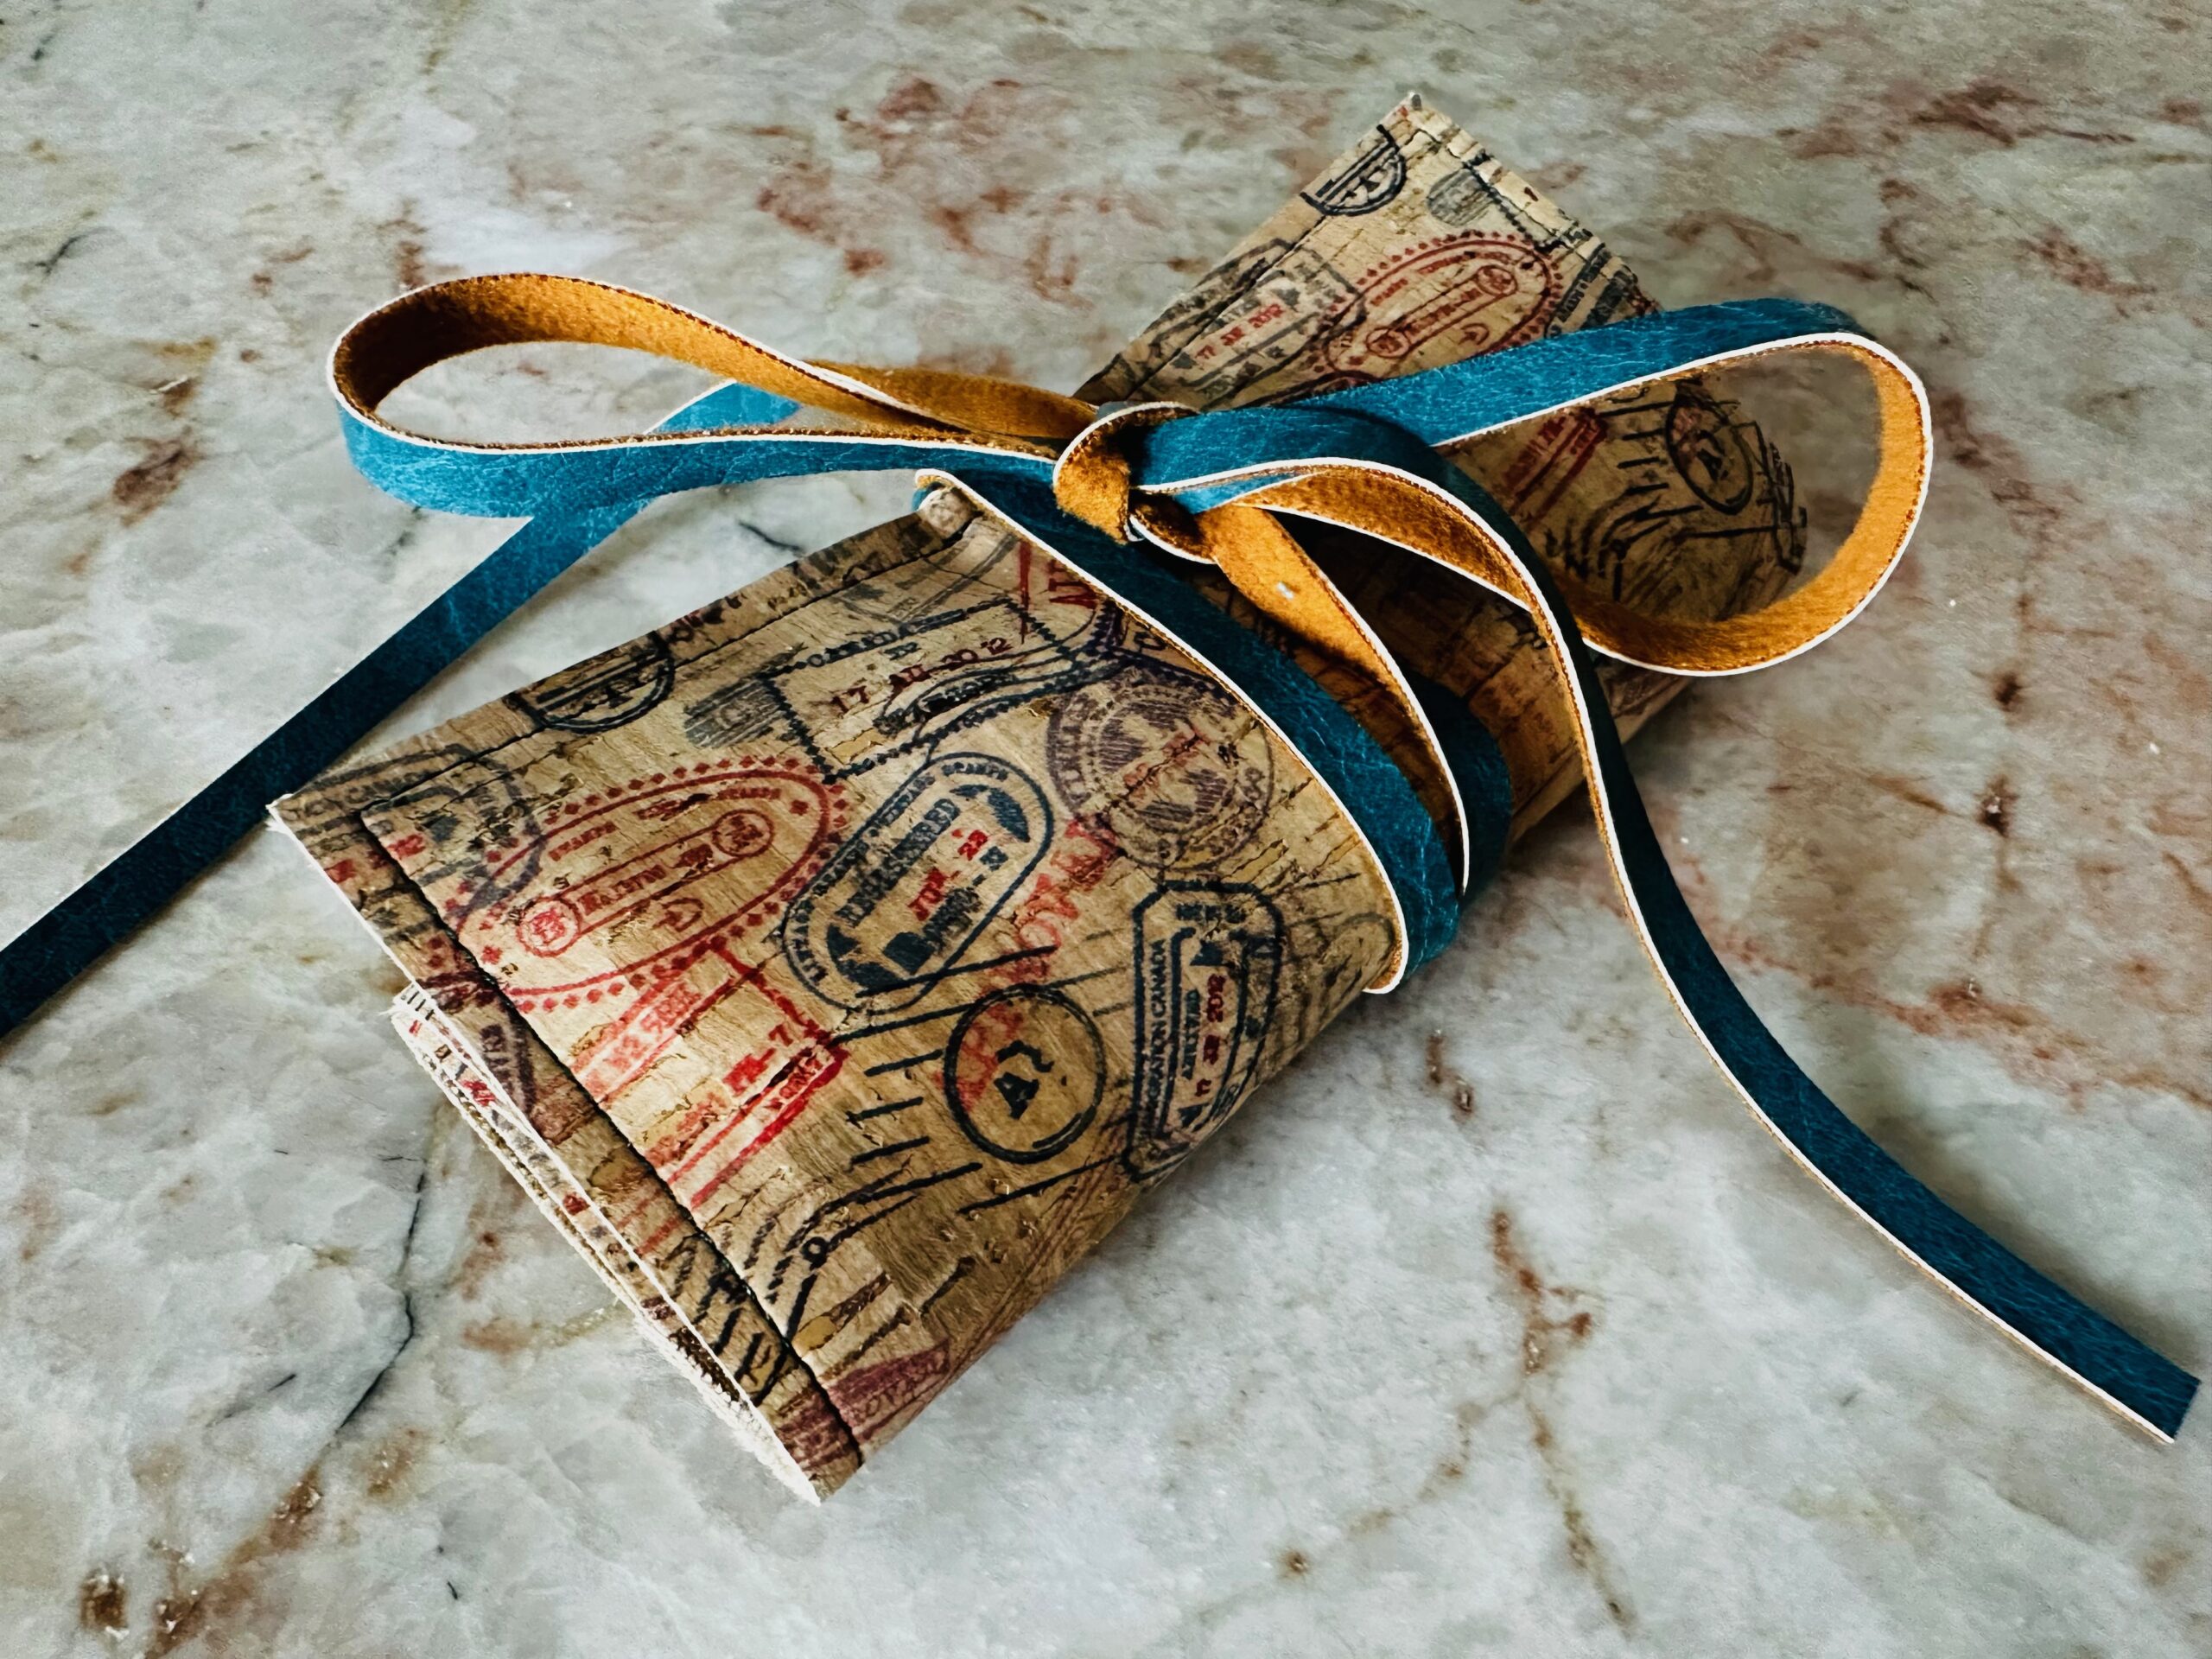
This project is a great gender-neutral project that’s the perfect companion for your travels. Store ear buds, charger cords and more in snug pockets, and tie after rolling to keep items secure. Add embroidery to an inner pocket, if desired, to add fun personalization. This makes a great gift for a grad or dad who has everything.
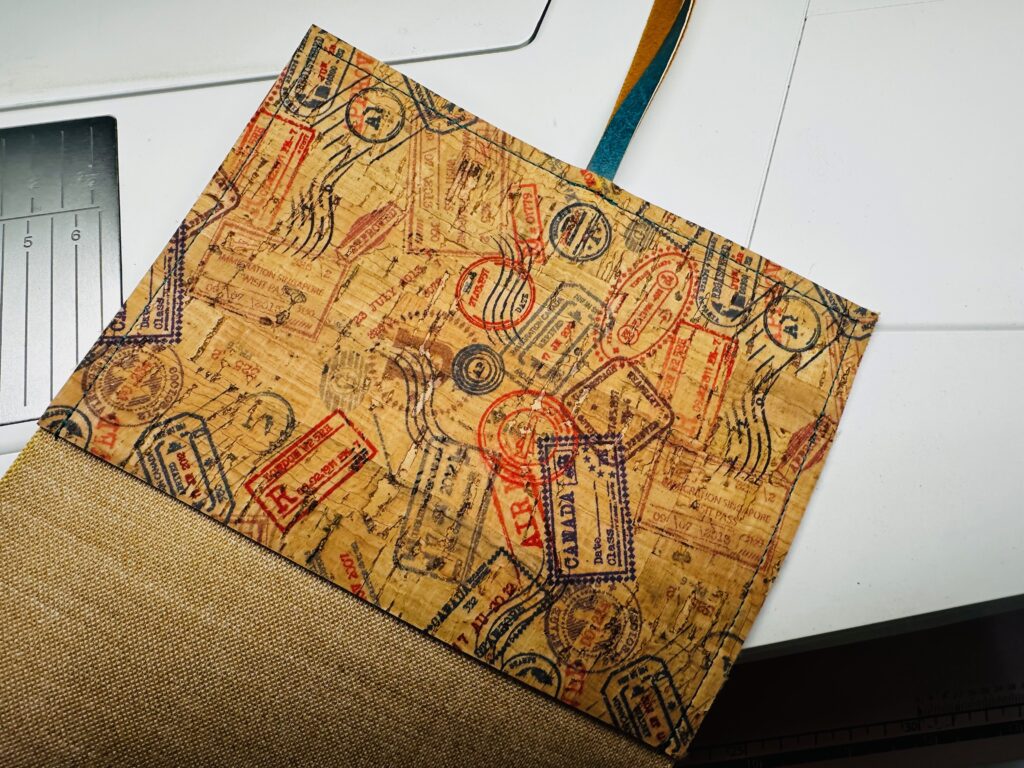
Use a no-fray fabric, such as cork. This project is unlined and has all exposed seams. You will see all the pocket stitching lines on the exterior right side, too. So either choose a decorative thread or a thread that matches, depending on personal preference. If you want the thread to be less noticeable, choose a printed cork fabric with a busy pattern, such as the Postage Stamp print featured here.
TRAVEL TECH ROLL SUPPLIES
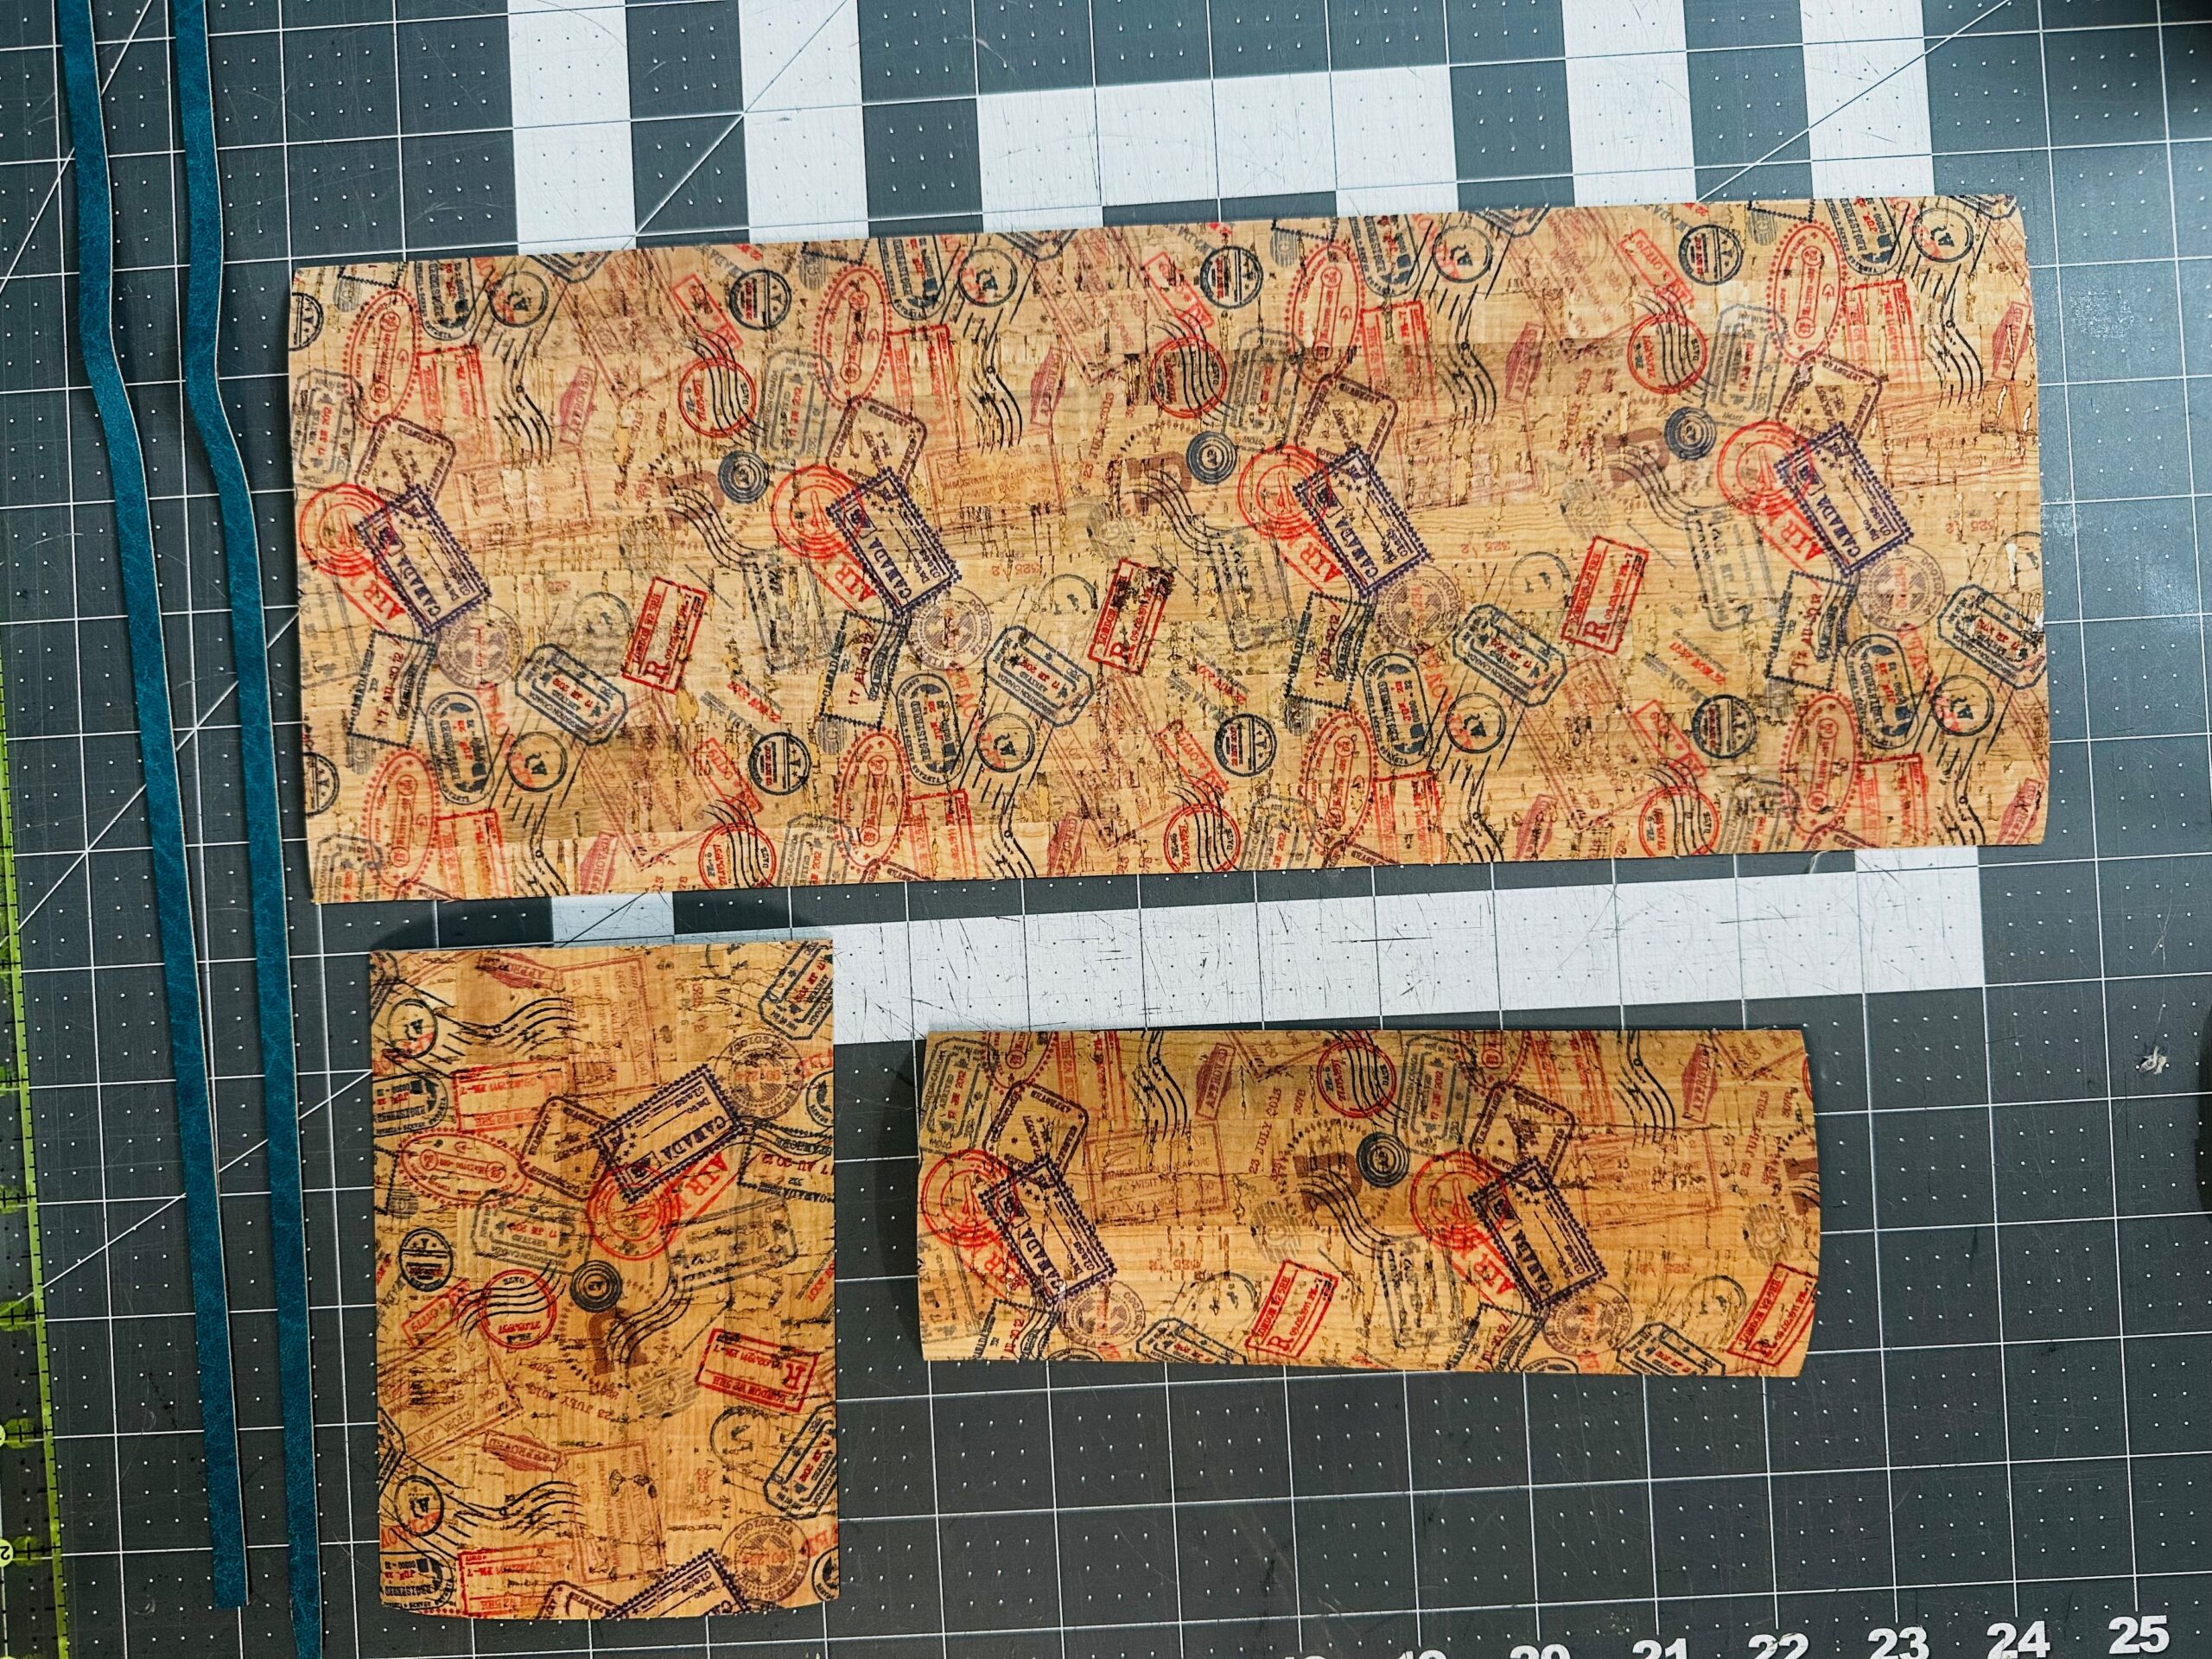
- 10″ x 18″ rectangle of Cork Fabric (I used the cork & threads from the Quilted Cork Travel Set Kit)
- Sulky Poly Deco Thread (962-1162)
- Size 80/12 Microtex Needle
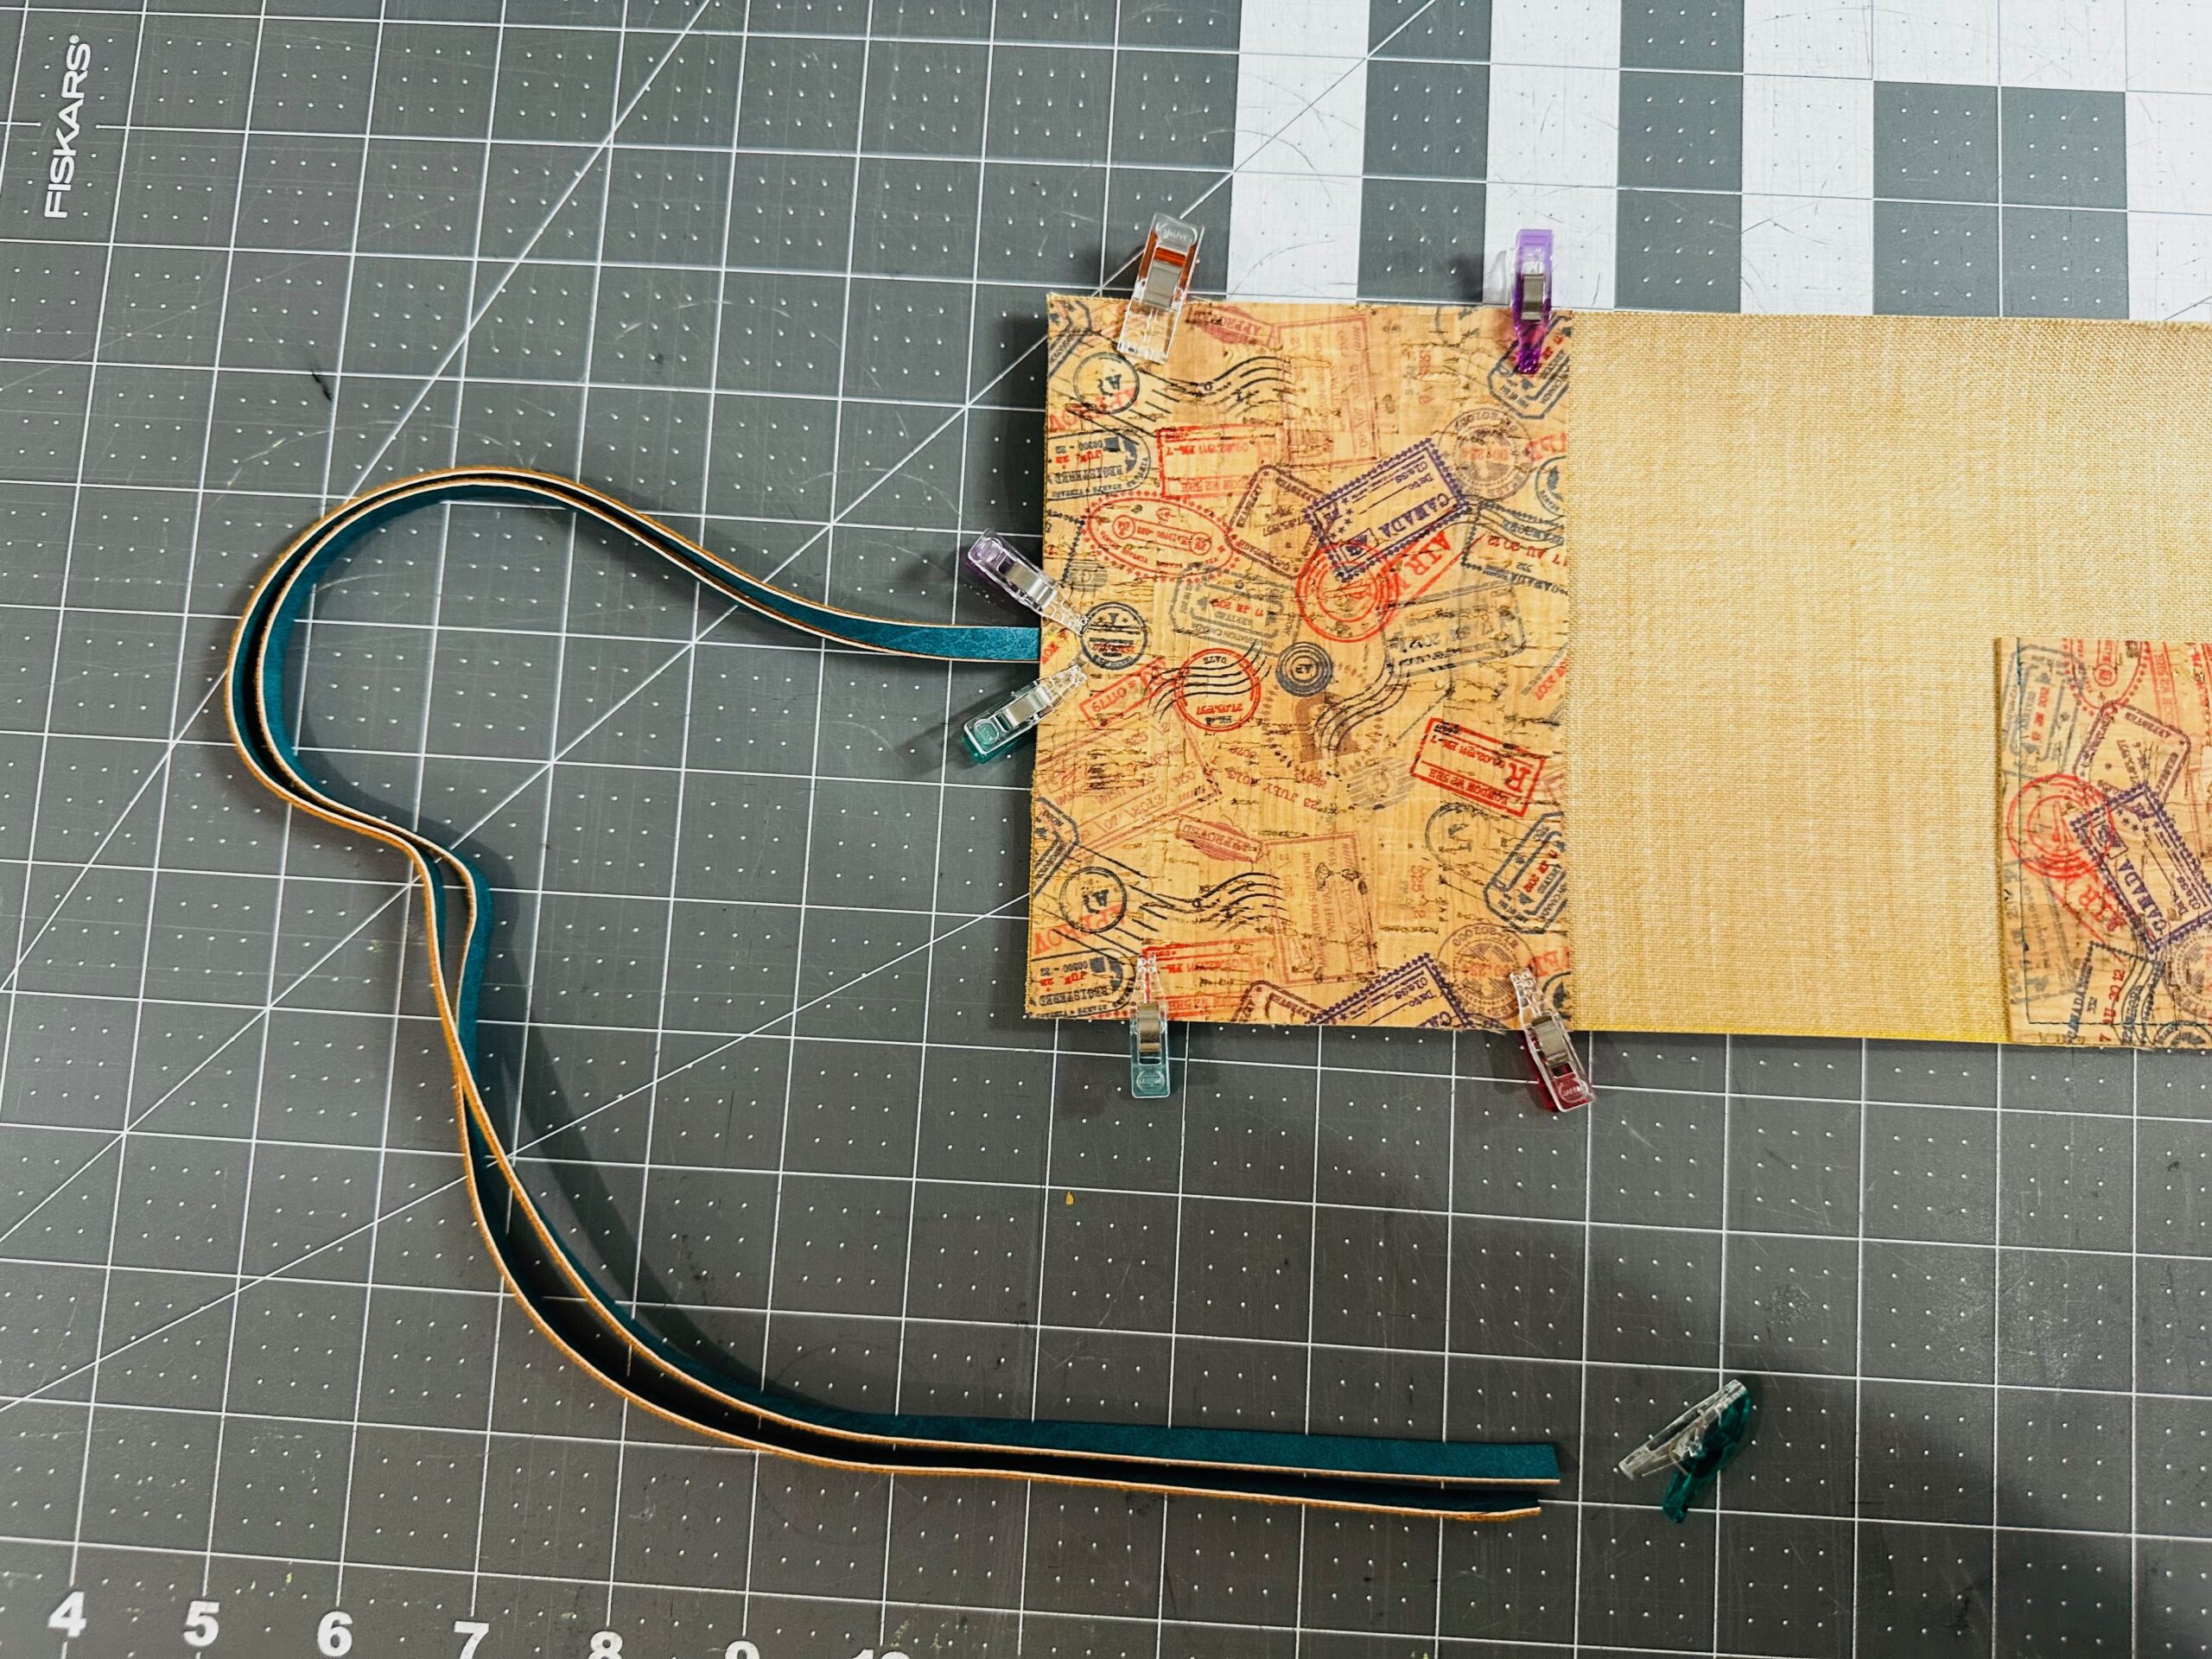
- (2) 1/4″ x 20″ lengths of coordinating cork or faux leather fabric (ties)
- Clover Wonder Clips
Optional Machine Embroidery Supplies
- Machine embroidery design no larger than 3 1/2″ square (featured design is “Adventure Awaits,” which was extrapolated from the Lamont Mini Zip Pouch, featured in the Sulky 2025 New Year’s Eve Sew-Along)
- Sulky Tear-Easy Stabilizer
- Sulky 60 wt. Bobbin Thread
- Clear Embroidery Tape
CUTTING & PREP
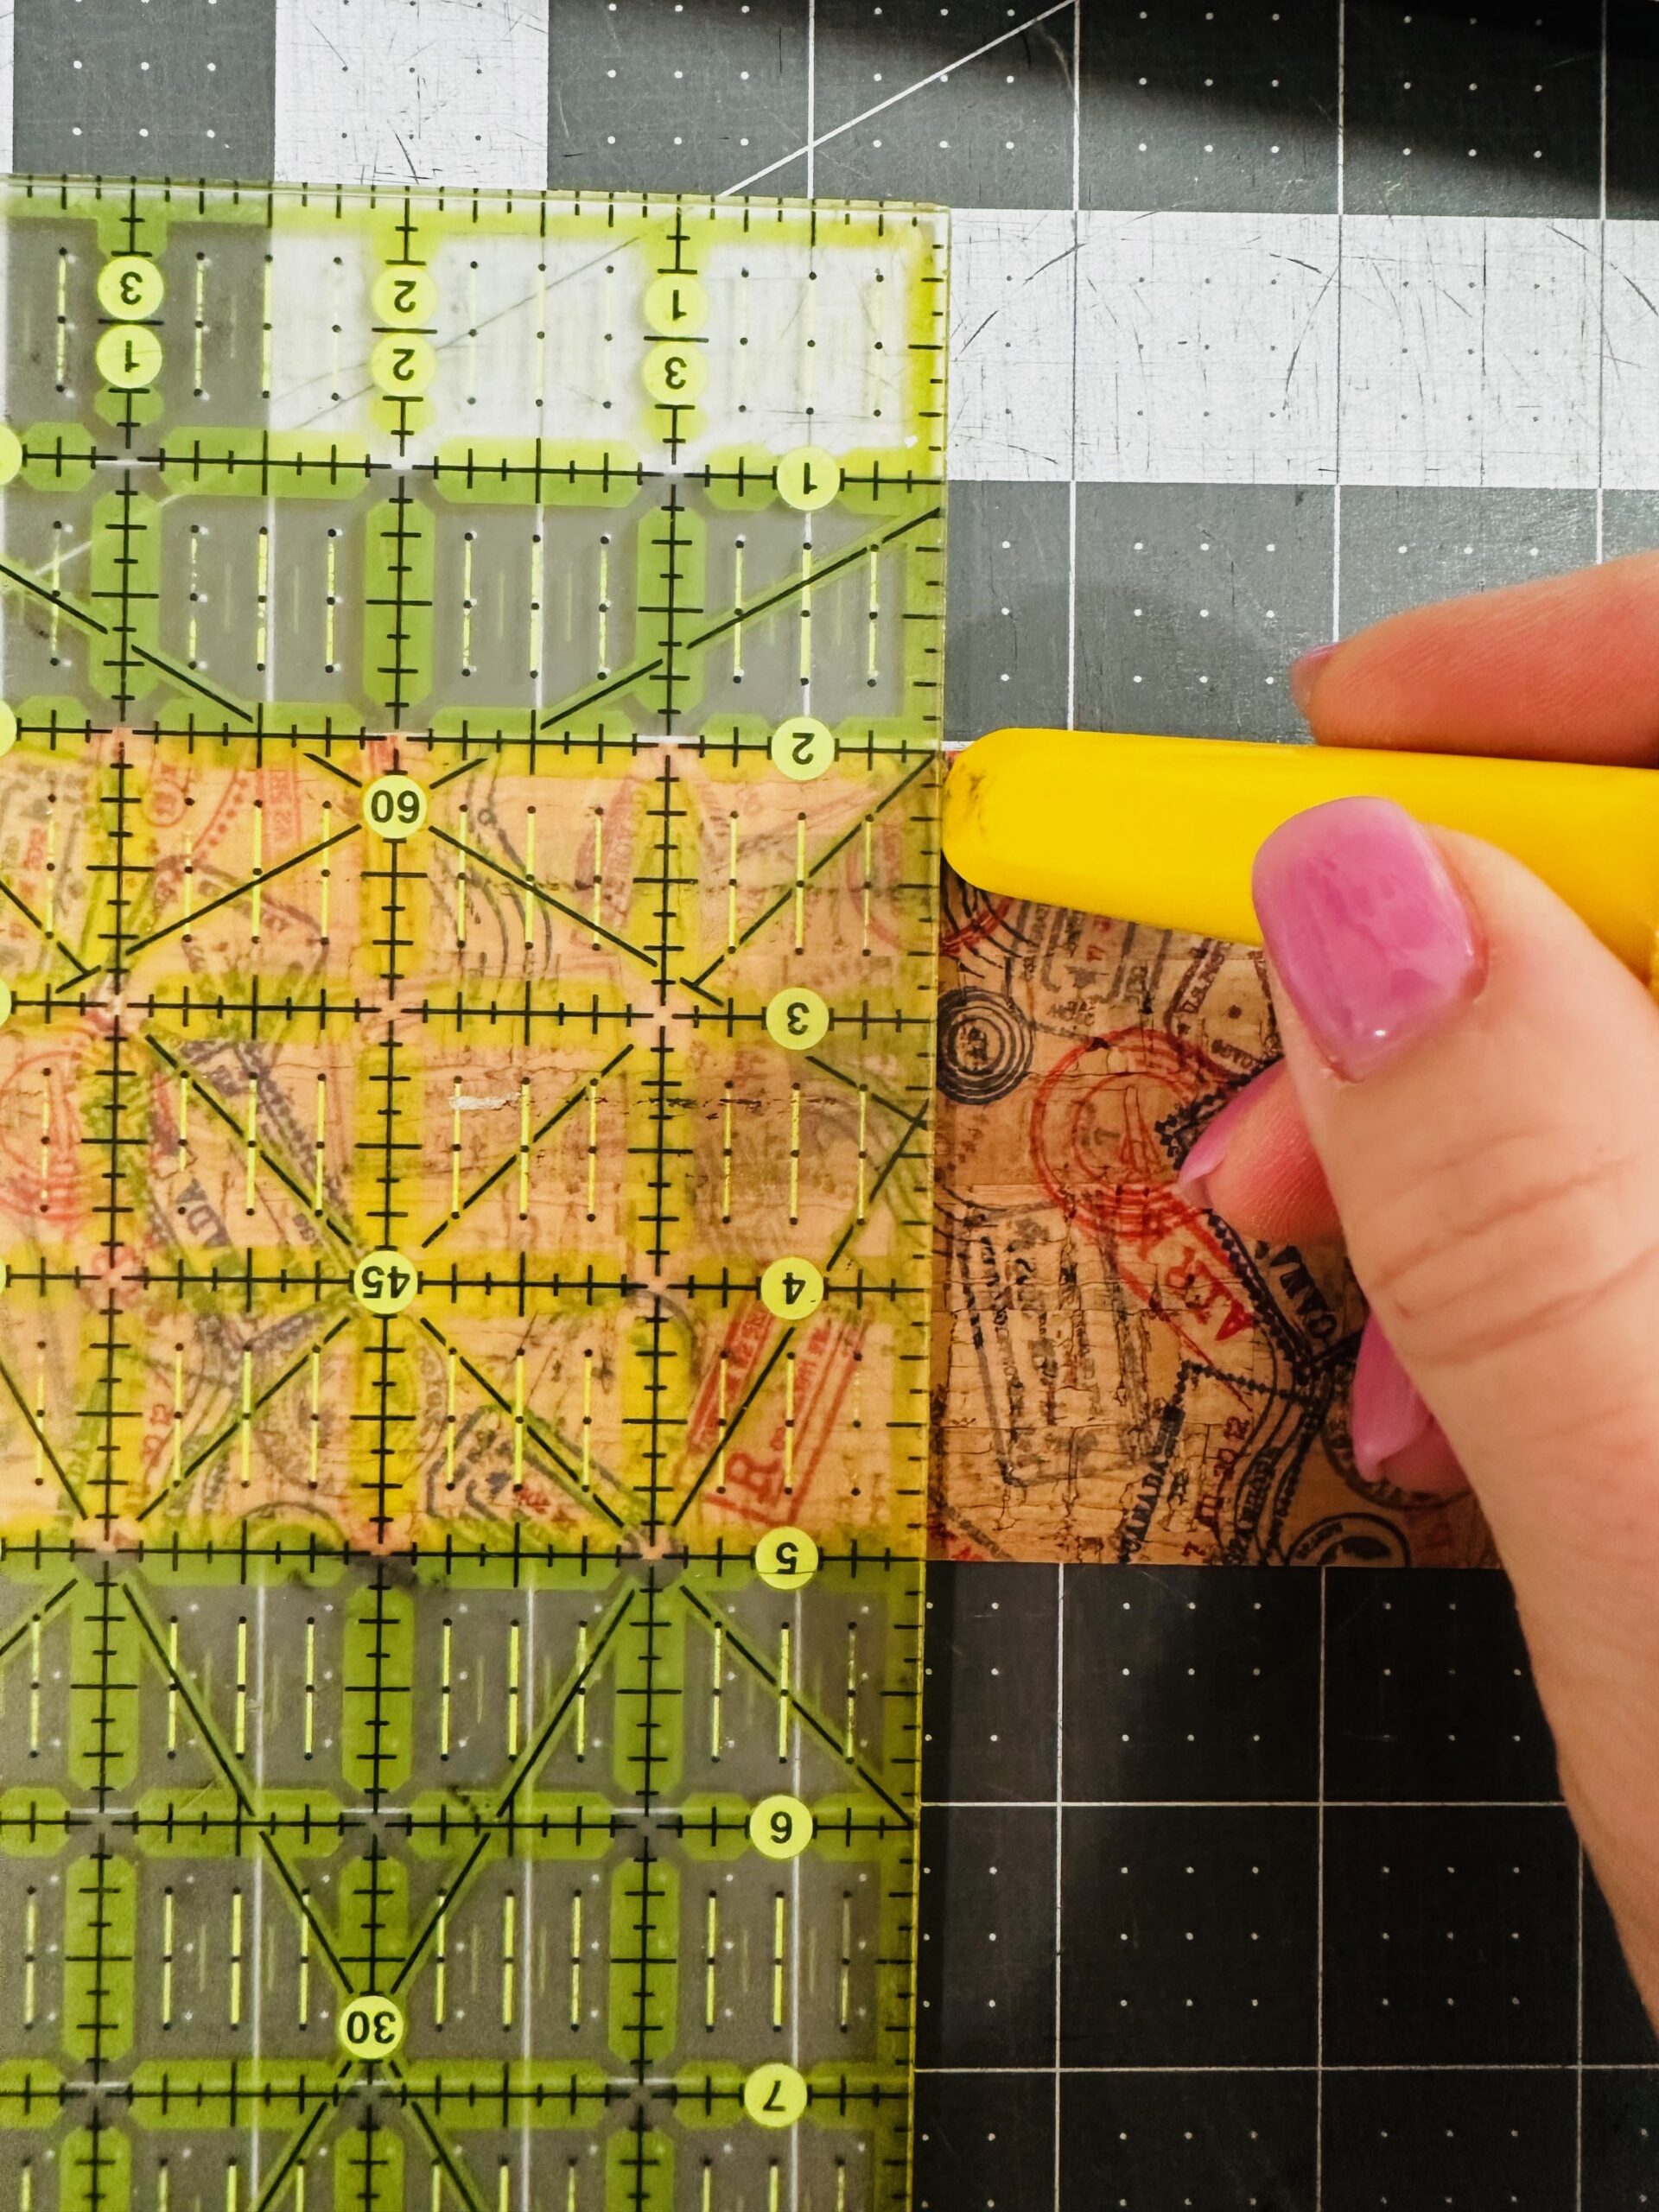
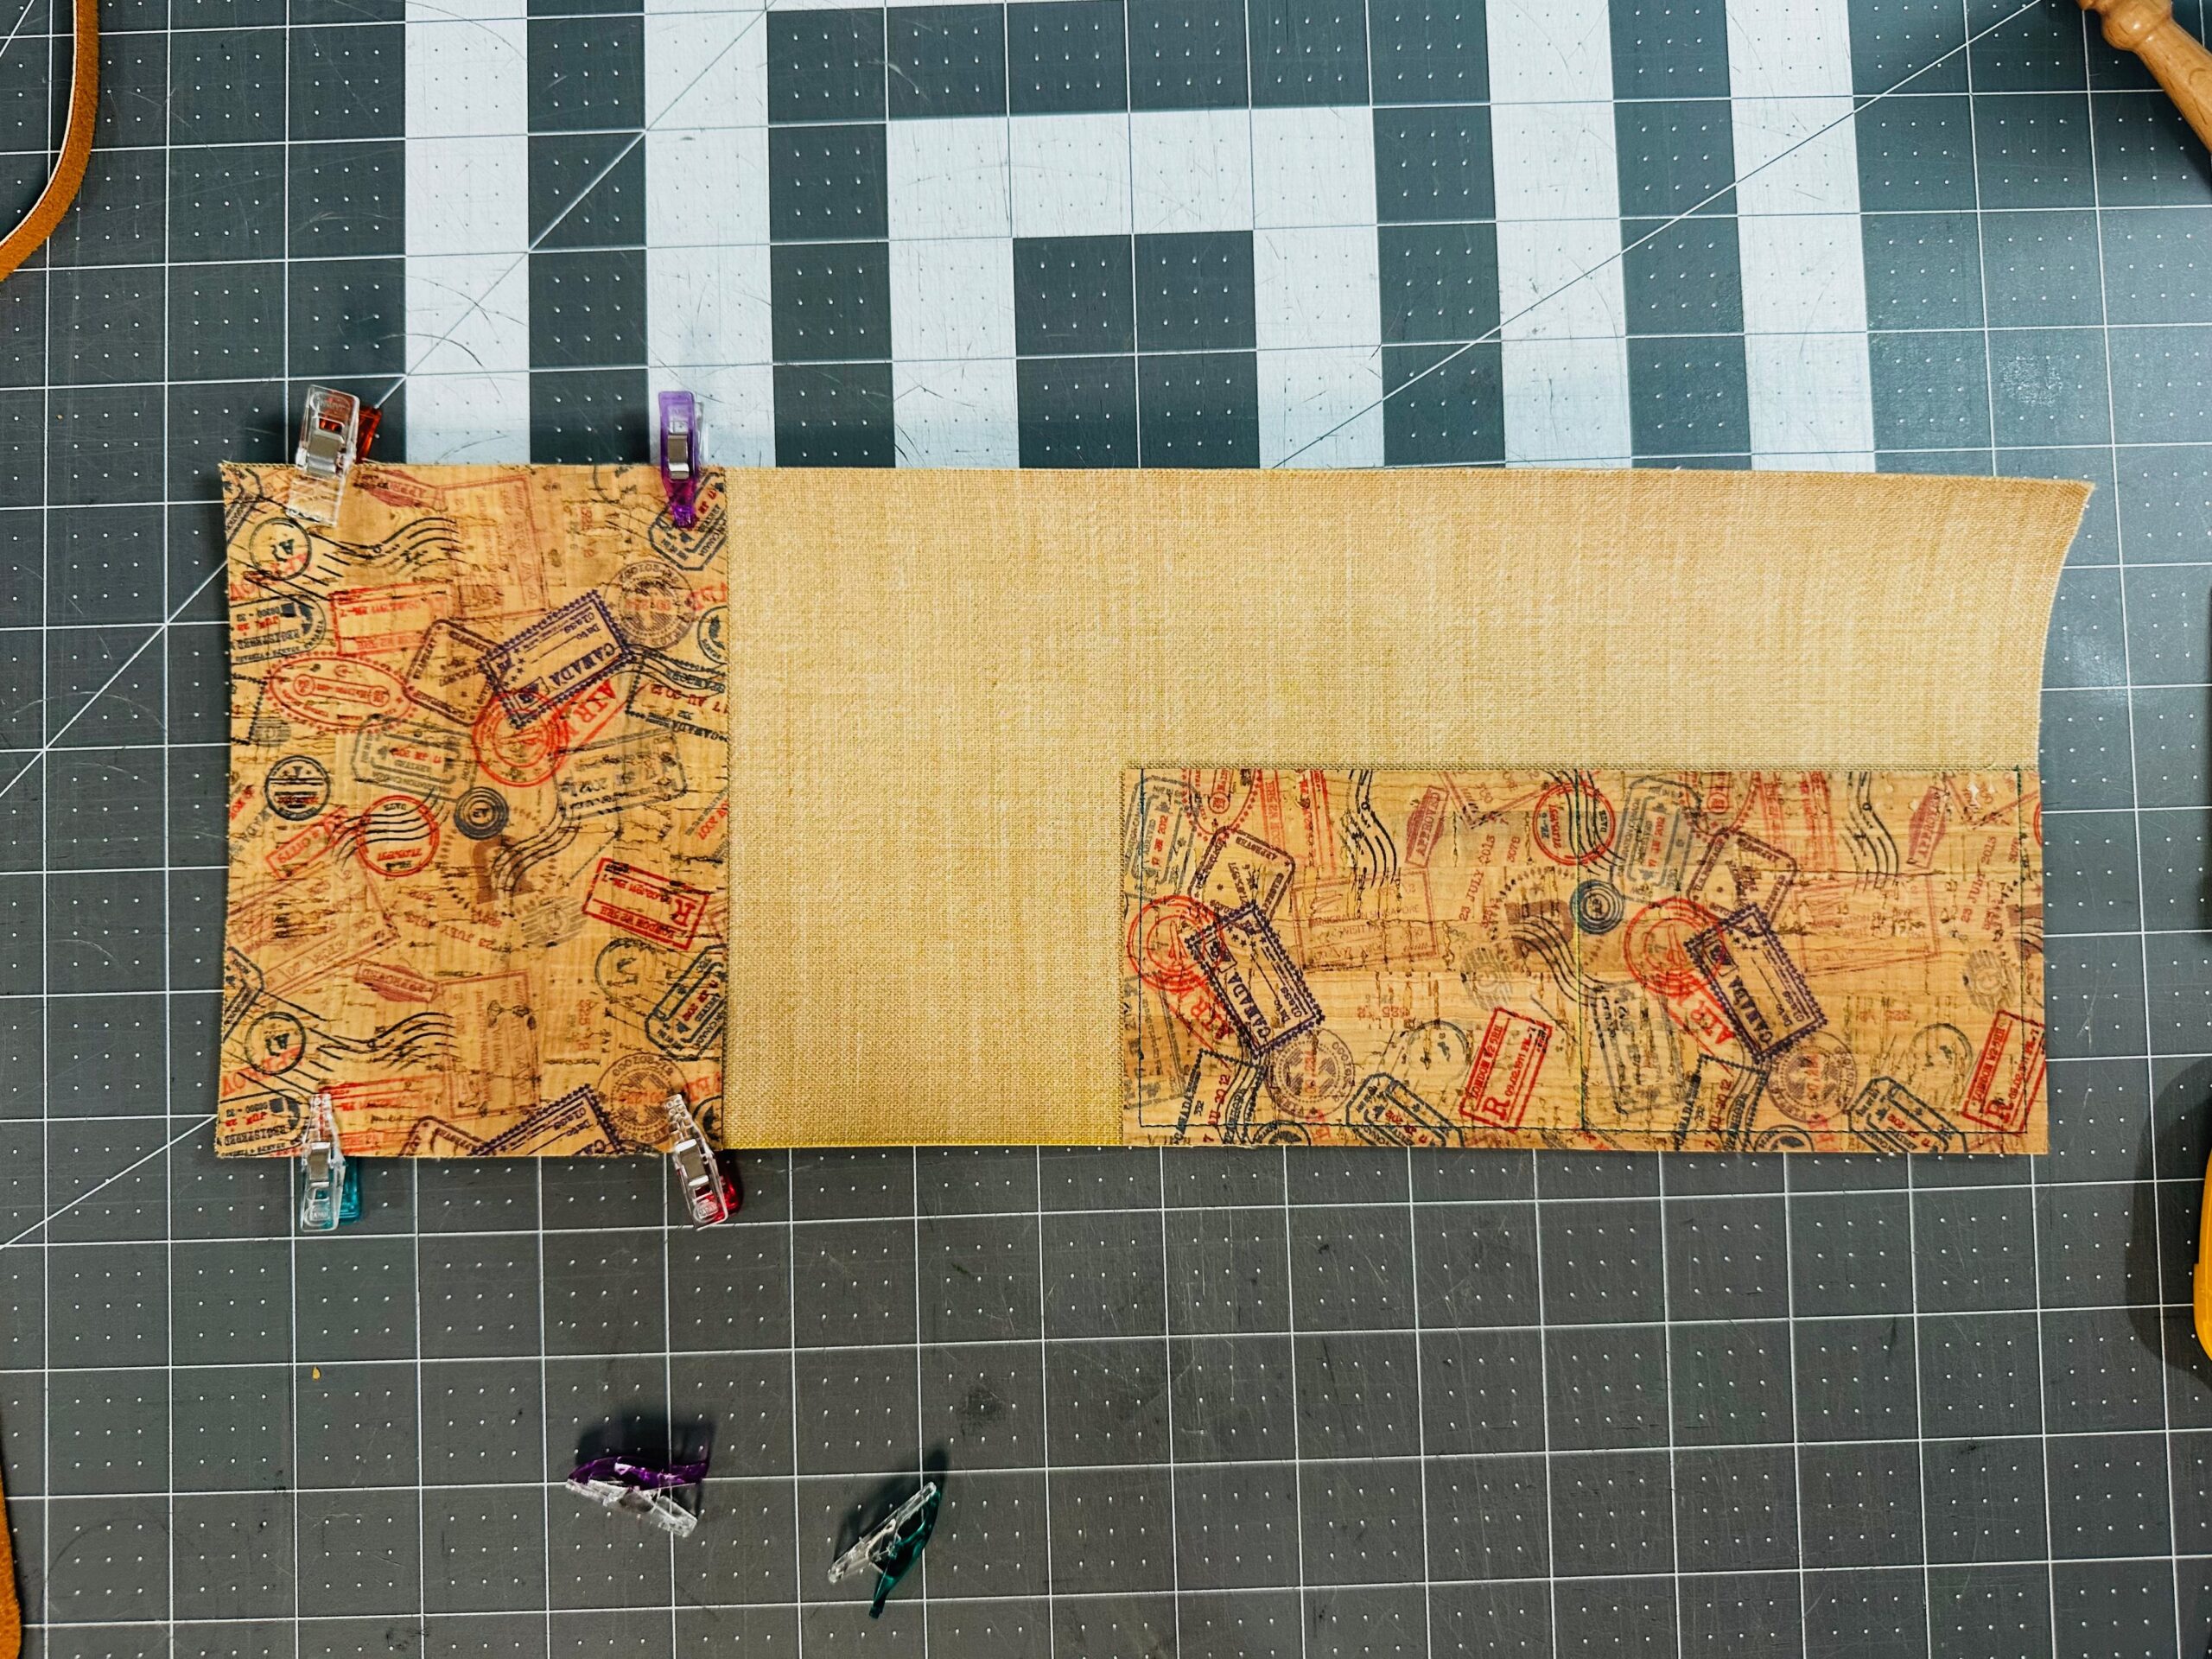
From the cork fabric, cut one 14″ x 5 1/2″ rectangle for the Exterior, one 3″ x 7 1/2″ rectangle for the Divided Pocket and one 5 1/2″ x 4″ rectangle for the Slip Pocket.
Using removable fabric chalk, draw a vertical line down the Slip Pocket center to denote the pocket divider line.
OPTIONAL MACHINE EMBROIDERY
If adding machine embroidery, you may choose to either embroider the Slip Pocket or the Exterior, depending on your chosen design. To embroider the Exterior, measure and mark the desired embroidery palcement, keeping in mind how the project will roll when completed. To embroider the Slip Pocket, mark the desired design center cross marks on the fabric right side, using removable chalk. Use the following instructions that are specific to the Lamont Mini Zip Pouch design (this is an in-the-hoop design that has multiple steps. We are only using this design for the “Adventure Awaits” motif.” If using another design, you can simply hoop the stabilizer, place the fabric over the top and embroider.
Load the Lamont Mini Zip Pouch design into the machine. Note: If you have embroidery software, you can delete all of the steps aside from step 4, which are the “Adventure Awaits” stitches. Then, resave the design as a “new” design and import it into your machine. If you don’t have embroidery software, follow these instructions:
Hoop a piece of Tear-Easy Stabilizer.
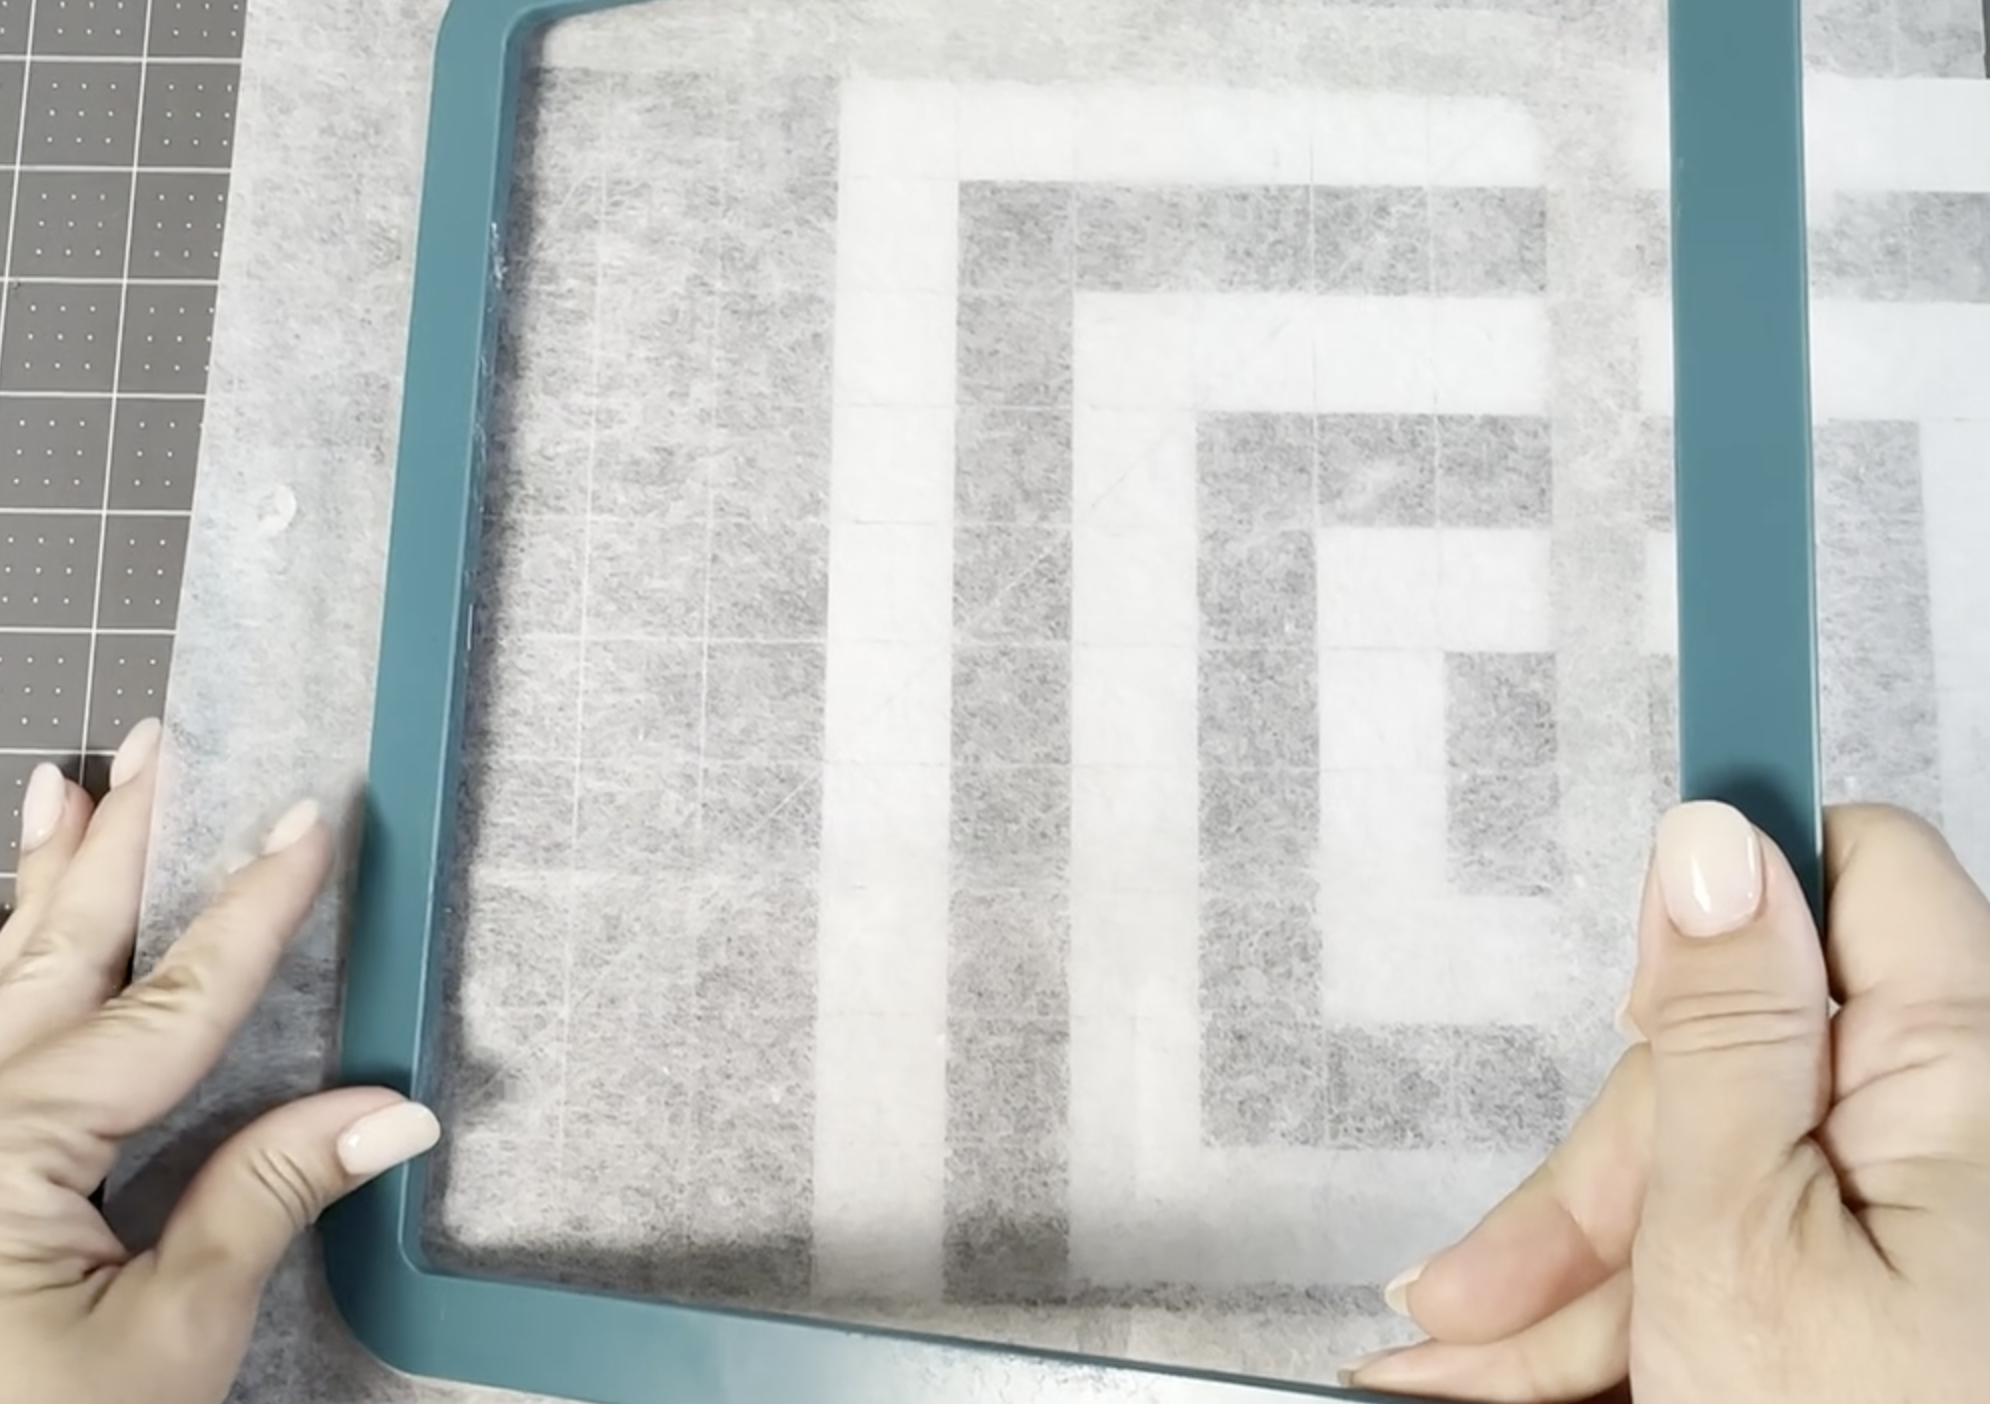
Skip step 1, which are the placement stitches for the Mini Zip Pouch and zipper.
Stitch step 2, which are the zipper tacking stitches. The only reason we are stitching this step is to provide a design placement aid.
Next, center the Slip Pocket fabric rectangle right side up on the stabilizer, with one long edge touching the left (lower) zipper tacking stitches. Tape the short and opposite long edge to secure.
Skip step 3, which are the tacking stitches that secure the lower fabric to the zipper.
Stitch step 4, which are the embellishment stitches. “Adventure Awaits” will embroider onto the fabric. Note: The image below shows a zipper. You will NOT have a zipper in your project! Align the Slip pocket right edge with the leftmost zipper placement line.
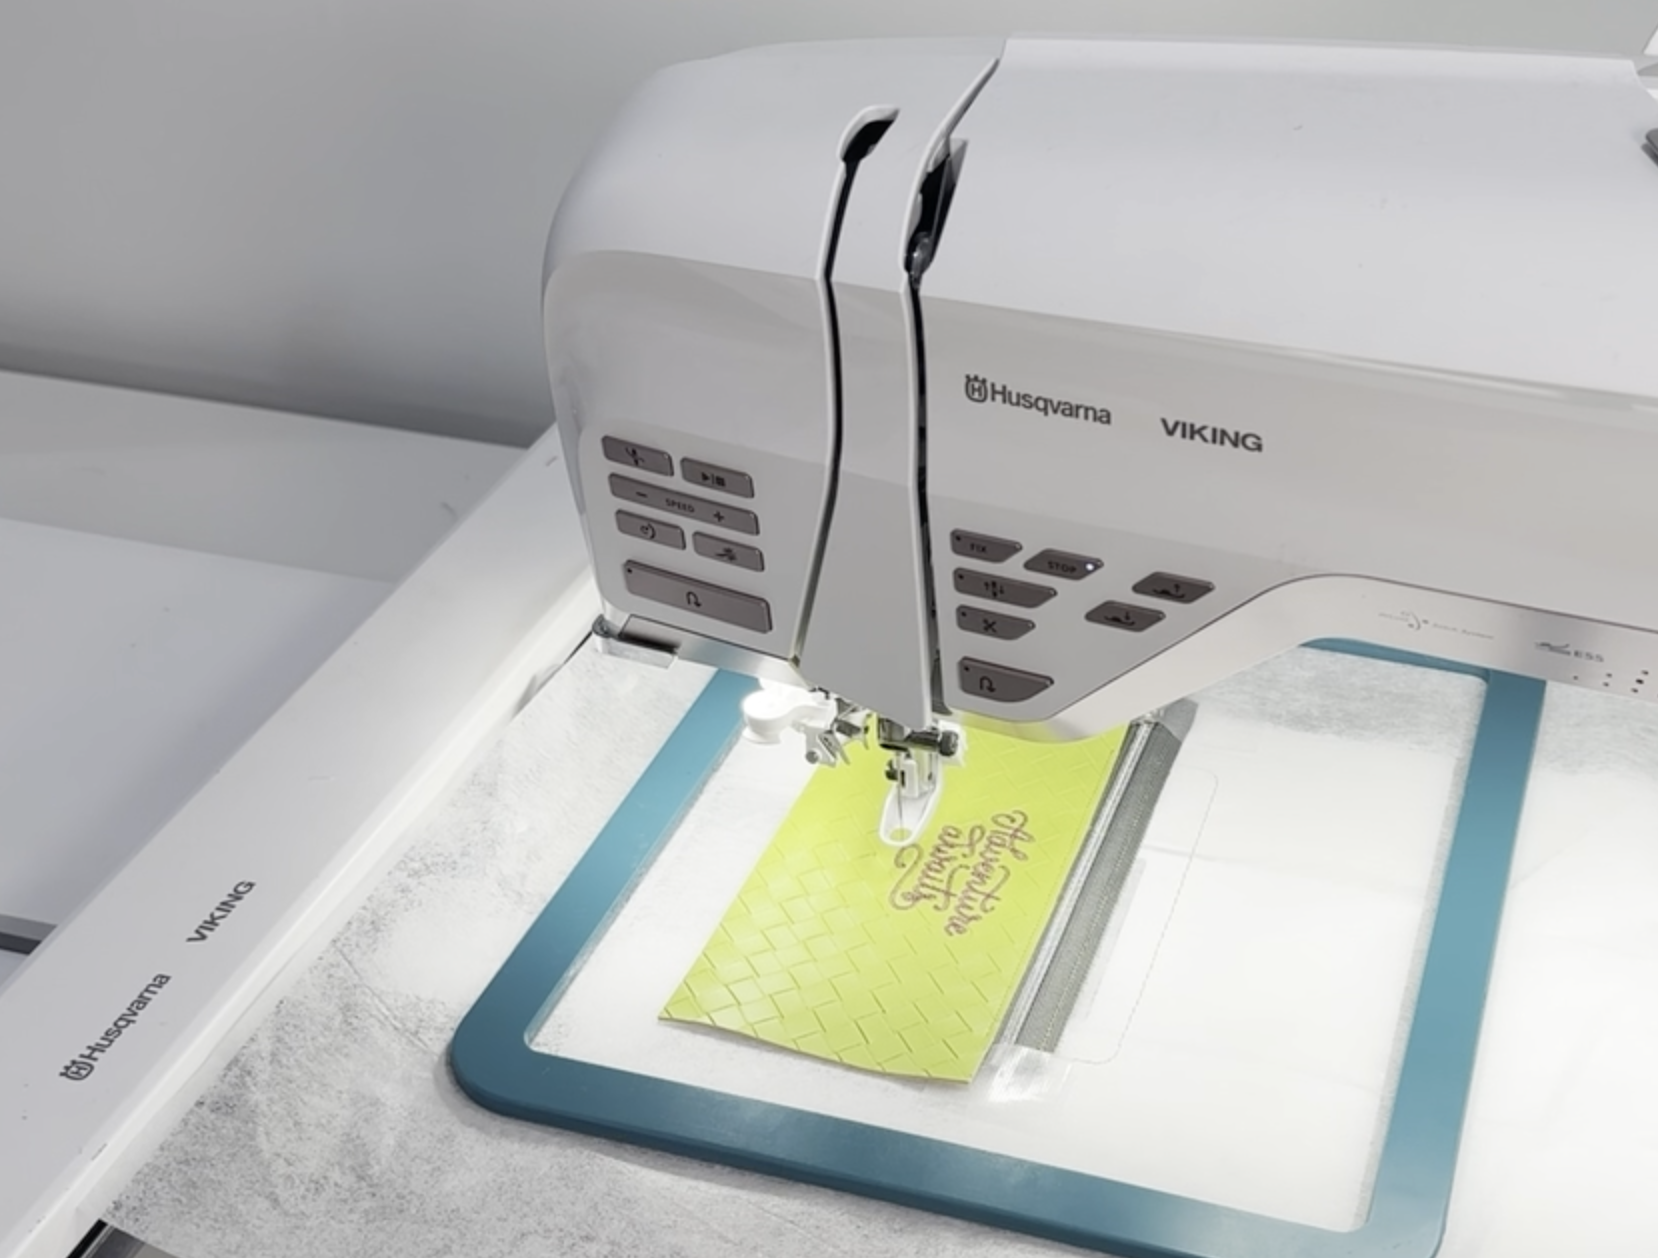
When step 4 is complete, remove the hoop from the machine. Remove the stabilizer from the hoop, and gently tear it away beyond the bobbin stitches.
CONSTRUCTION
Place the Exterior rectangle wrong side up on a flat work surface. Position the Divided Pocket against the lower-right corner, aligning the lower edges. Clip in place, and then topstitch 1/8″ from the Divided Pocket sides and lower edge. Then, topstitch along the pocket divider line.
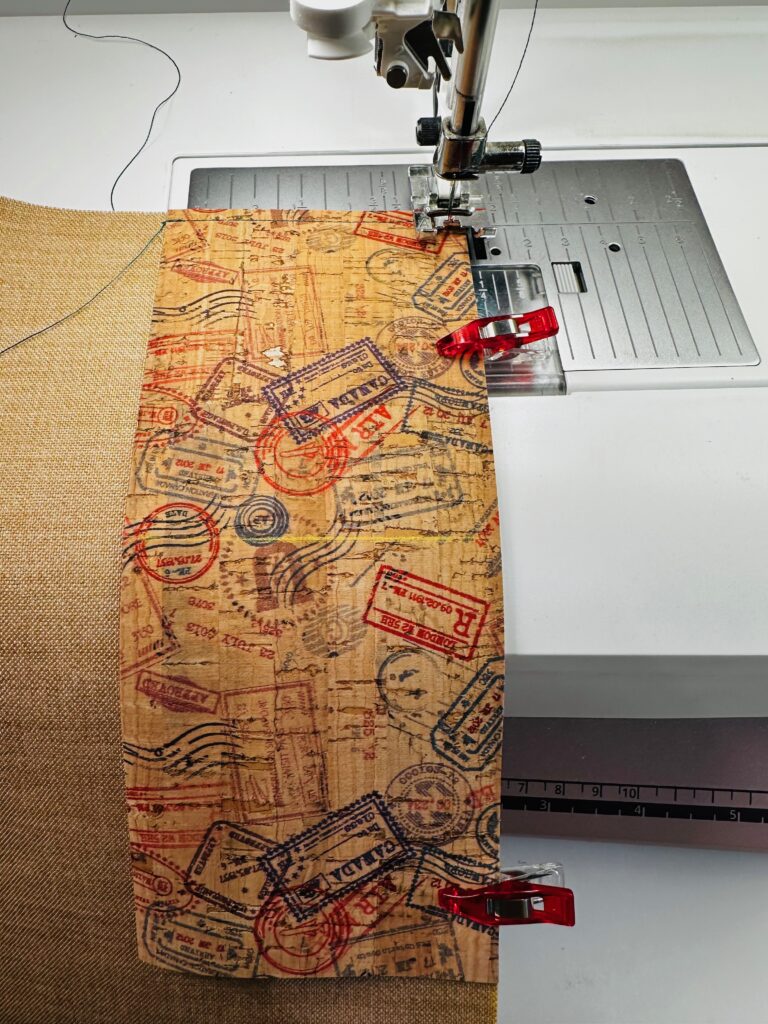
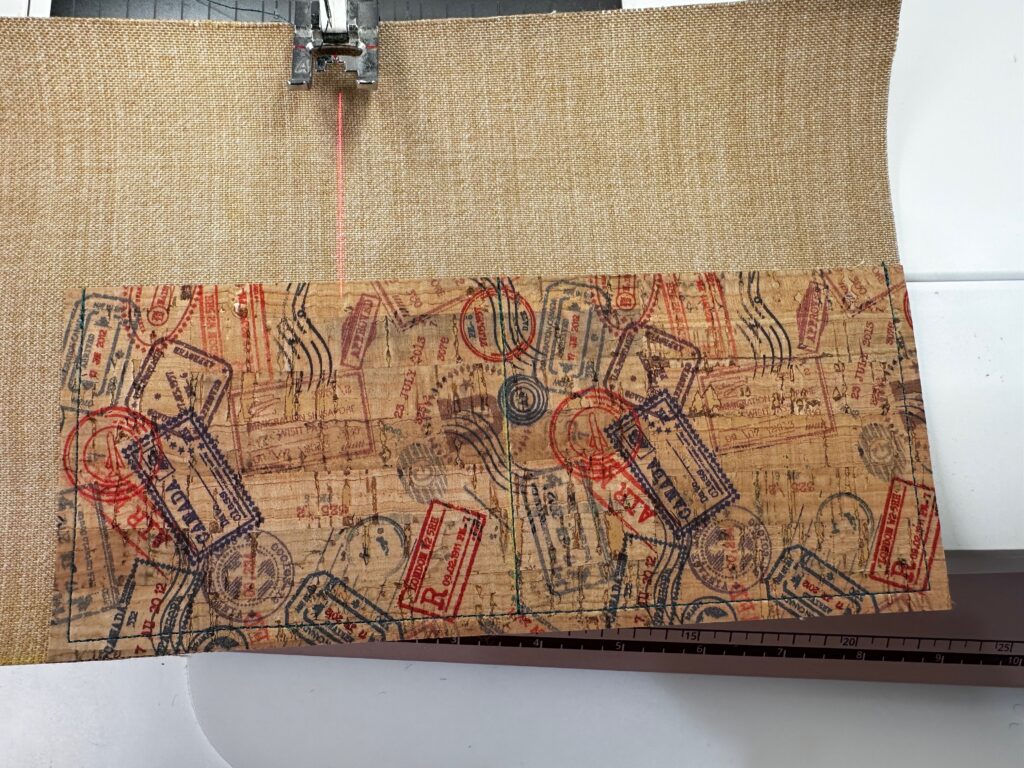

Place the Slip Pocket right side up on the opposite Exterior short edge, matching one pocket long edge to the Exterior left edge. Clip in place.
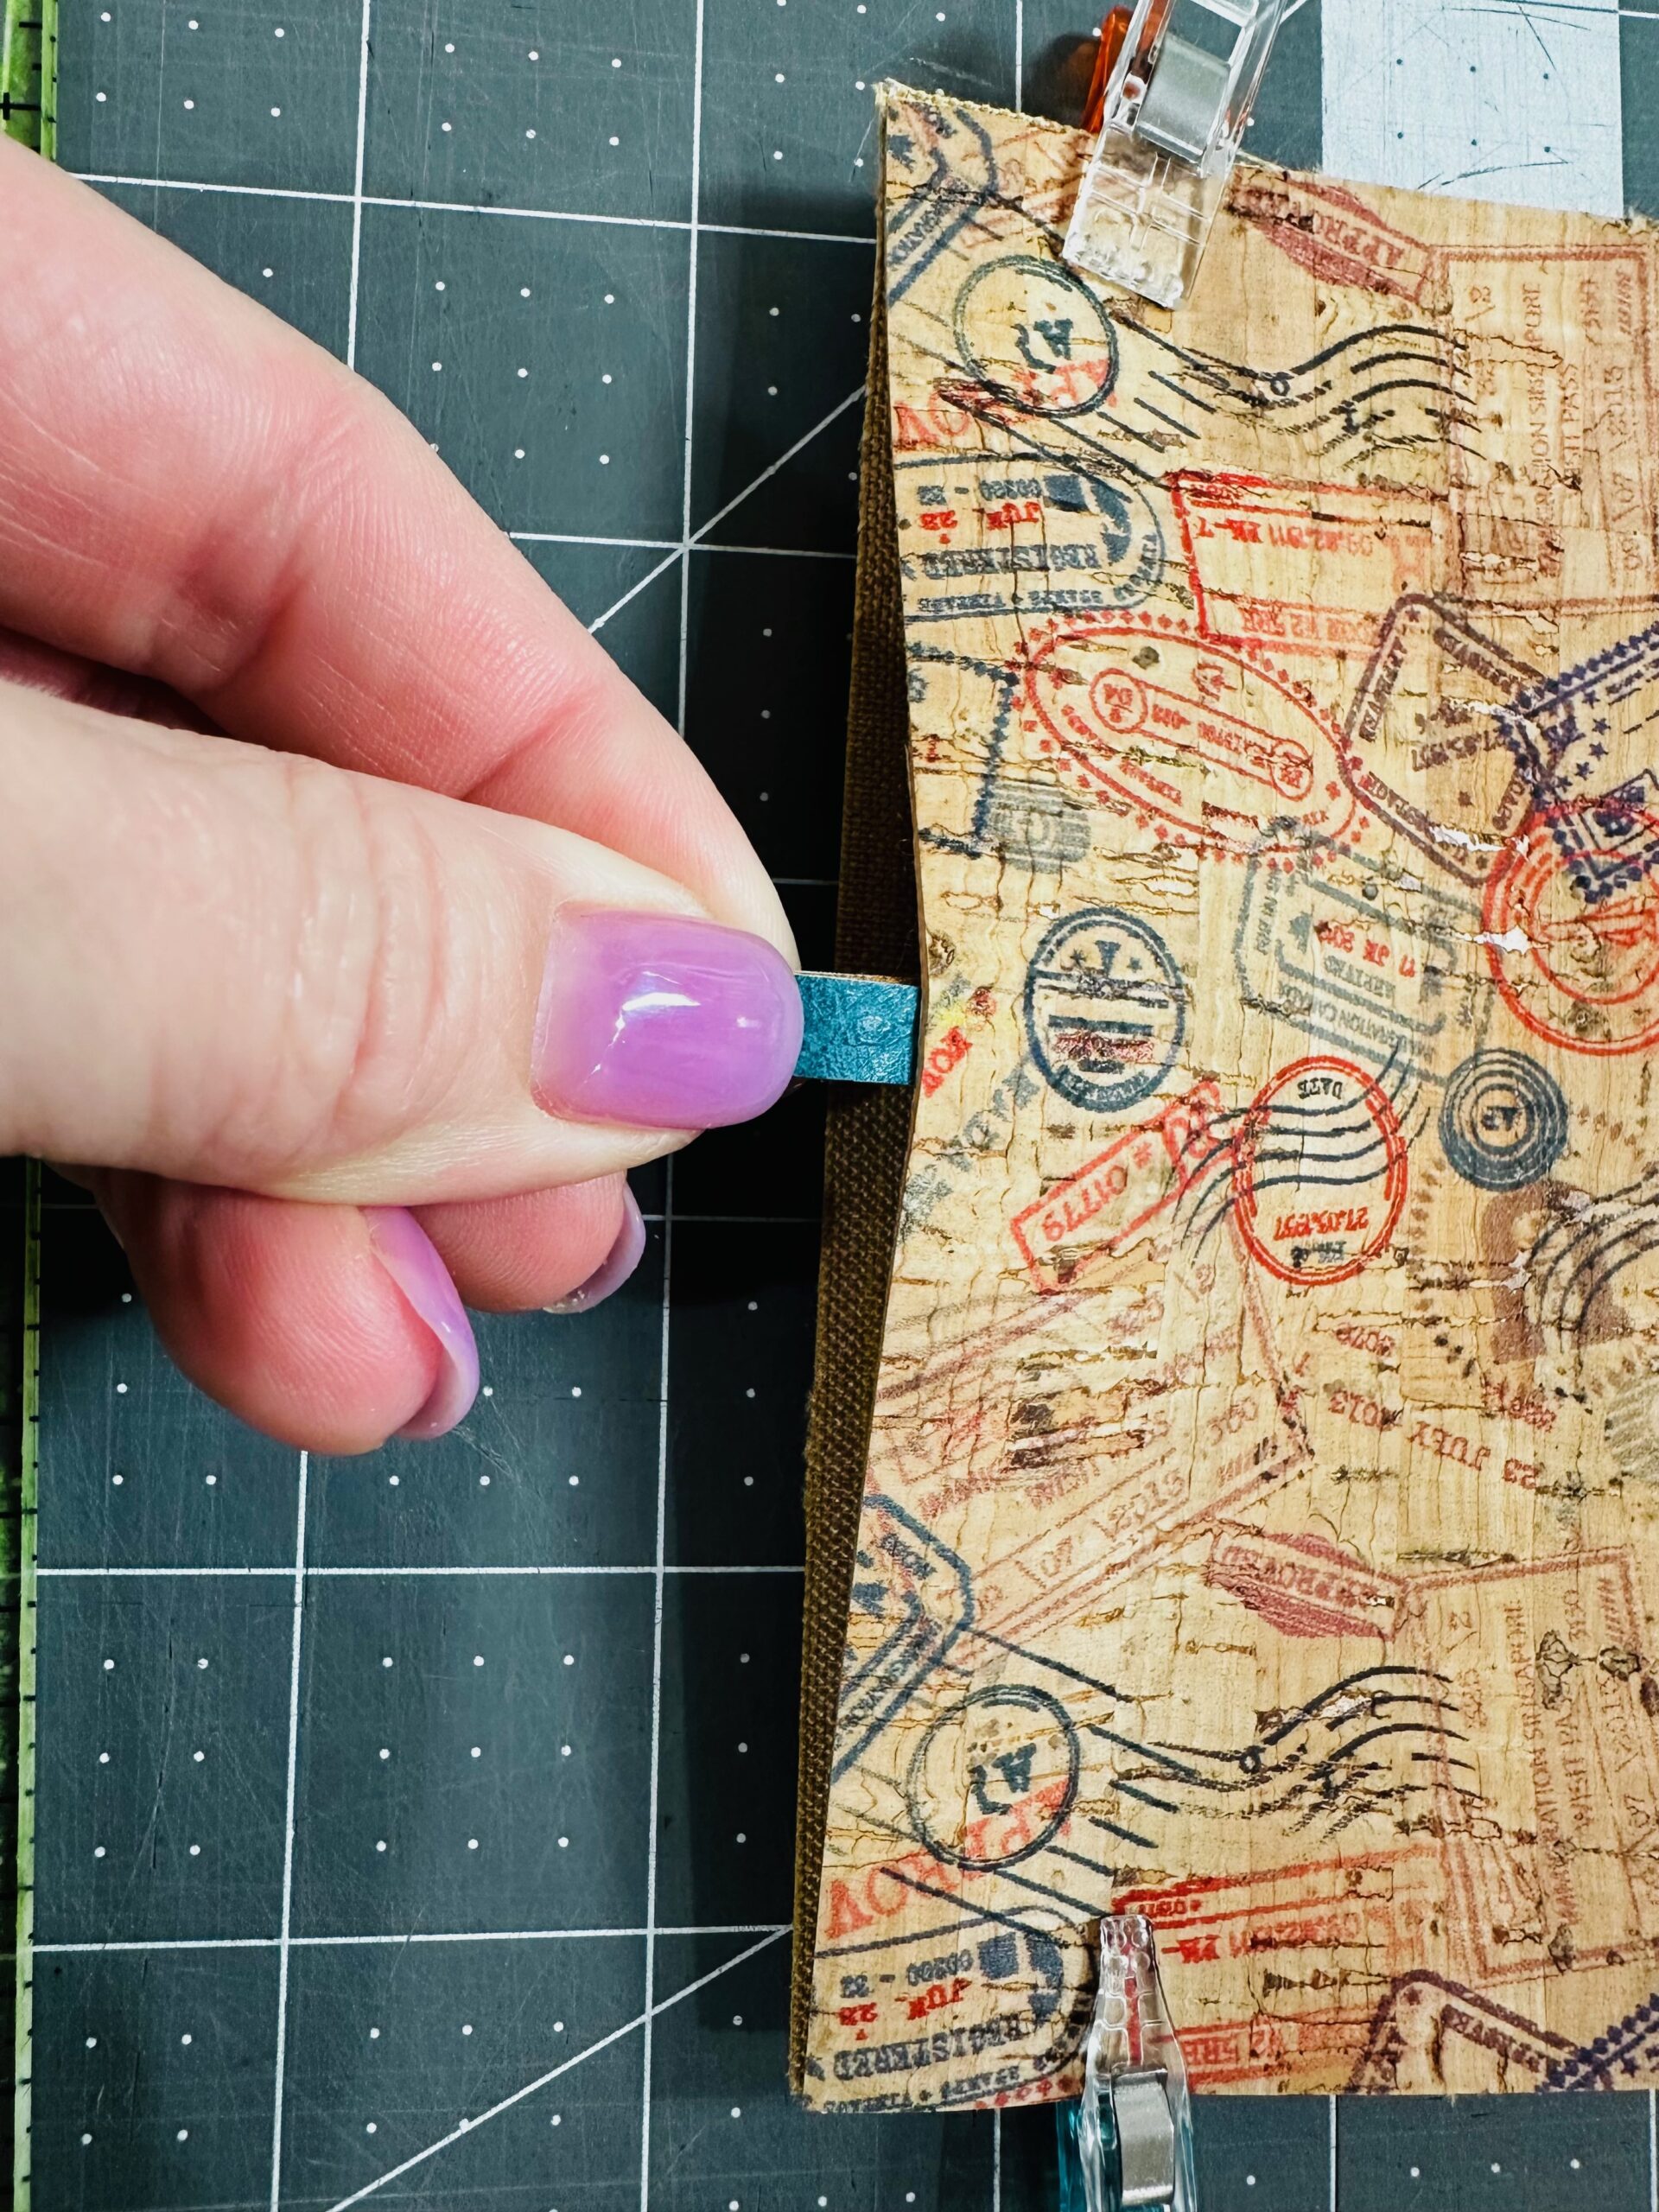
Position one end of each tie along the center of the Slip Pocket/Exterior left edge. Insert the tie ends 1/2″ inside, between the layers. Clip in place.
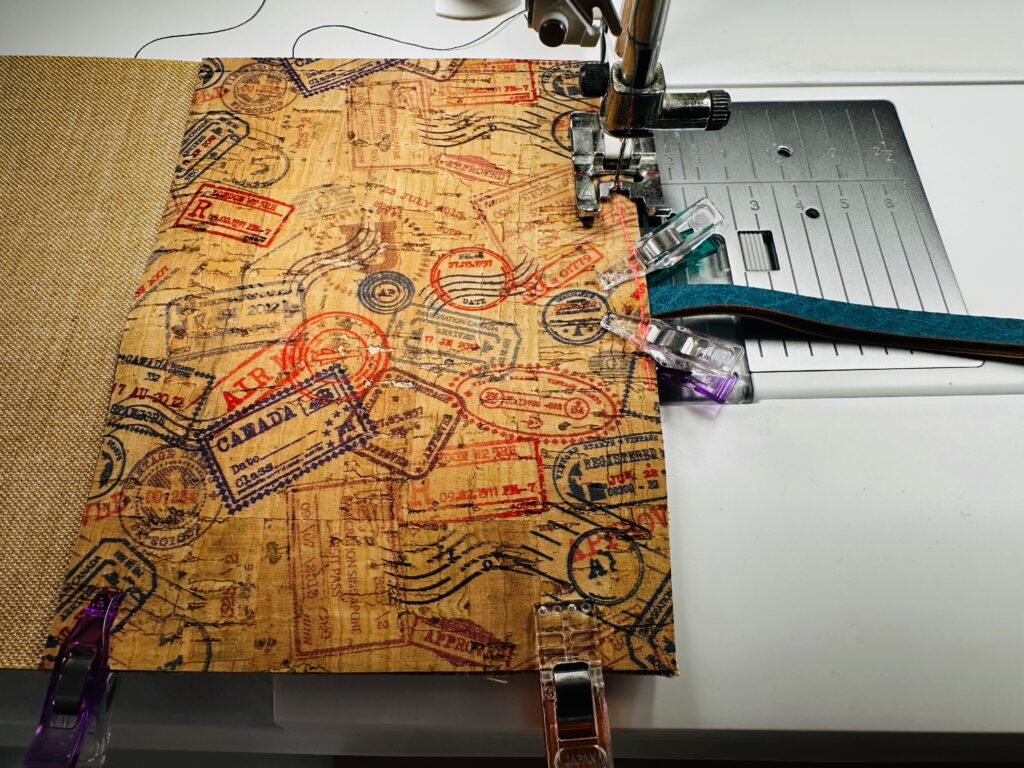
Then, topstitch 1/8″ from the Slip Pocket edges. The topstitching will also secure the tie ends, so backstitch across that area a couple of times to secure.
USE THE TRAVEL TECH ROLL
Insert items into the pockets, such as small charging cords, ear buds, business cards, stickers, etc. Roll up the project, starting with the short edge opposite the ties. Then tie the ties around the roll to secure.