DRAWSTRING JEWELRY POUCH GIFT
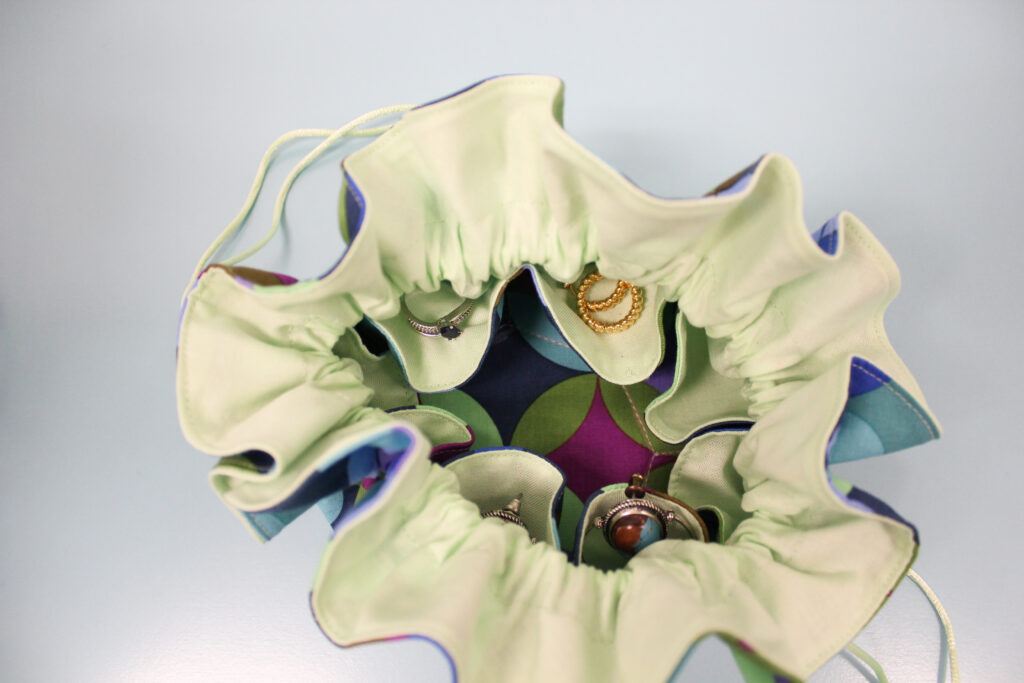
This Drawstring Jewelry Pouch project is perfect for storing earrings, bracelets, necklaces and more when you’re on the go or simply want to keep your accessories tidy in a pretty pouch. Keep the Jewelry Pouch in your sport or gym bag; take it when traveling; gift it to a special friend for the holidays or any time of year. With interior pockets and a structured base, the pouch stands on its own when cinched, yet also opens flat when in use.
The following instructions go with the Sulky Drawstring Jewelry Pouch Pattern. The PDF pattern itself contains the templates you need to create the pouch. Purchase the pattern for $4.99 to have the printable, downloadable, written instructions with images and templates. Or you can choose to draw your own circles to your desired dimensions to create a size you like and use the below instructions as a guide to the construction. This pattern was included as a download with our Butterflies & Blooms Spring Mystery Box, which also contained all the supplies needed to make the pouch! Interested in a Mystery Box? Our Warm & Toasty Mega Mystery Box is available NOW! CHECK IT OUT >
DRAWSTRING JEWELRY POUCH SUPPLIES
- Drawstring Jewelry Pouch Pattern
- Sulky 50 wt. Cotton Thread
- (2) fat quarters of quilting cotton fabric (outer & lining)
- (2) 4” squares & (2) 2” squares of Sulky Stiffy™ Stabilizer
- 2 yards of 2mm satin cording
- (2) 4mm-diameter hole wooden beads
- Organ® size 70/10 Universal Needle
- Removable fabric marker or chalk
- Sulky KK 2000™ Temporary Spray Adhesive
- Sulky Multipurpose Turning Tool
POUCH PREP & CUTTING
Prewash, dry and press the fabrics.
Tile and tape together the pattern templates from the pattern, if using. One is the large circle (outer) and one is the small circle (inner pockets).
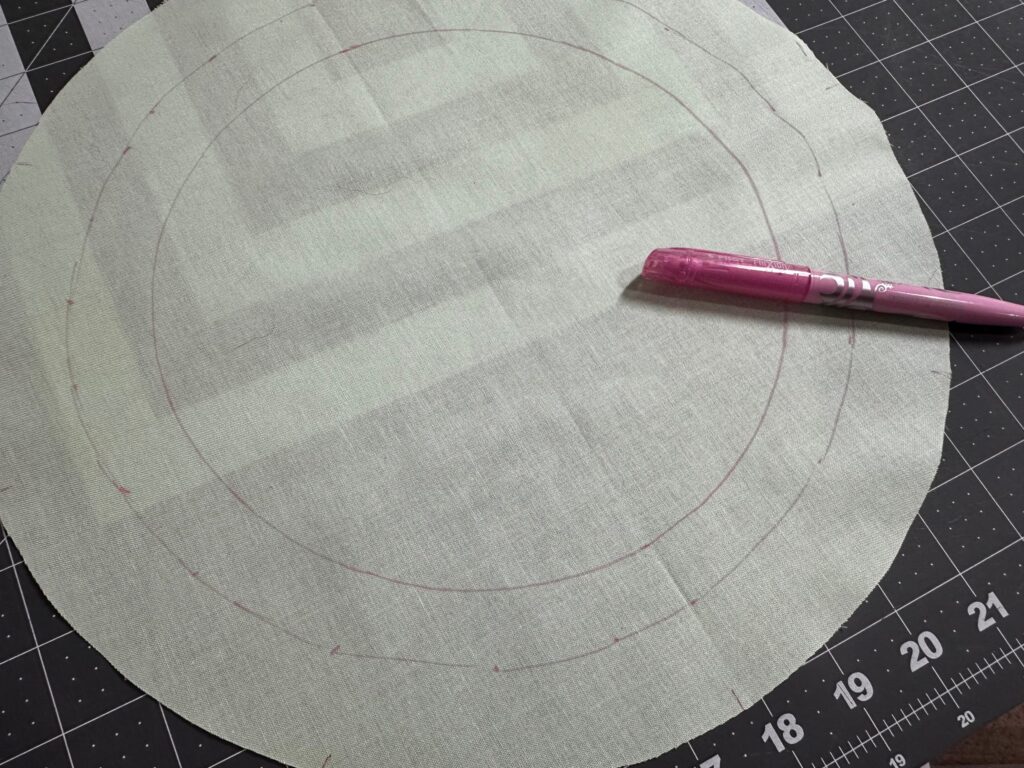
From the outer fabric, cut one large circle and one small circle, using the templates. Use a removable fabric marker or chalk to transfer the notches to both circle right sides. Transfer the buttonhole placement marks to the large circle right side.
Transfer the pocket placement lines and octagon center shape to the small circle right side.
From the lining fabric, cut one small and one large rectangle. Transfer the notch marks to both circles. Transfer the casing stitching lines to the large circle right side.
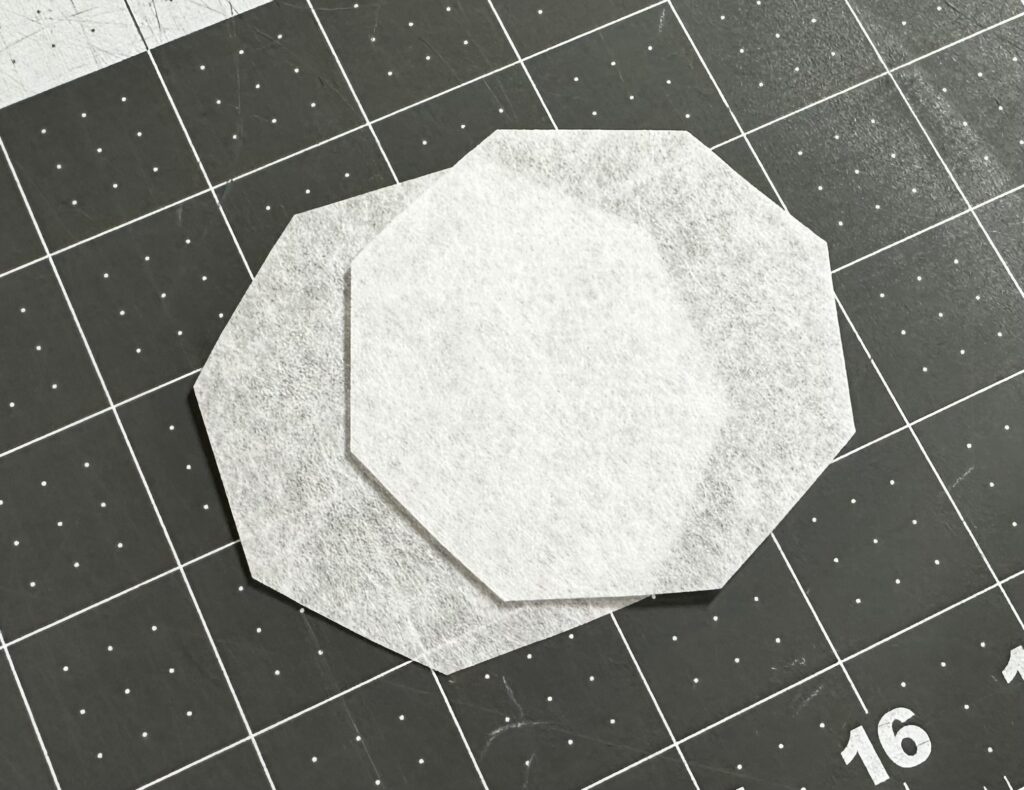
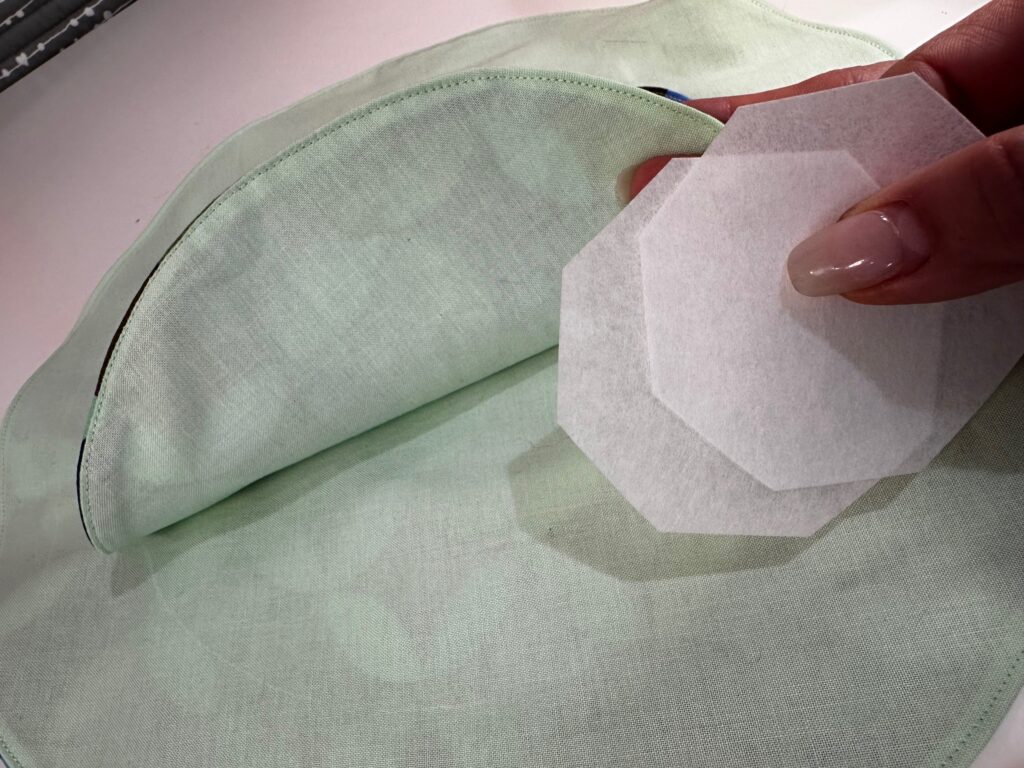
Cut one inner octagon from each large stabilizer square; set aside.
Cut the satin cording in half; set aside.
BUTTONHOLES
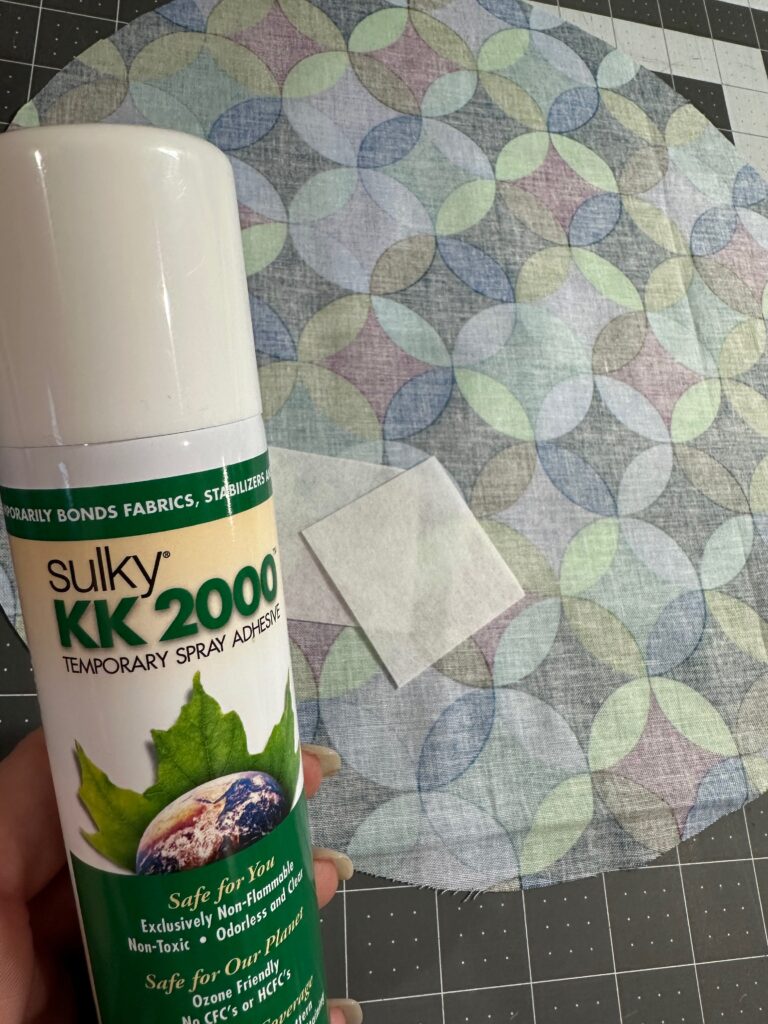
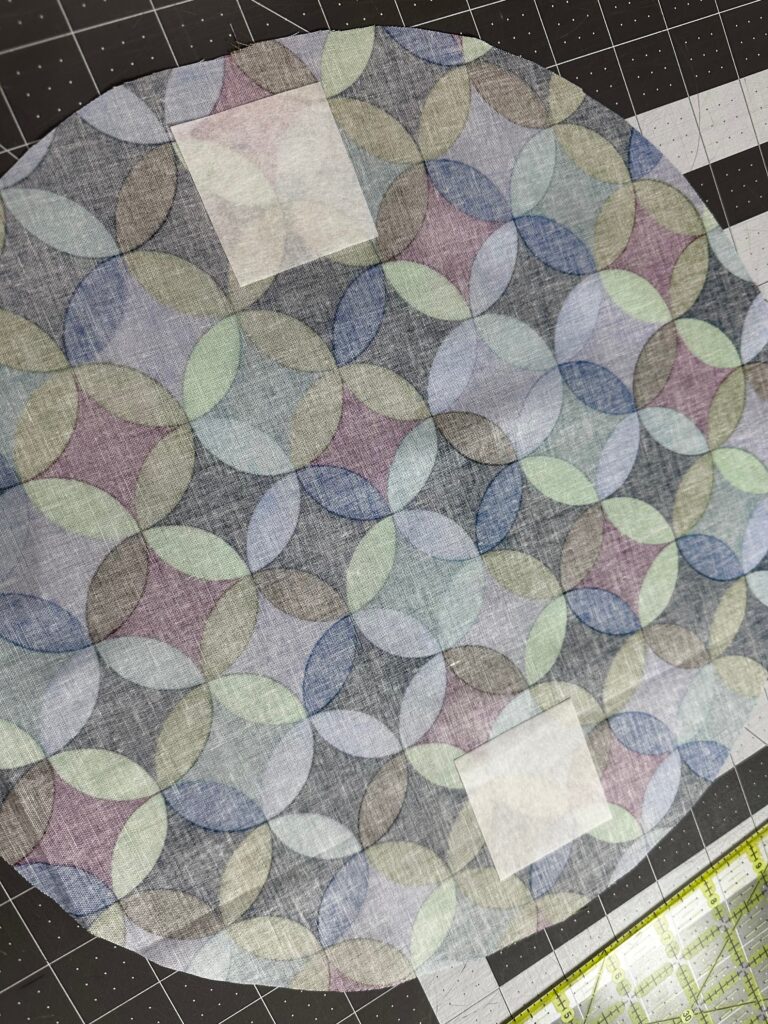
Spray one side of the small Stiffy Stabilizer squares with KK 2000 Temporary Spray Adhesive. Place them along the outer circle wrong side behind each buttonhole mark.
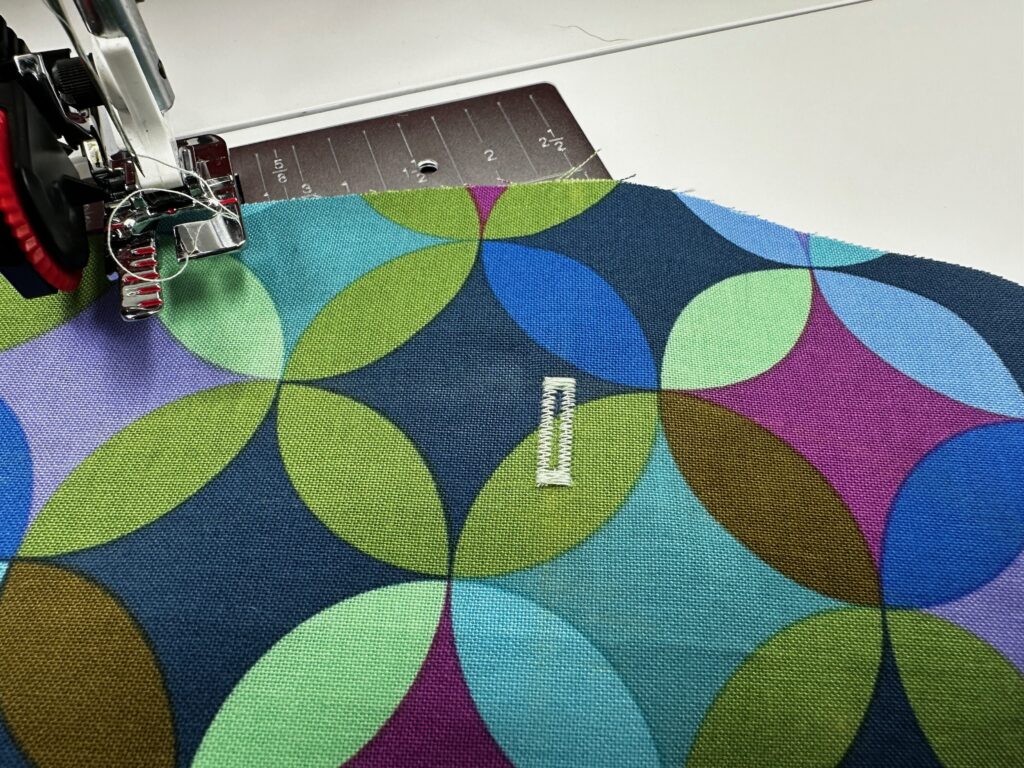
Use your preferred method to stitch a buttonhole at each mark. Either use an automatic or manual buttonhole foot.
TIP: Always test-stitch the buttonhole settings before stitching on the final fabric to ensure the length and stitch width is desirable.
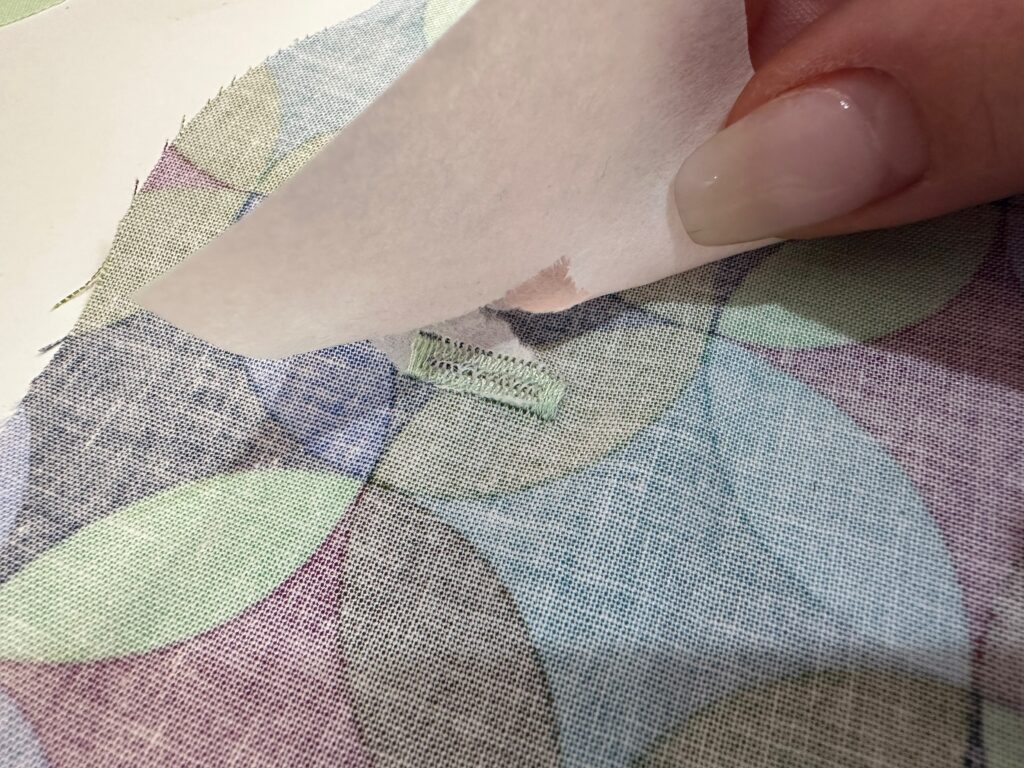
After the buttonholes are complete, carefully tear away the stabilizer beyond the stitching on the fabric wrong side. Press the fabric if needed.
Use a seam ripper or buttonhole cutter to carefully slice open each buttonhole, without cutting the stitching.
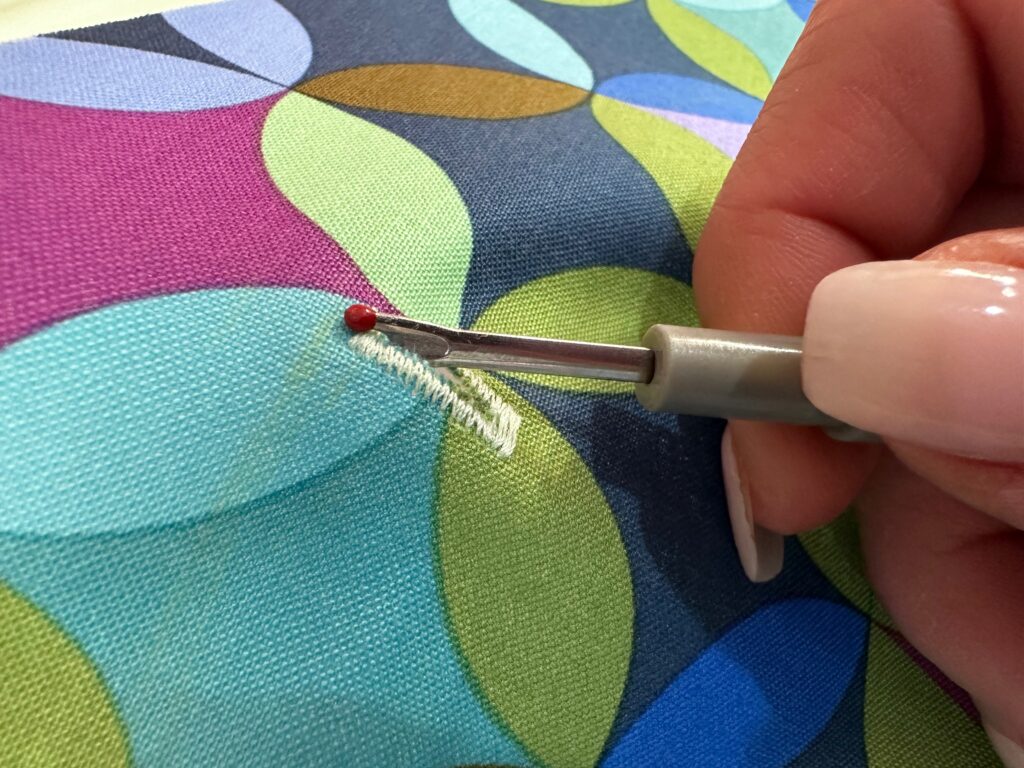
If desired, apply seam sealant or Fray Check to each buttonhole from the fabric wrong side.
JEWELRY POUCH CONSTRUCTION
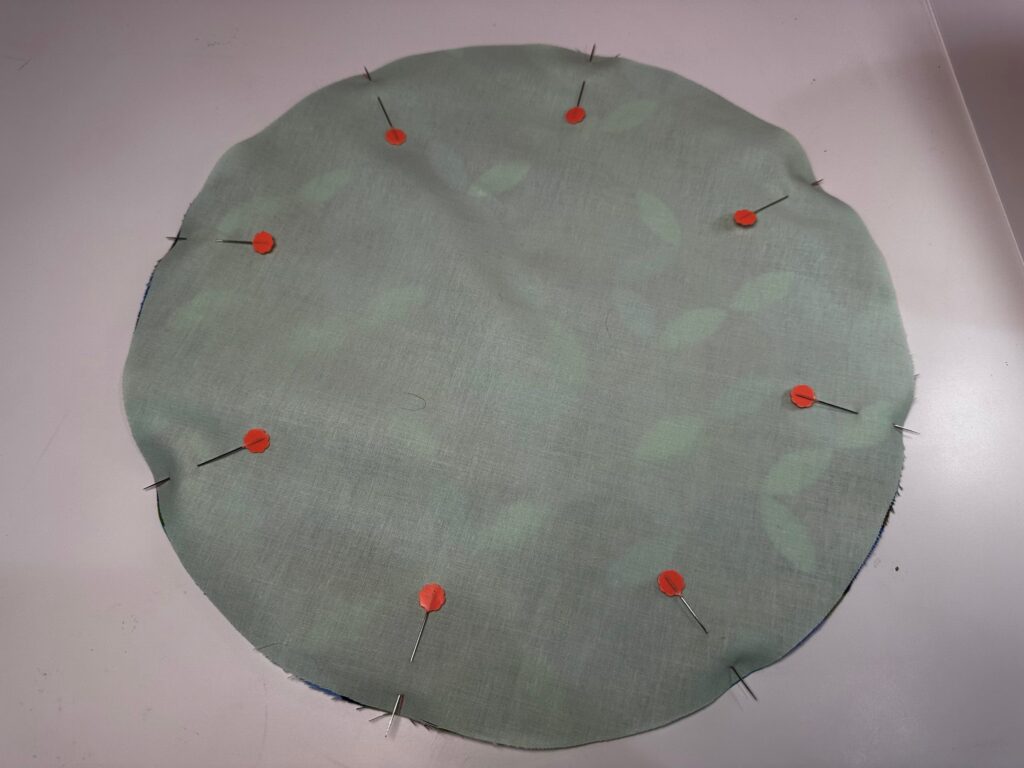
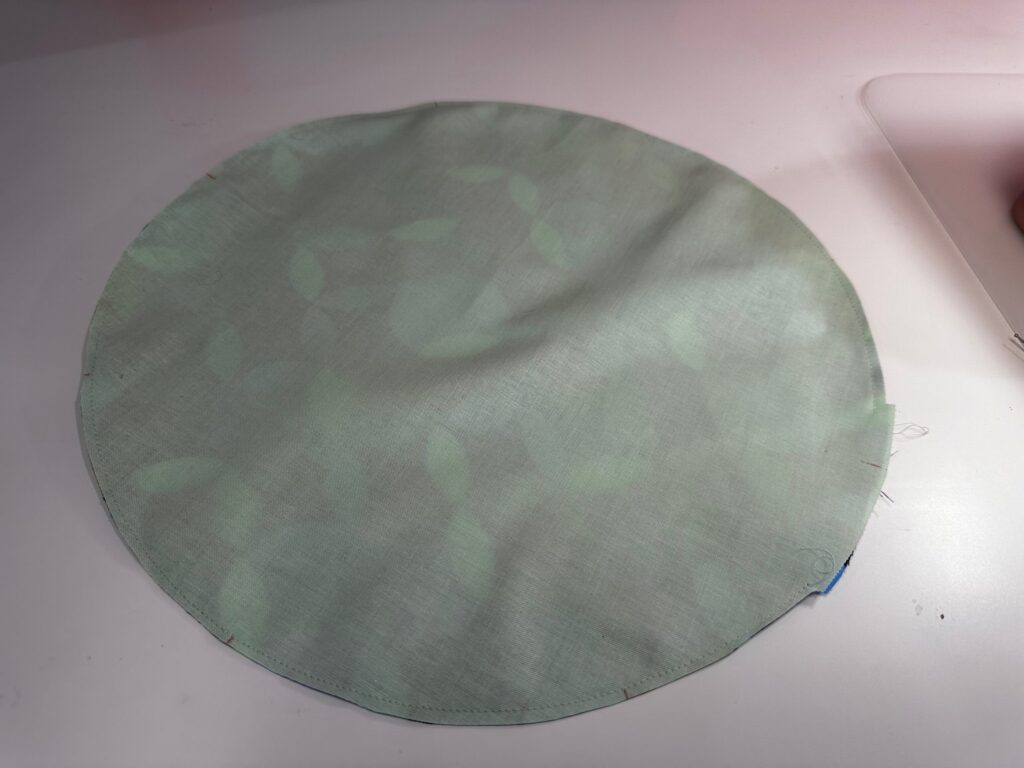
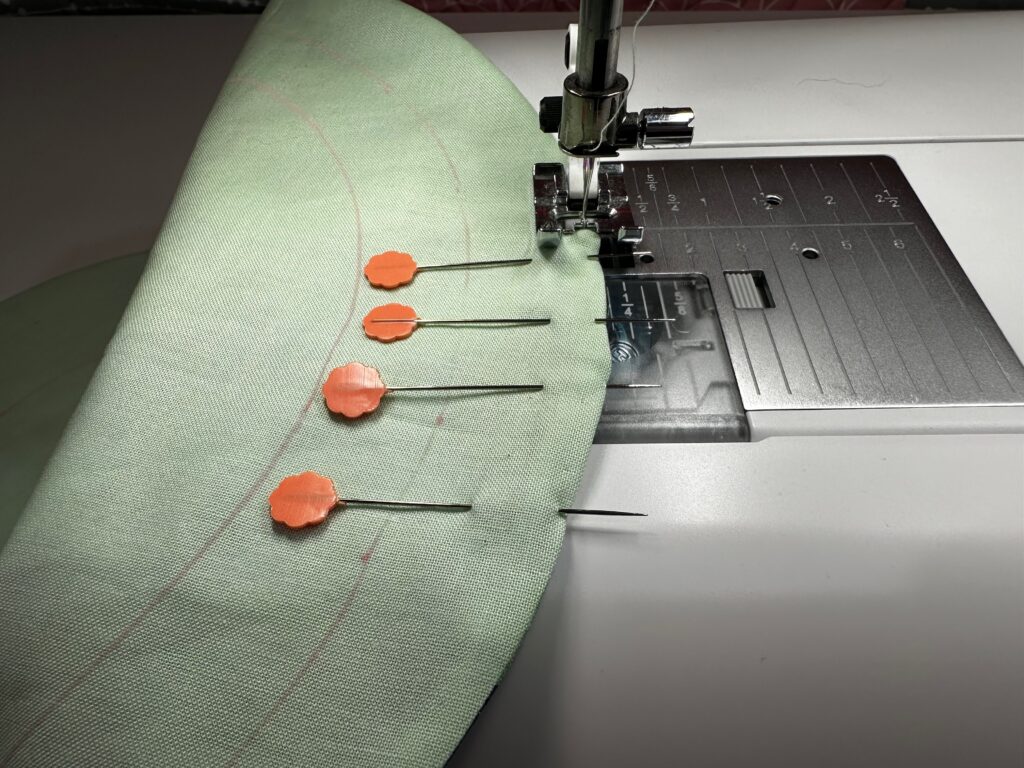
Place the outer and lining fabric circles right sides together, aligning the notches. Pin the perimeter, and then stitch using a ¼” seam allowance.
Leave a 2” to 3” opening along the perimeter for turning.
Trim the seam allowance to 1/8”; leave the opening seam allowance at ¼”.
Turn the circle right side out, using a Sulky Multipurpose Turning Tool to smooth the seam. Press, making sure the opening raw edges are toward the wrong side; pin the opening shut.
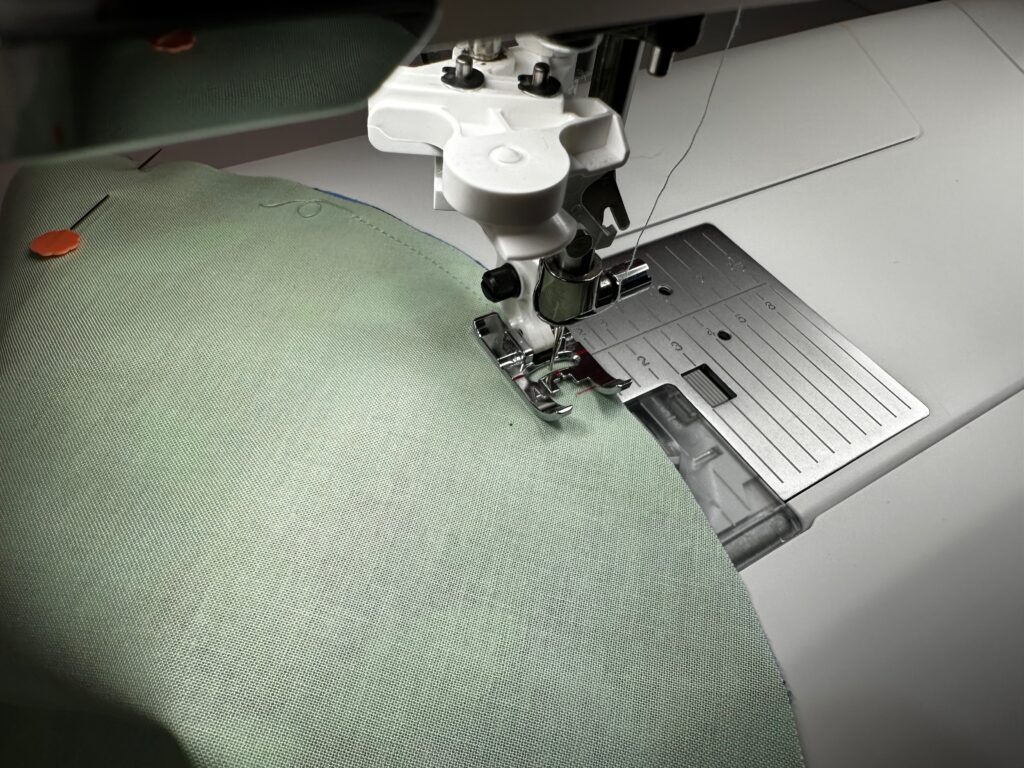
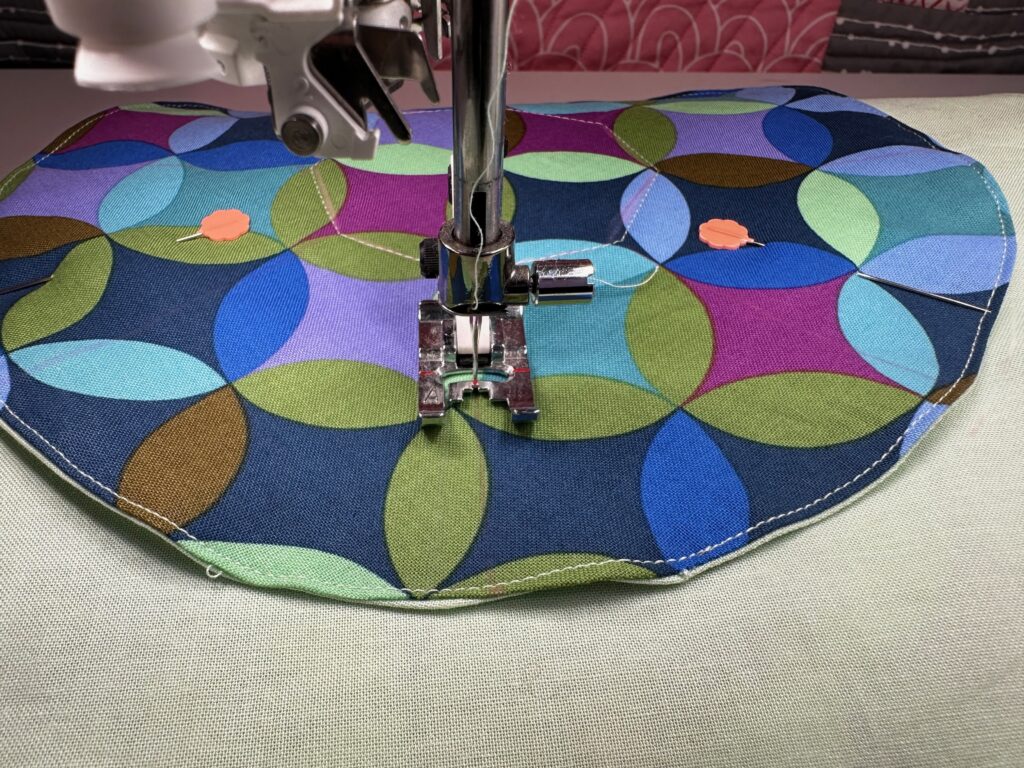
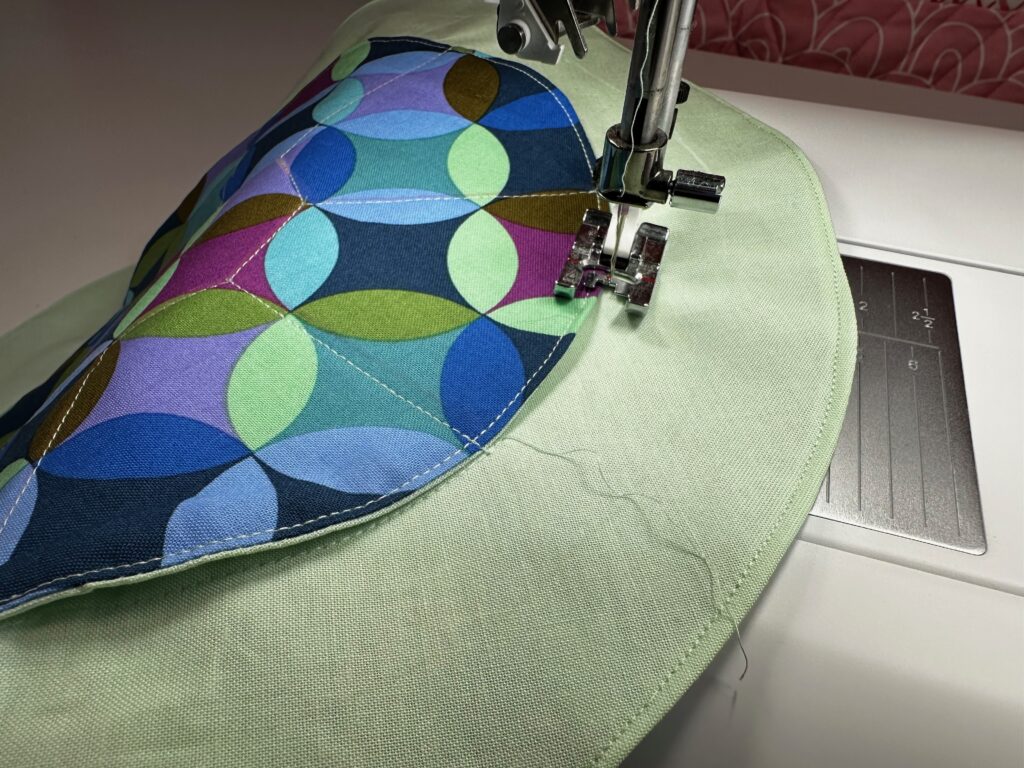
Topstitch the circle perimeter, closing the opening with the stitches.
Repeat to stitch the small circles together.
POUCH POCKETS
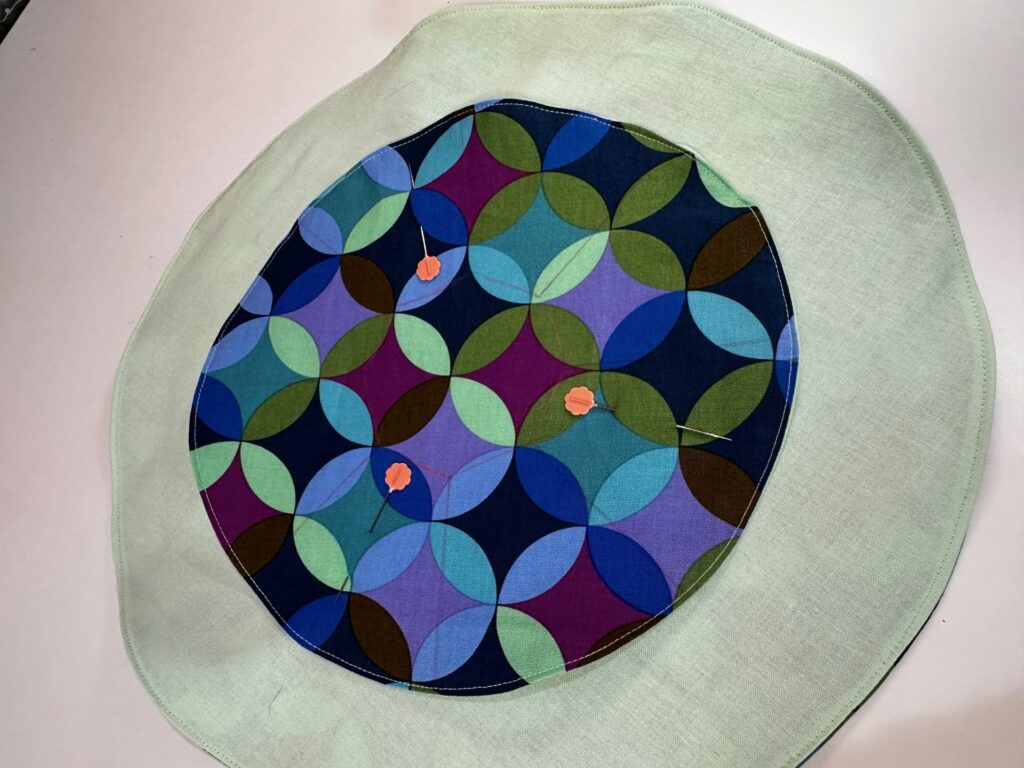
Center the small circle right side up over the large circle lining; pin.
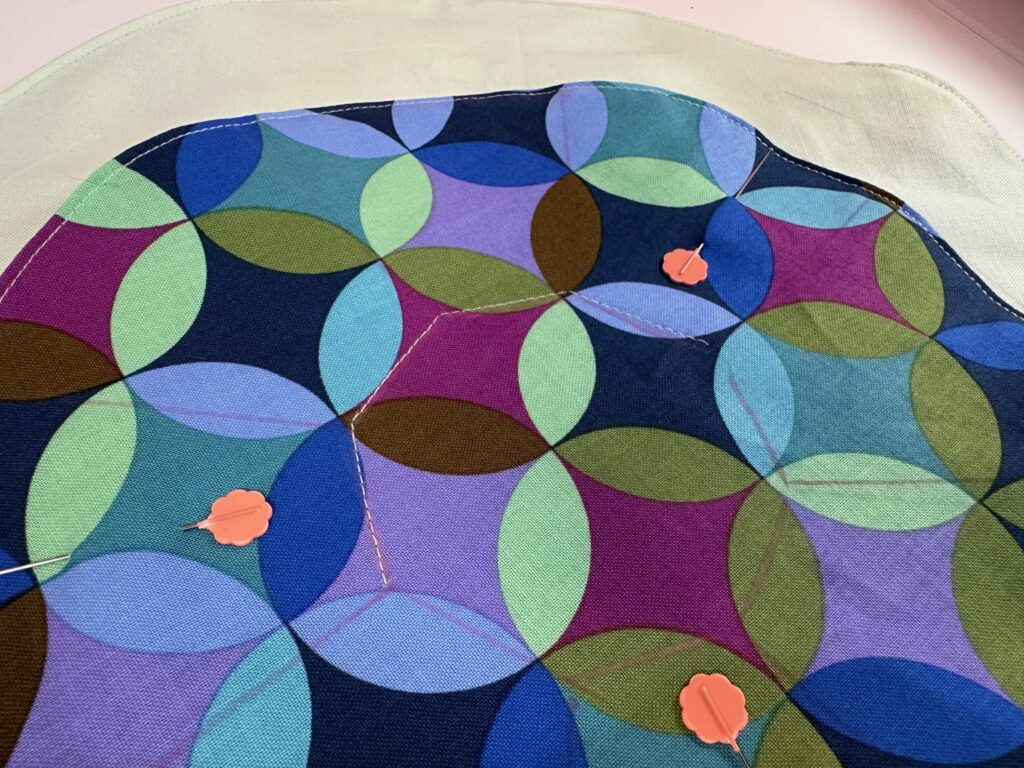
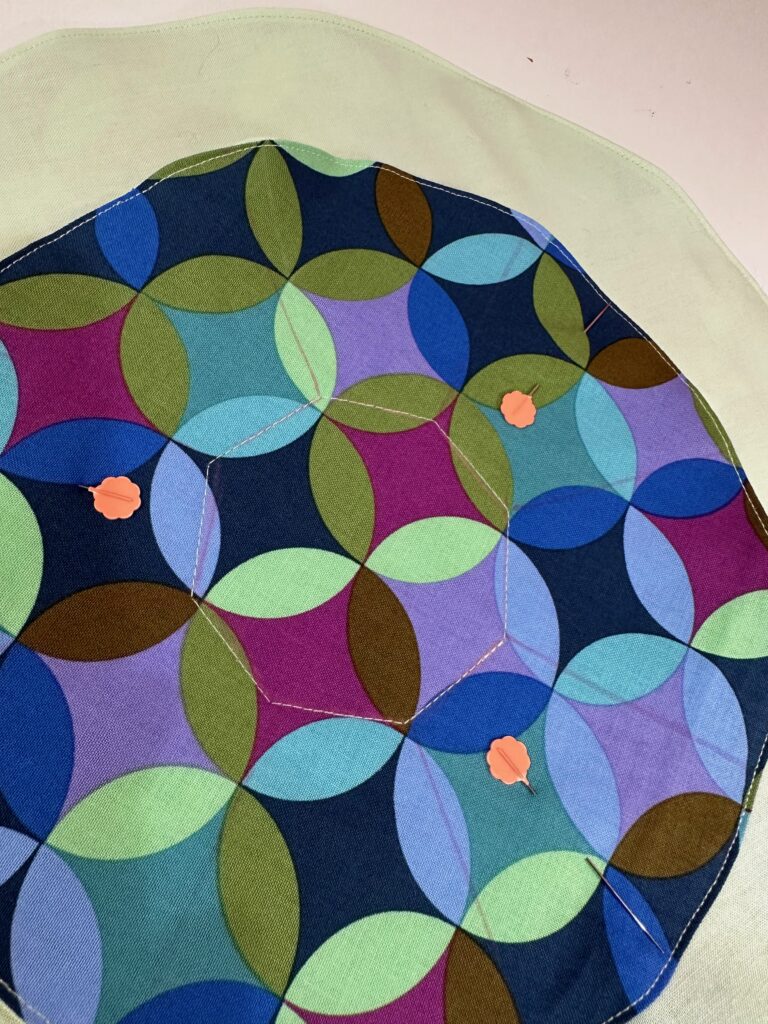
Stitch through all layers only along the four upper sides of the octagon shape.
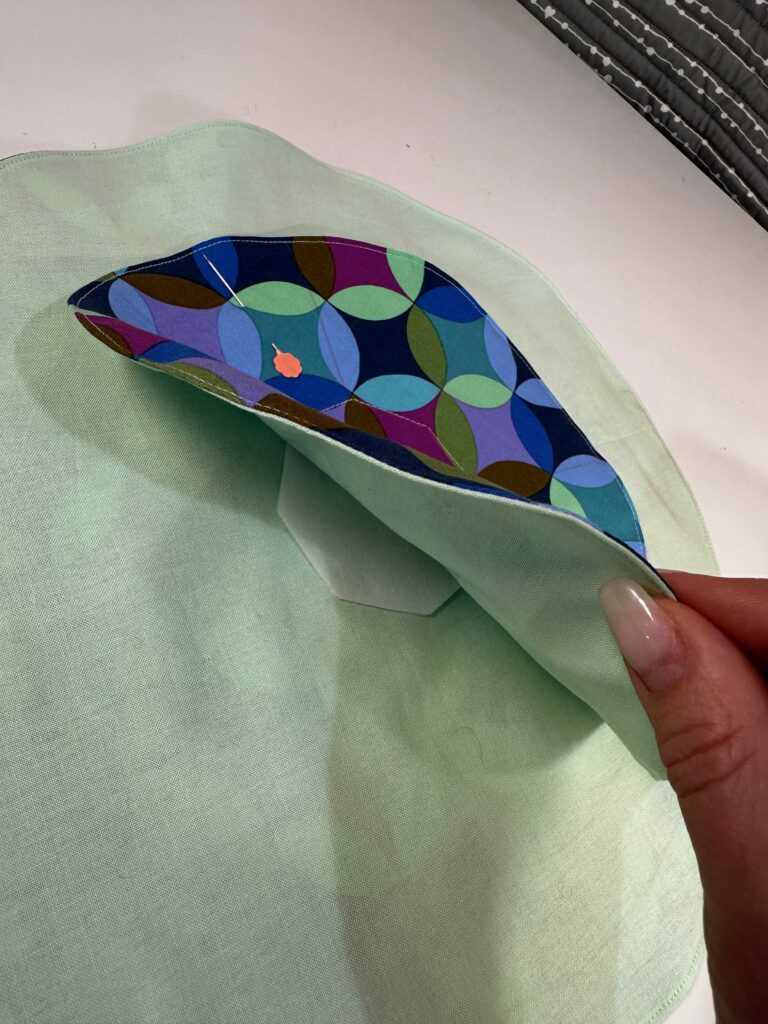
Insert the two Stiffy Stabilizer octagons between the inner and outer circle, abutting the upper four octagon edges with the stitching lines.
Return the project to the machine and stitch the remaining octagon sides, sandwiching the stabilizer layers.
Stitch along each pocket line, beginning from the octagon corners and working outward. Backstitch at the beginning and end of each pocket stitching line.
CASING & DRAWSTRINGS
Double check the inner and outer casing lines to ensure the buttonholes are centered between them. Also, make sure the innermost line is just beyond the pocket upper edges. If needed, adjust the lines and redraw them on the fabric right side to better view the buttonholes and avoid stitching over or through them.
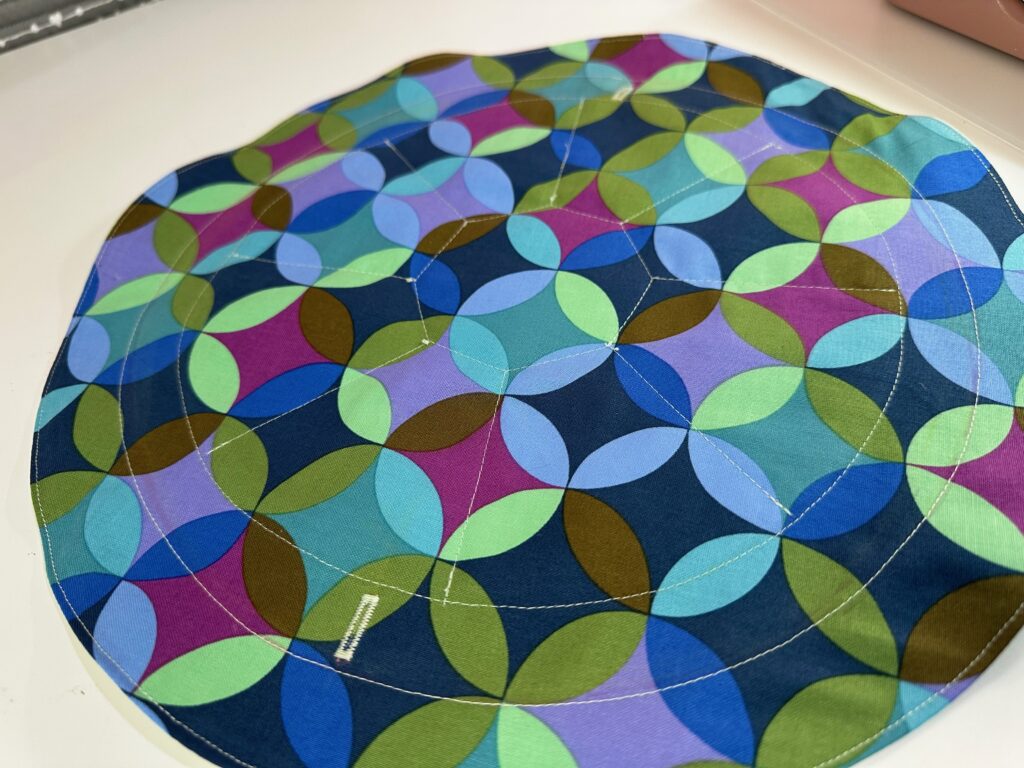
Stitch along the marked inner circle line from the lining side to make sure to not catch the pocket upper edges in the stitching. This stitching line should be just beyond the pocket upper edges.
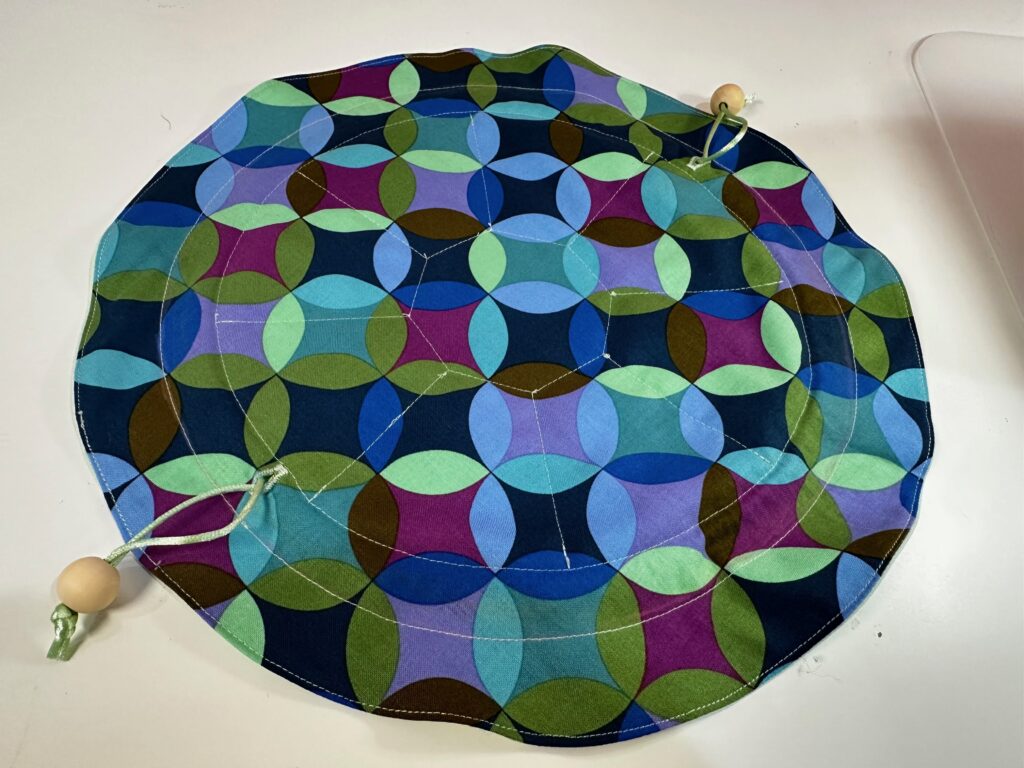
Then, stitch the marked outer circle line (from the outer fabric right side, if needed). The buttonholes should now be centered between these lines on the outer circle. Here is what it should look like from the bottom of the jewelry pouch.
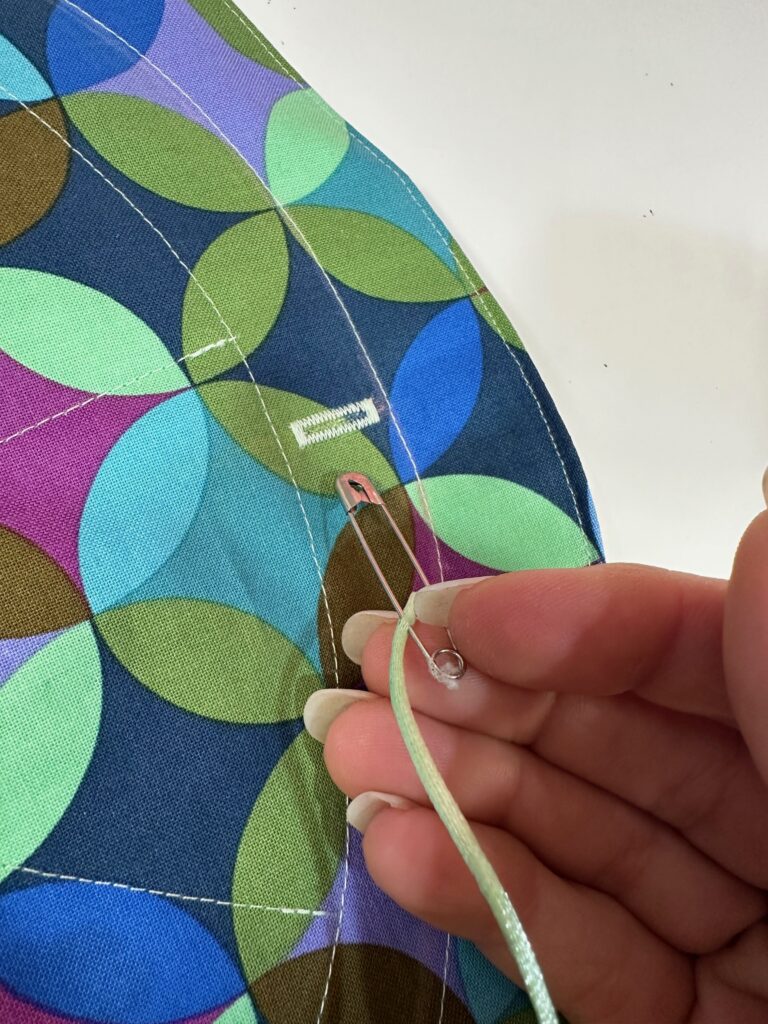
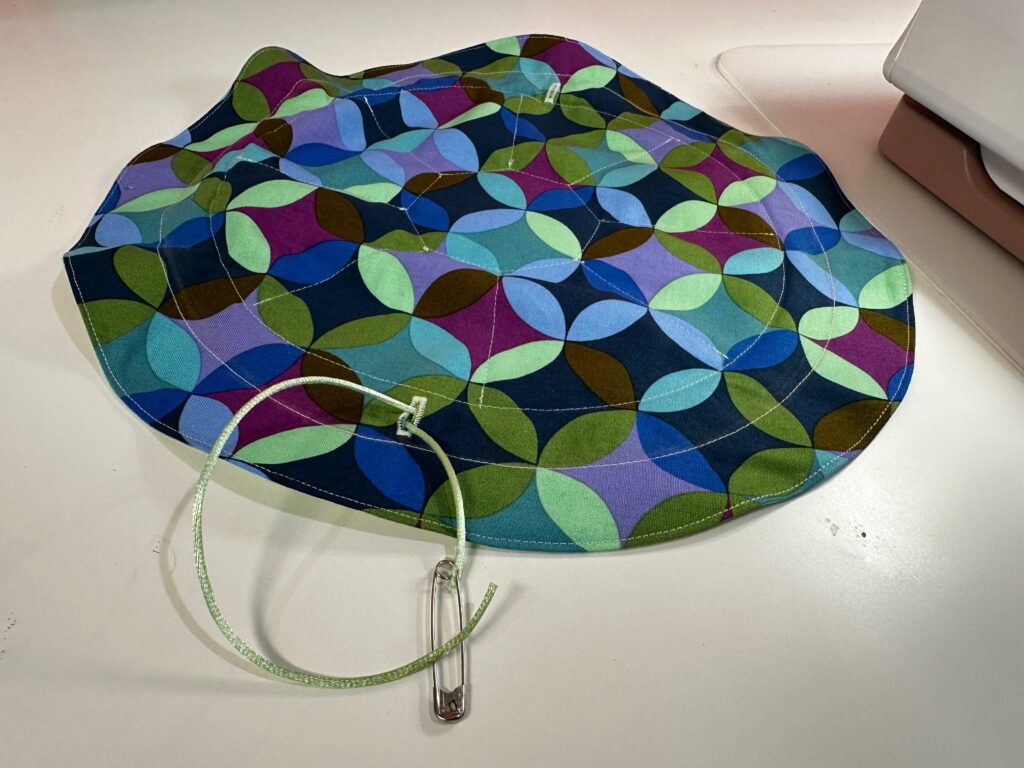
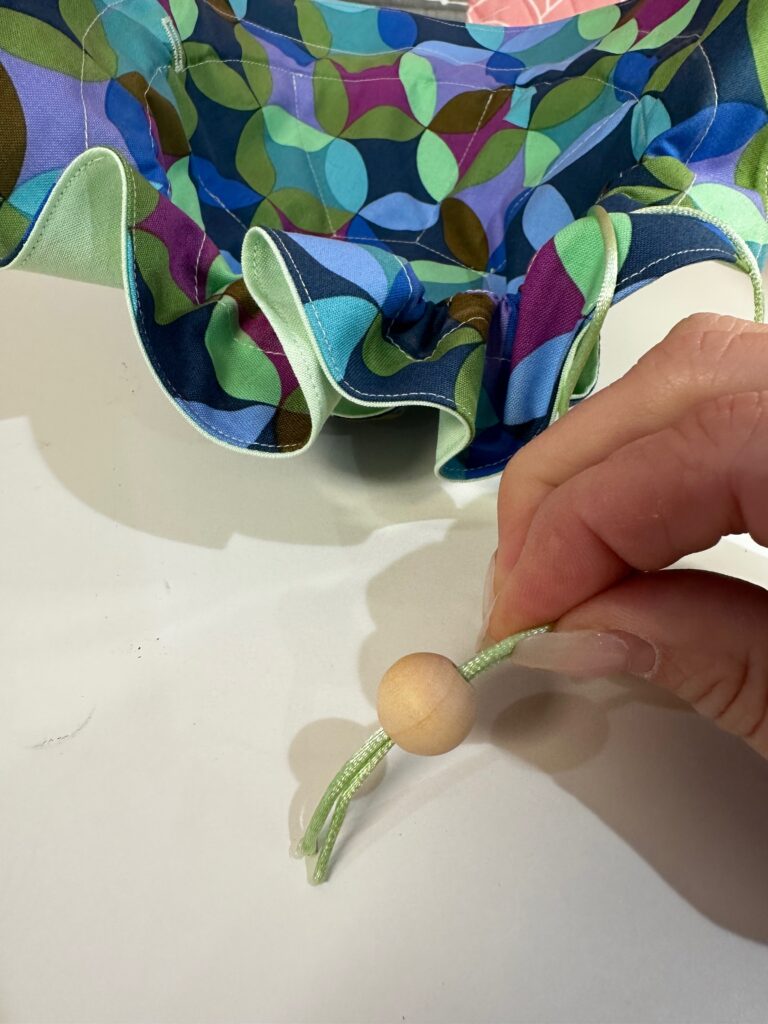
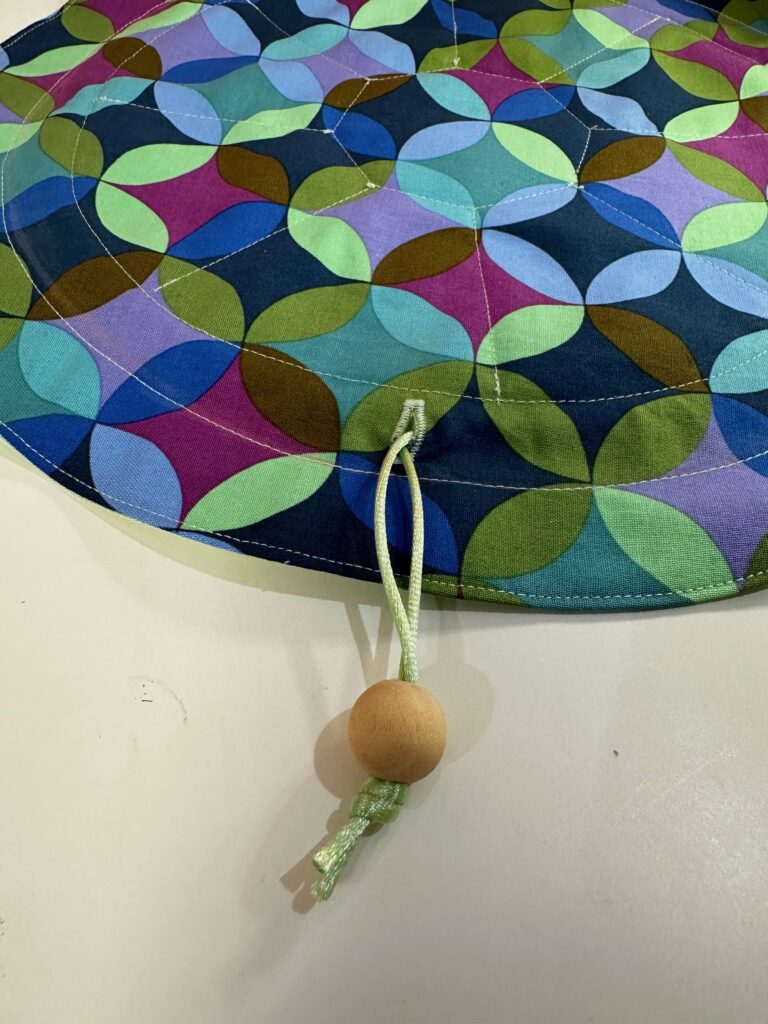
Place a safety pin through one cording end. Thread one cording piece through one buttonhole, through the casing and out through the same buttonhole. Align the ends and insert them through one bead. Then, knot the ends together. Thread the remaining cording piece through the opposite buttonhole, through the casing and out through the same buttonhole. Align the ends and insert them through one bead. Then, knot the ends together.
Fill the Drawstring Jewelry Pouch with your favorite earrings, necklaces, watch and bracelet while partially open or flat. Then, gather the outer edge by pulling the beads away from the circles. Tie the ends in a bow for storage and travel.


