Easter Basket Blanks
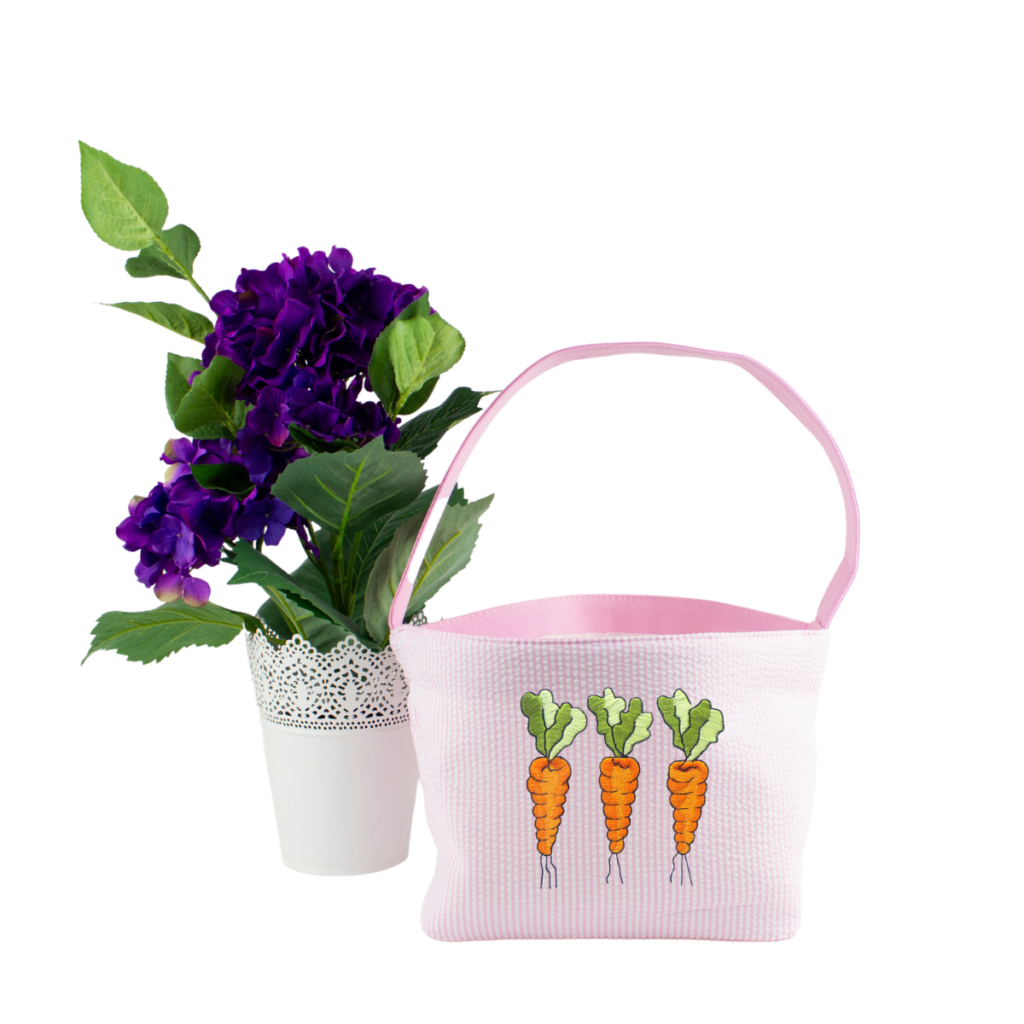
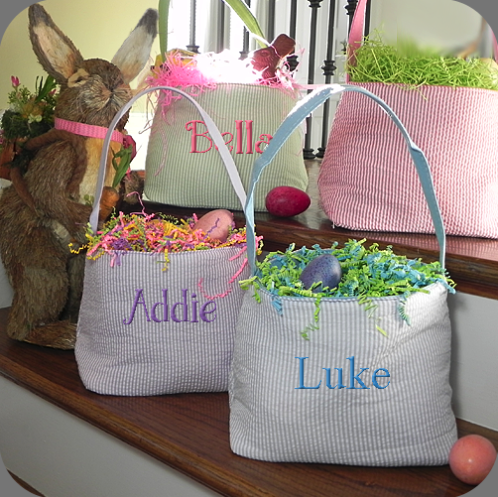
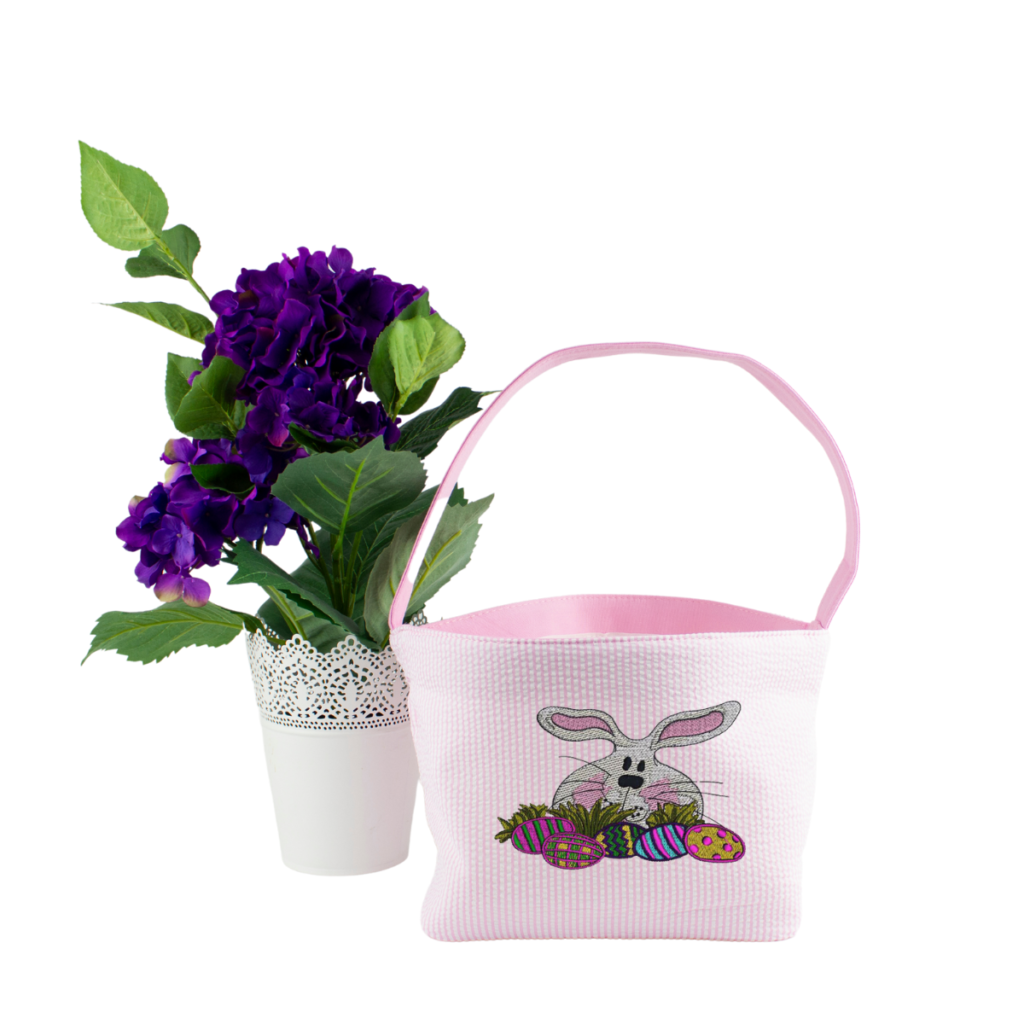
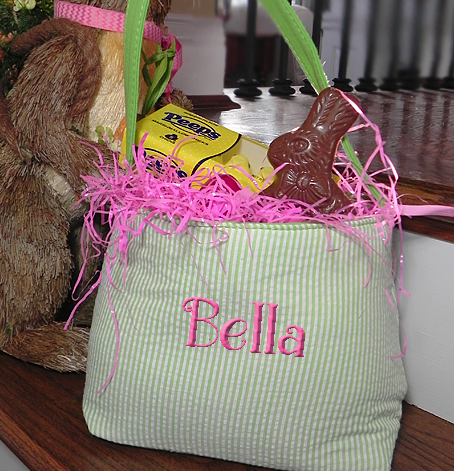
Personalize an Easter Basket Blank with machine embroidery to add a special handmade touch. The basket is sure to be a treasured keepsake in any child’s life for years to come.
ABOUT THE EASTER BASKET BLANKS
These baskets are made from a sweet seersucker fabric and lined with a sturdy polyester to withstand lots of use. The polyester lining wipes clean with a damp rag. The handles are made of canvas and may need a good pressing after unpacking and embroidery.
Fill the Easter basket blanks with loads of candy-filled eggs and gifts to surprise the littles. The baskets come in pink, blue and green. (Note: purple is unavailable as shown above.)
Measurements:
Bottom insert is 5.5″w x 9″l
Height of the sides is 7″h
Handles have a 7.5″ drop
EMBROIDERY CONSIDERATIONS
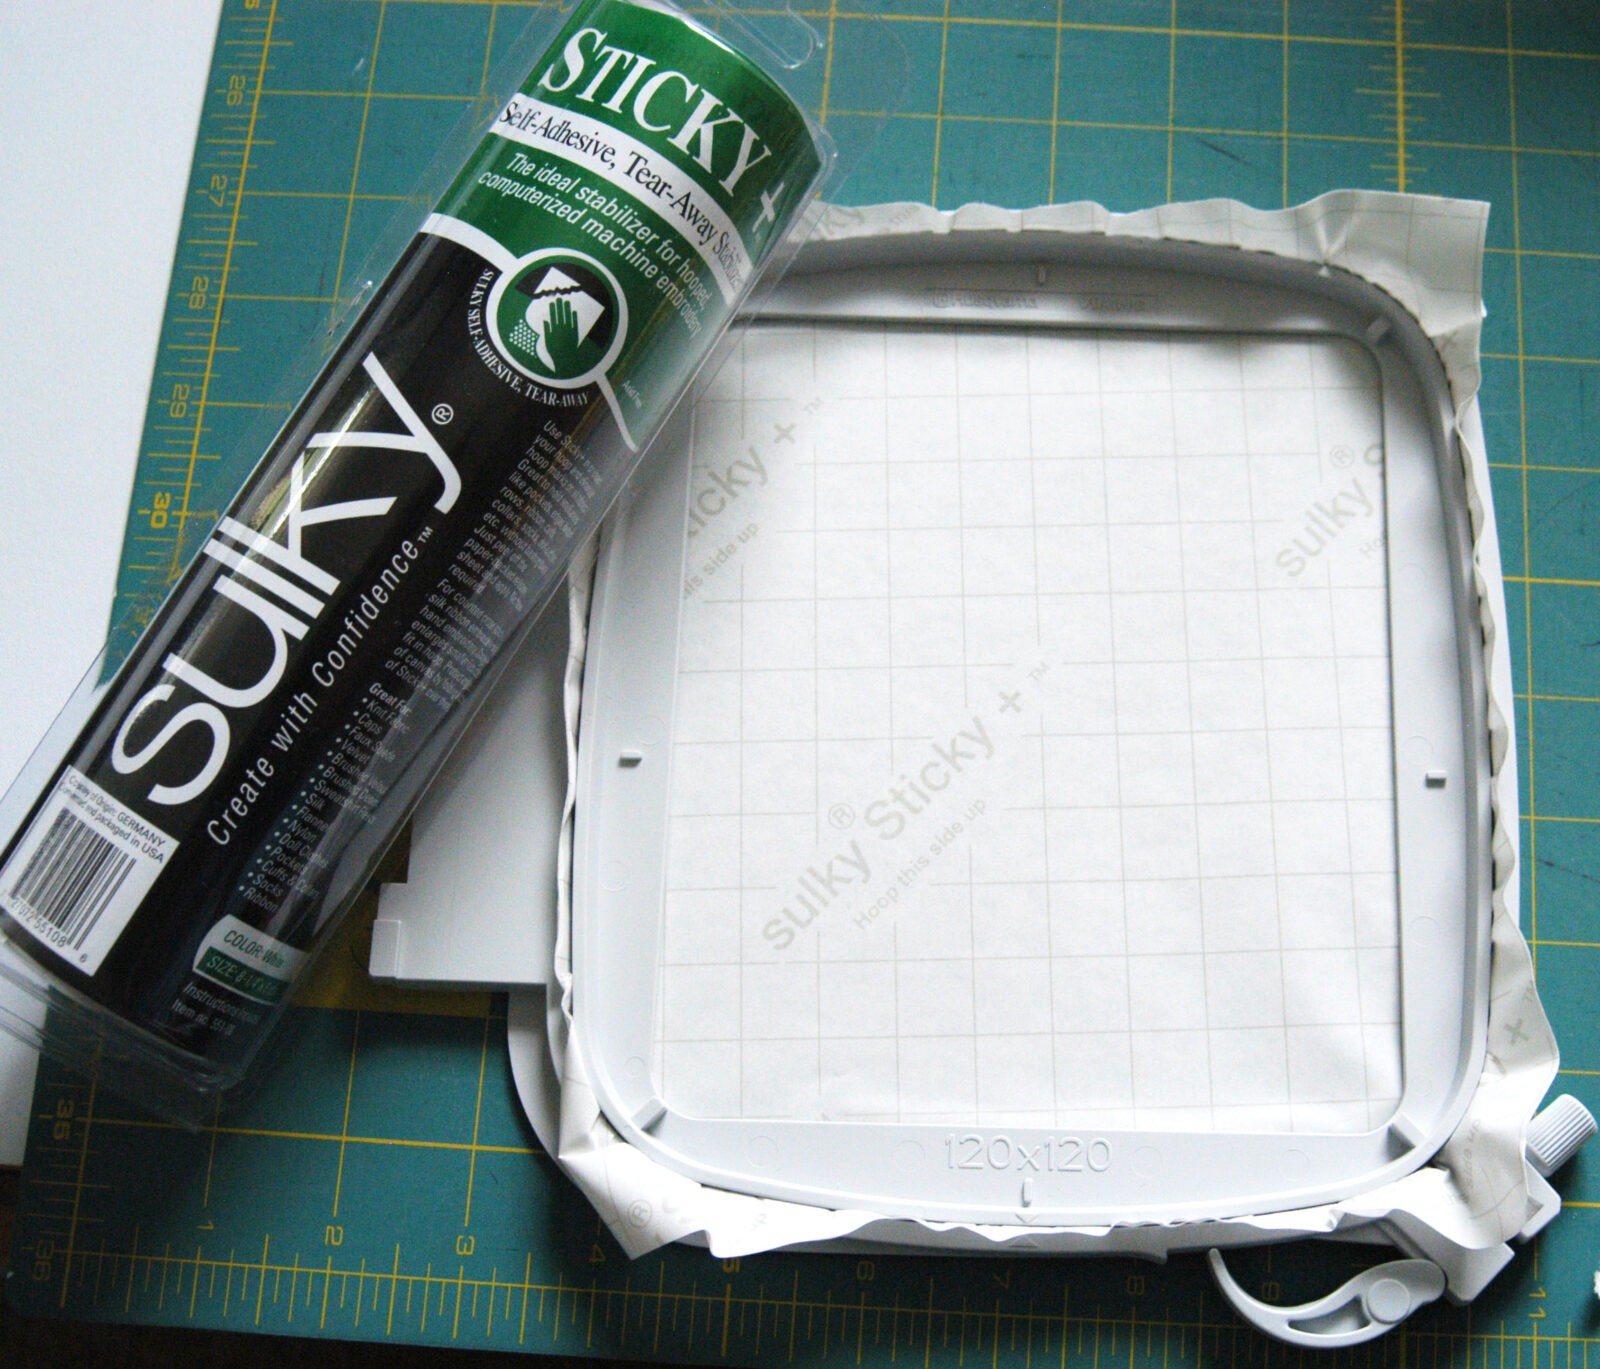
To embroider the Easter basket blanks, you’ll need an adhesive-backed tear-away stabilizer, such as Sulky Sticky+. First, hoop the stabilizer with the paper side facing up.
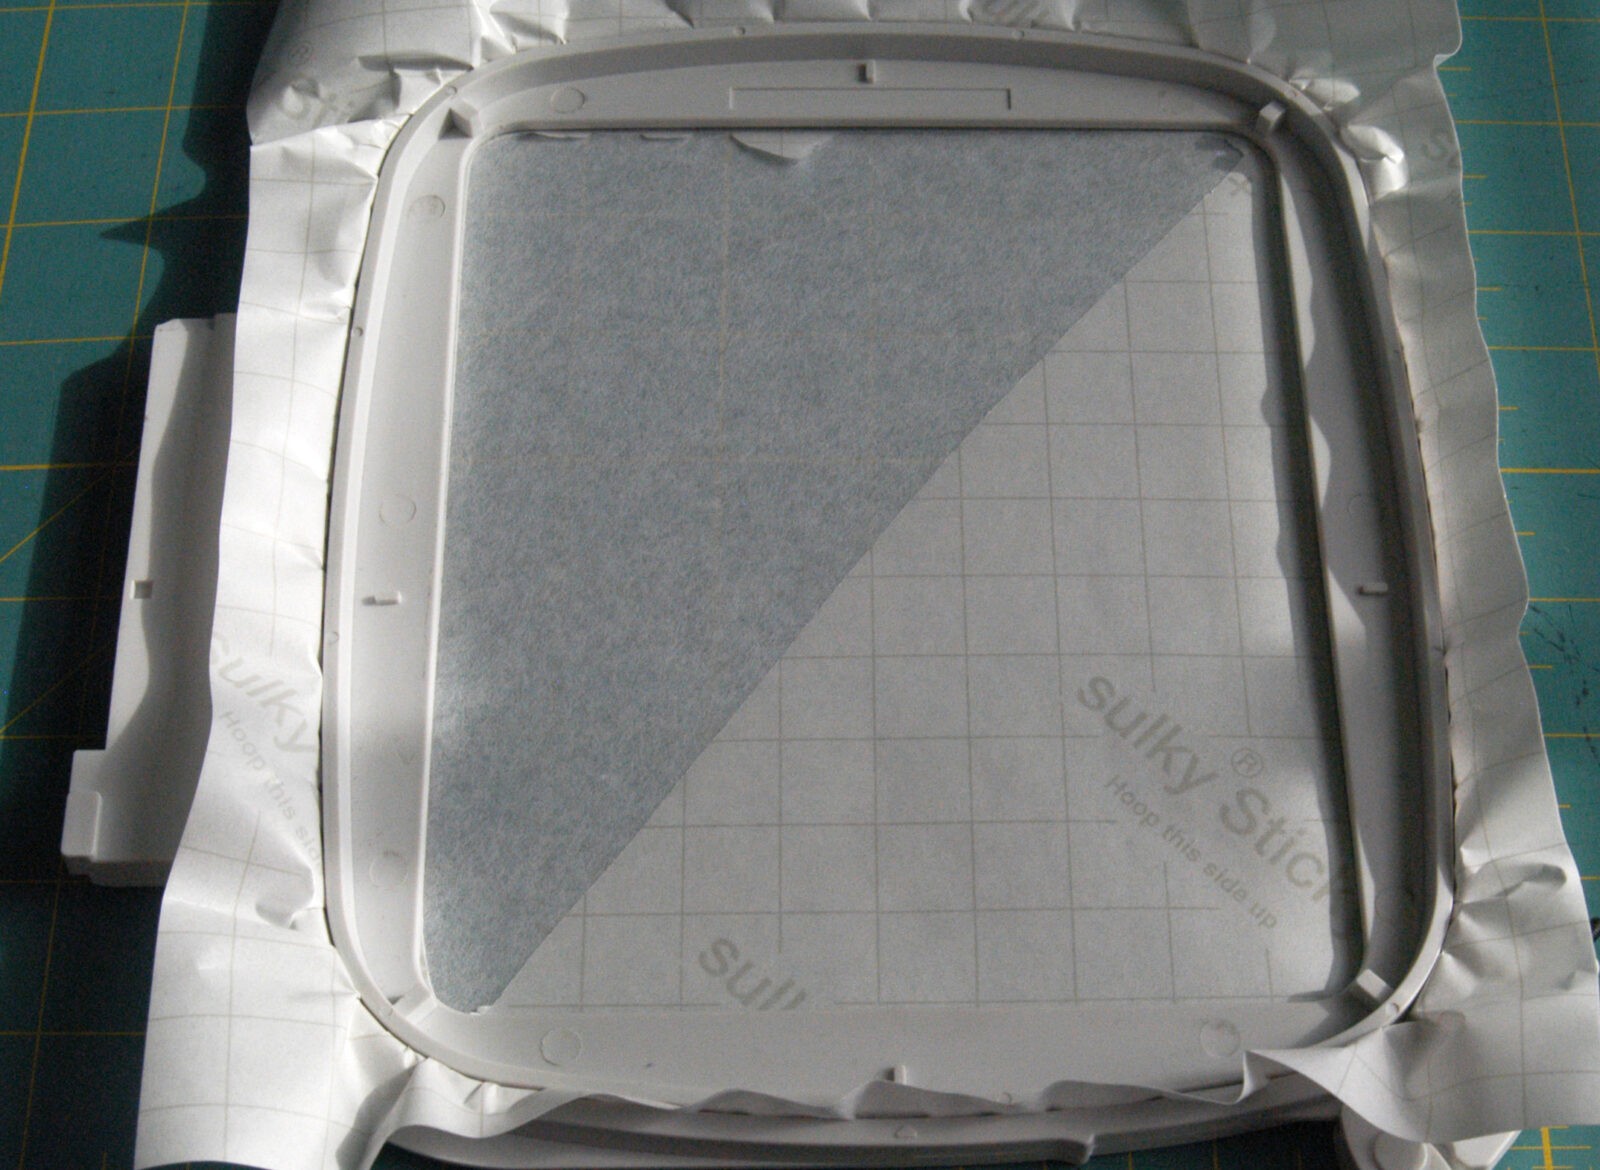
Then, use the Sticky+ Slitting Pen to score the paper within the inner hoop ring. Tear away the paper backing to reveal the adhesive.
If desired, for perfect embroidery placement, place the hoop onto the machine. Then, stitch a design-perimeter line onto the stabilizer. Remove the hoop from the machine.
Mark the desired embroidery center cross marks onto the Easter basket blank right side, using a removable fabric marker.
Turn the basket wrong side out, and then center the front cross marks on the stabilizer. Use the inner hoop markings and perimeter basting lines to ensure the basket is oriented properly in the hoop.
Place the hoop back onto the machine. Maneuver the basket underneath the presser foot. Plan to stop the machine at any time, anticipating the machine arm movement during the stitchout. This ensures the basket fabric won’t get caught in any of the stitching during embroidery.
Install a size 80/12 Top Stitch Needle. Thread the needle with the first thread color in the design. Either use Sulky Bobbin Thread or Sulky PolyLite™ in the bobbin.
Transfer the design of your choice to your embroidery machine. Or choose a monogram or design in your stash.
Embroider the design, clipping jump threads with each thread change. Be sure to sop/start the machine if needed to move excess fabric out of the way of the needle.
EMBROIDERY FINISHING
When the design is complete, remove the hoop from the machine. Turn over the hoop, and then clip the jump threads on the wrong side. Then, carefully tear away the basket from the hooped stabilizer. Remove any stray stabilizer within the design elements, if needed.
Gently press the basket from the right side to remove any wrinkles from moving the basket during the stitchout. Press on a low heat setting – just hot enough to remove the wrinkles.
Fill the personalized Easter basket with fun treats and gift it to a little one!

