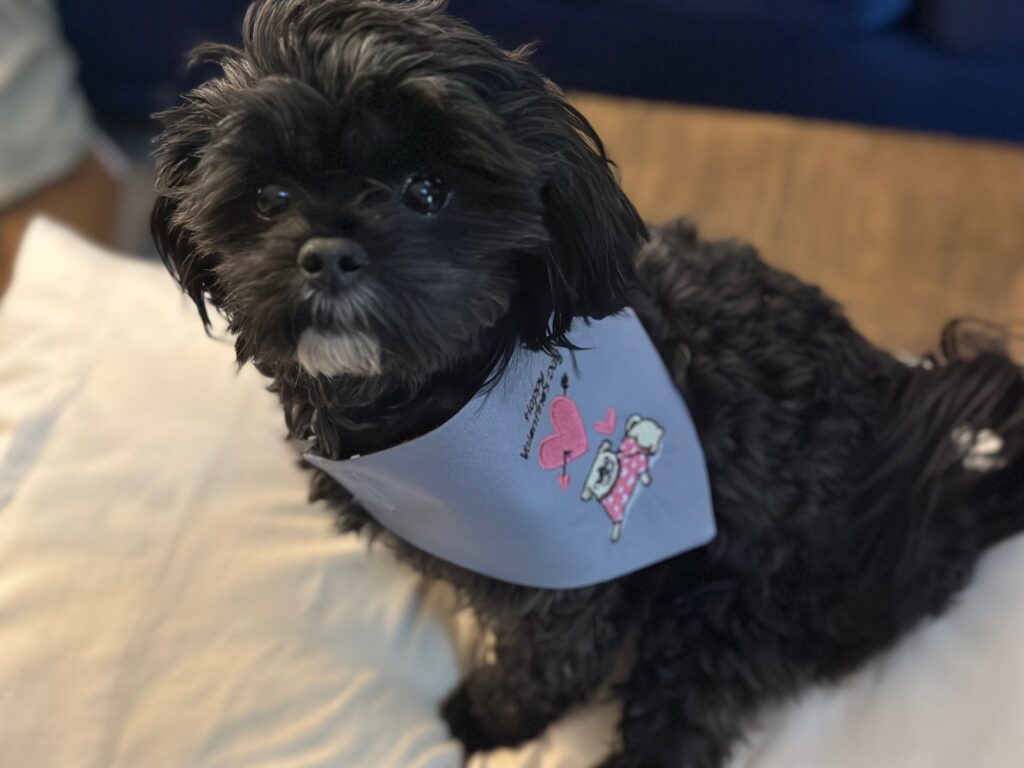
Embroidered Dog Bandanas
Create a comfortable, stylish bandana your dog can wear every day or for special occasions! This design features machine embroidery and an elastic scrunchie-style neckband for easy on-and-off wear and a great fit. Choose our Valentine Pets machine embroidery collection to personalize the dog bandana, or go with a classic monogram or favorite motif.
DOG BANDANA SUPPLIES
Fabric & Elastic
Choose your size based on your dog’s neck measurement and overall build.
Small
-
10” x 10” fabric square (bandana)
-
9–10” x 3” fabric strip (elastic casing)
-
7–8” elastic
Medium
-
12” x 12” fabric square (bandana)
-
10–11” x 3” fabric strip (elastic casing)
-
8–9” elastic
Large
-
14” x 14” fabric square (bandana)
-
12–13” x 3” fabric strip (elastic casing)
-
10–11” elastic
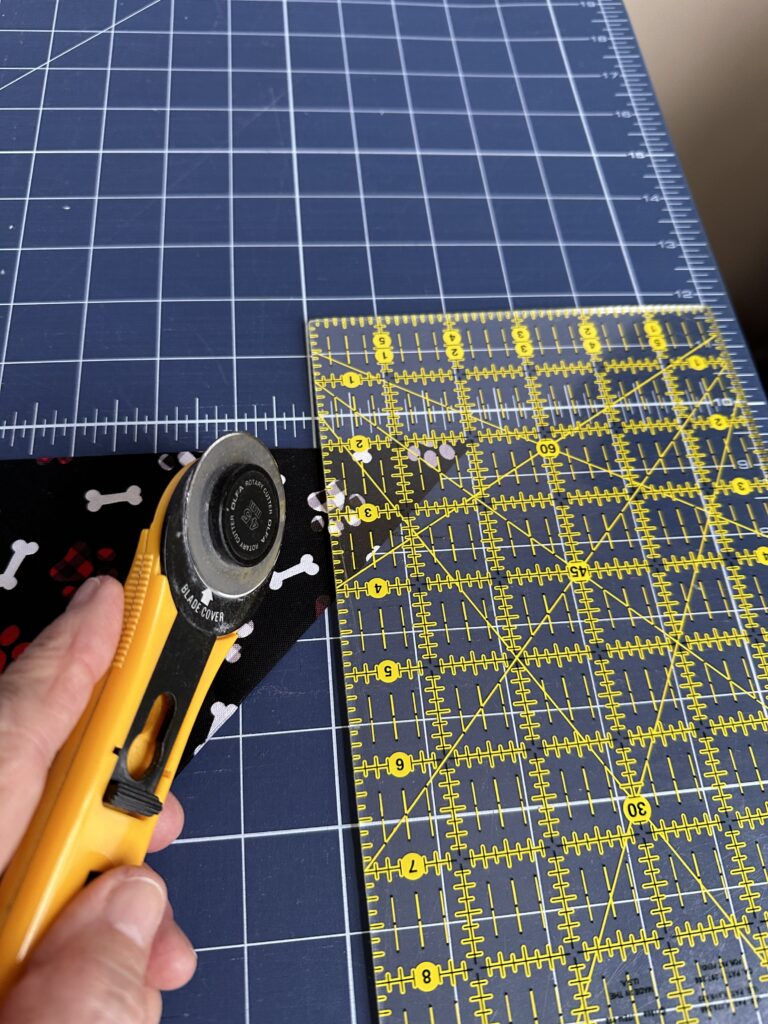
Fabric Options
-
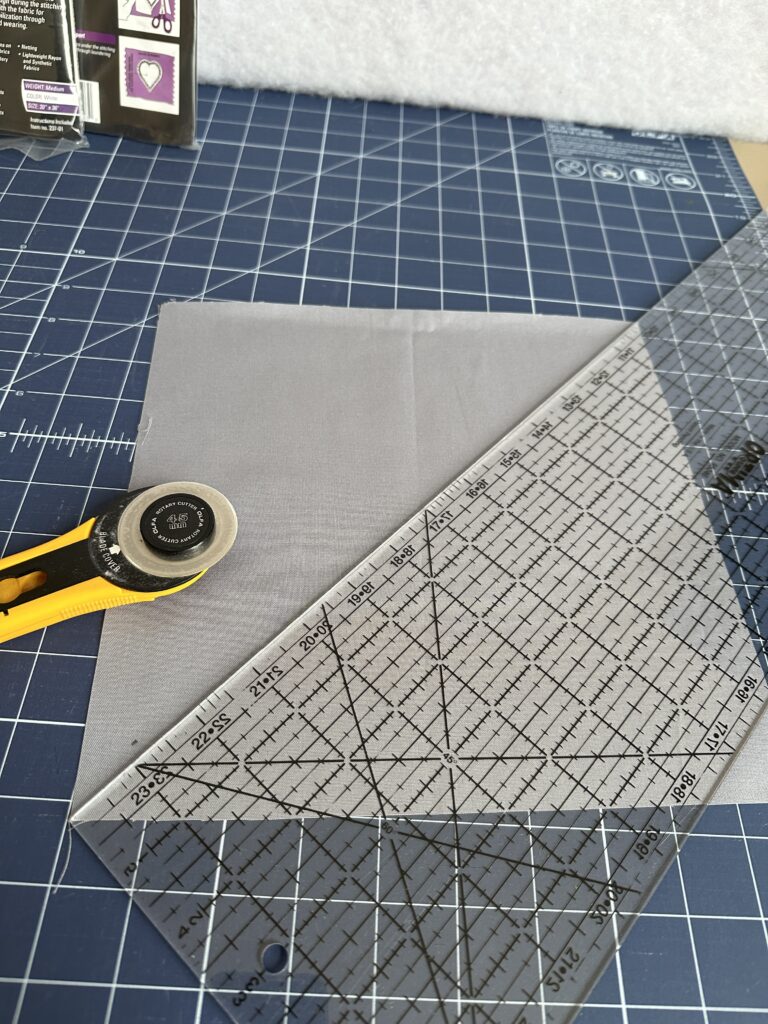
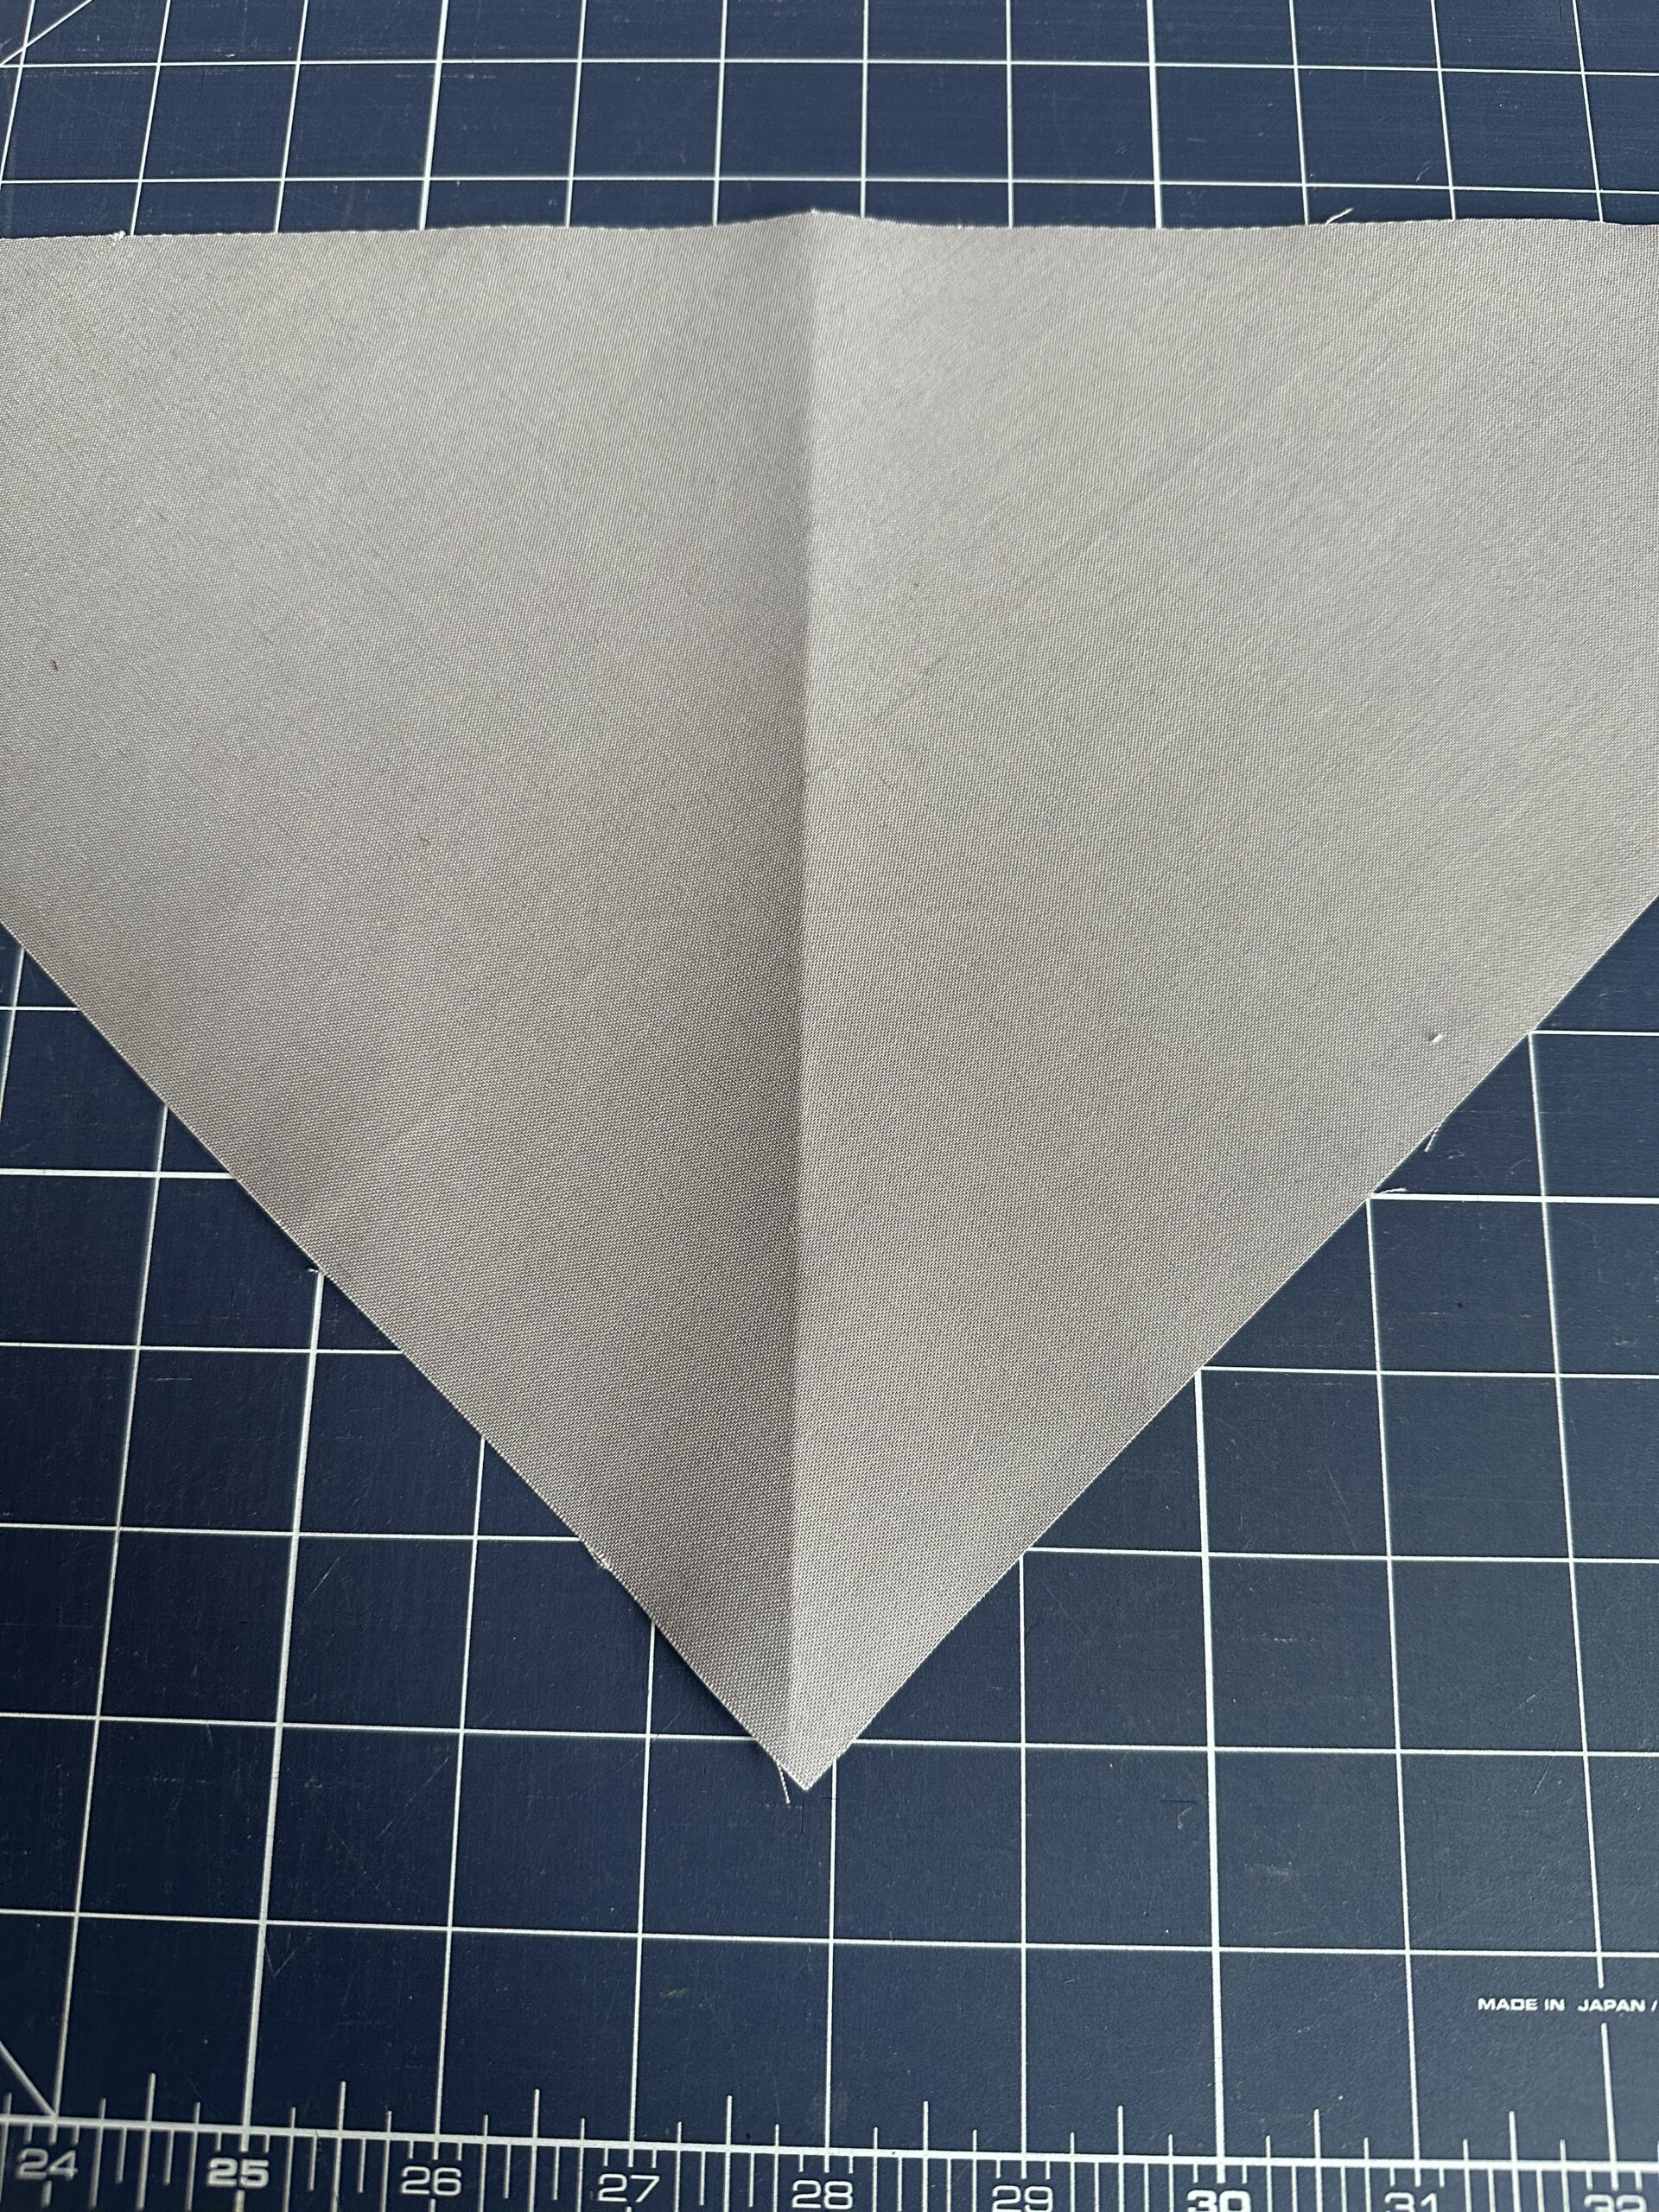
Single-fabric bandana:
Cut one square and fold it diagonally to form a triangle. -
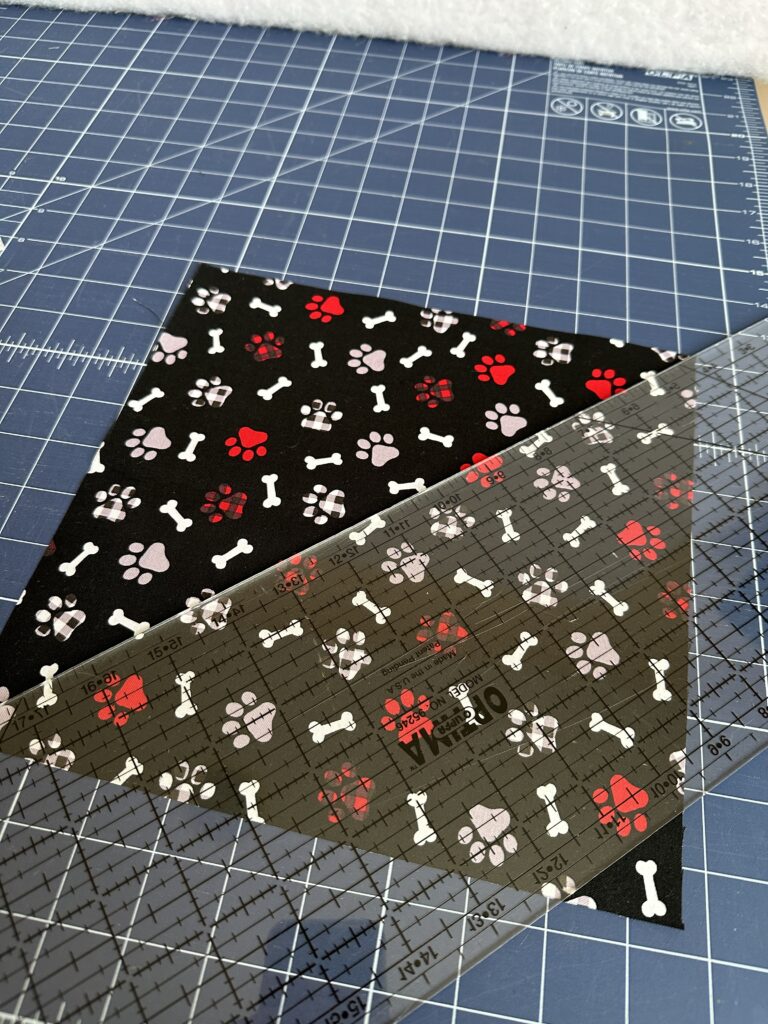
Reversible bandana:
Use two coordinating fabrics and cut two triangles. Choose a print for the lining and a solid for the exterior (to be embroidered).
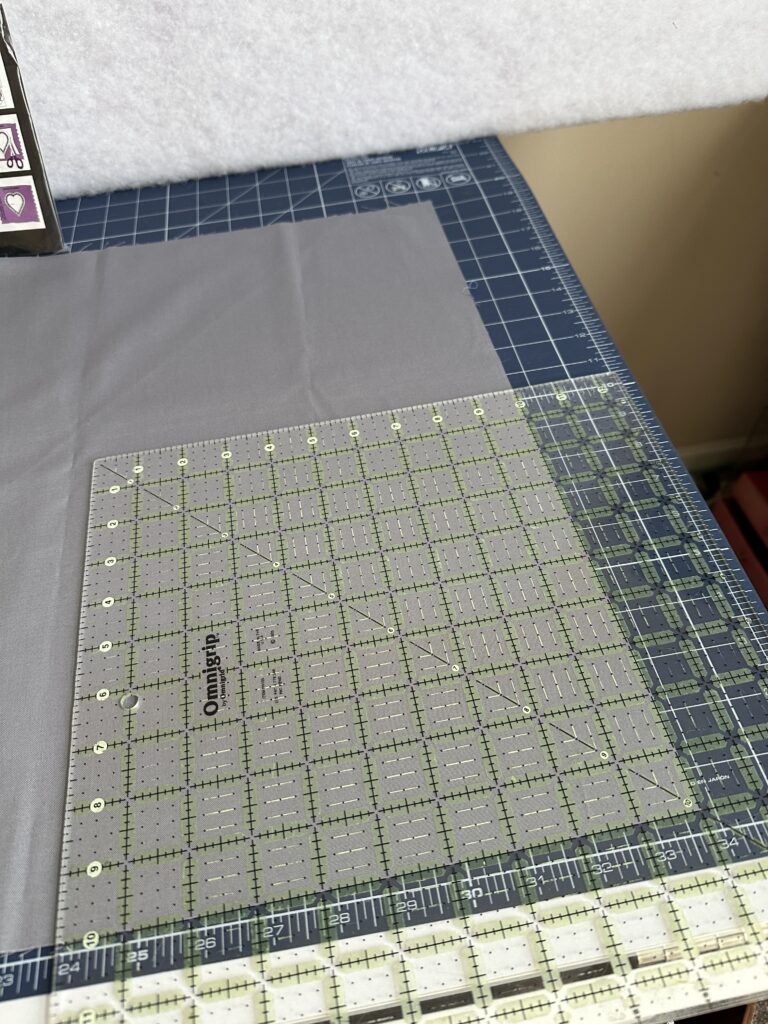
Triangle Cutting Guide (Finished Size Reference)
-
Small: 10½” x 10½” x 14¾”
-
Medium: 12½” x 12½” x 17½”
-
Large: 14½” x 14½” x 20½”
(Alternatively, cut squares in half diagonally.)

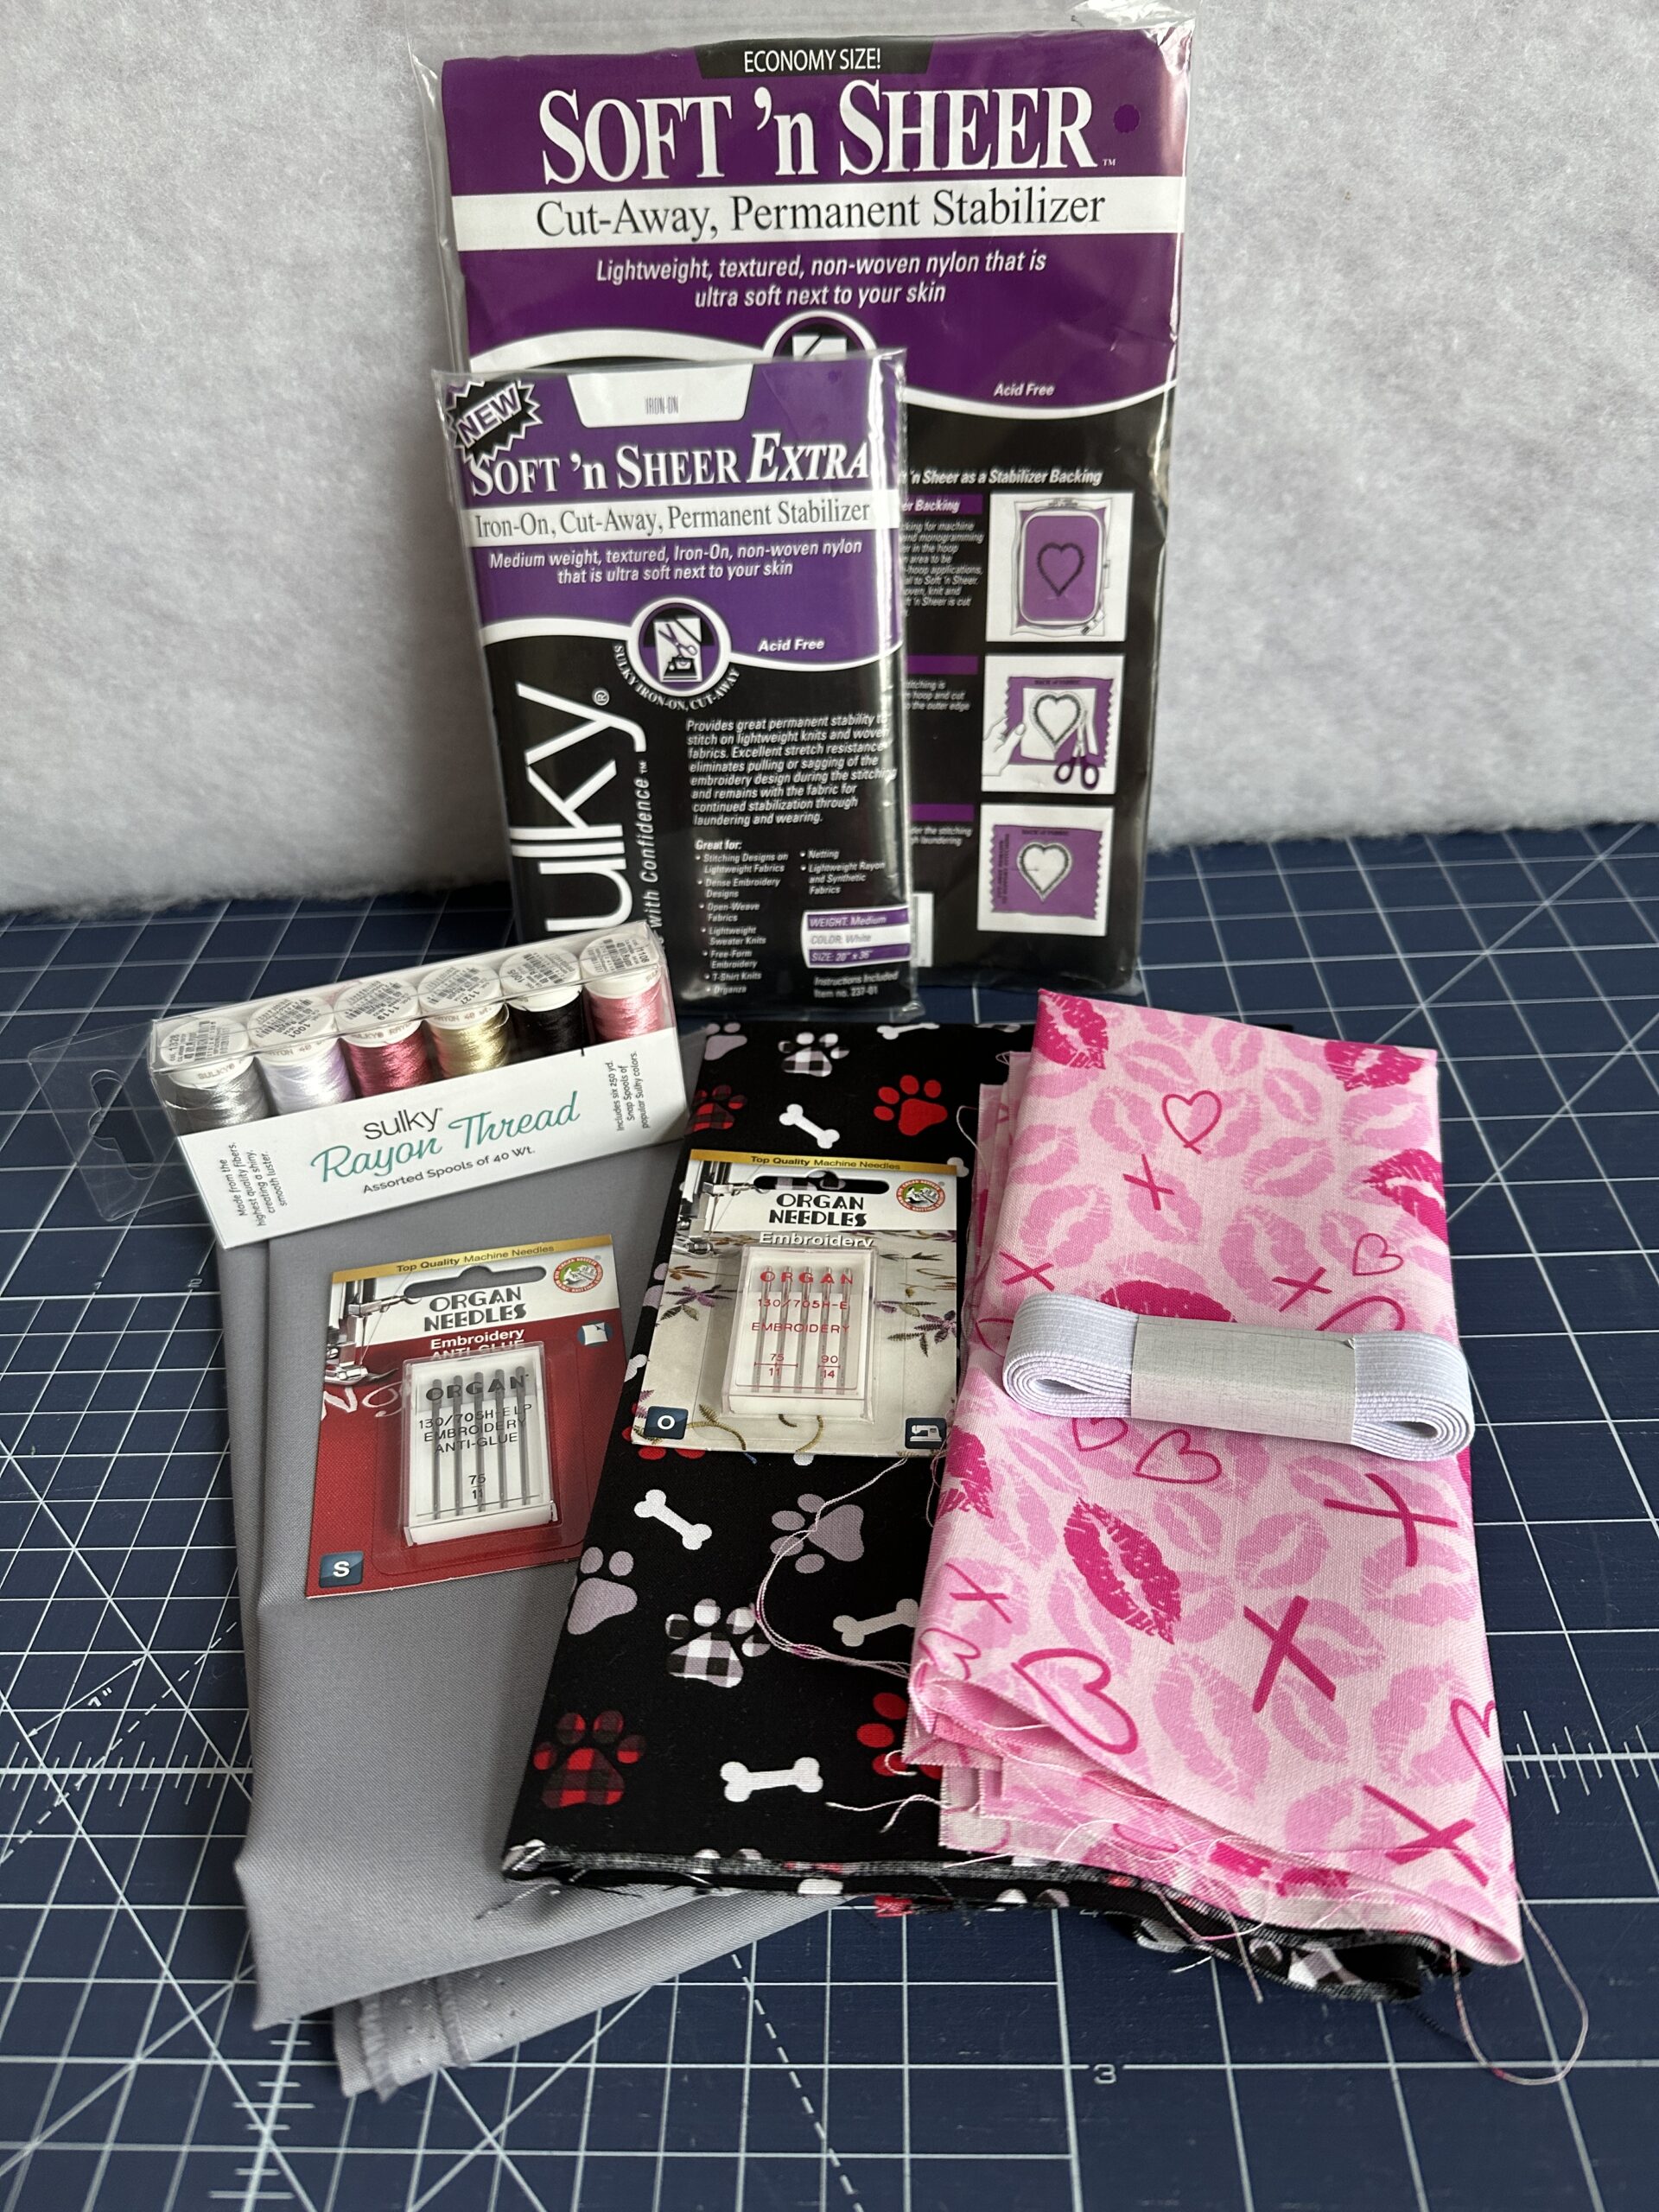
Stabilizers & Notions
-
Sulky Rayon Thread: Valentine Pets Machine Embroidery Palette, which comes with 6 spools of Sulky Rayon Thread and six Valentine Pet designs in three sizes
-
- Size 80/12 Universal (construction)
- Safety pin
BANDANA PREP
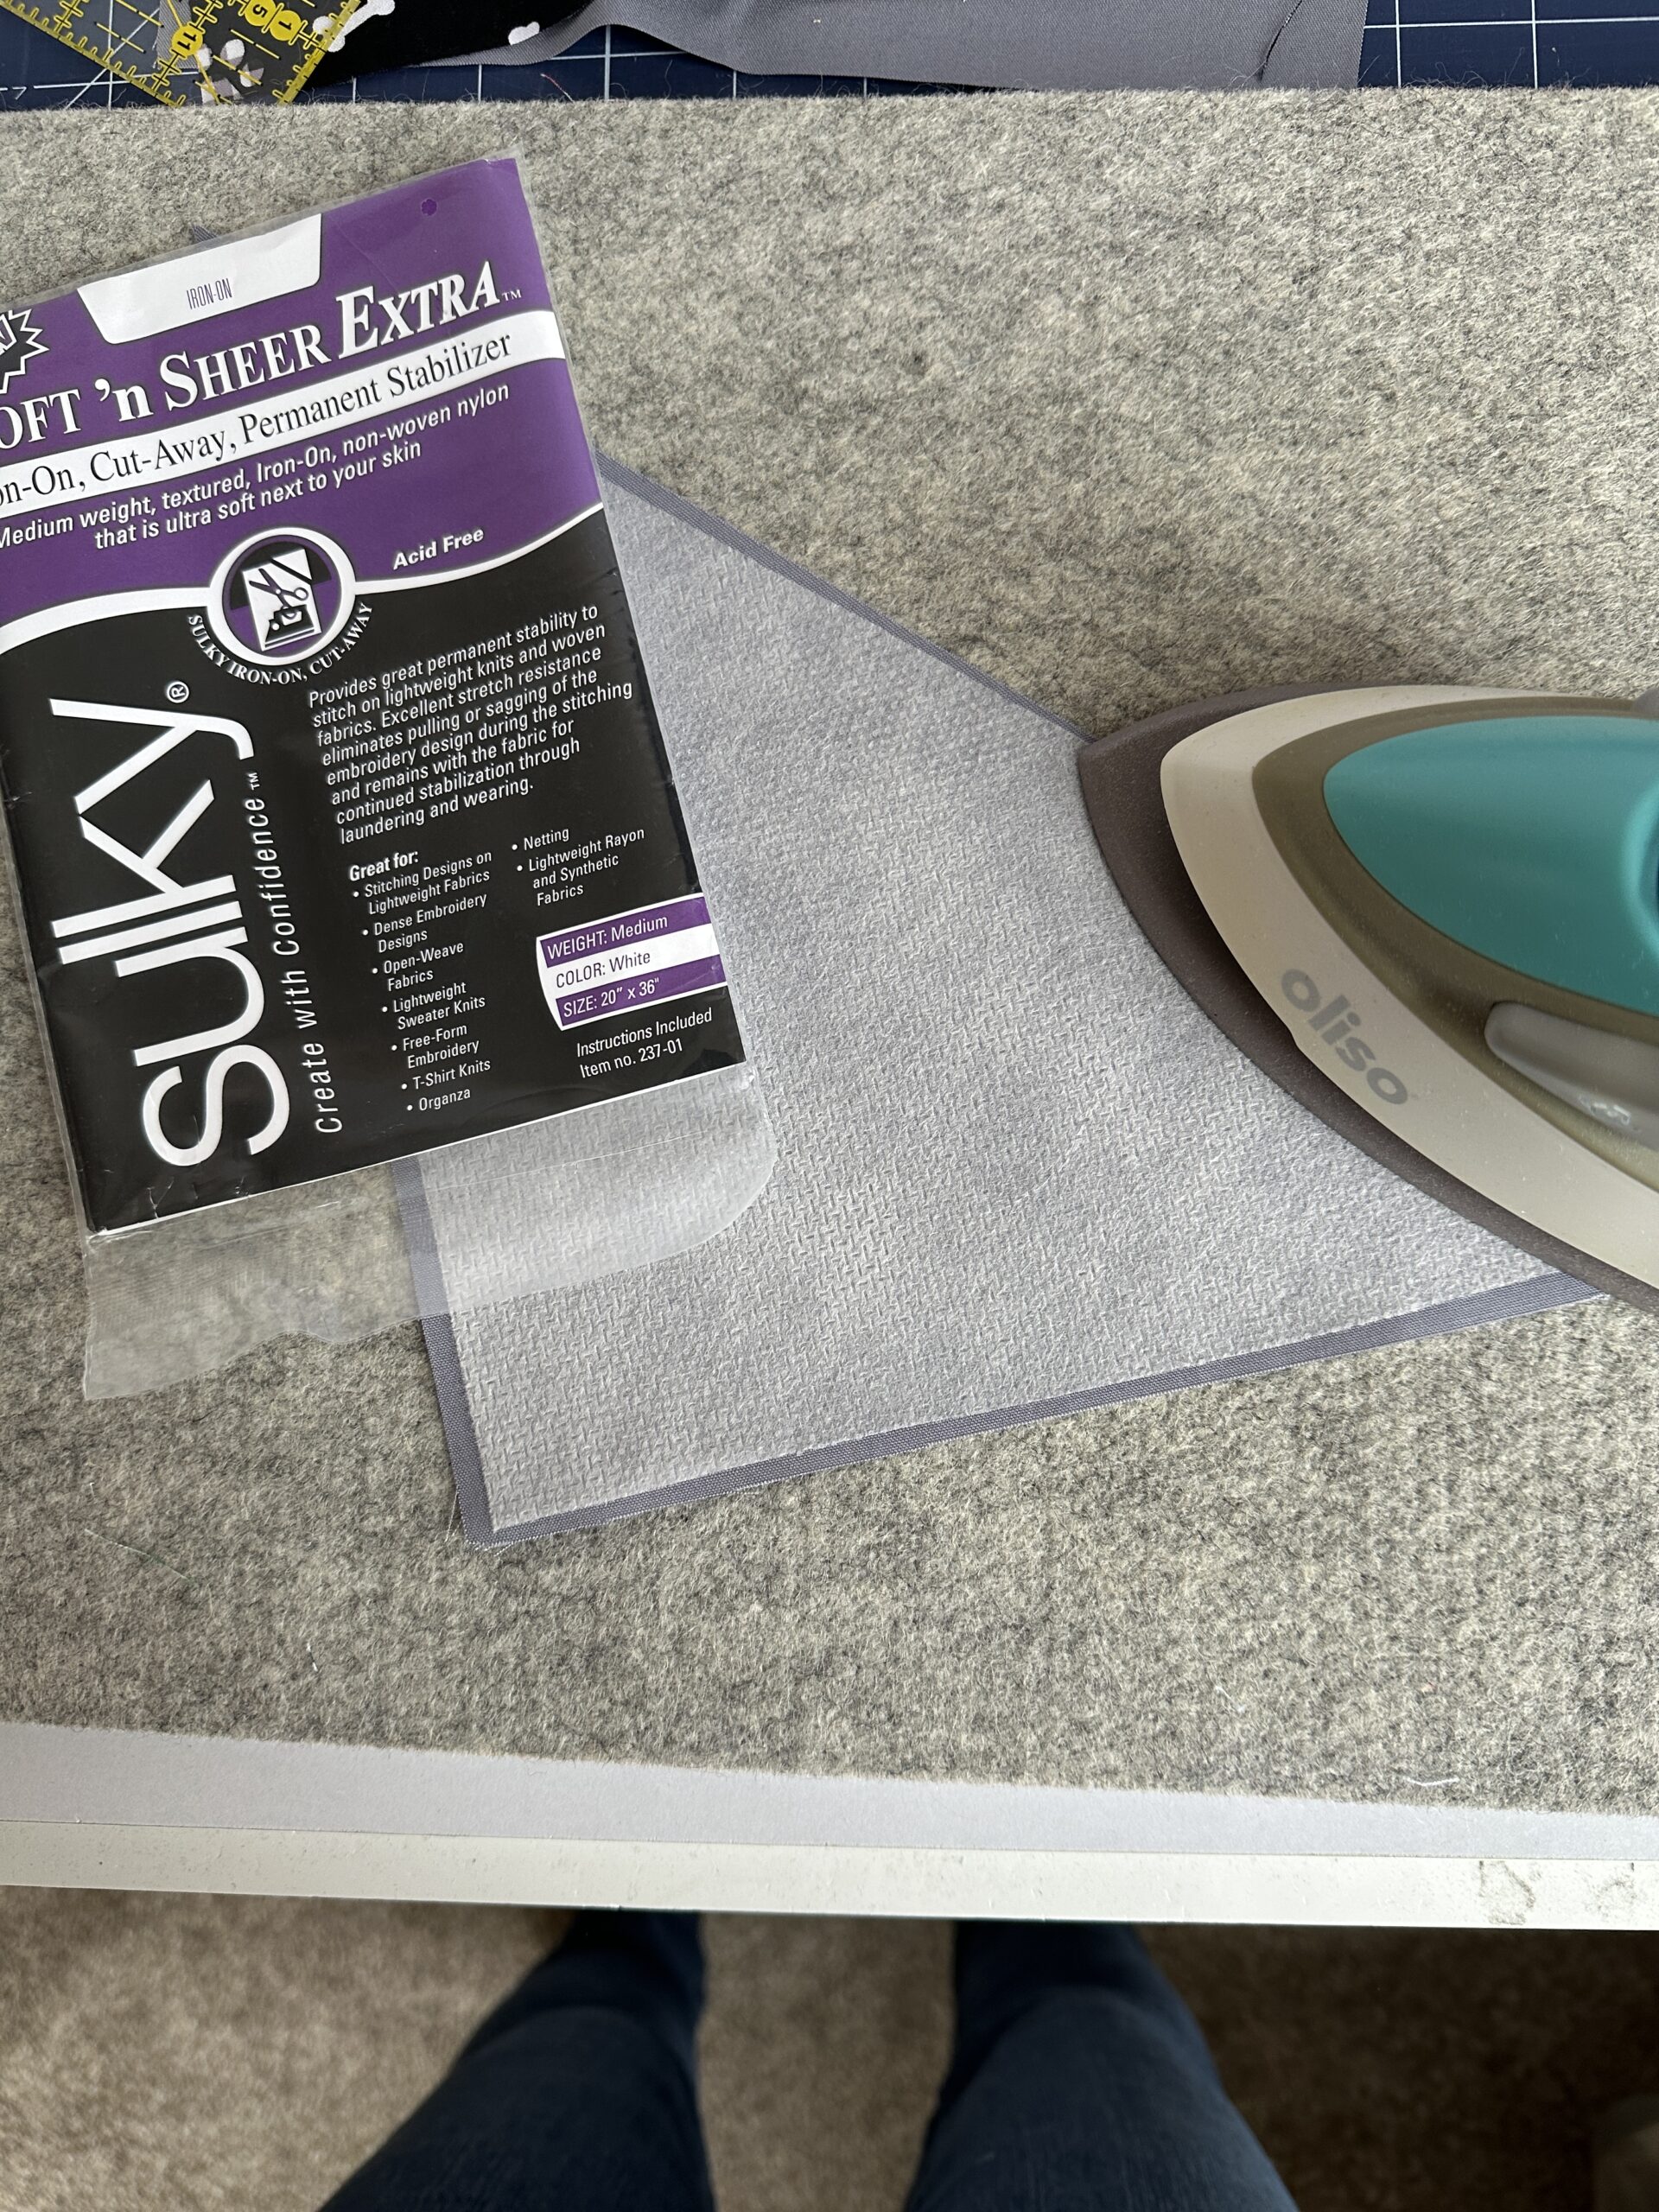
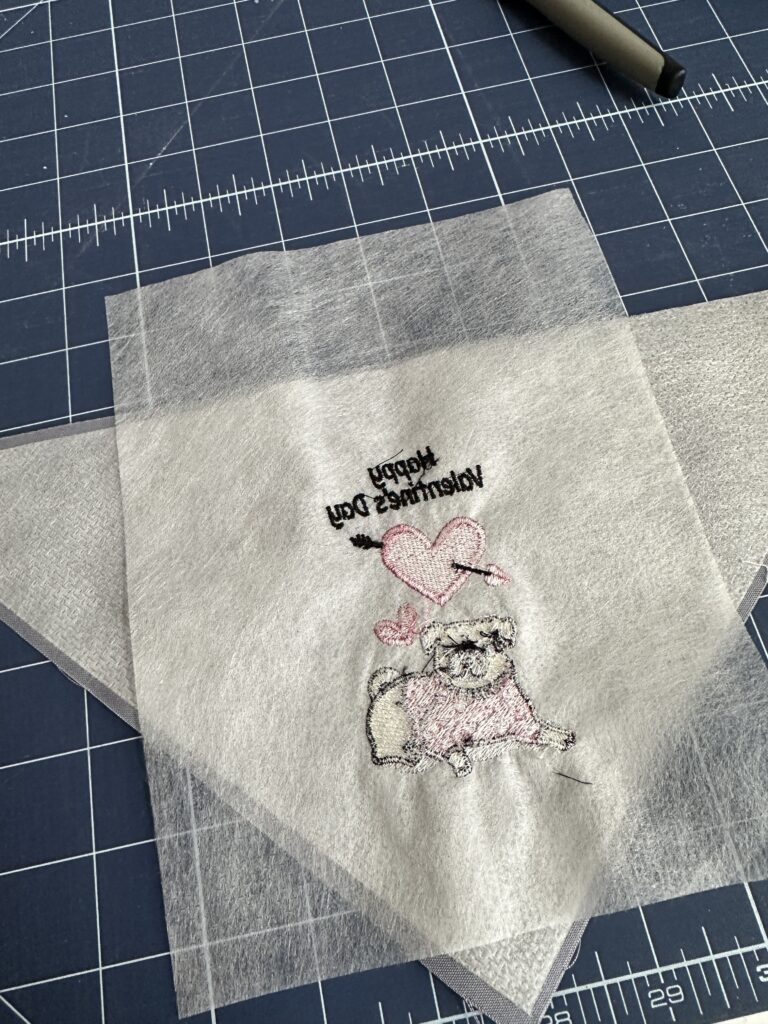
Stabilize for Embroidery
Cut a piece of Sulky Soft ’n Sheer™ Extra slightly smaller than one triangle.
Lightly press it to the wrong side of one triangle (this will be the embroidered layer).
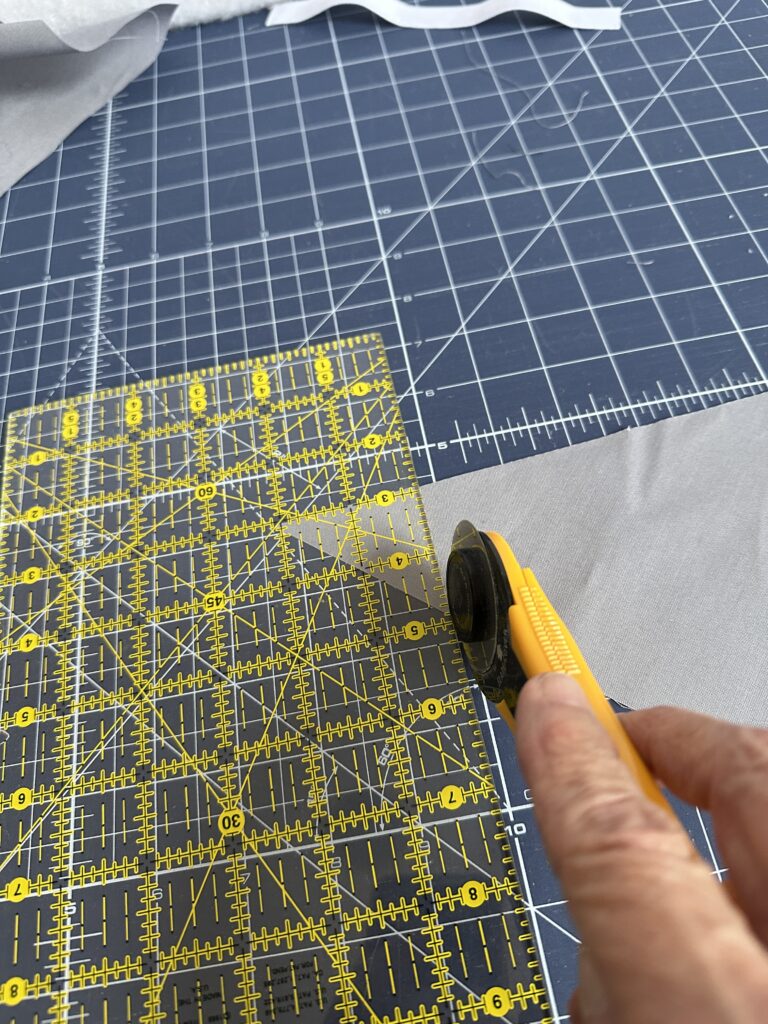
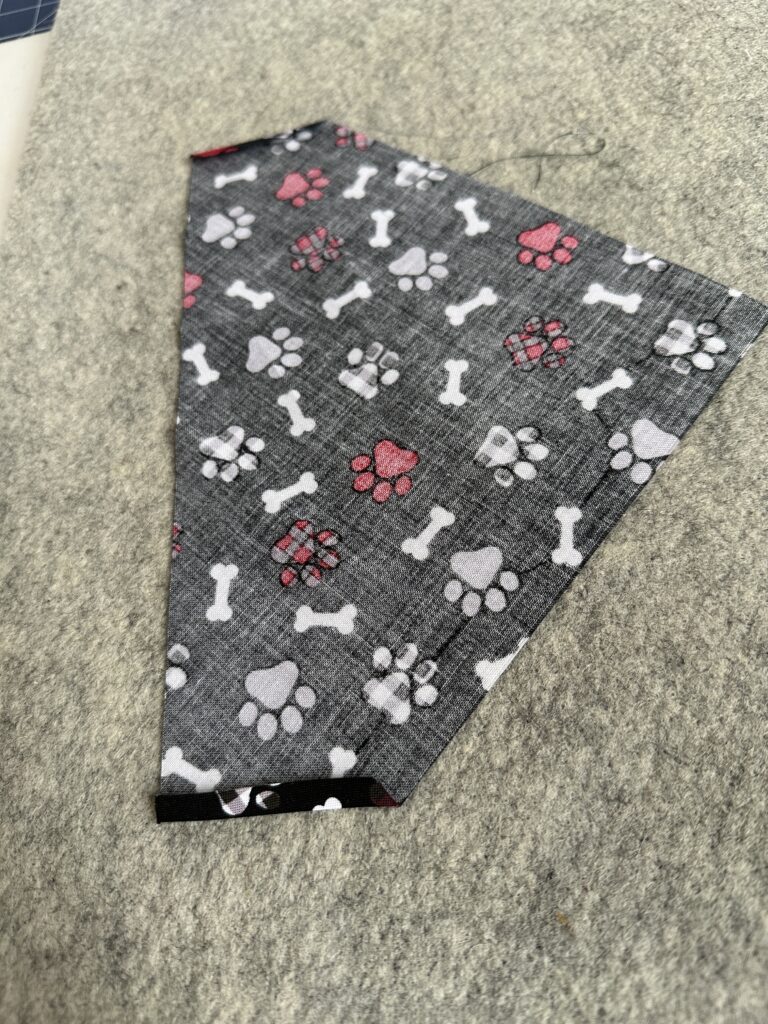
Shape the Bandana
On the long edge of the triangle, measure in 2” from each point and trim off the tips.
This creates short ends for inserting the elastic band later.
Hem Short Edges
Turn each short edge ¼” to the wrong side and stitch to hem.
DOG BANDANA EMBROIDERY
Hoop the Stabilizer
Hoop Sulky Soft ’n Sheer™ stabilizer.
Position the Fabric
Place the triangle on top of the hooped stabilizer.
Use a metal hoop and magnets to secure the fabric in place.
Align the Design
Lightly fold the triangle in half to create a center crease.
Use this crease as a guide when positioning the design.
Stitch the Design
Insert a non-stick embroidery needle and stitch the design.
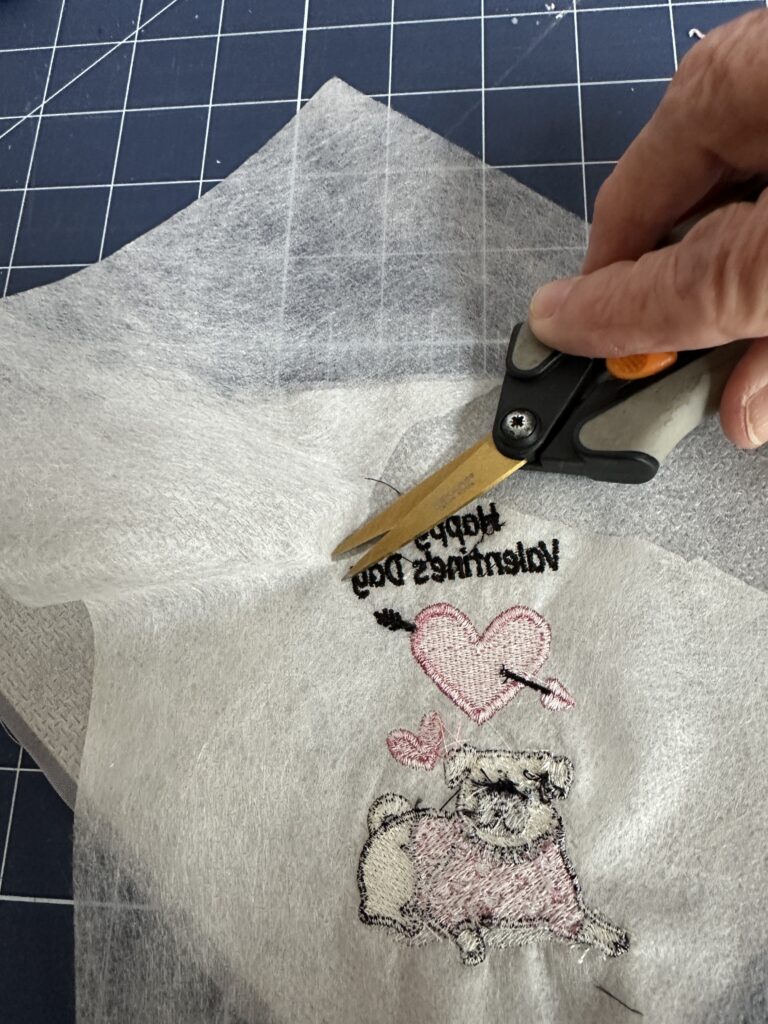
Finishing
Remove from the hoop and trim the stabilizer close to the embroidery.
BANDANA ASSEMBLY
Sew the Triangle
With right sides together, stitch ¼” along the two long sides of the triangle, leaving the short ends open.
Reversible option: Stitch a ¼” seam across the top edge as well.
Trim & Turn
Trim seam allowances and the bottom point to reduce bulk.
Turn the bandana right side out through one open end.

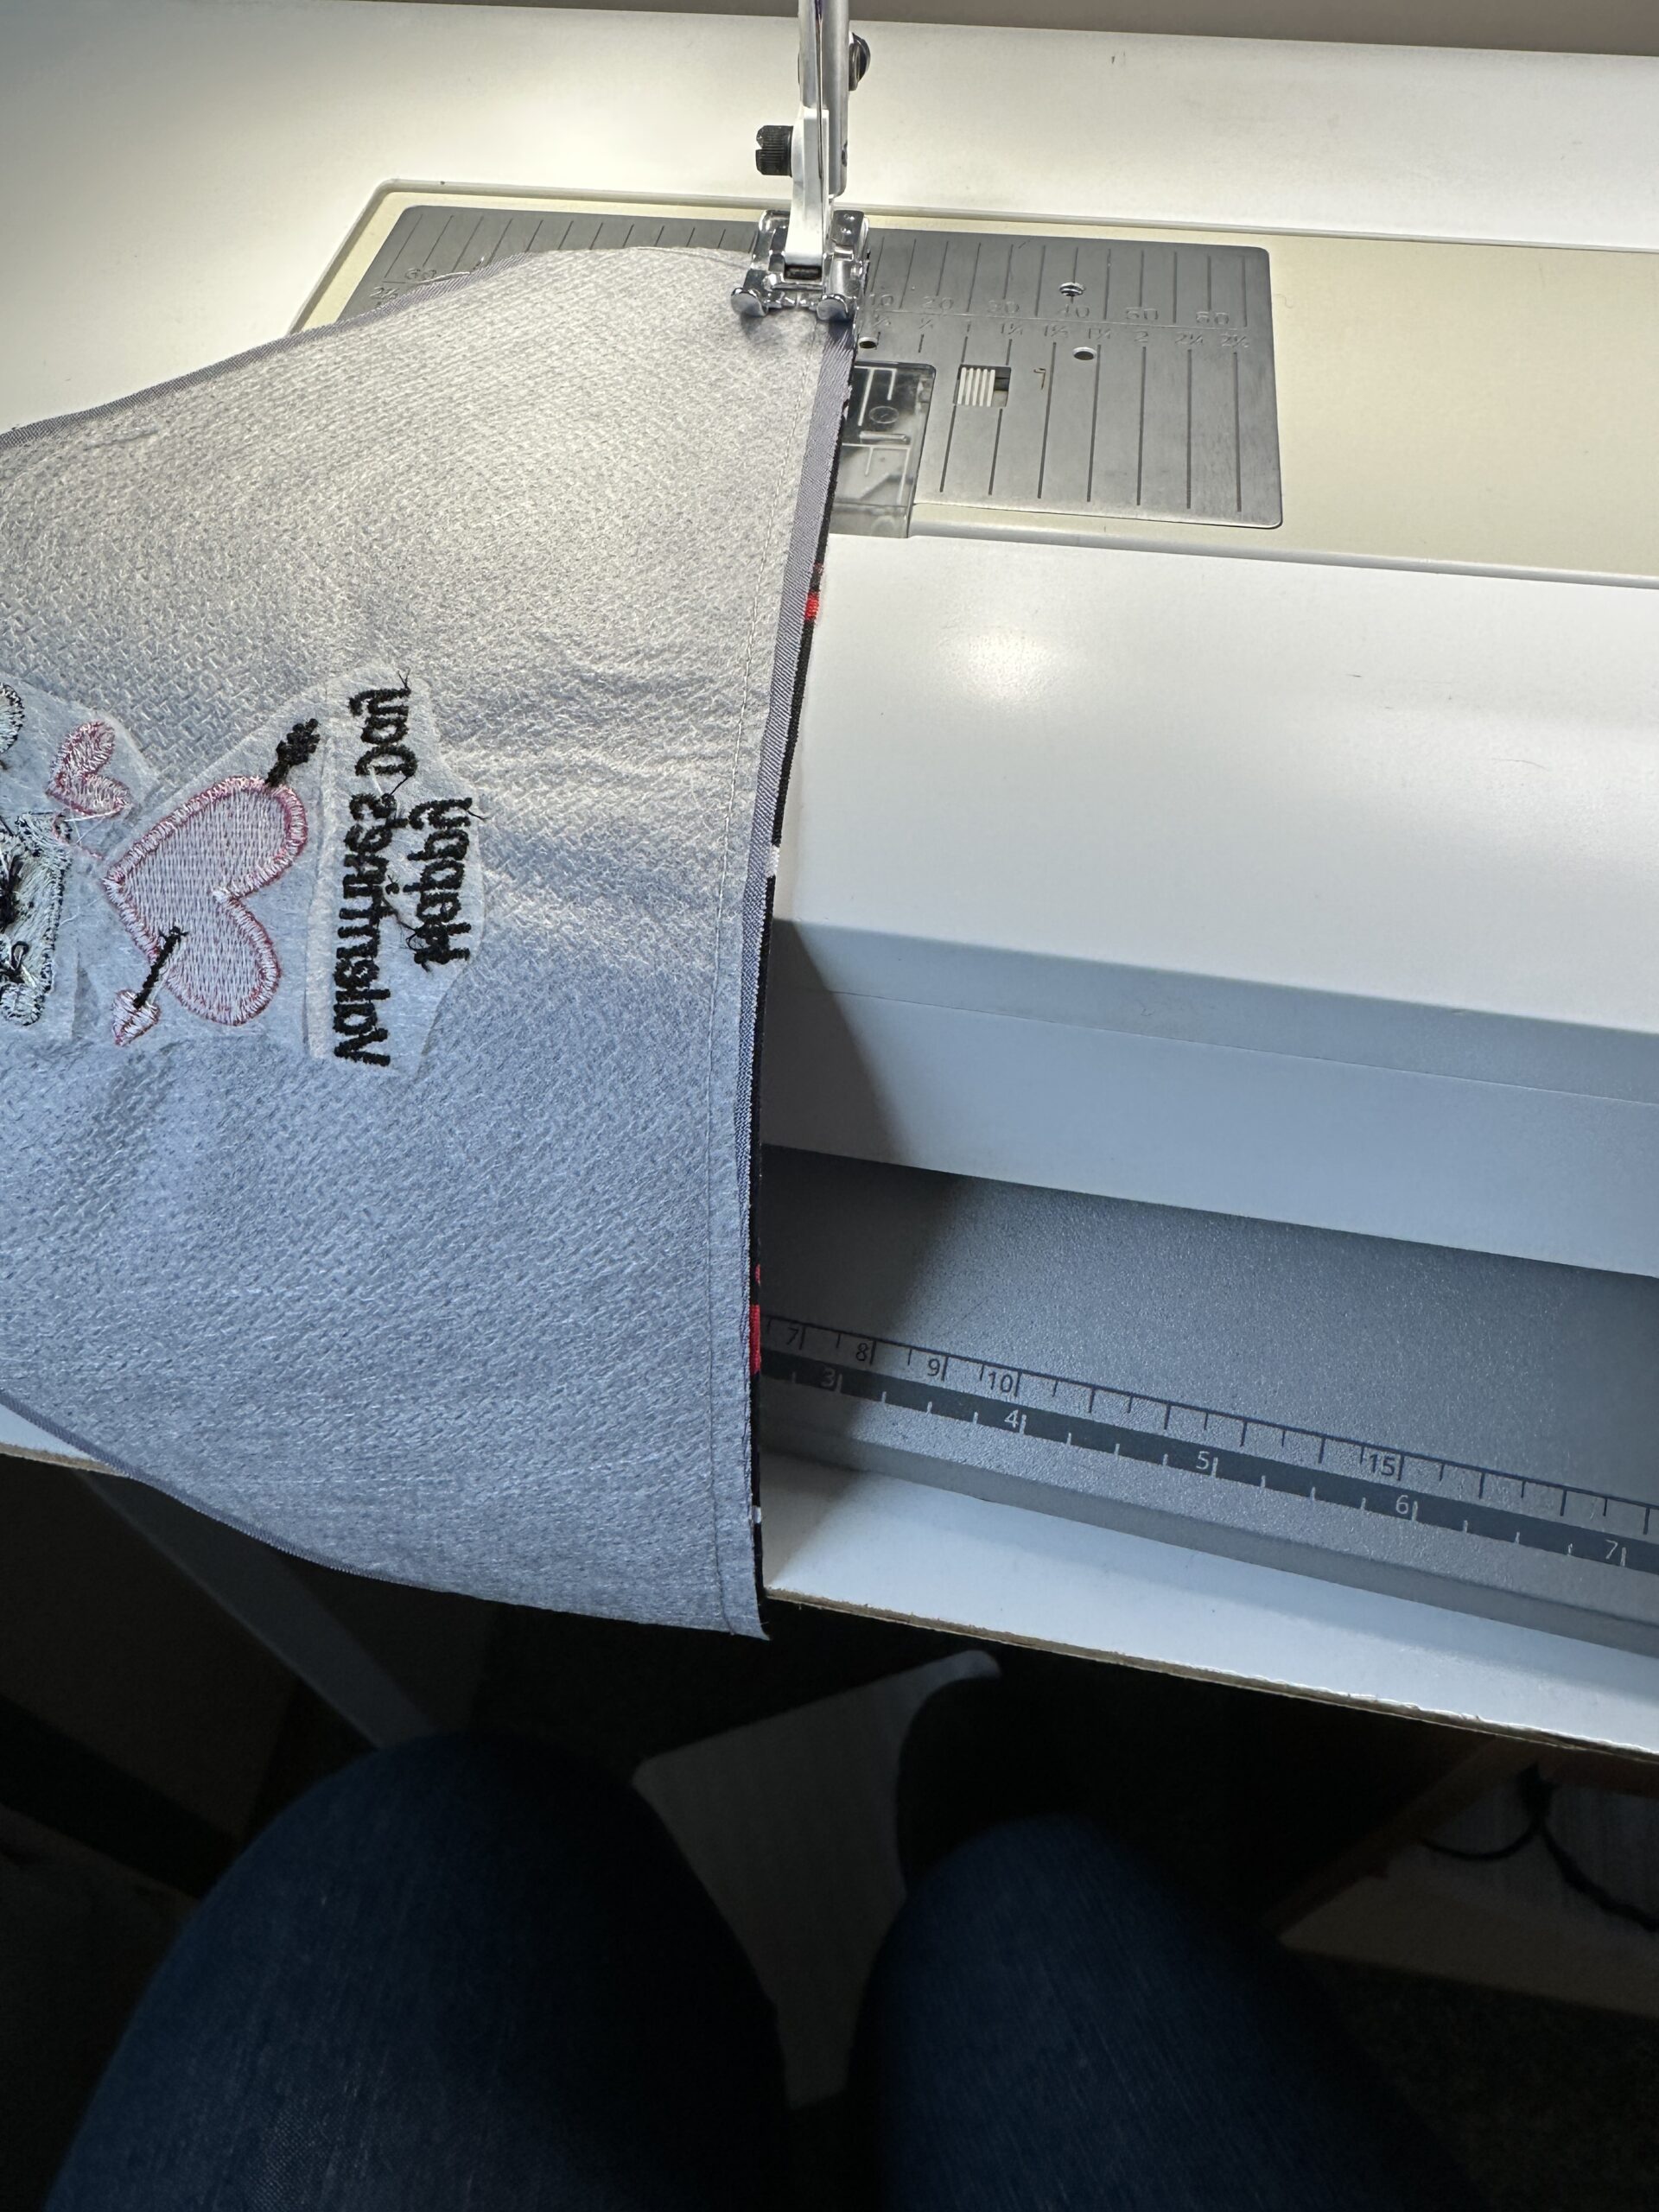
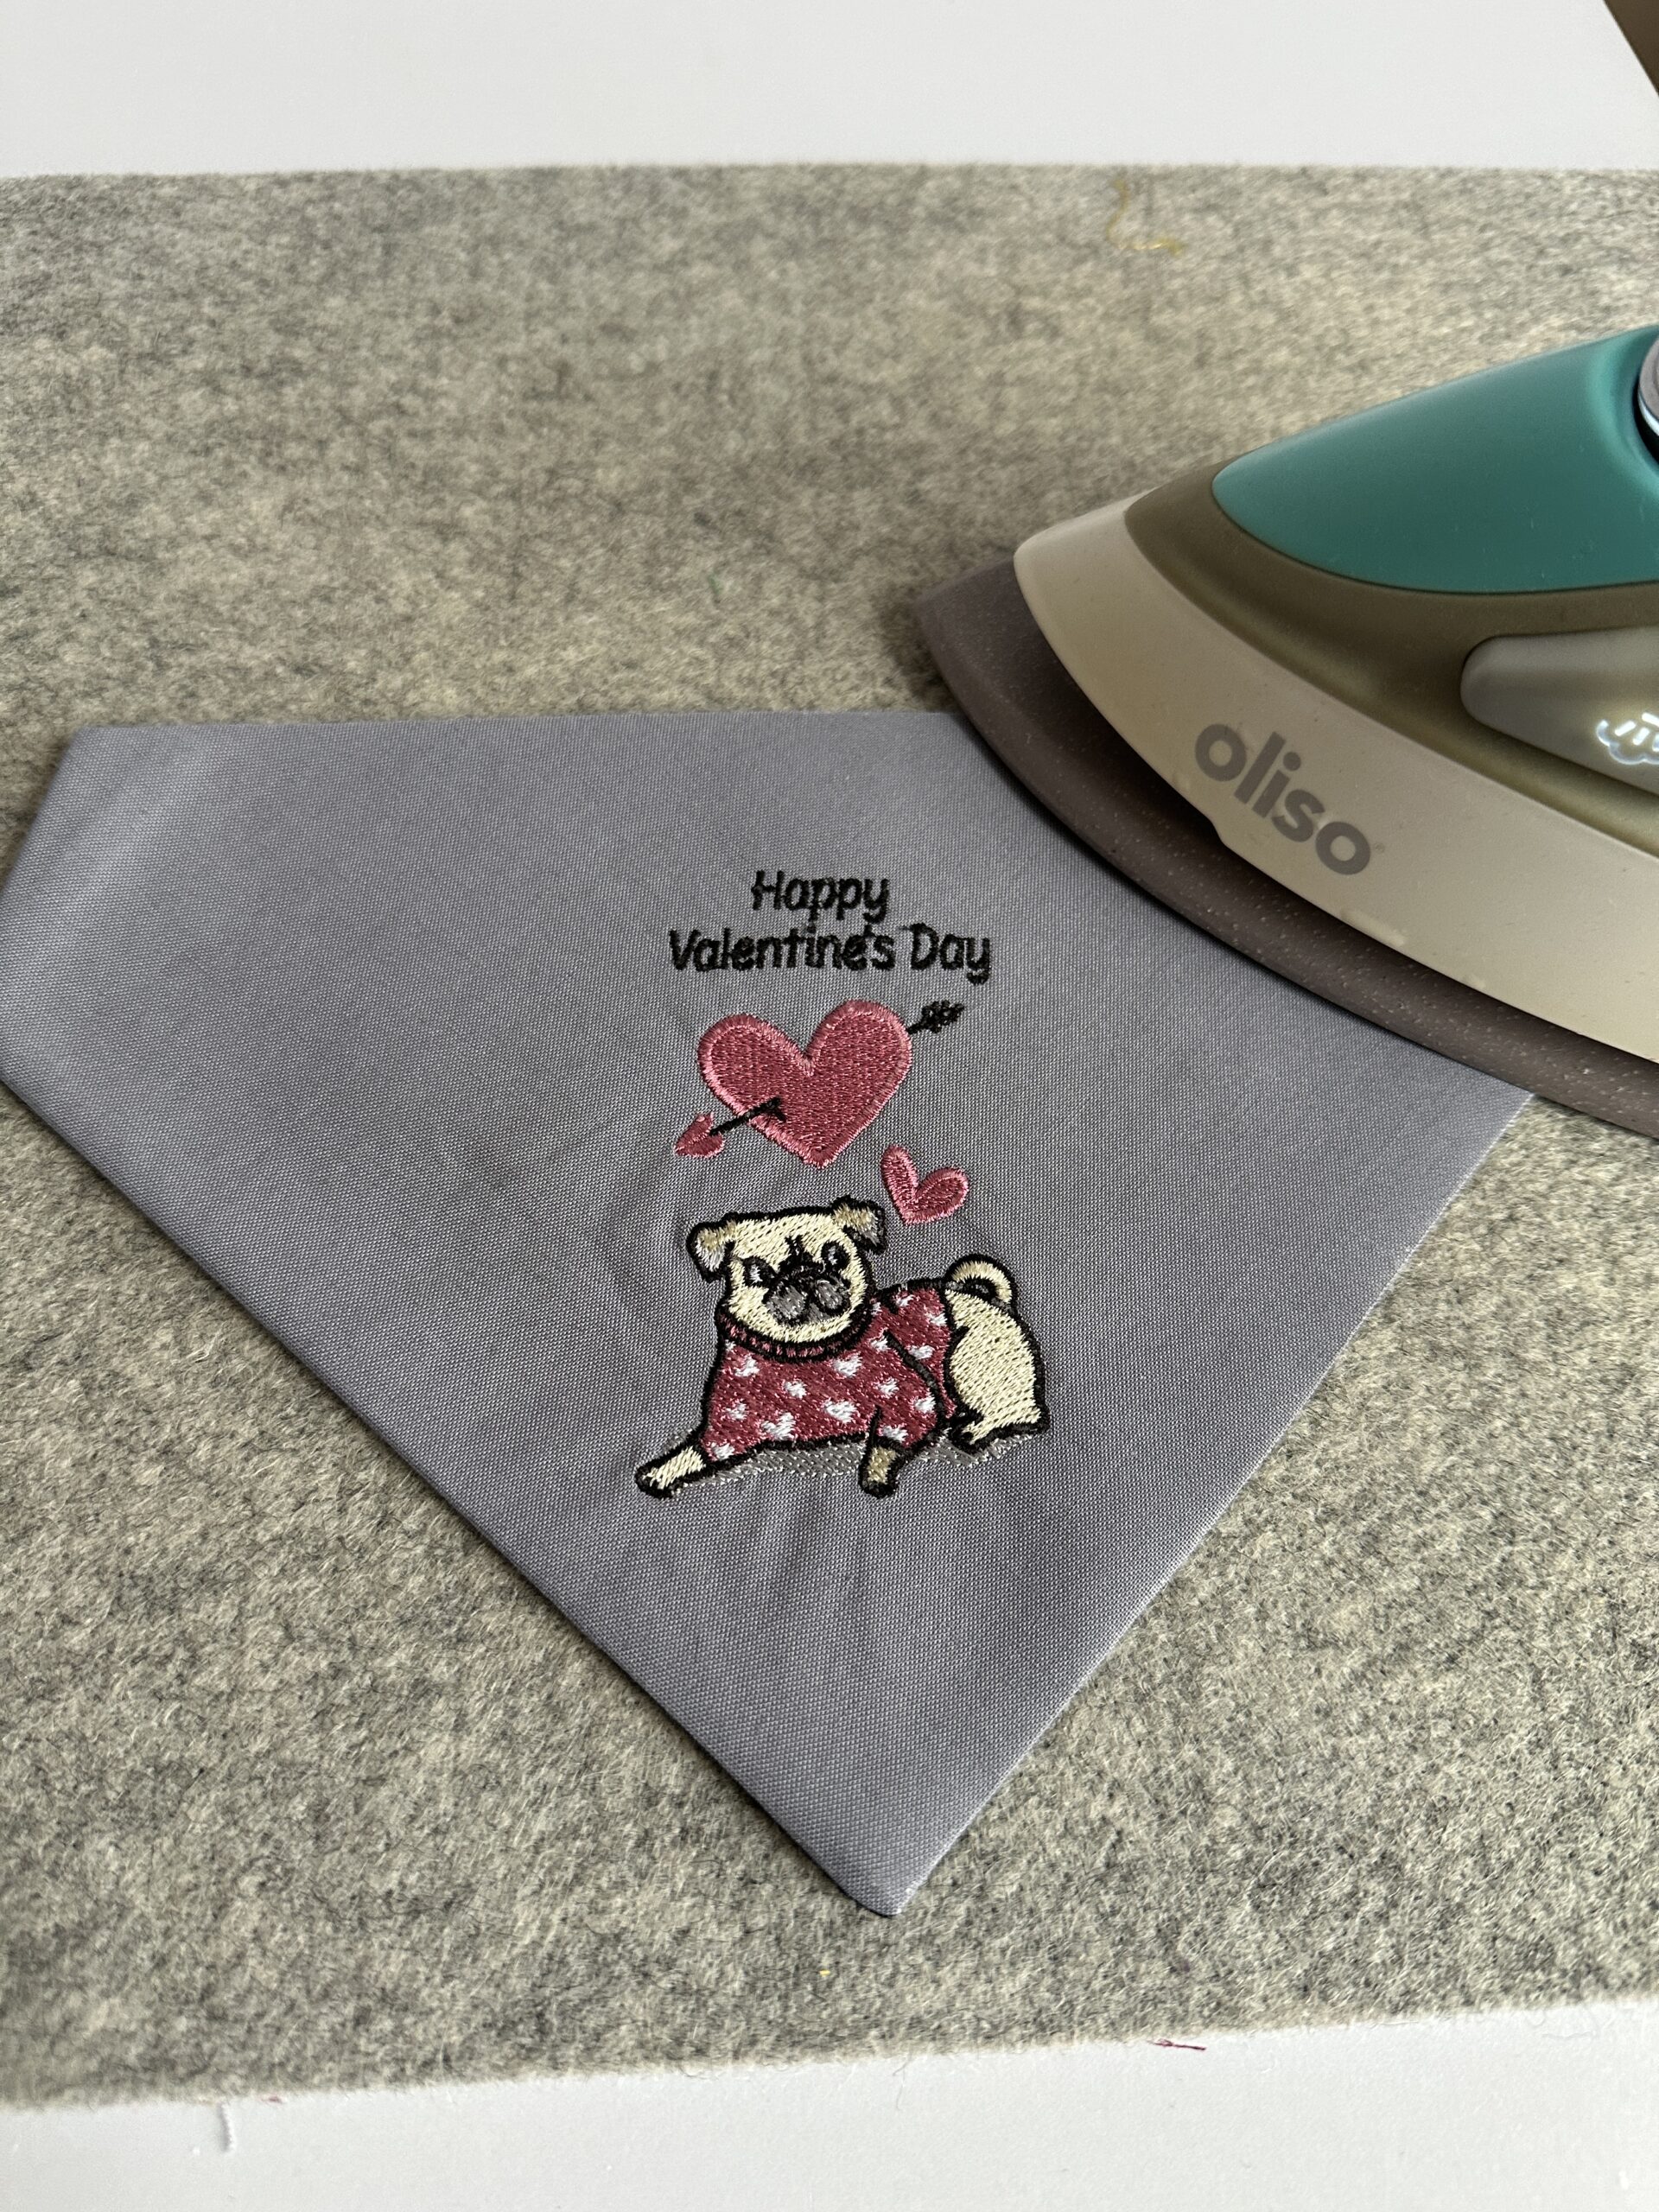
Press & Topstitch
Press well.
Narrow topstitch across the top edge and along both sides, keeping the short ends open.
BANDANA BAND
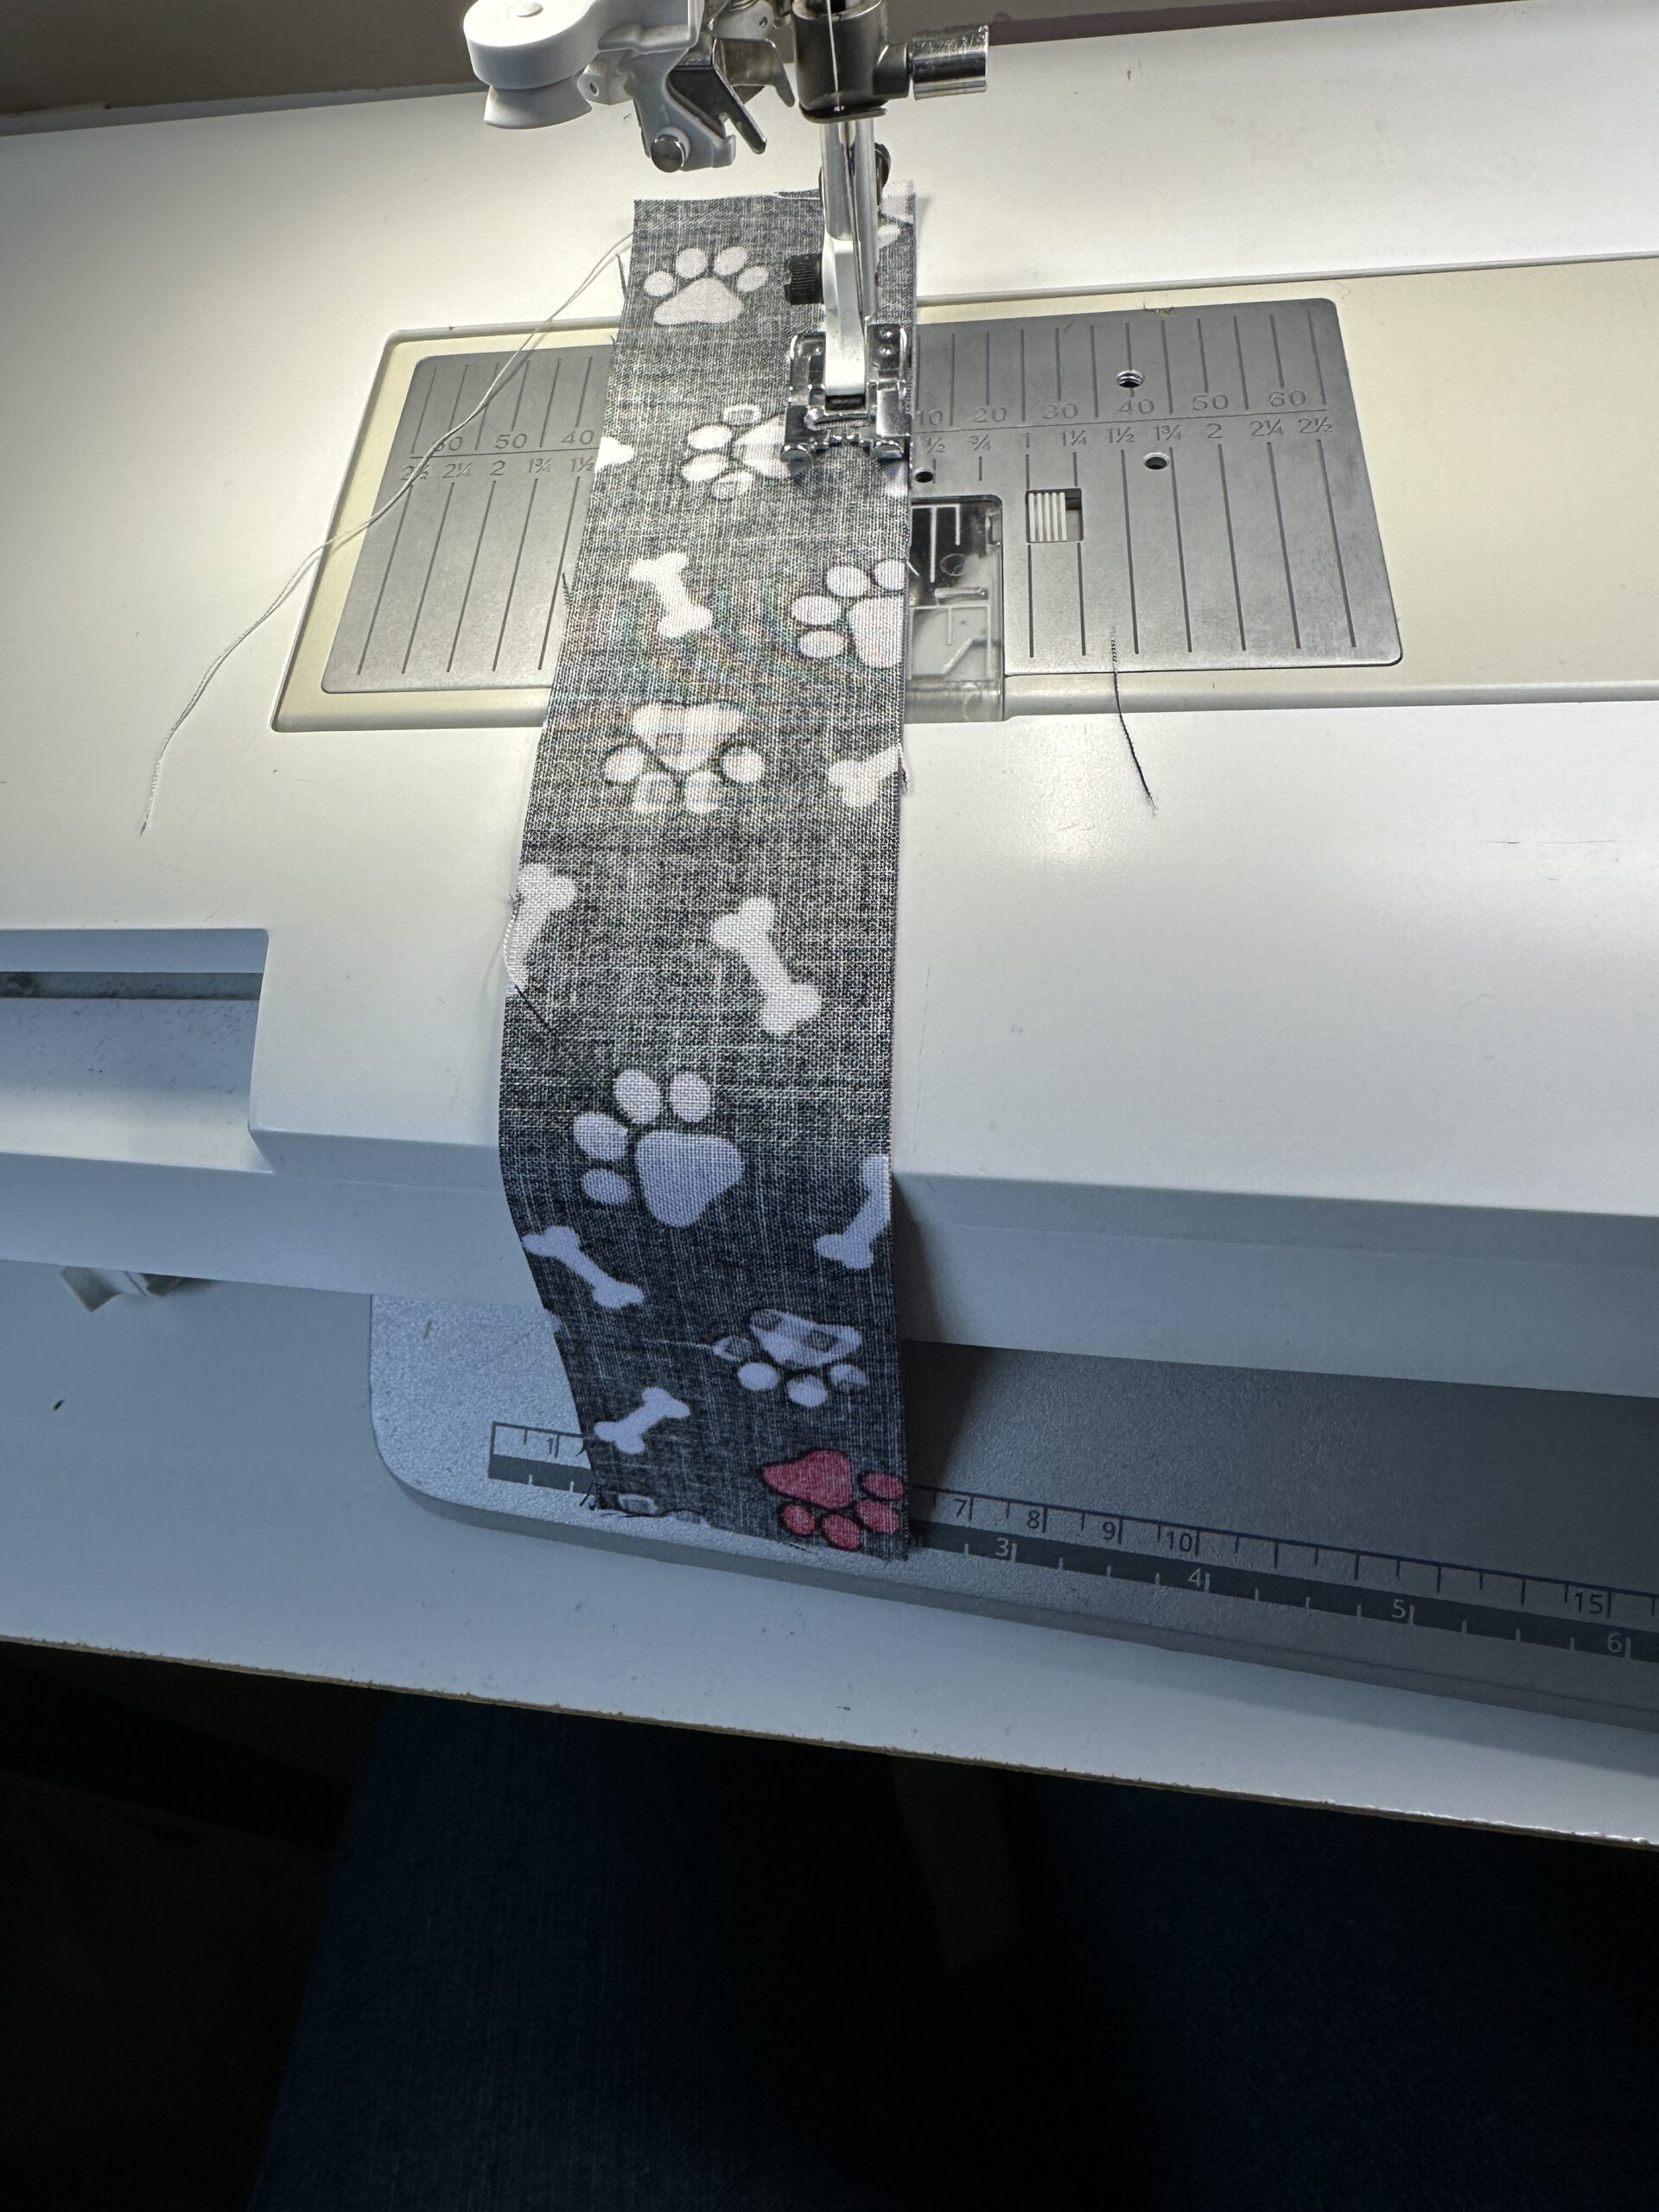
Sew the Band
Fold the fabric strip lengthwise with right sides together; stitch ¼” from the long edge.
Reversible option: Place right sides together and stitch ¼” along both long edges.
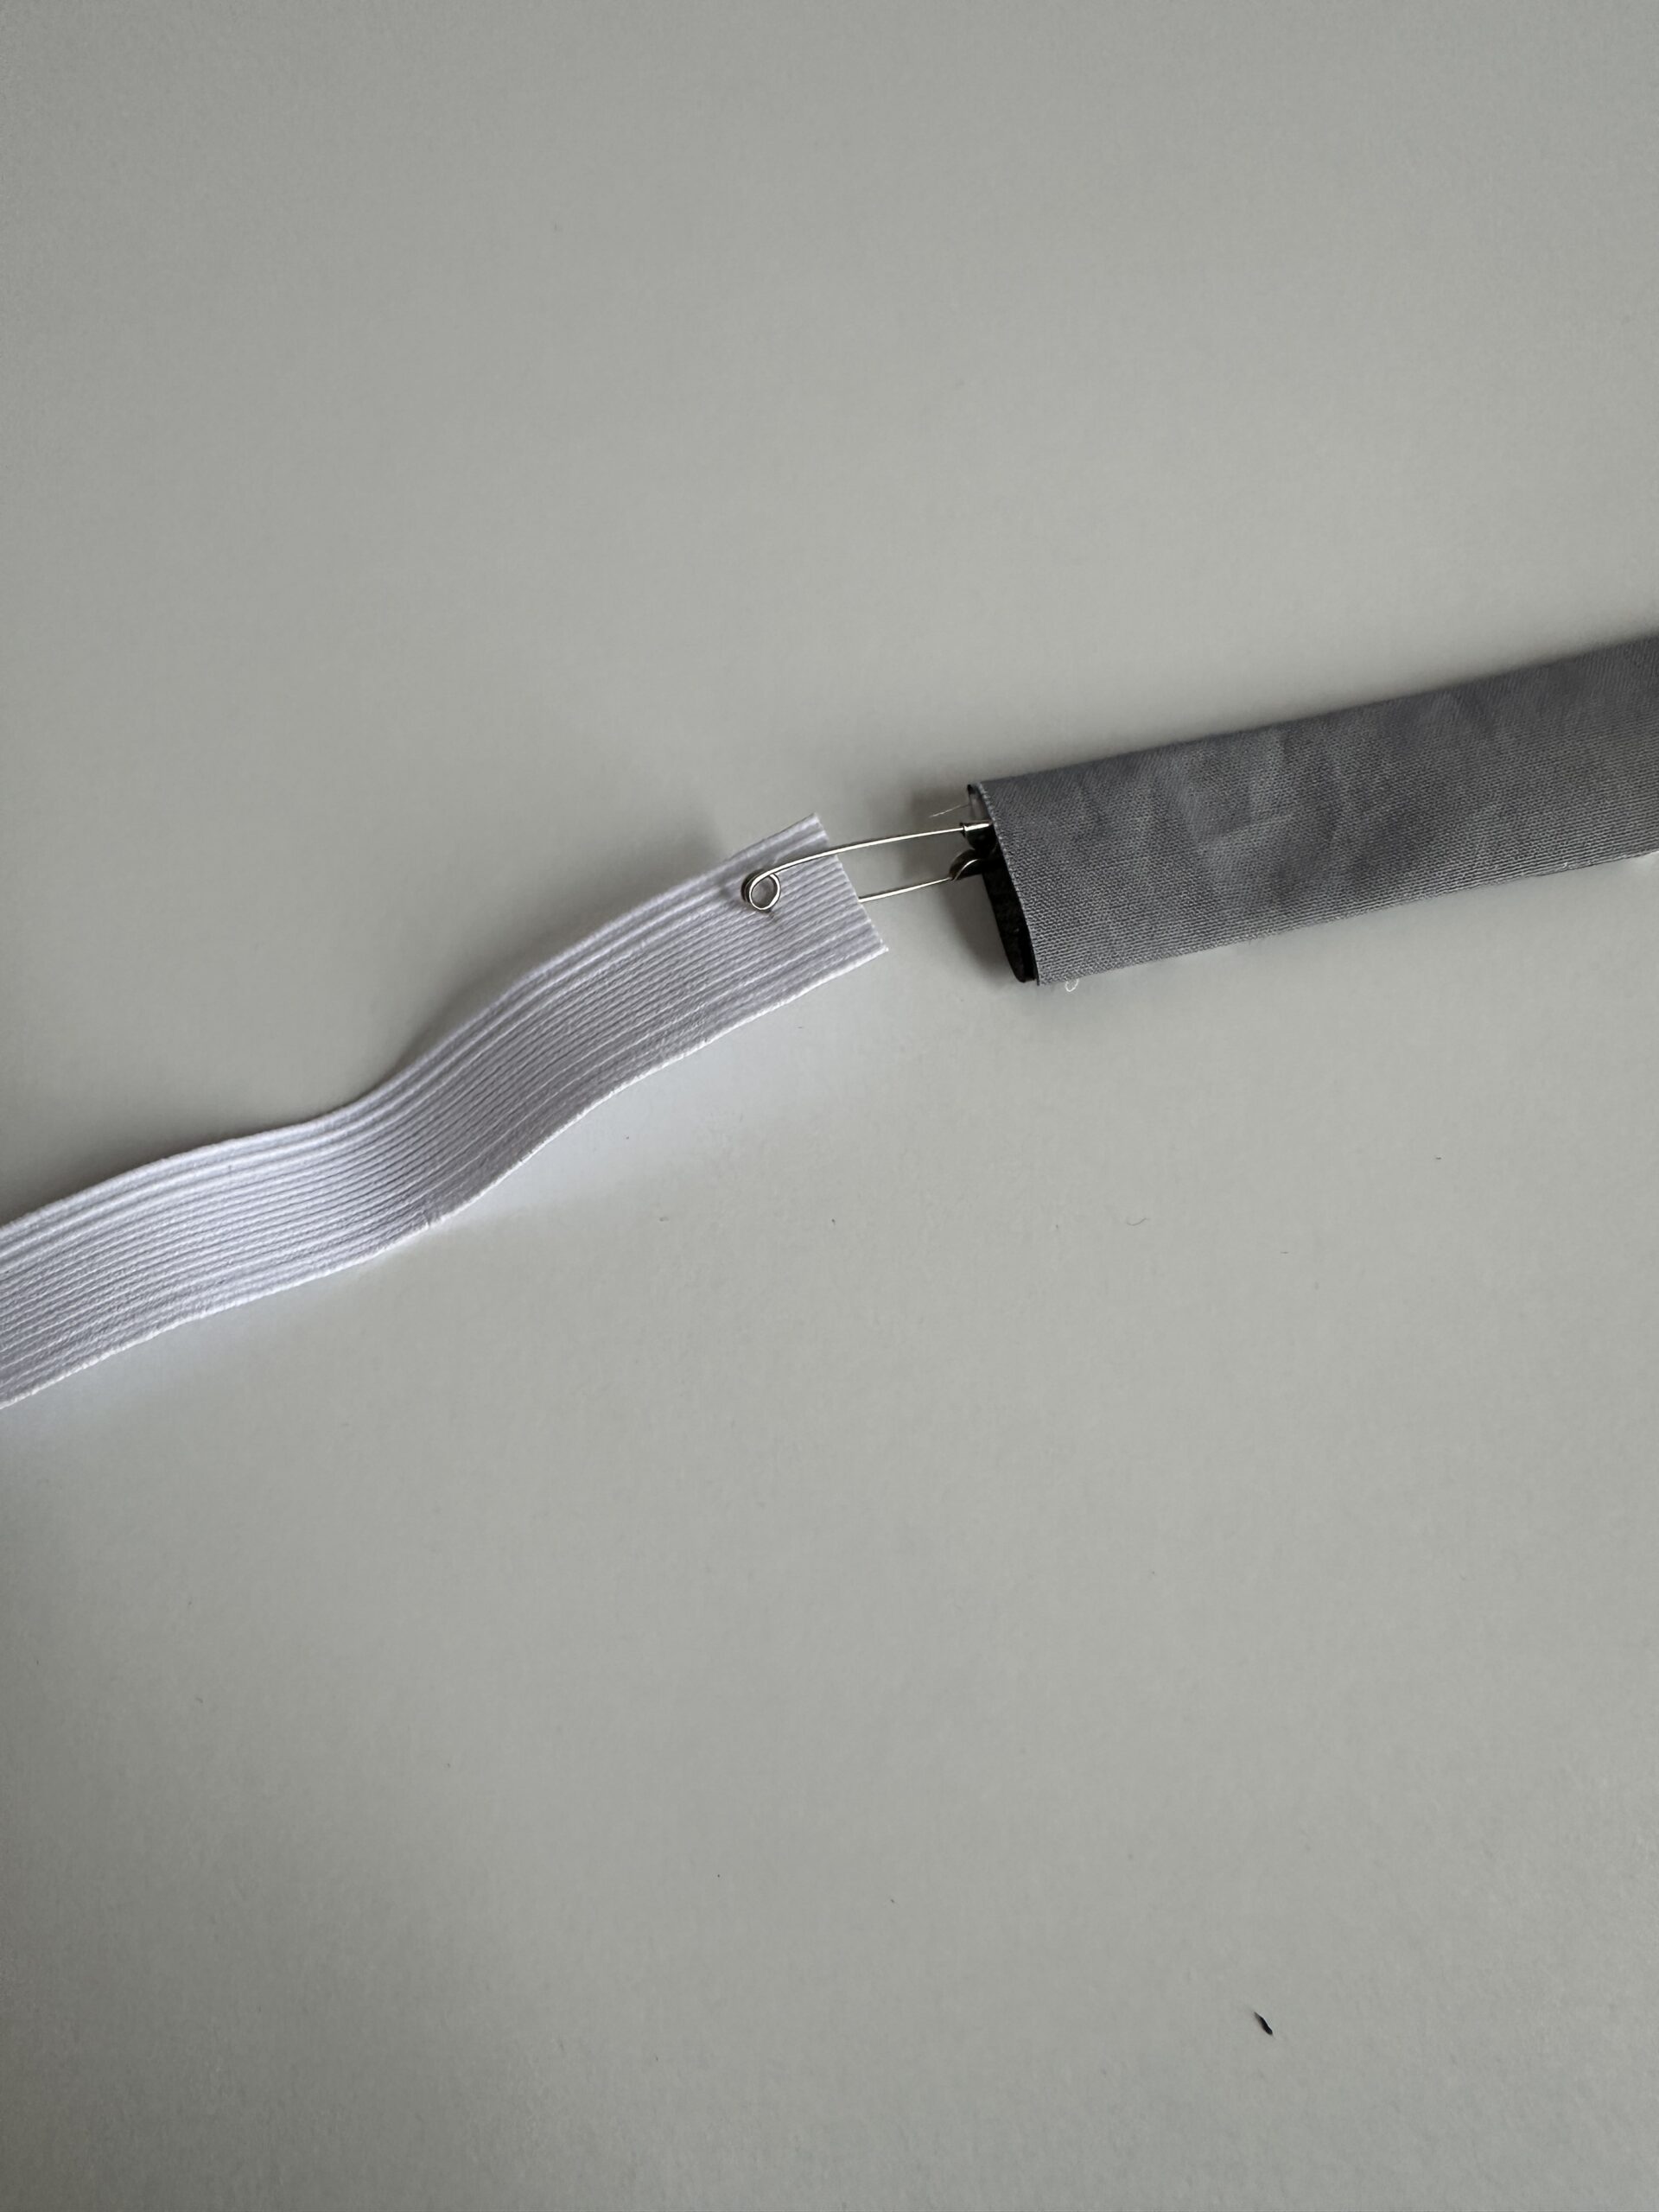
Turn & Finish
Turn right side out using a safety pin.
Then, press, and narrow topstitch along the long edges.
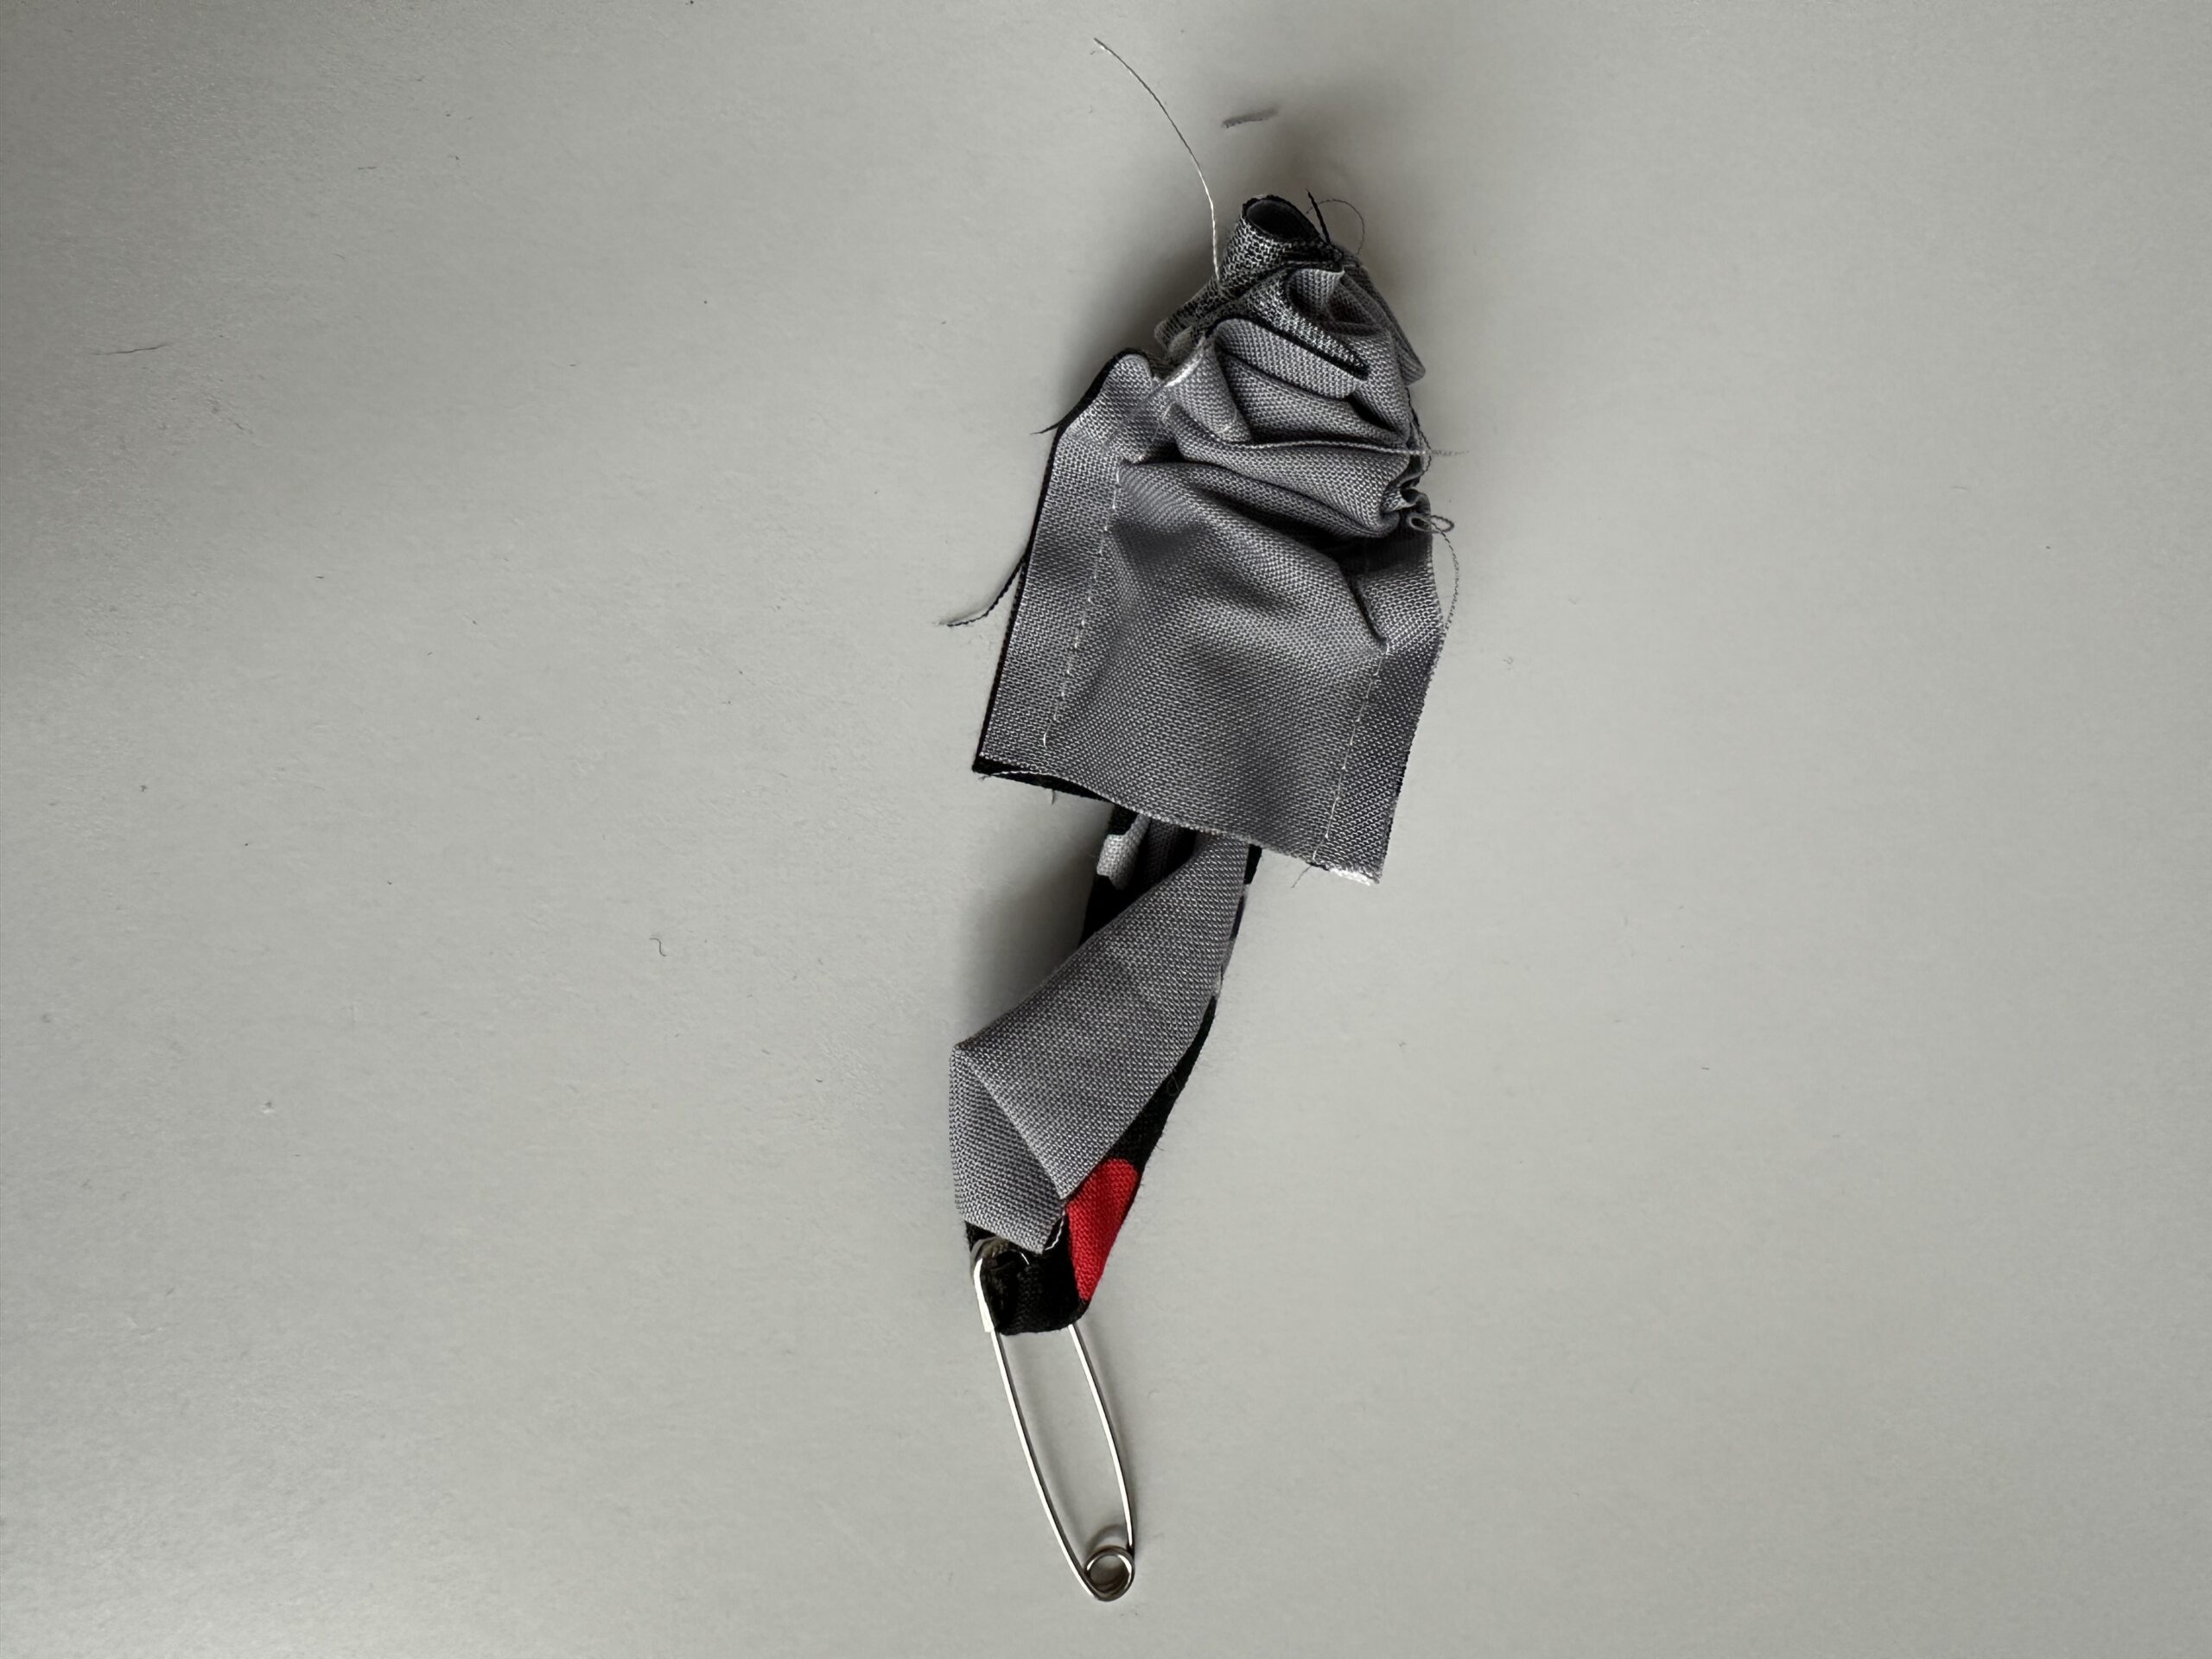
Insert Elastic
Attach a safety pin to one end of the elastic and thread it through the fabric band.
Secure Elastic
Stitch across one end of the band to secure the elastic before pulling it all the way through.
Stitch the elastic to the band at the opposite end.
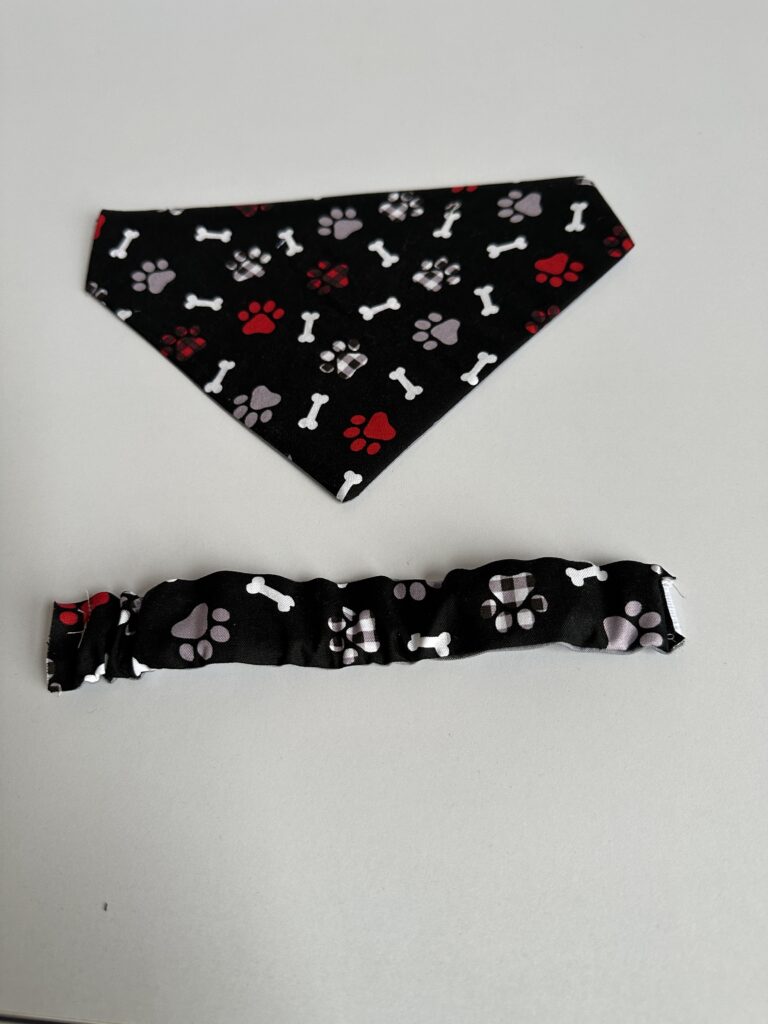
Test Fit
Now is the time to check fit.
The elastic should stretch comfortably over your dog’s head while fitting snugly around the neck.
ATTACHING BAND TO BANDANA
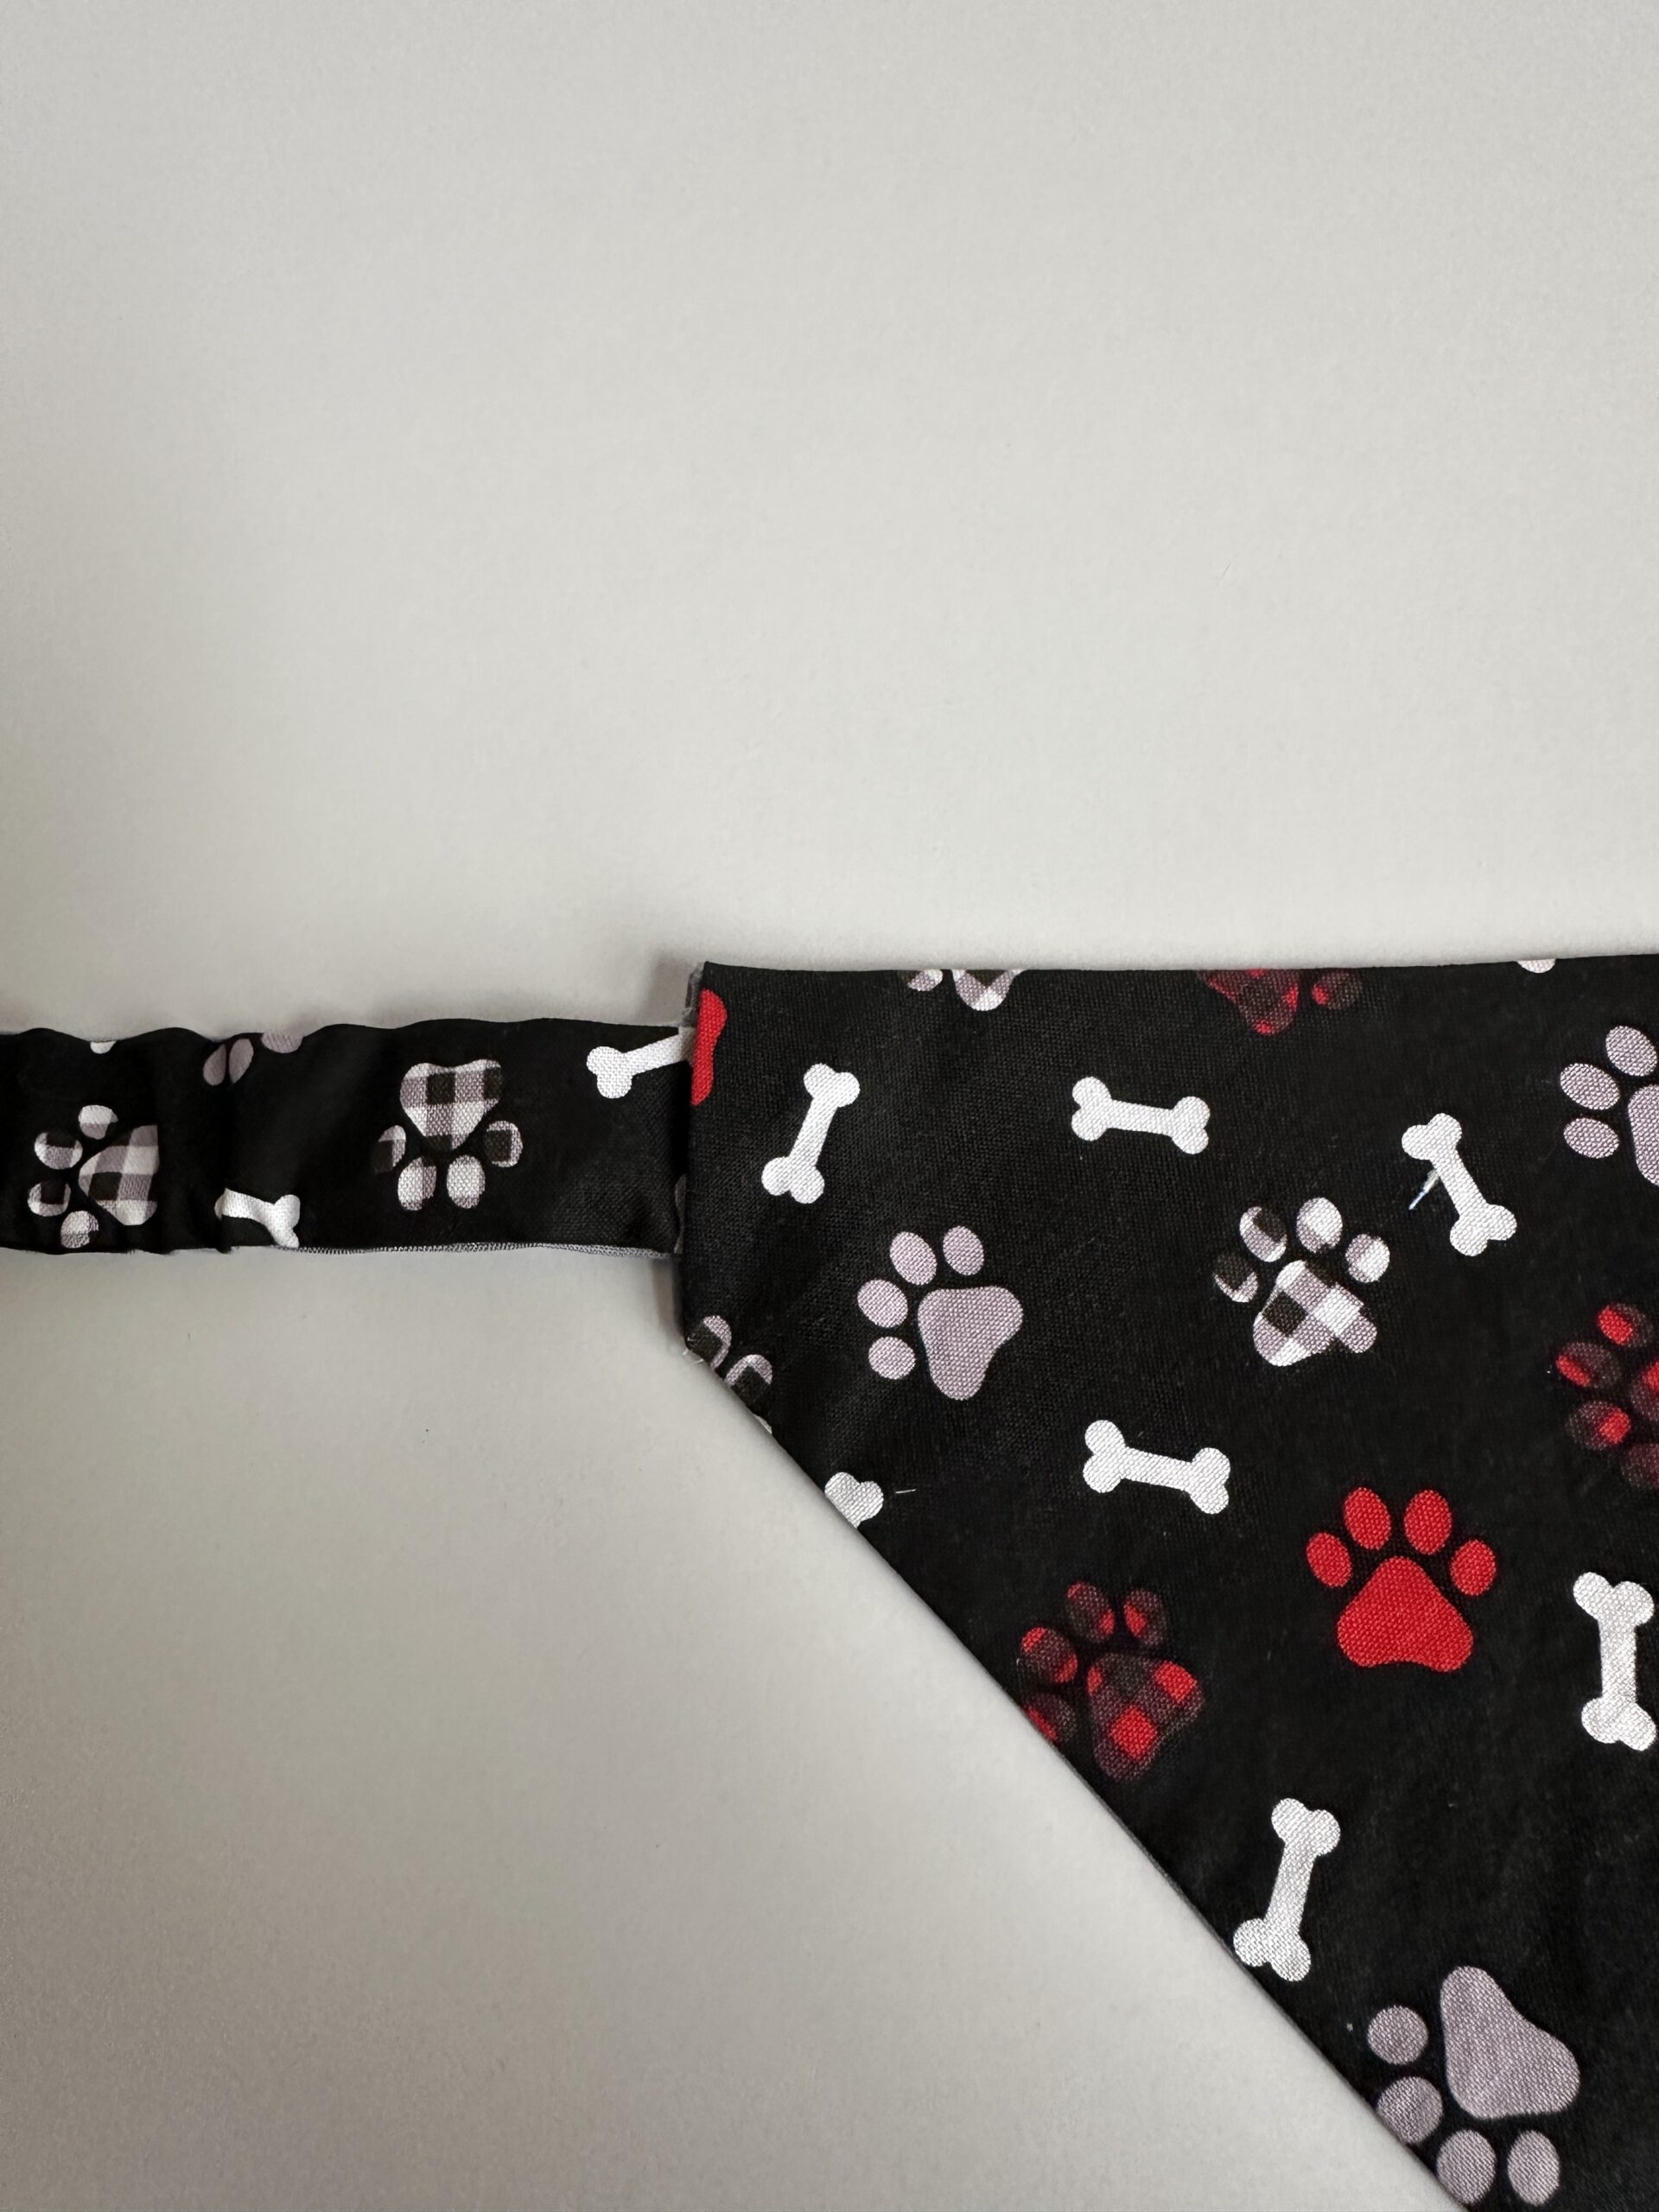
Insert First End
Insert one end of the elastic band ¾” into one open end of the bandana and pin in place.
Check Fit on Your Dog
Holding the other end, gently place the bandana around your dog’s neck to confirm proper length and comfort.
Insert Second End
Insert the second end of the band ¾” into the remaining bandana opening and pin.
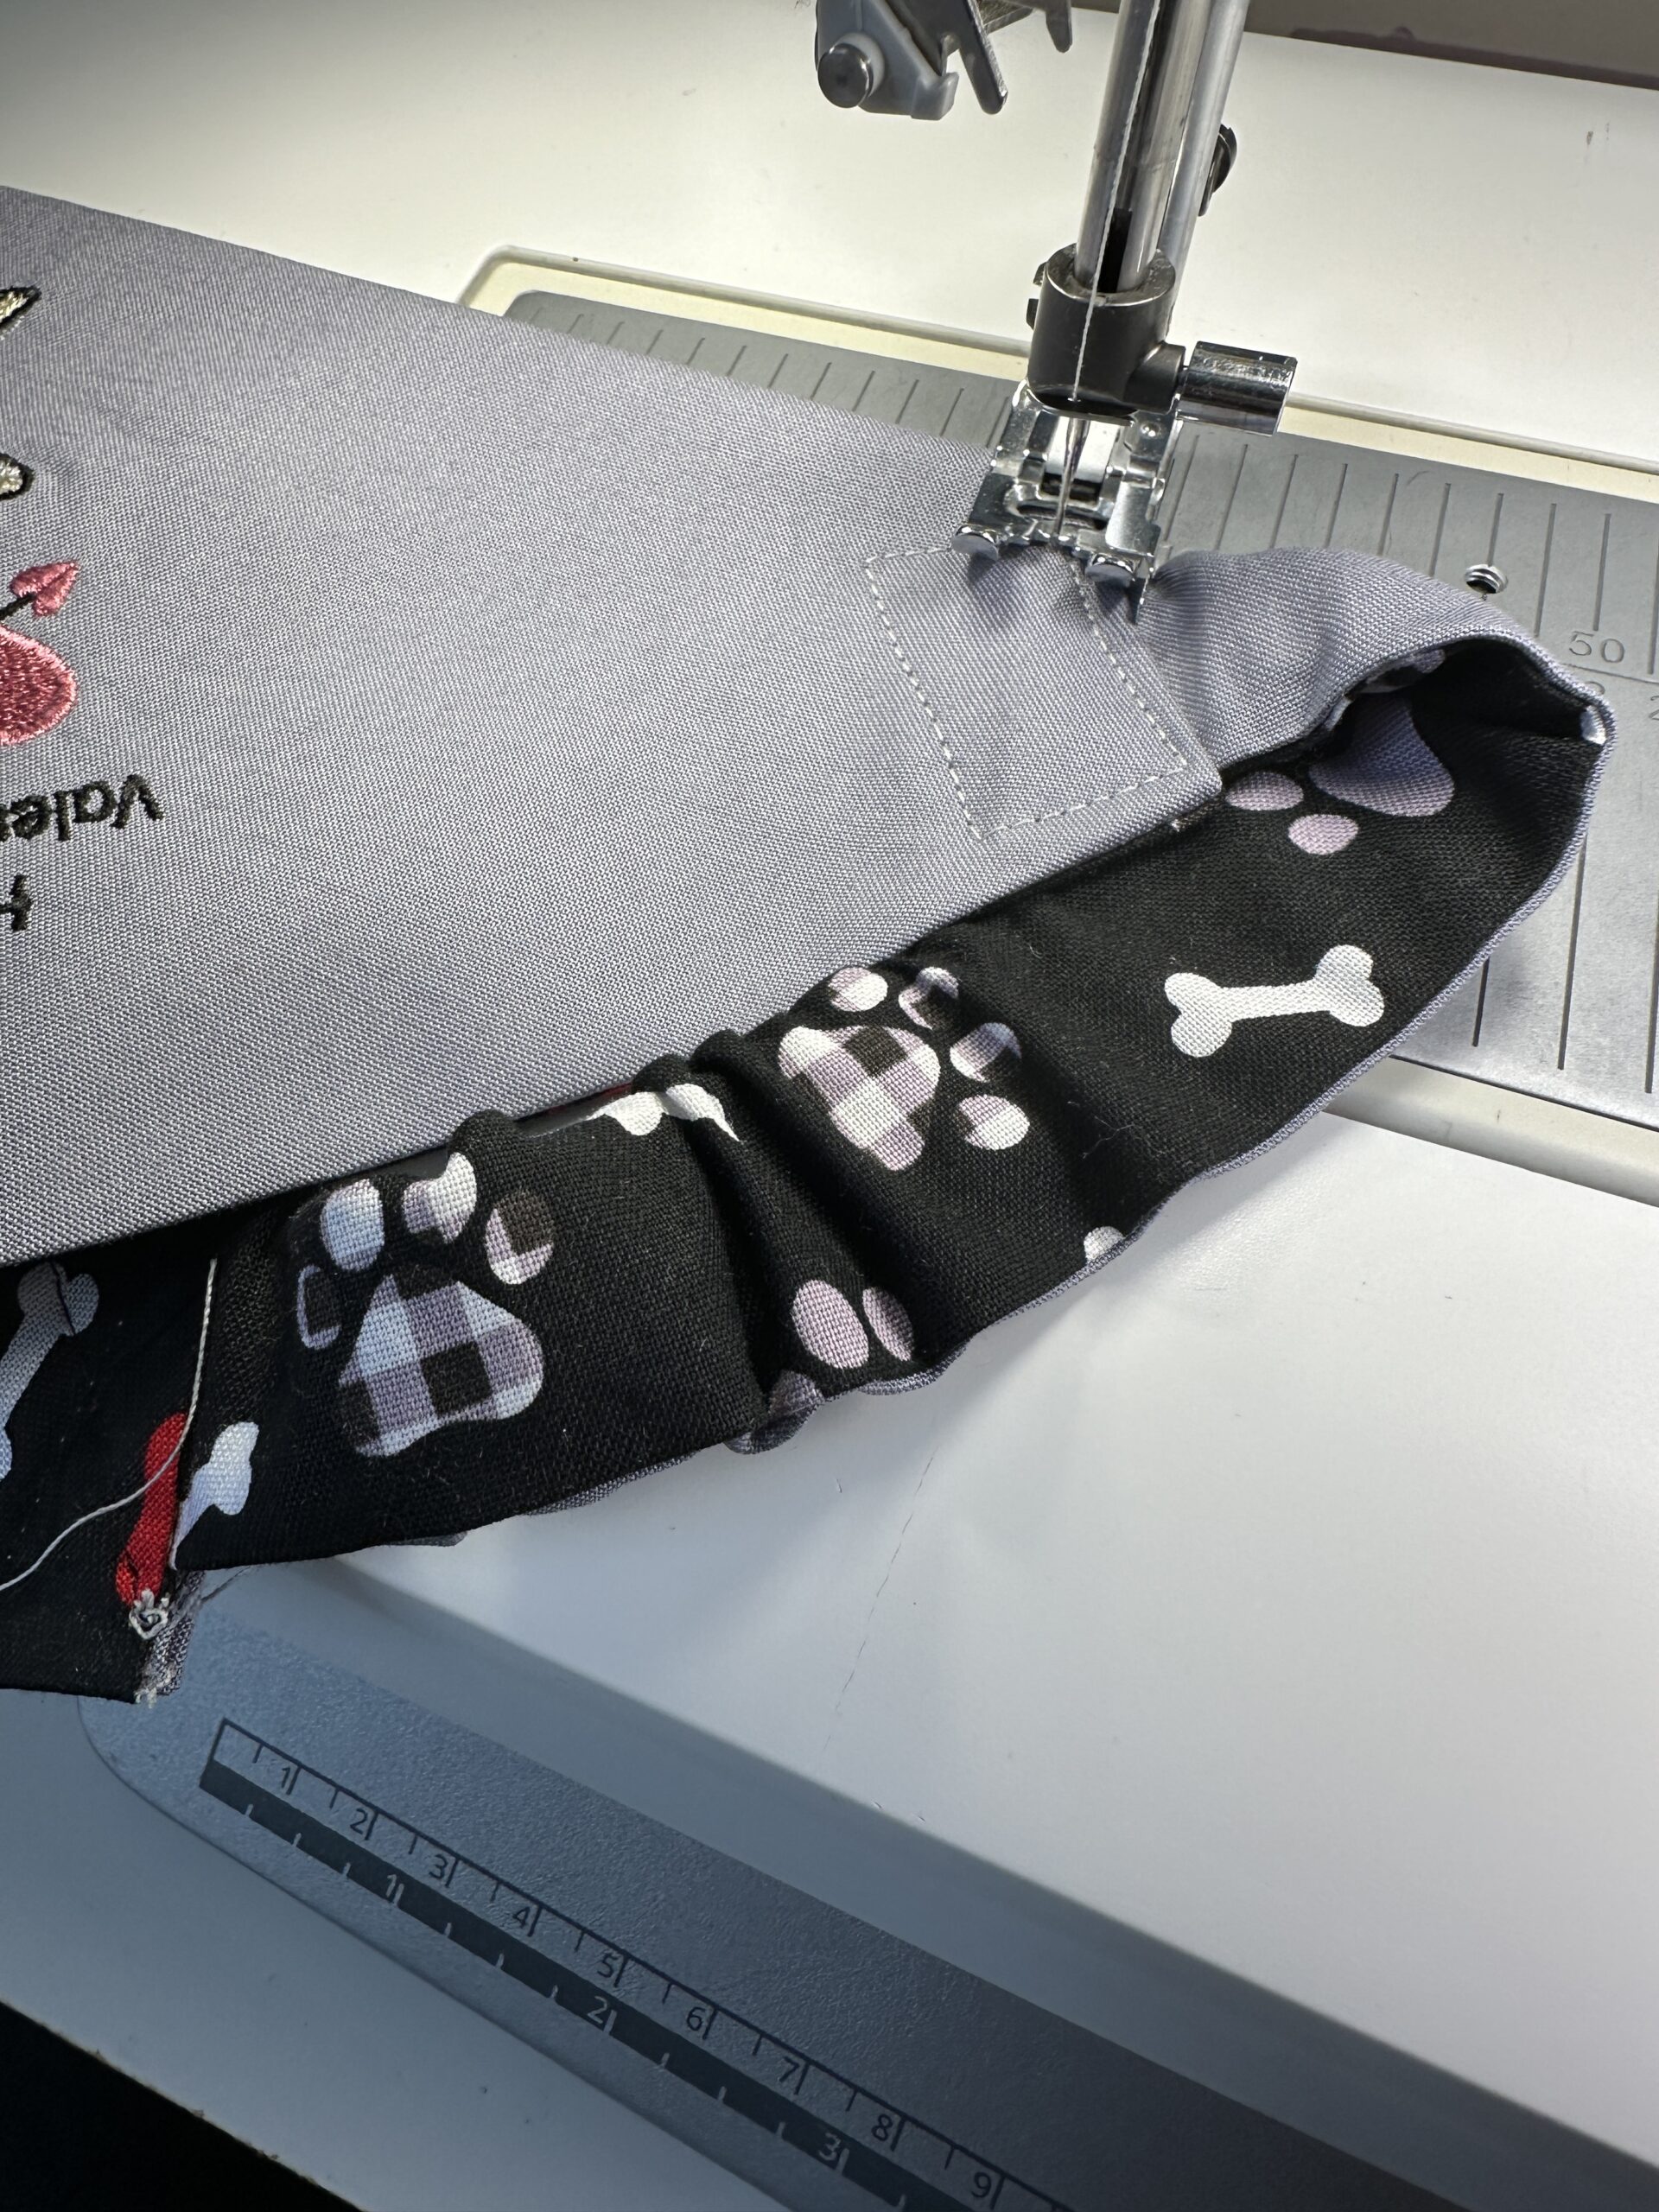
Secure
Stitch a square or rectangle with an “X” through the center at each insertion point to firmly attach the band.
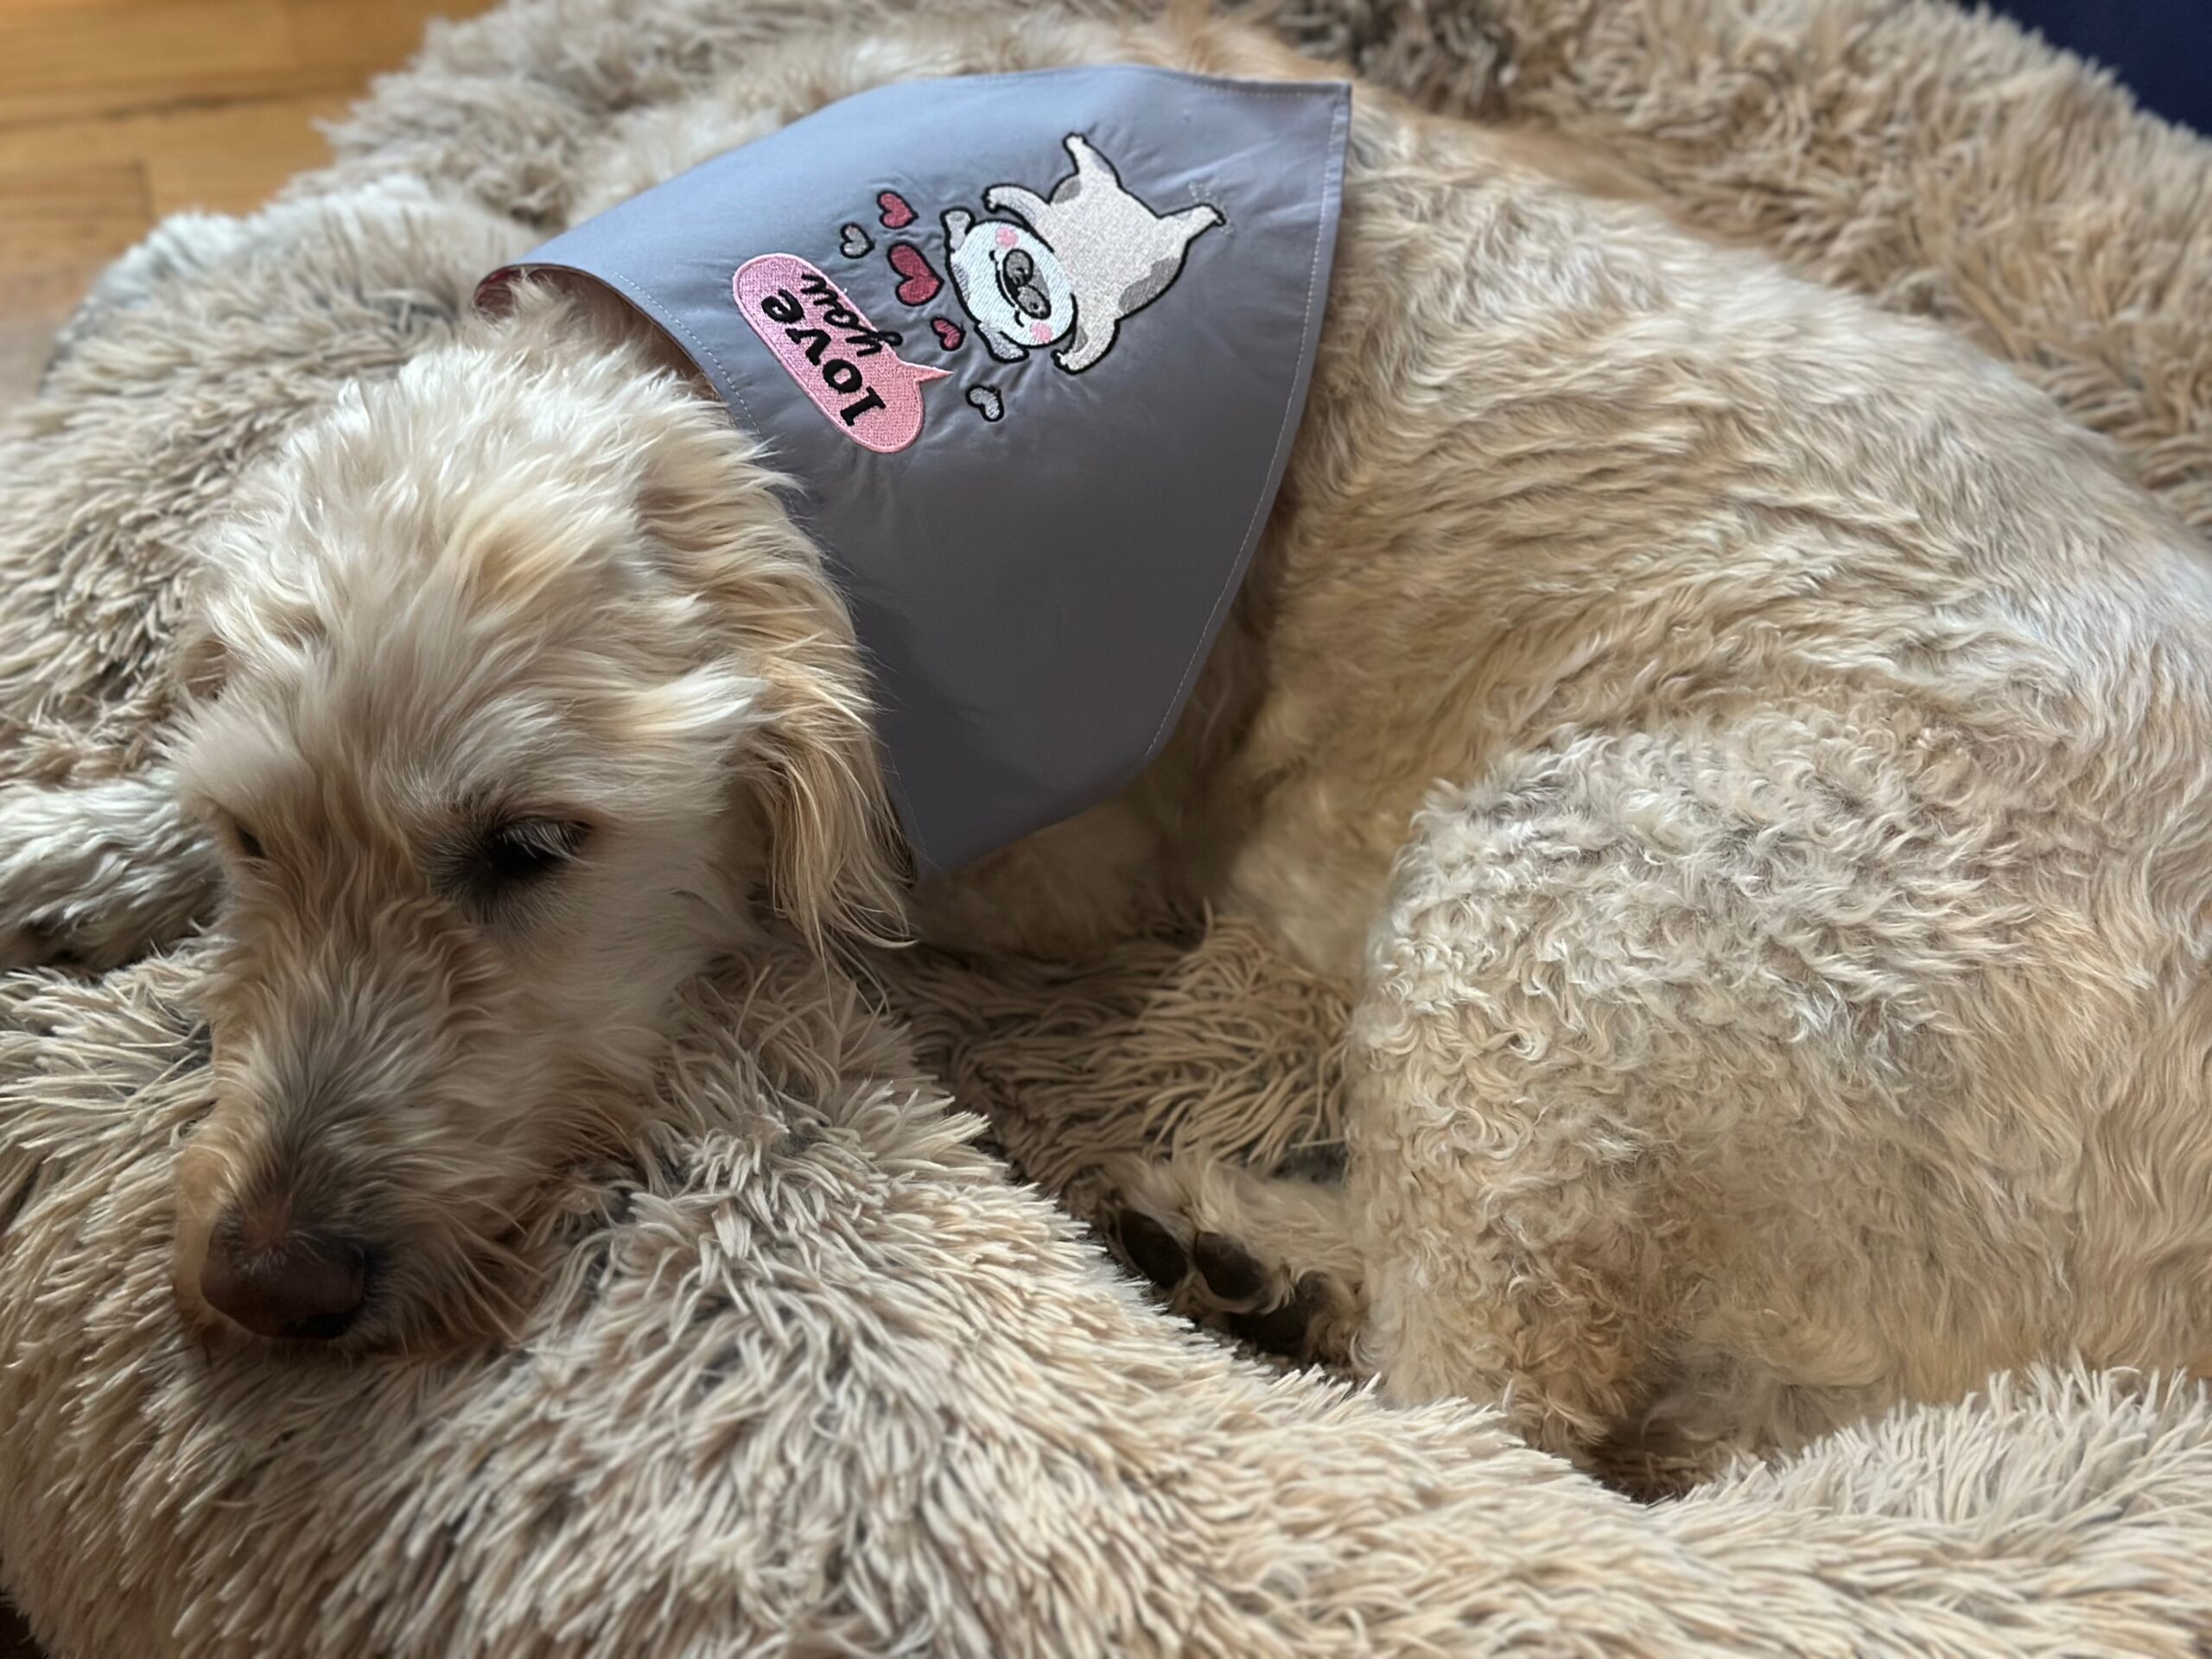
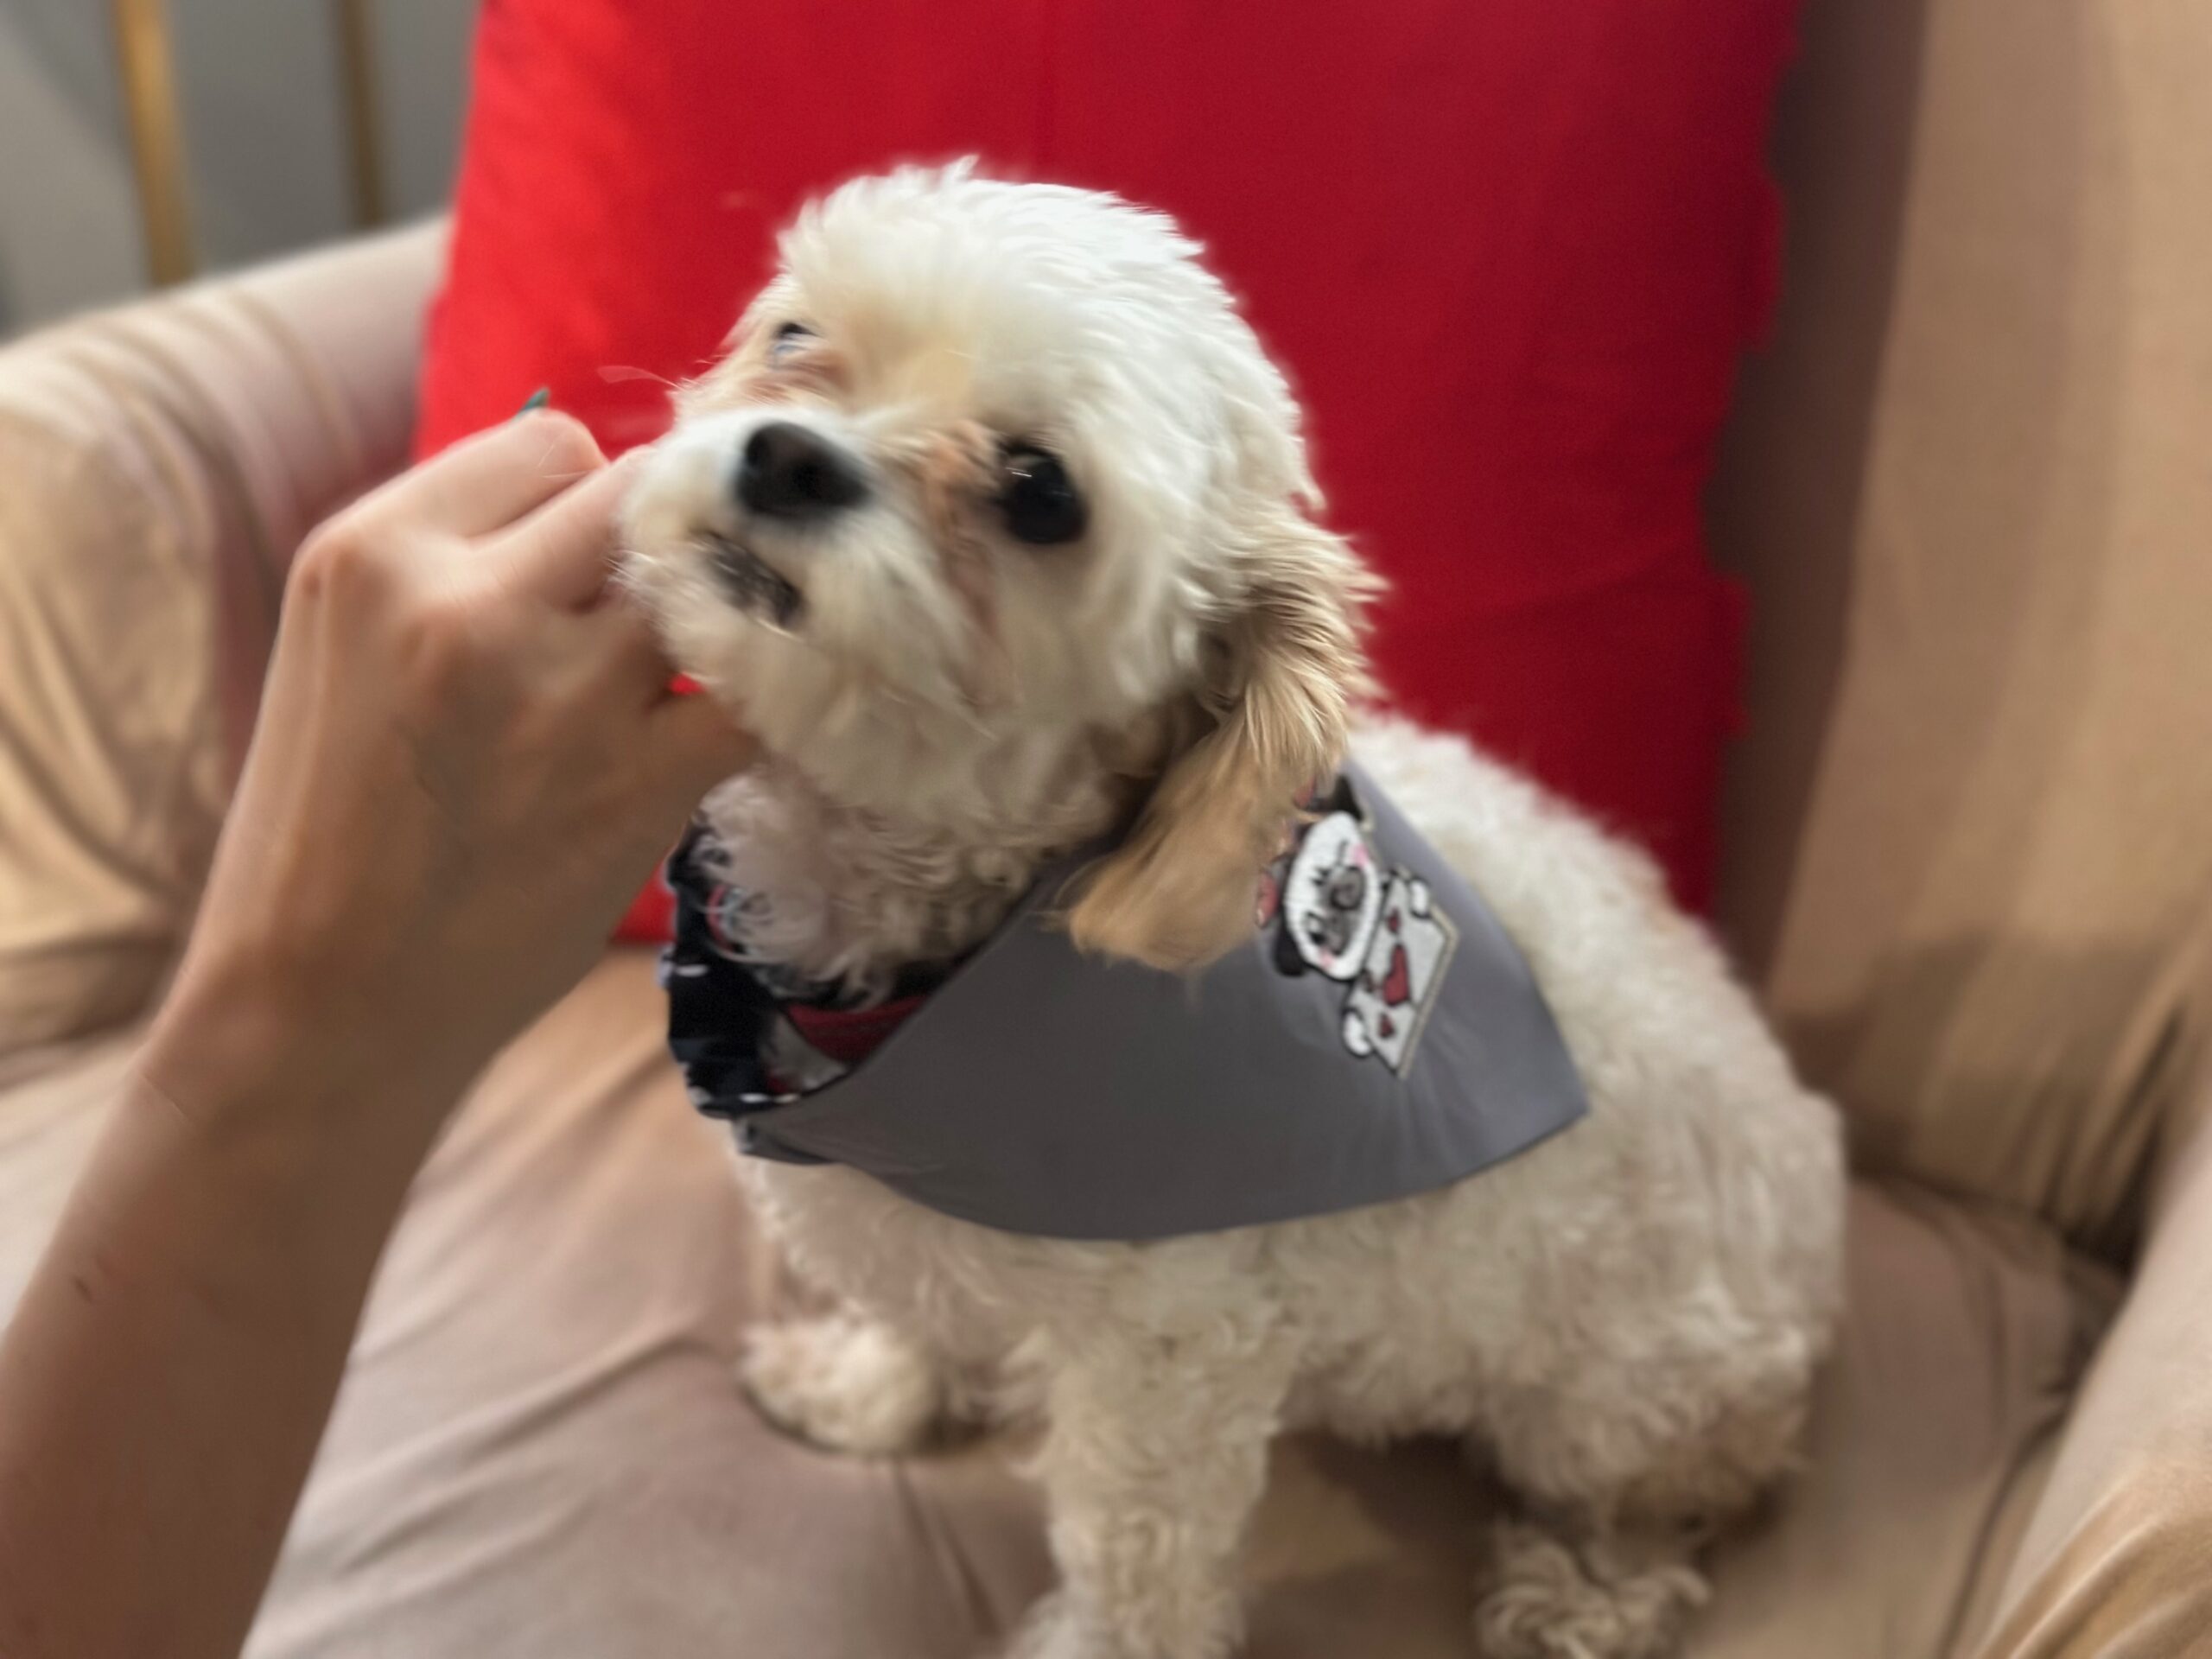
Your Bandana Is Complete!
This embroidered dog bandana is comfortable, secure, and stylish—perfect for everyday wear or special occasions. Customize it with seasonal embroidery, coordinating fabrics, or reversible designs for extra versatility.