Vintage-Style Embroidered Shoulder Tote
by Ellen March, Embroidery by Emily Thompson of Life Sew Savory
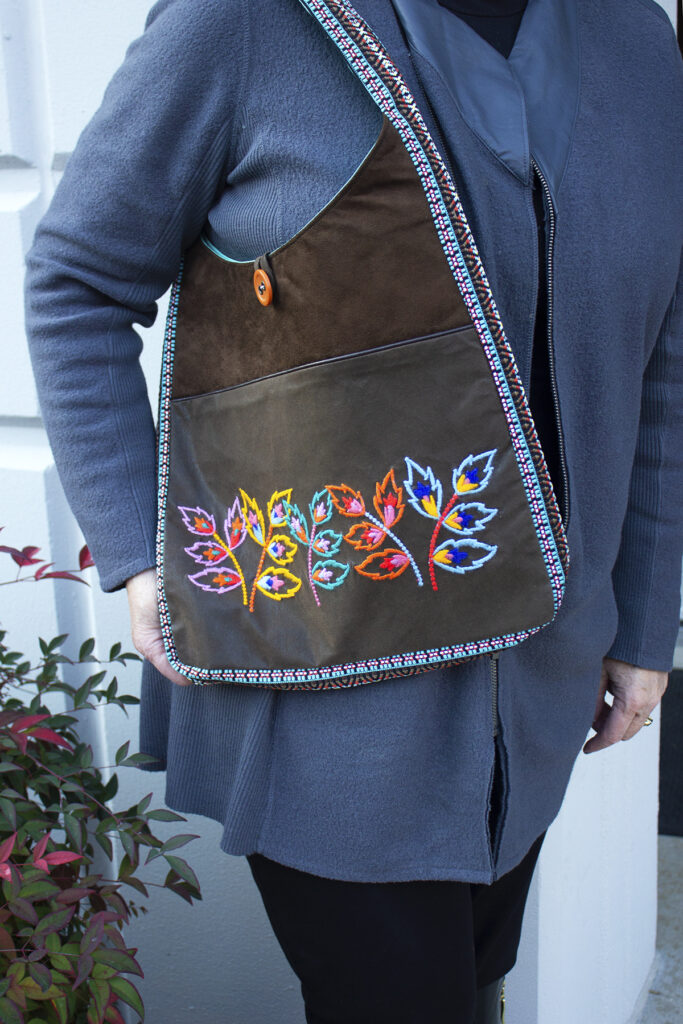
This embroidered shoulder tote is a large size for carrying books and work documents (even a small laptop) and sturdy enough for travel. The vintage style embroideries have a fuzzy texture, thanks to Sulky Filaine thread. Choose a wide woven ribbon to add to the vintage quality–a vintage guitar strap is a great alternative. And add structure with stabilizer for a sturdy tote that looks high end.
SUPPLIES
- Embroidered Shoulder Tote Bag pattern by Sulky
- 1 yard of faux leather (fabric A)
- (2) 13”x15” rectangles of faux suede (fabric B)
- 1 yard of cotton lining fabric (fabric C)
- (2) 14”x17” rectangles of Sulky Fuse ‘n Stitch™
- Sulky Sticky +™ Stabilizer
- Poly Deco™ thread (construction)
- Filaine thread (embroidery)
- Sulky bobbin thread (embroidery)
- Embroidery designs digitized for heavyweight thread (openwork, Redwork or labeled “thick thread”)
- 100/16 Organ topstitch needle (embroidery)
- 80/12 Organ leather needle (construction)
- 2 yards of 3”-wide woven ribbon
- Premade faux leather piping
- Decorative button (approximately 2”–3” diameter)
- Binder or quilt clips
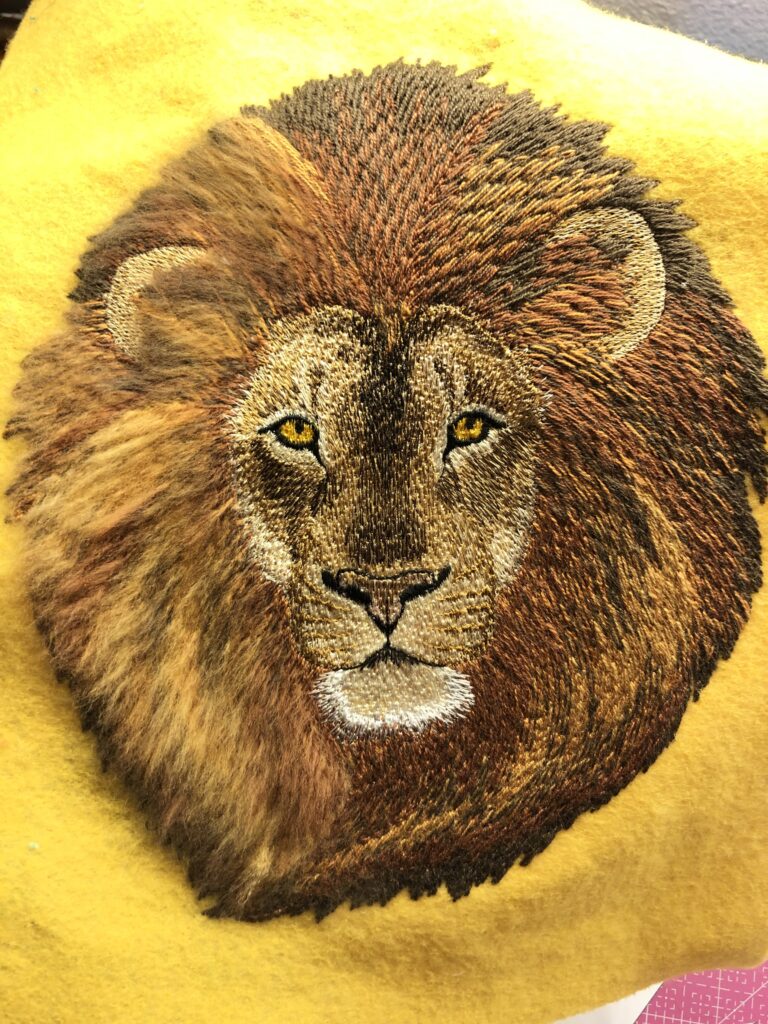
- Featured Lion Design below
STABILIZER FOR SHOULDER BAG
Faux leather is marred when hooped, commonly called “hoop burn.” To avoid this, don’t hoop the faux leather for embroidery.
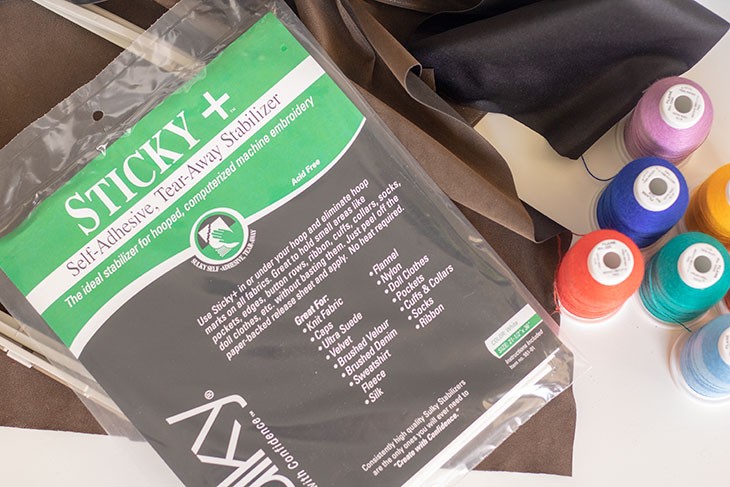
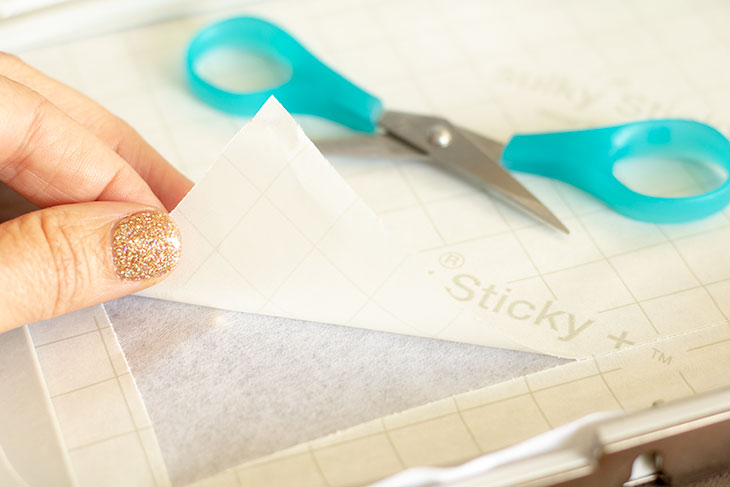
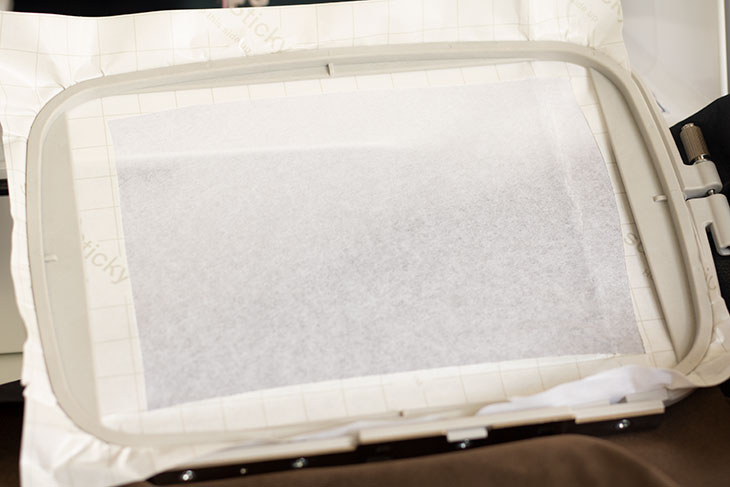
Hoop a rectangle of Sulky Sticky+ with the paper side facing up. Then, score the paper inside the inner hoop ring, and then tear it away to reveal the adhesive.
EMBROIDERED SHOULDER BAG PATTERN
Download the pattern. Then cut out the fabrics according to the directions.
After the pattern pieces are cut, place the front bag piece on the sticky stabilizer, centering the first design in the hoop.
Next, install a size 100/16 topstitch Organ needle. Then wind the bobbin with black Sulky bobbin thread.
EMBROIDERY CONSIDERATIONS
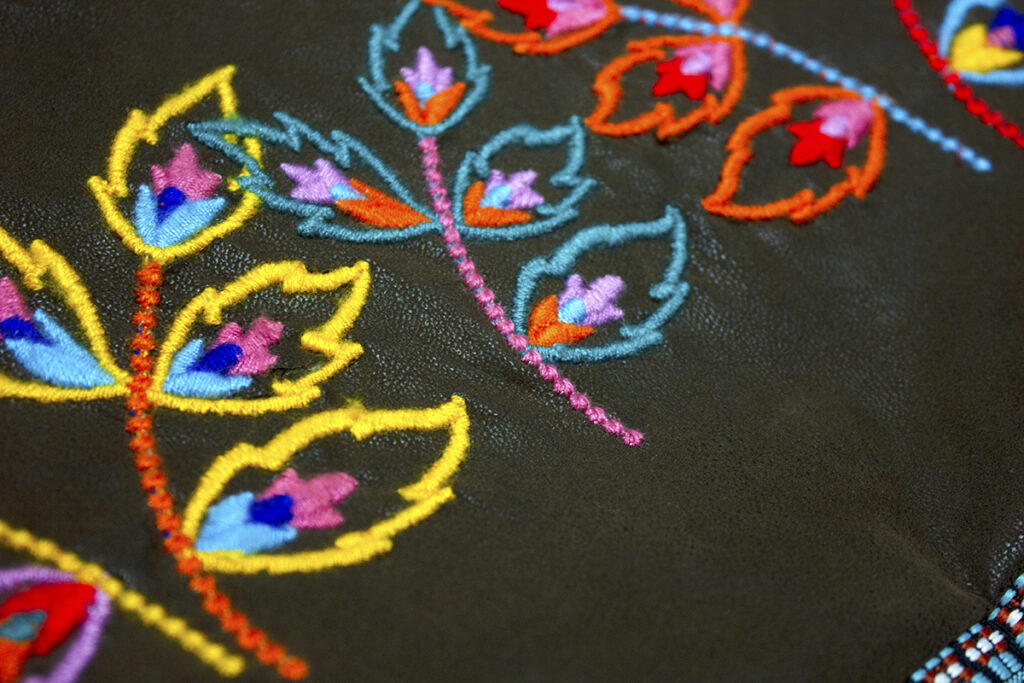
Embroider the design, switching Filaine thread colors with each thread change. If not using the featured designs, make sure to choose designs that are labeled “thick threads,” “heavyweight threads,” or “fur.” This ensures the design is digitized for heavy thread and will work with the intended thread. If you use a design that’s digitized for 40 wt. Rayon, the Filaine will bunch and break, as there isn’t enough space for the thread thickness built into the design.
If you’re software savvy, create a new design with 50% less density than a traditional design that’s digitized for 40 wt Rayon. Or, modify an existing design using software to remove 50% density and elongate the stitches.
The fun of Filaine goes beyond providing a vintage look. If desired, brush out the fibers using a wire bristle brush, creating “fur.” The lion in the image below was brushed halfway to show the difference between the two looks.
Notice how long the stitches are in the lion stitchout above, compared to the short stitches on the floral embroidered tote bag embroidery. The stitches on the tote were NOT elongated, but still worked because they didn’t have a lot of underlay stitching built into the design.
EMBROIDERED TOTE CONSTRUCTION
Follow the pattern directions to construct the tote. Per the pattern, add a layer of Sulky Fuse ‘n Stitch to the tote front and back for stability and to help with embroidery stitch longevity.
As a result, the additional layer of stabilizer gives the tote structure so it stands up on its own. Incorporate this professional finish into other bag designs as well!
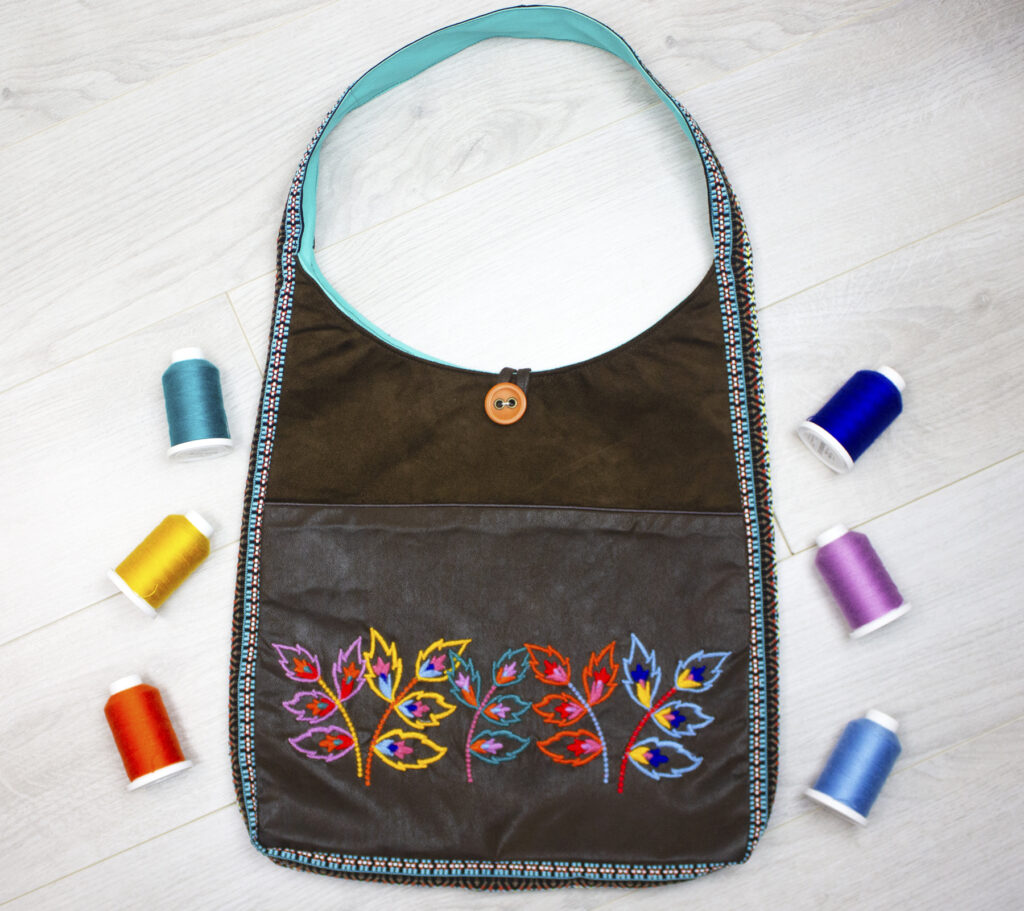
The featured tote above was lined with additional lining fabric on the ribbon. As a result, the tote has additional structure as the straps stand upright when not in use. This step isn’t required if you purchase a ribbon trim that is double-sided (and this step is NOT in the pattern instructions). Because the back of the ribbon looks just as pretty as the front, and the ribbon likely has enough girth to support the purse front and back, a lining isn’t needed.
To line the ribbon, cut a fabric strip to the ribbon width, plus 1/2″ for seam allowances. Then fold the strip long edges 1/4″ toward the wrong side; press. Next, topstitch the lining fabric to the ribbon wrong side. Finally, stitch the bag strap to the bag as directed.


I live this pattern! I have a bunch of thick thread designs that I’ve been wanting to use and this is the perfect chance! Thank you for this free pattern!!
My reply should say LOVE! For some reason auto correct always thinks it should say live!?
Where do I get the embroidery design?
Hello! Here’s the link for the lion – https://www.emblibrary.com/EL/Products.aspx?Catalog=Emblibrary&ProductID=M21453 and here’s the link to the leaves – https://www.ibroidery.com/DesignDetail.aspx?DownloadID=3999&ModelID=2392
The ibroidery.com account is only if you own a Brother sewing machine. They will not sell to anyone else. I’ve tried.What do you suggest?
Hi Joyce,
I suggest you contact them directly and see if they will sell you a design file for a different machine. I apologize for the inconvenience.
Get the lion design here: https://www.emblibrary.com/EL/Products.aspx?Catalog=Emblibrary&ProductID=M21453