Felt Bunny Treat Holders
FELT BUNNY SUPPLY LIST
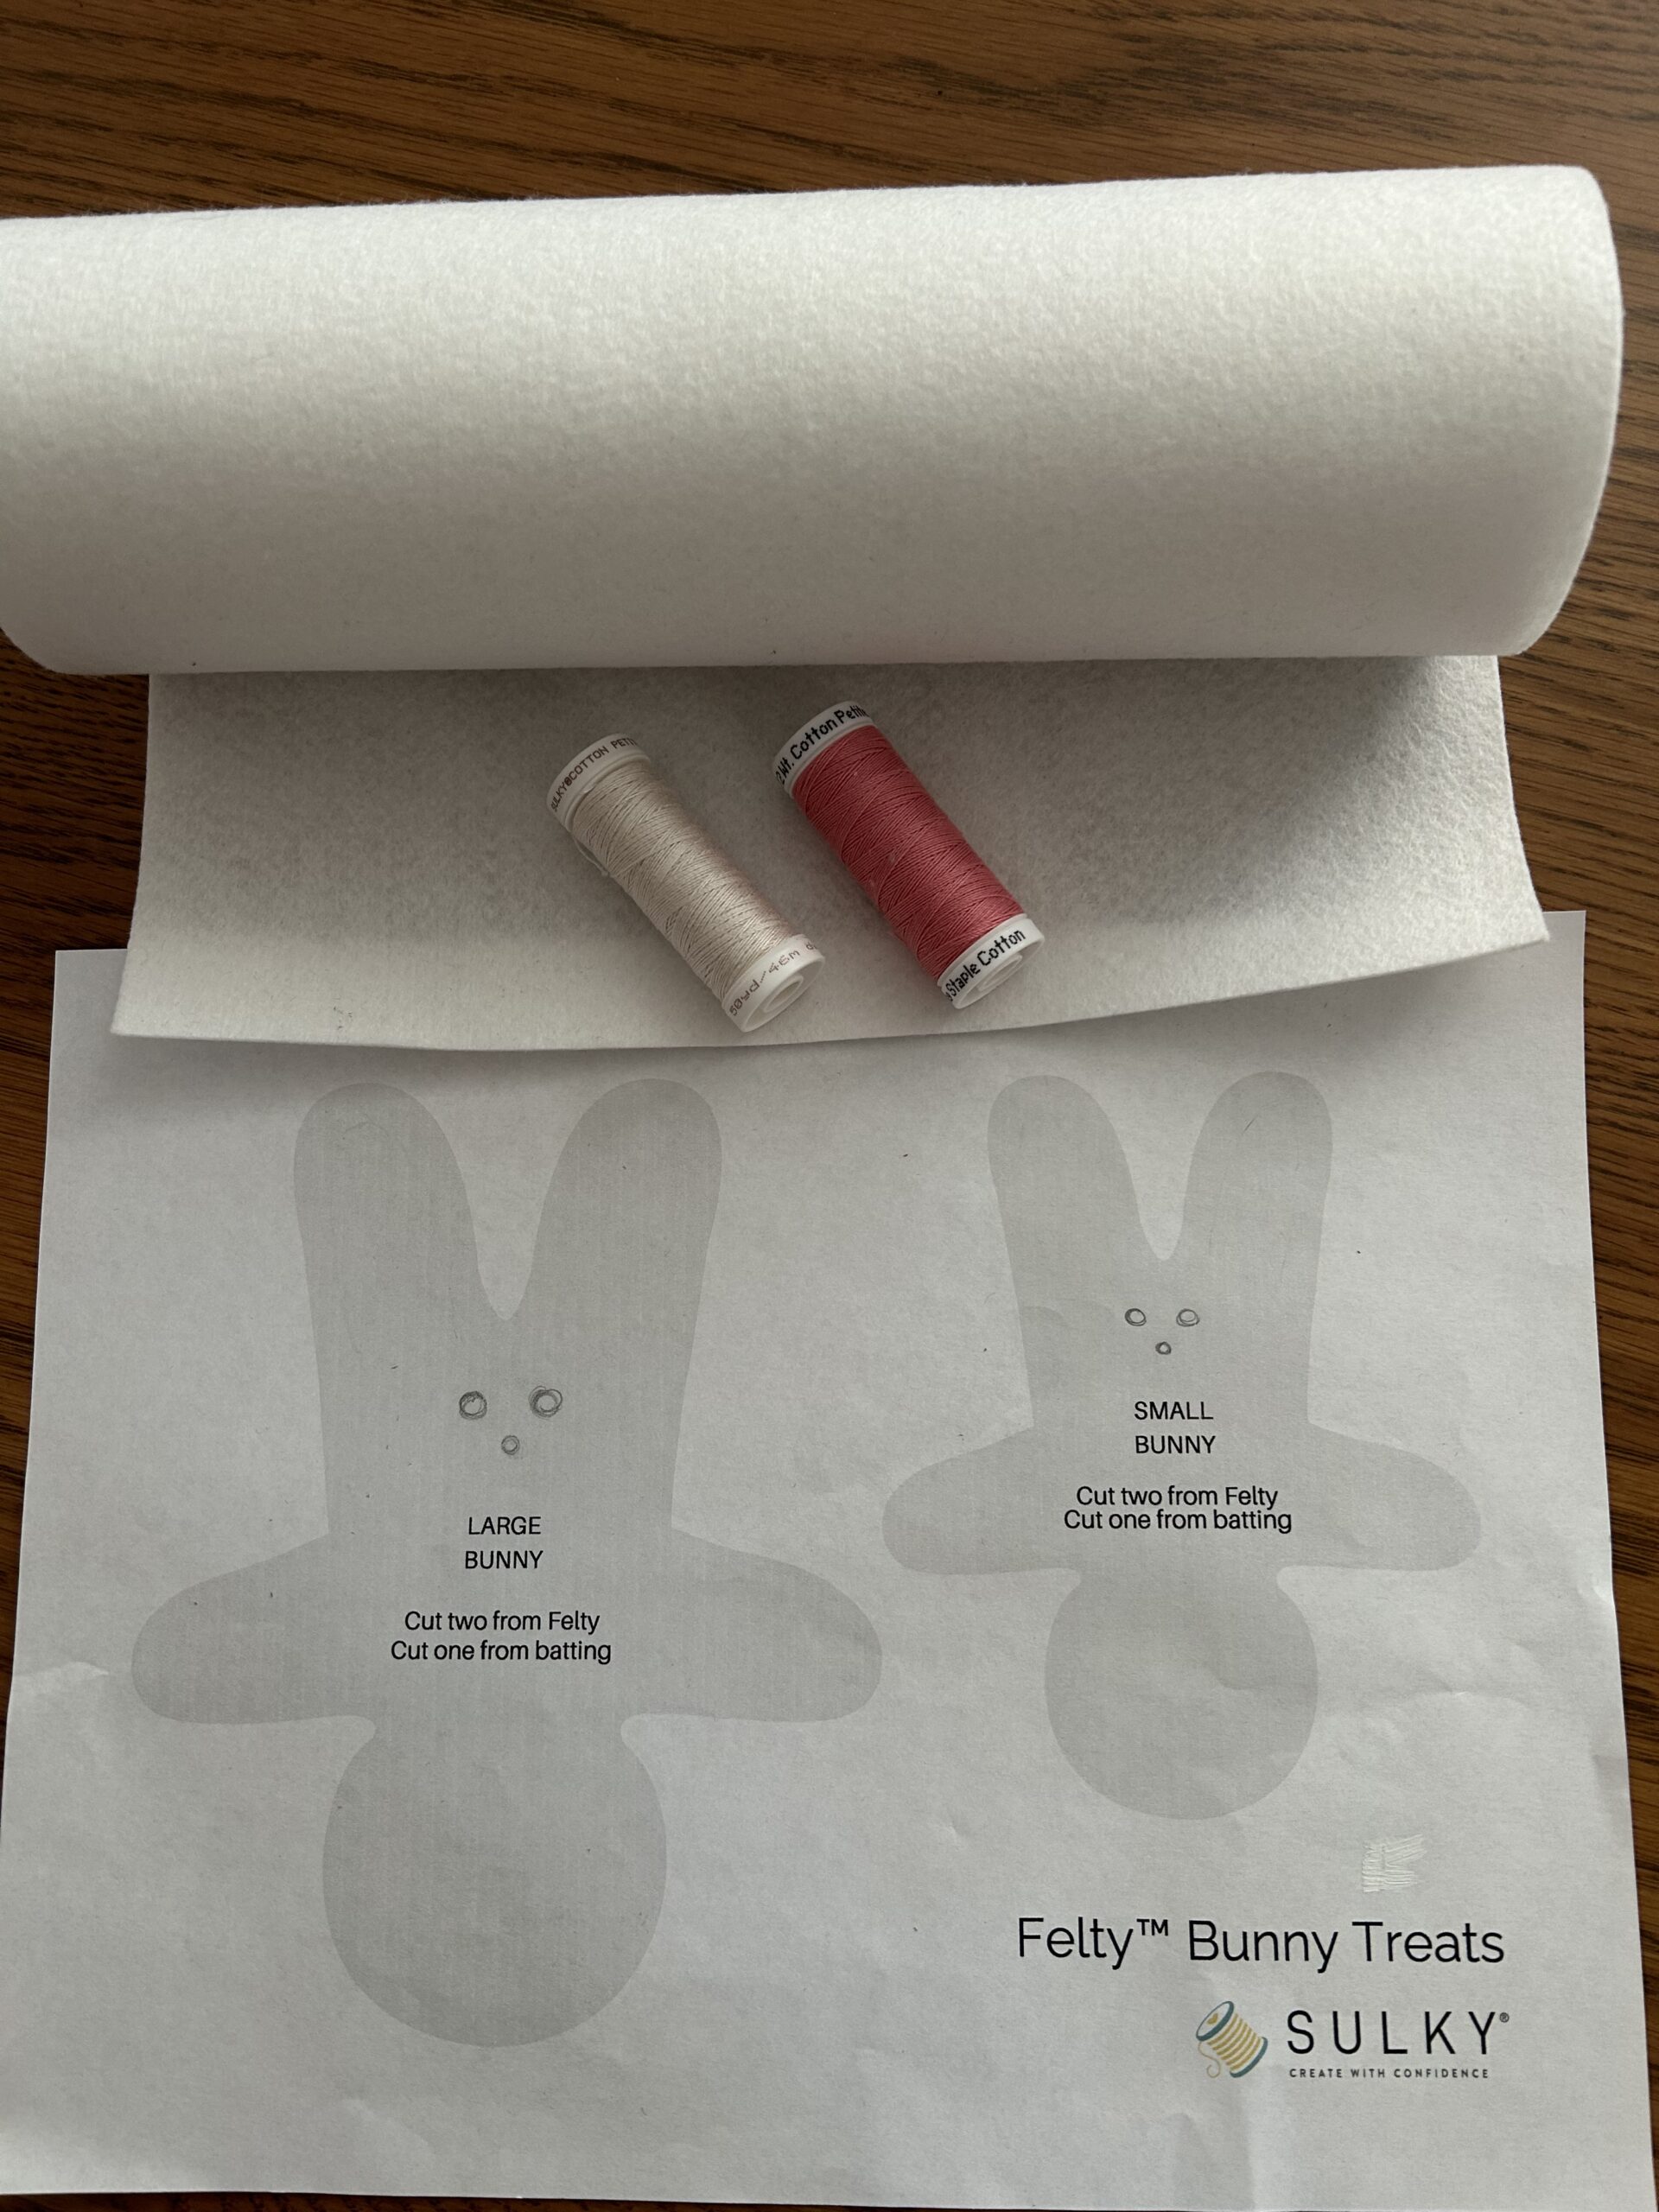
- Felt Bunny Treats Holder Templates
- Sulky Felty™ (white)
- 12 wt. Cotton Petites™ Thread (white & light pink)
- Low-loft batting scraps
- 1/8″ to 1/4″-wide decorative ribbon
- Removable fabric marker or chalk
- Sulky KK 2000™ Temporary Spray Adhesive
- Hand embroidery needle
PREP & CUTTING
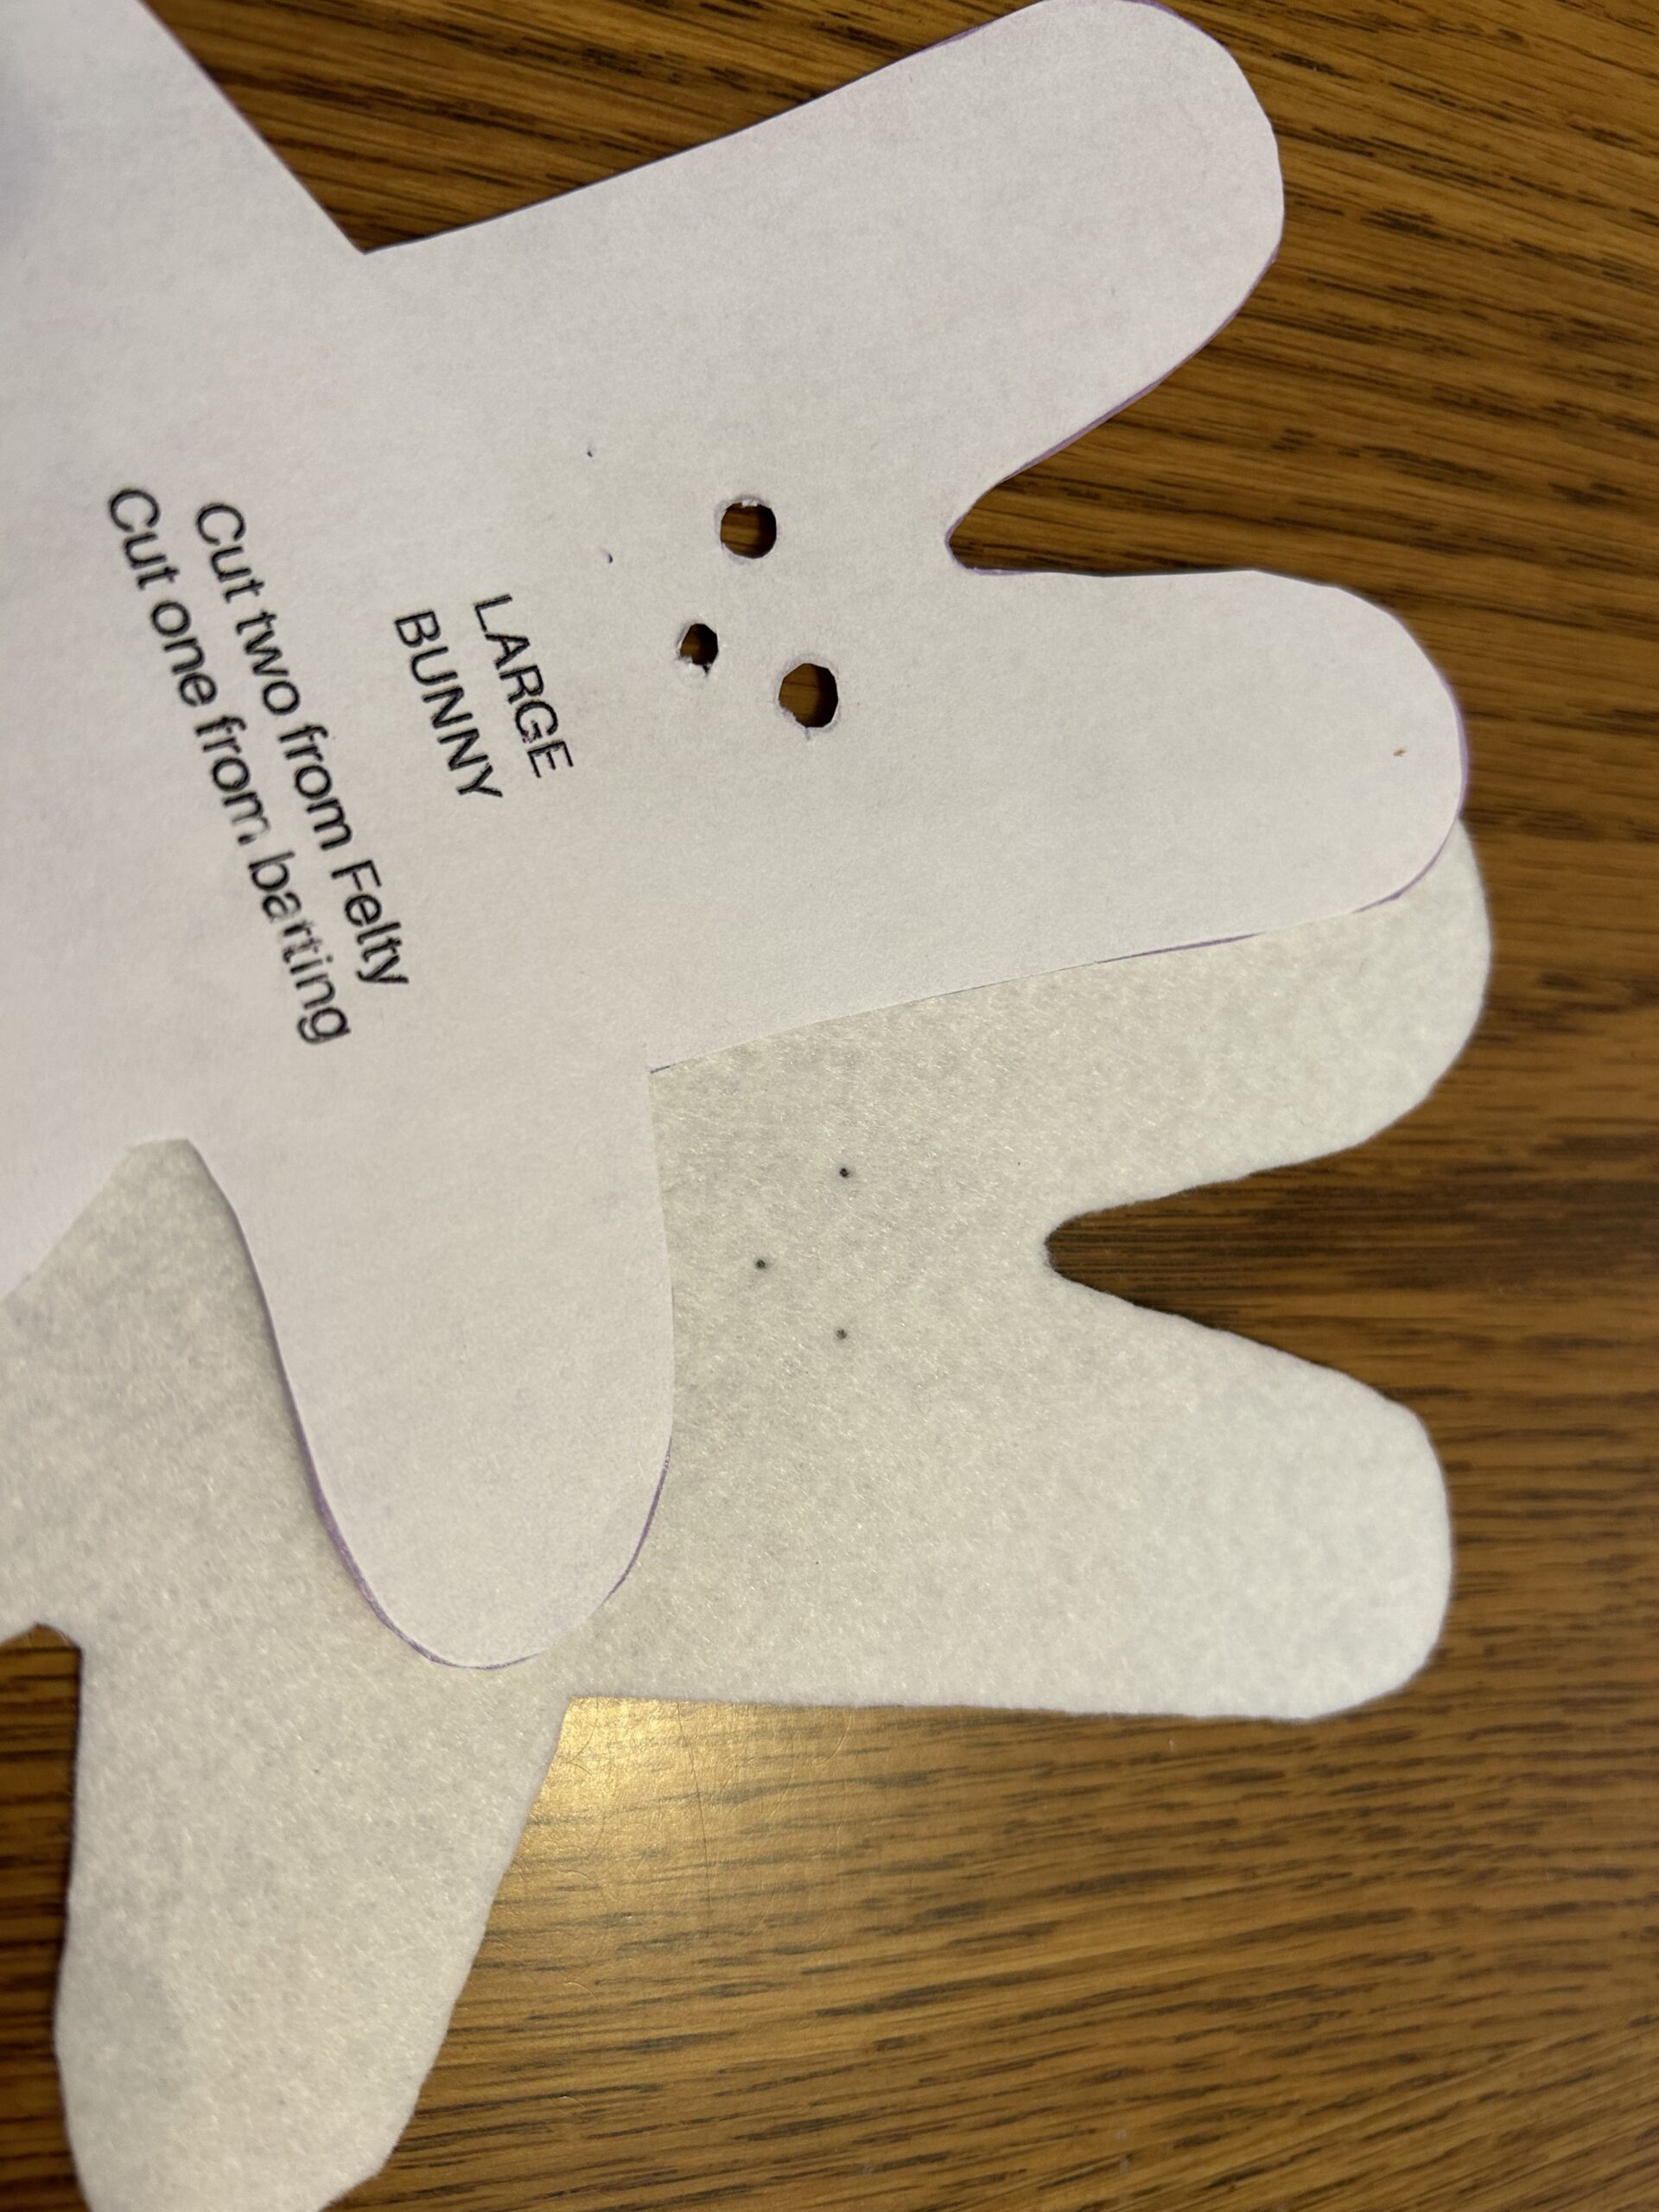
Download and print the Felt Bunny Treats PDF. Choose the Large or Small size (or both); cut out.
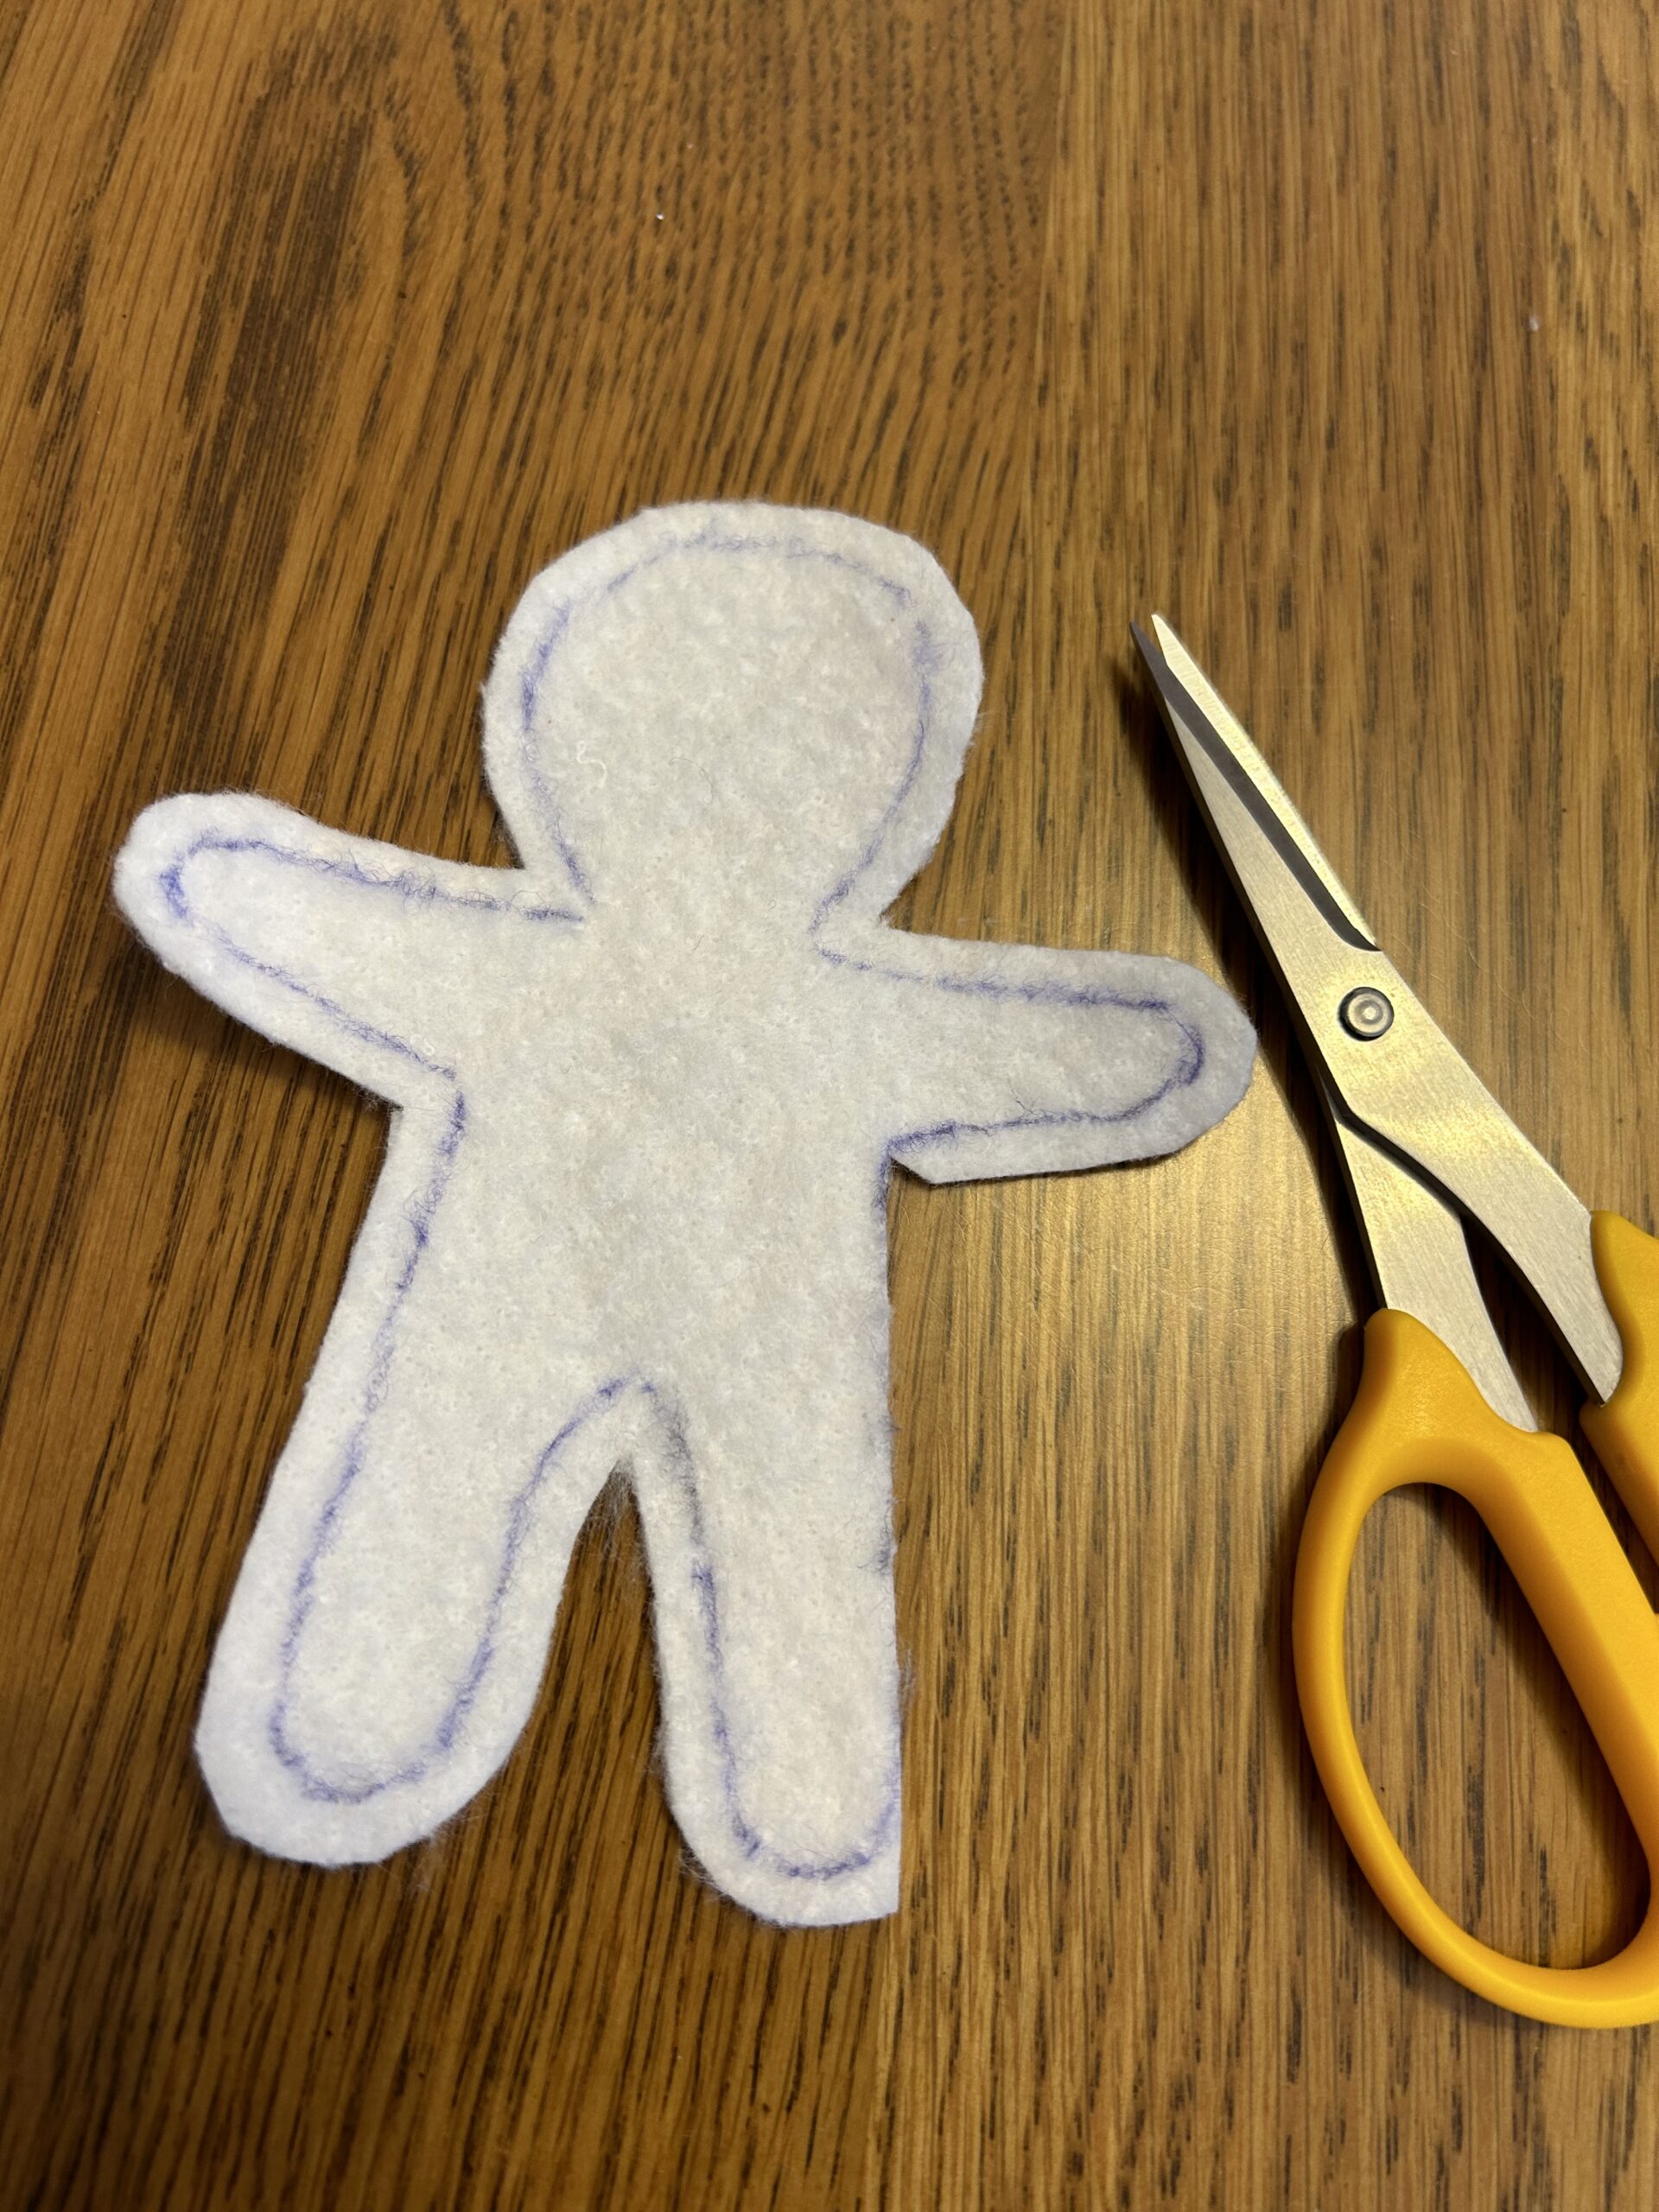
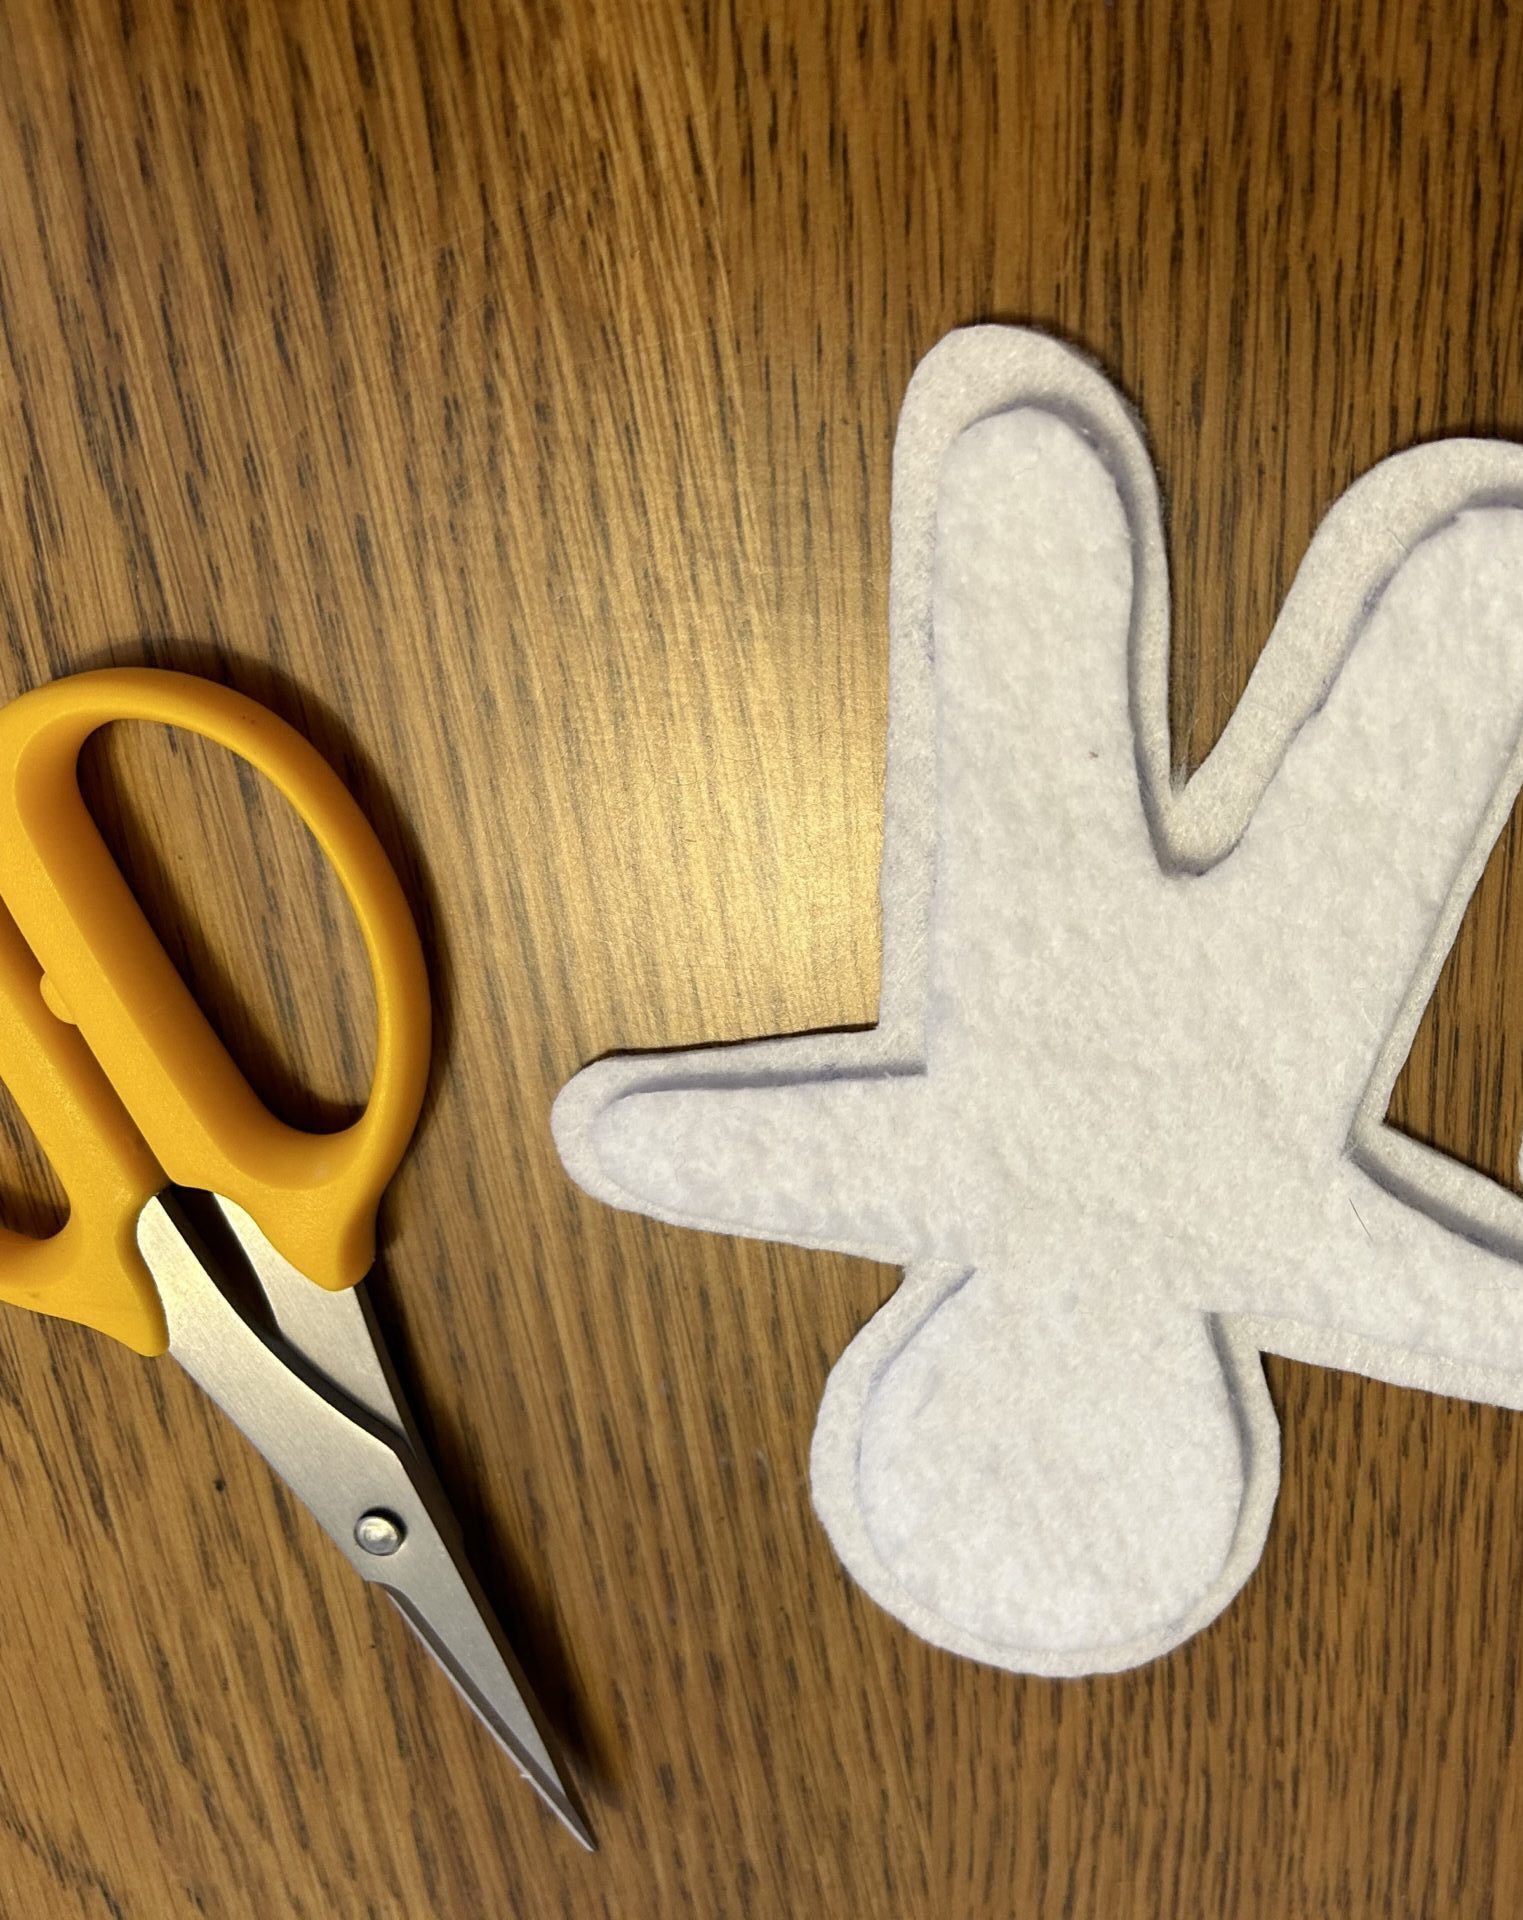
From the white Felty, cut two bunnies. From the batting, cut one bunny. Using a removable fabric marker, outline the bunny shape approximately ¼” inside the outer line; cut along the line. This makes the batting slightly smaller than the Felty so it doesn’t show between the layers when the bunny is constructed.
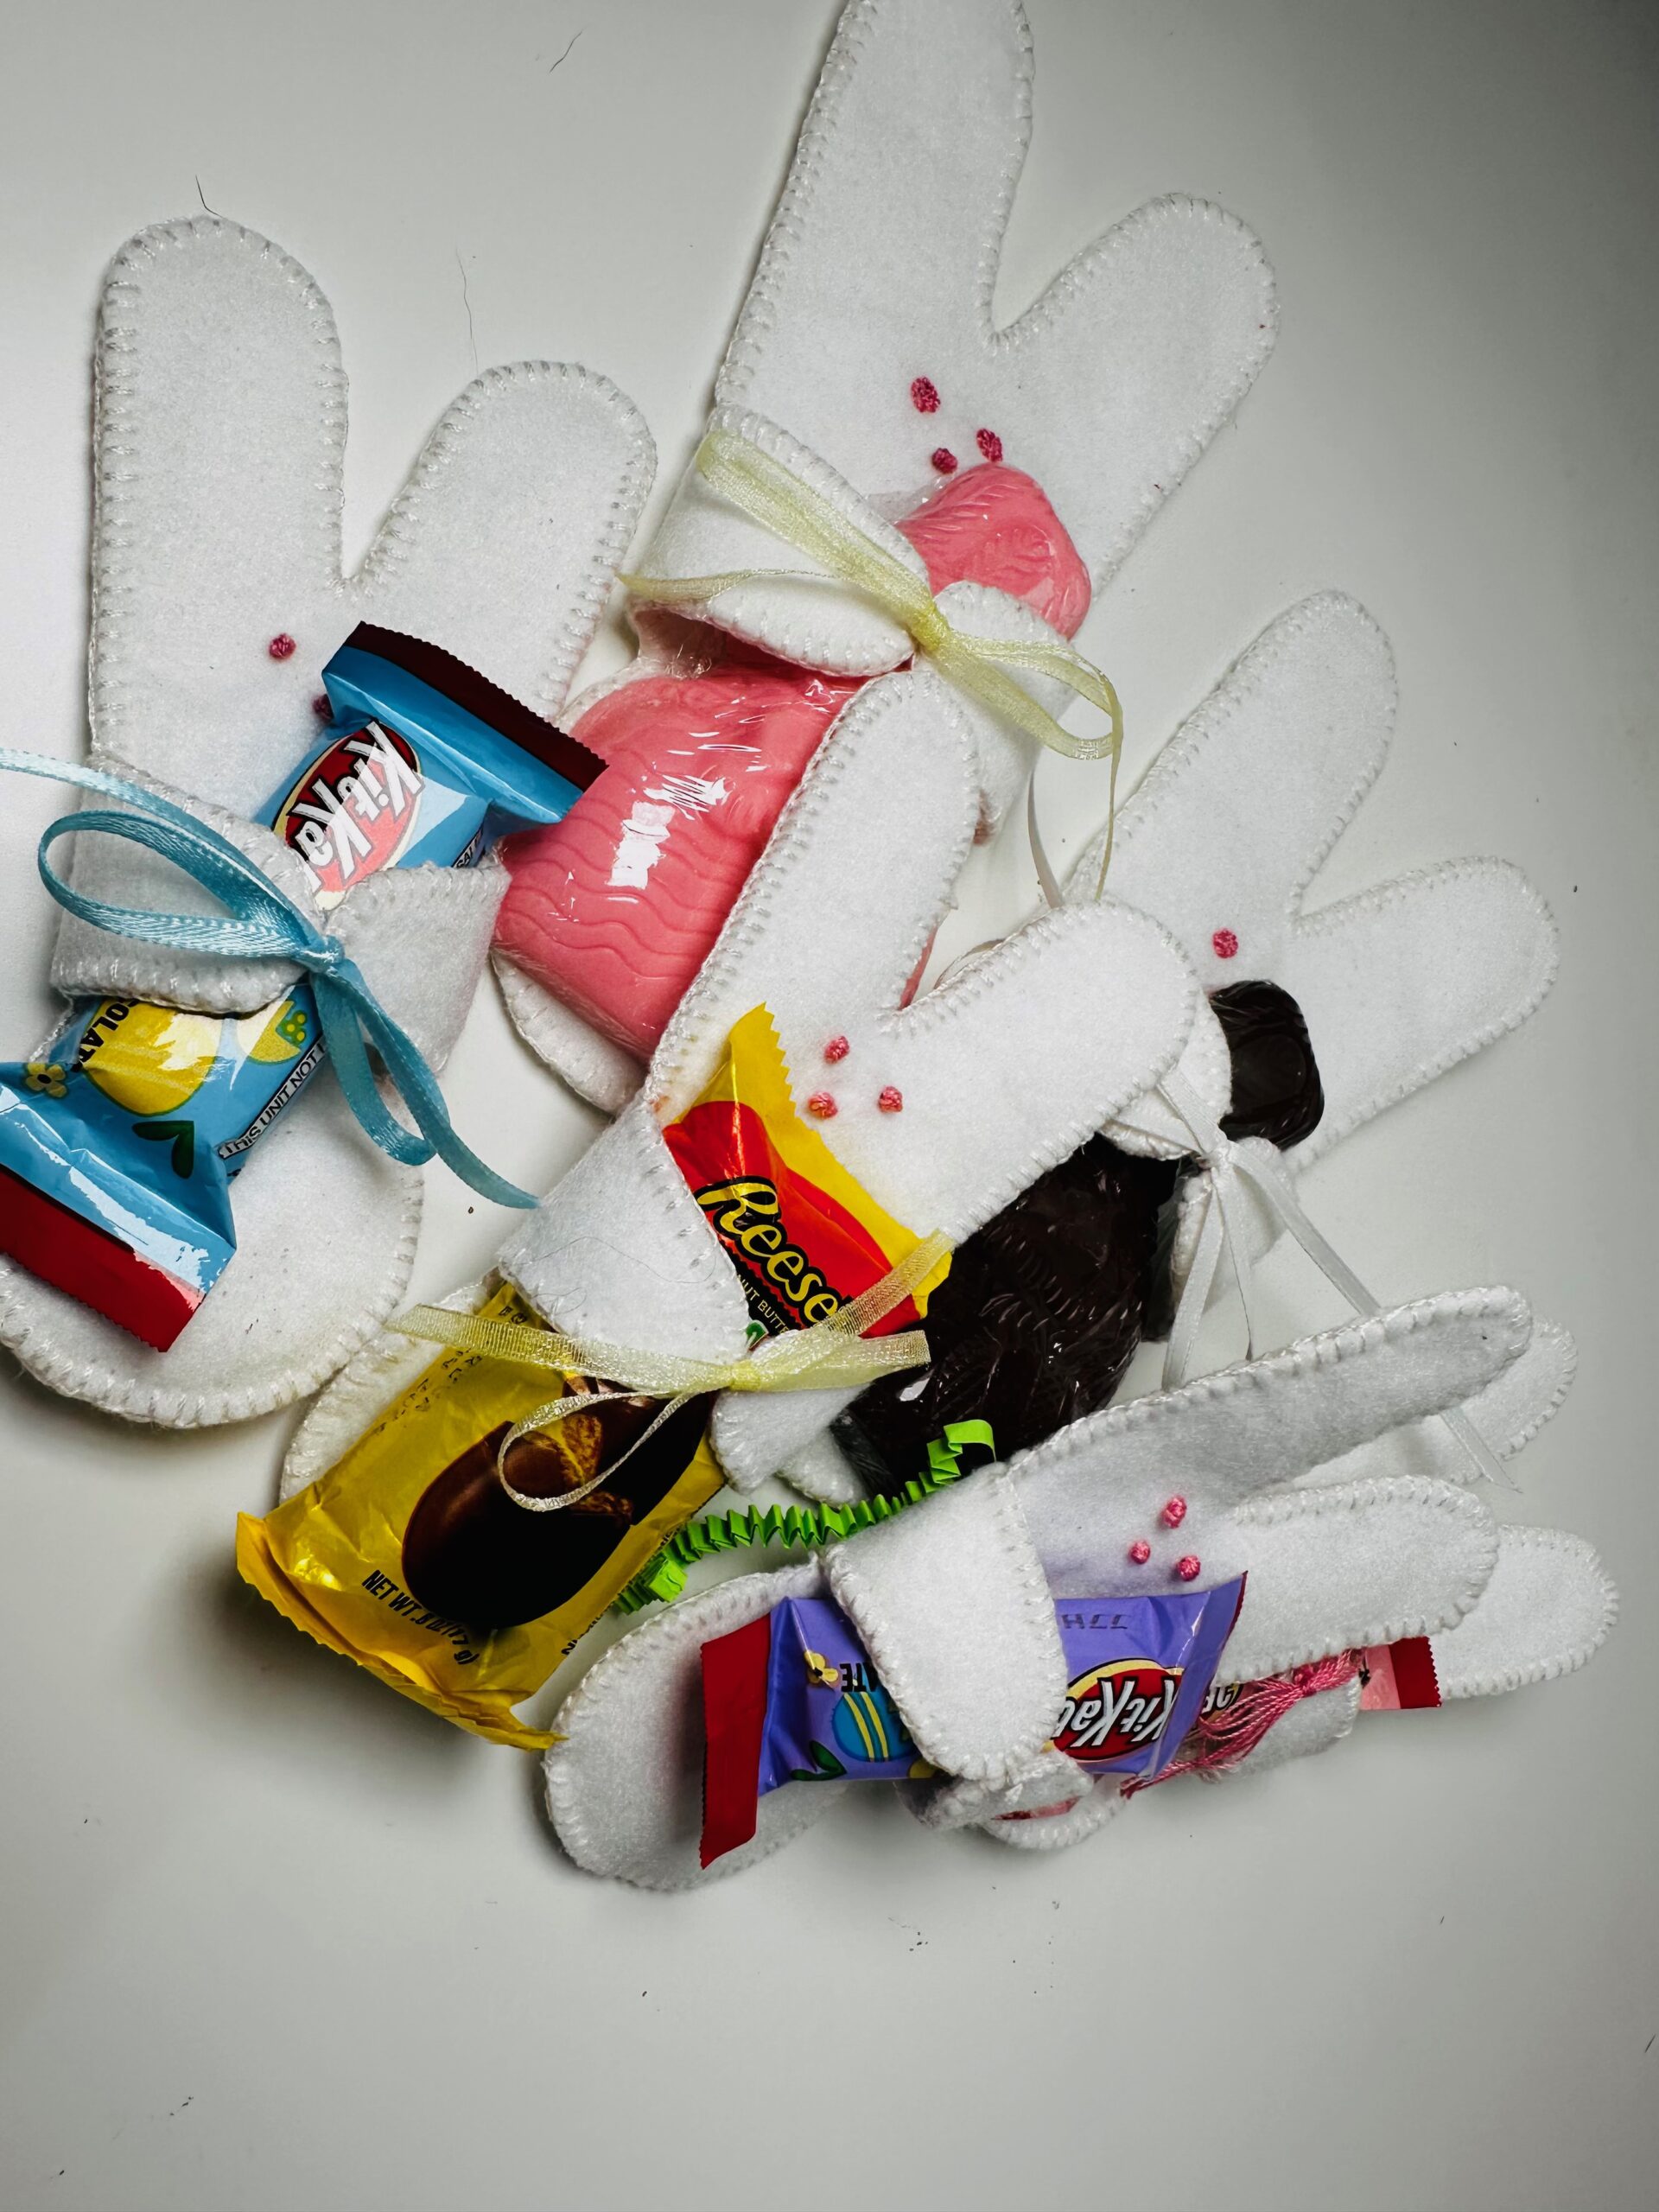
Decide on the desired bunny facial features; transfer to one Felty right side using a removable fabric marker or chalk. For the featured bunny, a “Peeps” look was desired. Two eyes and a nose were transferred to the Felty in the form of small dots. If desired, add whiskers, a smile, ovals inside the ears, and more! Make the felt bunny your own.
BUNNY EMBROIDERY
Thread a hand sewing needle with four strands of 12 wt. Cotton Petites Thread in pink (or another color desired for the facial features). One strand of this thread equals two strands of traditional embroidery floss, so this is a thick embroidery! If desired, use two or three strands, depending on the stitch you’re using and the desired finished look.
Hand embroider the featured using your favorite handwork stitches. Choose from French knots, backstitches, long-and-short stitches and more! Consult our Hand Embroidery Stitch Guide for an illustrated tutorial of common hand embroidery stitches.
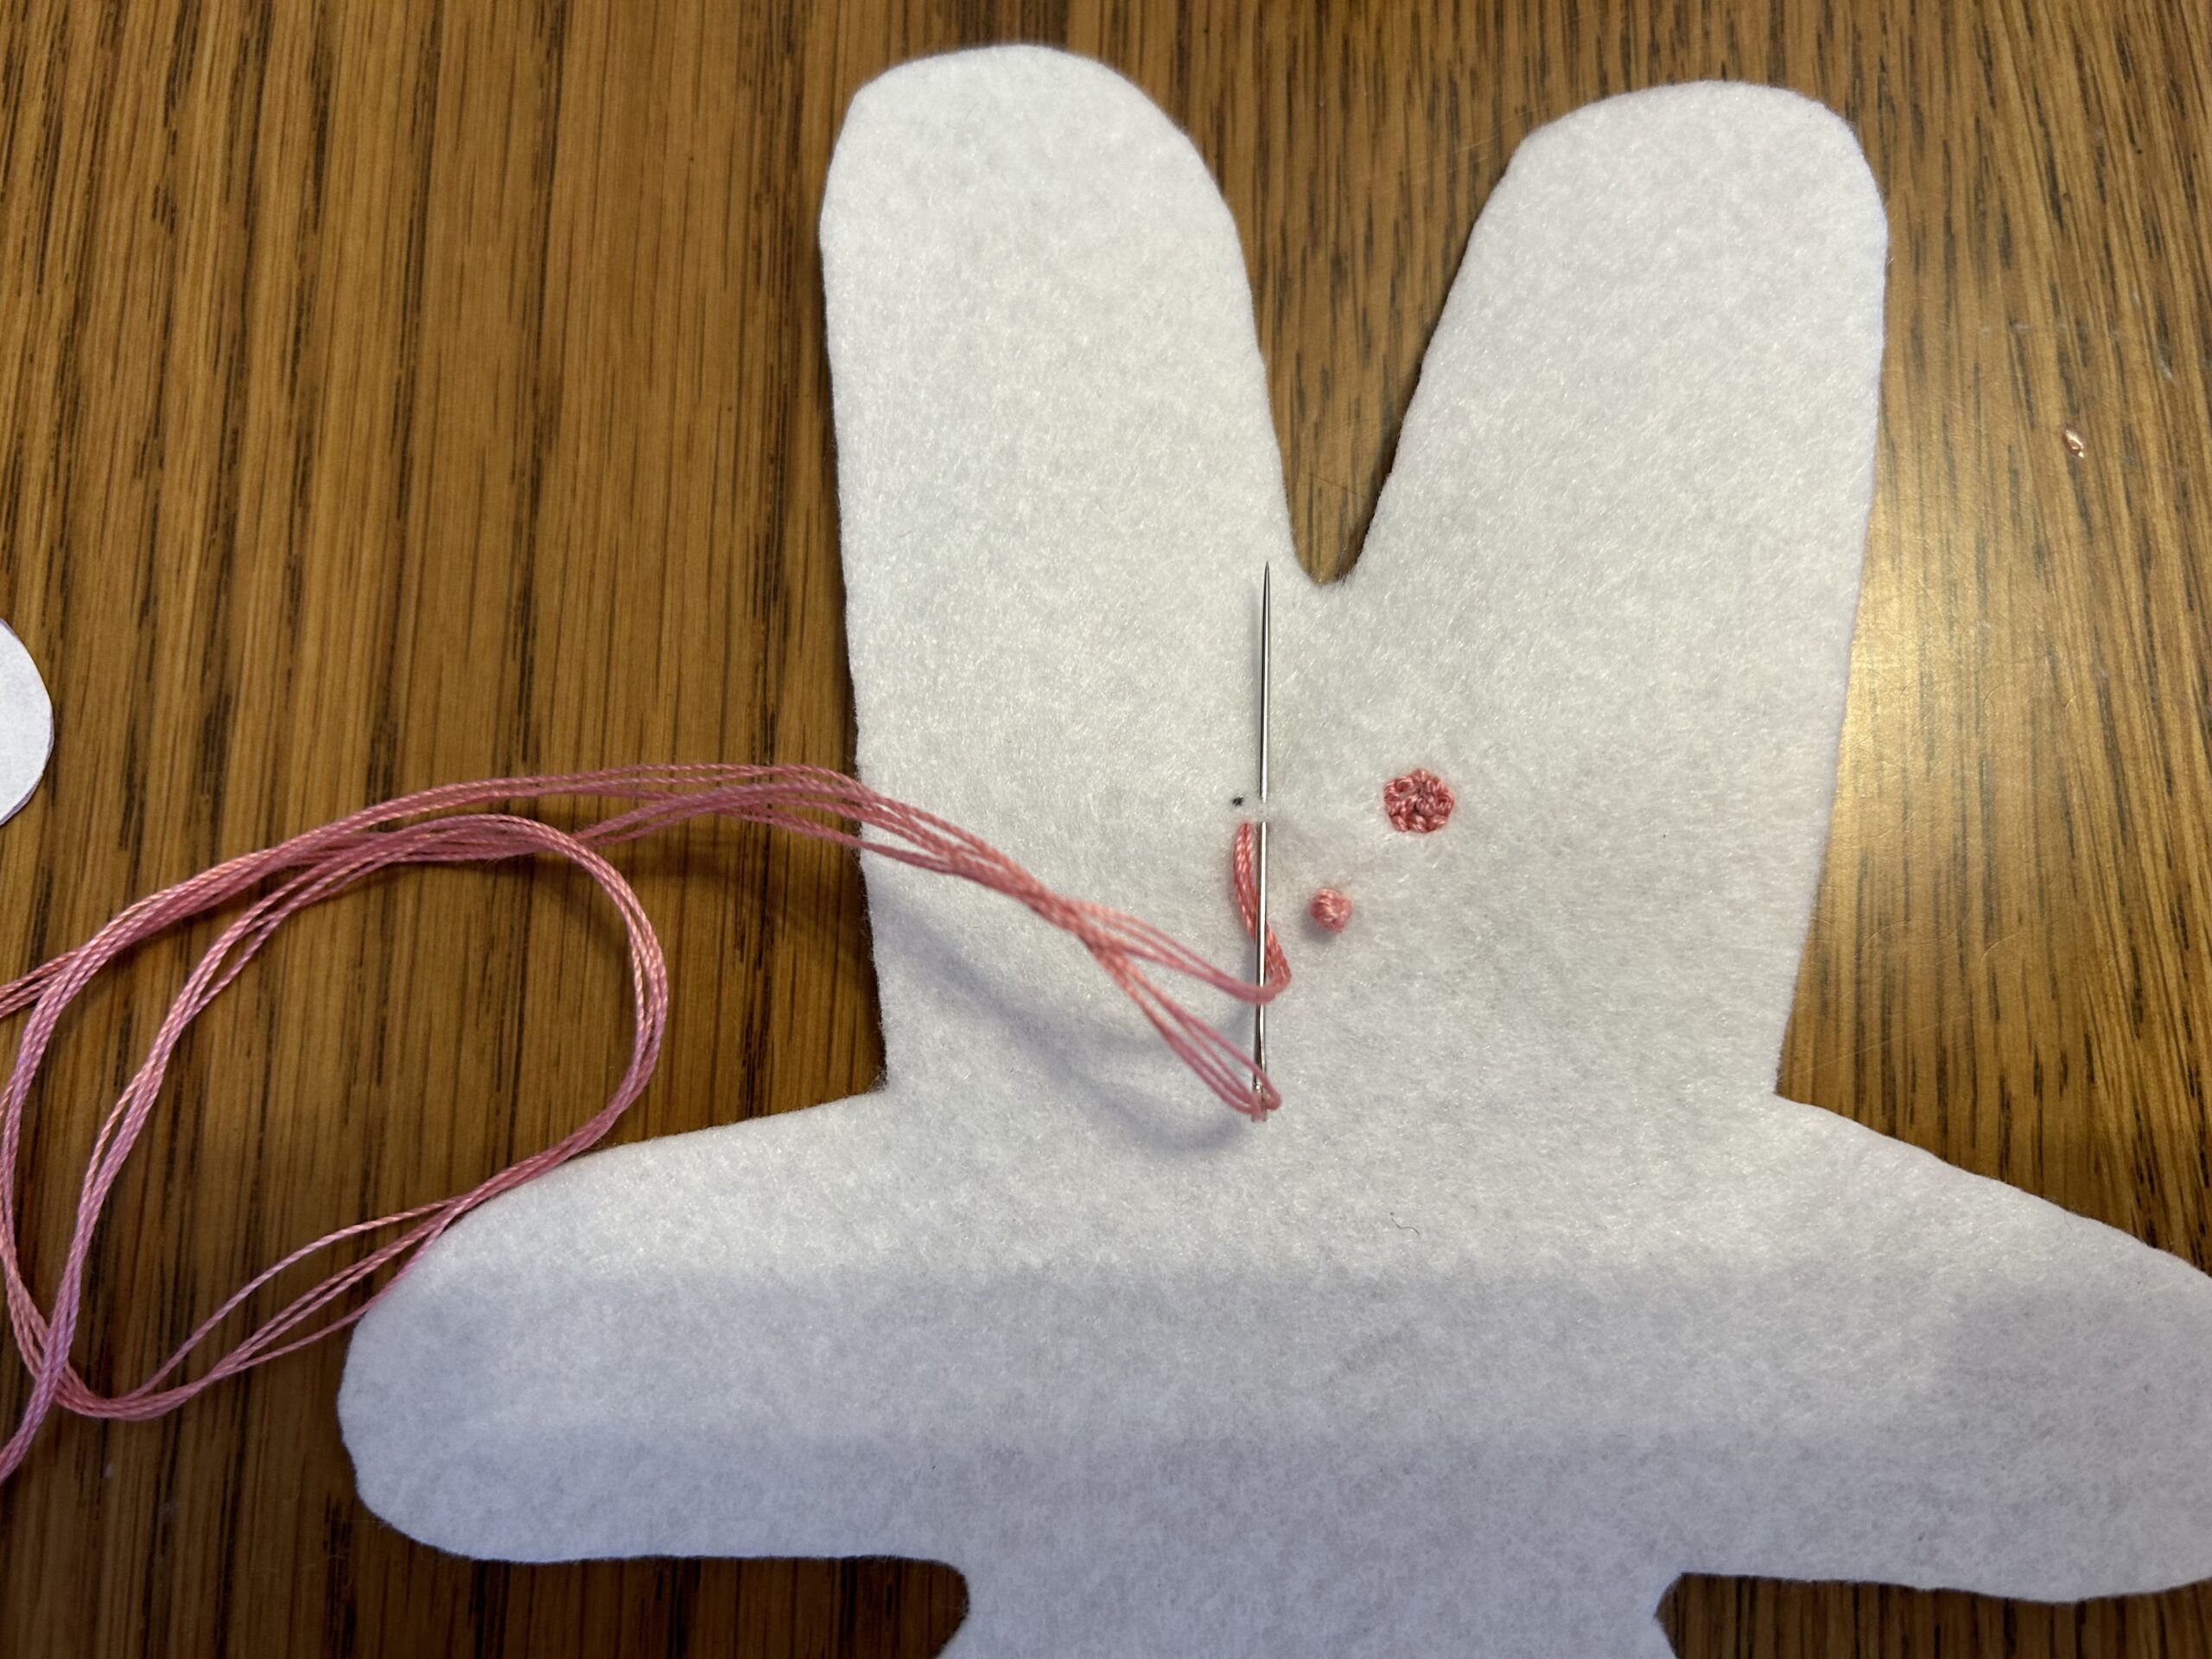
For the featured sample, the bunny back isn’t embroidered. However, adding a small cottontail made of thread loops on the bunny back is a cute touch!
When the embroidery is complete, weave the thread tails through the stitching on the bunny back.
CONSTRUCTION
Place the back felt bunny wrong side up on a flat work surface. Center the batting bunny on the felt wrong side. If desired, secure the layers with Sulky KK 2000 Temporary Spray Adhesive.
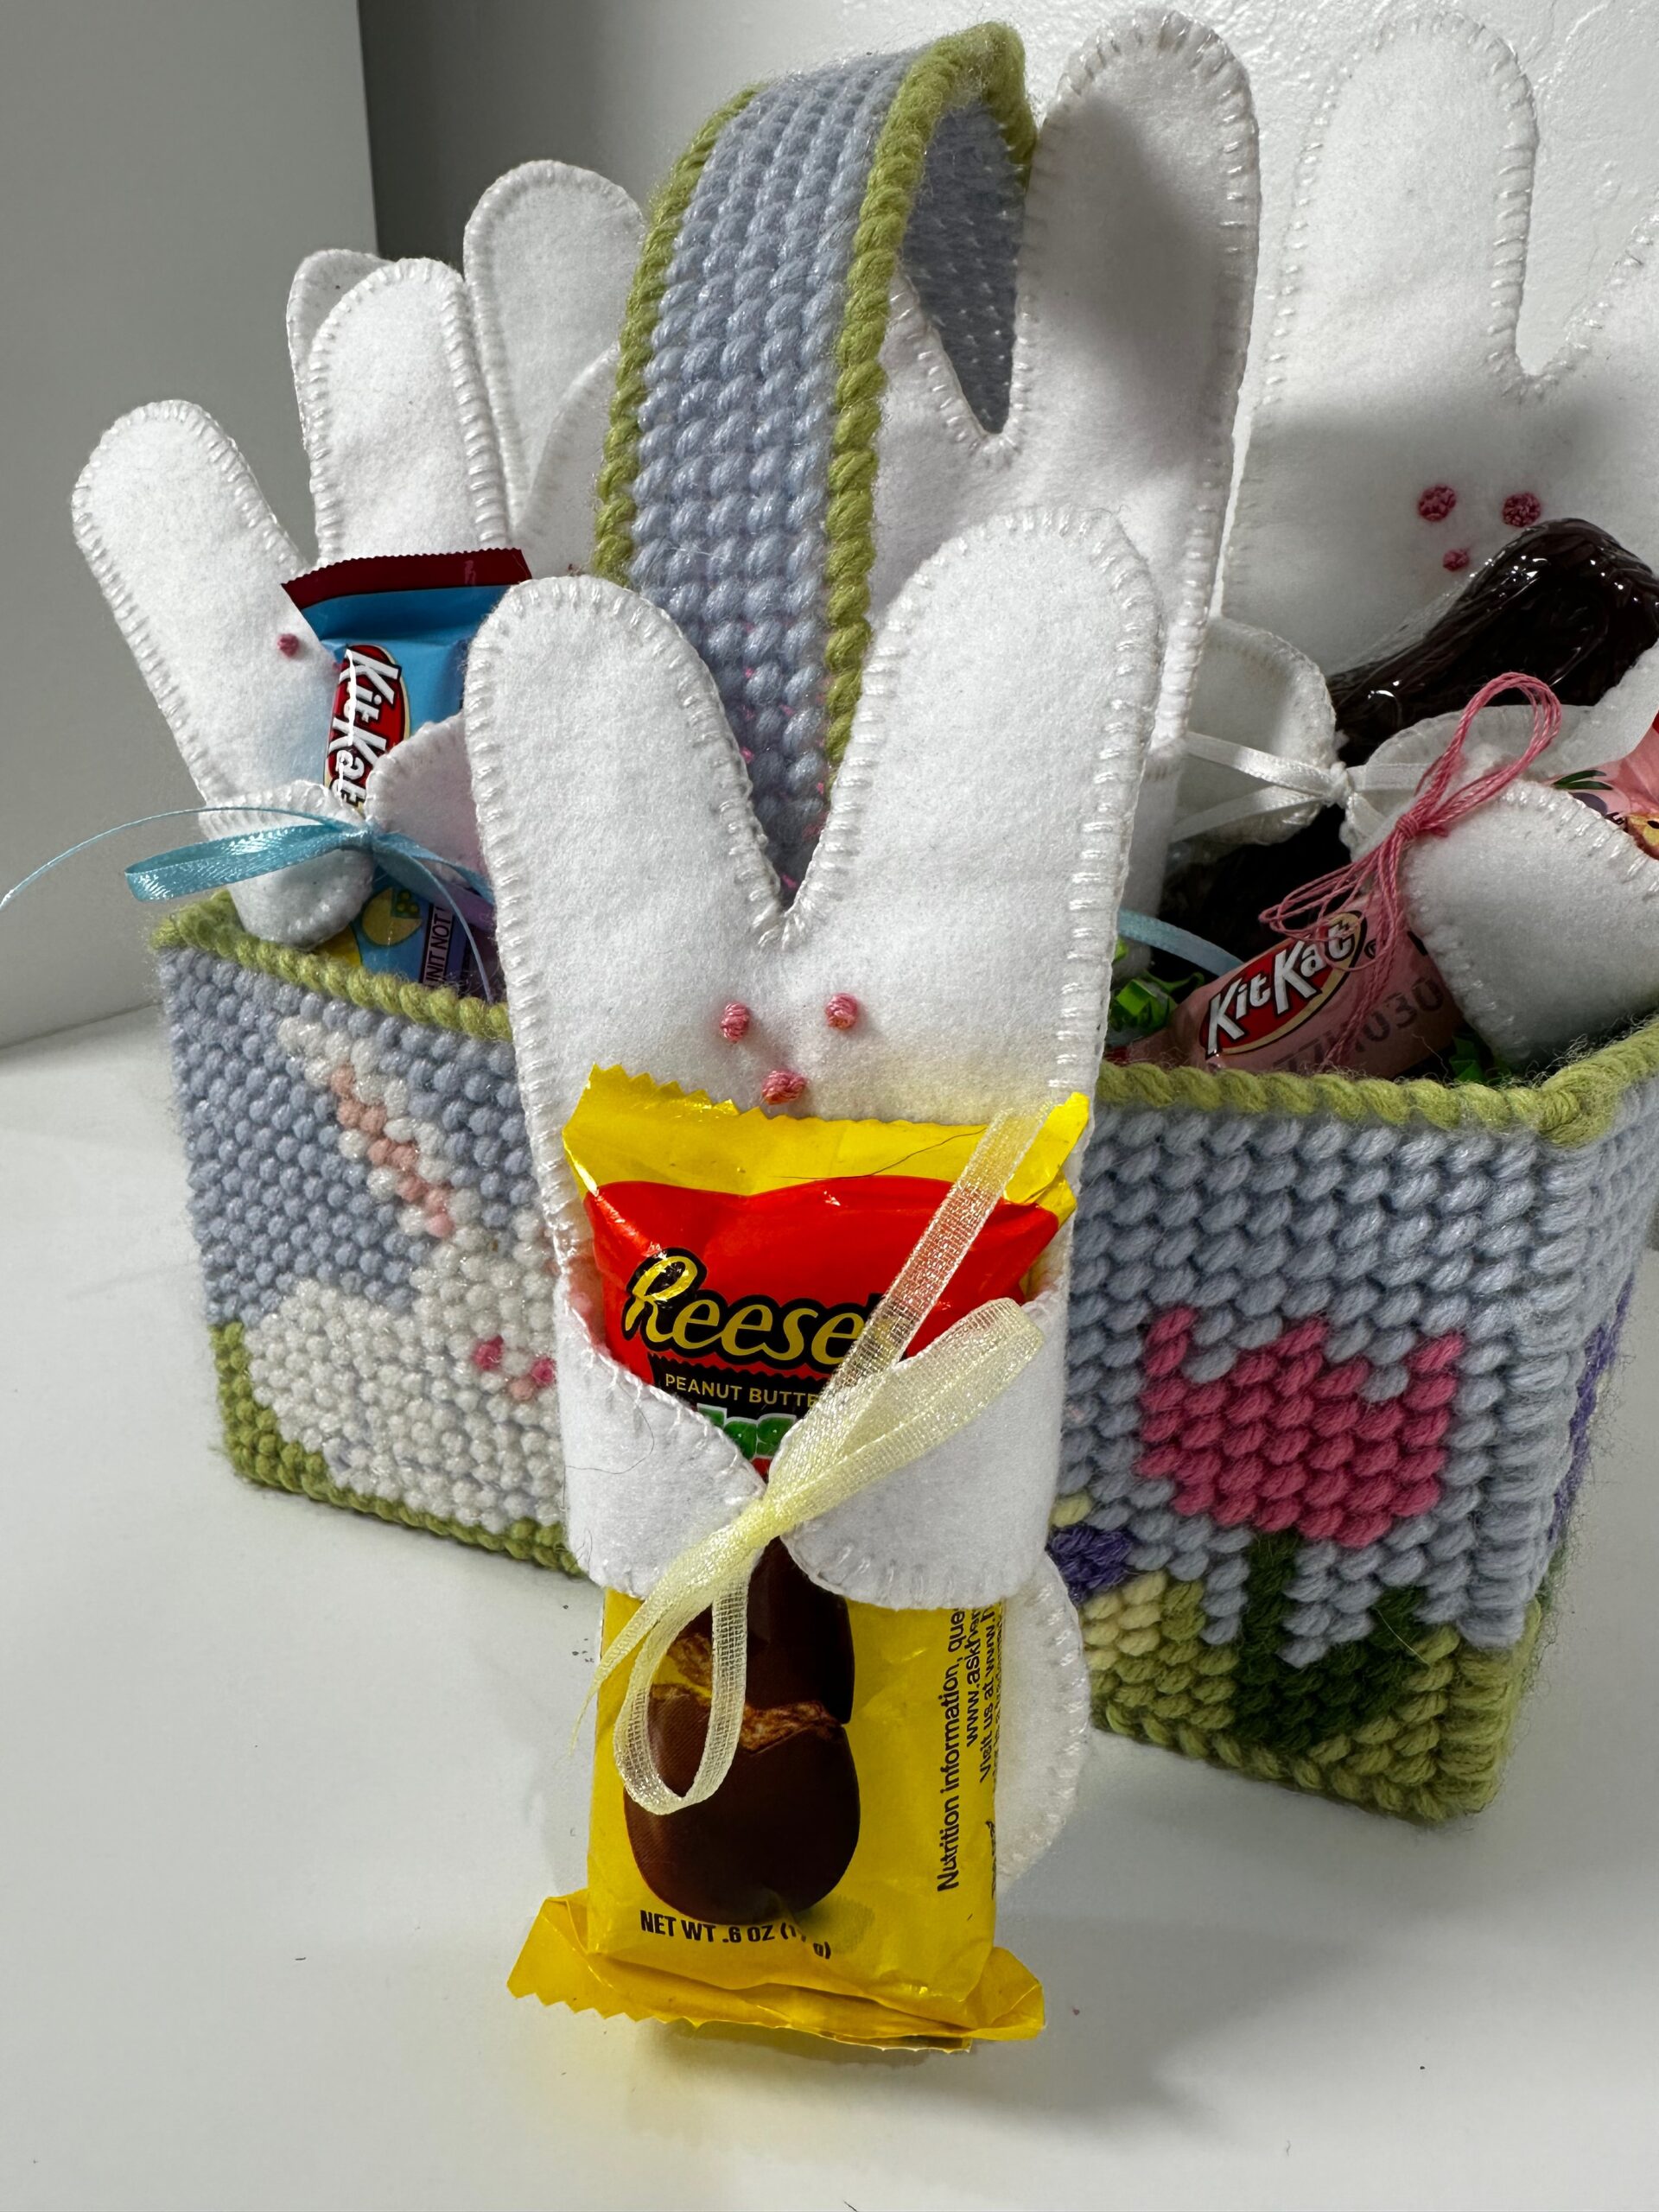
Center the embroidered bunny right side up over the batting, aligning the front and back edges. Cut two 6″ lengths of ribbon. Place each ribbon length between the Felty layers at each bunny arm. Pin or clip to secure
Thread a hand sewing needle with two strands of 12 wt. Cotton Petites Thread in white (to match the Felty). Begin stitching the bunnies together at the ribbons and whipstitch to ensure the ribbons are secured well with stitches. Then work your way around the bunny perimeter using blanket stitches.
Repeat to make as many Felt Bunny Treat Holders as needed to fill your Easter baskets!
Place a treat or plastic egg on each felt bunny, and then tie the ribbons around the treat to secure. Trim the ribbons to the desired length, if needed. These also work great as napkin rings, too!