Graduation Gift Projects
These graduation gifts to sew also make great Father’s Day gift-giving options. Begin with the Hemingway Pouch by Stitch Supply Co and modify it to include special touches for the recipient. This pouch is so easy to sew, giving you extra time for embellishing and trying out new creative fabrics. Read on to learn how to modify this pattern and make it using vinyl or a favorite T-shirt.
GRADUATION GIFT DETAILS
When a special someone graduates from middle school, high school or college, it’s nice to give a handmade gift that commemorates the occasion. As sewists, it’s extra nice to personalize the graduation gift with a special note, design or childhood nostalgia so the gift becomes an heirloom to cherish for years to come. T-shirt quilts are often a great choice for graduation gifts; however, these quilts require loads of T-shirts and loads of time to create. While they are wonderful gift options, using just one T-shirt is also impactful and can provide enough fabric to make a small to large-sized pouch used to tote electronics back and forth to classes and work.
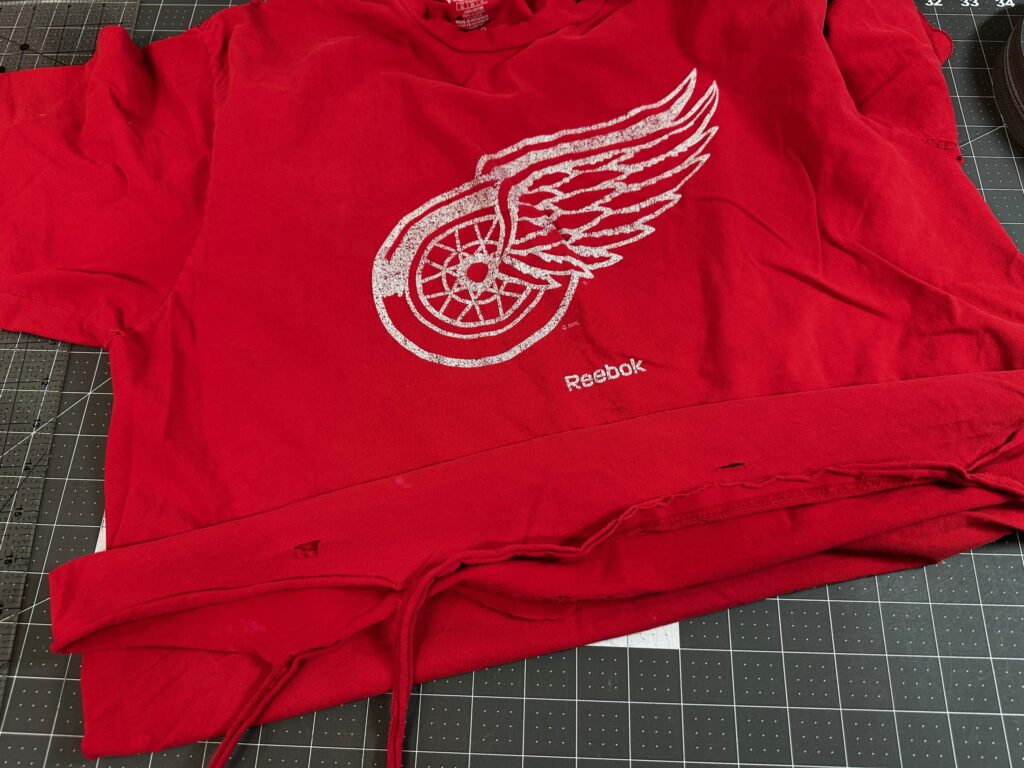
Use a well-loved T-shirt that’s a favorite of the soon-to-be graduate. Perhaps the T-shirt is in storage, has holes, rips or tears, or is almost transparent from years of use. Perhaps the T-shirt is from the graduate’s first year of sports, camp or first concert. These are the perfect T-shirts to use for a project, extending the life of the shirt and seen/used every day instead of stored in a basement or attic!
Depending on the size of the T-shirt, you may need to piece together usable parts of the shirt to have enough fabric for the chosen project. If there are holes, rips or tears, consider leaving them and adding stitches around the areas as reinforcement. Each flaw may have its own story to tell! Or carefully trim the flaws away and piece the fabric after stabilizing it for sewing.
Any favorite pouch pattern is a great choice for using a special T-shirt as the graduation gift project fabric. However, the Hemingway Pouch Pattern by Stitch Supply Co has a unique diagonal zipper design, making it modern and different. It’s easily customized with quilting, embroidery and more, and doesn’t require too much fabric. So a T-shirt works perfectly for the exterior!
GRADUATION GIFT PATTERN DETAILS
The Hemingway Pouch Pattern is a quilted pouch with a unique, diagonal zipper.
The pattern comes in four sizes: 4″ x 8″ (small), 7″ x 8 1/2″ (medium), 9″ x 12″ (large), 11″ x 13″ (extra large). The four size options included can store and protect eyeglasses, pencils, e-reader/Kindle, books, Tablet/iPad, iPad Pro, small laptop and paper notebook. The pattern is easily modified for larger items, such as a MacBook Pro. Simply measure the computer/item, and add the needed length and width dimensions to the outer, lining and interior structure rectangles.
The simple design lends itself well to creative fabric options, such as vinyl, faux leather and T-shirts!
VINYL FABRIC OPTION
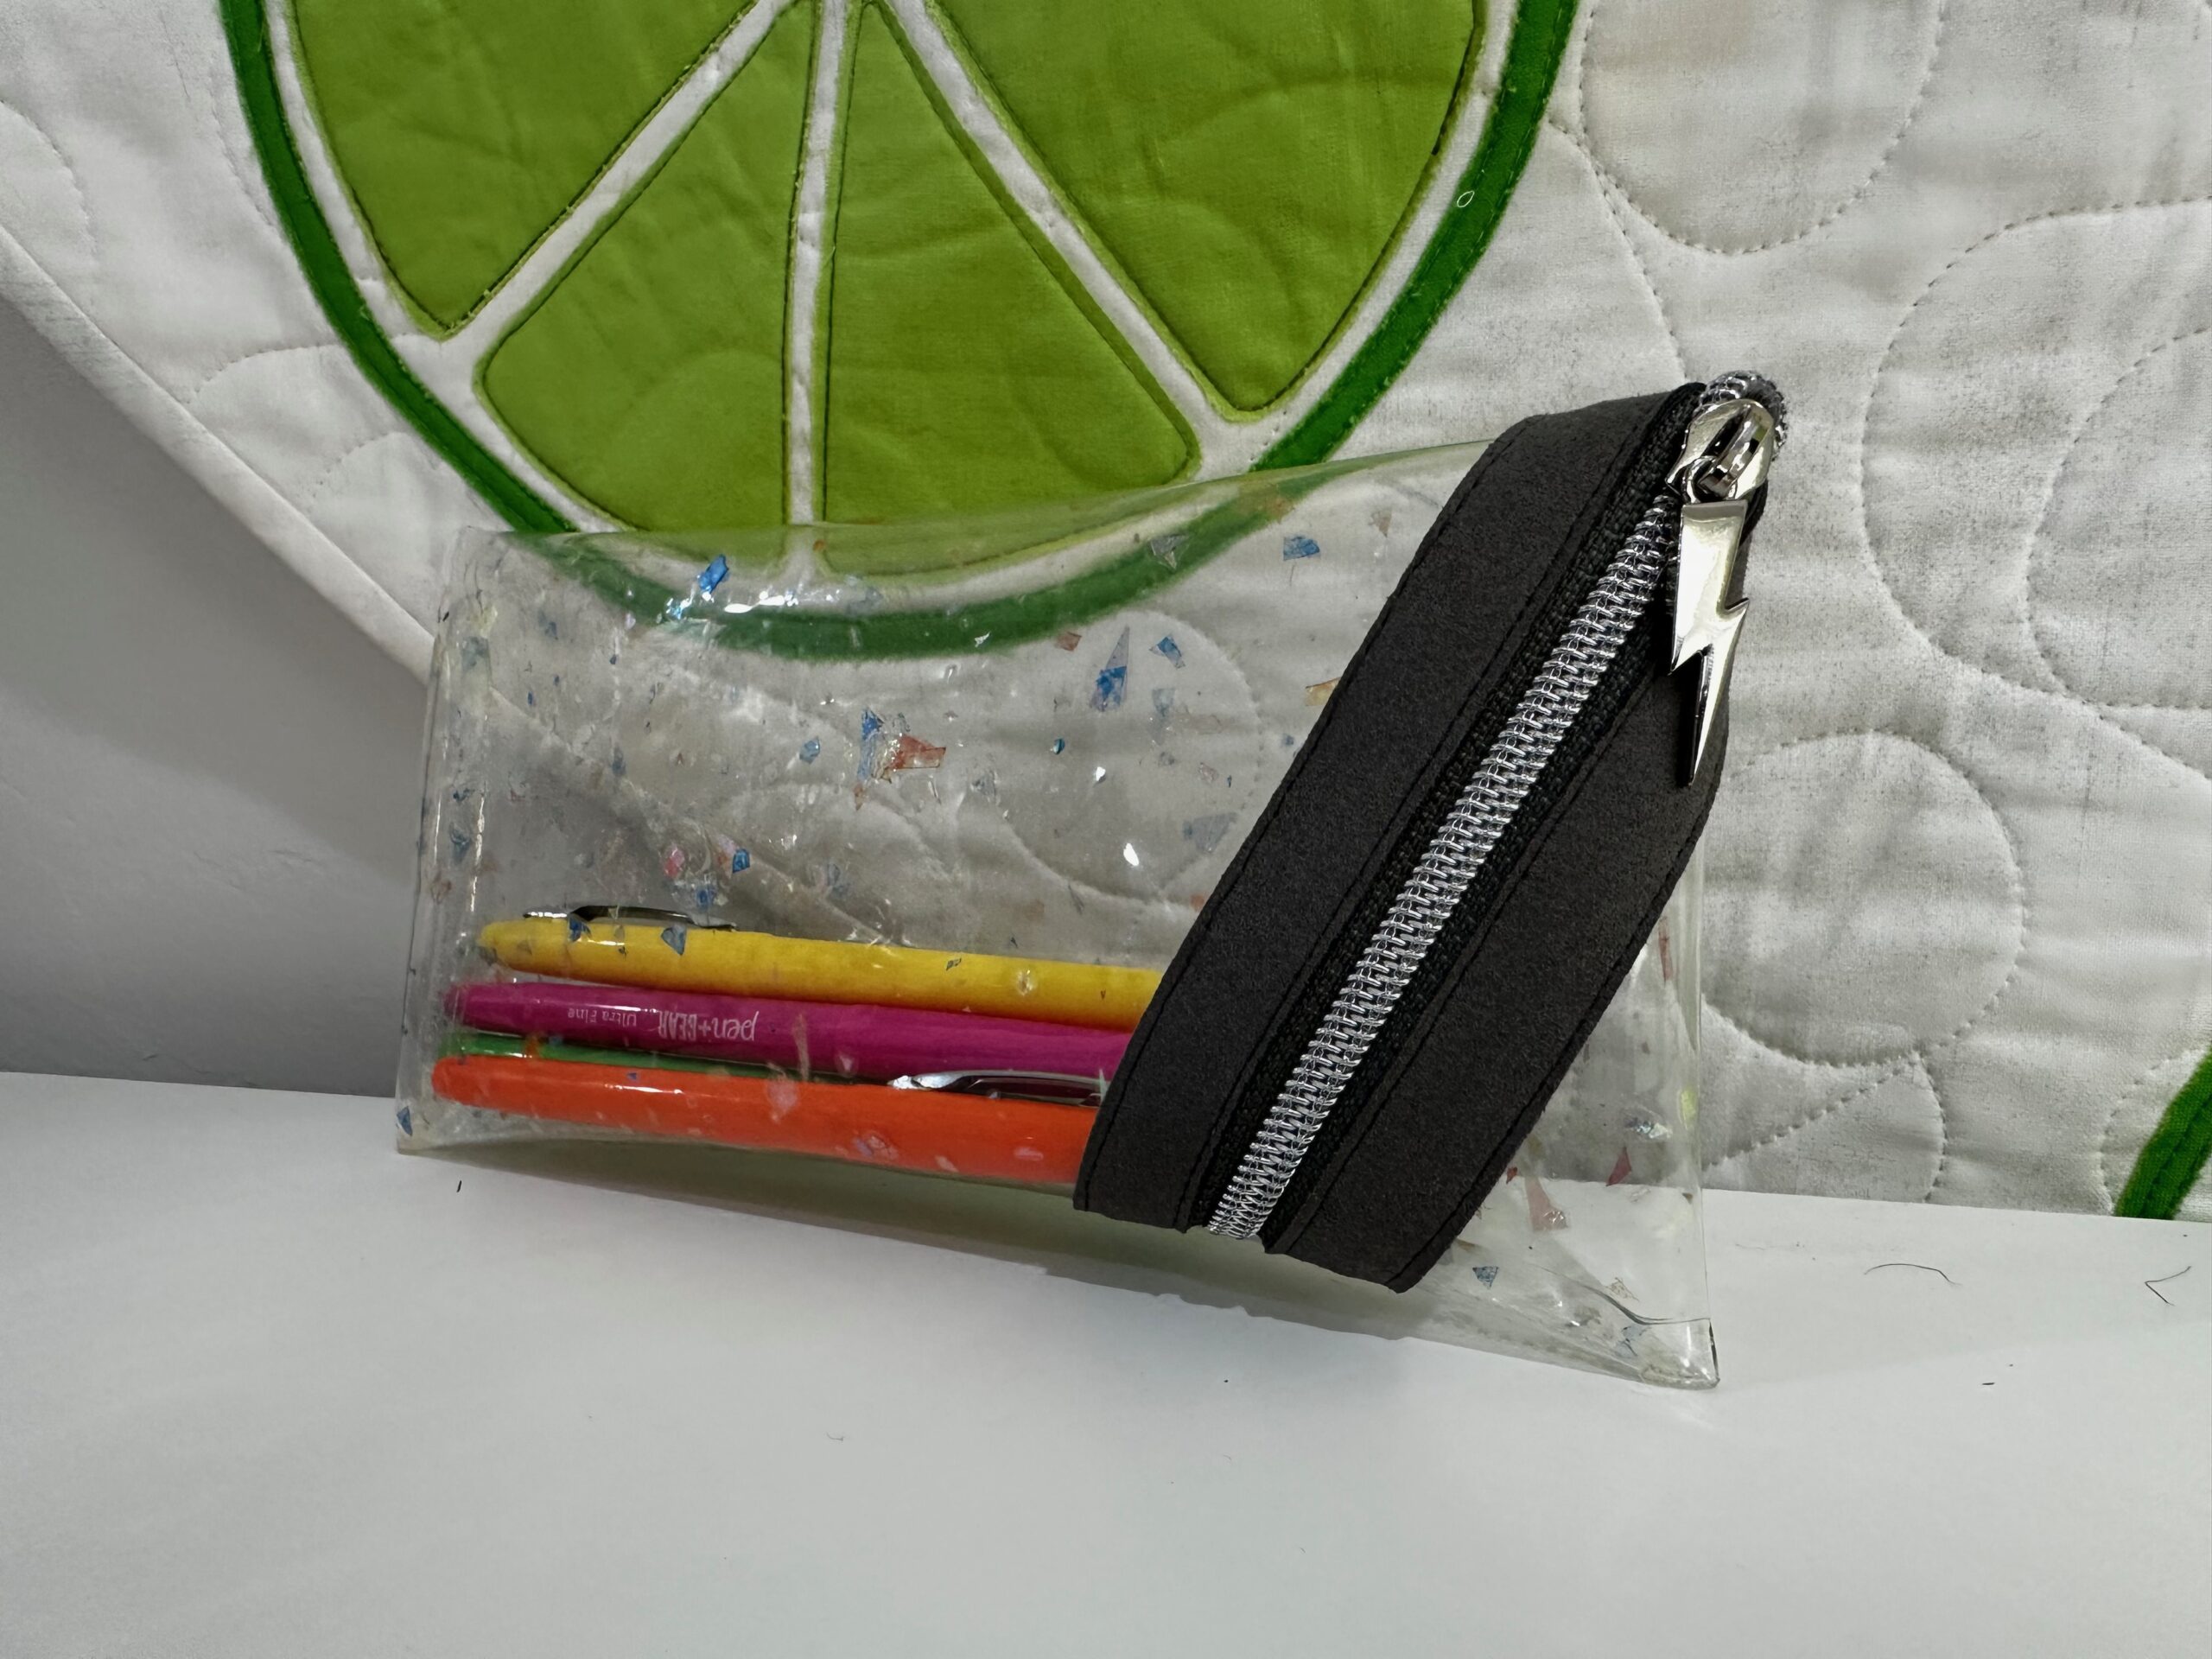
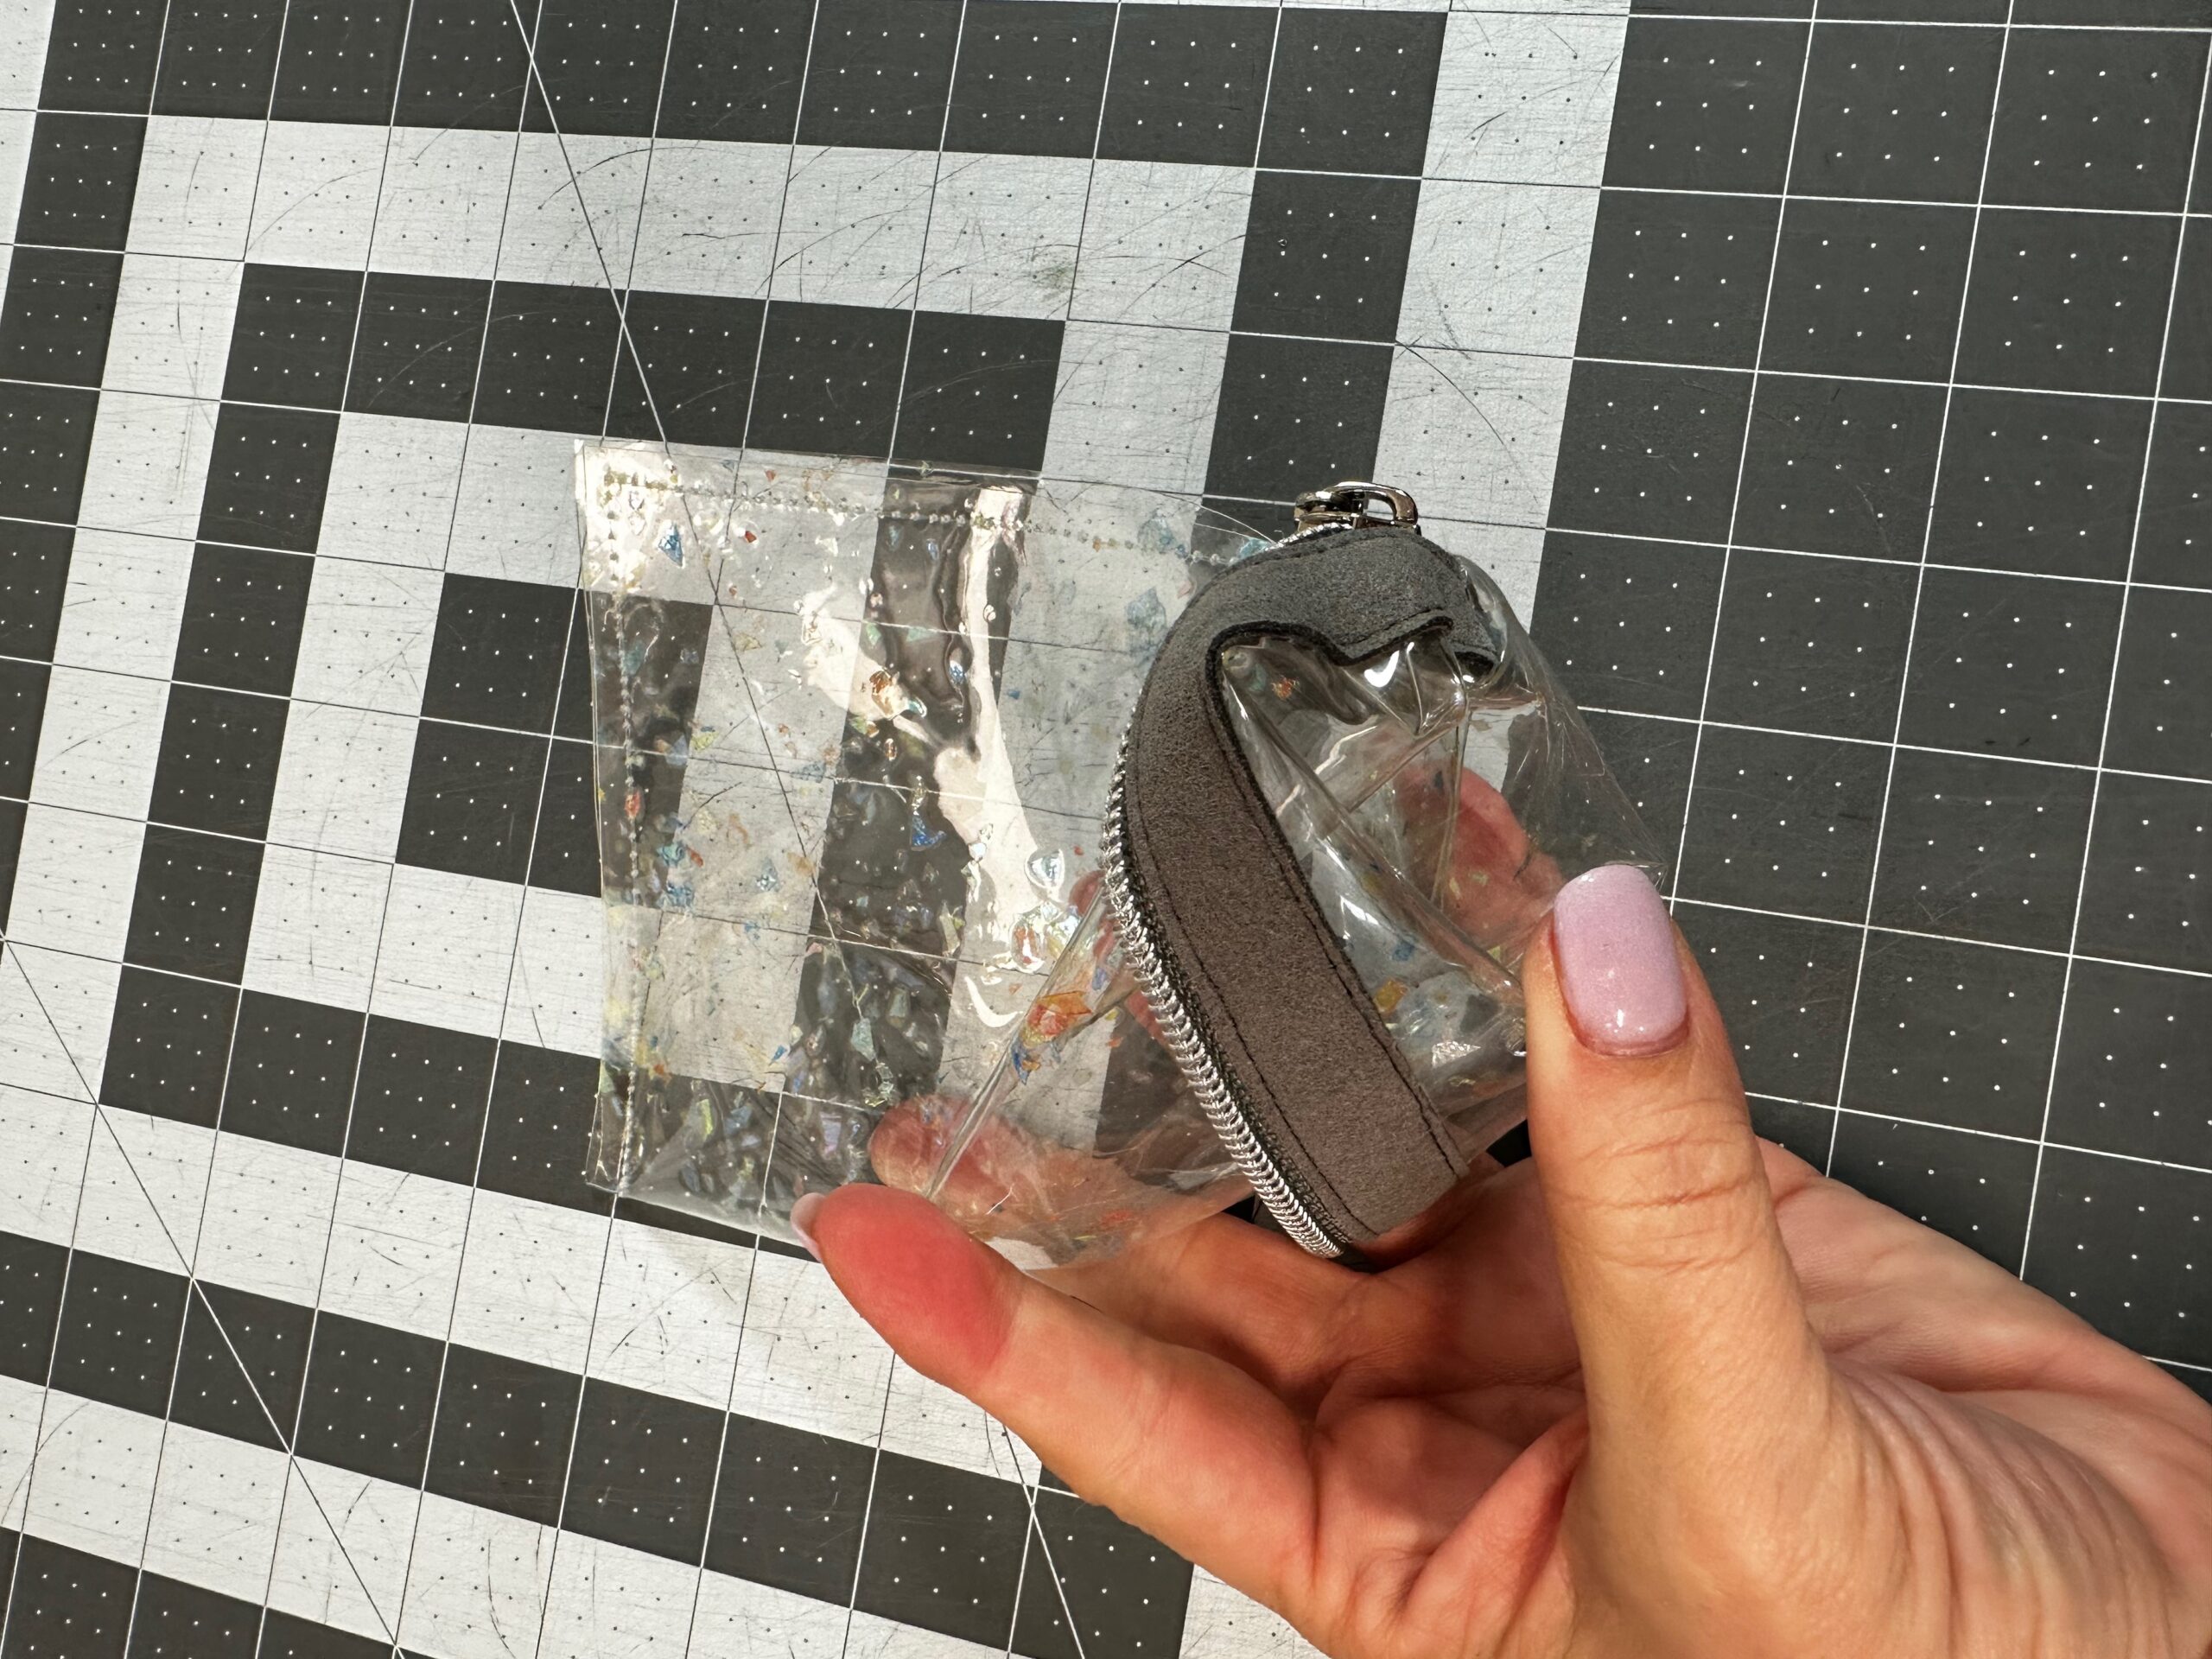
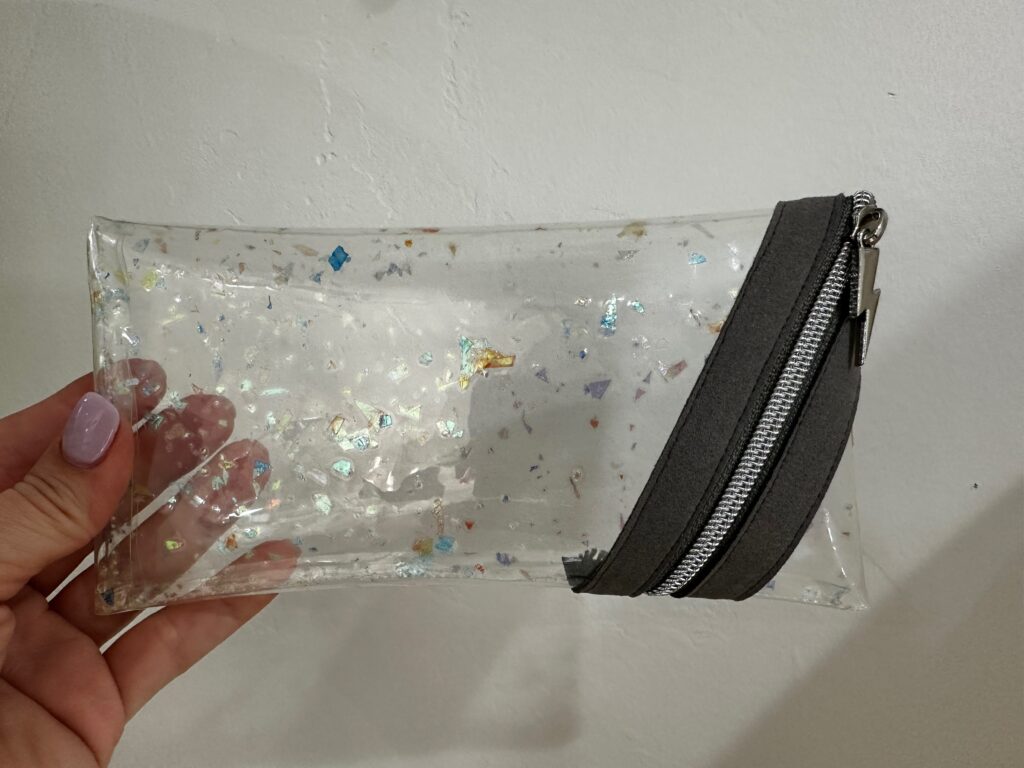
For one graduation gift take on this pattern, printed clear vinyl is subbed for the exterior to make the smallest pouch size. It’s small enough to hold a pair of sunglasses, keys and some cash. Or use it for pens, pencils and other school supplies. The clear vinyl has a subtle print that adds a bit of personality without compromising the transparency. So, it’s great for toting to a sporting event or concert. Keep in mind, there is no strap unless you add one!
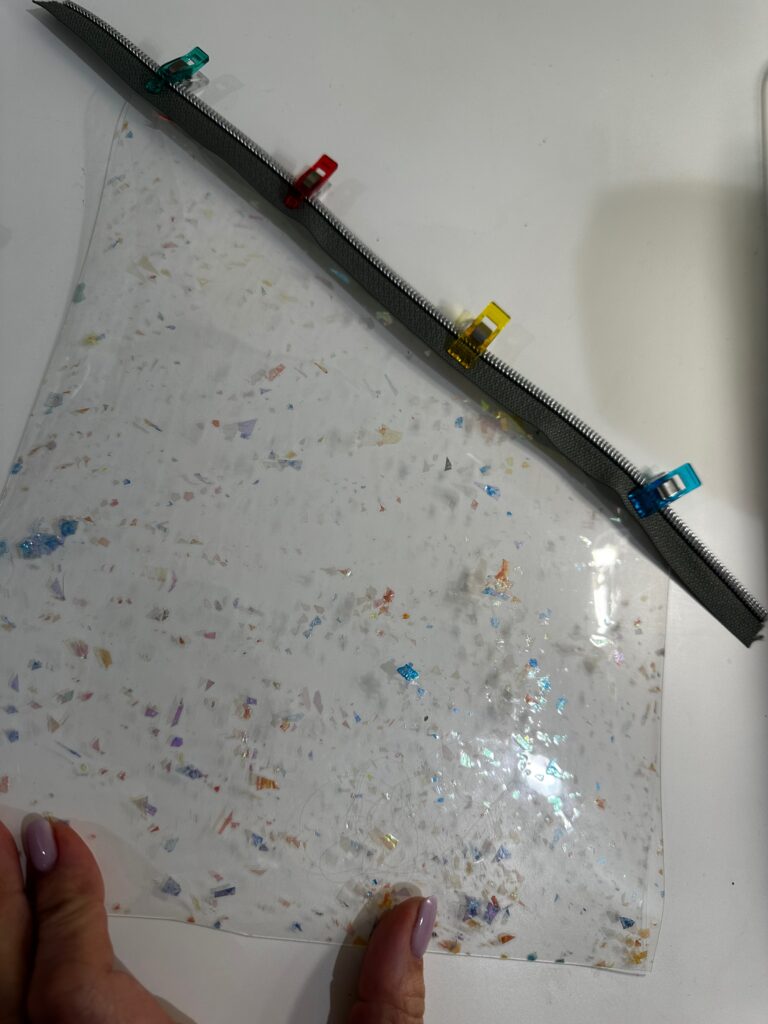
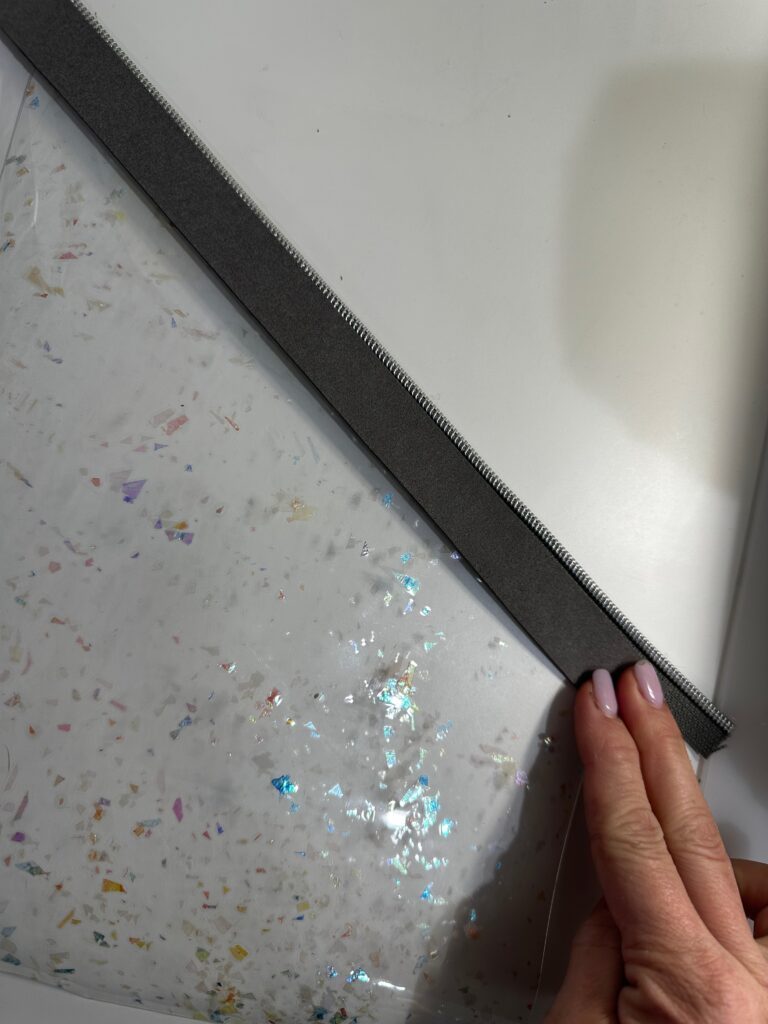
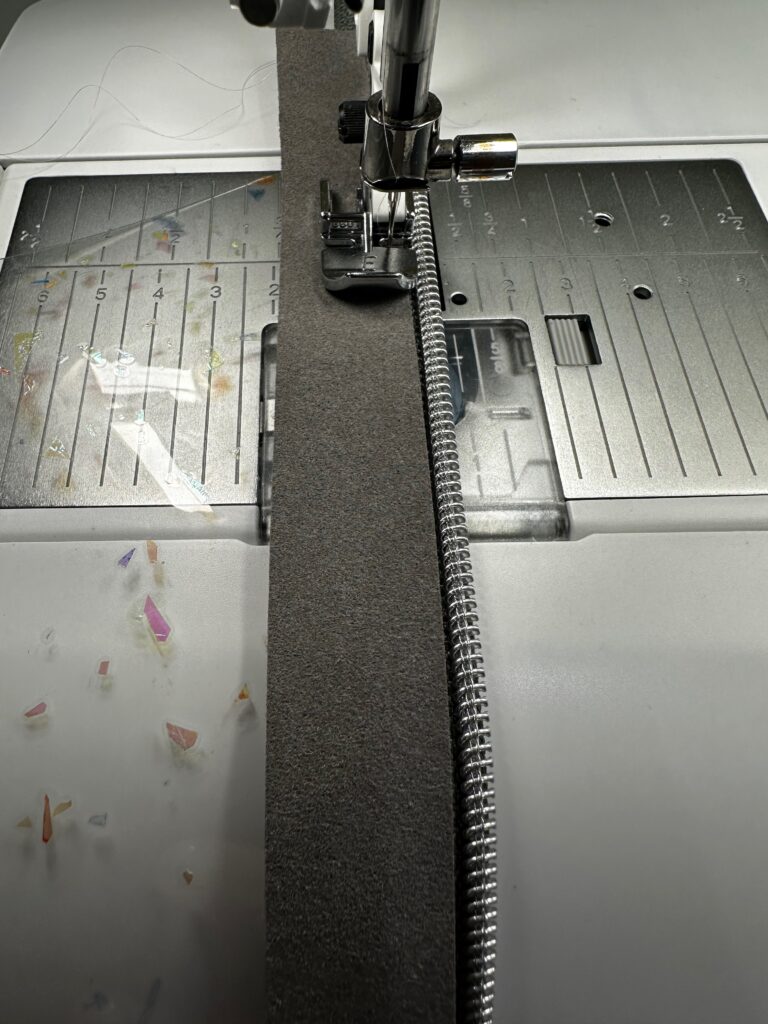
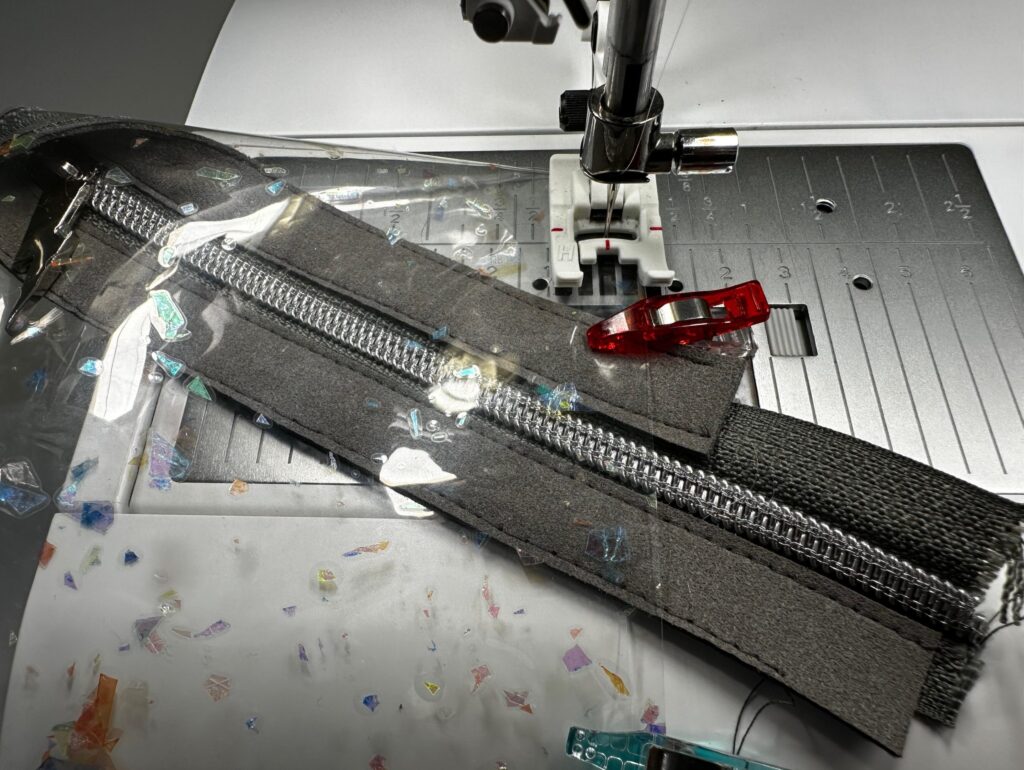
The Confetti Clear vinyl, zipper and zipper pull are from Sallie Tomato. For this pouch version, the lining and interior binding was eliminated. A piece of microsuede was used for the zipper binding, topstitched with the zipper between the vinyl and zipper. This conceals the zipper edge and reinforces the vinyl edge that attaches to the zipper. Plus, the microsuede is a no-fray fabric, so the edges are unfinished. This also helps reduce bulk.
HELPFUL NOTIONS
Narrow double-sided basting tape is a great notion to use when securing the zipper and vinyl, ensuring no shifting during sewing. Sulky 40 wt. Poly Deco™ Thread is used when adding the zipper to the pouch. The thread is slightly heavier than a traditional “all-purpose” thread, and is has a nice shiny appearance. A size 90/14 Organ Top Stitch Needle is also recommended.
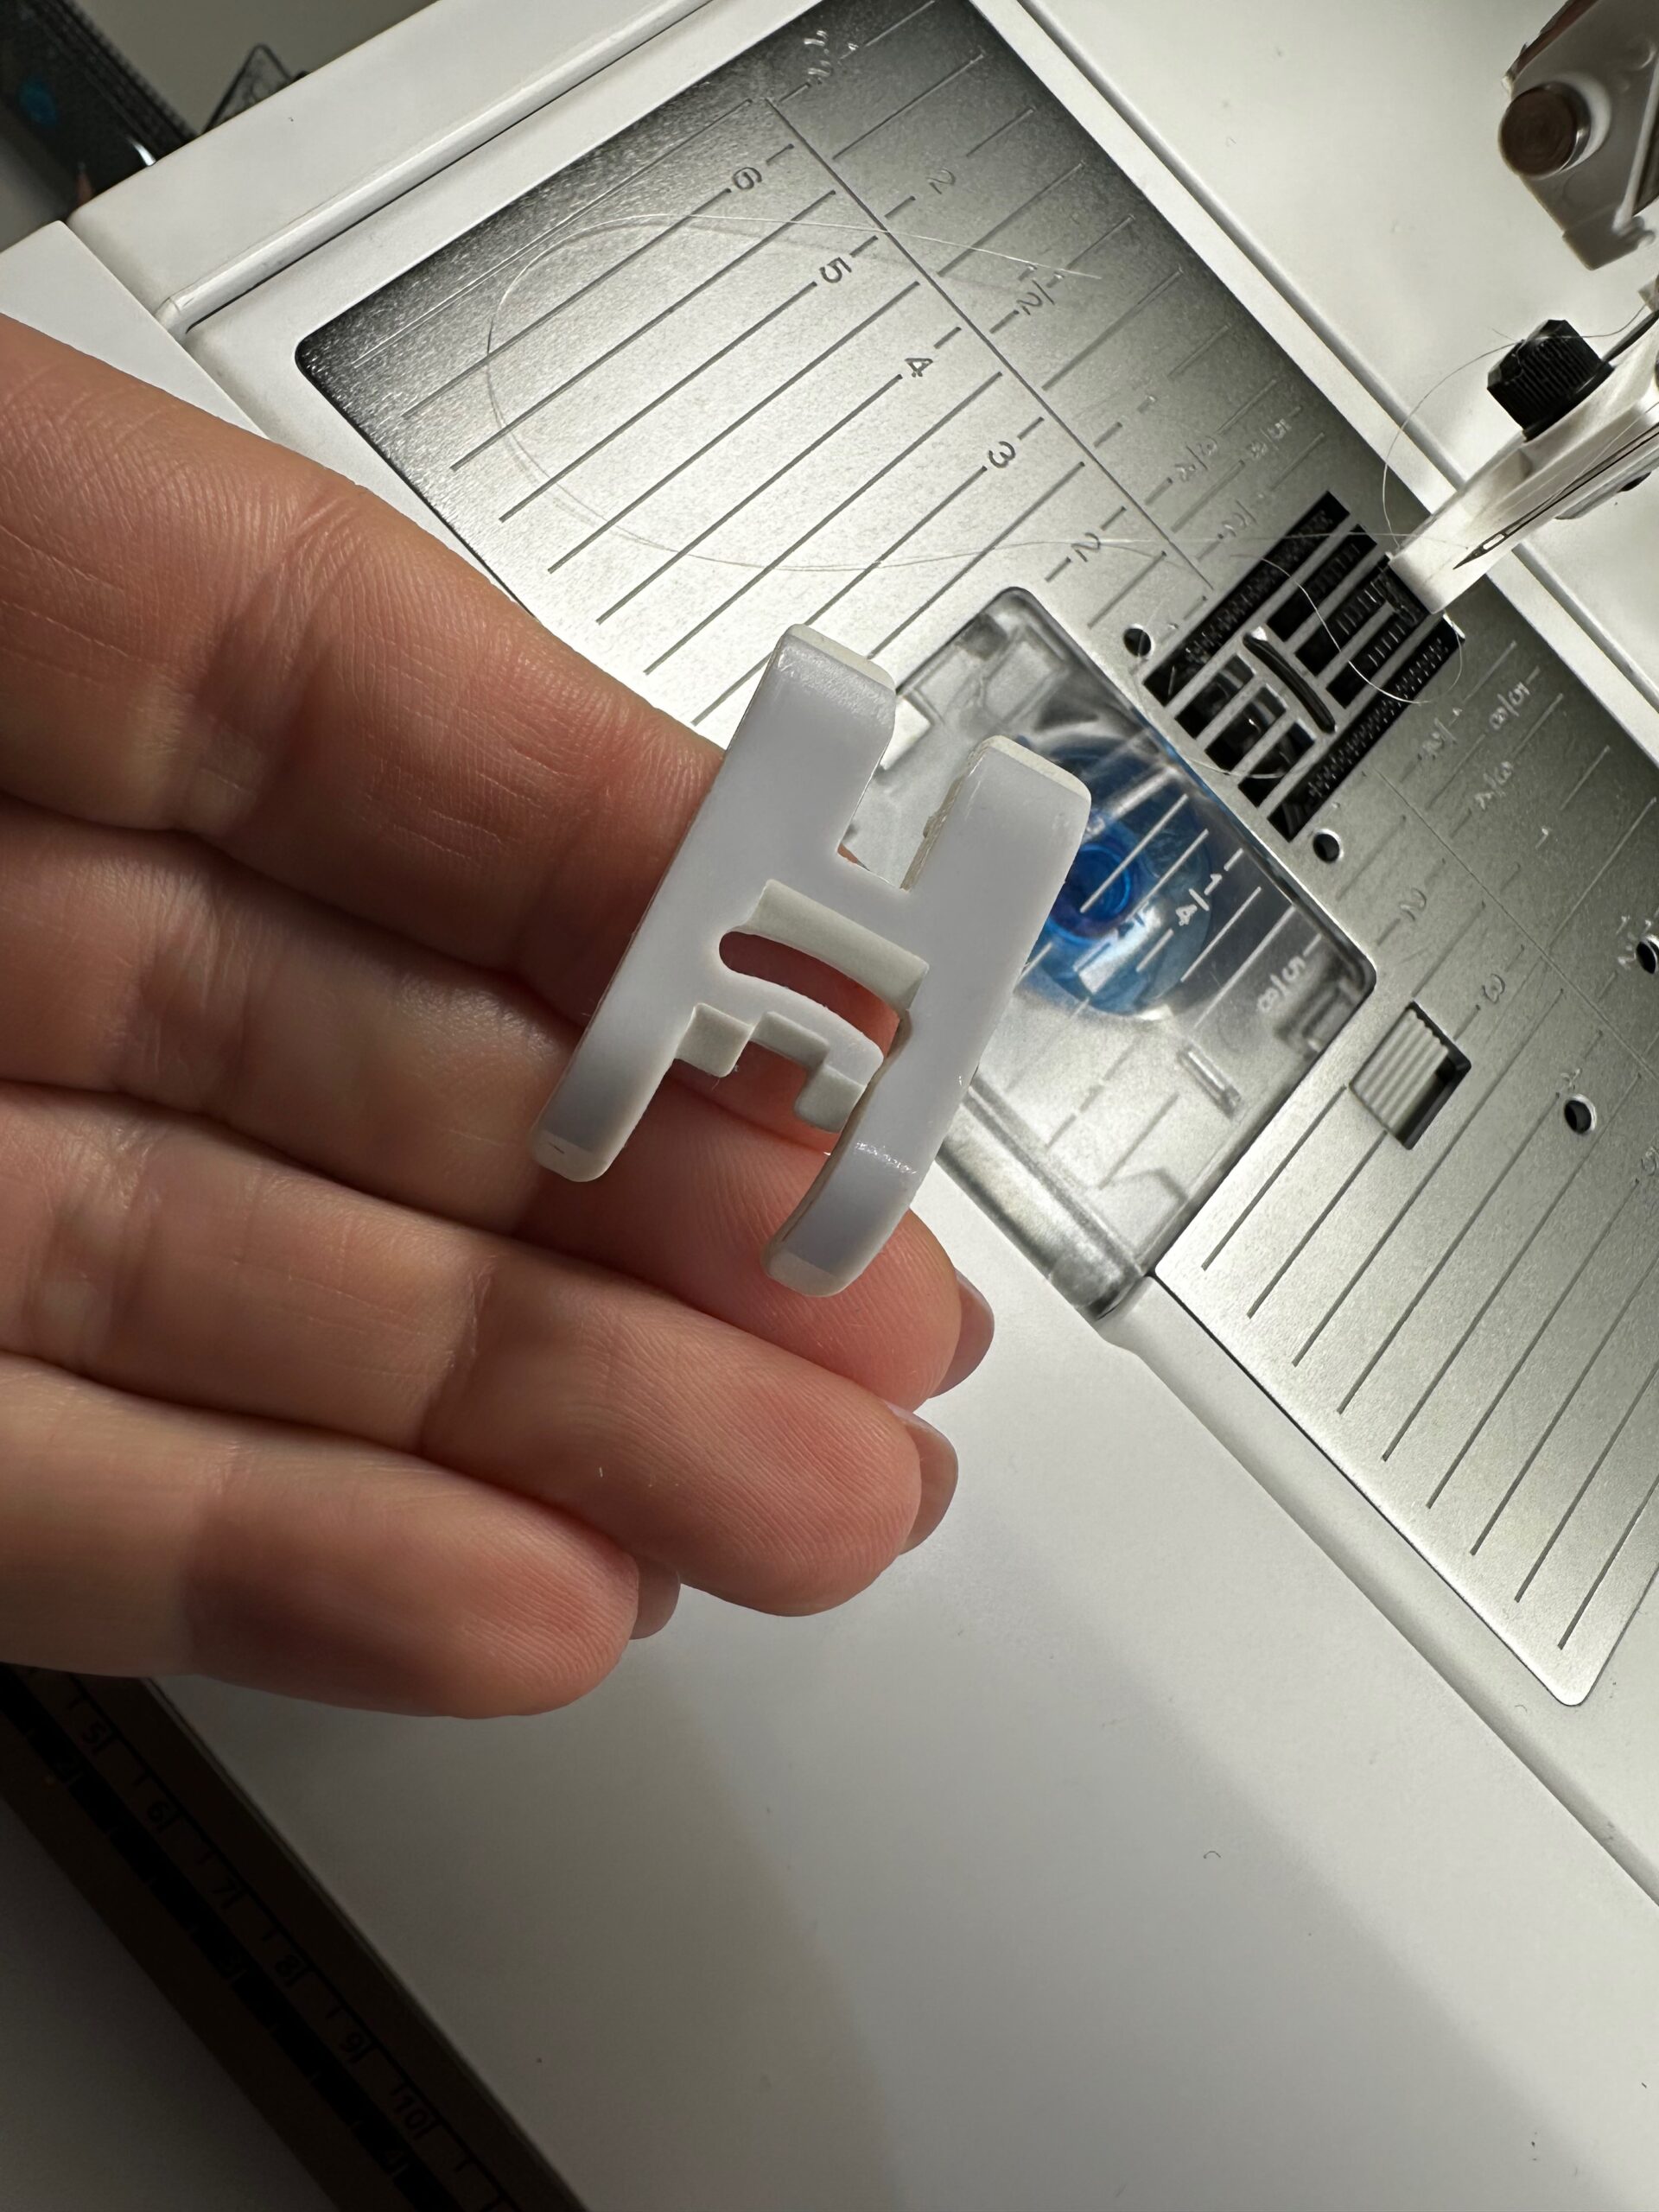
The vinyl fabric is sticky under the presser foot when sewing the sides and lower edge. Thankfully, the fabric comes with a protective sheet over it, akin to tissue paper, and it’s recommended to leave that intact until the pouch is complete; then, tear it away along the seamlines to make it easier to sew. A Teflon® foot also helps guide the fabric under the presser foot and over the feed dogs.
For the vinyl seams, Sulky Invisible Thread is used. It disappears so the transparent vinyl property isn’t compromised! And yes, it is also used in the bobbin! It’s recommended to only fill the bobbin halfway and wind it at the lowest possible speed. This way, the thread won’t stretch when wound, causing undue tension. Set the stitch length to 2.5mm and use a size size 90/14 Organ Top Stitch Needle.
Use Clover® Wonder Clips to secure the seams for sewing, rather than pins. Pins will result in permanent holes in the vinyl.
TURNING TIPS
This pouch was extremely difficult to turn right side out after sewing was complete. The vinyl sticks to itself a bit, so the corners are a bear to push out without popping the seams. To avoid this, add the interior binding but put it on the pouch RIGHT side. Either use another piece of microsuede for the binding or a fabric of your choice.
Or, find a favorite blunt tool ( a wooden chopstick works better than a metal turning tool) and take deep breaths until the pouch is turned right side out. (Full disclosure: I broke two fingernails turning this project! But I love how it turned out! And, I love that the interior seams are still transparent (without binding). So, I guess the pain and frustration was all worth it?)
T-SHIRT FABRIC OPTION
To prepare a T-shirt for sewing this, or any, pouch, determine the available fabric yardage first. Measure the shirt front, back and any other available fabric (such as along the back shoulder or sleeve areas. If using a small shirt, such as children’s size), you may need to piece the desired T-shirt motif/area into a different fabric to include it in the pouch design. Decide whether to include well worn areas, holes, rips or tears, and note their locations on the shirt, if needed.
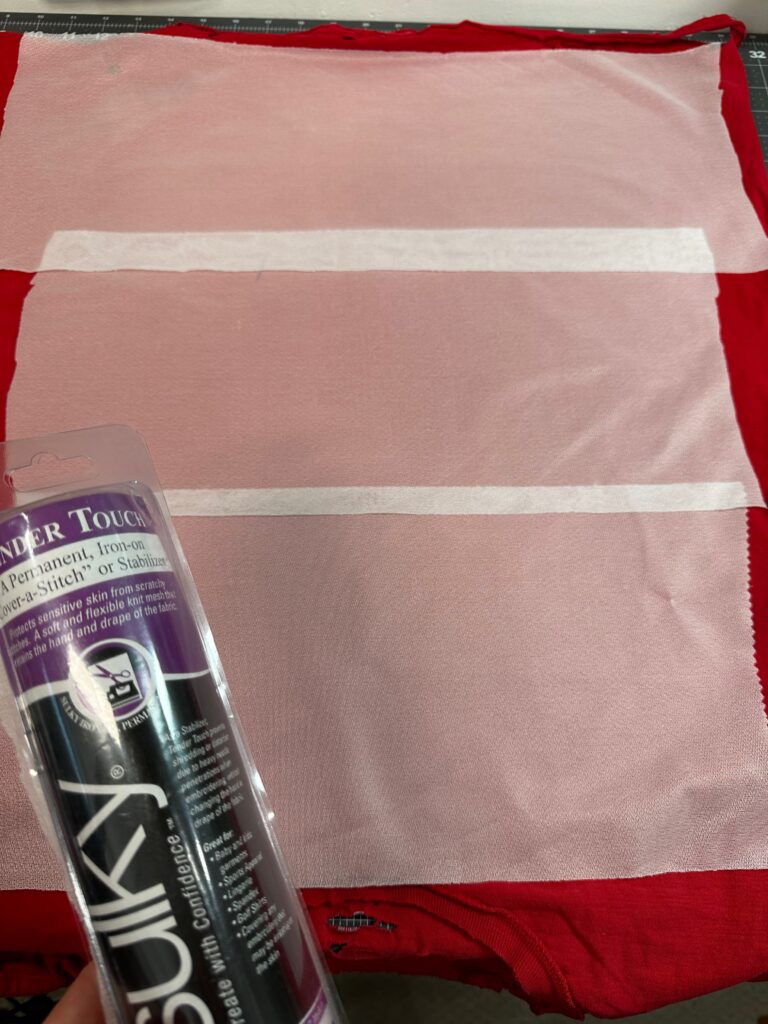
Before cutting the T-shirt at all, first stabilizer it with Sulky Tender Touch™ Stabilizer. Place the stabilizer with the fusible side down over the T-shirt wrong side. Then, fuse the stabilizer to adhere. It’s ok to overlap the stabilizer edges, if needed, to cover a larger area.
PATTERN PLAN
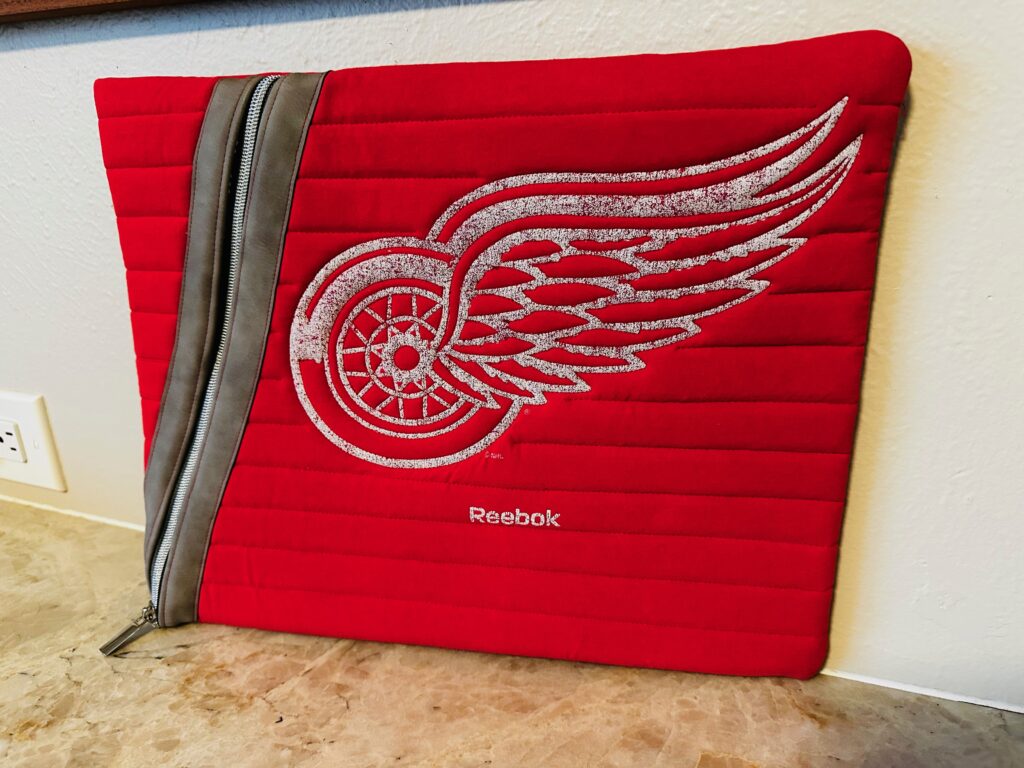
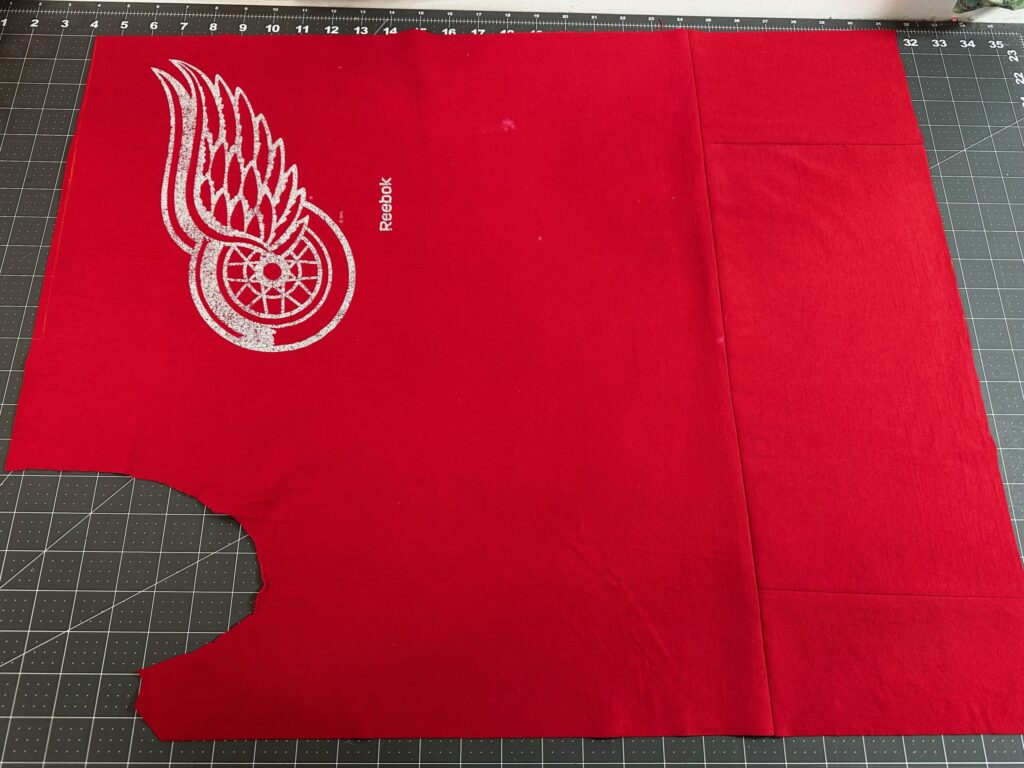
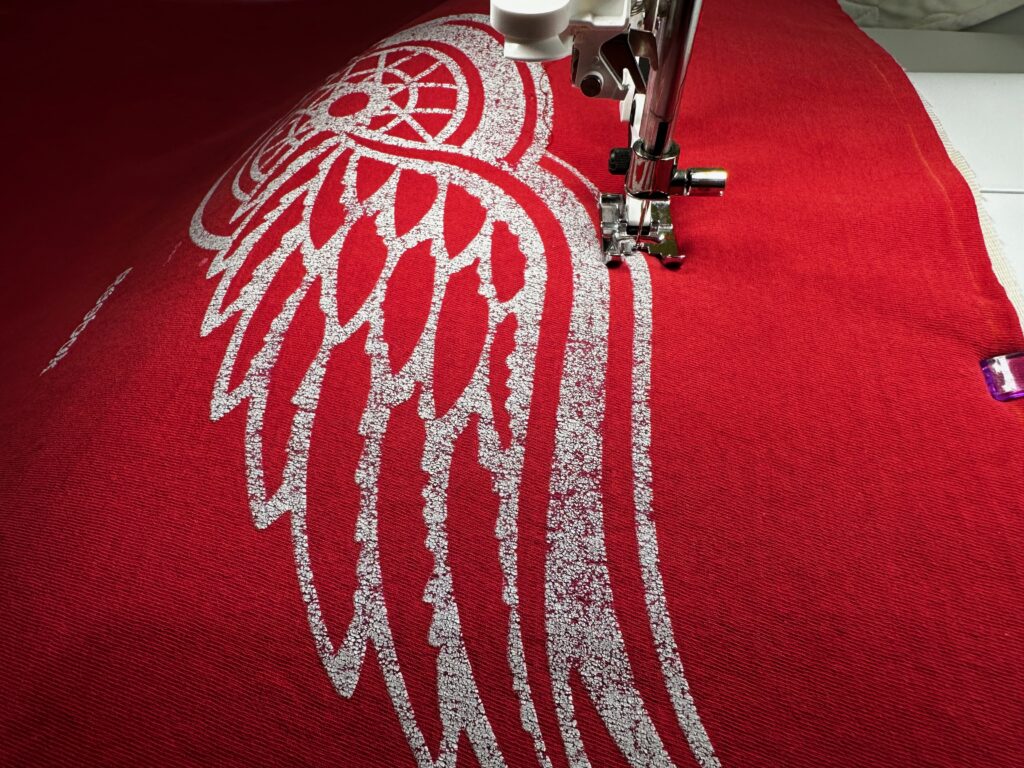
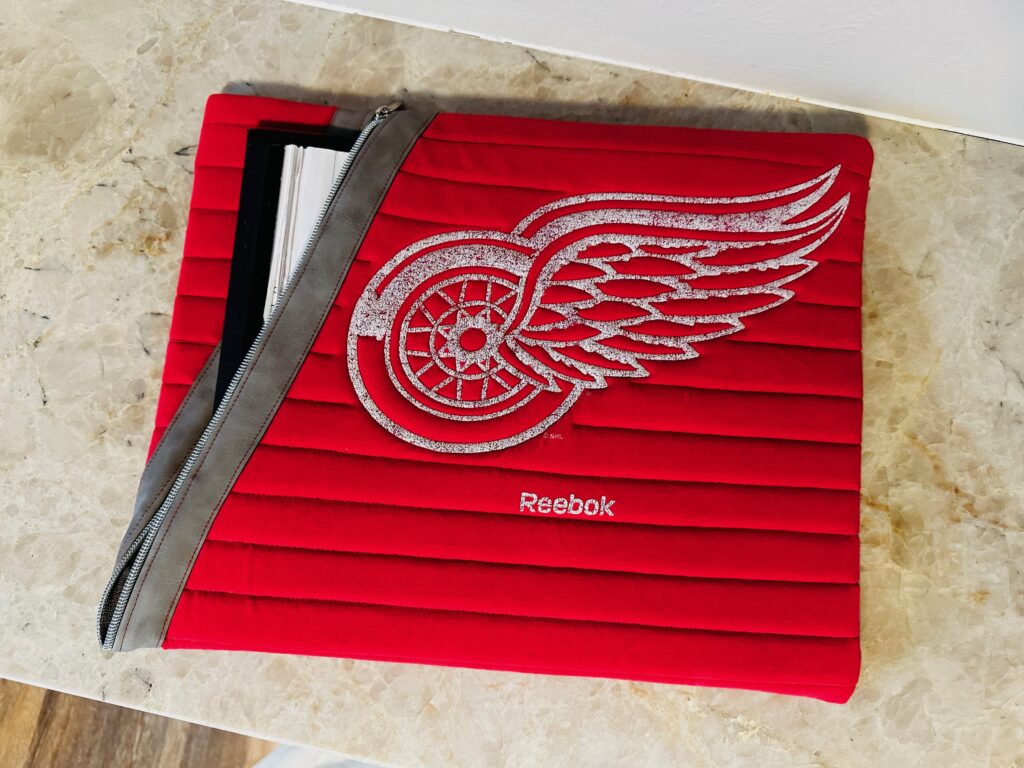
The featured, well-loved, T-shirt had no side seams, so it was easy to cut slightly off center along the shirt back, open up the shirt, and then cut off the sleeves. Then, outline the needed yardage onto the shirt front to determine the additional fabric needed. Piece the shoulder and sleeve fabric, or other cotton fabric, to the shirtfront where needed until the rectangle dimensions are achieved. Keep in mind, do this AFTER the shirt fabric is all stabilized.
The pattern does include a diagonal seam where the zipper is attached. So, if there still isn’t enough fabric to achieve the first rectangle dimension noted on the pattern, mark the diagonal seam before layering the interlining and lining. You may not need additional fabric, since the diagonal area is trimmed and removed after quilting. Note: In the featured sample, the diagonal seam is placed where the right sleeve was removed, so no additional fabric was added there before quilting.
PATTERN MODIFICATIONS
For the interlining, use either batting or foam. For the featured pouch, use foam as a protective barrier to house a laptop. The foam also makes the quilting nice and pronounced. Use Sulky 50 wt. Cotton Thread for the quilting (per the featured sample) or a heavier thread, such as Sulky 30 wt. Cotton. For the 50 wt. Thread, use a size 70/10 Quilting Needle. For the 30 wt. Thread, use a size 90/14 Quilting Needle.
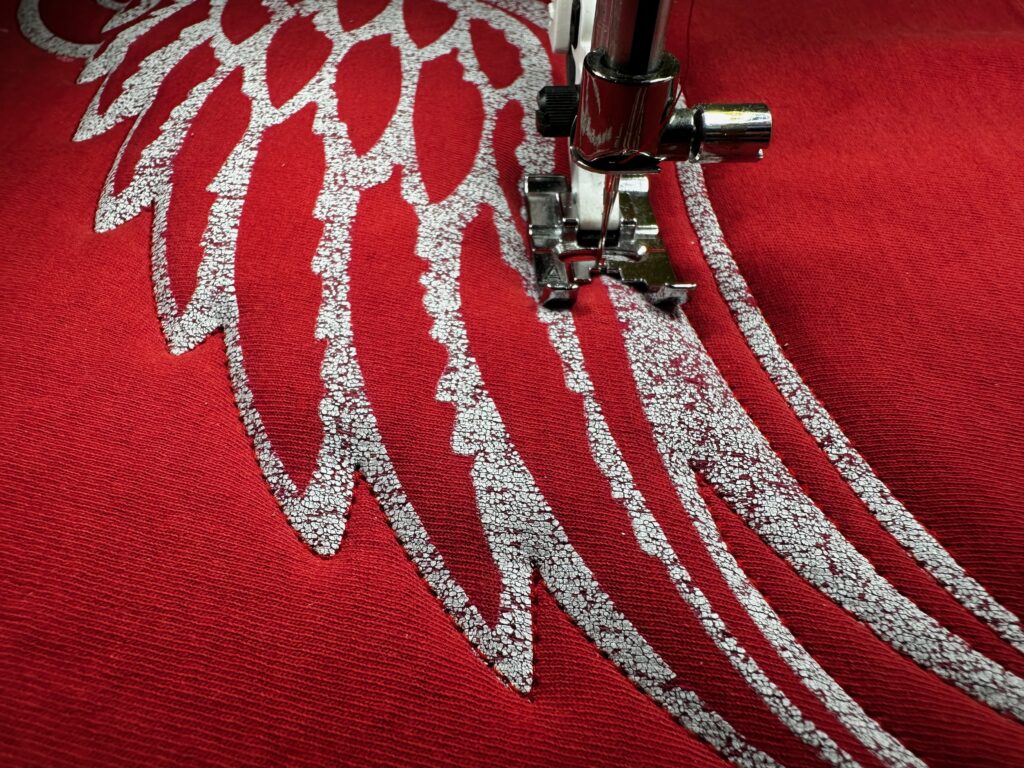
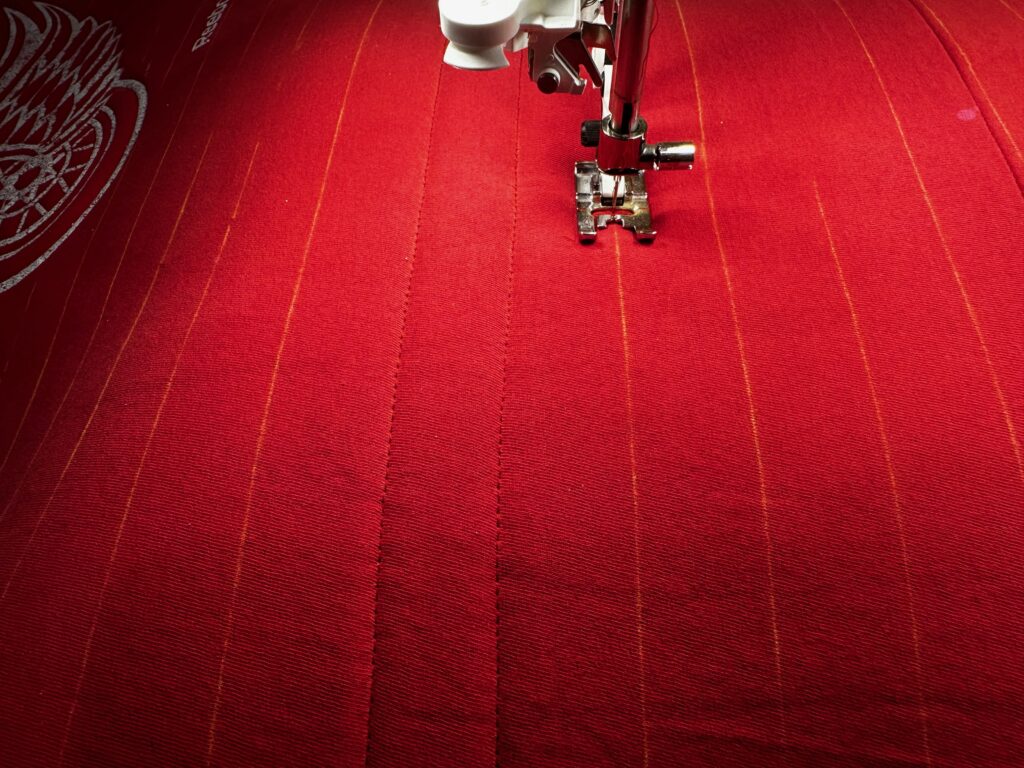
Quilt the pouch fabric in the manner of your choice. Outline the focal motif from the T-shirt, and then add equidistant straight-line quilting, avoiding the motif.
Plot the quilting lines before sewing, using a removable fabric marker or chalk. Or use a quilt guide or specialty presser foot, if applicable.
Use a microsuede strip for the zipper binding, reducing bulk and adding a professional upscale finish. Also add the interior binding per the pattern (and sew by hand in the last step) to conceal all raw edges.
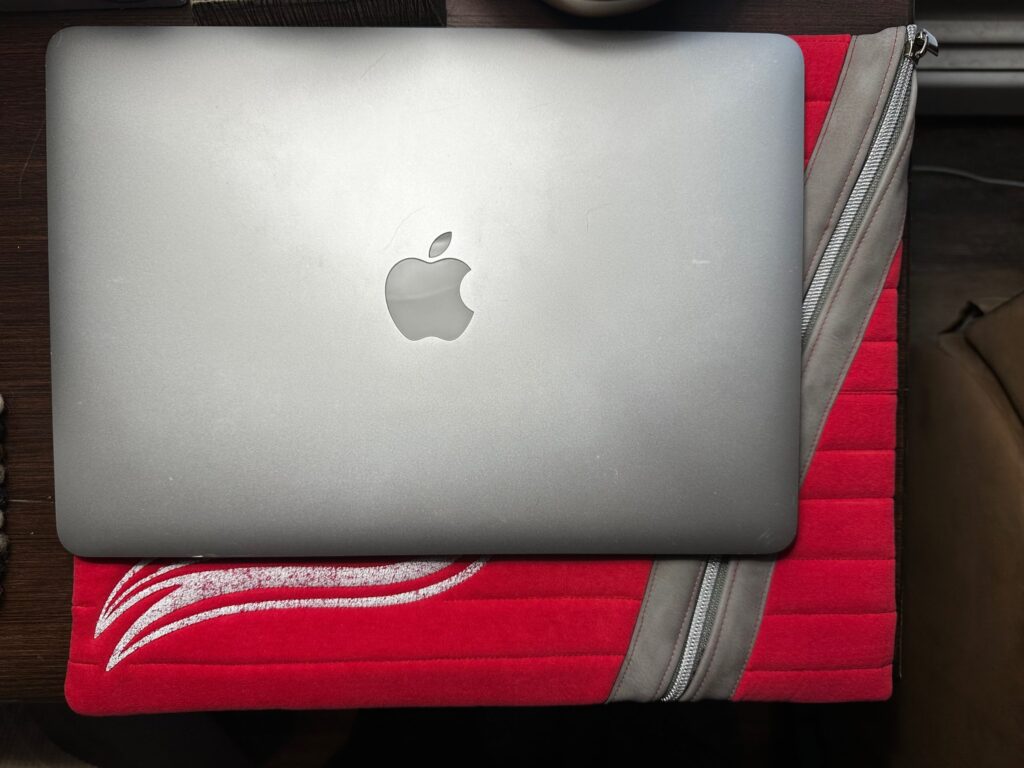
The featured pouch was enlarged 2″ along both the length and width to allow for a noteboook, charging cord and 13″ laptop to all fit together snugly.
This finished pouch makes a great graduation gift! It’s also a great gift for dad on Father’s Day. (Just make sure to have permission before cutting up his favorite T-shirt.)

