Fall Hand Embroidery Transfer Stickers
for festive Botanical Dish Towels & More
Looking for a way to bring the warm, earthy beauty of fall into your home décor? Hand embroidery is a timeless way to add handmade charm to everyday items—and with the new Sulky Hand Embroidery Transfers, it’s never been easier!
In this tutorial, we’ll show you how to use the Fall Botanicals design pack to embellish decorative dish towels with leaves, flowers, and mushroom motifs that celebrate the cozy spirit of autumn (and beyond). These towels also make wonderful gifts for hosts, friends, and family!
FALL HAND EMBROIDERY TOWEL SUPPLIES
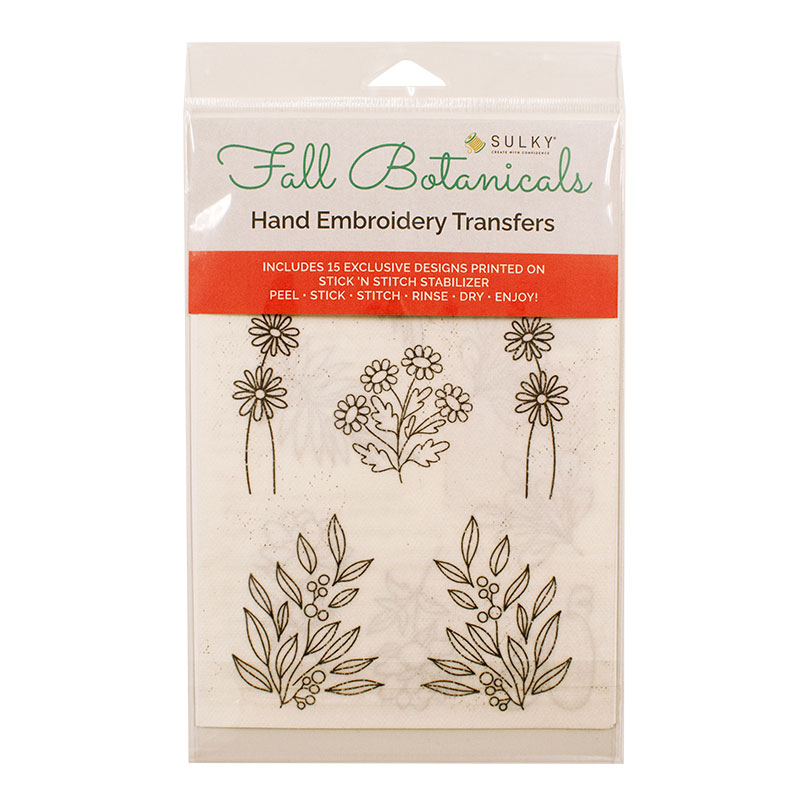
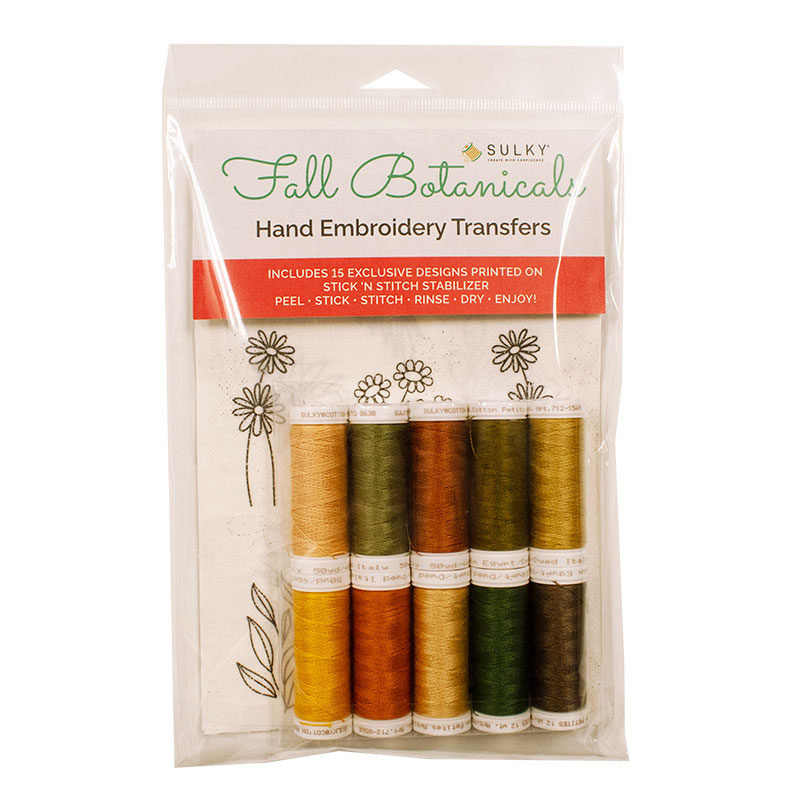
- Sulky Fall Botanicals Hand Embroidery Transfers
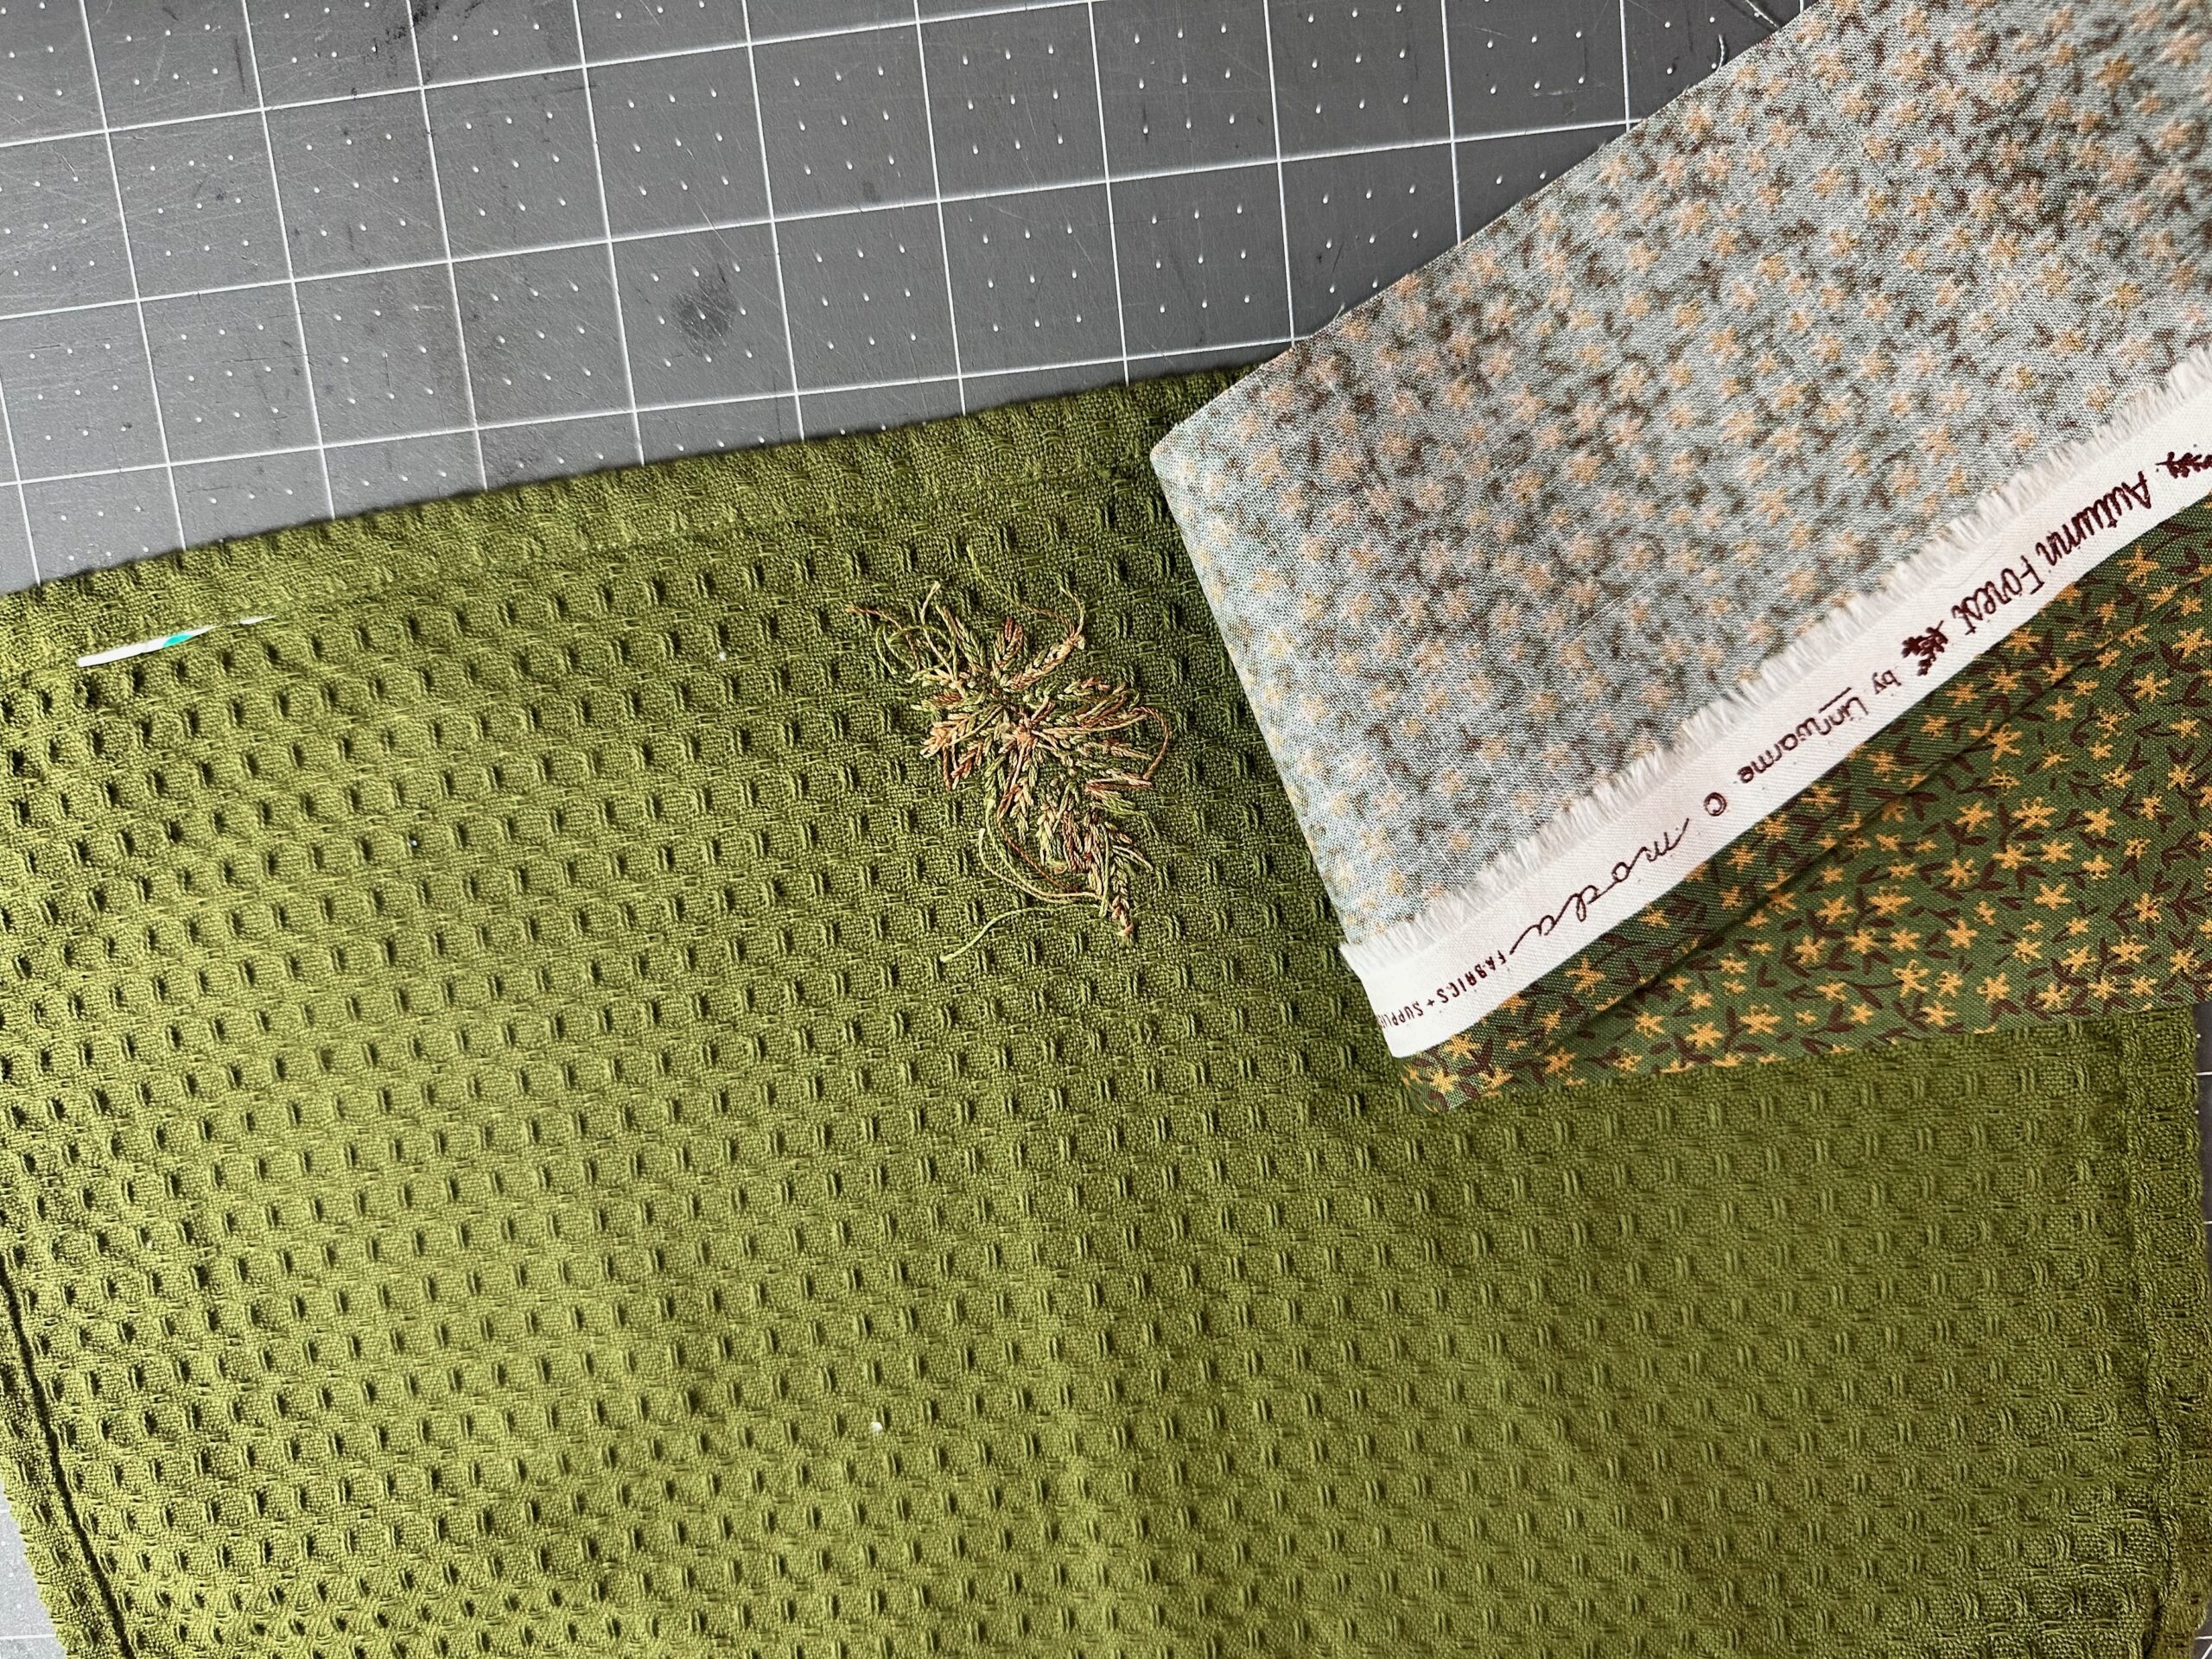
- Dish towel (we used waffle-weave towels)
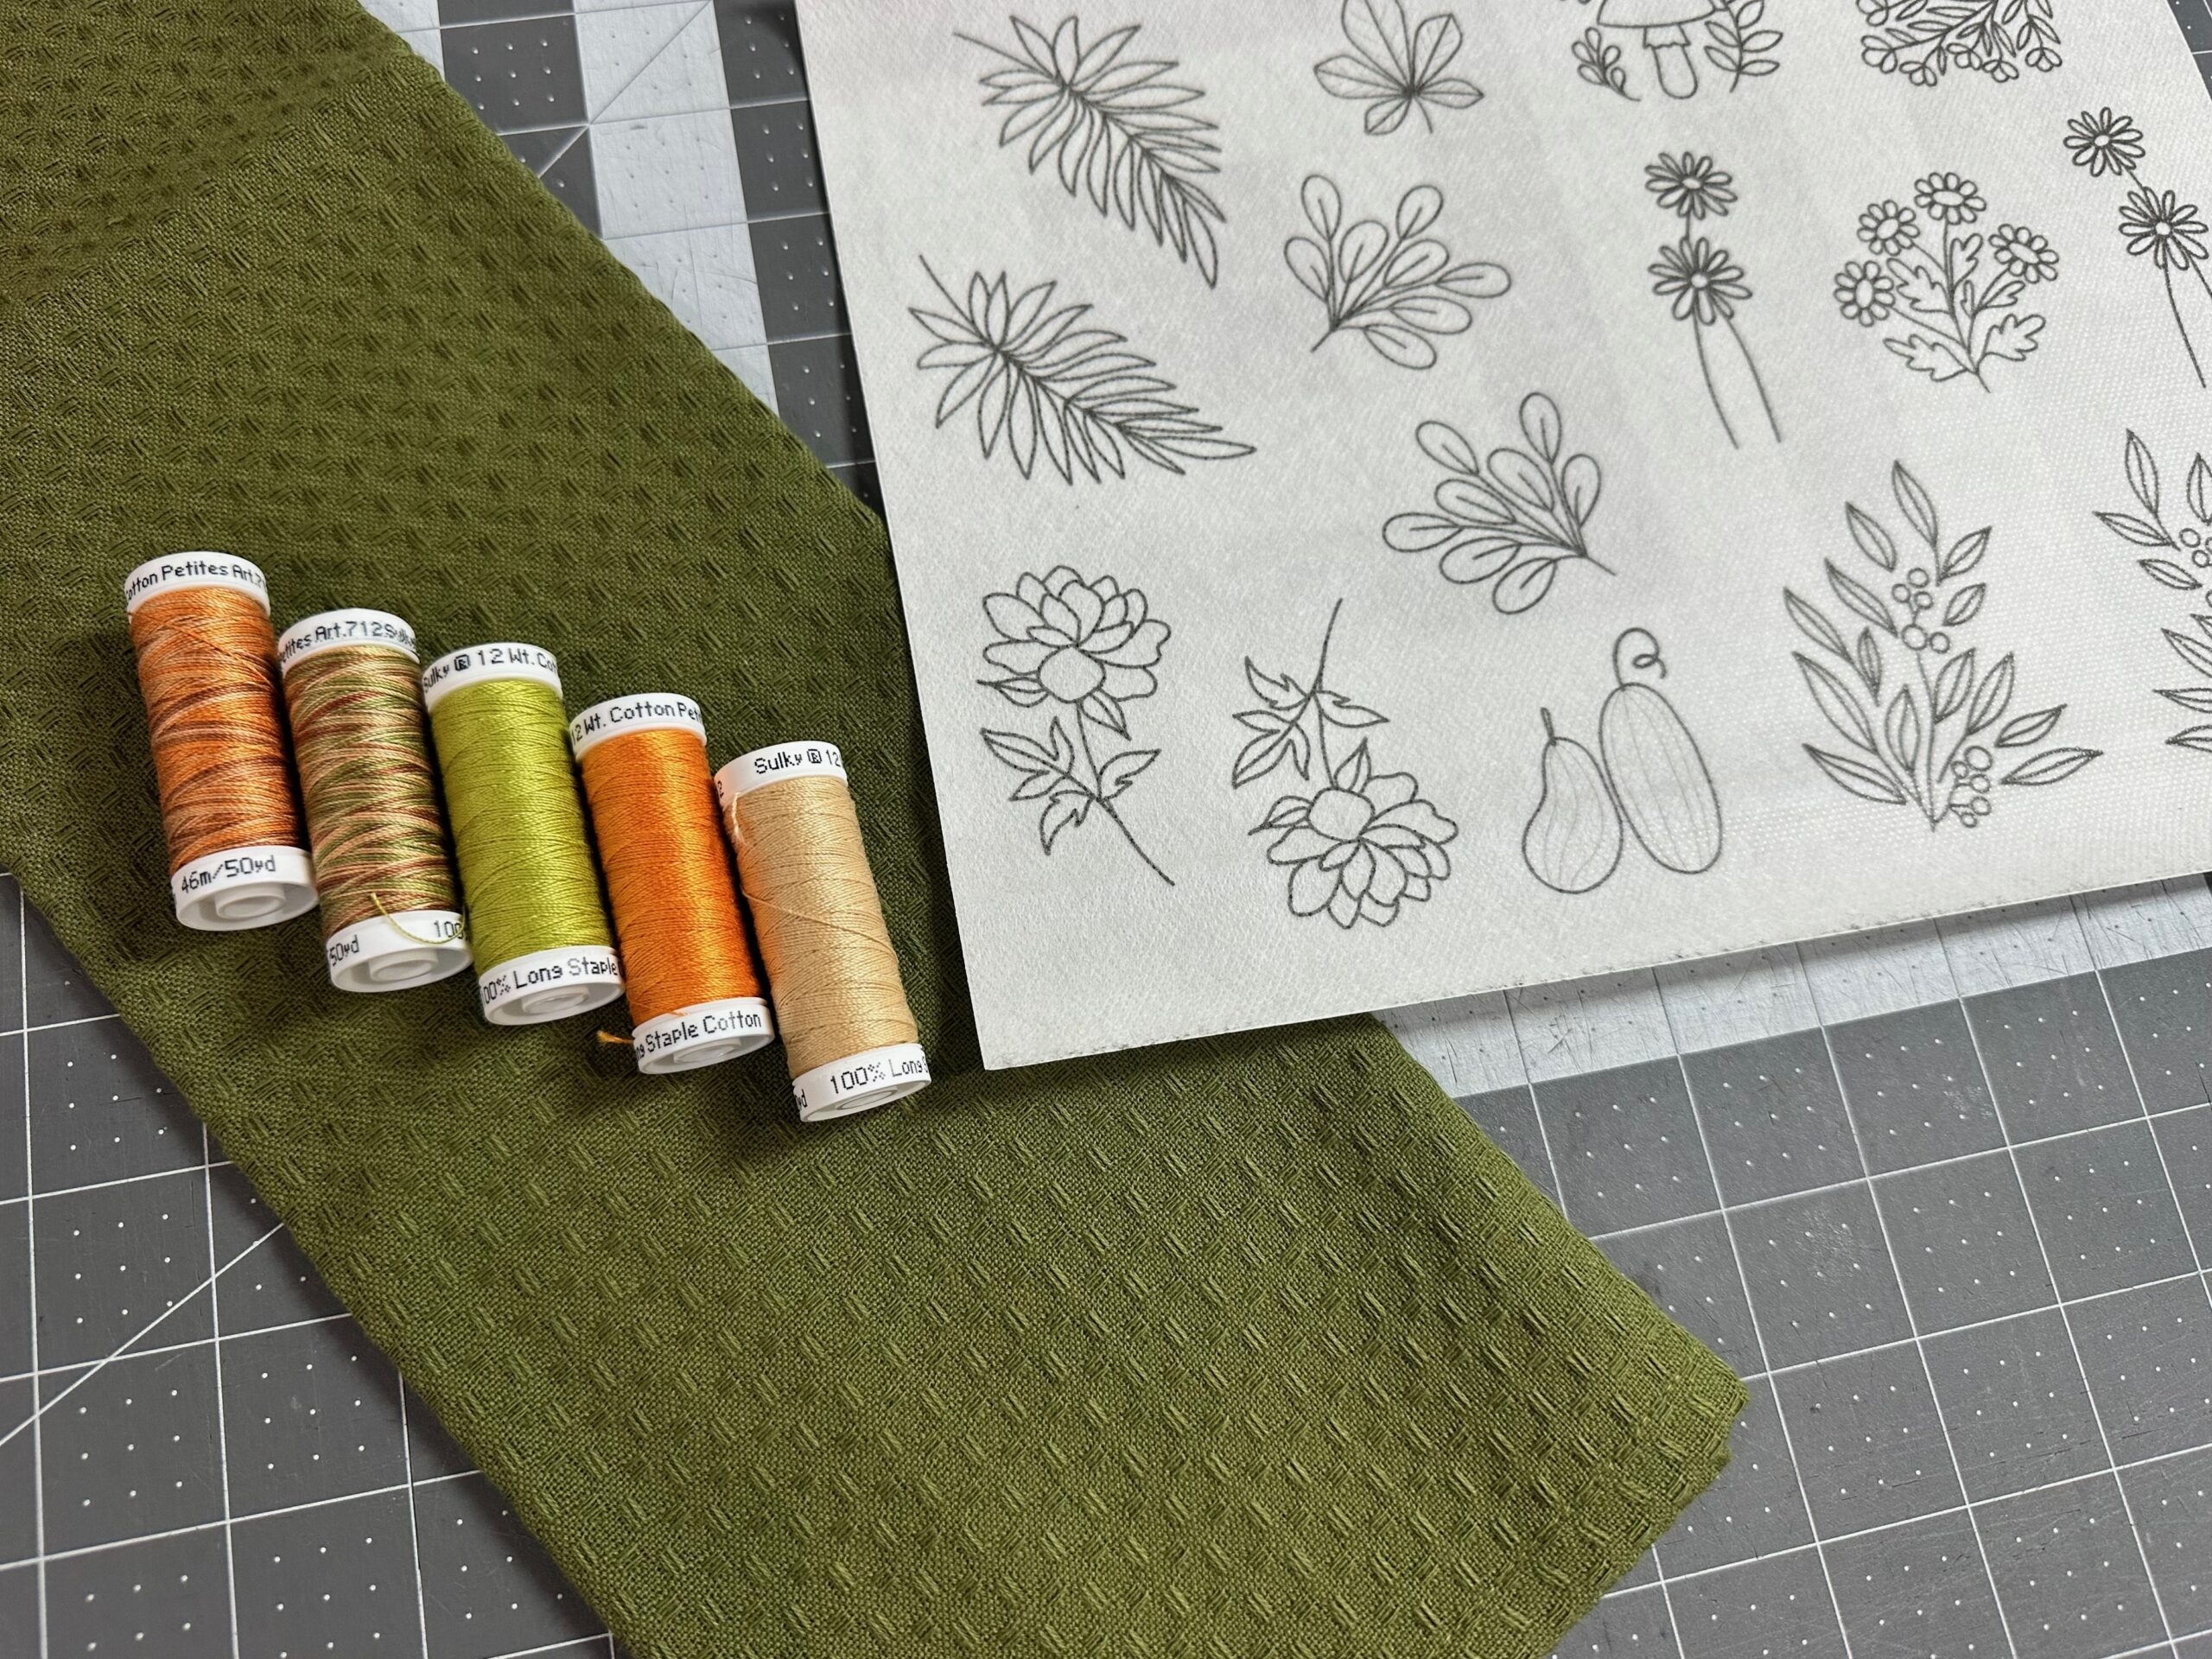
- Sulky 12 wt. Cotton Petites Thread (available in a set of 10 coordinating fall colors!)
- Hand Embroidery Needle
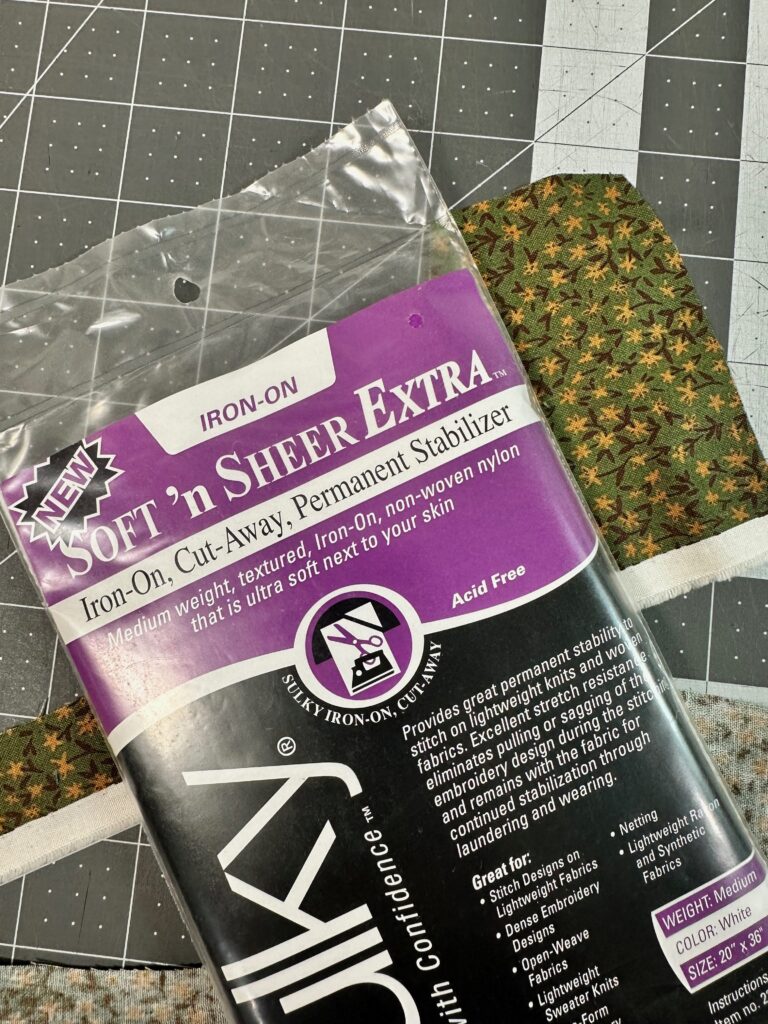
- Sulky Soft ’n Sheer™ Extra (for Option 1 finishing)
- Sulky Multipurpose Turning Tool (for Option 1 finishing)
- Extra fabric scraps (for both finishing options)
- Sulky 50 wt. Cotton Thread (for Option 2 finishing)
Choose Your Motif
The Fall Botanicals pack includes a variety of leaves, flowers, and mushrooms—perfect for celebrating the season.
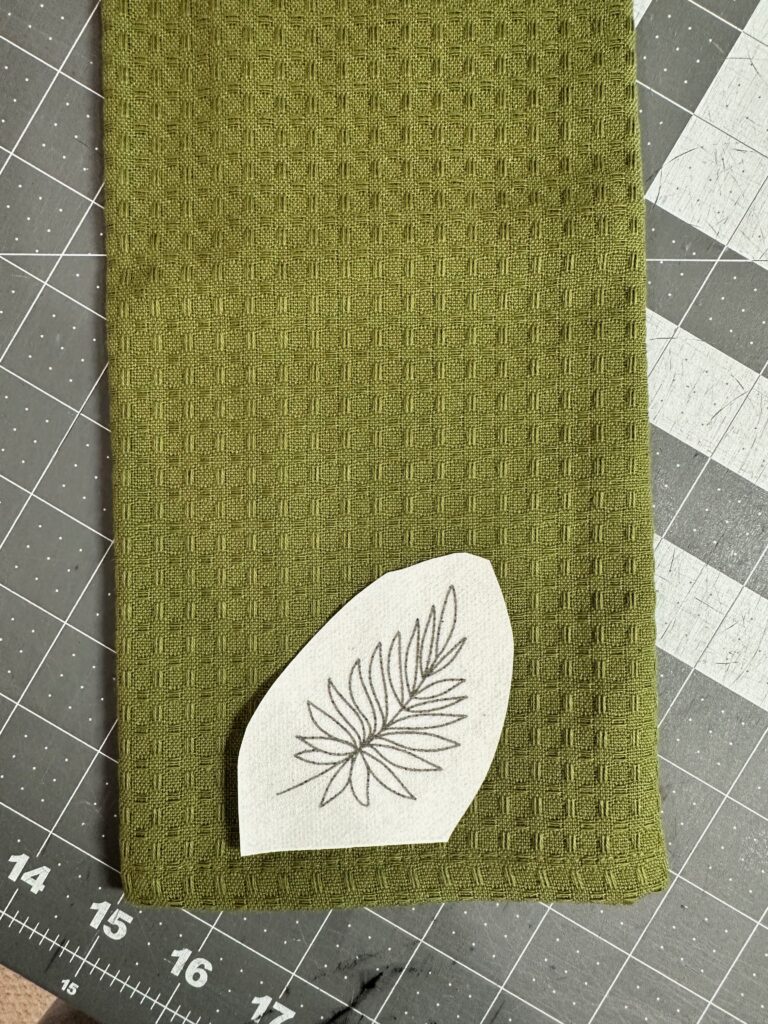
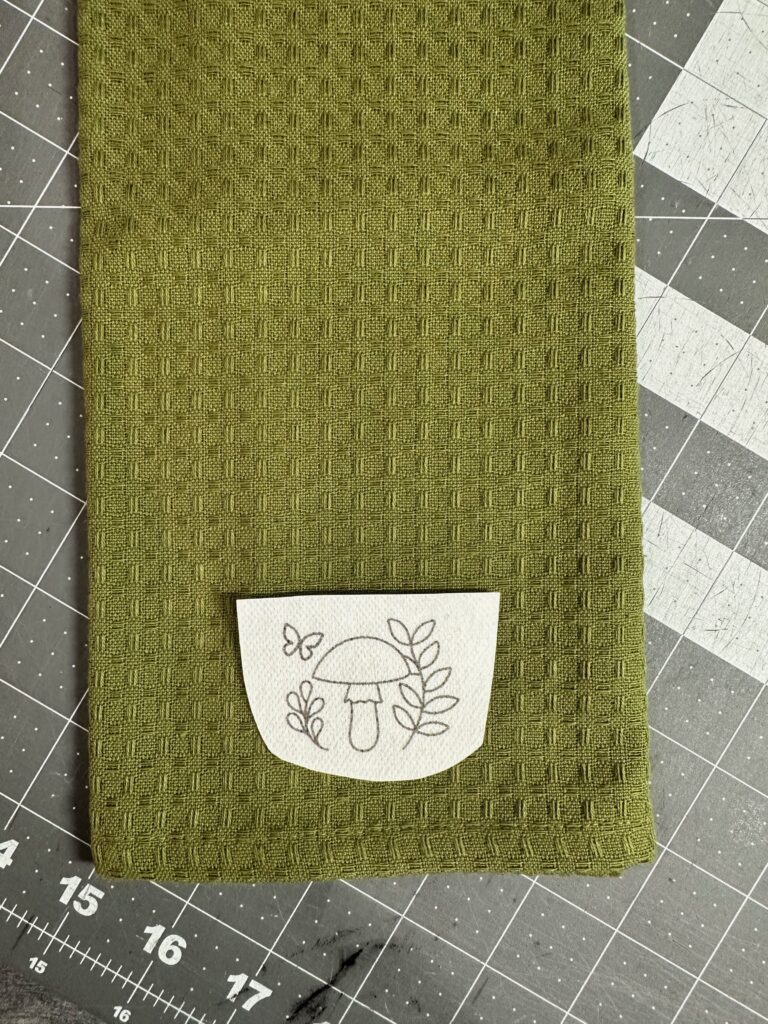
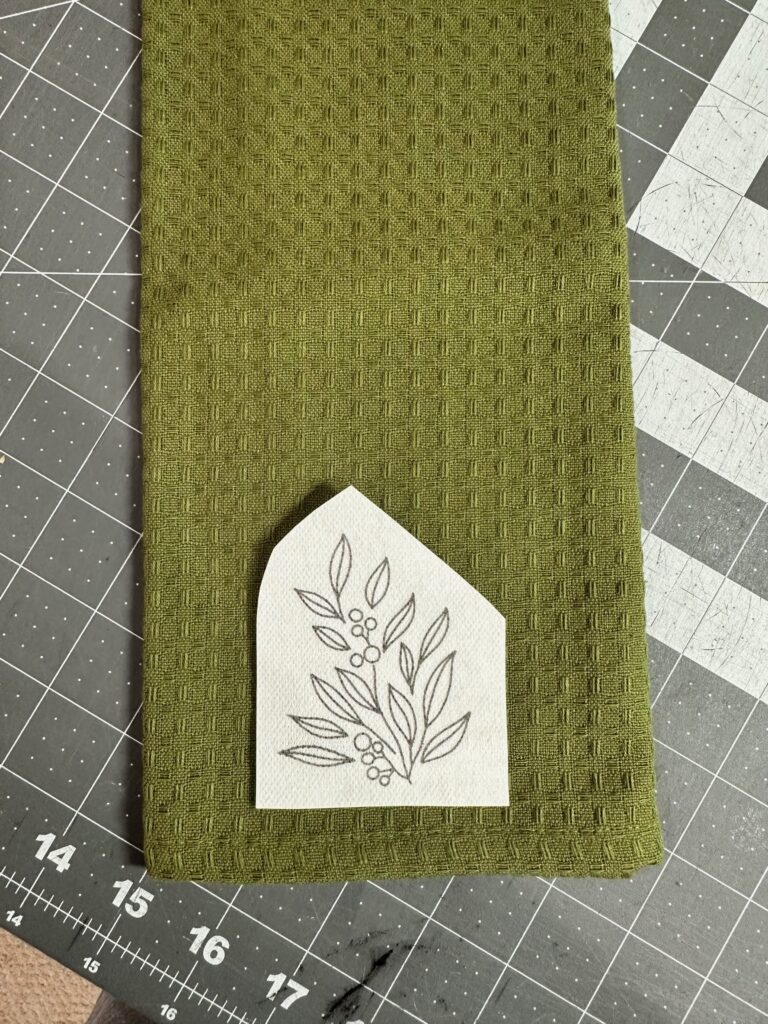
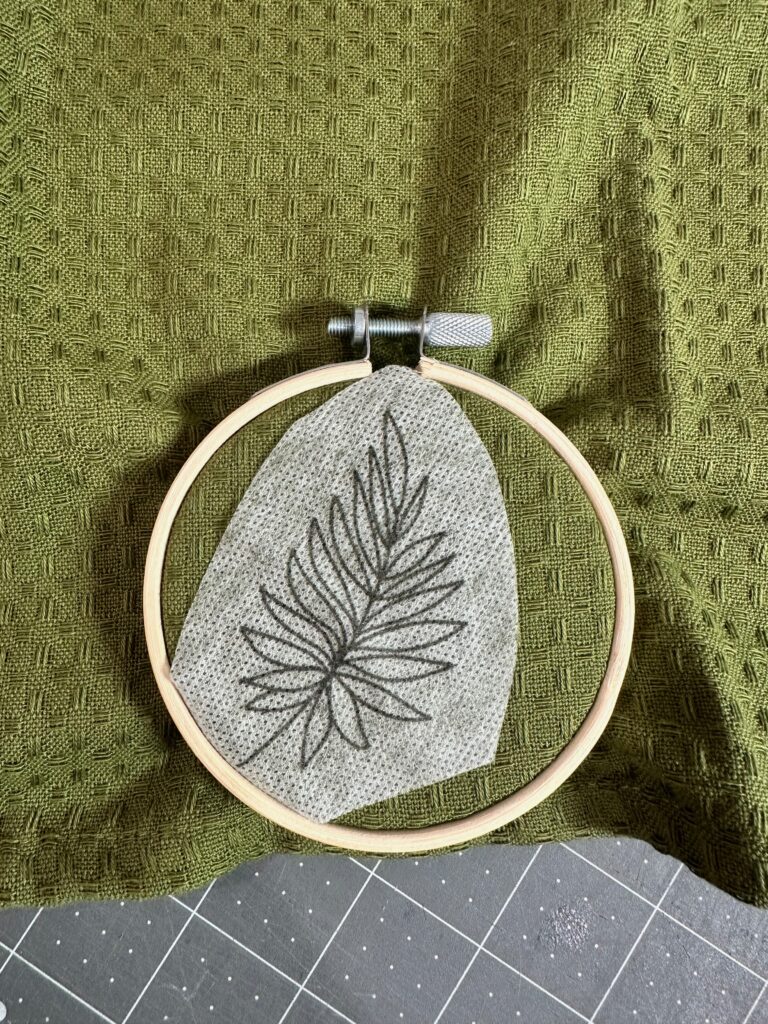
Cut out your chosen design, peel off the paper backing, and position the sticker right side up on your dish towel.
Tip: Place your design in a towel corner for a traditional look, or center it along the bottom edge for a bold, modern touch.
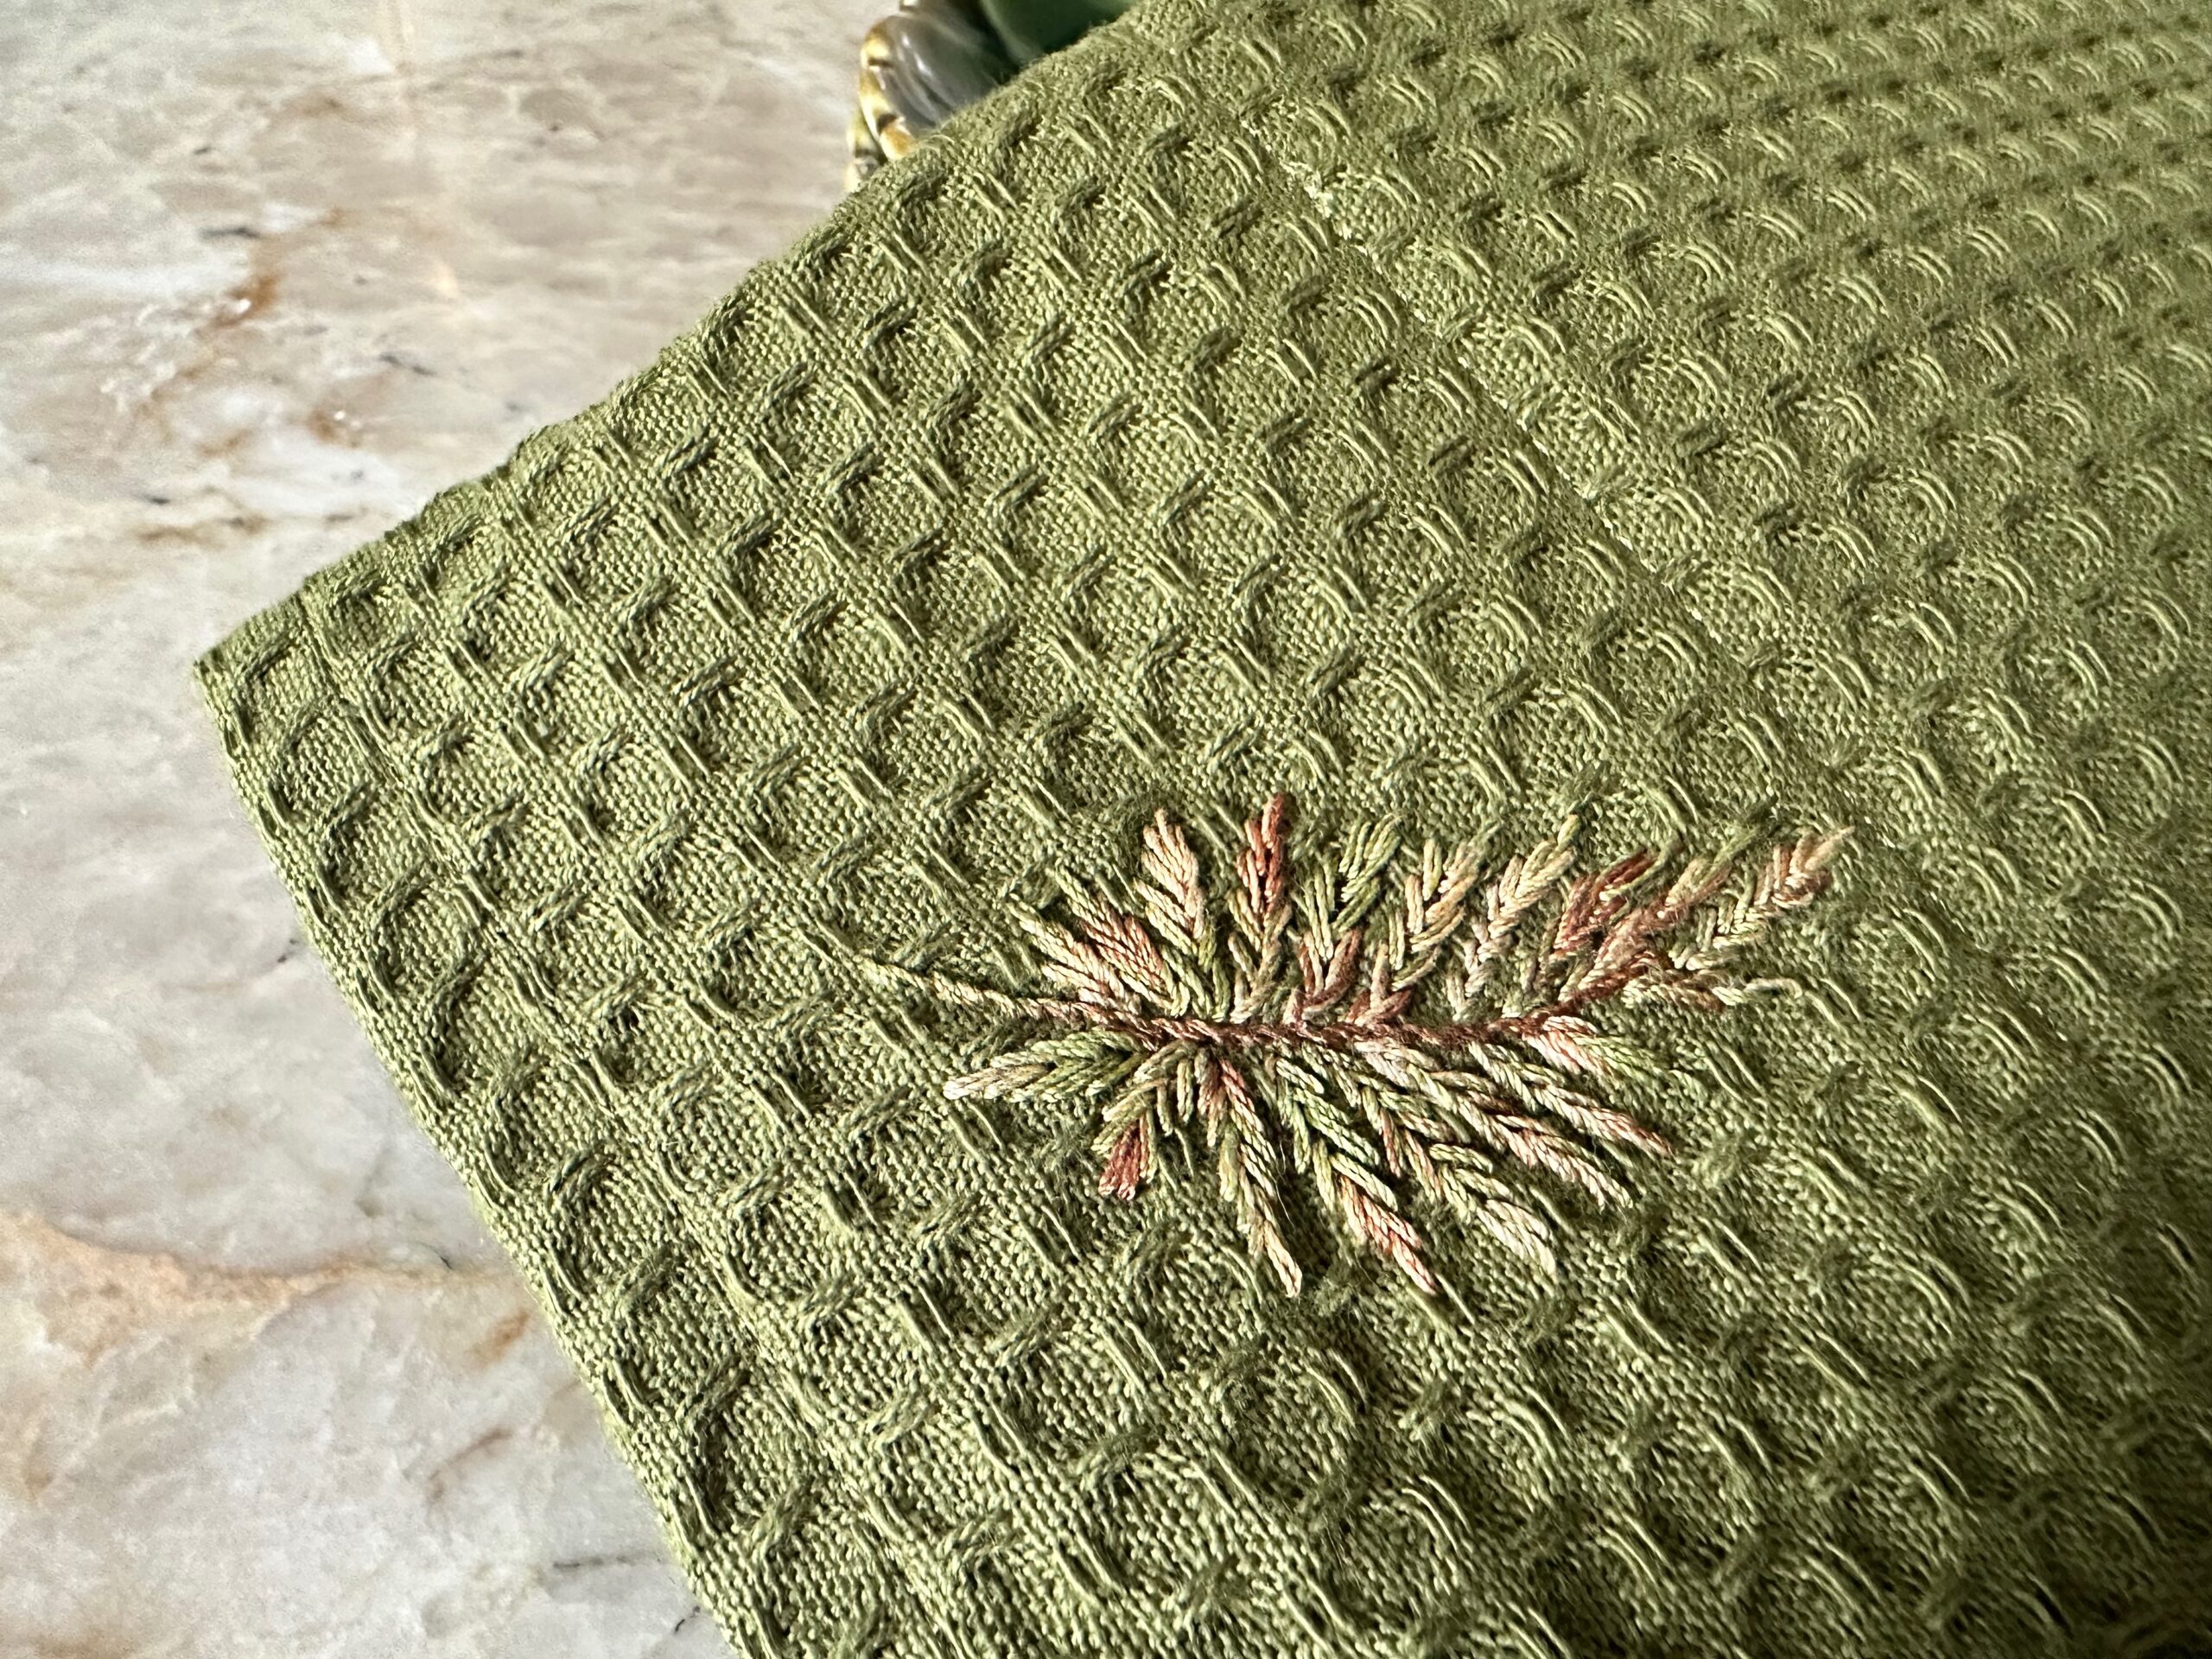
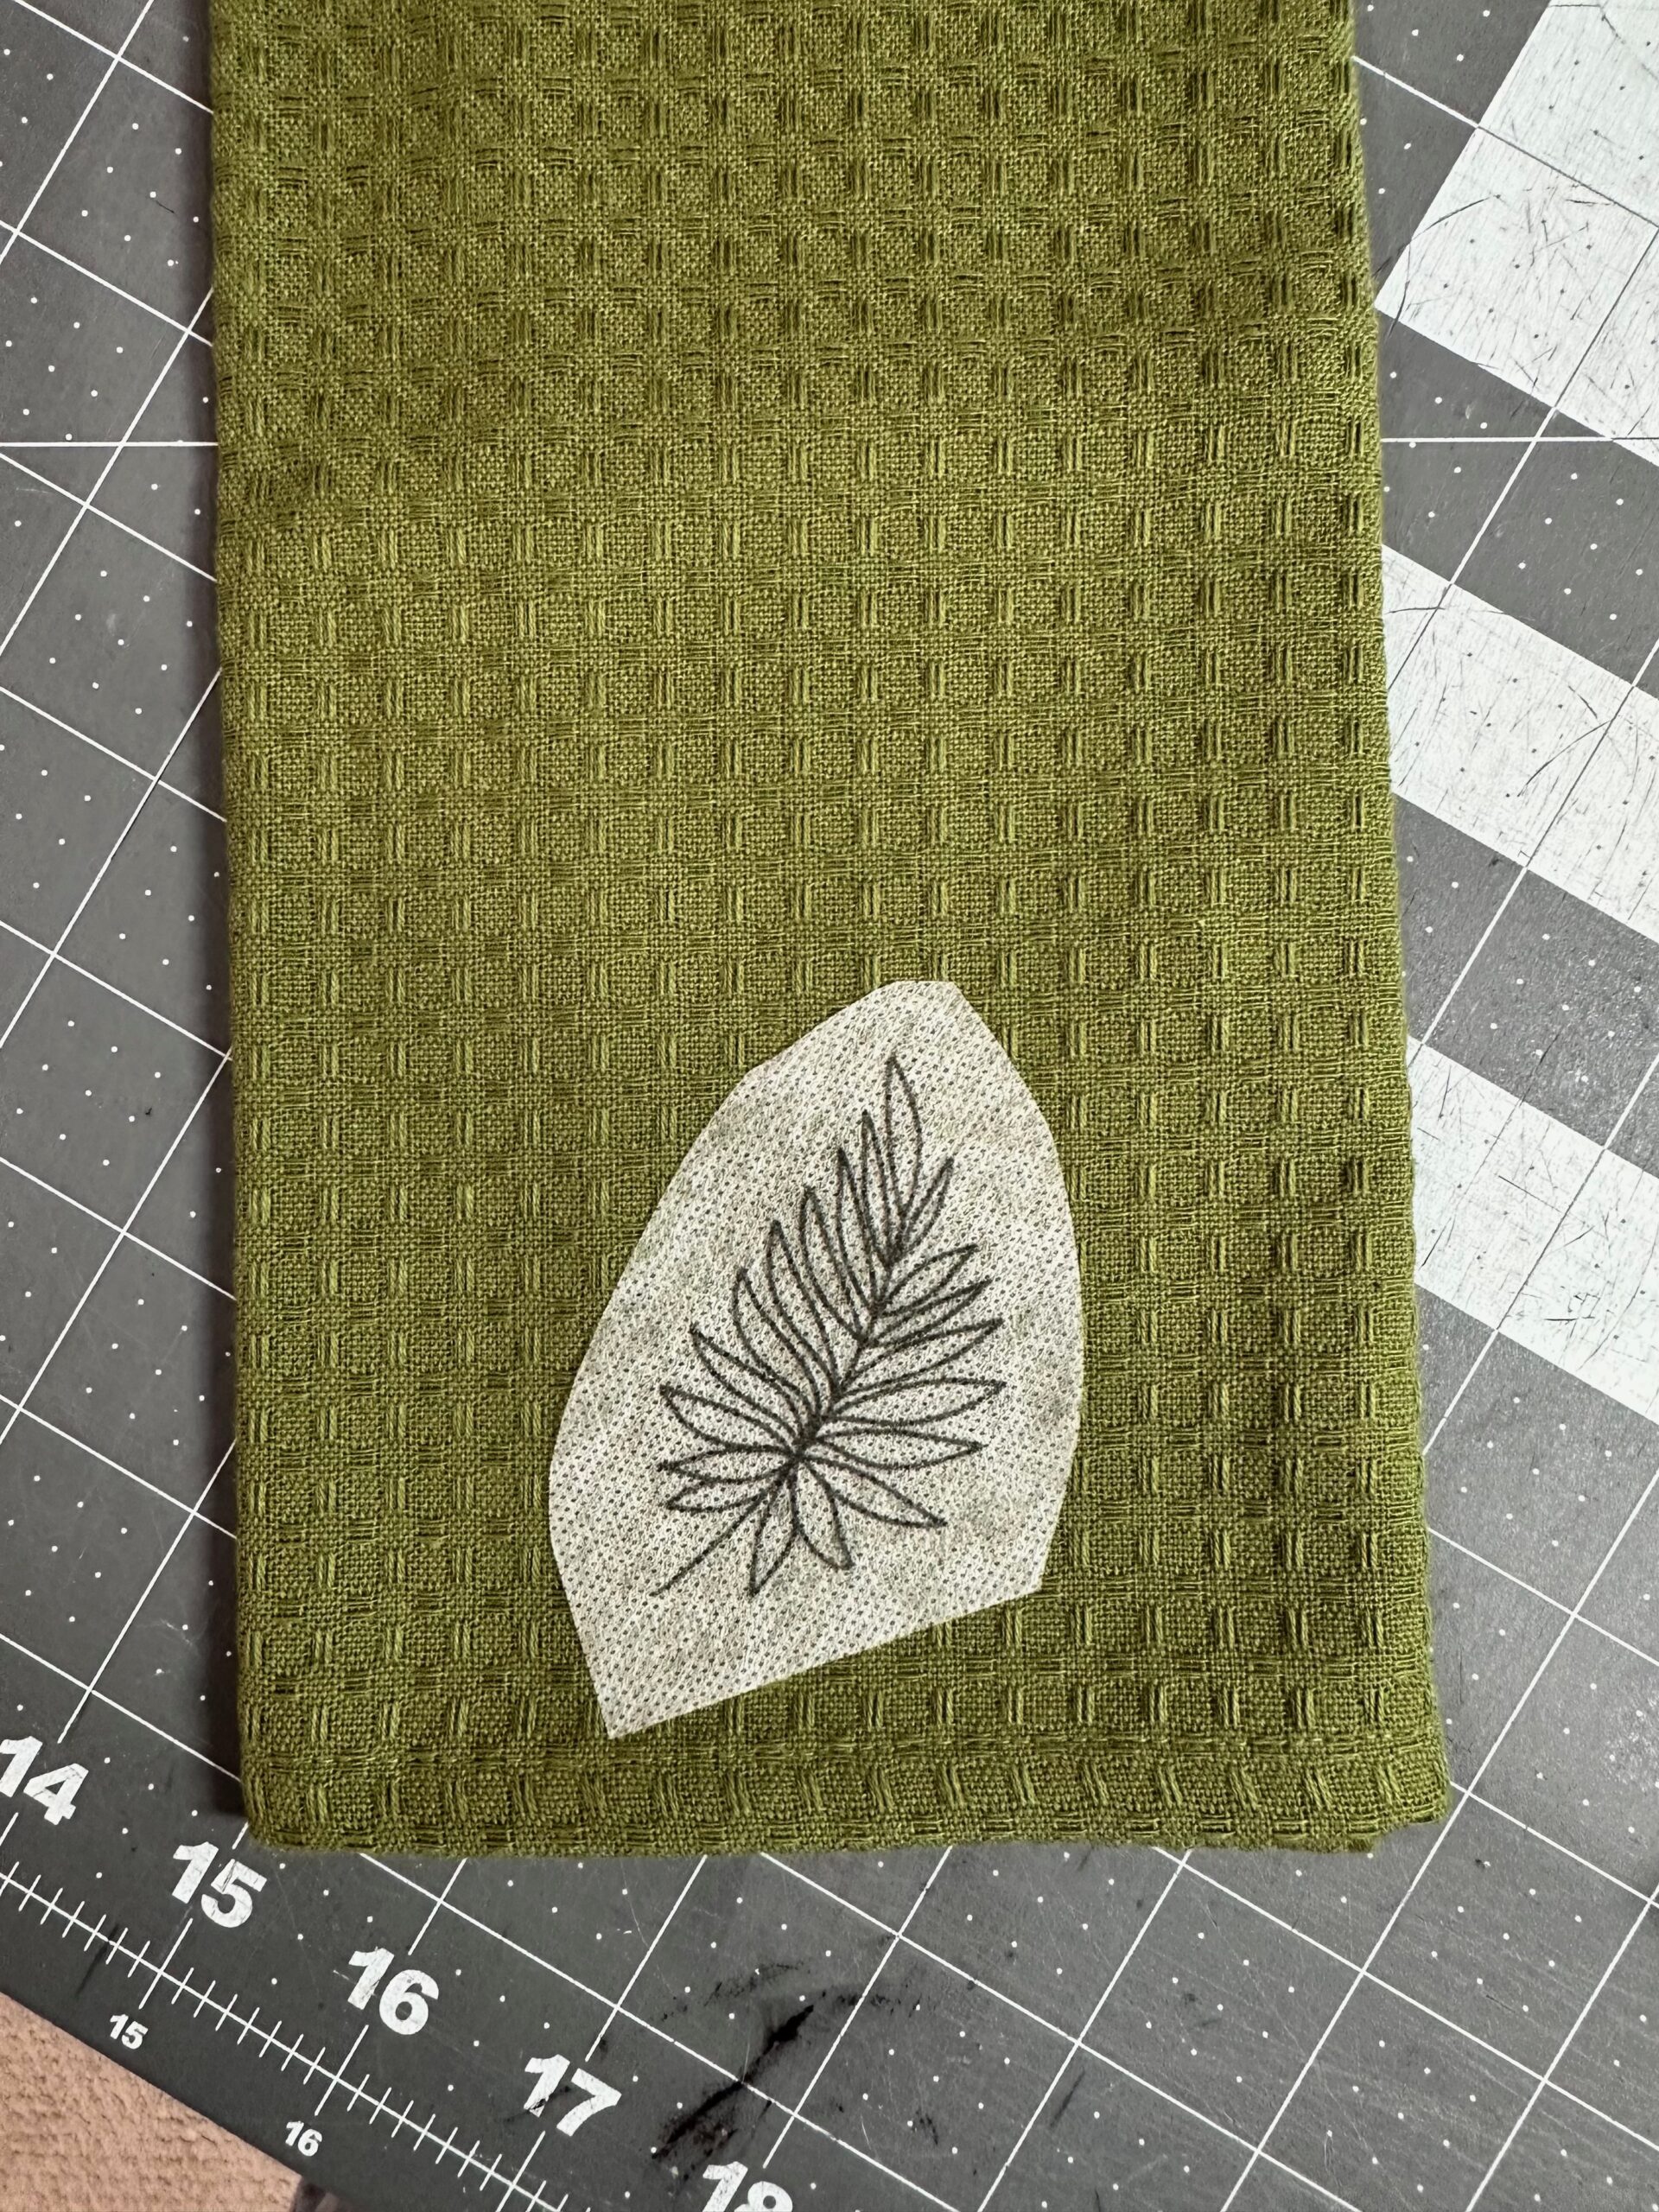
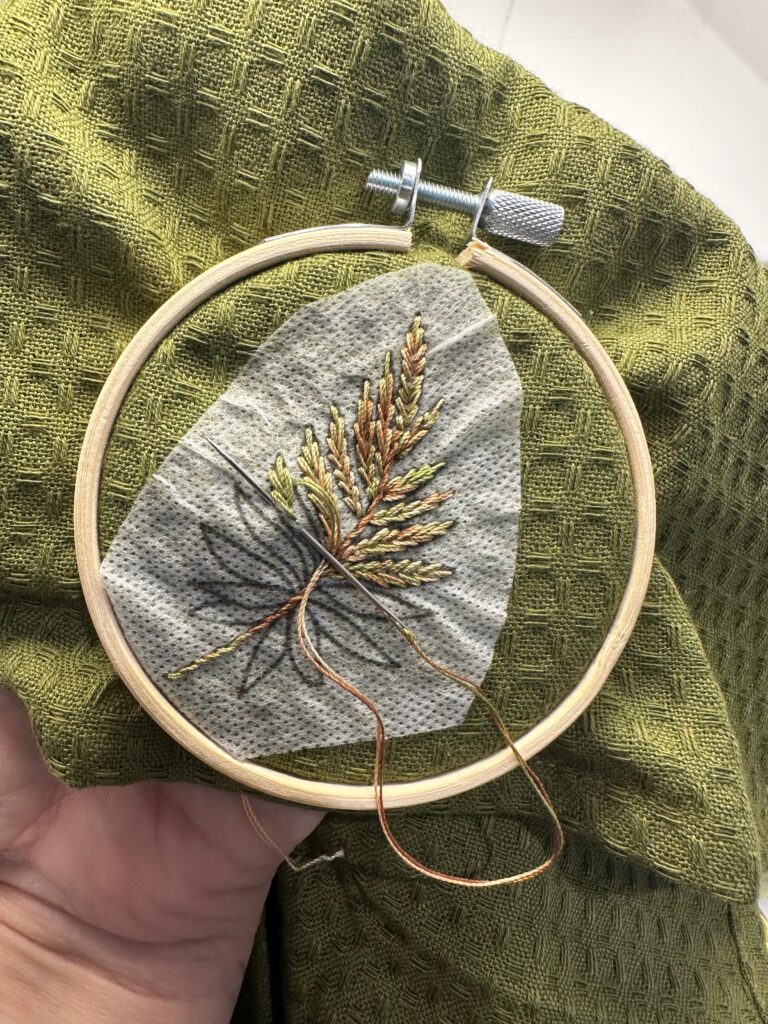
Stitch the Design
Thread your needle with Sulky 12 wt. Cotton Petites Thread—a thicker thread that gives your stitches great definition. Place your towel in an embroidery hoop if the weave is loose, and simply stitch through all layers, right on top of the sticker.
When finished, rinse the towel in warm water. The sticker dissolves completely, leaving only your beautiful embroidery behind!
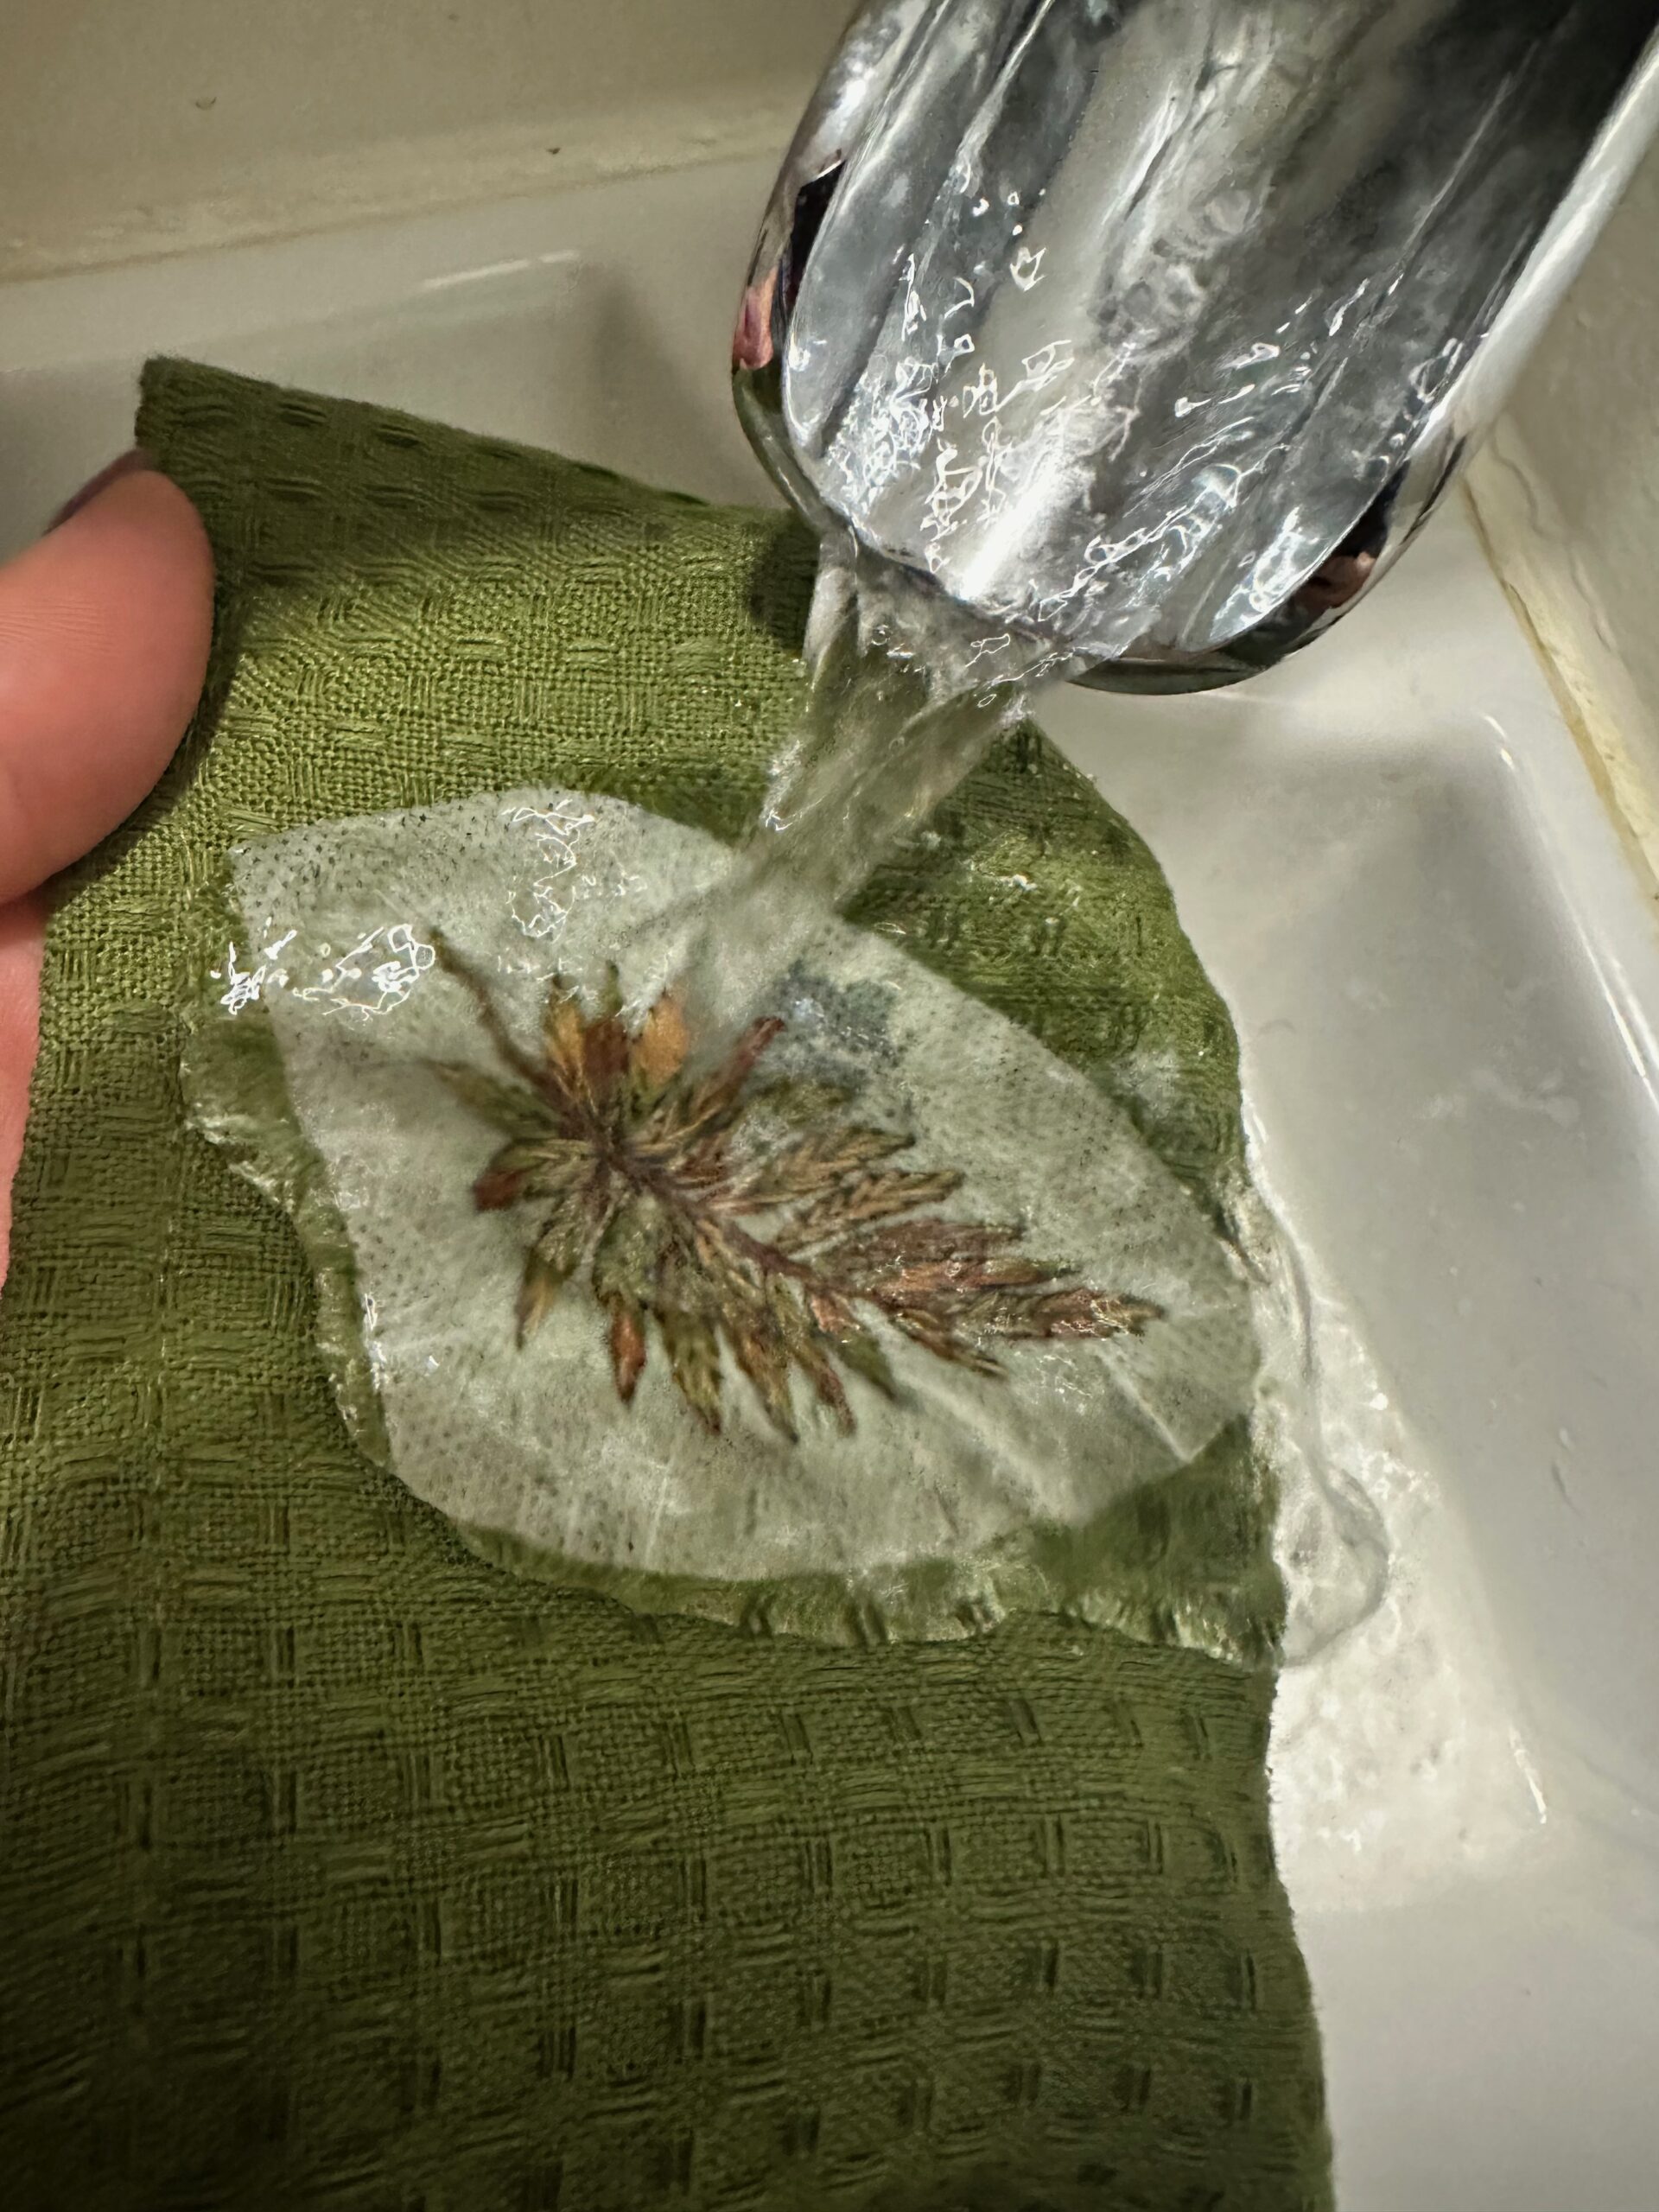
Let the towel dry flat on another absorbent towel.
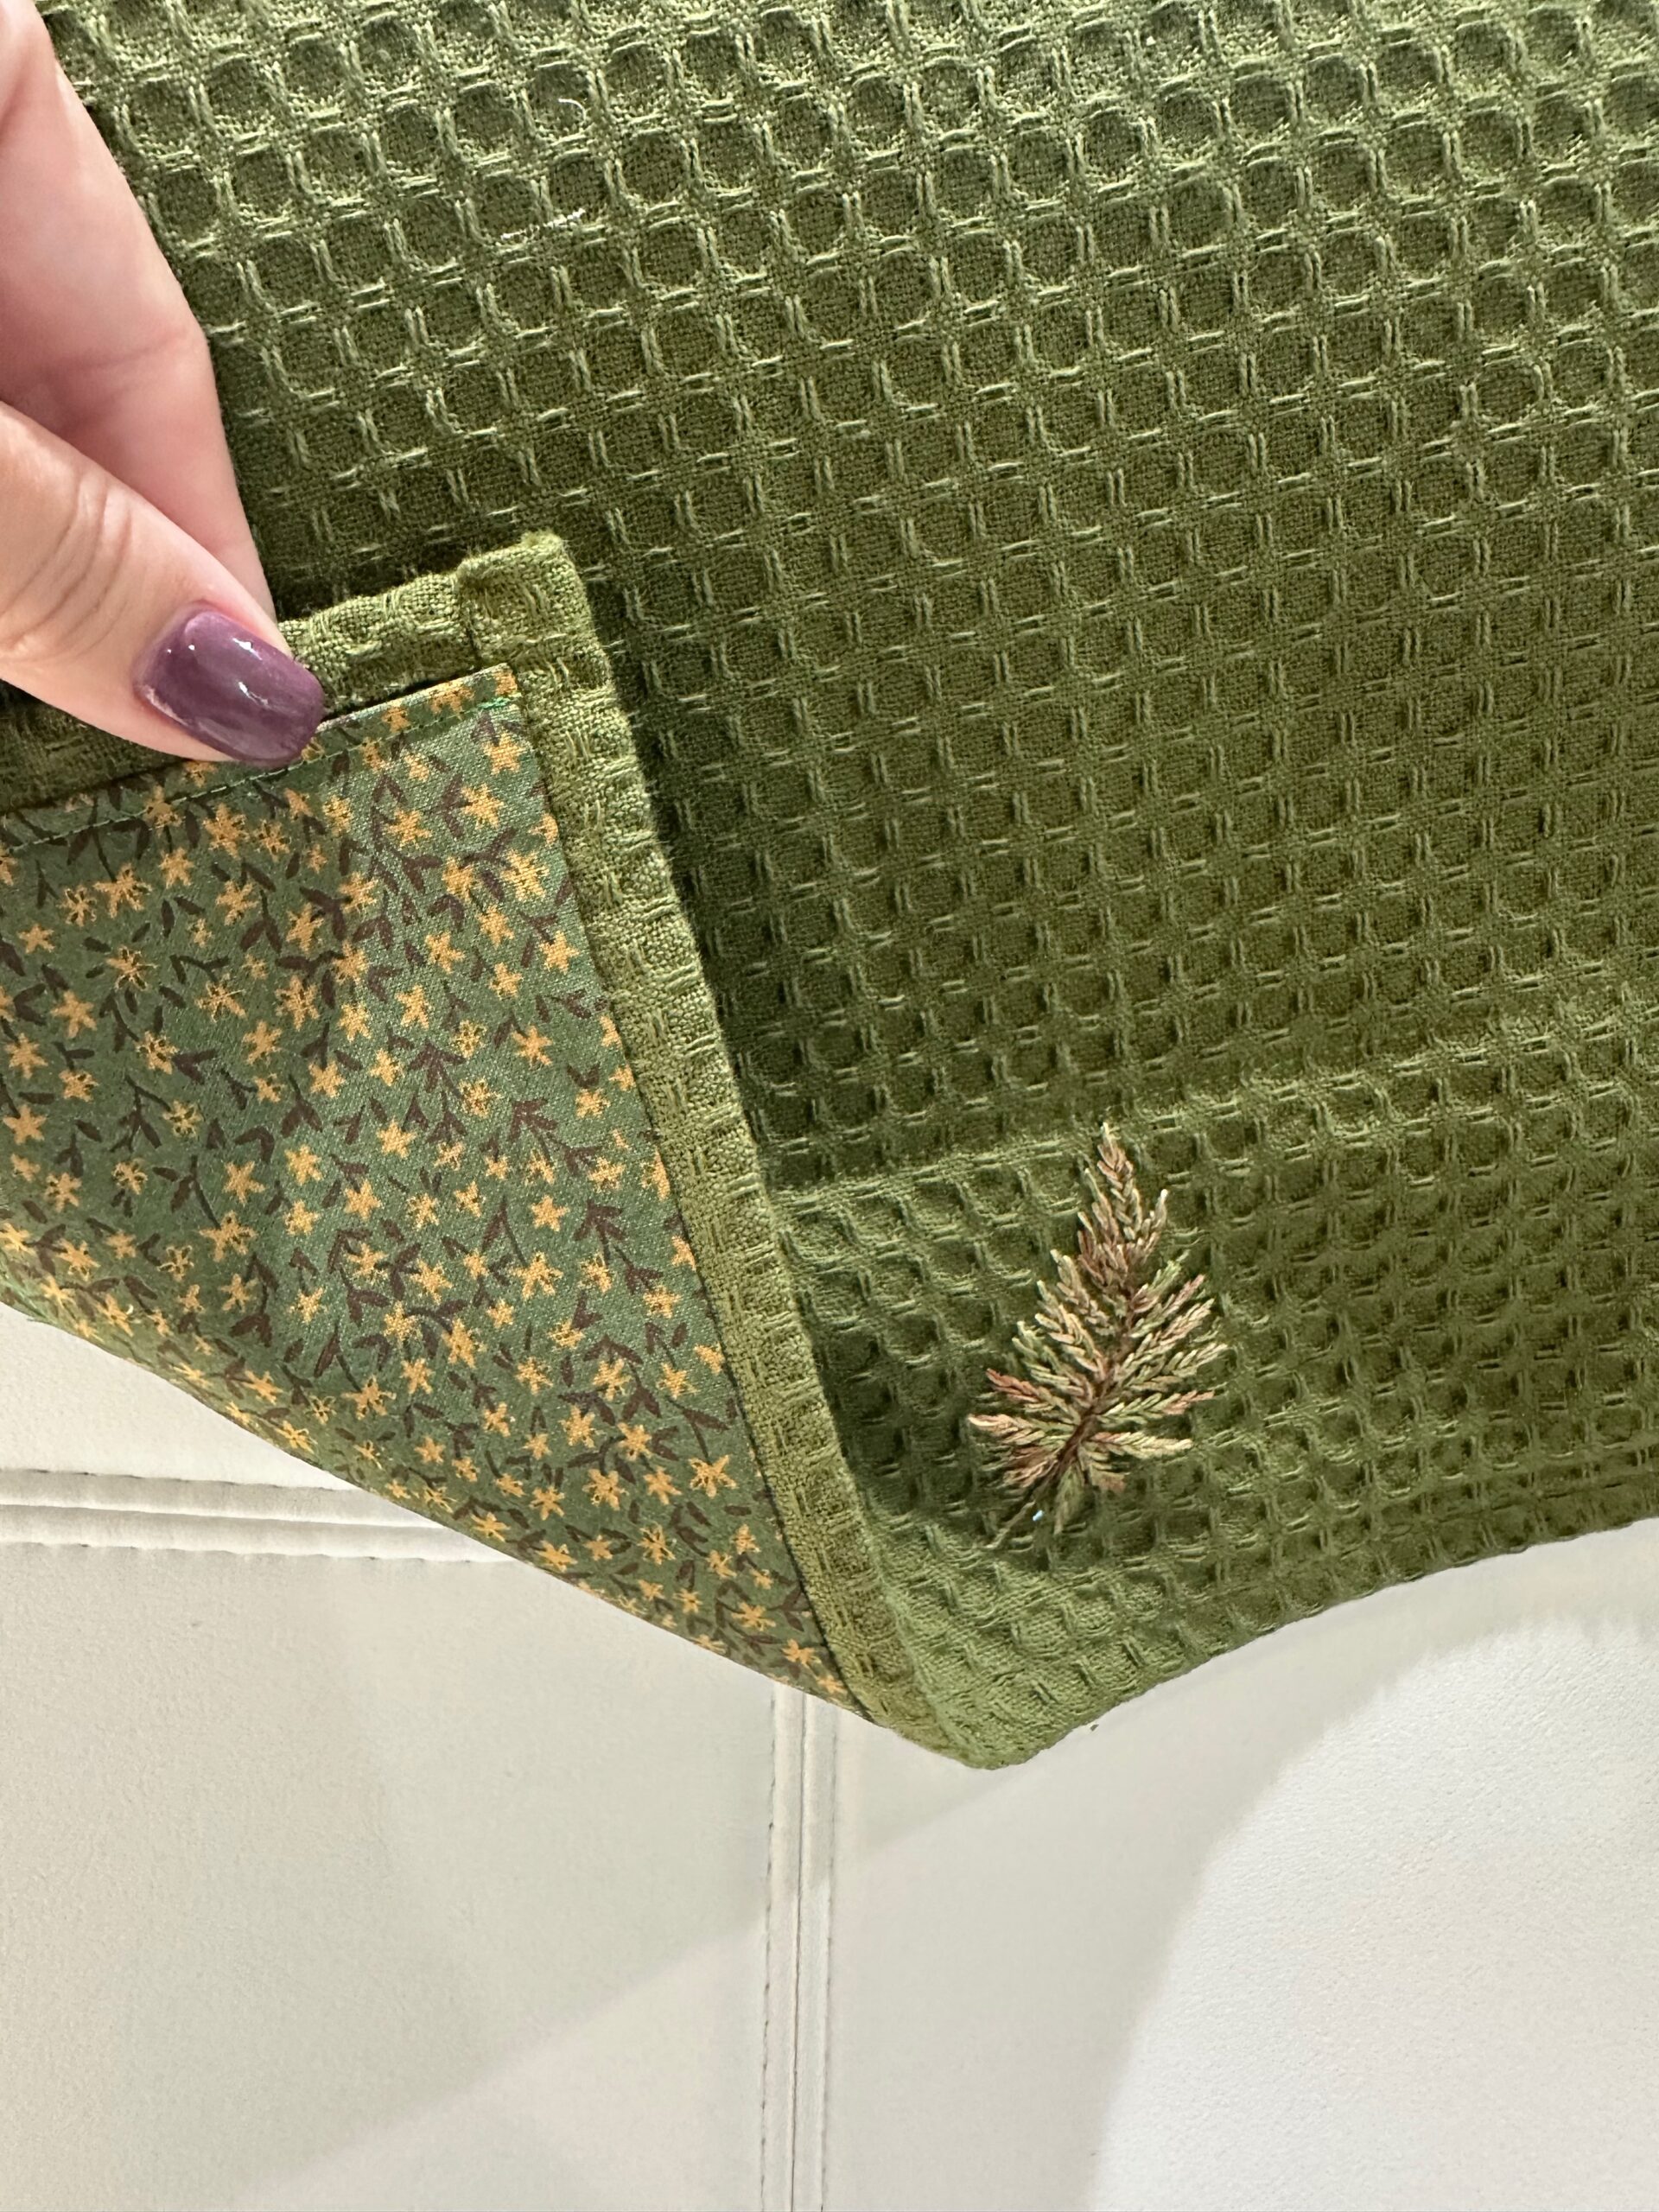
Conceal the Embroidery Back
Since dish towels are often used (and flipped!), you may want to cover the embroidery wrong side for a clean, professional finish. Here are two options:
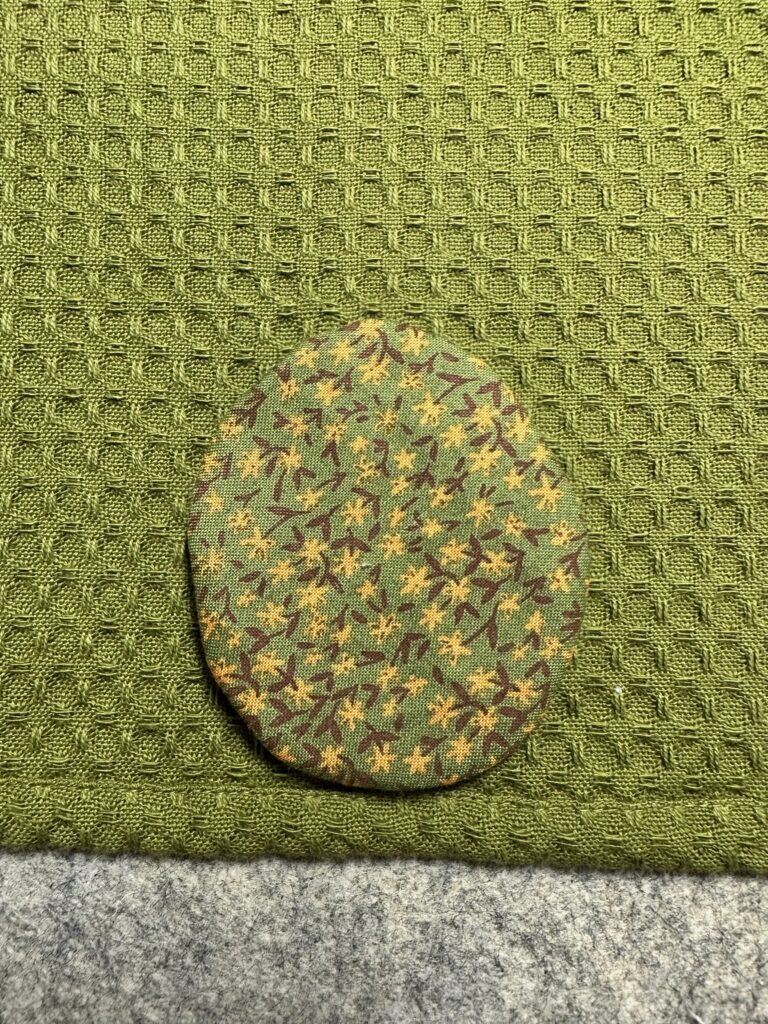
Option 1: Decorative Patch Backing
-
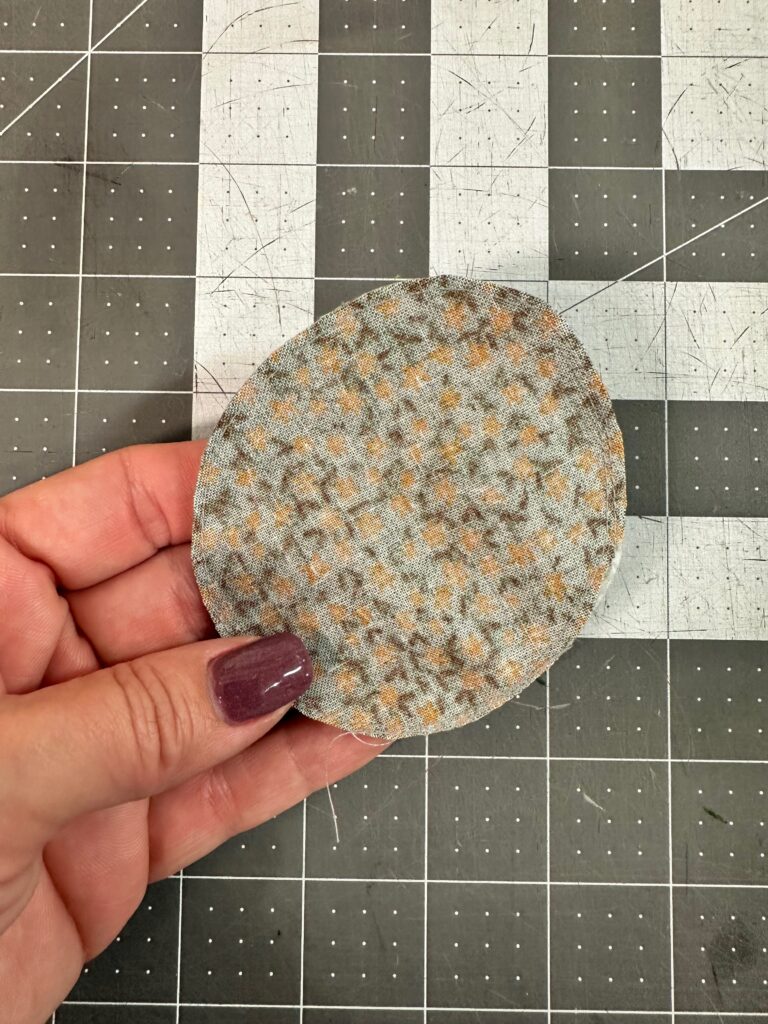
Cut a piece of fabric and a piece of Sulky Soft ’n Sheer Extra slightly larger than your stitched motif.
-
With right sides together, stitch the fabric perimeter, ensuring the fusible side of the stabilizer faces the fabric right side.
-
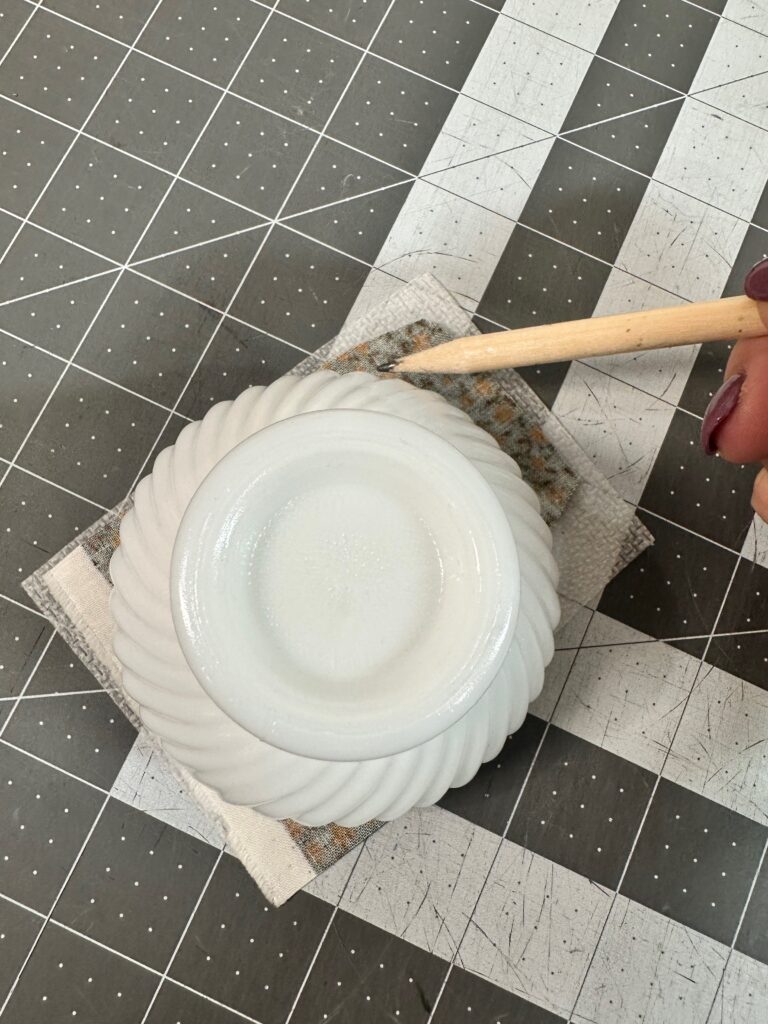
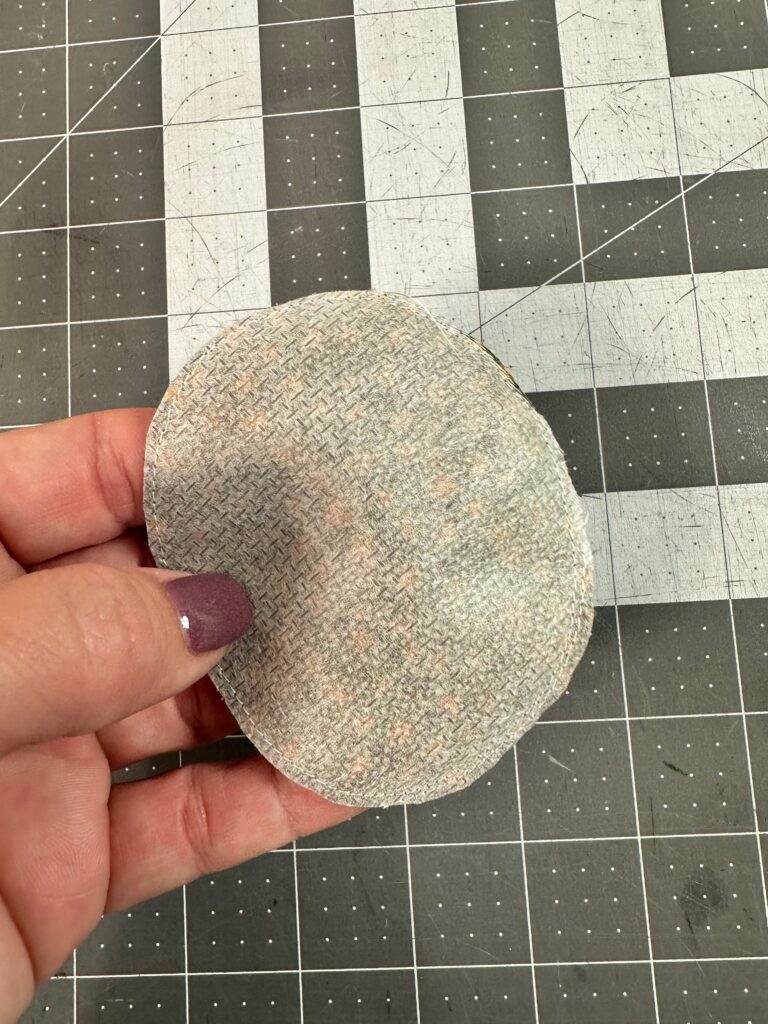
Cut a slit in the stabilizer and turn the patch right side out. Use the Sulky Multipurpose Turning Tool to smooth the edges.
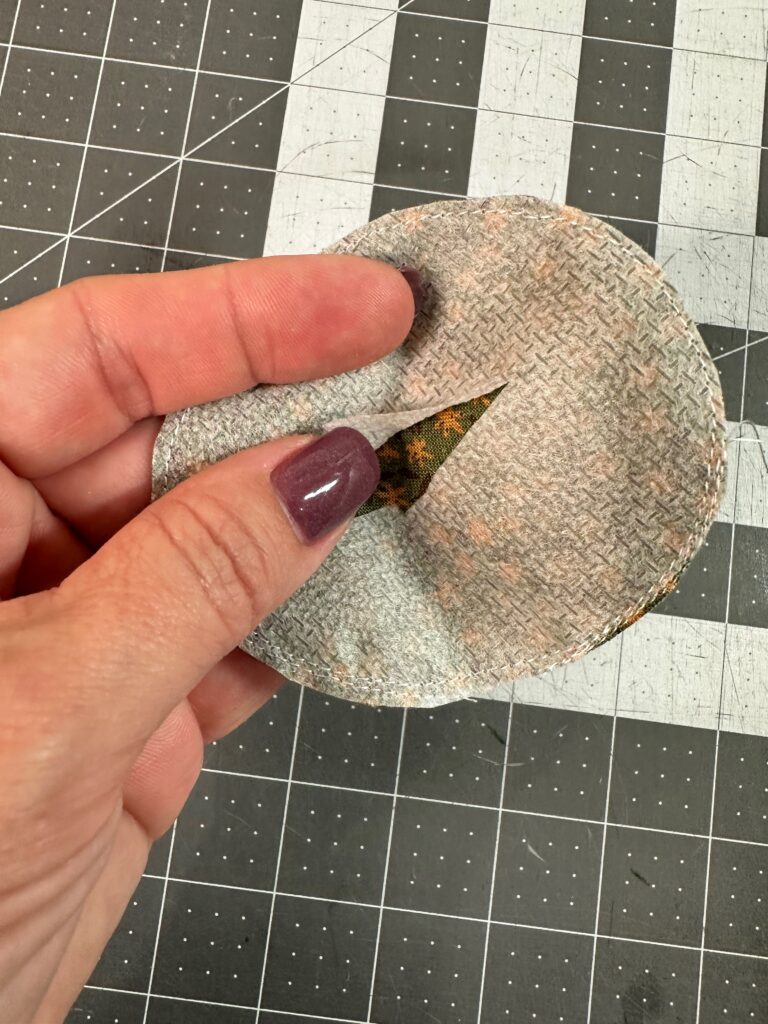
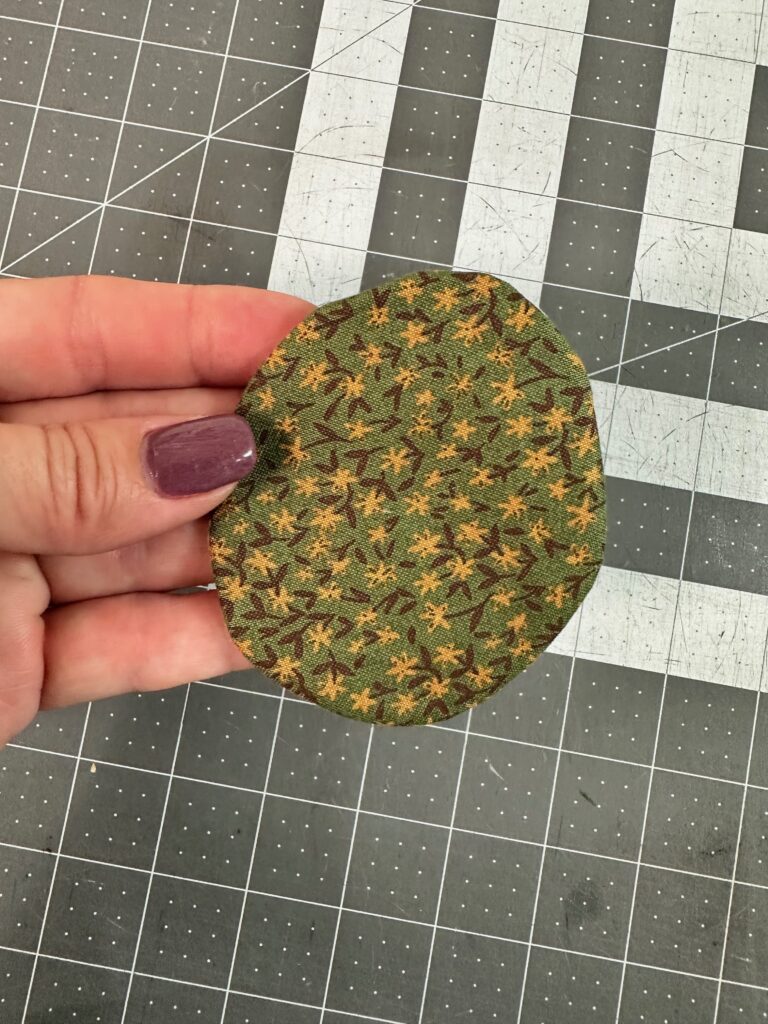
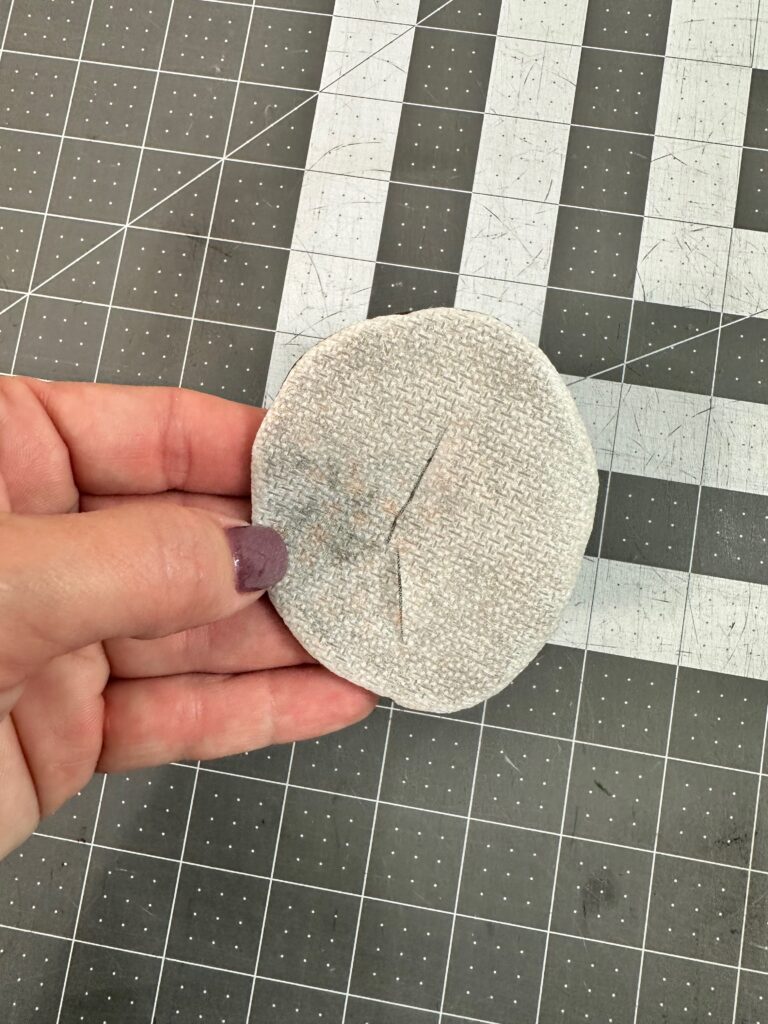
-
Fuse the patch over the embroidery wrong side.
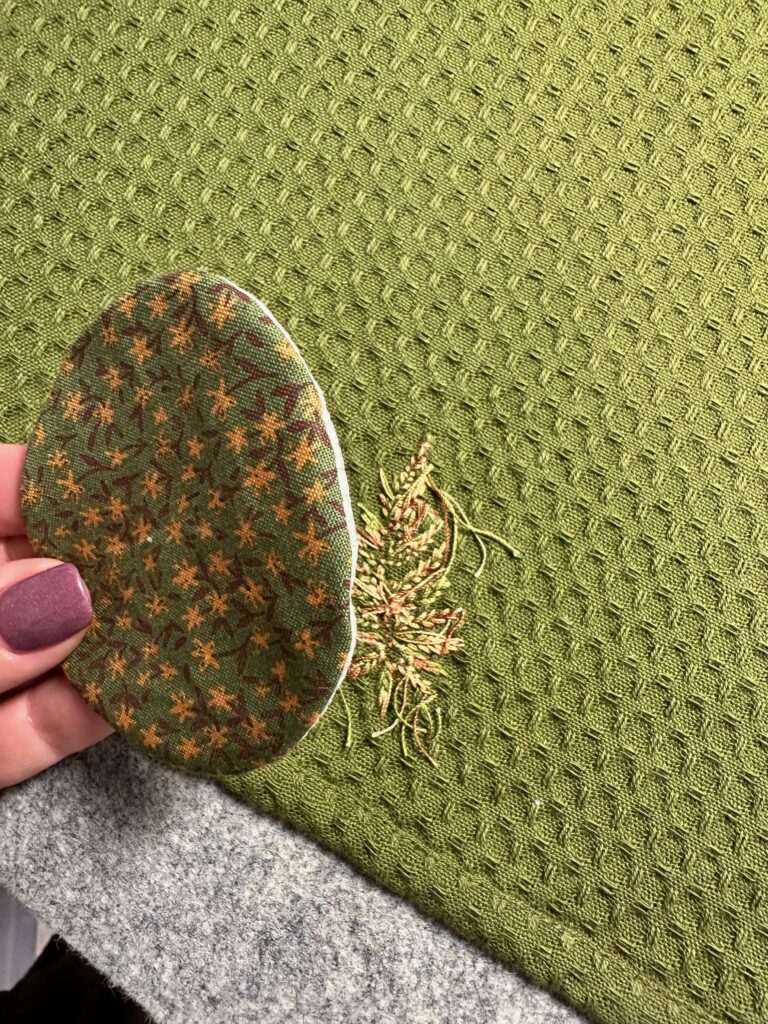
-
For extra security, topstitch or blanket stitch the patch perimeter.
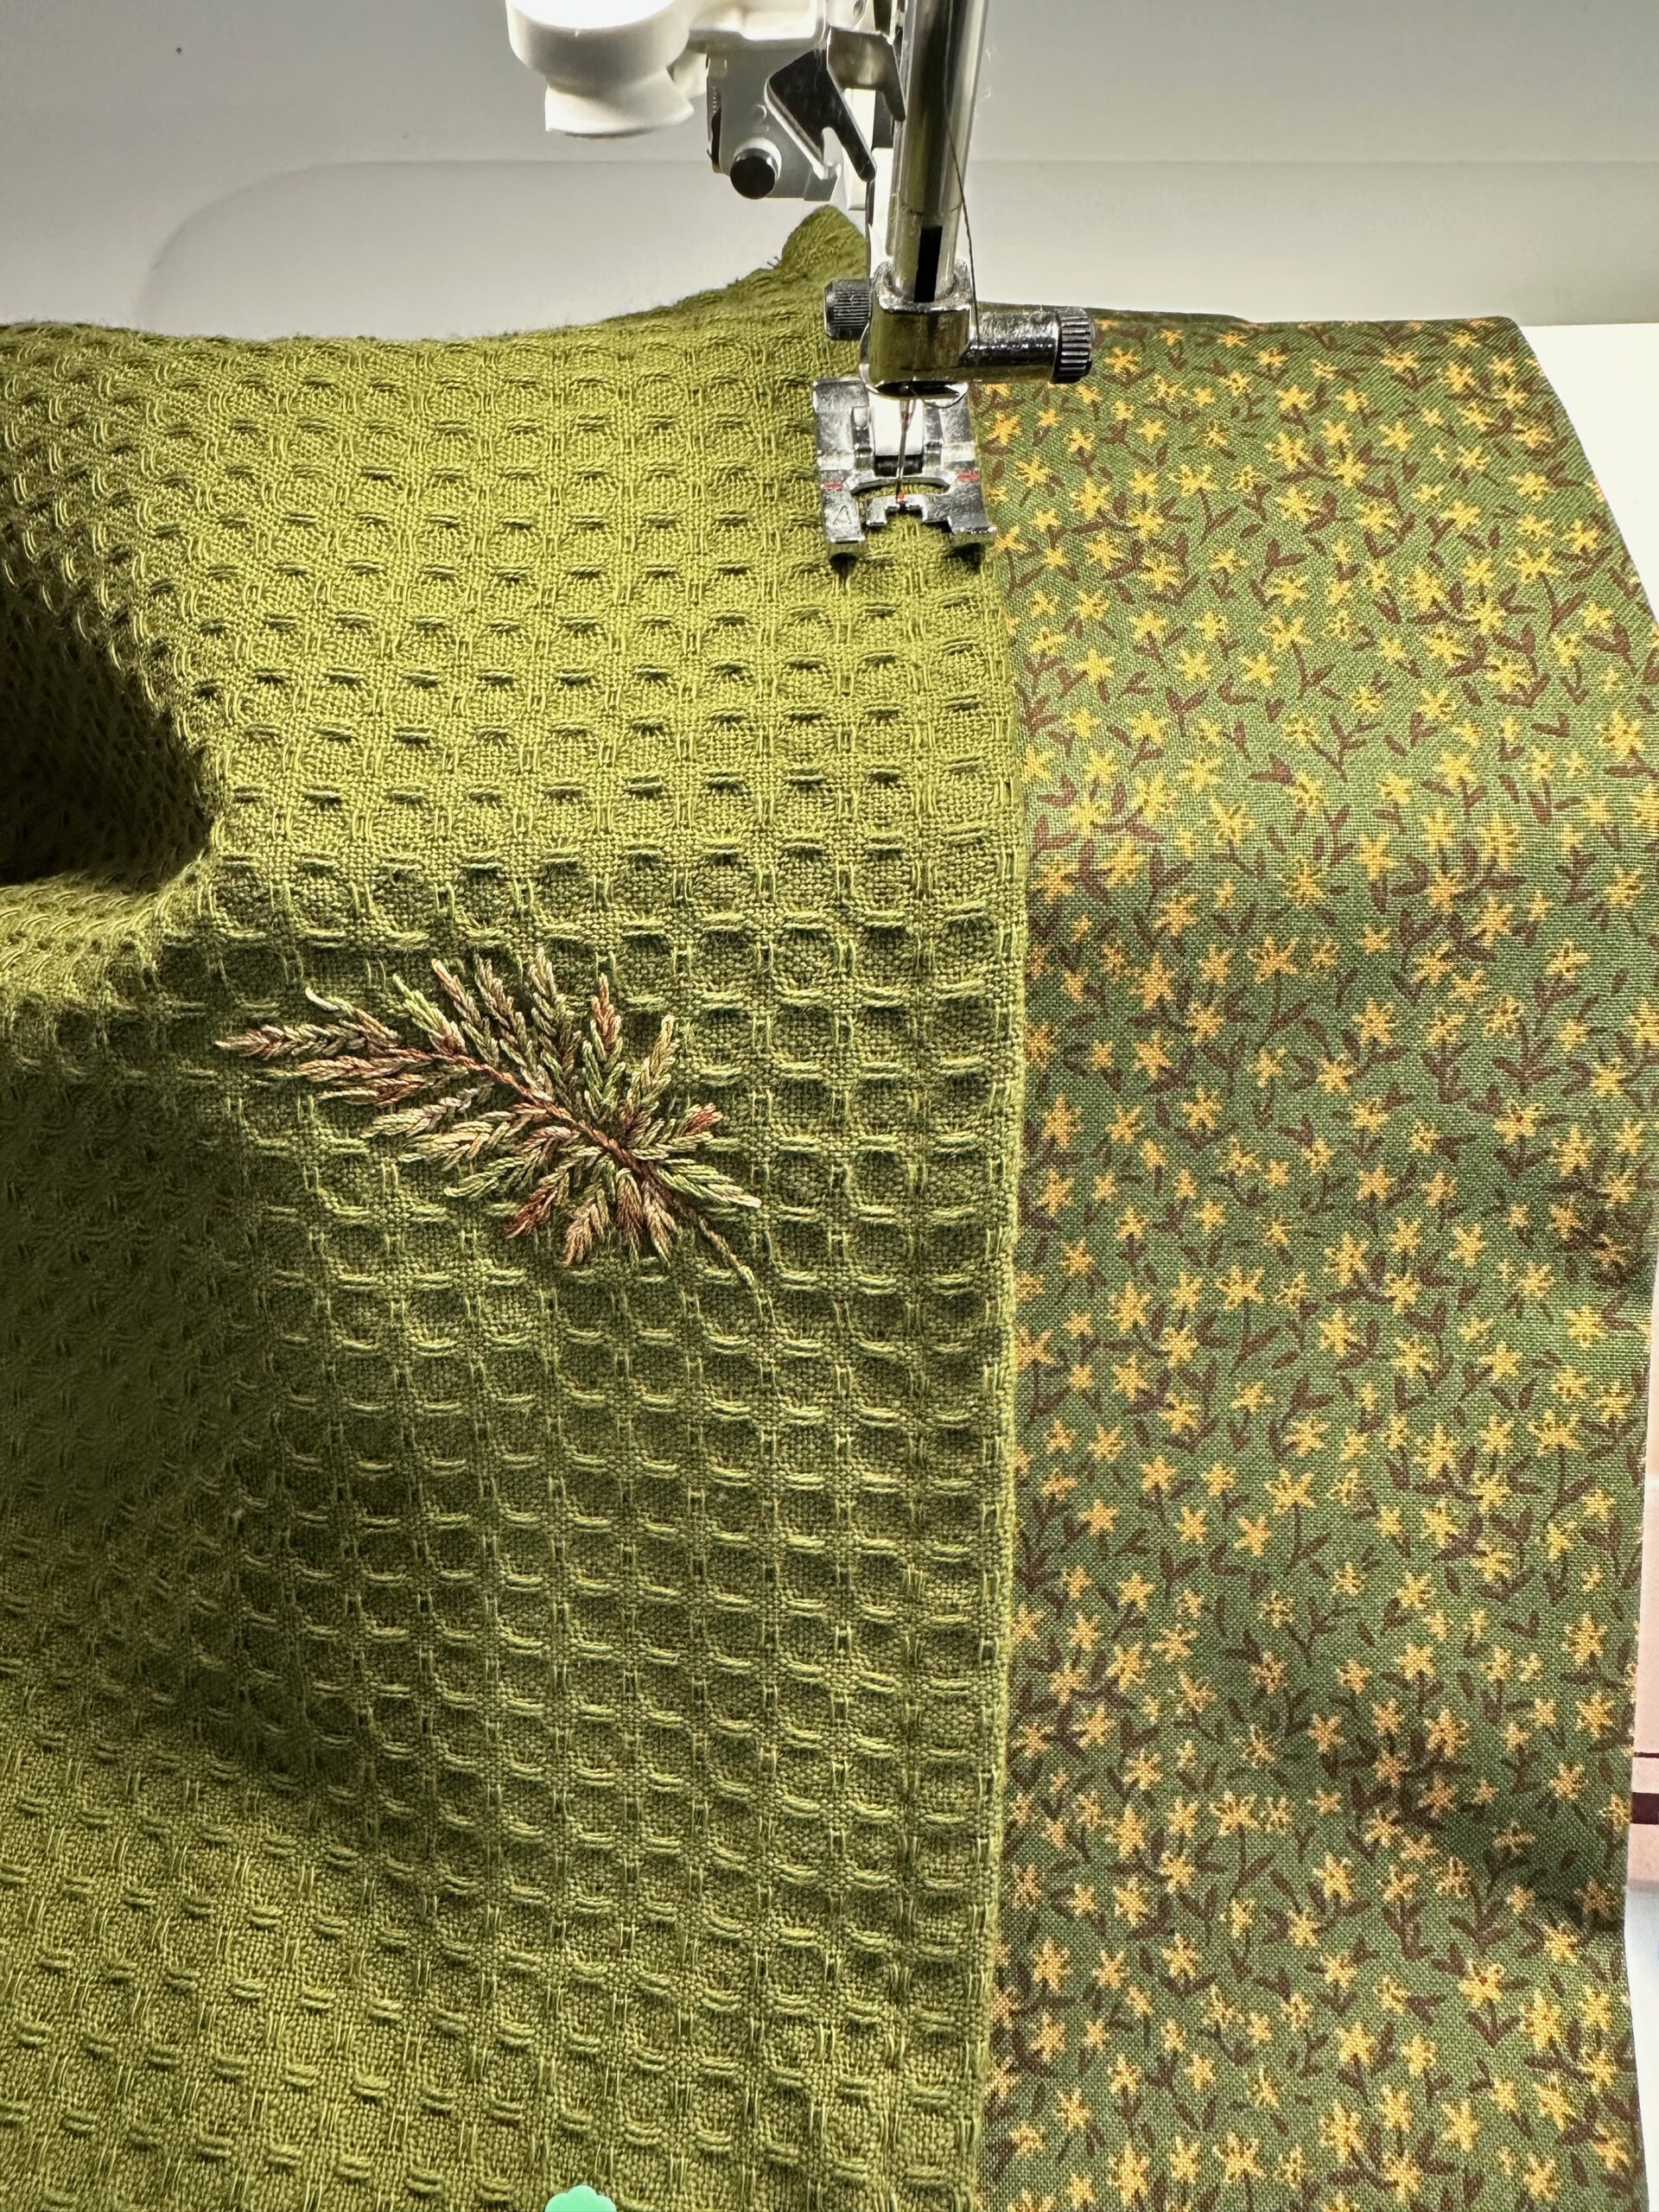
Option 2: Fabric Band Backing
- Cut a fabric rectangle that’s 3″ wider than the design and 3″ longer than the towel width.
- Fold one long edge ½” to the wrong side and press.
- Place the opposite long edge along the towel lower edge, with both right sides facing up. Stitch in place.
- Fold the fabric toward the towel wrong side to conceal the embroidery wrong side, then press.

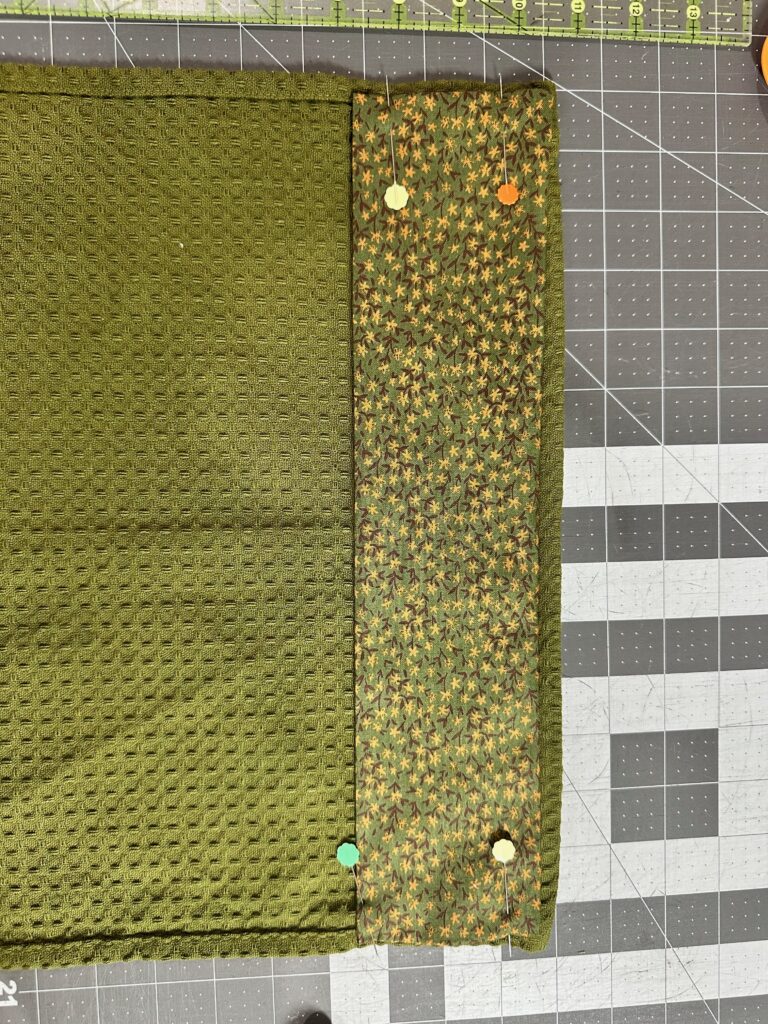
- Fold in the fabric short ends; press. Pin all folded edges and topstitch with Sulky 50 wt. Cotton Thread that matches the towel.
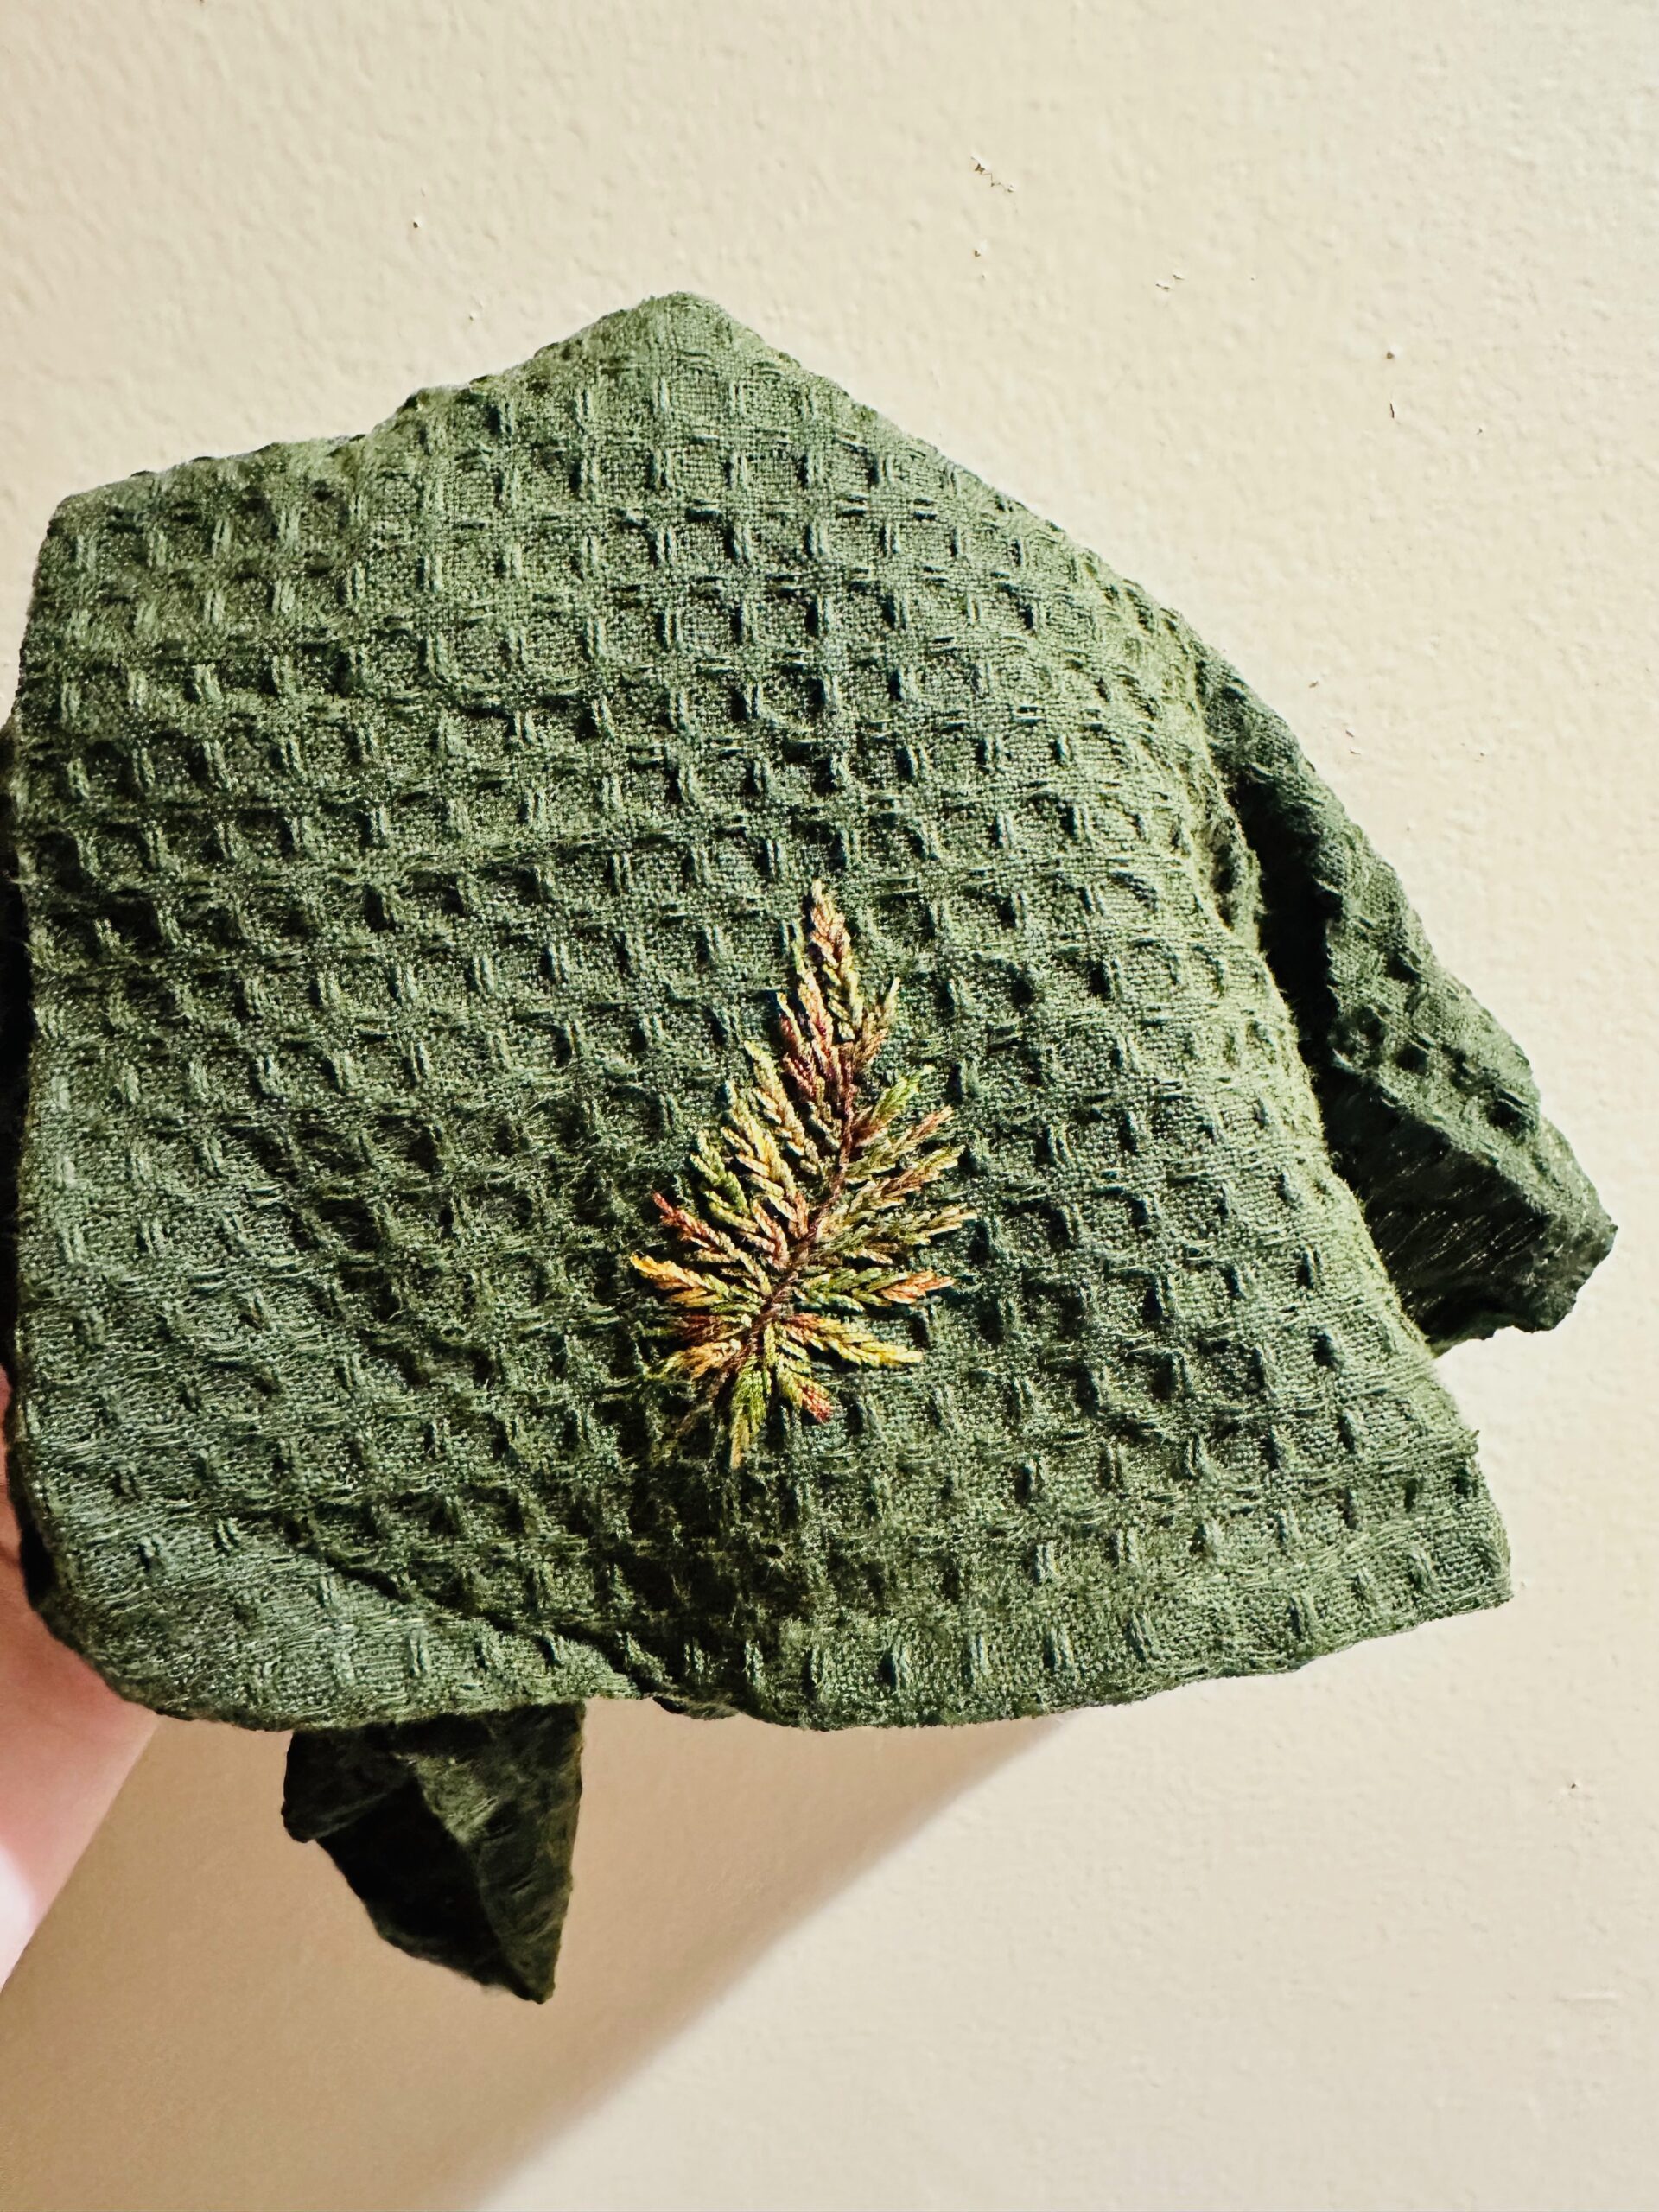
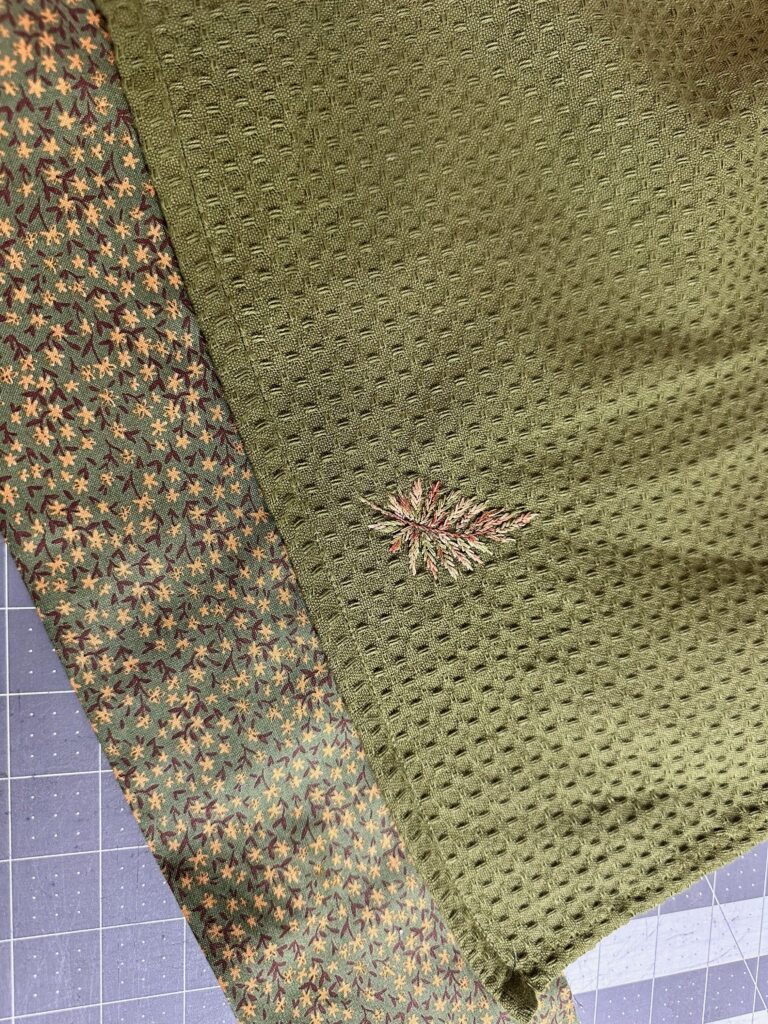
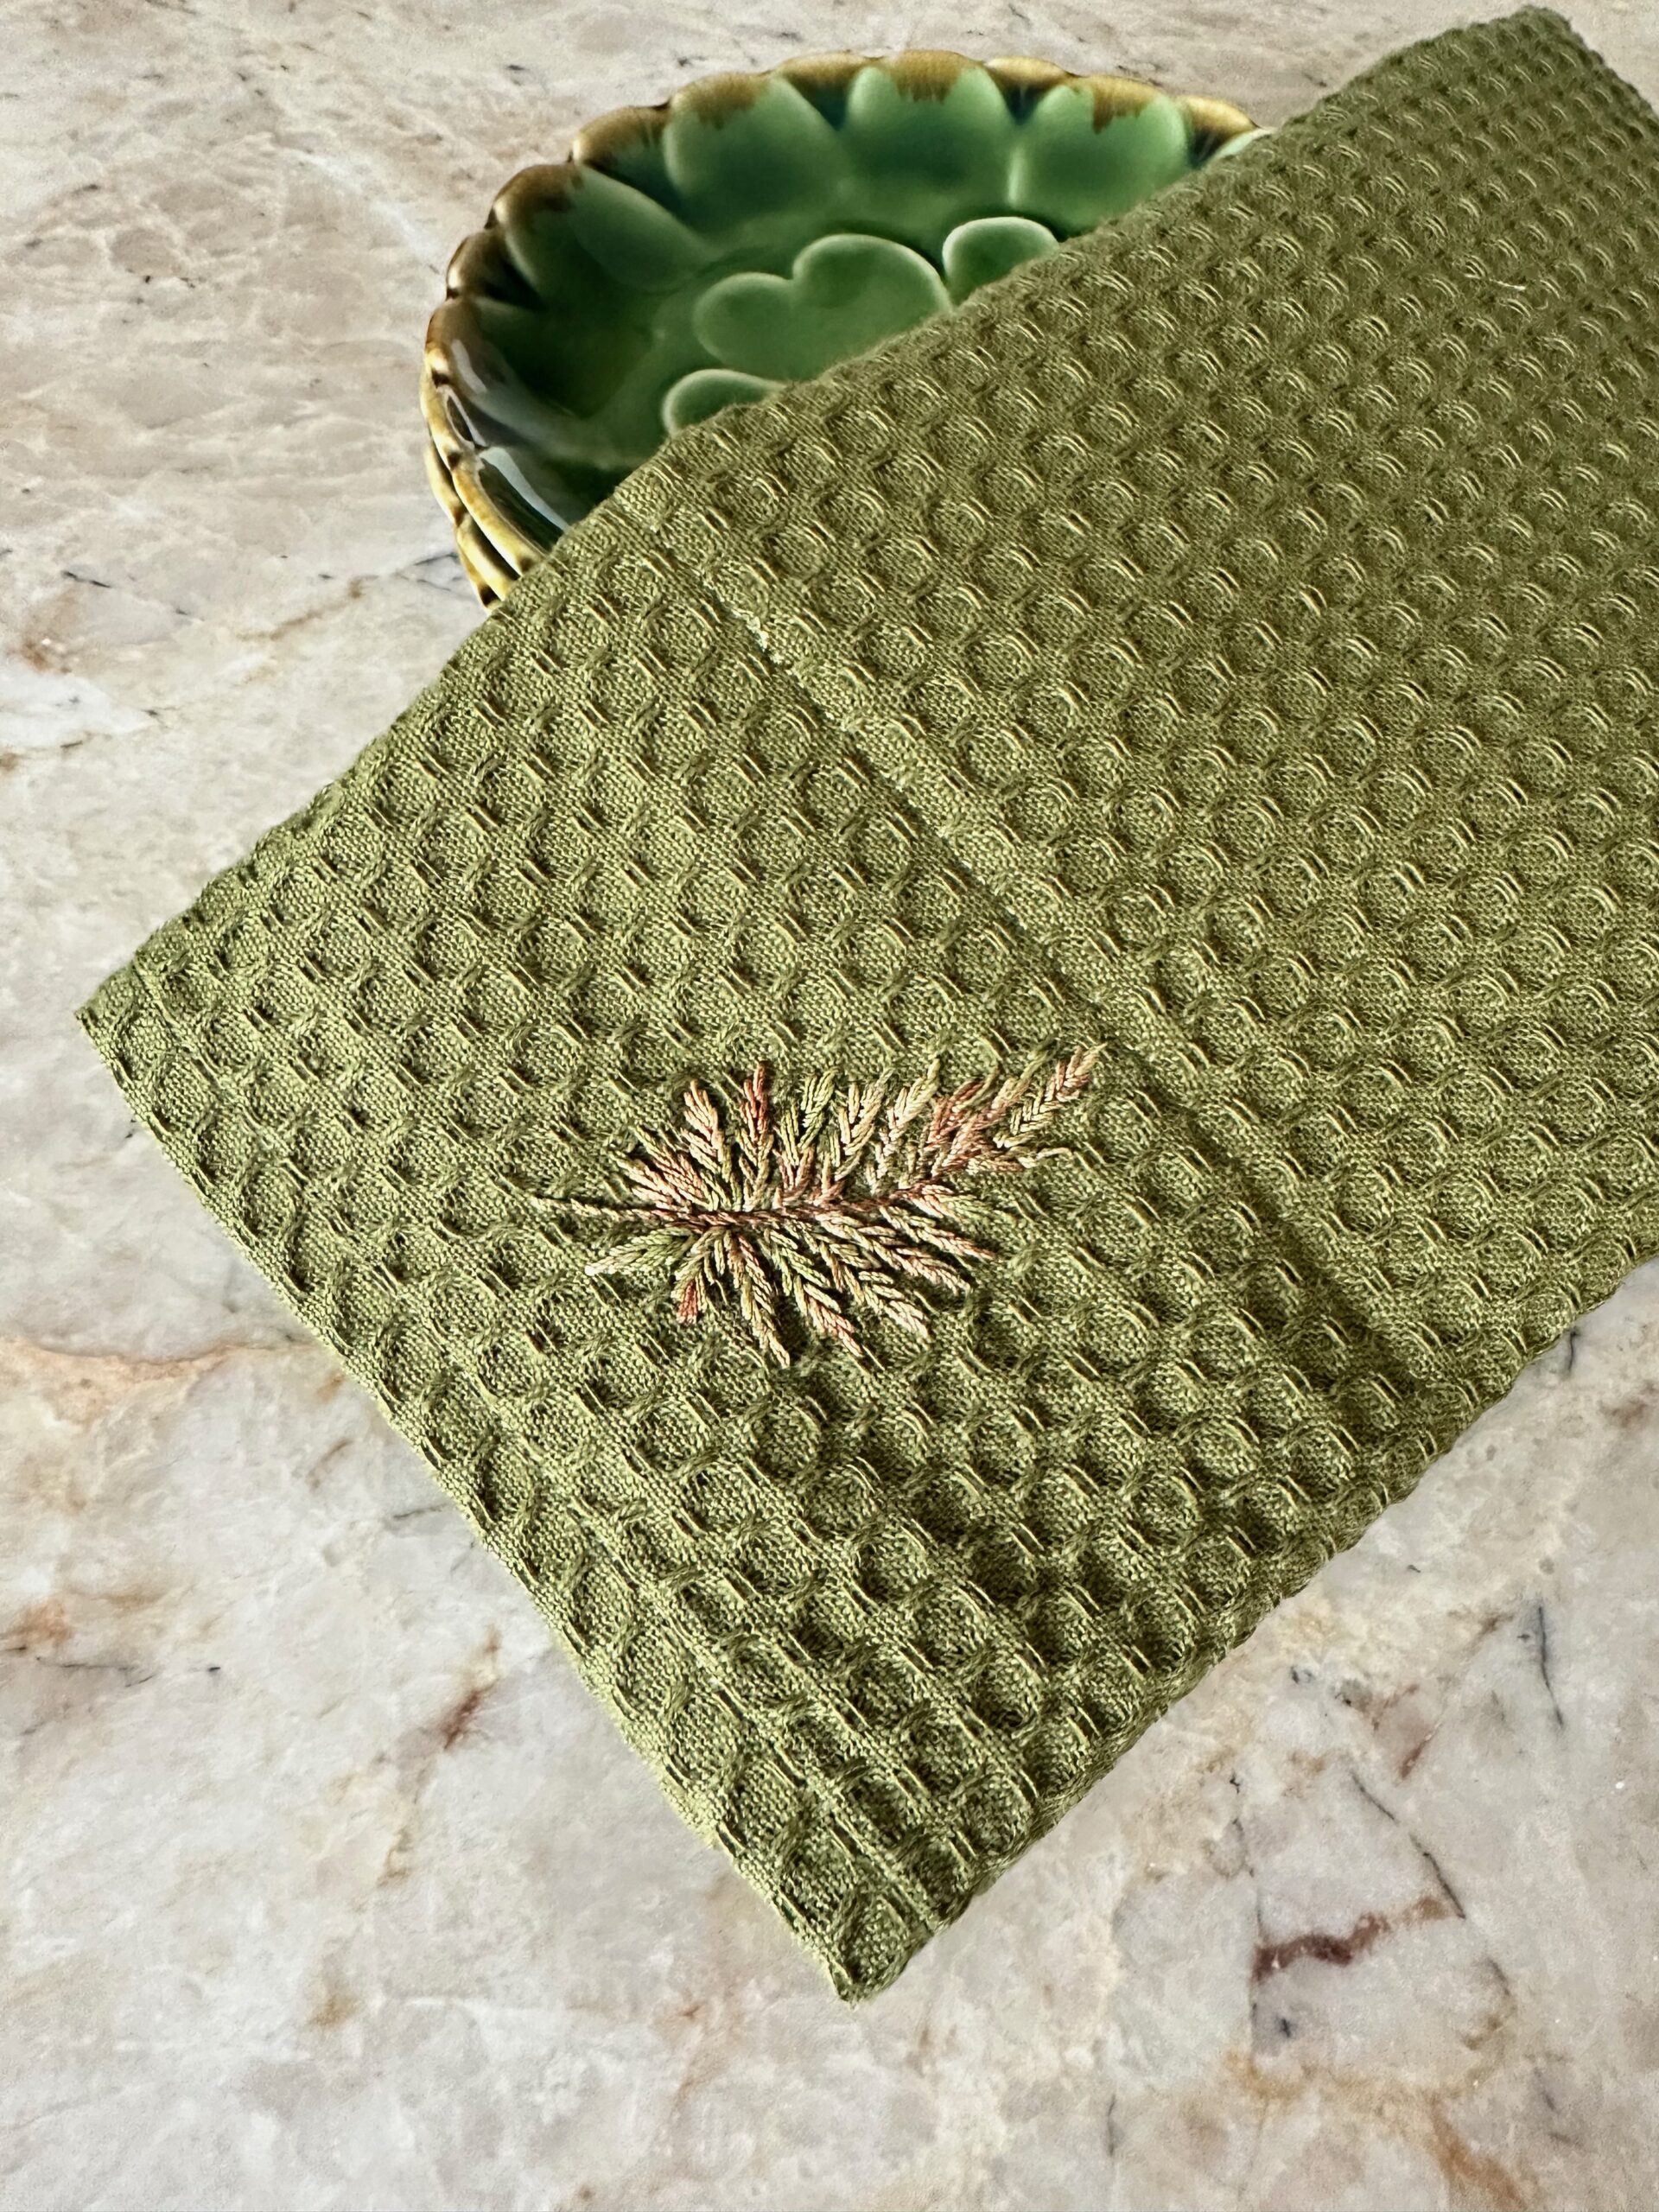
Enjoy Your Handmade Towels
Your finished dish towels will showcase the rich colors and cozy motifs of fall, with a professional finish that makes them both beautiful and functional. Imagine gifting a set of embroidered towels tied with a ribbon, or decorating your kitchen with a mix of leafy and mushroom designs!
Shop the Supplies
Bring autumn home in stitches! 👉 Purchase the Sulky Fall Botanicals Hand Embroidery Transfers—available with or without 10 spools of Sulky 12 wt. Cotton Petites Thread!
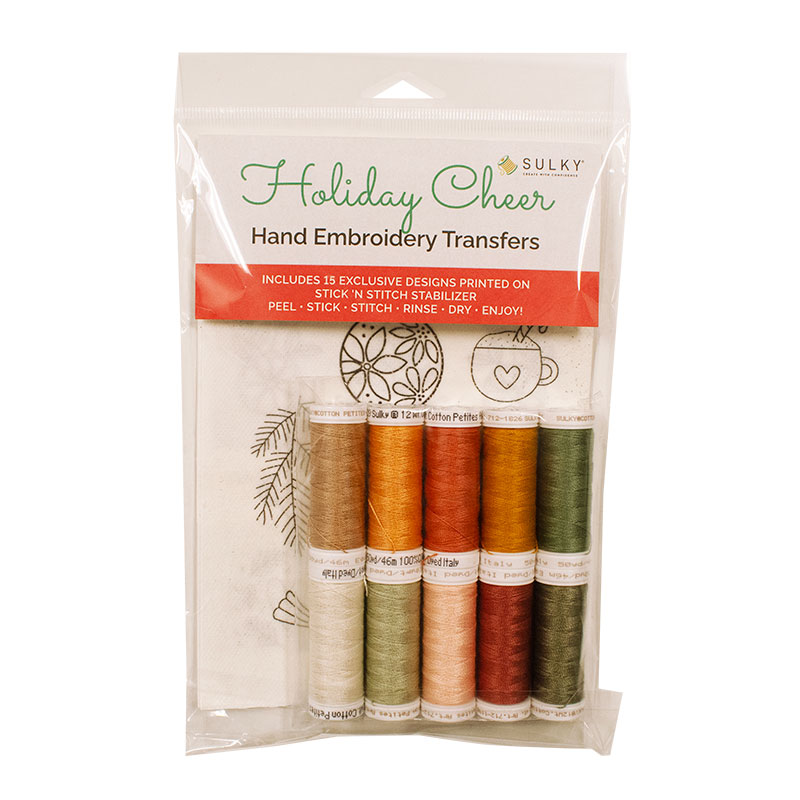
Or grab the Holiday Cheer packs (also with or without thread) and get a head start on holiday stitching!
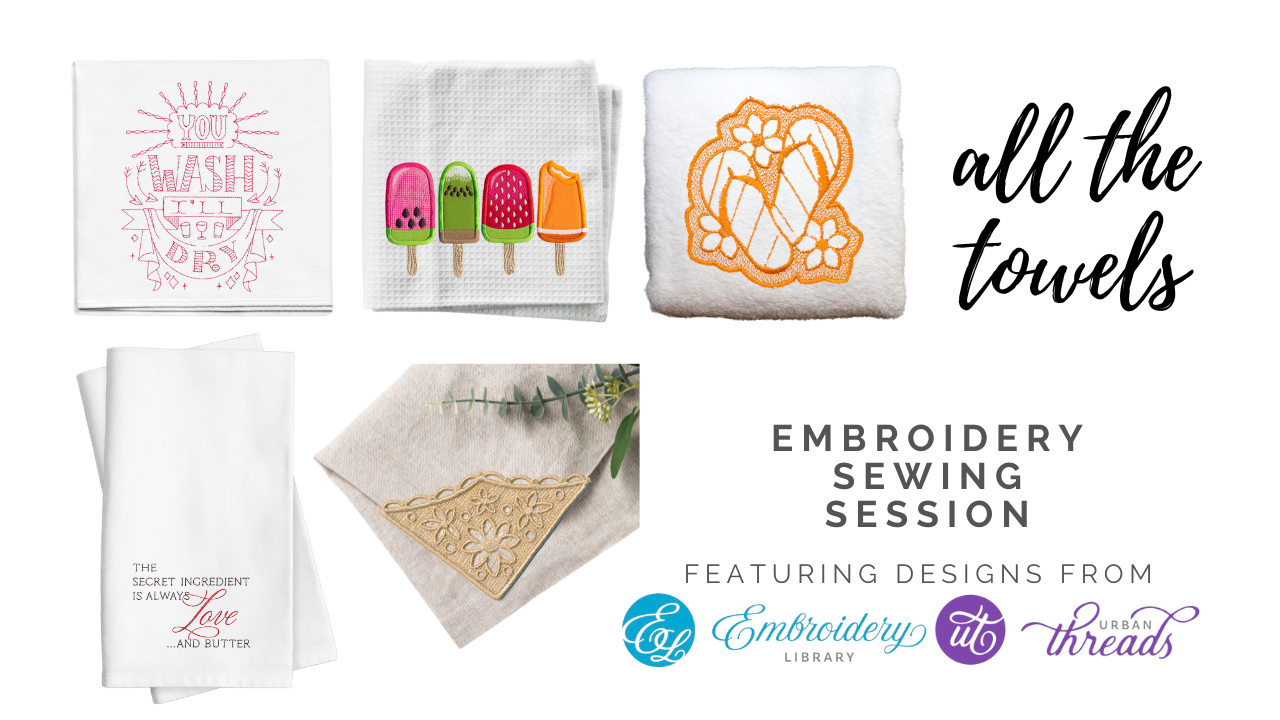
For towel machine embroidery tips and “recipes” for success, register for our “All the Towels” Session! You’ll get five embroidery designs from Embroidery Library and Urban Threads with registration!