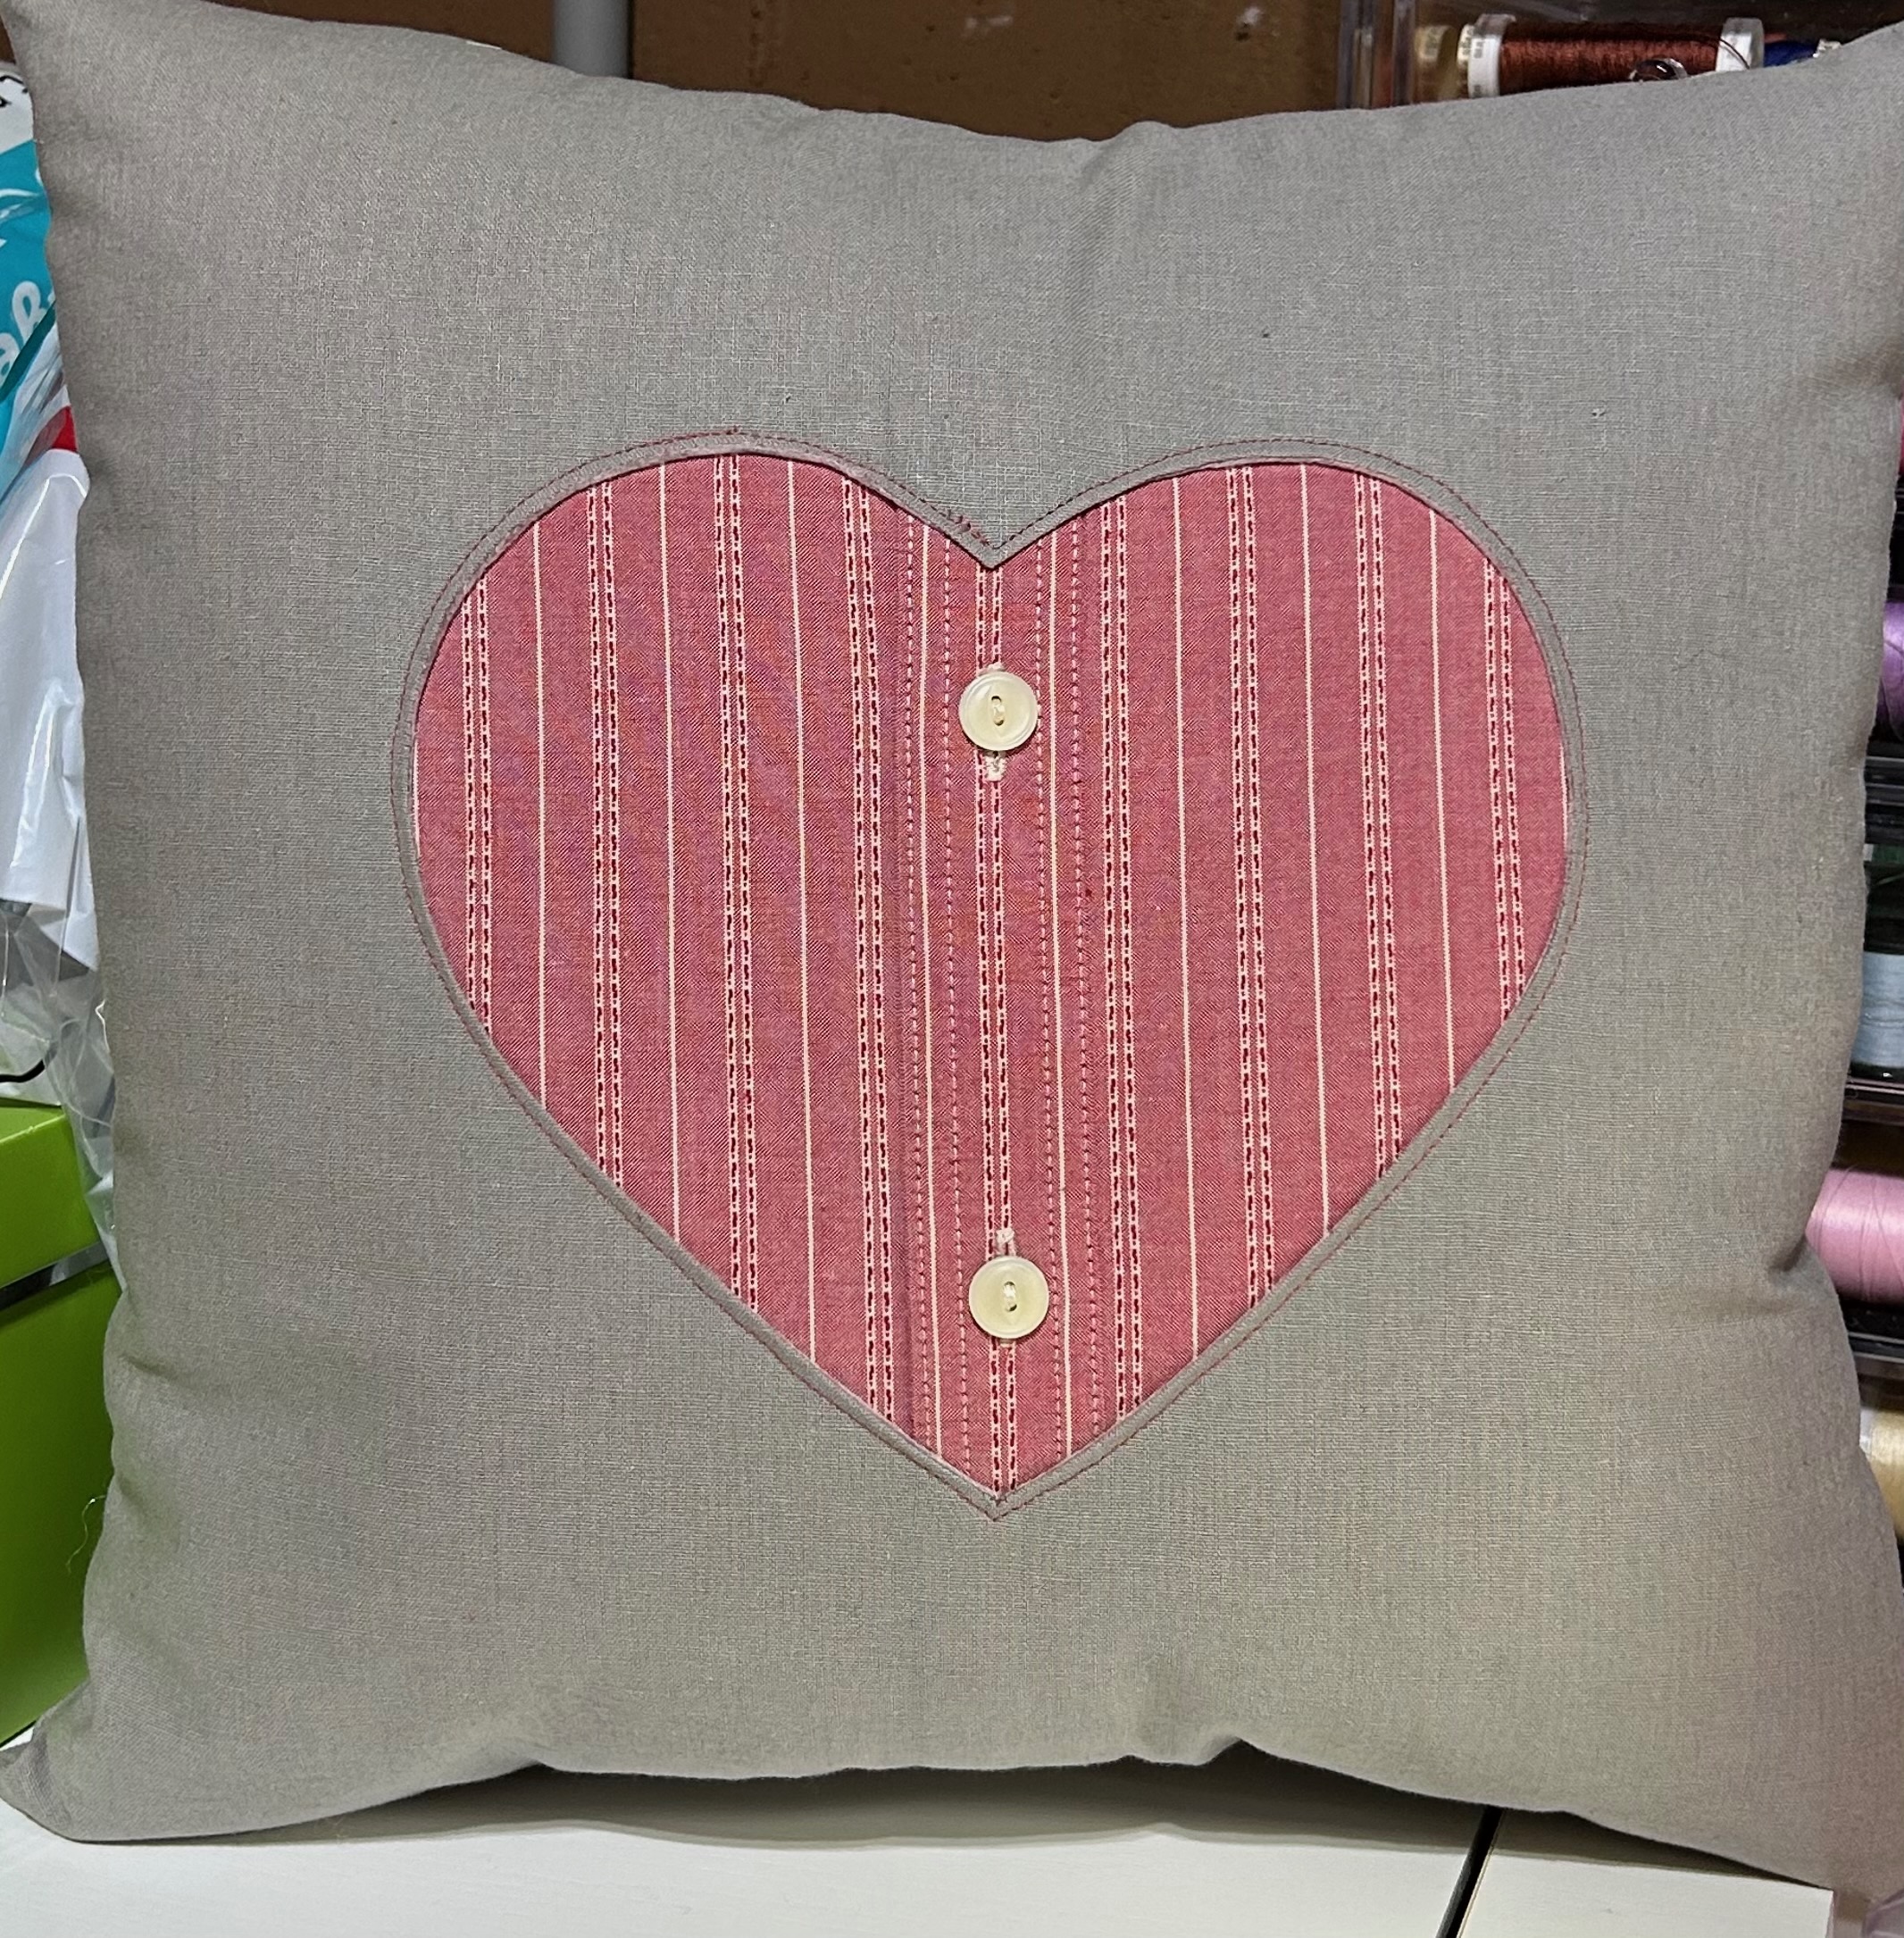
Heart Remembrance Pillow
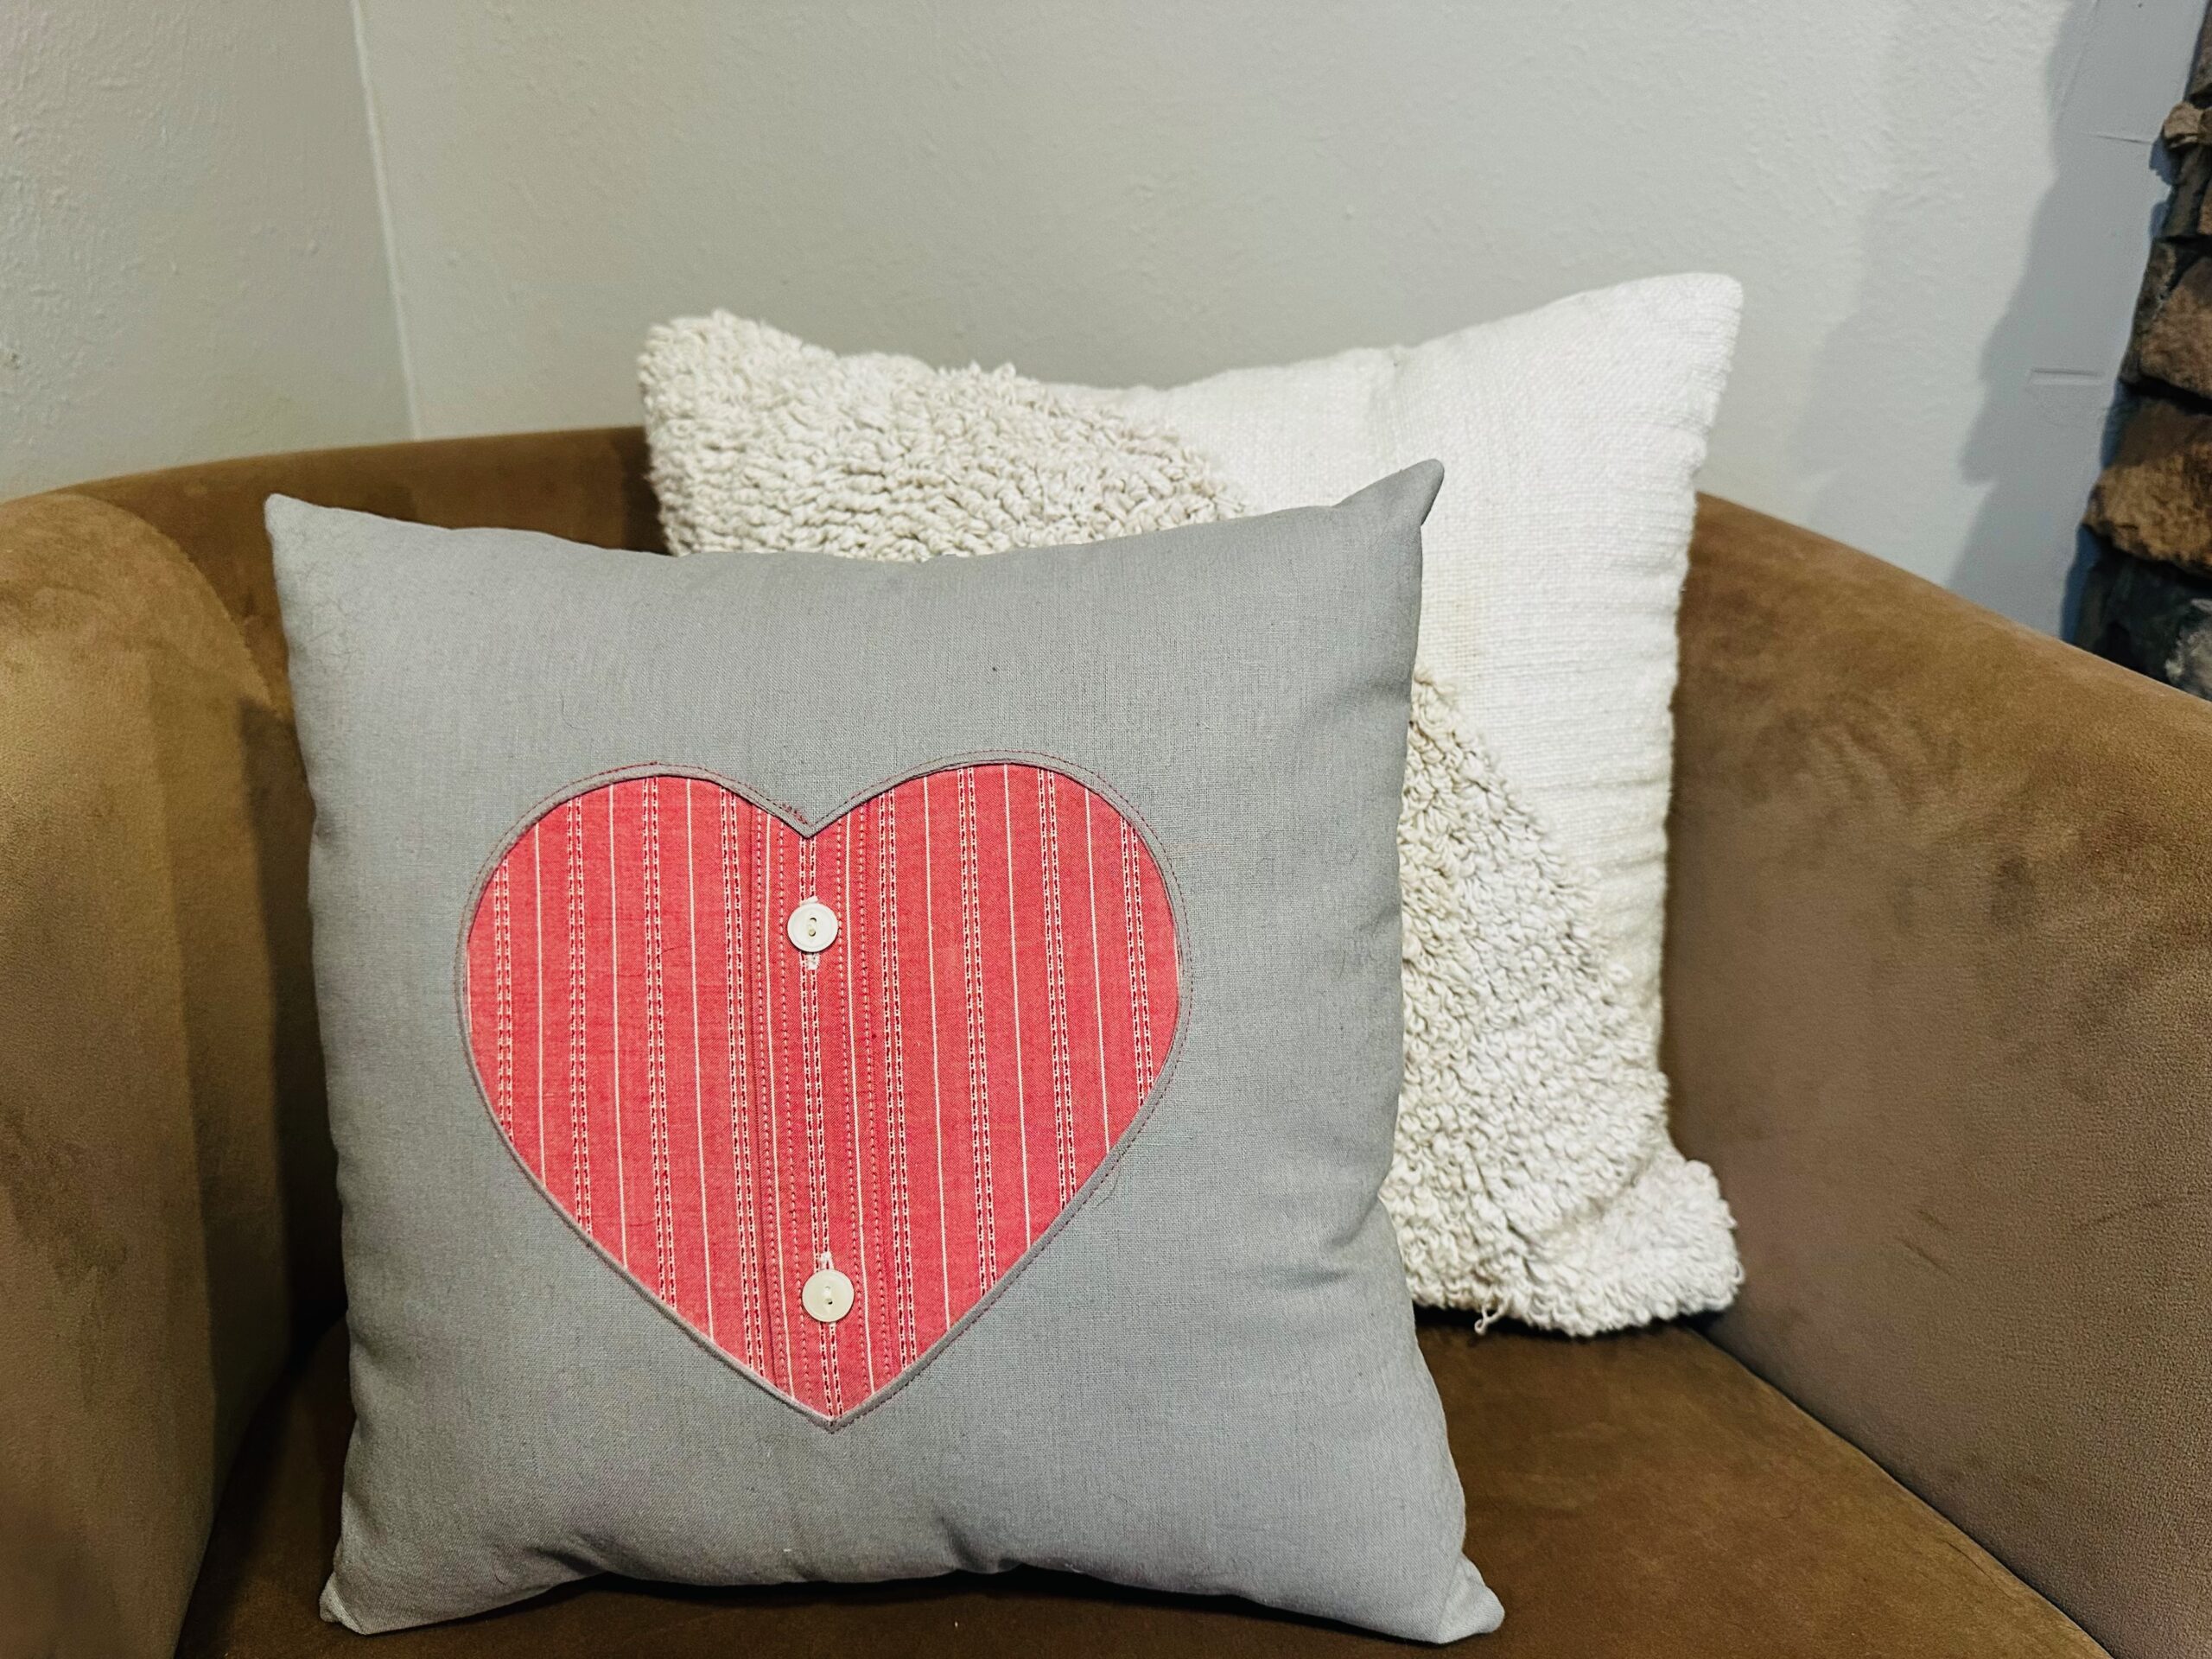
Finished size: 15” square
REMEMBRANCE PILLOW SUPPLIES
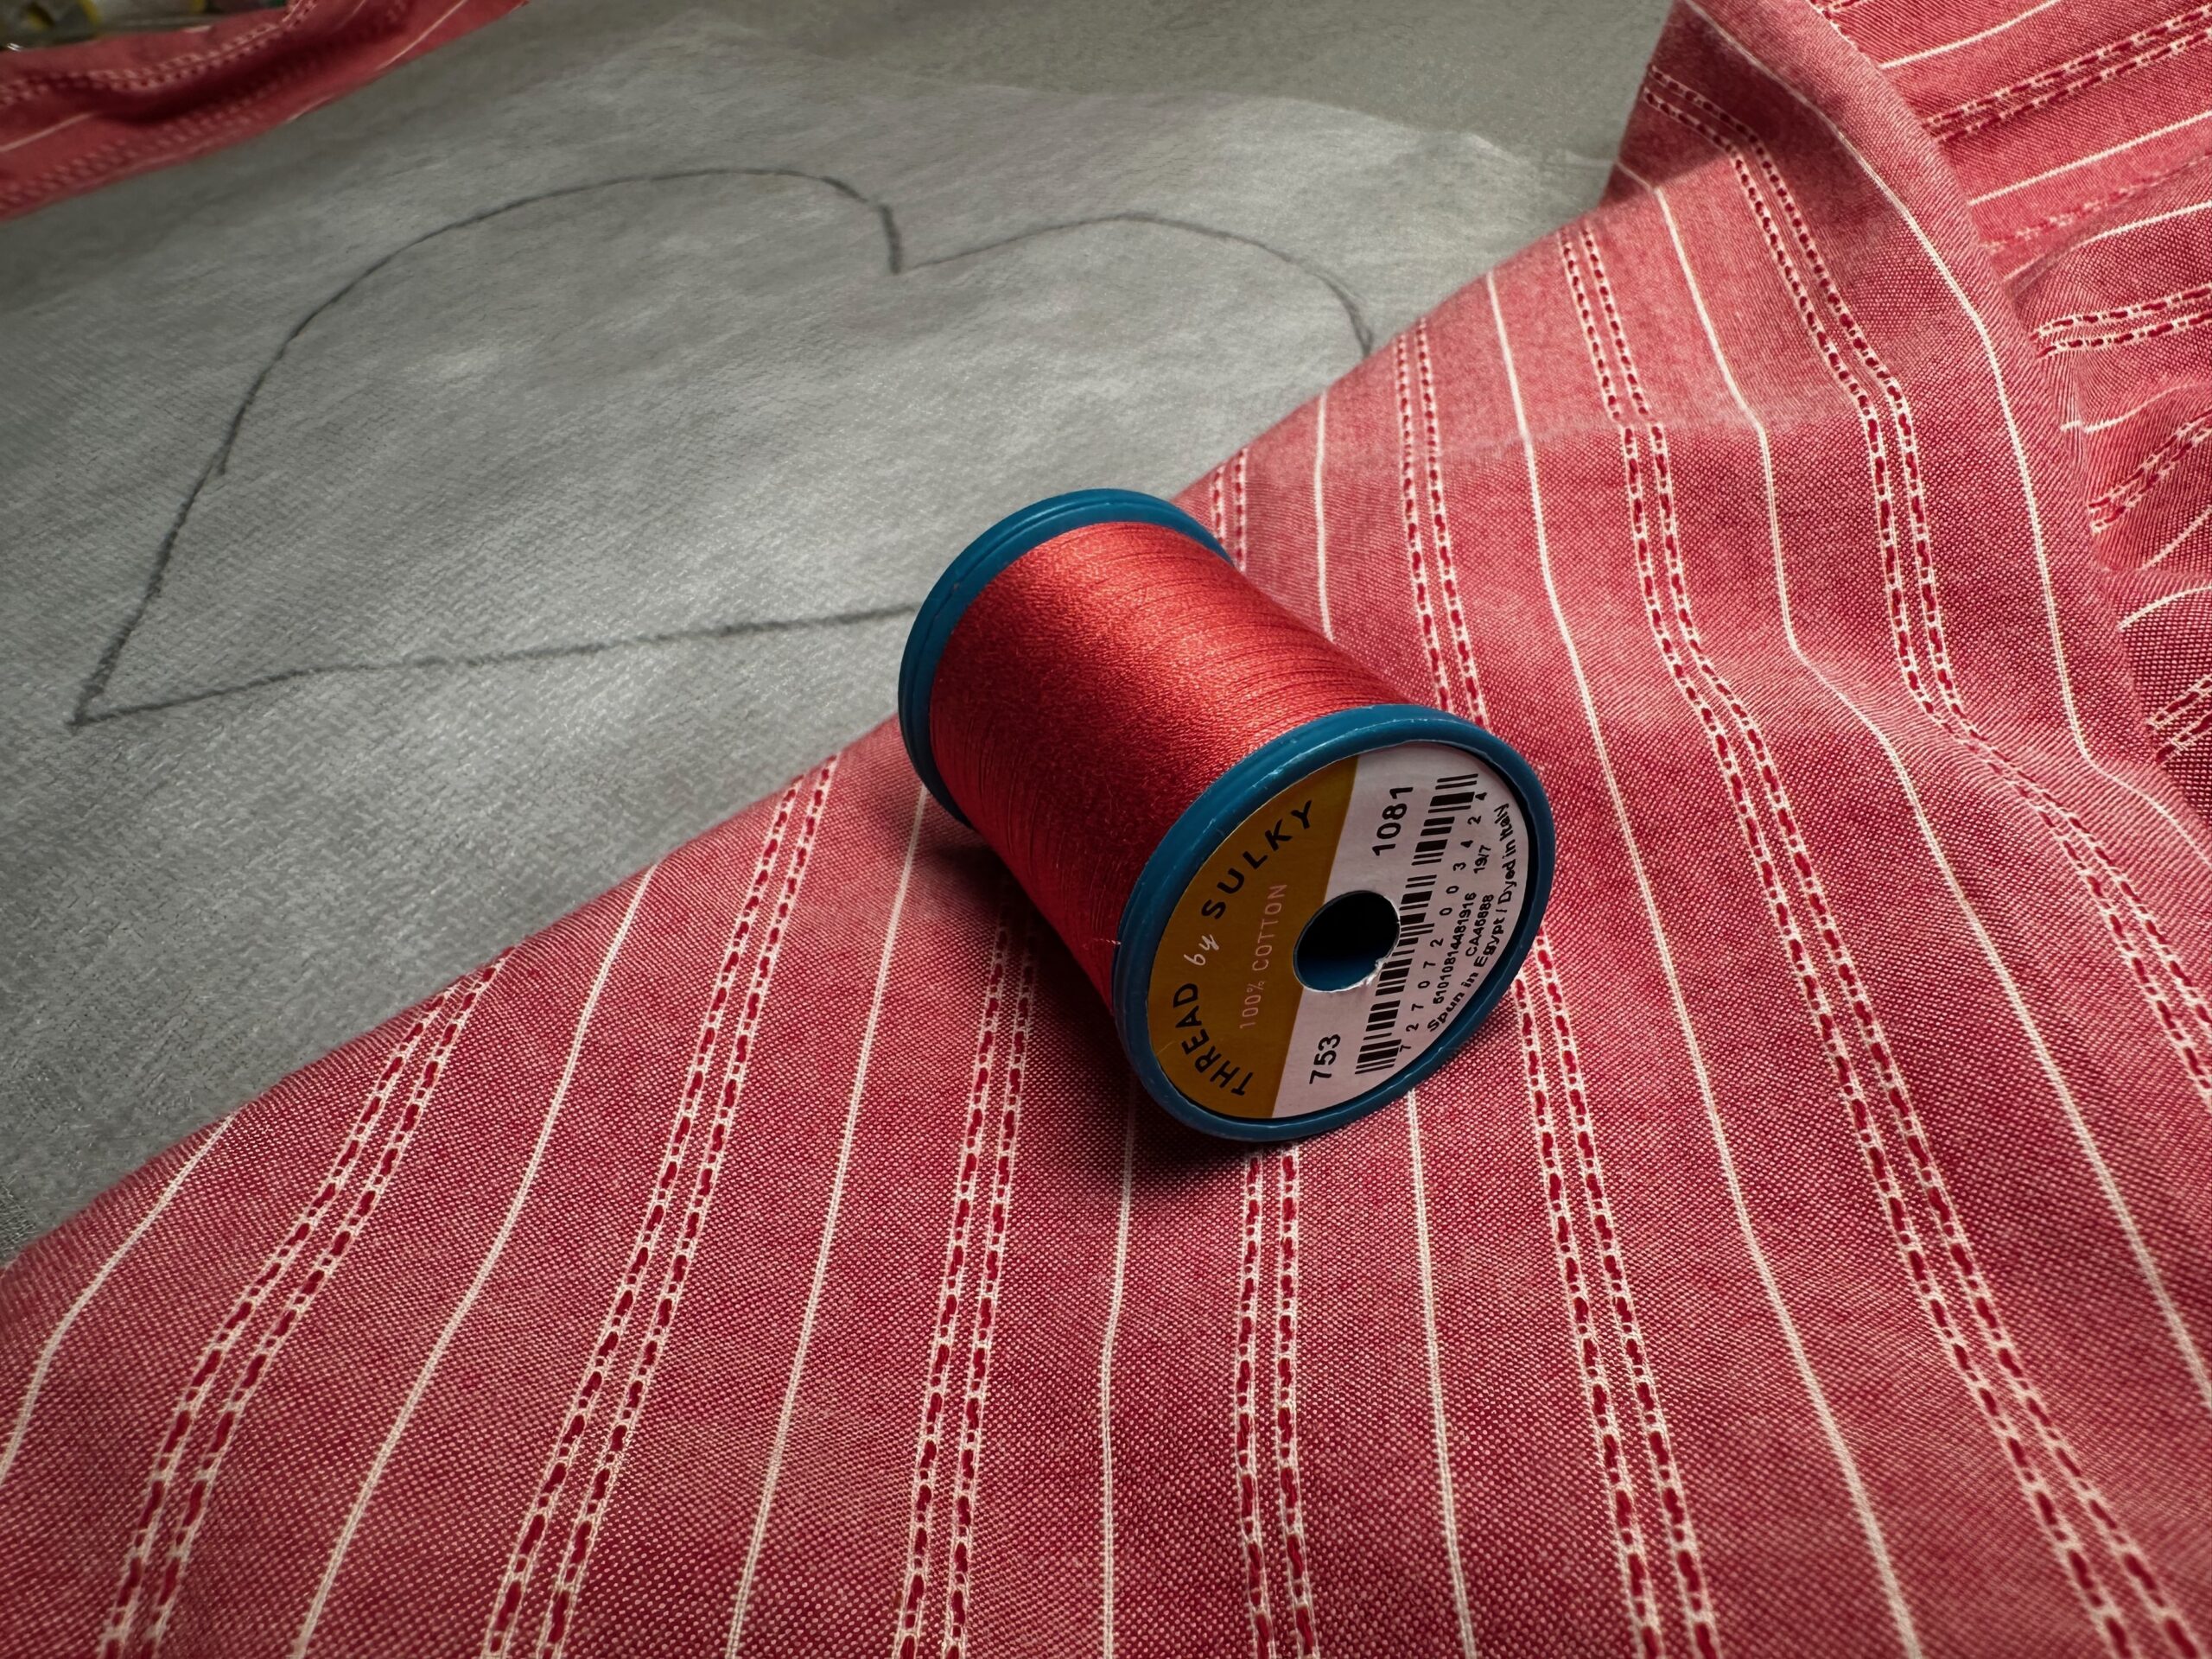
- Sulky 50 wt. Cotton Thread
- Organ® Needles, size 70/10 Universal
- (2) 15½” squares of main fabric (quilting cotton or linen blend)
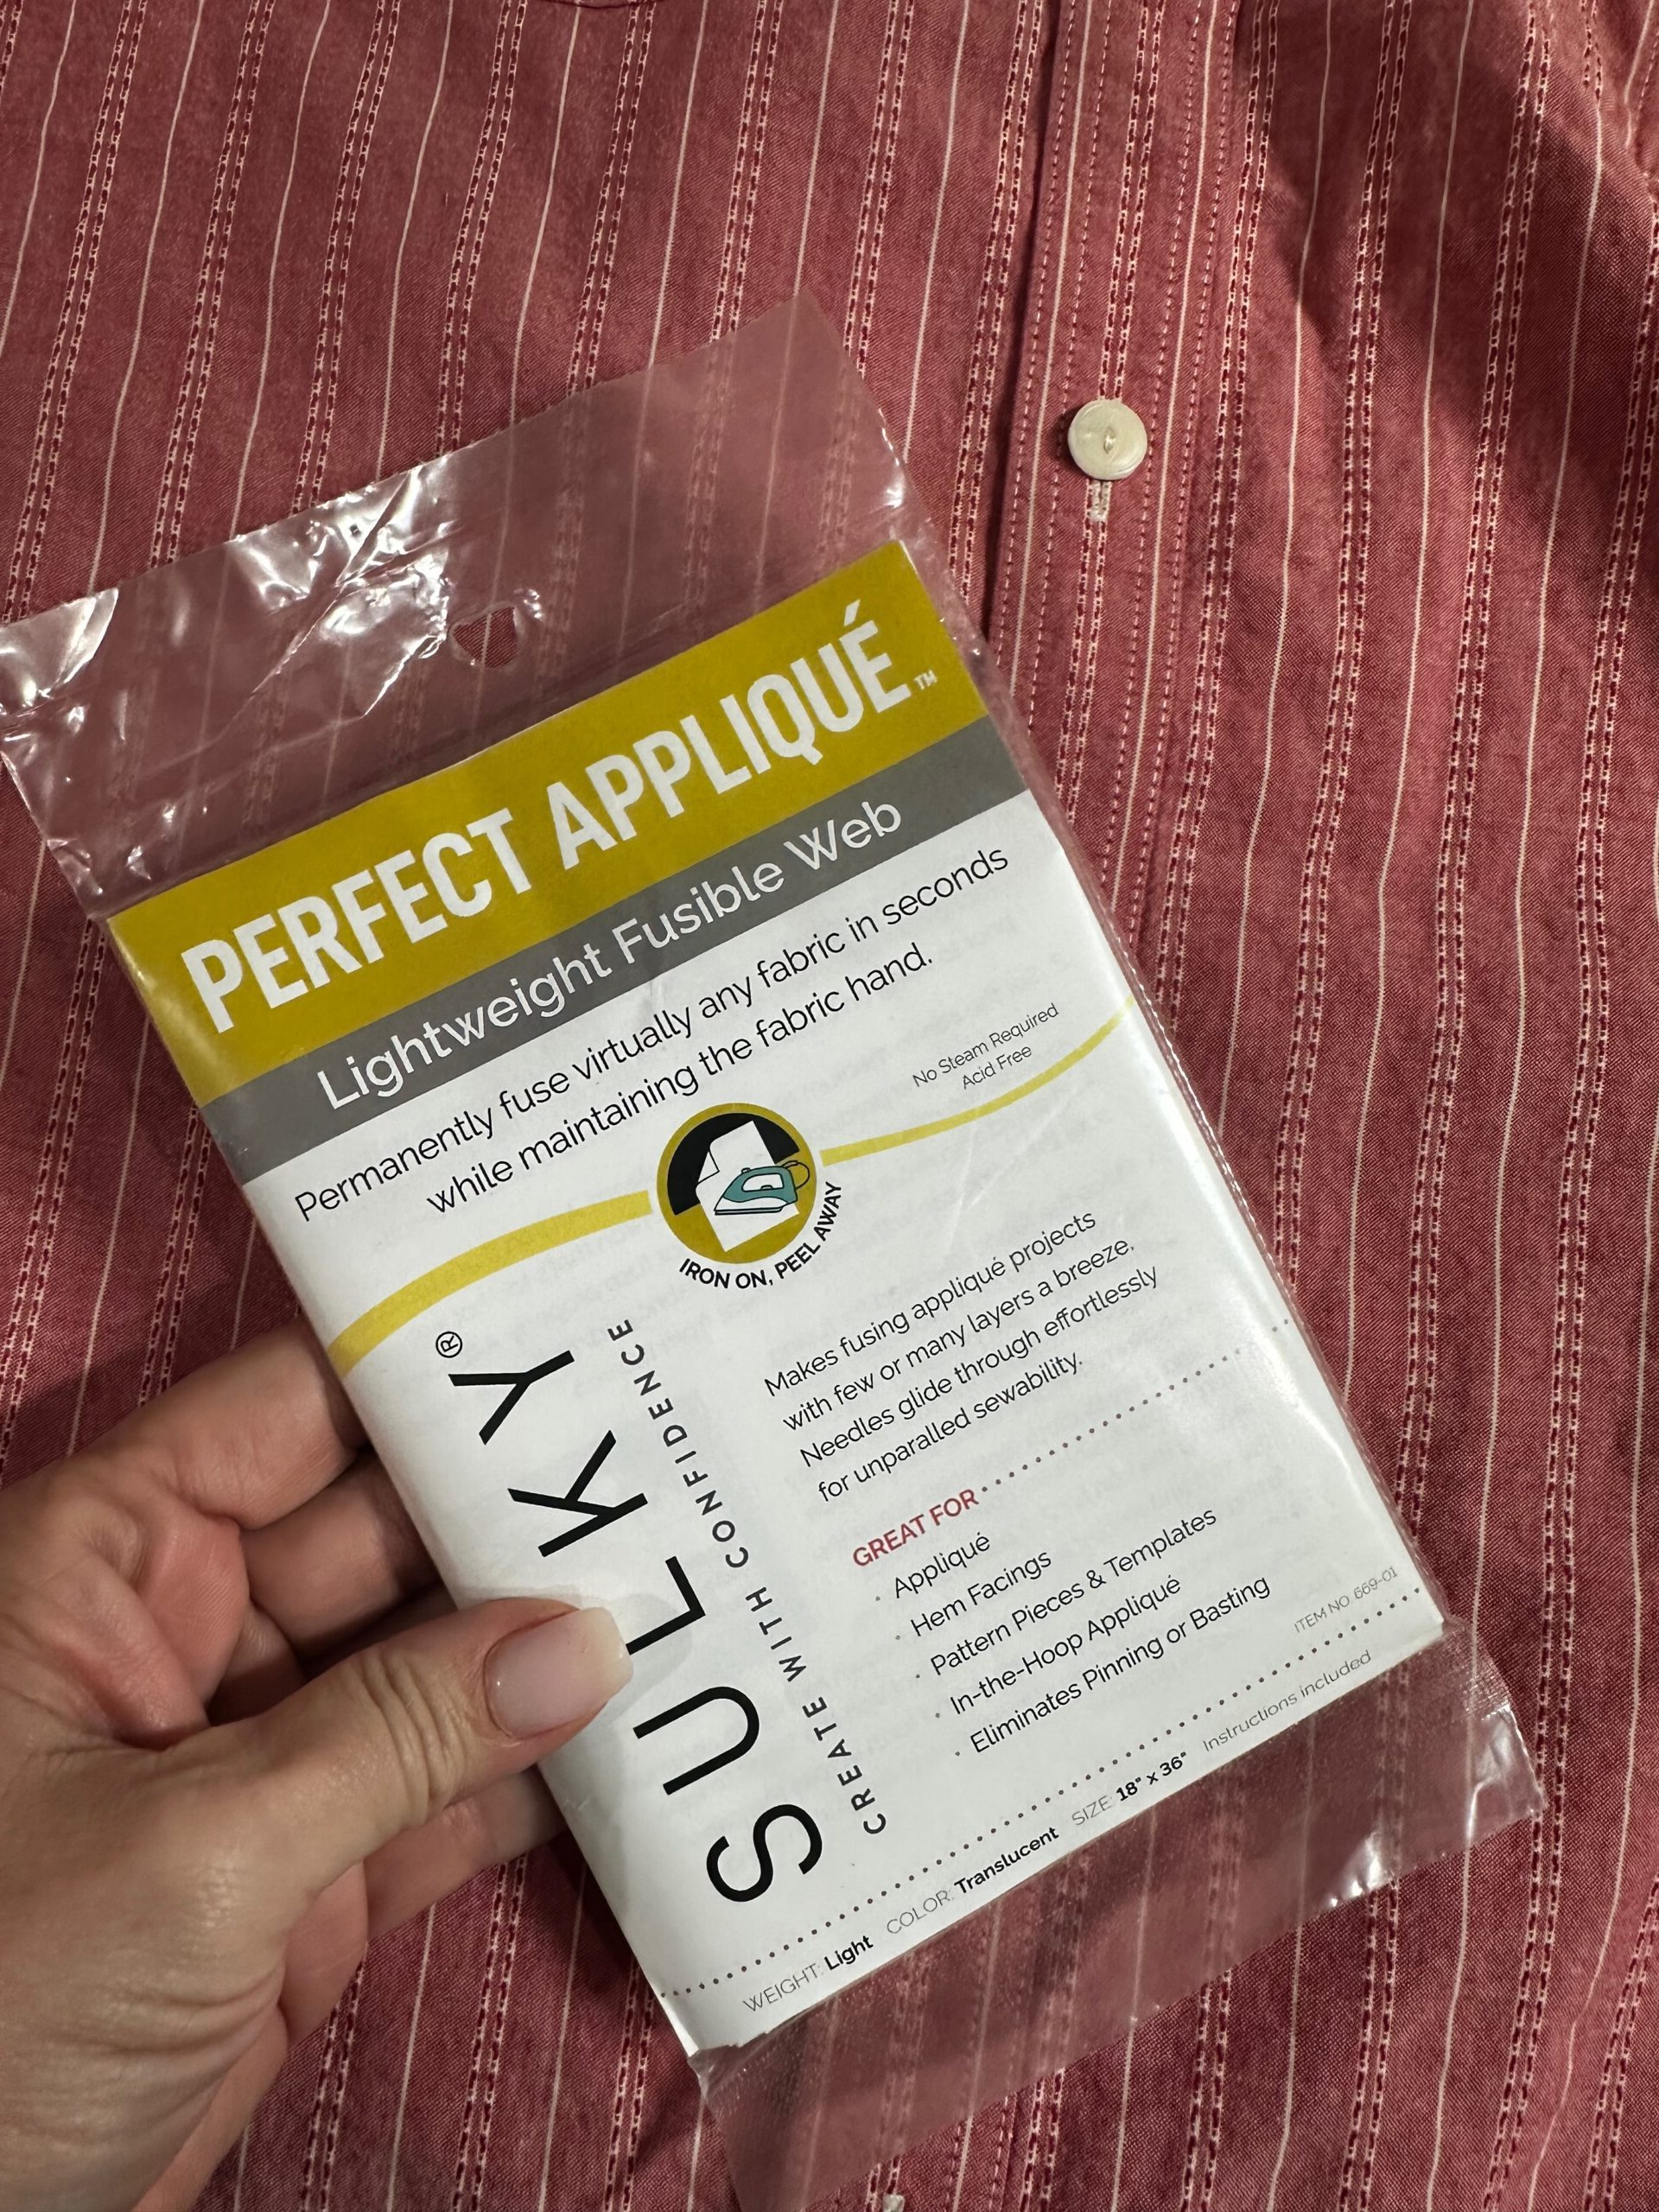
- Sulky Perfect Appliqué Fusible Web (optional)
- 9” square of shirt fabric
- 9″ square of Sulky Soft ‘n Sheer™ Stabilizer
- Spray starch
- Sulky KK 2000™ Temporary Spray Adhesive
- Removable fabric marker or chalk
- Sulky Turning Tool
- Polyester fiberfill
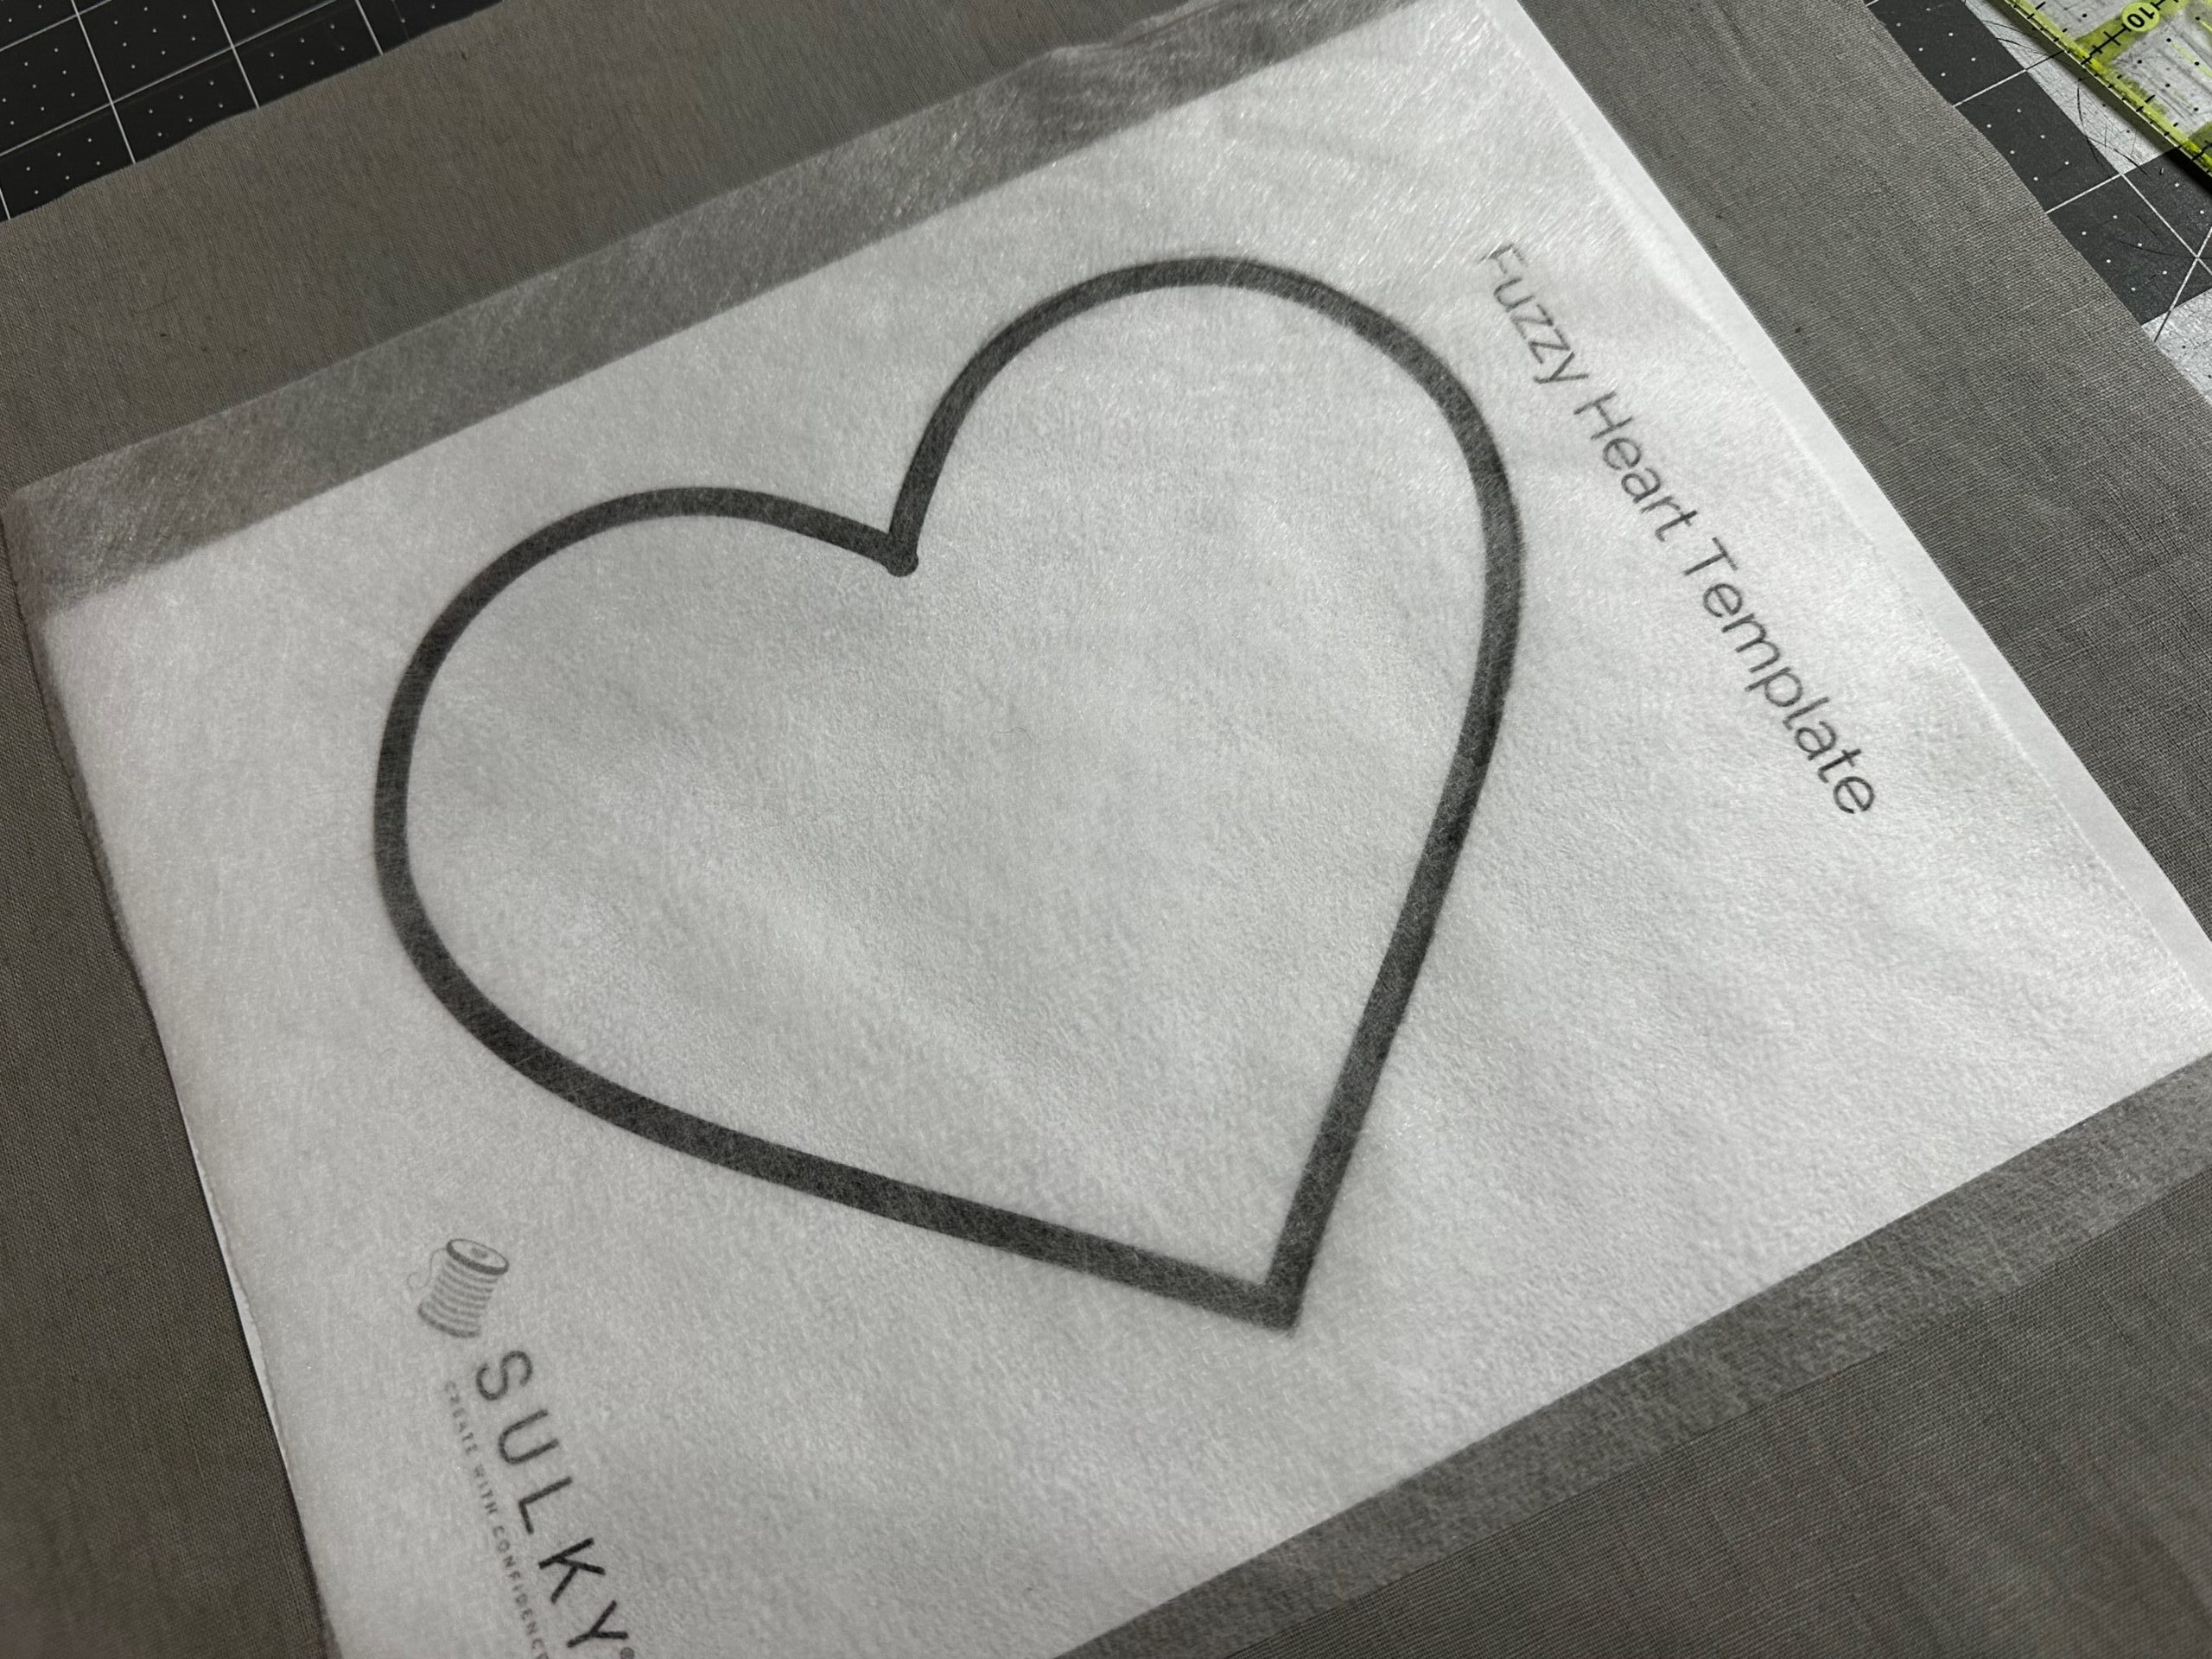
- Heart Template
PREPARE
Wash & dry the main fabric, per the manufacturer’s instructions. Apply spray starch to the main fabrics.
Determine where to cut a 9″ square from the shirt fabric right side.
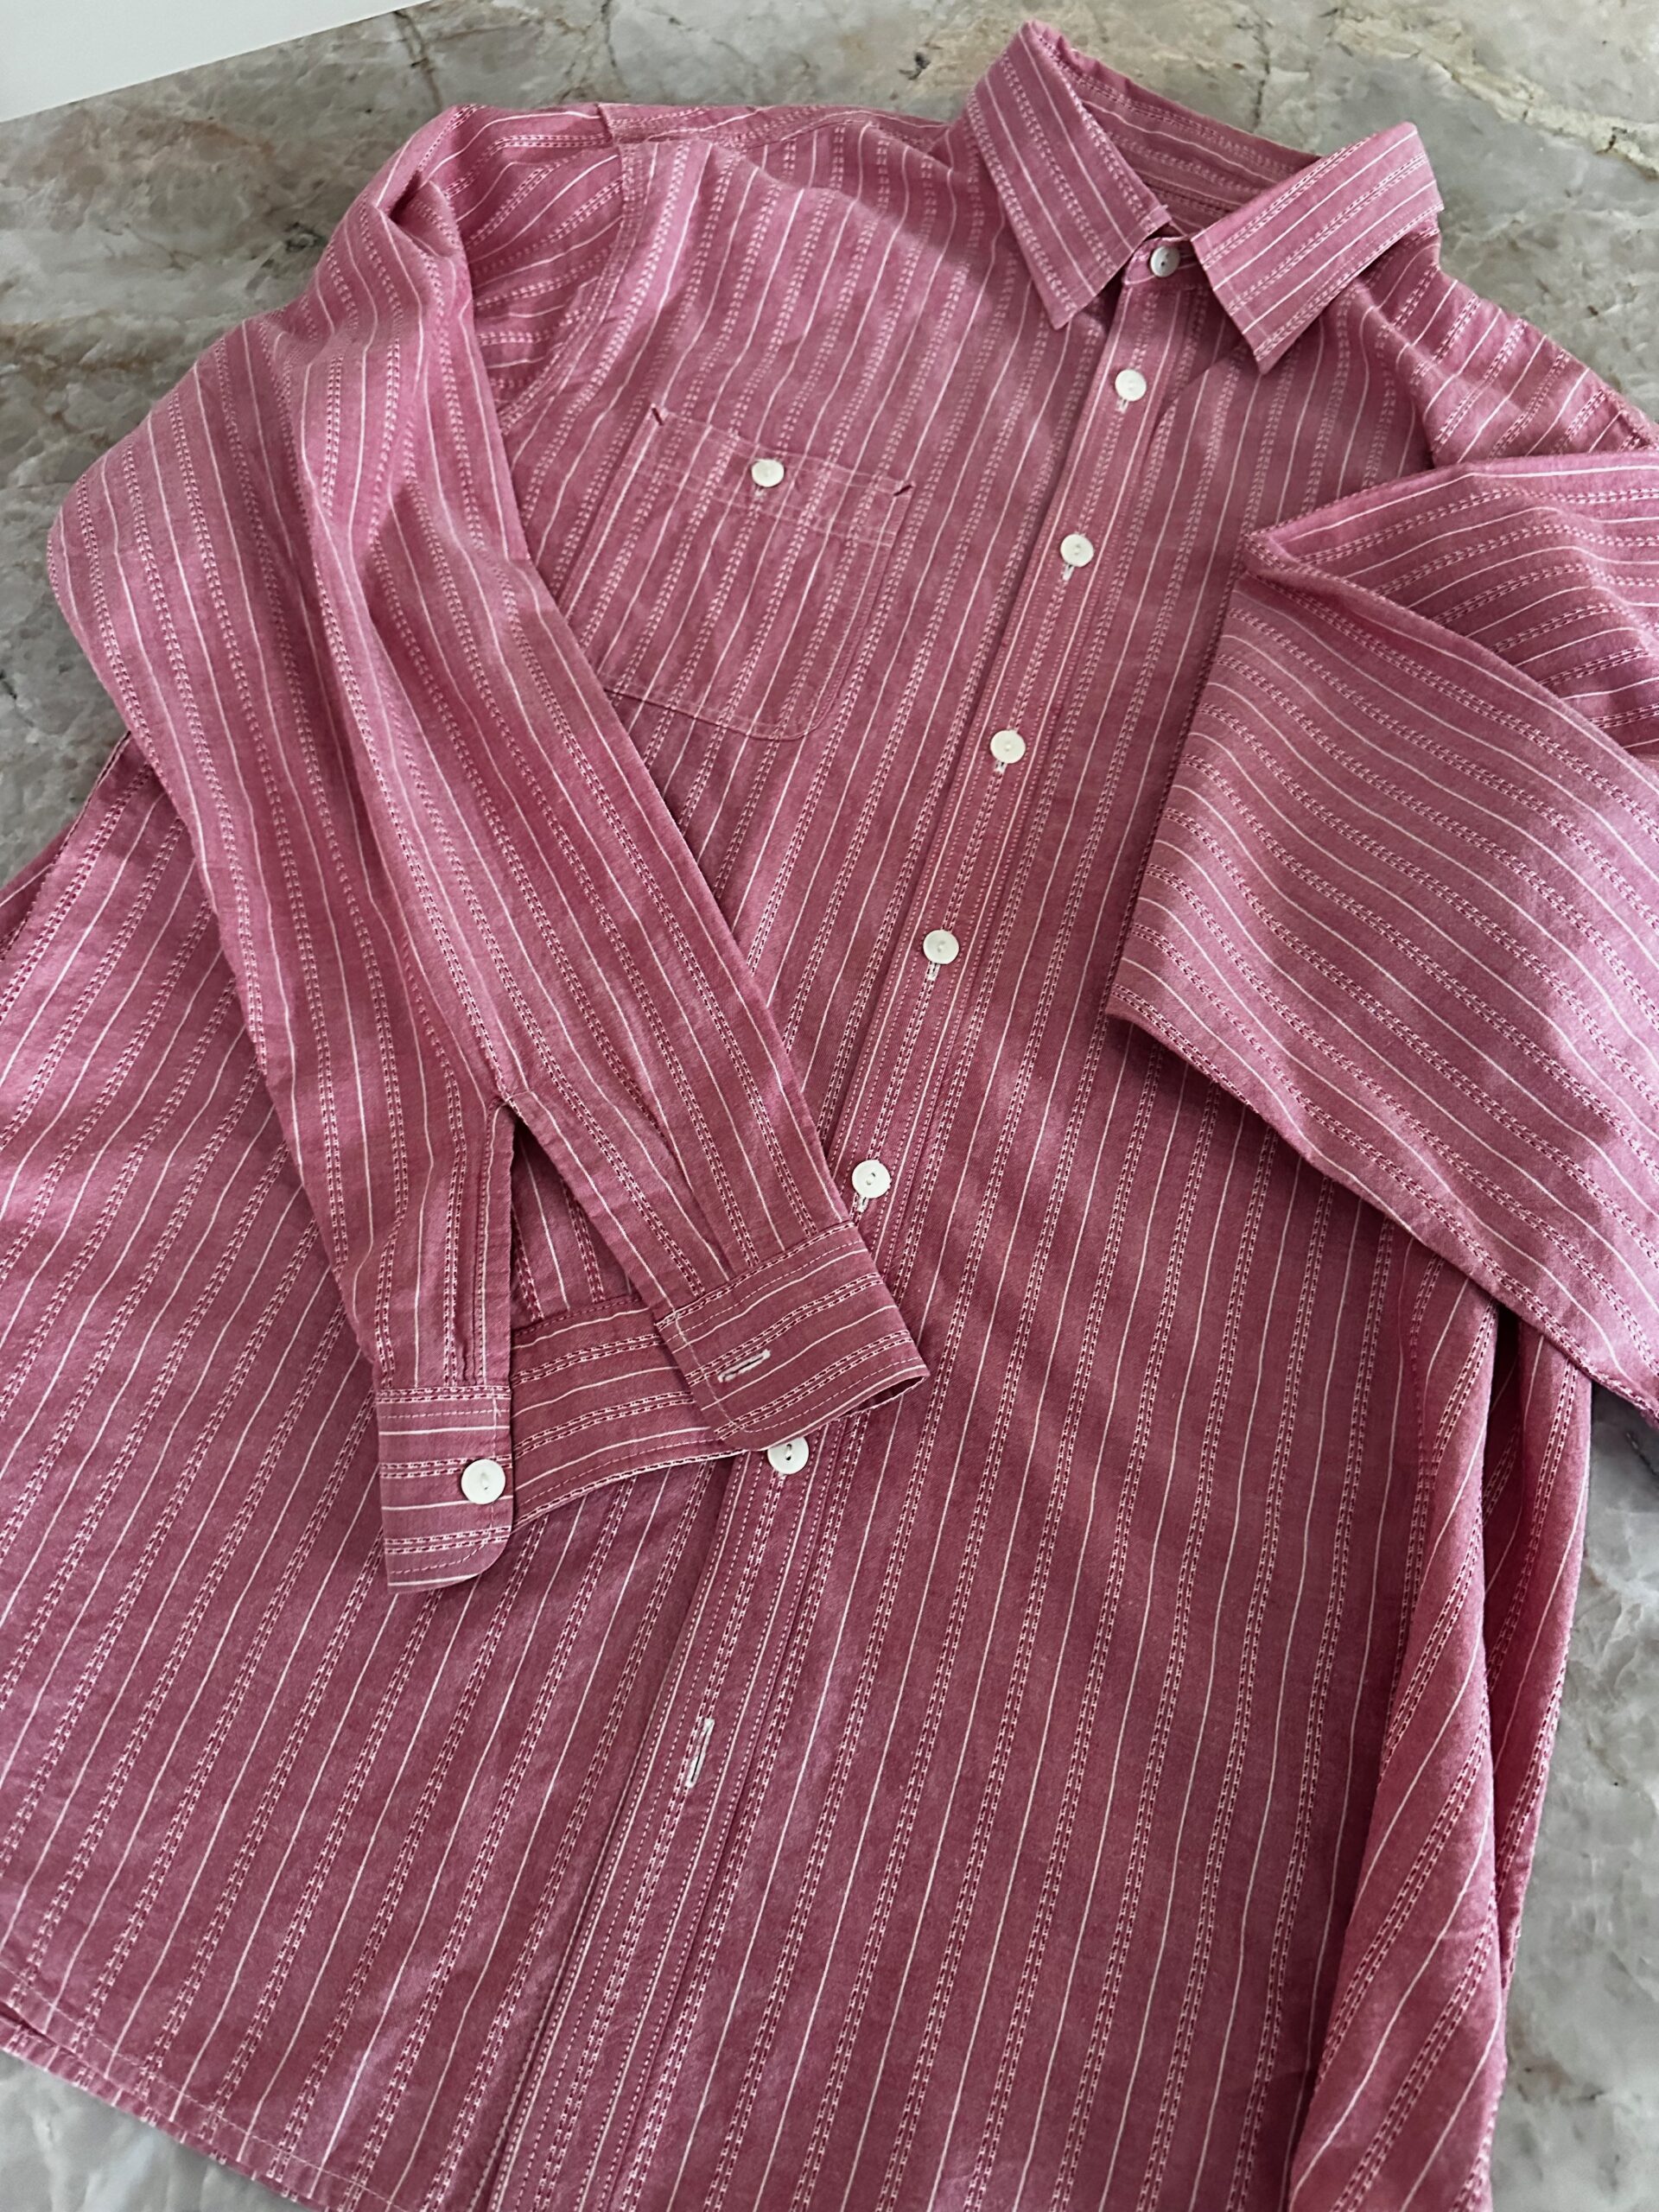
If working with a shirt that has a button placket, consider centering the placket within the heart shape (as shown). Be sure to permanently close the placket opening before cutting the square. Either fuse strips of Sulky Perfect Appliqué Fusible Web inside the opening edges or stitch down each placket long edge, over the previous topstitching.
TIP: Fussy cut a motif, monogram or favorite team name printed on the shirt. If working with a T-shirt, first stabilize the knit fabric by fusing Sulky Soft ‘n Sheer Extra to the shirt wrong side. This way the fabric acts as a woven and won’t stretch during sewing.
Print the Heart Template. Center the template onto the Soft ‘n Sheer Stabilizer, and then outline the heart shape. Then, set aside the stabilizer.
Wind a bobbin and thread the needle with matching 50 wt. Cotton Thread.
Set the machine for a 2.5mm straight stitch.
REVERSE APPLIQUÉ
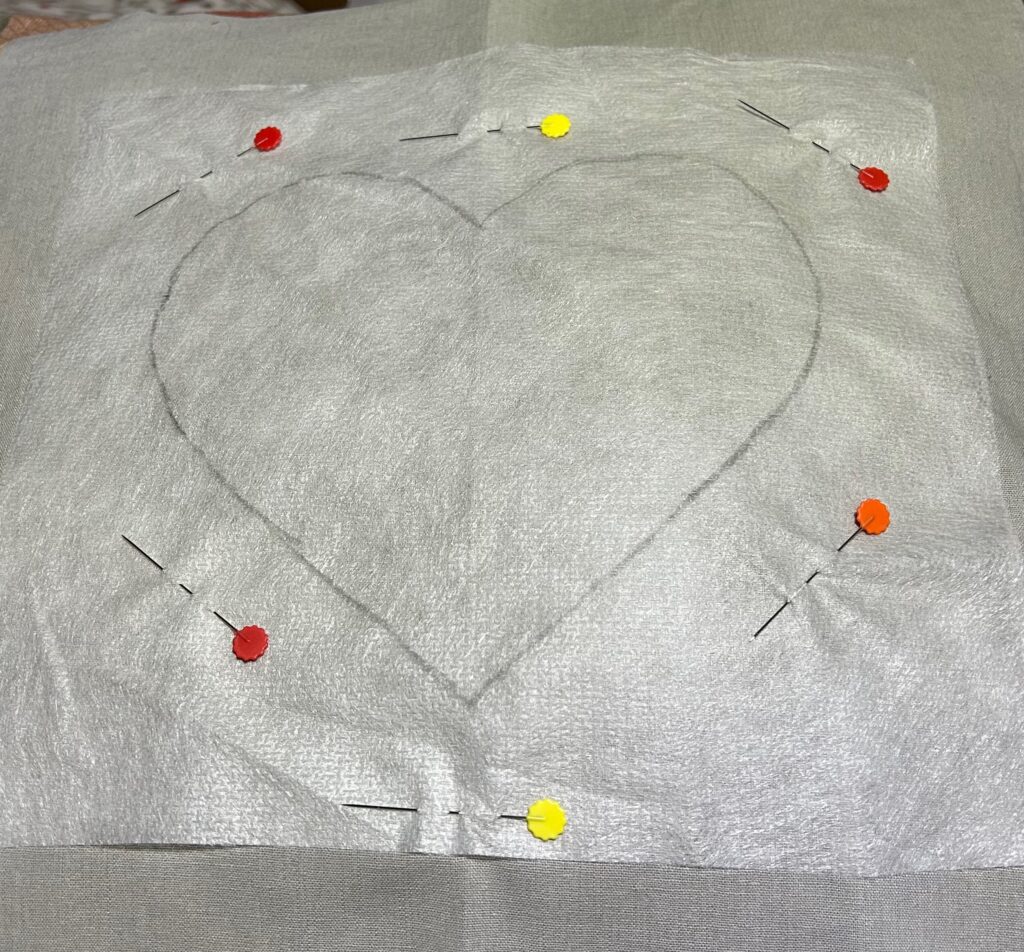
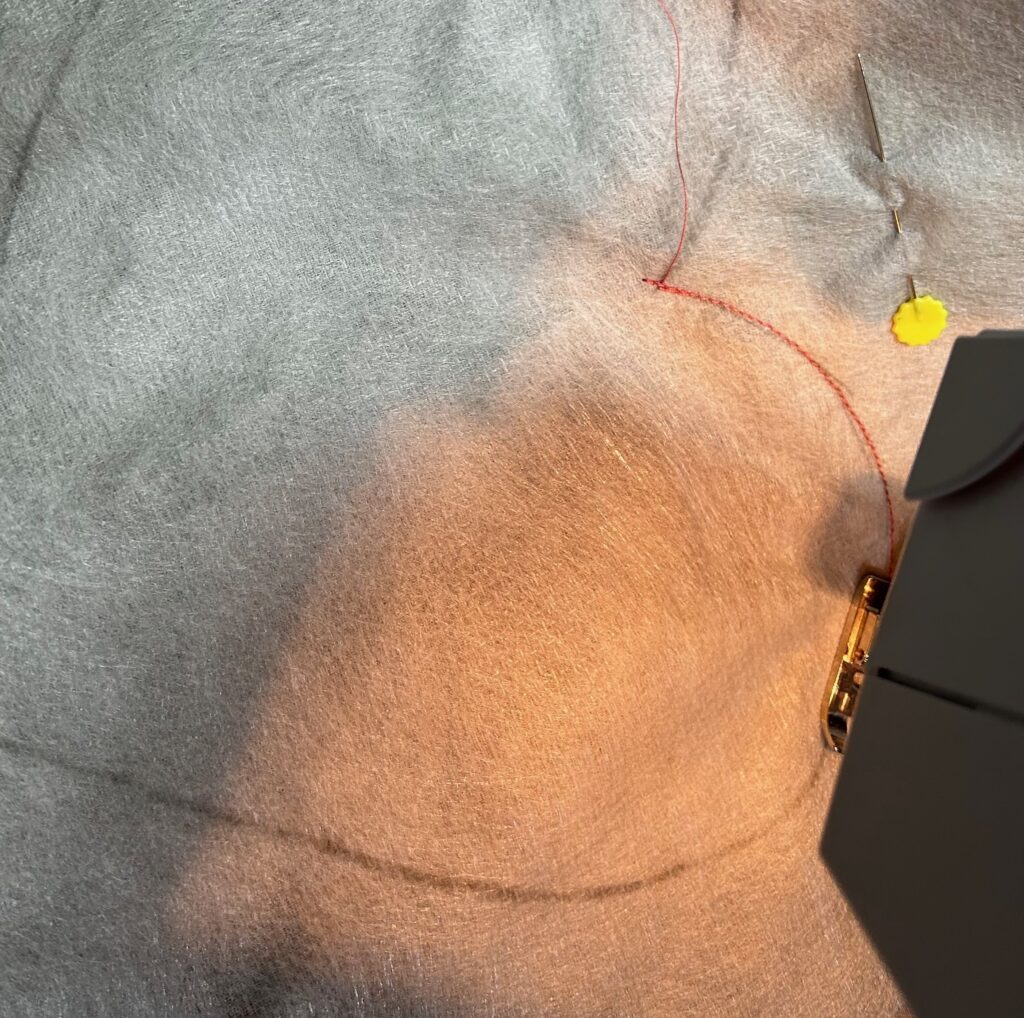
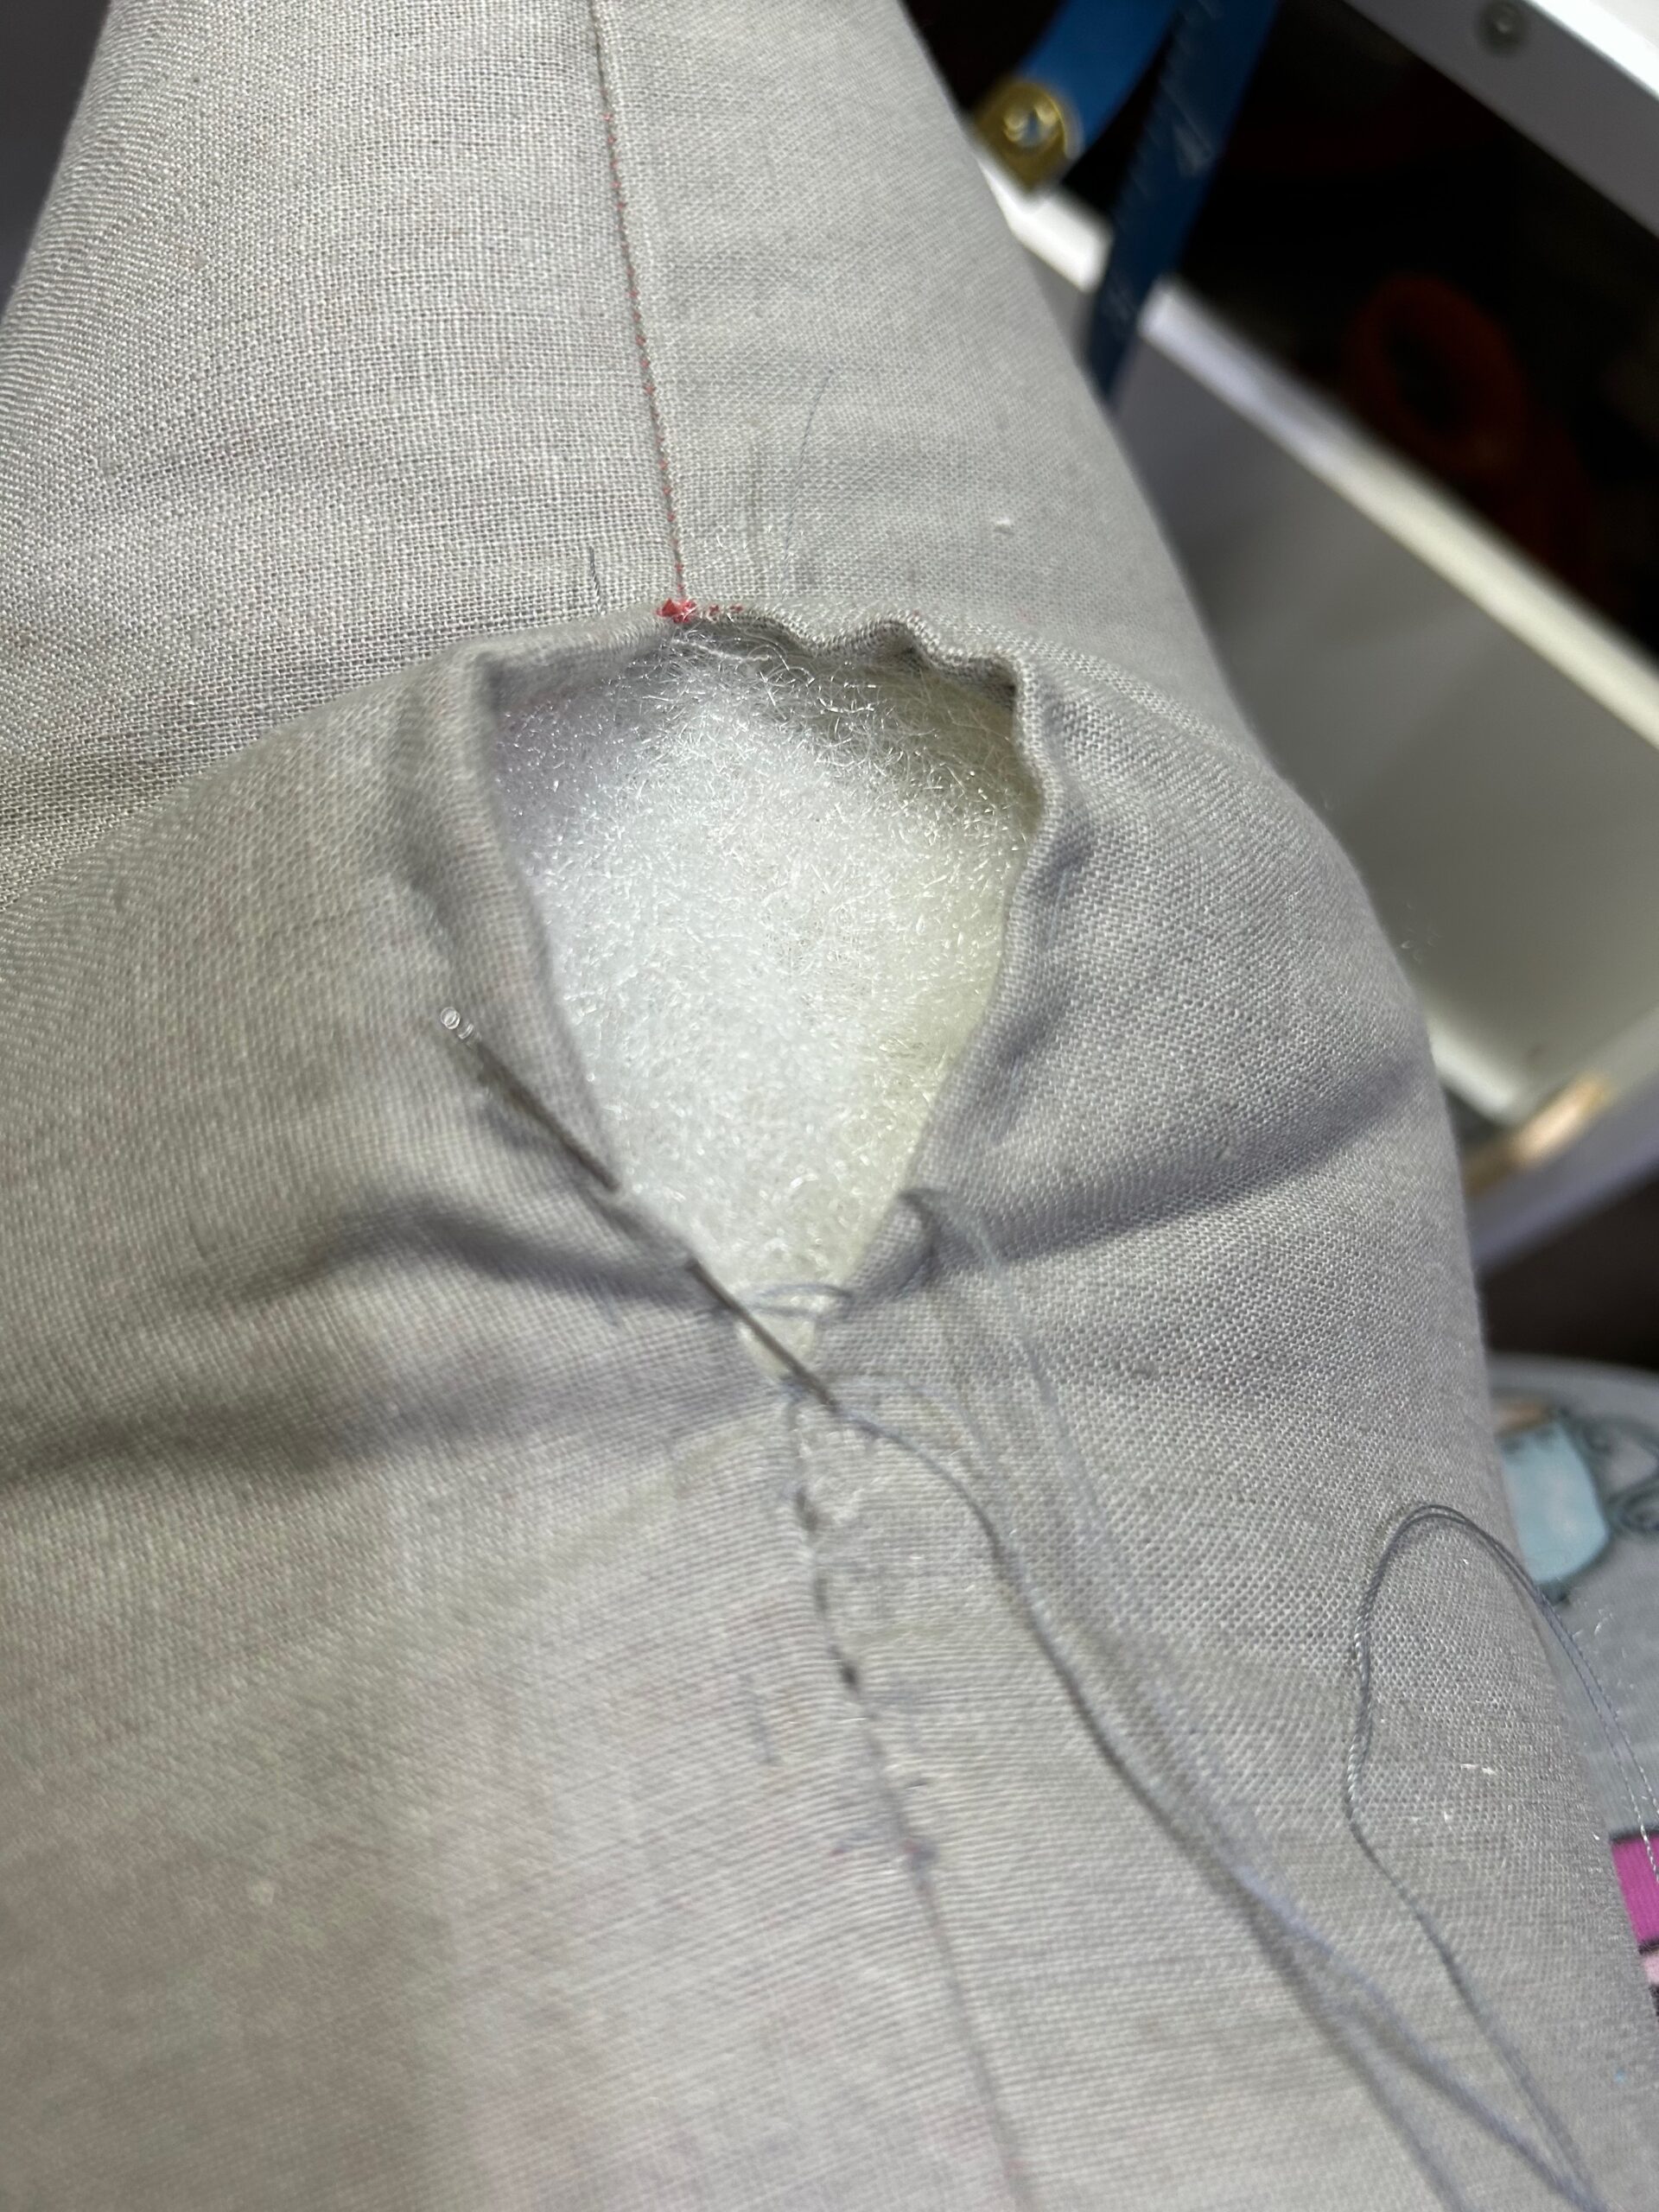
Center the marked stabilizer on one main fabric right side. Pin the stabilizer in place, and then stitch along the heart outline.
Carefully cut out the heart through all layers, approximately 1/2″ inside the stitching.
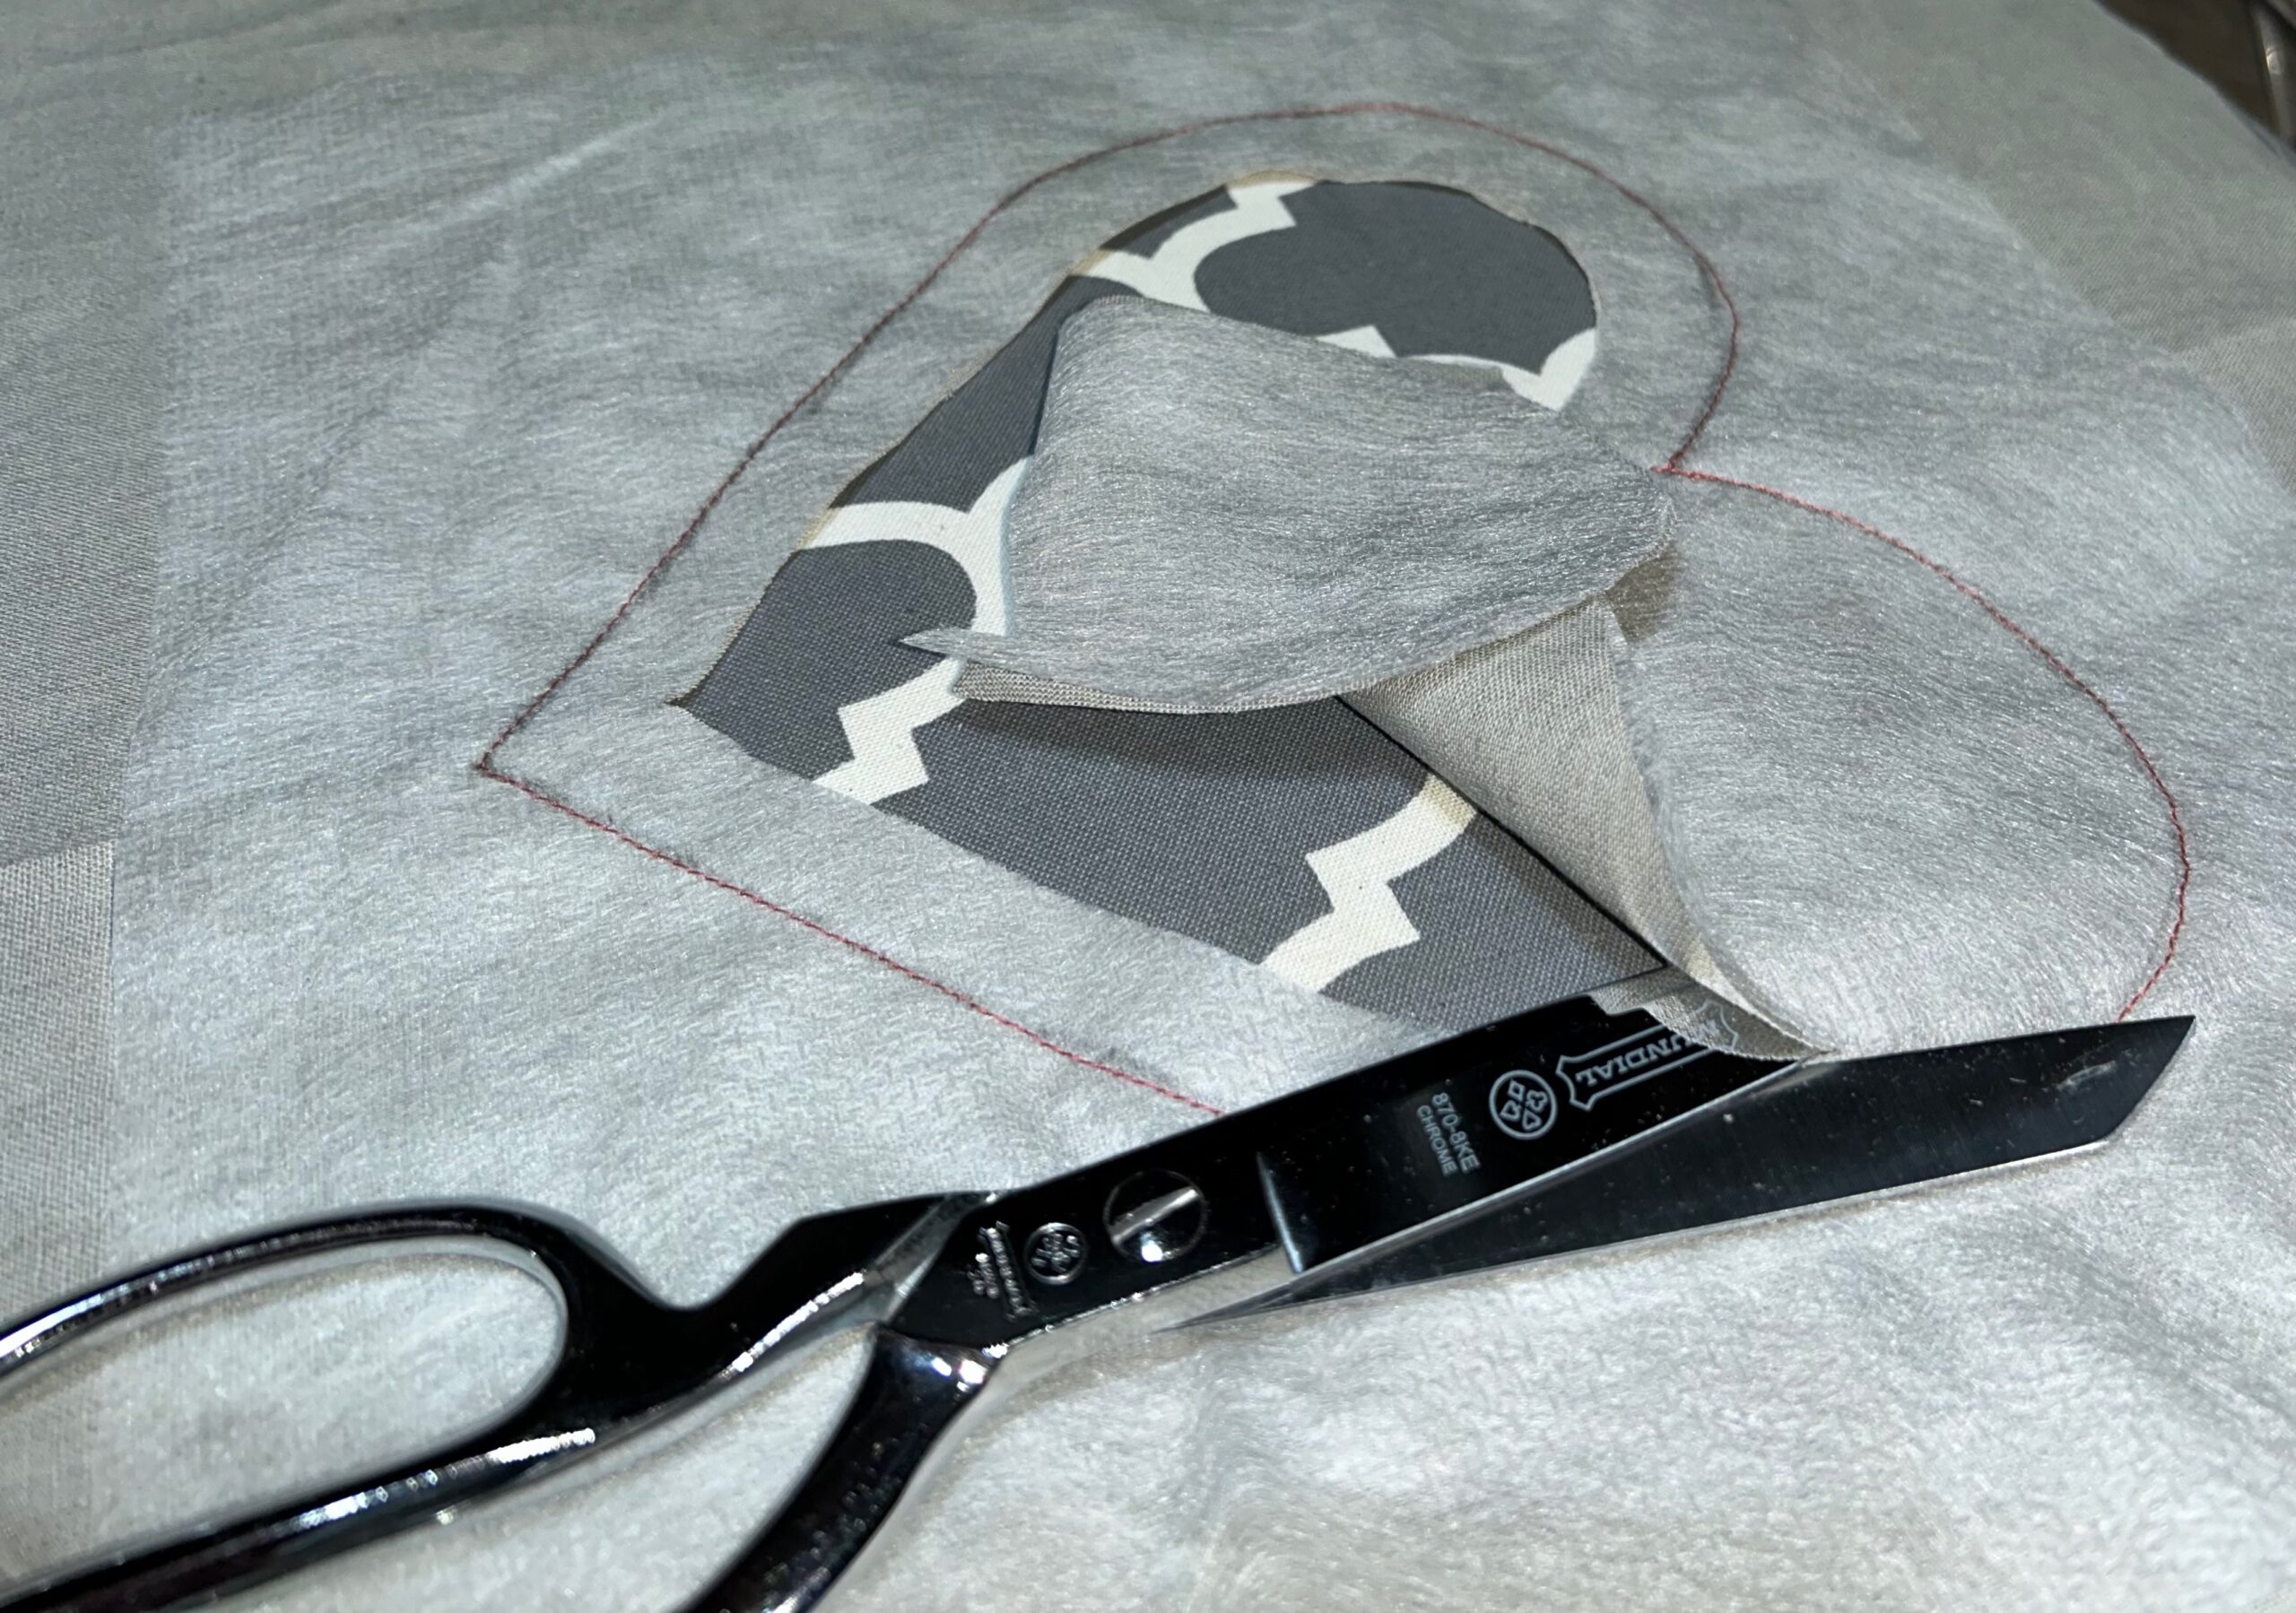
Clip into the curves every 1/4″ or so.
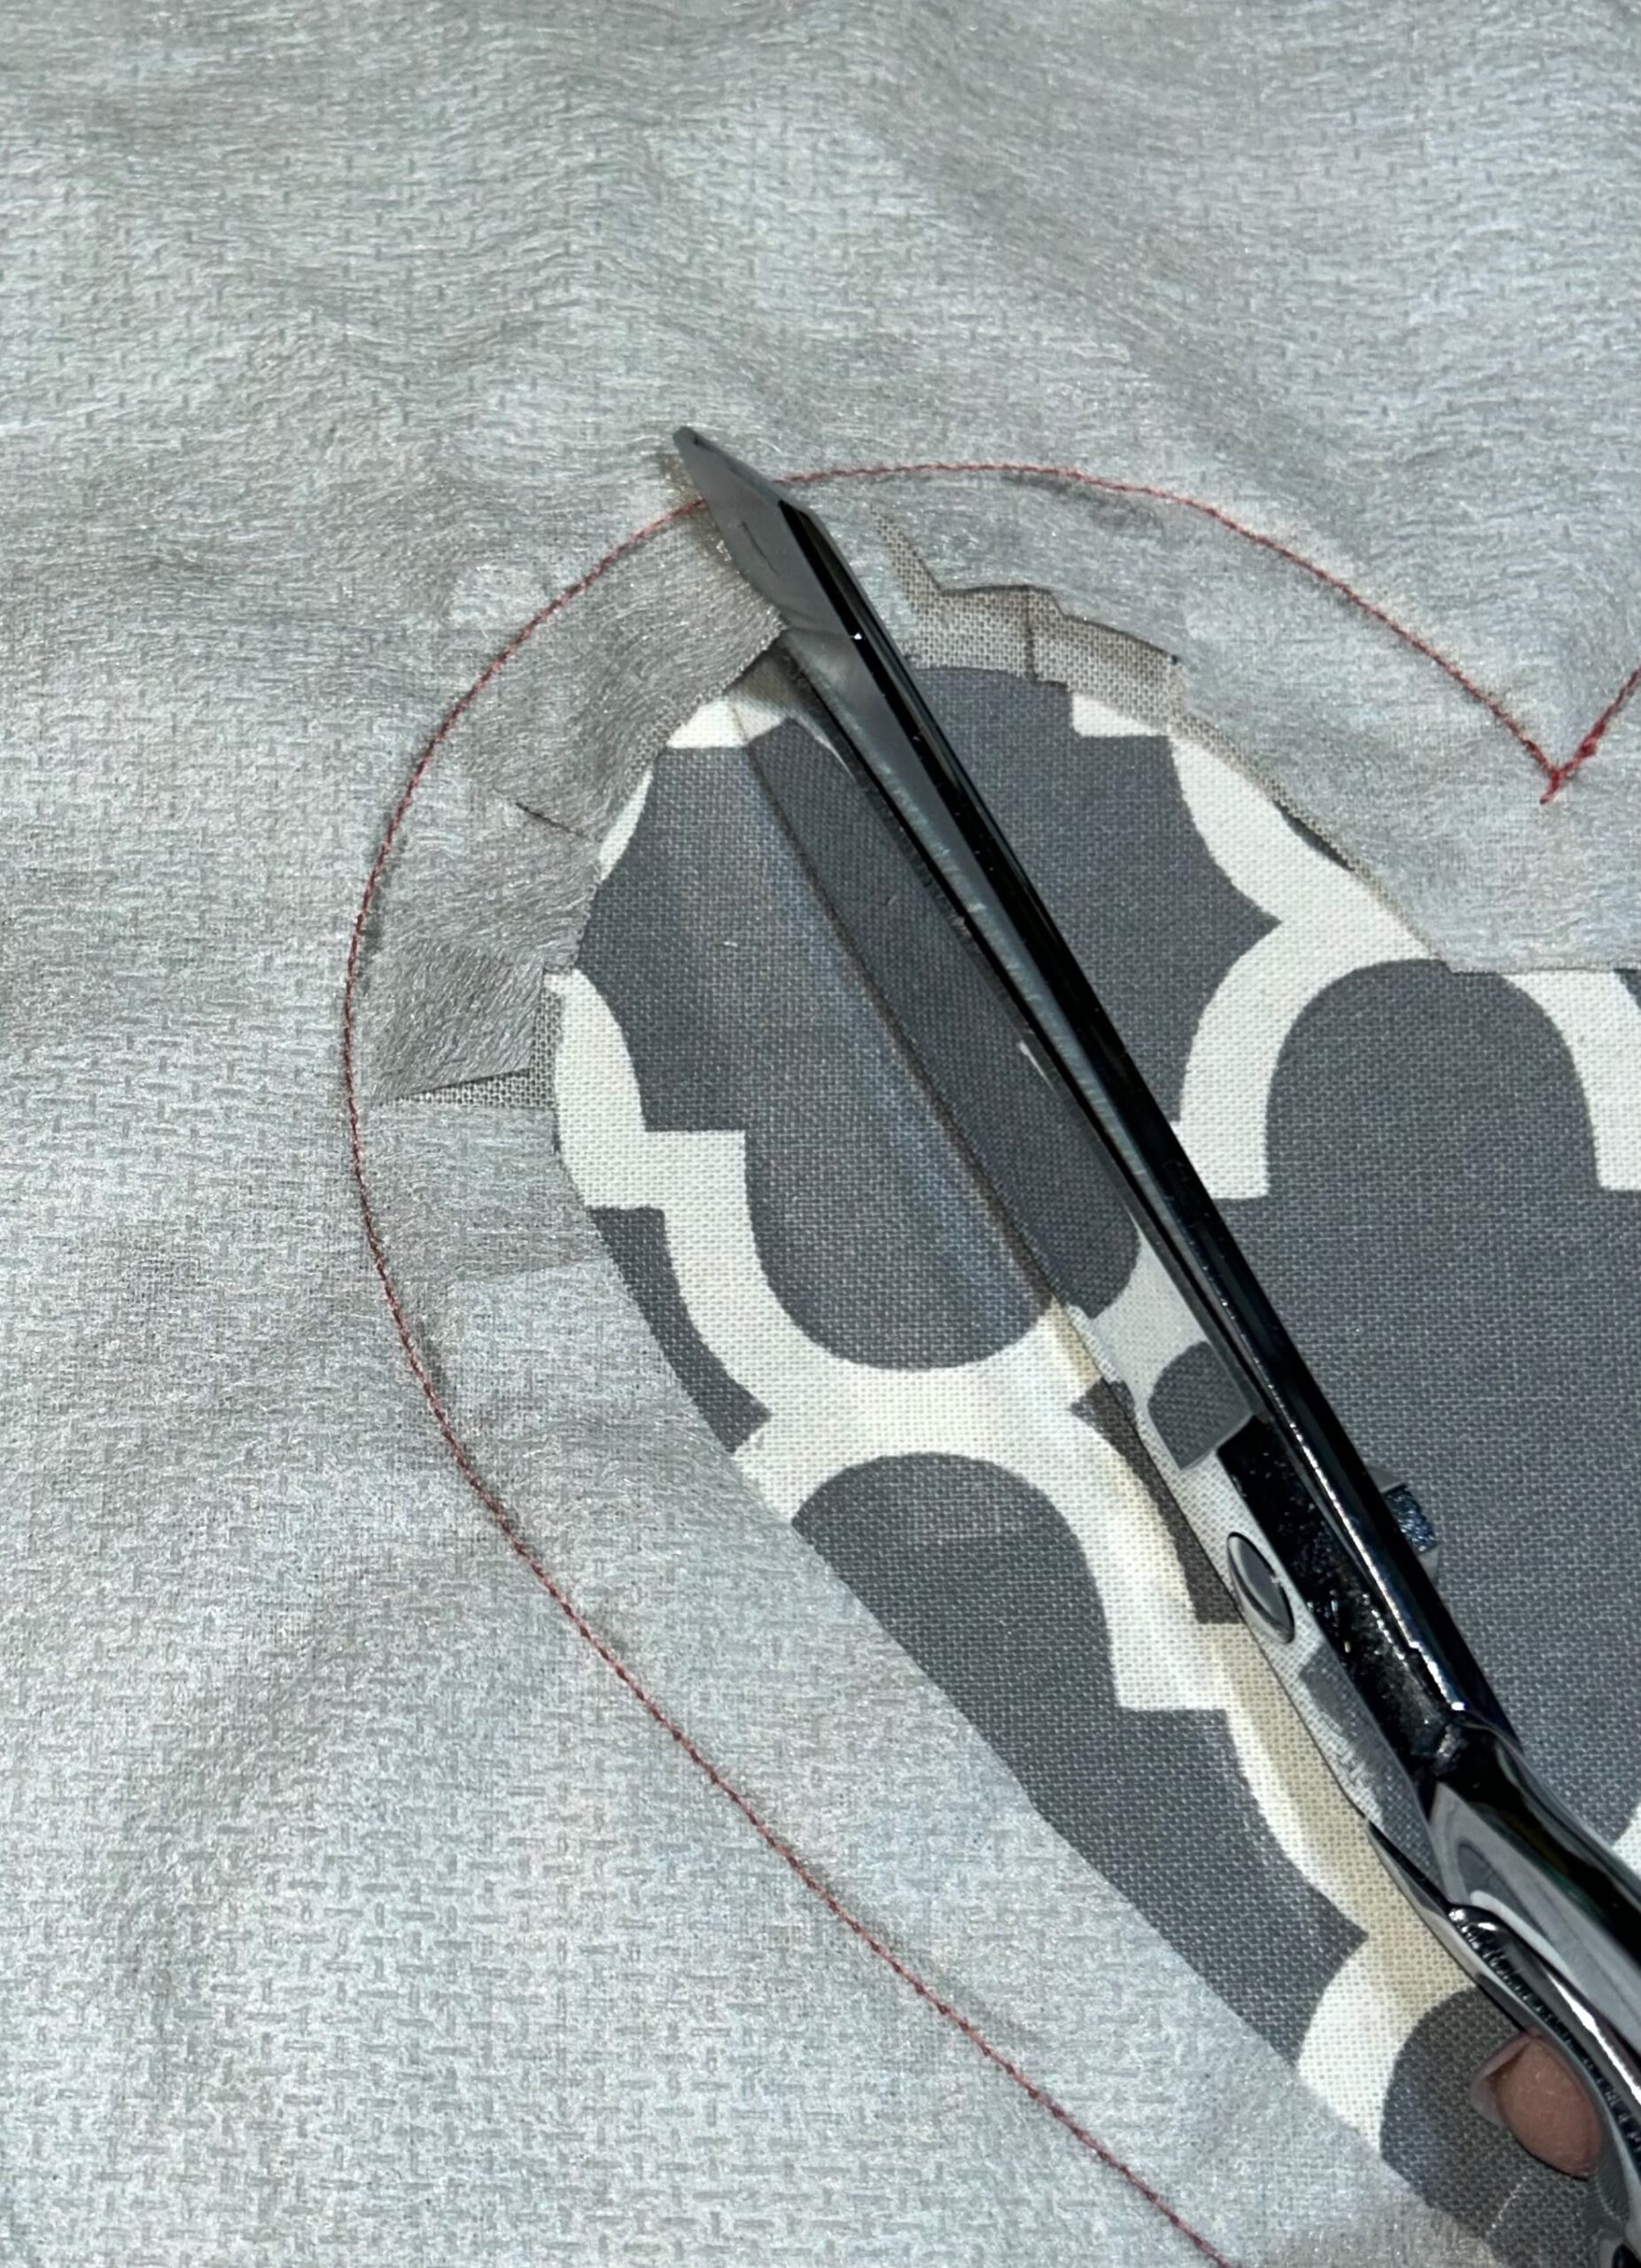
Then, pull the stabilizer through the opening toward the fabric wrong side. Press, favoring the stabilizer edge toward the exterior-fabric wrong side.

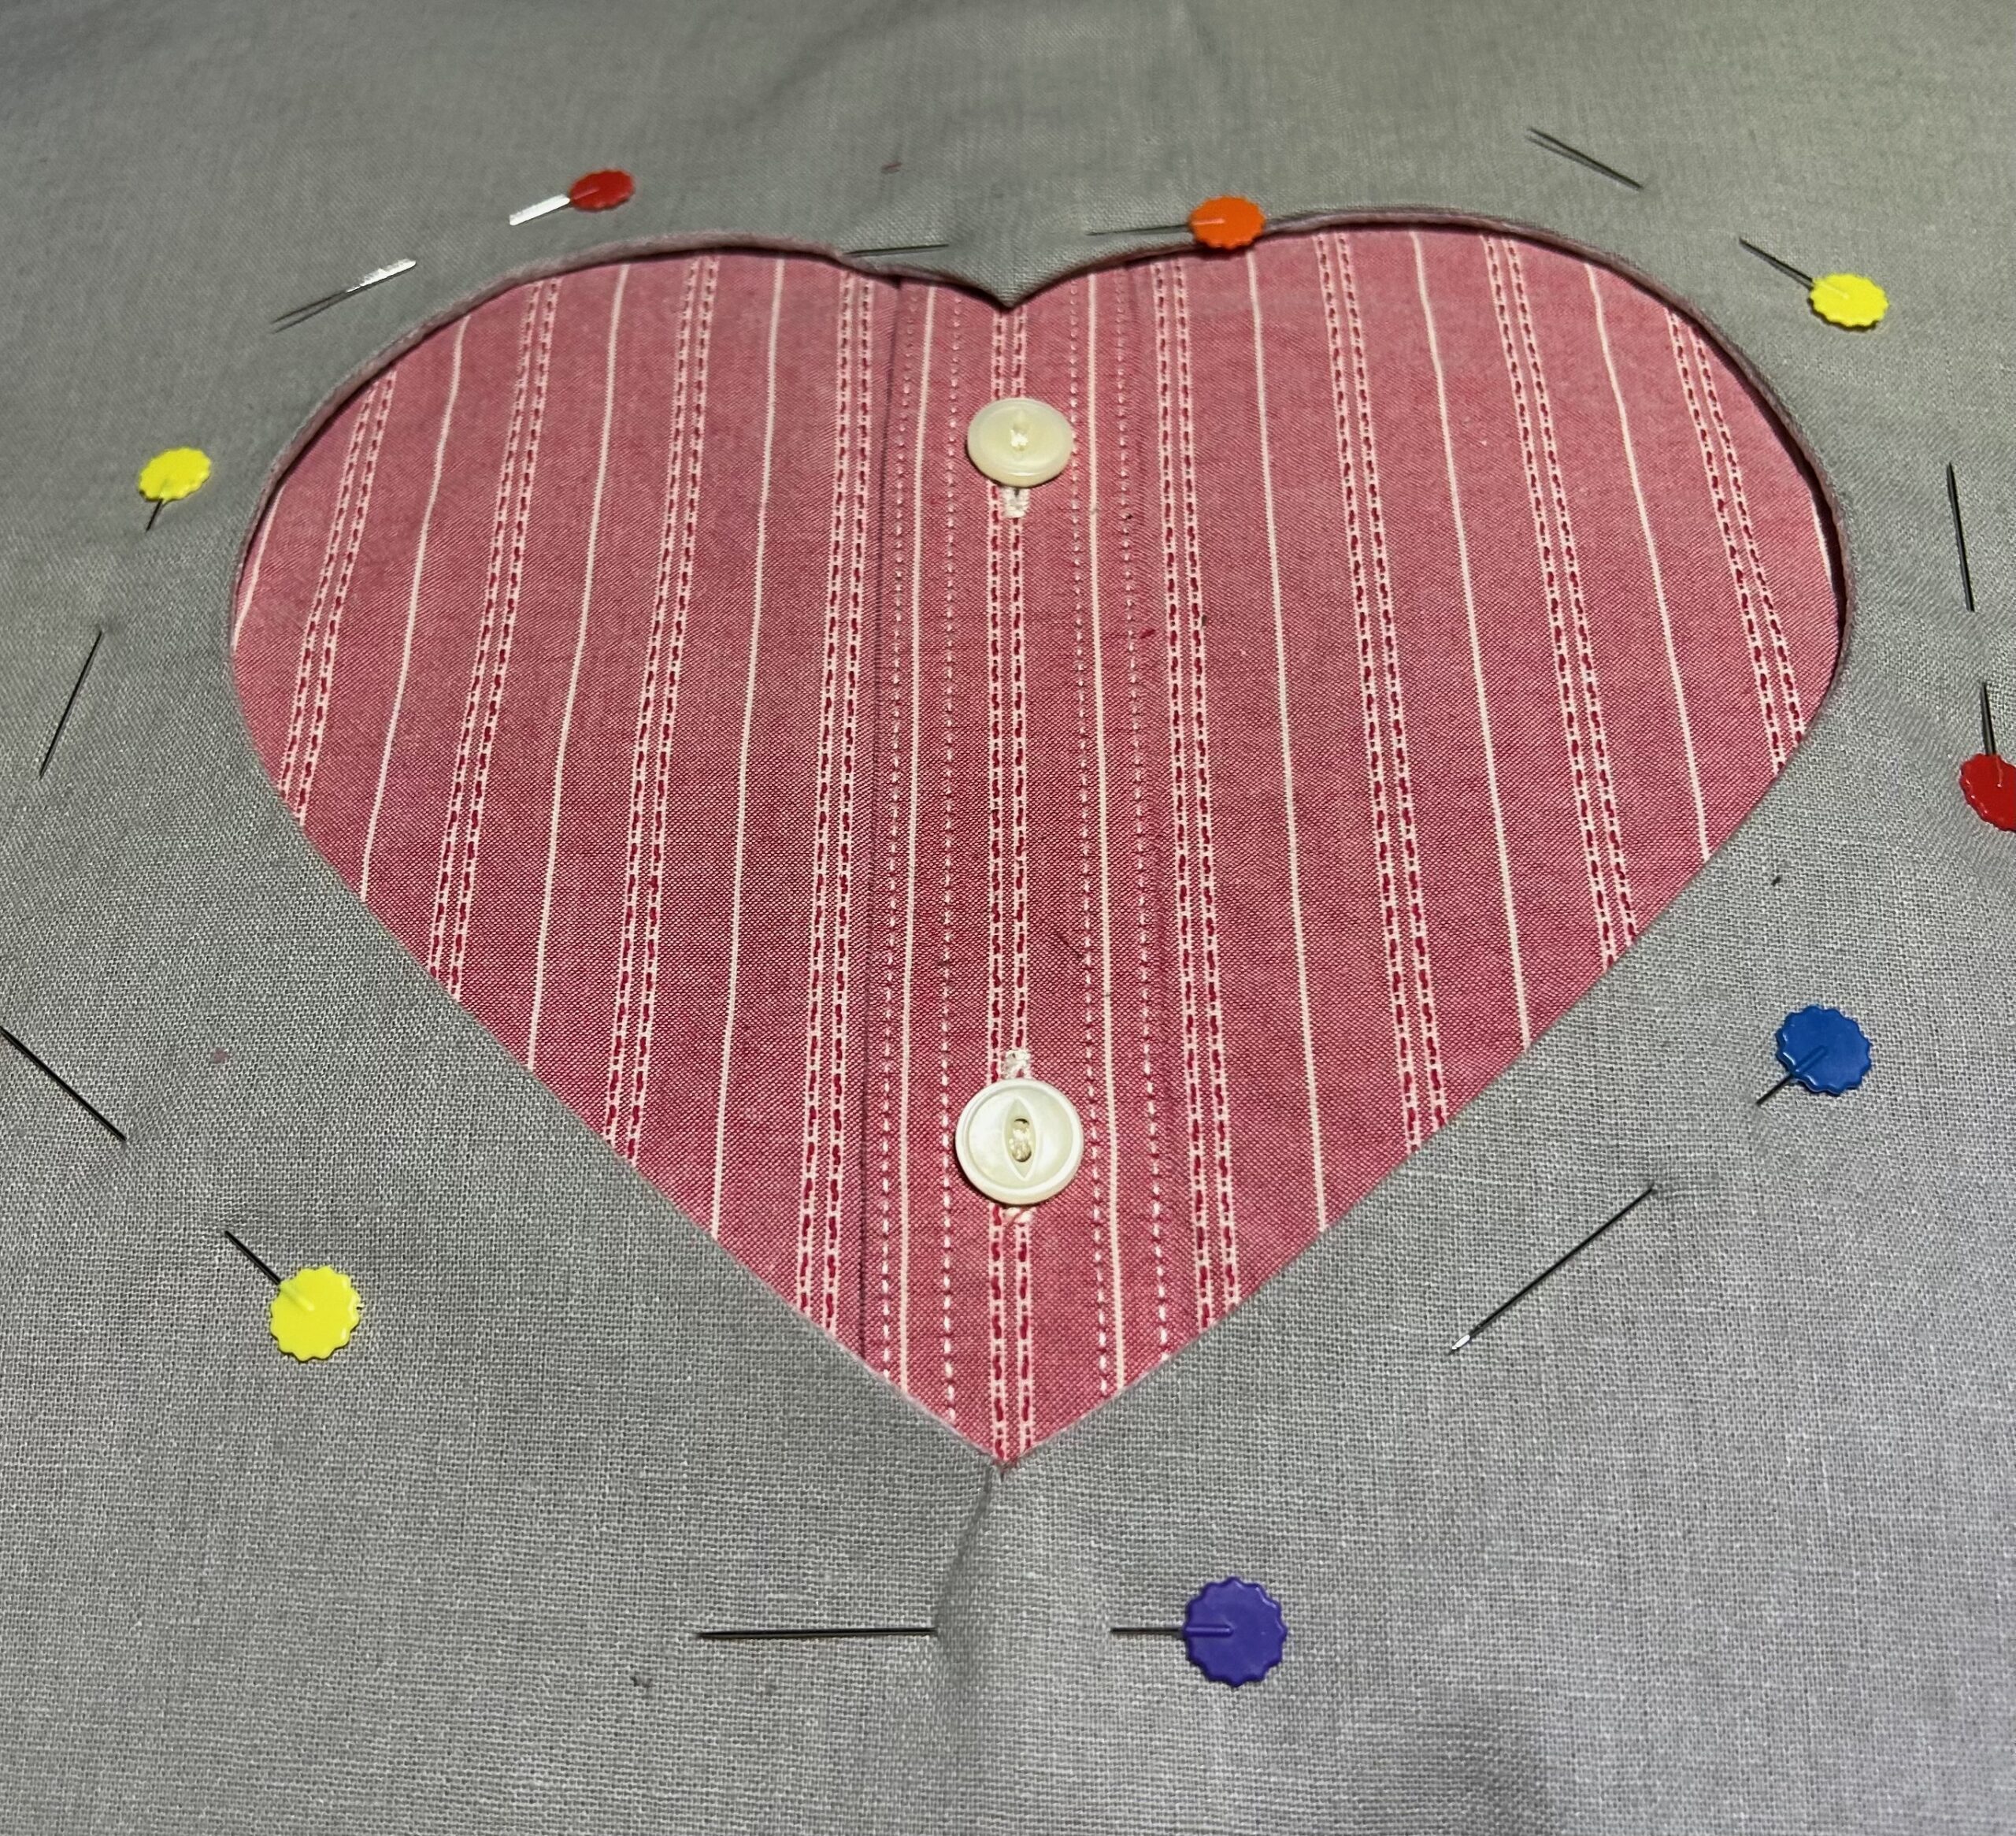
Center the shirt-fabric square behind the heart cutout. Once satisfied with the placement, pin through all layers.
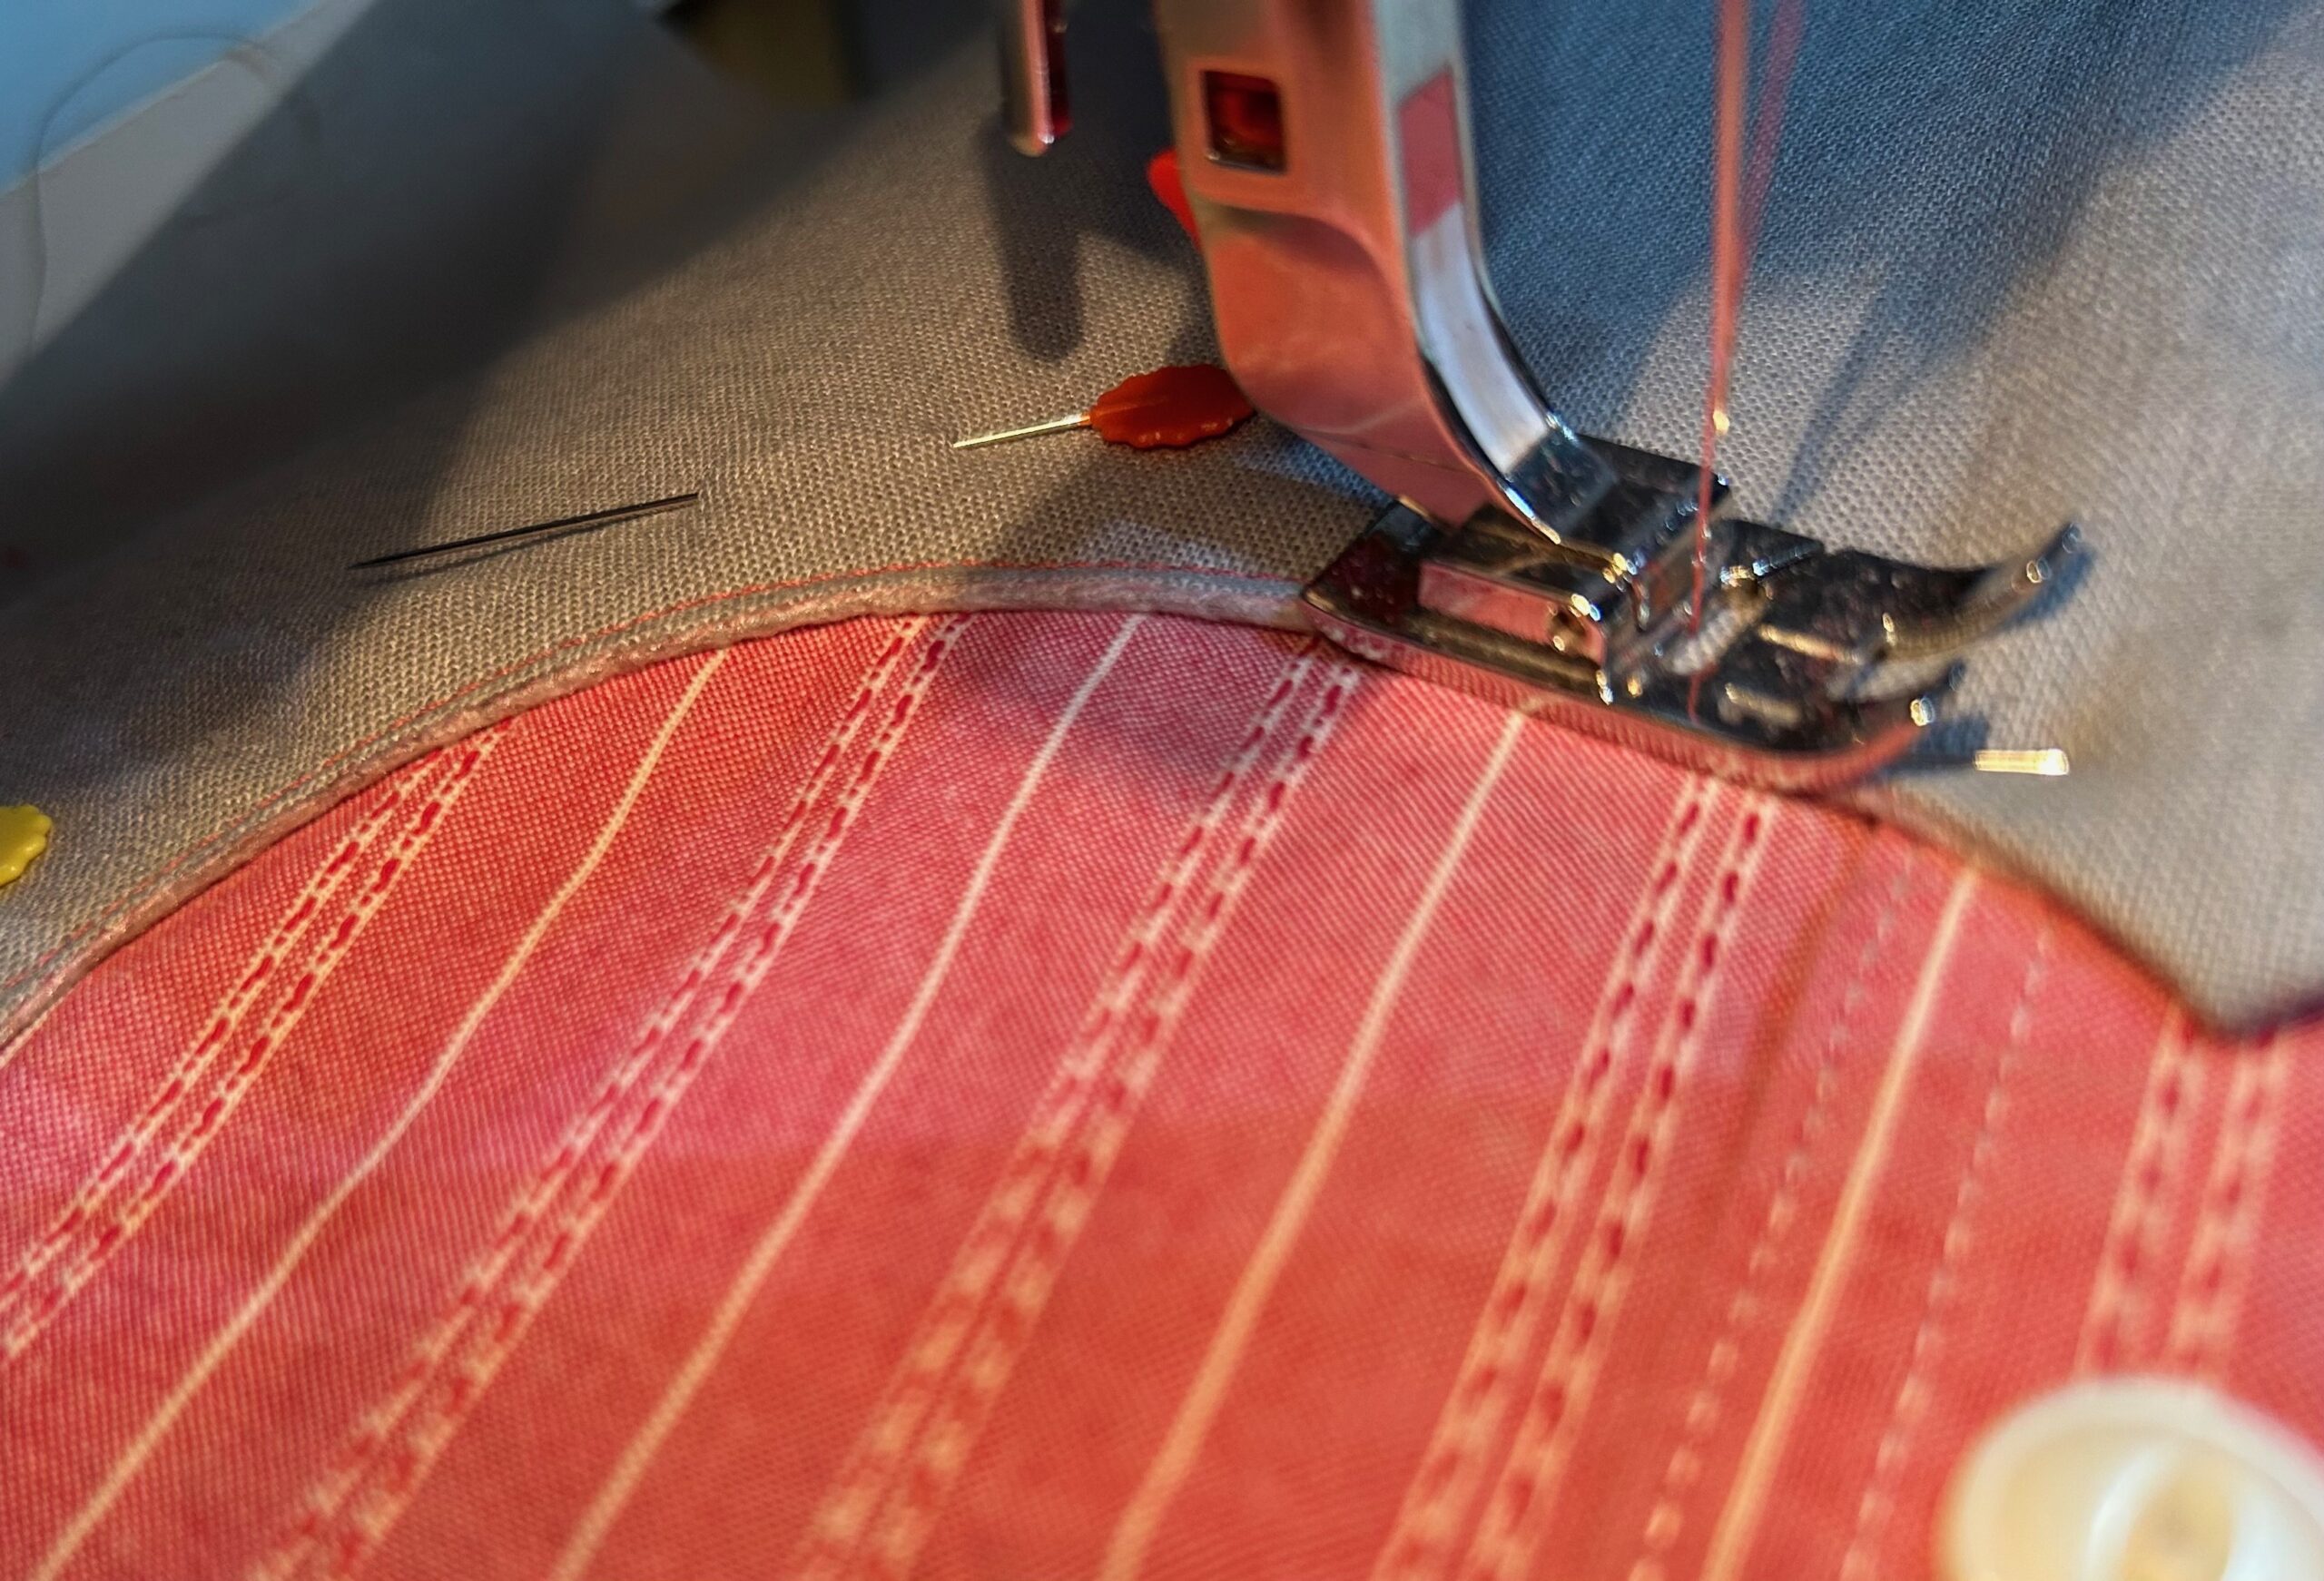
Stitch 1/8″ beyond the exterior-fabric heart opening to secure all layers.
CONSTRUCTION
Place the remaining main fabric over the pillow front with right sides together and edges and corners aligned. If using a directional print, ensure the print is going in the right direction. Pin the edges.
Stitch the pillow perimeter using a ½” seam allowance. Leave a centered 5” opening along the lower edge for turning.

Trim the corners close to, but not through, the stitching.
Use a Sulky Multipurpose Turning Tool to help turn the pillow right side out and carefully push out the corners.
Stuff the pillow to the desired plumpness using polyester fiberfill.
Hand stitch the opening shut using an invisible stitch, such as a whipstitch or slipstitch.
Fluff up the plush fabric using your hand. Then, display the pillow proudly!
TIP: Save the remaining shirt fabric and create a pillow for each person in the family.