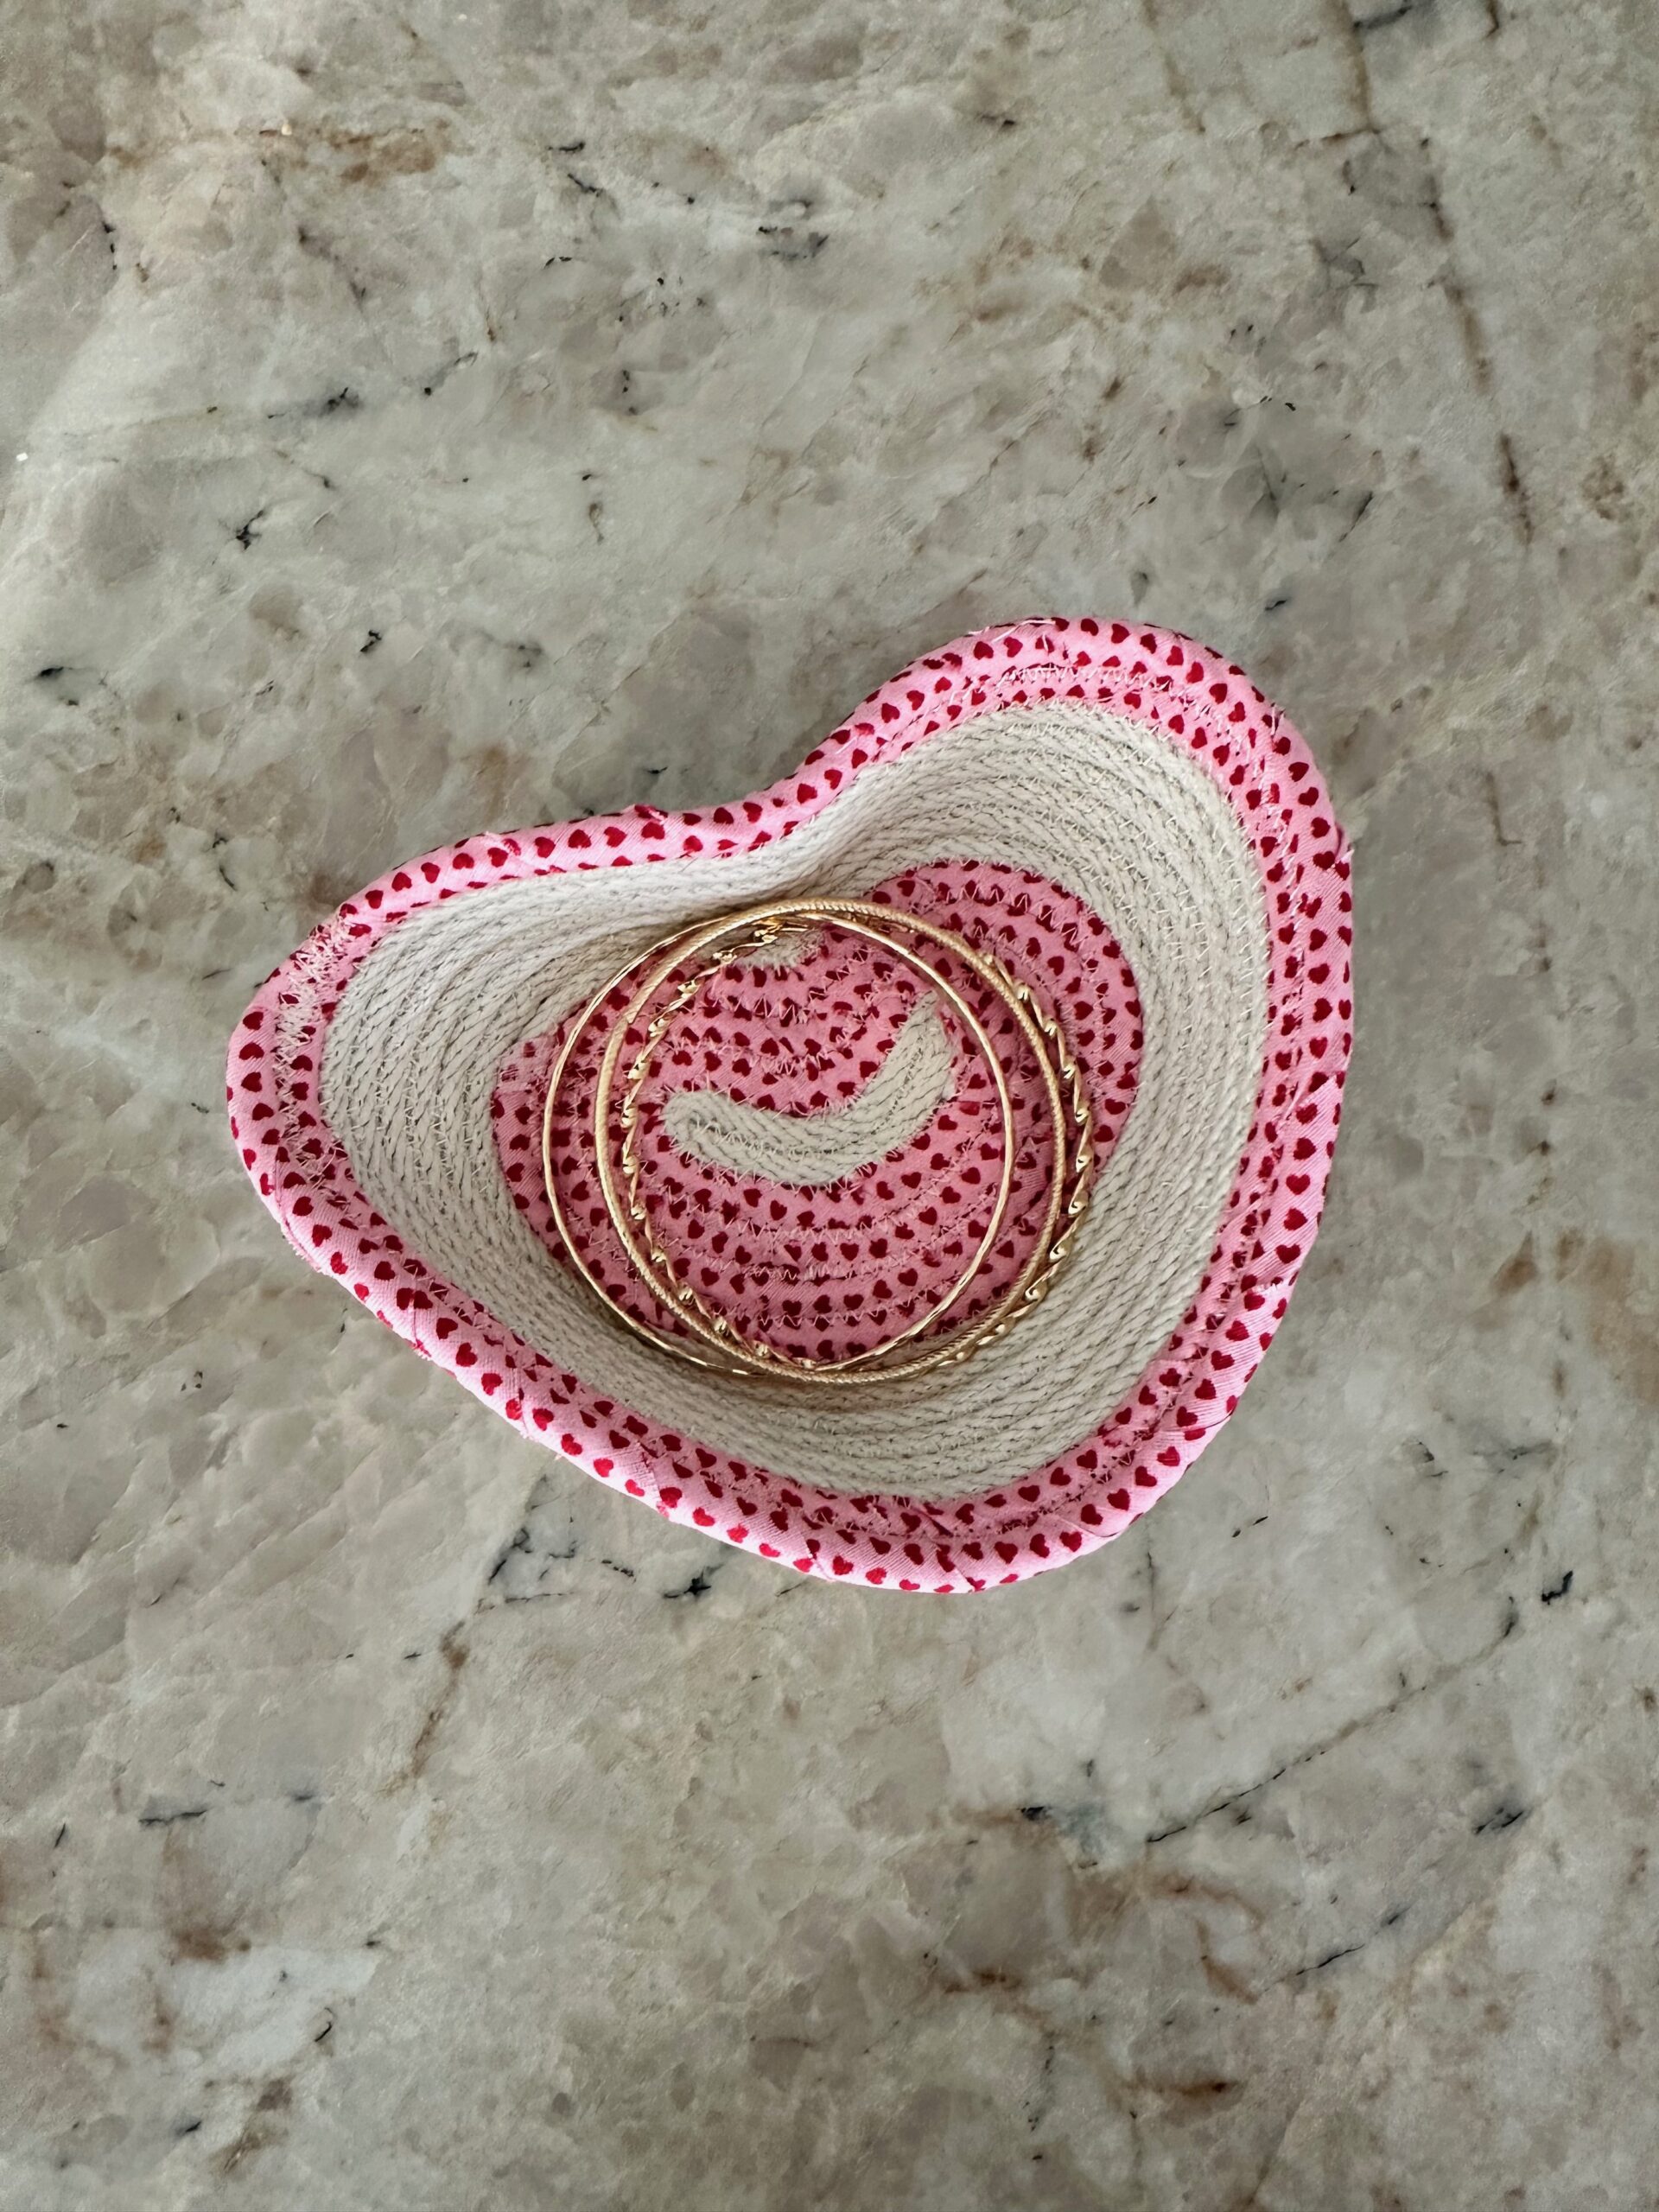
HEART SHAPED ROPE BASKET
This heart shaped rope basket is a Trinket Tray that makes a great gift! Read on to learn how to sew a heart shaped rope basket and size it for a mini trinket tray, with or without fabric wrapping. Gift one to everyone on your Valentine’s Day gift list. This also makes a great gift for Mother’s Day and birthdays, too!
HEART SHAPED ROPE BASKET SUPPLIES
- Clothesline rope (7/32″ diameter cotton clothesline works best)
- Fabric strips (2½”-wide strips cut on the bias work best, but any fabric strip will do)
- Sulky 40 wt. Poly Deco Thread (Ecru matches the featured clothesline)
- Size 80/12 Microtex Needle
TRINKET TRAY HOW-TOS
This heart-shaped rope basket can really be any size. However, for a Trinket Tray, you want it to fit in your hand for small items like earrings, rings, bracelets and pocket change. It’s a great size for keeping on a bedside table or entryway nook.
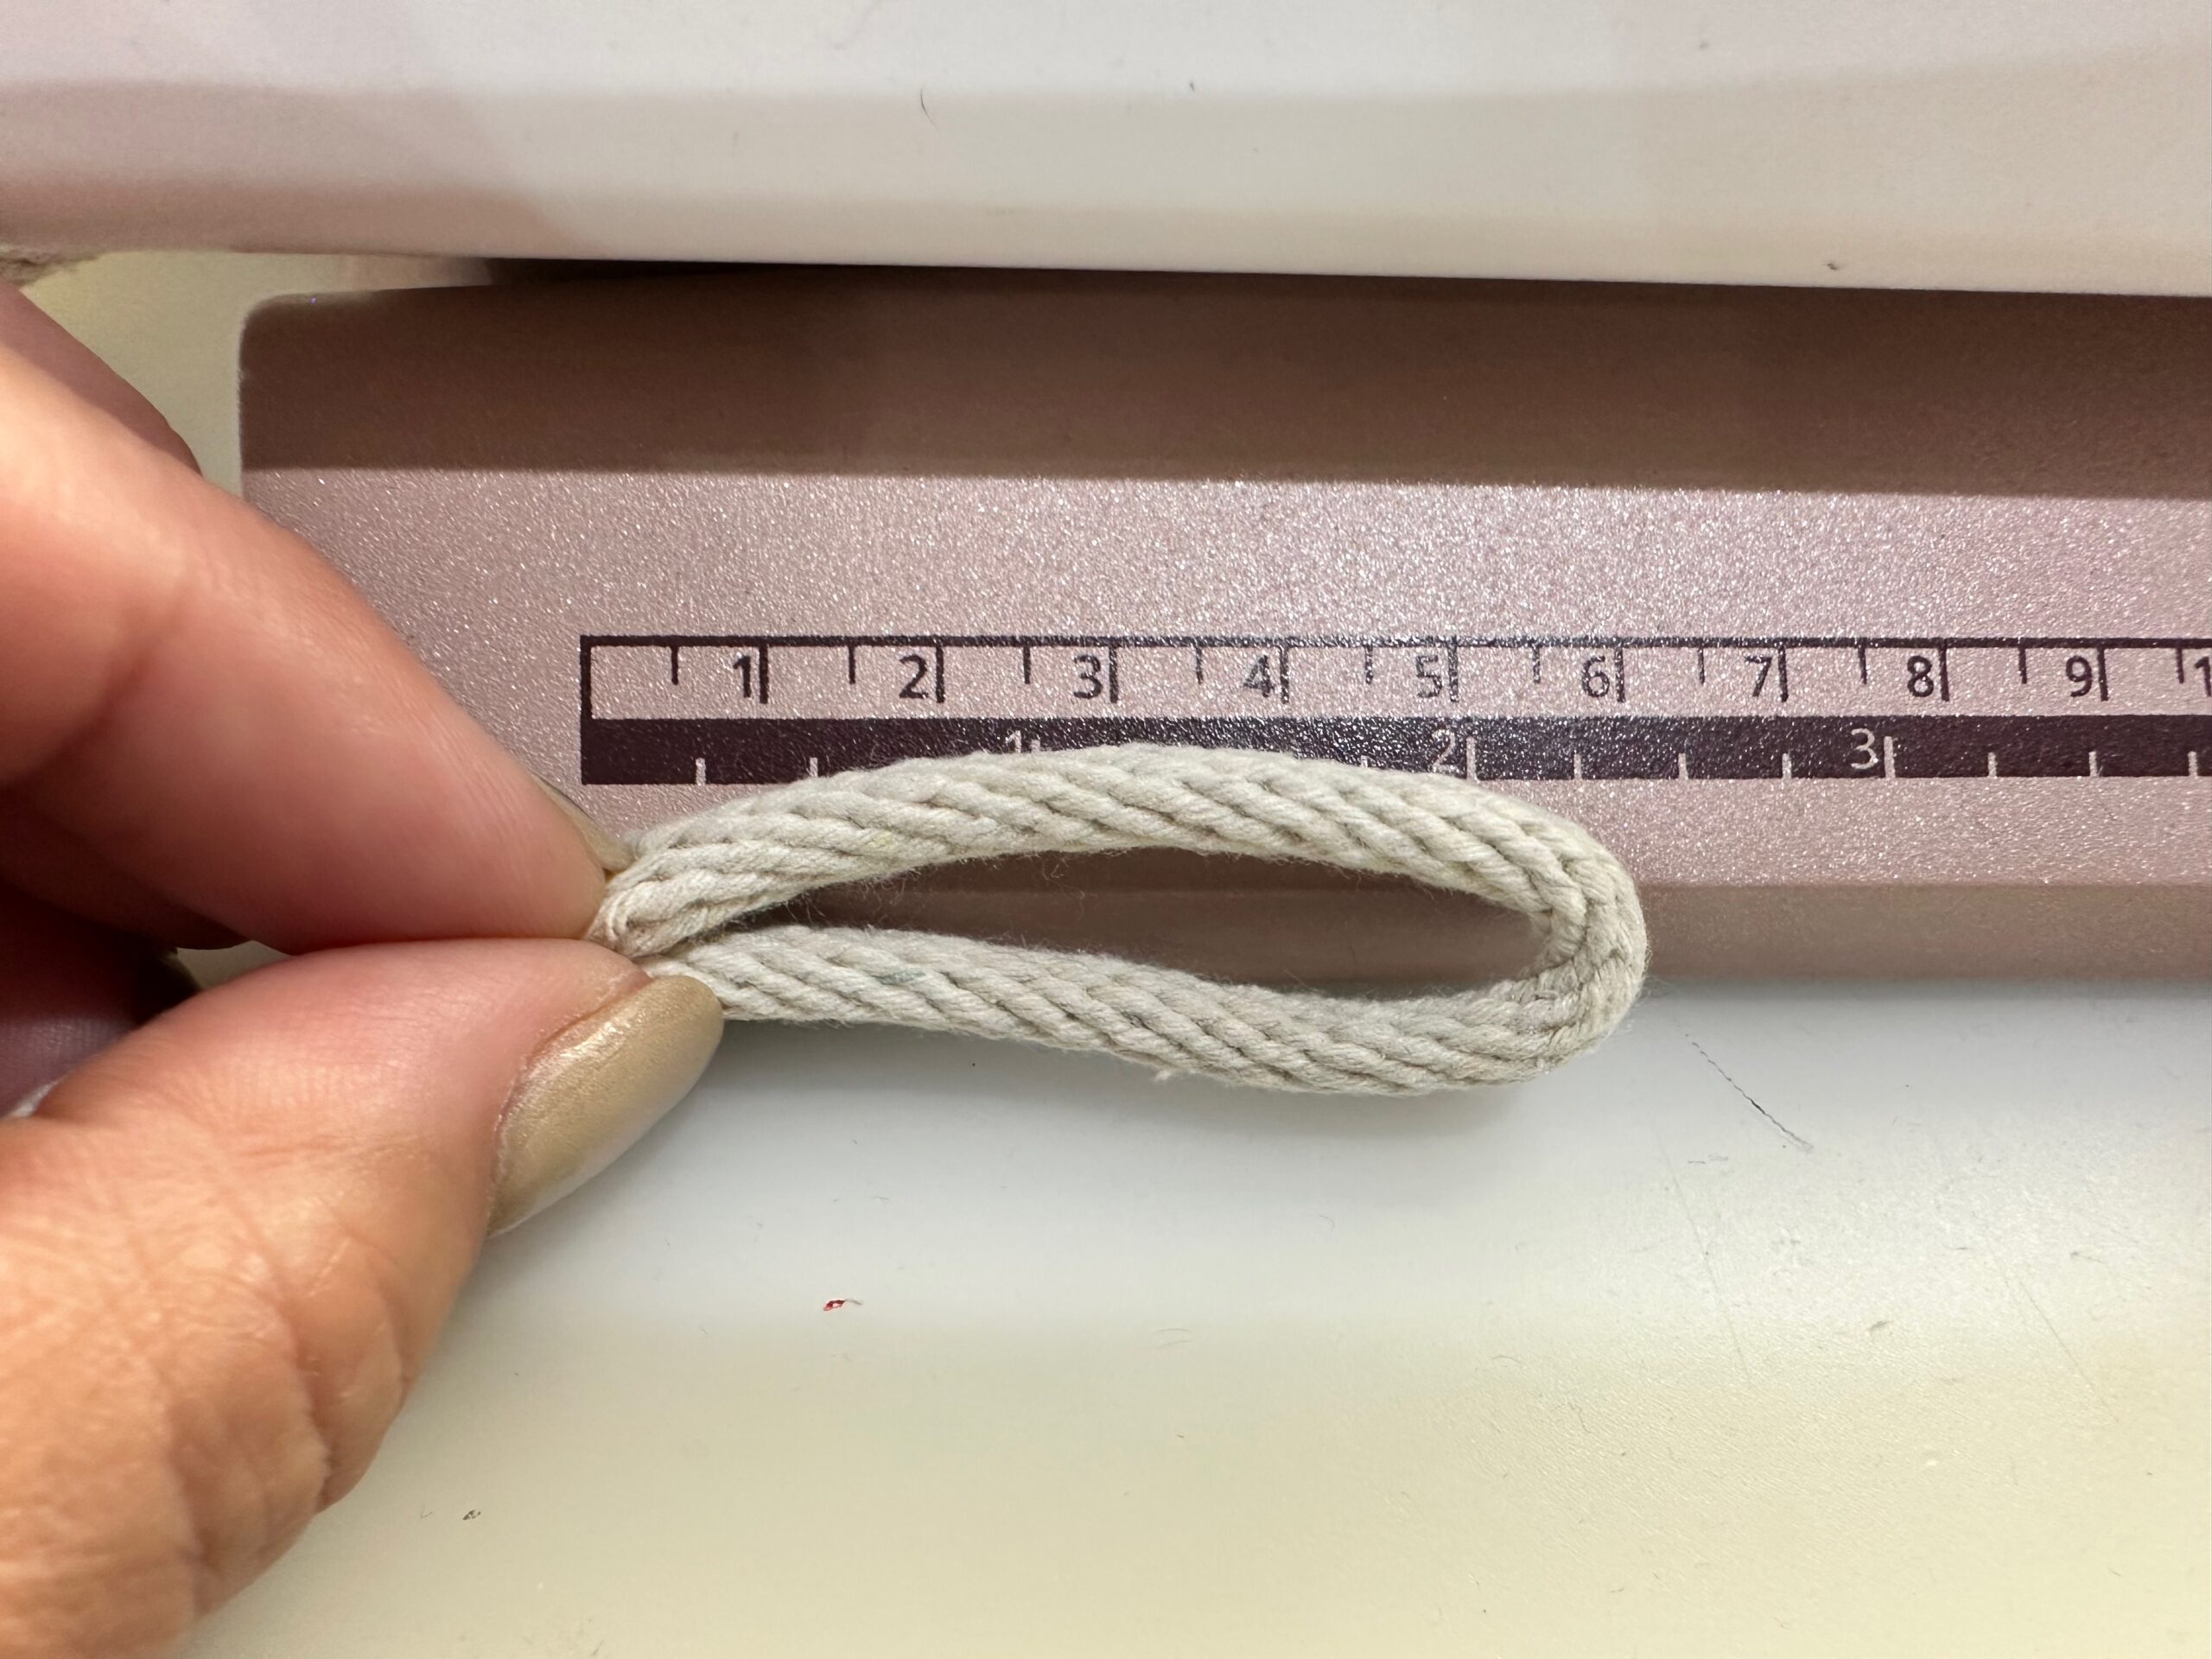
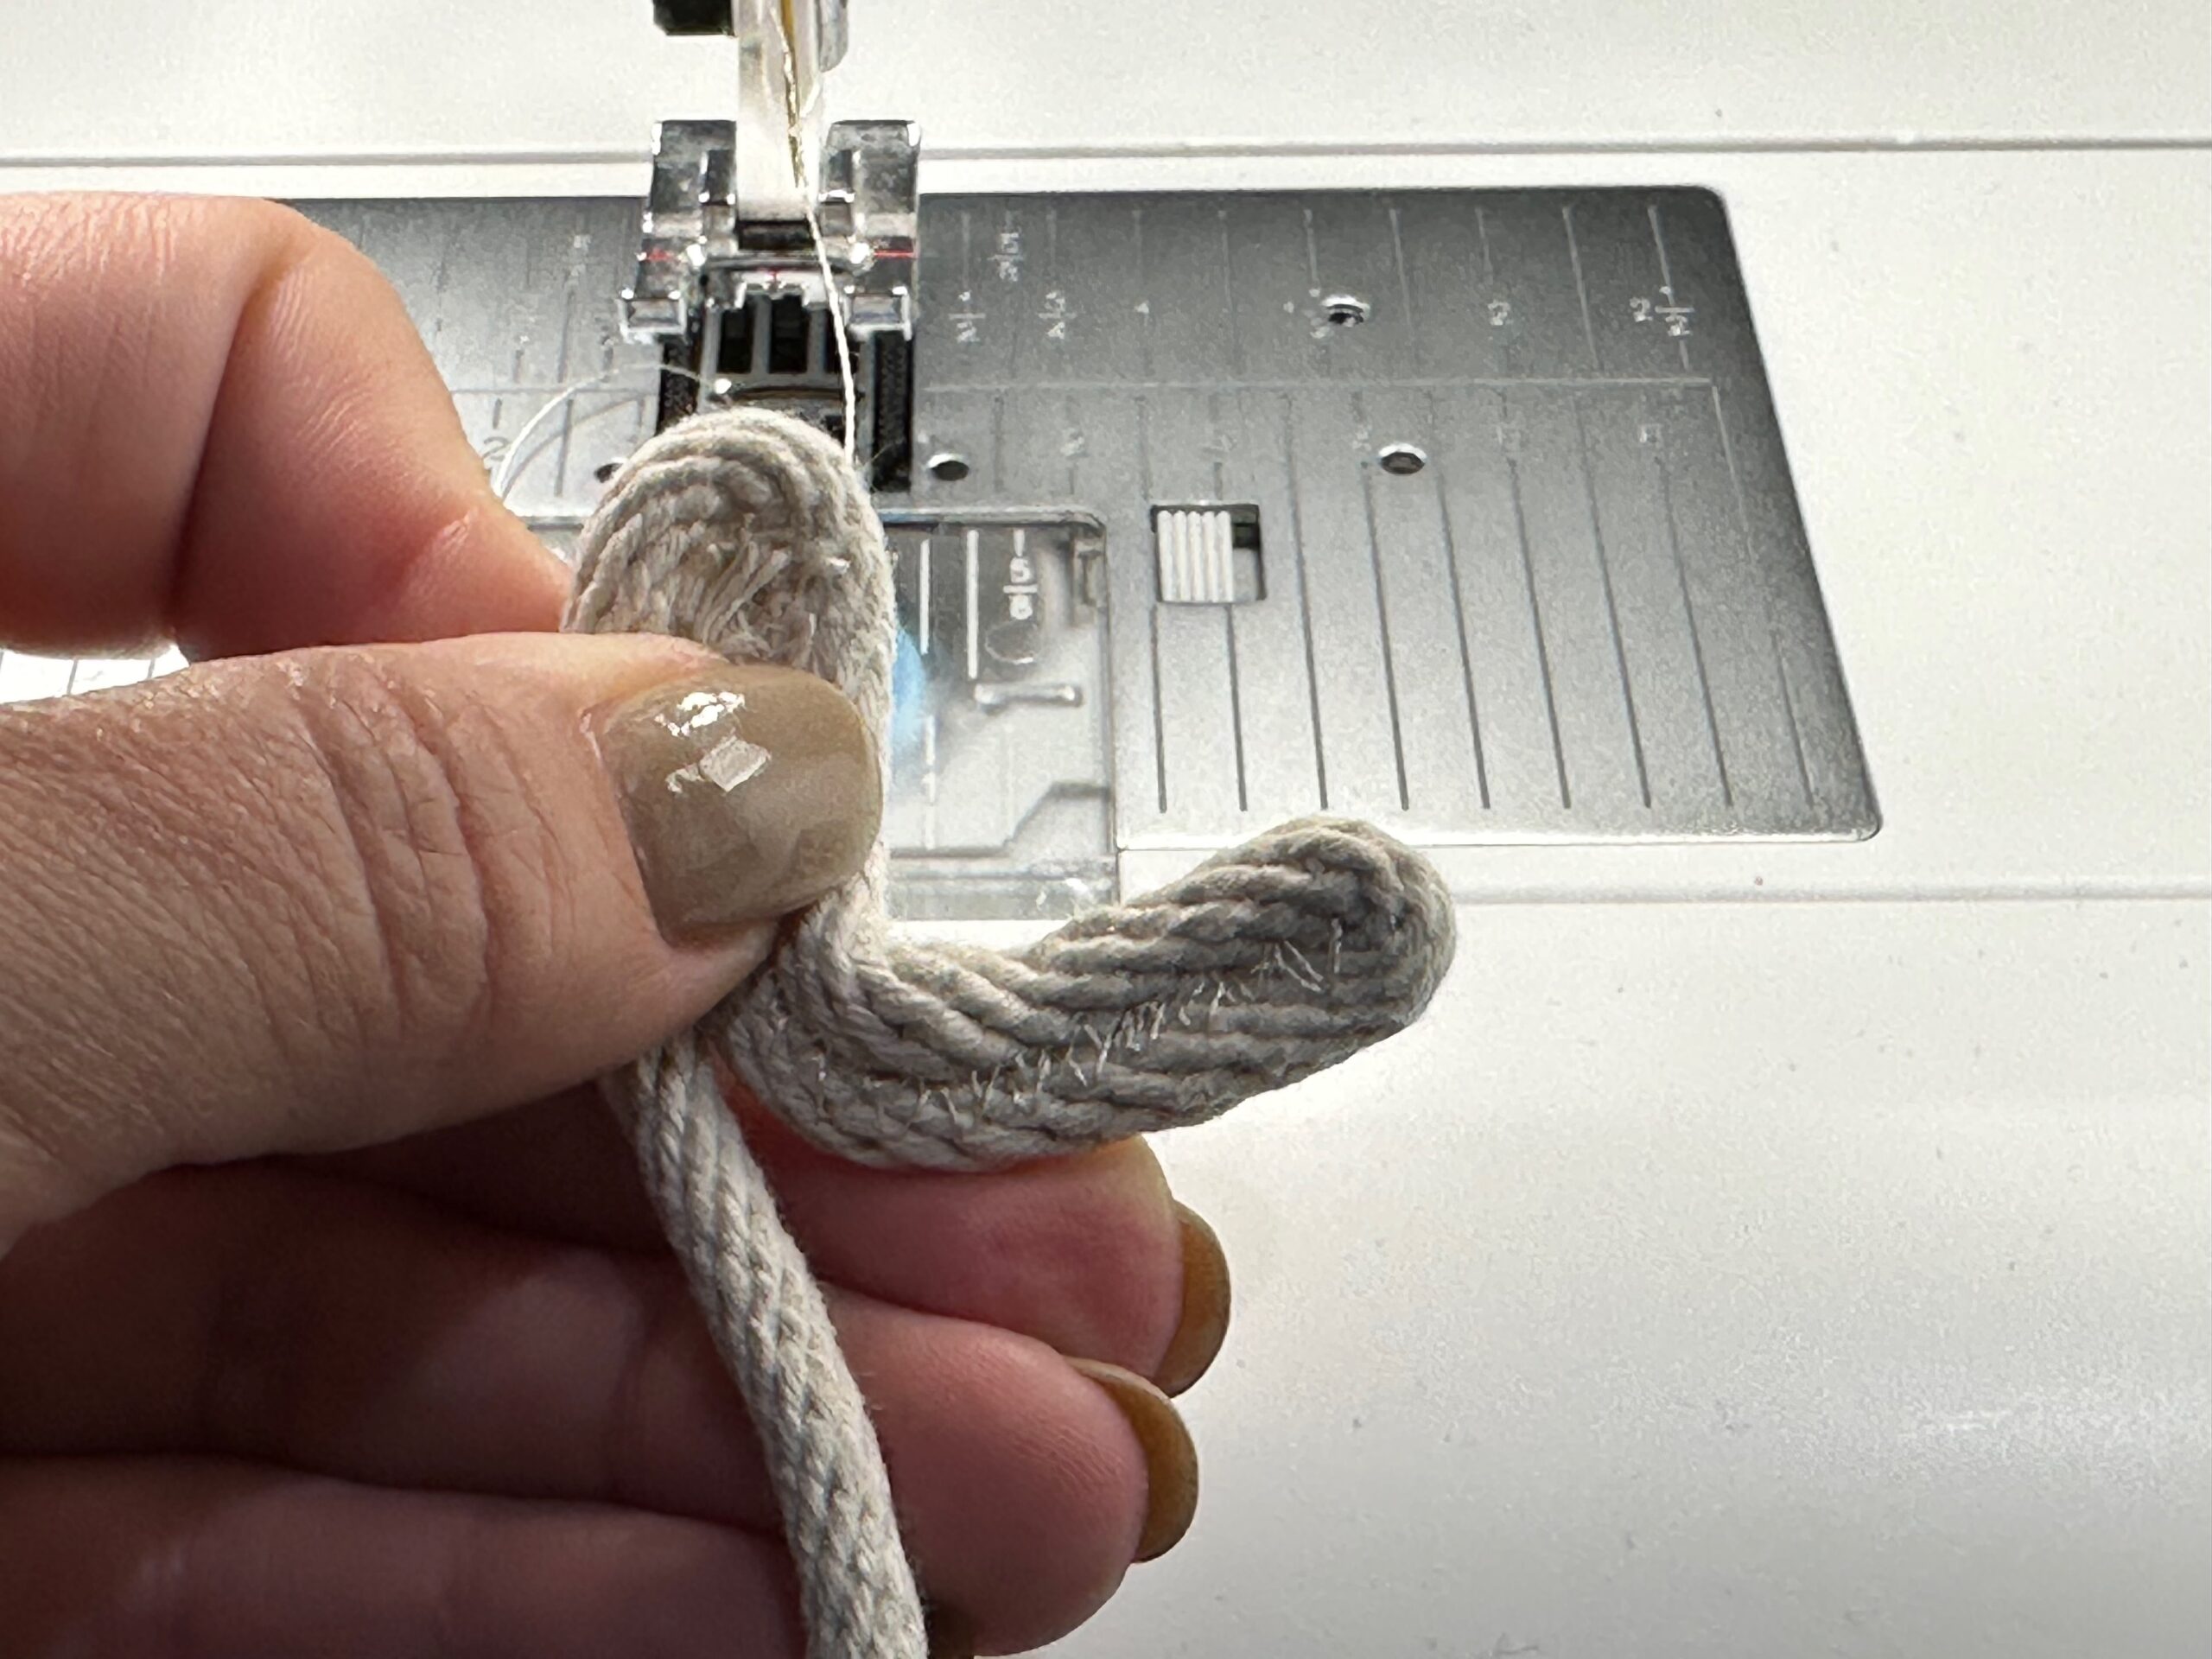
Begin by folding the rope end about 2½” toward itself.
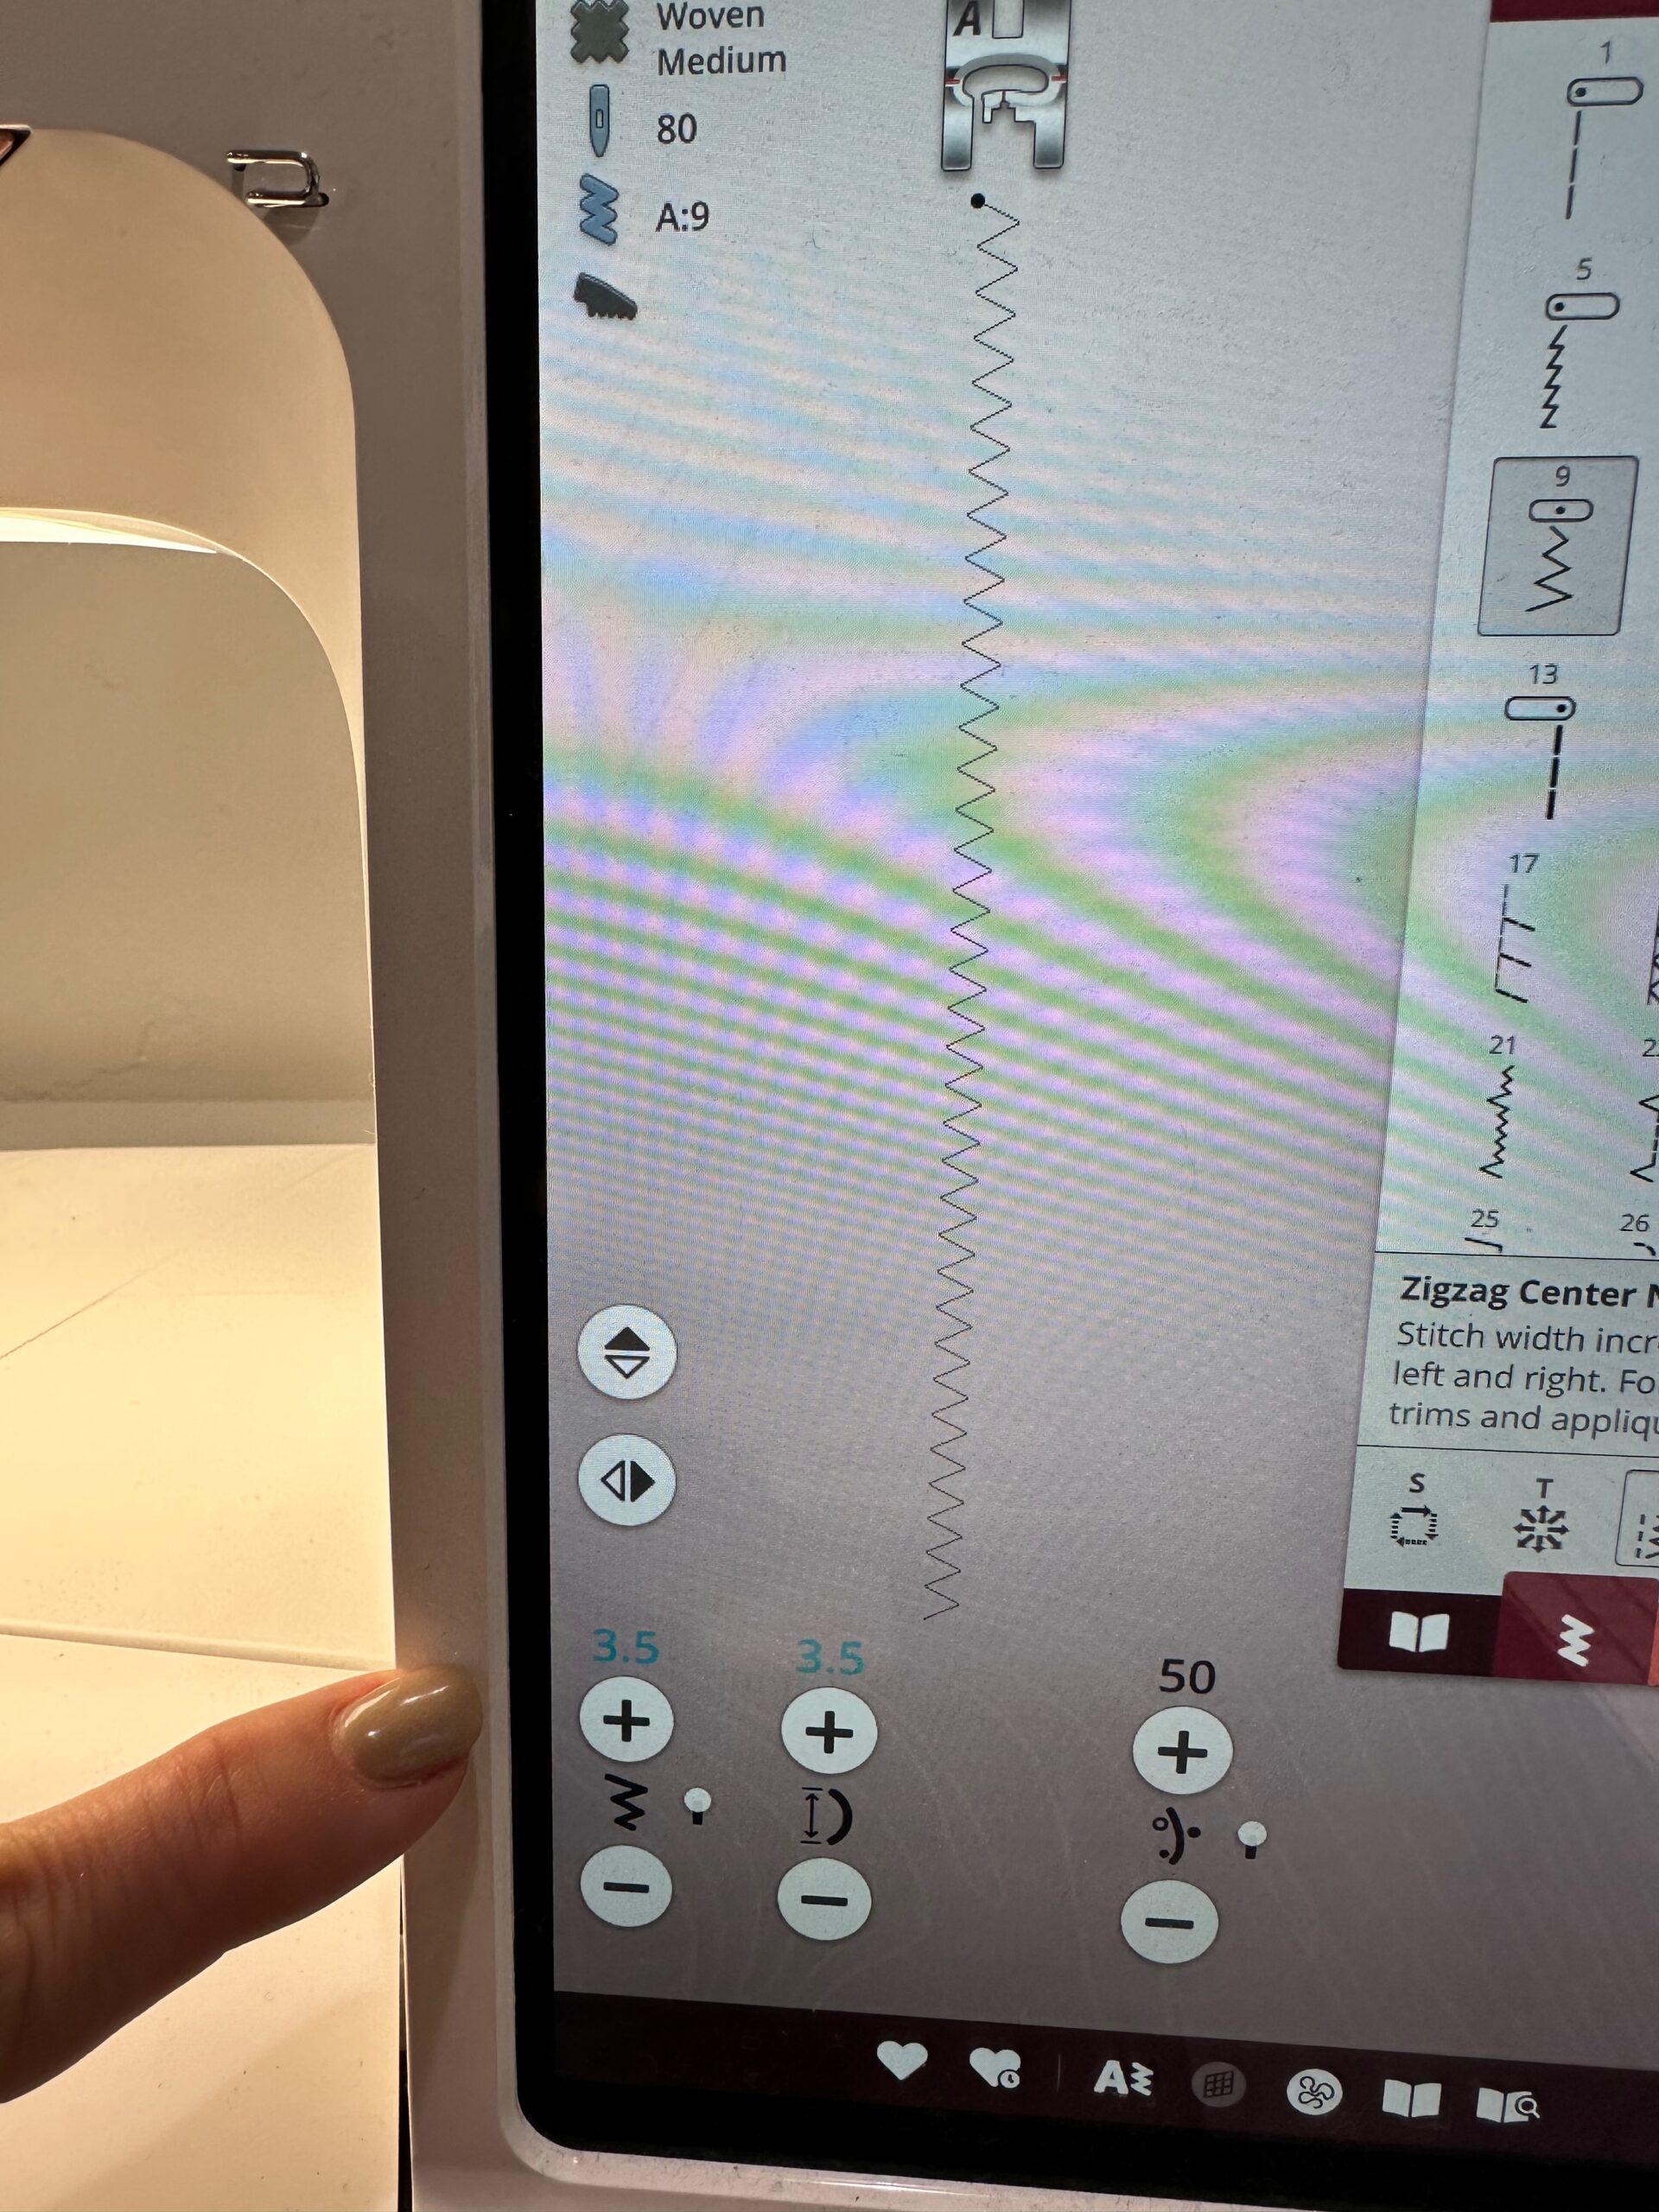
Next, set the machine for a 3.5mm-wide and 3.5mm long zigzag stitch.
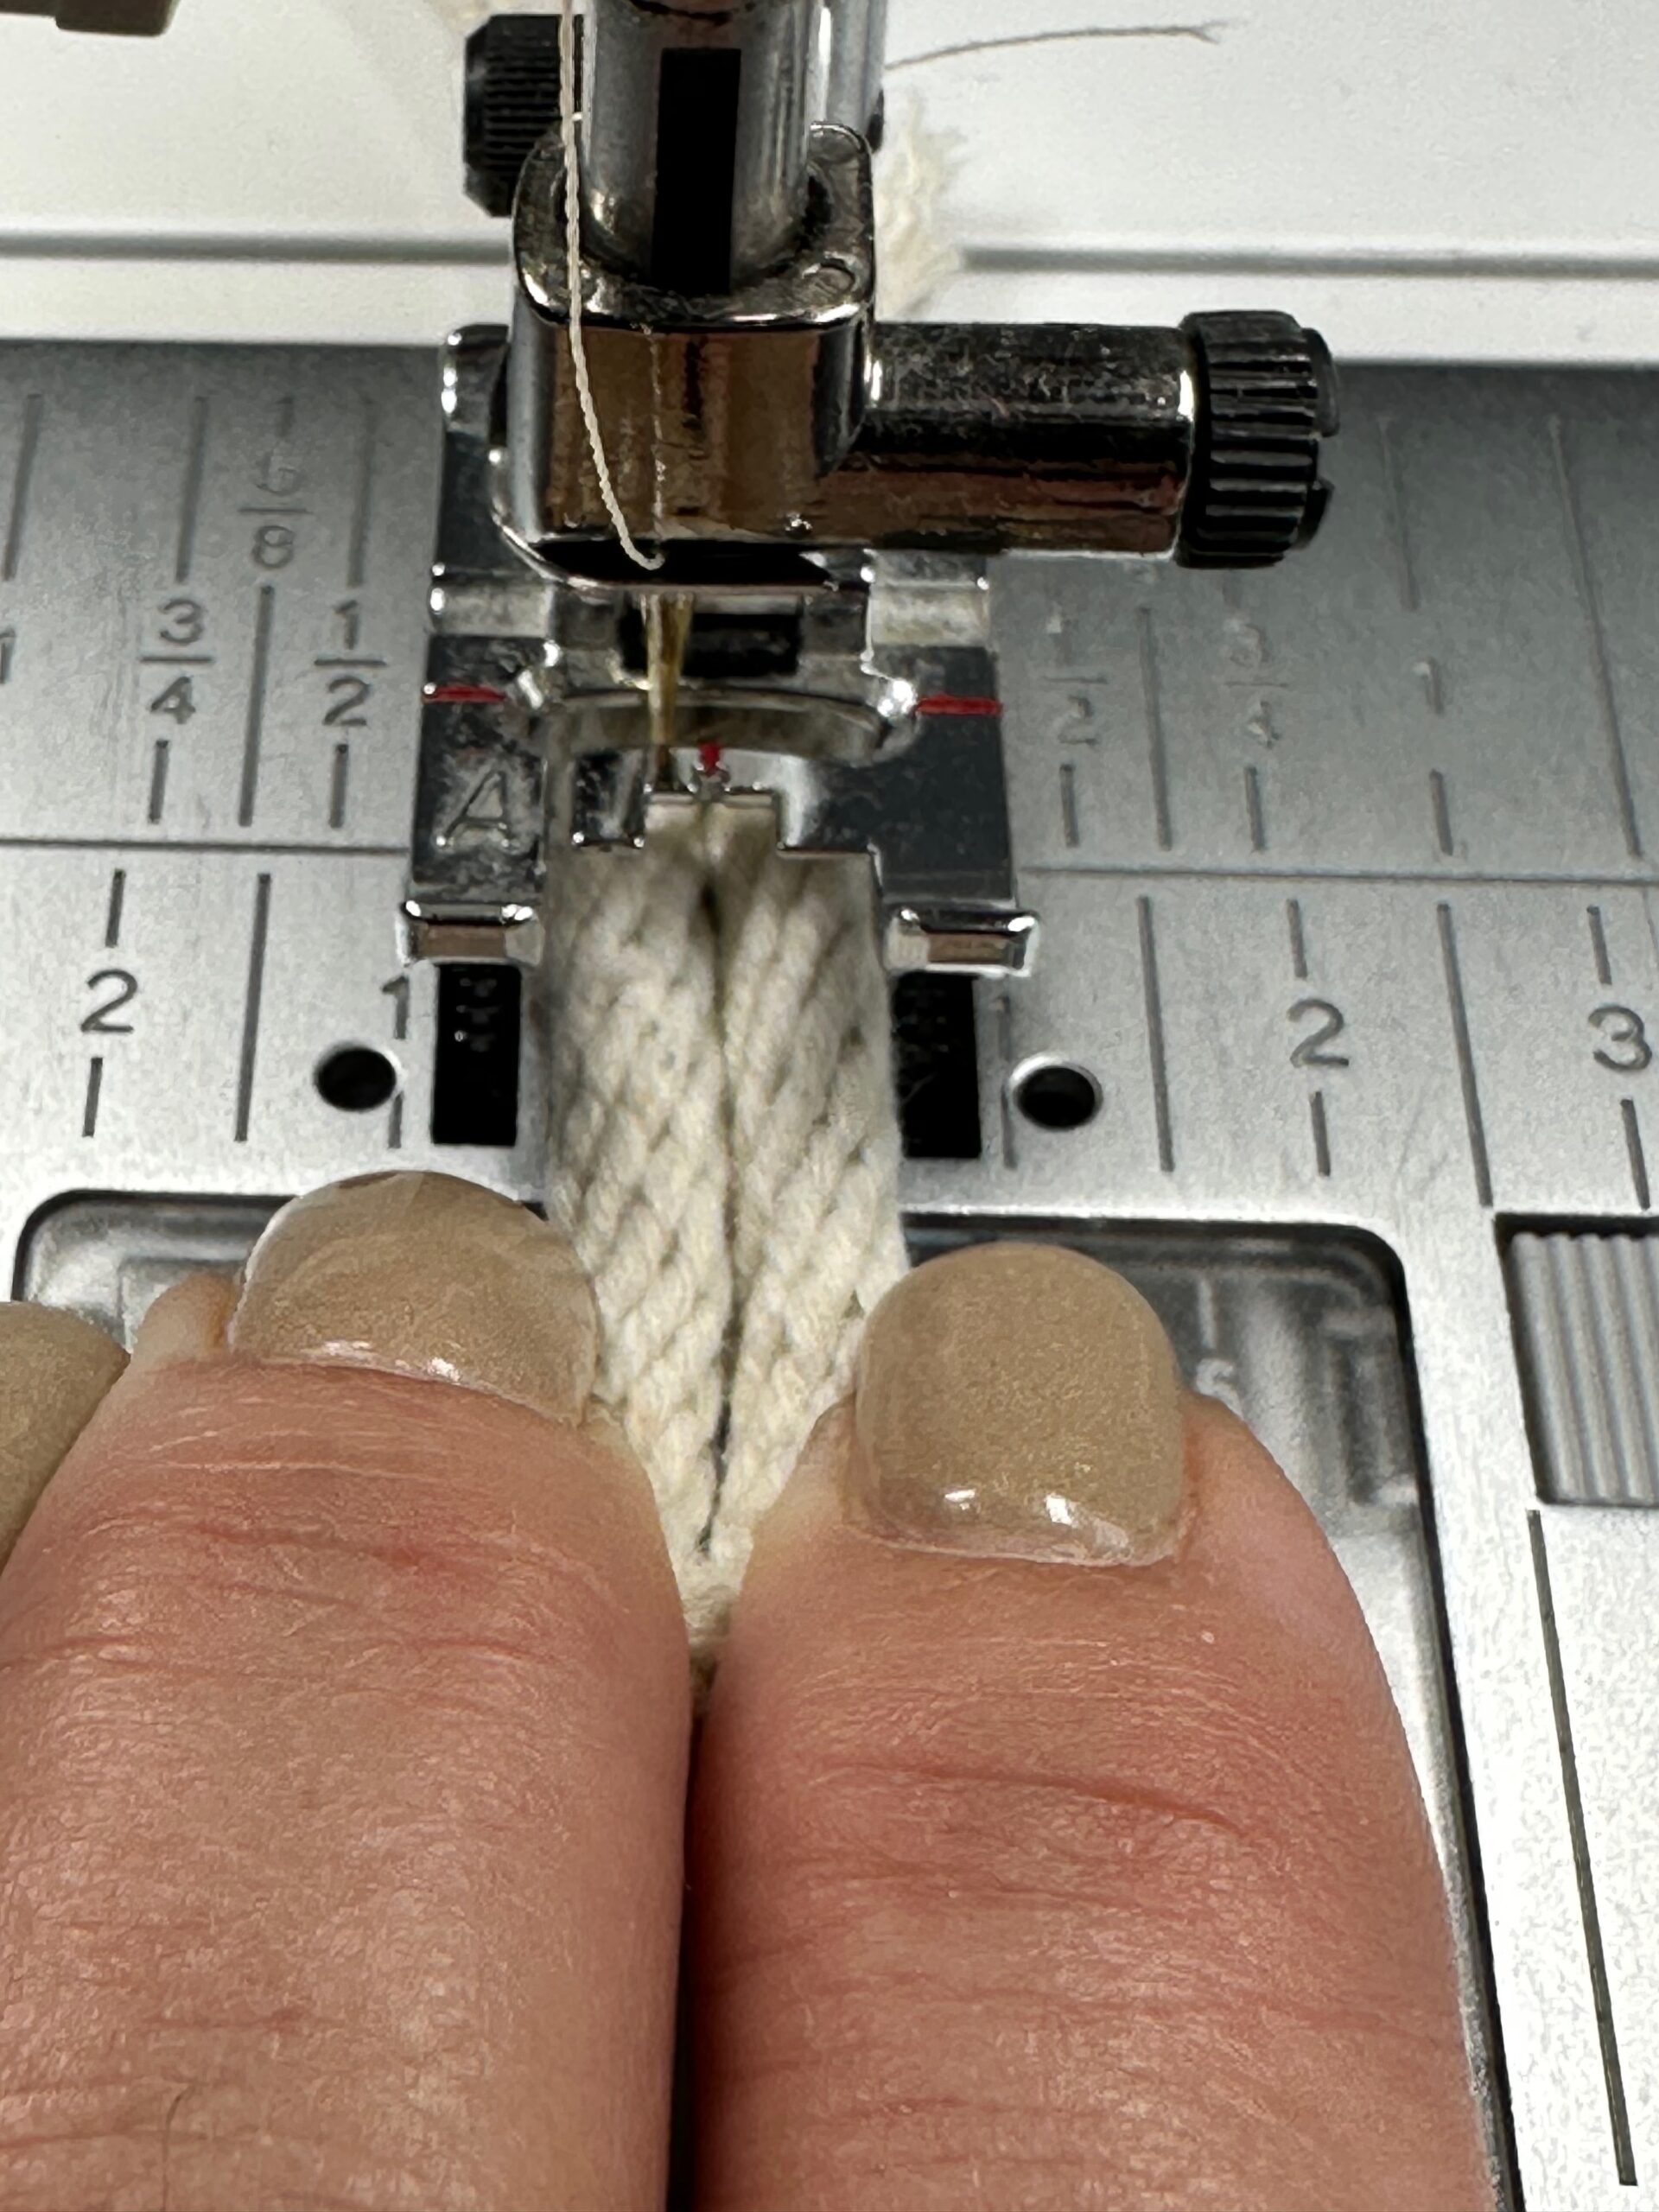
Using 40 wt. Poly Deco in the needle and bobbin, stitch the rope end to itself, placing the opening gap between the rope rows at the presser foot center so the “zig” hits one rope and the “zag” hits the other.
Next, remove the rope from under the presser foot. Fold the joined rope a bit to resemble a heart shape.
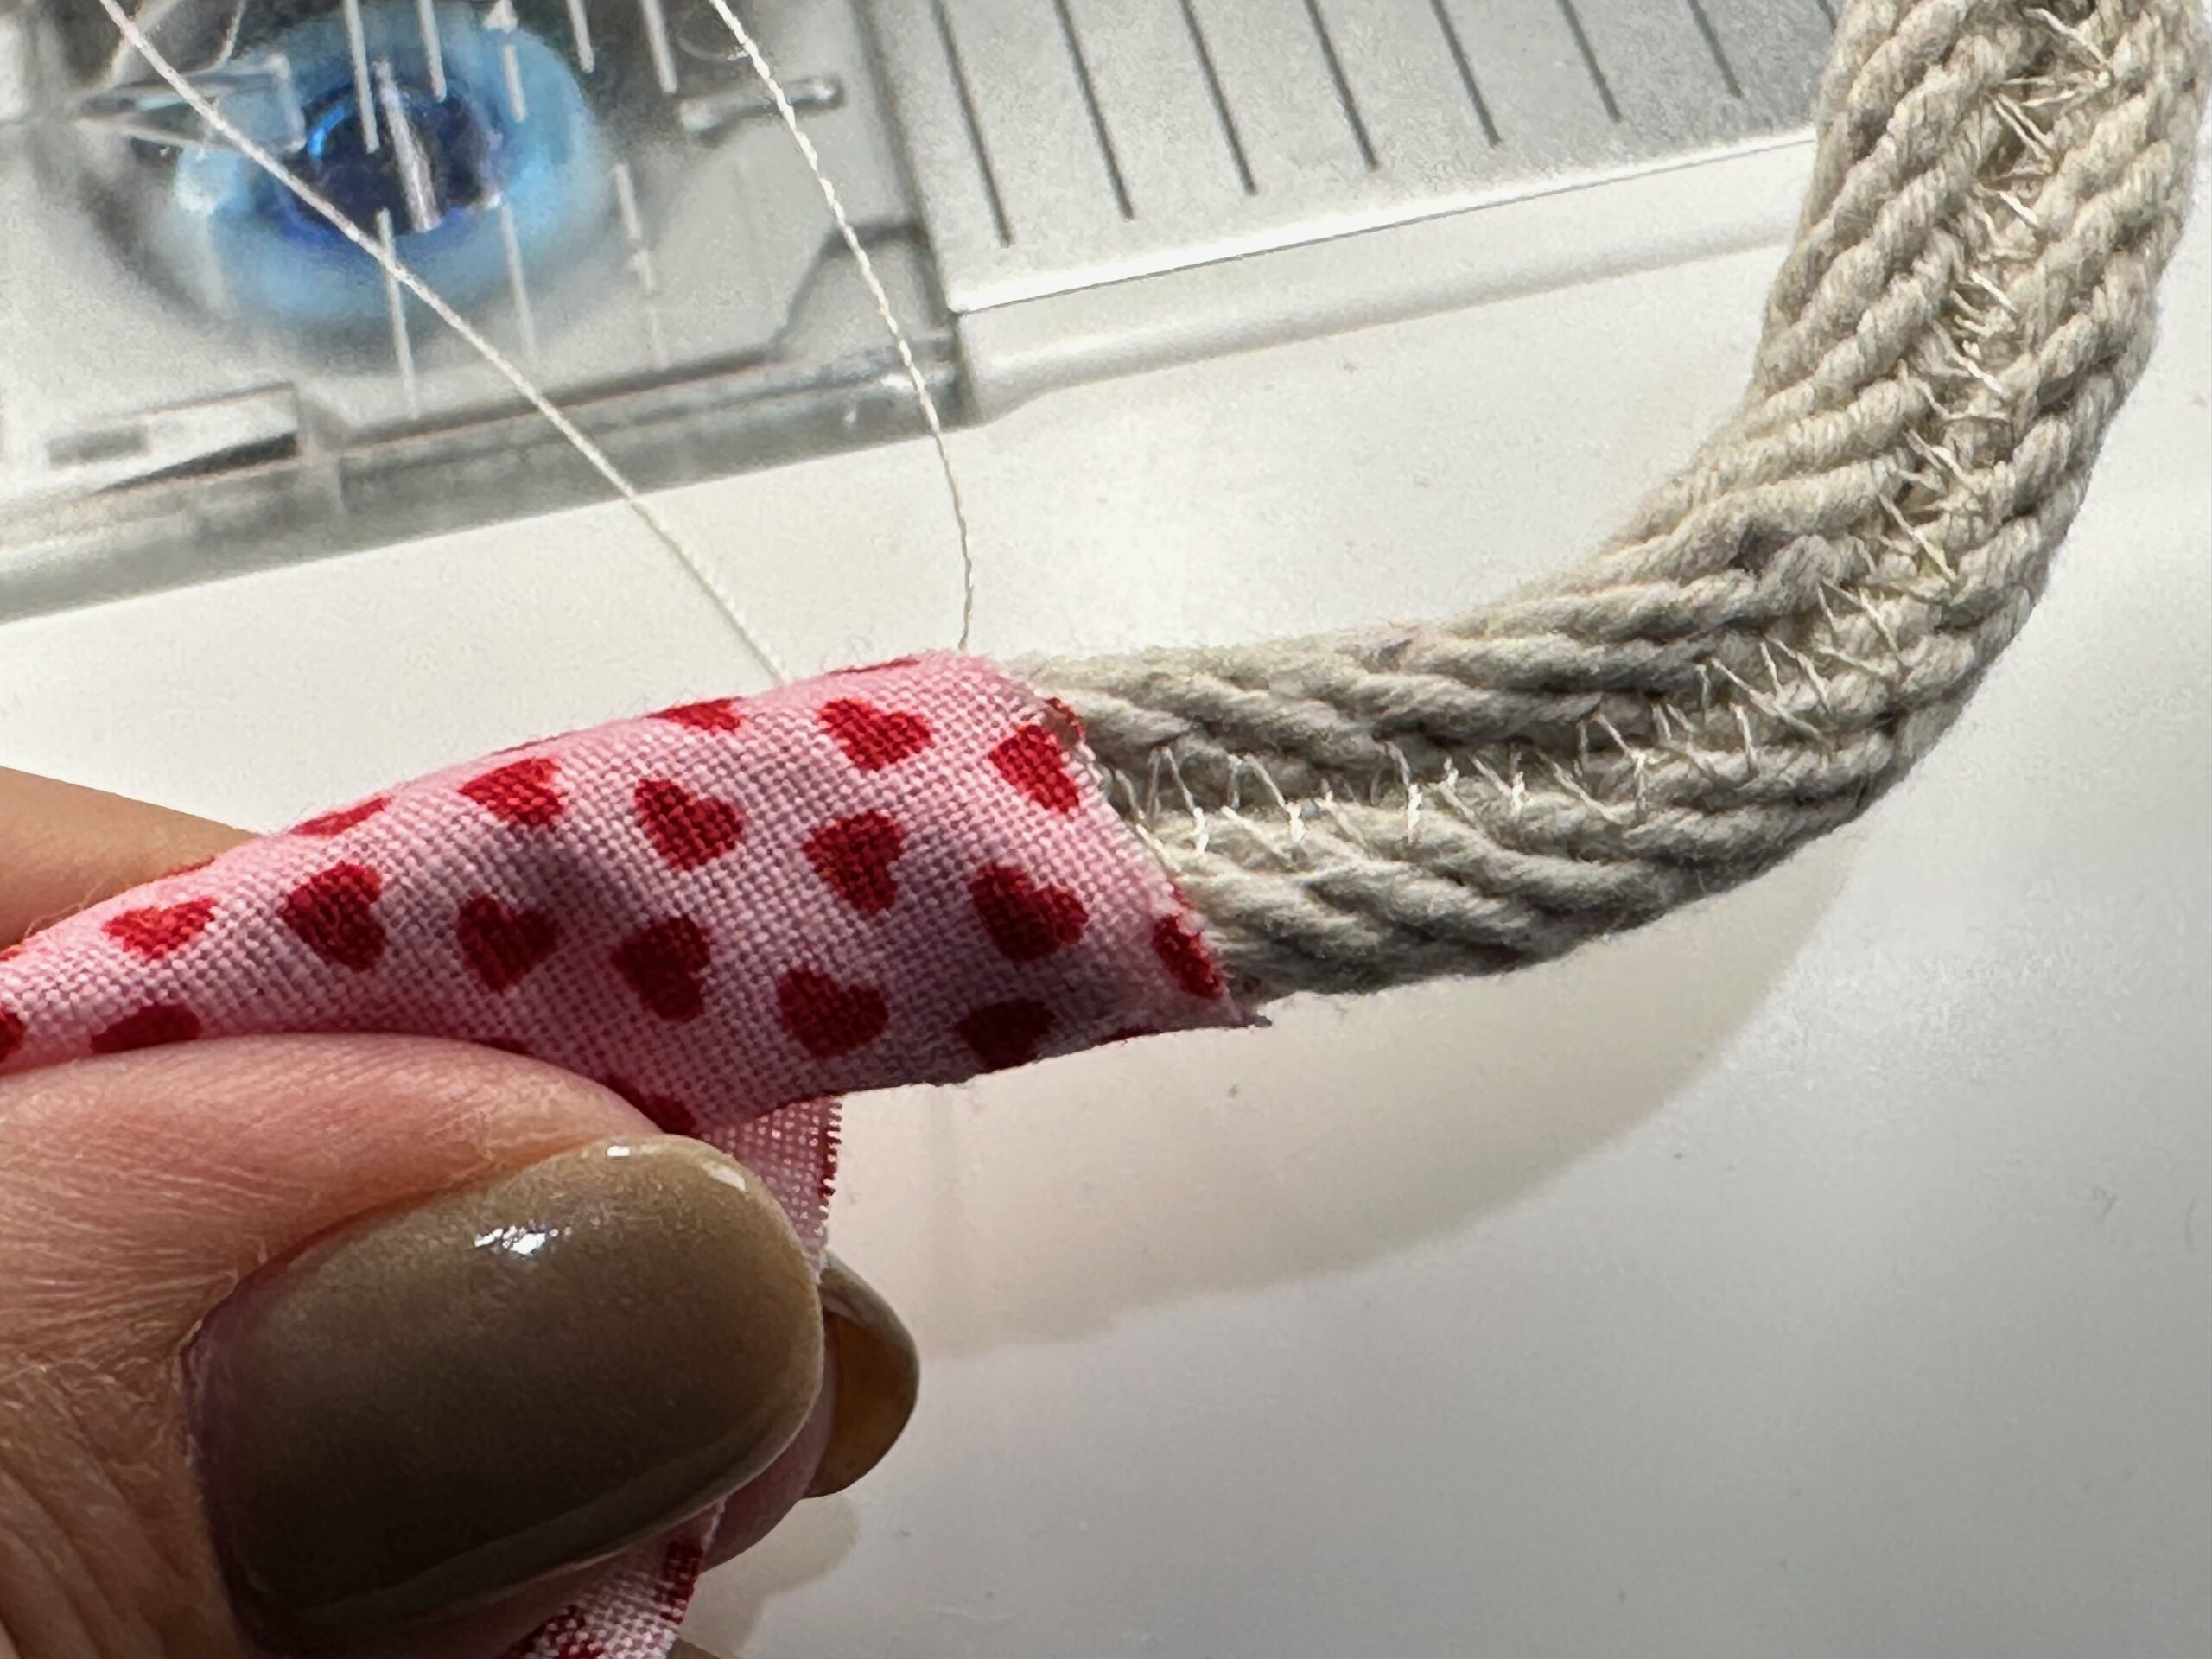
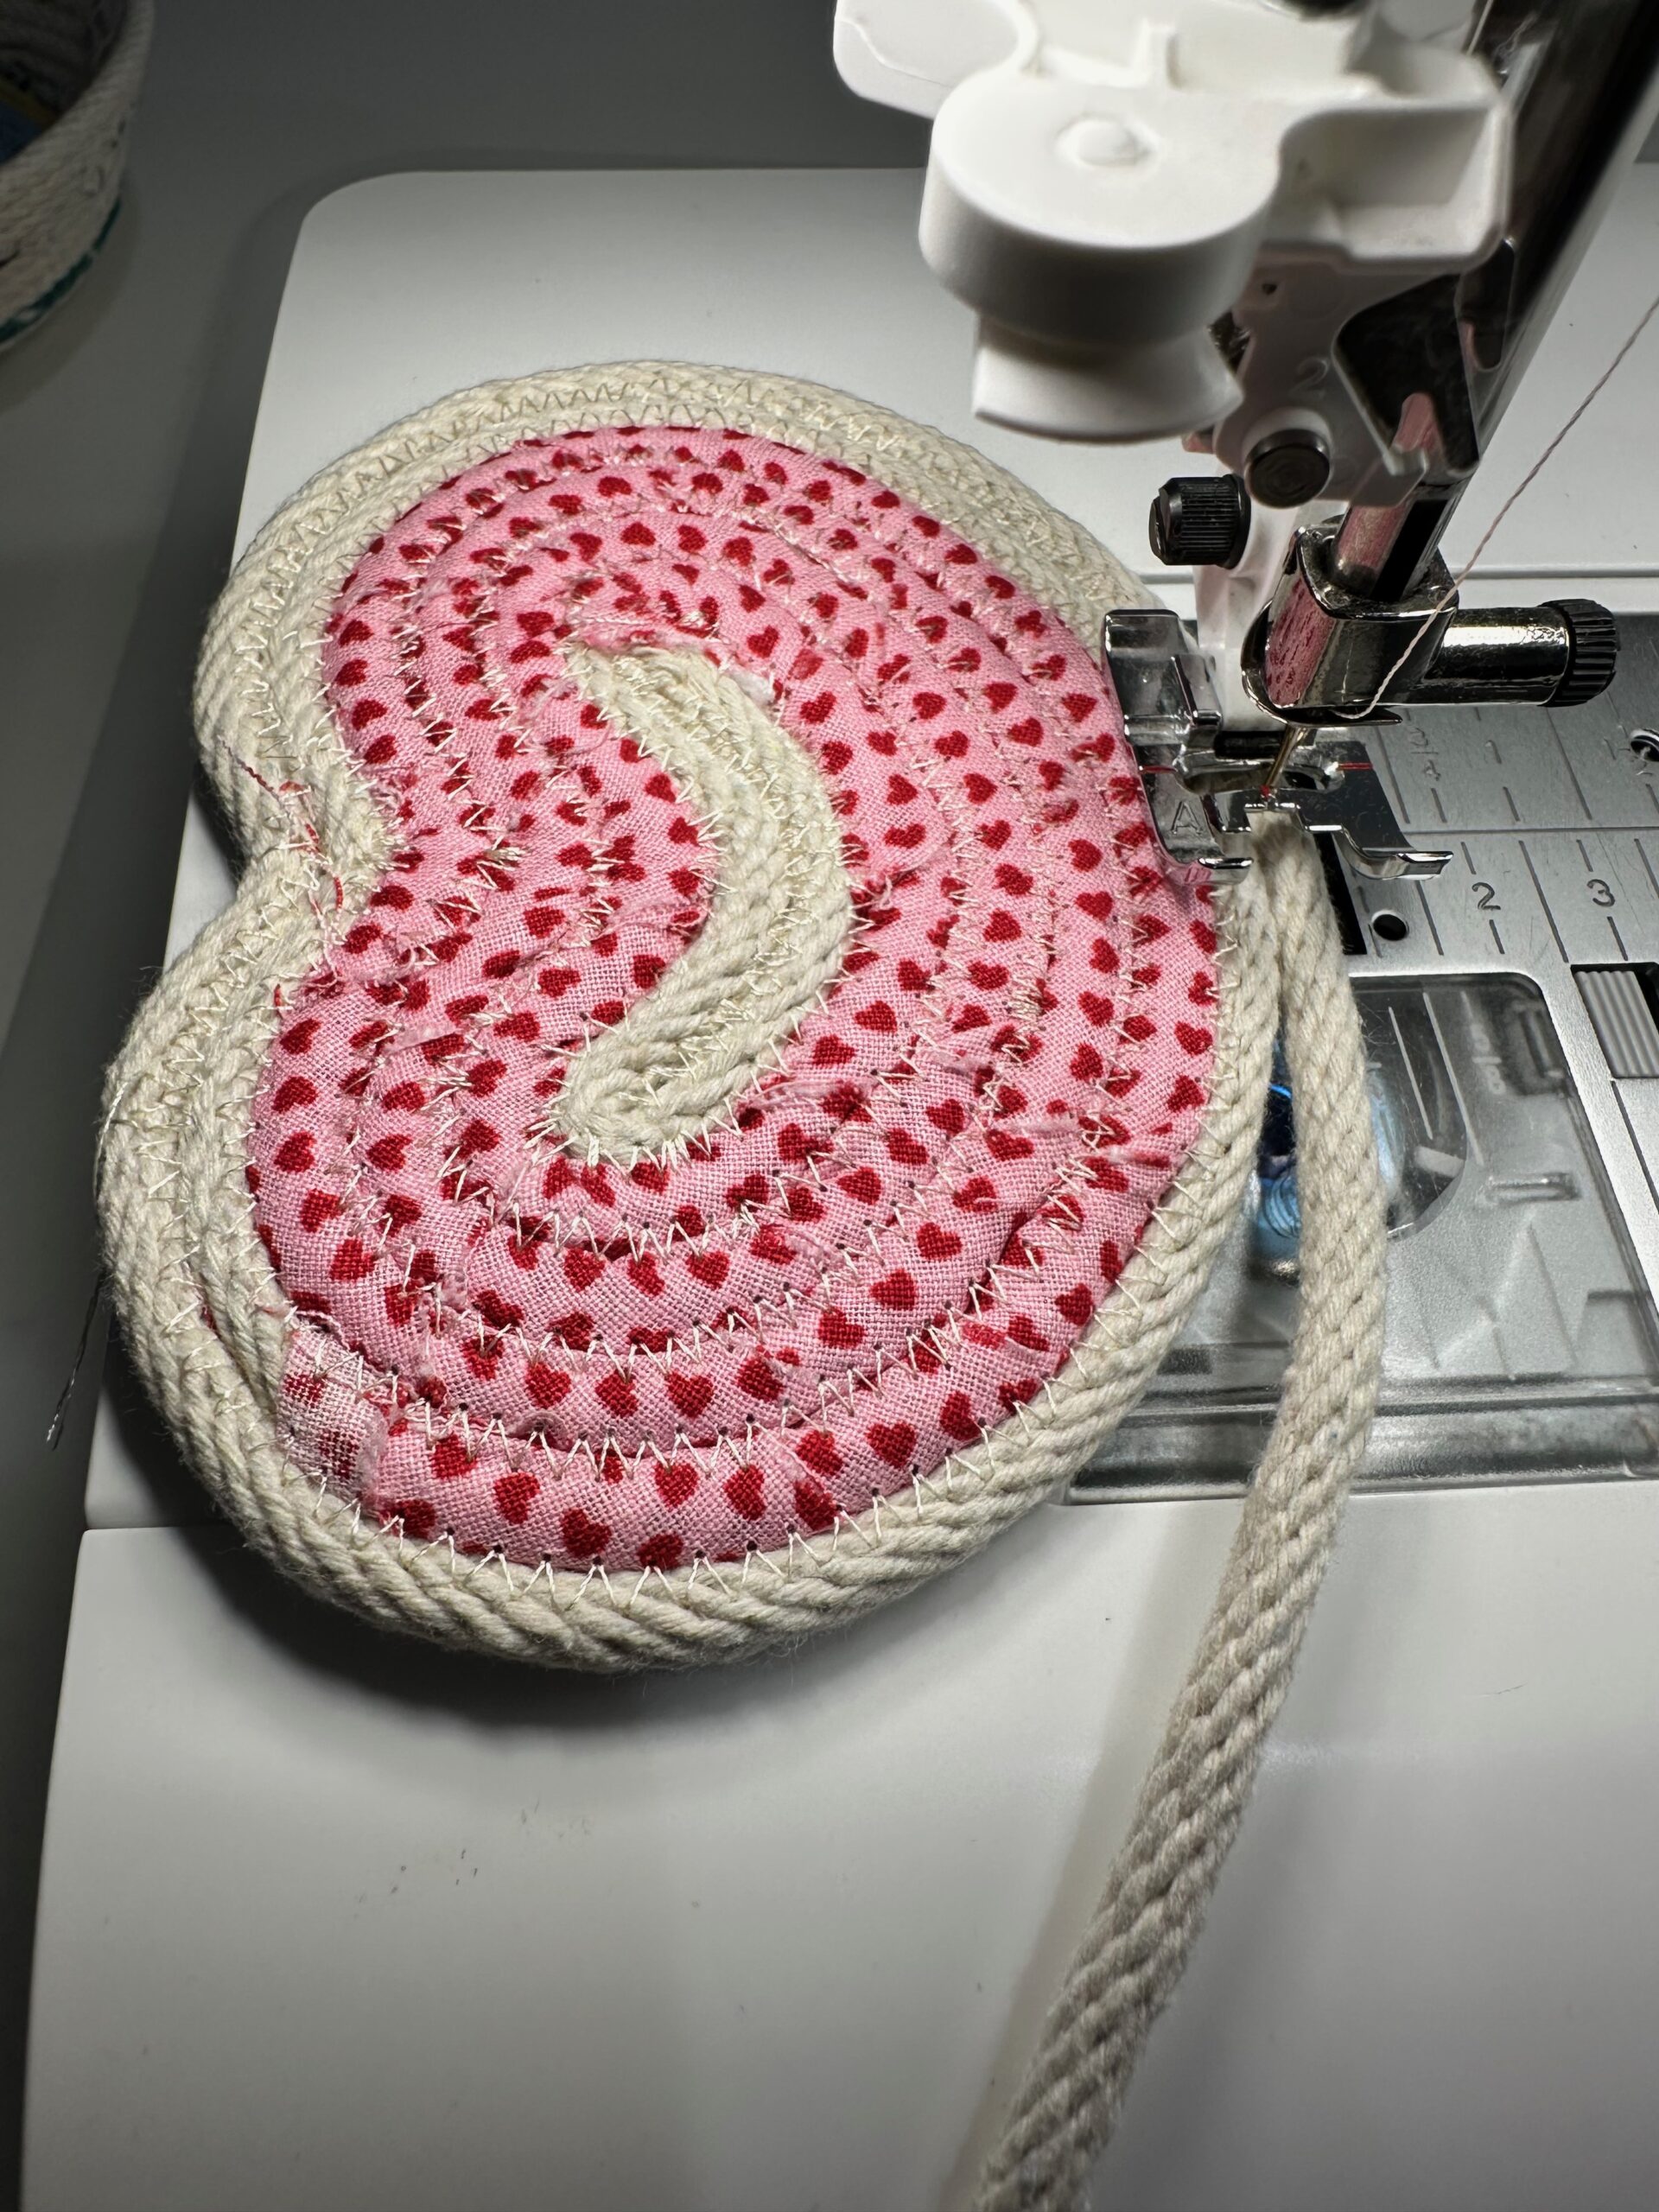
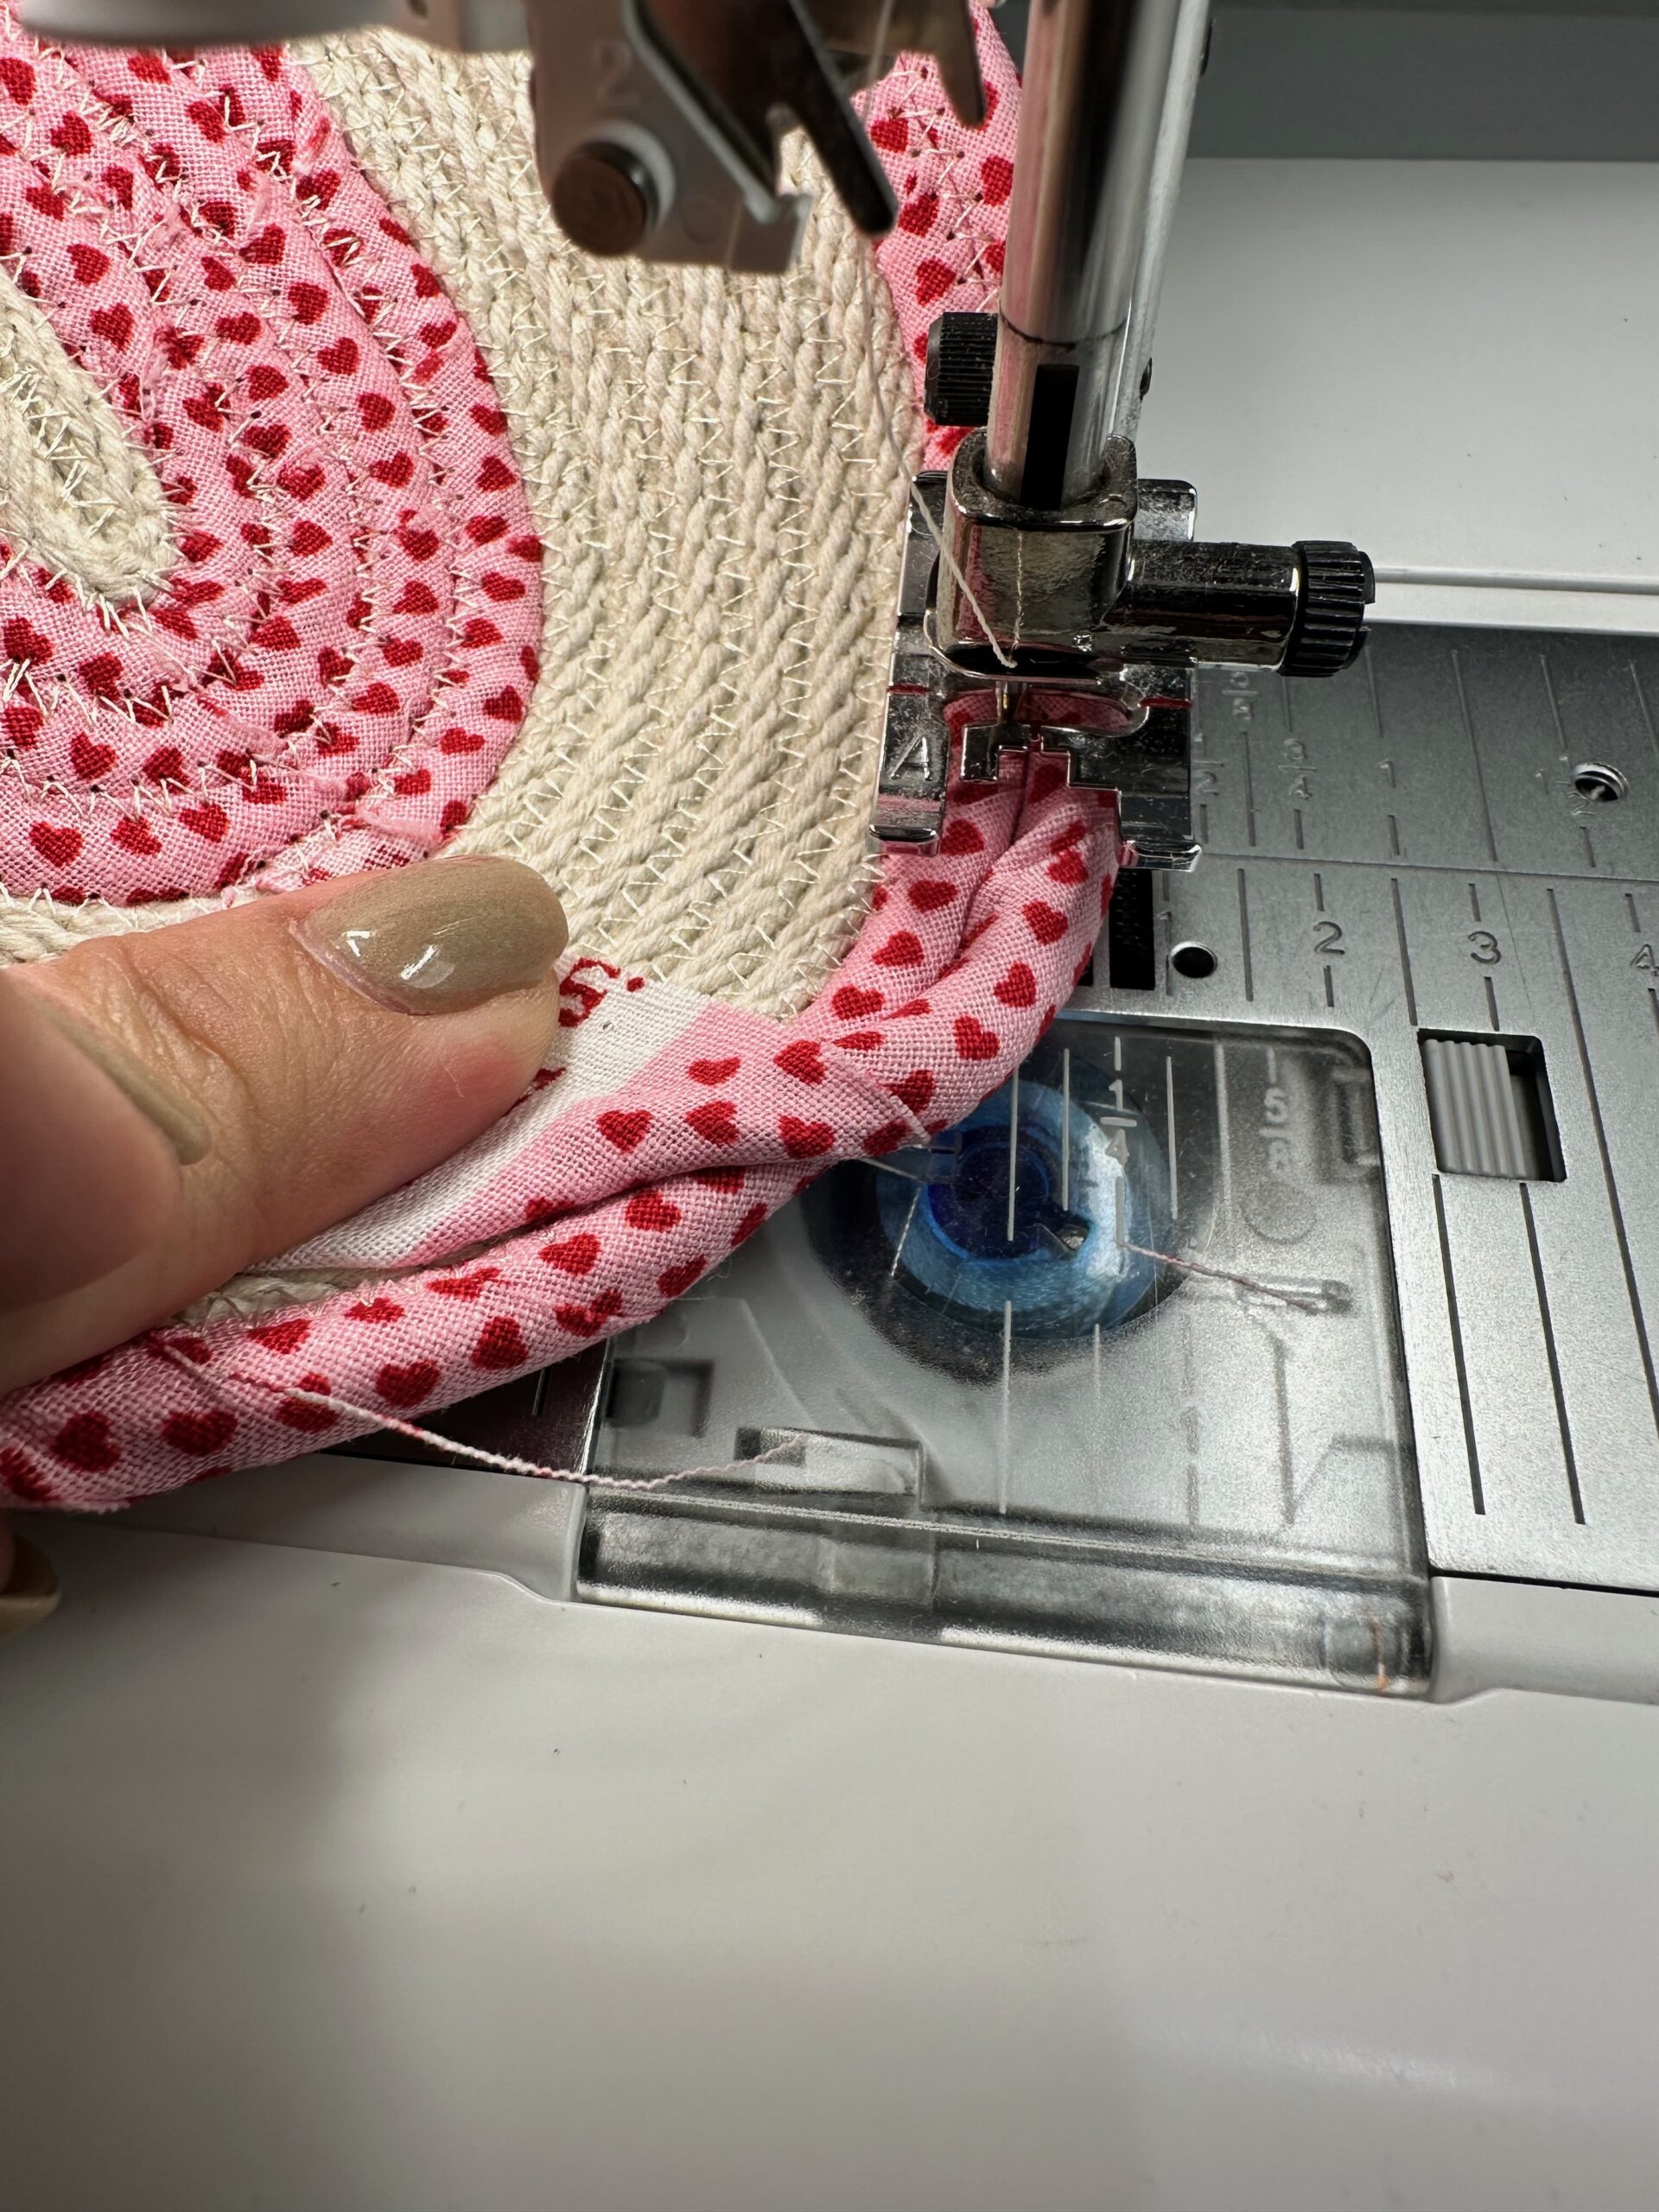
To conceal the rope end, wrap it with a fabric strip. Then, continue wrapping the rope with the remainder of the fabric strip. At this point, you may choose to wrap the entire heart-shaped rope bowl with fabric or leave some rows bare while others are wrapped.
Place the rope back underneath the presser foot, with the needle at the same spot as the previous stitching end. Zigzag the rope rows, following the heart shape.
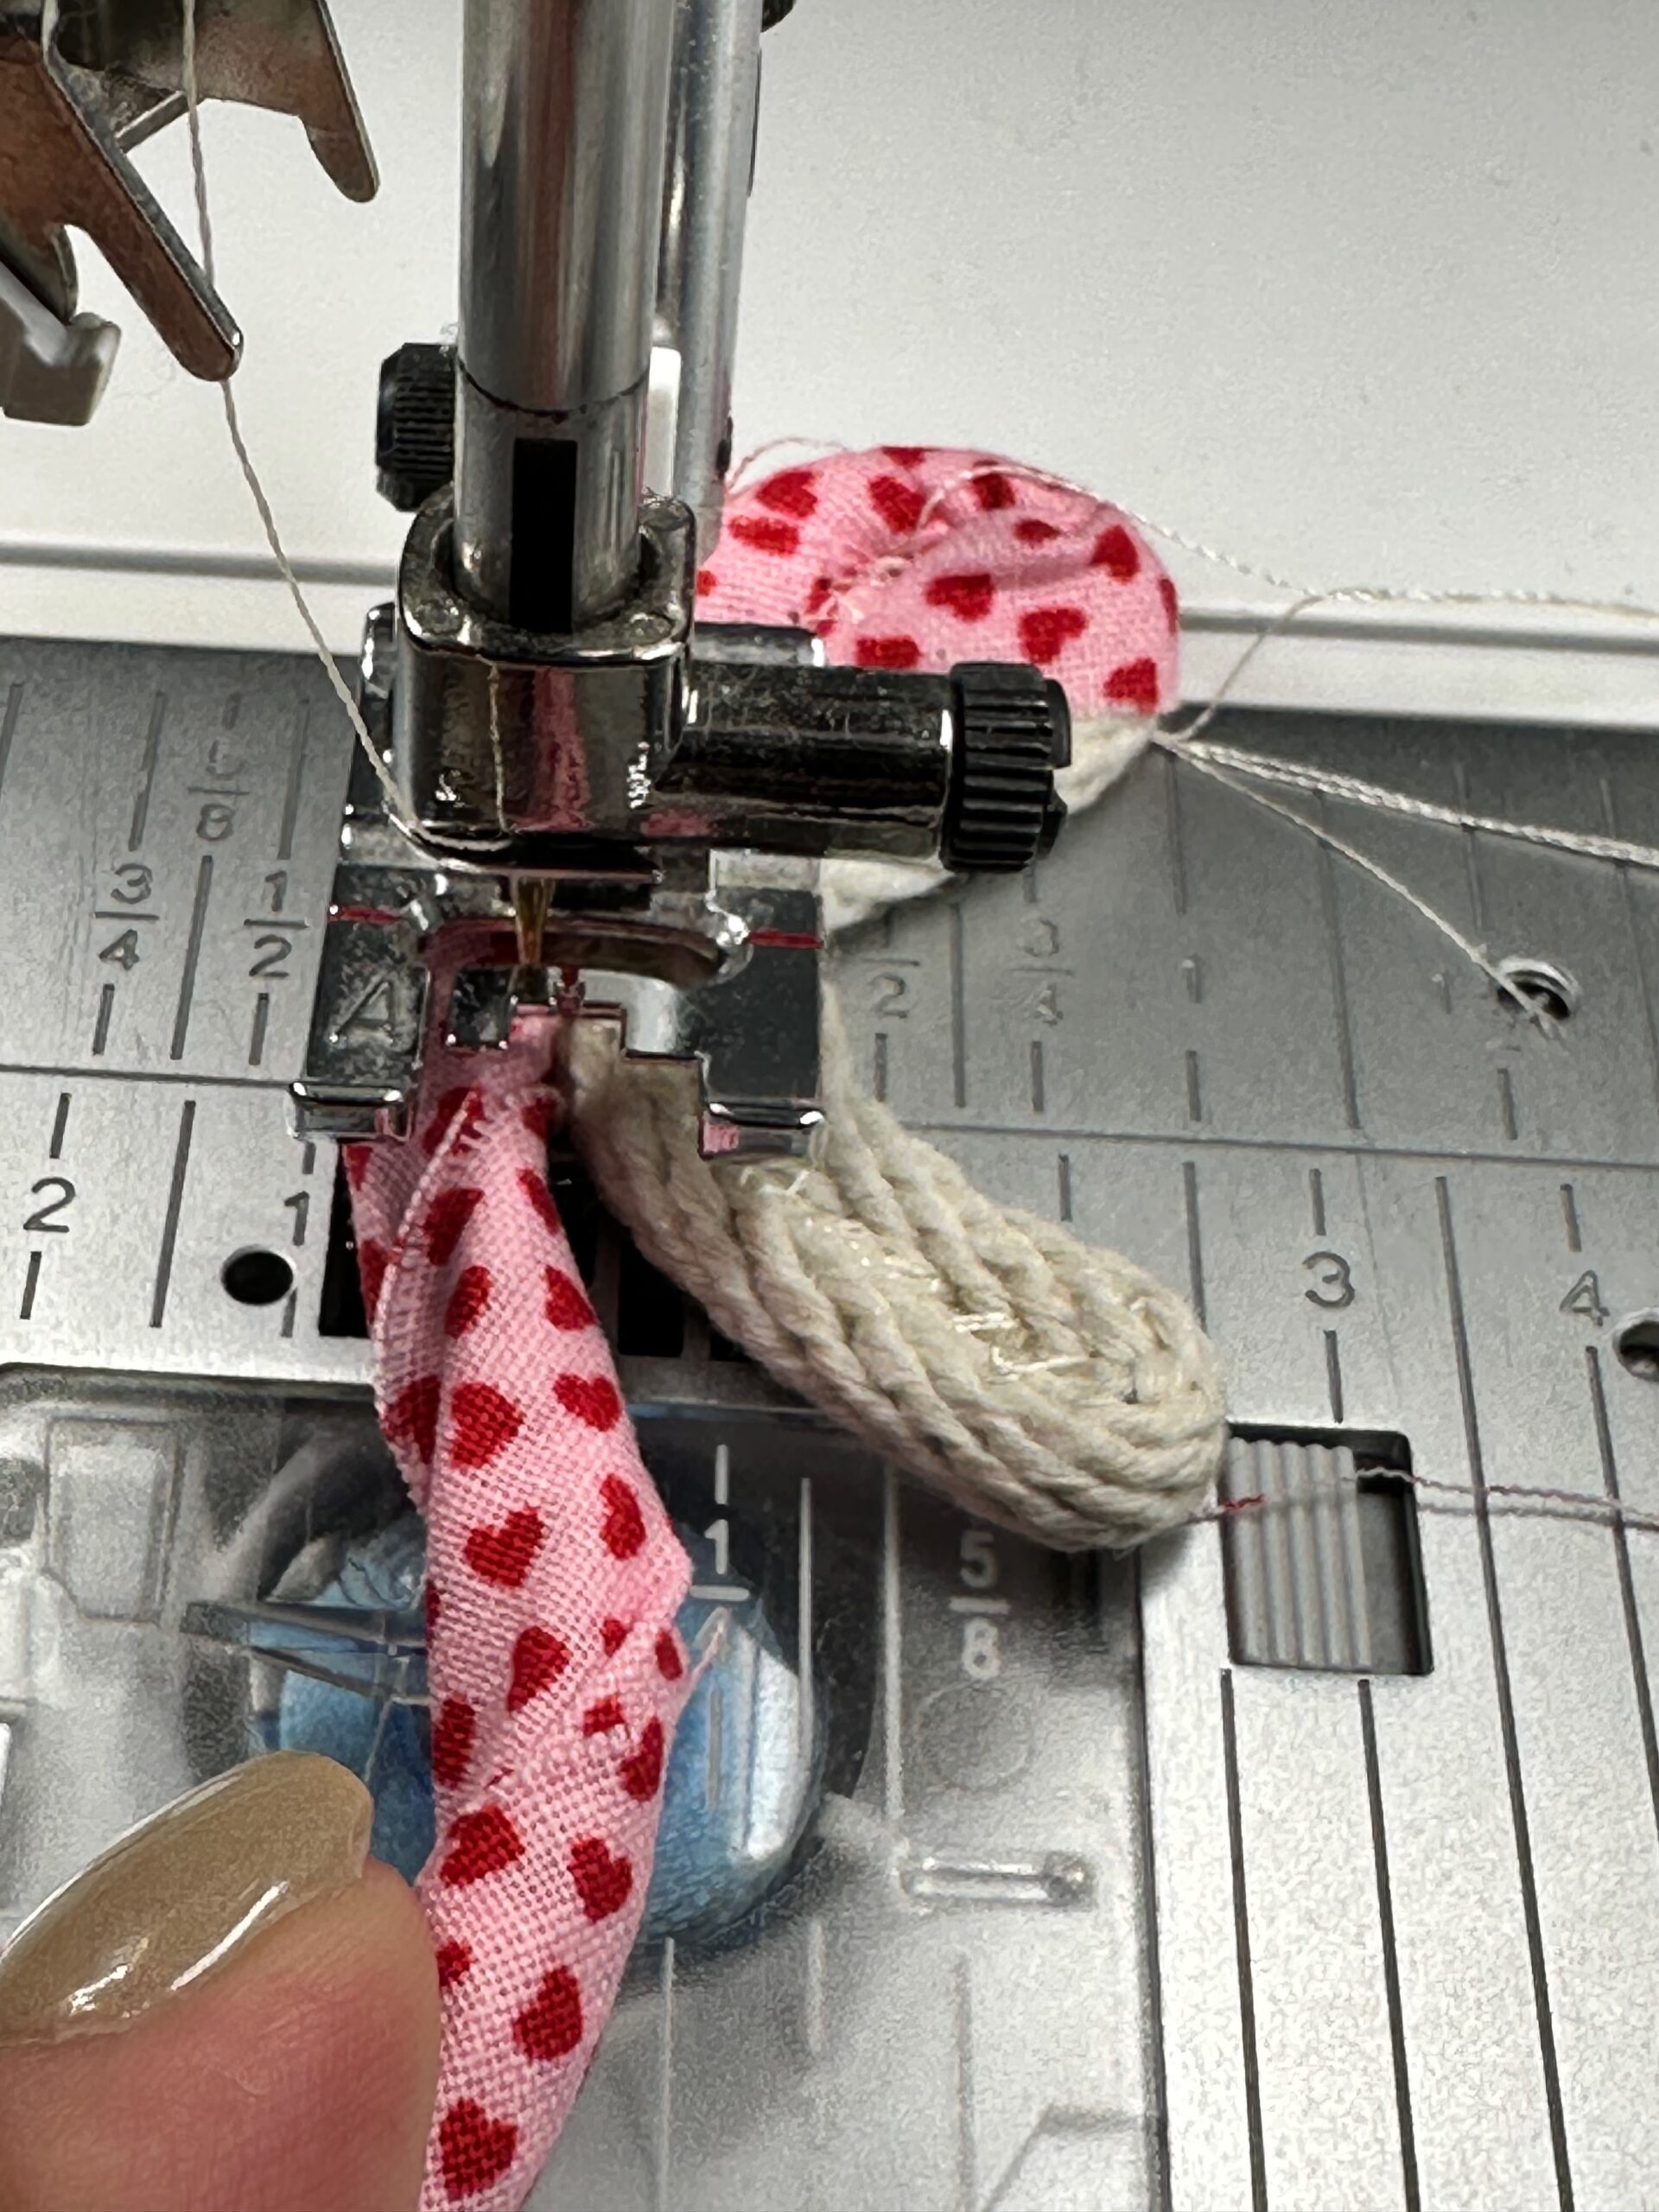
The heart base will continue to take shape as you add rope rows.
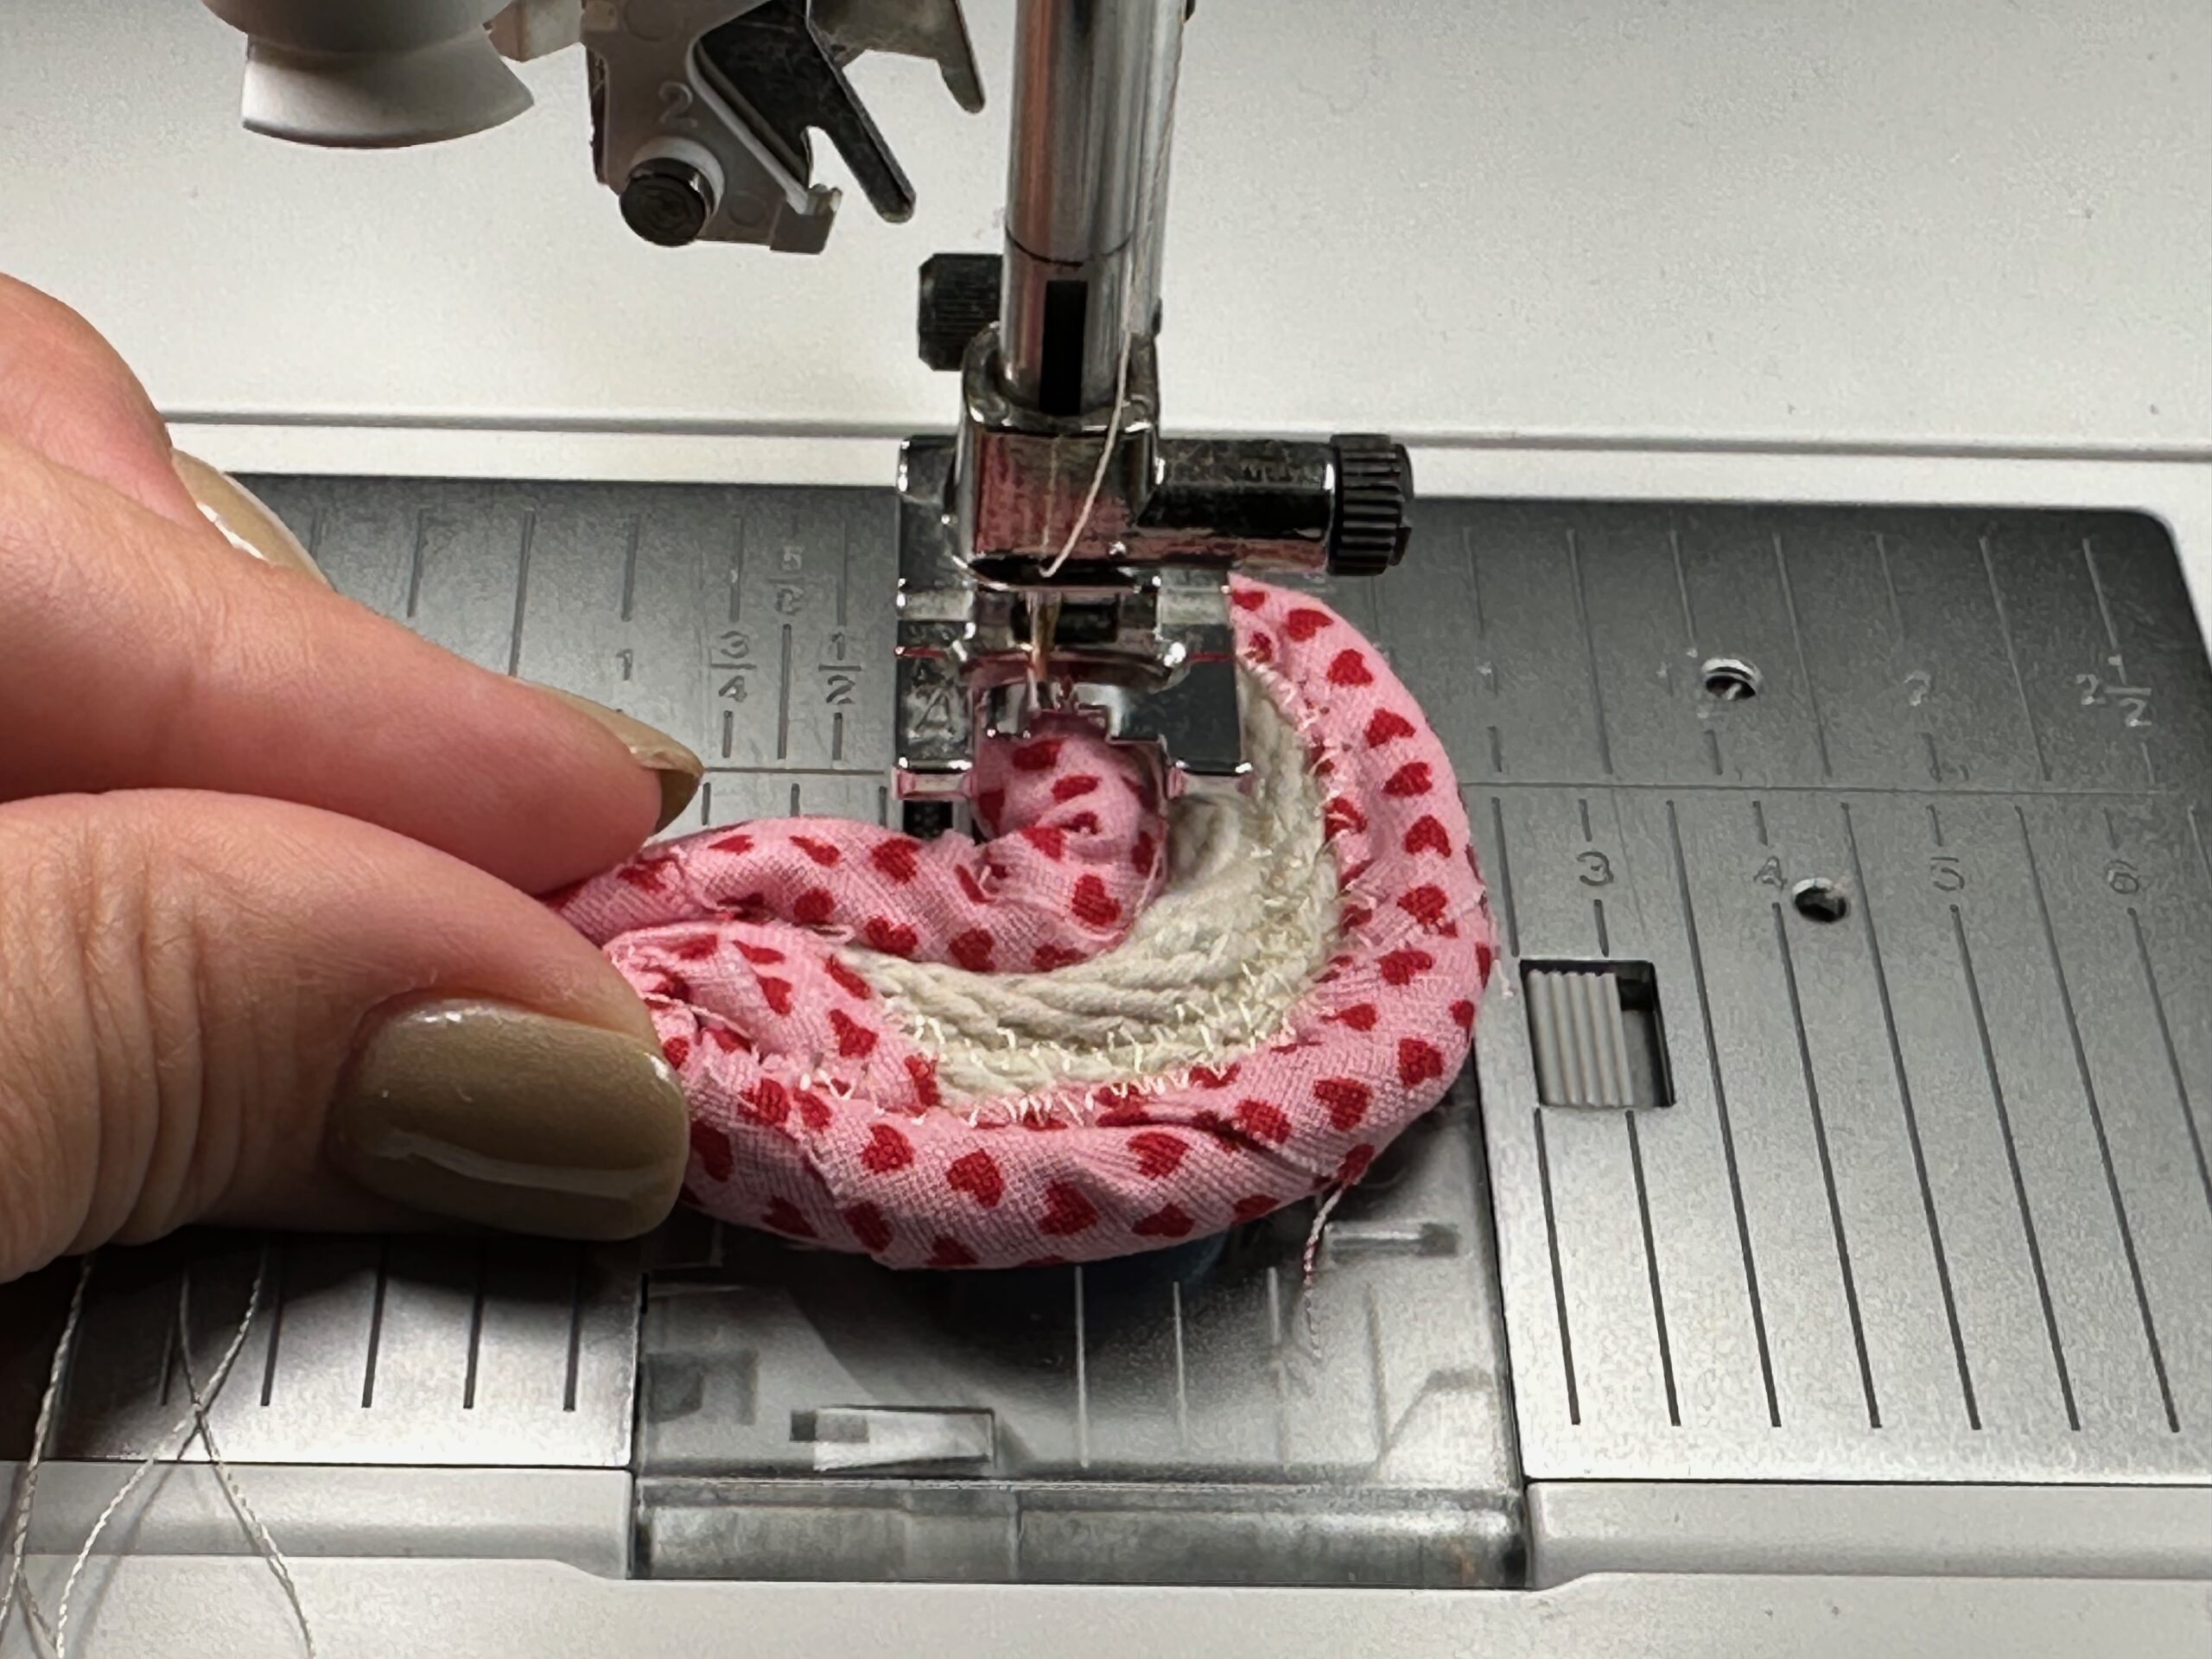
After adding about 5 rope rows, leave the needle in the rope and raise the presser foot. (At this point you have a heart-shaped coaster!)
FINISHING
To create the sides, tilt the heart base up toward the machine as much as possible.
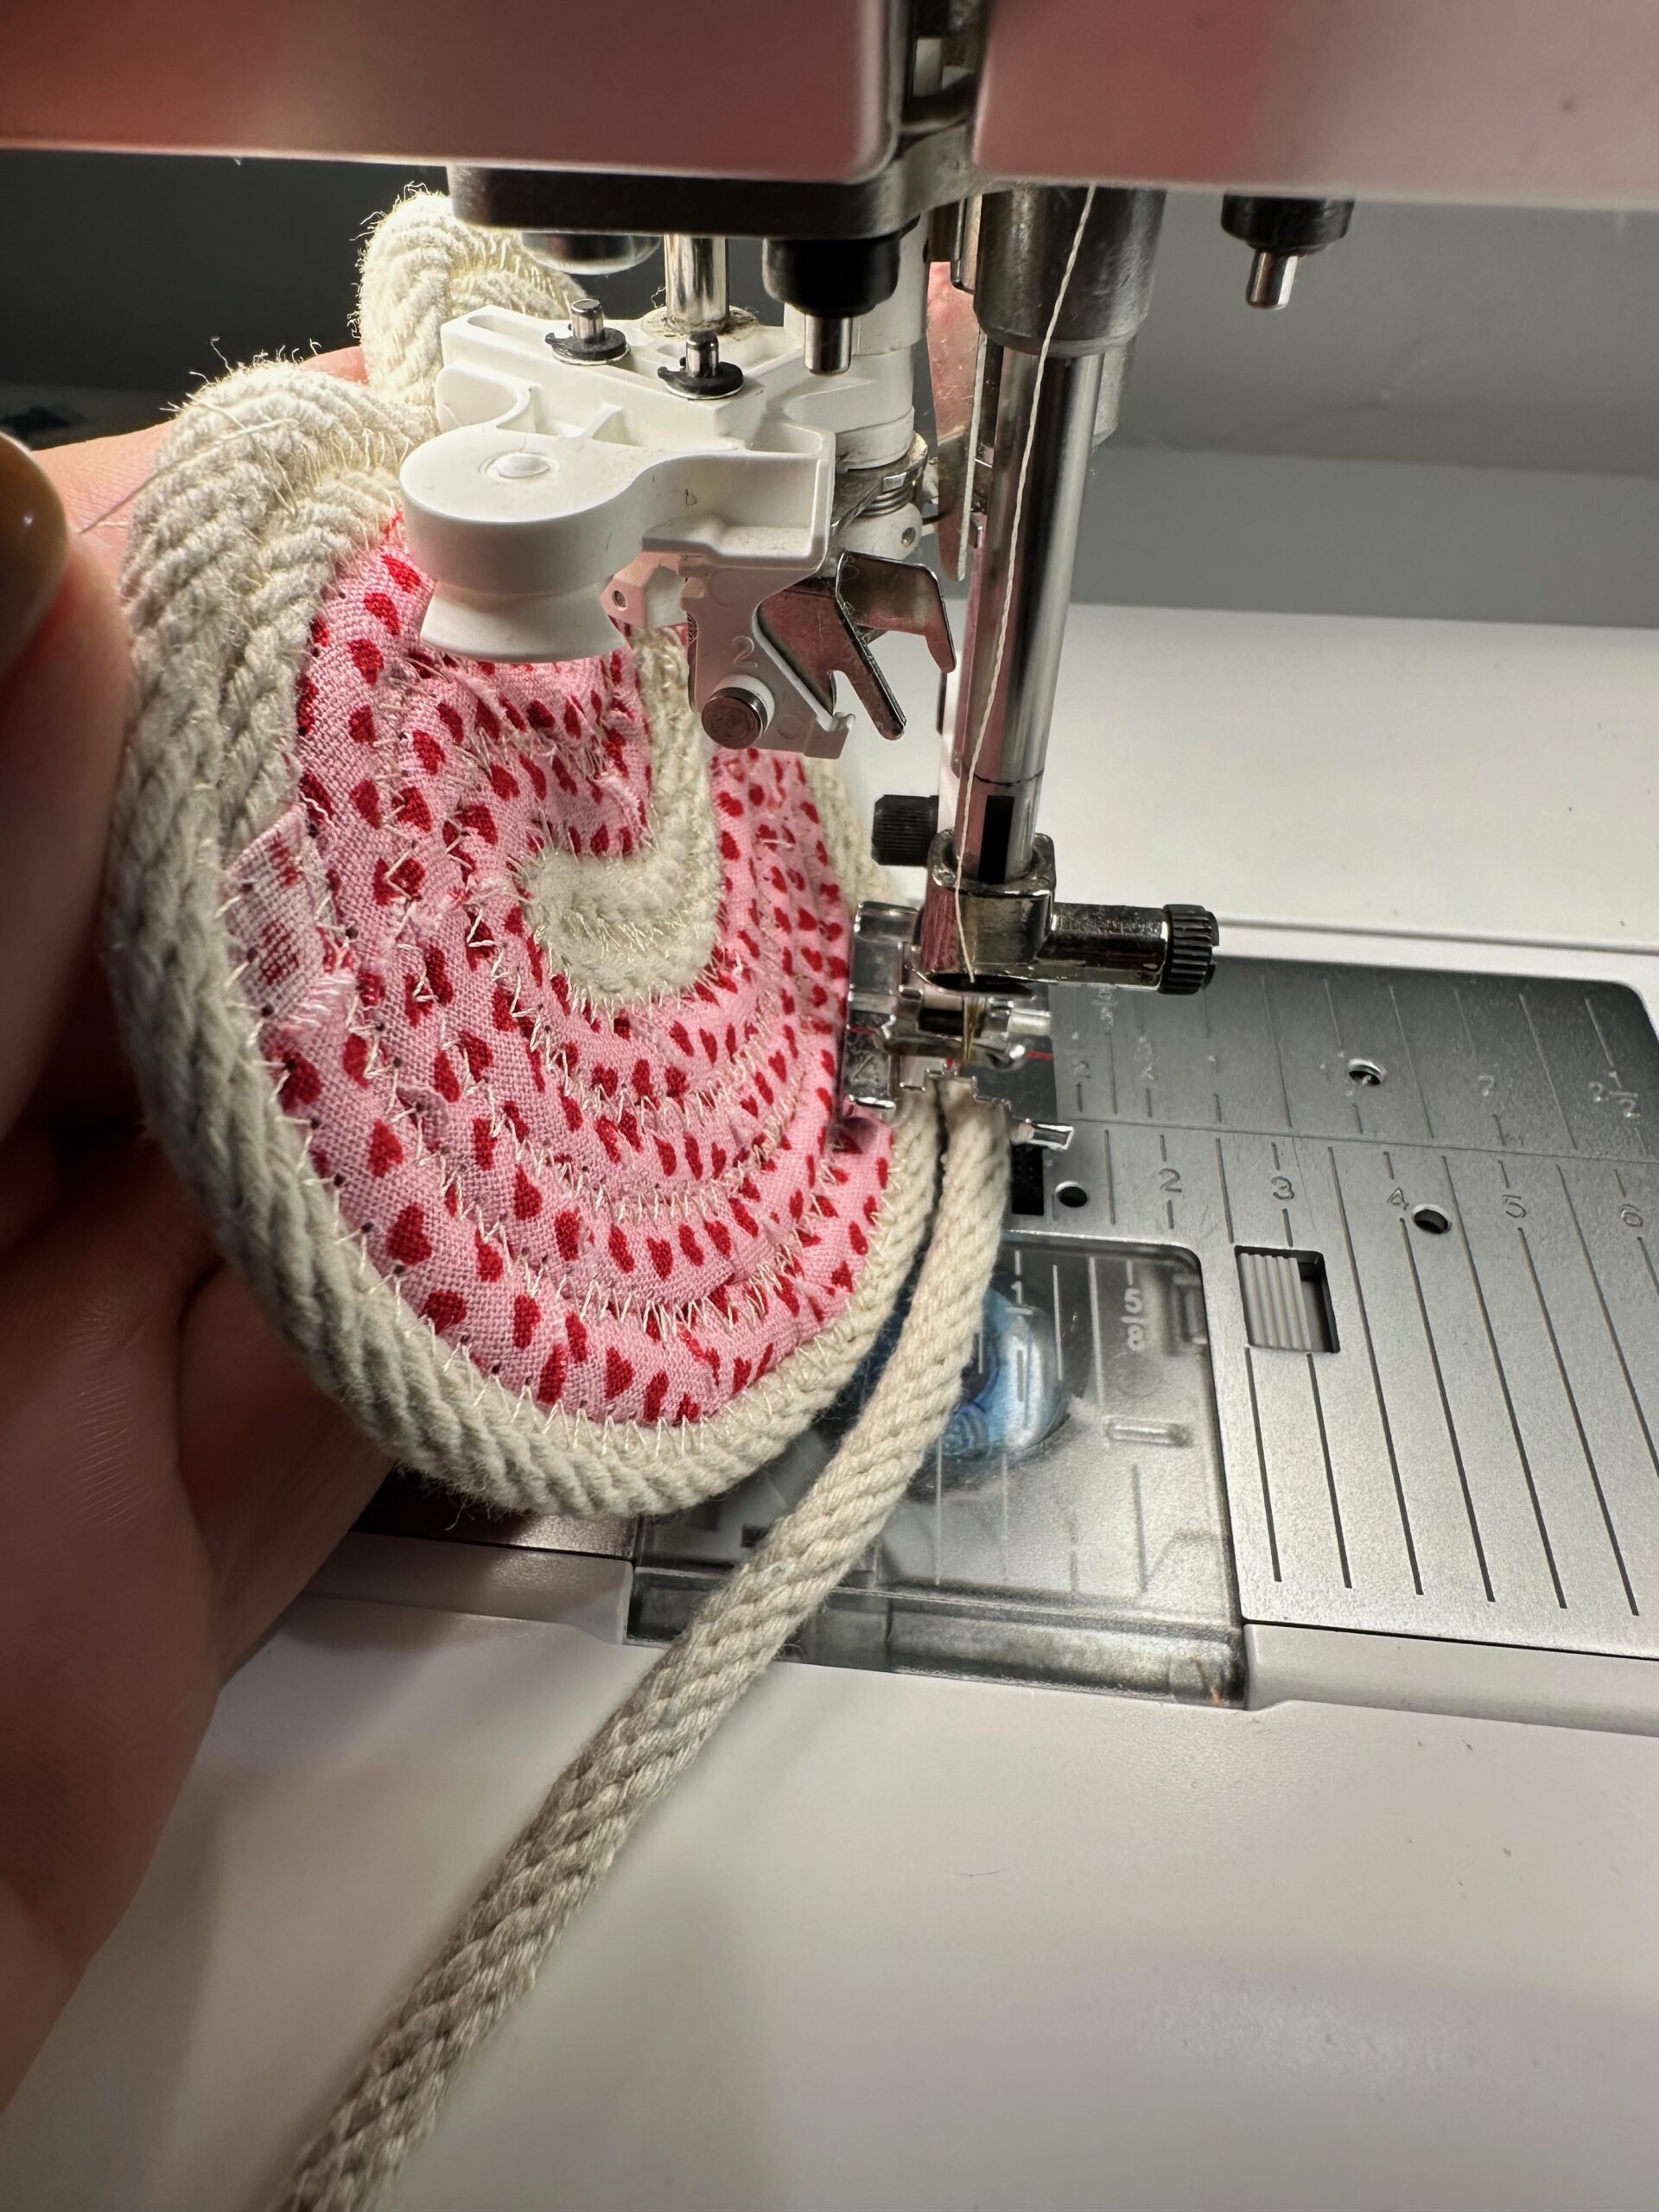
Add rope rows with the base tilted to create the basket sides. If desired, wrap more rows with fabric that either matches or coordinates with the fabric used on the base.
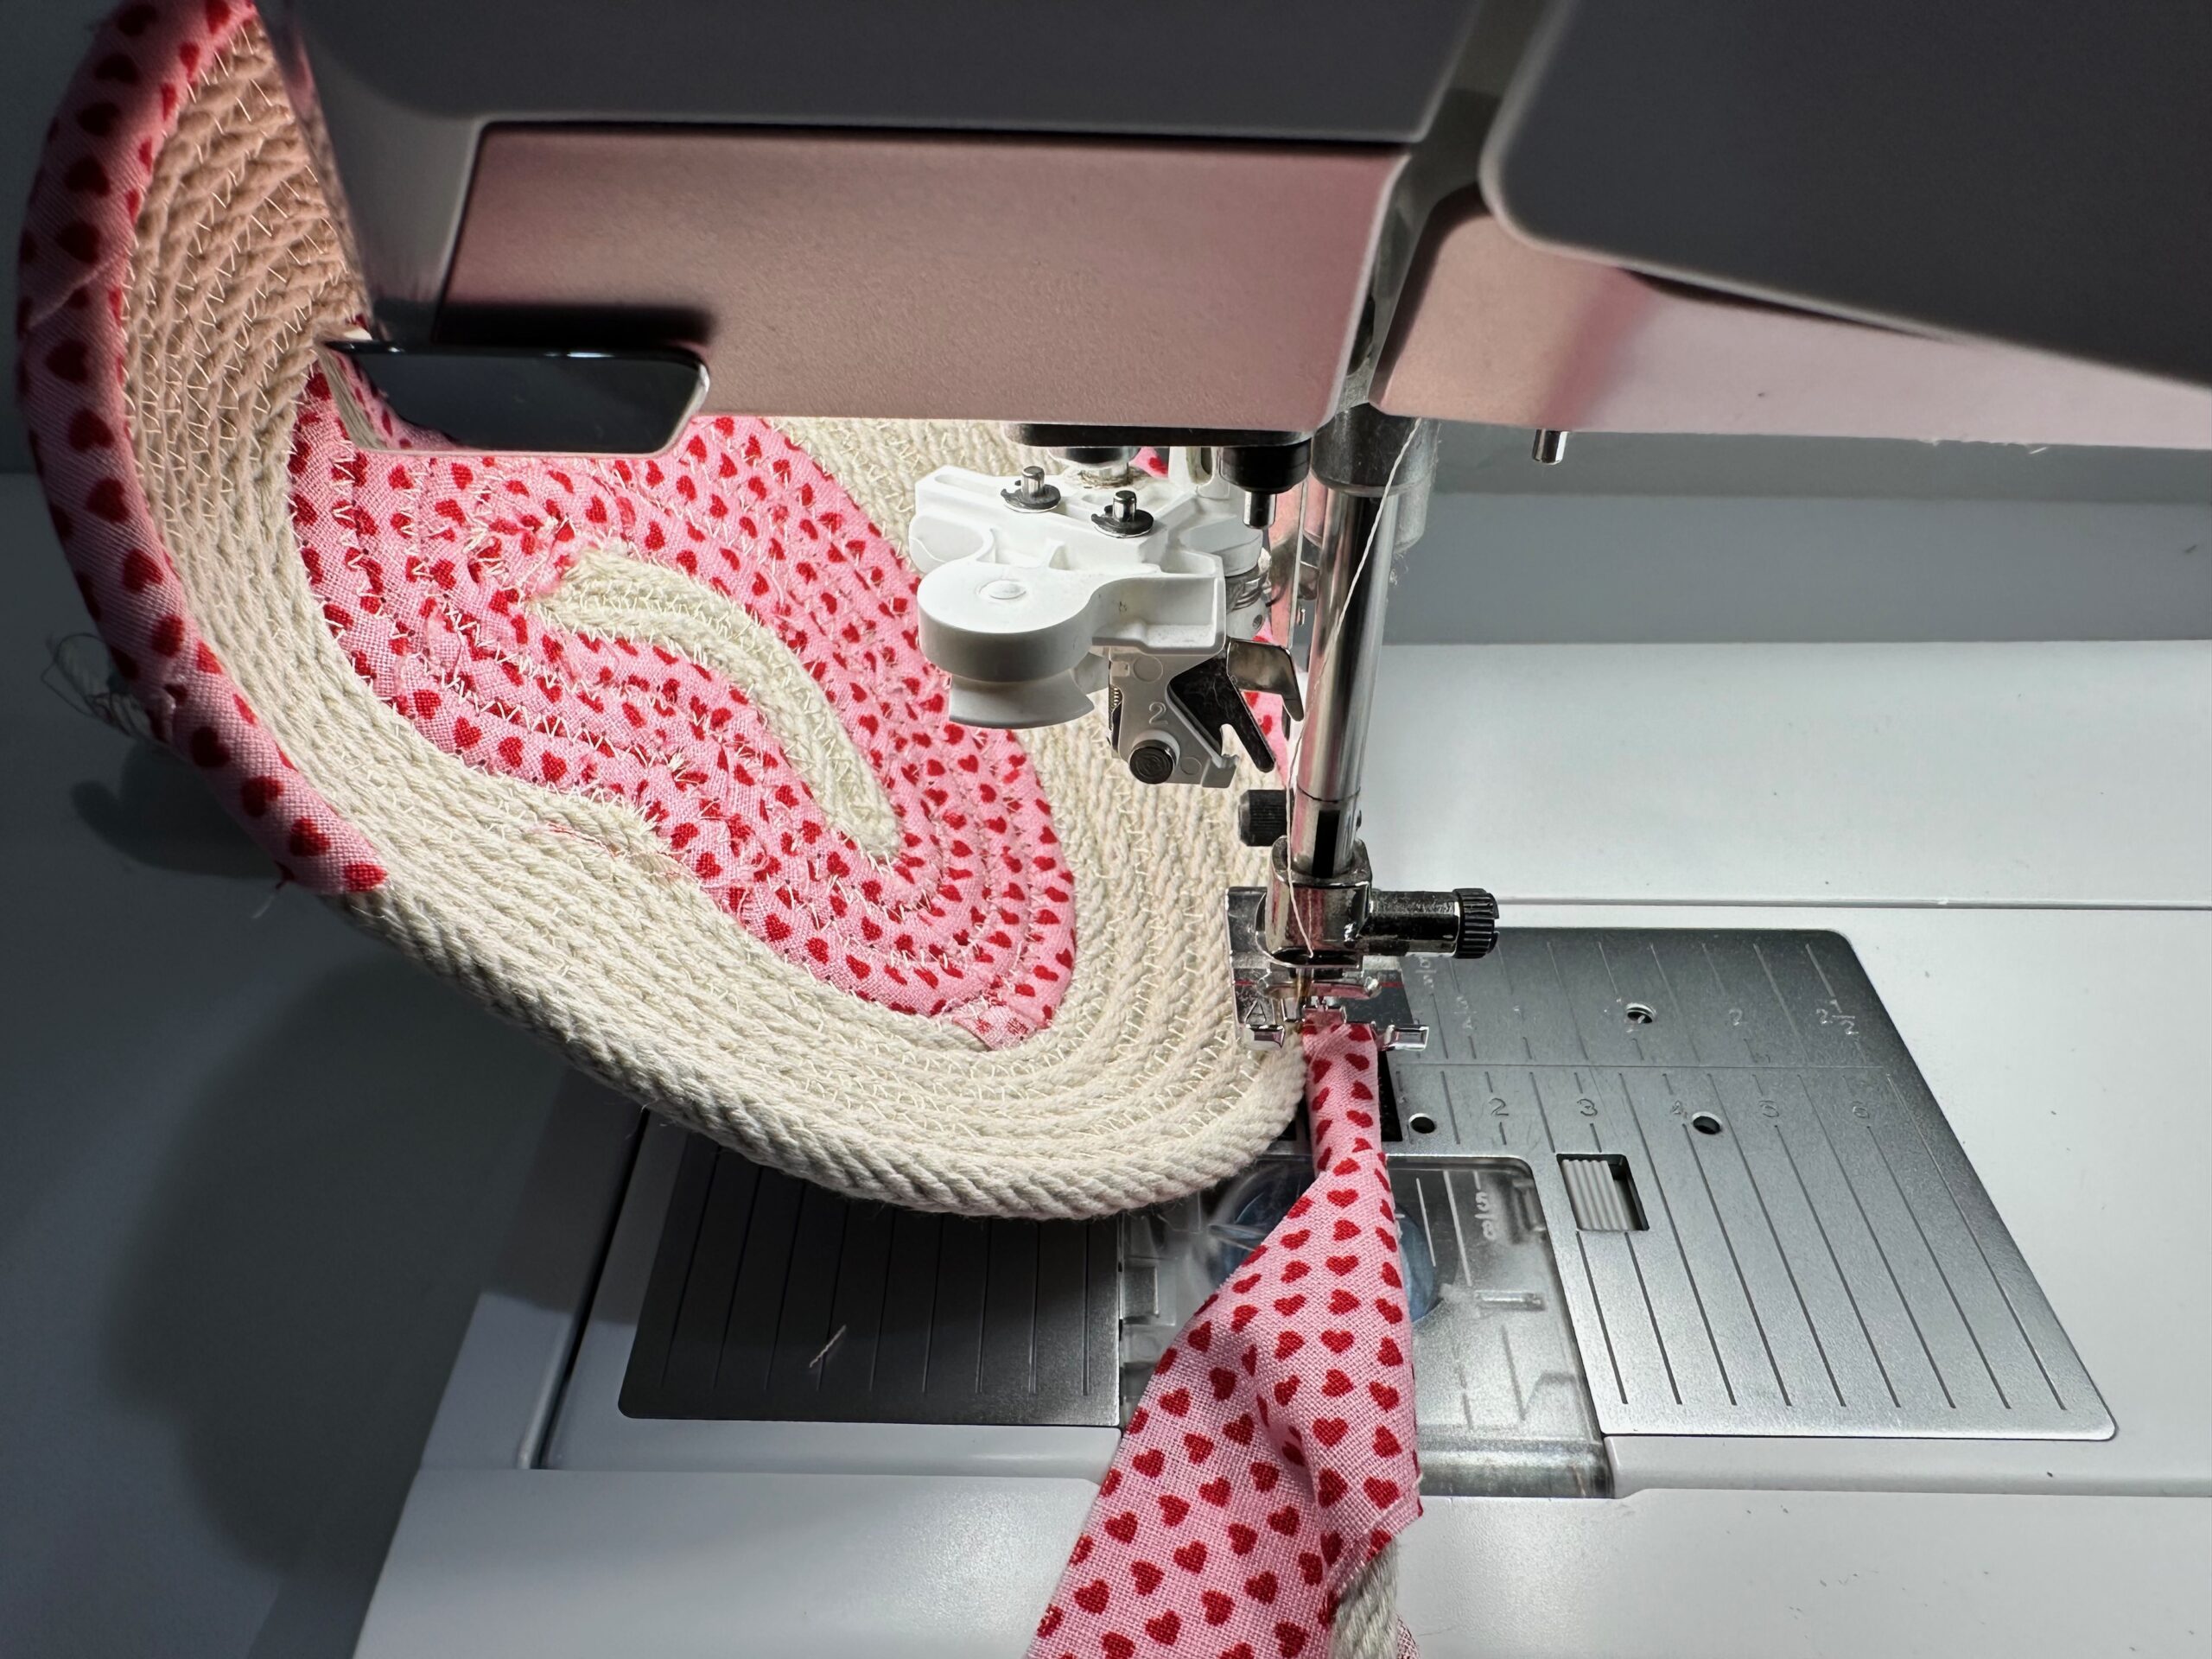
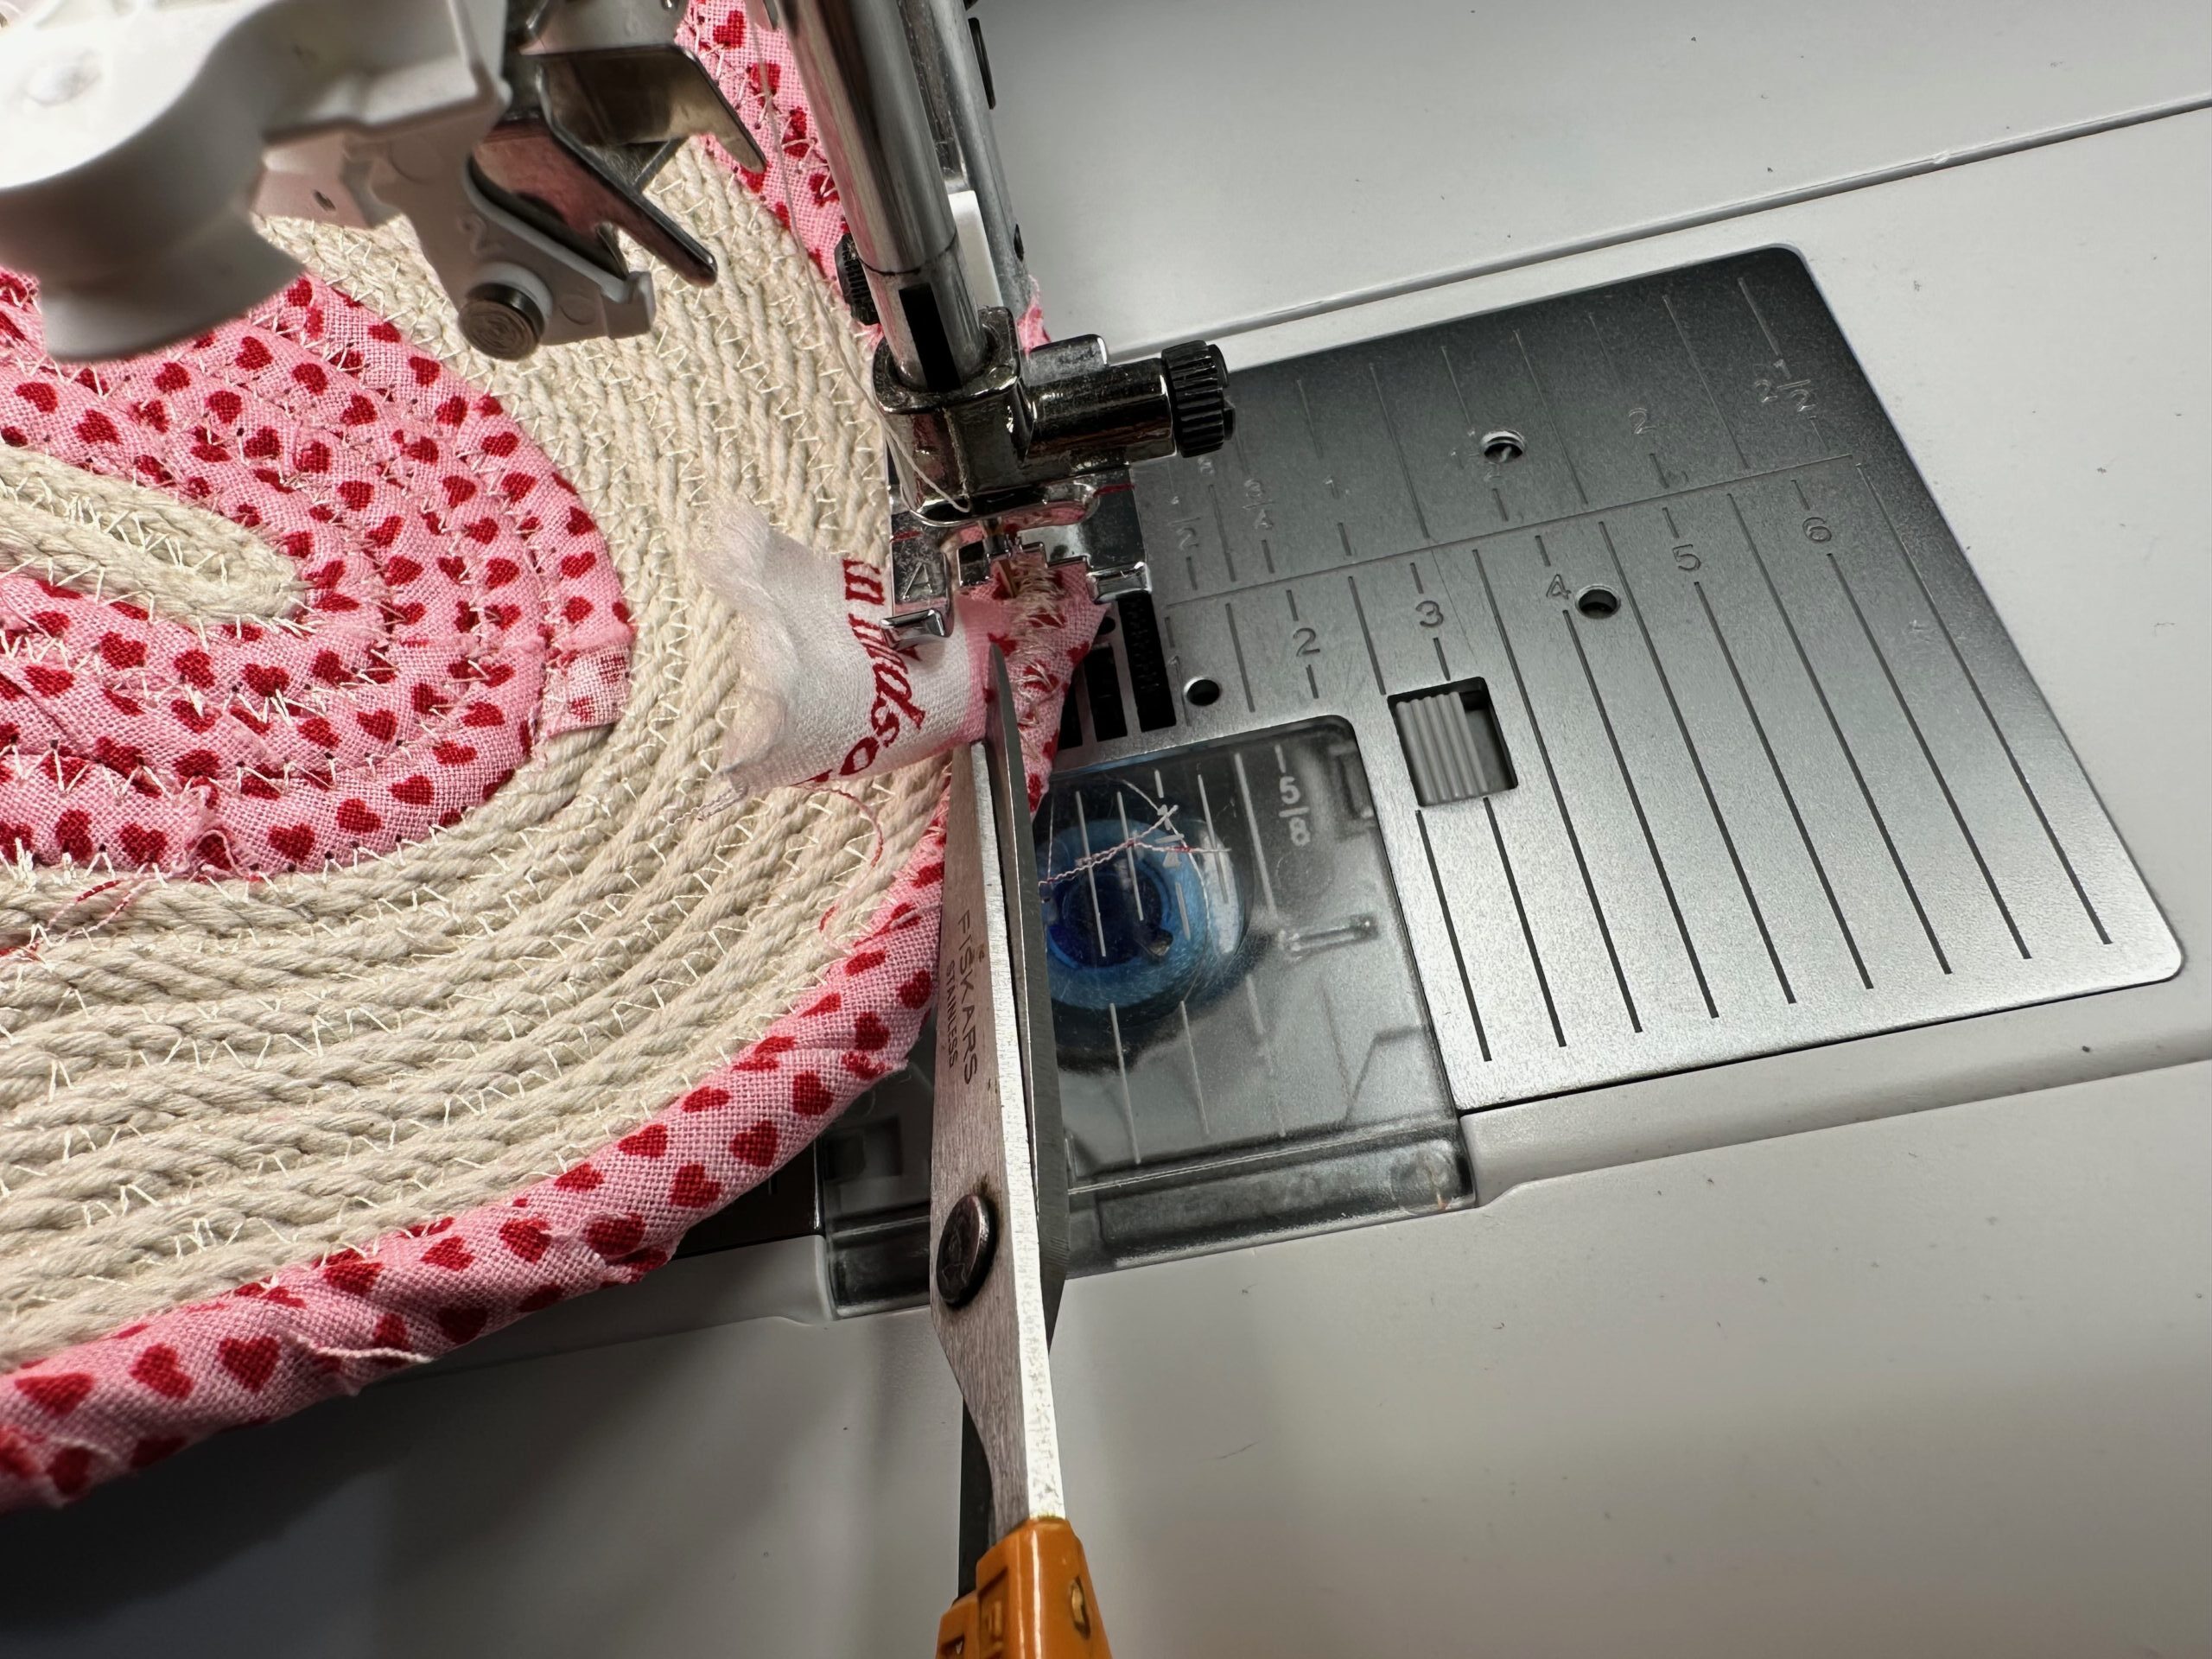
Continue adding rows until the Trinket Tray is as tall as desired. For the featured heart-shaped rope basket, six more rope rows were added. Trim the rope end, leaving about 3″ beyond the desired stopping point. Either tuck the end into itself and zigzag over the end multiple times to secure.
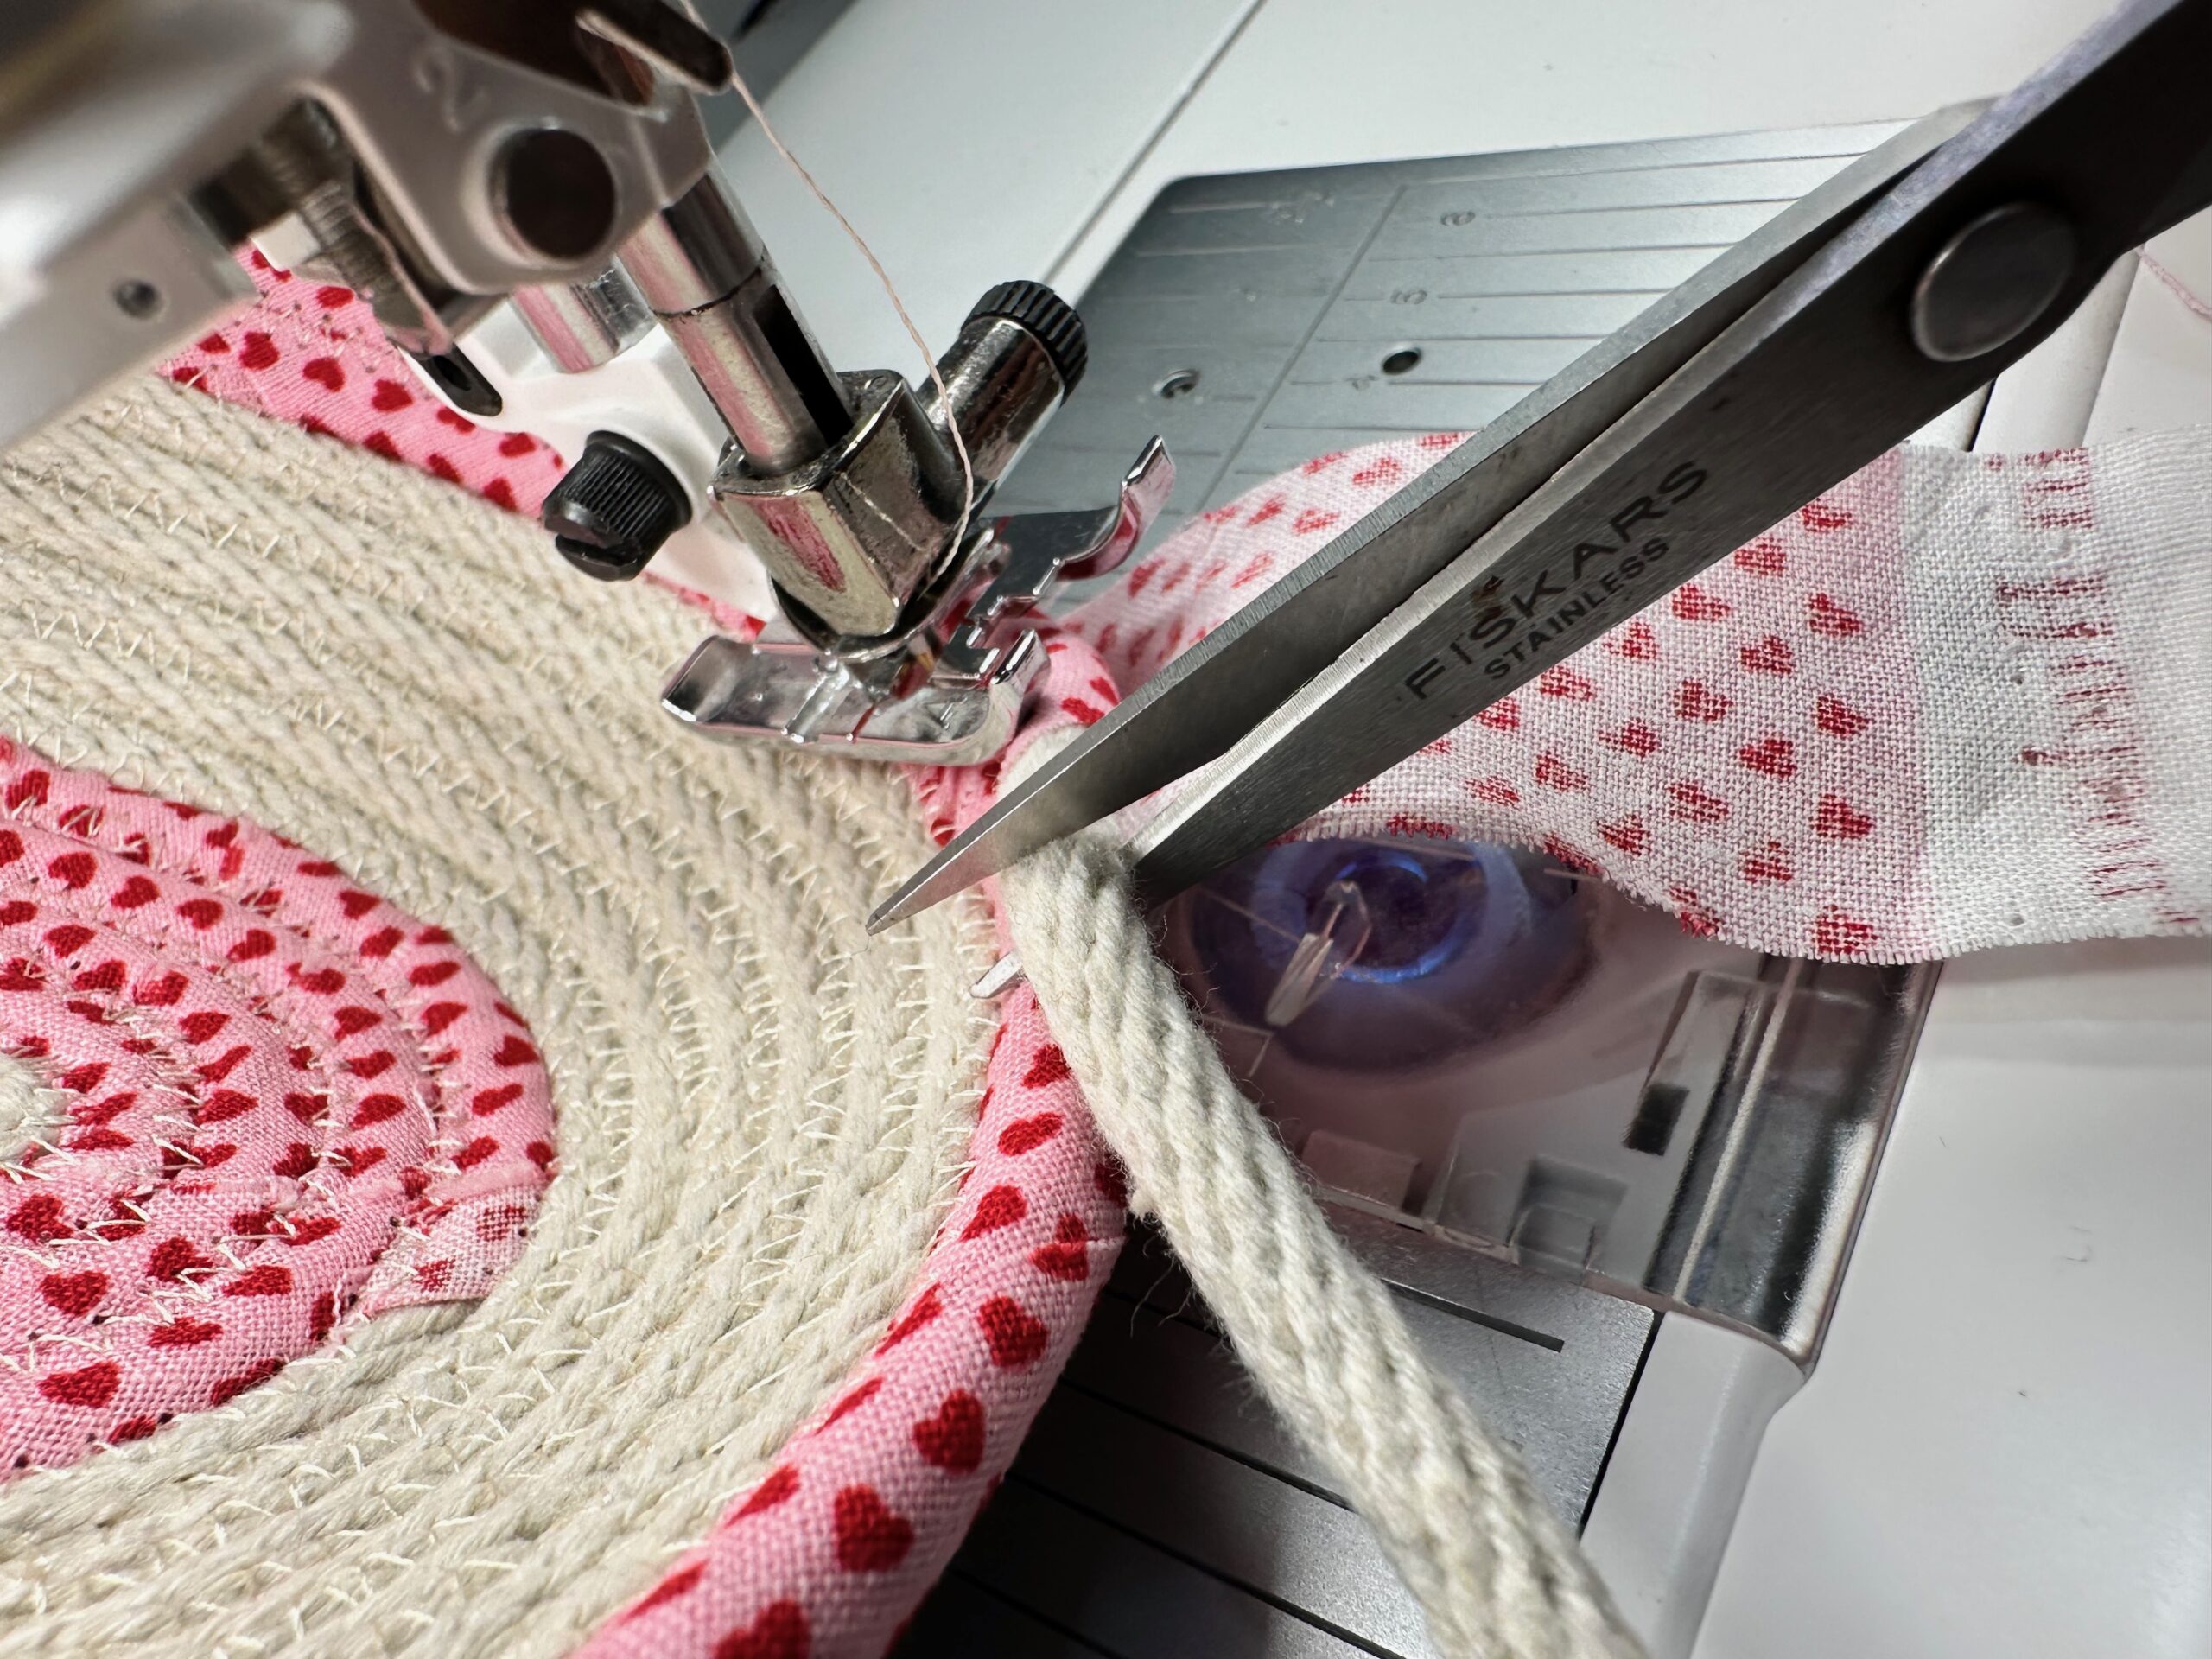
Or, unwrap some of the fabric at least 3″ beyond the rope end, and then wrap the fabric around the rope end to conceal it.
Then, fold the fabric end toward the basket interior and trim off the excess, flush with the previous rope row.
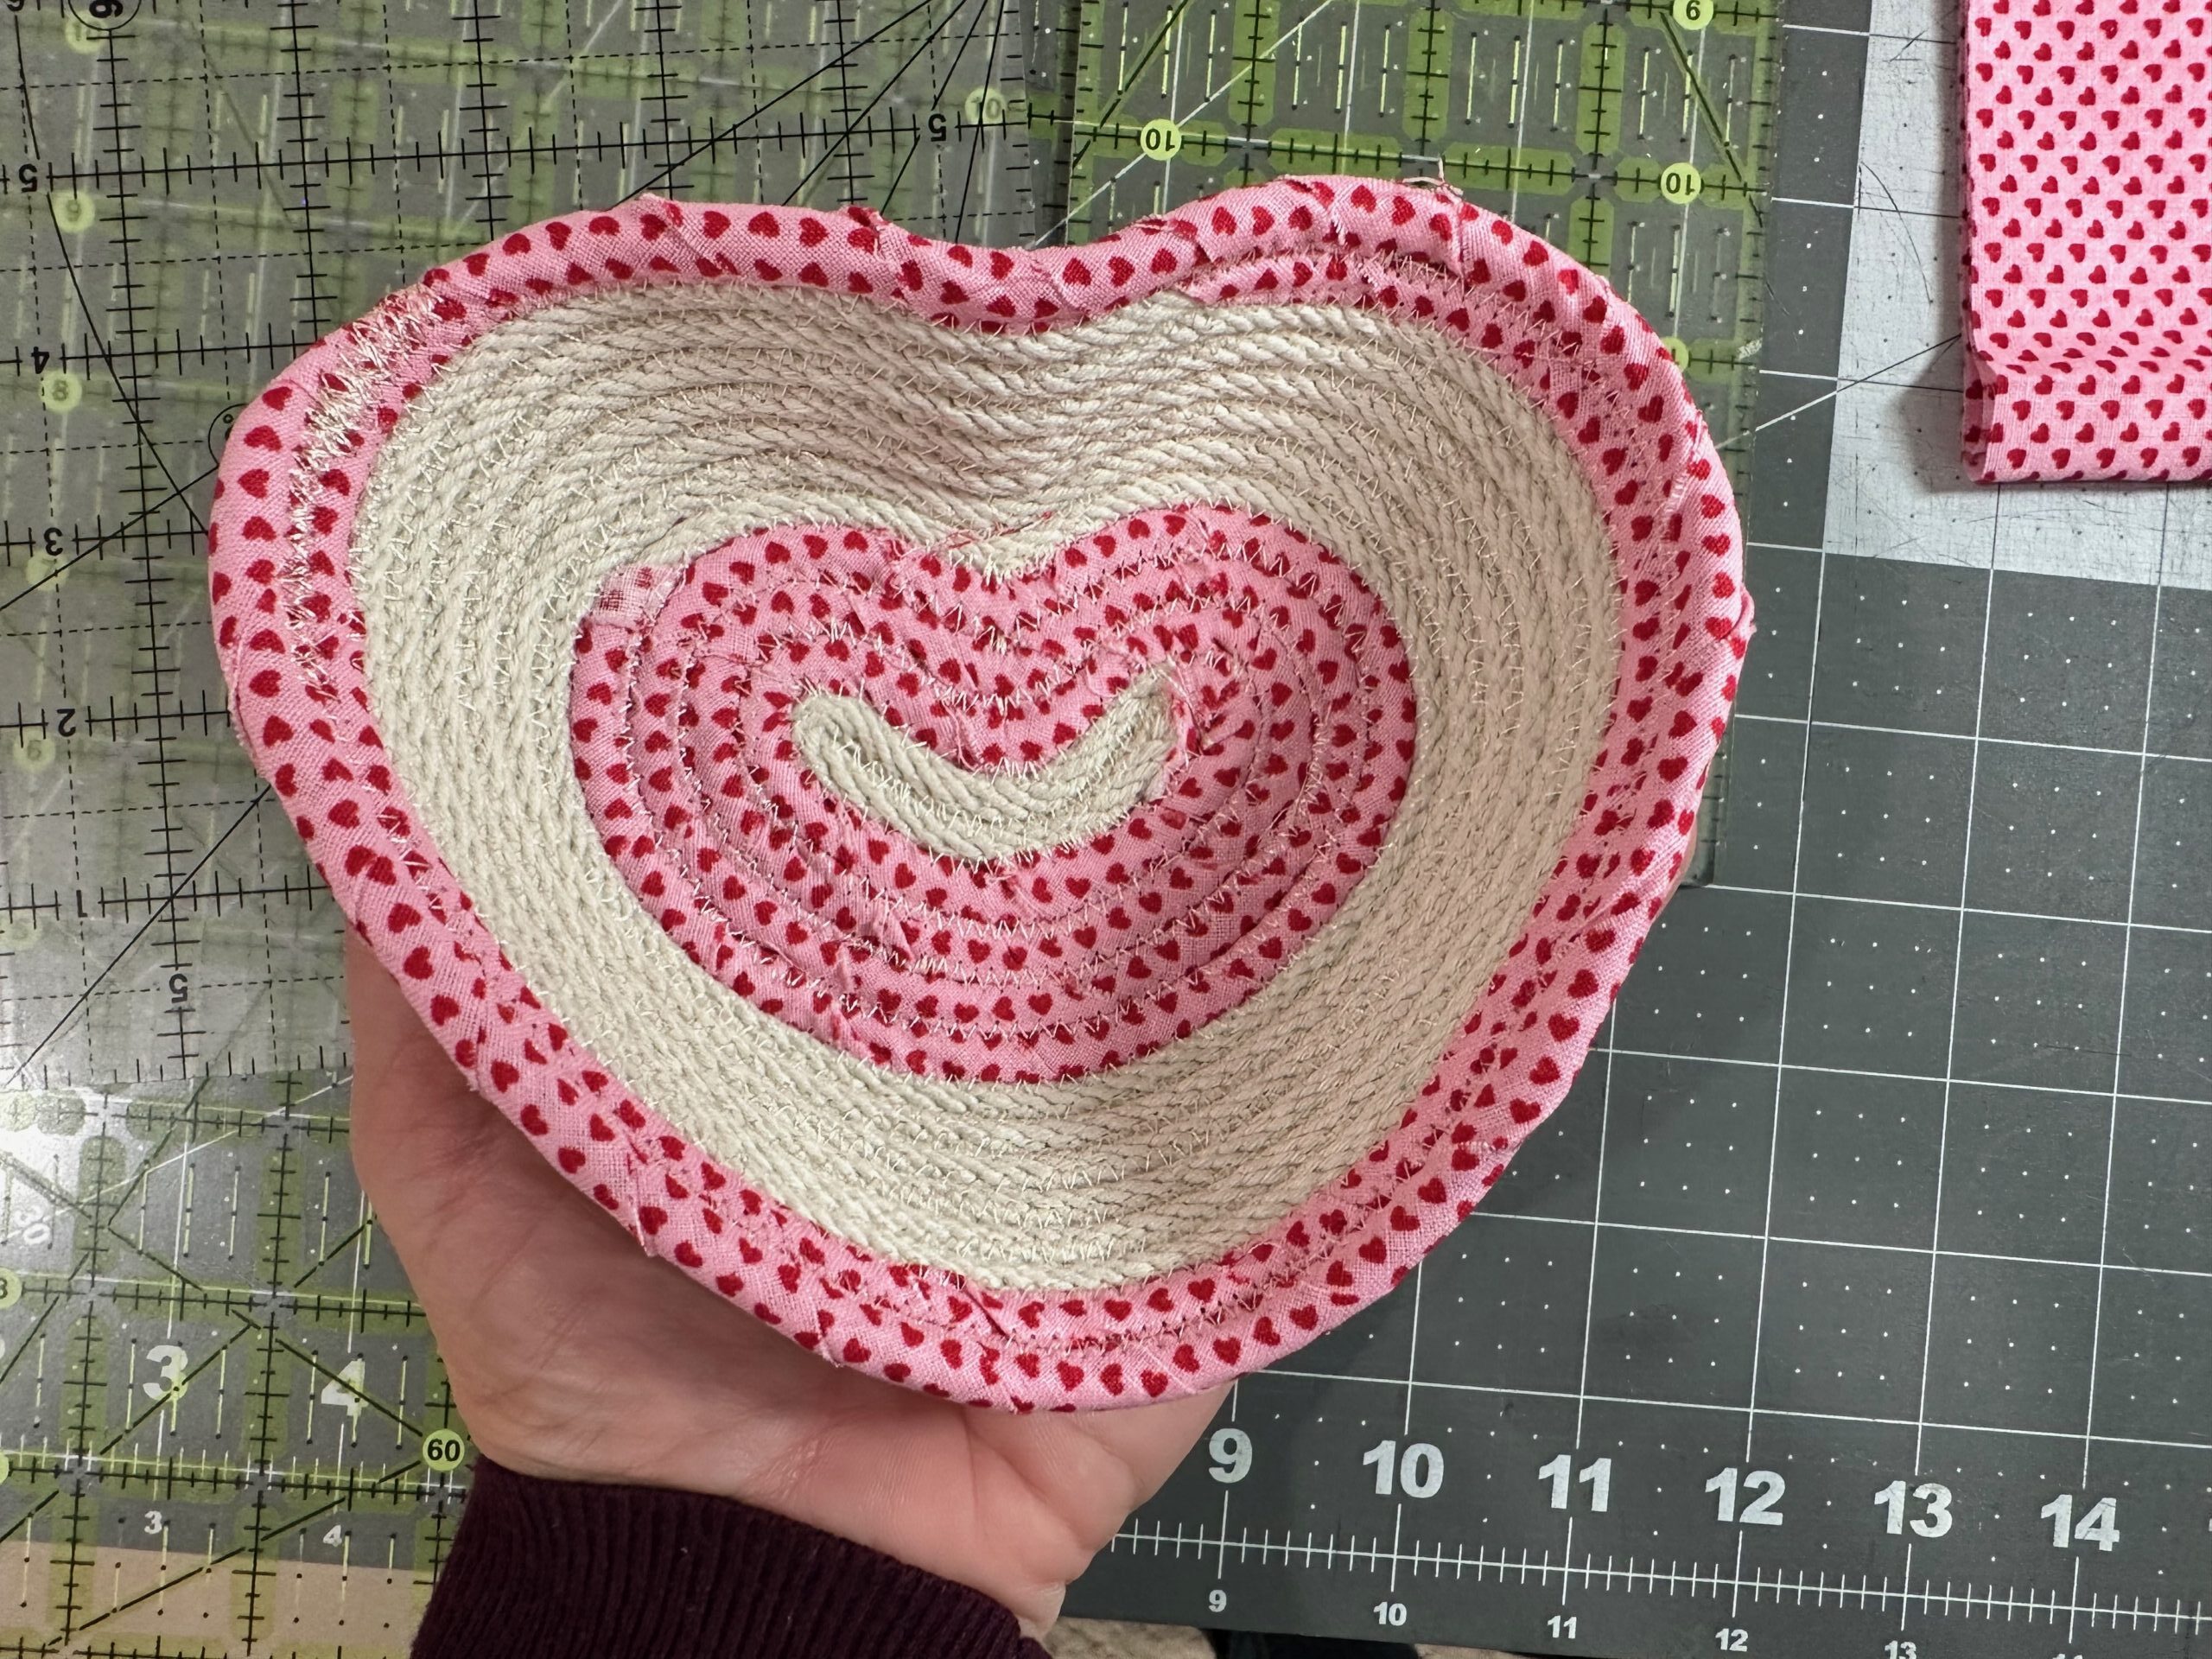
Then, your heart-shaped rope basket Trinket Tray is complete!
For more on making rope baskets (and adding machine embroidery to the rope during construction), head to our Creative ROpe Basket Session! CHECK IT OUT>
