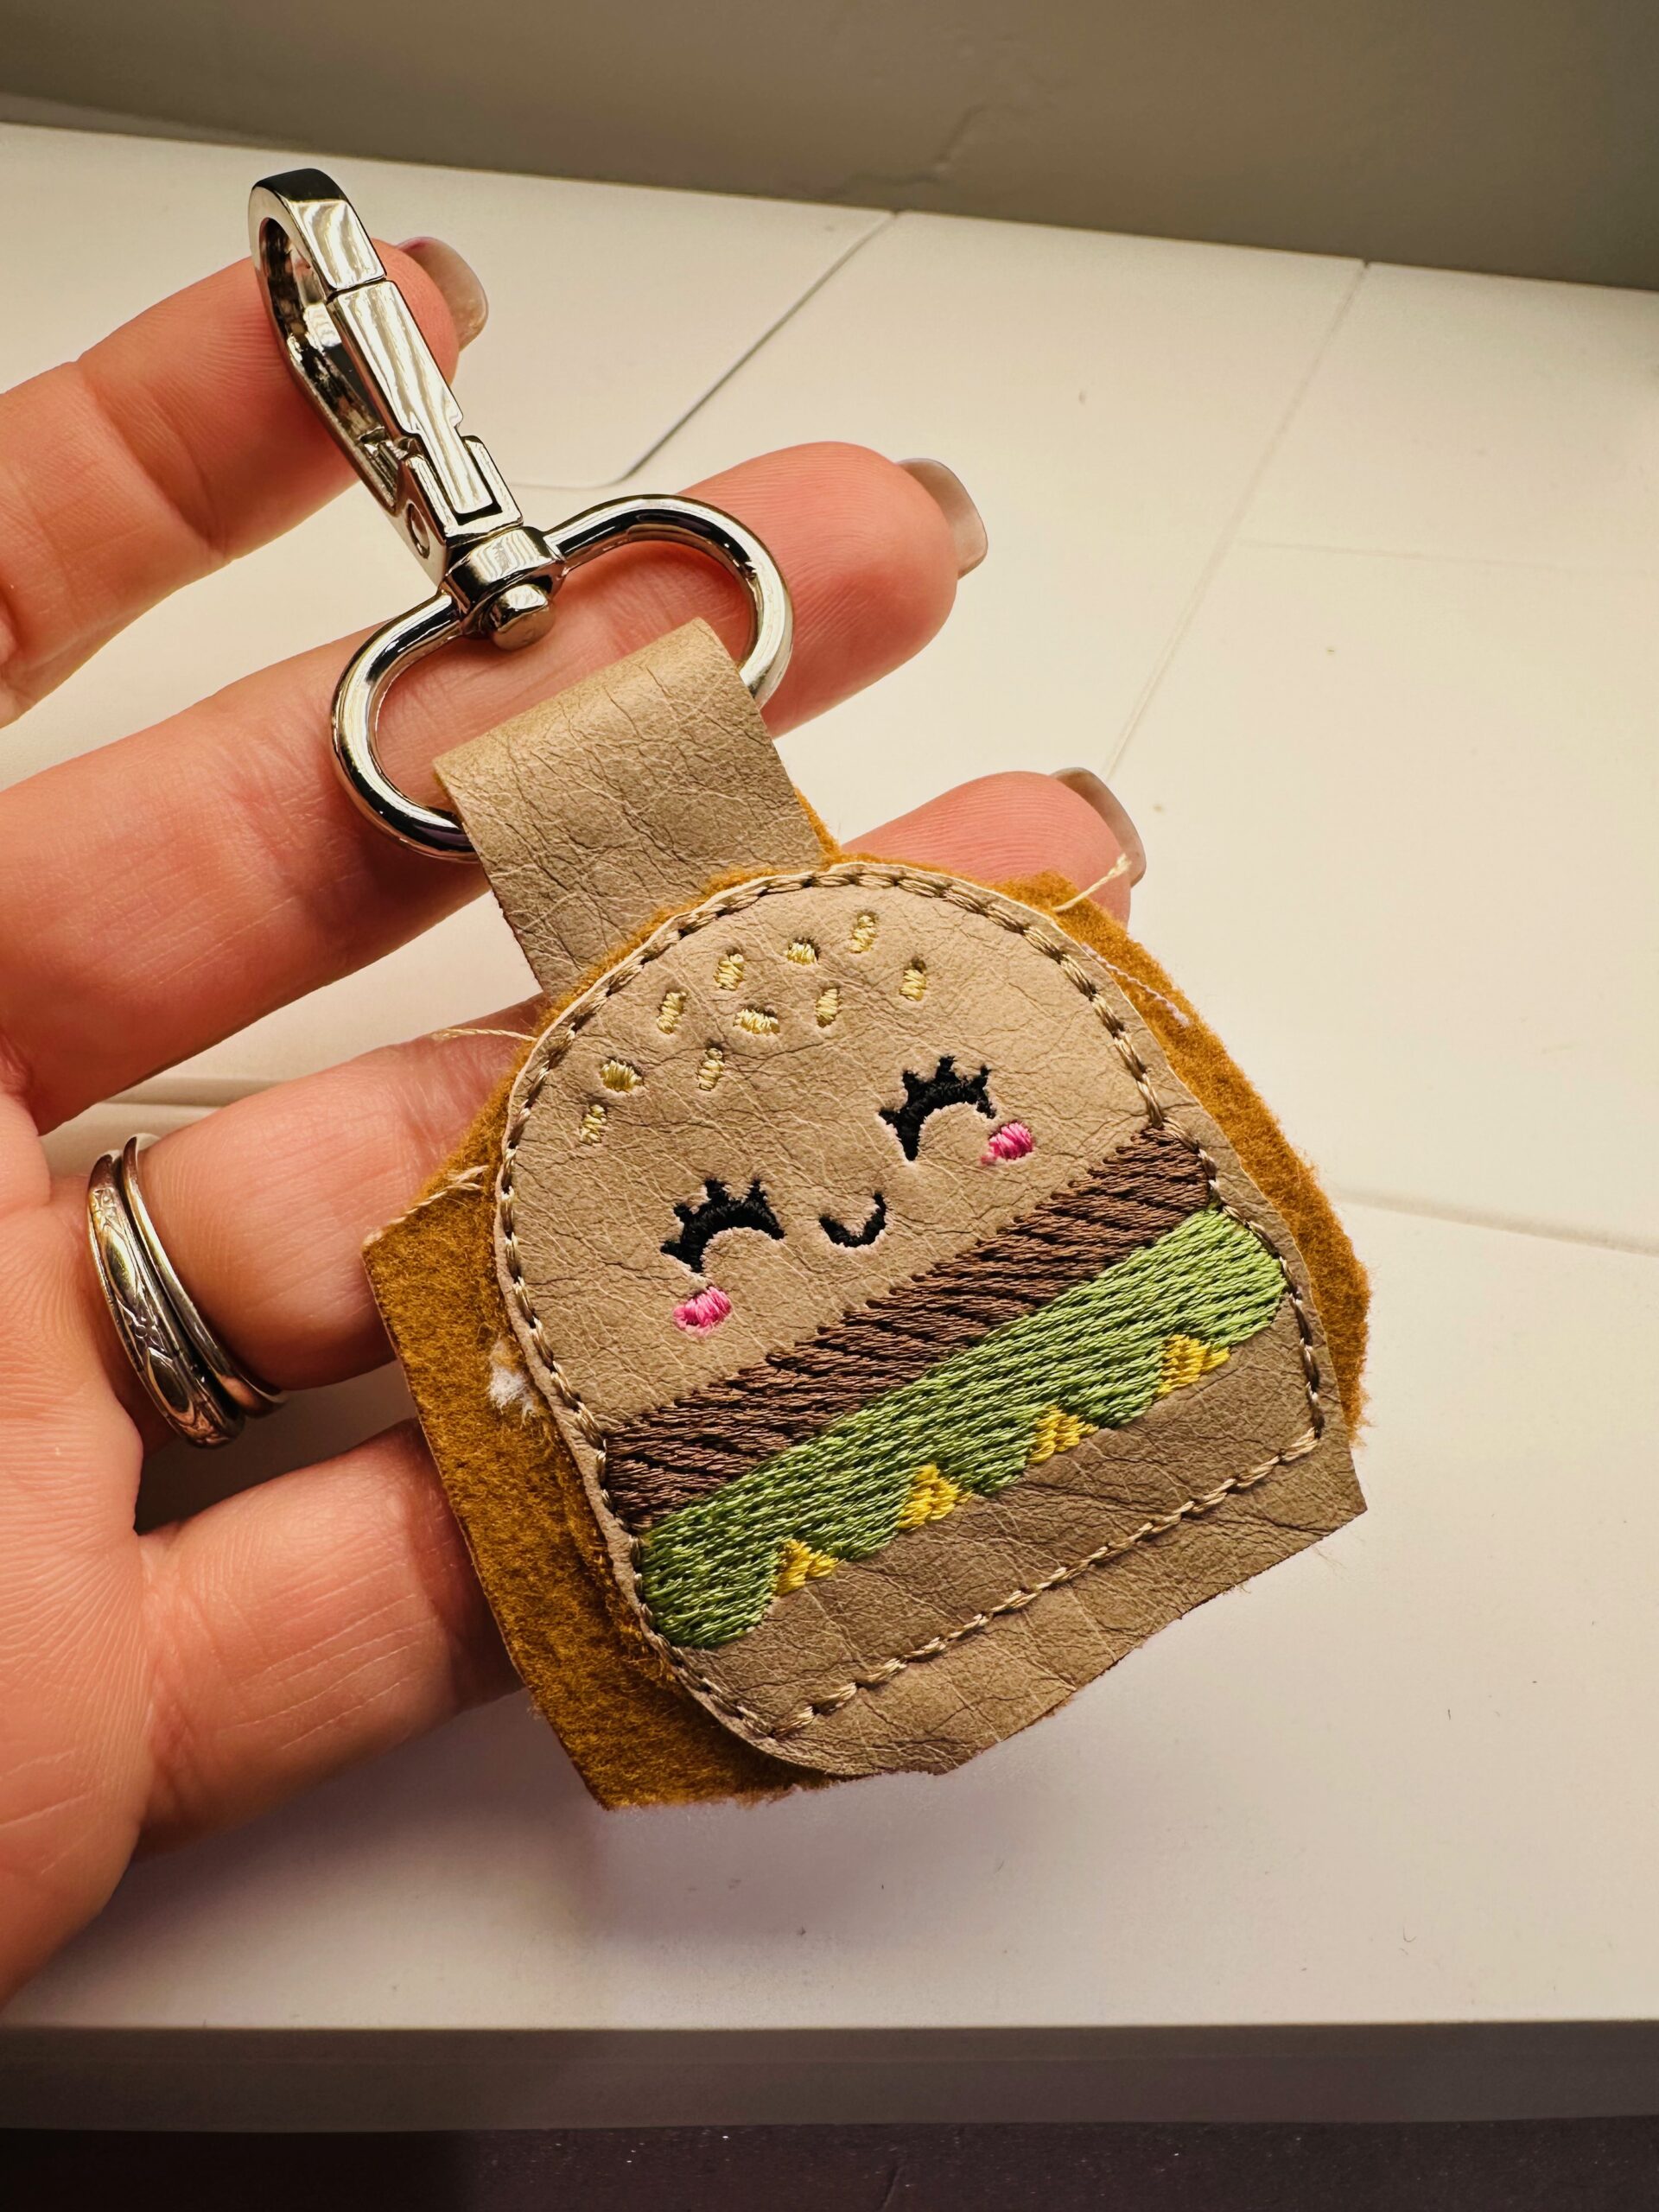
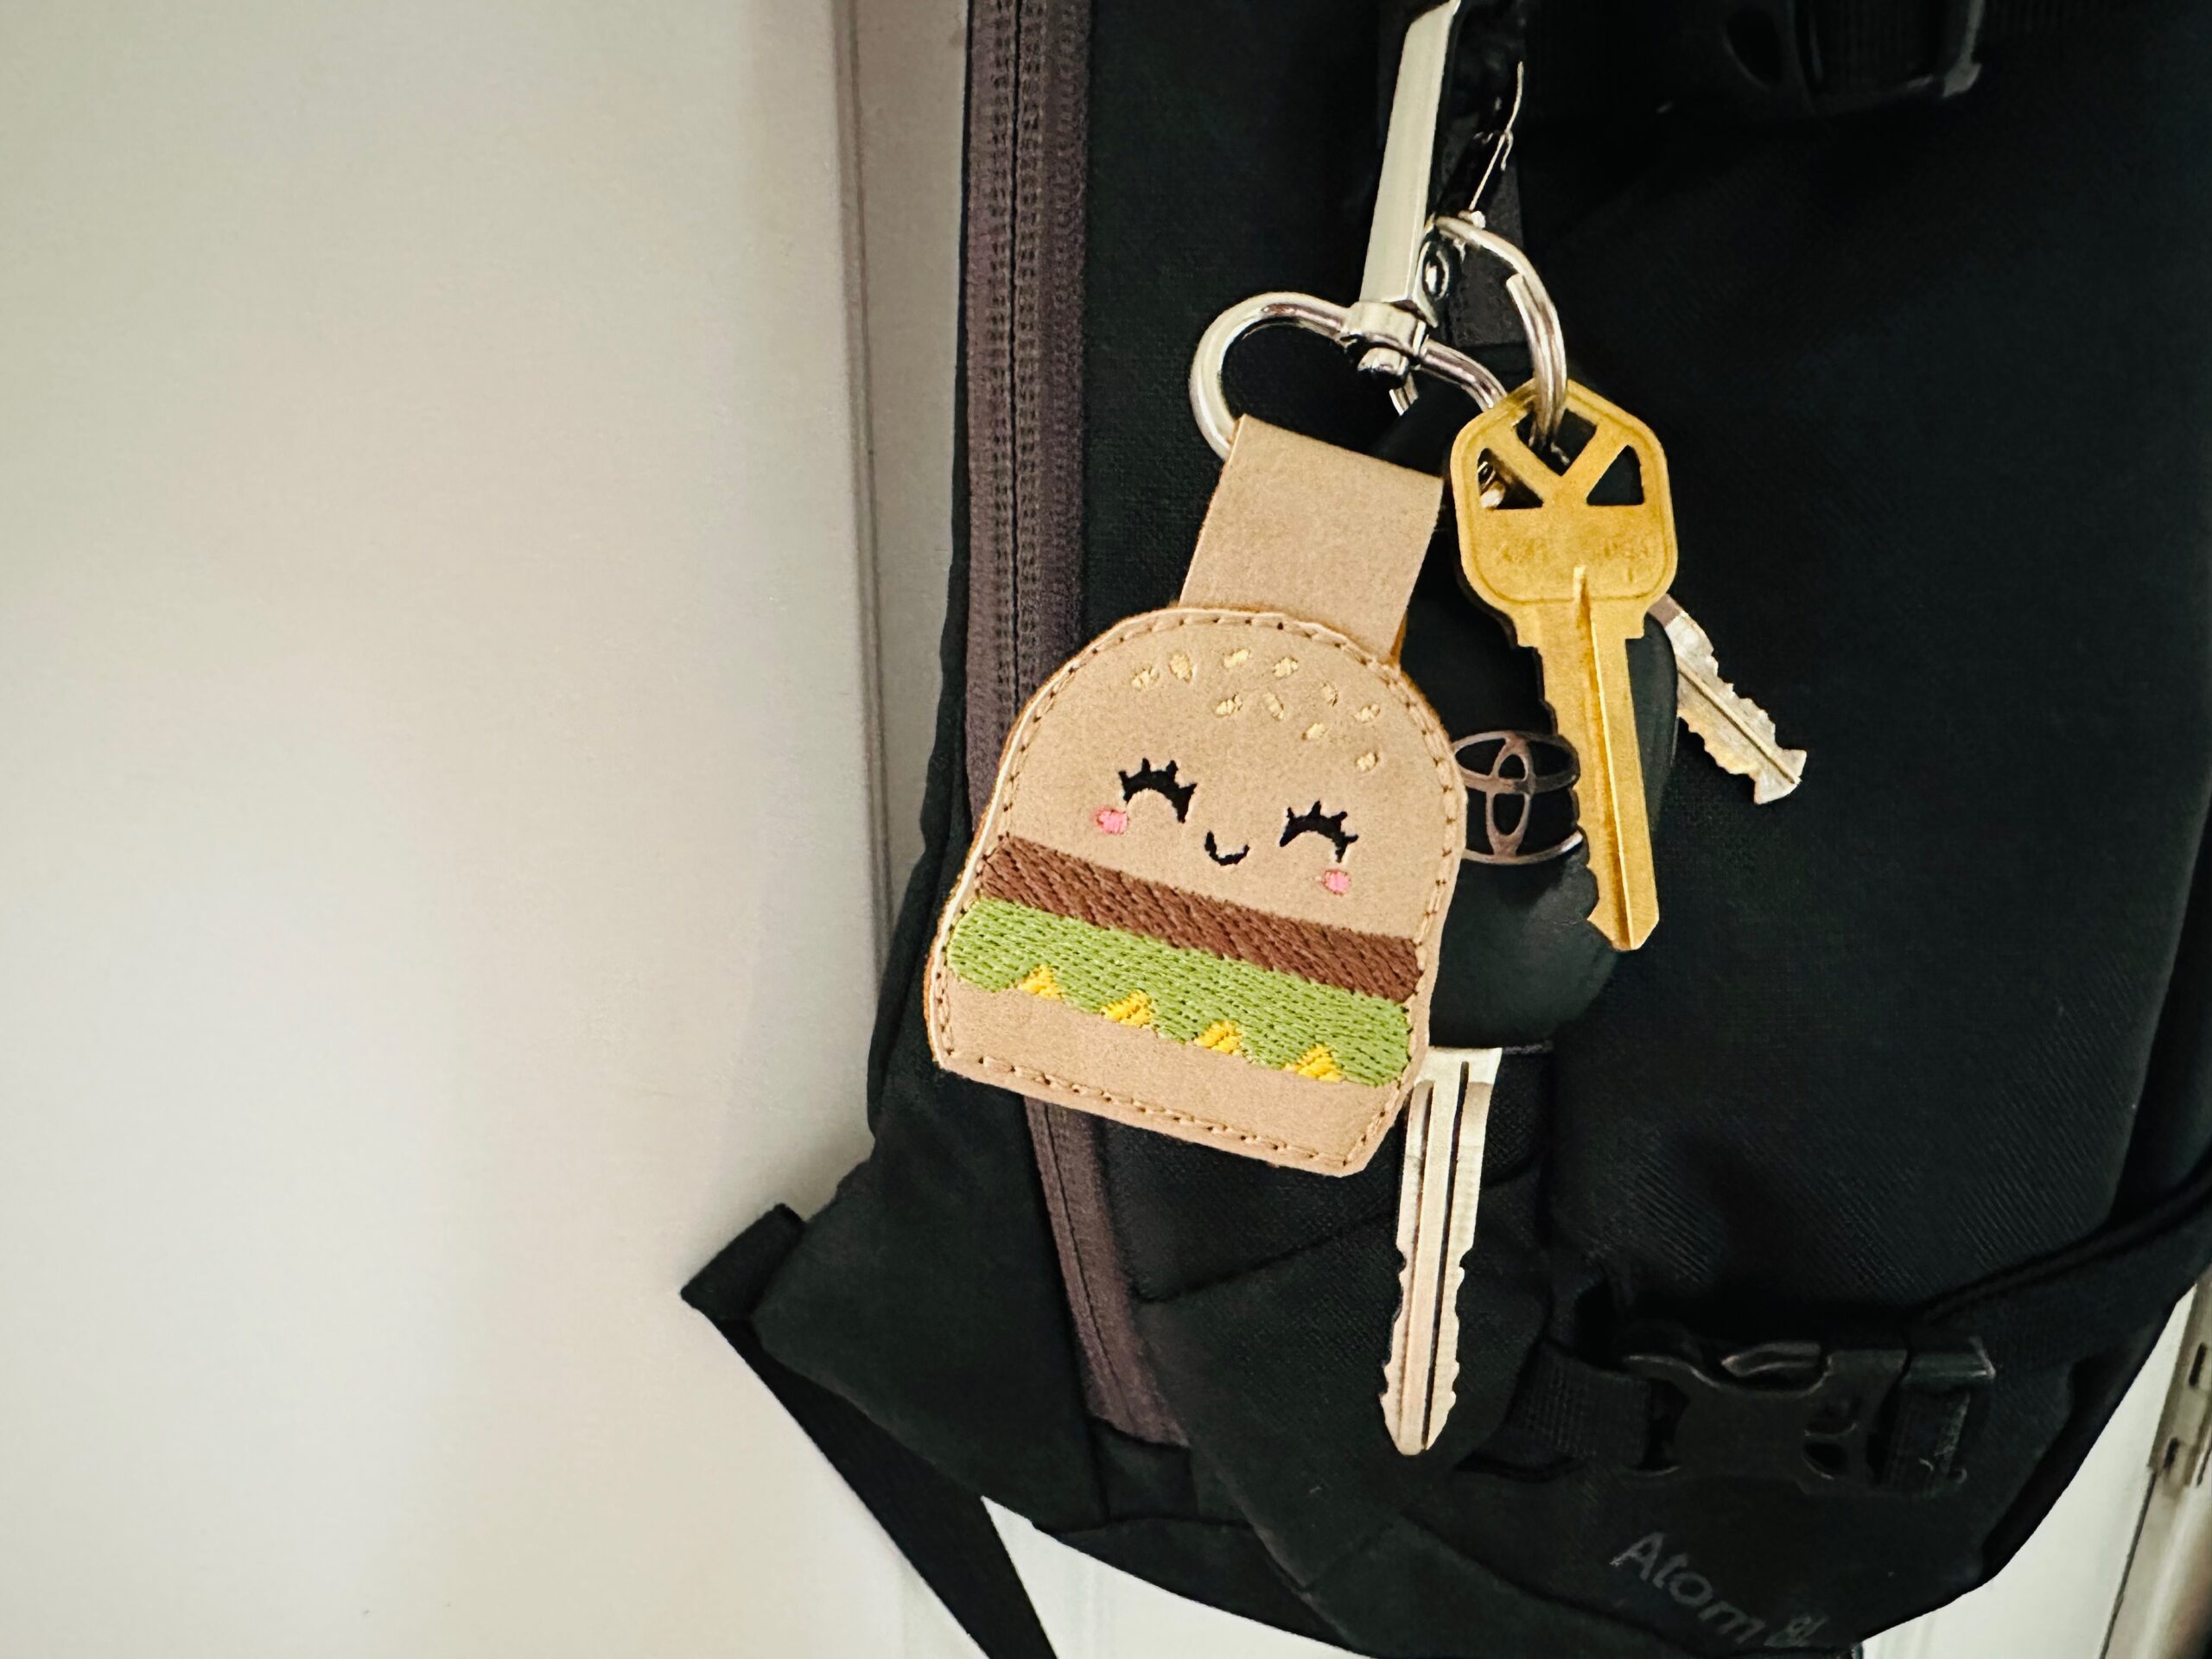
Cheeseburger Charm

Cheeseburger Charm, you ask? Yes, you read that right! It’s National Hamburger Day, and we are here for it with a Cheeseburger Charm tutorial! This project is done in the hoop of your embroidery machine, with the help of Parker on the Porch.
Parker on the Porch is a machine embroidery design company that offers tons of fun stand-alone Felties and Planner Clip designs (among other cute things). We’re starting this charm “hack” with the stand-along Feltie design shown below left, part of the Cheeseburger Planner Clip & Feltie Set.

Then. we’ll transform the design into a Cheeseburger Charm with swivel clip tab so we can attach it to bags, add our keys and get cheesy!
CHEESEBURGER CHARM SUPPLIES
- Cheeseburger Planner Clip & Feltie Set (Parker on the Porch)
- Sulky Poly Deco Thread
- Sulky Bobbin Thread
- Organ® size 80/12 Microtex or Top Stitch Needles
- Sulky Clear Embroidery Tape
- (2) 3″ squares & (1) 3/4″ x 2″ rectangle of faux leather, cork or Sulky Felty
- Sulky Stiffy Stabilizer
- Standard or Magnetic Hoop
- Duckbill Appliqué Scissors or Double-Curved Embroidery Scissors
- Sulky KK 2000 Temporary Spray Adhesive
- 1″-wide swivel clip ring
CHEESEBURGER STITCHOUT
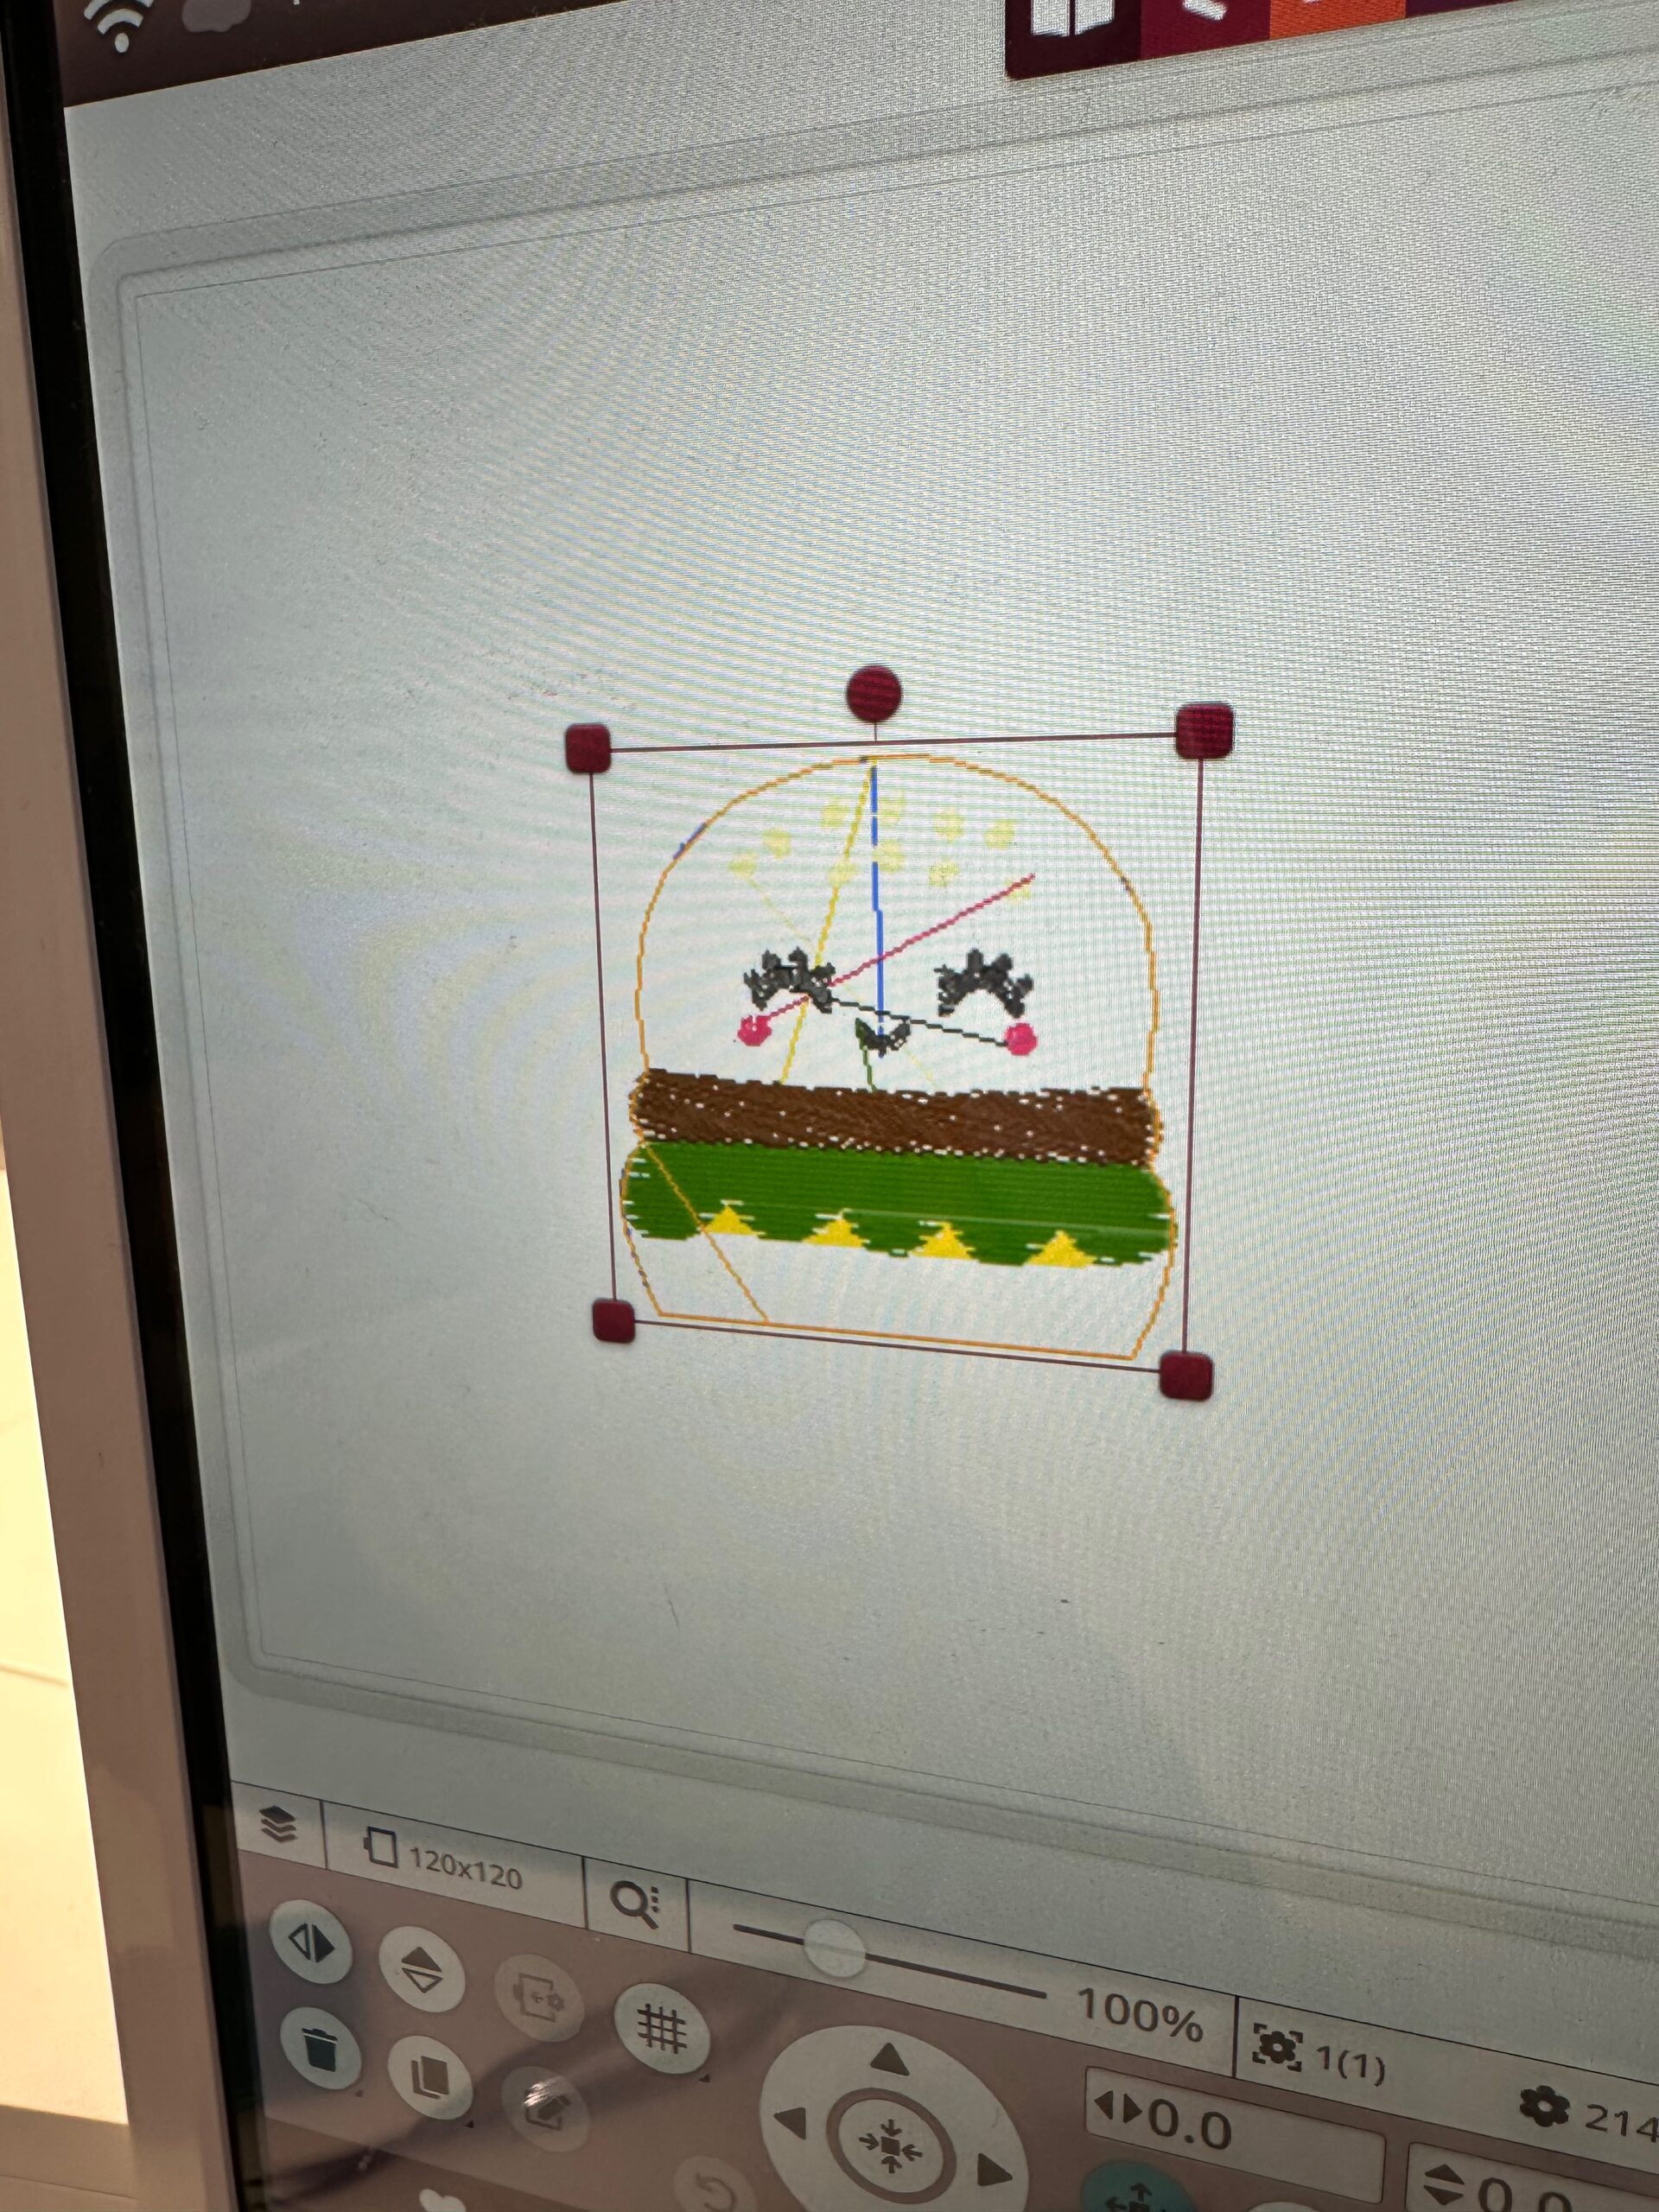
Load the Cheeseburger Felty design into the machine. You’ll have the option to load multiples of the design in a 5×7 hoop or a single design for a 4×4 hoop. Choose the single design.
Hoop a piece of Sulky Stiffy Stabilizer. Stiffy is a heavyweight tear-away stabilizer, which supports all the layers we’ll add to the hooping.

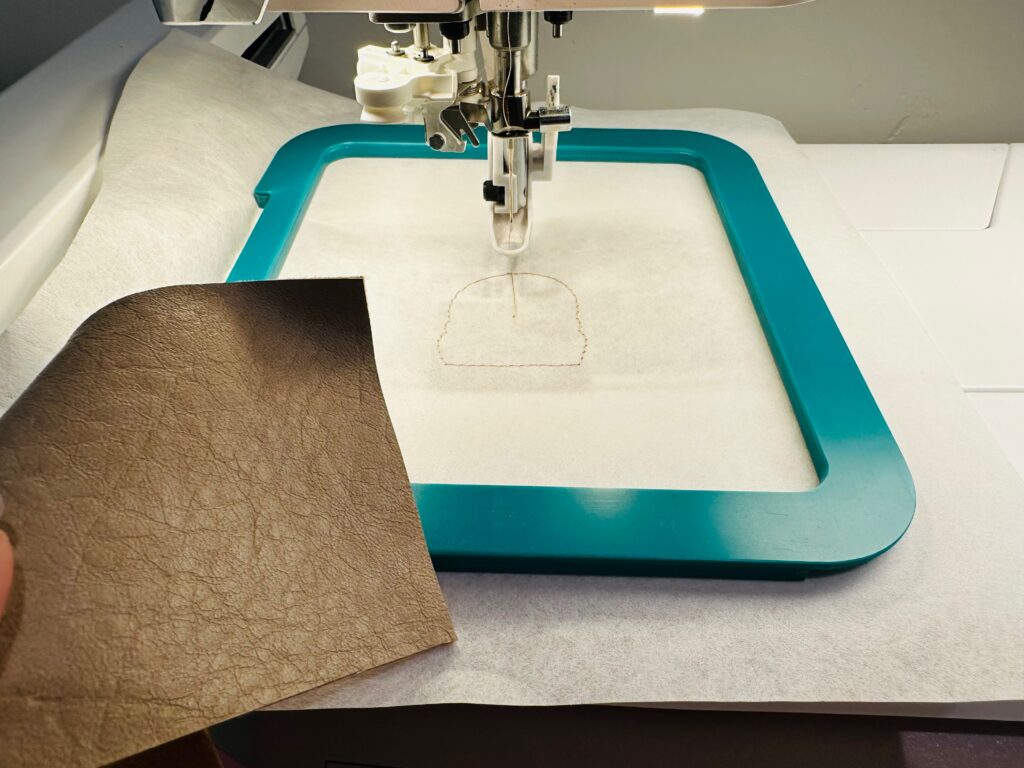
Stitch Step 1, which is the outline of the cheeseburger, directly onto the stabilizer. We’re going to use this first step as the “placement” line for the front fabric piece, even though that’s not what’s intended. (The first step is stitched directly to the fabric when making the Feltie or Planner Clip.)
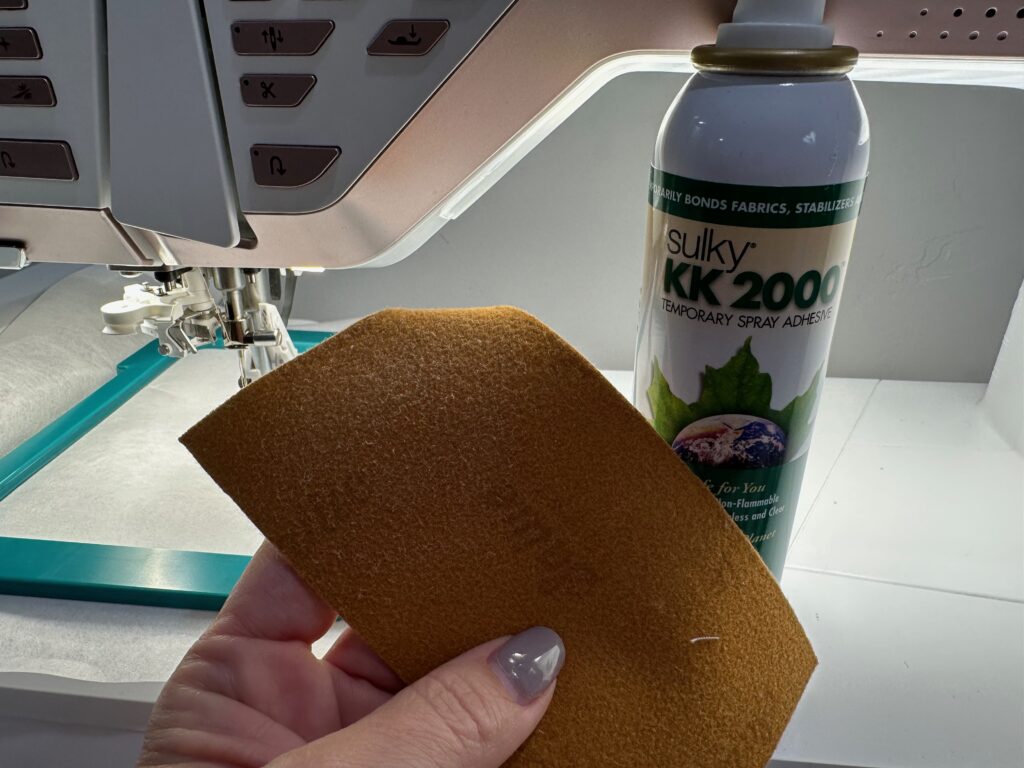
Then, use Sulky KK 2000 Temporary Spray Adhesive to adhere the fabric of your choice (faux leather, cork or Sulky Felty) to the stabilizer, covering the placement stitches.
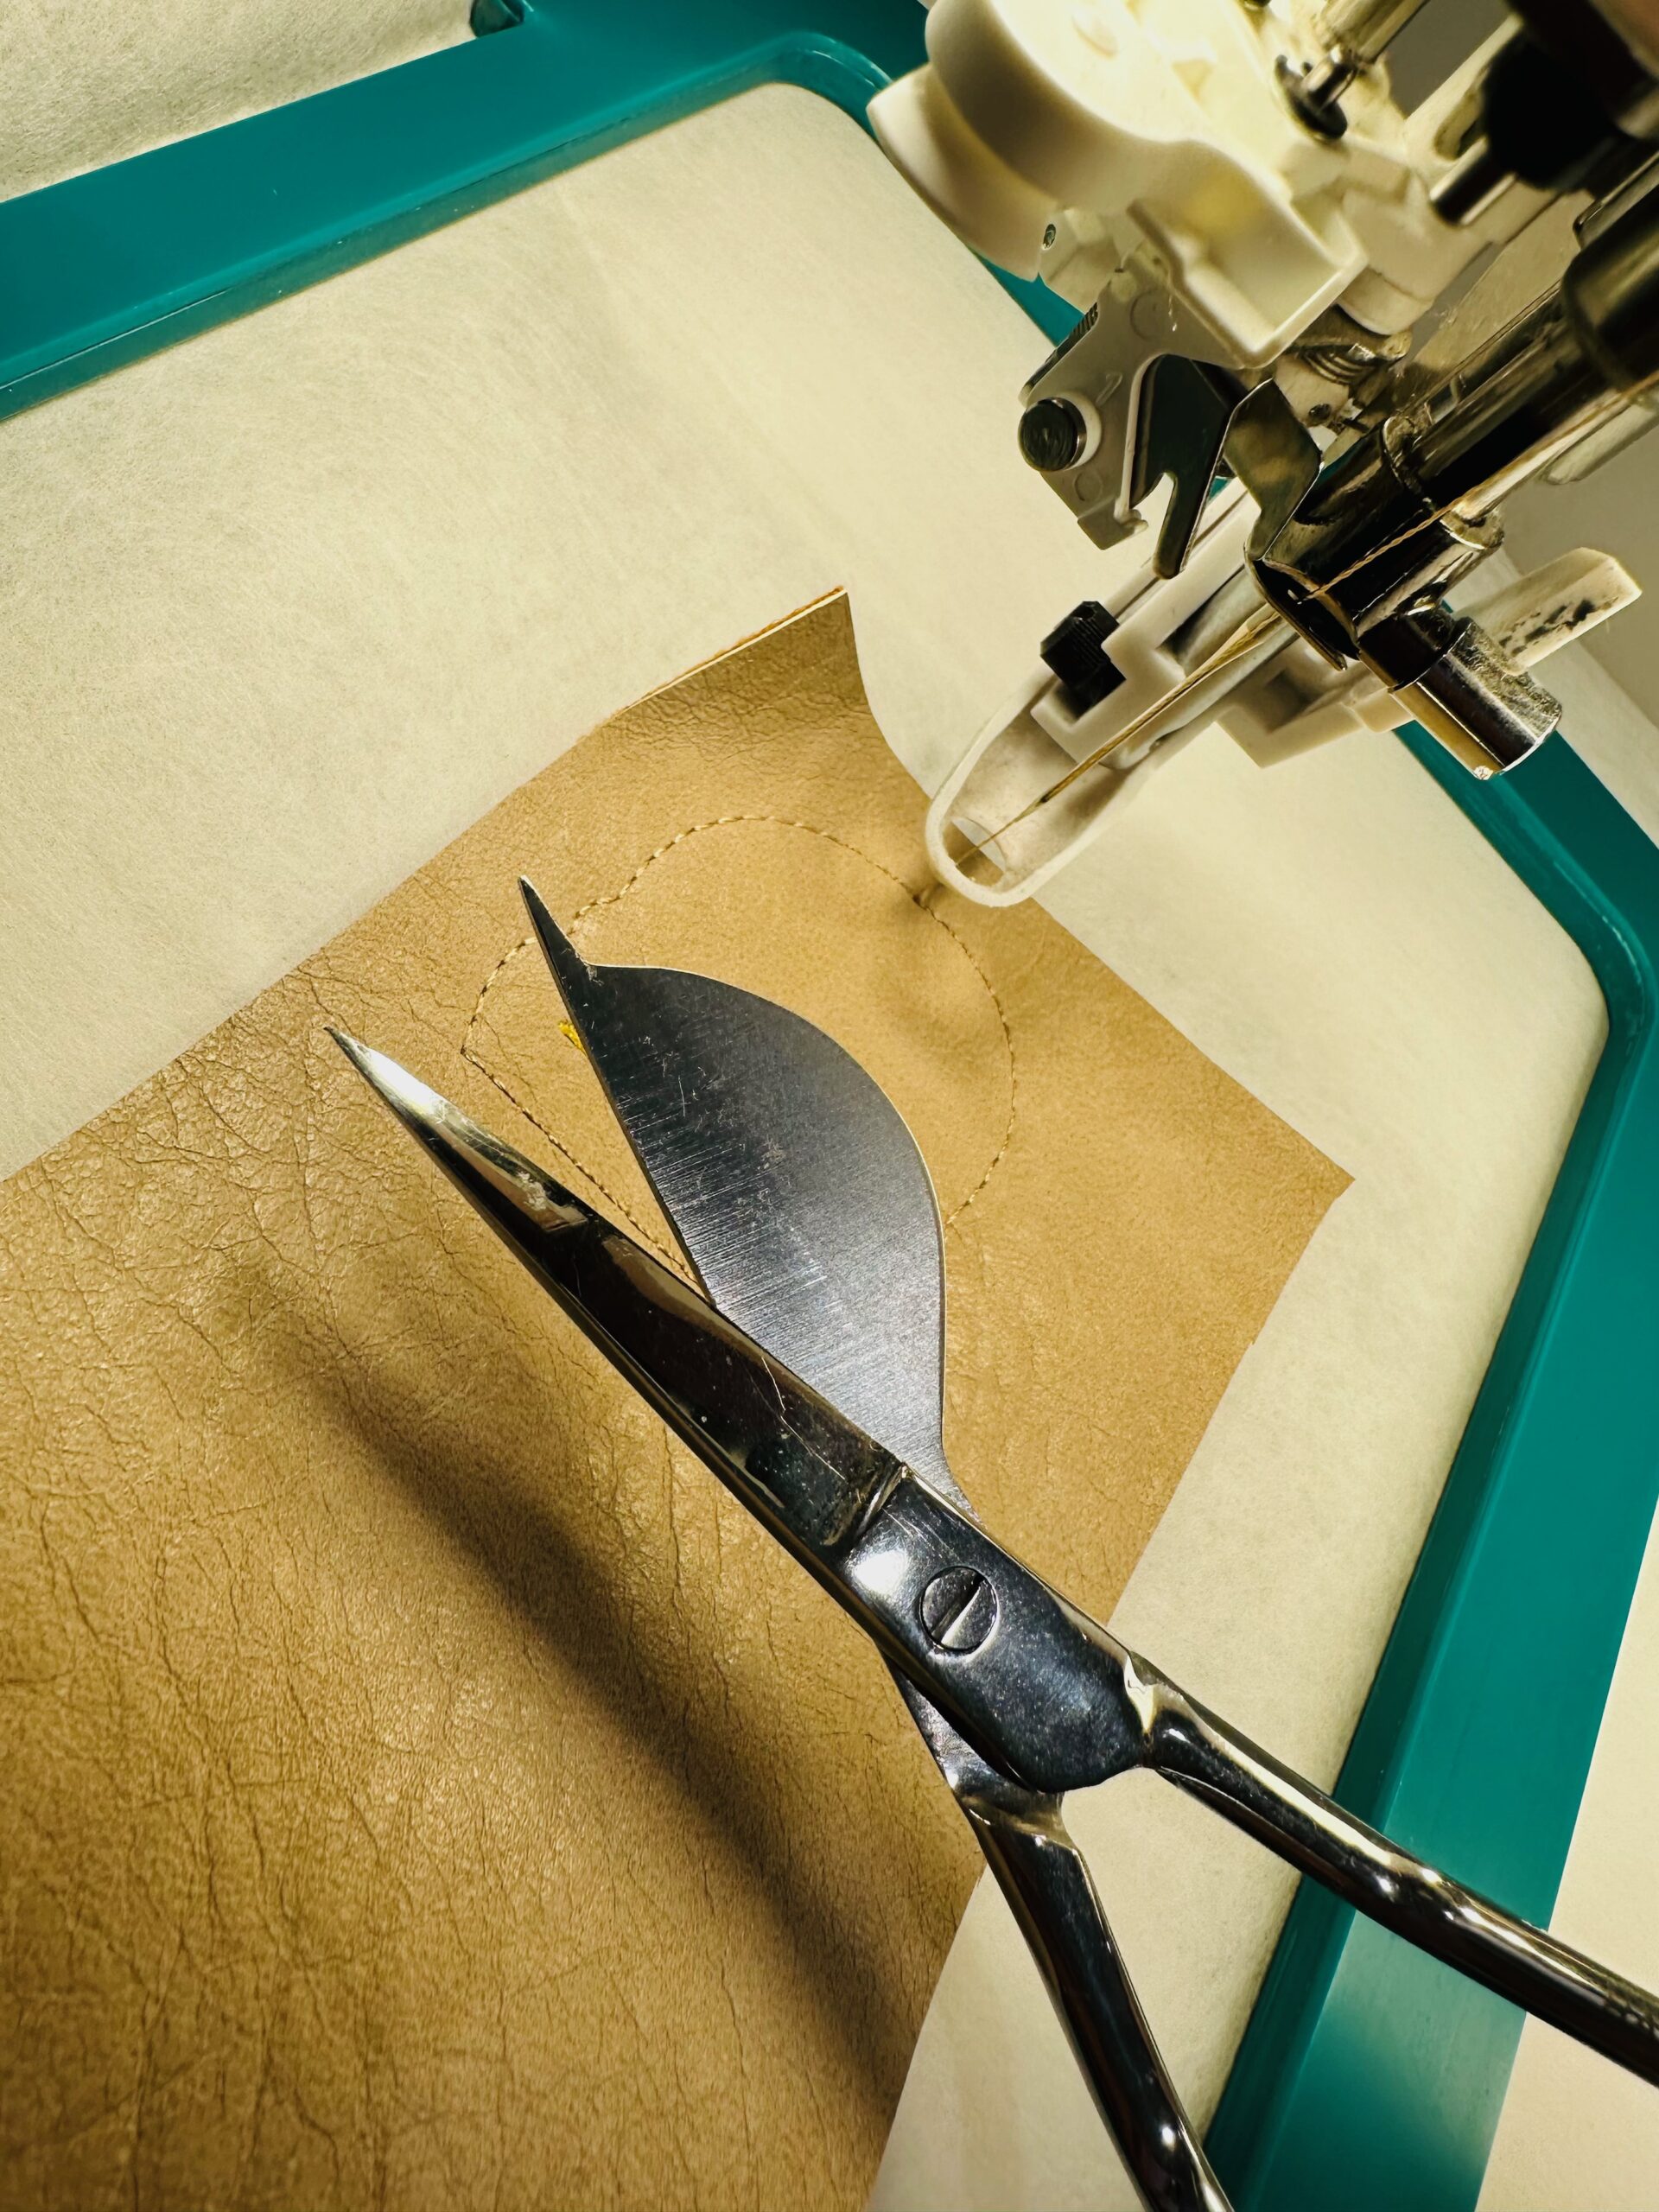
Next, stitch Step 1 again. This will tack down the fabric. Using Duckbill or Double-Curve Scissors, trim about 1/8″ from the stitching line along the charm upper edge. Feel free to also trim the sides and lower edge; however, you don’t need to trim as close because we’ll trim the front and back of the charm together at the end.
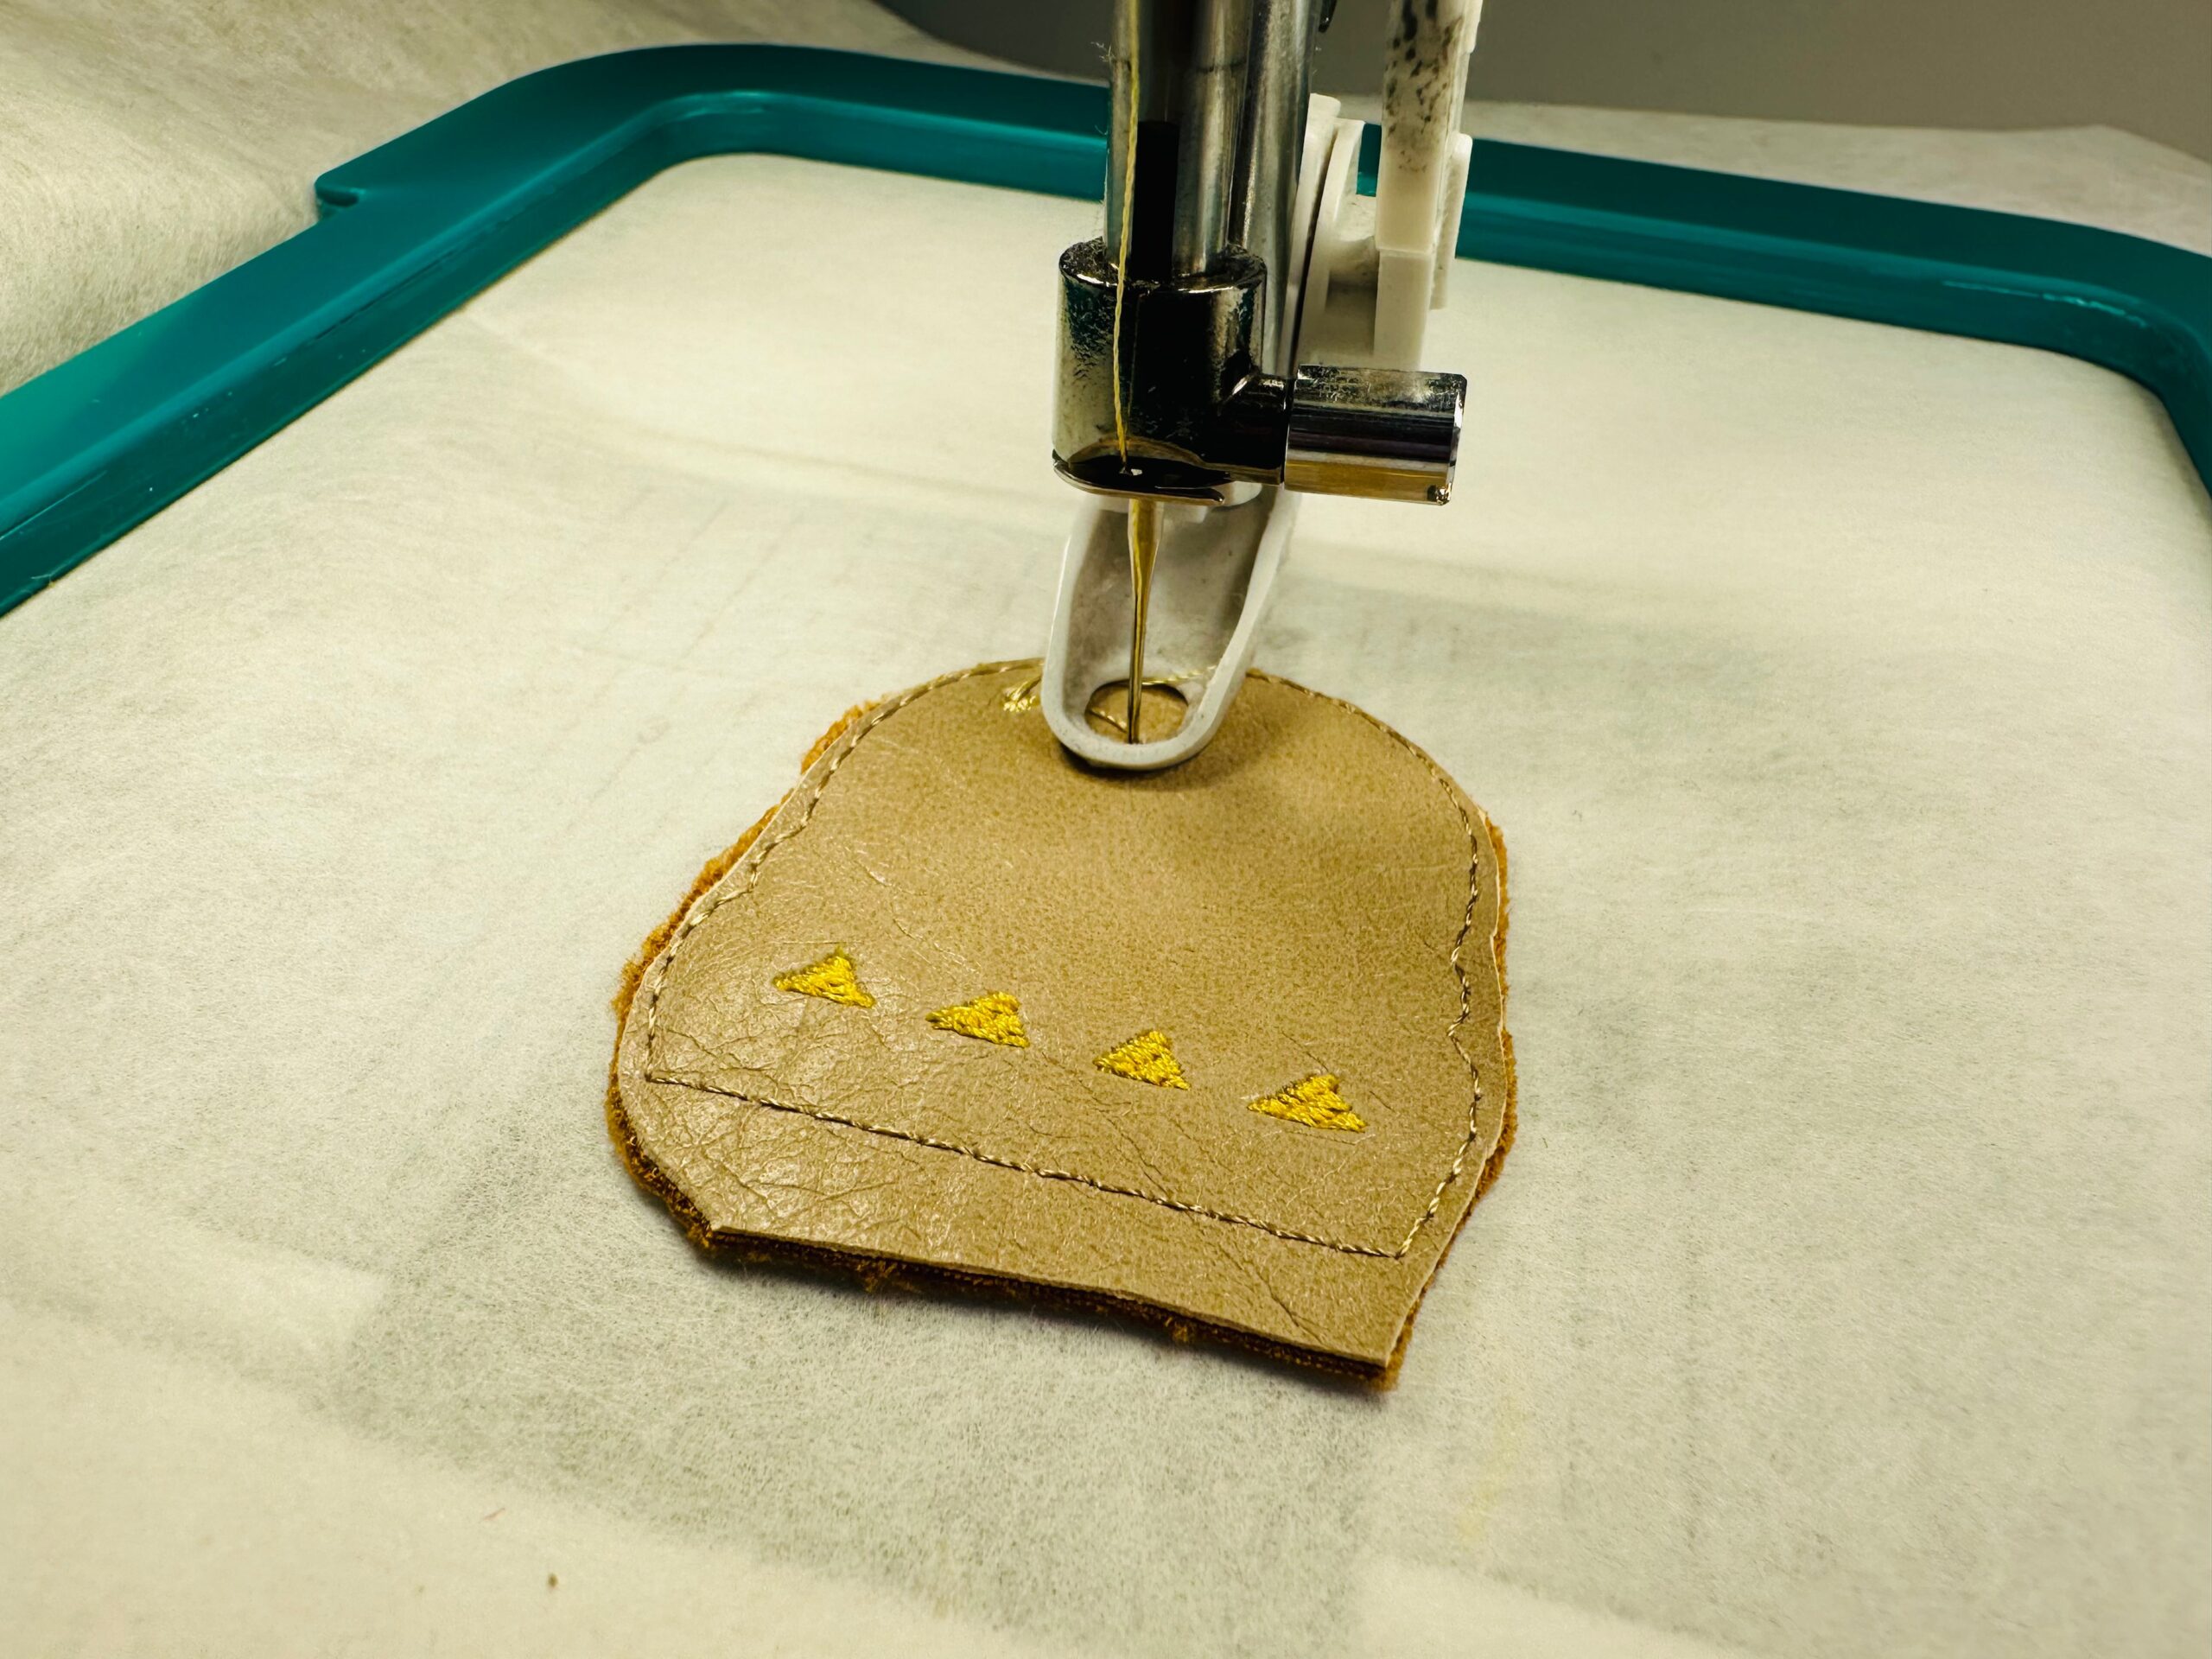
Continue with the remaining embroidery steps, stopping before the final Step, which is the final cheeseburger outline stitch.
SWIVEL CLIP ADDITION
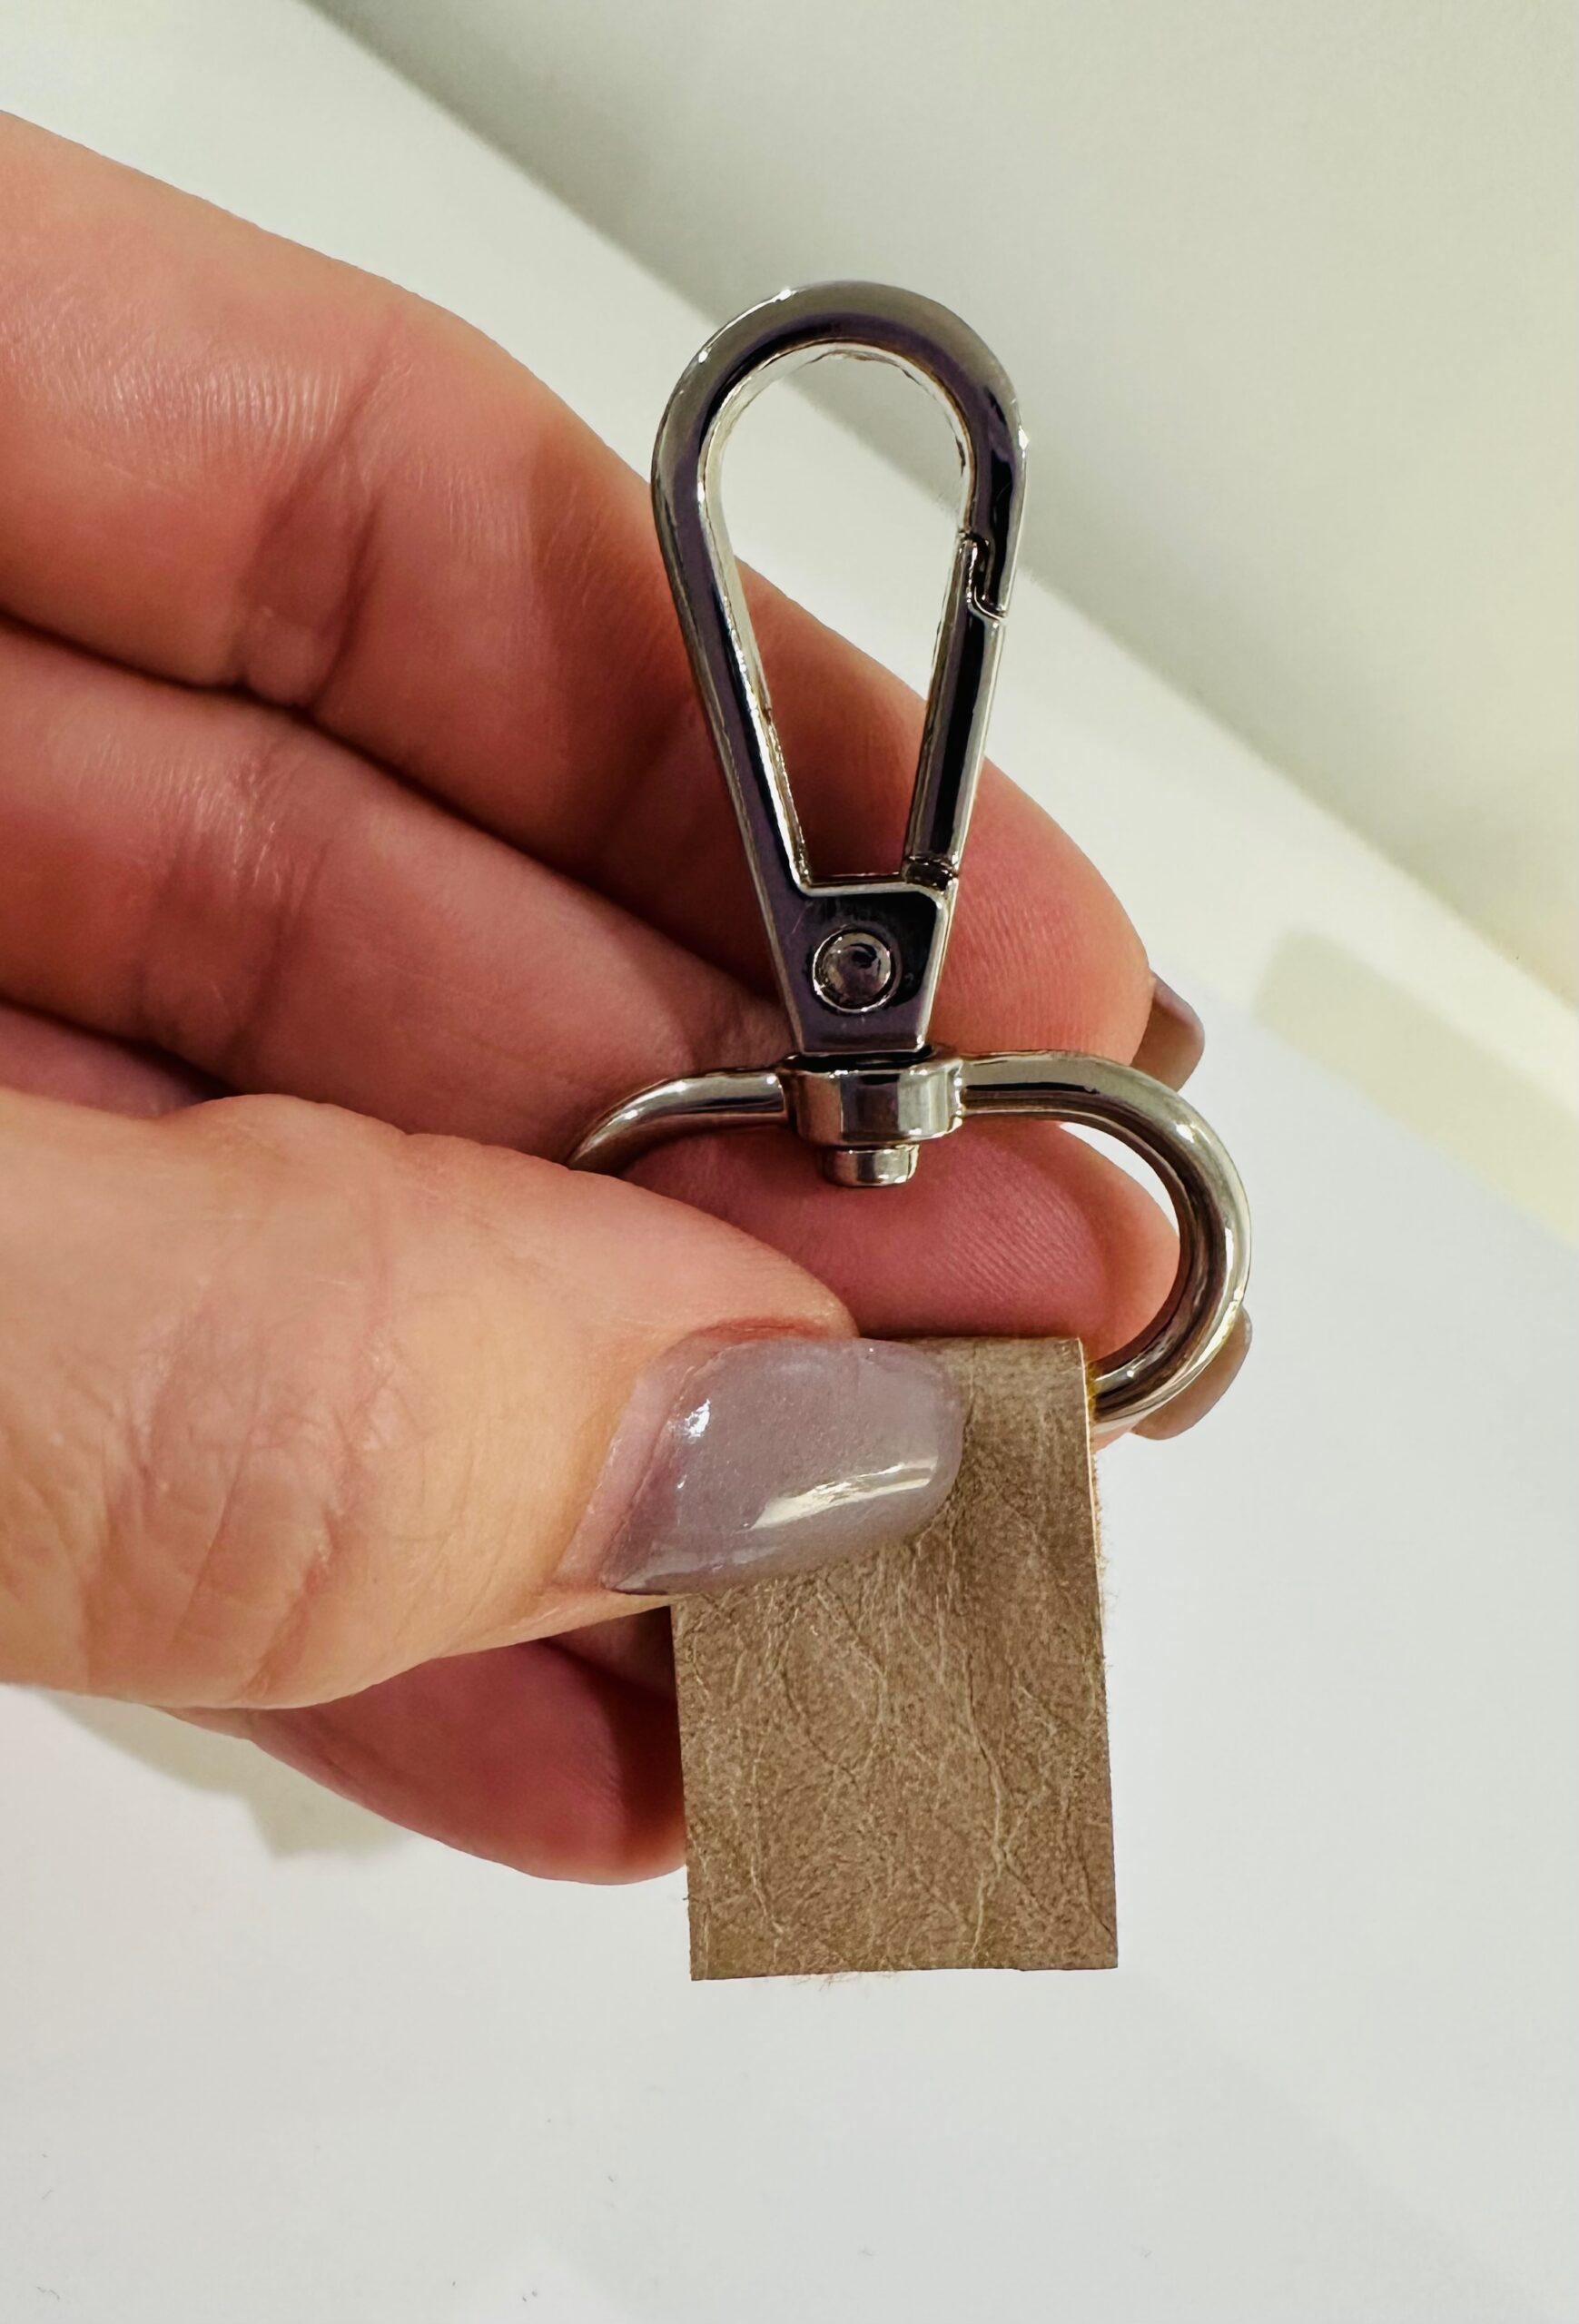
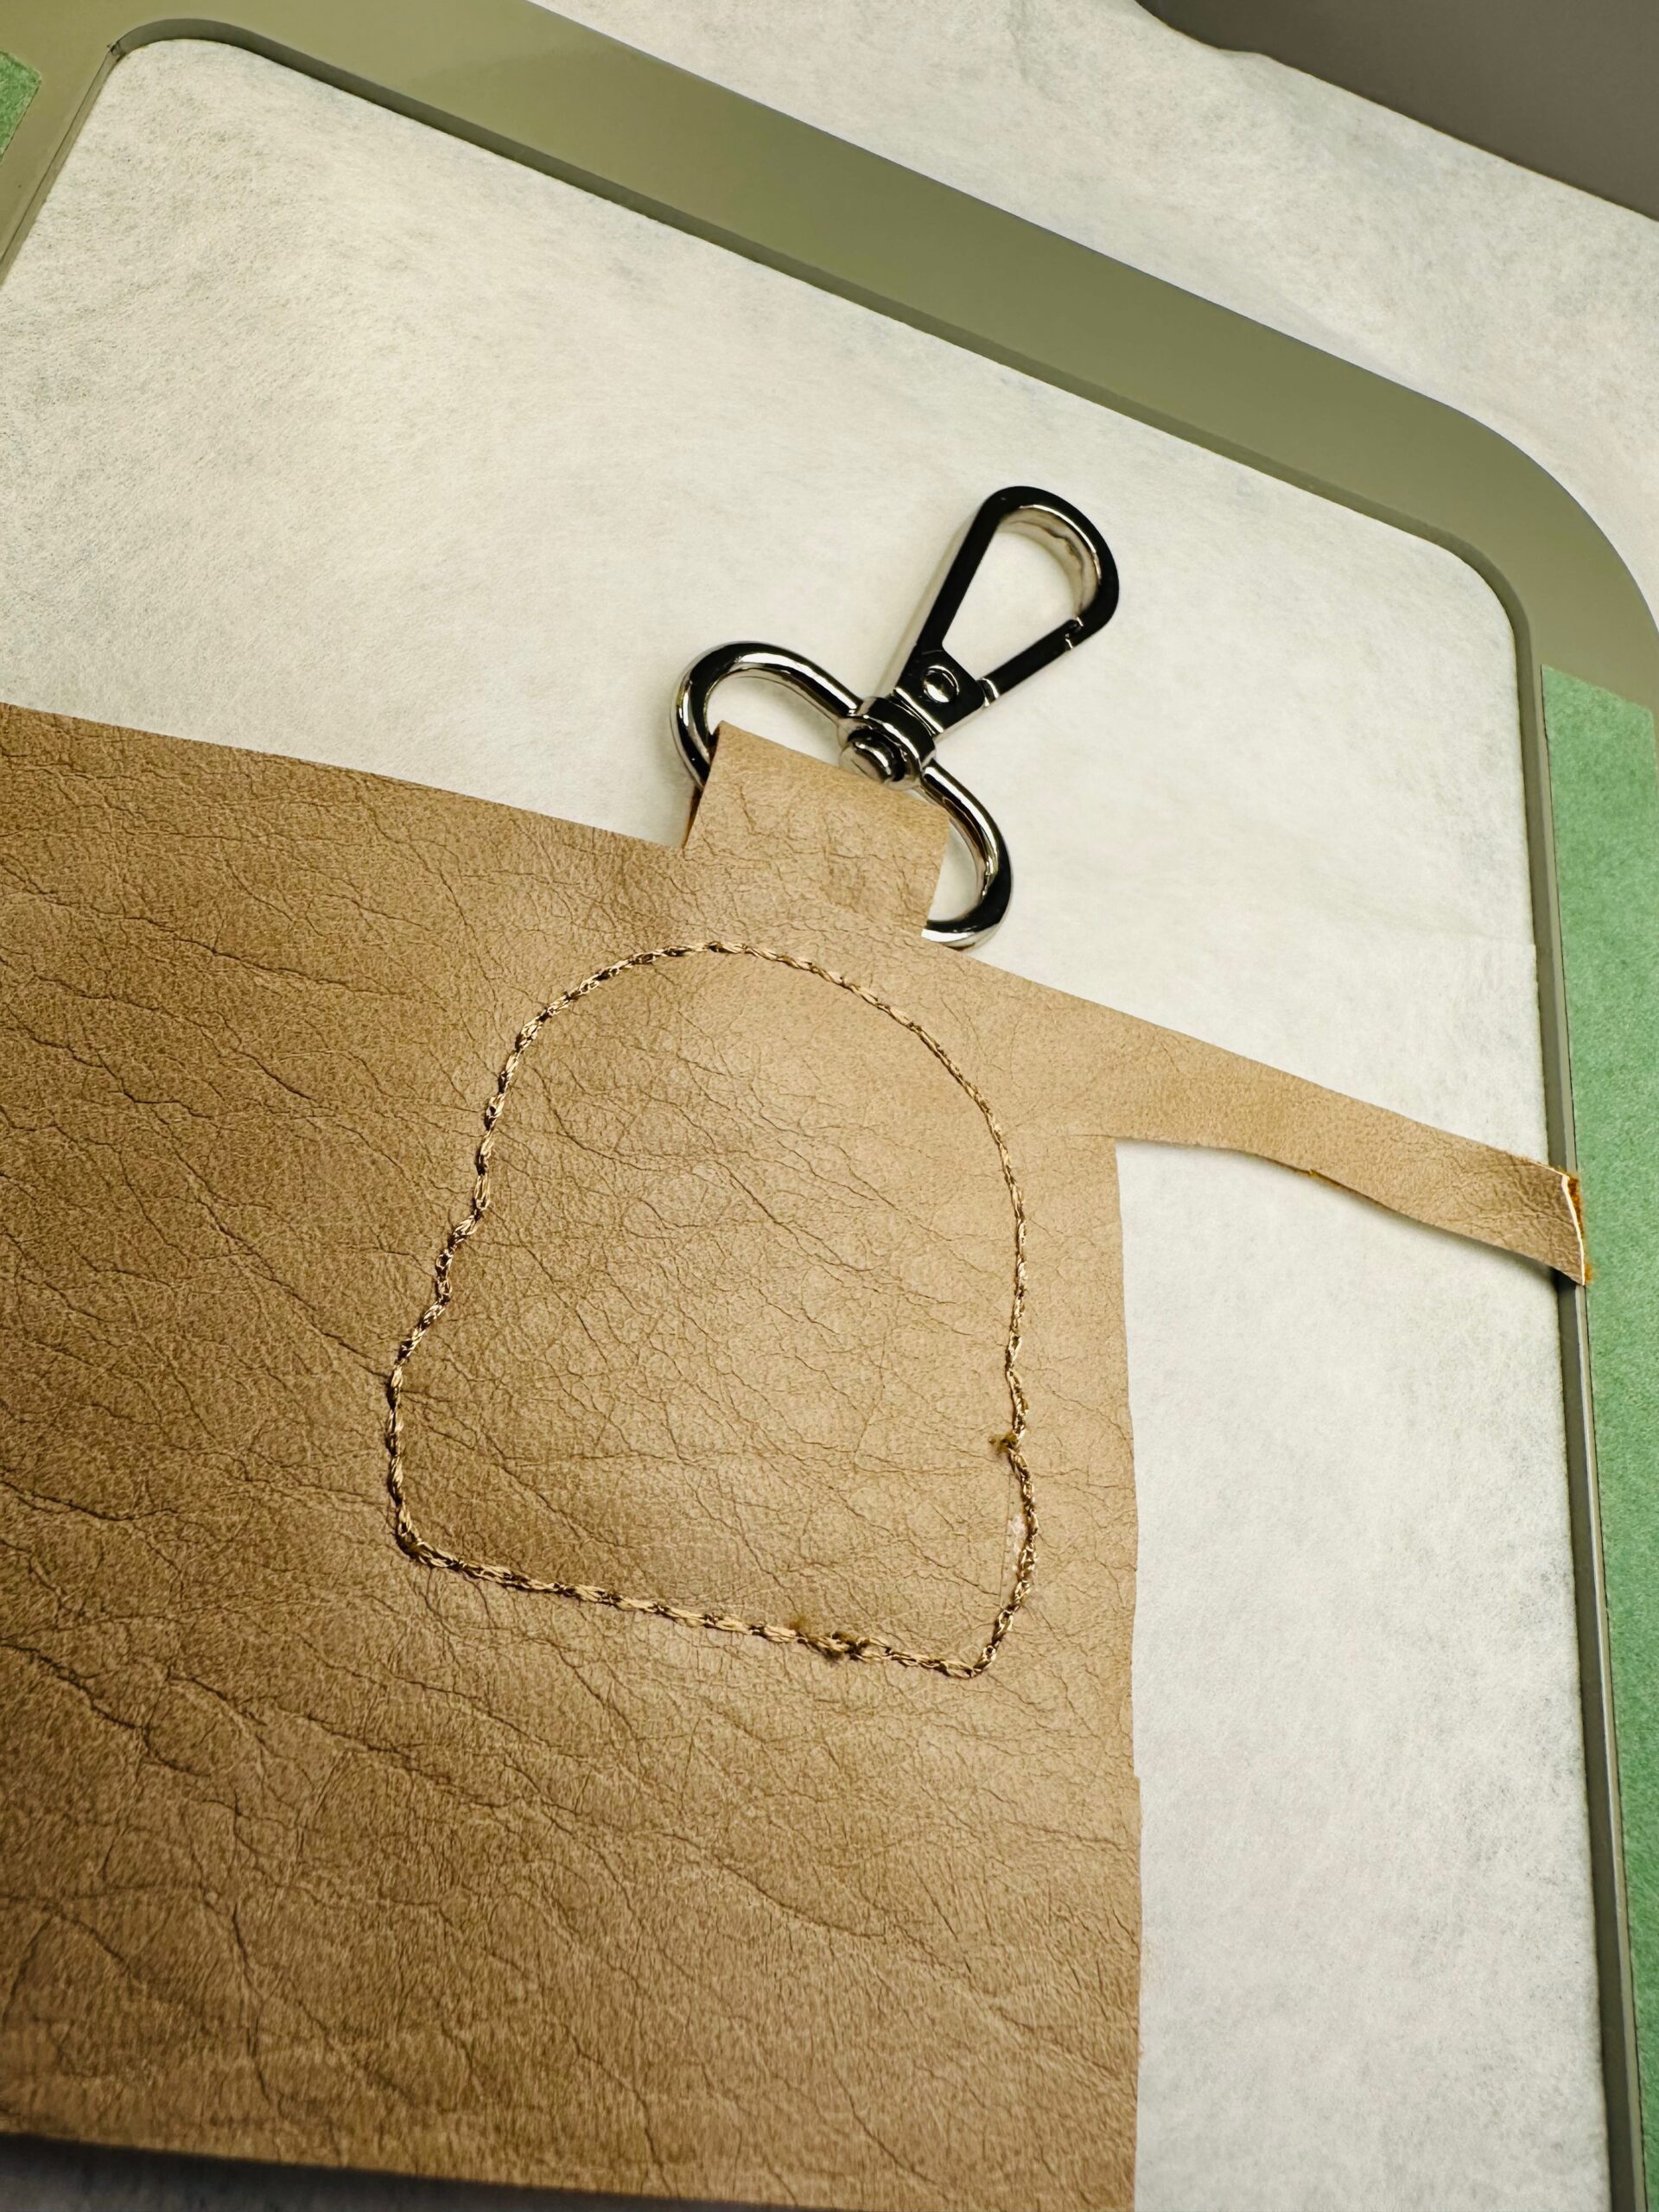
Fold the small rectangle of fabric in half widthwise around the swivel clip ring. Make sure the right side is facing out.
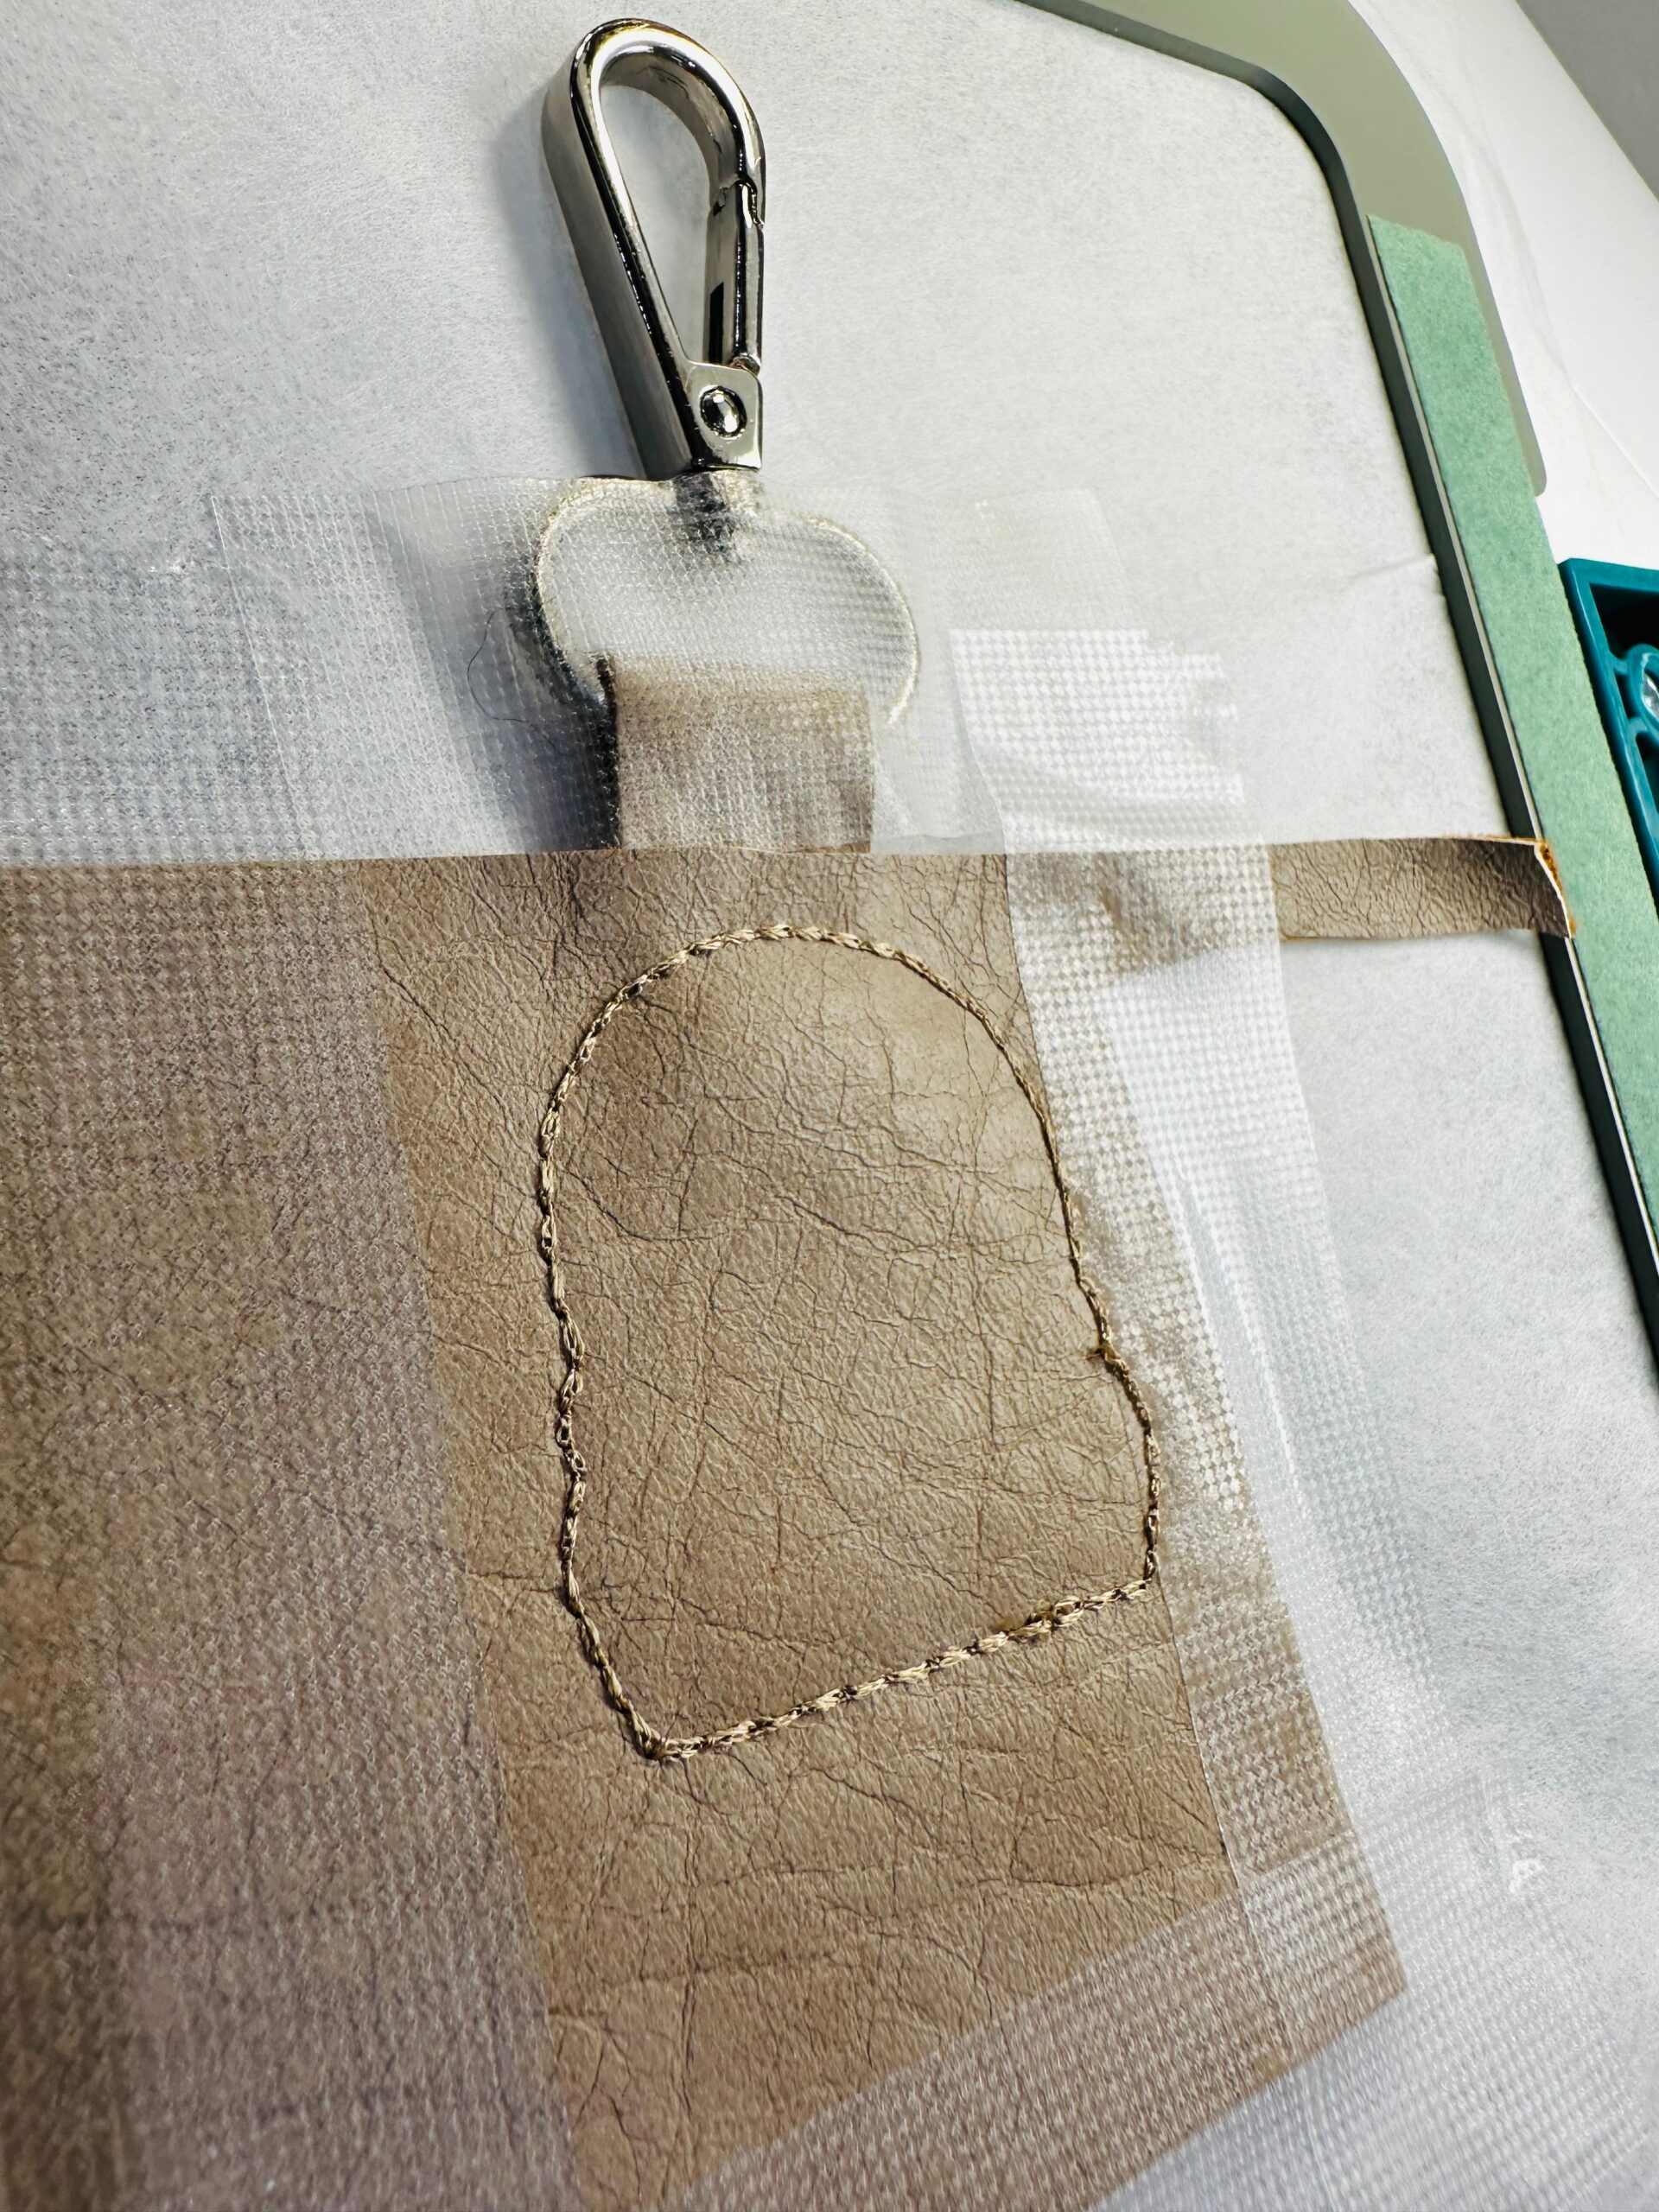
Remove the hoop from the machine. Flip the hoop over so the wrong side is facing up. Center the rectangle ends about 1/8″ beyond the charm upper-edge stitching. Use Sulky Clear Embroidery Tape to secure the ends as well as the entire swivel clip ring. This ensures the hardware won’t scratch the machine bed during the final stitching step.
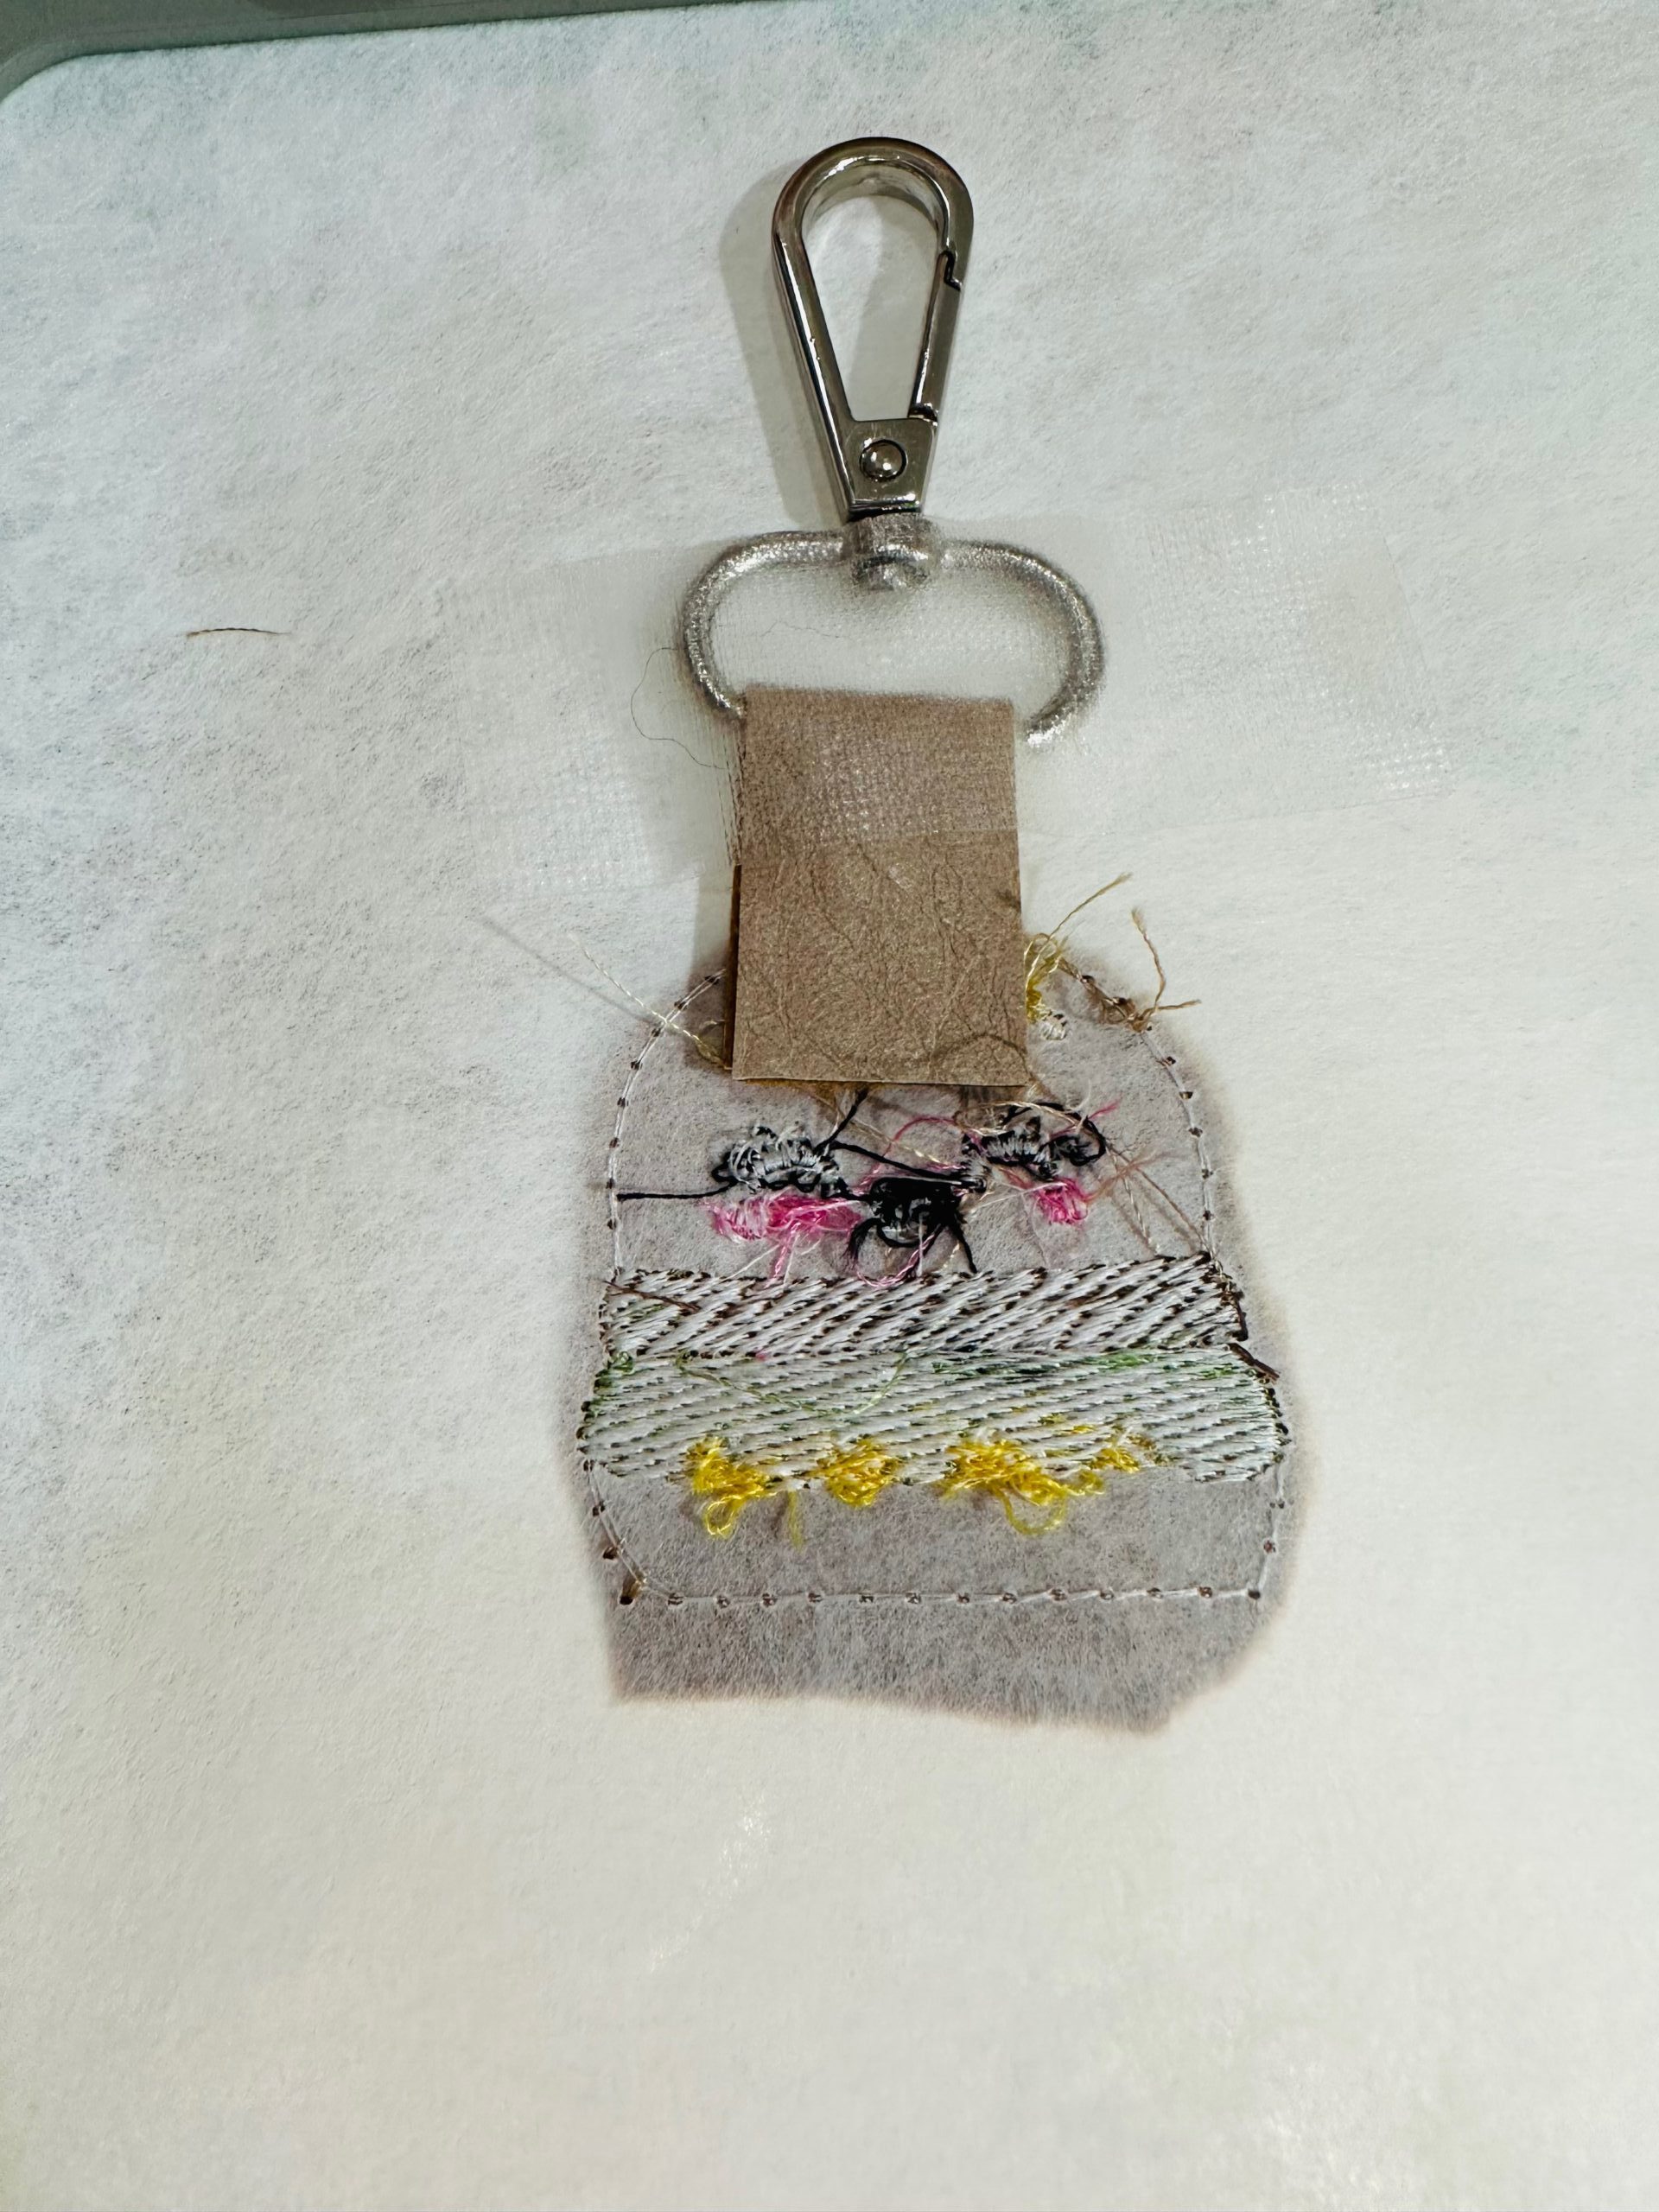
Center the remaining fabric square over the back of the cheeseburger outline on the wrong side of the hoop. Use KK 2000 and more tape to secure.
Place the hoop back onto the machine. Stitch the final Step of the design, which outlines the cheeseburger and secures all the layers.
When the stitching is complete, remove the hoop from the machine.
Remove the tape from the back of the hoop.
Carefully trim the fabric along the charm back, about 1/8″ beyond the stitching line and avoiding the swivel clip fabric loop.
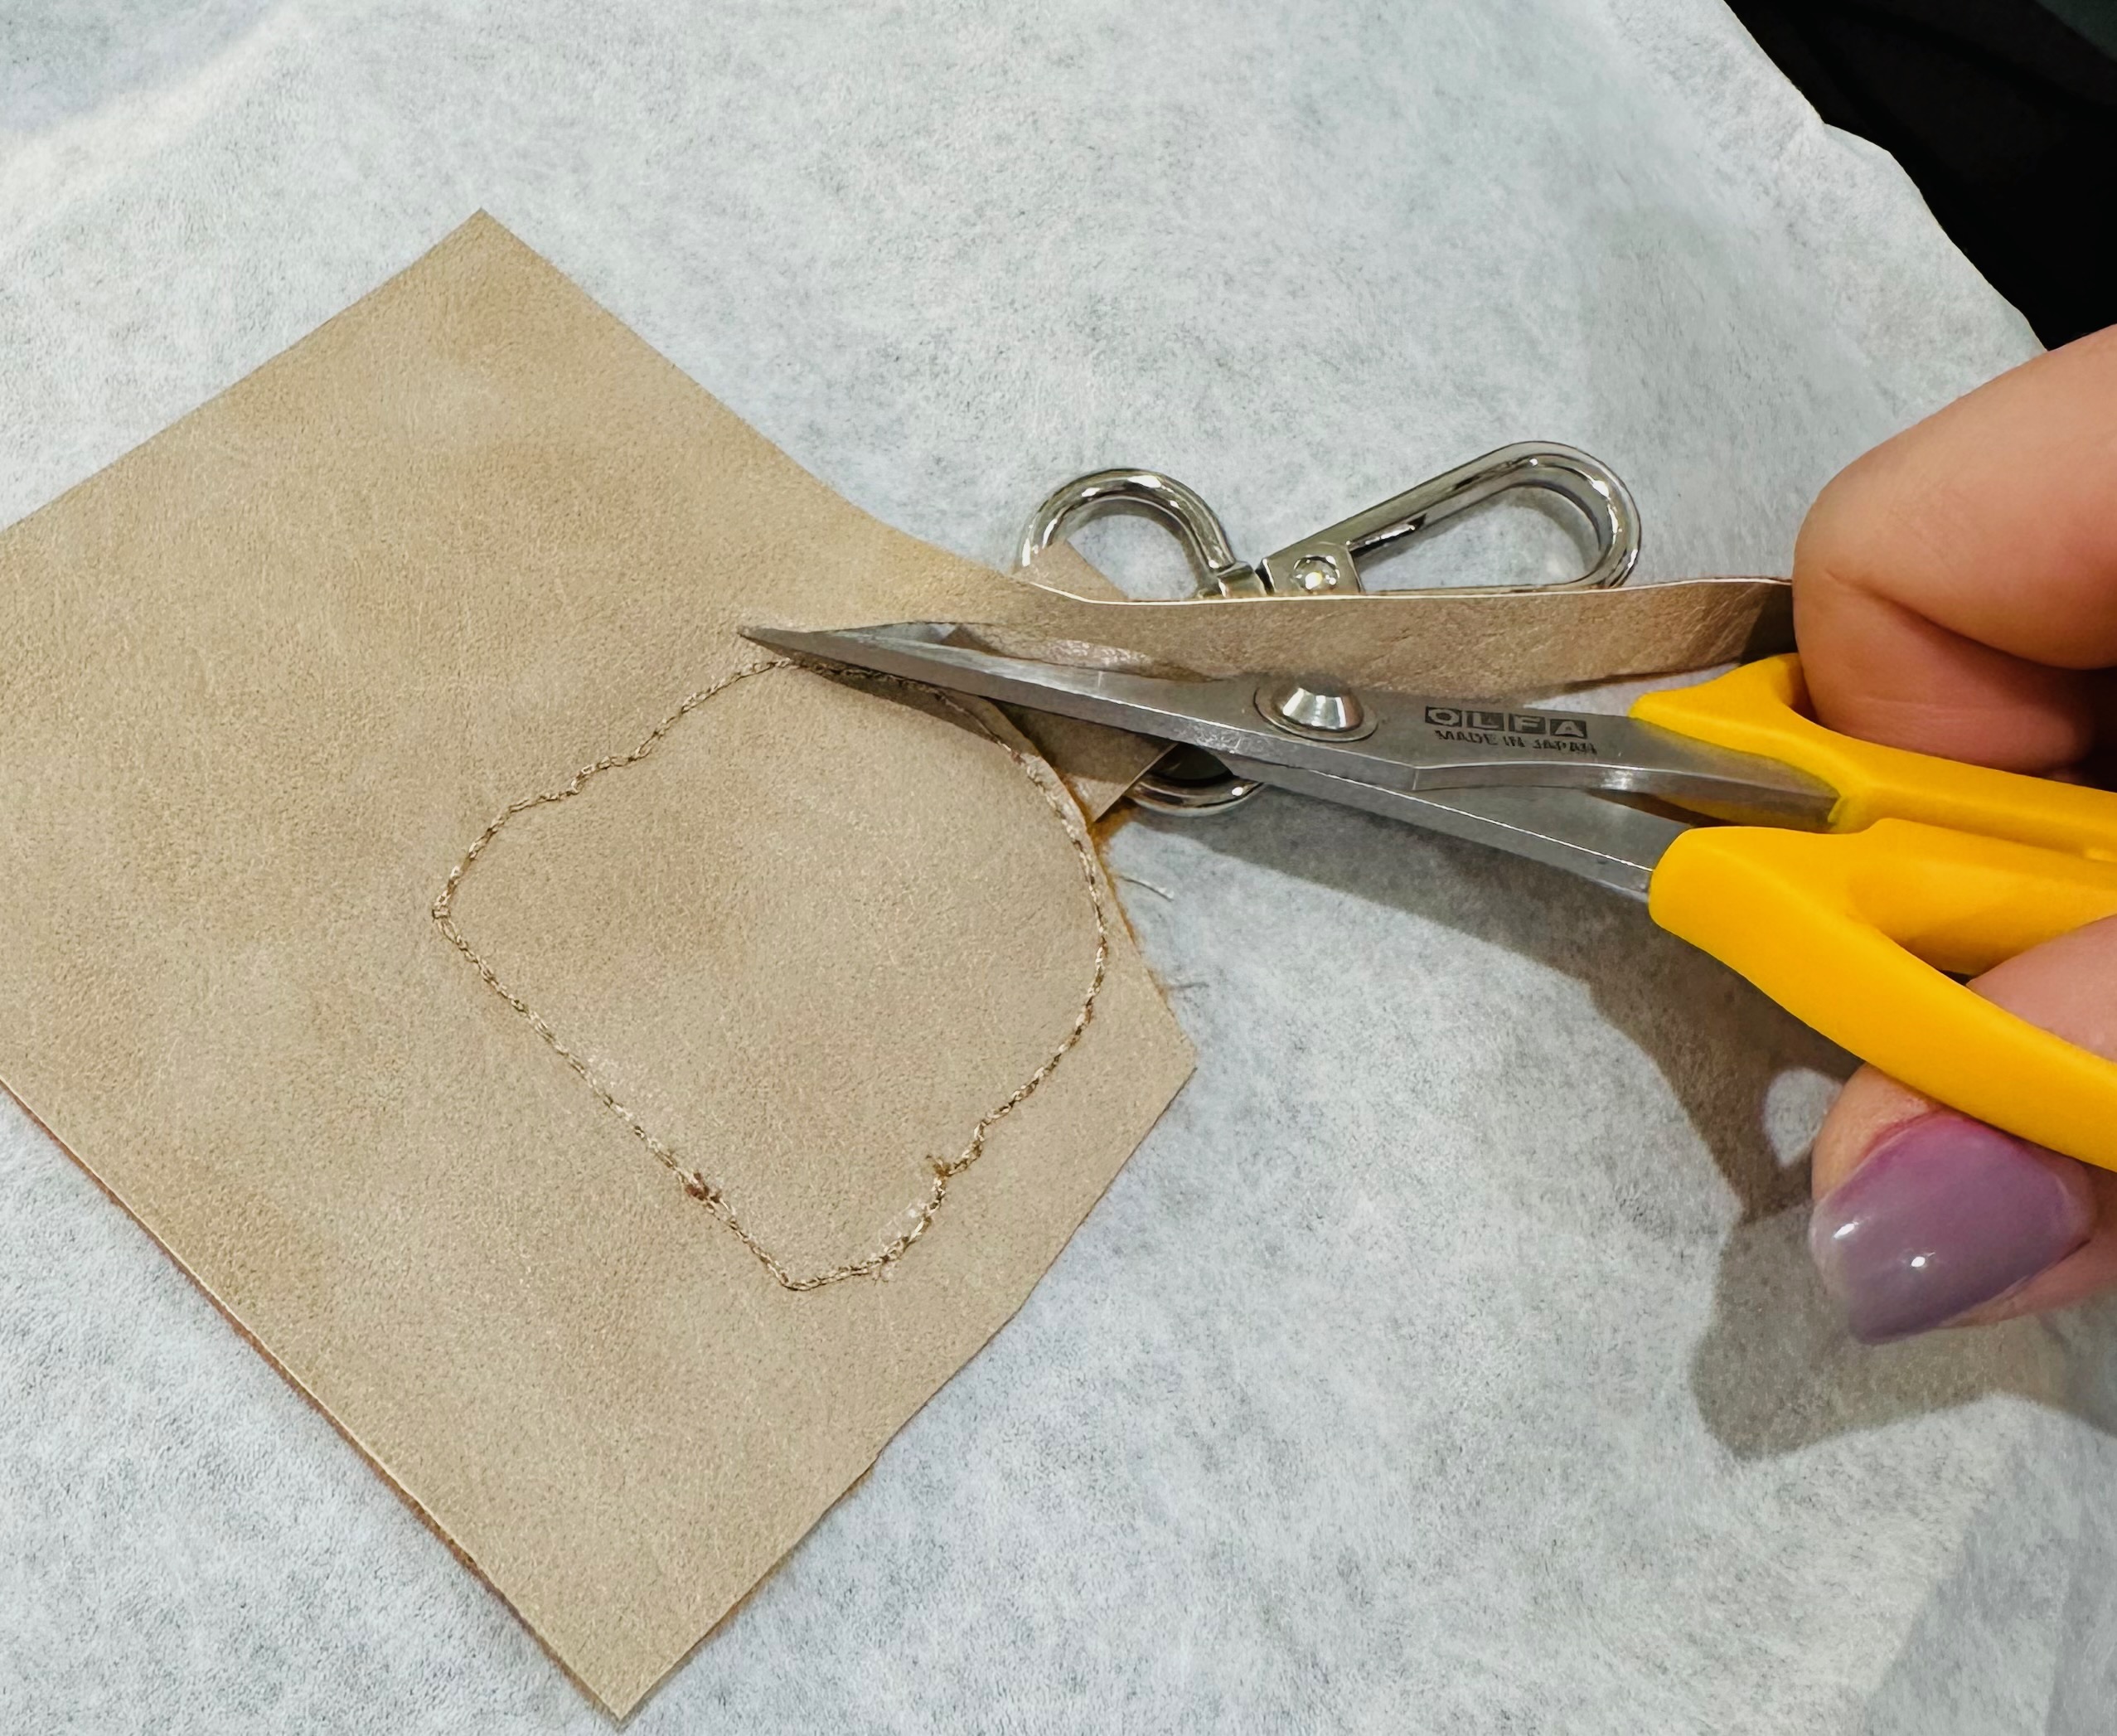
Independently trim the fabric sides and lower edge a bit, but not as close as desired yet.
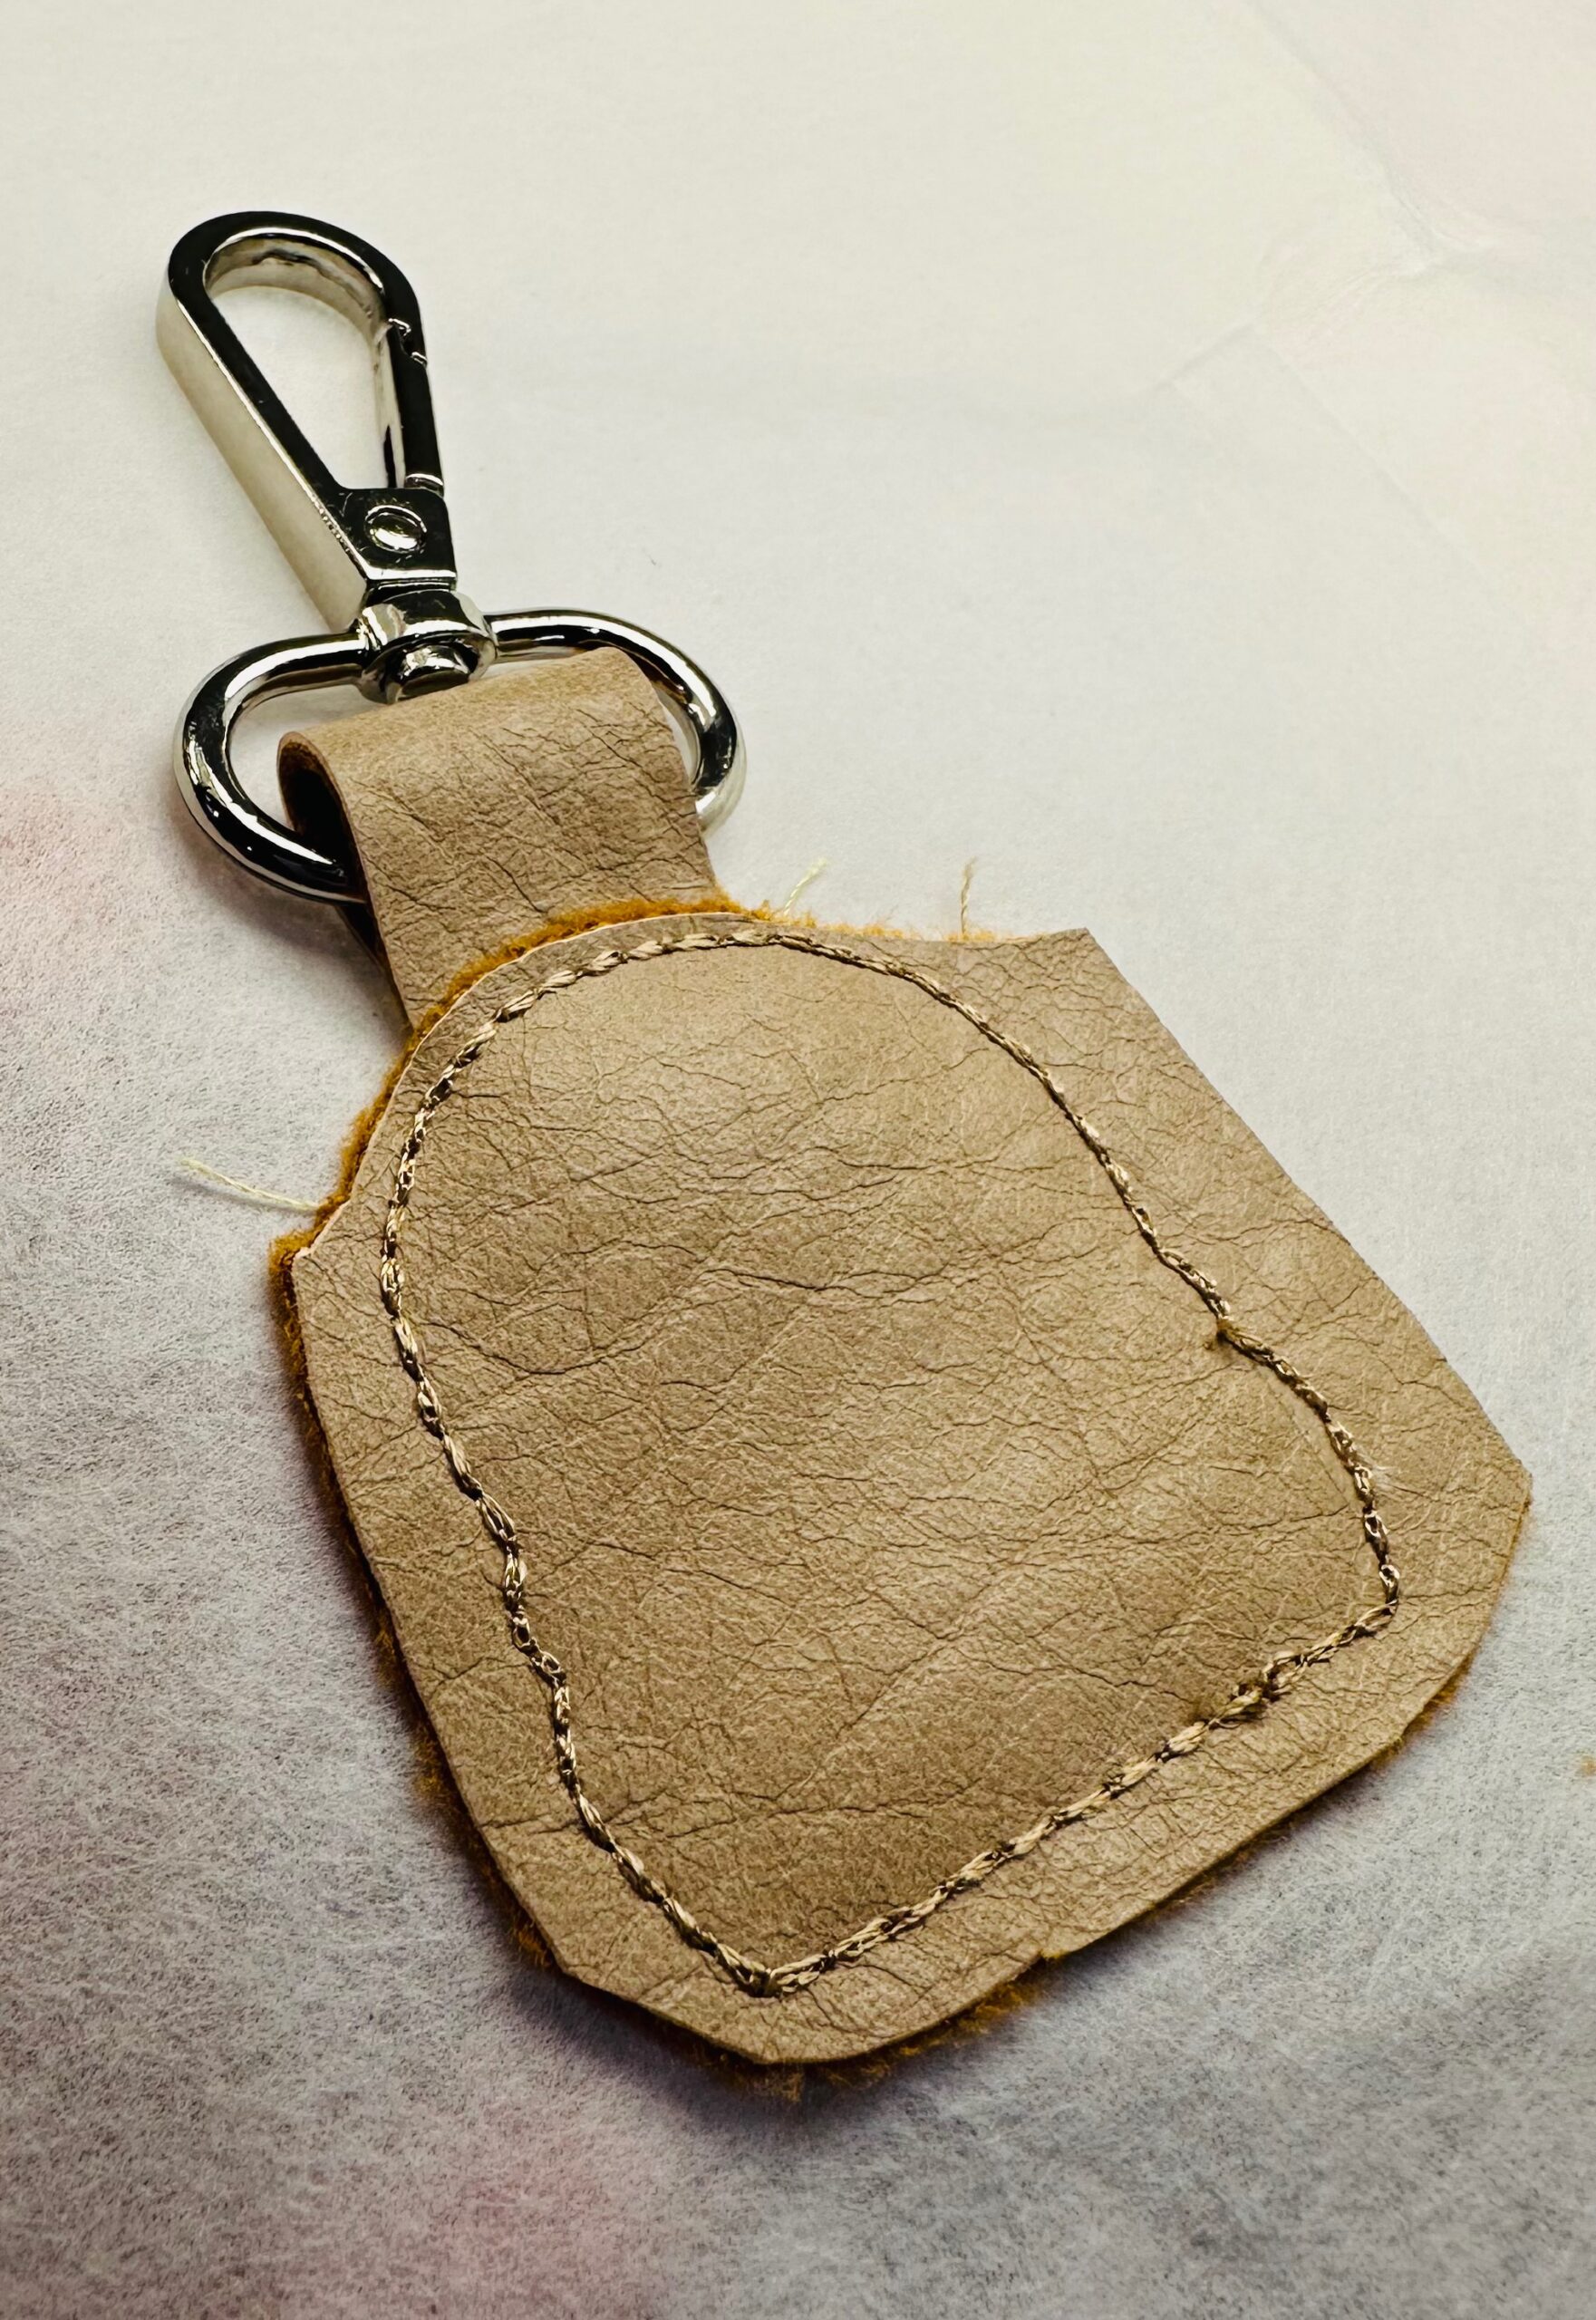
Then, gently tear away the stabilizer from the outer stitching line.
Trim the entire charm about 1/16″ to 1/8″ from the outer stitching, cutting through all layers. Leave the upper edge (where the swivel clip is attached) alone, as it’s already been trimmed independently.

Add your keys to the charm and clip it to your bag.
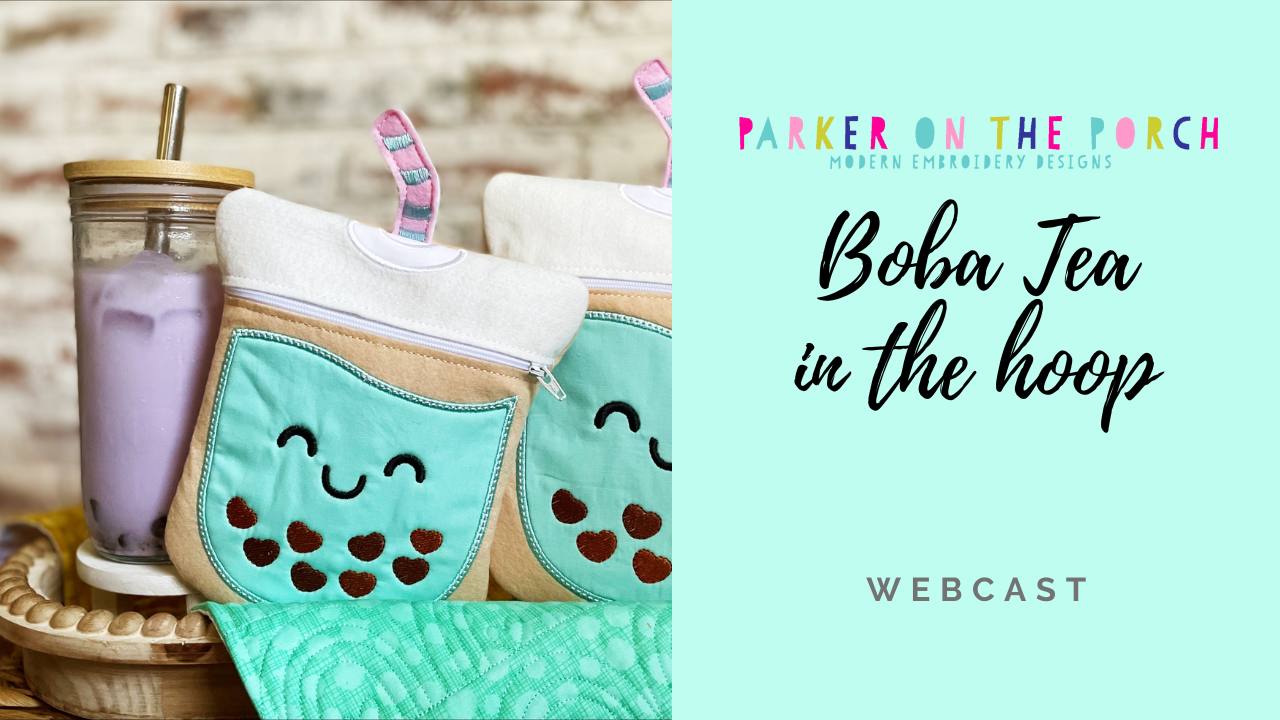
Love this design as much as we do? Register for our FREE In-the-Hoop Boba Tea Pouch Webcast with Jennifer Chesnick of Parker on the Porch, happening June 13, 2023 at 2pm ET. REGISTER HERE> Can’t attend live? No worries! Register anytime and watch on-demand after the live event ends.

This charm key ring in the shape of a cheese burger is amazing. I can’t wait to try it.
When I first saw the title of blog. I was like Cheeseburger? Then I read it it’s adorable and now I need to make it. Thank you