Sew a Zipper Pouch
+ Embellish with Dandelion Embroidery
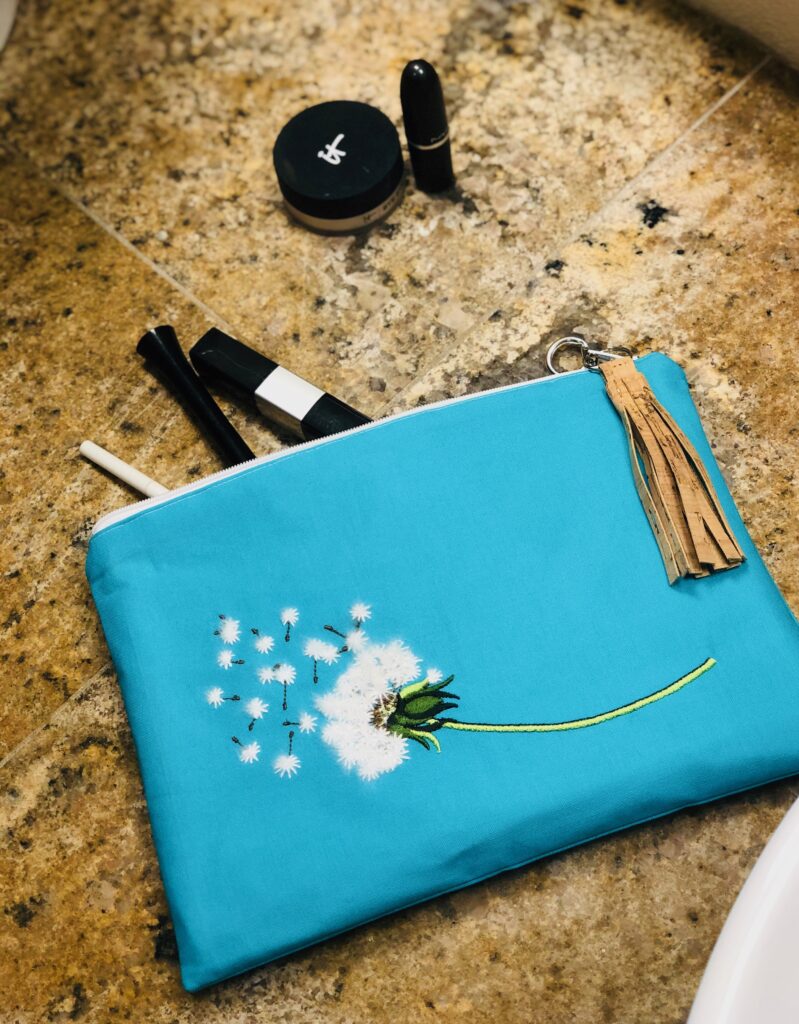
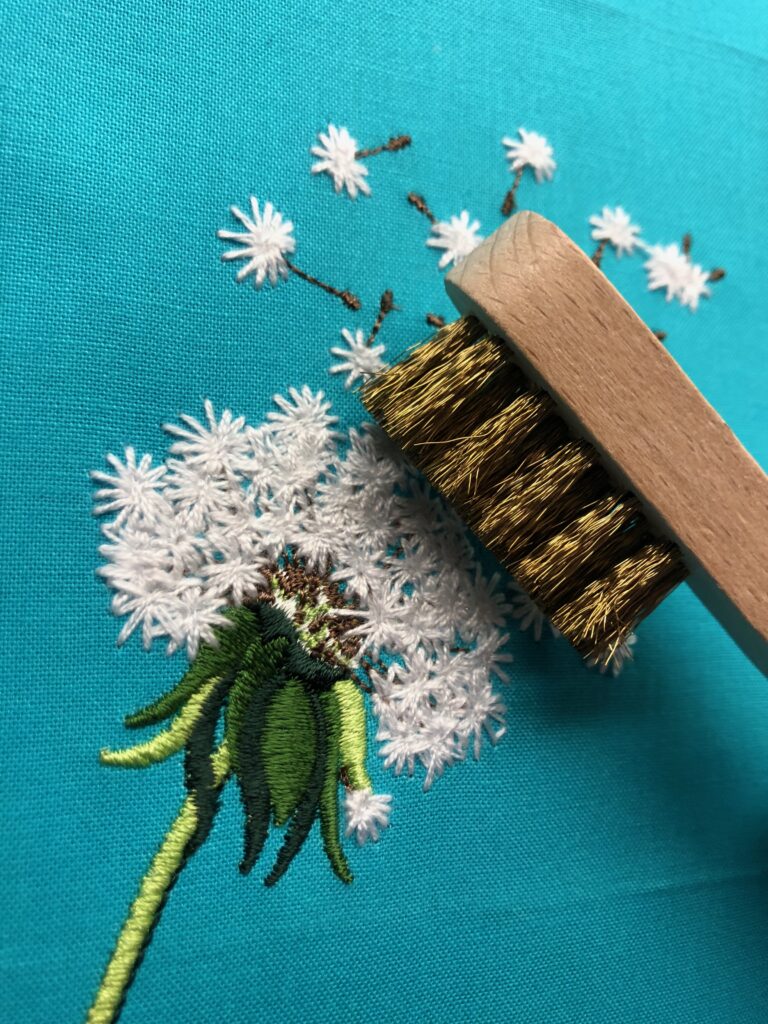
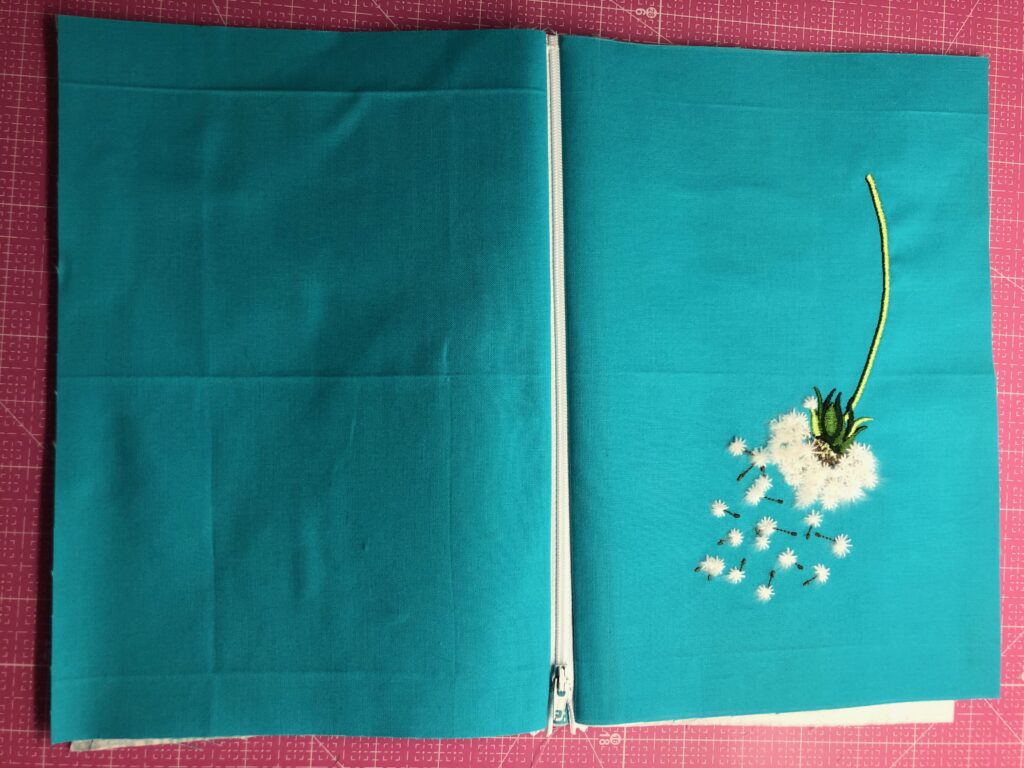
Learn how to sew a zipper pouch that’s fully lined with a professional finish. Plus, add a machine embroidered dandelion that “blooms” when brushed. A fun tassel on a key ring that makes a special zipper pull provides a little something “extra” to this great gift idea.
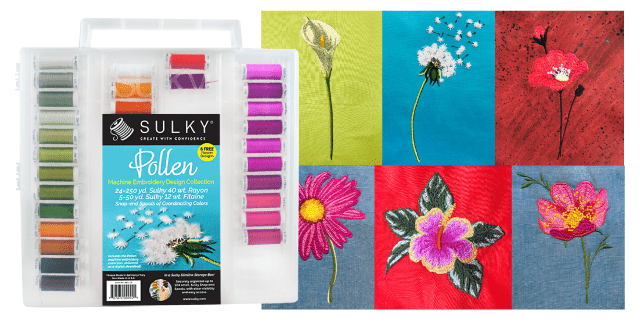
If you caught our FREE Serger Smarts webinar, this embroidery design is familiar to you! The same Dandelion design, available with purchase of our Pollen Slimline Palette, was featured on the Market Tote kit designed by Katrina Walker.
ZIPPER POUCH SUPPLIES
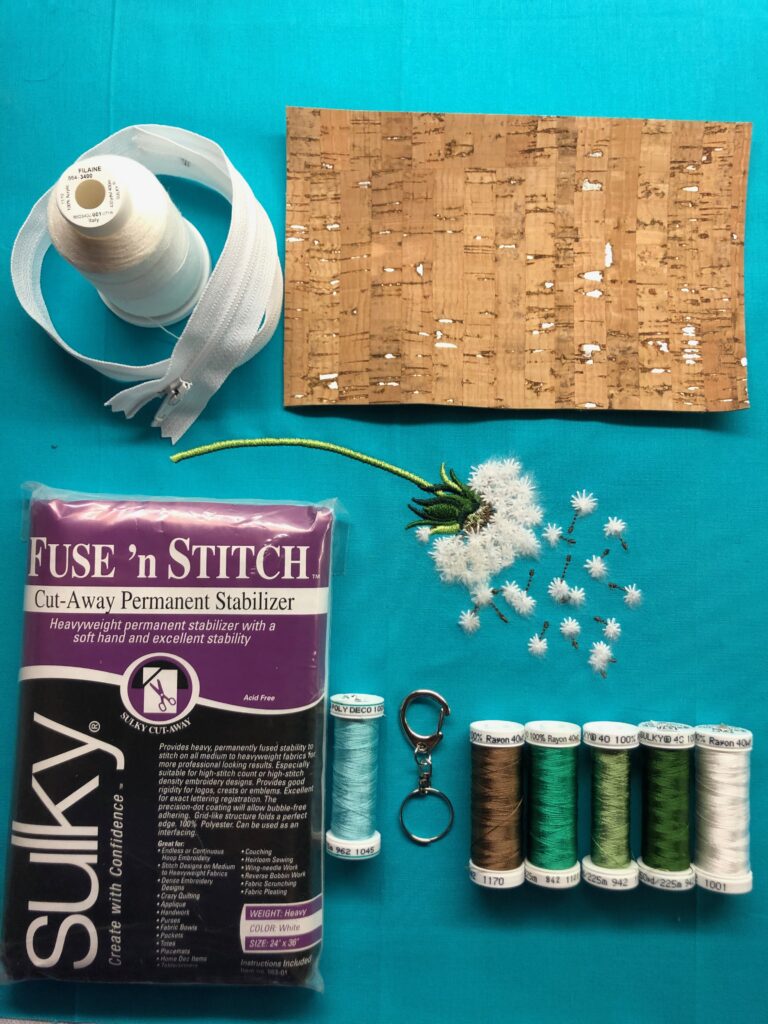
- Embroidery design (no larger than 6″ x 8″; featured Dandelion from the Sulky Pollen embroidery design collection, available in the Pollen Slimline Palette and Pollen Market Tote Kit)
- Sulky Bobbin, Rayon & Filaine™ thread (colors according to chosen embroidery design; featured Rayon and Filaine spools are included in the Pollen Slimline Palette)
- Filaine wire brush
- Matching Sulky Poly Deco™ thread (construction)
- 1/4 yard of solid color cotton fabric (outer fabric; more may be needed for hooping parameters)
- (2) 8″ x 11″ rectangles of coordinating cotton fabric (lining)
- (2) 7 1/2″ x 10 1/2″ rectangles of fusible fleece (optional)
- Sulky Fuse ‘n Stitch™ stabilizer
- Organ needles: Size 100/16 Titanium Top Stitch (for Filaine thread) & size 90/14 Embroidery (for Rayon & Poly Deco thread)
- 11″ plastic or nylon zipper (or longer; see “Zipper Tip”)
- Hand sewing needle
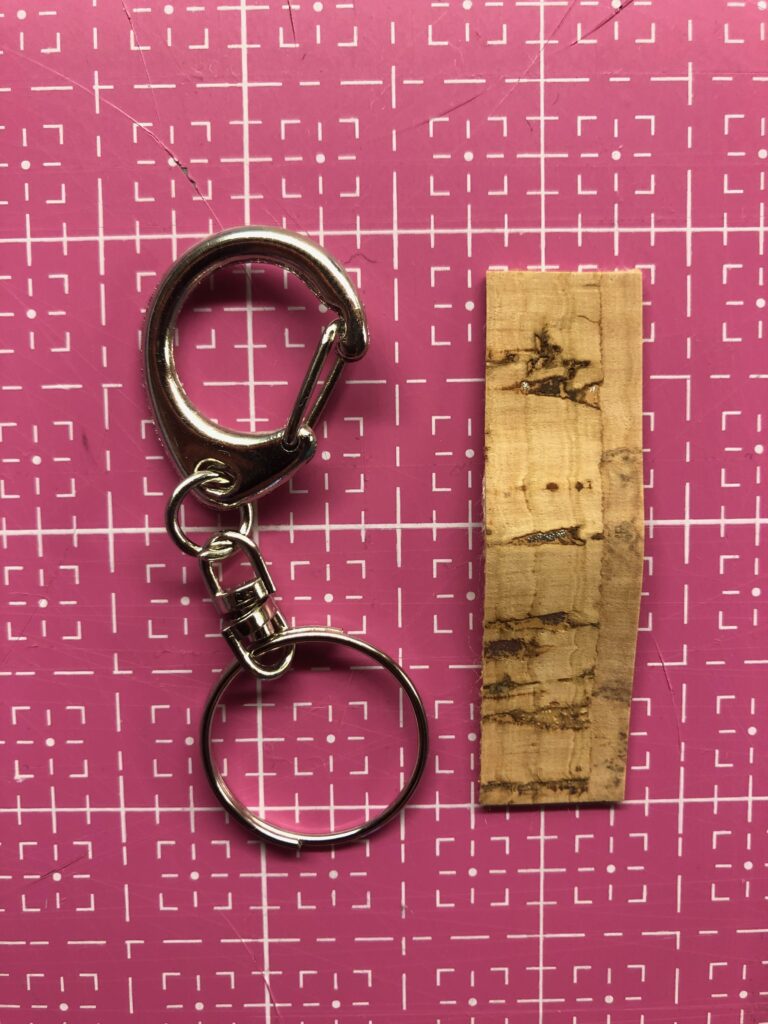
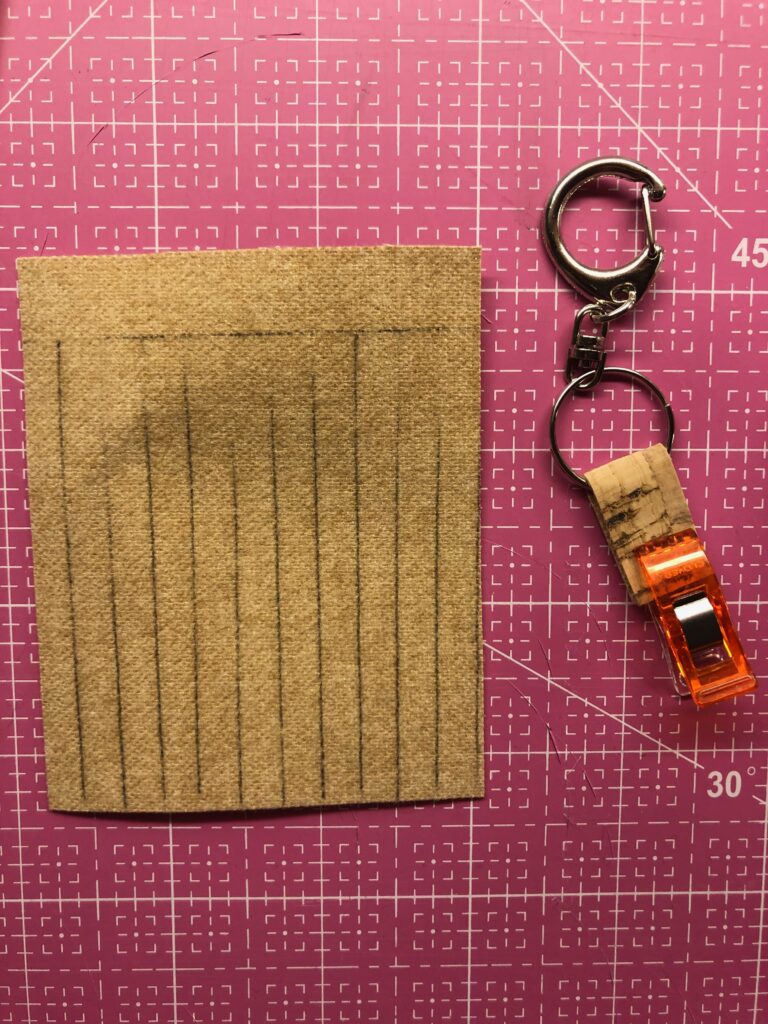
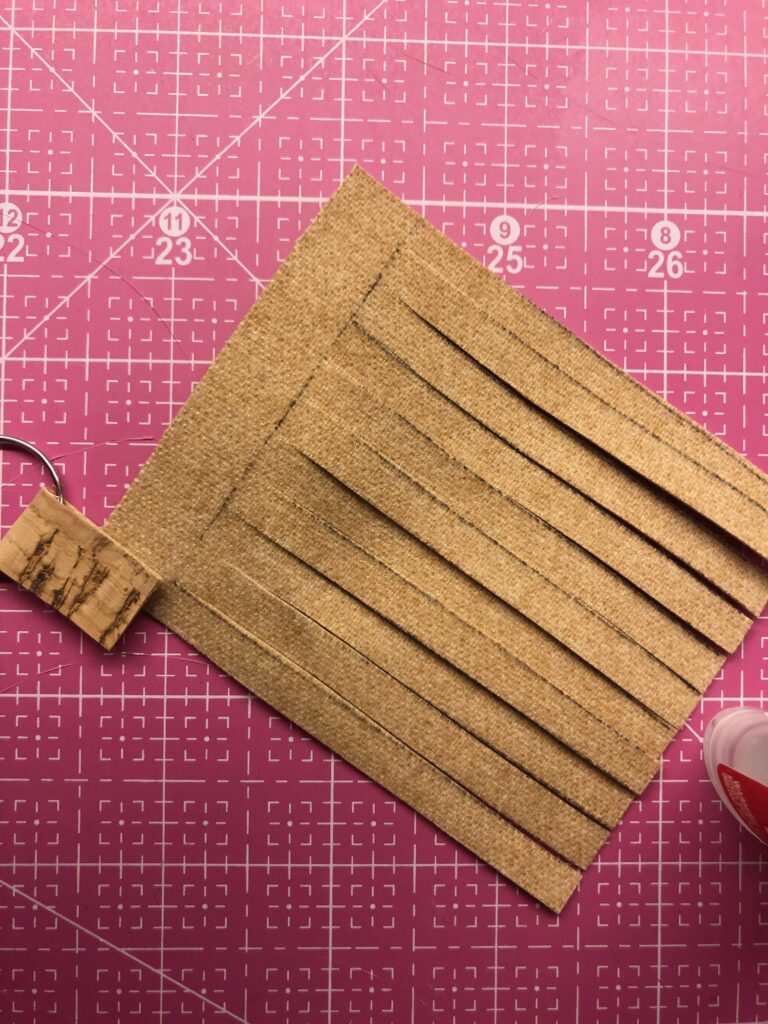
- 1/2″ x 2″ & 3″ x 6″ rectangle of no-fray fabric (such as cork, faux leather or similar; for tassel)
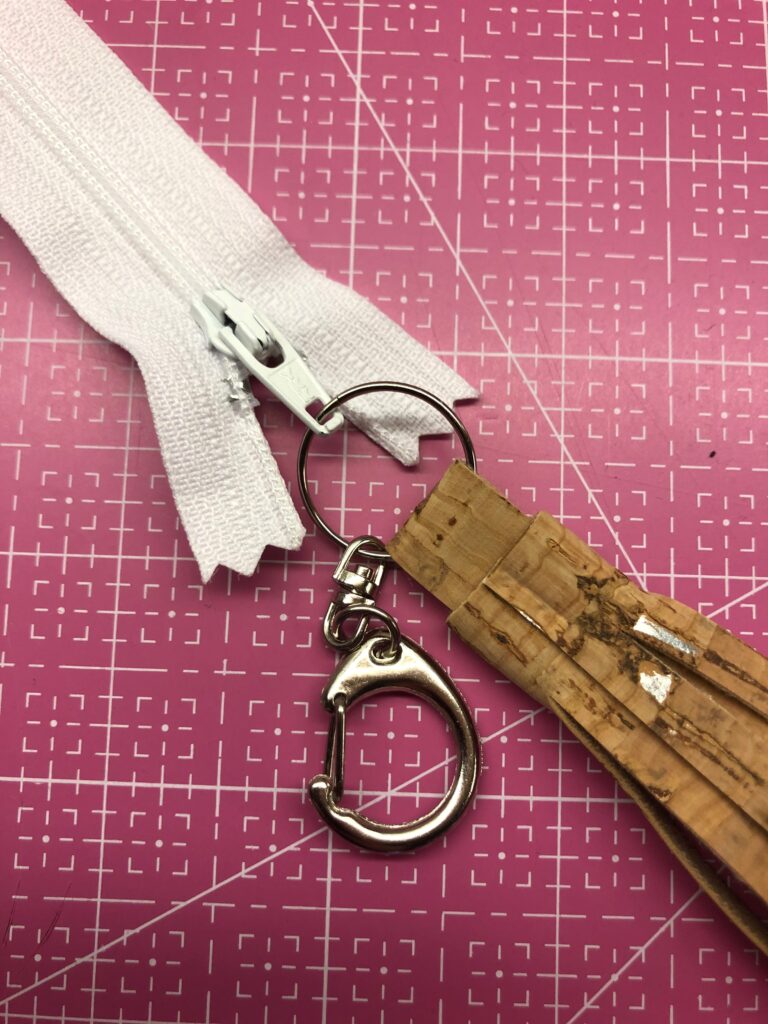
- Key ring (featured is recycled from existing key chain)
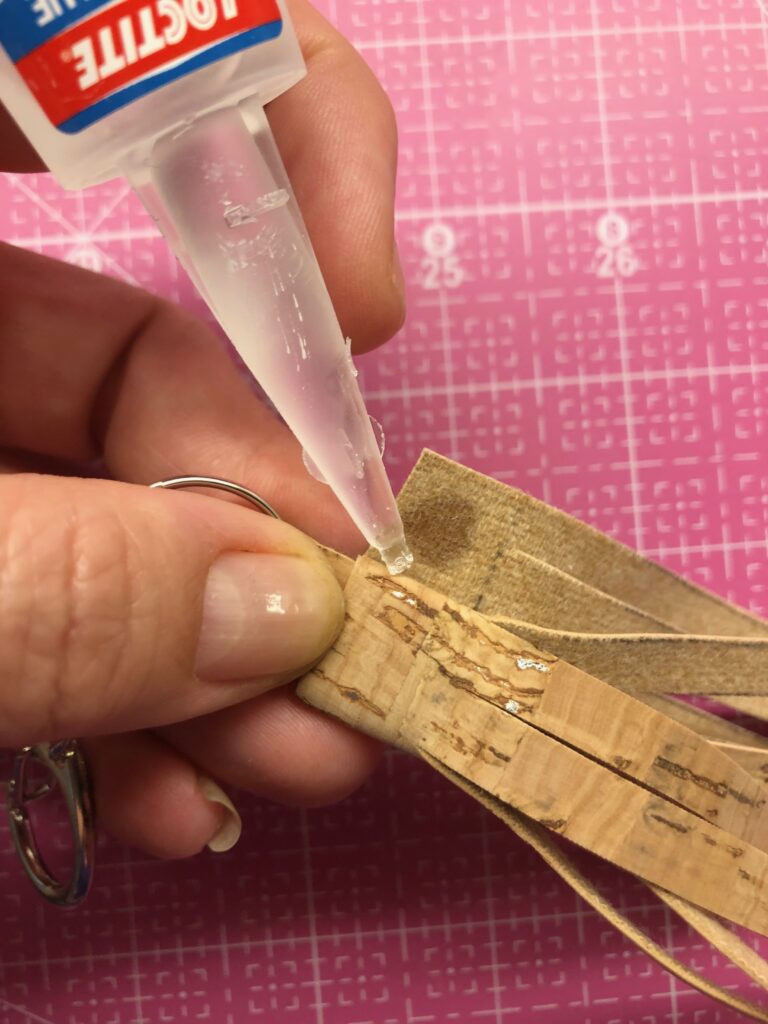
- Super glue
PREP FABRIC
Determine the hoop size needed for the intended design. The featured design requires at least a 240×150 hoop. If needed, purchase extra width to fit the fabric in the hoop.
Follow the manufacturer’s instructions to fuse the Fuse ‘n Stitch stabilizer to the outer fabric for embroidery. Hoop the stabilized fabric, centering the desired design placement within the inner hoop ring. Place the hoop onto the machine.
ZIPPER POUCH EMBROIDERY
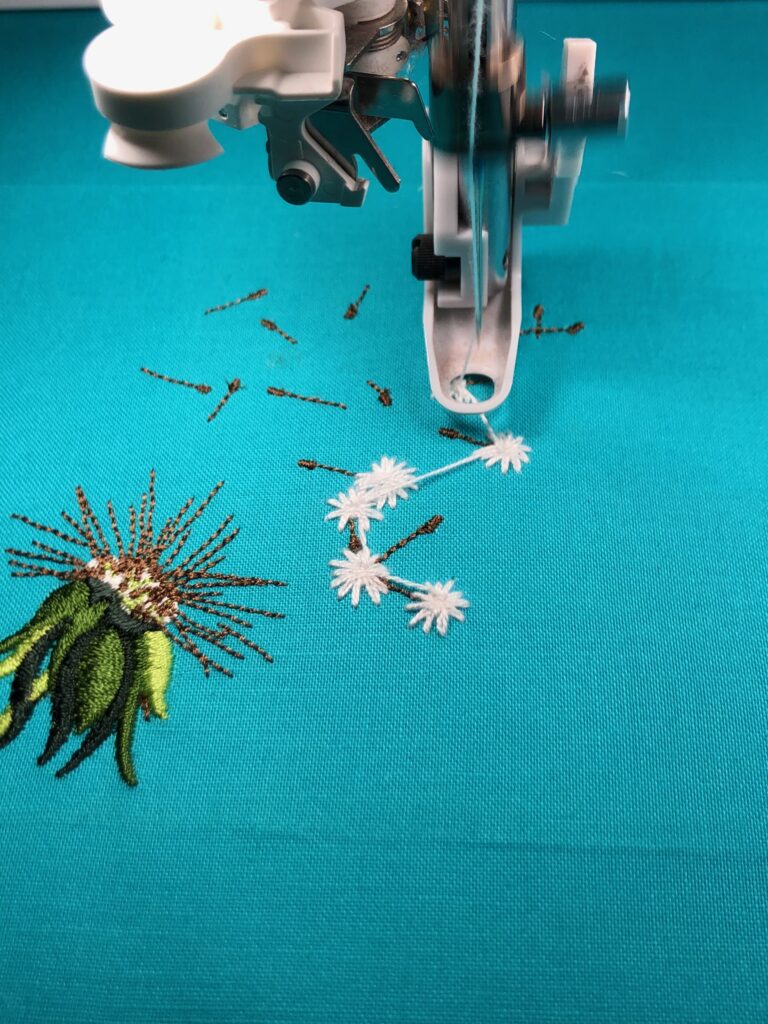
Load the intended design onto the machine. If using the featured Dandelion design from the Sulky Pollen collection, follow the thread chart closely to determine when Filaine thread is used vs Rayon thread. Filaine thread requires a few machine adjustments that need to return to standard embroidery settings when switching back to Rayon. (See “Filaine Machine Settings” below.)
Embroider the design, clipping jump threads with each thread change.
Filaine Machine Settings
- Install a size 100/16 Titanium Top Stitch needle.
- Slow the machine speed by at least half.
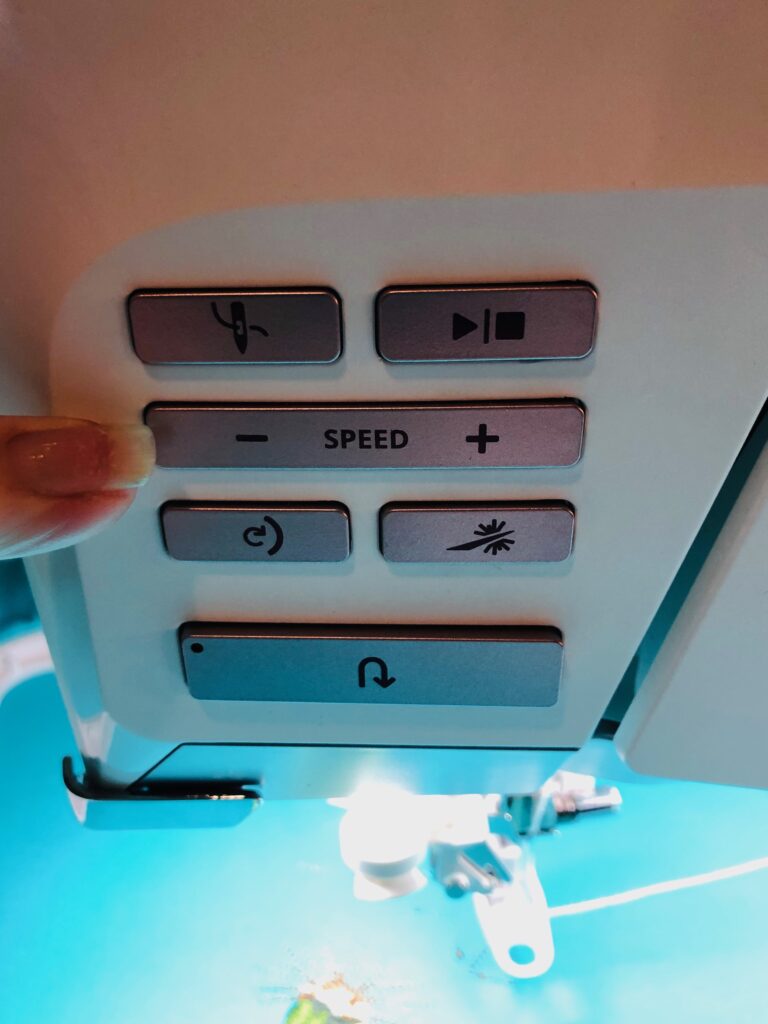
- Turn OFF the auto thread cutting option. This creates a small knot when the thread is pulled to the wrong side of the work, creating even more density for the needle to penetrate during embroidery.
- Use Sulky bobbin thread in the bobbin (NOT Filaine!)
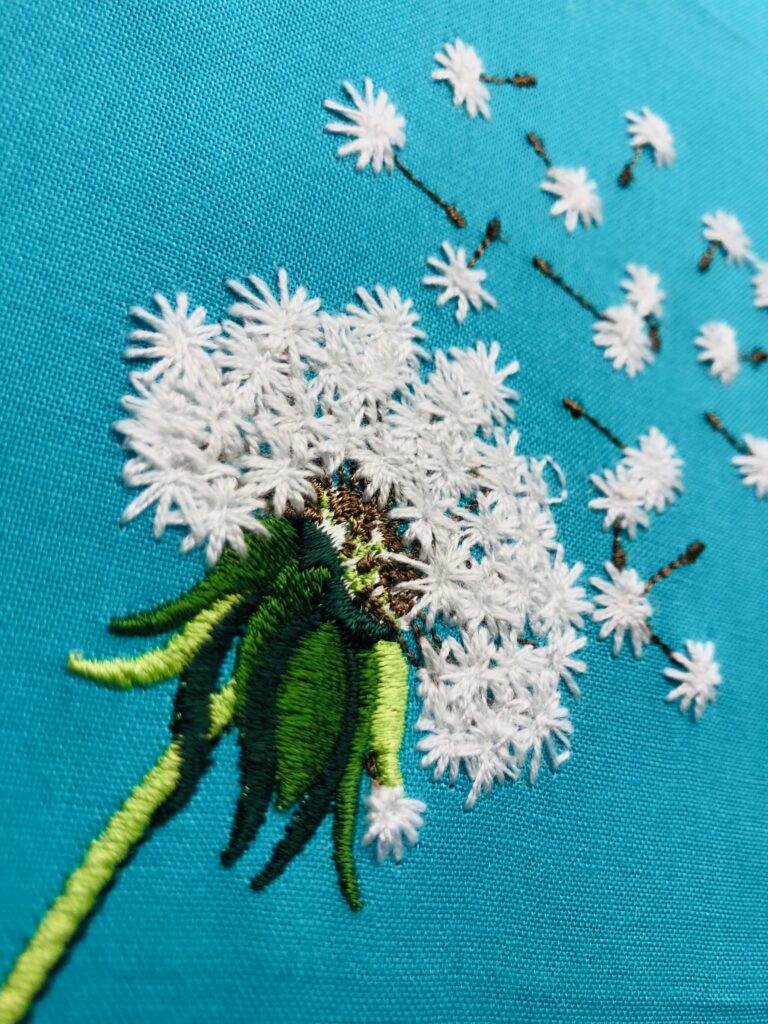
After embroidery is complete, remove the fabric from the hoop. Gently press from the wrong side (do NOT iron back and forth) to remove hoop markings.
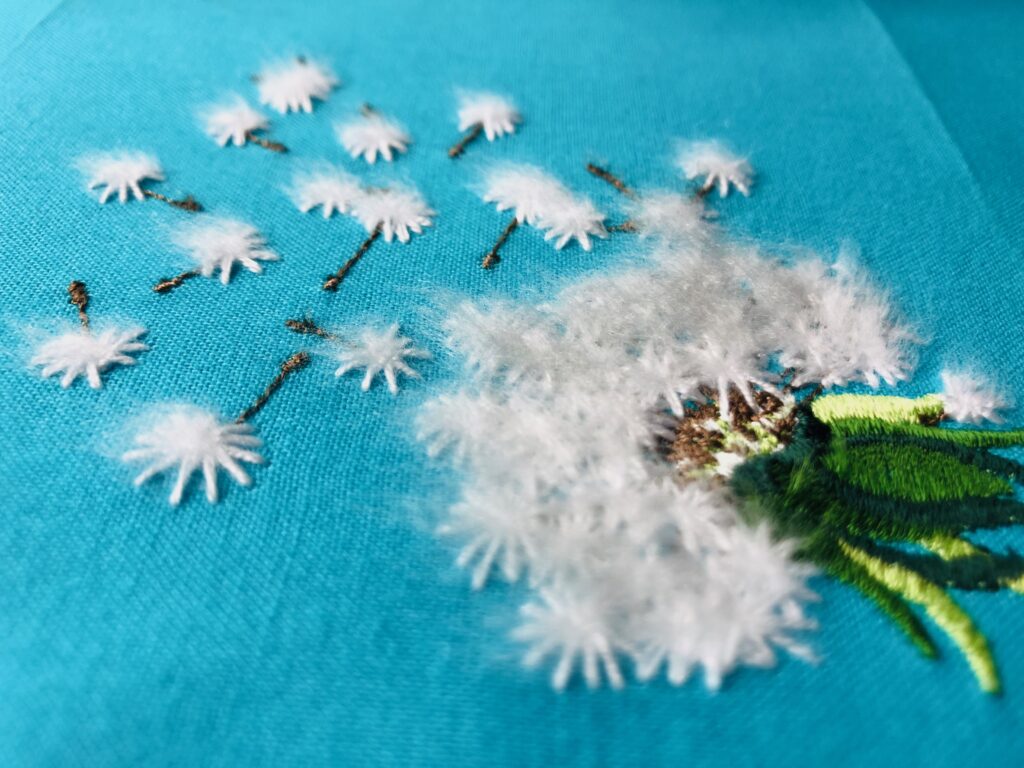
Use the Filaine wire brush to fluff the Filaine areas, in this case the Dandelion fuzz, until the desired amount of fluff is achieved.
ZIPPER POUCH CONSTRUCTION
Use 1/4″ seam allowances unless otherwise noted.
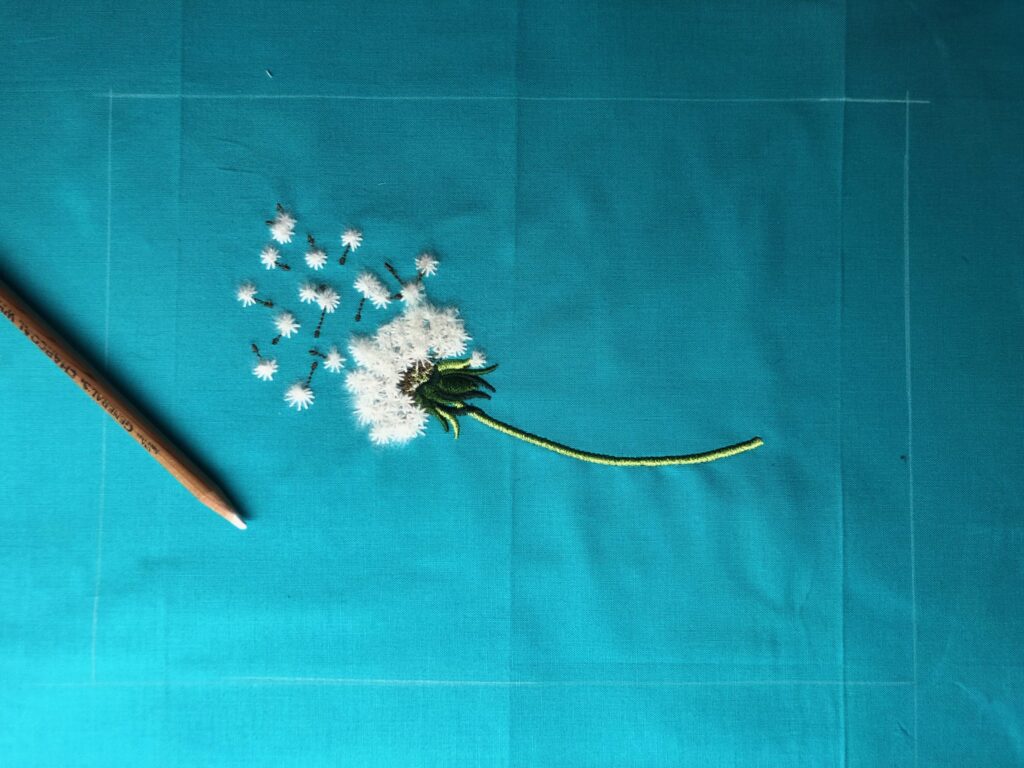
From the outer fabric, cut two 8″ x 11″ rectangles, centering the design as desired for the outer-front piece. Leave the stabilizer intact on the entire outer-front rectangle to act as an interfacing and add structure to the pouch.
ZIPPER TIP
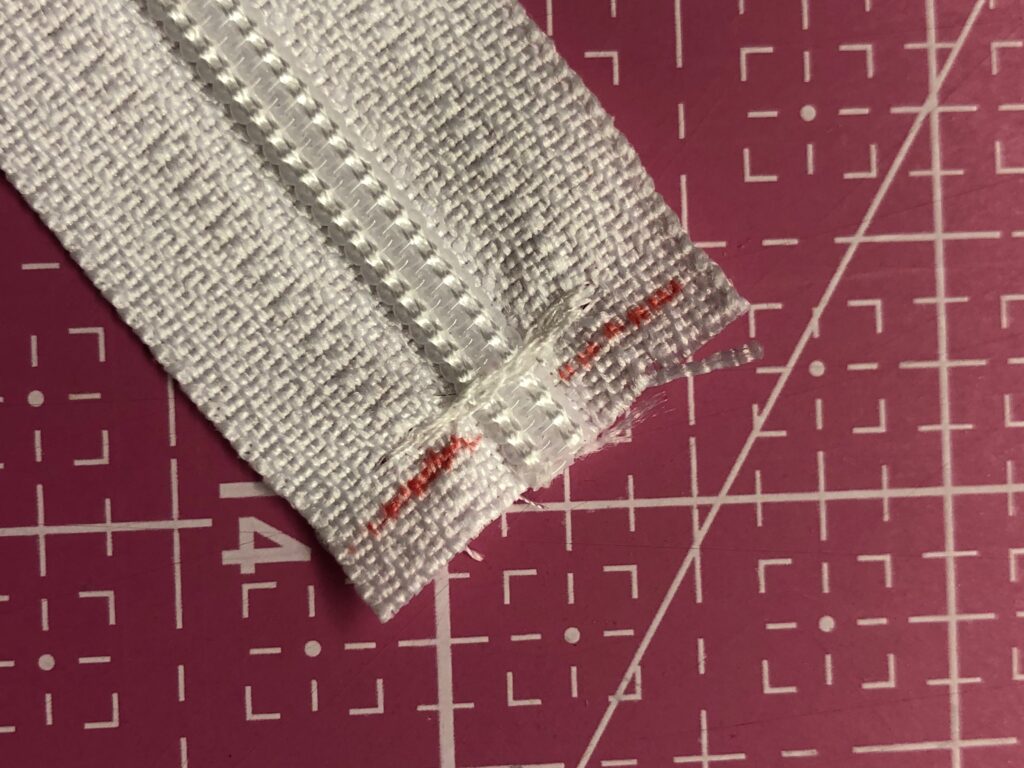
- If using a zipper that’s longer than 11″, shorten it by placing it along the outer front rectangle to measure the needed length. Mark the location of the zipper stop.
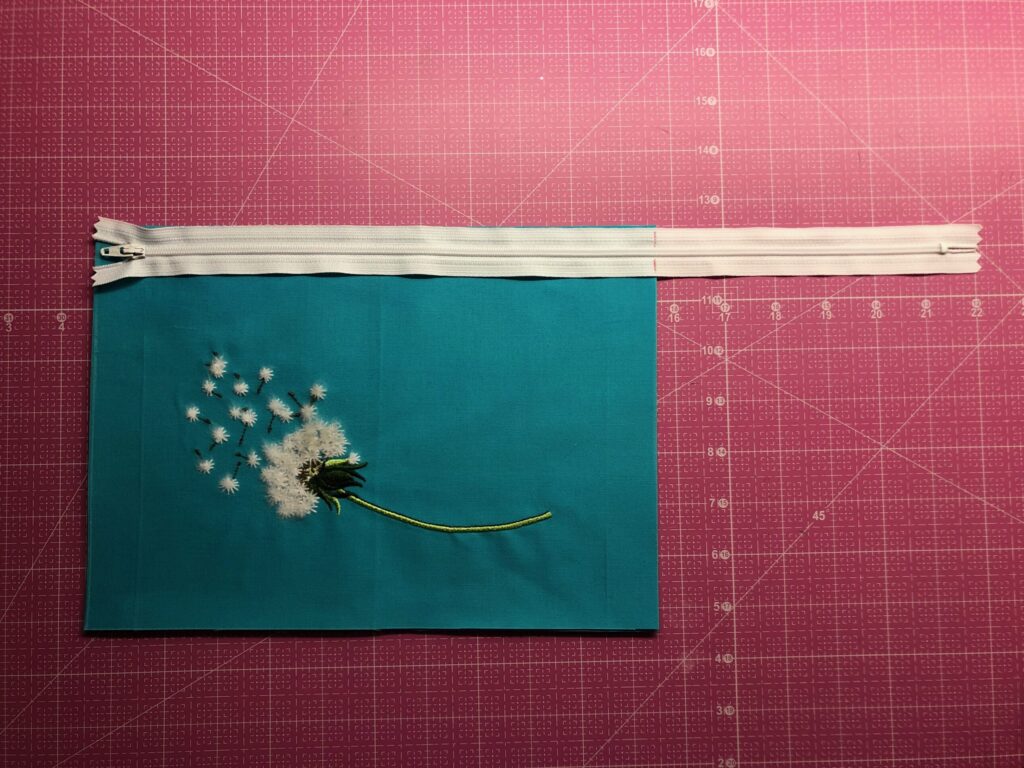
- Stitch back and forth several times across the zipper teeth to create a new “stop.” Trim the zipper 1/4″ beyond the new stop. (Use the hand wheel to walk the needle across the teeth to avoid hitting them. This is NOT recommended for a metal zipper.)
Next, center the fusible fleece rectangles on each lining rectangle wrong side; fuse, following the manufacturer’s instructions.

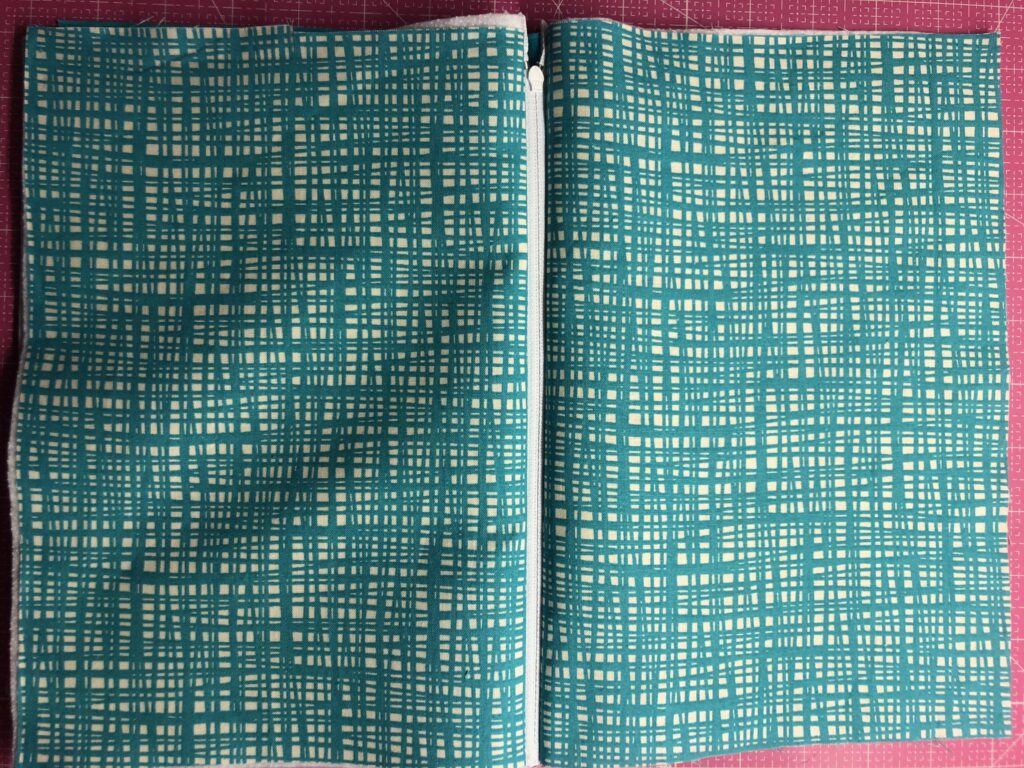
Place one lining rectangle face up on a flat work surface. Place the zipper face up along one lining long edge (this is now the “upper edge.” Then place one outer rectangle wrong side up over the lining rectangle, sandwiching the zipper and aligning all edges and corners.
To get close to the zipper teeth without the presser foot getting in the way, install a zipper foot. Then stitch the upper edge, moving the zipper pull as needed to maintain a consistent seam allowance.
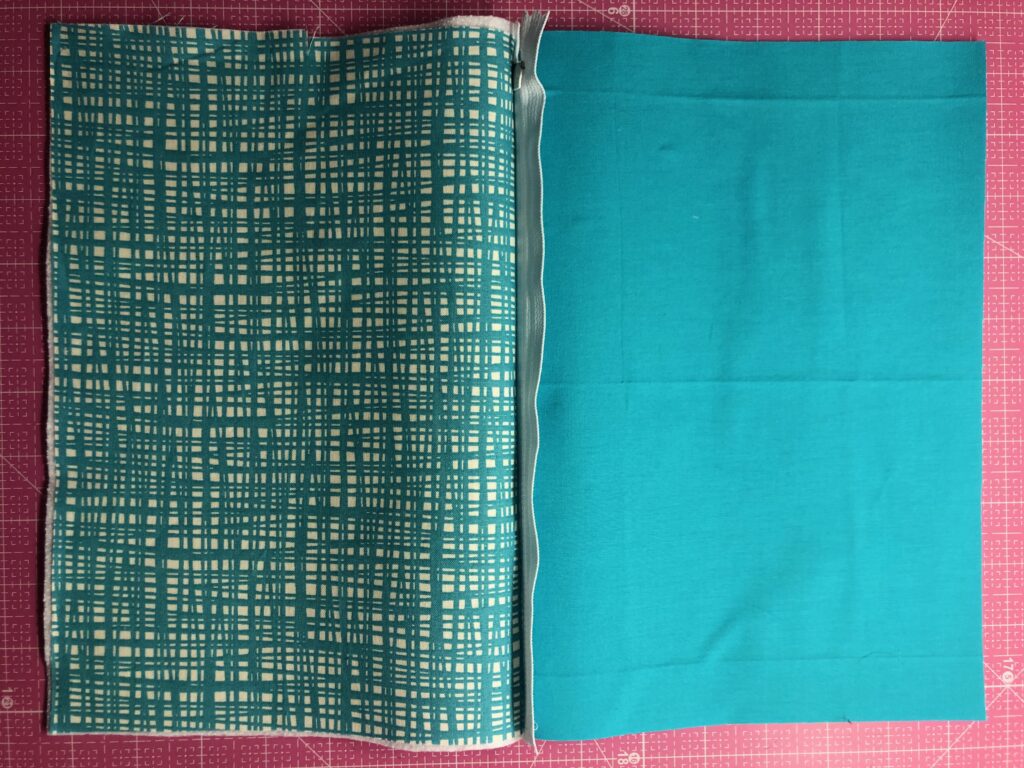
Repeat to stitch the opposite zipper-tape edge to the remaining lining and outer rectangles, making sure to match the lining and outer fabrics.
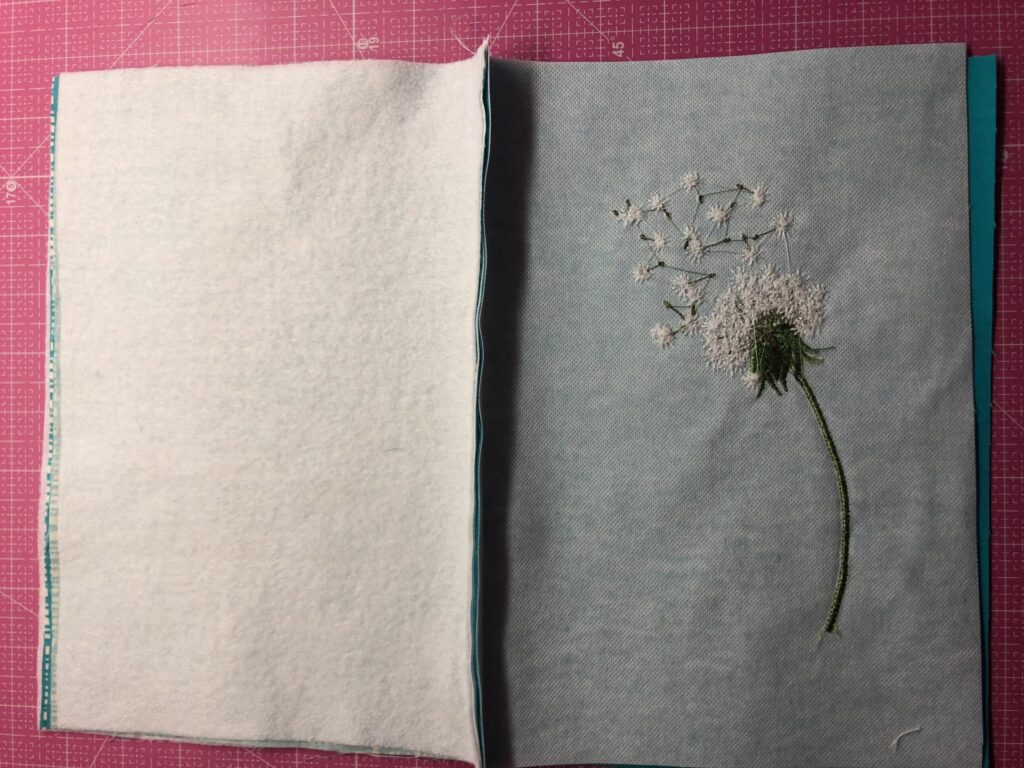
Next, flip the rectangles so the outer and lining rectangles are both facing out.
Topstitch along both zipper edges from the outer fabric side, moving the zipper pull if needed to create a straight seam.
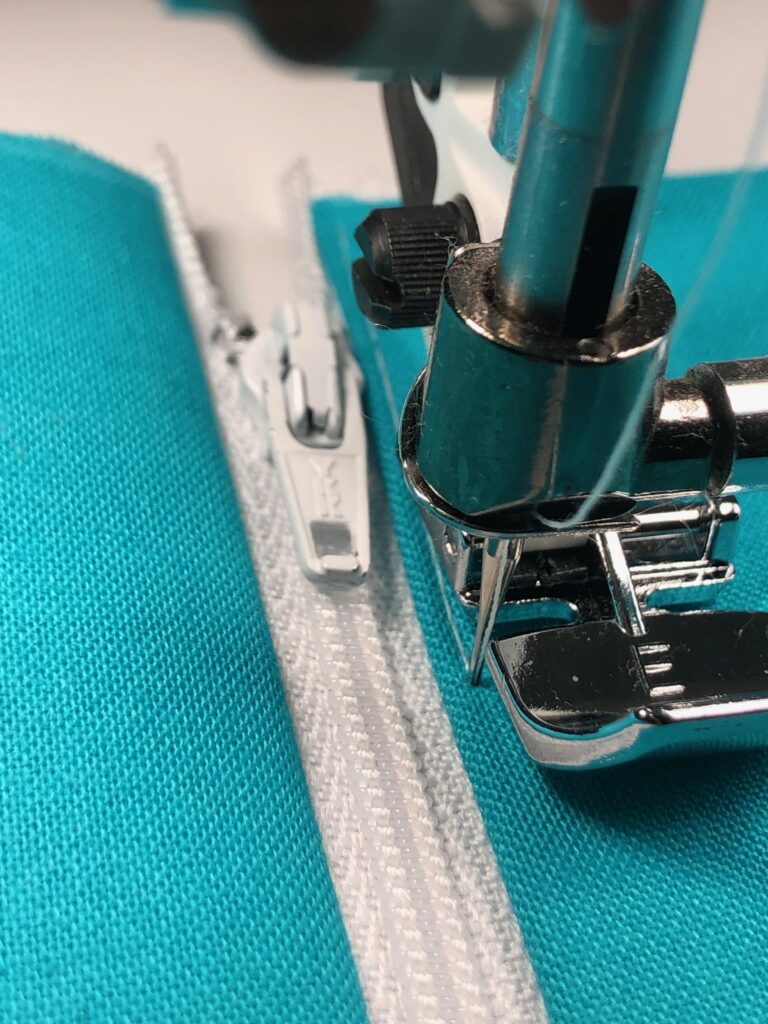
Then, unzip the zipper partway.
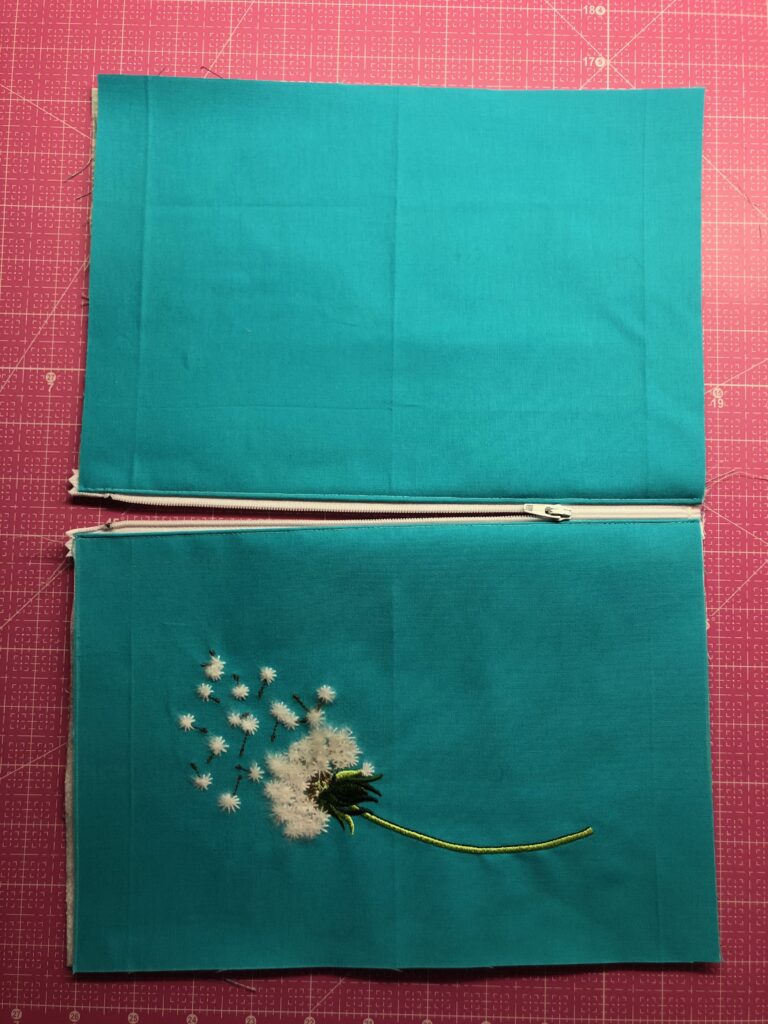
Place the outer rectangles right sides together; use quilting clips or pins to secure, making sure all edges and corners align.
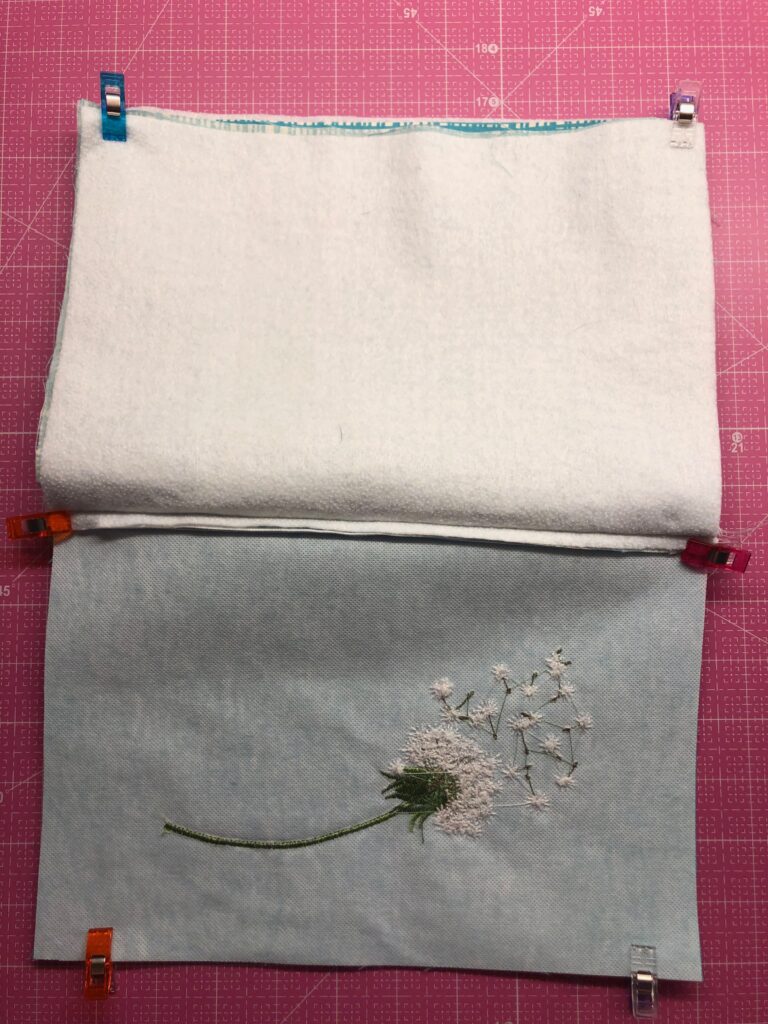
In order to not forget, mark a centered 3″ opening along the lining lower edge for turning.
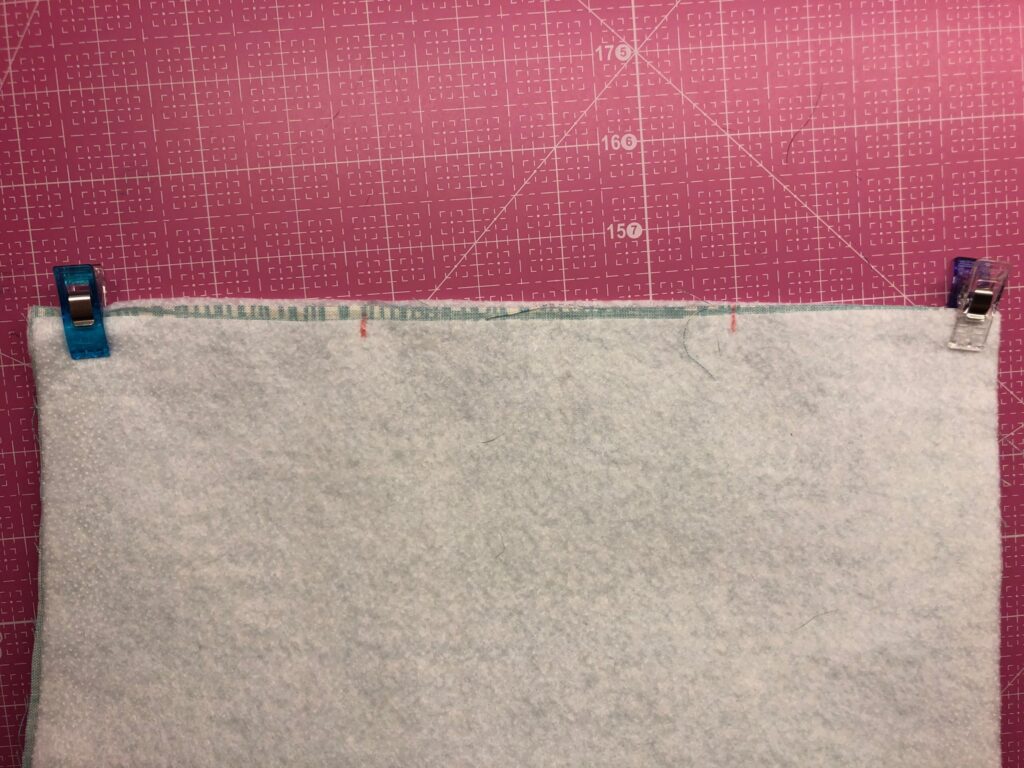
Stitch the pouch perimeter, beginning and ending the stitching at the marks.
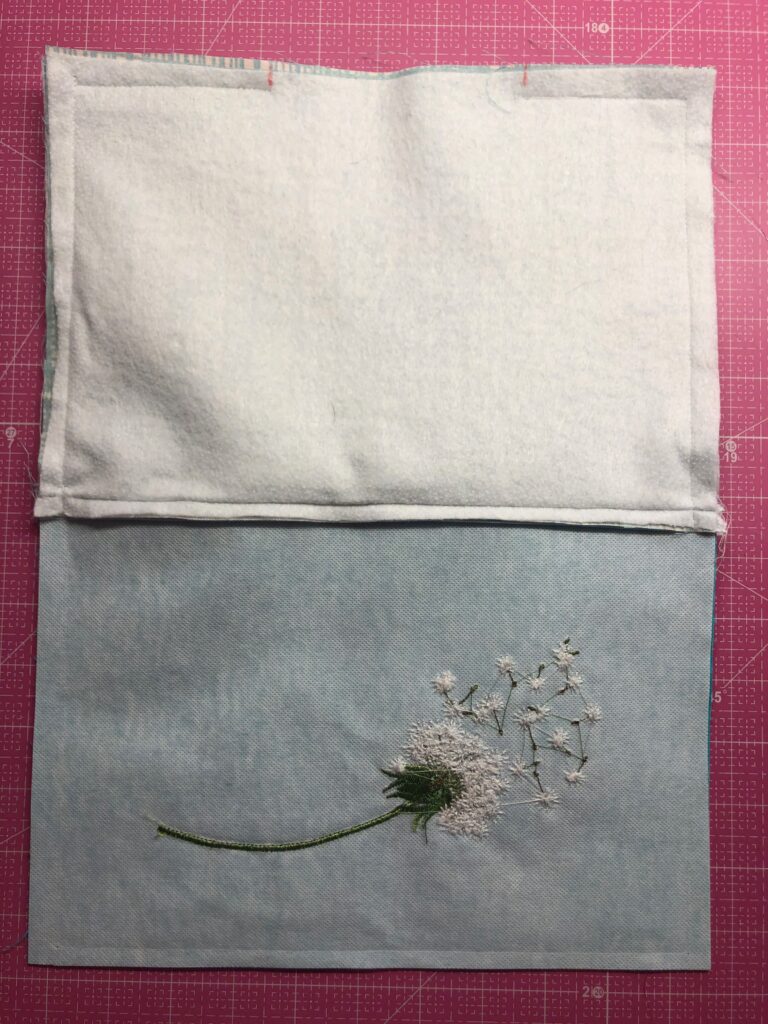
FINISHING THE ZIPPER POUCH
Trim the seam allowance to 1/4″, leaving the opening allowance at 1/2″. Then, clip the corners.
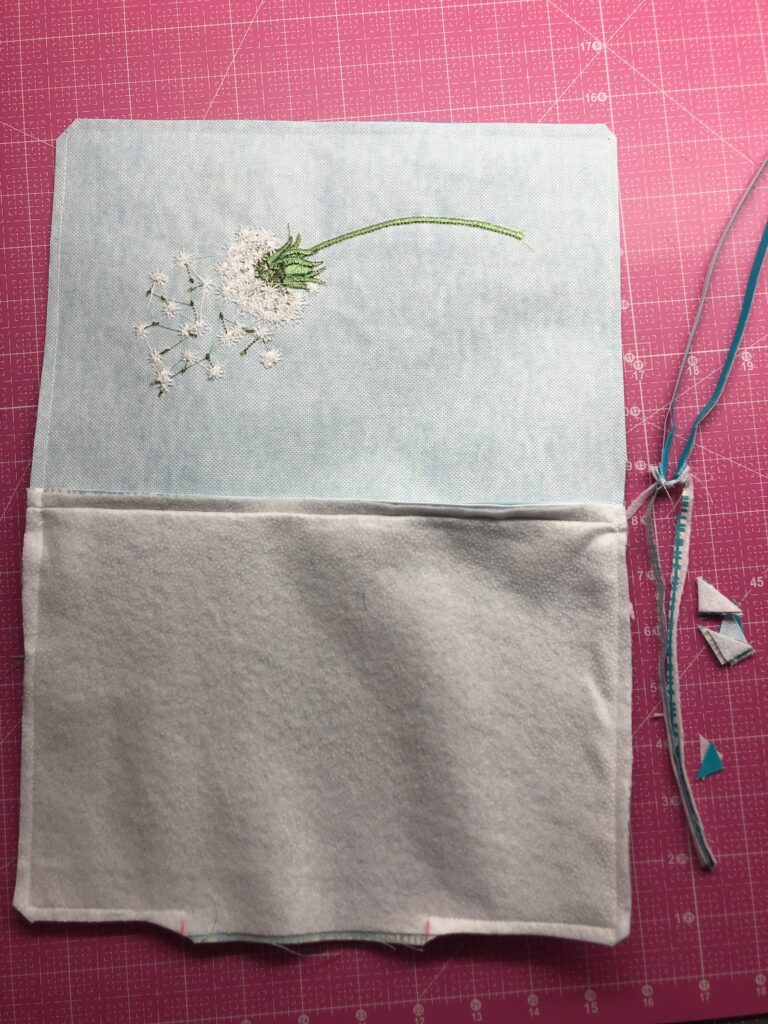
Turn the pouch right side out through the opening. Then fold the opening seam allowances toward the wrong side; use quilt clips to secure.
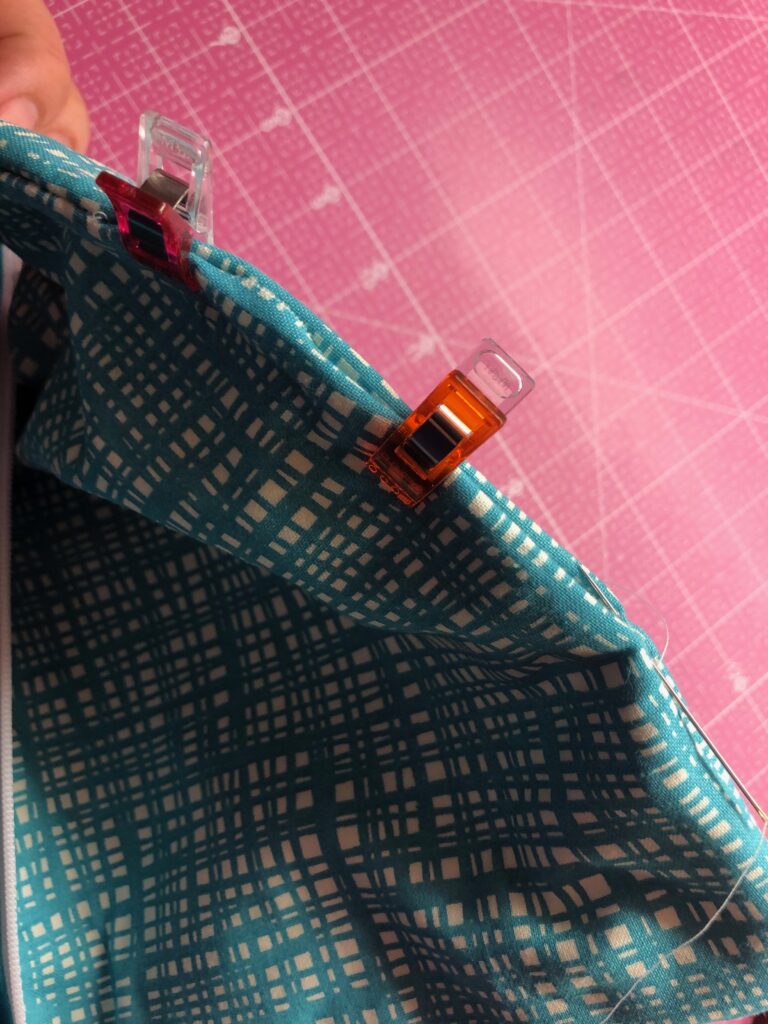
Next, hand stitch the opening closed using a slipstitch or ladder stitch.
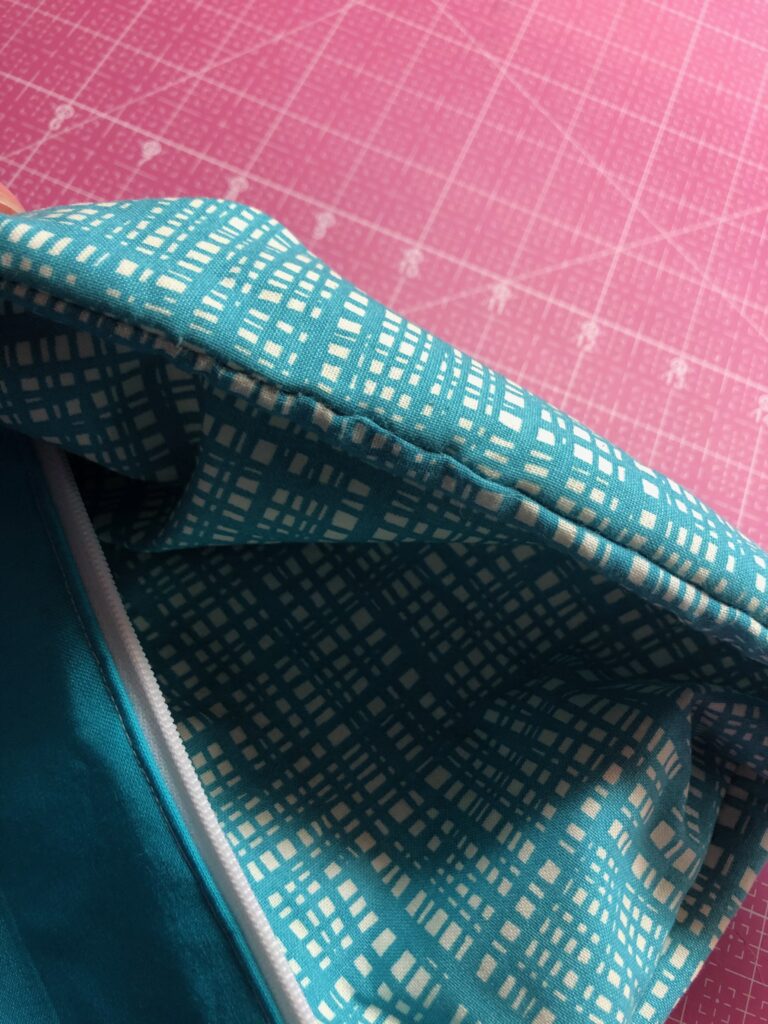
After stitching is complete, push the lining into the outer pouch. Finally, press gently, avoiding the embroidery with the iron.
TASSEL FOR ZIPPER PULL
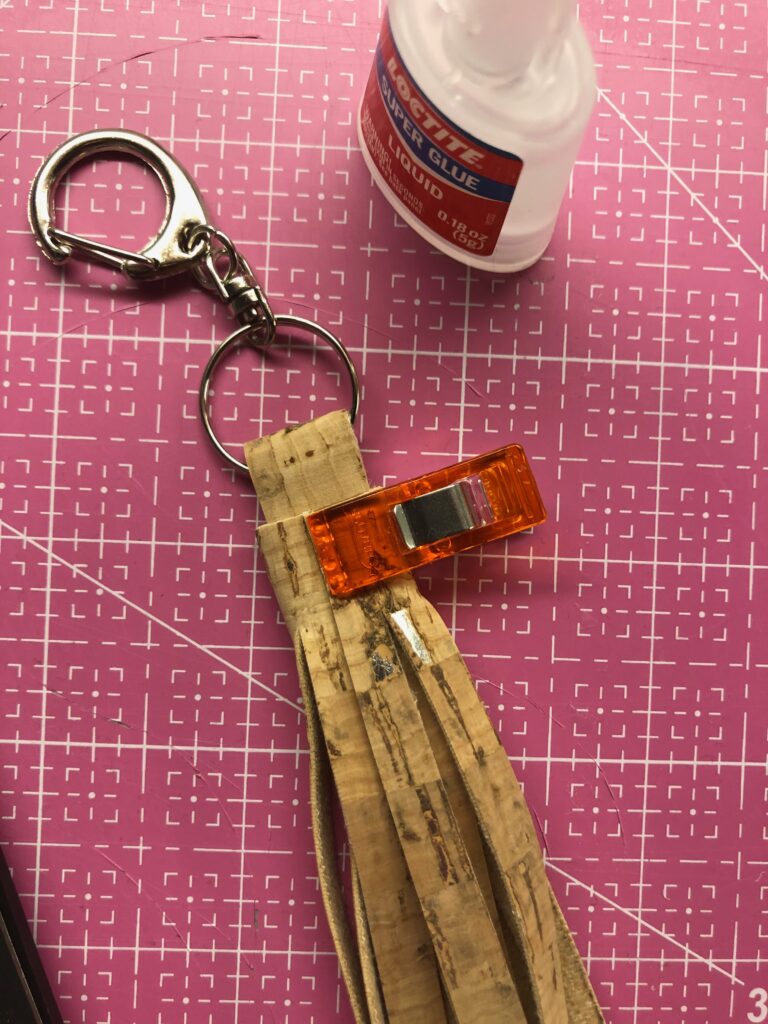
To create the tassel, follow the instructions in our FREE Hobo Cork Bag webinar from Sallie Tomato. Here is a visual step-by-step!
Enjoy the finished bag!
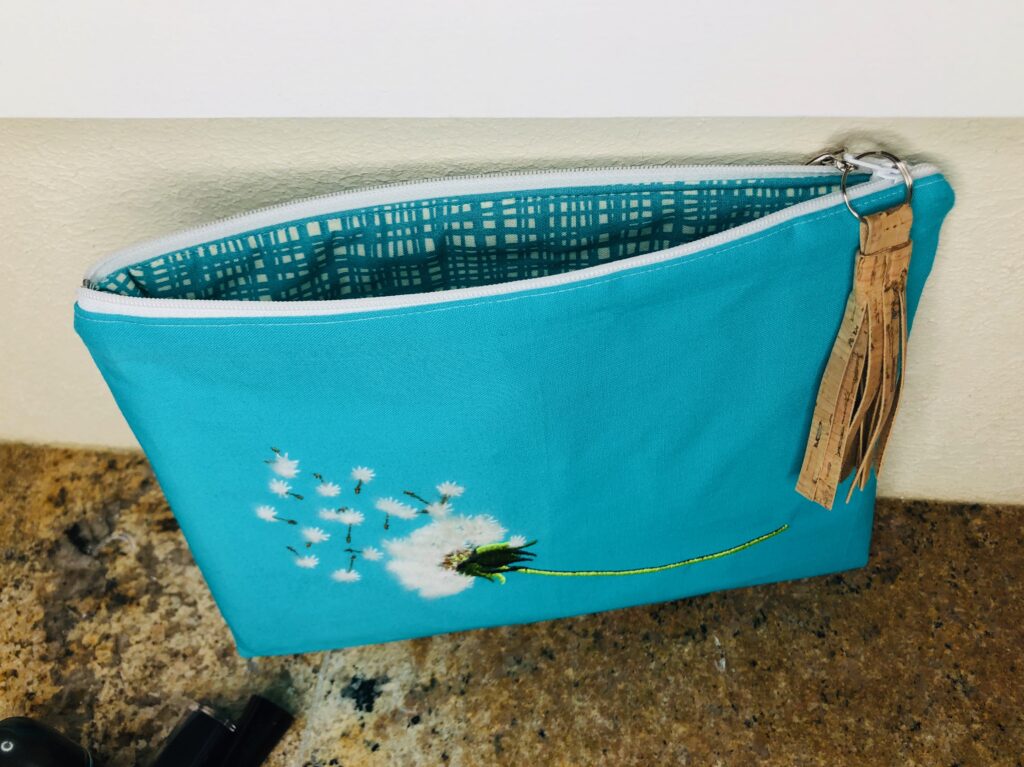
Now make one featuring all six designs from the Sulky Pollen machine embroidery collection!


These pouches are beautiful. Love the designs.
Really cute. Must keep these instructions to make several. Thanks.
are the embroidery designs o the bags available somewhere
Hi Sharon,
The designs are available with purchase of the Slimline, which contains all the threads you need to stitch out the designs (including snap spools of Filaine). Right now we are unable to offer digital products on our site, but we will post the designs individually for sale as soon as possible!
Thanks for writing and reading.
~Ellen
Pingback: Free Fox Design + Fun Foxy Filaine Fleece Pillow Project - Sulky
Can the filament thread be used for any embroidery design?
Can you use filaine thread with any embroidery designs?
Hi Sally,
No. The Filaine thread is a heavy 12 wt. thread and it requires a design that has open, airy stitching. The design must be digitized for heavy or 12 wt. thread, and may be labeled “heavy,” “brushed, “thick,” “fur,” or the like. If you use a design that’s digitized for 40 wt. thread (which is pretty standard) you will have a lot of problems with needle and thread breakage, as there simply is more thread bulk than intended for the chosen design areas.