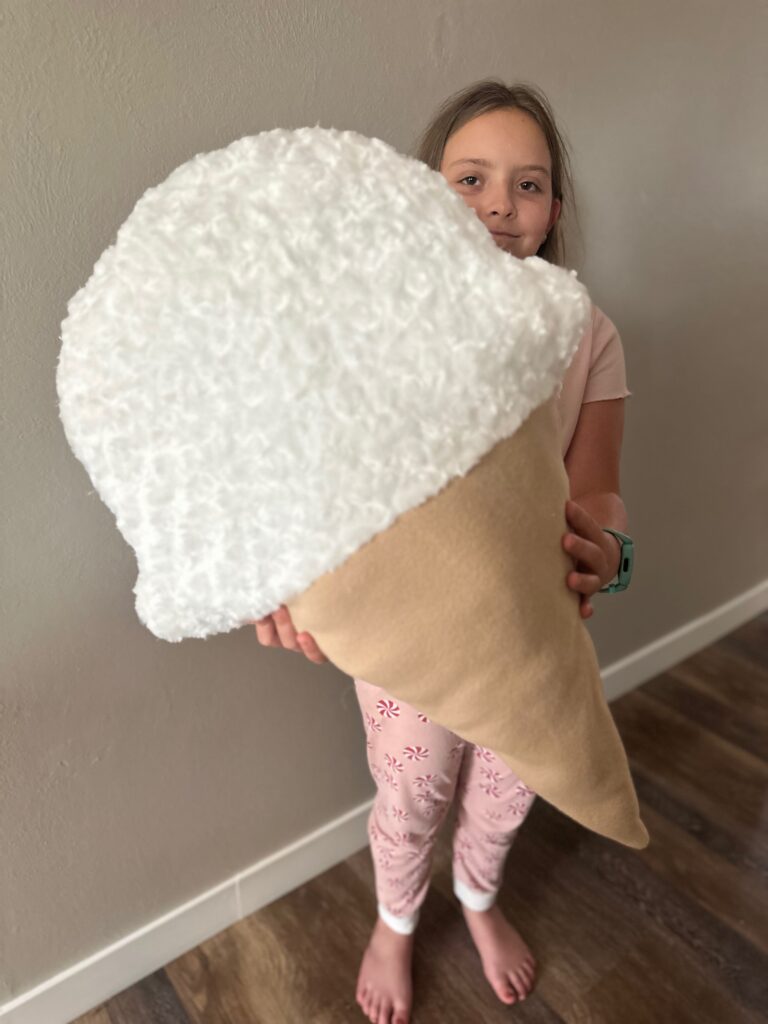
Ice Cream Pillow
a pattern designs by See Kate Sew, modified for plush fabrics
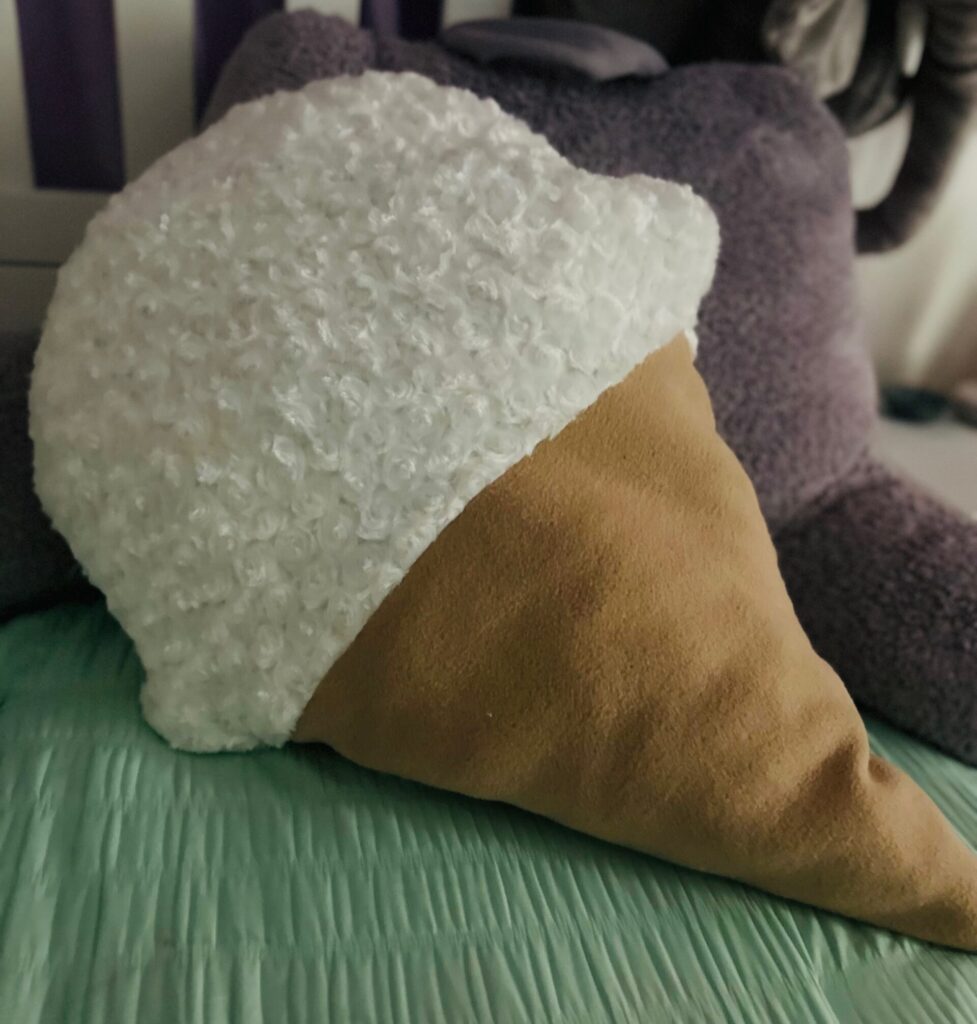
An Ice Cream Pillow is the perfect project to sew for National Ice Cream Day and beyond! Begin with a simple pattern and change up a few things to make it out of fun, plush fabrics for a fuzzy, furry stuffy friend that would make any child of any age very, very happy! Go with white fabric for the ice cream for vanilla, brown fabric for chocolate, or look for a polka dot print for sprinkles! Add crosshatch quilting to the cone fabric before assembly to mimic a waffle or sugar cone. This pillow is quite large, so consider printing the pattern pieces at 50% for a smaller couch-size or shelf-sitter pillow.
PILLOW PATTERN DETAILS
This pattern was originally designed by See Kate Sew, and is offered for free on her website (grab it HERE). It only has two pieces: the ice cream (top) portion and the cone portion.
Easy enough for a beginner, this pattern is also a great starter project for kids who want to learn how to sew. However, you may want to choose a more stable, woven fabric for the pillow to make it easier for little hands to manage. If going this route, stick to the original pattern instructions and add interfacing to the cotton fabrics for stability and structure.
Other than the pattern and fabrics, you’ll need some stuffing and thread, of course. Because the pillow is on the larger size, I suggest filling along the seamlines with some batting scraps before adding polyester fiberfill.
THREAD CHOICE
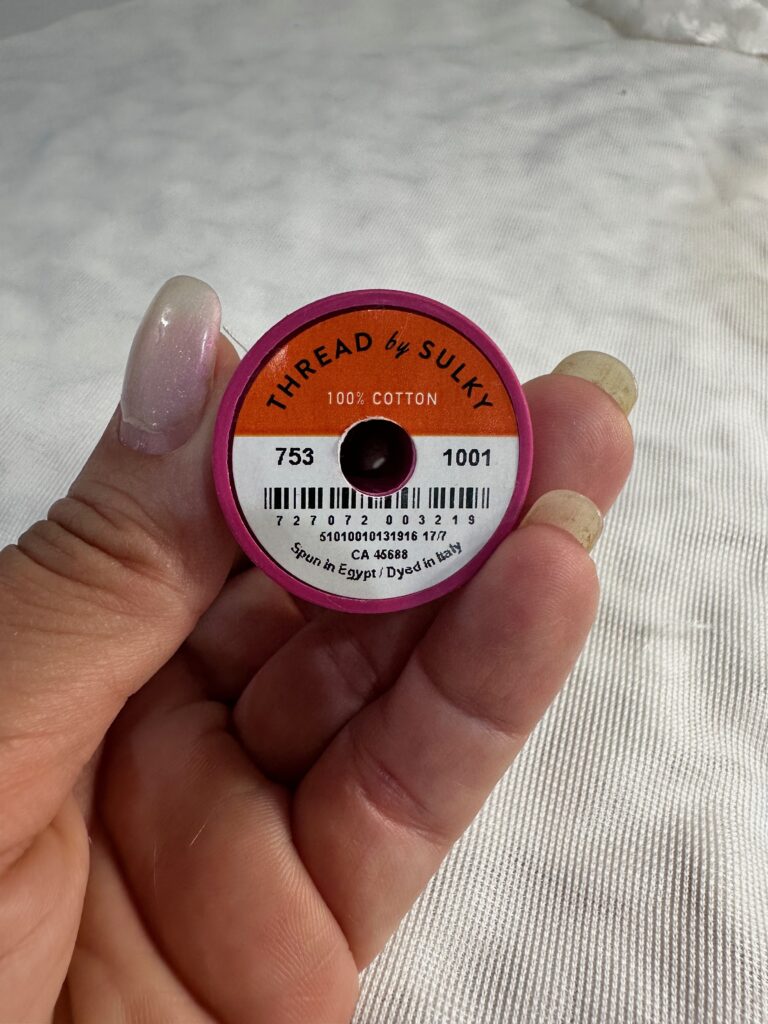
As for thread, use Sulky 50 wt. Cotton Thread for the construction. This thread is lightweight, but works for both lightweight cottons and the plushy fabrics shown here.
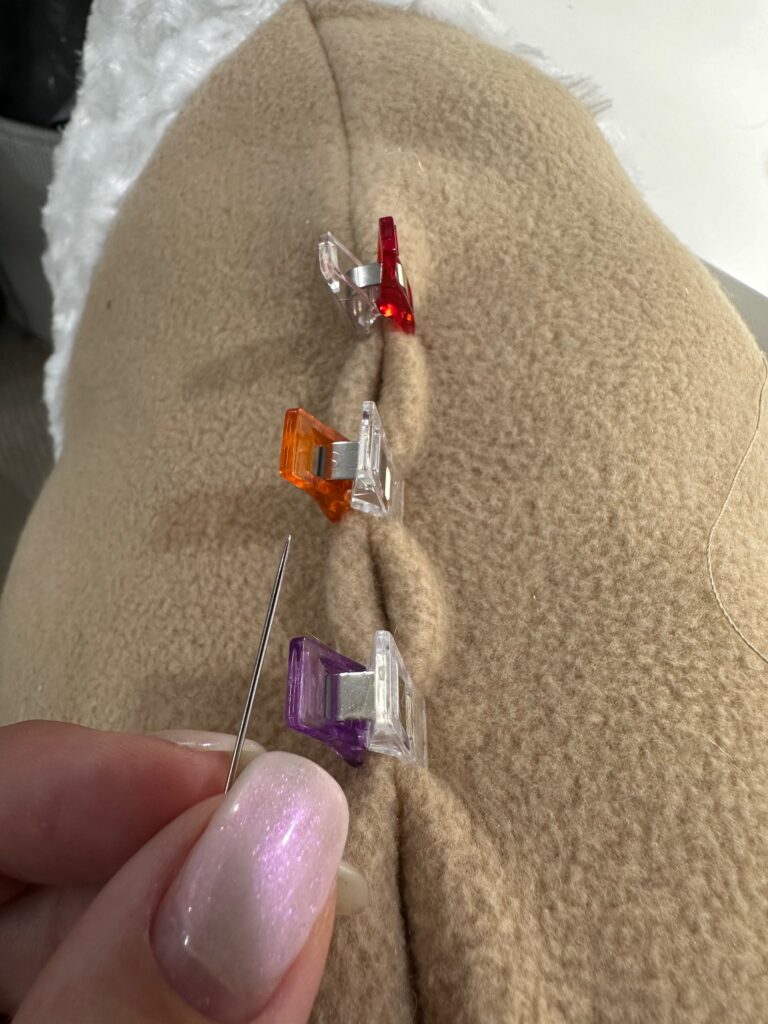
When hand stitching the ice cream pillow opening closed, size up to a 12 wt. Cotton Thread. It’s much easier to handle and manage. Choose a matching thread color so it blends into the plush fabric.
FABRIC SWAP
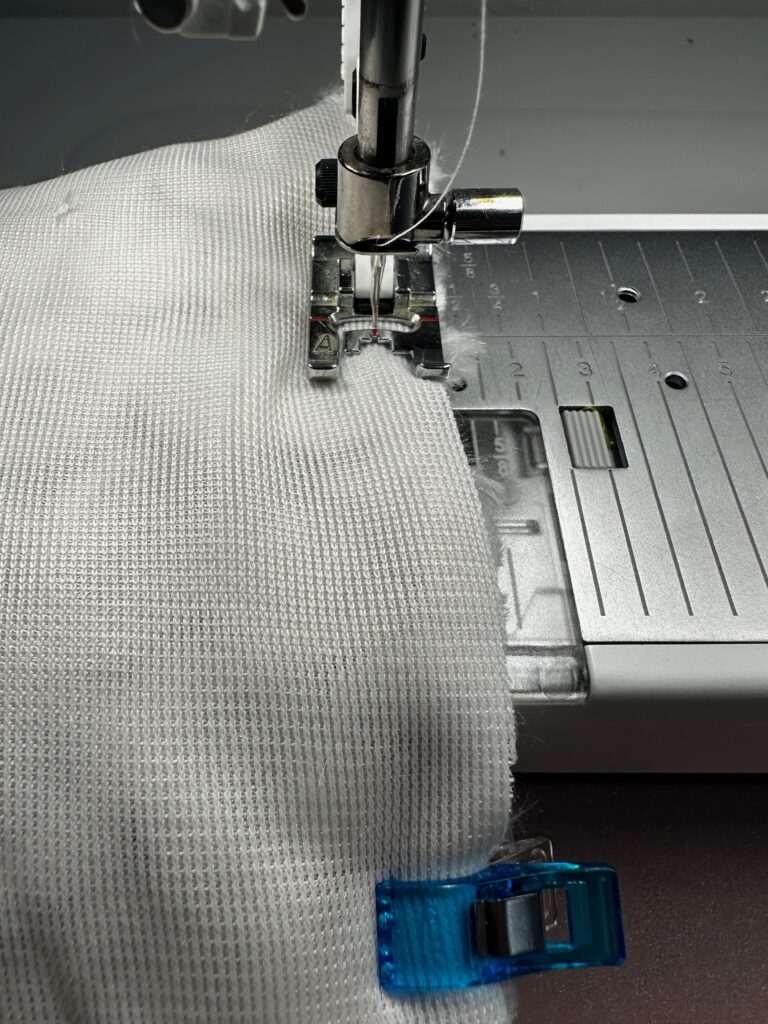
When subbing a textured minkee (as shown for the ice cream) and/or fleece (as shown for the cone), use a wider seam allowance. Instead of a 1/4″ seam allowance, go up to 1/2″ or even 5/8″. This will prevent the presser foot edge from catching on the fabric edge. You may also want to lessen the presser foot pressure if the fabric bunches up by the foot during sewing.
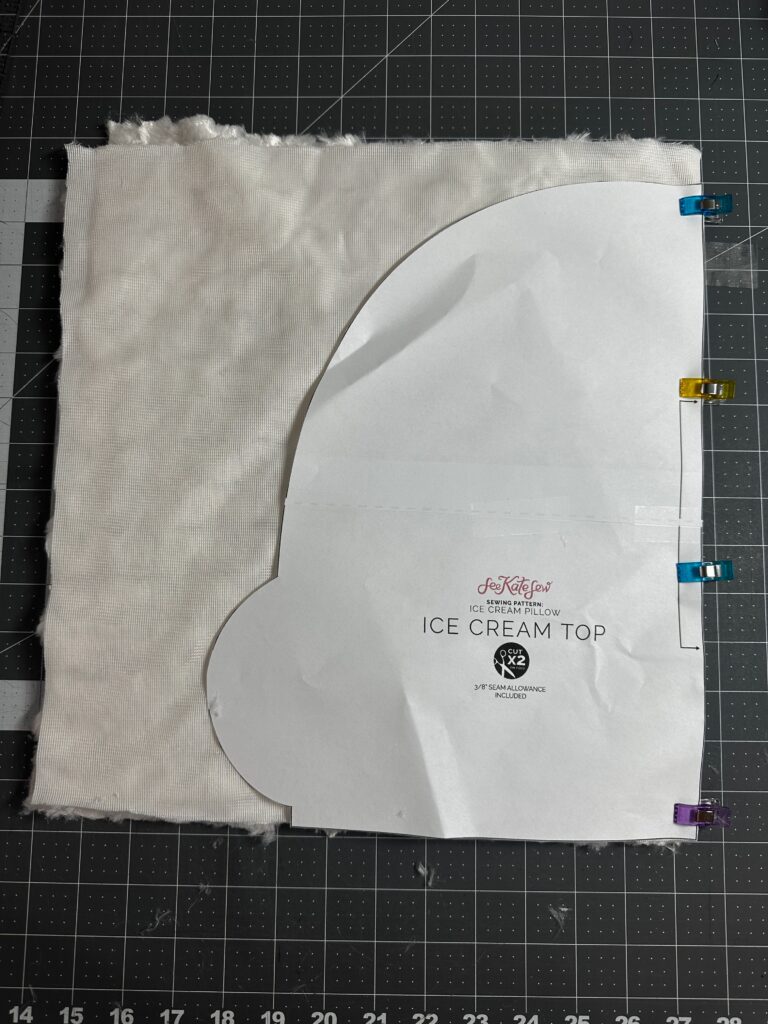
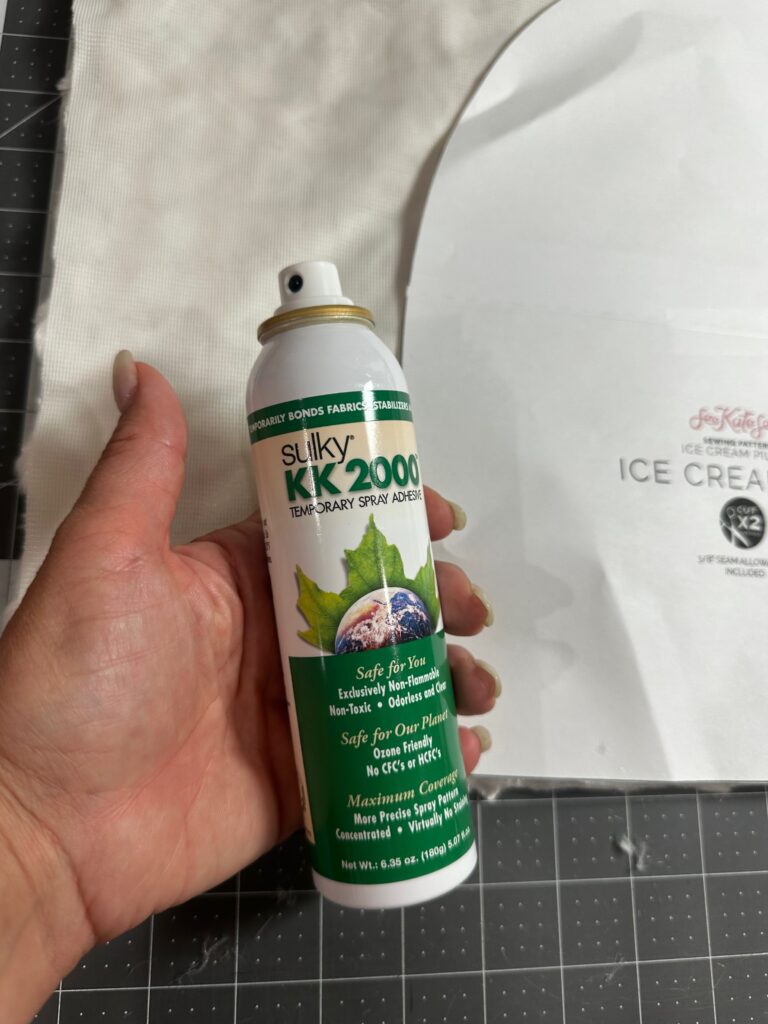
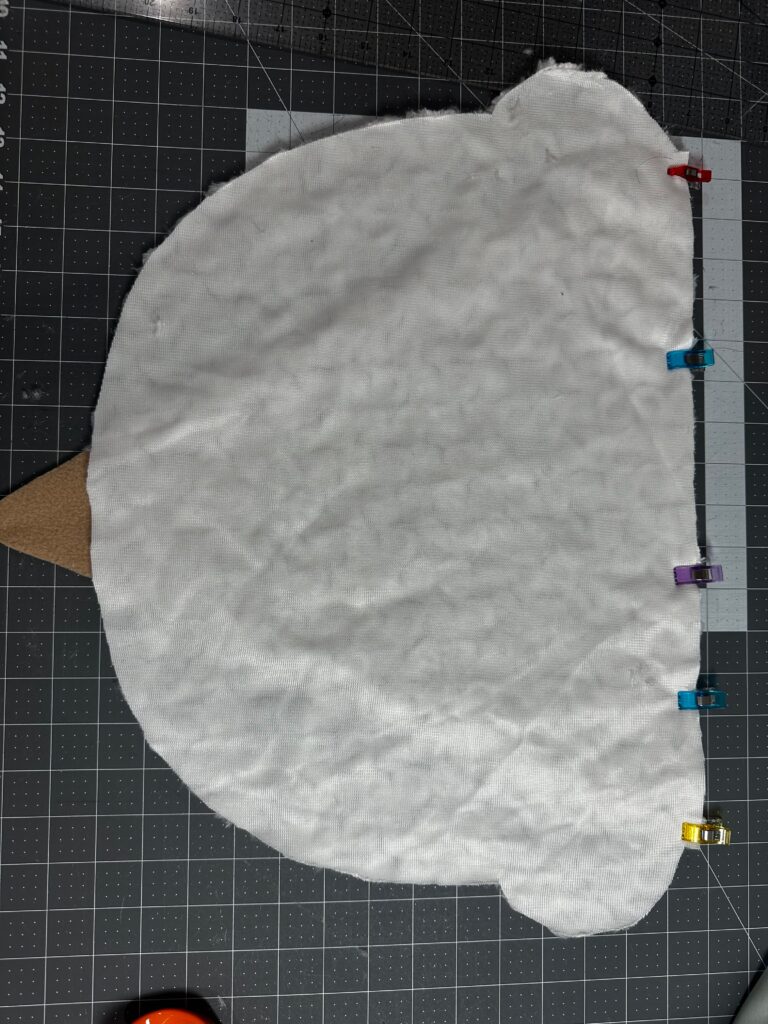
It’s often recommended to not cut plush fabrics on the fold. However, the featured fabrics used for this ice cream pillow were able to fold and get an accurate cut. First, fold the fabric with right sides together. Place the pattern piece along the foldline; clip along the folded edge with Clover Wonder Clips. Then, spray the back of the pattern piece with Sulky KK2000 Temporary Spray Adhesive. Next, place the sticky paper side against the fabric wrong side. Cut the pattern piece, and then unfold the fabric. Note: Depending on the fabric used, you may need to contend with a little (or a lot) of shedding, Have a lint roller handy to swipe along the seamline and keep the shedding to a minimum.
Always use Clover Wonder Clips instead of pins to secure the fabric edges and seams.
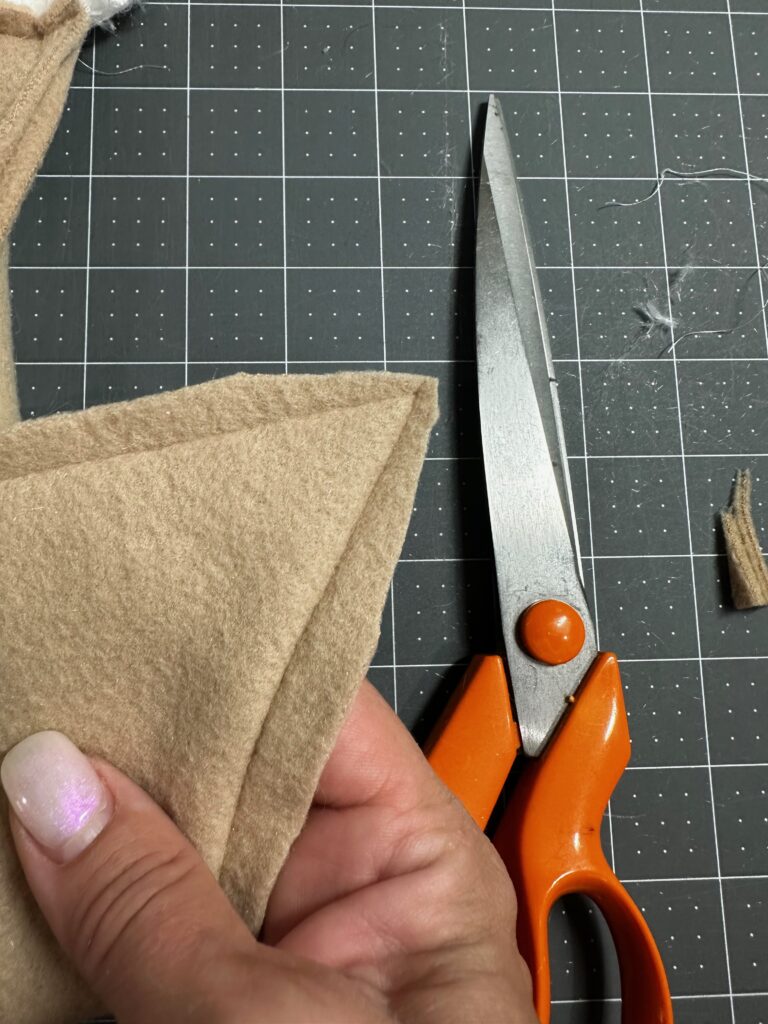
And don’t forget to clip away some of the bulk along the cone tip before turning the ice cream pillow right side out.
Enjoy this freebie from See Kate Sew! We’d love to see your modifications posted to our Facebook Group: Sulky Stitch ‘n Post!
My daughter plans to gift this one to her new teacher in the fall, as it’s perfect for her “cozy corner.” Who will YOU gift one to?

