Make it Waterproof
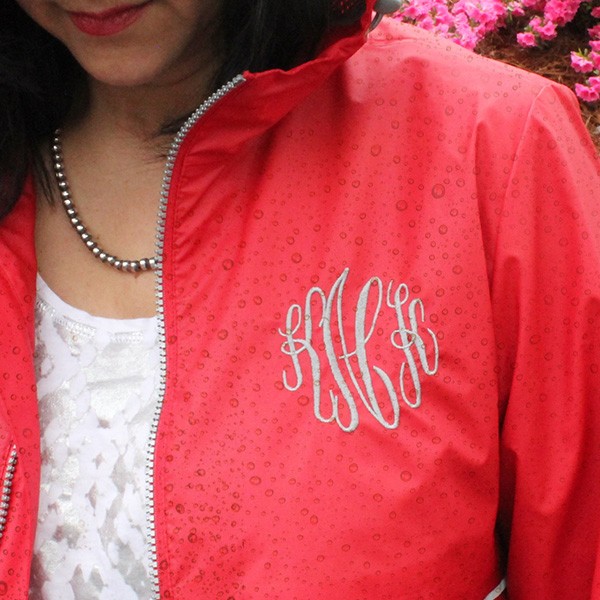
Once you make something that needs to withstand the elements, you may ask yourself, “How do I make it waterproof?” Better yet, how do you KEEP something waterproof after stitching it, creating little holes for moisture to seep through? The answer is Sulky Stitch ‘n Seal.
Gift Ideas
When it comes to gifts, monogrammed items are always a favorite. Here in the south, we monogram everything from shirts, purses and jackets to shoes, lunchboxes and umbrellas.
 The problem is, once you have embroidered anything that is supposed to be waterproof, like a rain jacket or umbrella, the holes that were made by the needle for the embroidery are no longer waterproof.
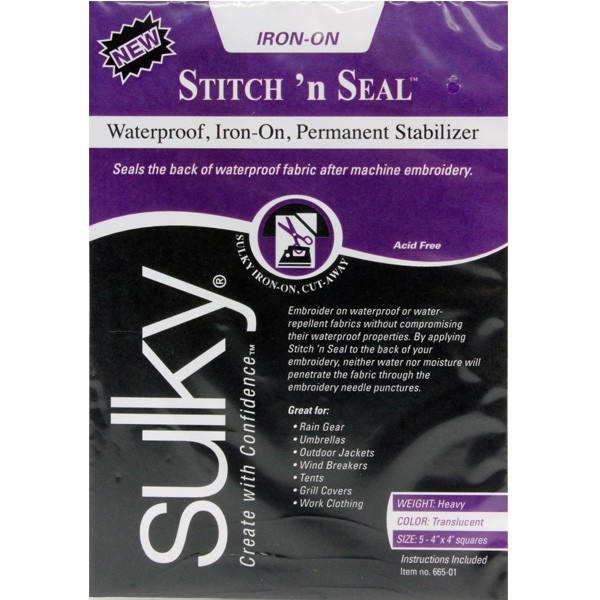 Have no fear! Sulky Stitch ‘n Seal is here!
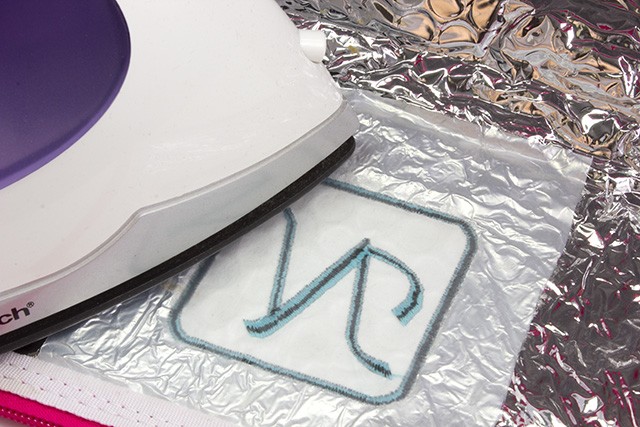
Stitch ‘n Seal is a wonderful cover-the-back stabilizer that you apply after the stitching is finished to reseal the holes made by the embroidery.
Monogram A Lunchbox
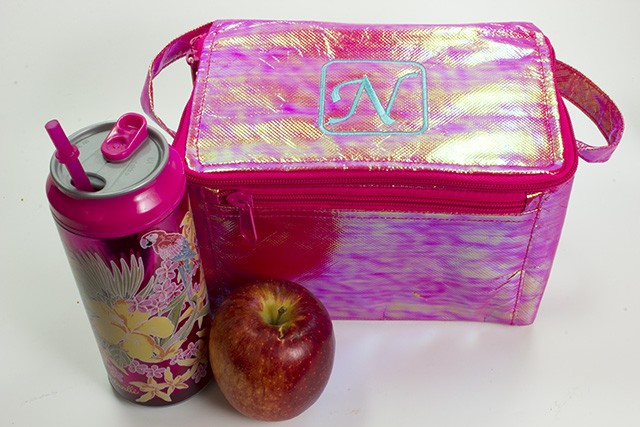
To show you how it works, and show you how to embroider on a waterproof item, here is a little tutorial on how to embroider on a lunchbox (BTW – it’s super easy).
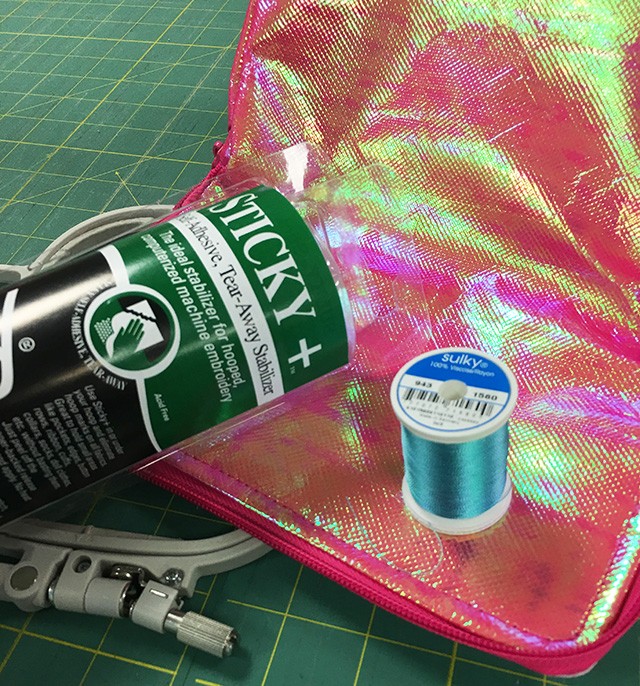
- Grab some Sulky Sticky +, Sulky 40 wt. Rayon thread, and your machine embroidery hoop.
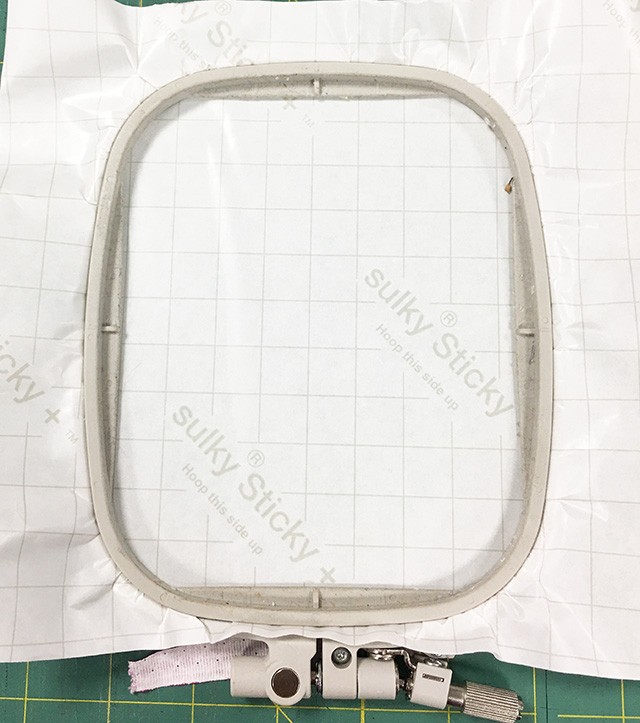
- Hoop the Sulky Sticky + with the release sheet side up (It even says ‘hoop this side up’ on the release sheet).
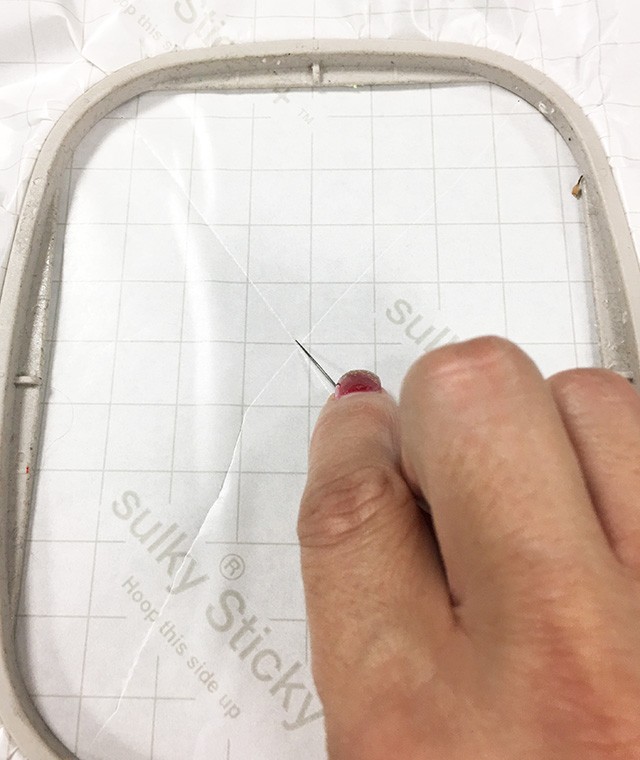
- Use a pin to score the paper release sheet and then peel it off to expose the Sticky +.
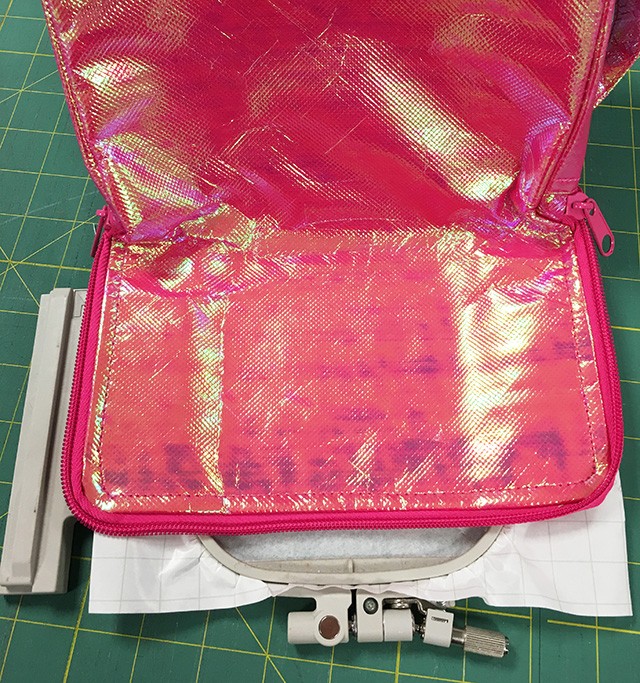
- Stick the lunch box (or whatever you are embroidering to the Sticky +. Be sure to measure and center the lunchbox so you get your monogram in the right place. Press it firmly to the stabilizer so it is secure and won’t come up during stitching.
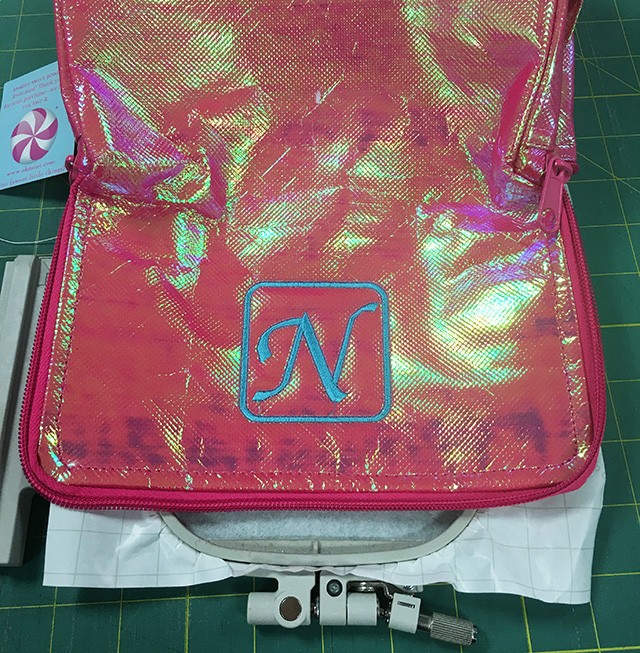
- Secure the hoop in the embroidery machine and stitch away!
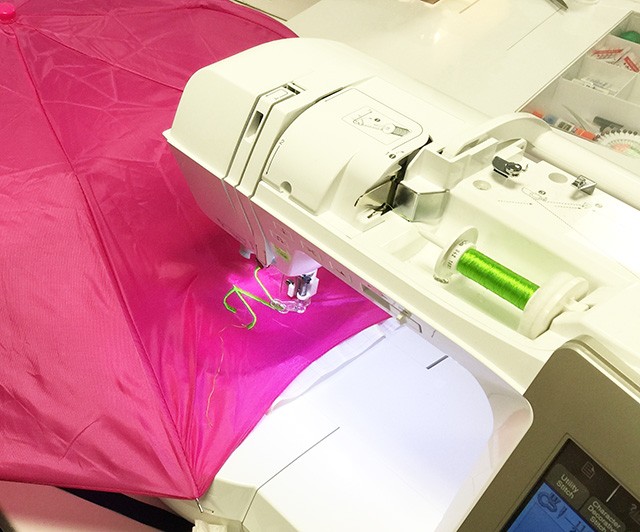
As a side note, this is the exact same process I used when I monogrammed this umbrella (above).
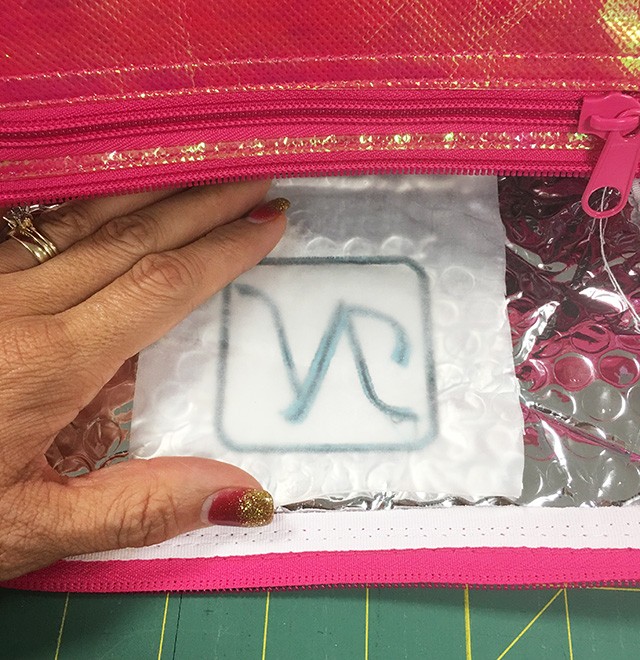
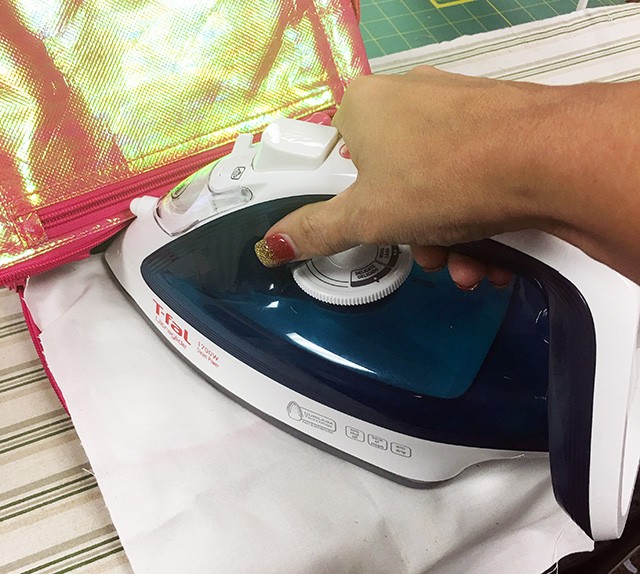
- Once the stitching is finished, remove the lunchbox from the Sticky + and peel away any excess. If you can’t get it all peeled off, it’s okay. It will be secured under the Stitch ‘n Seal anyway. Position the Stitch ‘n Seal over the embroidery, being sure to cover all the stitching holes.
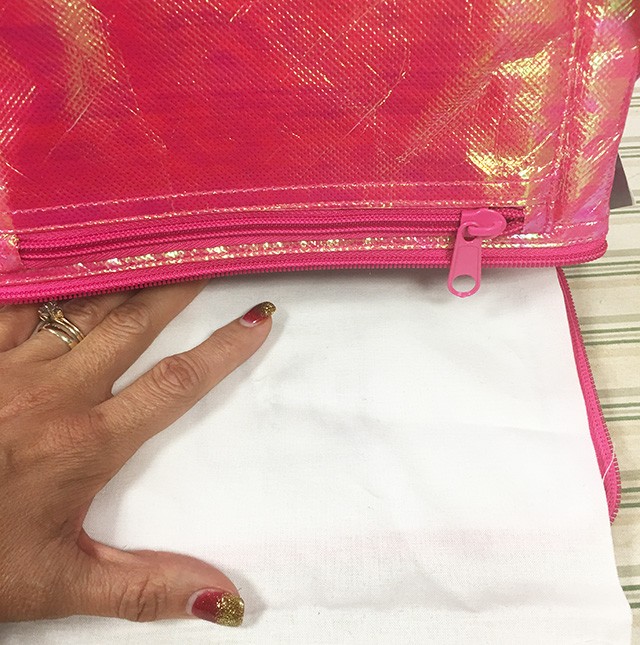
- Because of the material the lunchbox is made of, I used a pressing cloth to fuse the Stitch ‘n Seal in place. You don’t have to use a pressing cloth usually. With the umbrella, for example, I just pressed directly onto the Stitch ‘n Seal.
And you are done!

The Contest!
12/12/17 Update: Thank you all for entering in this contest! You all have great ideas for how to use Stitch ‘n Seal. Our winners are Roxanne Sposato and Adrian Renee Brown. I can’t wait to see your finished projects!
What waterproof item would you like to embroider? Tell me in the comments and I will pick a couple random winners and send some Sulky Stitch ‘n Seal. Share this post on Instagram, Facebook, and Pinterest with the hashtag #SewBetterWithSulky to increase your chance of winning!
Happy Sewing!


A new lunchbox would be a good starting place!
What a great idea for a product! I would like to monogram a few purses I’ve made. Living in the NE we get a lot of rain and wet snow, so this product would be very helpful
I would love to try this on koozies, so they don’t end up becoming soaked
My raincoat
My rain coat!
My brand new raincoat
Matching raincoat and umbrella for my granddaughter.
Wouldn’t this be cute on a child’s raincoat? Bet some little girl or boy would love that!
My rain jacket. It is so plain. I wondered what would happen if I embroidered it.
Such handy info!! I’d love to win some!
I would like to monogram an umbrella. I never thought of doing this, but it’s a great idea.
I think a tote bag with a flap would be great.
I’d love to embroider on windbreakers.
Your tutorial makes it look so easy! I’d love to embroider my initials onto a purple umbrella!
I would like a lacy umbrella.
How about on the fly of our tent. It would be nice to embroider ‘front’ and ‘back’ so we know which way it goes over the tent without having to keep turning it until it fits. Of course it would be tastefully done with extra pictures of campers or bears or racoons!
What a great new product. I would love to give it a try on ny granddaughters new rain coat.
I have a jacket I would love to monogram.
I made an umbrella from laminated cotton. A couple cute designs would really spark it up. Now I know how to do it with Sulky!!
a waterproof tote
What will Sulky think of next?!?!
I would love to monogram an umbrella for a friend for Christmas!
I love this! There is a ski jacket of my sister’s that would look amazing with a horse design (her favorite). She’s always wanted one, but I wouldn’t do it because it would make her jacket less waterproof. Now I don’t have that excuse! She’s going to be a very happy skier!
I would love to make a new waterproof diaper bag for the newest mommy-to-be in our family! What a great product! Thanks!
Love the lunch box idea for family and friends. Fast gift to monogram for Christmas. Thanks for showing how to use the Sulky stabilizer.
I would monogram my nieces backpack for her. I was afraid to do it for just the reasons you have now told us not to worry about! Way to go Sulky!
I have embroidered several umbrella, this is great now they can once again be waterproof. Love Sulky!
I would like to make some raincoats for my great grand kids.
Customizing an umbrella would wonderful.
I’d like to put a monogram on my raincoat.
Love the monogram on the umbrella idea.
I am going to monogram a jacket that I wear to my granddaughter’s basketball games. This is an idea that will be really useful. Thanks, Sulky!
I would like to stitch on a cooler bag.
/What a great product, and I would love to have some. I think I would love to embroider on my new raincoat with my initials.
I have a bag that I would love to embroider.
What a wonderful new product. I think I also like others would like it on an umbrella.
I definitely would love to try embroidering an umbrella!
My dogs raincoats and boots, of course
I wouldn’t put a name on a child’s item for security reasons but a name and design on my dog’s outerwear which is warm and rain repellent would be cute. Plus he’s always on leash.
Would love to embroider on an umbrella.
I would like to make the jacket and a matching umbrella. That would make a great gift for my sisters.
put names on nylon running jackets!
I would love to embroider initials on a raincoat, What a great excuse too buy a new raincoat!
This product will be perfect to seal the back of the capes I’m monogramming for my niece who owns a beauty shop.
I’d love to try this on a raincoat made from the new ‘oilcloth’
Oh this looks fun, so many different options! Windbreakers, umbrella and lunch boxes/bags.
I would live to embroider my name on my raincoat, since there are at least 200 employees wearing the same thing . I work outside and when we hang them up to dry it’s hard to tell them apart.
Embroidery woild look so much better than a magic marker
I never knew this stuff existed! Can’t wait to try it out!
My horse blanket.
I want to use this on coasters so the table stays dry when the glass sweats. Jan
On coasters for sure…would be grand.
I would like to embroider my golf hat so when it blows off in the wind, I can claim it back.
I would like to embroider on some rubber boots
Everything: raincoat, umbrella, lunch box, MY BUSINESS NAME ON MY CANOPY, tote bags, etc. I could go on forever.
I want to do my new rain coat so it will be ready for the rain this fall.
I want to embroider an umbrella. I have been wanting to do this for a couple of years but could not get past the “why put holes in the umbrella” question in my mind. I can’t wait to try this!
Cute pics or sayings on waterproof diaper covers for grandkids!!
My husband’s has a problem at work with other employees using his rain gear. He normally doesn’t mind except they don’t put it back where they got it or leave it filthy dirty. I would use this to monogram the gear with his name or initials then maybe others would leave it alone.
Great! I have a raincoat that I was afraid to embroider because it would ruin the waterproof capability.
My dog’s all weather coat. He loves his coat when it is wet outside.
I always have wondered about stitching on waterproof items! I would love to monogram a raincoat!
The butterflies tutorial to make them waterproof so I can hang them outside in the garden.
I would like to embroider on a make-up bag.
Make up bags for new members of my Sweet Adeline chorus
I would like to try embroidering my birds to use as a mobile outside. Wondering if this can be used on both sides???