This series is written by guest blogger, Pamela Cox. Pamela is an expert embroiderer, designer, digitizer and all around wonderful girl! We are so happy to have her contributing to the Sulky Blog!
Delicate Fabrics
Today, let’s talk about how to be successful when embroidering on light-weight, semi-sheer cloth. This fragile, woven-fabrics category is not specific to a fiber content. In other words:
Batiste (cotton) 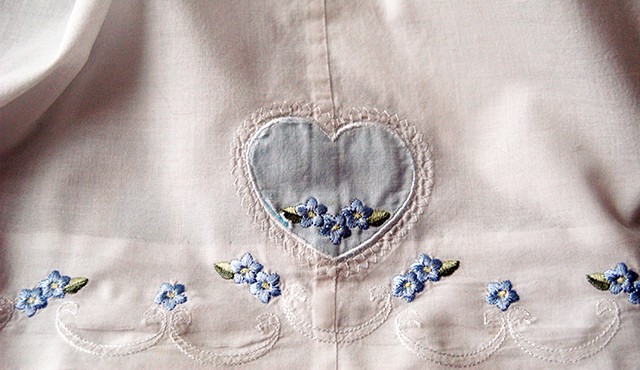
Handkerchief linen (linen) 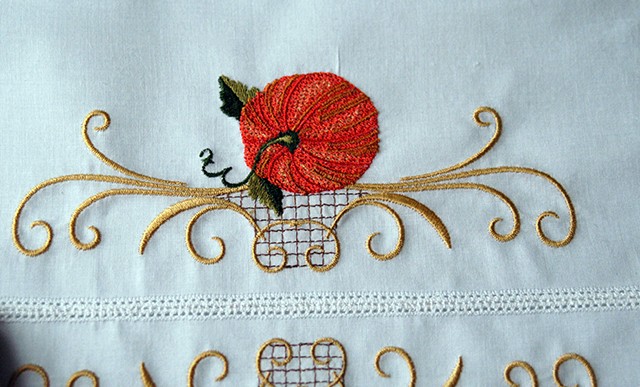
Organza (silk) 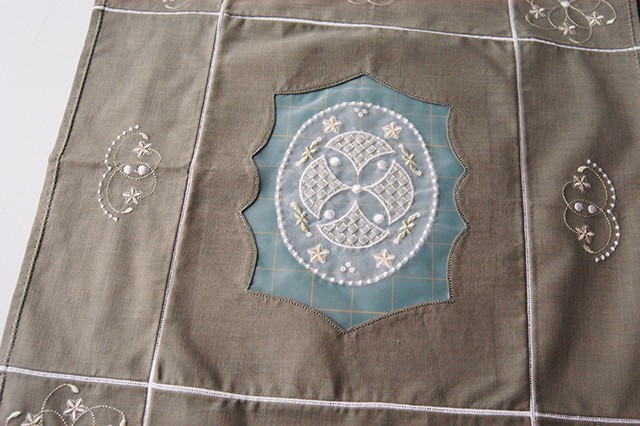
or one of the many synthetic fiber look alikes,
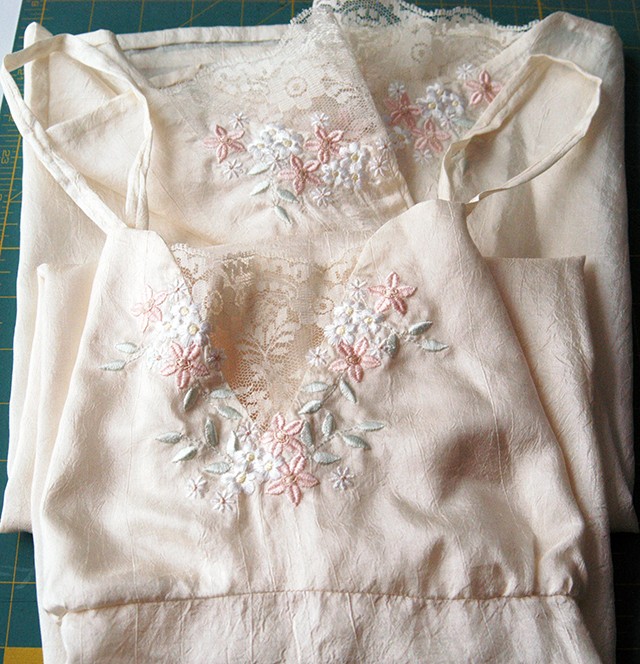
all require the same steps and supplies for machine embroidery.
Prior to use, it is always recommended to pre-wash and dry fabrics which can be cared for this way. This step allows shrinkage to occur, plus it removes manufacturing, sizing chemicals which can dull machine needles when stitching or embroidering. Before washing delicate fabrics, it is best to first put the fabric piece on grain. Please note, “higher quality fabrics”, translating into “more expensive fabrics”, are usually woven more on “true grain” and will experience less shrinkage.
“Pulling a thread” is usually the preferred method of putting the fabric piece on grain. For those unfamiliar with this term, it means on a cut side which runs perpendicular to the selvage edge, unravel the threads until one thread can be followed from one selvage to the other.
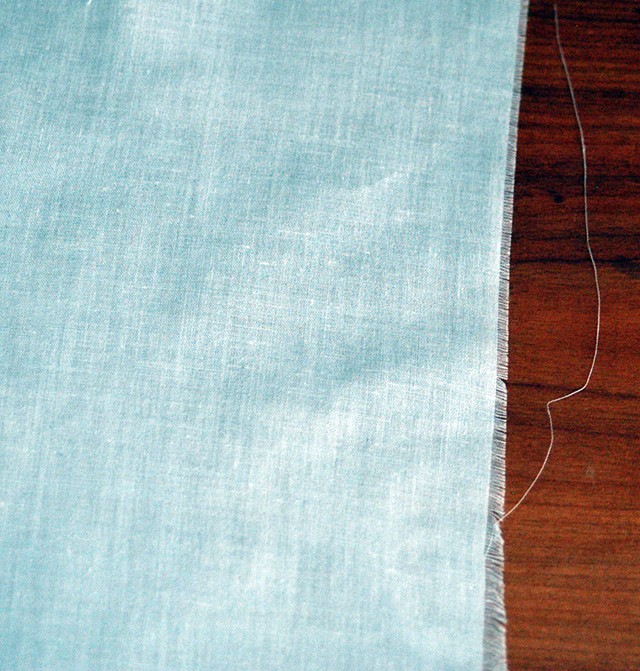
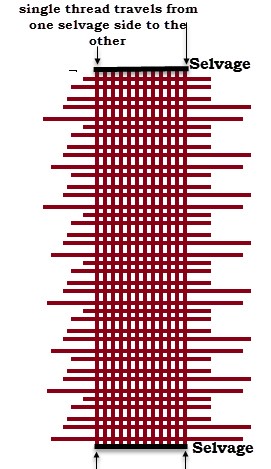
Fold the fabric in half matching the selvage edges as well as the long, single, pulled thread-edge on each end. Hand baste the fabric together matching selvages, and each end where the pulled thread ran from one side to the other, and launder following manufacturer’s care instructions.
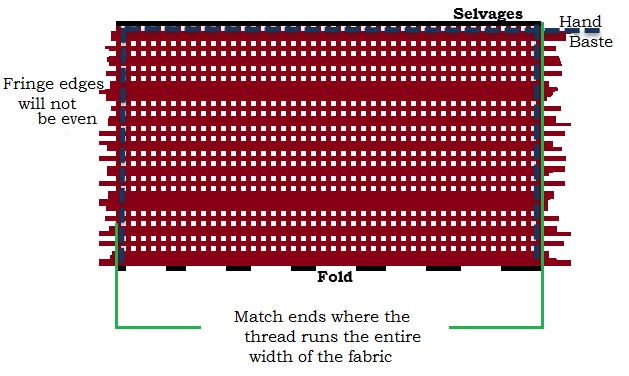
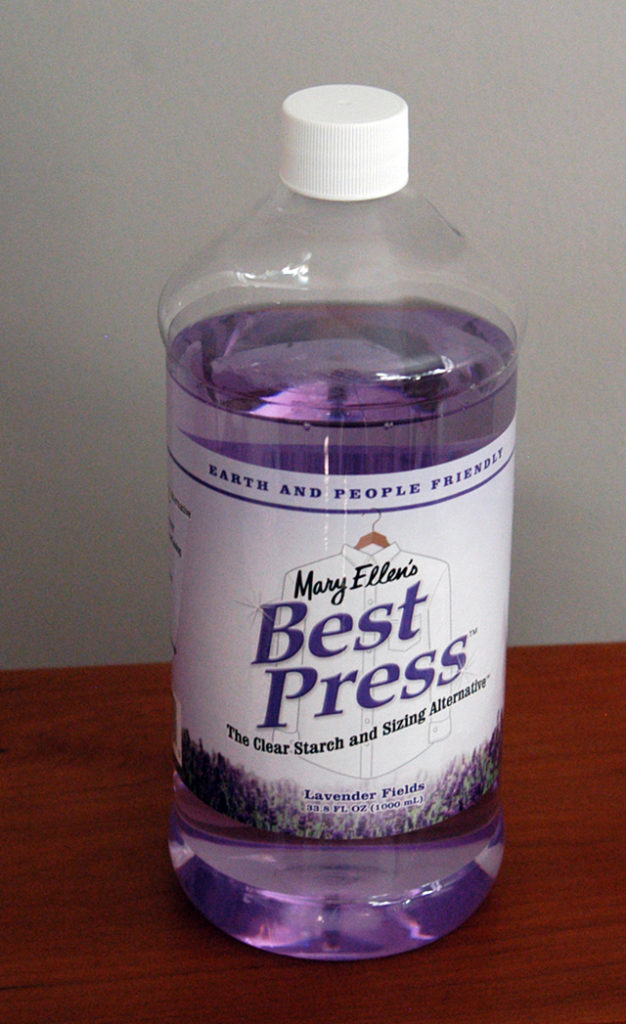
When removed from the dryer, it may be necessary to gently tug the fabric into a smooth, wrinkle free, flat piece as you press it. Delicate fabrics often benefit from a very light starching prior to stitching. One product which I have found extremely useful is Mary Ellen’s Best Press™. I found it in my local sewing store; however, it is available online at www.maryellenproducts.com and even on Amazon. It does not flake like many canned starches and only adds a bit of body, not stiffness, to the fabric.
Delicate fabrics should never be directly secured in the hoop’s frame. Not only is it easy to distort the woven pattern when applying unequal hoop pressure, it is actually possible to “crush” or damage the fragile fibers. It is always best to first securely hoop the stabilizer as tight as a drum, and then to secure the fabric to the stabilizer in a taut, wrinkle-free manner by one or more of the following methods:
Securely pin the fabric, by placing pins (size: Super-Fine 20) close to the inside of the hoop’s frame staying out of the stitching path. Machine baste or “fix” the fabric to the stabilizer, which is a feature found on many embroidery machines. Use a very small gauge needle (65/9) and a very fine thread (60 wt) like Sulky PolyLite. Use KK 2000™ Temporary Spray Adhesive lightly spraying the fabric and smoothing it onto the sticky surface.
Several Sulky® stabilizers, such as Tear-Easy™ or Sticky +™, can be used to support embroidering on light-weight fabrics; however, my preference is Soft ’n Sheer™ for several reasons:
- The stabilizer itself is sheer but strong and can be pulled as “tight as a drum” as necessary.
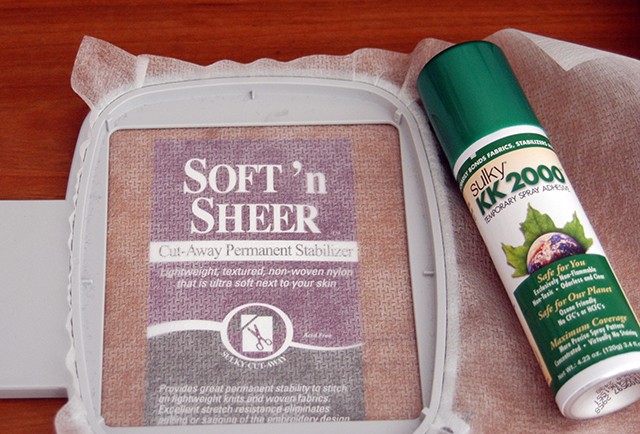
- Although the stabilizer is a “cut-away”, it is easily trimmed from any design.
- But the best part is that if the stabilizer cannot be easily removed from a small area of the design, it does not affect the drape of the fabric and often is completely invisible where it is left.
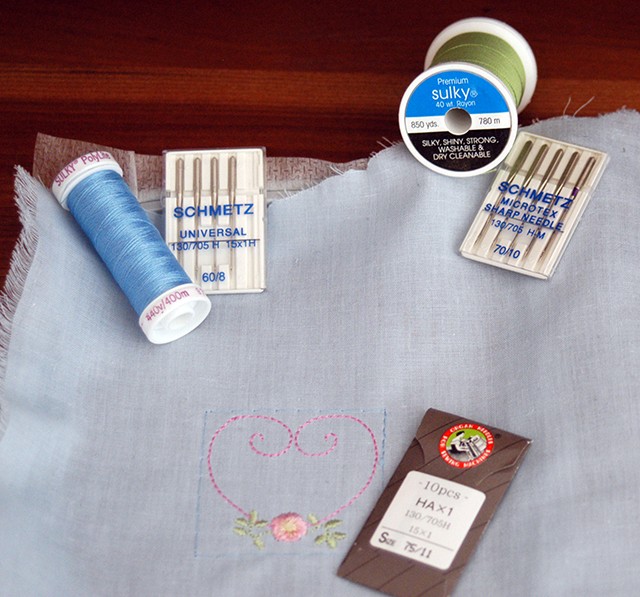
It is important to always use the smallest needle size possible on fine fabrics. Slowing the speed of the embroidery machine down by at least half will allow more choices in acceptable needles; but be willing to change needles to different sizes during the embroidery process to achieve perfect results.
For the heart design shown above, first the fabric was basted to the stabilizer using a 60/8 needle and Sulky® PolyLite™ 60 wt. Thread both on the top and in the bobbin. Since the chosen design is really straight stitching for the heart, and simply zig-zag stitching for the flower and leaves with little underlay, a Microtex 70/10 Sharp new needle along with Sulky® 40 wt rayon thread stitched the “embroidery”. A slightly larger embroidery needle, 75/11, was then used to stitch the denser floral center.
Select embroidery designs that are digitized with lighter fabrics in mind, usually found in collections labeled heirloom or bridal.
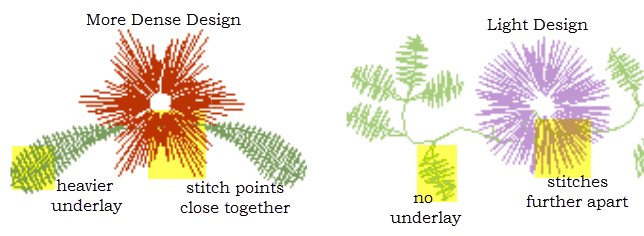
Neither floral design is considered dense, however it is obvious that the one on the right shows more open spaces (white background) between stitches, yet it does provide full coverage. It is the flower in the featured heart embroidery.
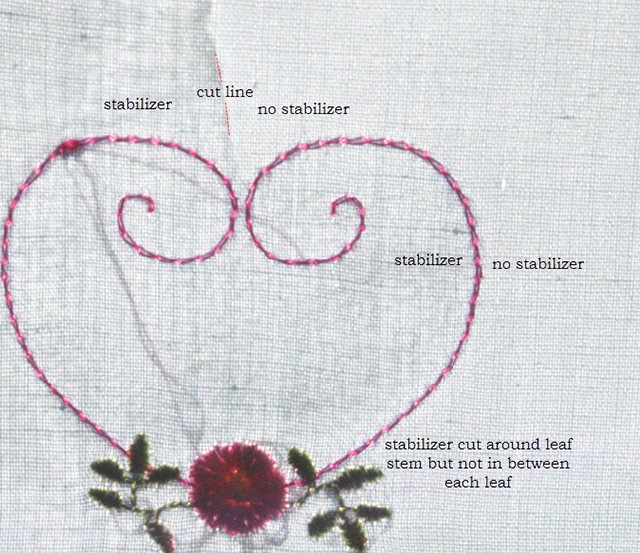
Since delicate fabrics tend to be semi-sheer, you need to address the wrong side by trimming all jump threads and deciding where the stabilizer will be removed.
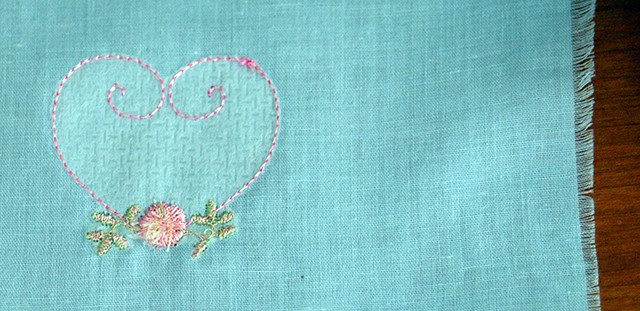
For this design, the stabilizer was removed from the outside of the heart shape, but left inside.
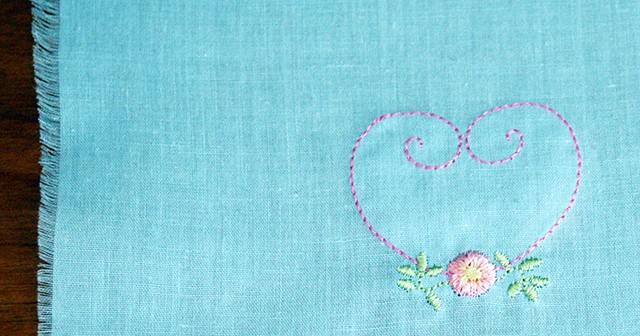
Even when the design is held up to allow light to shine behind it, Soft ’n Sheer™ remains invisible inside the heart.

Other finishing details will also add an heirloom quality to your project. Incorporate French seams, overcast, or create rolled edges during project construction to prevent fraying; plus these, too, neaten any shadows which might be seen.
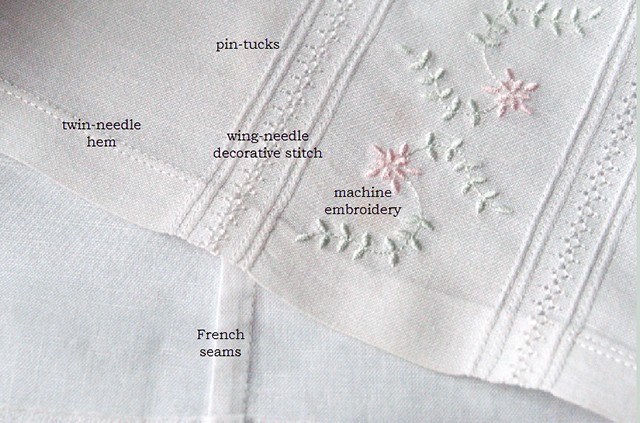
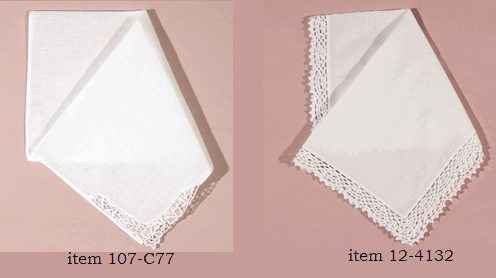
Embroidering on a handkerchief is a good introduction to working with delicate fabrics. The sample shown happens to be one I saved from my grandmother! However, wonderful fine linen handkerchiefs can be purchased from Embroider This at www.embroiderthis.com.
Design #10 from Set 1,Graceful Embroidery heirloom collection “Jane’s White Work” was selected.
Design placement was marked by hand on the handkerchief’s corner, basting intersecting lines with a fine needle and Sulky® PolyLite™ 60 wt. Thread. Another way to mark design placement is to cut a rectangle the proper size of the design, mark the center, and place it where desired in the corner.
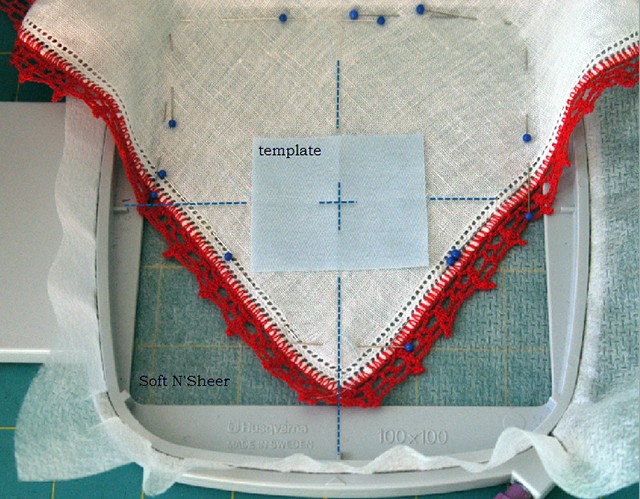
Sulky® Soft ’n Sheer™ was securely hooped. The back of the handkerchief was lightly sprayed with KK 2000™ Temporary Spray Adhesive and smoothed in place. A few ultra-fine pins (size 22) were placed inside the hoop for additional security. The speed of the machine was slowed down so that a Microtex needle size 70/10 could be used during the embroidery process.

Once completed,
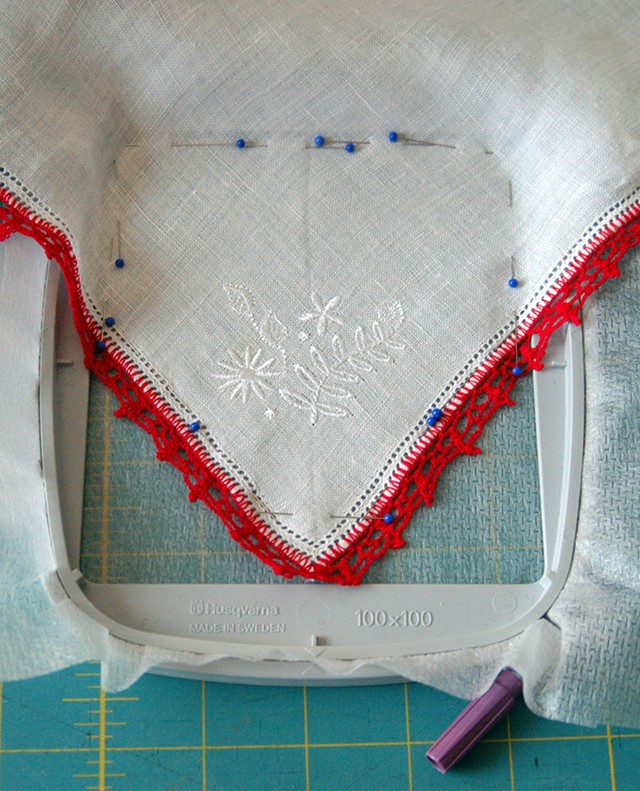
jump threads were cut and excess stabilizer trimmed away.
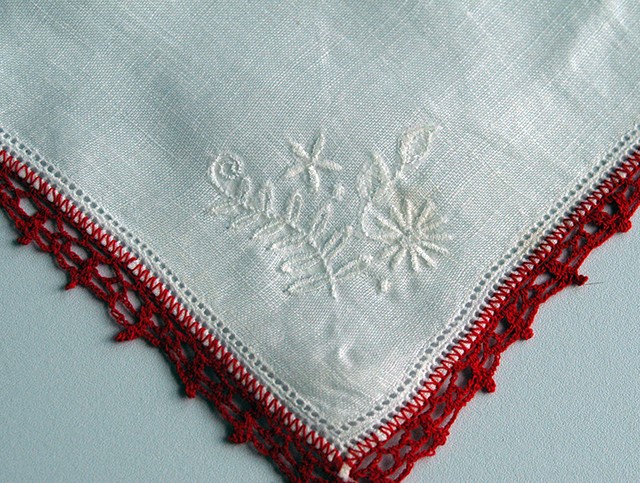
A bit of stabilizer was left in hard to reach areas such as in between leaves and at the curly tip of the stem. Remember at the beginning of this article the word “quality” was used about purchasing fabric? If quality is applied to all phases of your project including the use of Sulky® supplies, taking a few extra steps and paying attention to details, your finished project is sure to become one which is proudly passed down from generation to generation.
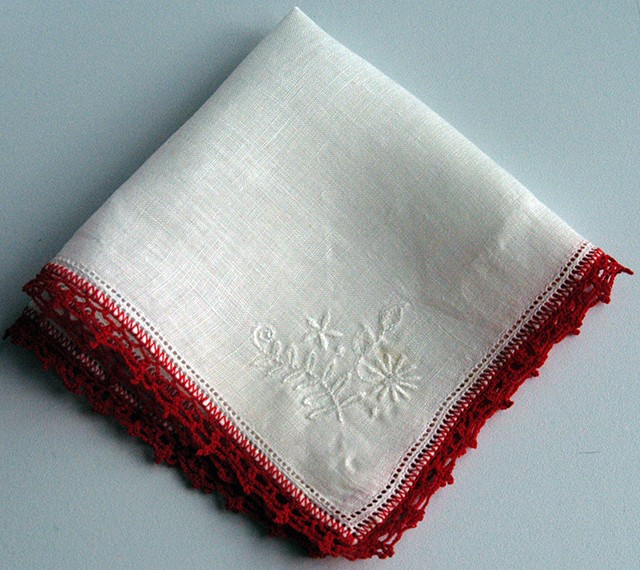
Credits: all embroidery designs shown are from Graceful Embroidery and can be found at www.gracefulembroidery.com under Heirloom Collections



Very informative. Love these blogs.
Thank you for the great tips!
Will you be doing a session on embroidery on leather? Thank you for this lesson – great tips
Funny you should ask, Anne! That post will publish later today.
Good explanation of the steps taken. Thanks