Embroidery on Straw
Embroidery on straw, you ask? Why? Well, why not?
Most of us take machine embroidery skills very seriously as we strive to produce “heirloom” quality projects; and well we should! We are investing many hours to create projects expressing love for someone or to capture a special occasion. We trust that this item will be passed down through the generations.
However, along comes summer, which just cries out “do something just for fun”!! So what if the embroidered item is not considered an “heirloom”? What if we do embroidery on straw, like a straw hat? Fun is good; it all works!

“Dollar Stores” are pretty prevalent across the USA. A variety of items can be found to “experiment on” at a relatively inexpensive price point. Summer items, such as hats, placemats, totes and even beach mats, are often made of “straw”; albeit mostly synthetic, but the texture is still there. It doesn’t take much effort, or materials, to make these items, “extra special” with a touch of machine embroidery. However, it does require the right stabilizer and a bit of “know how” to make it happen!
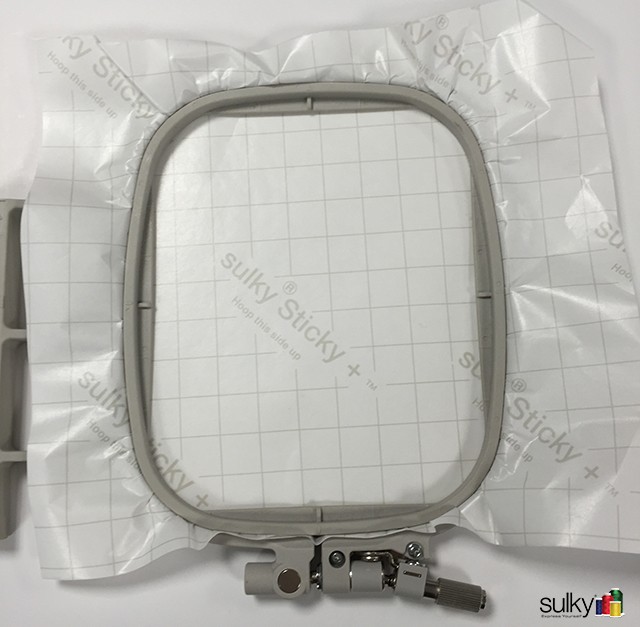
Considering a pre-made item cannot be directly hooped, the use of Sulky® Stabilizer Sticky+™ is a must. Large sticky surfaces offer more stabilization, meaning, even if a design is only a 4” square, using a larger hoop which exposes additional sticky surfaces, will only be a plus when securing and stitching out the given design. Gaining as much surface exposure be can be accomplished in one of two ways:
- Secure Sticky+, with paper release sheet intact and facing up, in a hoop much larger than the design stitch-out requires. Sticky+ is available in 8¼”, 12” and even 21” widths in rolls! Slightly score the paper with a straight pin – do not apply too much pressure or you will score right through the stabilizer itself. Expose all the sticky surface within the hoop’s frame.
Or, secure Sulky® Soft ’n Sheer™ Cut-Away Stabilizer directly in a hoop much larger than the required stitch-out and pull it as “tight as a drum” as possible.
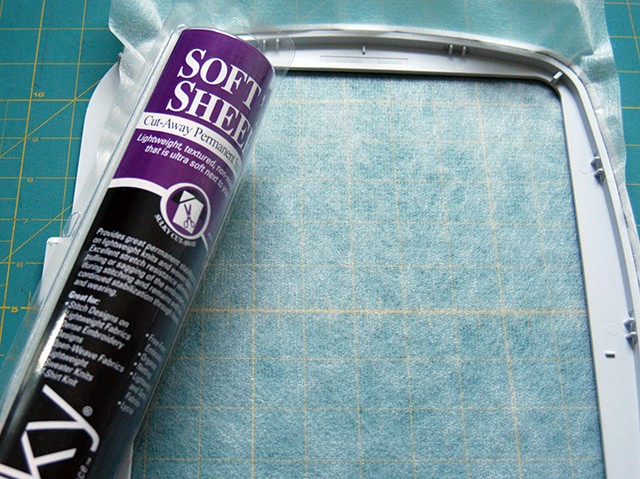
Cut a piece of Sticky + as large as possible but still enabling it to lay flat within the hoop’s frame. With paper still intact, stitch it to the sheer stabilizer ¼” in from the paper’s edge on all four sides using a regular sewing machine and a “seam” stitch length.
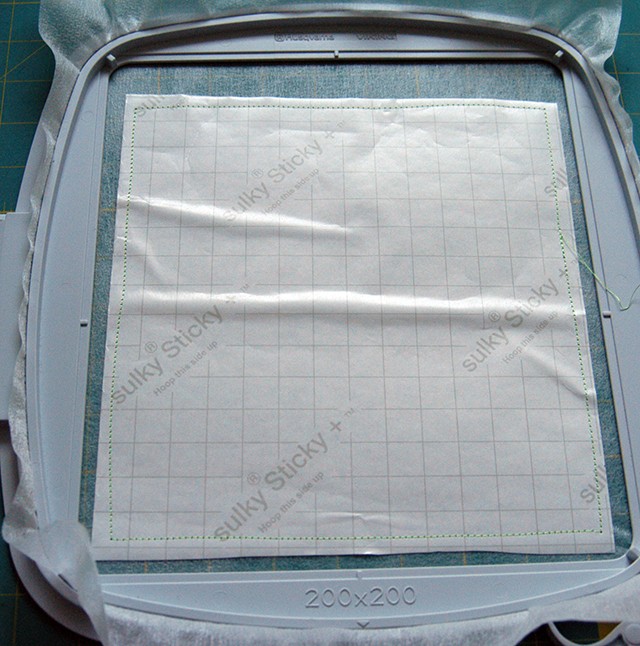
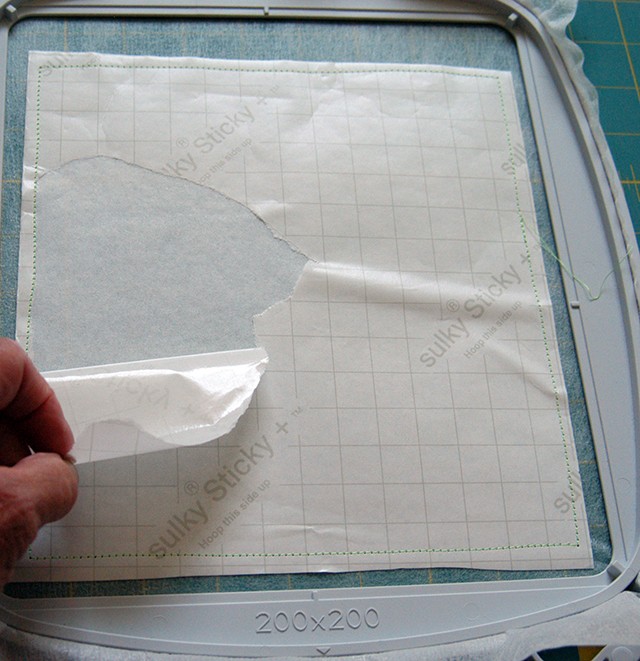
Please note, that although the photo seems to show that Sticky+ is buckling, the actual stabilizer is tight and smooth. The paper sometimes “lifts”….which is a good thing since we now have an area of easy separation. Once the top stabilizer has been stitched in place, re-tighten the Soft ’n Sheer by pulling on it in all directions to make sure it is as tight as possible. Score the release sheet with a pin, and remove the paper, first from inside the stitched box, and then from outside the ¼” stitching.
Other helpful suggestions to ensure that embroidering on “straw” is a success is to use a 100/16 Topstitch needle for the embroidery process and reduce the speed of the machine at least by half. Monitor the stitching process and, if comfortable, gently apply finger pressure.
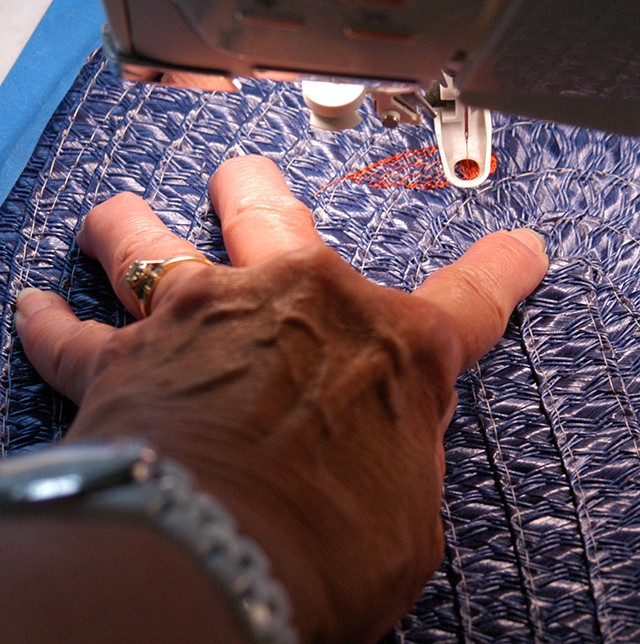 Or use an aid like a stiletto or bamboo skewer to further prevent the hat from lifting off the sticky stabilizer.
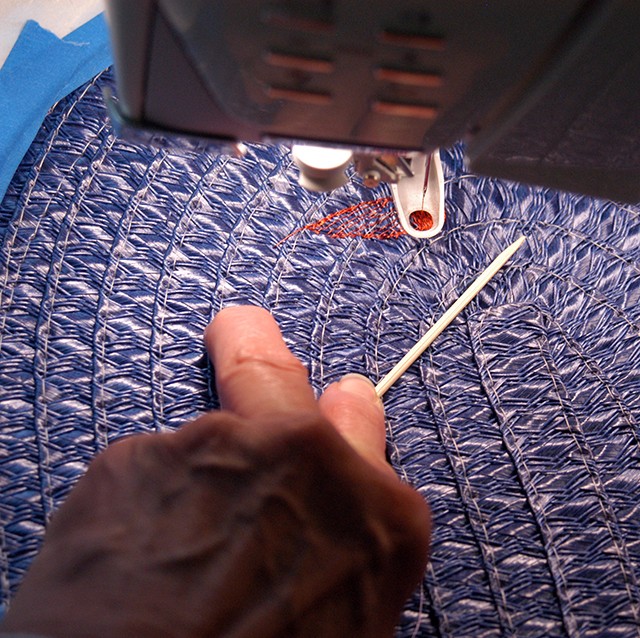 These suggestions are optional and are directly dependent upon the texture and or finishing process of the “straw item” in use.
I found most items rather “slippery,” not willingly adhering to tape or adhesives, which is why the recommendation of reinforcing with “two or more techniques”. However, if the item you choose is more porous, many of the “extra” precautions may not be needed at all, especially when using Sticky+, known for its temporary, but very secure adhesiveness. (And here’s a hint…if your stabilizer is not as sticky as you want it to be for your particular bulky project, spray some Sulky KK 2000 Temporary Spray Adhesive on it to add tackiness.)
Please note that both samples feature the second method of gaining as much exposed surface as possible.
Embroidery on Straw Placemat
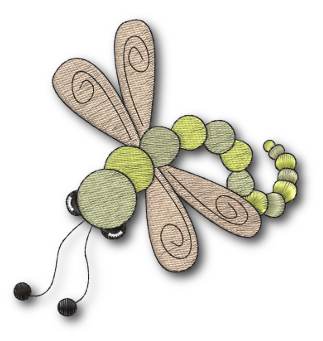 Features Design #292-Dragonfly
Step 1: Indicate a design center placement on the placemat by using a piece of painter’s tape. Considering this is a FUN project, exact placement is not truly necessary, however, a general indication of stitching position is always necessary.
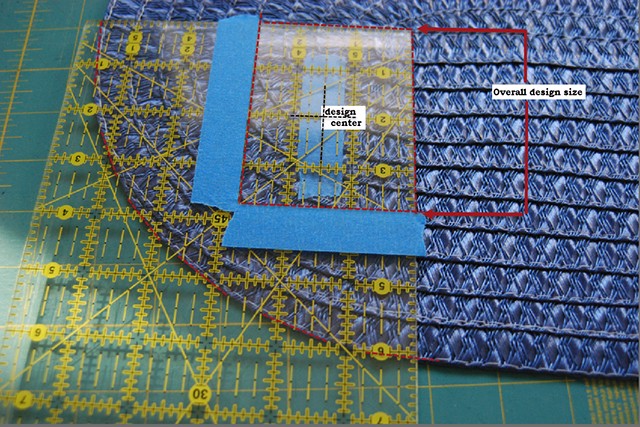
Step 2: Sulky® Soft ’n Sheer was secured, as tight as a drum, directly in a 260 x 200mm hoop

Step 3: Cut a piece of Sticky+ to fit within the hoop’s frame and secure accordingly. Score and peel away the release sheet as shown above with the hat.

Step 4: Press the placemat to the exposed sticky surface and tape any available edges with painter’s tape to reinforce.
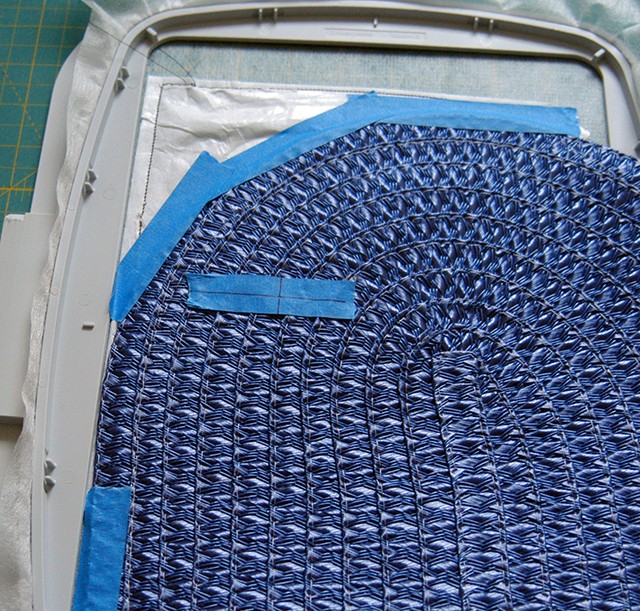
Step 5: Match design and machine center, remove the marking tape and stitch the design.
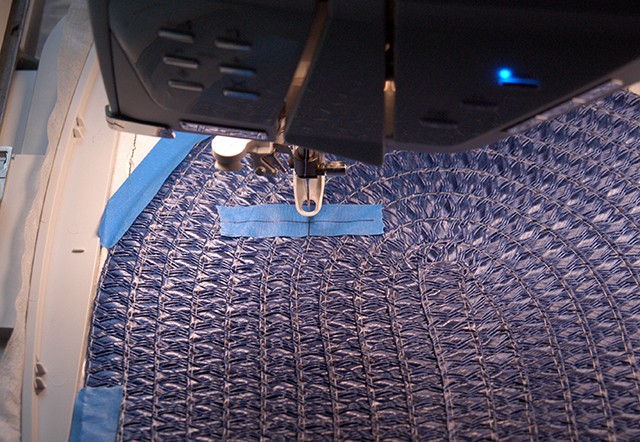
Step 6: Once stitching is complete, remove excess stabilizer and cut jump threads from the wrong side.
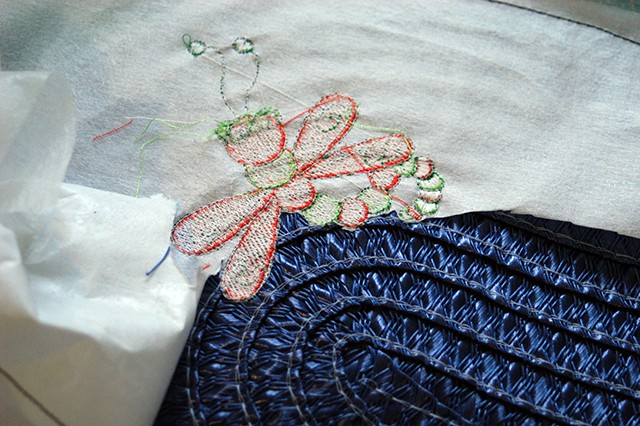
By doubling up stabilizers, we negated the “tear away” feature of Sticky+, but the two stabilizers are easily removed at the same time using a pair of small sharp scissors.
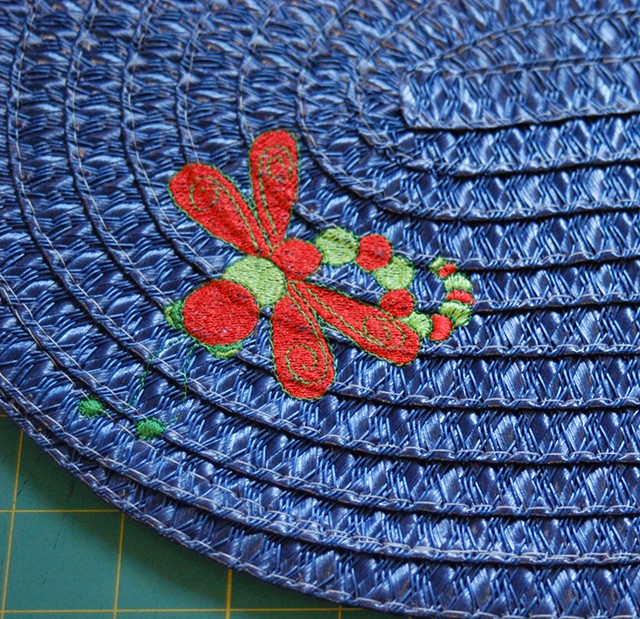
Embroidery on Straw Cowboy Hat
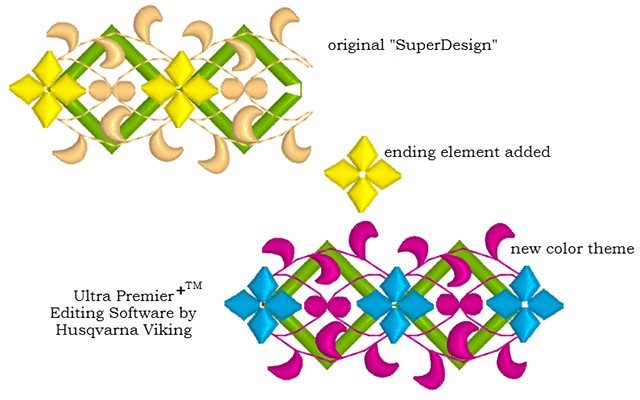
Features a design found within Husqvarna Viking’s editing program: Ultra Premier +™
The design is one of the built-in “SuperDesign”: Category – Borders, 3rd line, second design in from the left. One additional “star” element was added to complete this particular border sequence. The color theme was changed to a more youthful one considering this is a child’s size hat.
Step 1: Indicate design center placement on the hat by using a piece of painter’s tape.
Step 2: Sulky® Soft ’n Sheer Stabilizer was secured, as tight as a drum, directly in a 200mm square hoop
Step 3: Cut a piece of Sticky+ Stabilizer to fit within the hoop’s frame and secure accordingly
Step 4: Press the hat to the exposed sticky surface and tape any available edges with painter’s tape to reinforce.
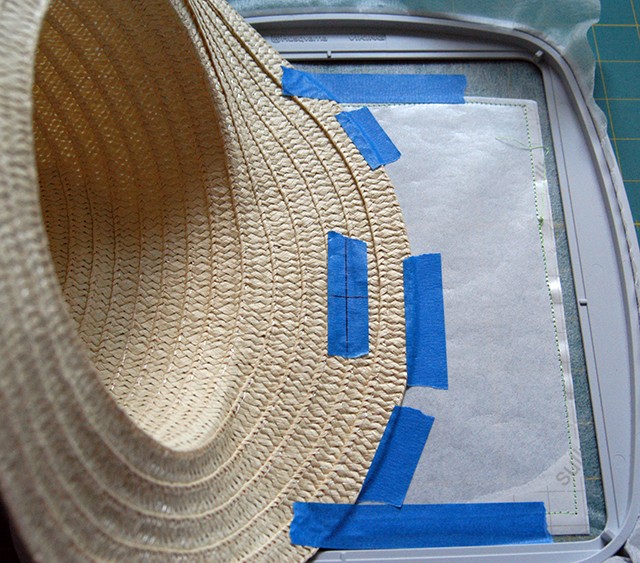
Step 5: Match design and machine center, remove the marking tape and stitch the design.
Please note the position of the hat in the above photo. It is “inside out”. In other words, the design is being intentionally embroidered on the underneath brim of the hat knowing that this side is to be “turned up” in the end product to offer a “saucy” look. True, successful hooping not only requires proper supplies, but it also requires knowledge of the final product’s look and usage!! It is important to go slow and monitor the design progress, maybe even supporting the item as it stitches, depending on it’s bulk and weight.
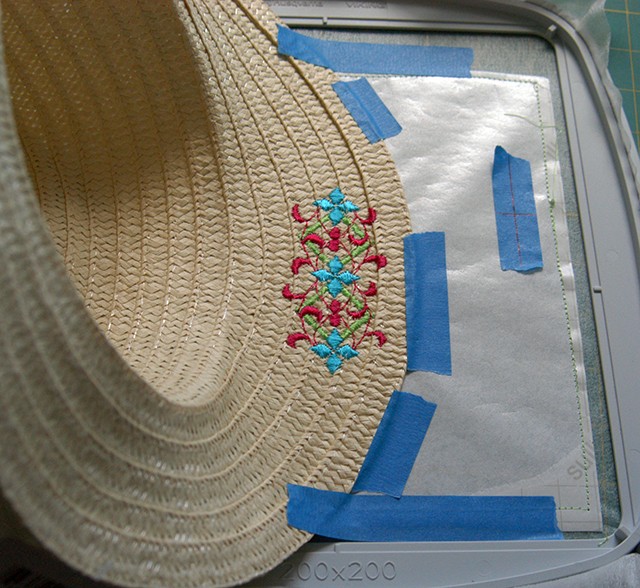
Step 6: Once stitching is complete, remove the excess stabilizer and jump threads.
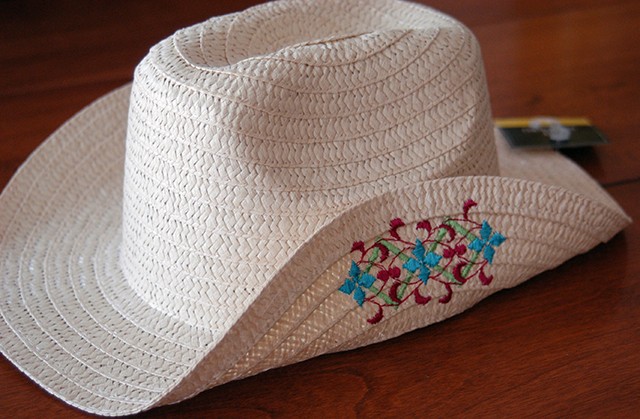
Although, embroidering on summer-fun, “straw” items will never, ever, be considered an “heirloom”, by any ruler, can you picture the surprise, and happiness, of seeing items embellished for a child’s birthday party or other special occasions? It is not hard to “personalize” a pre-made item.
I am also willing to guess that these “special items”, although not “an heirloom”, will still be preserved and, lovingly, reused for many additional summer seasons!


Great Article – This is very inspiring! Thank you so much Kelly & Pamela.
DITTO what Lee said…
Can’t wait to try this!
Great article, thank you
Love these specialty blogs. Great article.
These look like a lot of fun.
What kind of needle is used to embroider on straw hats
You can use an embroidery needle if you are using 40 wt. thread. I have used that several times for straw and it has worked out well.
Thank you a wonderful tutorial. Lots og good ideas re. stabilizers and needle size.
One more thing I do is use a wash away stabilizer on top of the hat. It works the same as on a towel keeping the stitches above the dips and valleys in the hats.
OMG I am trying to embroider a design on a Walmart Placemat (87% Olefin 13% Polyester, using 75/11 needle. It started out ok, going smoothly til about 1,771 s (second color change) and all went down the tubes. Broke 4 needles…rethreaded, cleared out bobbin area, reinstalled bobbin and there it goes again x 3. What am I doing wrong? The placemat looks more like the blue rimmed hat in you article.
Well that is strange, and I’m so sorry. I would use a larger needle, but I don’t think that’s the issue. What Sulky thread are you using? Could you send me a picture of the front and back, and perhaps we can figure out what’s going on. Also what’s in the bobbin? What stabilizer? What machine? Send photos to info@sulky.com, if you can. It is puzzling because it was working for almost 2,000 stitches. With your help, I think we can figure it out.