Embroider Felted Wool
Felted Wool? or is it Wool Felt?
Felted wool and wool felt are terms often used interchangeably. But they are, in fact, two different materials. The common factor is that both fabrics are made from wool. The difference comes in the way the wool is processed.
- Wool felt is produced by applying moisture, heat and pressure directly to wool roving, compressing the roving into a solid compact fabric.
- Felted wool is a woven fabric, washed in hot water and dried at high temperatures. Basically, the woven fibers shrink into each other.
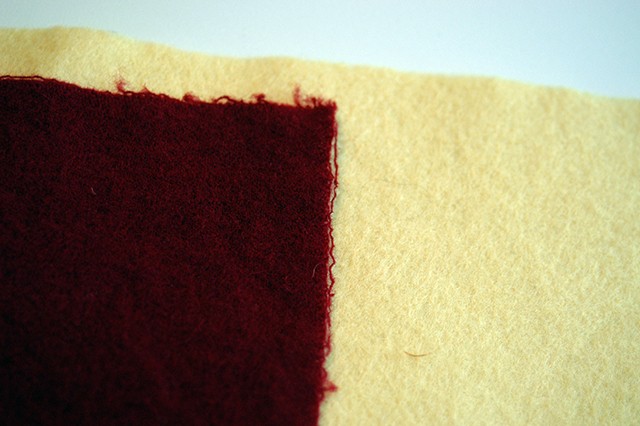
Probably difficult to see in a photo, the red felted wool has a softer look and feel to it than the more solid yellow wool felt. It is evident that cut edges will fray on felted wool, but not on wool felt.
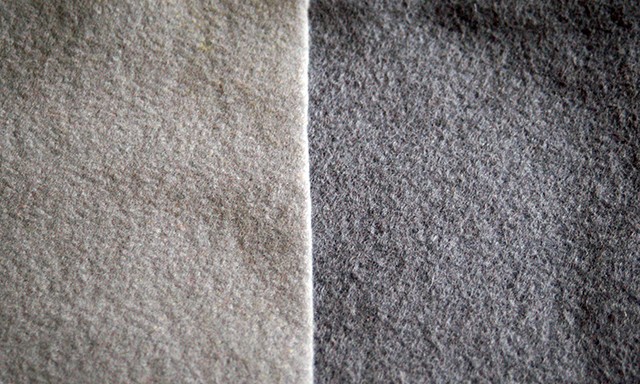
Felt can be produced from synthetic materials (See the picture below. The light gray-left). Although once again, it is probably difficult to discern from a photo, wool felt (dark gray-right) is a heavier material with a rich napped surface.
Wool felt is best used for projects which are not exposed to “wear and tear”. Some projects might include table runners, wall hangings or mats for candles or coffee mugs. Its texture is a perfect match for “primitive” designs and stitches.
Wool Felt Embroidery
When I embroidered the design below on wool felt, Sulky® Tear-Easy™ Stabilizer was secured in a 200mm hoop.
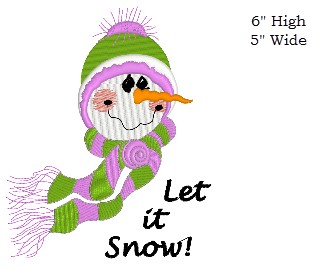
An 11” square piece of wool felt was lightly sprayed with Sulky® KK 2000™ Temporary Spray Adhesive (which is an Eco-Friendly product), and firmly pressed on top of the stabilizer, matching the fabric and hoop centers.
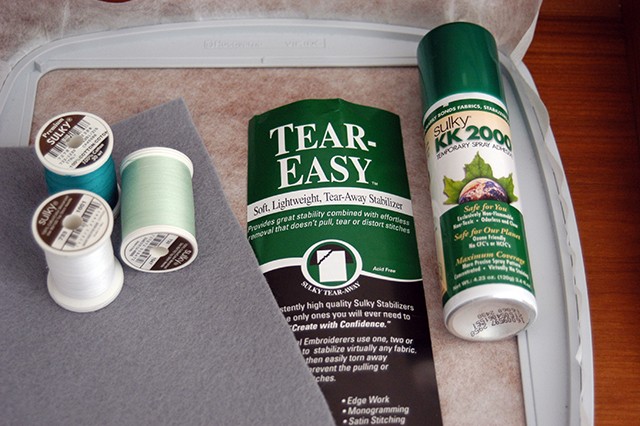
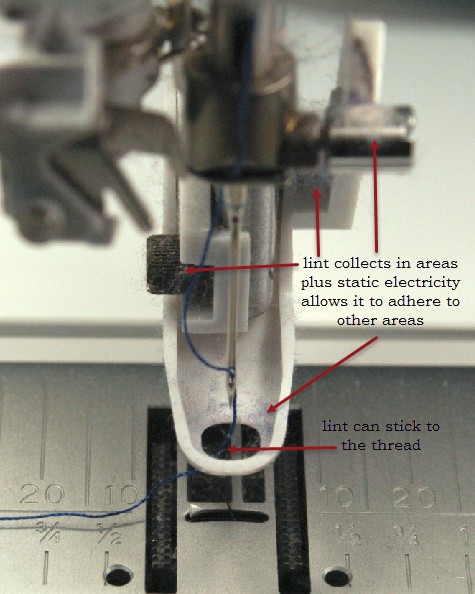
To complement the primitive snowman, I used Sulky® 30 wt. Cotton thread to stitch the design. This did require slowing the embroidery machine down to its slowest speed and using a 100/16 Topstitch Needle. All cotton thread produces lint caused by the friction of the needle penetrating the fabric, especially one with the texture of wool felt. Lint will collect on the presser foot and, because of static electricity, it will also occur on surrounding areas. If left unchecked, a small “wad” of lint could drop into the embroidery area and be stitched into the design, which is unbecoming.
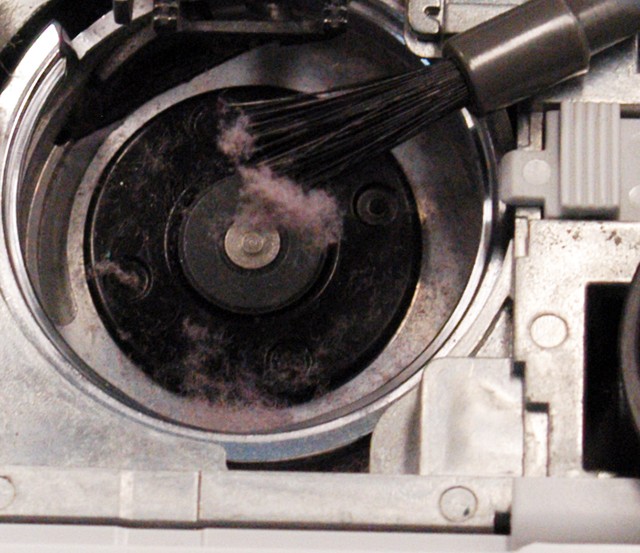
It is necessary to clean the lint build-up from the machine’s bobbin casing after stitching a design embroidered with cotton thread.
Once the embroidery is completed, trim the jump-threads, keeping ending knots intact. Sulky® Tear-Easy™ stabilizer is easily torn away from the design.
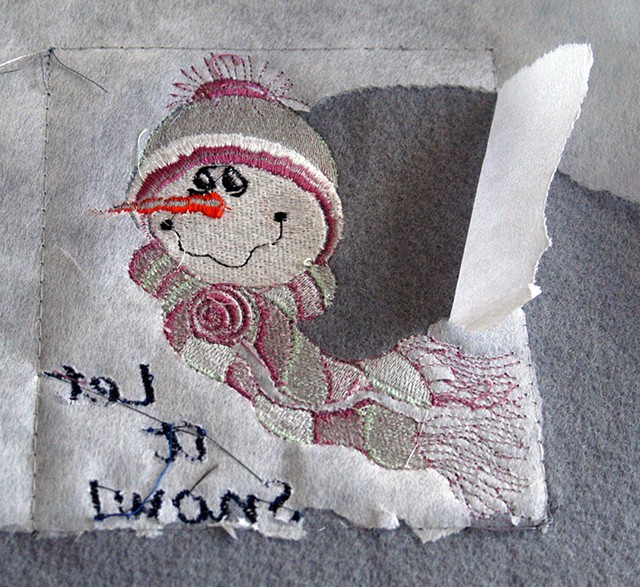
This design can easily be turned into a wall hanging. Corner squares could feature a snowflake embroidery while the longer strips could support a family name, date or other welcoming thoughts.
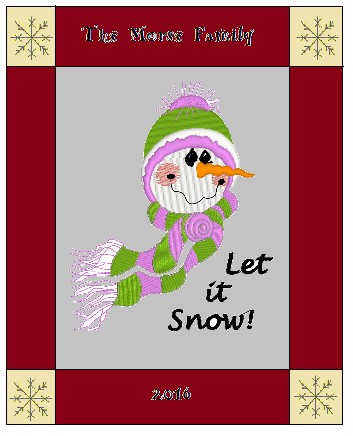
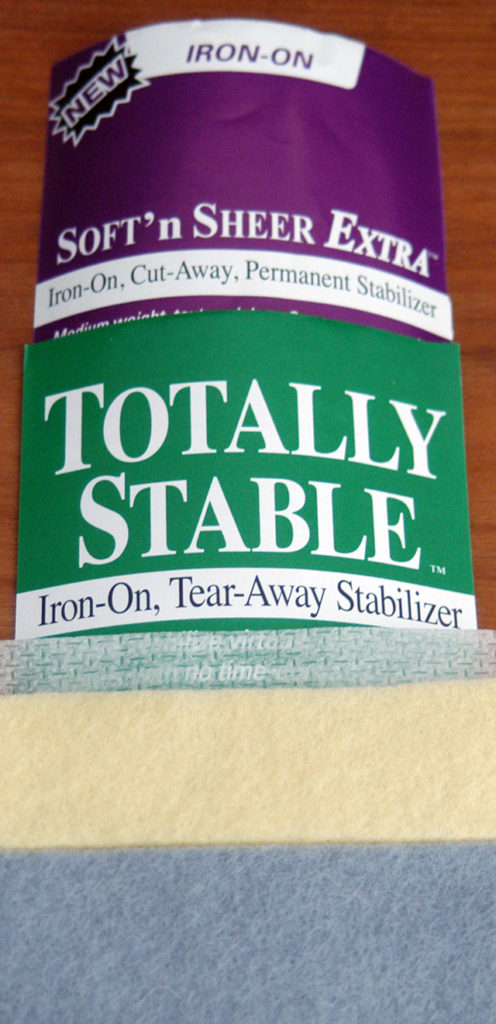
Butted seams, accented with decorative stitches will also add interest to the primitive theme, and are very easy to do with the aid of Sulky Sticky+™, Soft ’n Sheer Extra™ or Totally Stable®.
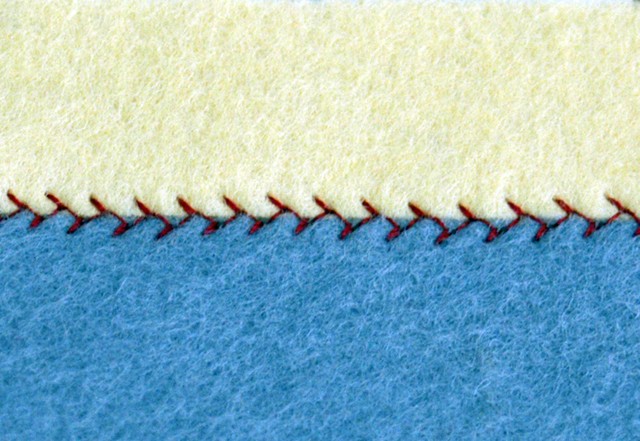
Begin by cutting all joining sides straight. Hold the butted strips in place, by either pressing them firmly to a piece of Sticky+
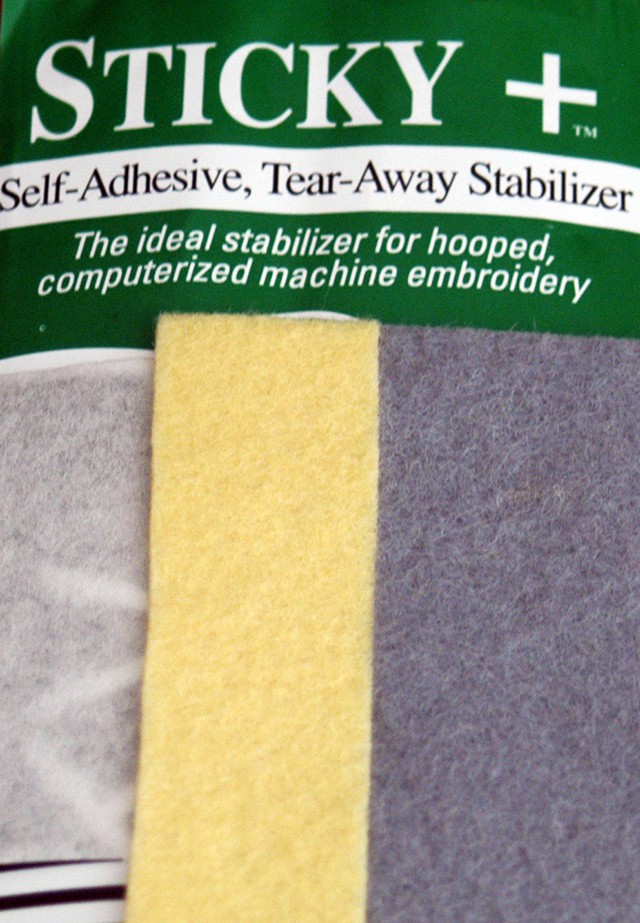
or by fusing in position using either Soft ’n Sheer Extra (the “Extra” means it’s fusible) or Totally Stable.
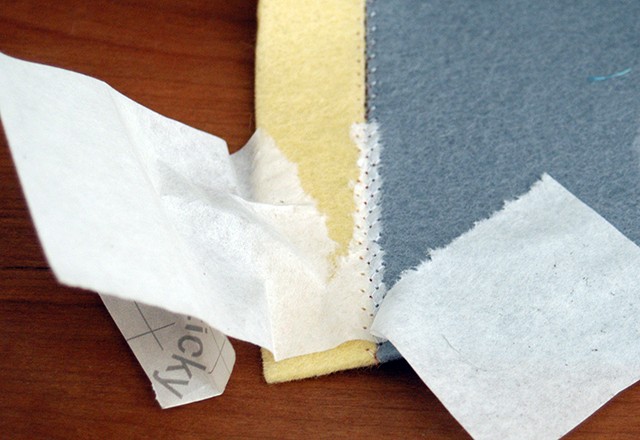
Once stitching is completed, all stabilizers are easily removed.
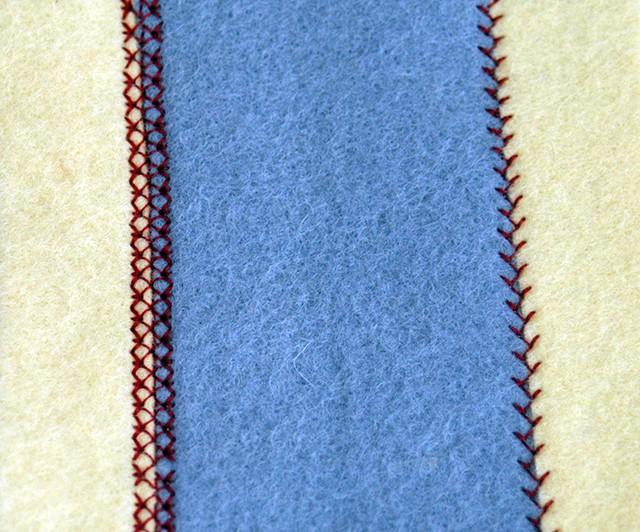
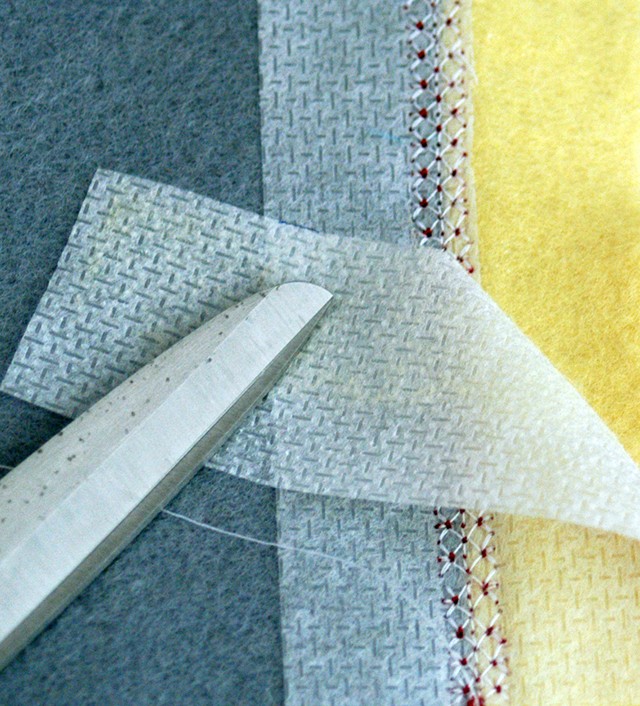 Make sure the chosen decorative stitch “bites” into the wool felt on both sides of the join.

Test Sample
It is always a good idea to test a few on a scrap piece of the felt to ensure the desired results. And remember, too…the Sulky 30 wt. Cotton Thread is about 1/3 heavier than the 40 wt. thread that your built-in decorative stitches are digitized for. So testing is important, and you may need to elongate certain stitches, and some may just be too dense.
Felted Wool Embroidery
Felted wool should not be directly secured in a hoop. Therefore, the hooping process for felted wool is not so different than wool felt. All the above-mentioned stabilizers, Sulky Tear-Easy, Sticky+, Soft ’n Sheer Extra, Totally Stable as well as regular Soft ’n Sheer, all work equally well.
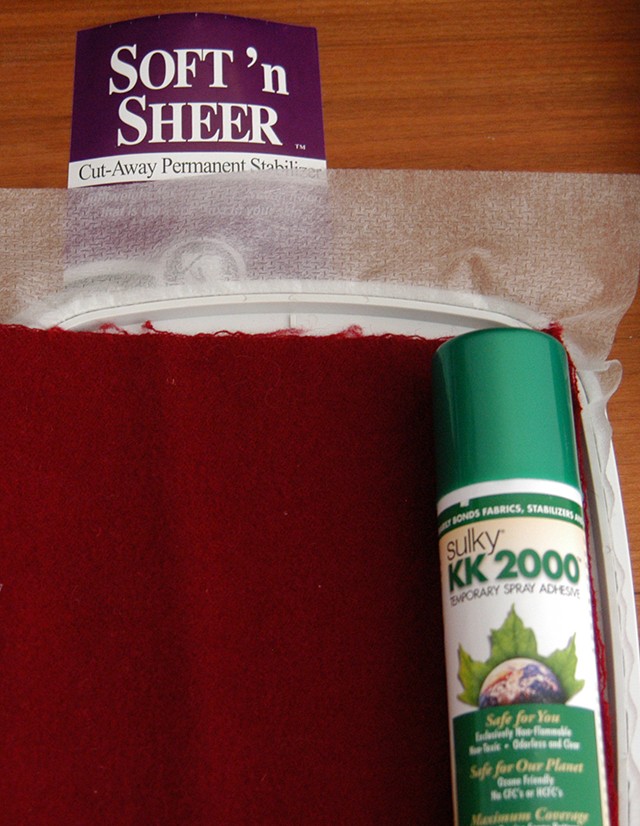
The main difference is that the felted wool was stitched with a smaller gauge needle – 90/14 Topstitch or Embroidery. Even a smaller, 80/12, will work with a more delicate design. A piece of Soft ’n Sheer is secured in a 100mm square hoop. The wrong side of the felted wool was sprayed with Sulky KK 2000 and pressed firmly in place.
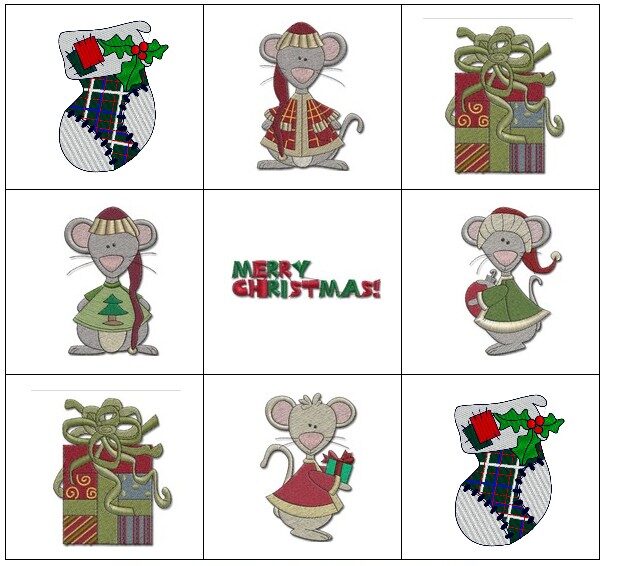
Design #895-stocking , from the Sulky Embroidery Club, was stitched out in Sulky 40 wt. Rayon Thread. Once stitching is completed, trim the jump threads. The stabilizer does not necessarily need to be removed since the softness of Soft ’n Sheer will not compromise any of the felted wool qualities.
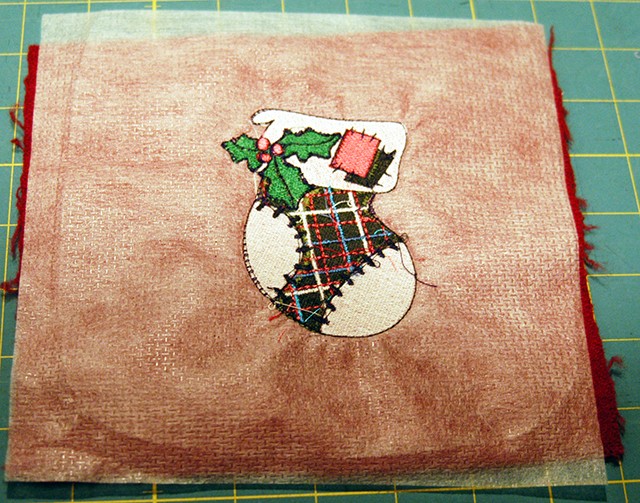
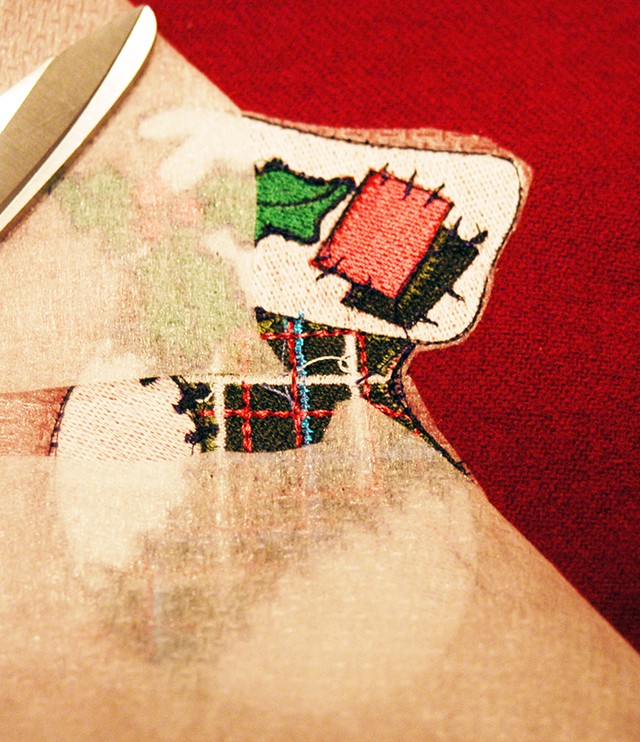
If desired, Soft ’n Sheer is easily trimmed around the design.
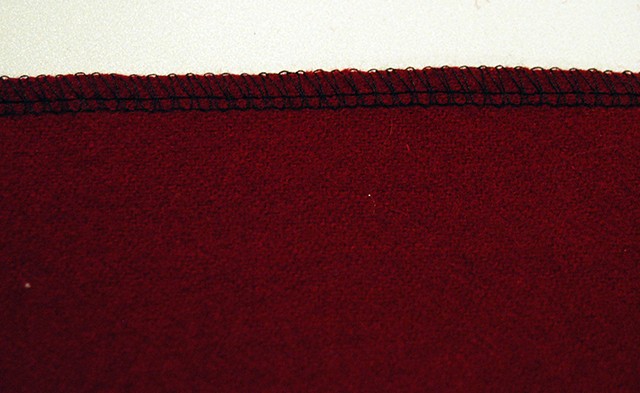
Depending on the final usage, seams may need to be finished to prevent fraying.
The stocking design showcases designs from the Merry Kris-Mouse palette, perfect for a felted wool holiday throw pillow!
