 This series is written by guest blogger Pamela Cox. Pamela is an expert embroiderer, designer, digitizer and all around wonderful girl! We are so happy to have her contributing to the Sulky Blog!
Terry Cloth
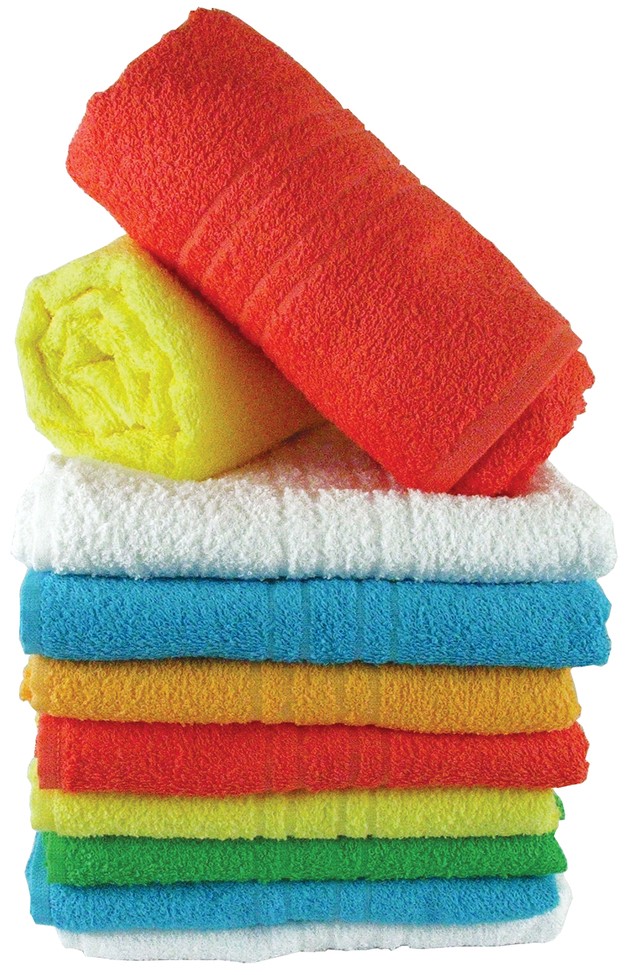
Terry cloth is a fabric characterized by long loops on both sides and most often noted for its usage in towels. The long loops whisk away moisture, hence making it the perfect choice for towels, but terry cloth is also great for sports related items (head bands, sweat jackets or swim cover-ups) as well as bathrobes, baby bibs and burp cloths. Although the “loops” of terry cloth provide a great service, this same wonderful quality can also present a bit of a challenge for machine embroidering, unless a few extra precautions are followed. Because terry cloth is usually fabricated from 100% cotton fibers, it is very important to machine wash and dry the fabric, including pre-made items, prior to embroidering. Give some thought to the type of embroidery design to use. A “line” design, such as red-work, may actually get lost in terry cloth’s texture. “Fill” designs – which “color in” the design by stitched thread patterns- or applique designs – which incorporate placing a fabric over the terry cloth to “color in” the design – are usually the better choice.
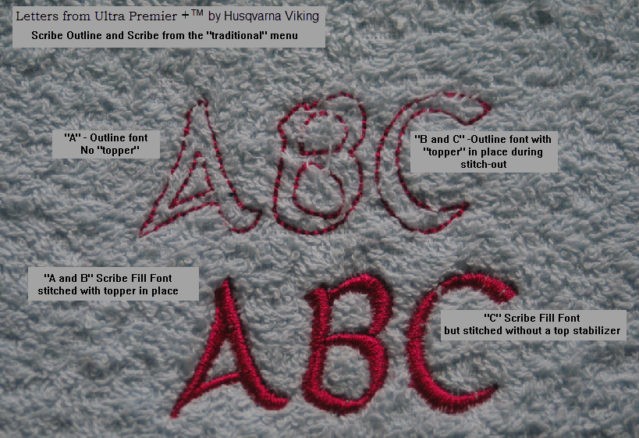
Another very important factor when working with terry cloth is stabilizers.
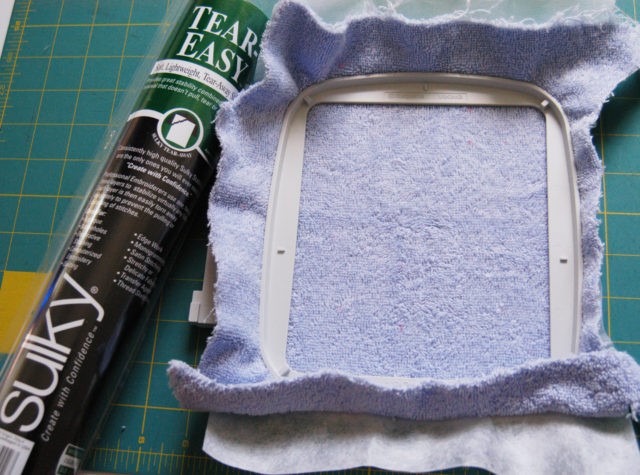 Terry cloth will always require two different types of Sulky® Stabilizers, a foundation stabilizer – Tear-Easy™ or Fabri-Solvy™ – to be secured in the hoop underneath the fabric, plus a top stabilizer – Heat-Away Clear Film™ or Super-Solvy™ – which covers the stitching surface of the terry cloth.
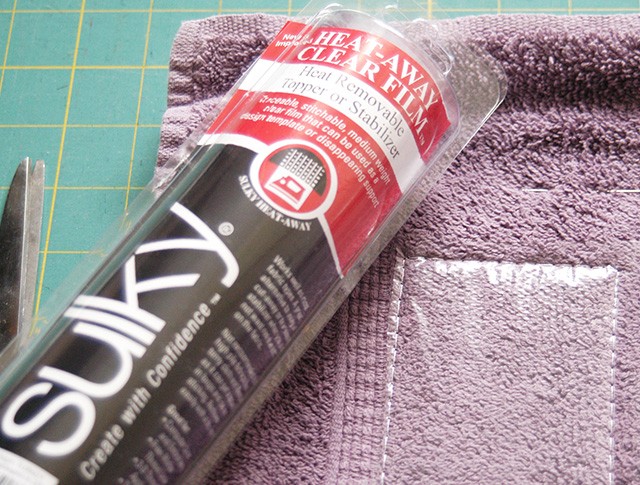 Which to choose and when to use? There really is no “one right combination”. Honestly, it boils down to what an individual is most comfortable with and what “works for you”. There are some pros and cons to each type: Tear-Easy™ is effortlessly removed from the wrong side of the design but may leave “fuzzy” white tufts showing or tear during the hooping process. Fabri-Solvy™ Stabilizer will be totally removed from the project as it is washed away, but since much of the excess should be cut away prior to washing, a bit of care needs to be taken not to cut through the loops of the terry cloth. Super-Solvy™ completely washes away. However, since it was made to truly “wash away” over an extended period of time, it could wash away from behind the embroidery and the design may “sink” into the nap of the fabric. Heat-Away Clear Film™ is not removed by washing and it will not breakdown with dryer heat. It is only removed by tearing the excess away from the design and touching a very hot iron directly to any remaining film. Therefore, it will remain intact, underneath the embroidery design.
Let’s start stitching a few samples!
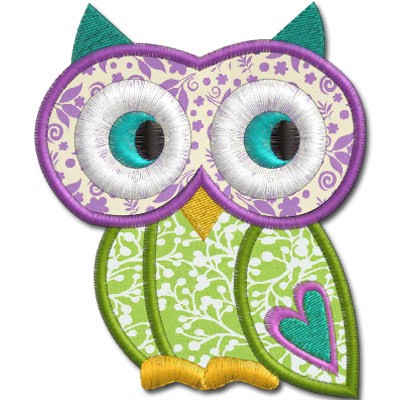
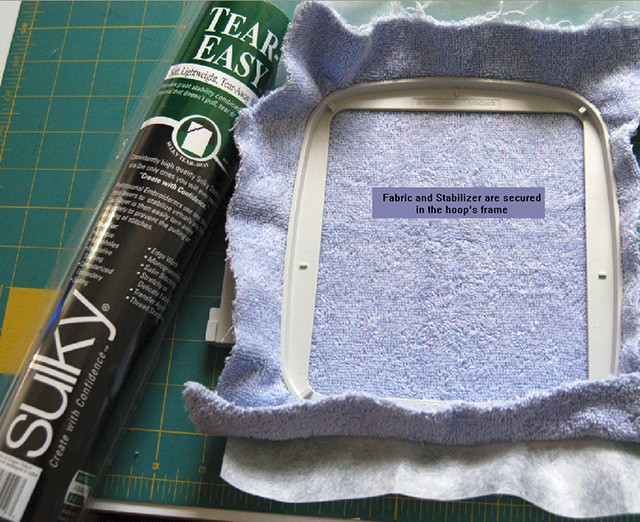
Light-weight terry cloth was secured directly in the hoop along with the foundation stabilizer, Tear-Easy™.
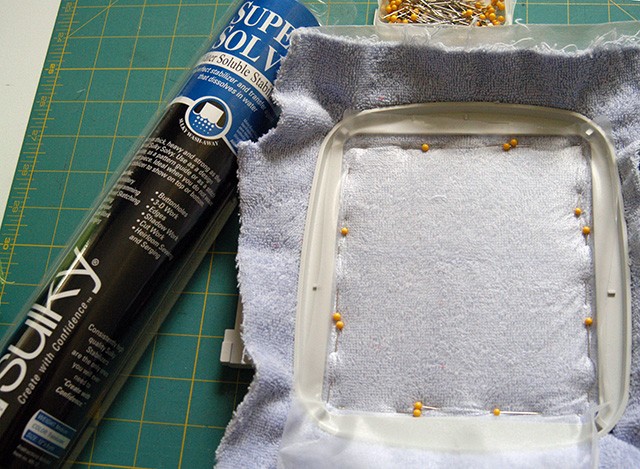
Super-Solvy™ covered the terry surface by pinning it in place close to the inside of the hoop’s frame.
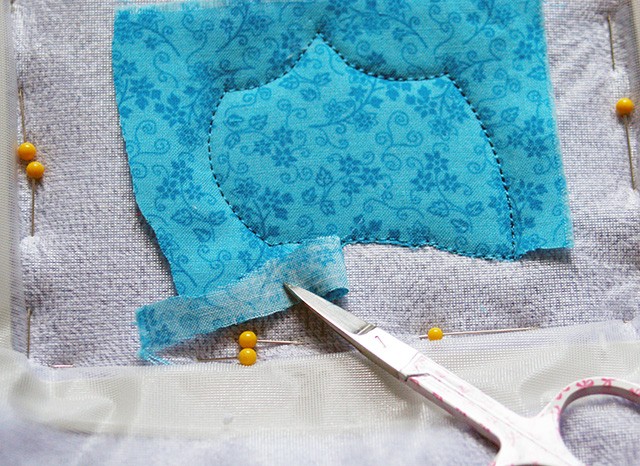
 The design was stitched accordingly. When the fabric was carefully trimmed, only the cloth was cut leaving the top stabilizer in place.
Once stitched, the project was removed from the hoop. Pins were also removed. The back stabilizer was gently torn away from the design.
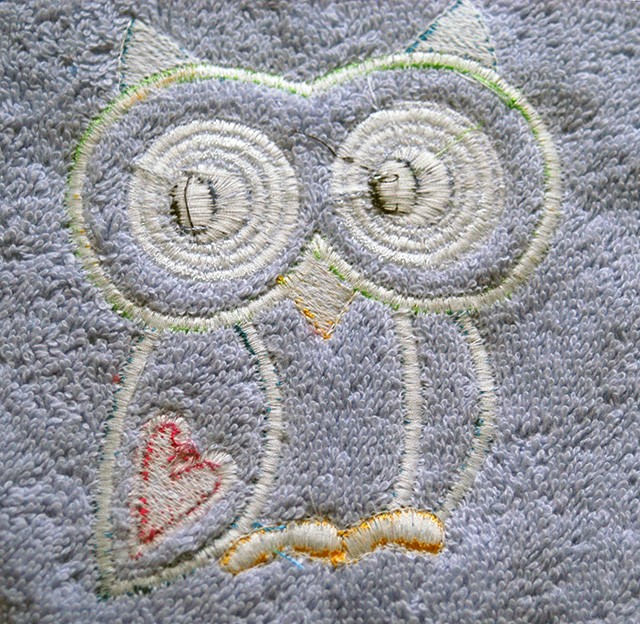 The piece was then thoroughly rinsed to remove any remaining top stabilizer.
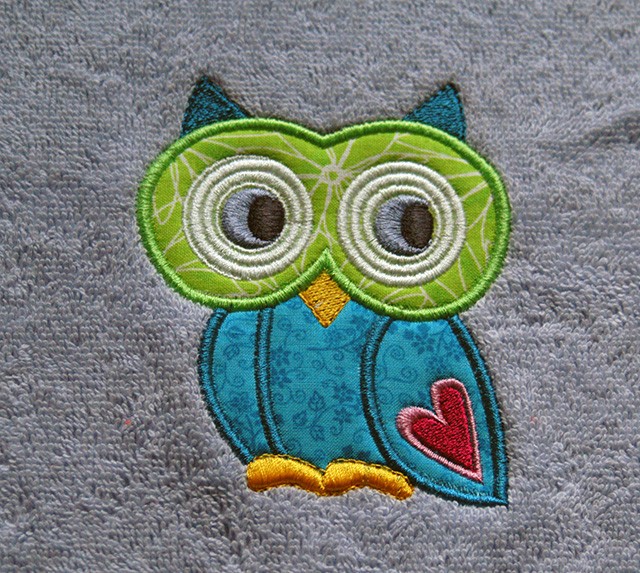 Please note: photos taken simply show the design with stabilizers “torn away” from the design, no rinsing has been done. Clean lines occurred simply by removing the stabilizer.
Fabri-Solvy™ stabilizer was hooped and pulled “tight as a drum”.
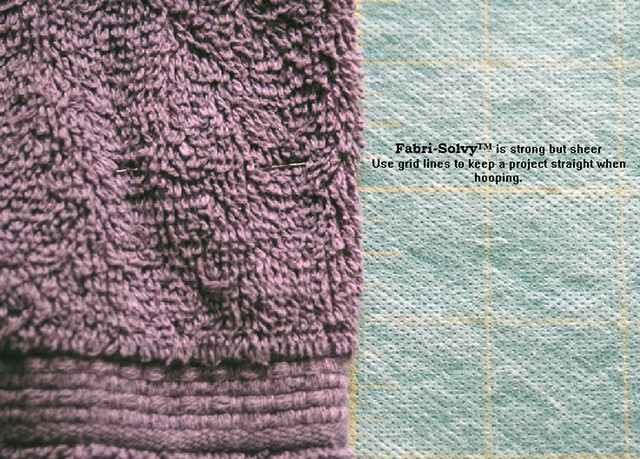 A heavy-weight terry towel was temporarily held in place with a few pins. Once the design position was confirmed on the machine, a basting function was incorporated to “fix” the towel to the stabilizer, securing the top stabilizer, which was Heat-Away Clear Film™, at the same time.
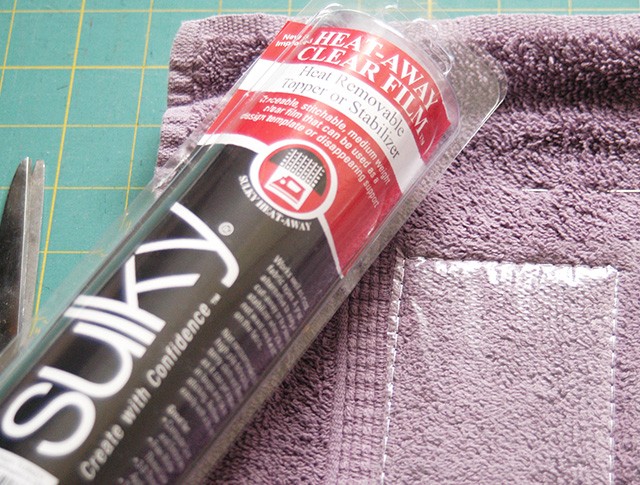 Once the fill design is completed, the towel is removed from the hoop, cutting away as much of the foundation stabilizer as possible, without cutting into the loops of the terry cloth.
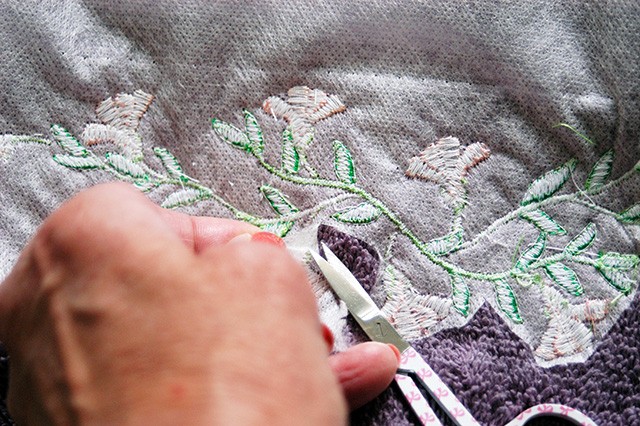 The top stabilizer was “torn” from the design.
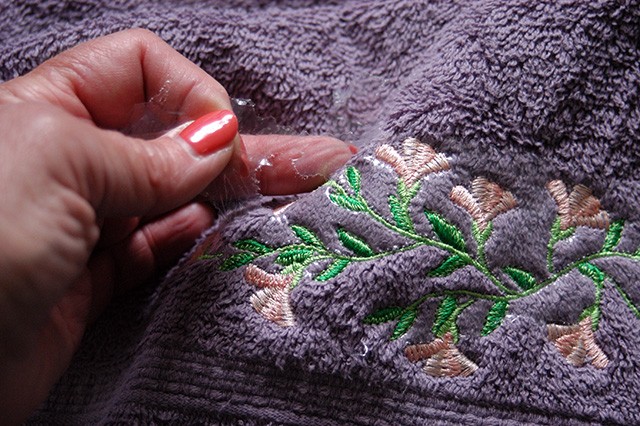
The project was rinsed and soaked to remove any foundation stabilizer and allowed to dry. If needed, any residual top stabilizer was removed by touching a hot dry iron to it allowing the film to “ball” and gently rubbed from the project. (Note from Sulky: Pamela’s suggestion to pull away the Heat-Away is good one on terry cloth especially. Because Heat-Away rolls up into little balls when heated, if ironing is used as the primary removal, those little balls could become hard to remove it they get imbedded in the terry cloth. On smooth fabrics, like cotton, iron away! No problem.)
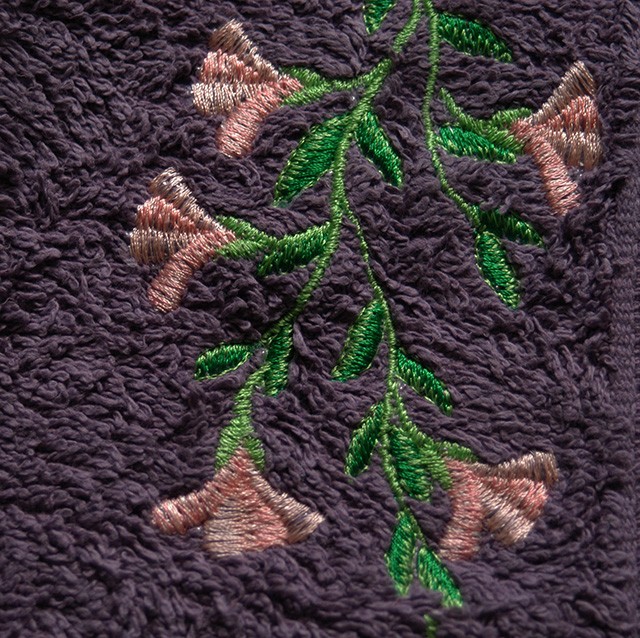
I hope these examples will help take the fear out of doing machine embroidery on terry cloth.
Happy Sewing!

