Make a Maker’s Mat
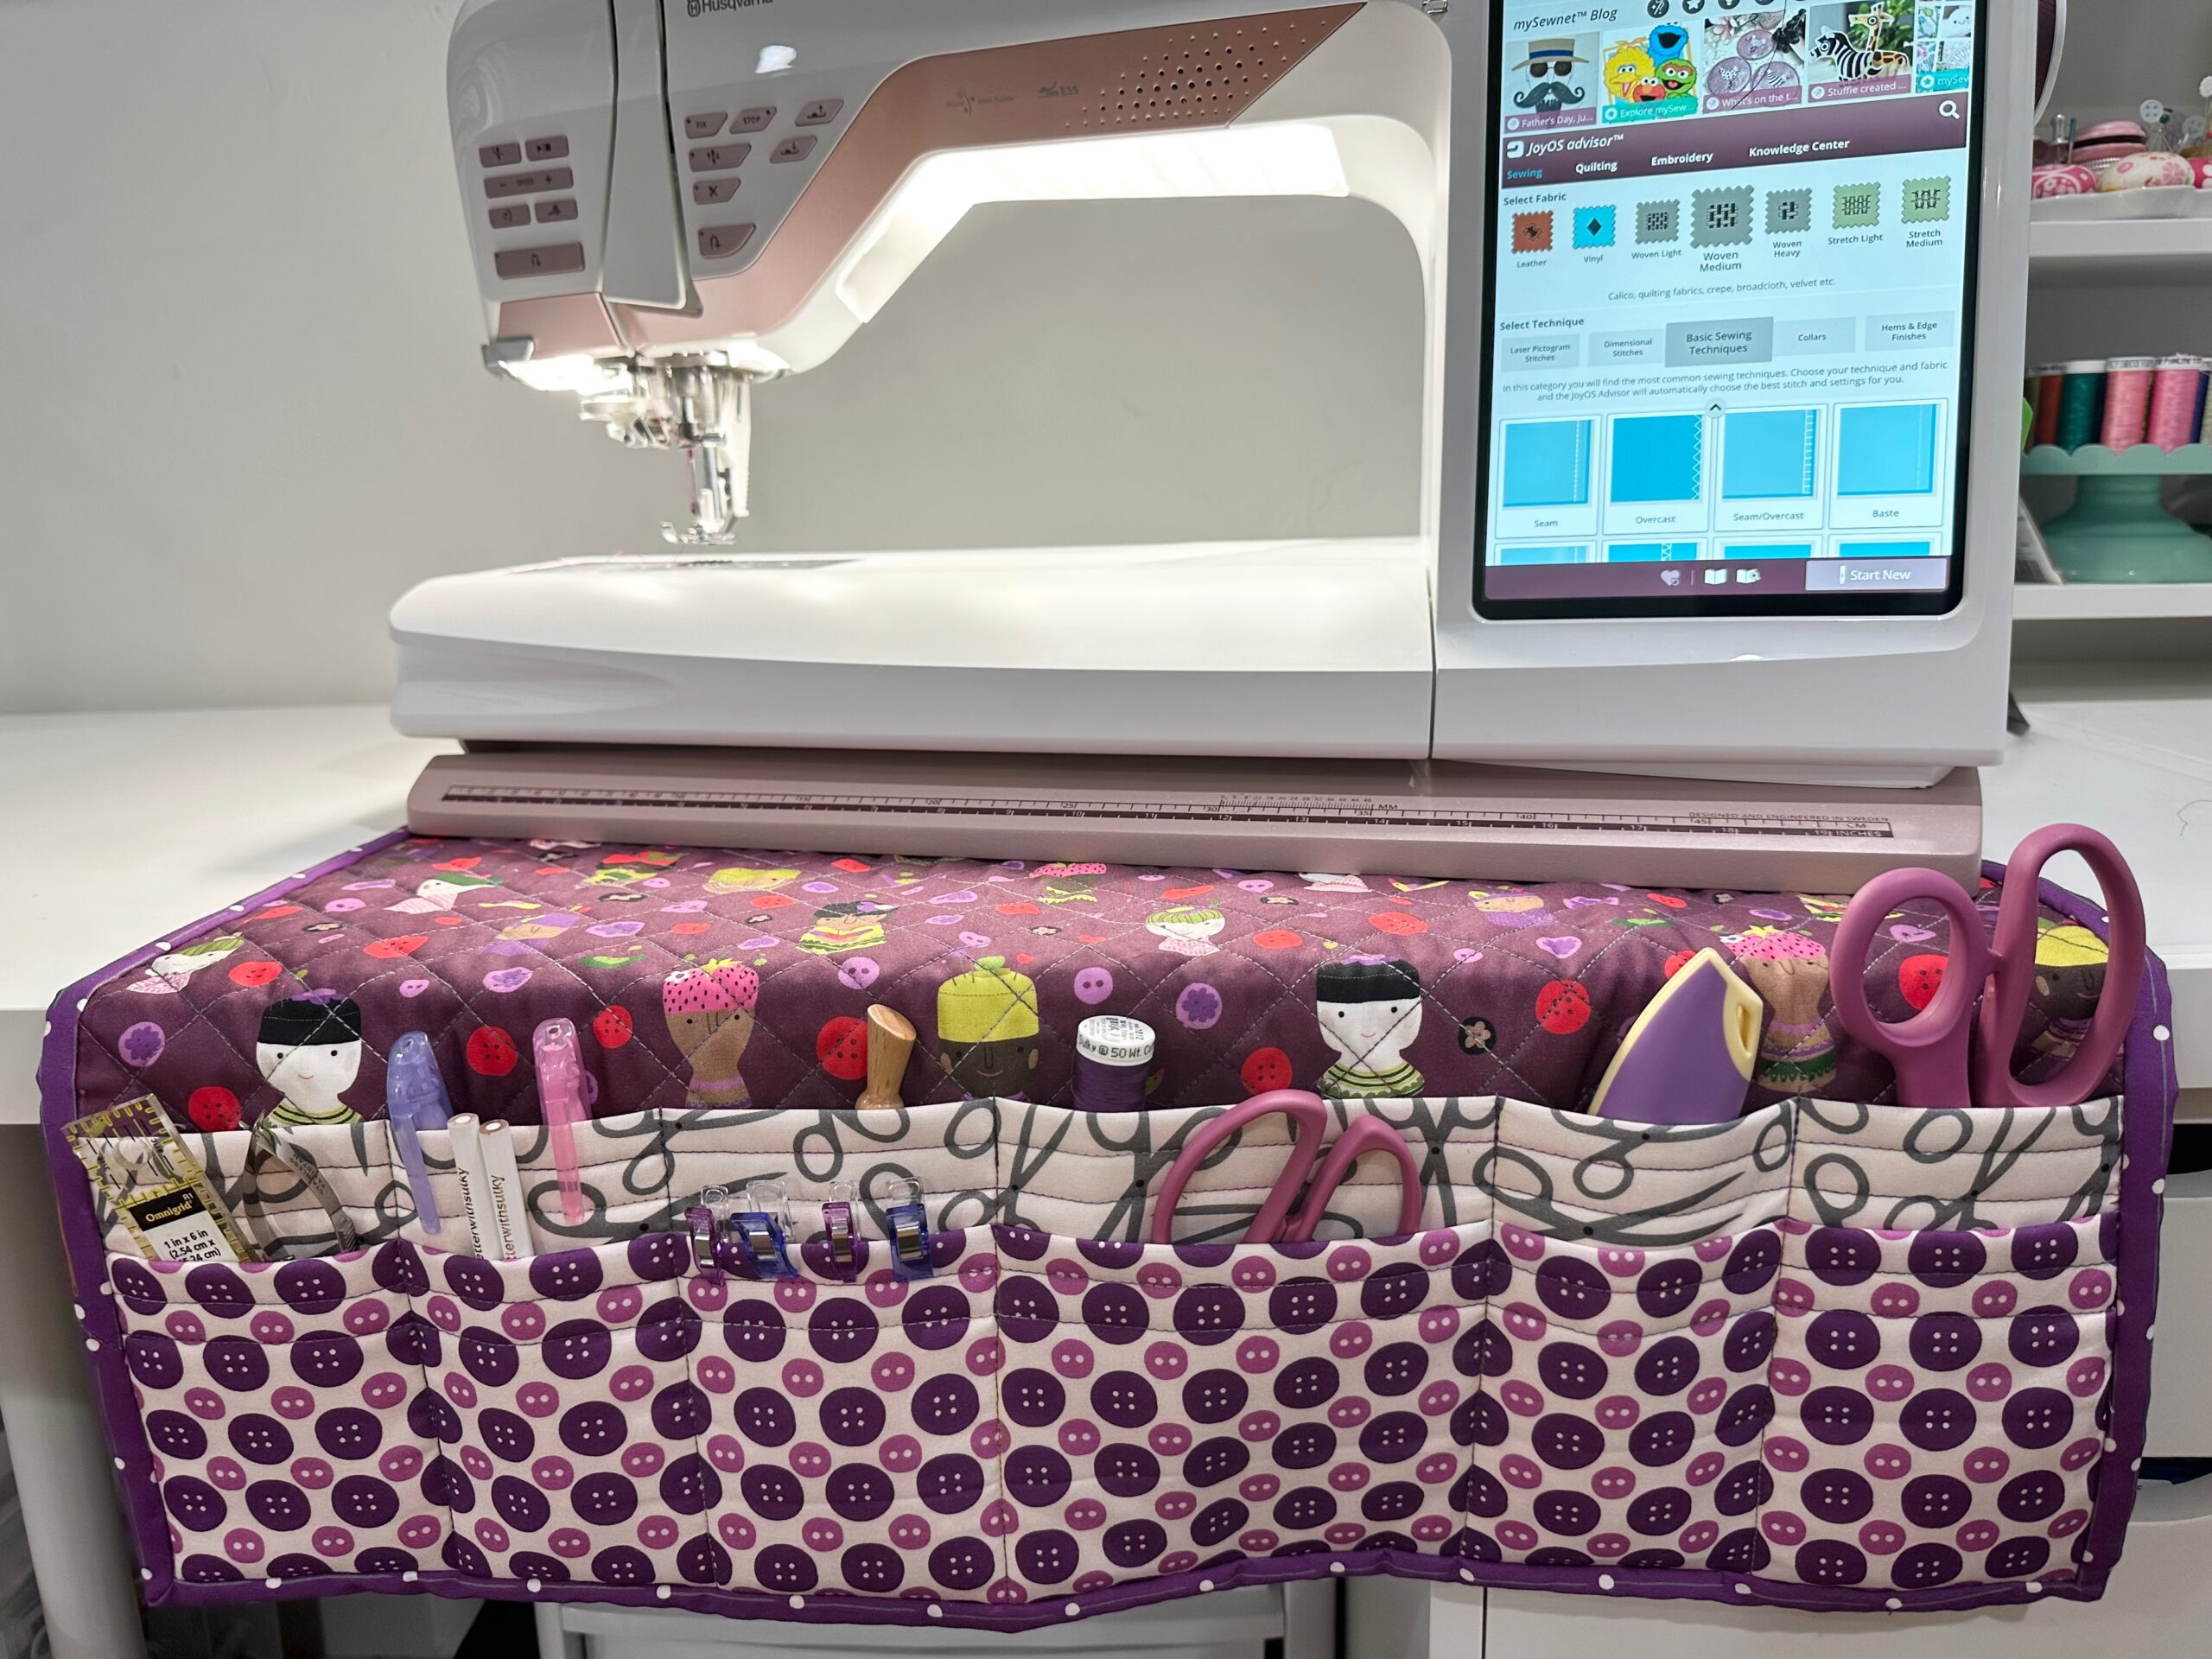
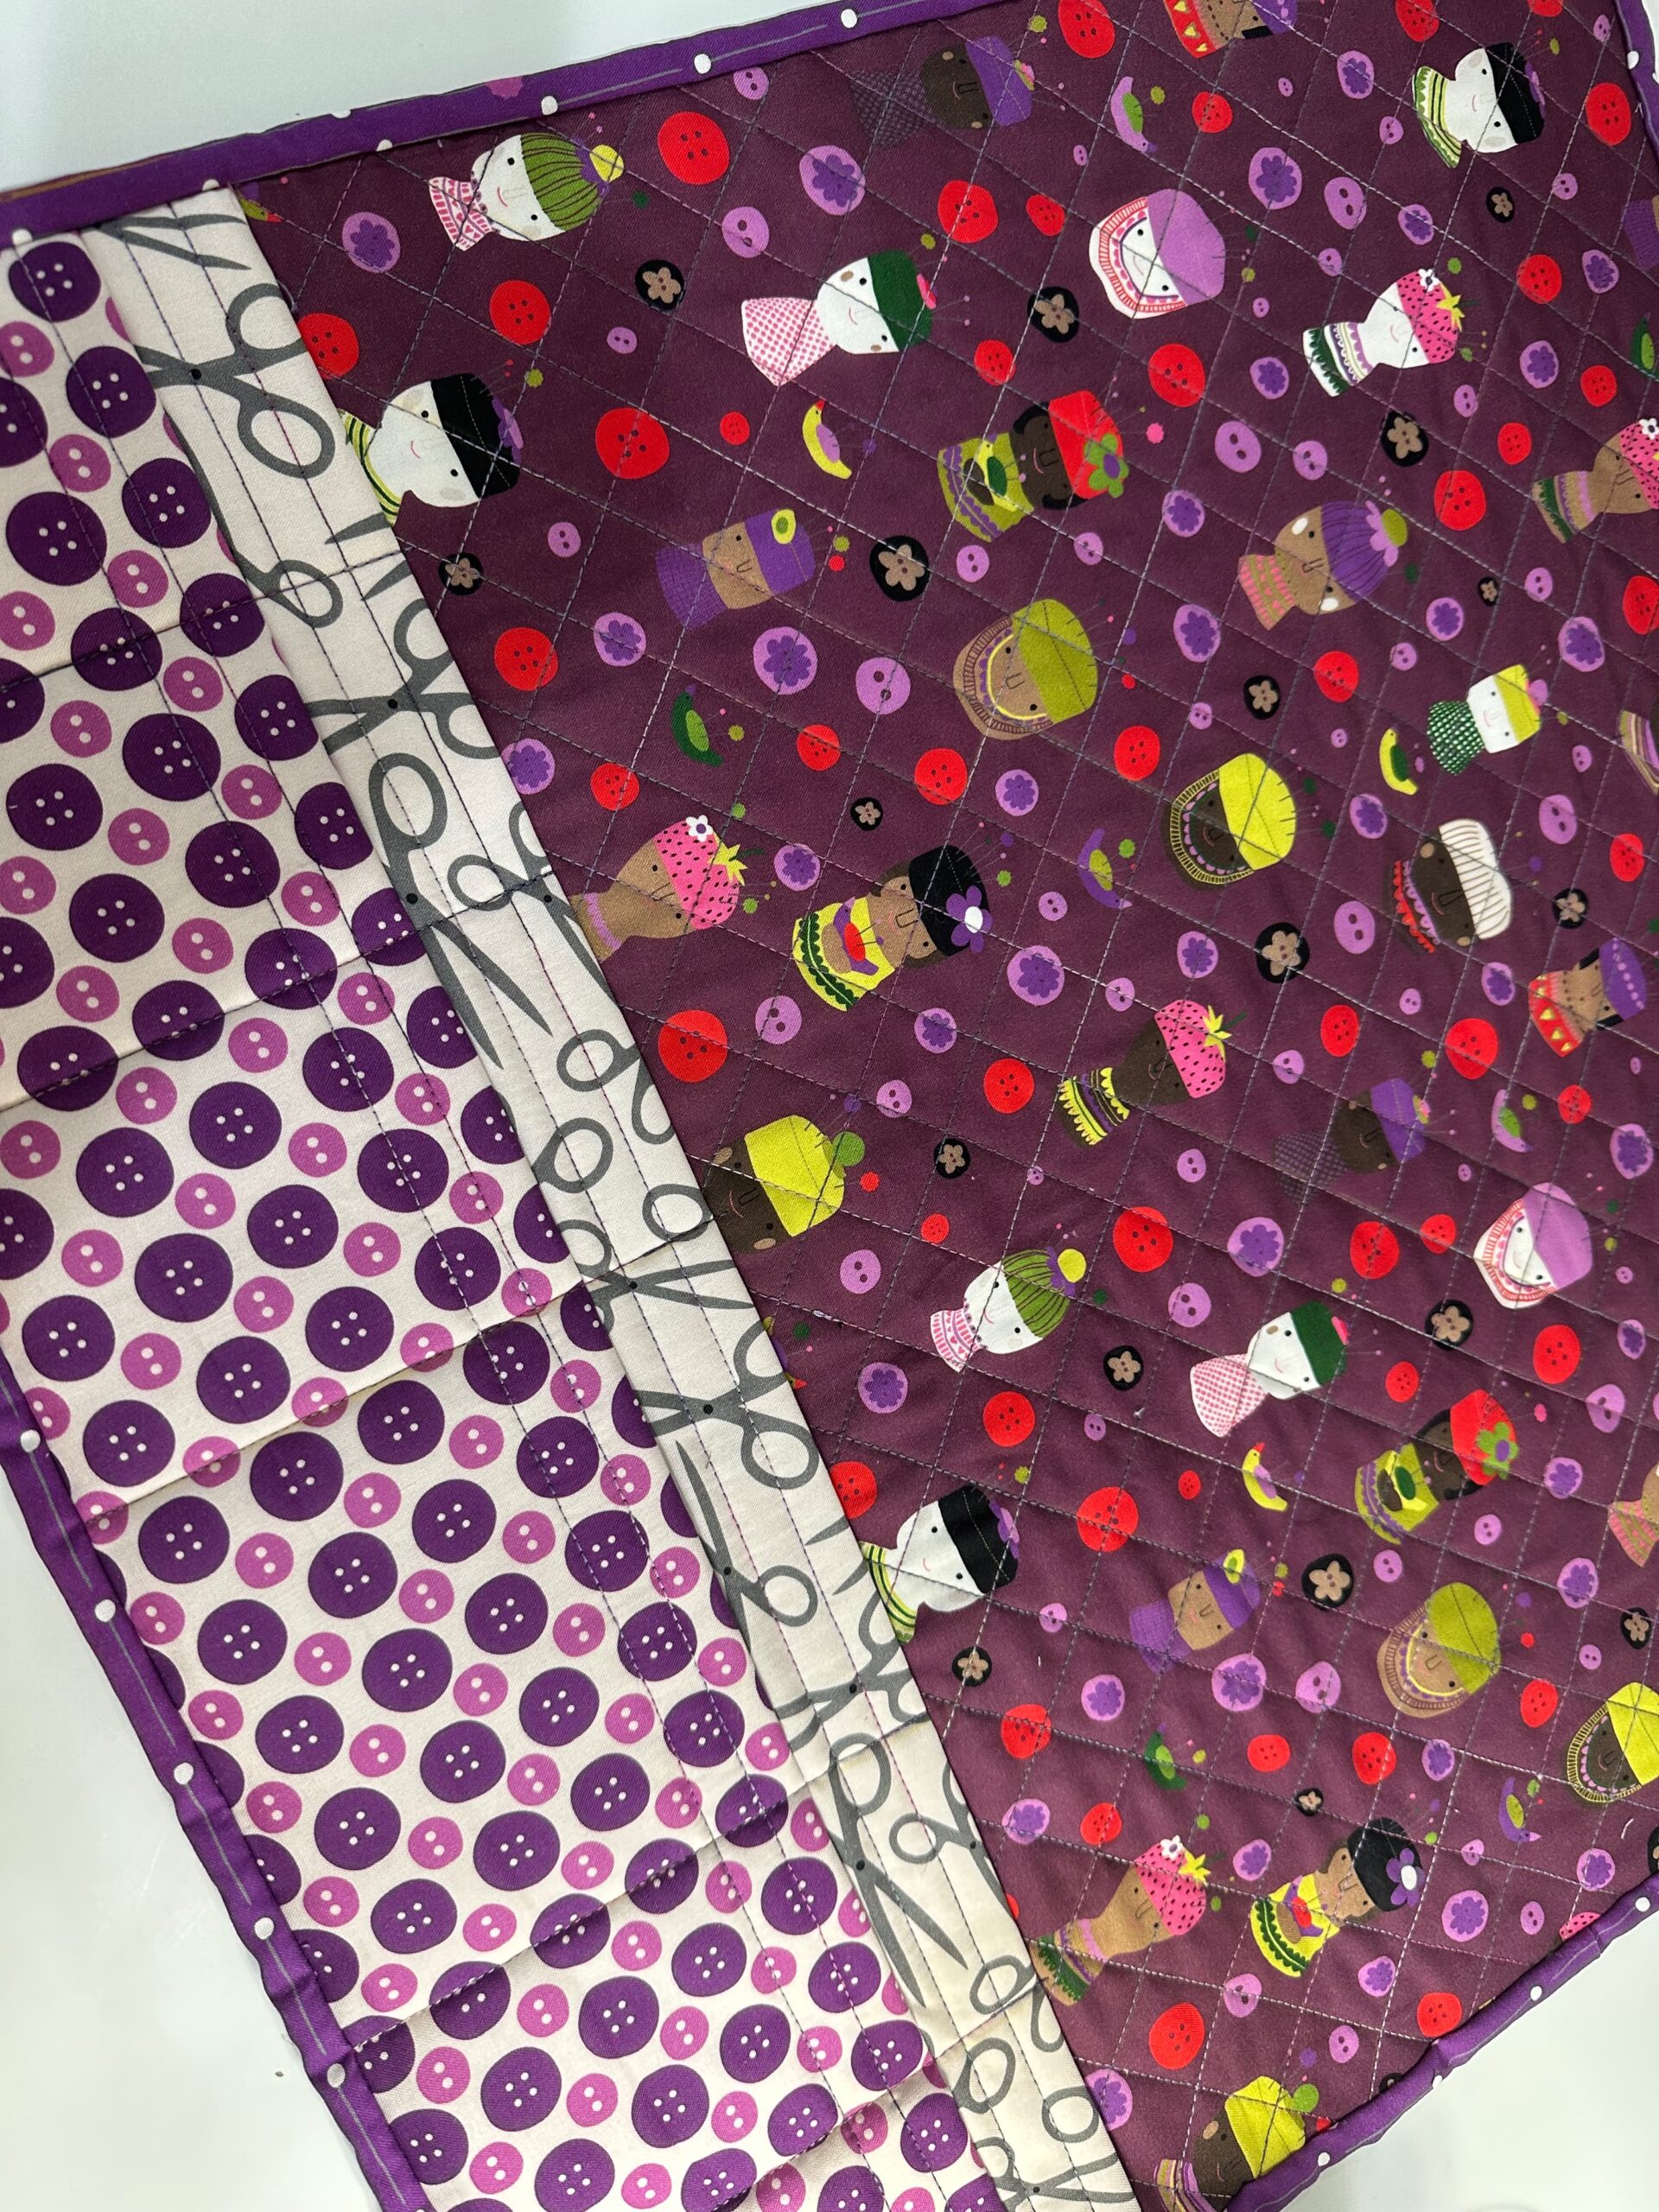
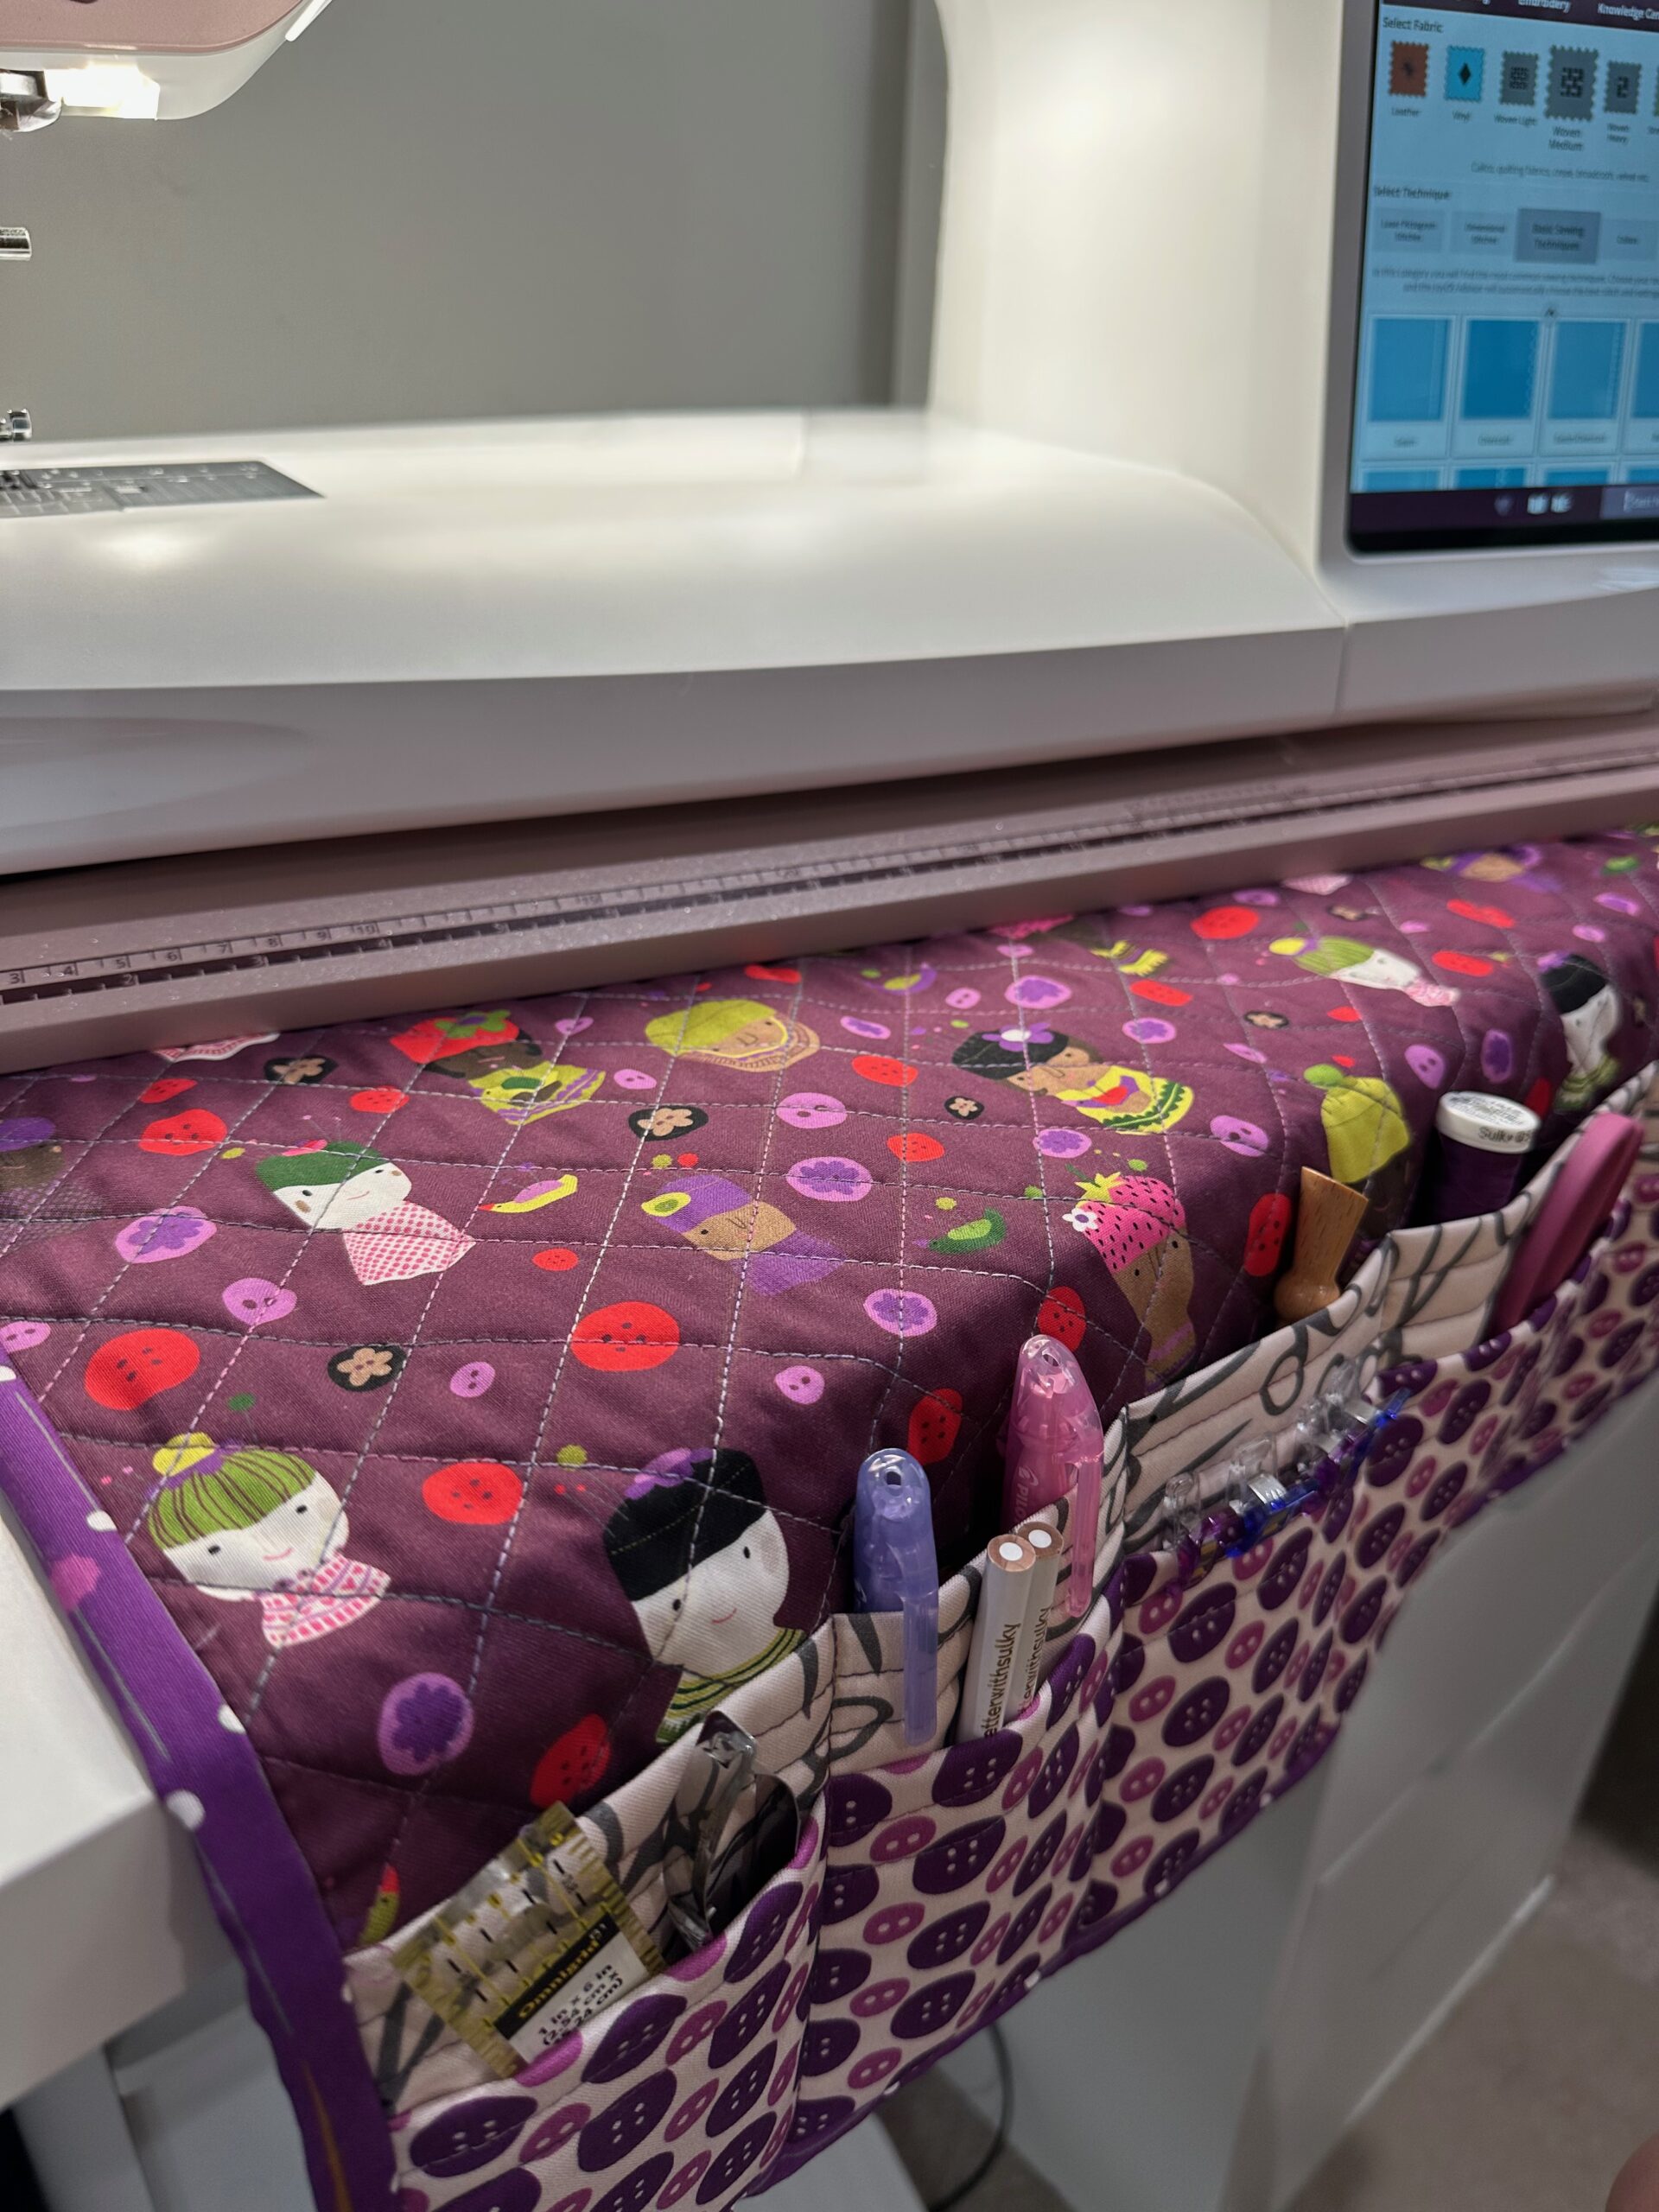
Place this Maker’s Mat under your sewing machine to store sewing supplies and protect your work surface. The Maker’s Mat prevents your machine from slipping on the table during sewing, and the padded double-layer pockets hold all sorts of notions, tools and spools. This is the perfect project to kick off National Sewing Month!
MAKER’S MAT SUPPLIES
- Sulky Thread
- 50 wt. Cotton+Steel Thread by Sulky
- 30 wt. Cotton Blendables Thread (featured: Iris)
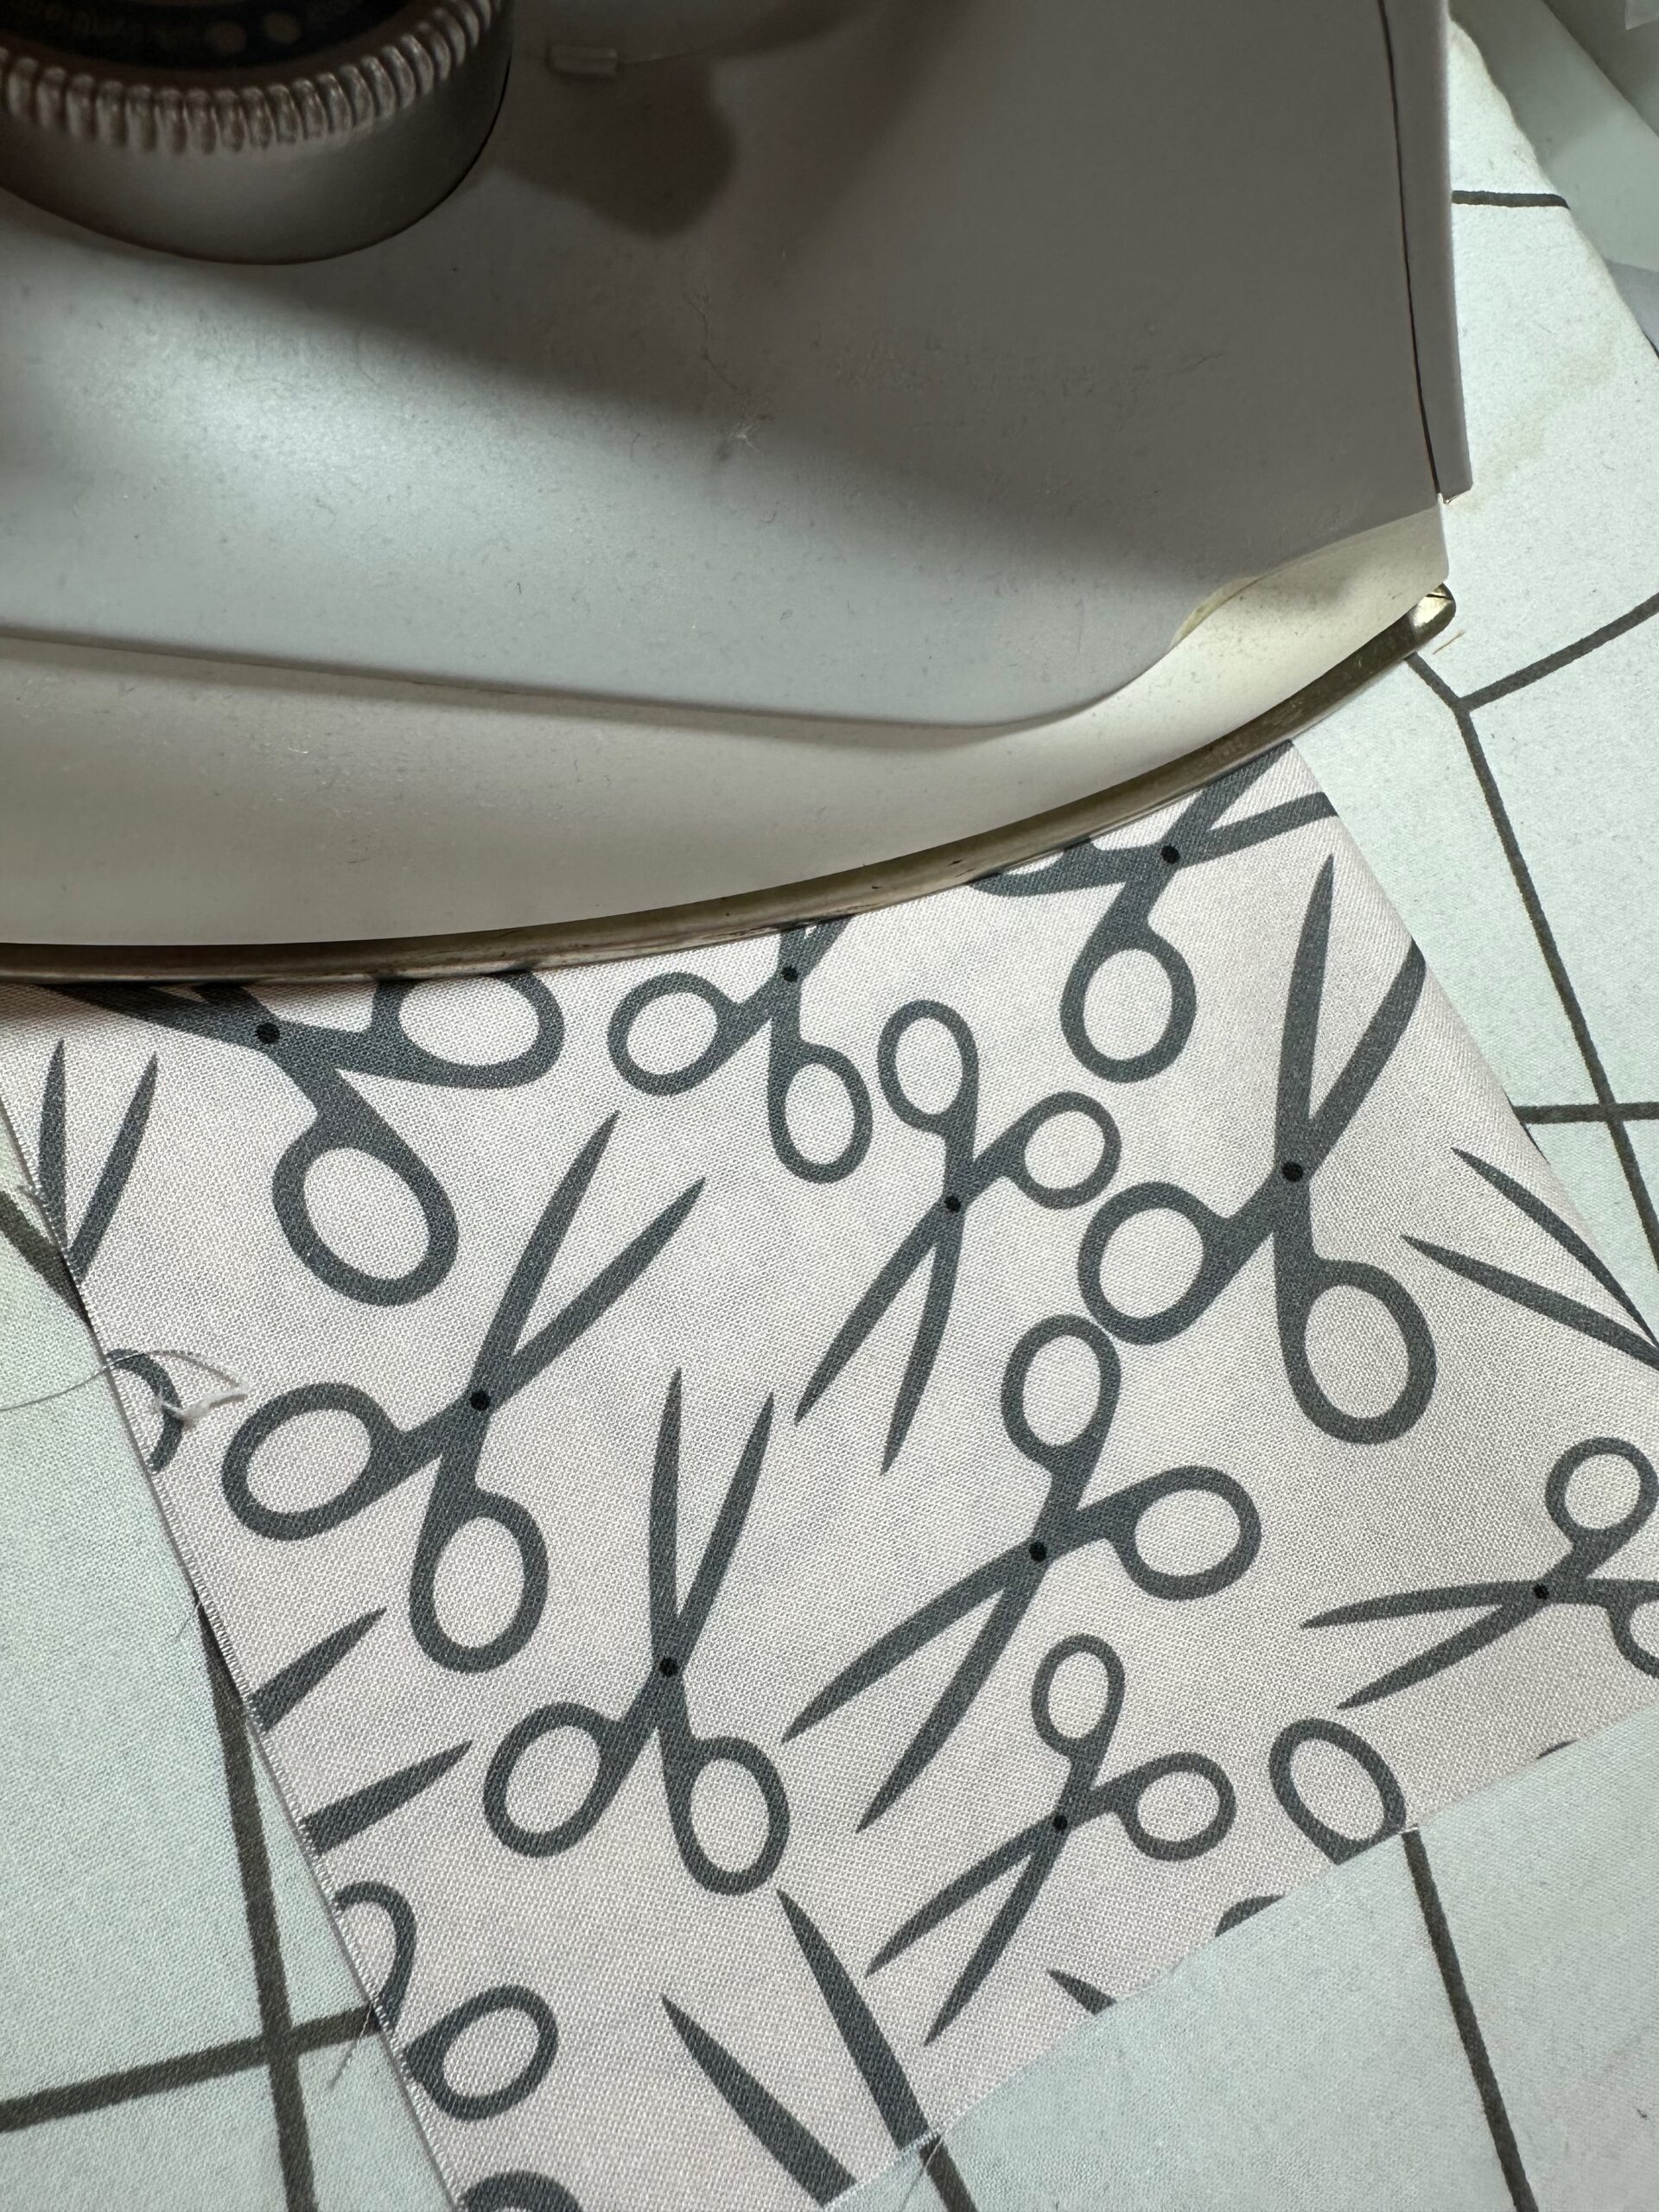
- Fabric
- (2) 22″ squares of coordinating quilting cotton fabrics (front & back)
- (1) 12″ x 22″ rectangle each of coordinating quilting cotton fabric (back pocket)
- (1) 9 ½” x 22″ rectangle each of coordinating quilting cotton fabric (front pocket)
- ¼ yard of coordinating quilting cotton fabric (binding)
- Misc.
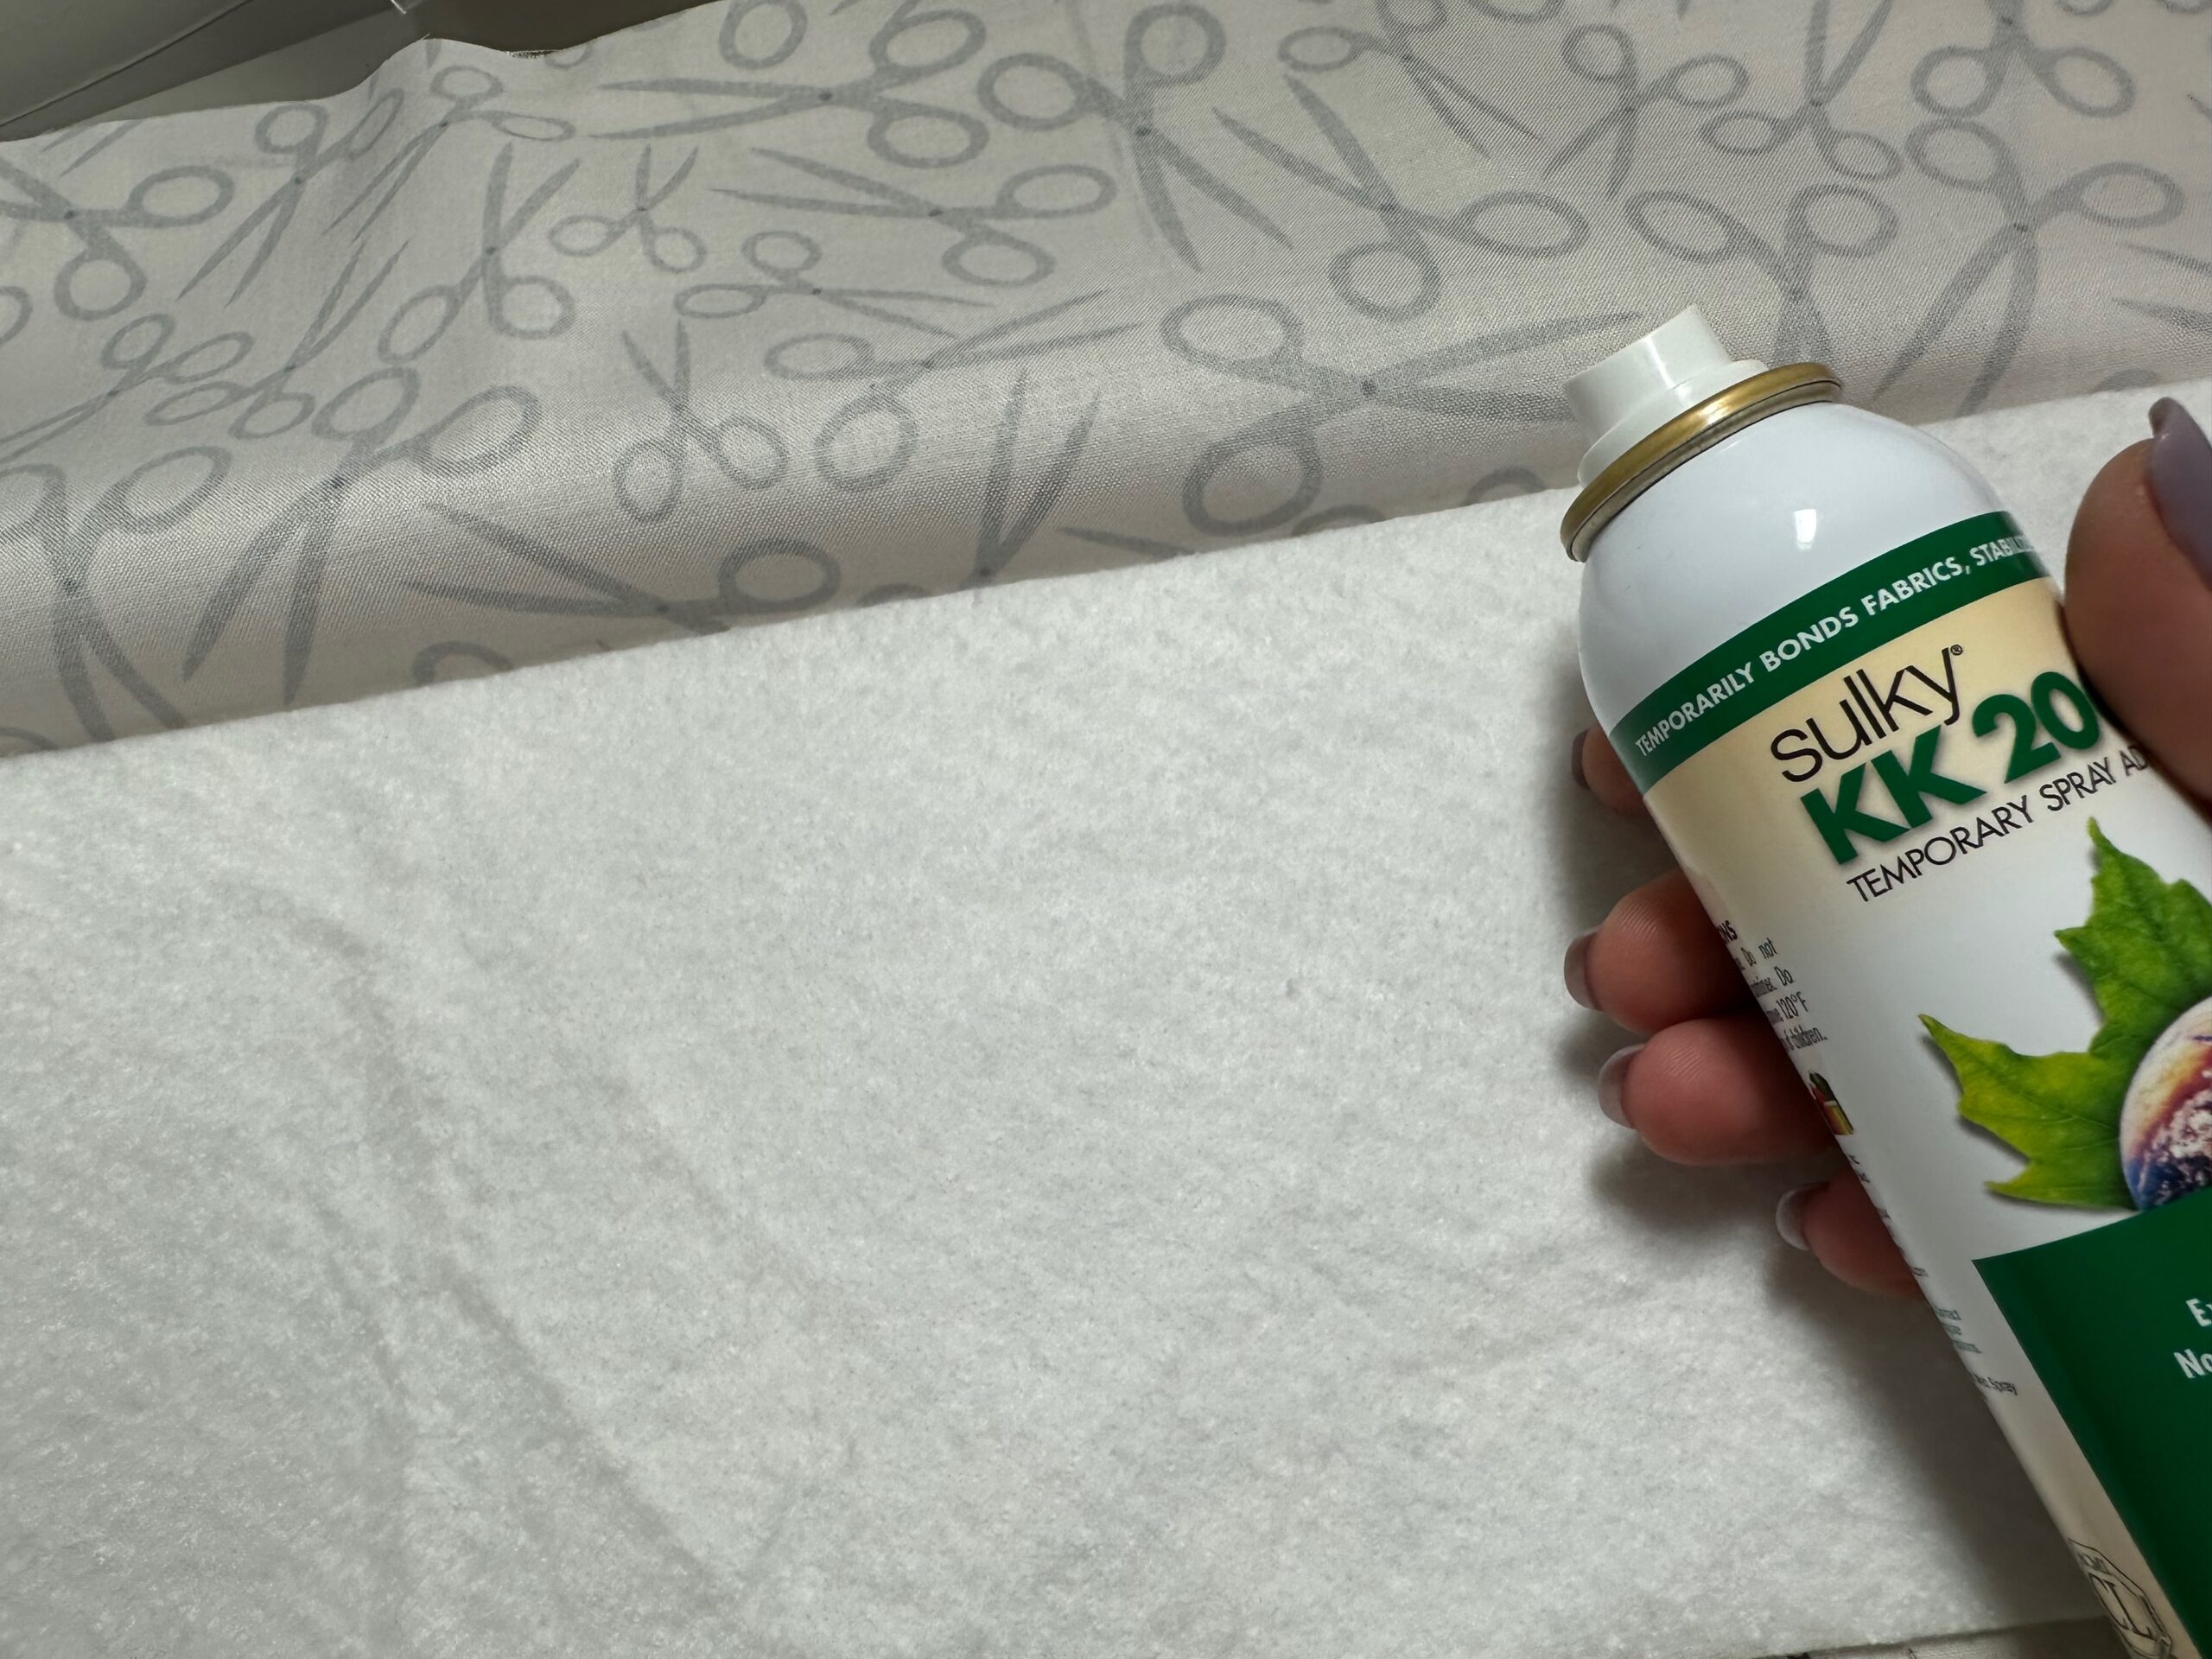
- 22″ square, 6″ x 22″ and 4¼” x 22″ rectangle of low-to medium-loft batting
- Sulky KK 2000 Temporary Spray Adhesive
- Organ size 70/10 Universal Needle
- Organ size 90/14 Quilting Needle
- Clover Wonder Clips
MAKER’S MAT QUILTING
Place the back fabric square wrong side up on a flat work surface. Spray the wrong side with Sulky KK 2000 Temporary Spray Adhesive.
Center the batting square over the back; finger-press to secure the batting to the fabric.
Place the front fabric square right side up over the batting; use KK 2000 to secure.
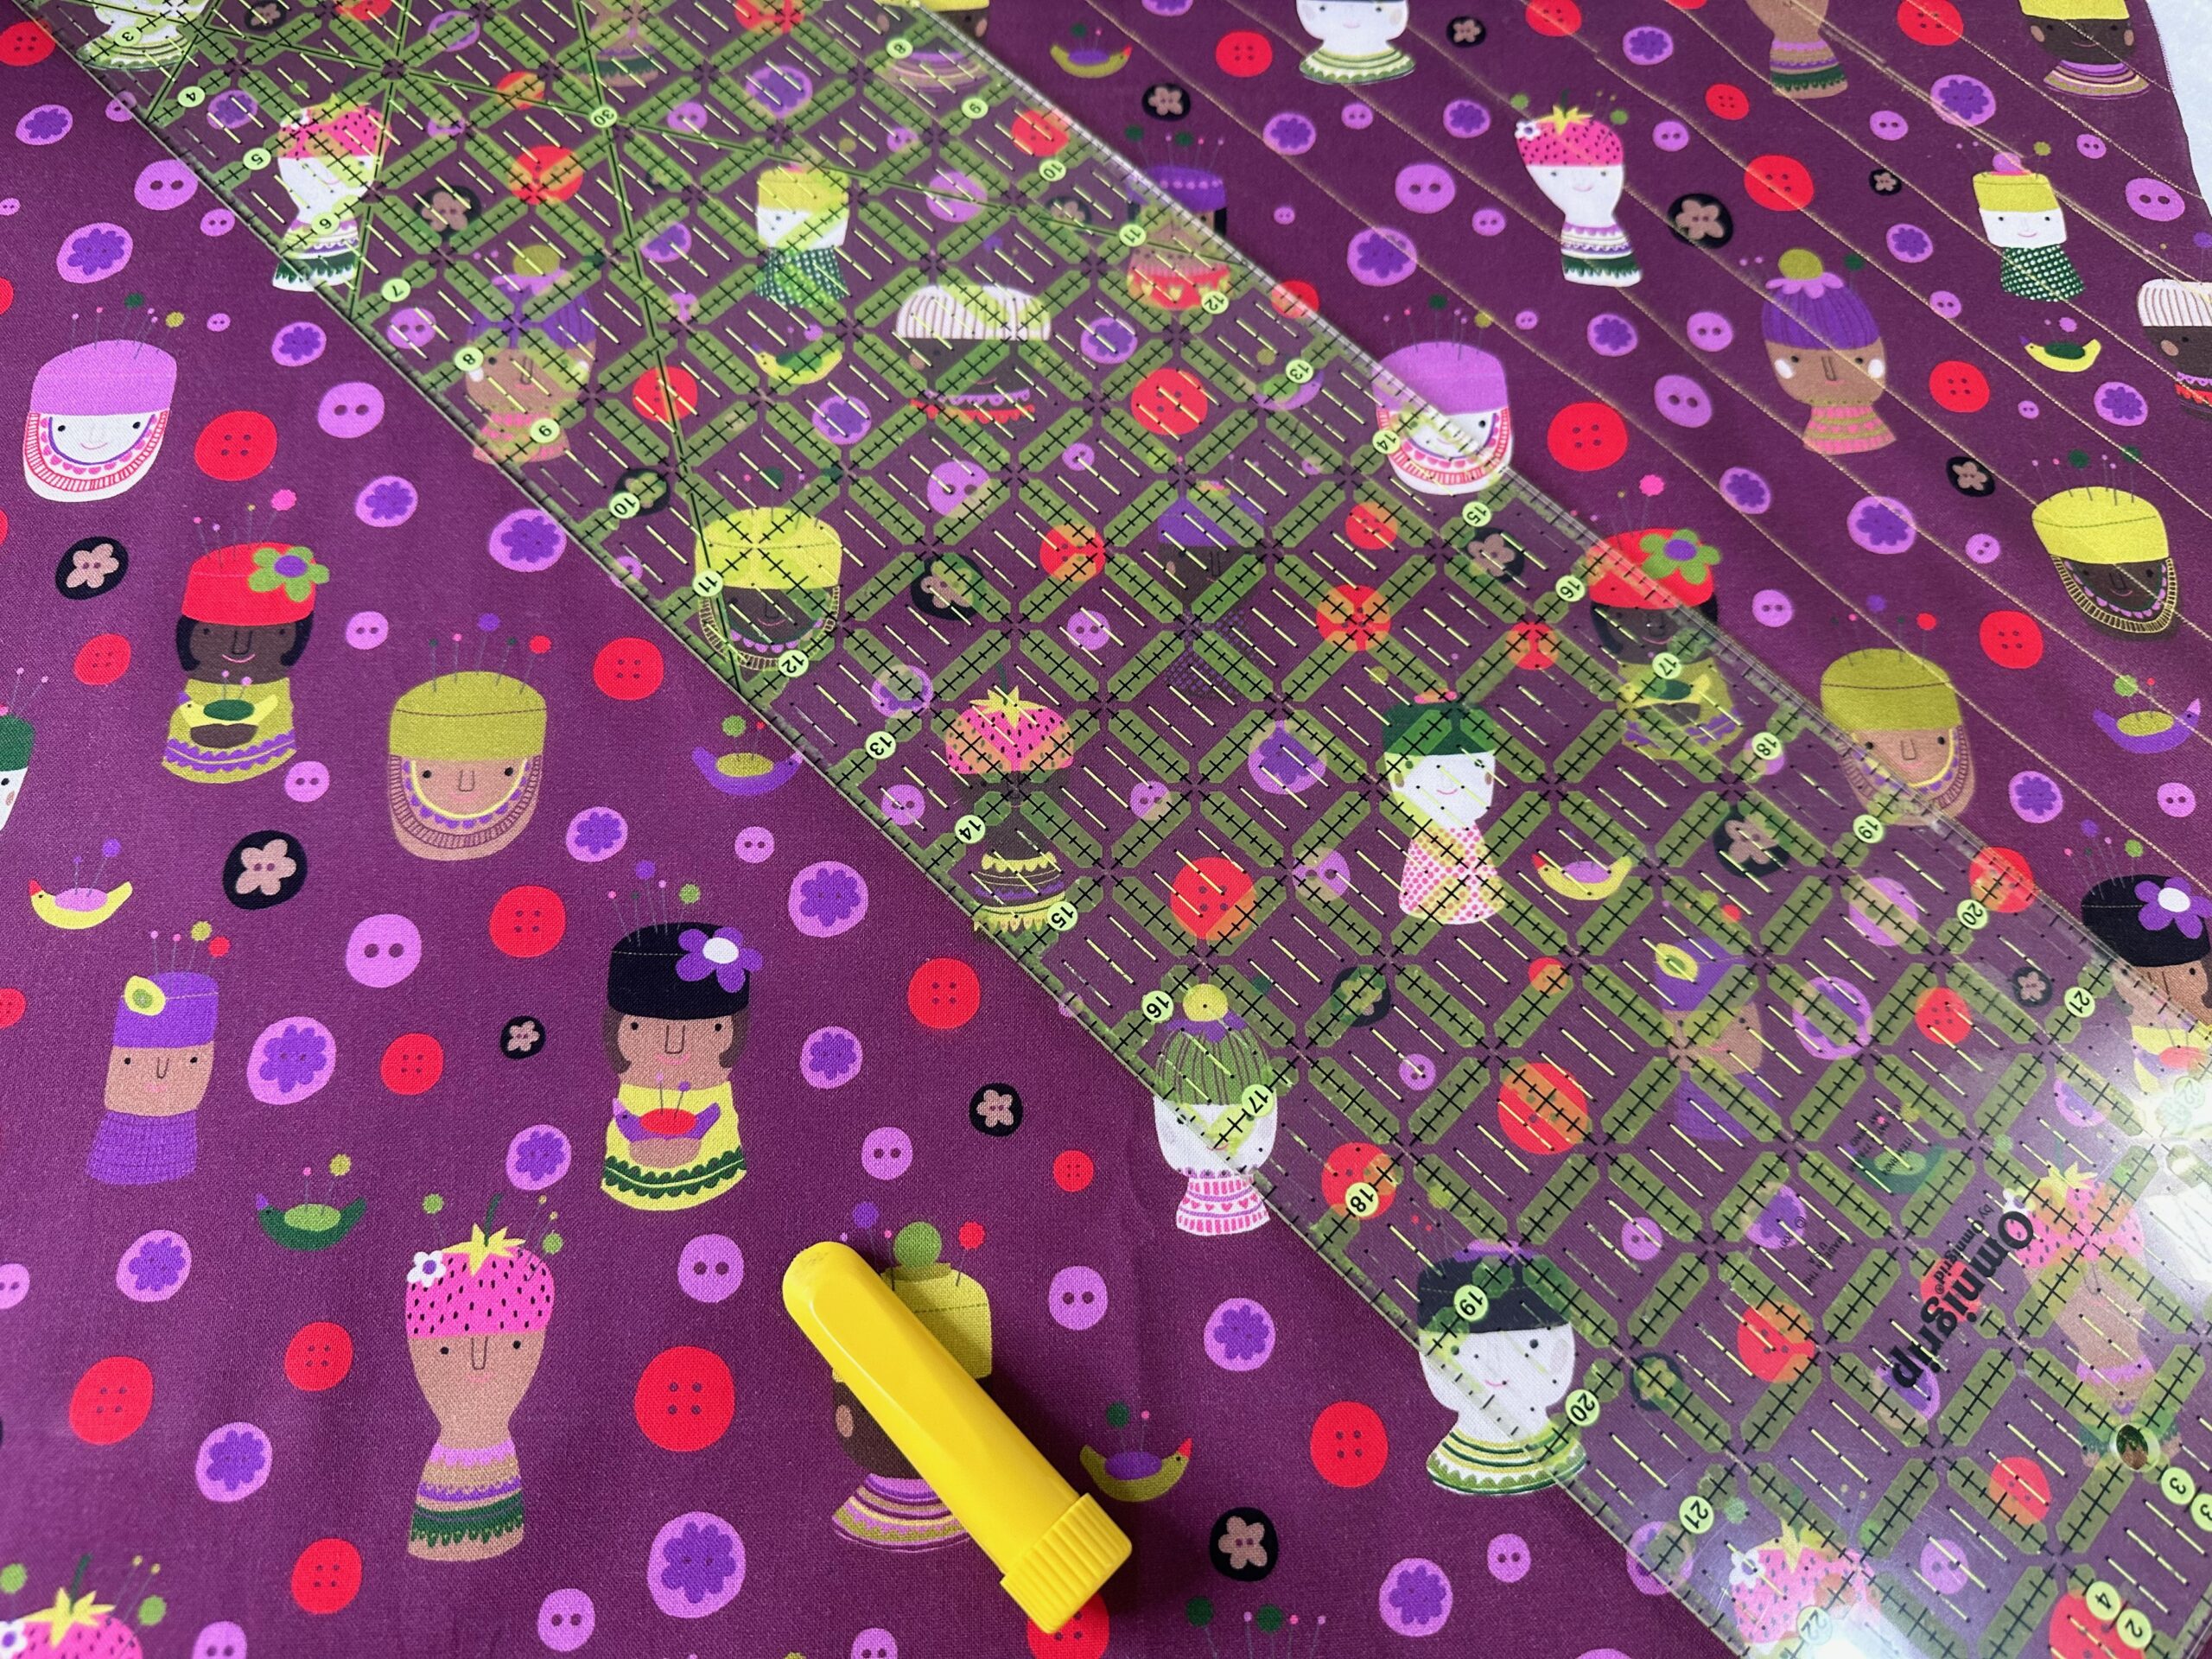
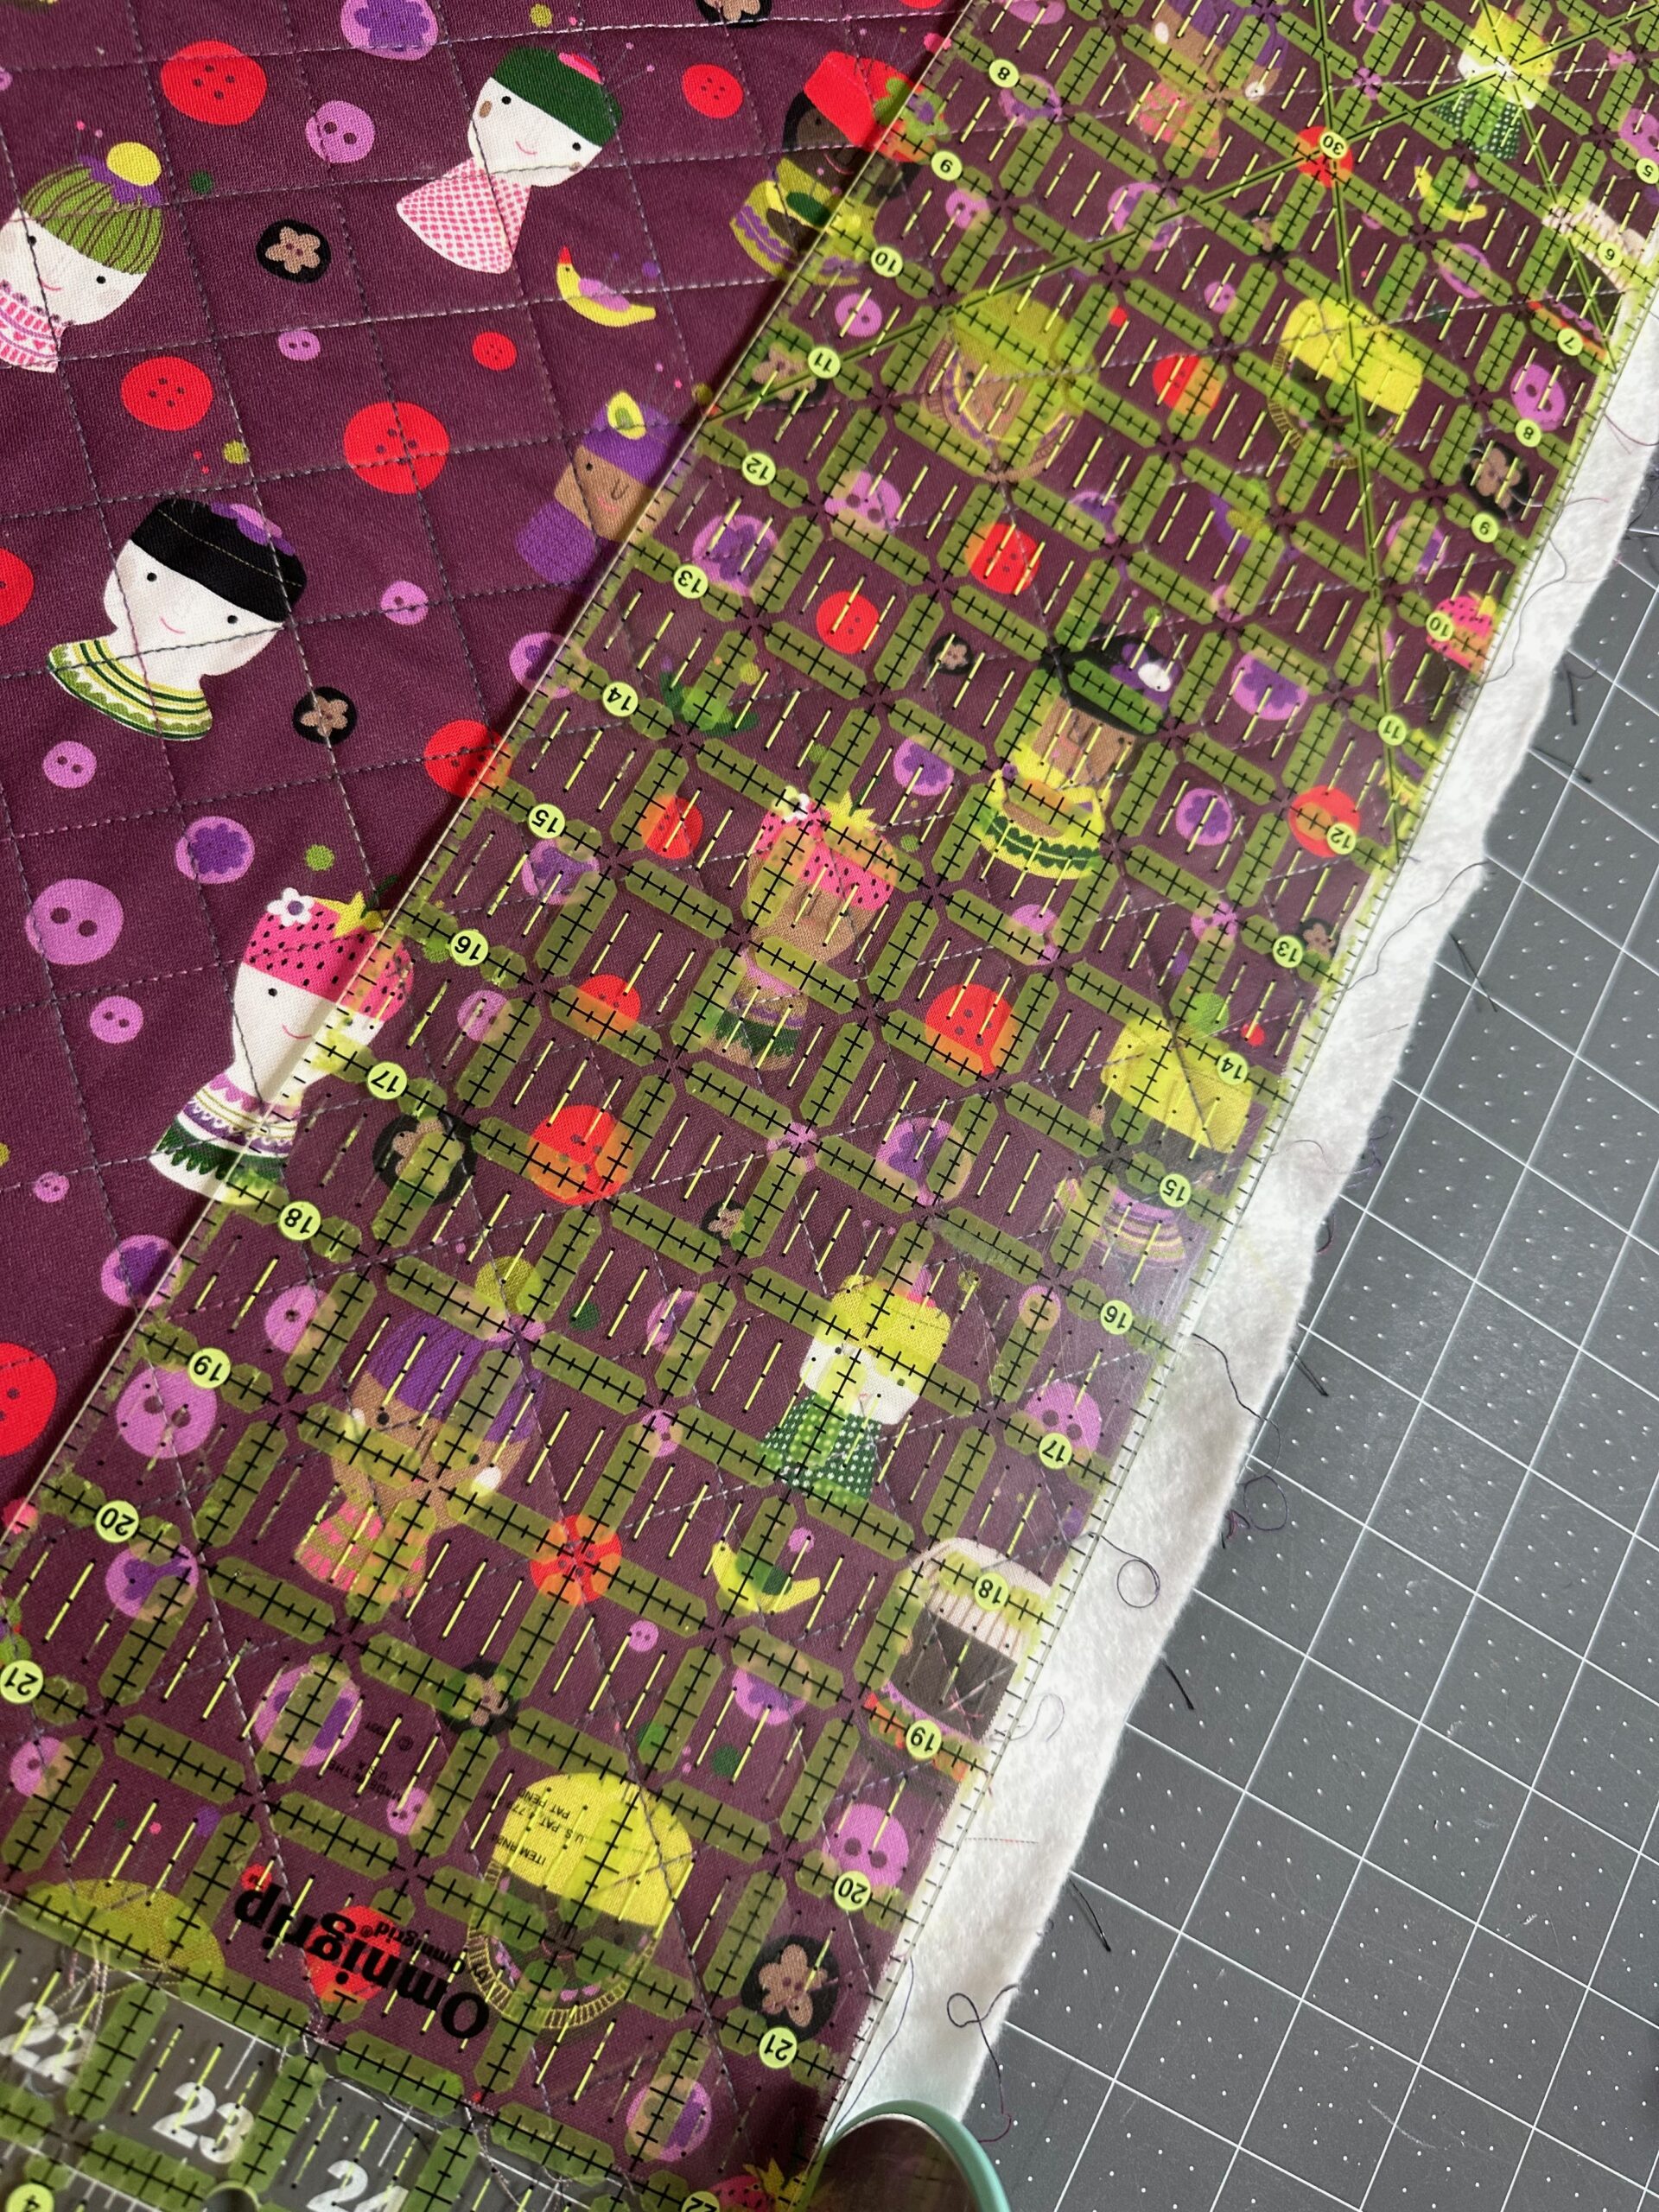
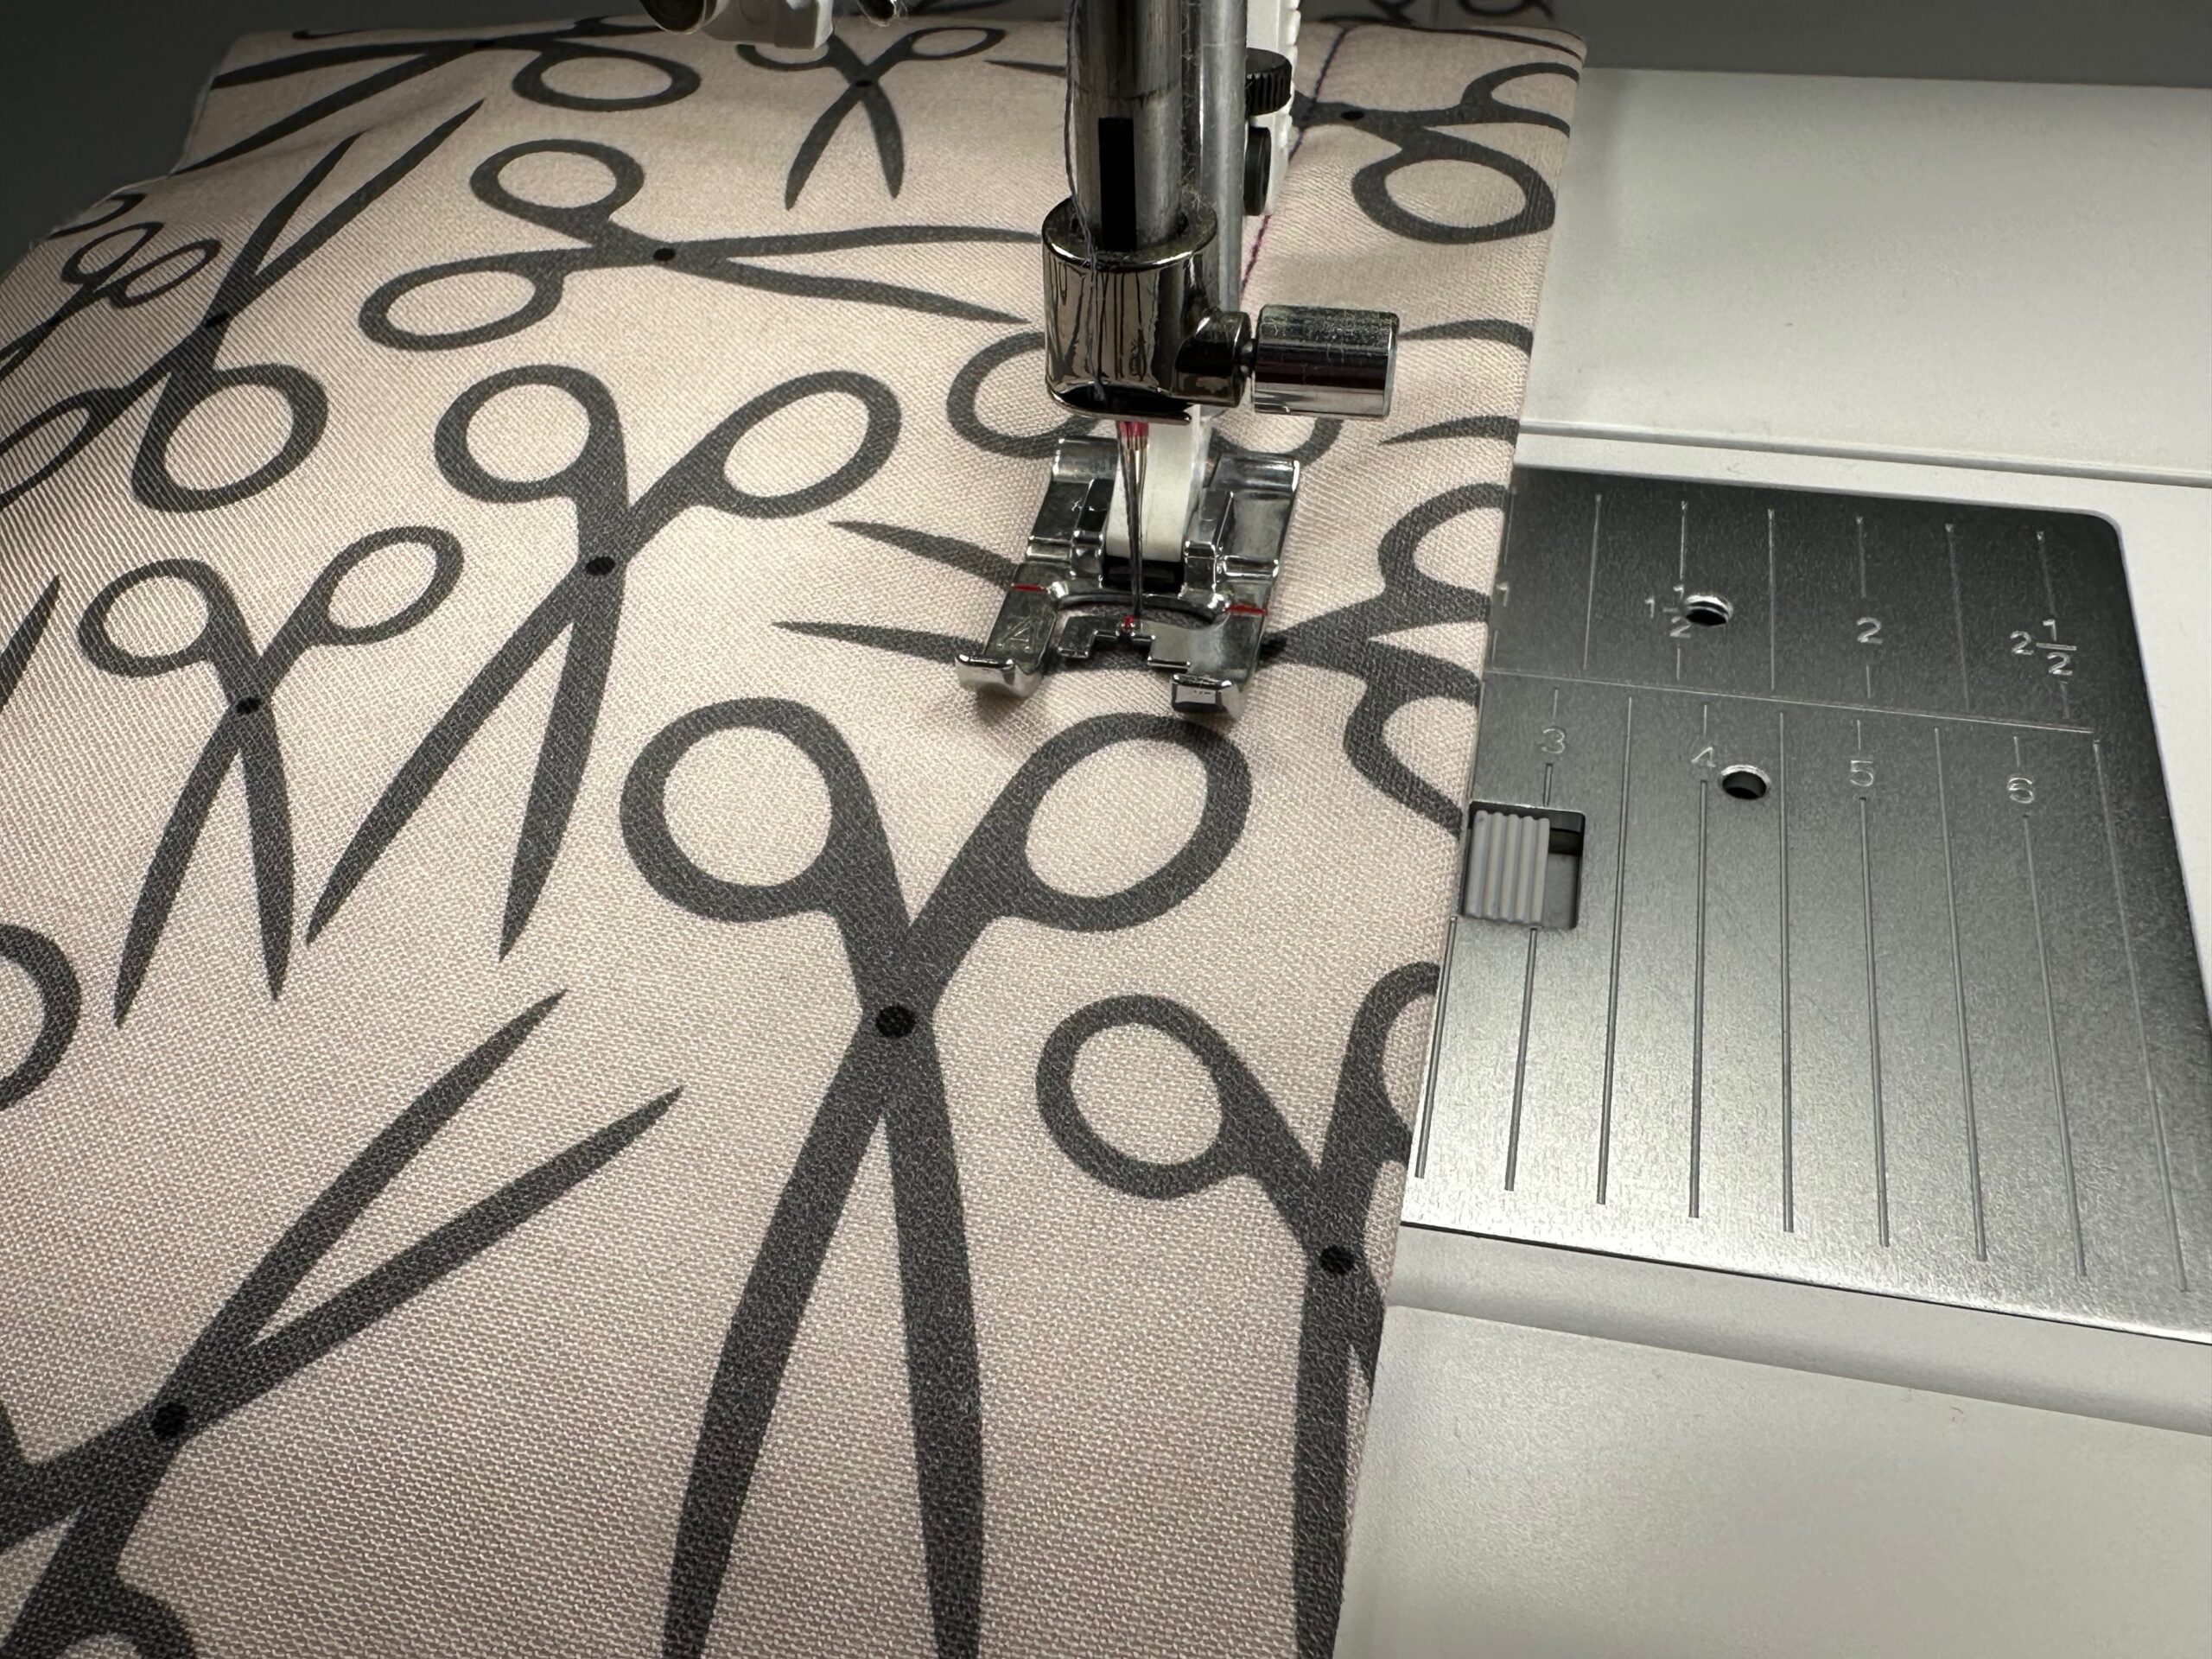
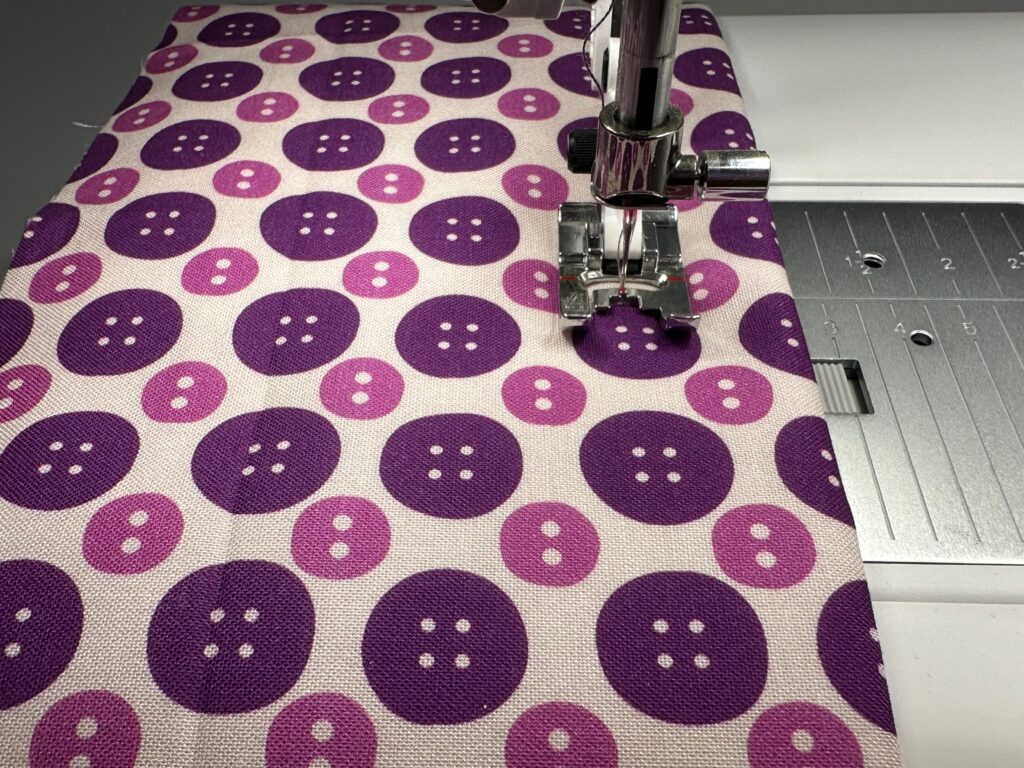
Plot the quilting lines on the front fabric right side. The featured Maker’s Mat is quilted with a 1″ crosshatch grid pattern.
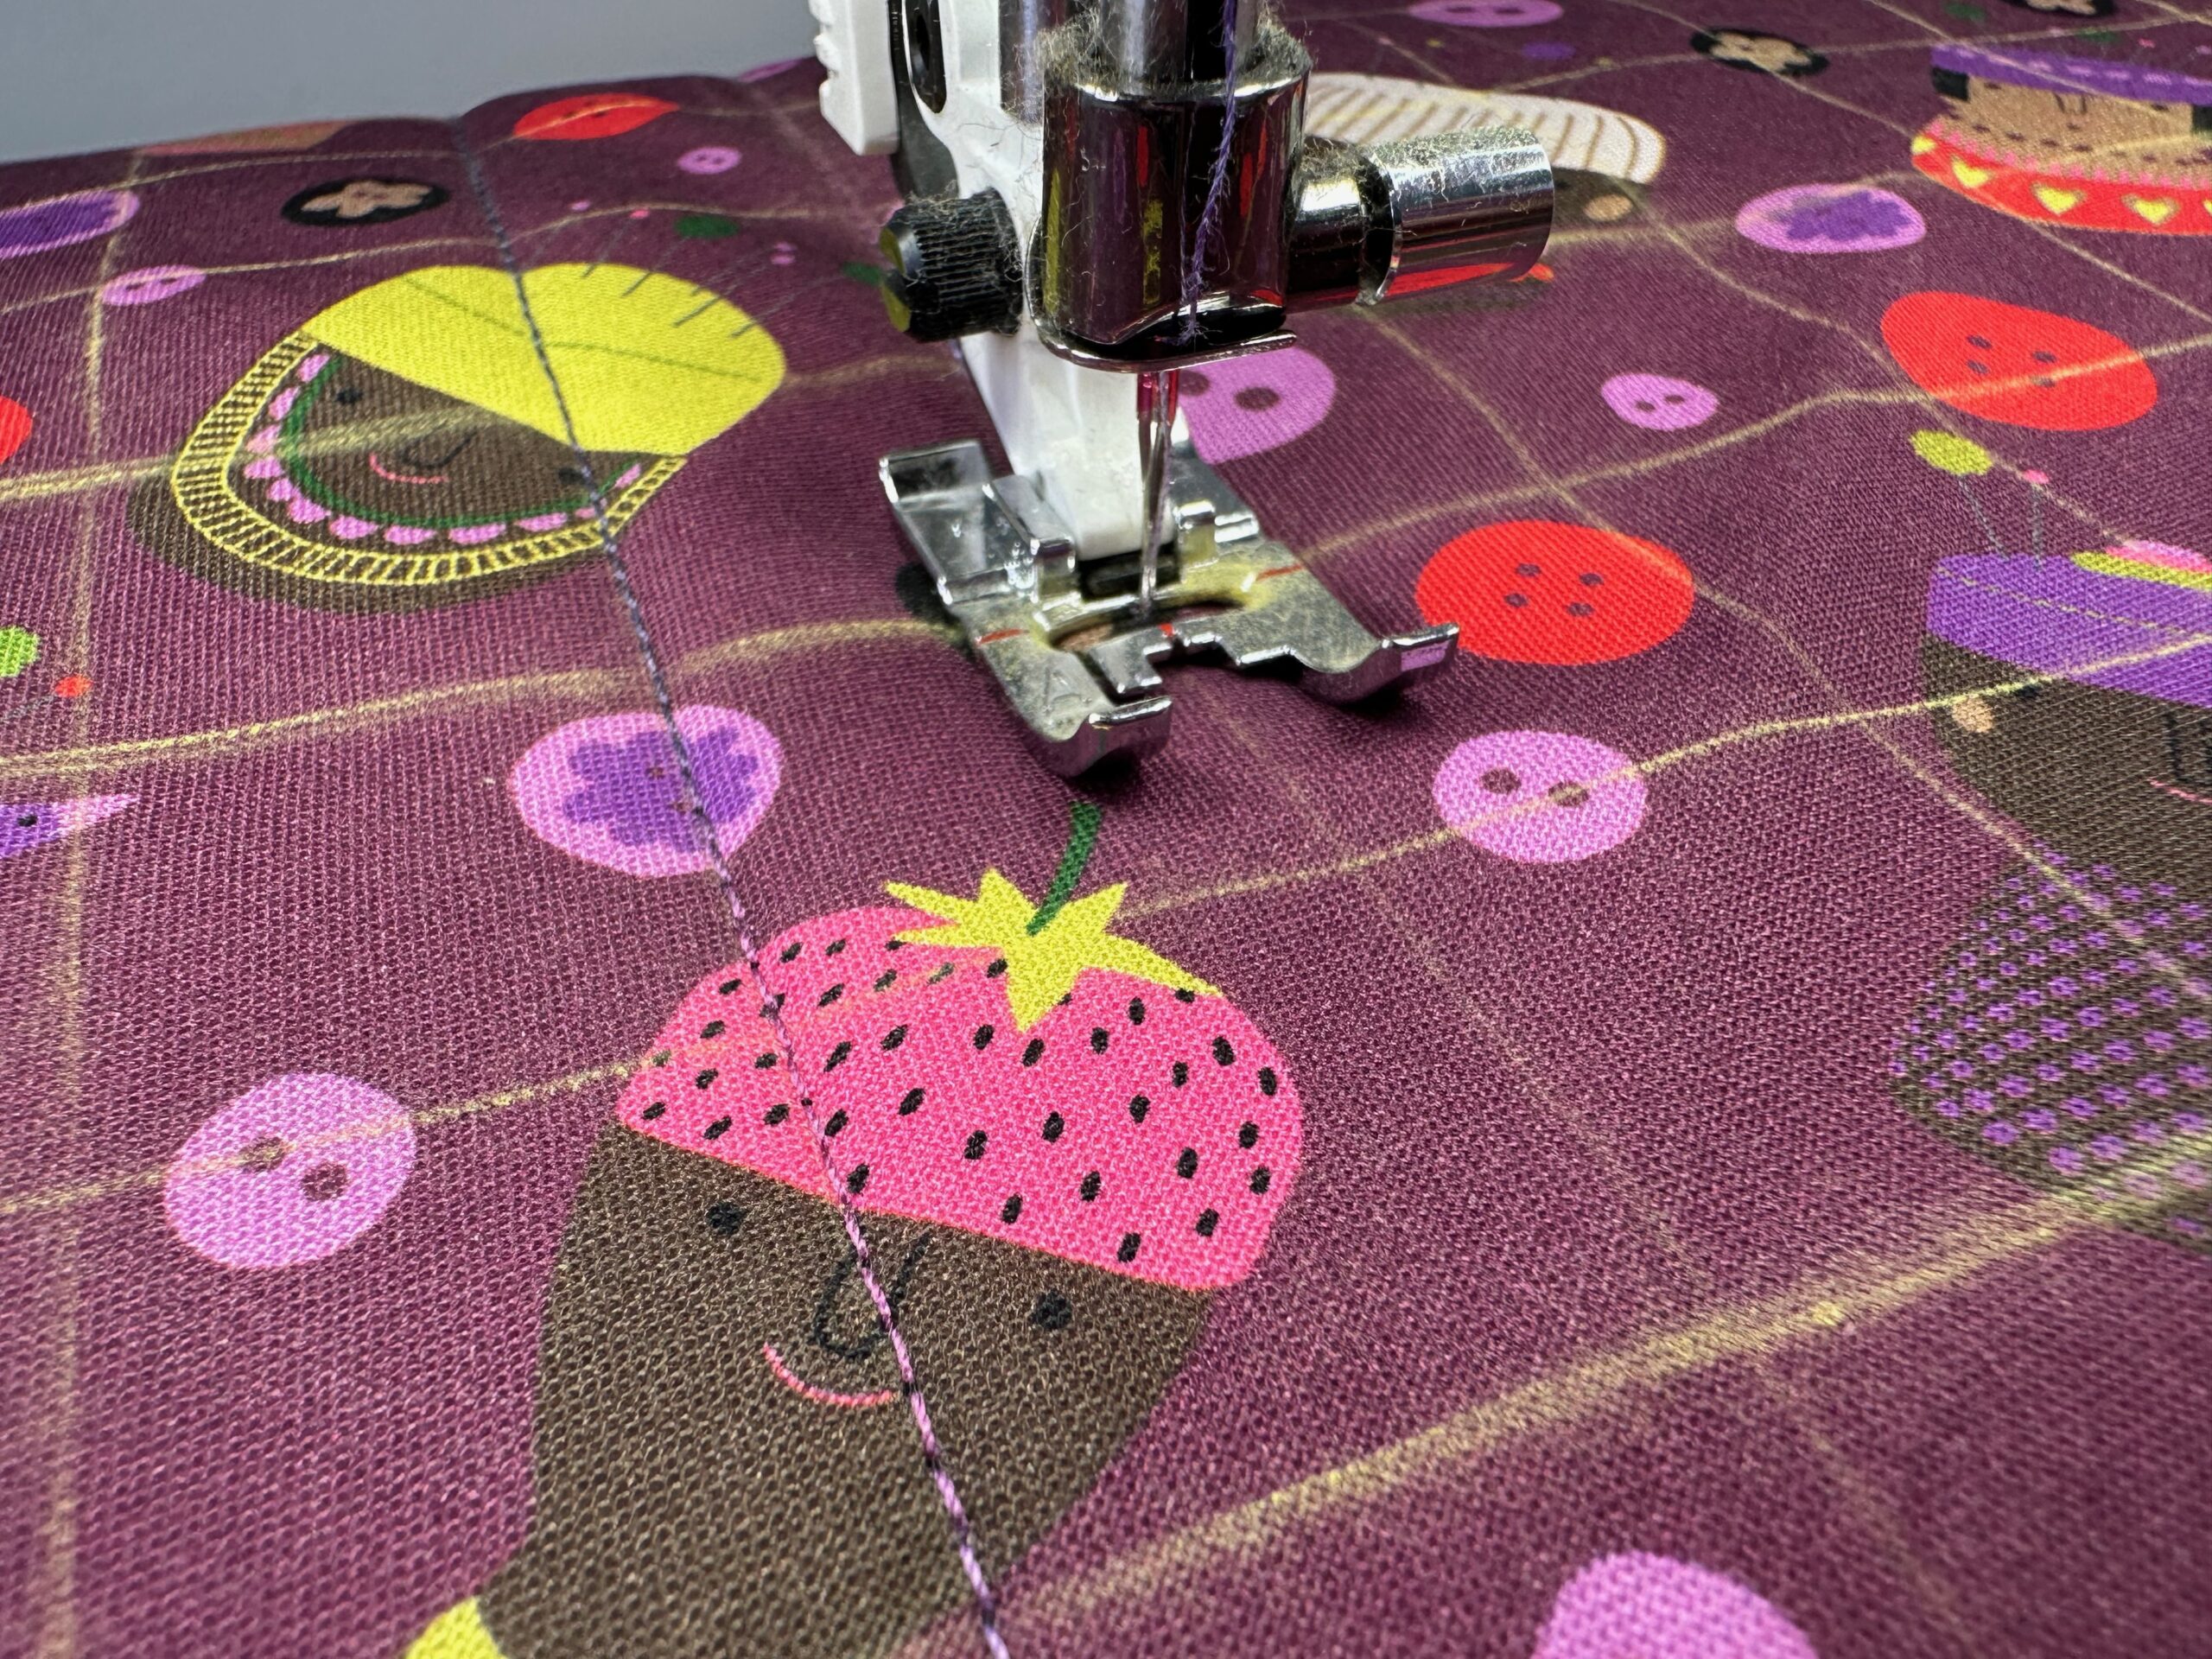
Insert a new size 90/14 Quilting Needle into the machine. Thread the needle with 30 wt. Cotton Blendables. Wind a bobbin with 50 wt. Cotton Thread.
Lengthen the stitch length to 3.0mm or 3.5mm.
Quilt the fabric square, beginning in the enter and working outward. Stitch in the same direction across the width and length.
When quilting is complete, remove any fabric markings. Press, if needed. Then, trim the square so all edges are even.
POCKET CONSTRUCTION
Install a new size 70/10 Universal Needle into the machine. Thread the needle and wind a bobbin with 50 wt. Cotton Thread.
Shorten the stitch length to 2.0mm.
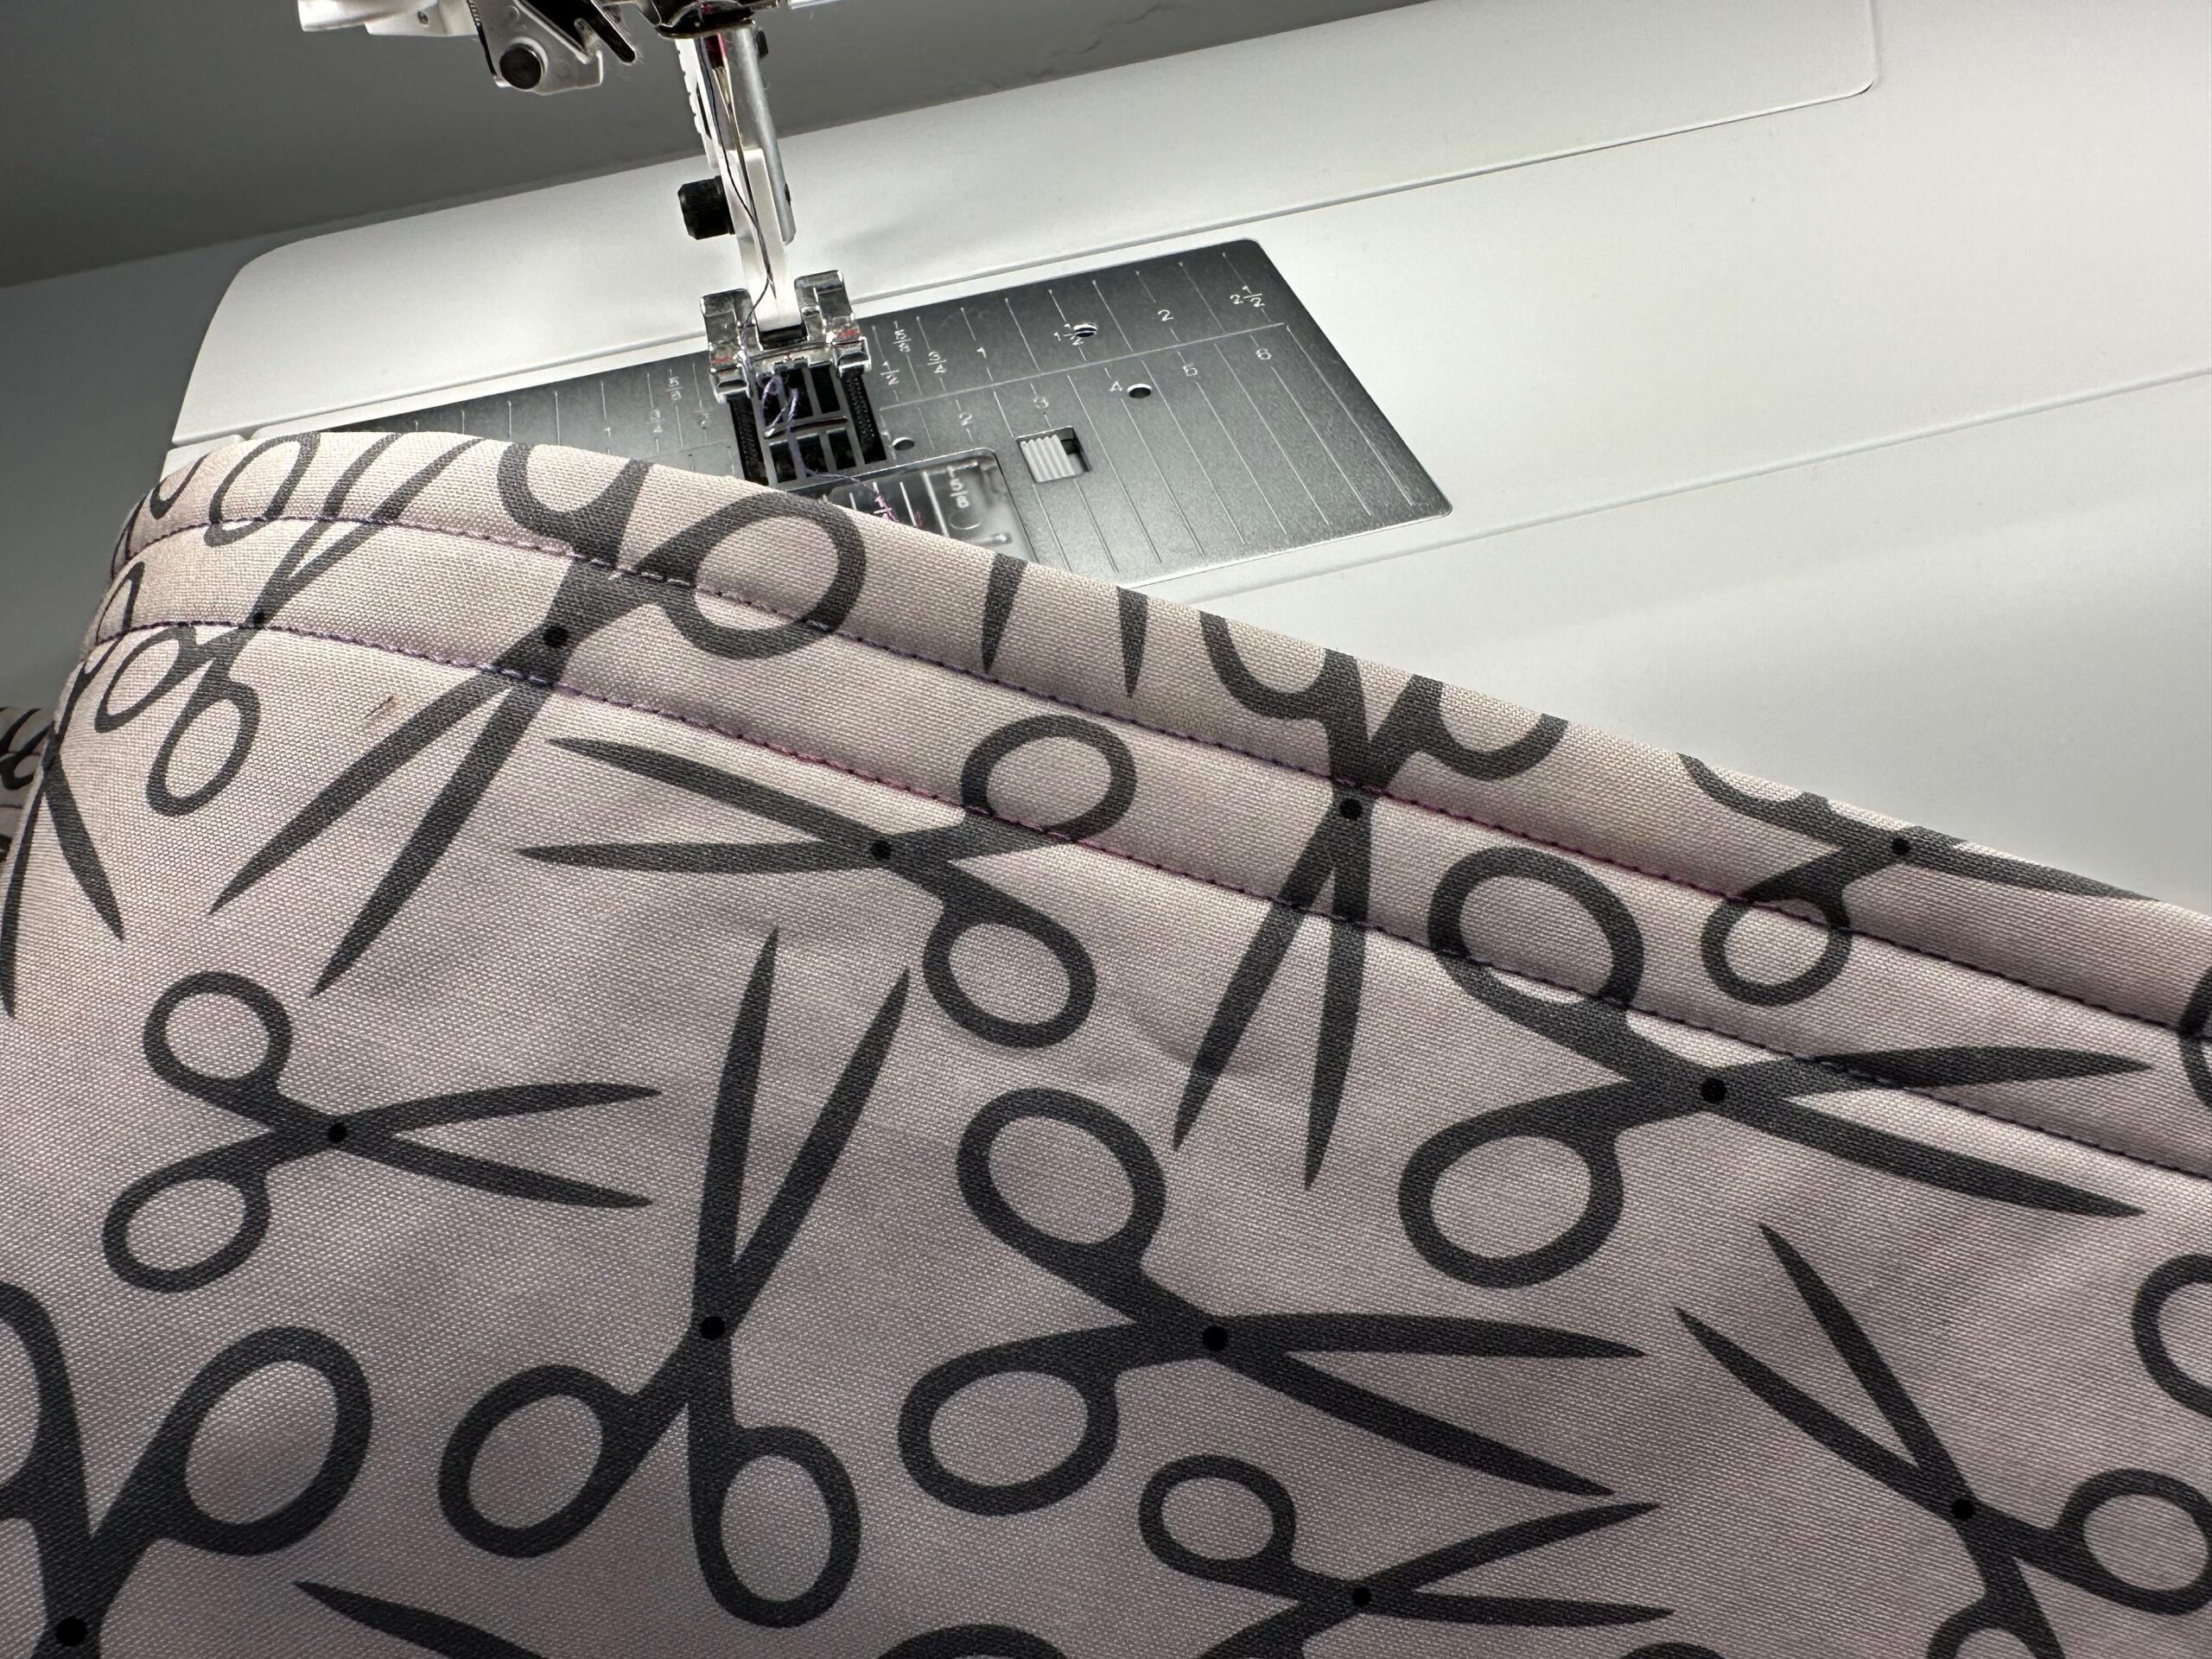
Fold the back pocket rectangle in half lengthwise with wrong sides together; press.
Insert the widest batting rectangle between the folded fabric, abutting one batting long edge with the fabric fold. Use KK 2000 to secure the fabric to each batting side.
Stitch 1″ from the fabric fold.
Then, stitch 1/2″ from the fabric fold.
Repeat to create the front pocket.

ASSEMBLY
Place the quilted fabric square right side up on a flat work surface.
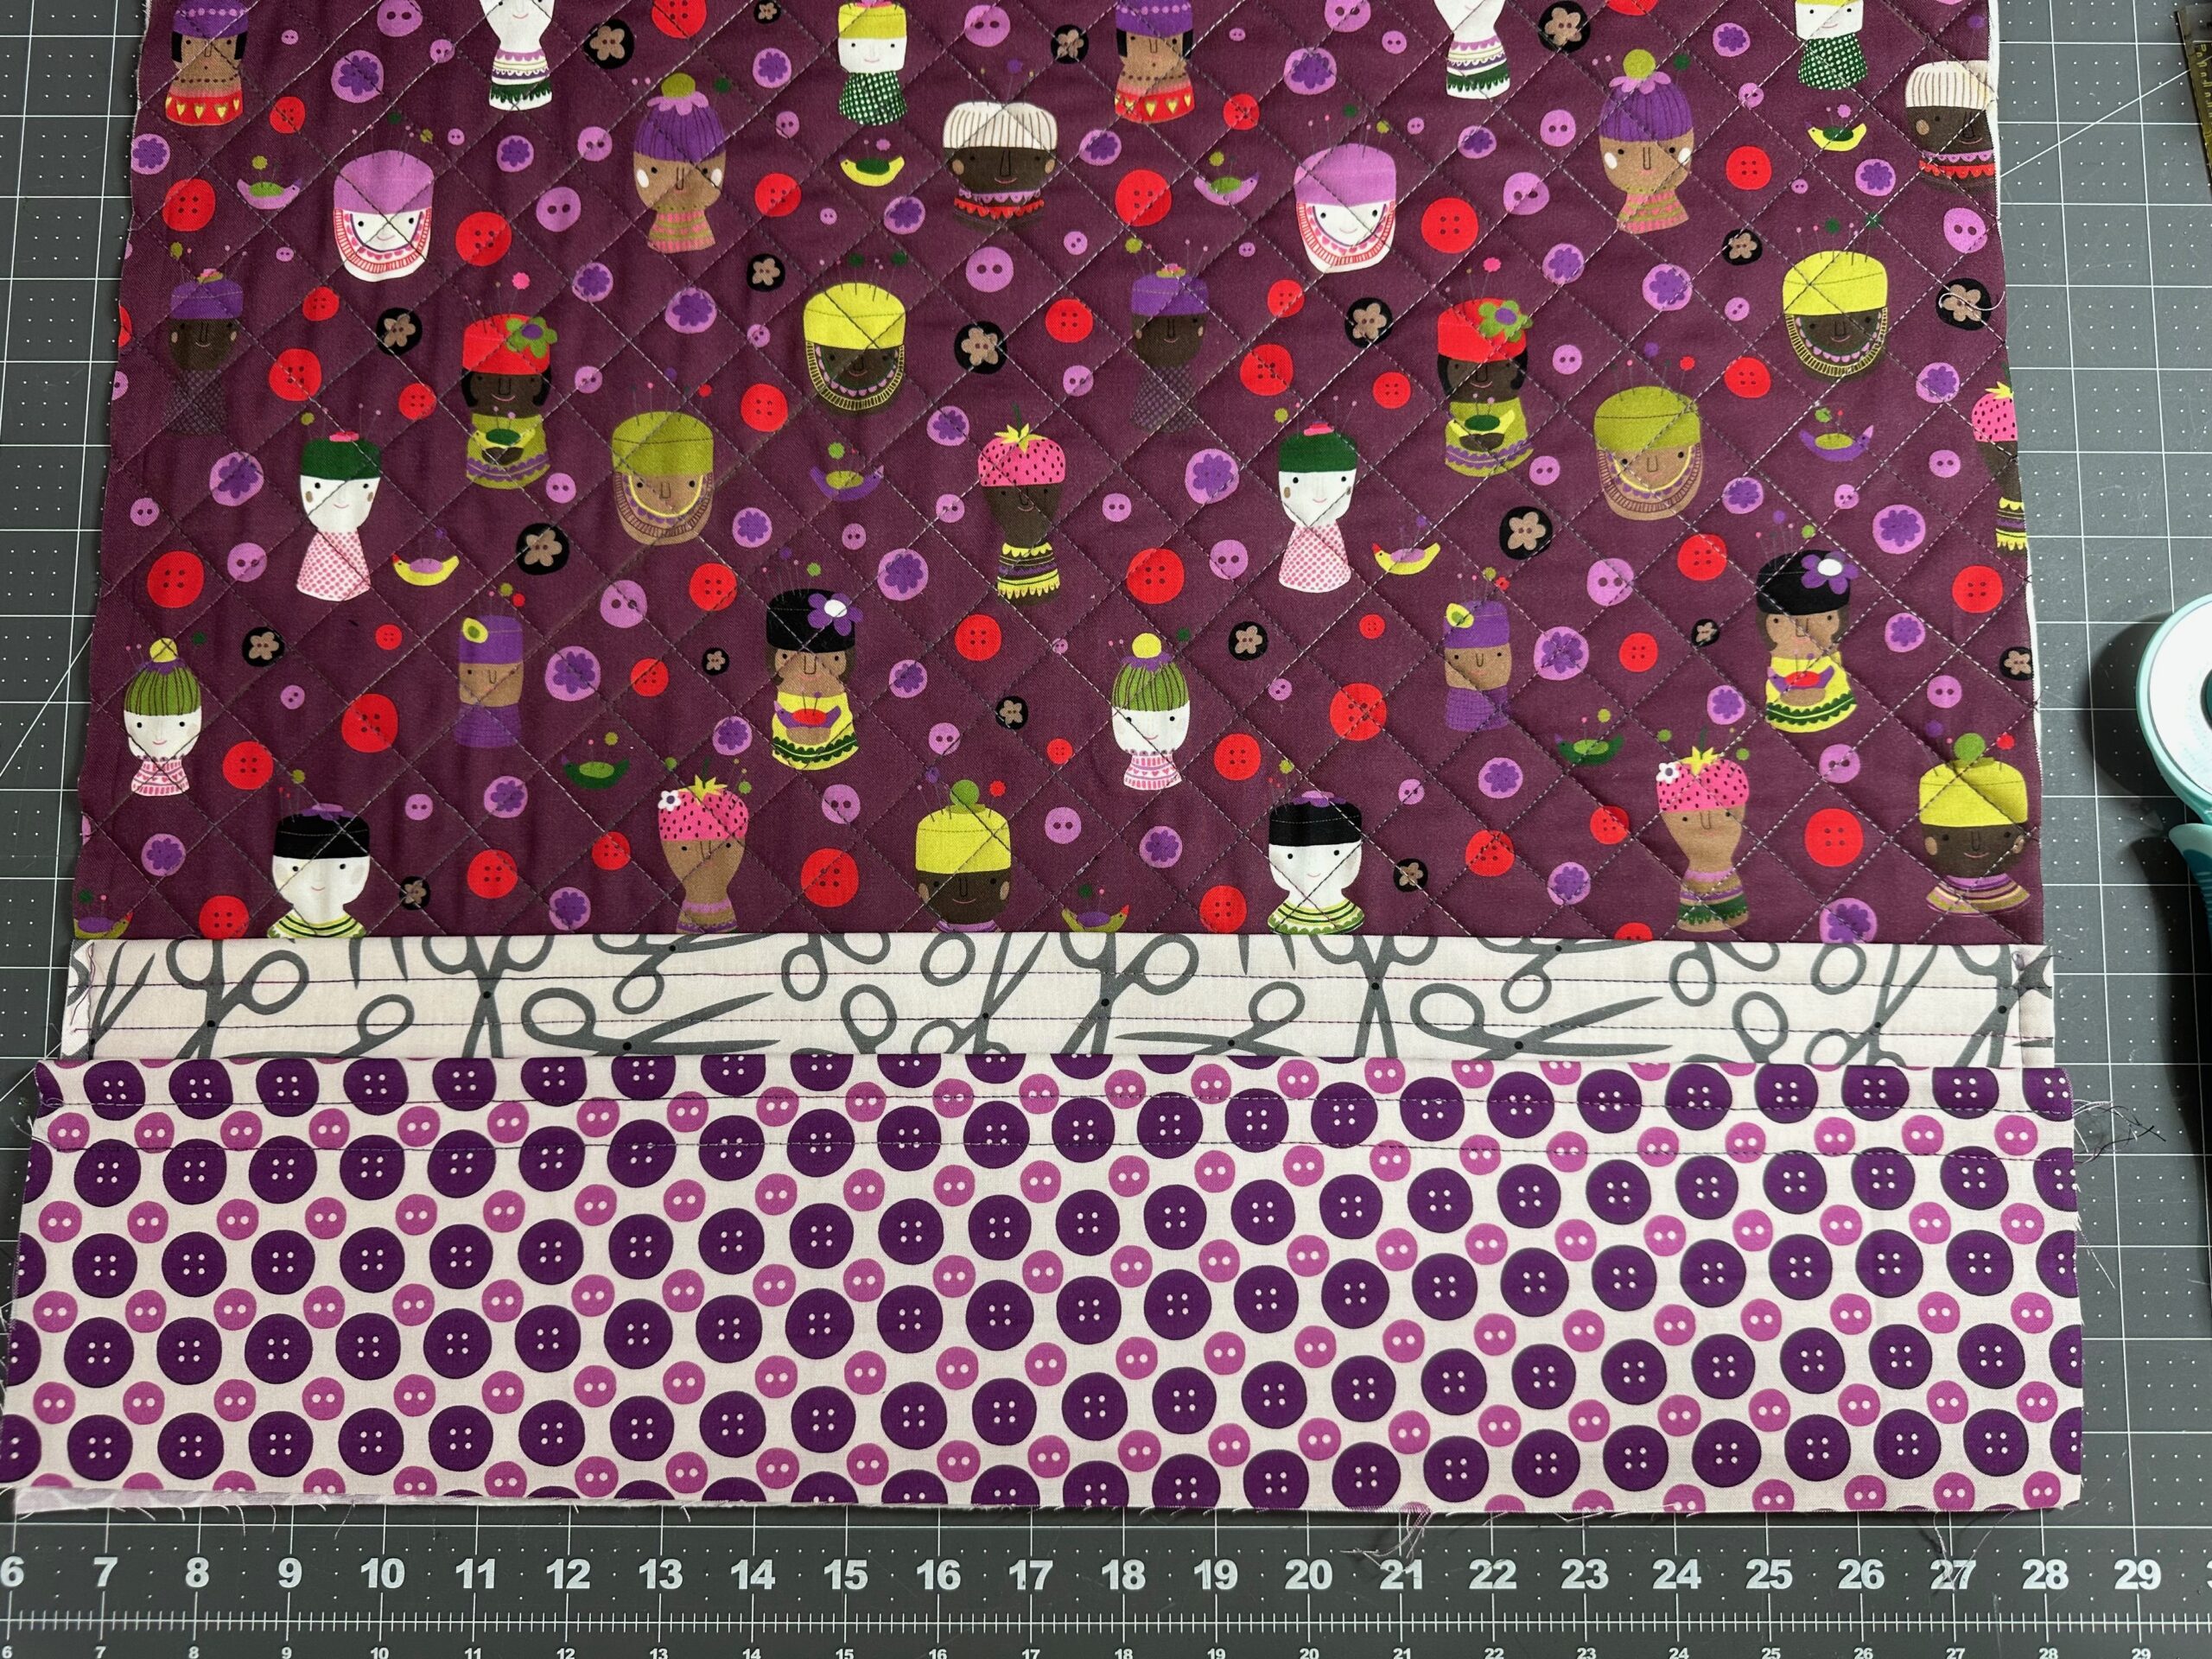
Center the back pocket on the square, aligning the long raw edges. Baste the pocket sides to the quilted square sides.
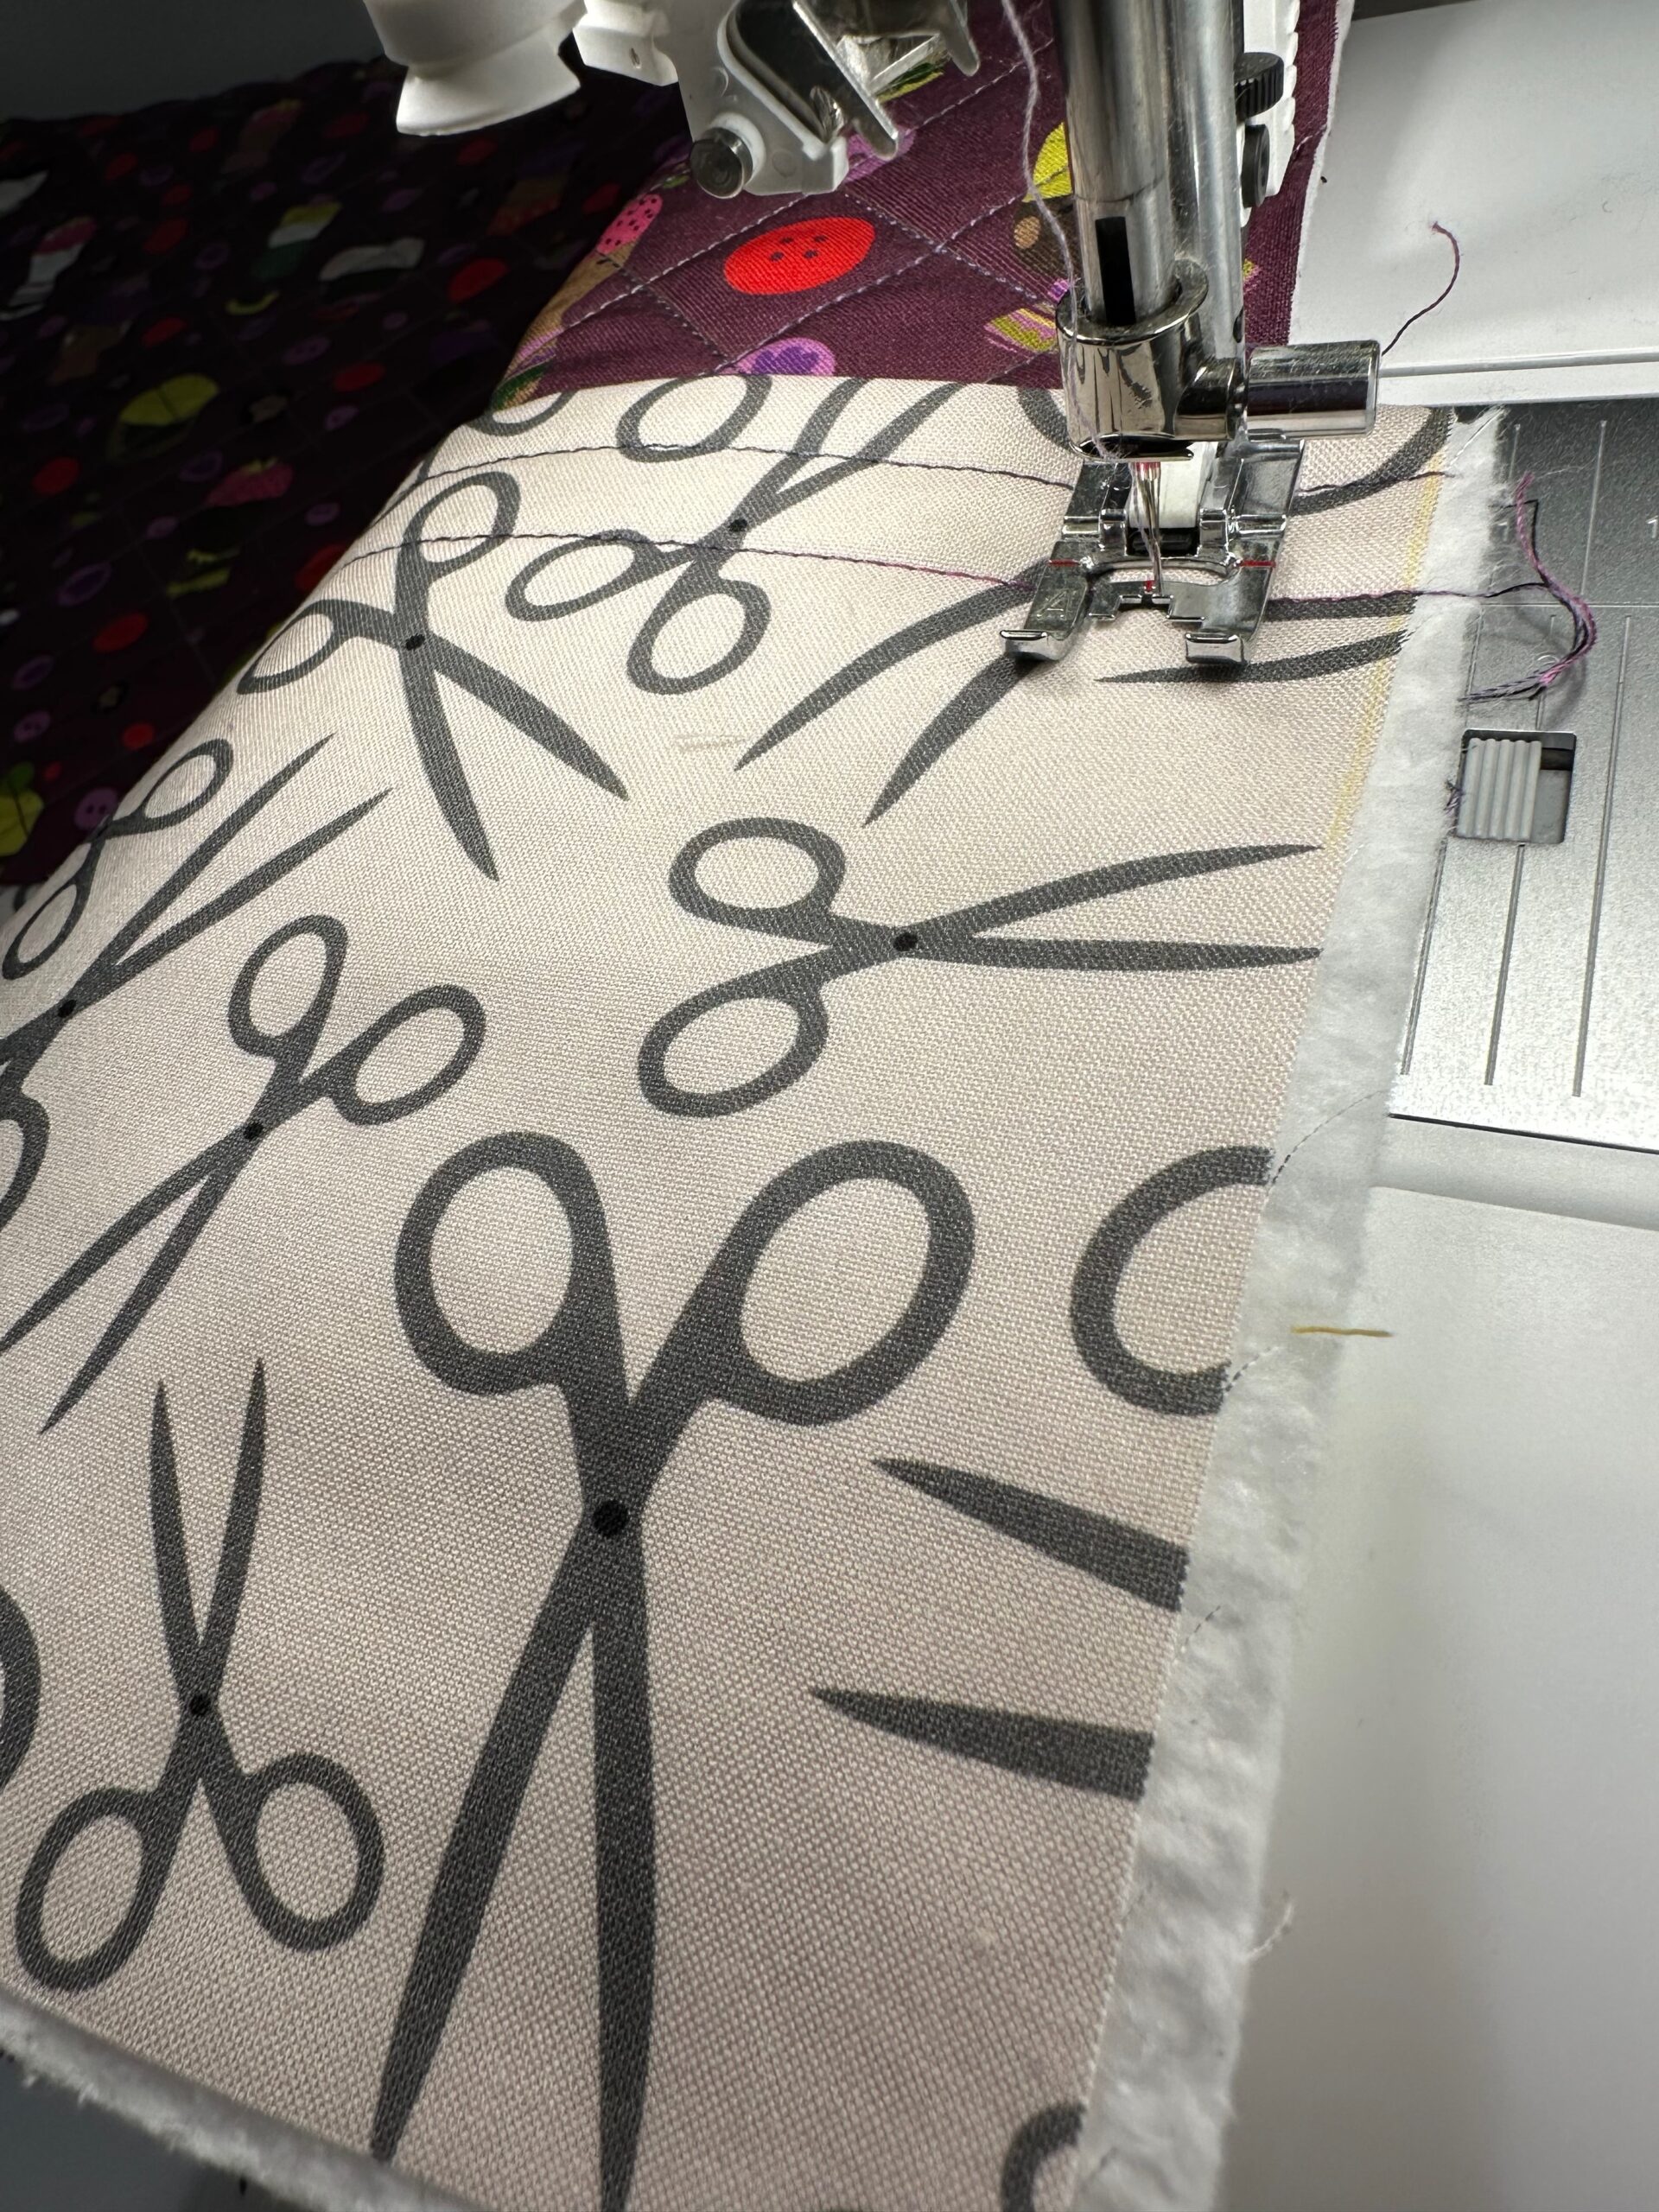
Center the front pocket over the back pocket, aligning the long raw edges. Clip the sides to secure.
Plot the pocket stitching lines where desired.

Next, stitch along each line from the lower edge to the back-pocket upper edge.

Then, baste the front pocket sides to the square sides using a 5.0mm stitch length. Next, baste the pocket/square lower edge.
If needed, trim the pocket sides even with the quilted square.
BINDING THE MAKER’S MAT
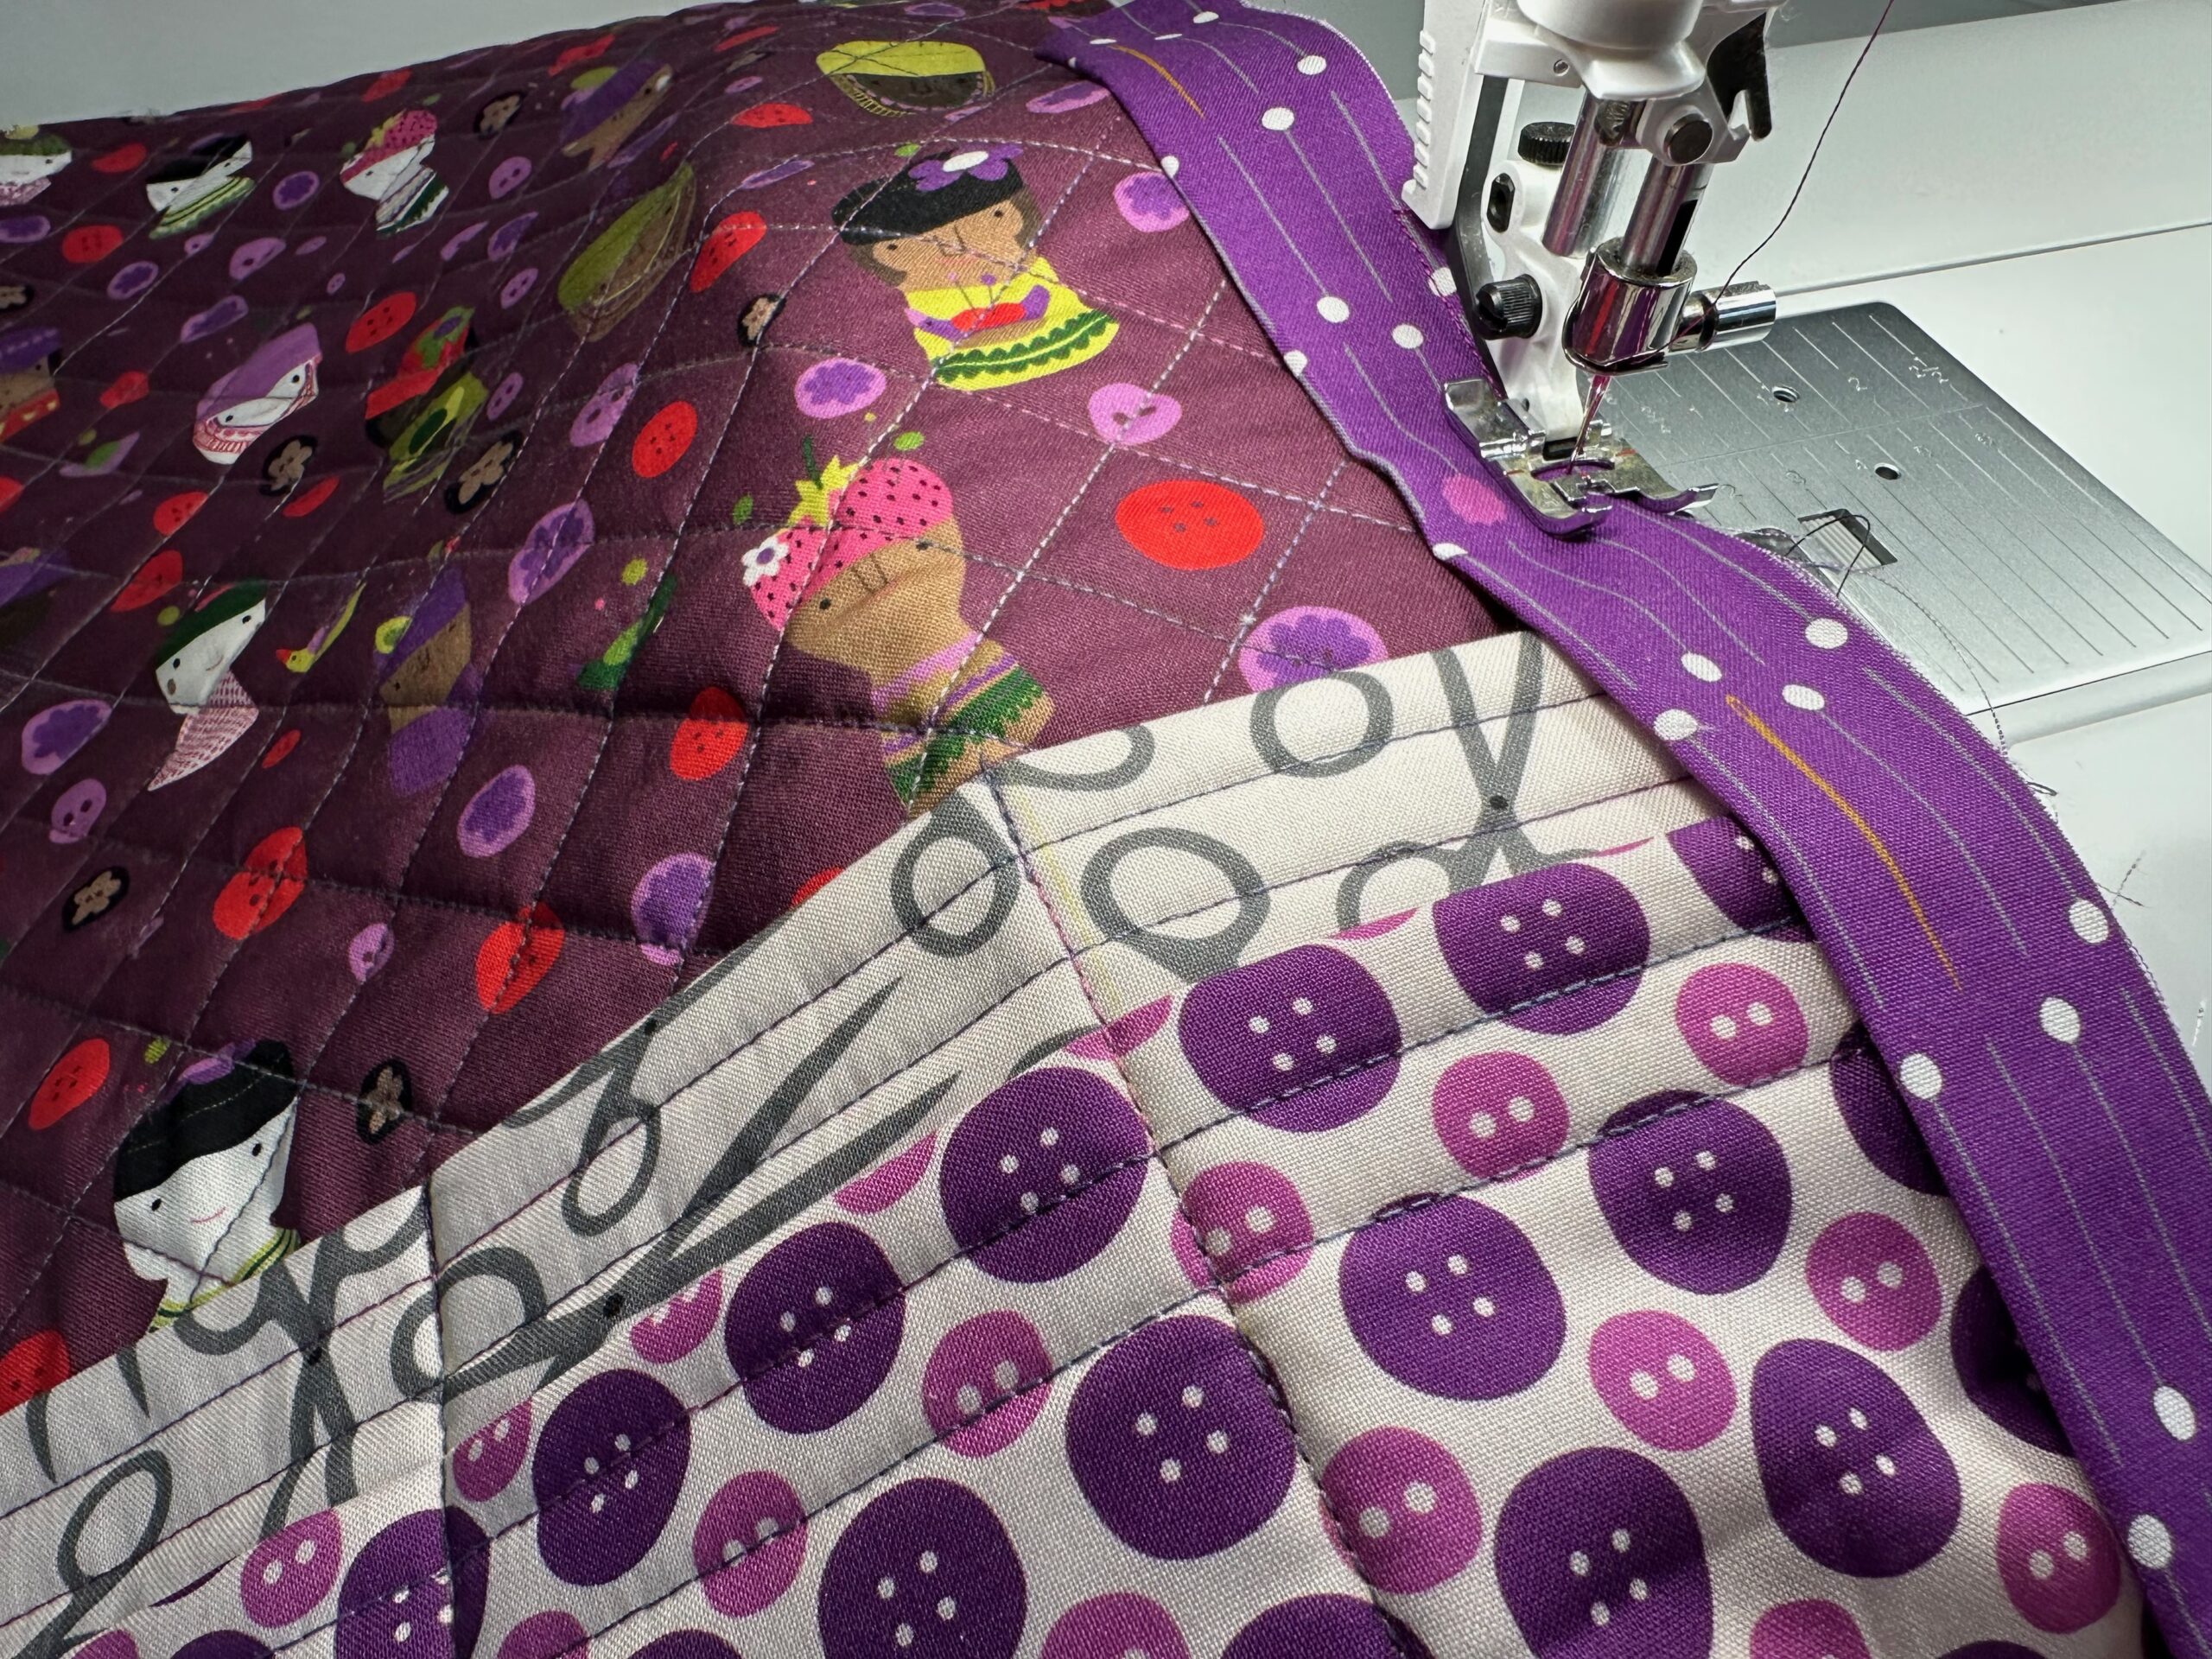
From the binding fabric, cut enough 2 1/2″-wide strips to create a 98″ strip when pieced. Cut either straight gran or bias binding, depending on preference.
After piecing the fabric strips, fold the binding in half lengthwise with wrong sides together; press.
Bind the Maker’s Mat in the manner of your choice, using the prepared binding strip.
Place the mat underneath your sewing machine on the table and fill the pockets with your most-used tools and notions.

Thanks, looks like a great helpful great project. I look forward to making one.
Thank you for this I need it badly!! YAY!!