Nylon Drawstring Bag
how to sew the perfect summer accessory
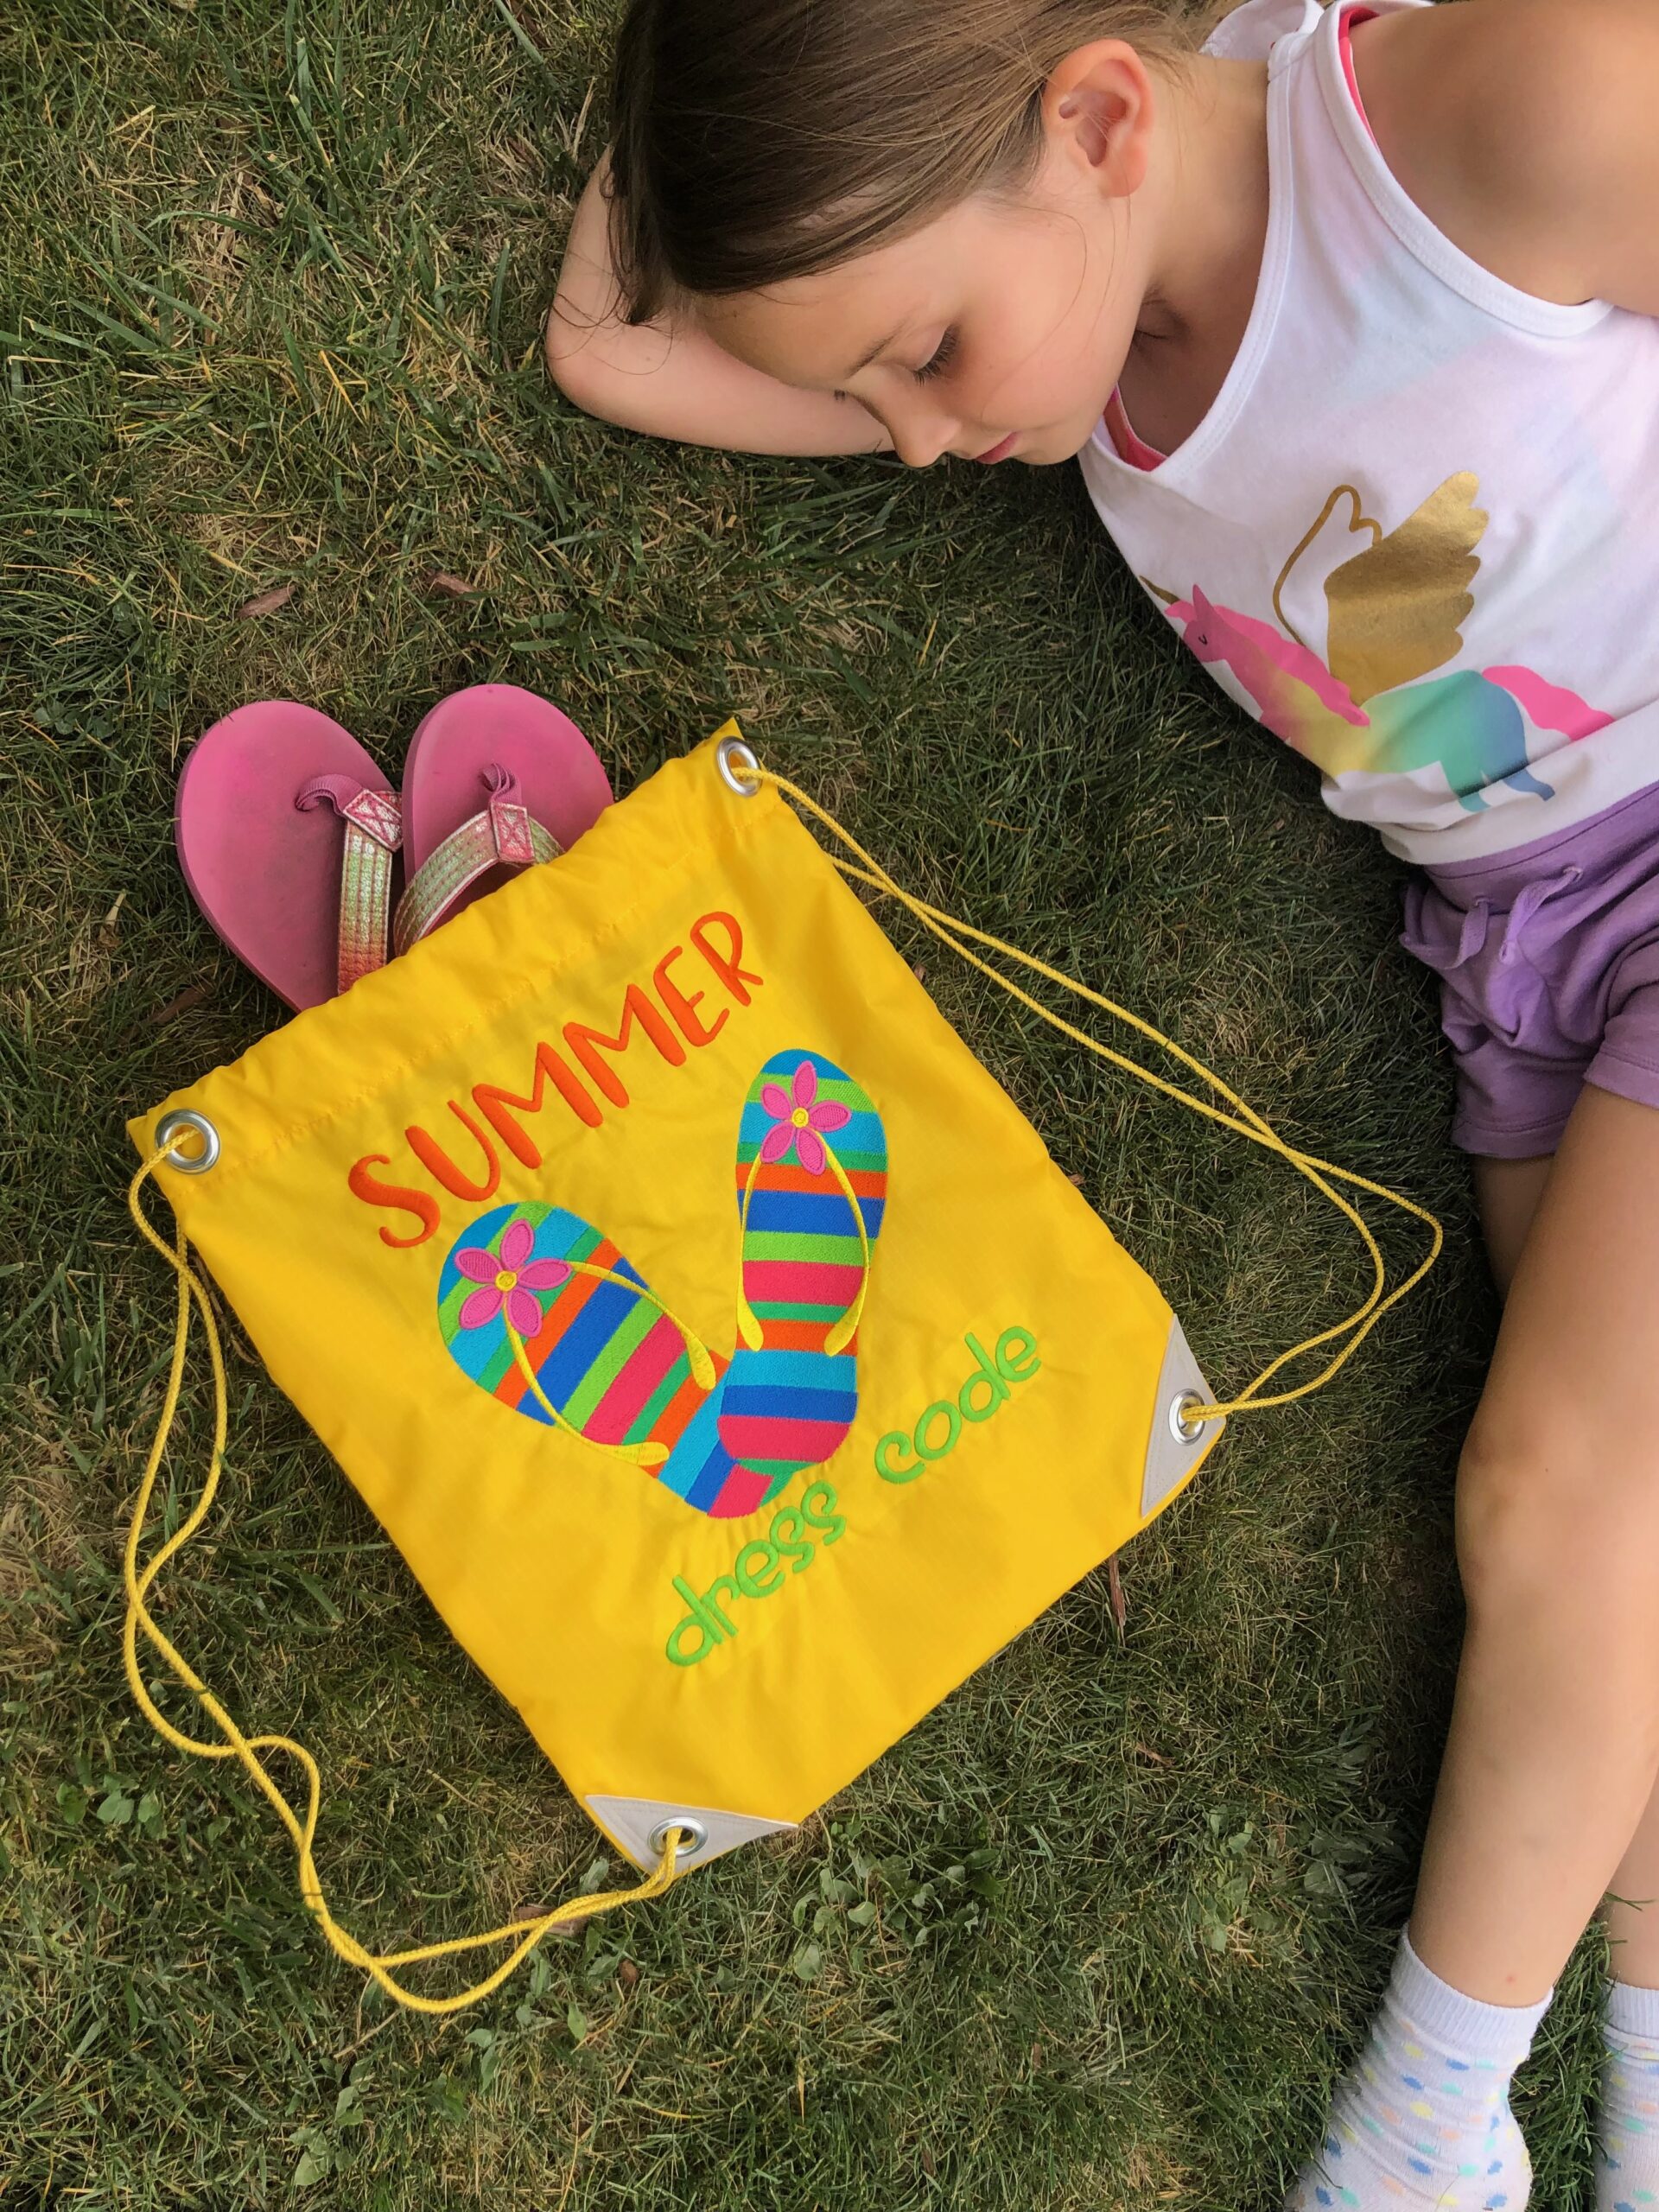
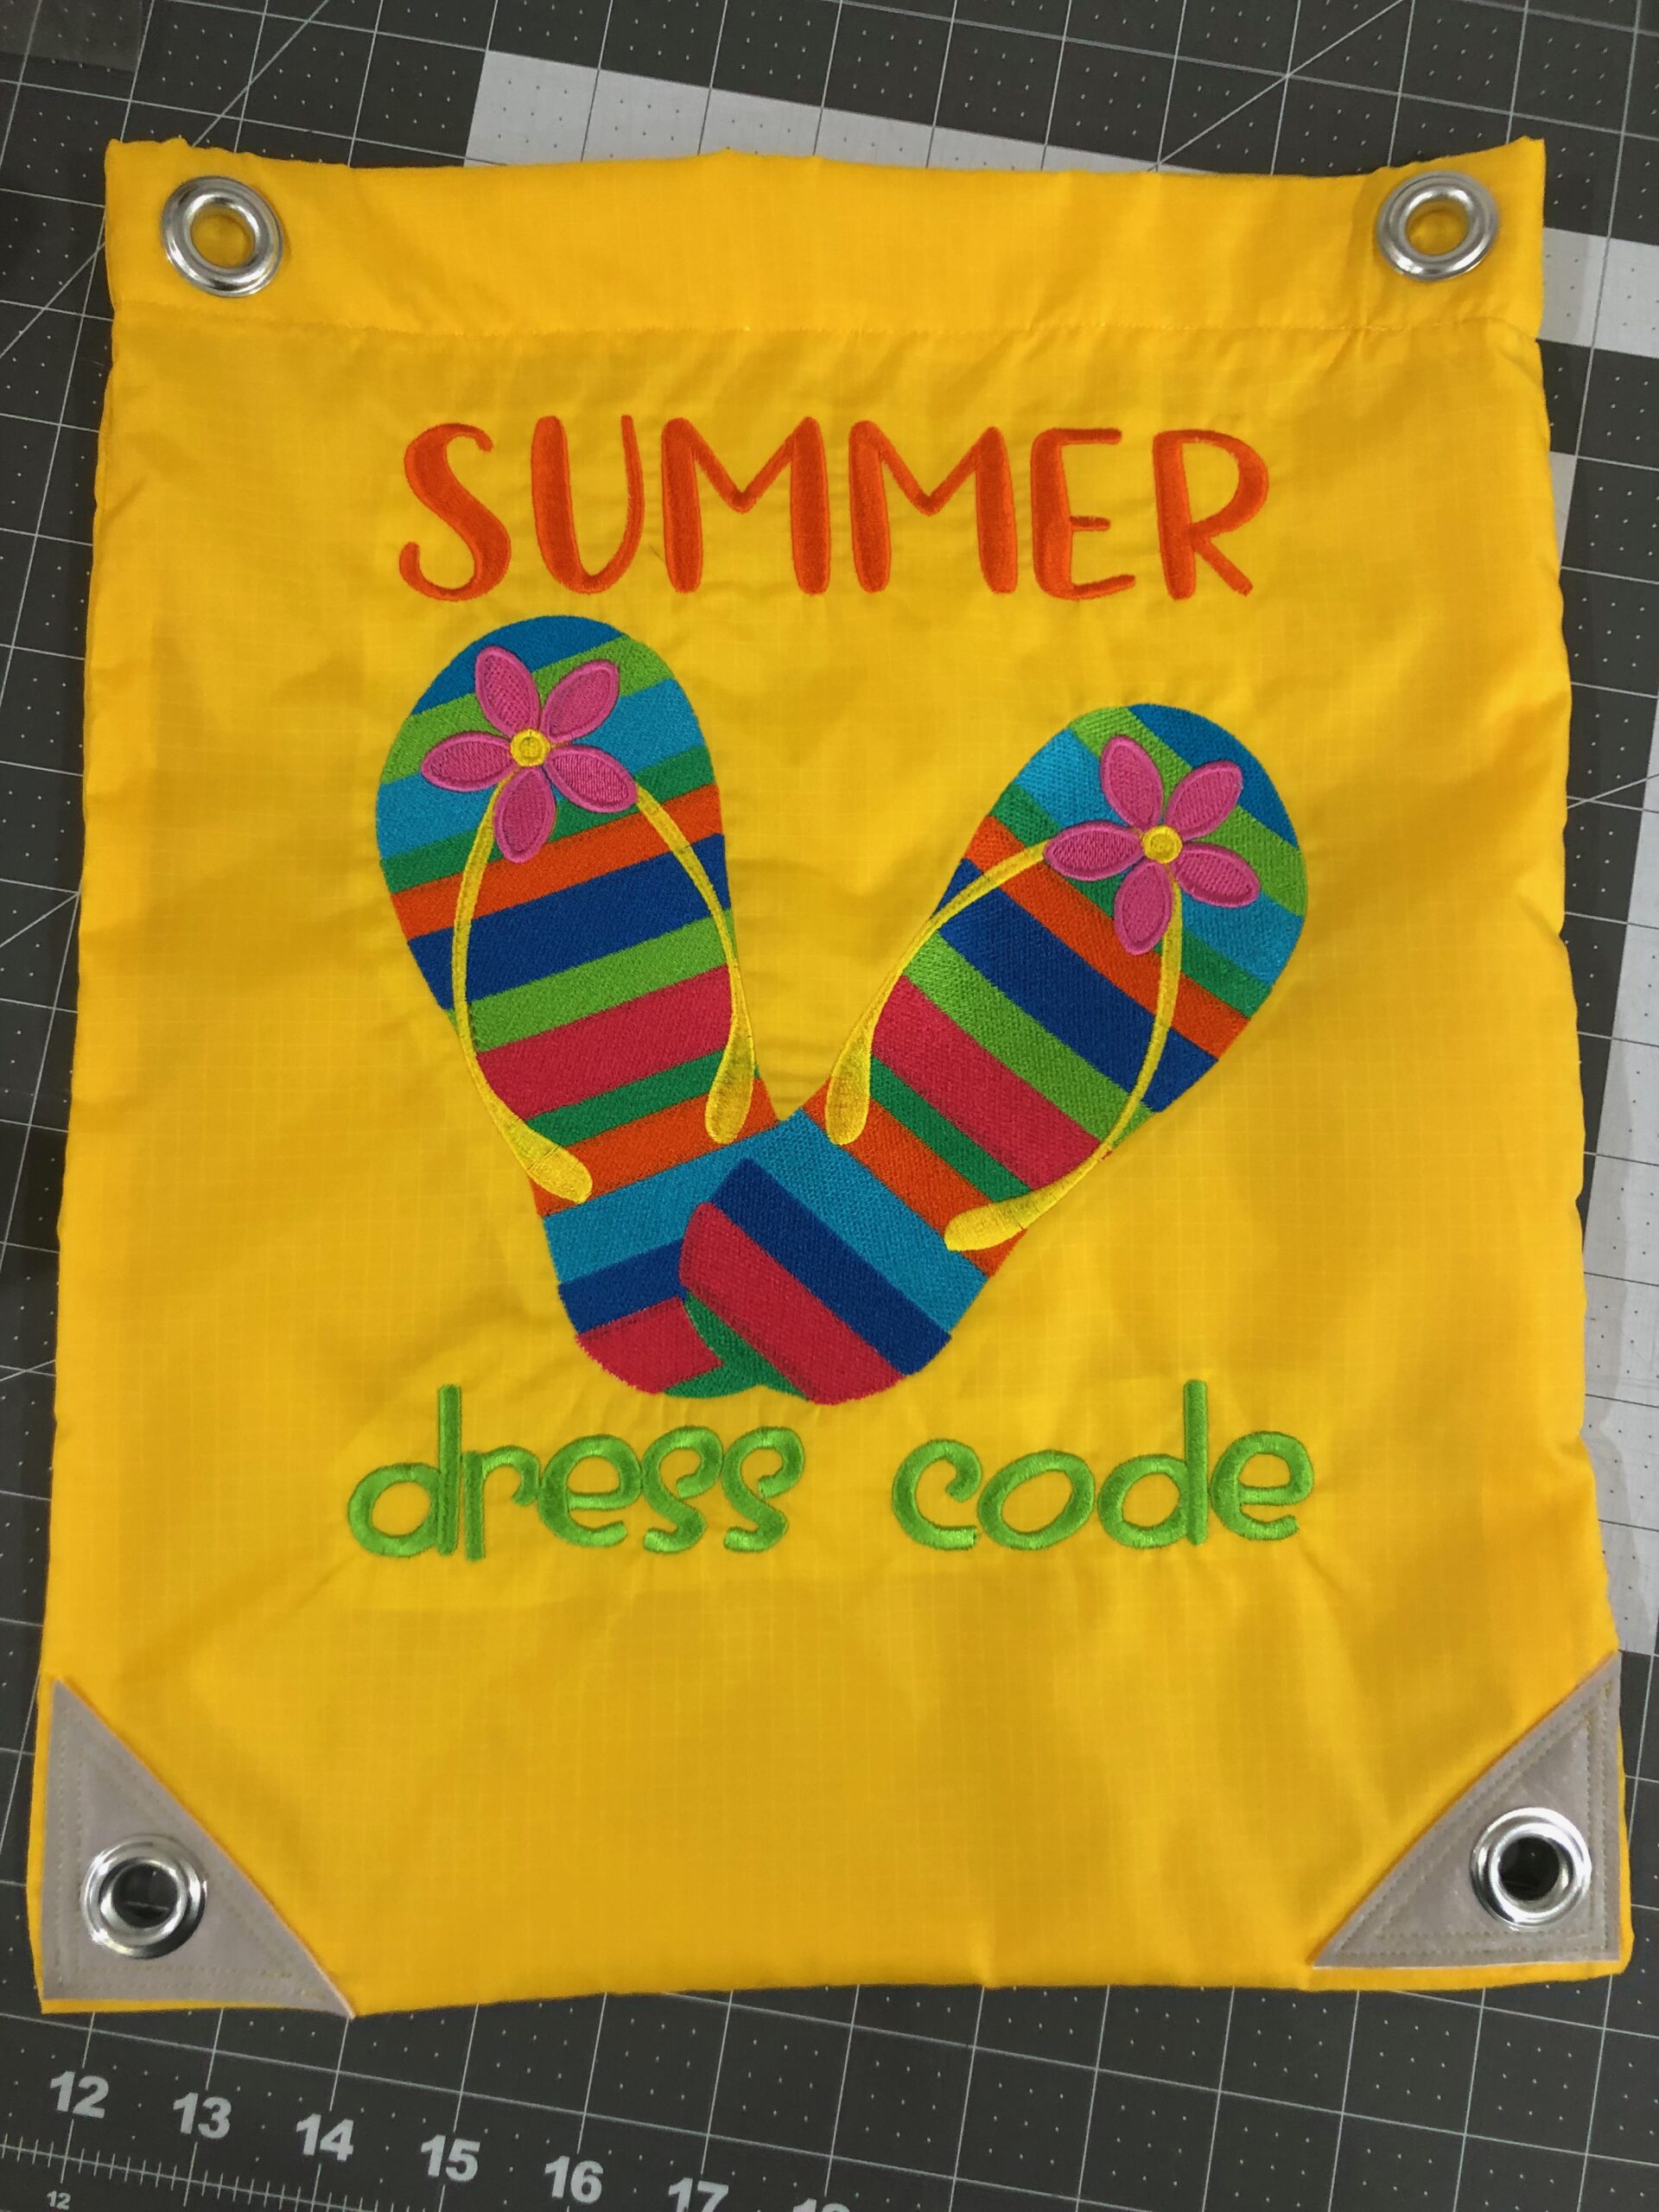
Create a simple drawstring bag with a few designer details and personalize it with machine embroidery. This is the go-to summer accessory to fit swimwear, flipflops and sunnies for a day at the beach.
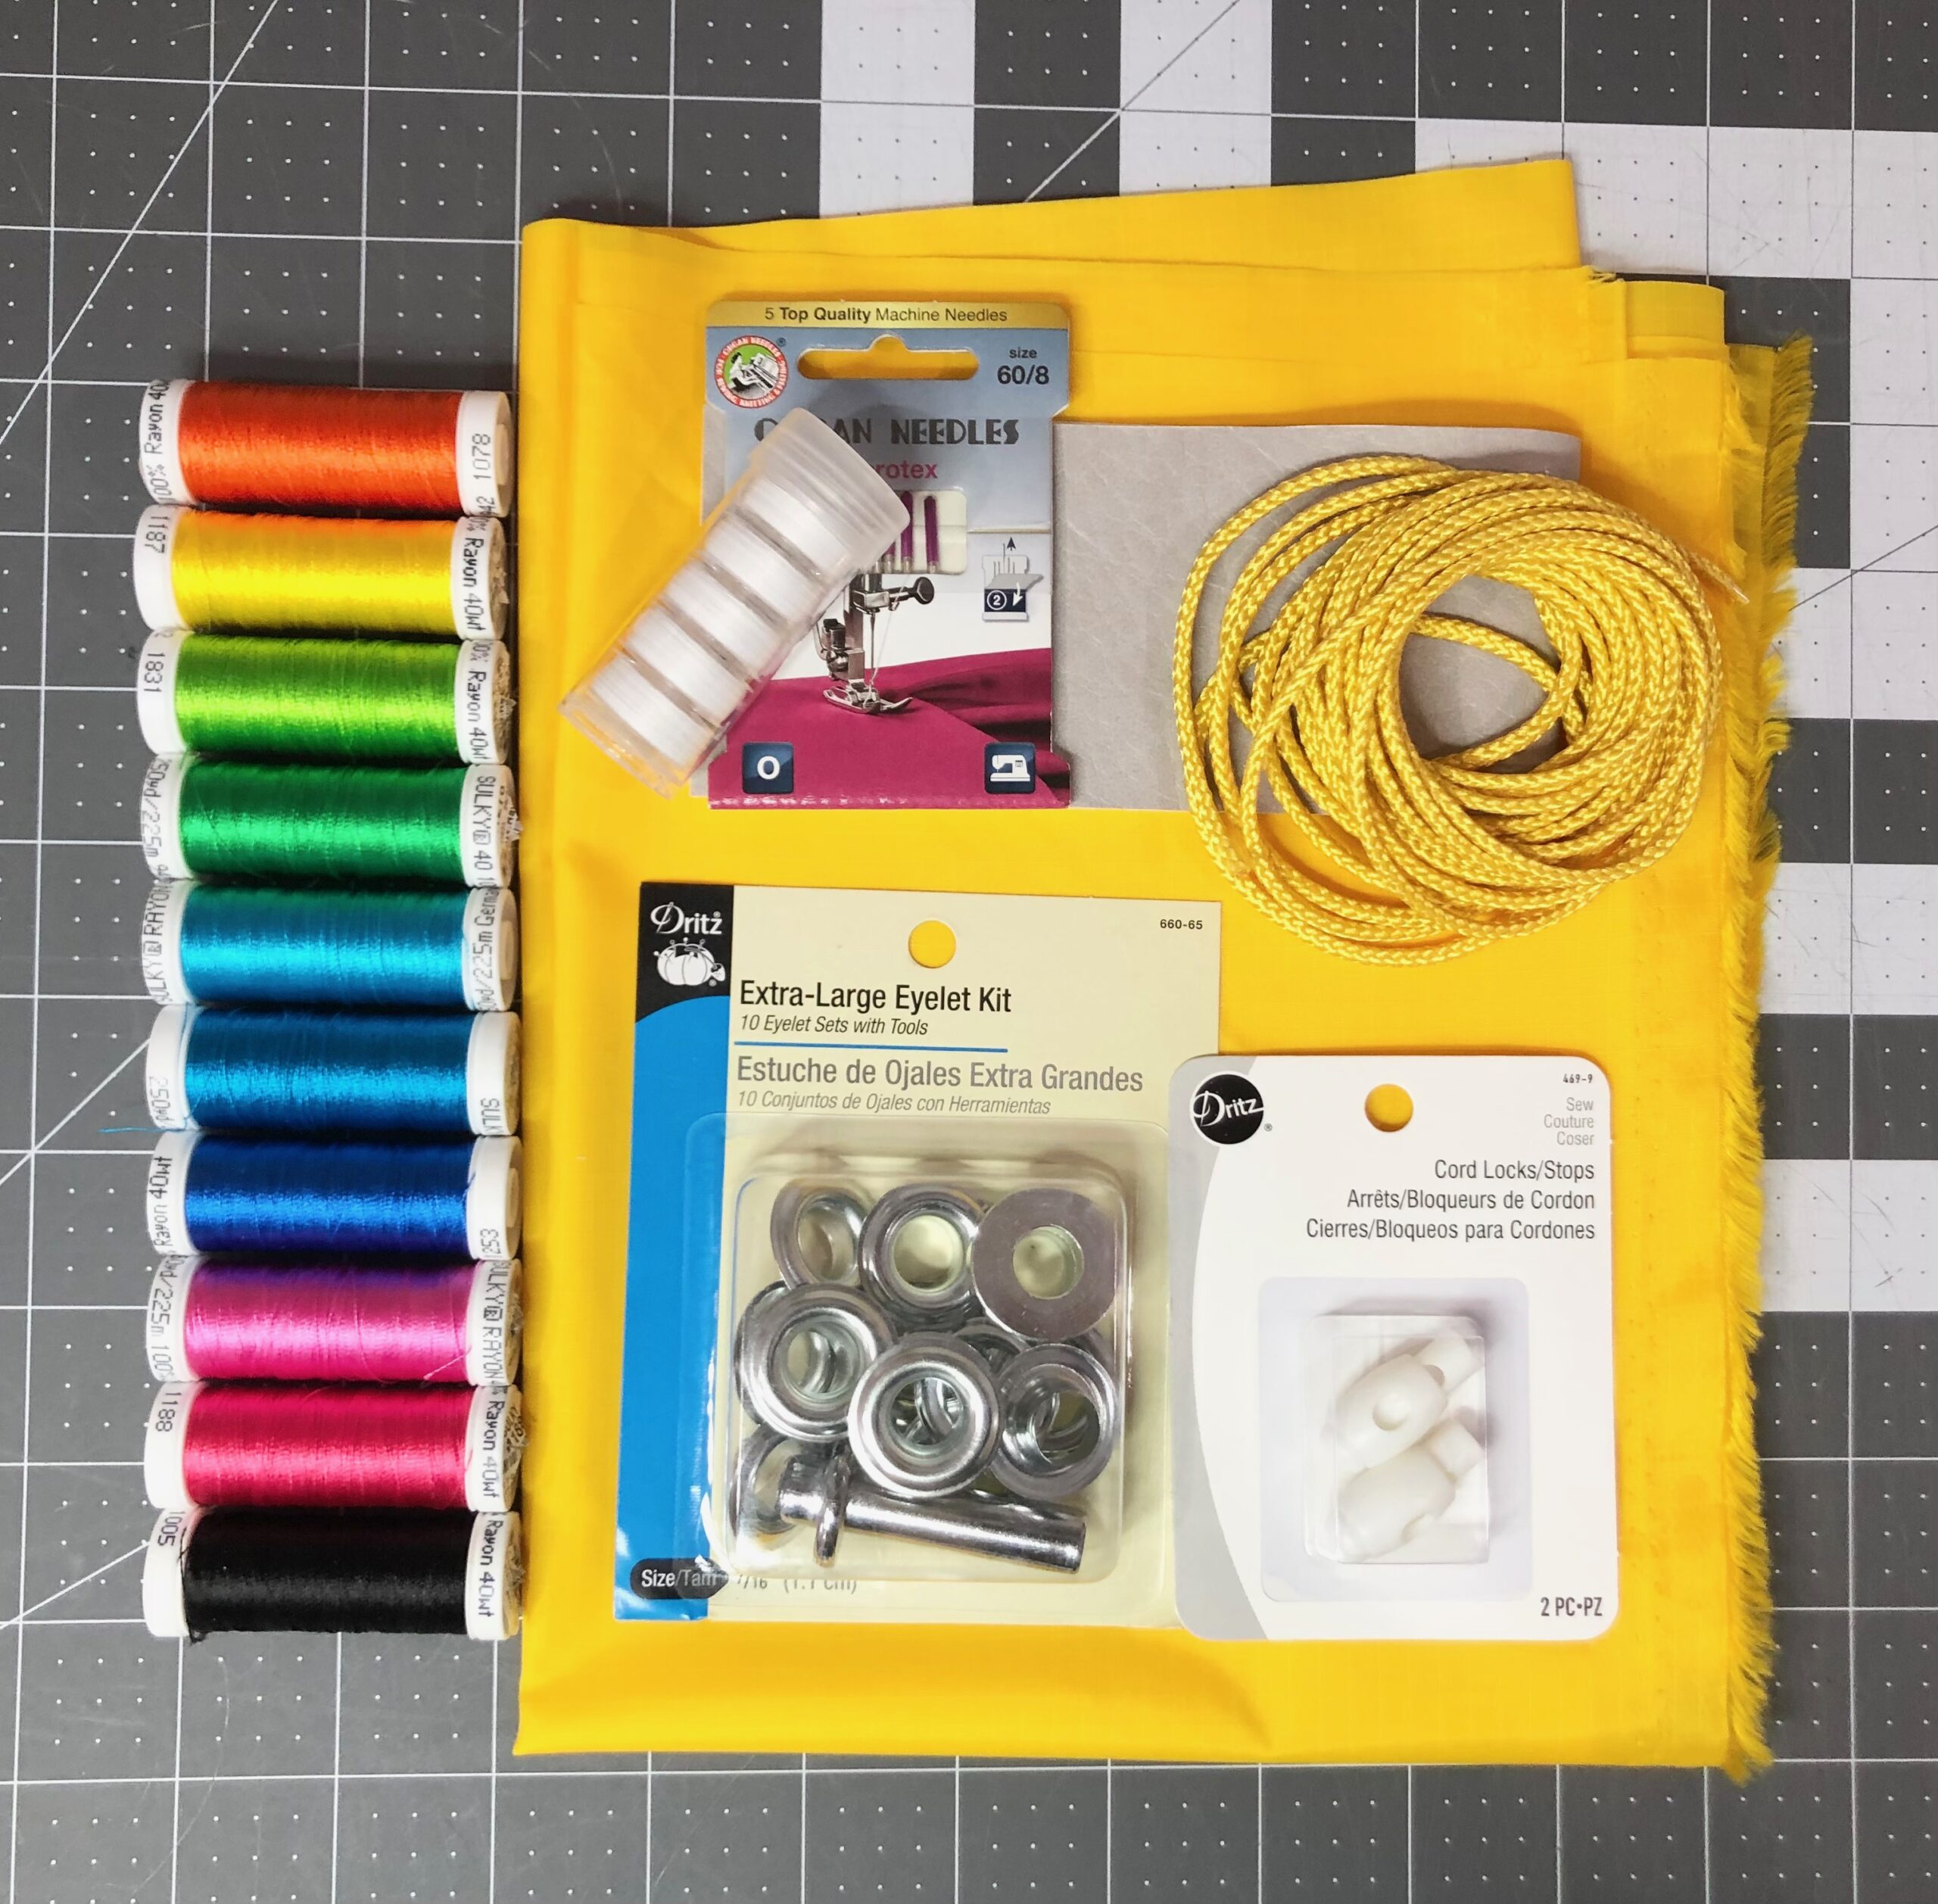
DRAWSTRING BAG SUPPLIES
- Sulky Stabilizer: Soft n Sheer
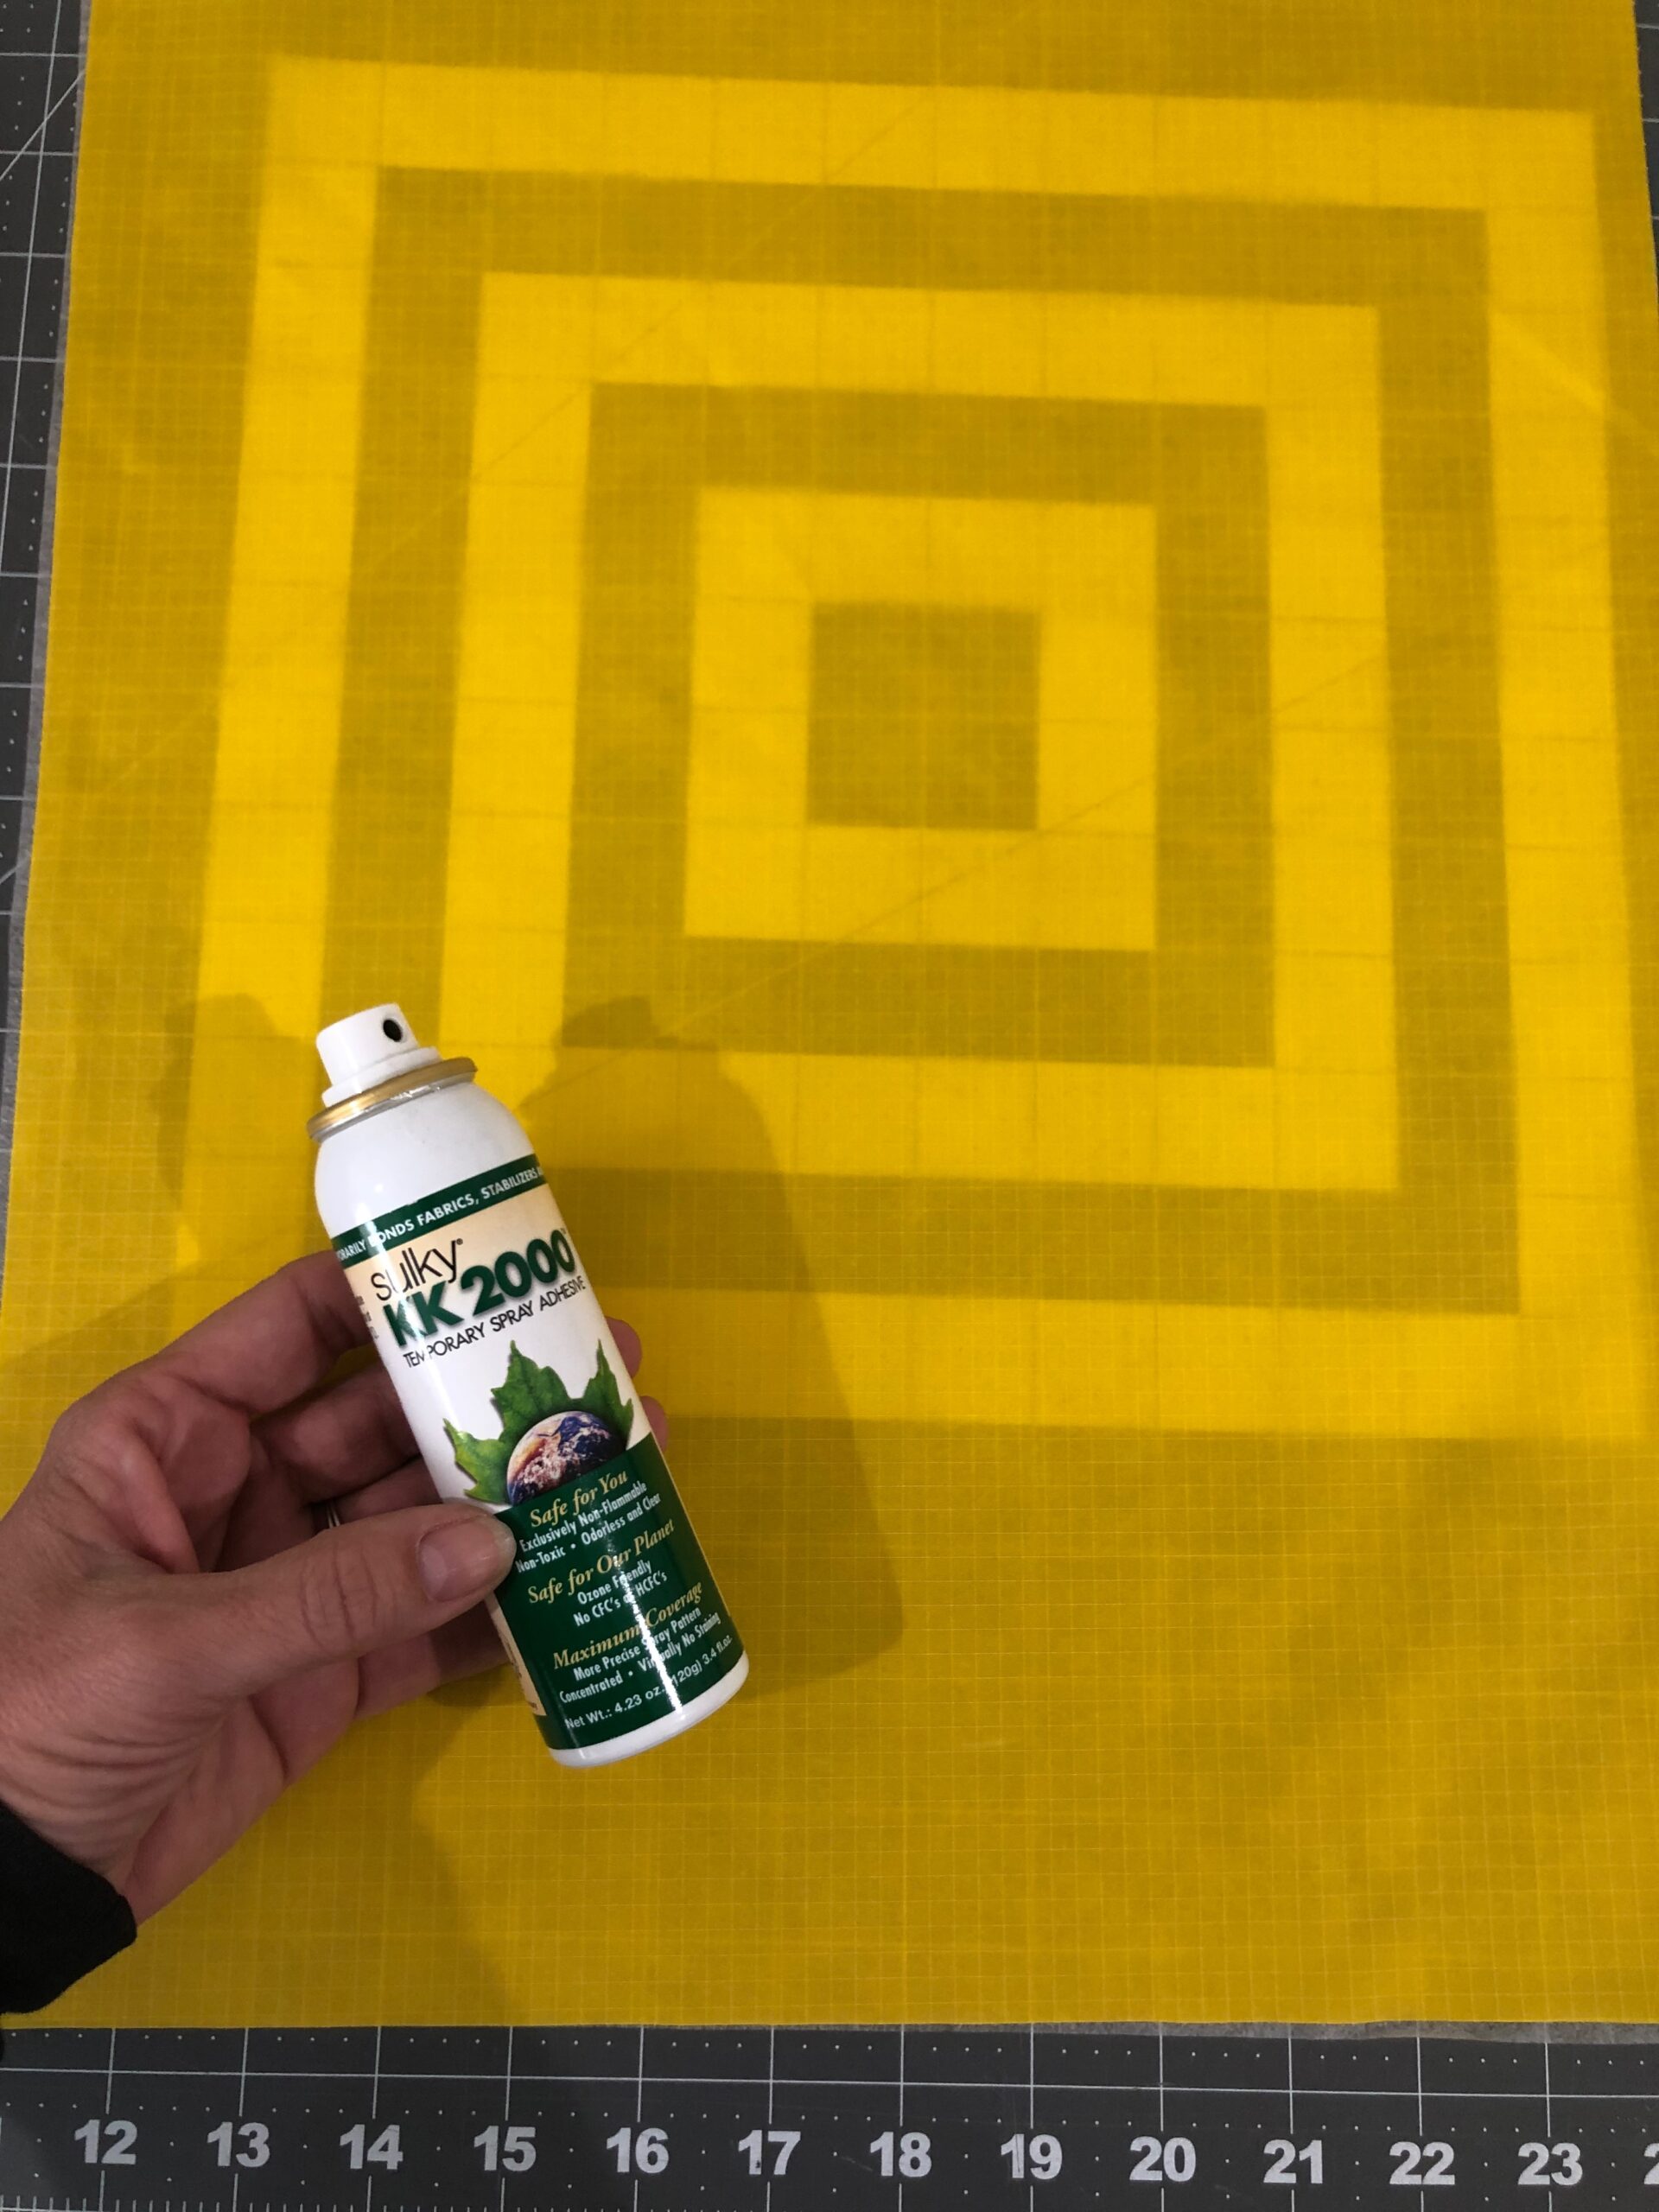
- KK 2000 Temporary Spray Adhesive
- Hello Summer Machine Embroidery Palette (includes 10 spools of Sulky Rayon Thread & 6 machine embroidery designs in 3 sizes)
- Sulky Thread: Poly Deco Thread (construction) & Bobbin (machine embroidery)
- Organ® Needles: size 70/10 Microtex or 75/11 Embroidery
- ½ yard of 60 -wide ripstop nylon fabric
- 2 ¼ x 9 rectangle of heavy-duty vinyl or faux leather fabric
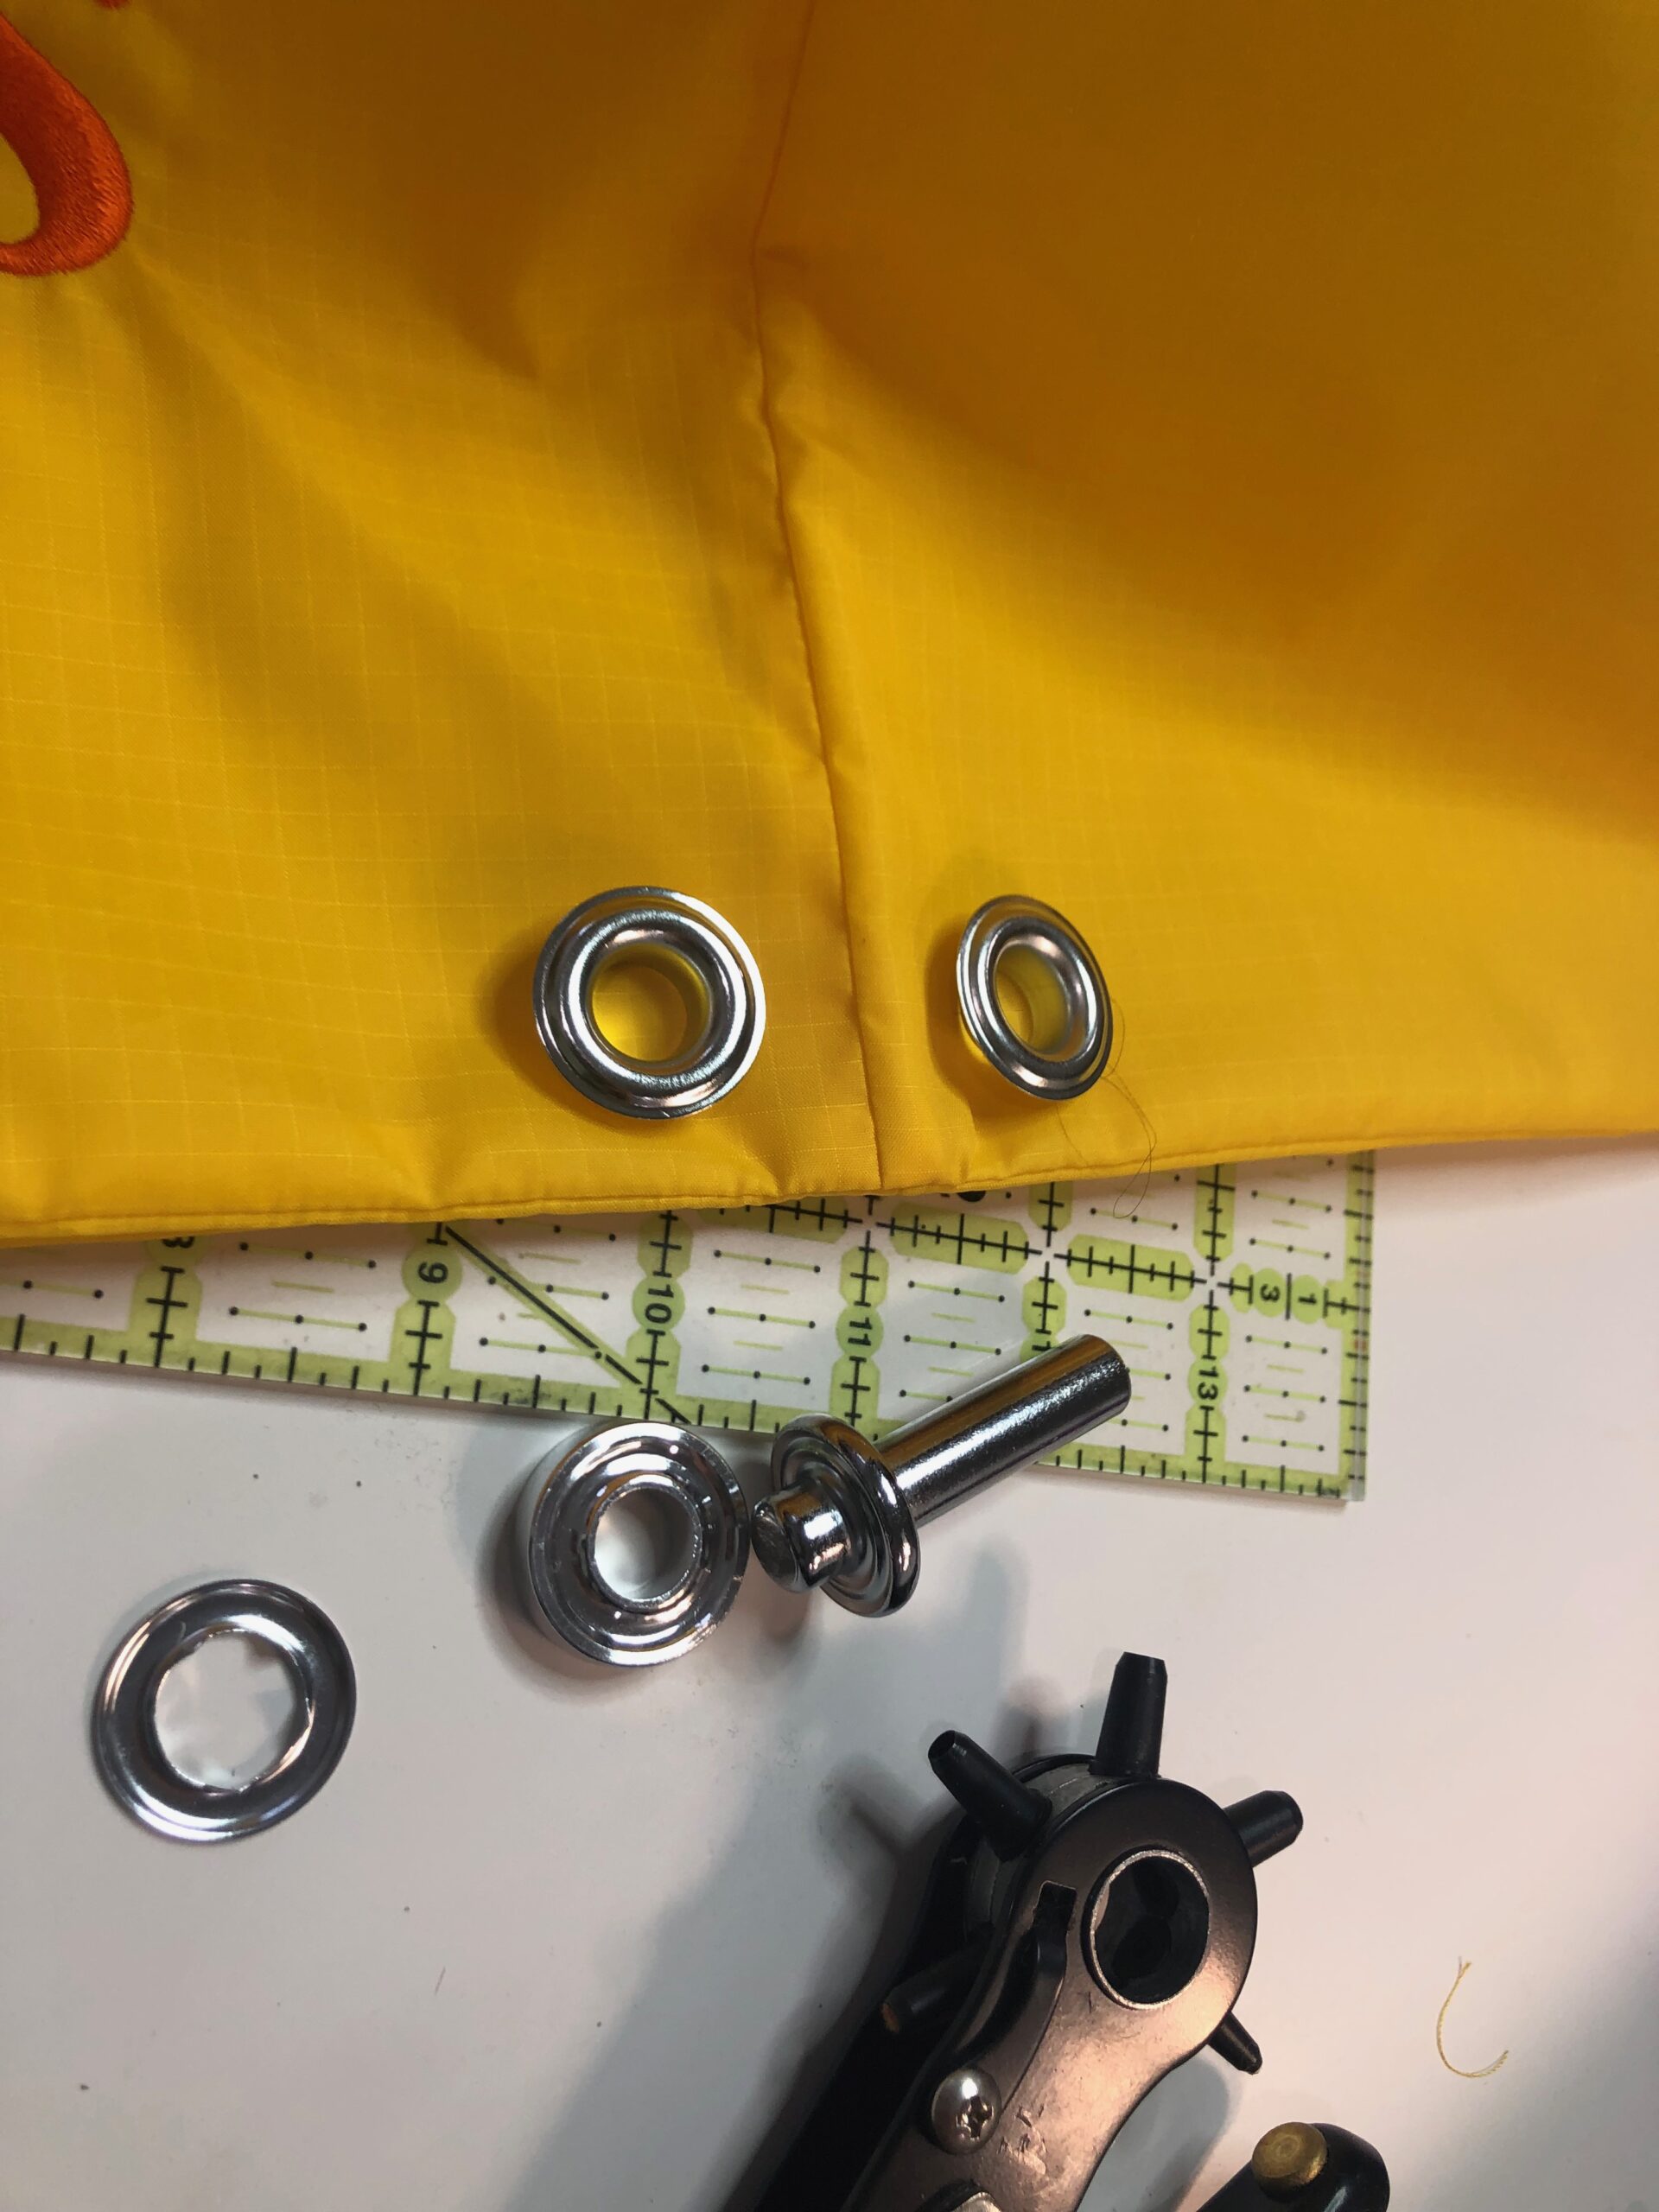
- 6 extra-large eyelets & eyelet-setting kit
- 2 cord locks
- 3 ½ yards of matching cording
- Press cloth
- Wonder Clips or binder clips
- ¼ -wide double-sided basting tape
- Chalk pencil
- Zipper or narrow-edge foot
*We may earn an affiliate commission on purchases made through the above links.
SEWING RIPSTOP NYLON
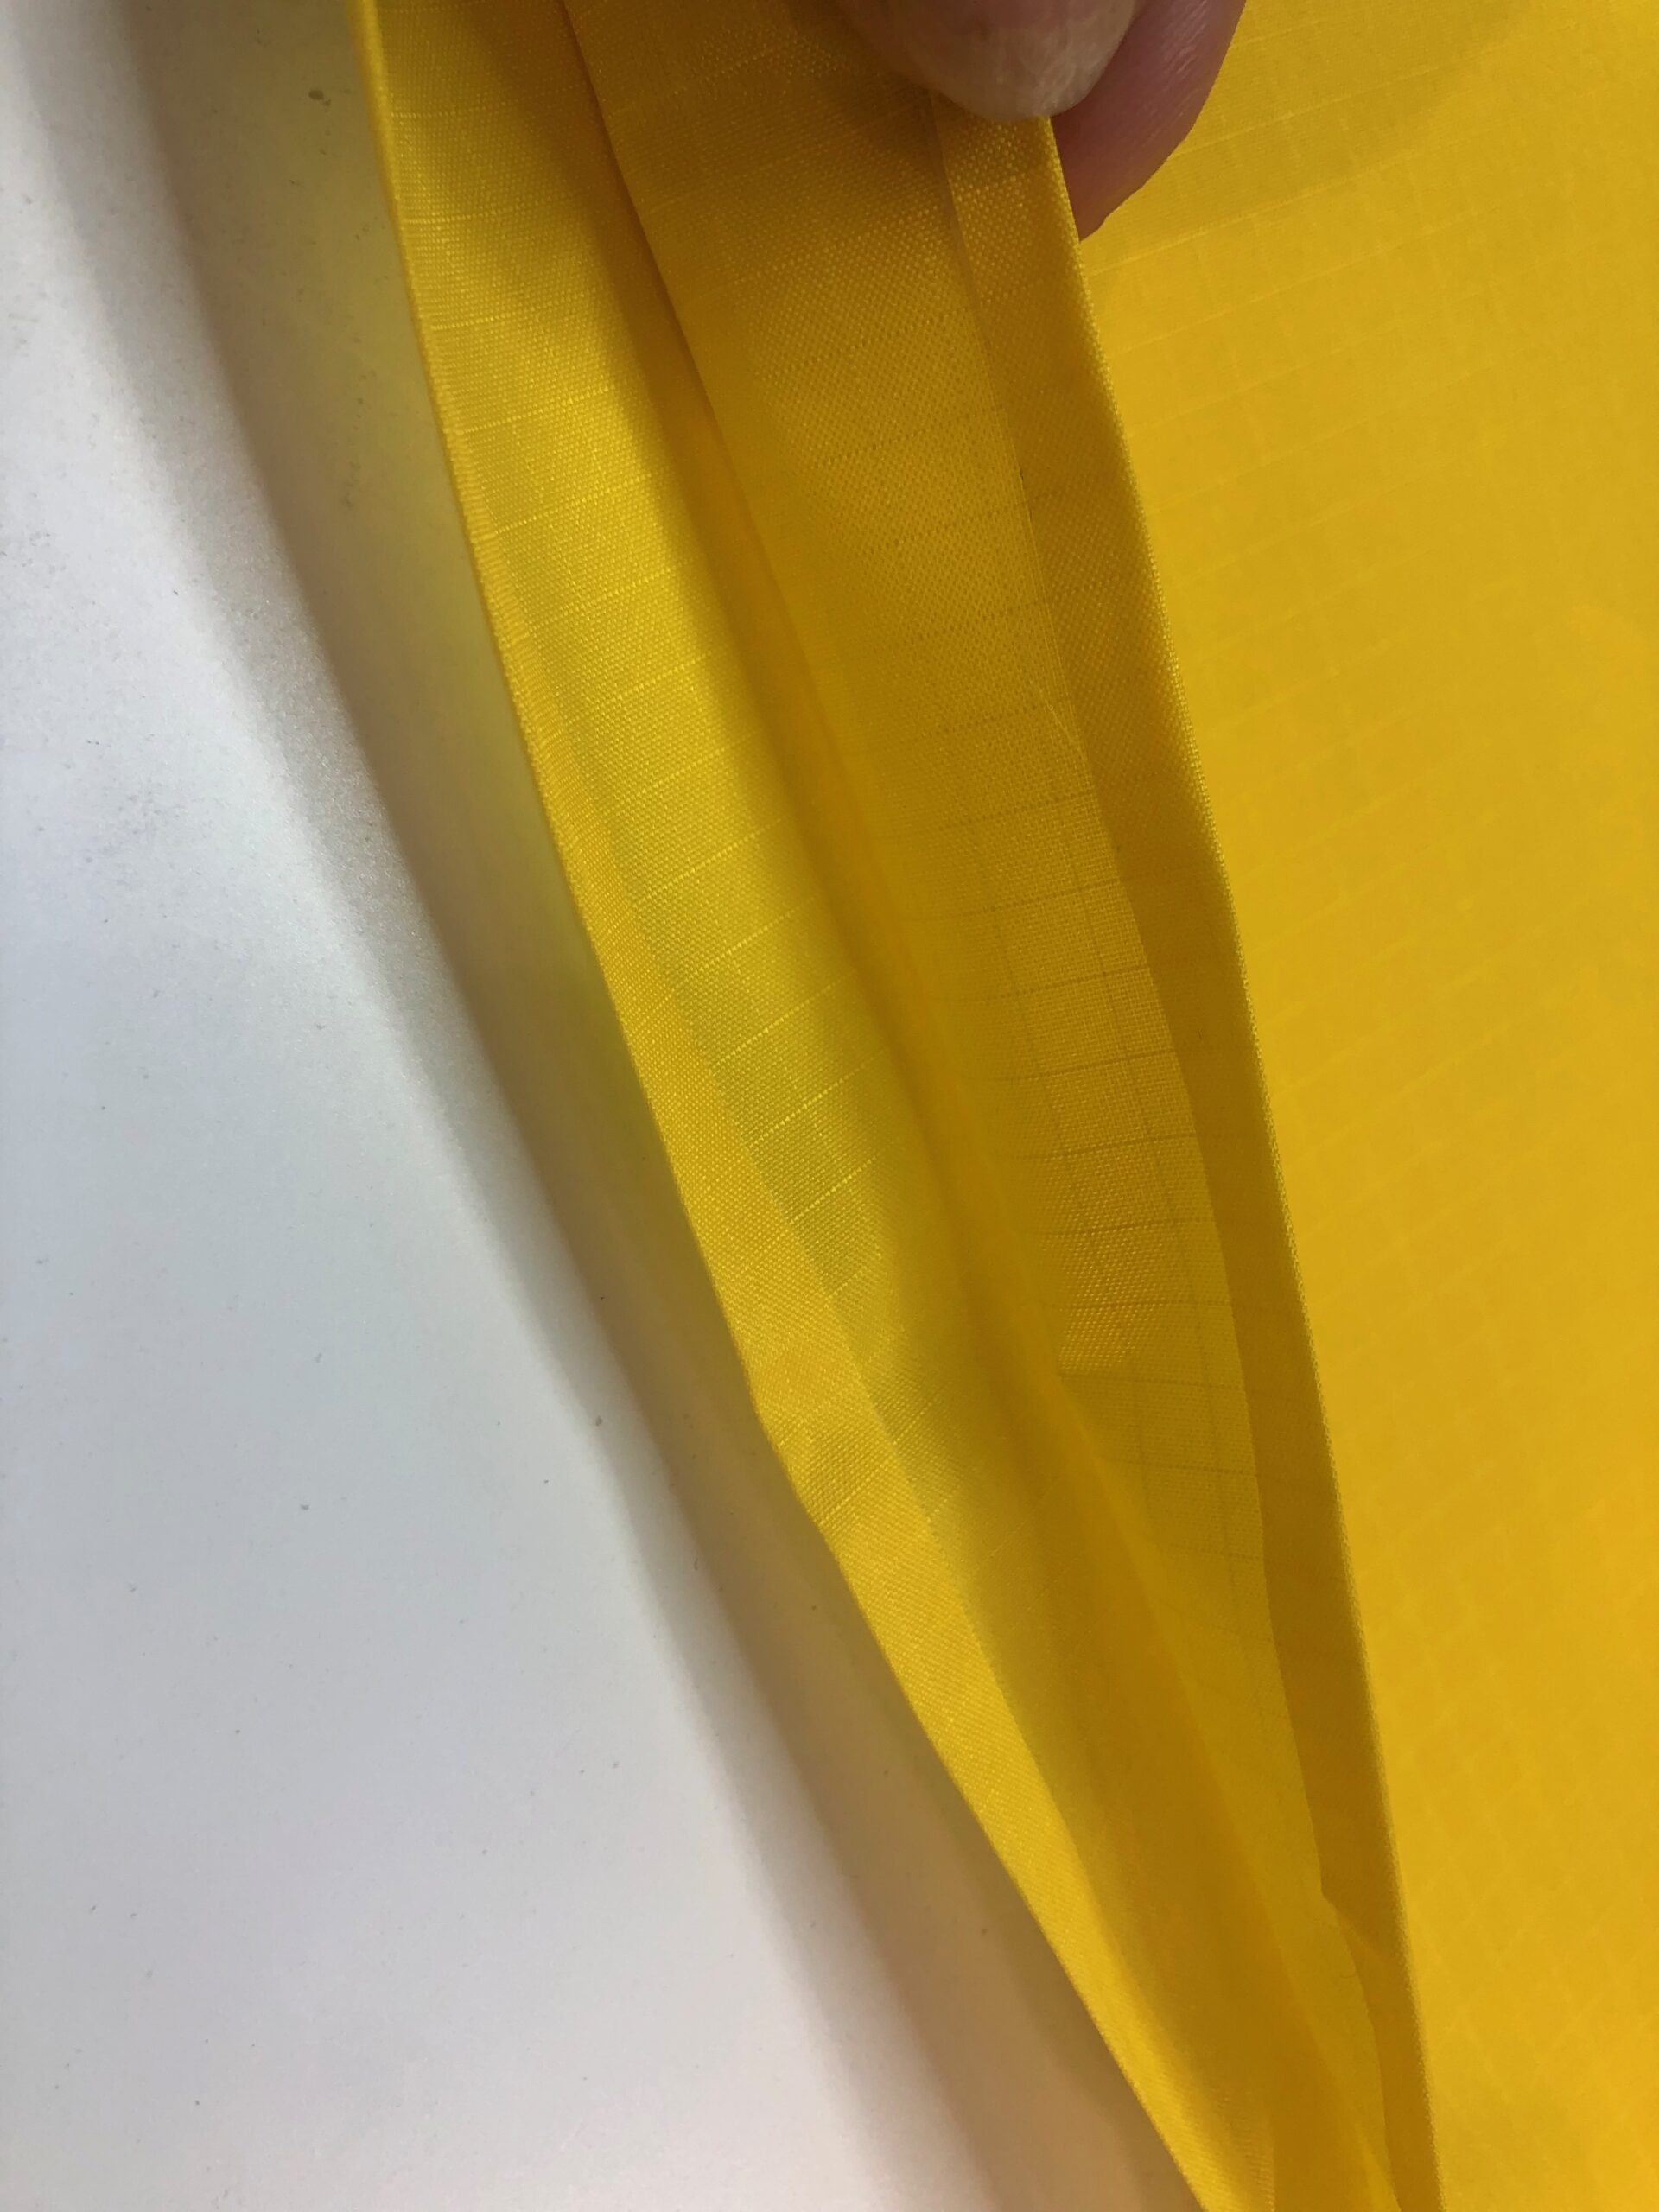
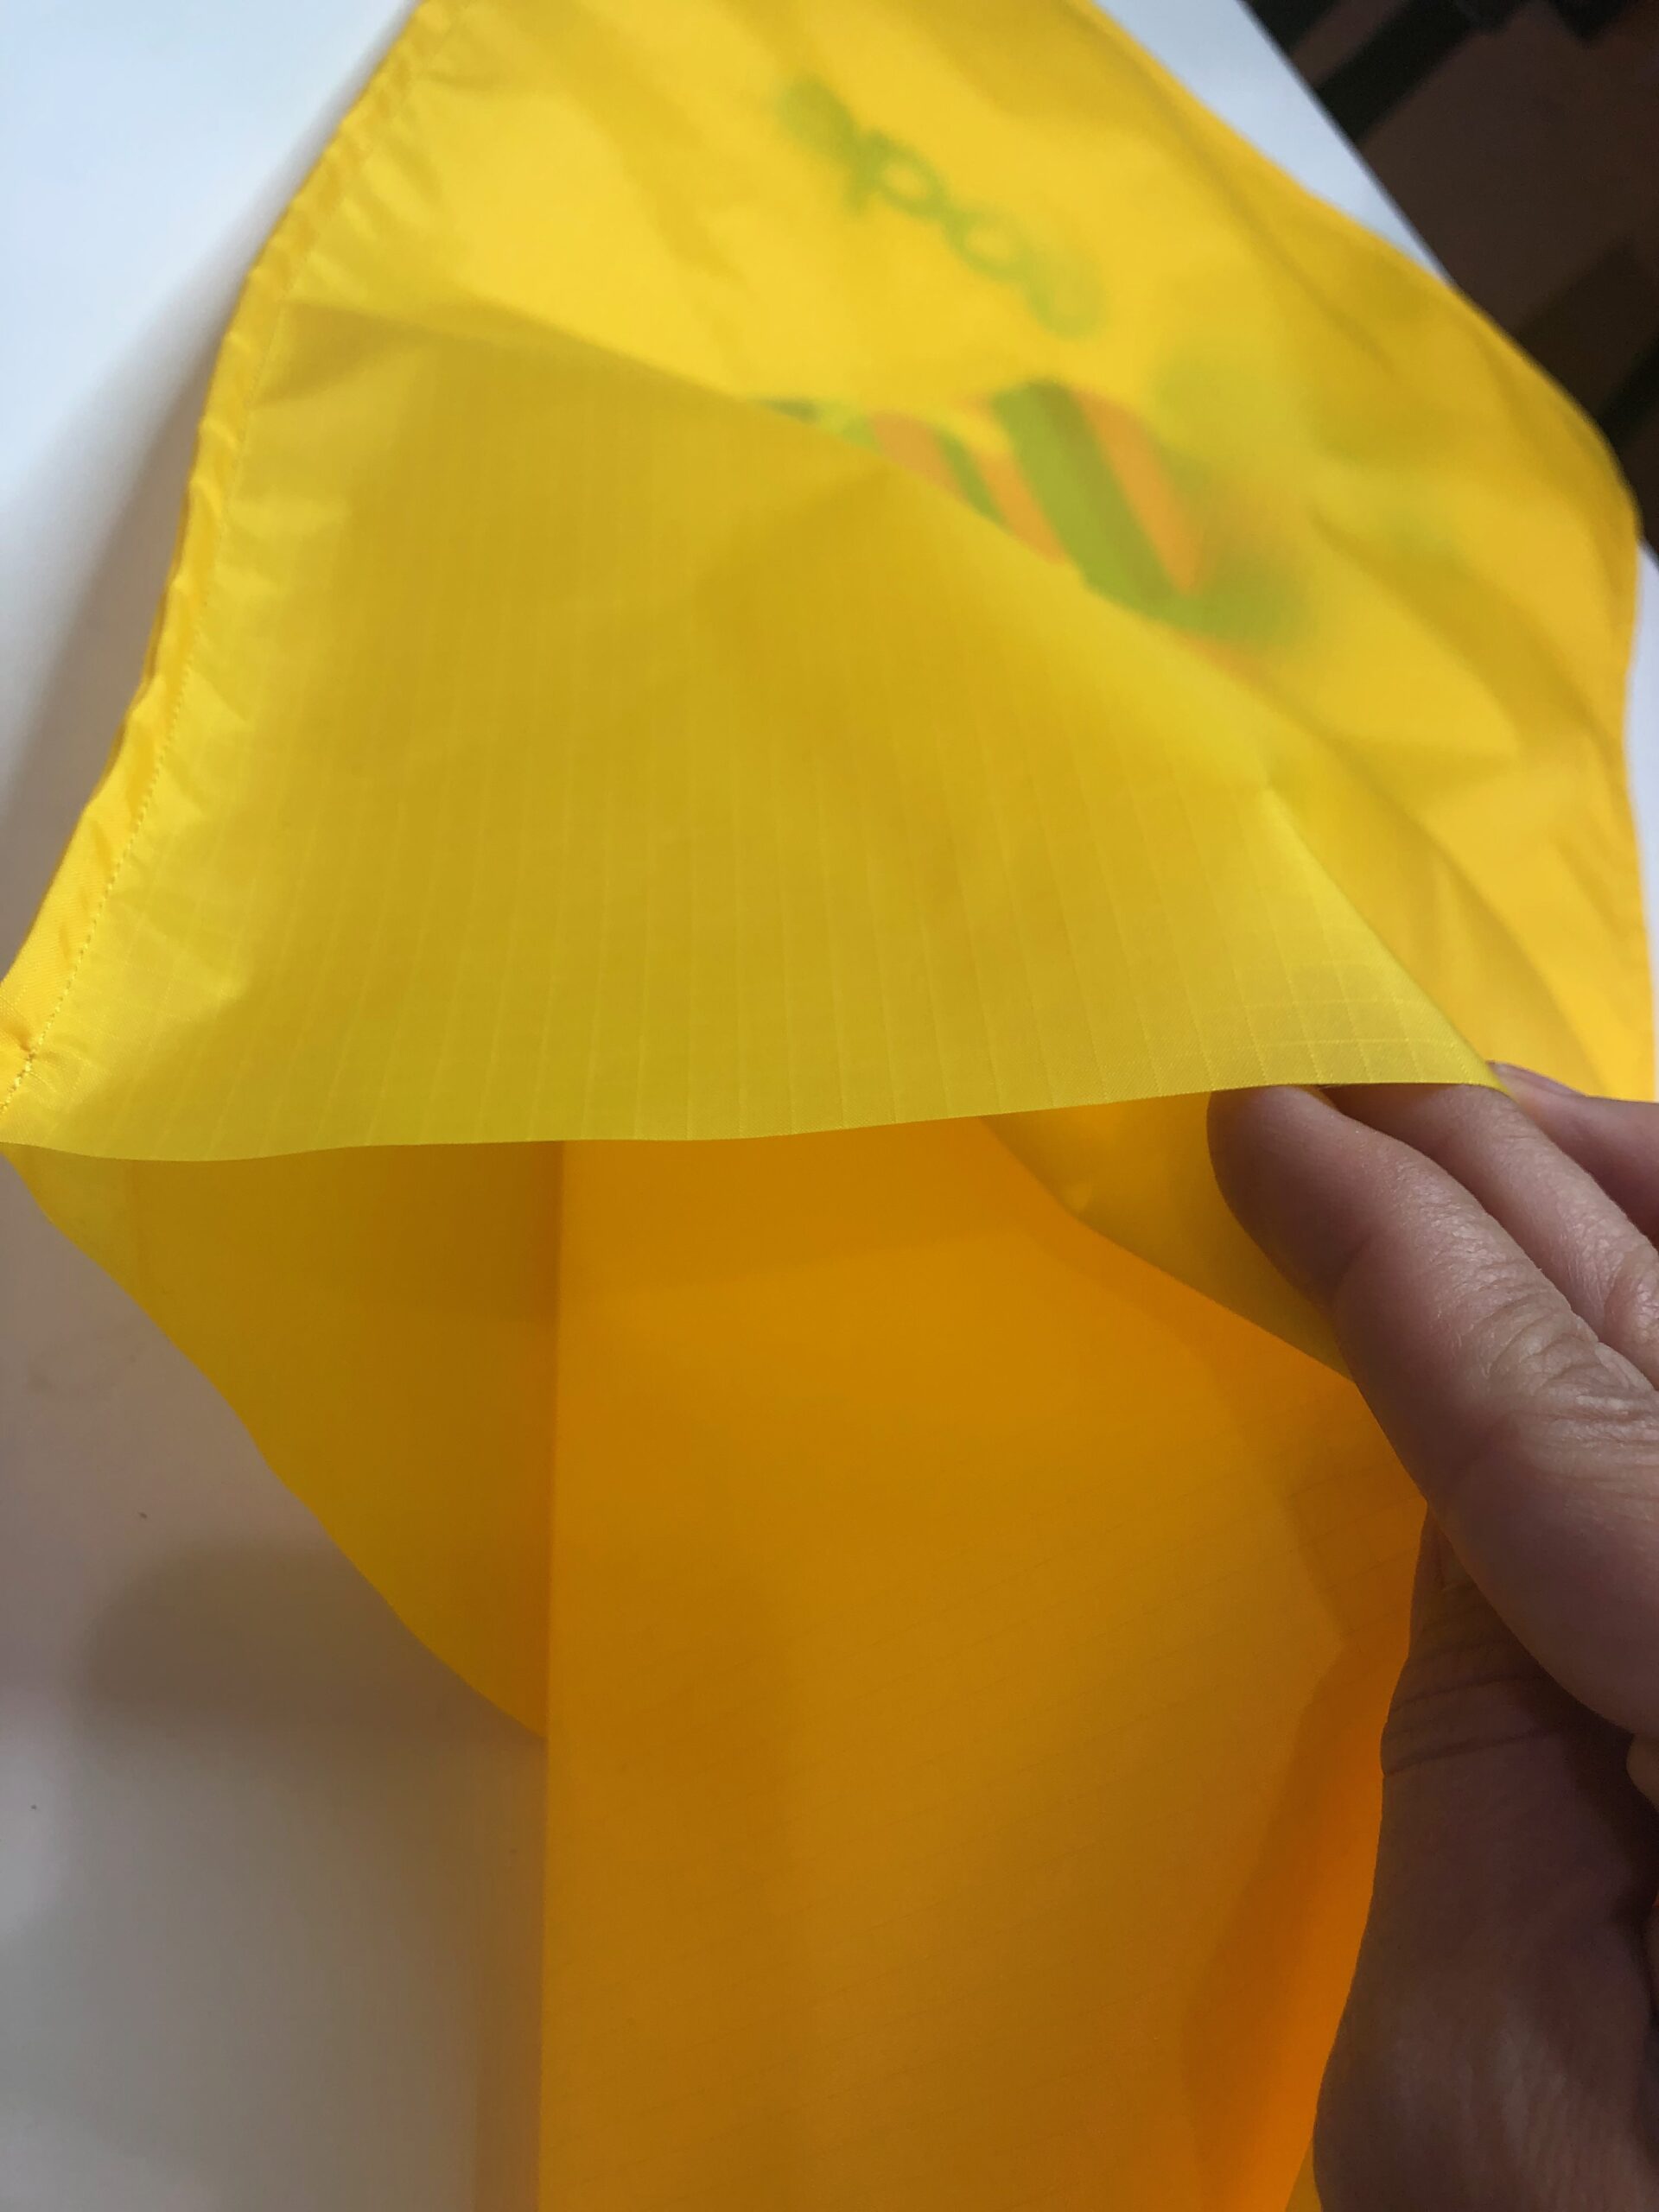
Ripstop nylon fabric is traditionally water-resistant. Check the fabric bolt to ensure this is true for the fabric you’re purchasing if this quality is important to your project. The fabric comes in various weights, and a medium- to heavyweight variety is most suitable for this project.
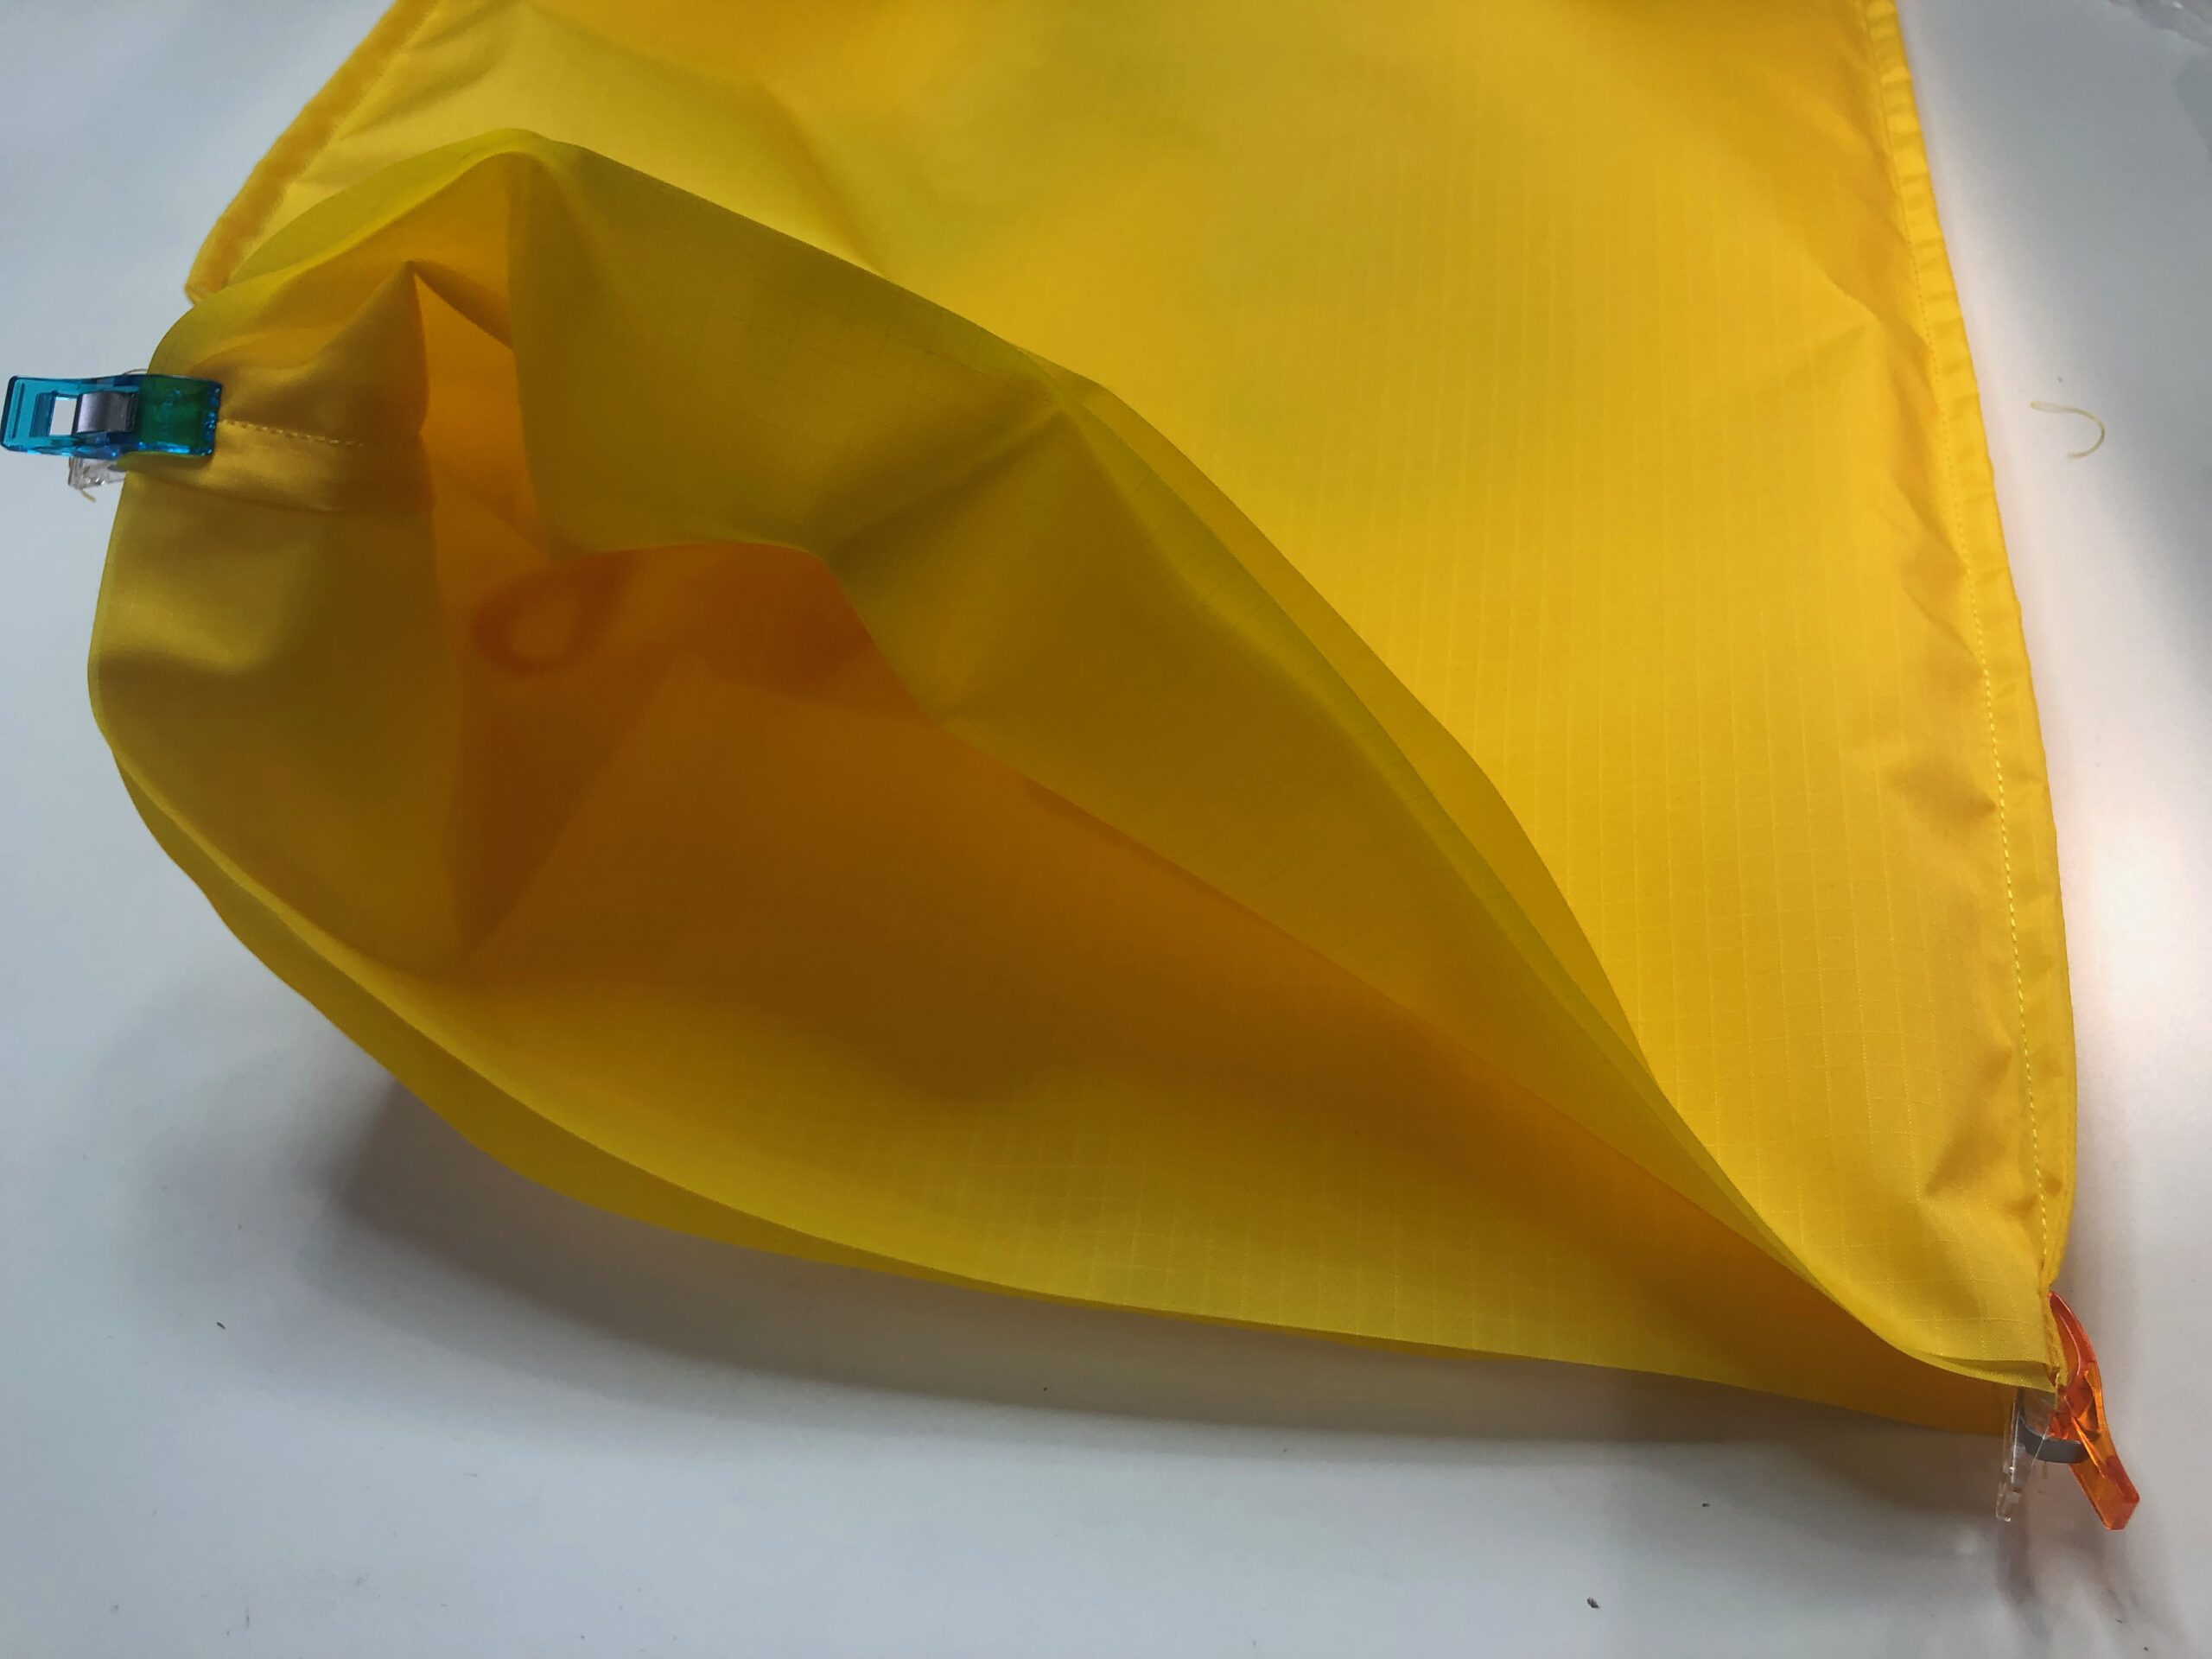
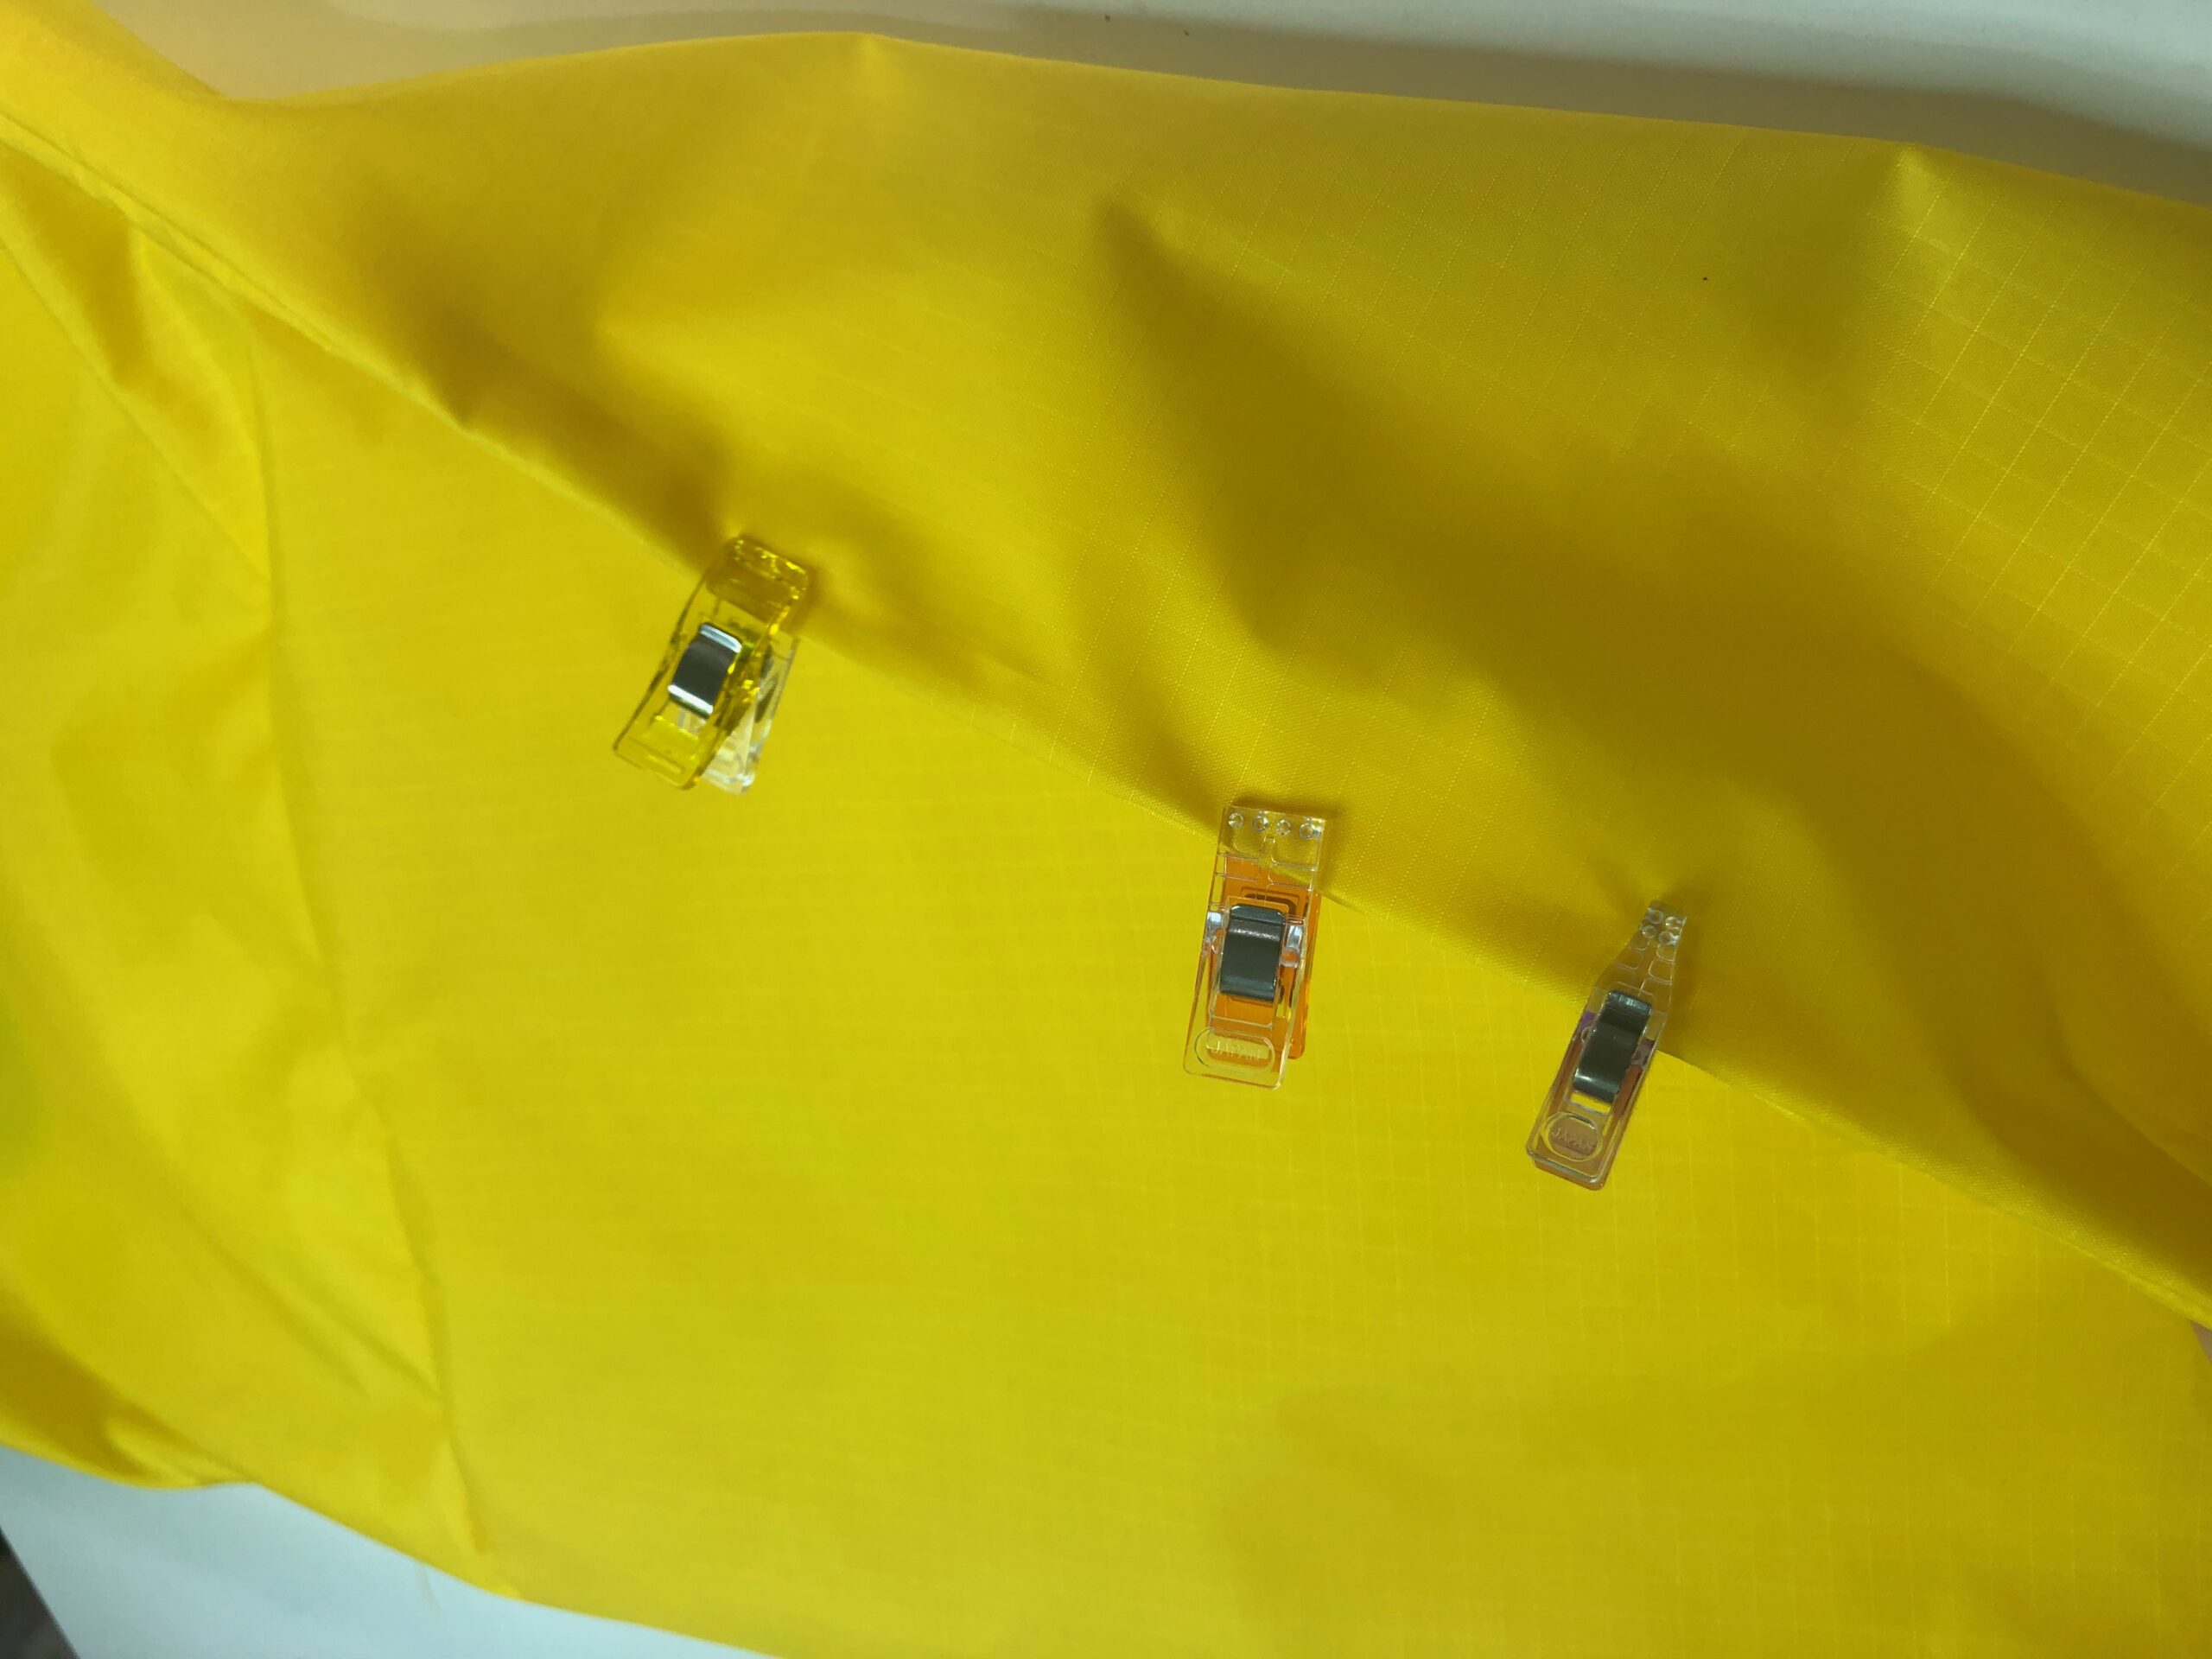
Needle holes are permanent in ripstop nylon. Avoid pinning unless using pins within the seam allowance. Instead, use Wonder Clips or small binder clips to secure seams during sewing.
Ripstop nylon is a slippery fabric, so it wants to slip and shift during embroidery and construction. Use KK 2000Temporary Spray Adhesive to secure the fabric to the stabilizer, ensuring a secure bond. If needed, spray along the side seams before stitching to prevent shifting.
FABRIC PREP
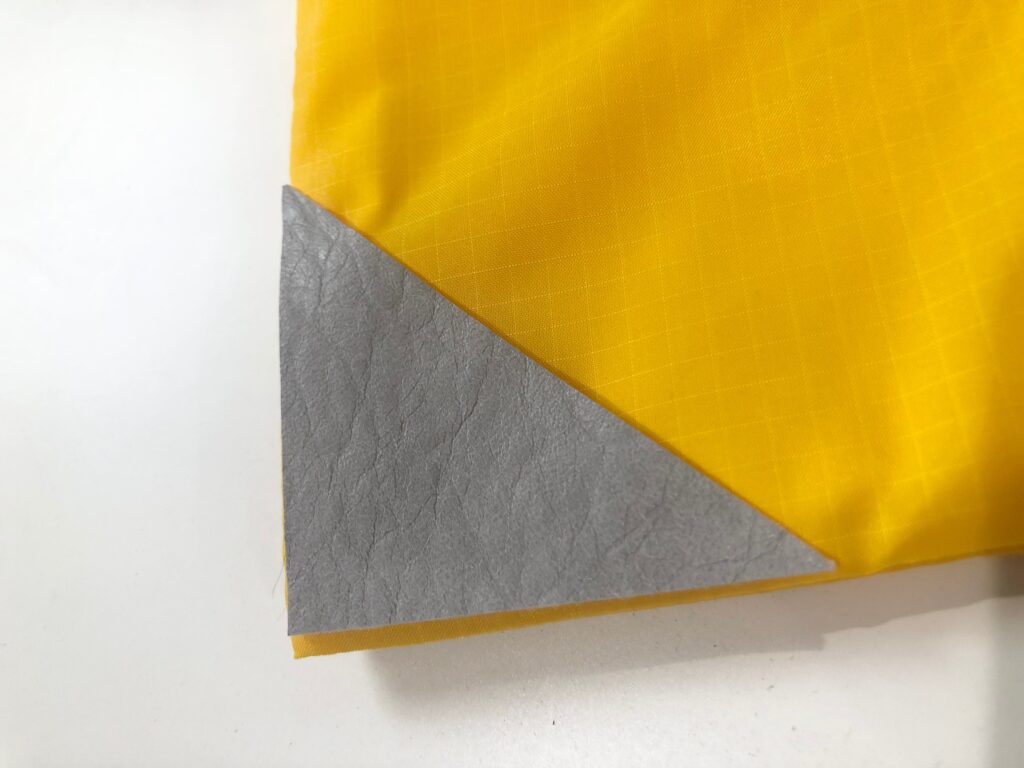
Cut two 2 1/2 squares from the vinyl or faux leather rectangle. Then, cut each square into a triangle.

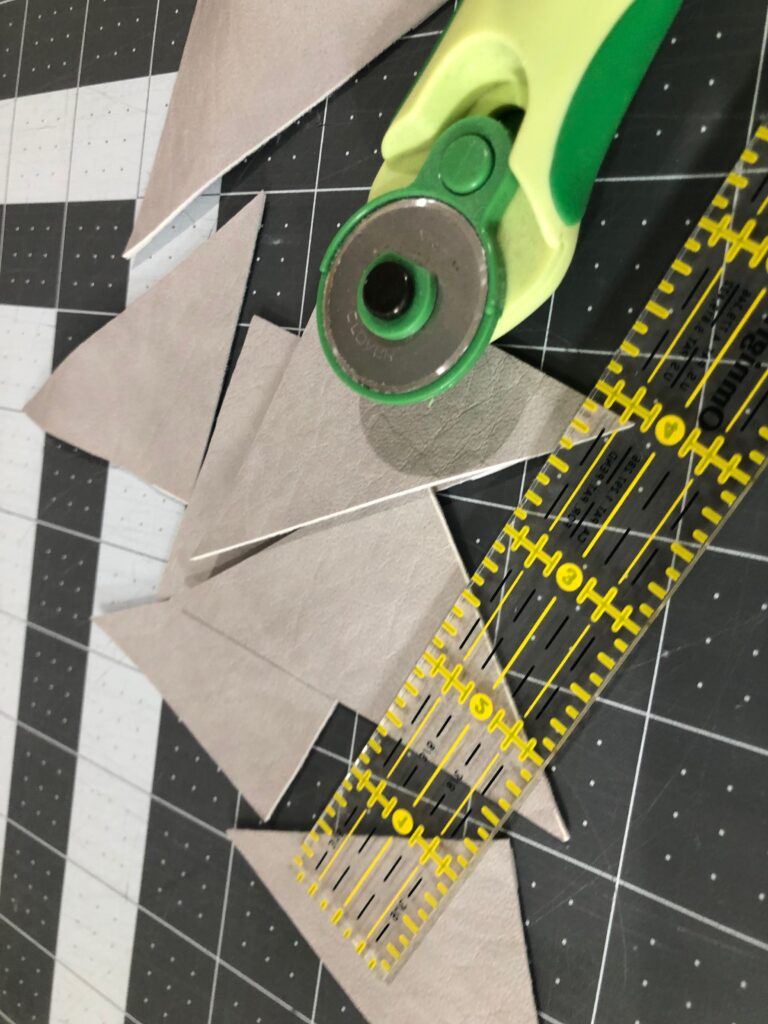
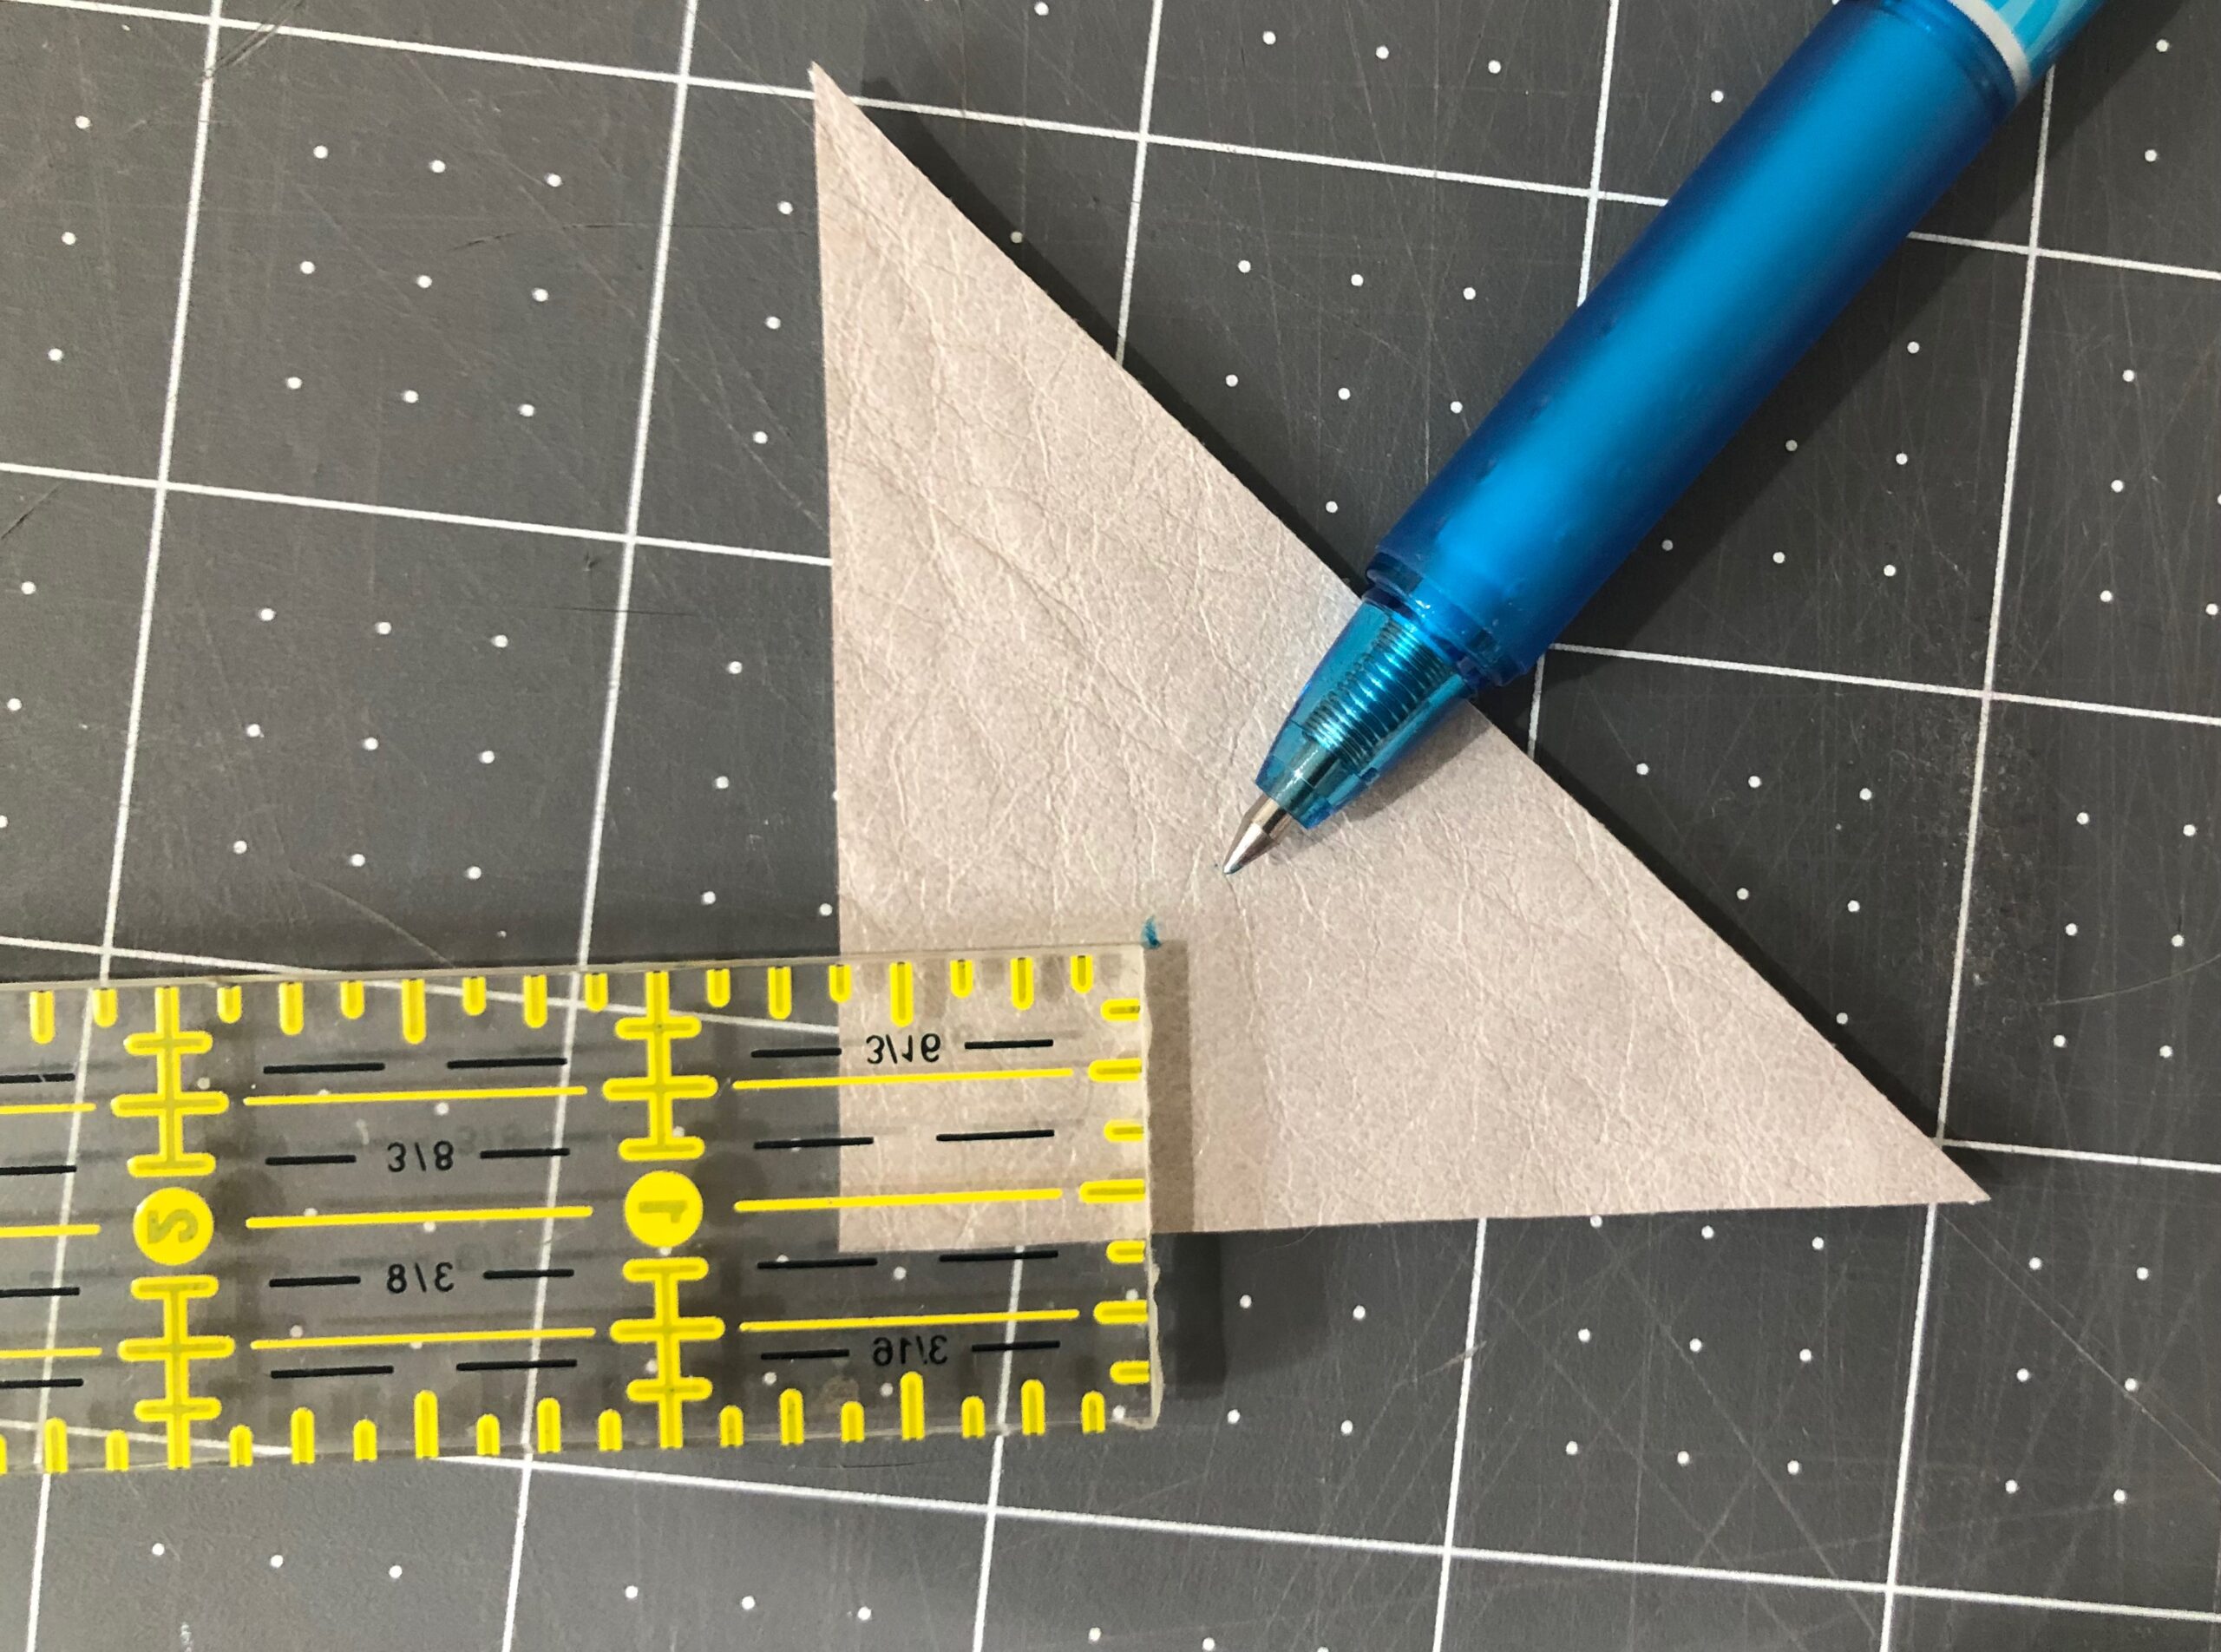
Using a chalk pencil or fabric marking , measure and mark 5/8 from each triangle lower point.
Set aside the triangles.
From the ripstop nylon fabric, cut four equal rectangles, measuring 14 W x 18 H.
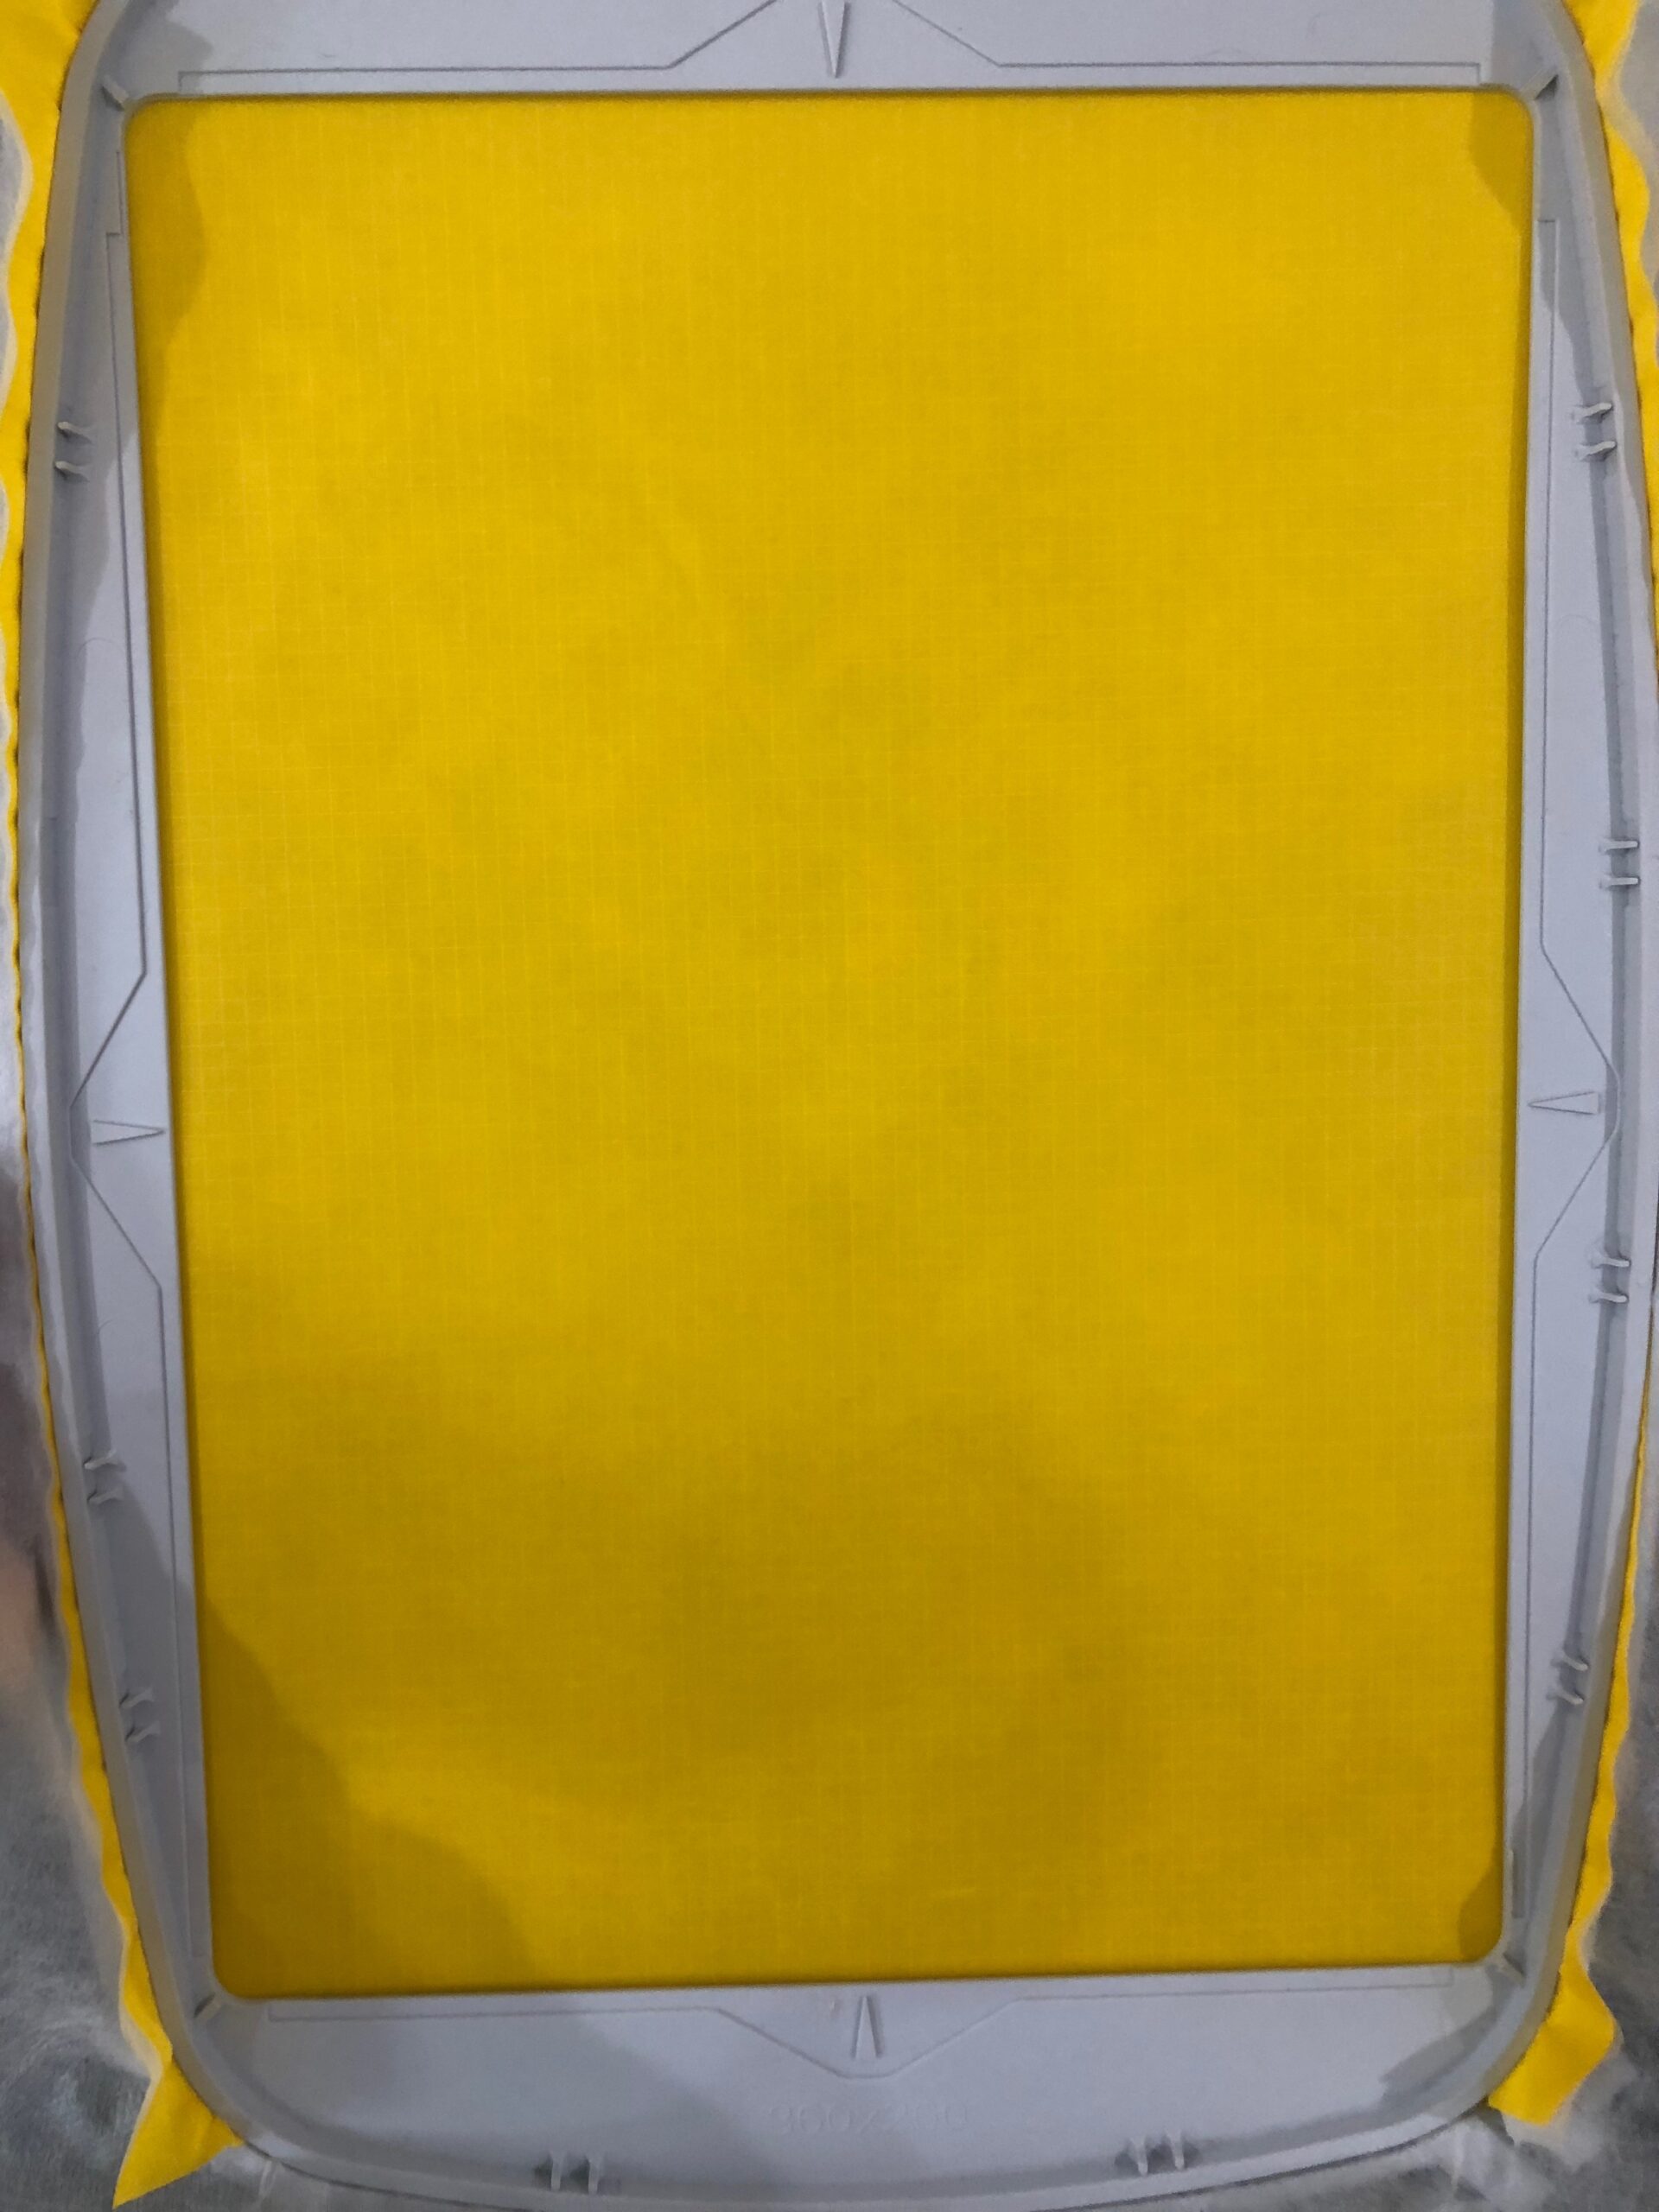
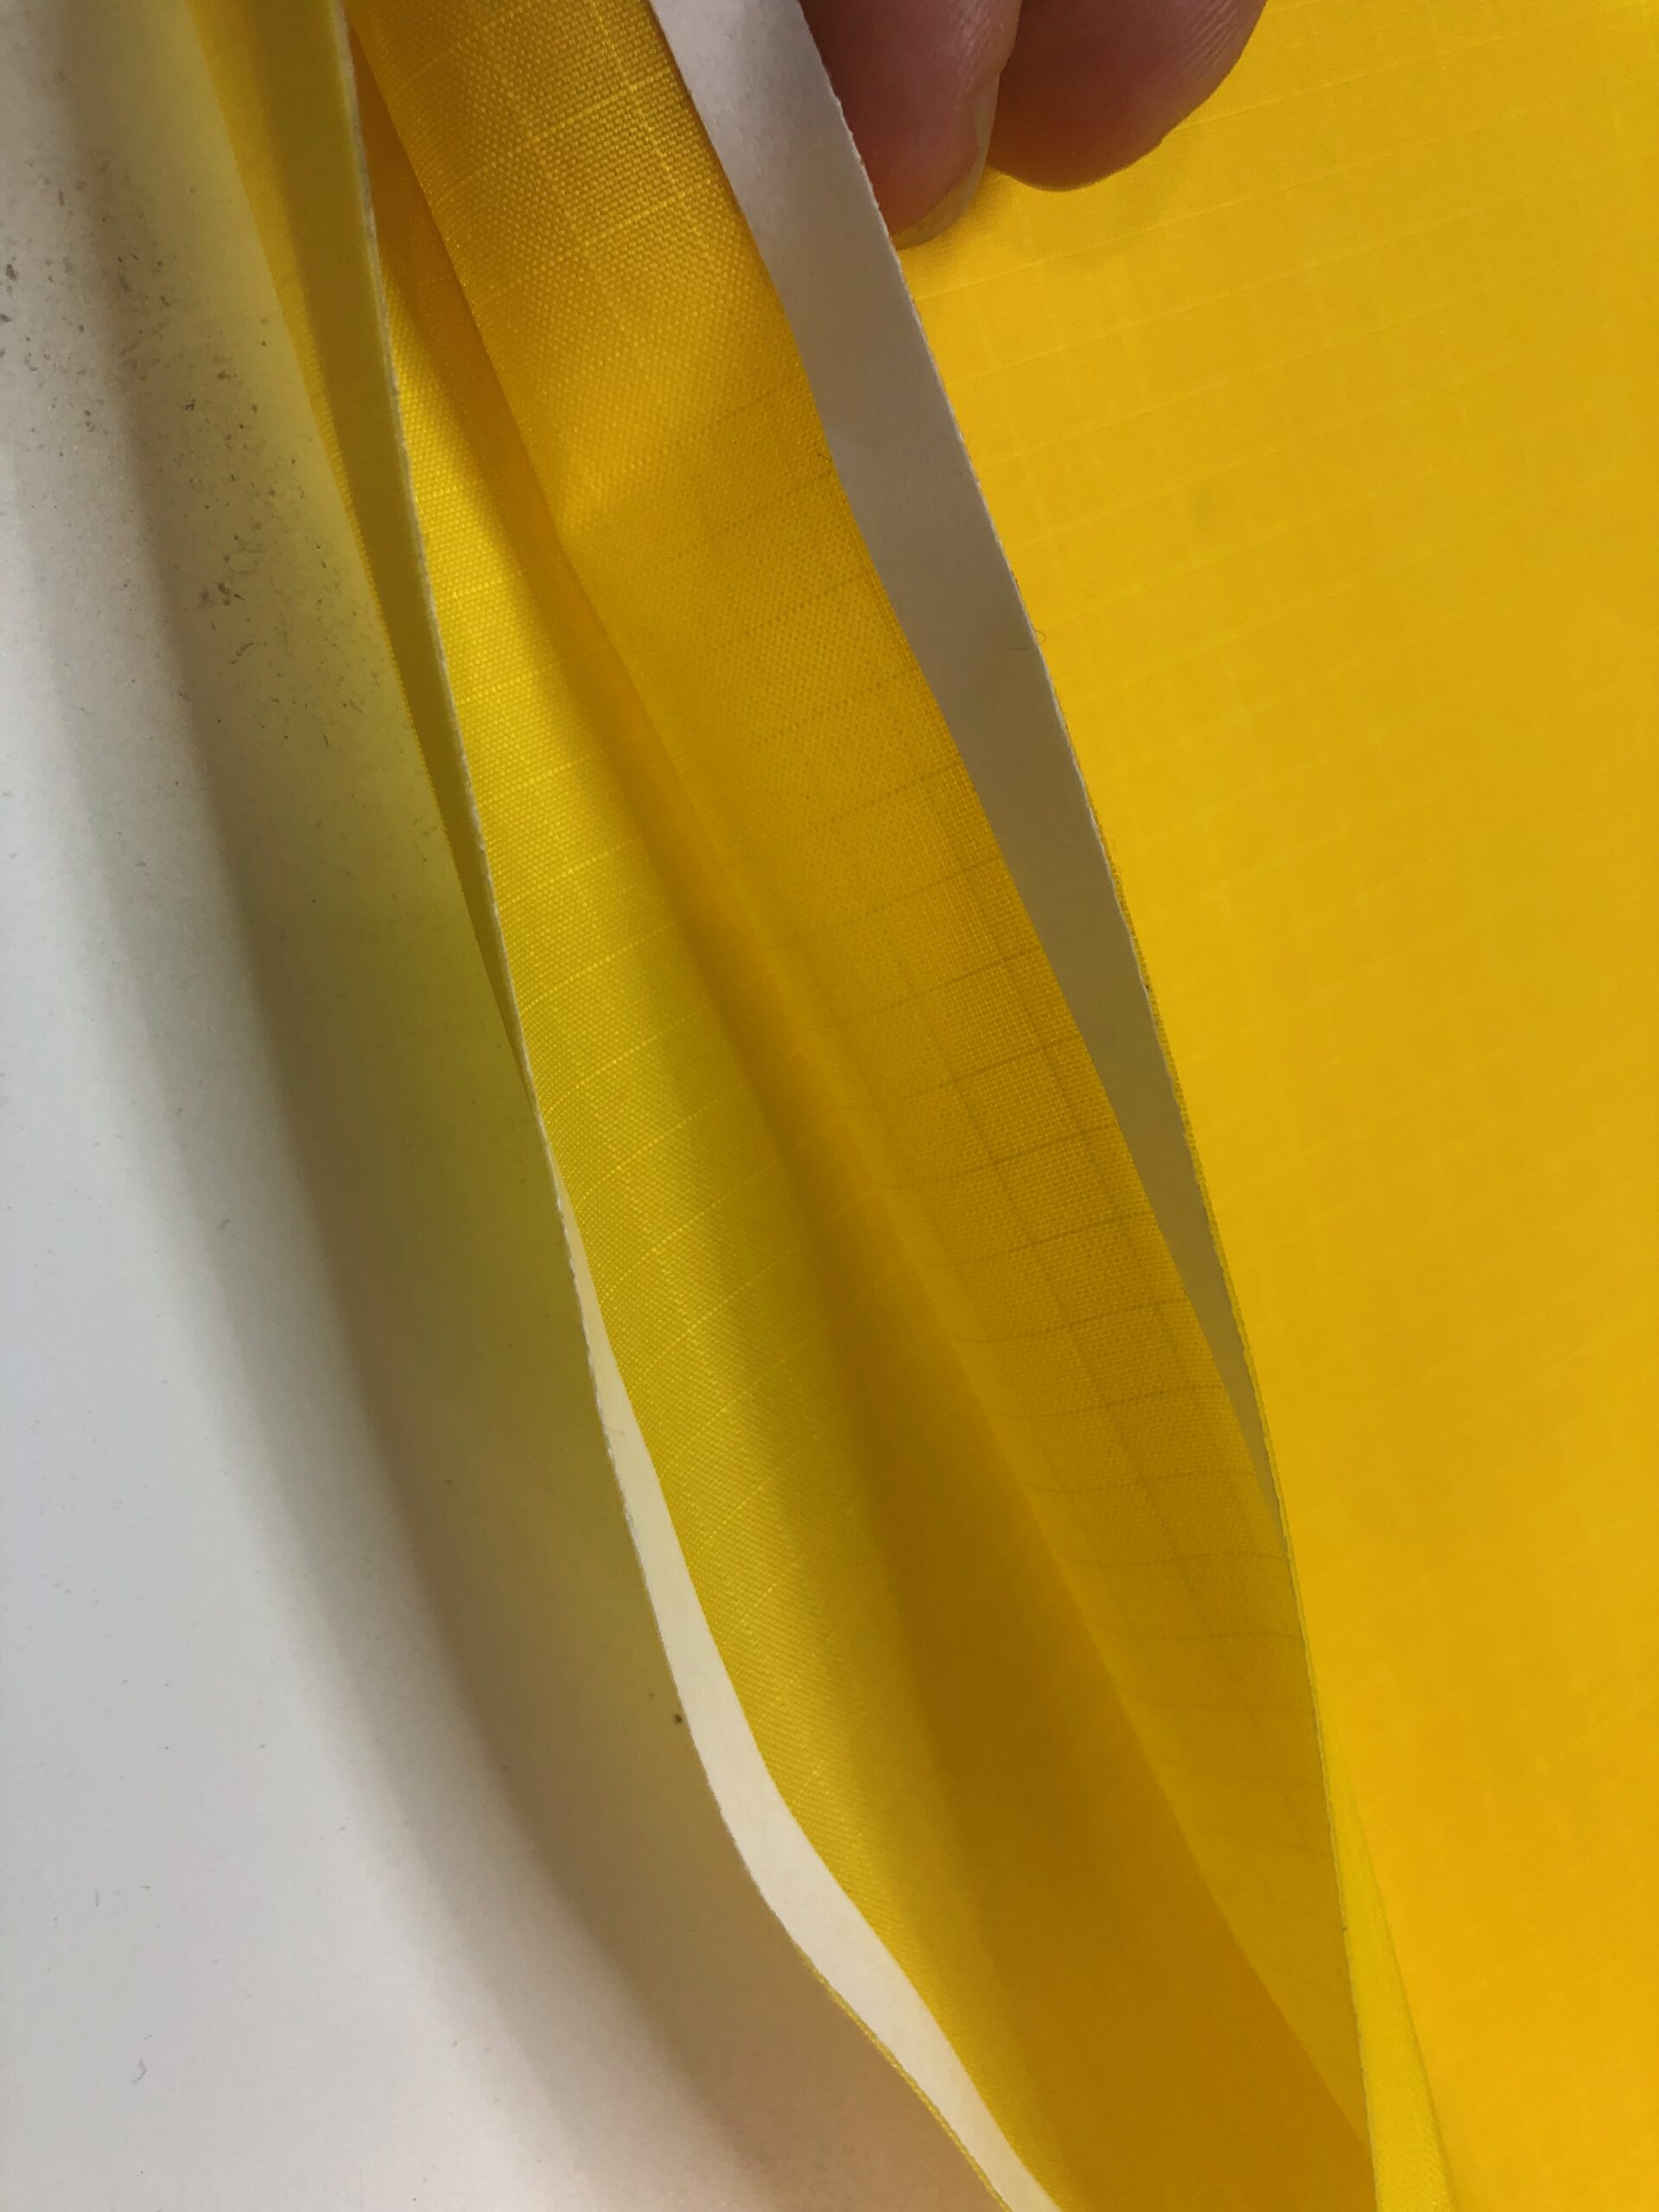
Cut a 14 x 18 piece of Soft n Sheer, and then secure it to one fabric wrong side using KK 2000.
MACHINE EMBROIDERY
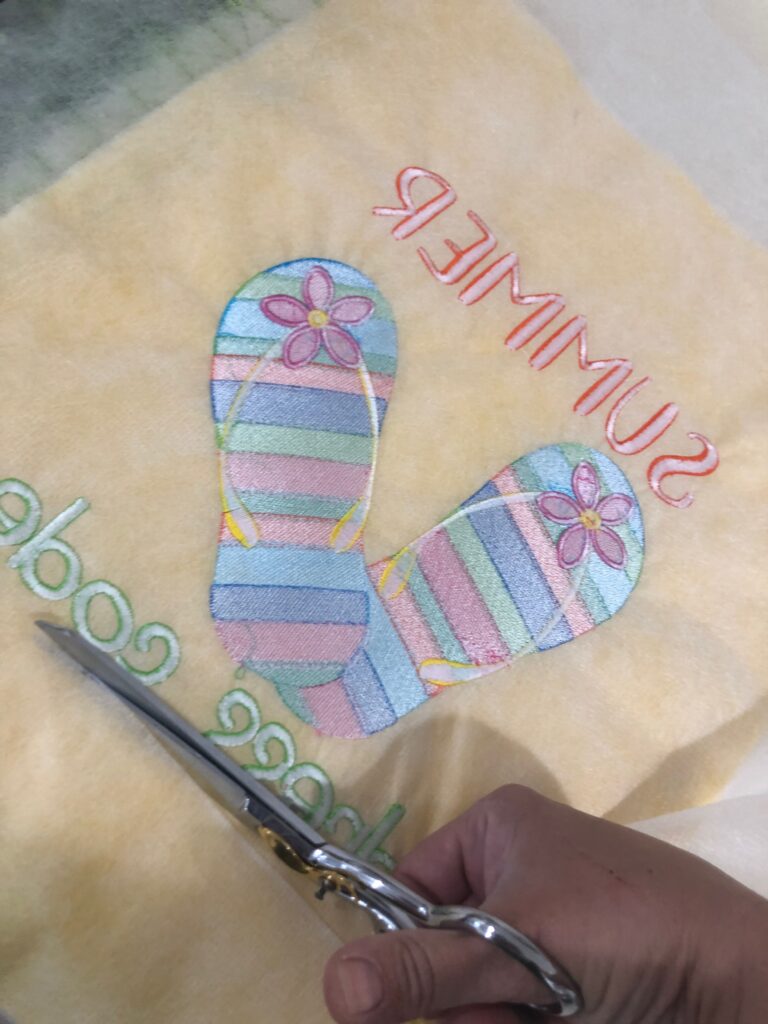
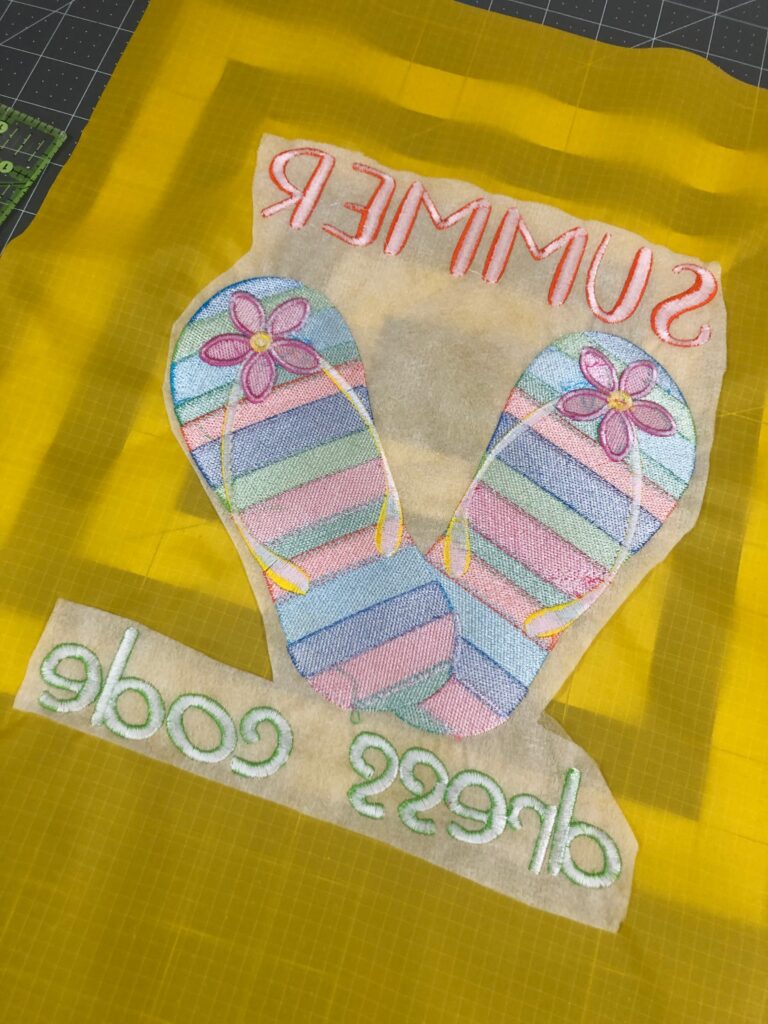
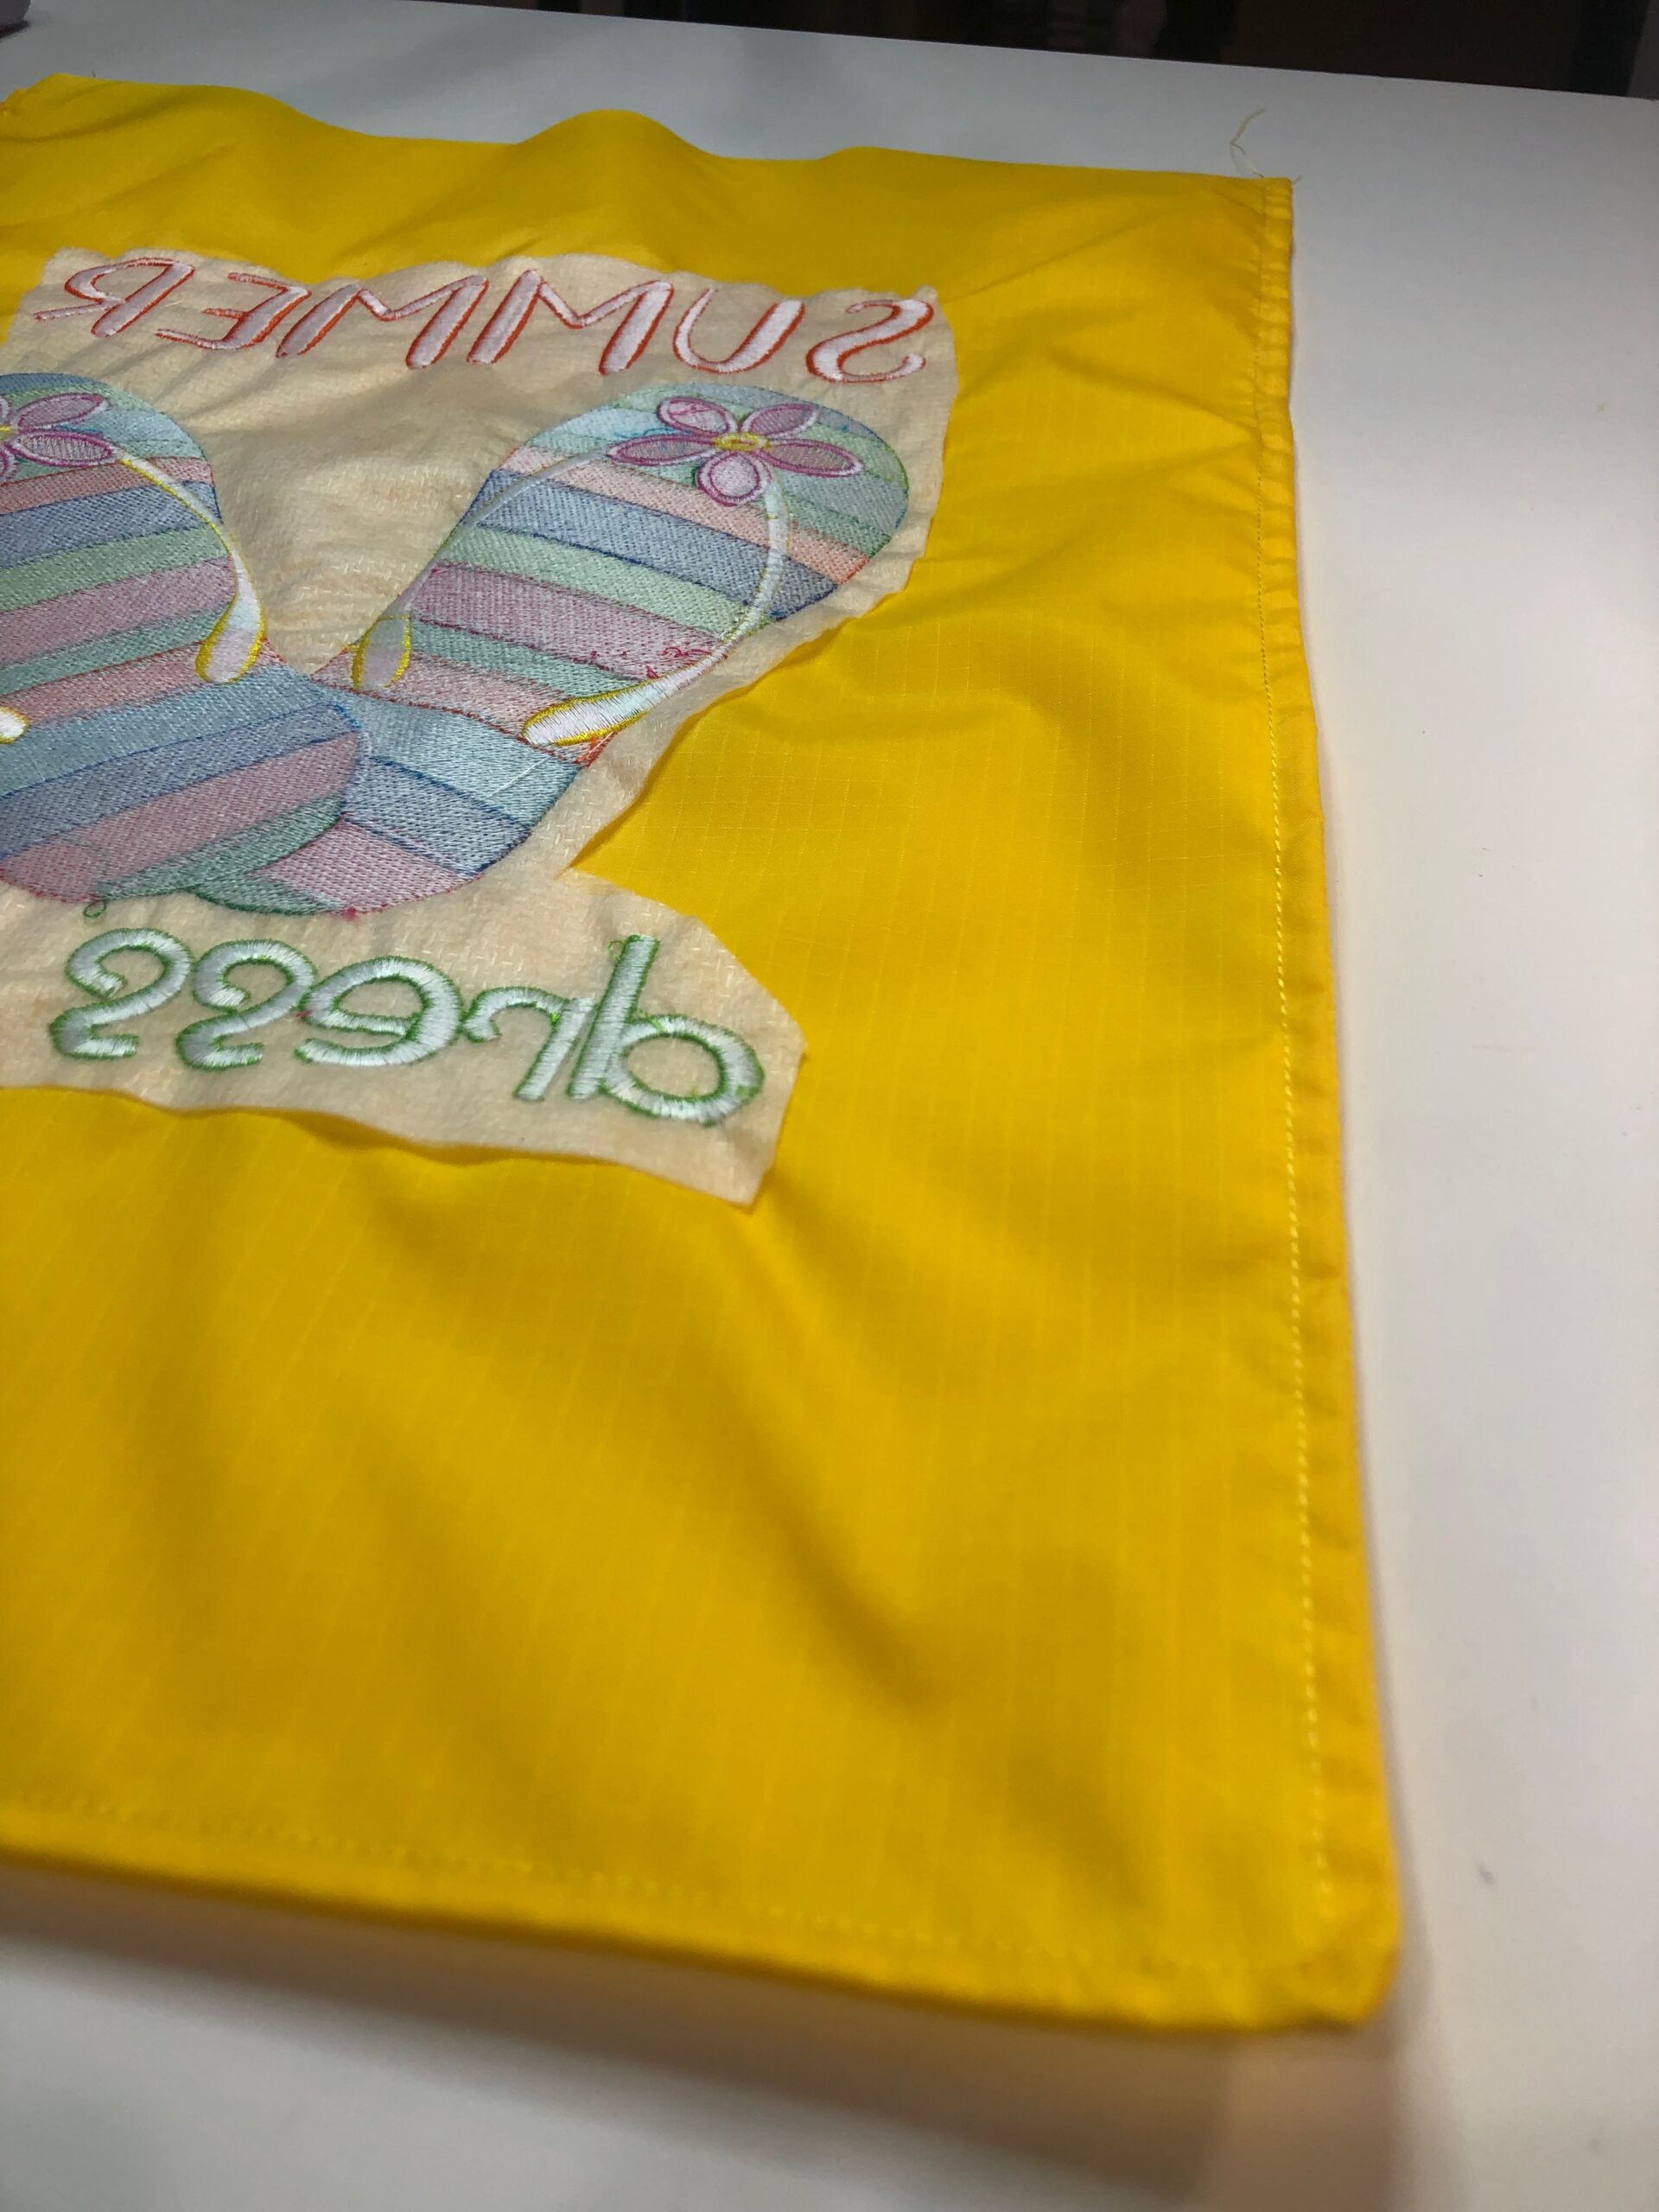
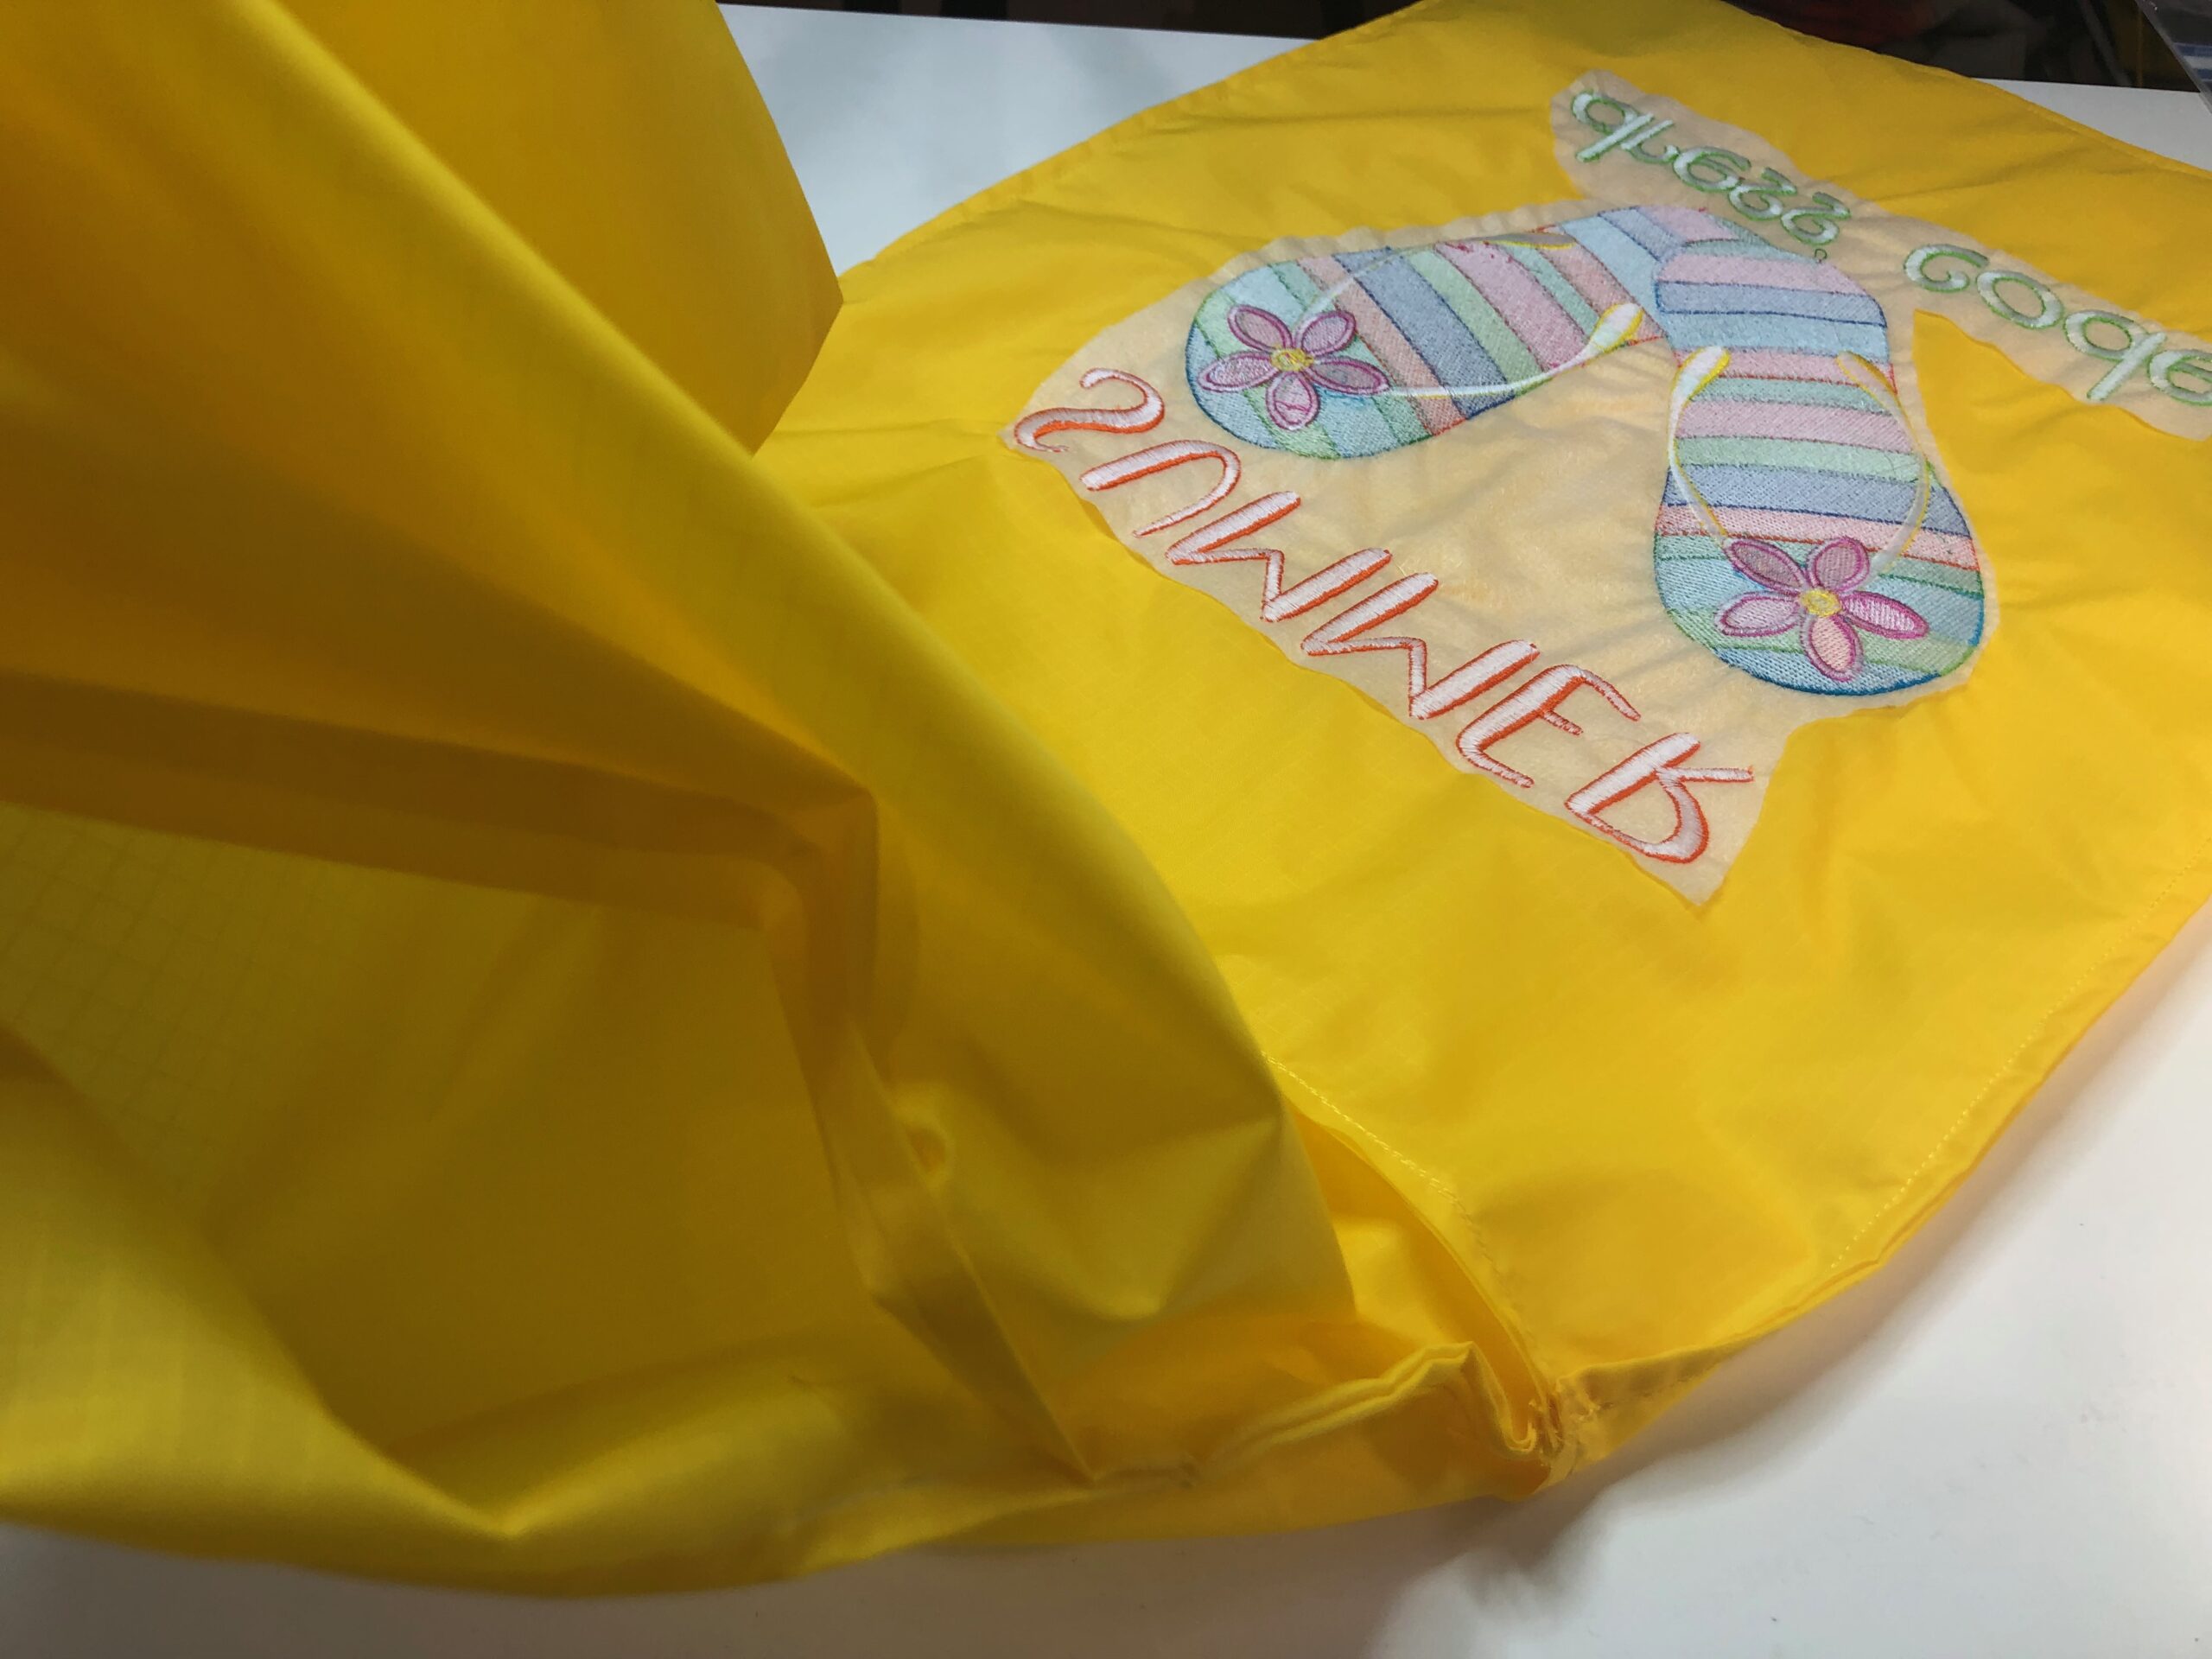
Load the chosen embroidery design in the desired size into the embroidery machine. Select the recommended hoop. The featured design is Hello Summer: Flipflops. Note: The thread color for “Summer” was changed since it was so close to the background fabric.

Hoop the stabilized fabric, centering the chosen design location in the hoop.
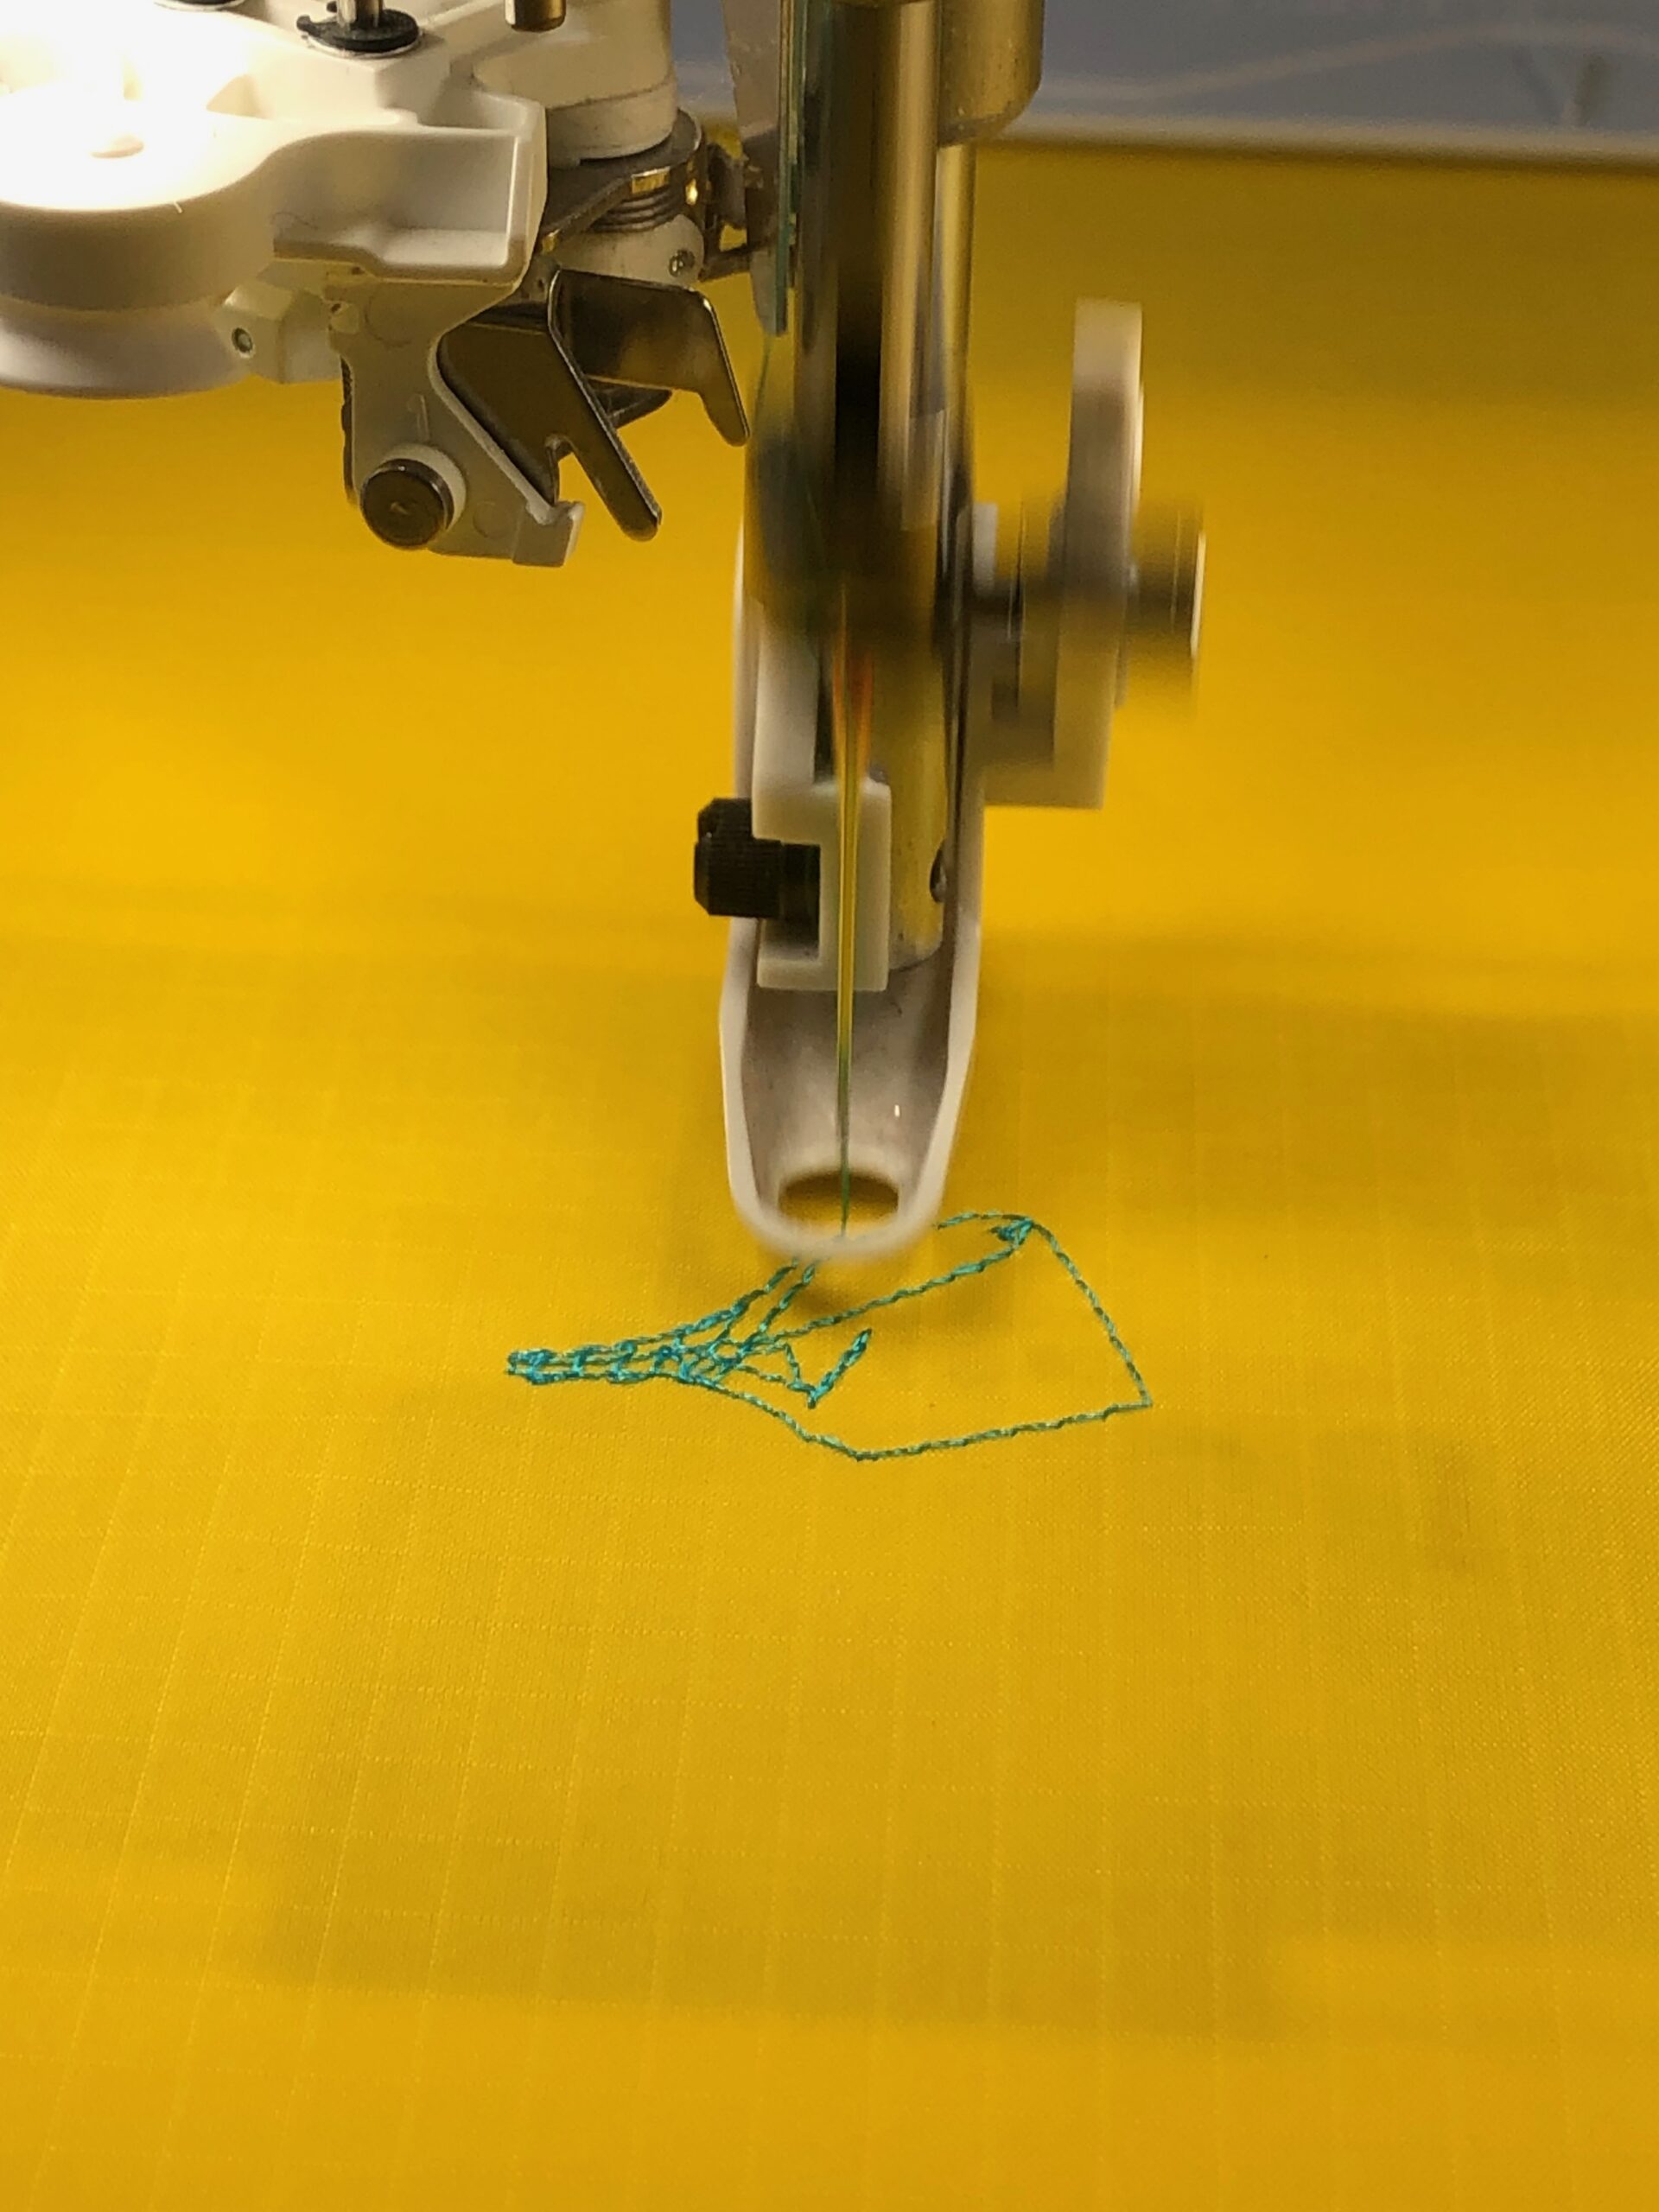
Embroider the design, clipping jump threads with each thread change.
When embroidery is complete, remove the hoop from the machine and the fabric from the hoop. Press from the wrong side, if needed, to remove any hoop marks. Make sure to use the lowest iron setting and a press cloth.
Trim the stabilizer about 1 beyond the design perimeter.
NYLON BAG CONSTRUCTION
Thread the needle and bobbin with Poly Deco Thread that matches the nylon fabric.
Place the embroidered nylon rectangle wrong side up on a flat work surface.
Place a plain nylon rectangle right side up over the embroidered rectangle, matching all edges and corners.
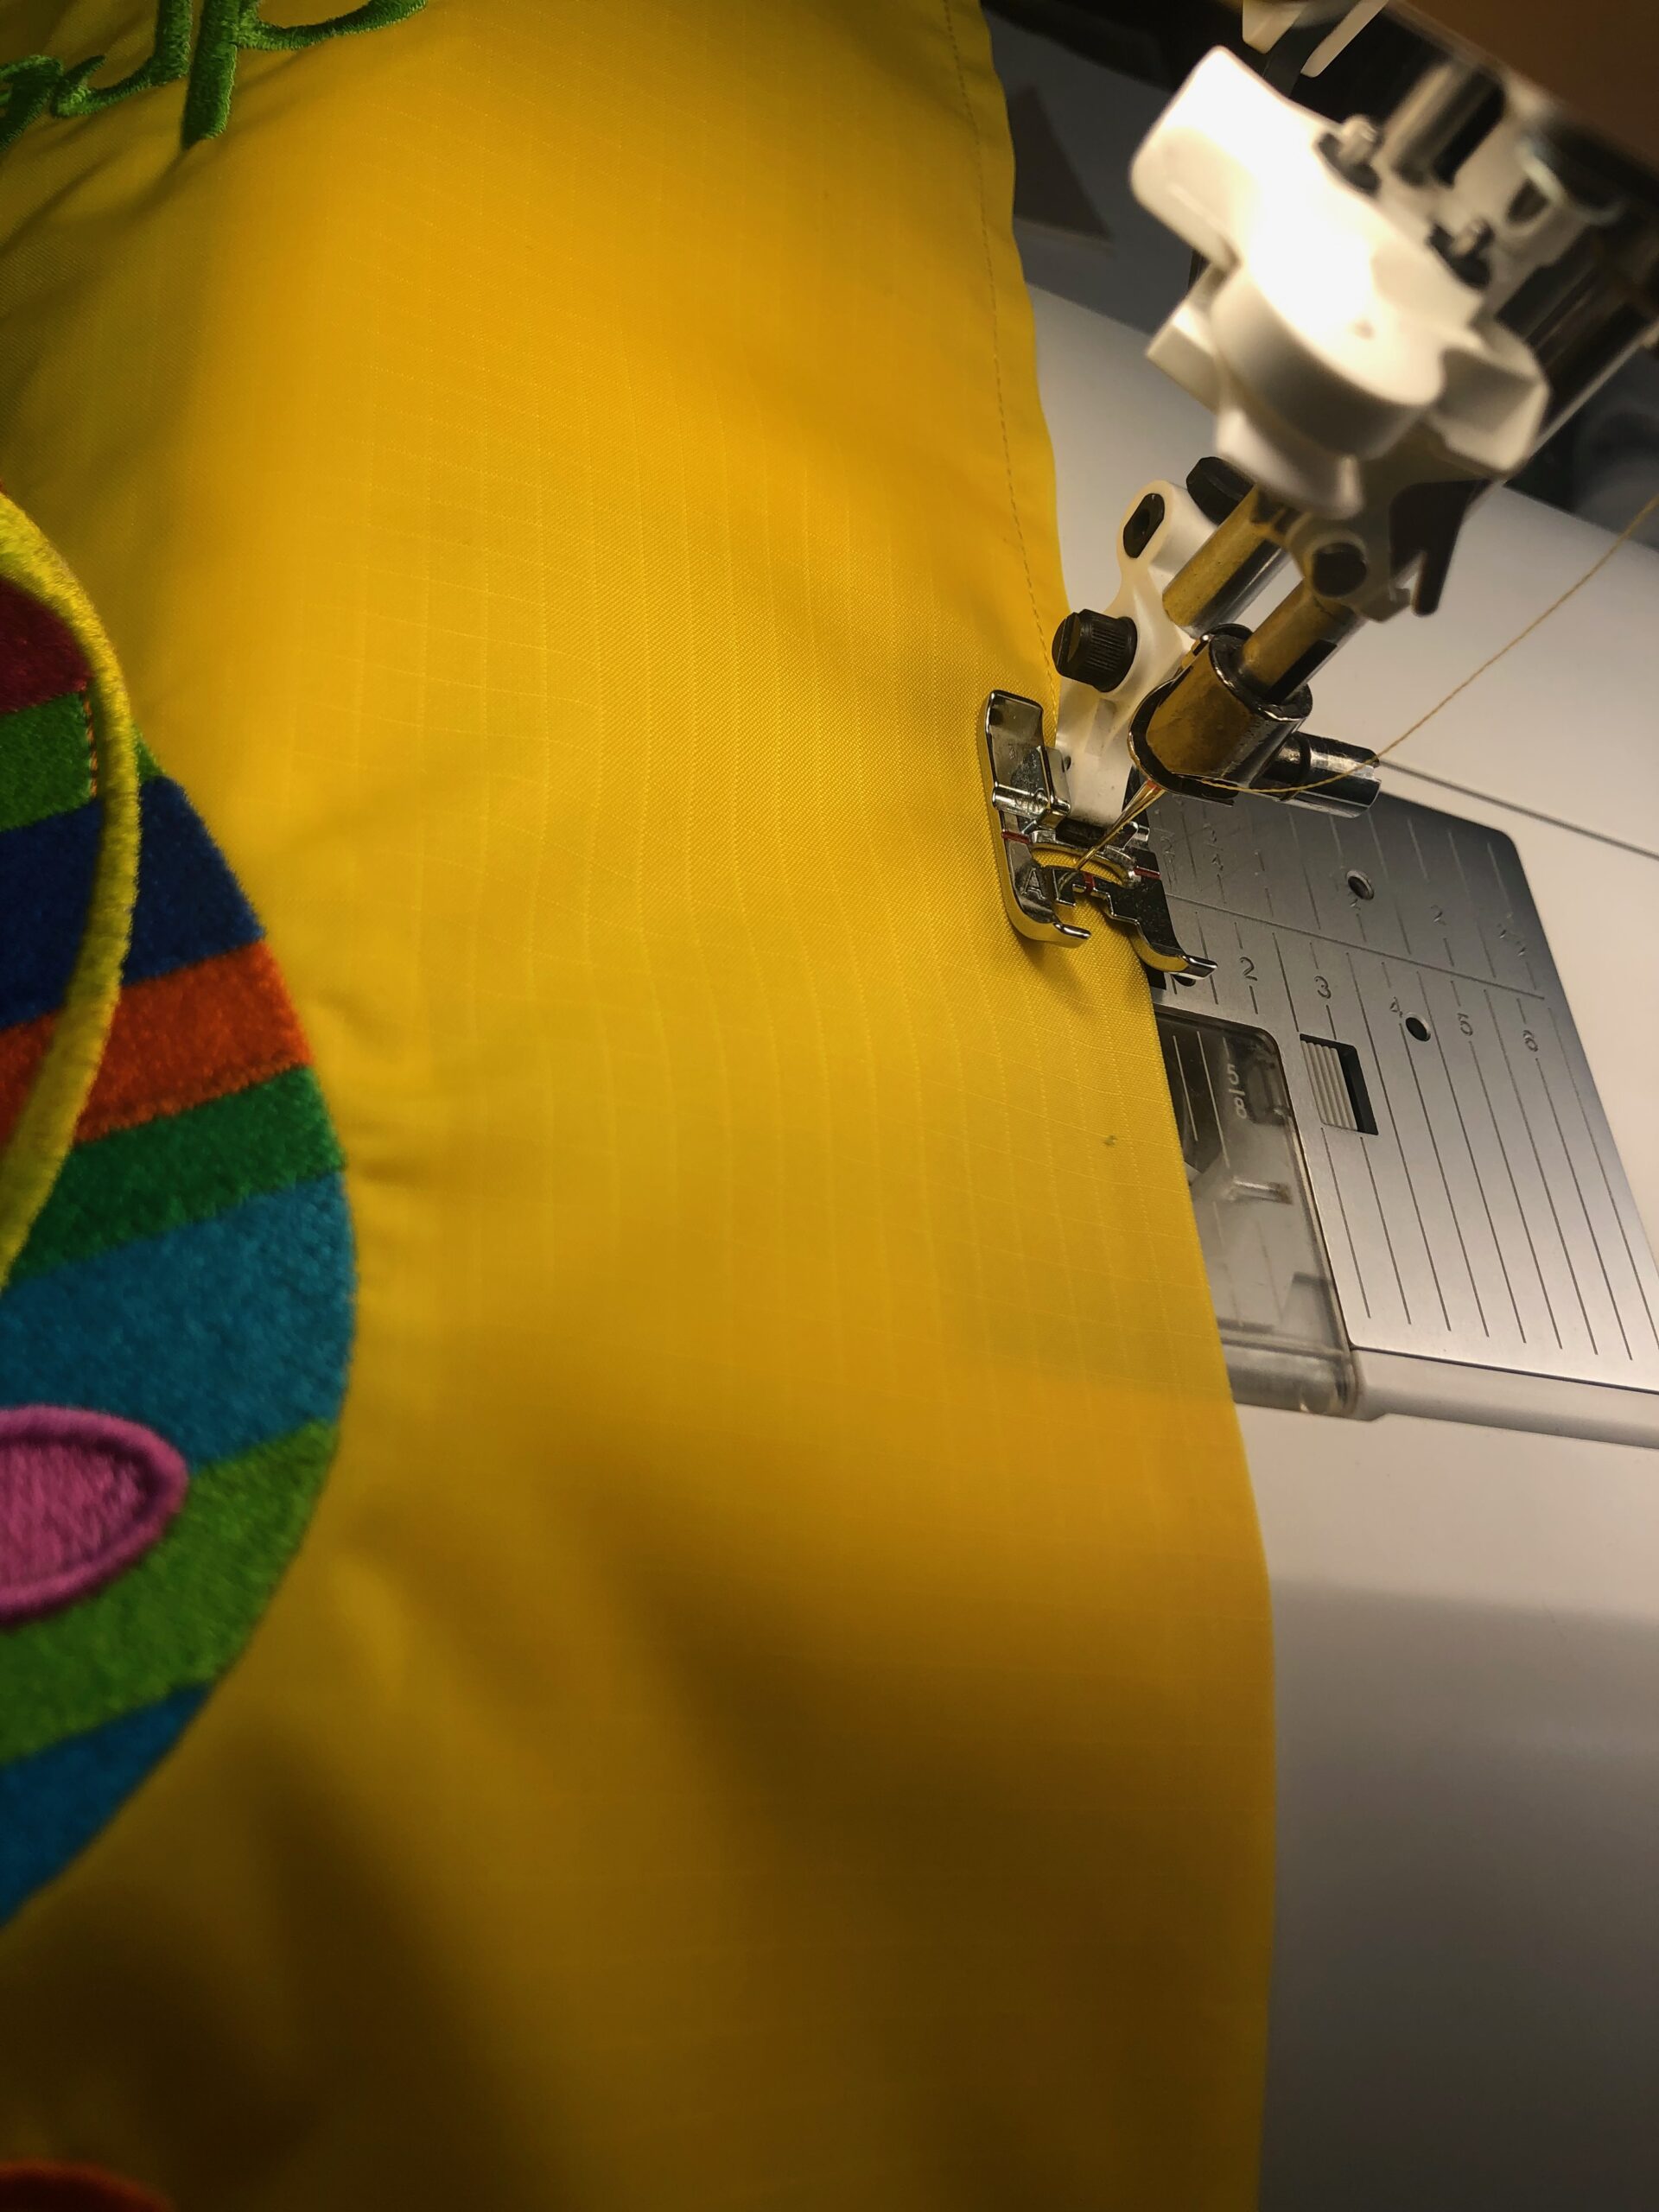
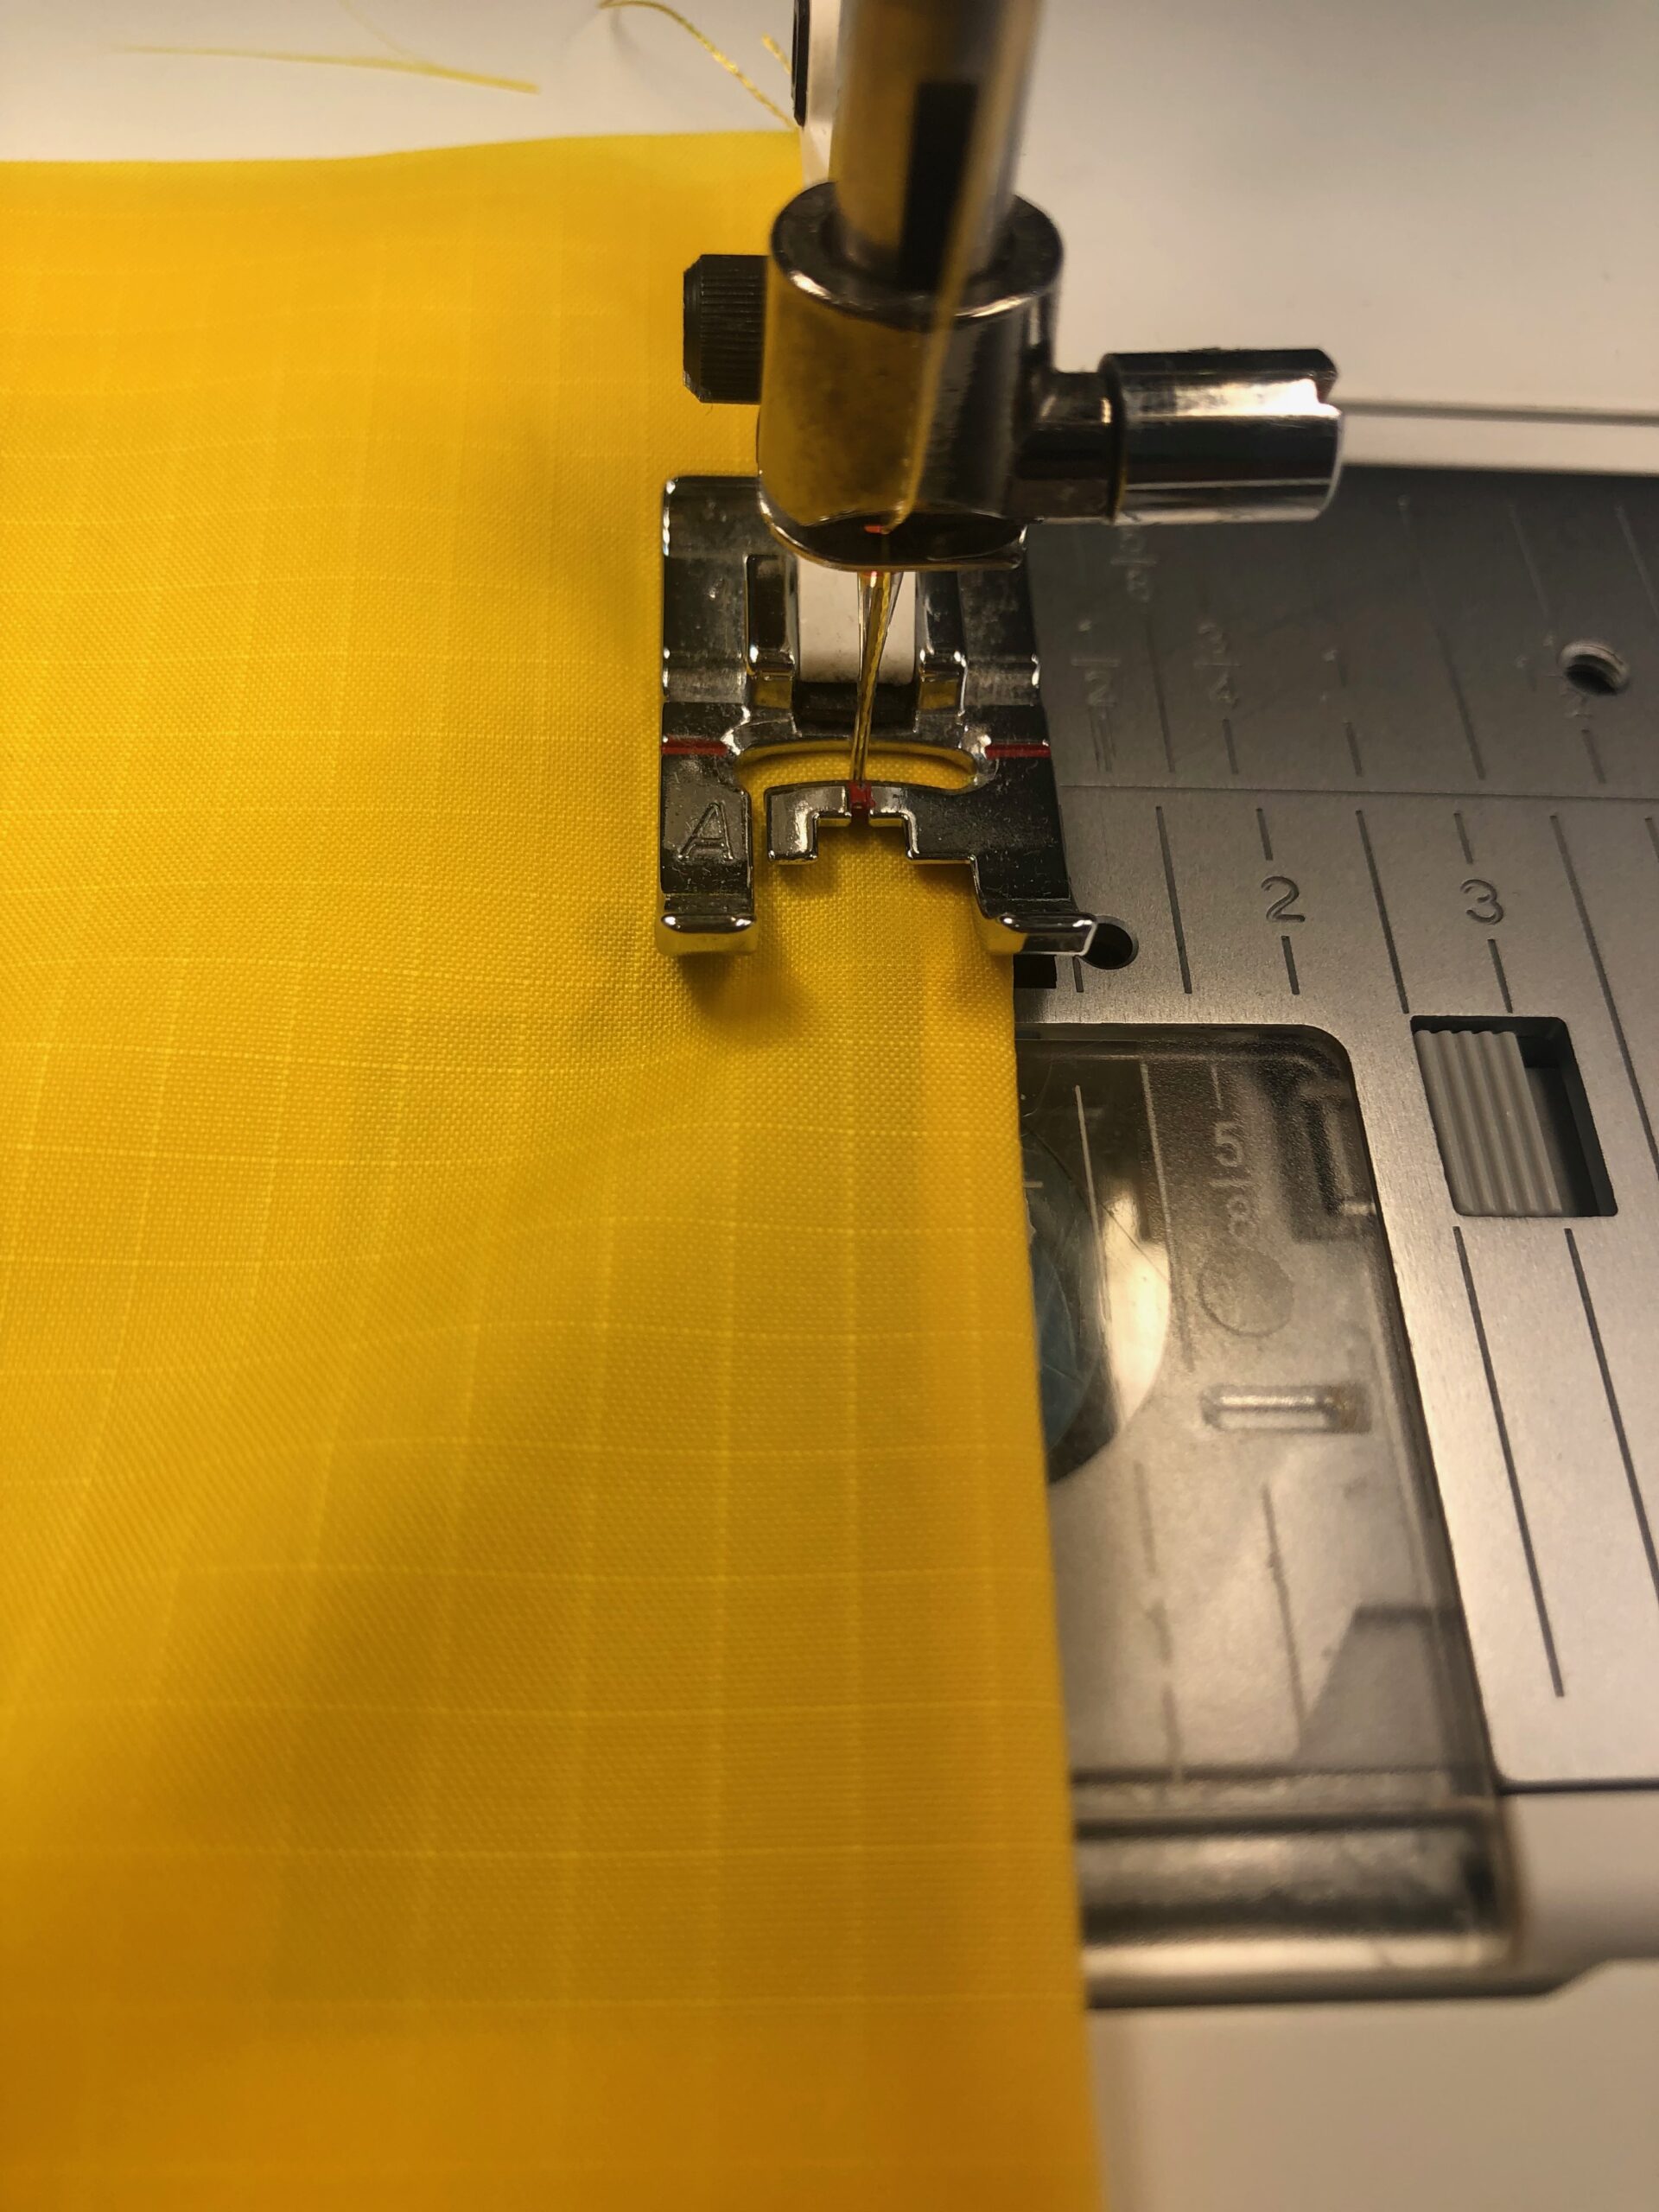
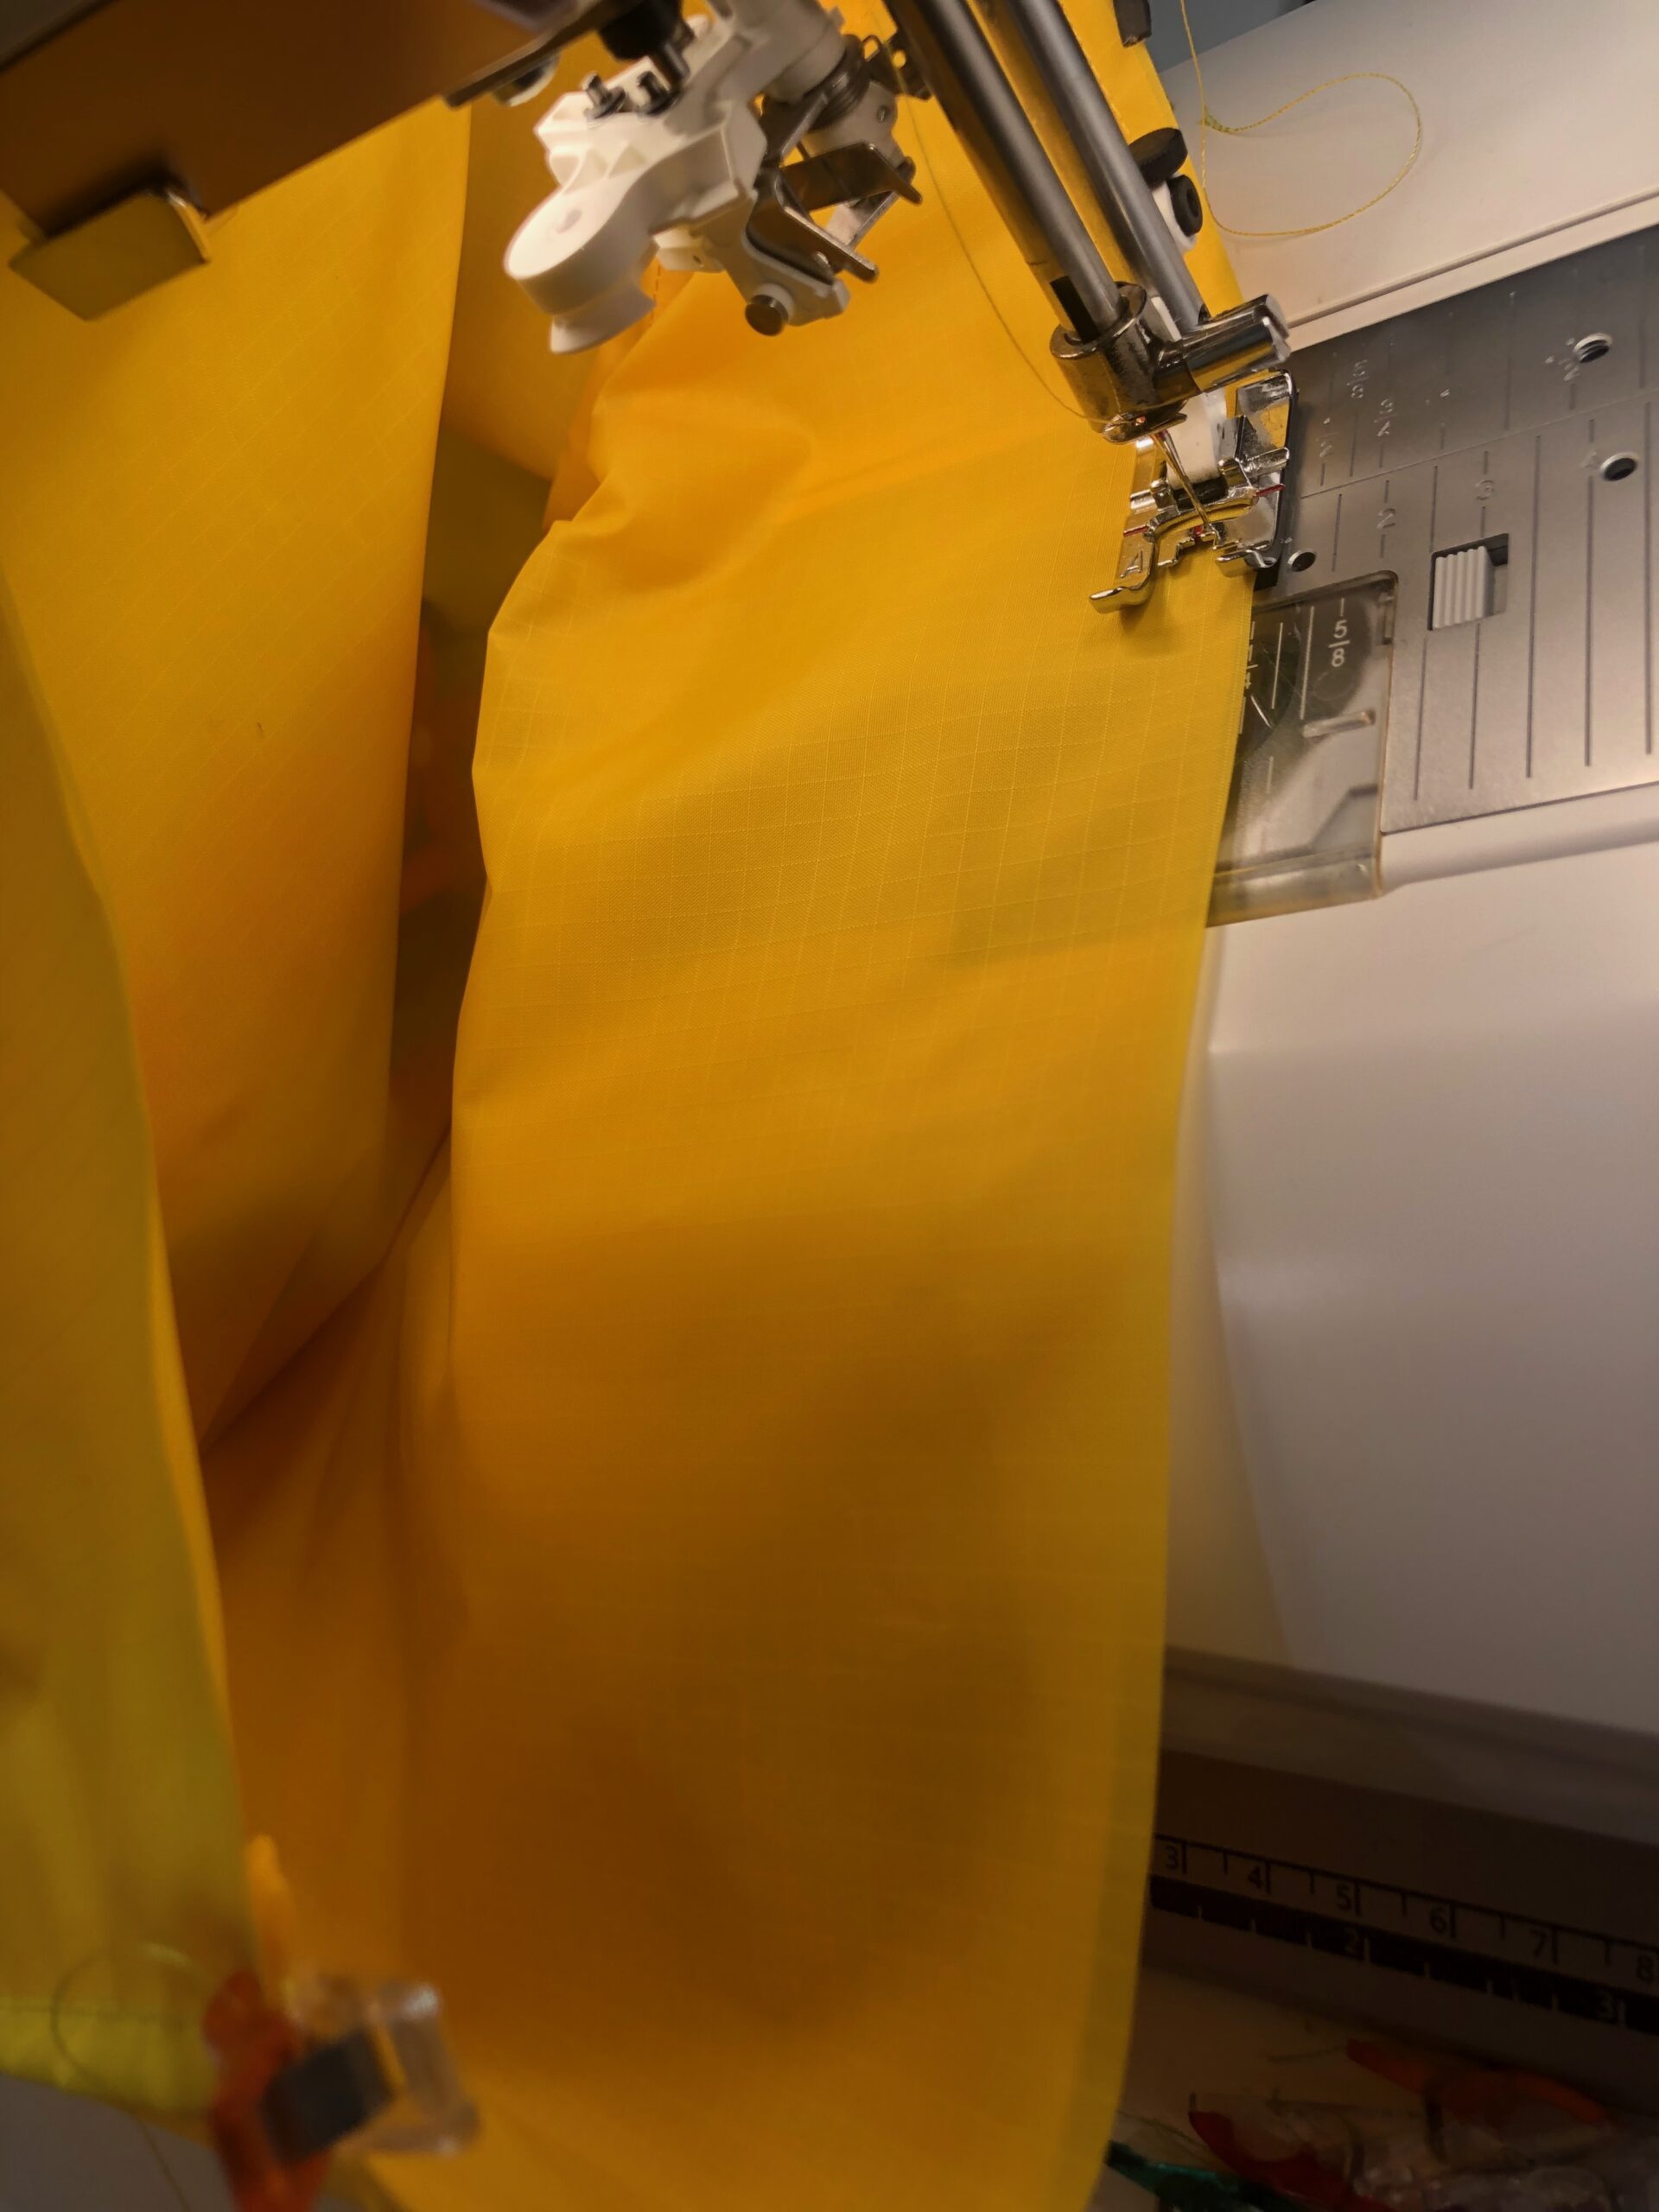
Stitch the sides, and then stitch the lower edge. Use a ¼ seam allowance, a 2.5mm stitch length and backstitch at the beginning and end of the seam.
Trim the fabric 1/8 from the seam.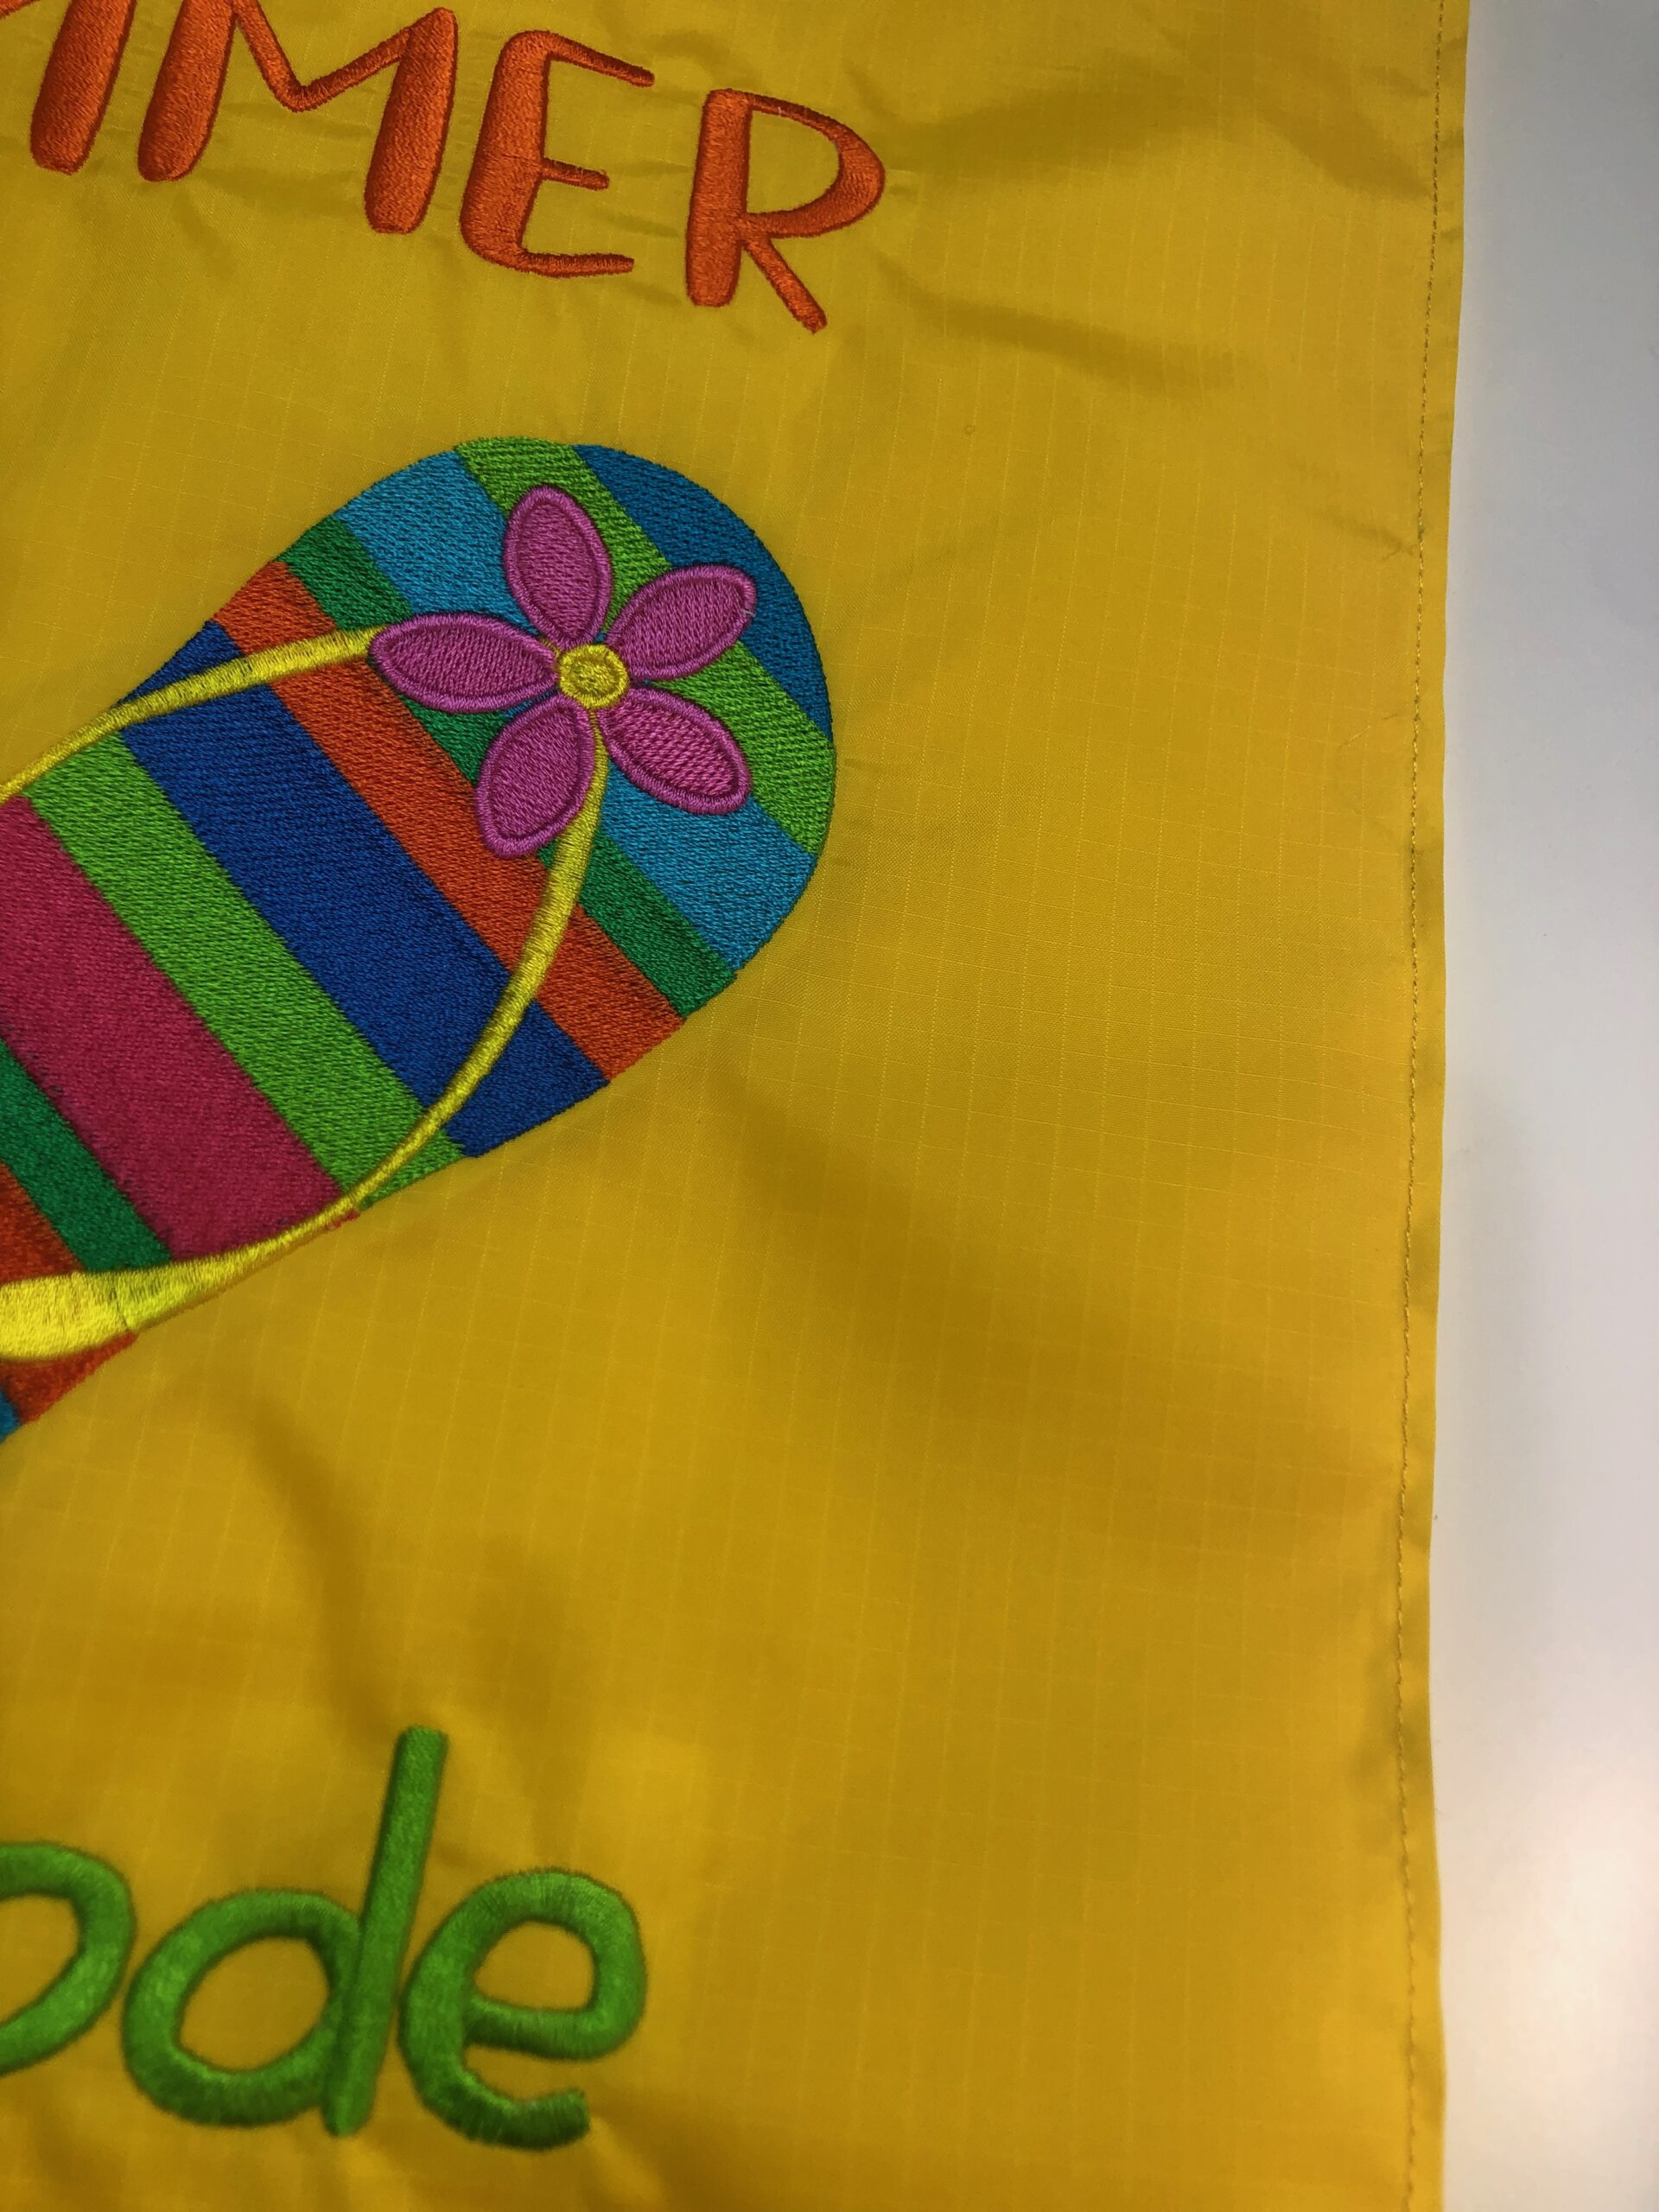
Turn the outer bag wrong side out so the right sides are together. Stitch the sides and lower edge again, using a ¼ seam allowance. This French seam technique will help prevent fraying along the seamlines over time. Leave wrong side out.
Place the remaining nylon rectangles wrong sides together. Using a ¼ seam allowance, stitch the lower edge and sides, leaving a 5 opening along one side edge for turning. Trim 1/8 from the seam, save for the opening allowance.
Turn the lining bag wrong side out so right sides are facing. Place double-sided basting tape along the opening seam allowance.
Remove the paper backing of the basting tape, and then stick the opening allowances down toward the fabric wrong side.
Stitch the lining sides and lower edge again, using a 1/4 seam allowance and leaving the opening unsewn.
Turn the lining right side out.

DRAWSTRING BAG FINISHING
Place the lining bag into the outer bag so right sides are facing.
Match the side seams, and then place them in different directions; clip to secure along the seams.
Stitch the upper edge, using a ¼ seam allowance. Stitch this seam again for reinforcement.
Turn the bag right side out through the opening in the lining.
Clip the opening shut, and then topstitch.
Push the lining into the outer bag so wrong sides are together, with side seams aligned.
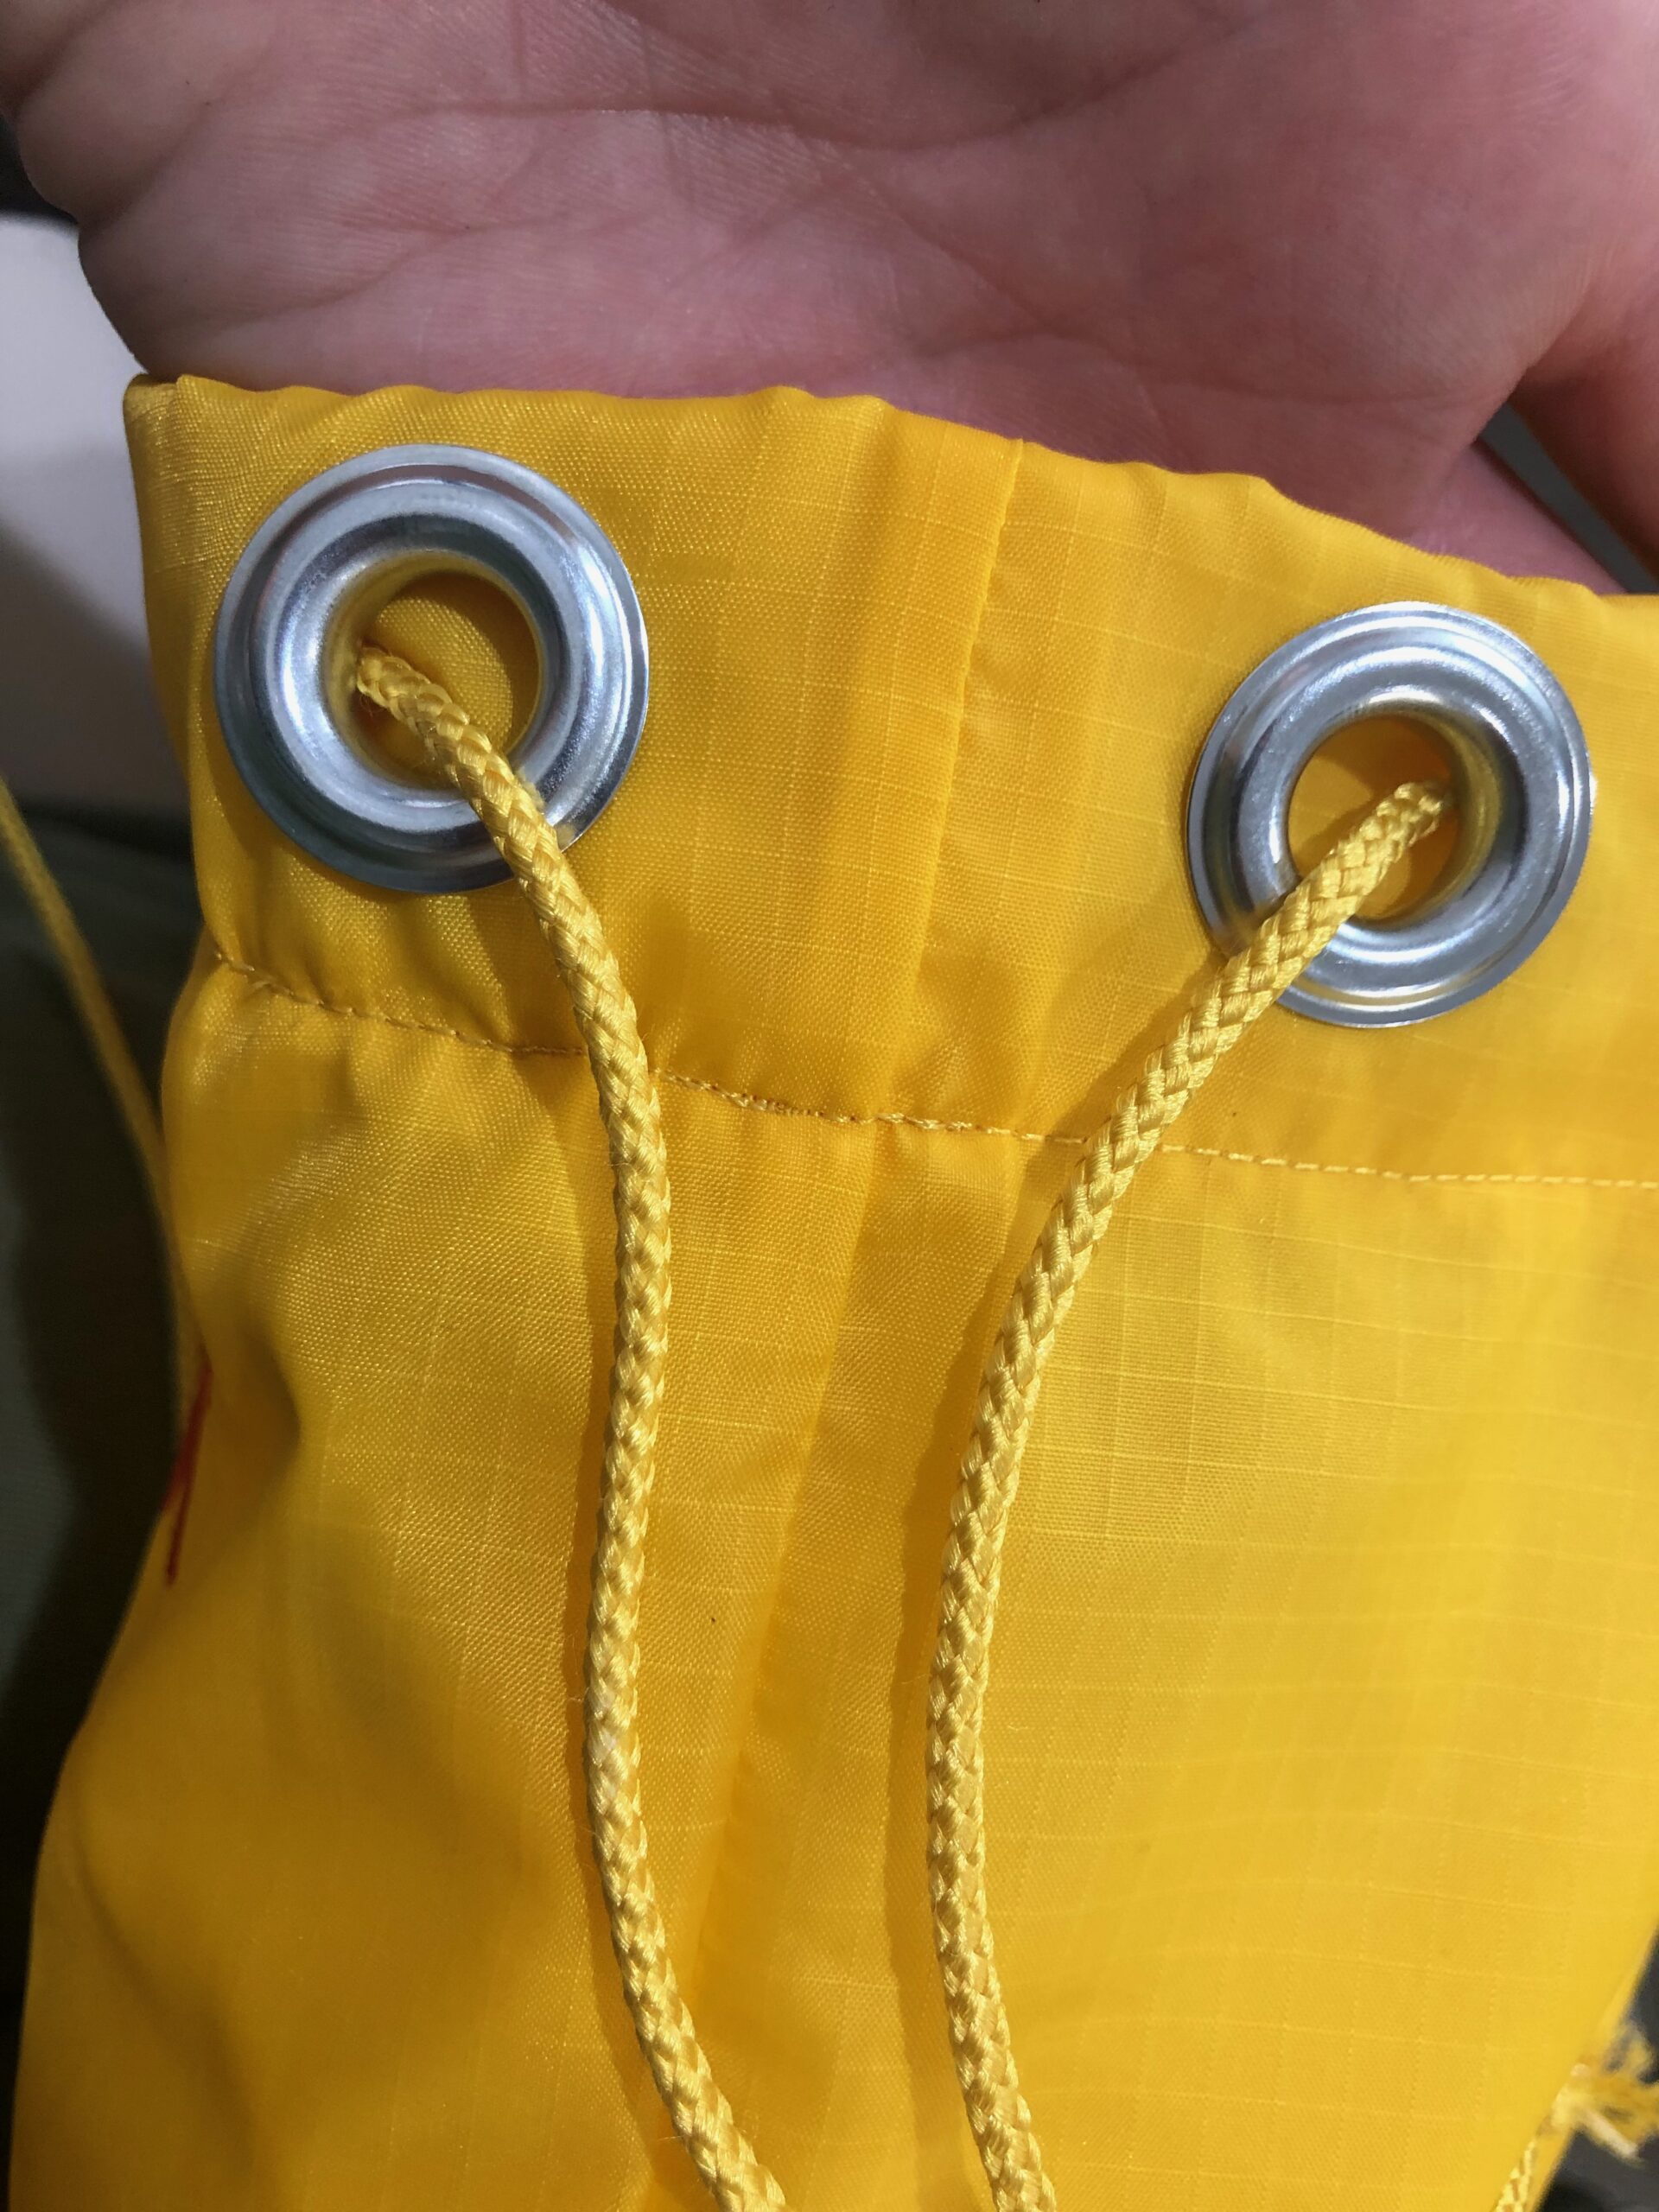
Place an eyelet 2 3/8 from the outer-bag upper-edge, 1 from the side seam on the bag front and back. Follow the manufacturer’s instructions for inserting the eyelets. They should go through the outer and lining layers.
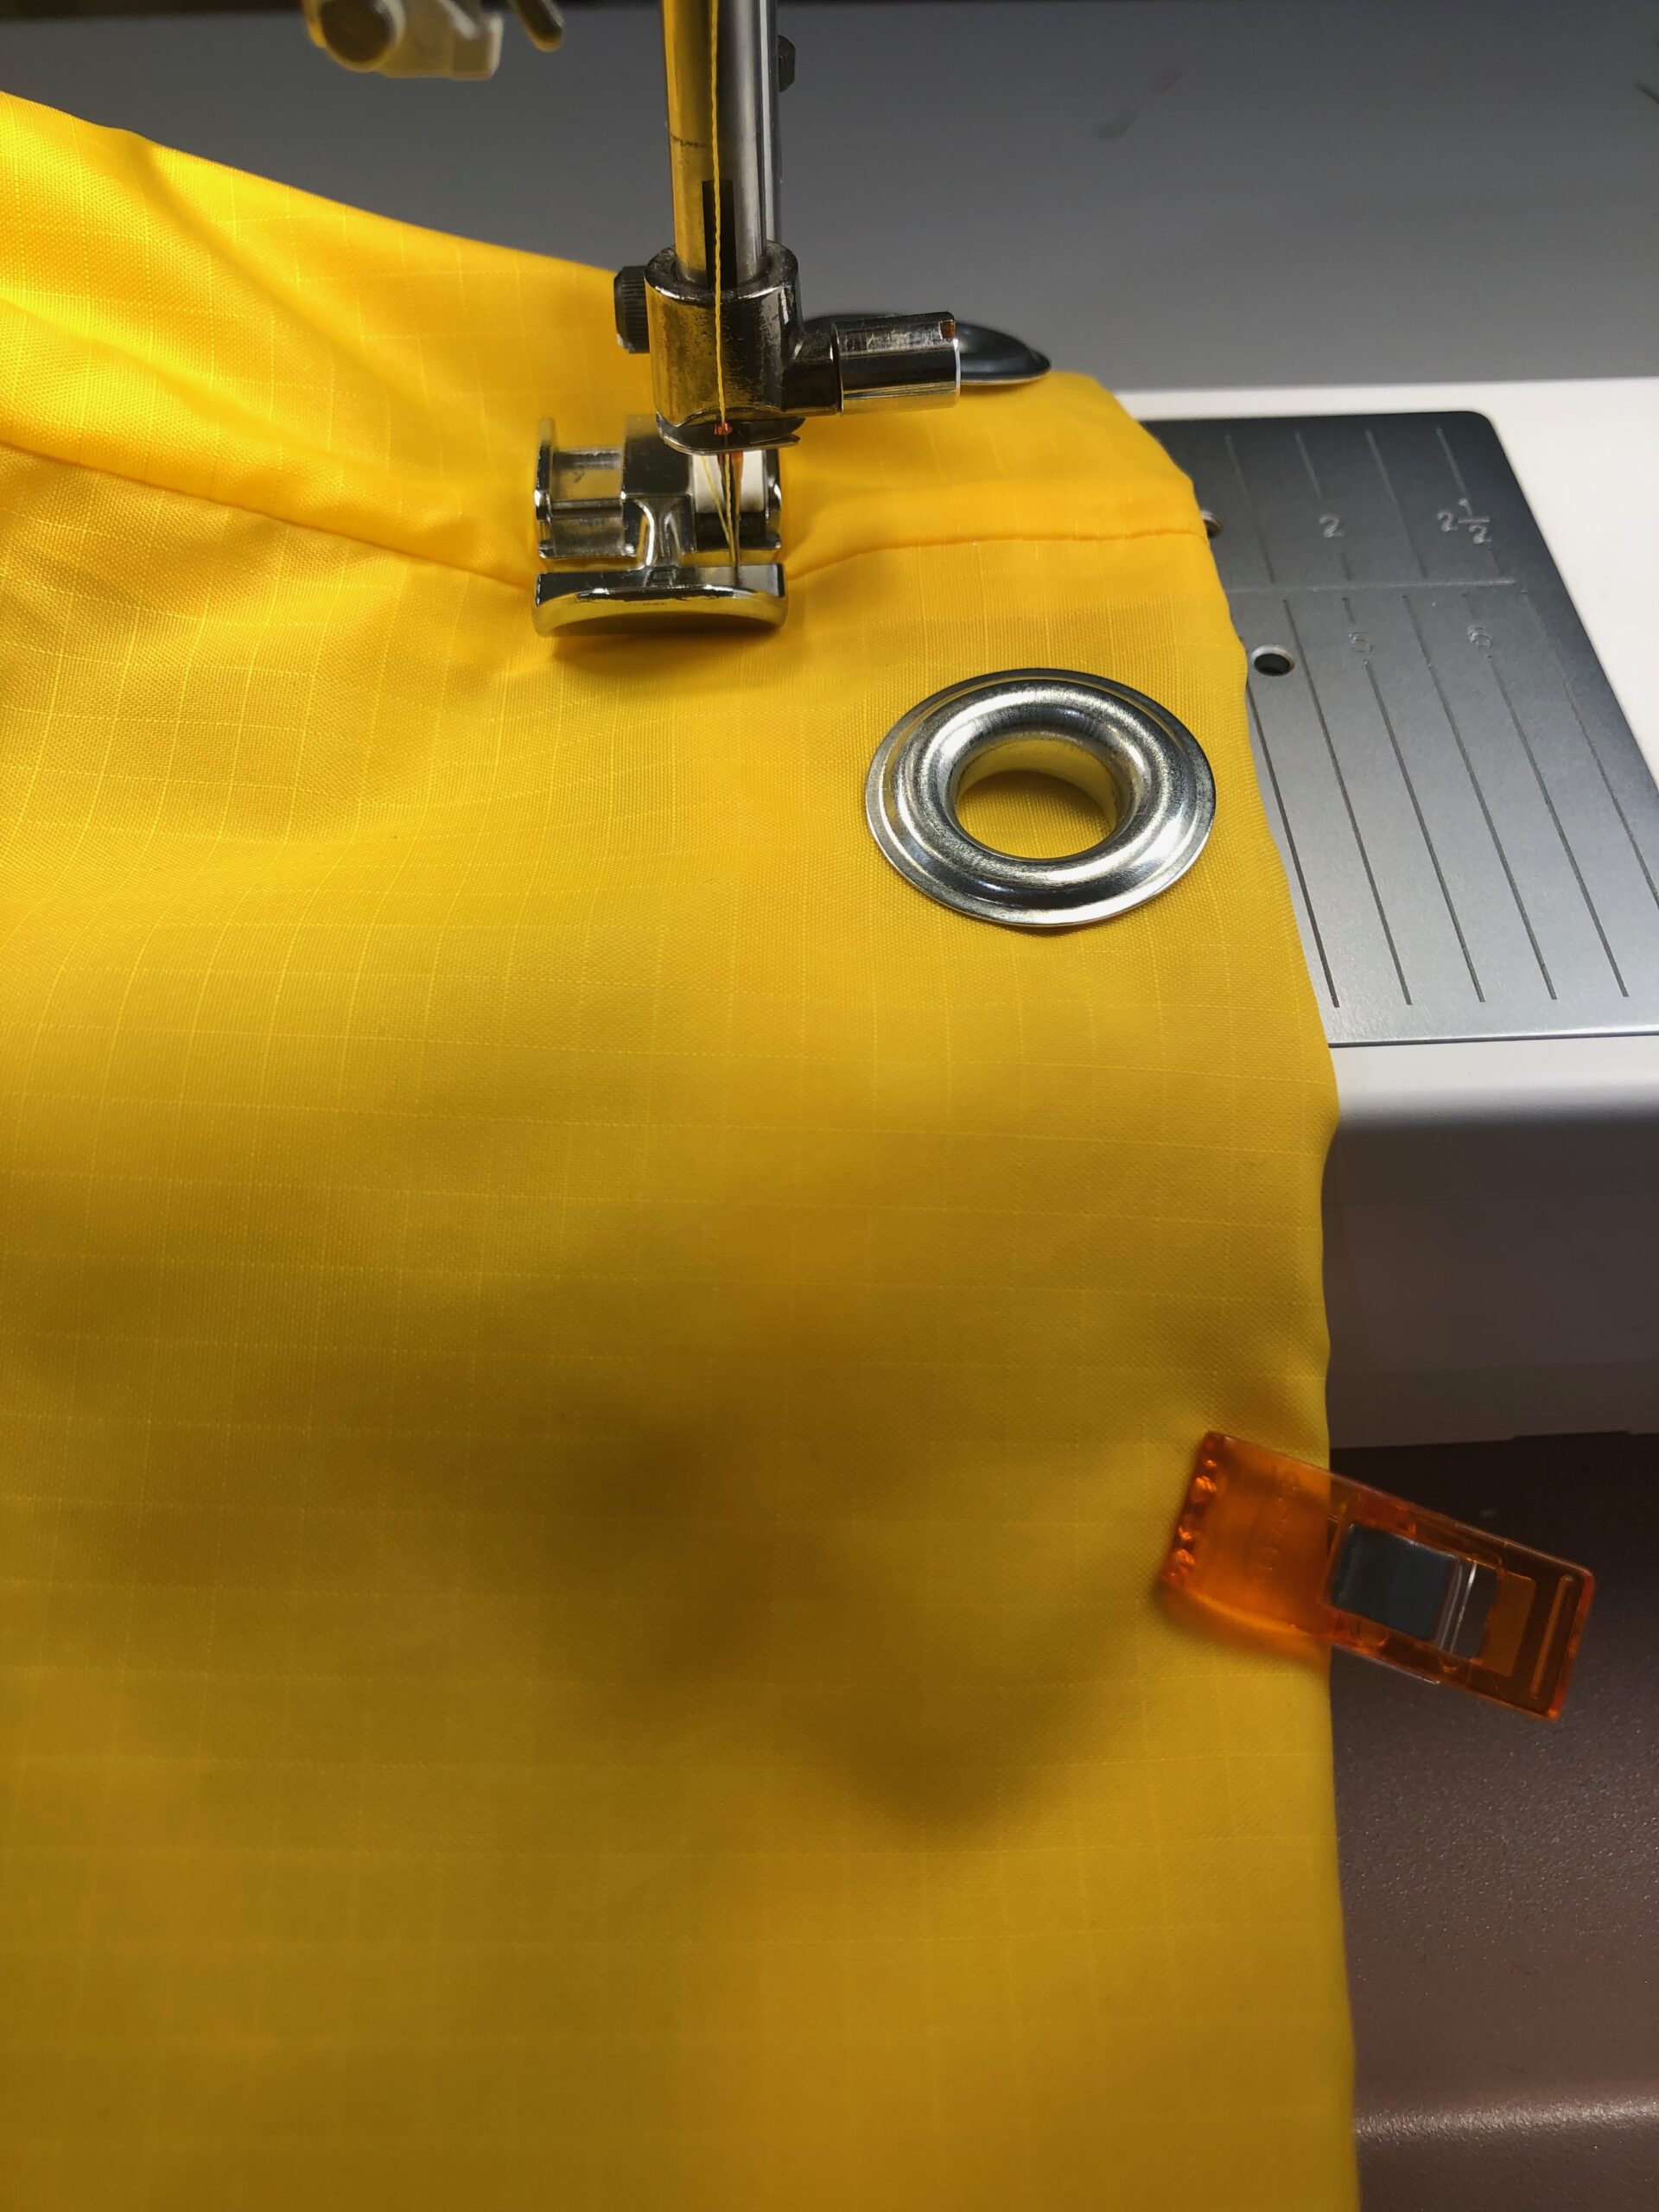
Fold the upper edge 1 3/4 toward the wrong side, and then topstitch to create the casing. Install a zipper or narrow foot, if needed, for greater clearance when topstitching near the eyelets.
Place a vinyl/faux leather triangle along the bag-front lower-edge corners. Use Wonder Clips or double-sided basting tape to secure. Secure the remaining triangles along the bag-back lower-edge corners.
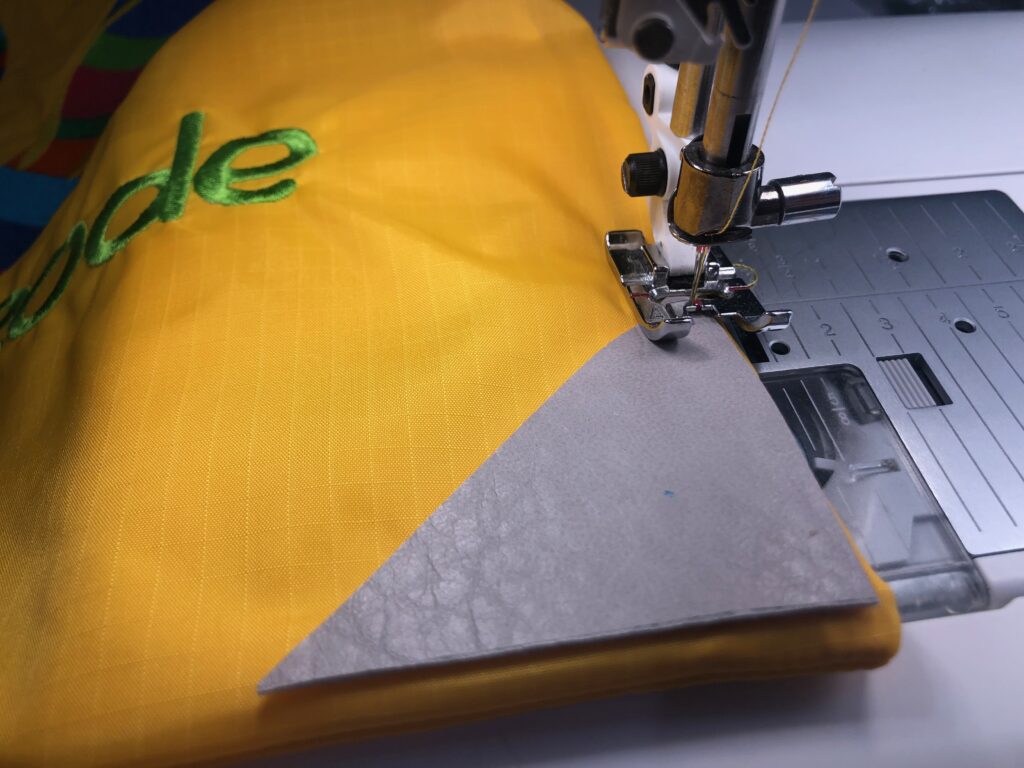
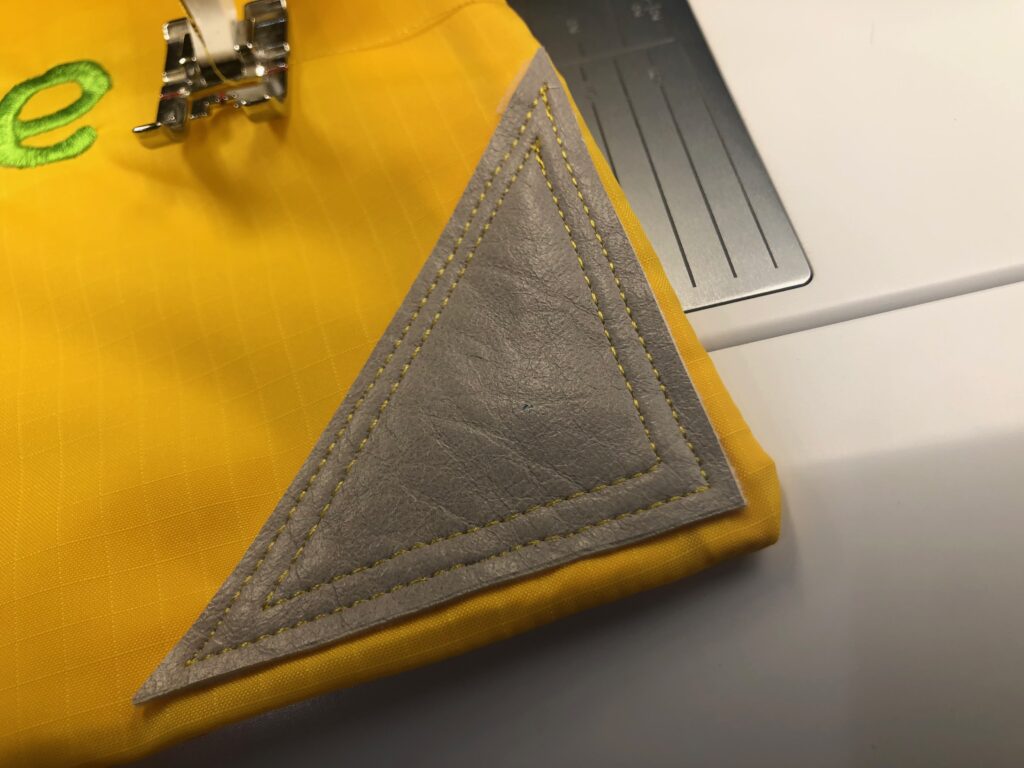
Topstitch the triangles through all layers from the bag front, ¼ from the vinyl/faux leather edges. Stitch again 1/8 from the previous stitching inside the triangle.
Install an eyelet inside the lower-edge triangles through all layers at the previous marks.
ADD CORDING
Cut the cording in half to have two lengths.
Tape along one end of each cording piece to tame the fray and make easier work of threading it through them casing.
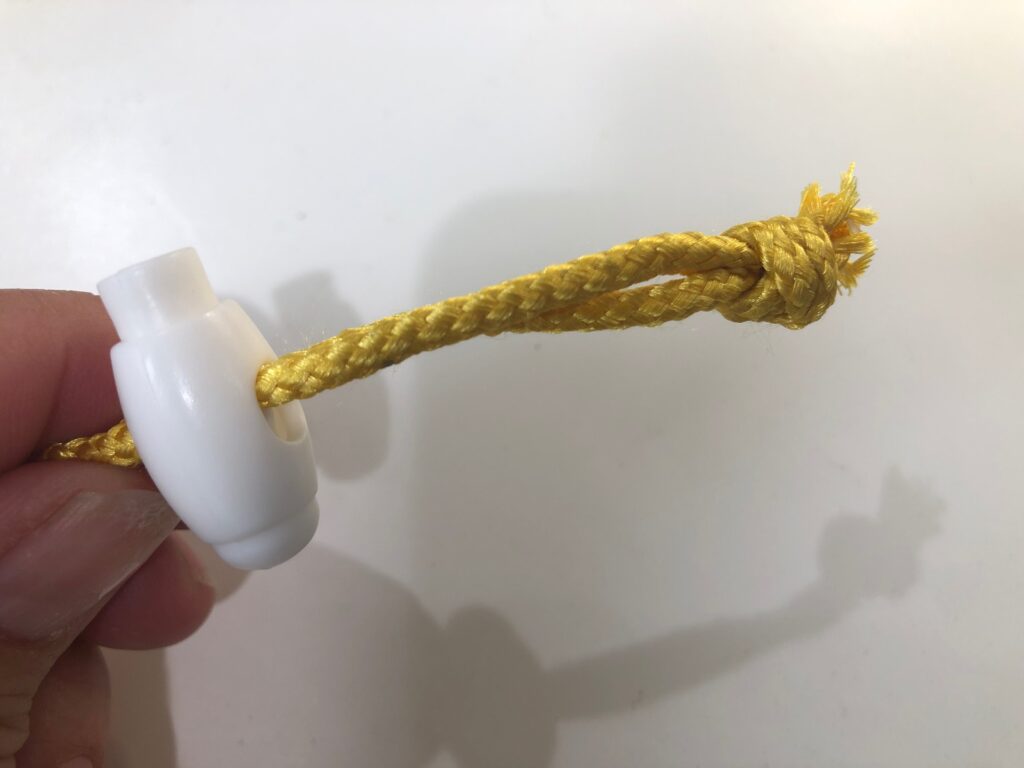
Insert one cording end through one upper-edge eyelet. Thread it through the upper-edge casing and out through the eyelet next to the one first entered. Match the cording ends, and then put them both through the adjacent lower-edge eyelet from front to back. Put the cording ends through a cord lock, and then knot them.
Repeat to thread the remaining cording length through the upper-edge casing, beginning at the opposite eyelet upper edge and locking the ends along the opposite lower-edge eyelet.

Pull the cording lengths to cinch the upper edge closed and wear like a backpack or sling bag.

