Pieced Tulip Wall Hanging
Designed by Cherry Guidry
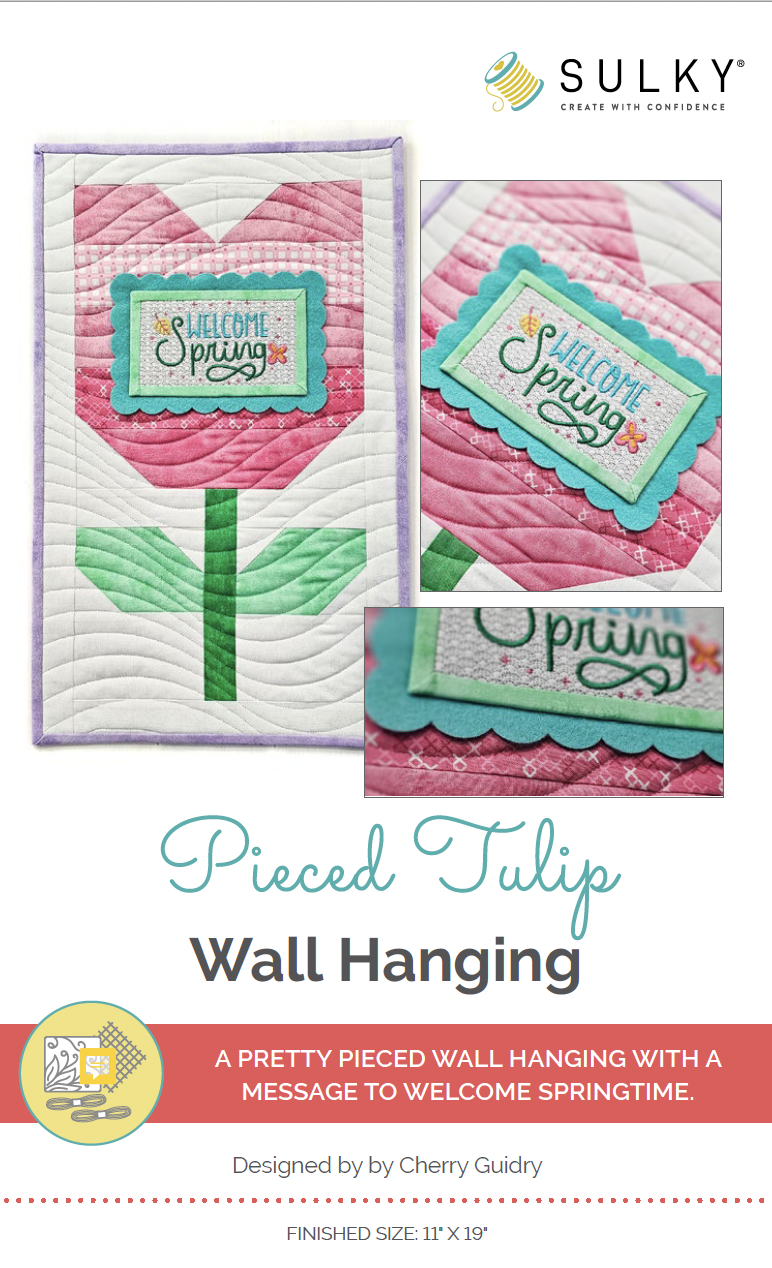
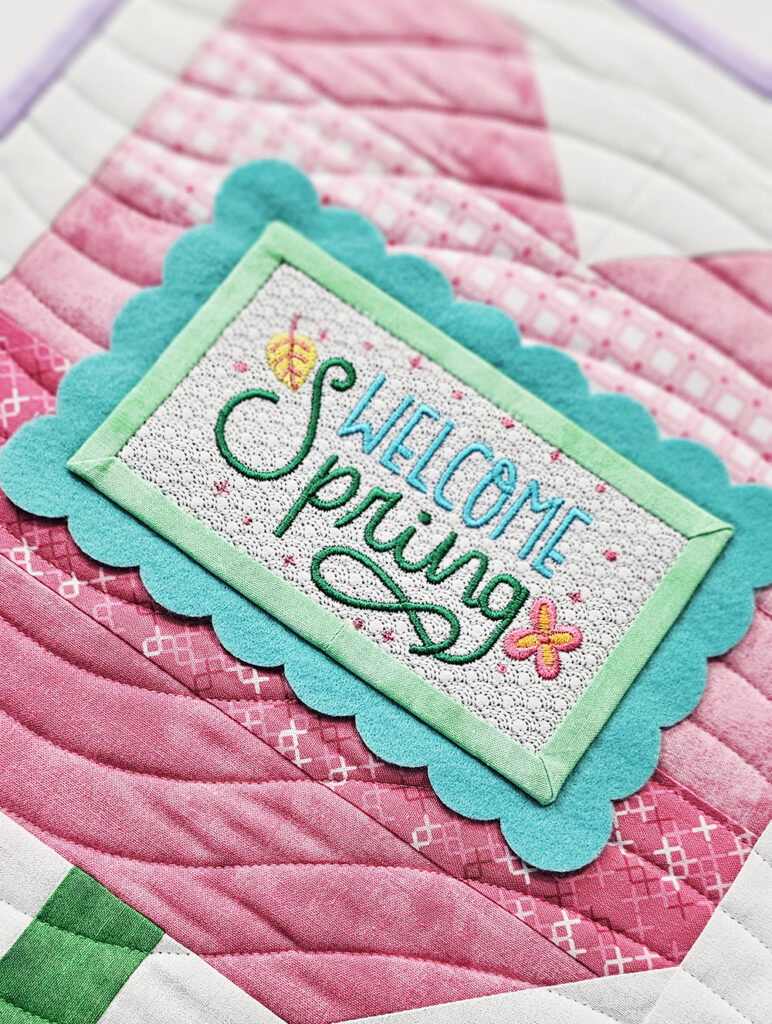
Stitch a pretty wall hanging to welcome spring with the promise of blooming buds. The pieced background helps anchor the embroidered sign, accented with scalloped-edge Felty for texture and embellishment.
PIECED TULIP WALL HANGING SUPPLIES
- Pieced Tulip Wall Hanging Pattern (it’s free!)
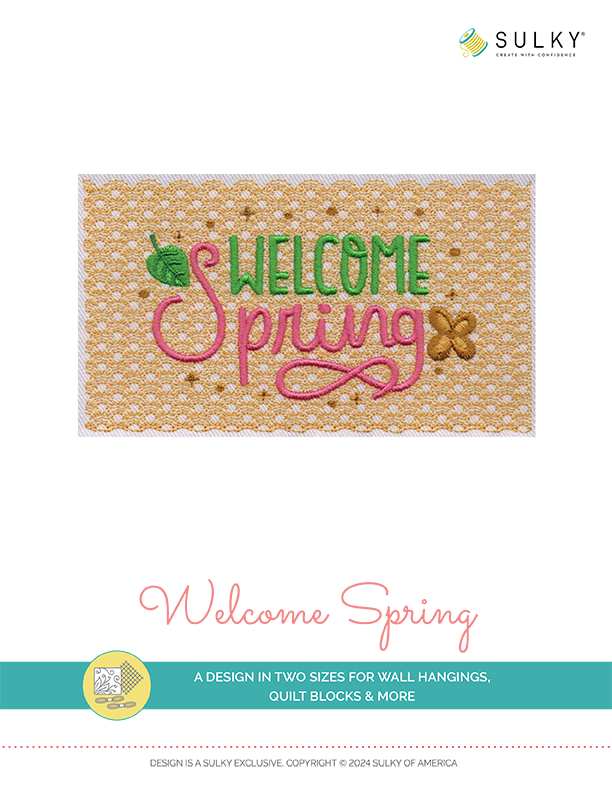
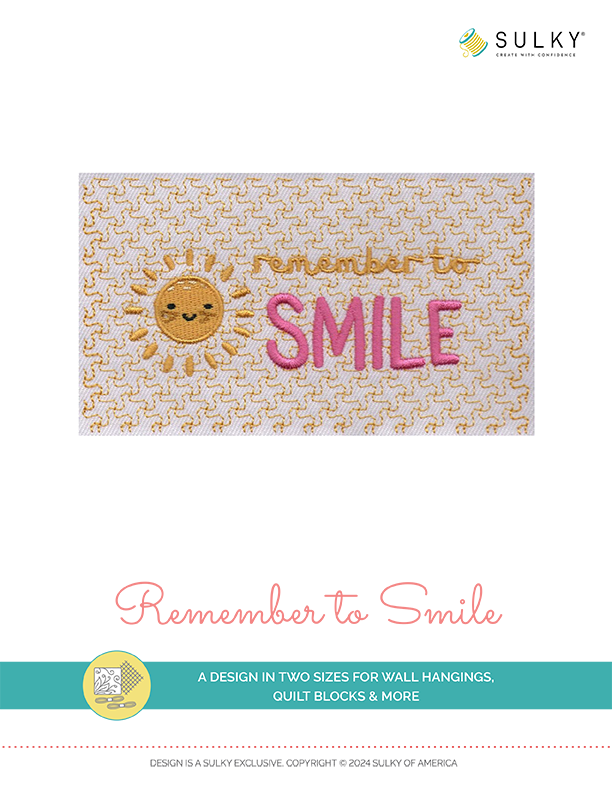
- Welcome Spring or Remember to Smile Machine Embroidery Design
- Sulky Thread
- Sulky Soft ’n Sheer™ Stabilizer
- Organ Needles:
- size 70/10 Quilting (piecing)
- size 75/11 Embroidery
- Fabric & Misc.
- Sulky Felty (Aqua)
- Quilting cottons, according to fabric cutting guide
- Sulky Embroidery Tape
- Sulky KK 2000™ Temporary Spray Adhesive
- Curved Tip Squeezers
PATTERN & DESIGN NOTES
The Pieced Tulip Wall Hanging Pattern is 11″ x 19″ when complete. It’s also a great size for a table topper, if omitting the sign.
The sign is a mini project that can also stand alone. Bind the embroidered sign before adding the scalloped Felty background, and secure by edgestitching the sign to the Felty along the outer binding fold.
Also available is the “Remember to Smile” Machine Embroidery Design, formatted per the Welcome Spring sign. Create two signs and make them interchangeable by attaching to the Tulip Wall Hanging using buttons or removable hook-and-loop tape.
Both sign designs come in two sizes: for a 5×7 hoop and a 6×10 hoop. They also make great mug rugs!
QUILTING TIPS
Quilt the Pieced Tulip Wall Hanging before adding the sign, choosing the quilting technique and Sulky Thread of your choice. For the featured wall hanging, Sulky PolyLite is used for the quilting. This light 60 wt. thread blends into the fabrics to reveal only the quilting texture. If you desire more prominence with the thread, choose a 30 wt. Cotton Thread so the thread color and texture shows through.
To achieve the look of the finished sample, plot wavy lines across the wall hanging length. Use a removable fabric marker or chalk to draw the lines on the wall hanging right side. Then, stitch through all layers. Remove the markings when quilting is complete.
Enjoy this free pattern and grab one of the machine embroidery designs to bring some spring into your world!


Thank you for your generosity in sharing so many free patterns in the quilty fun.