Puffy Letters with Puffy Foam
Sulky Puffy Foam allows you to create dimensional embroideries that “pop” off the surface for great readability and emphasis. Available in 2mm and 3mm thicknesses, Puffy Foam comes in all colors of the rainbow so you can choose a complimetary thread color for minimal show-through. Before embroidering, apply Puffy Foam much like a topper – over the fabric surface. After embroidery, tear away the Puffy Foam from beyond the stitching perimeter. It tears cleanly, especially when used under satin stitching and densely filled areas.
For more tips on how to use Puffy Foam, consult THIS post.
Puffy Letters
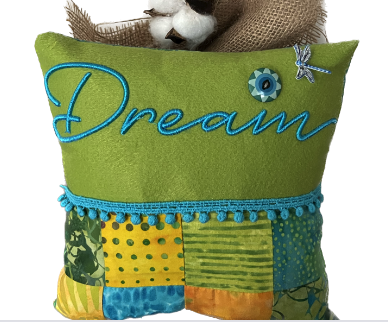
What’s more fun than puffy letters? Puffy Foam is just the thing you need to create lettering that puffs off the fabric surface to really make a statement. To begin, choose a font or word that’s digitized for Puffy Foam, such as “Dream” by Embroidery Library or the “Puff Foam Alphabet,” also by Embroidery Library.
Embroidery Library has many designs digitized for Puffy Foam, and you’ll have fun looking at all they have to offer. But for now, we’ll focus on Puffy lettering! It’s important to choose designs digitized for use with Puffy Foam. Among other things, these designs eliminate the underlay that would mash down the Puffy Foam and allow it to bloom to its fullest.
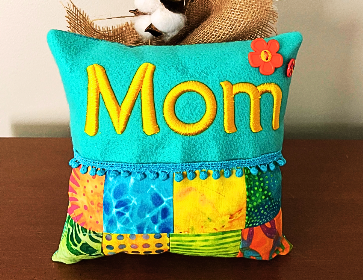
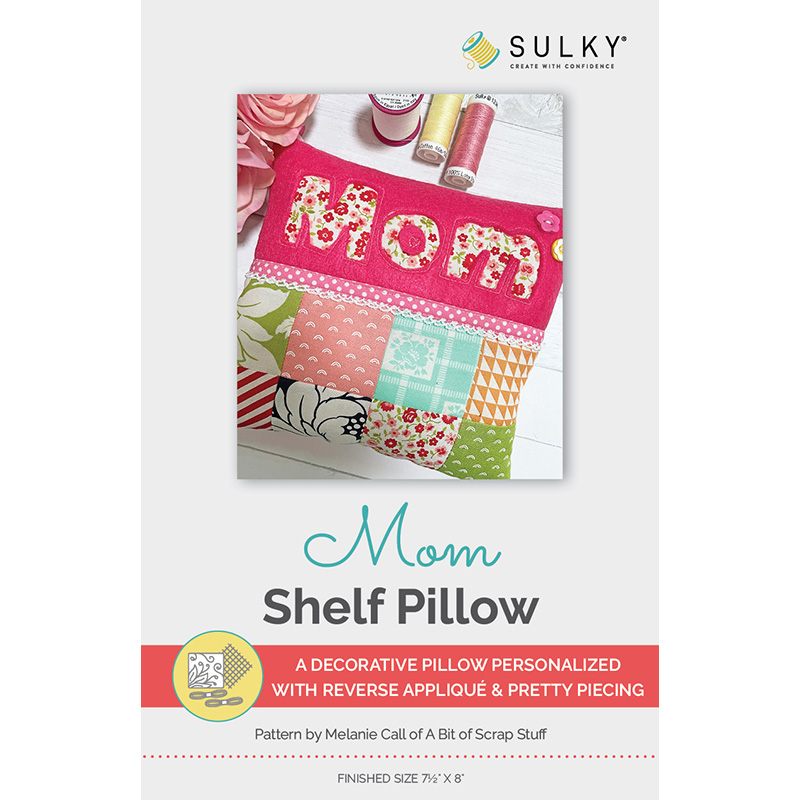
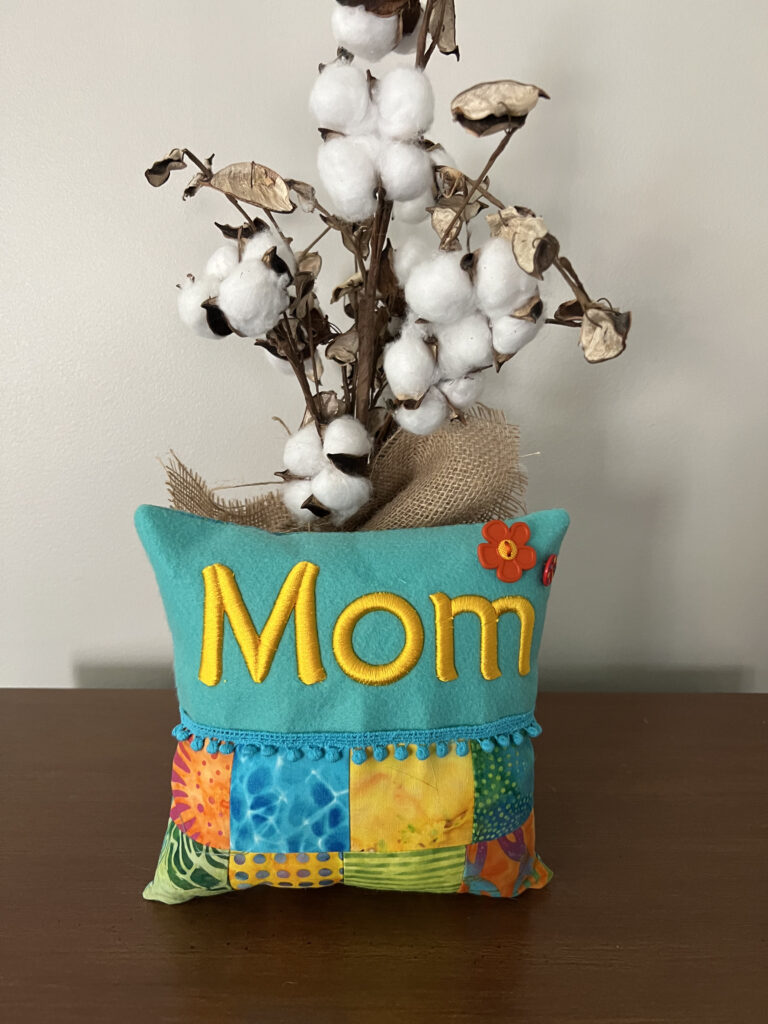
The featured pattern showcased for this technique is the FREE Mom Shelf Pillow, designed by Melanie Call. Instead of using reverse appliqué, the front top (done in Sulky Felty) is embroidered with Puffy lettering! So easy and so inexpensive to add amazing depth to a project.
Puffy Foam in Action
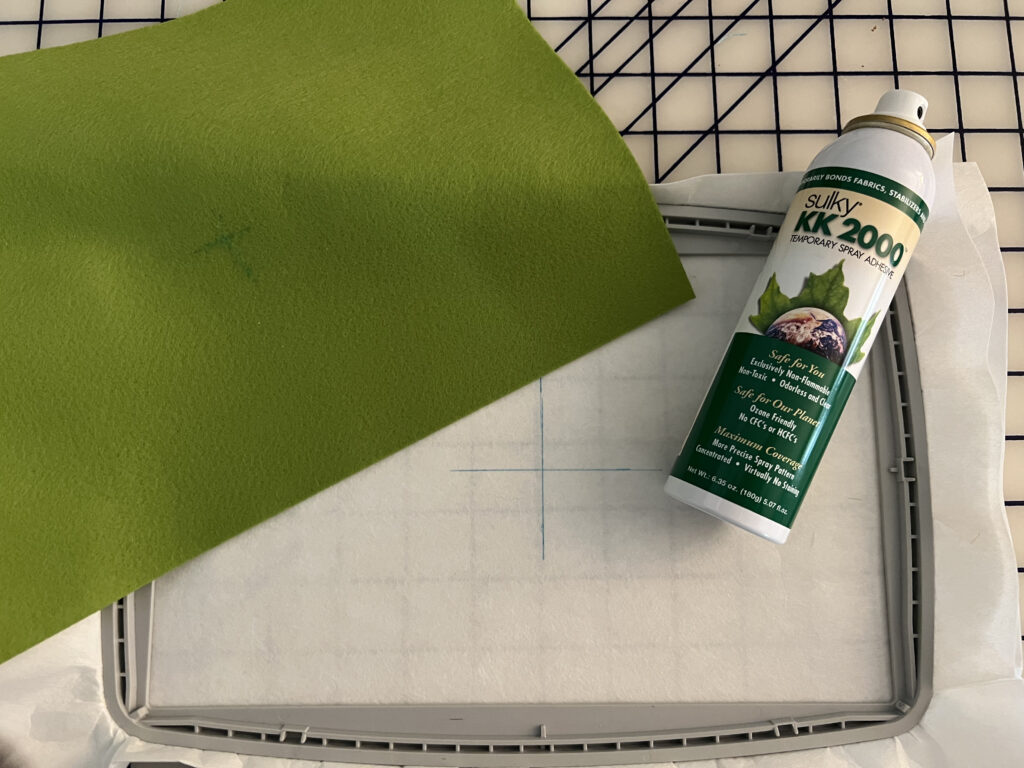
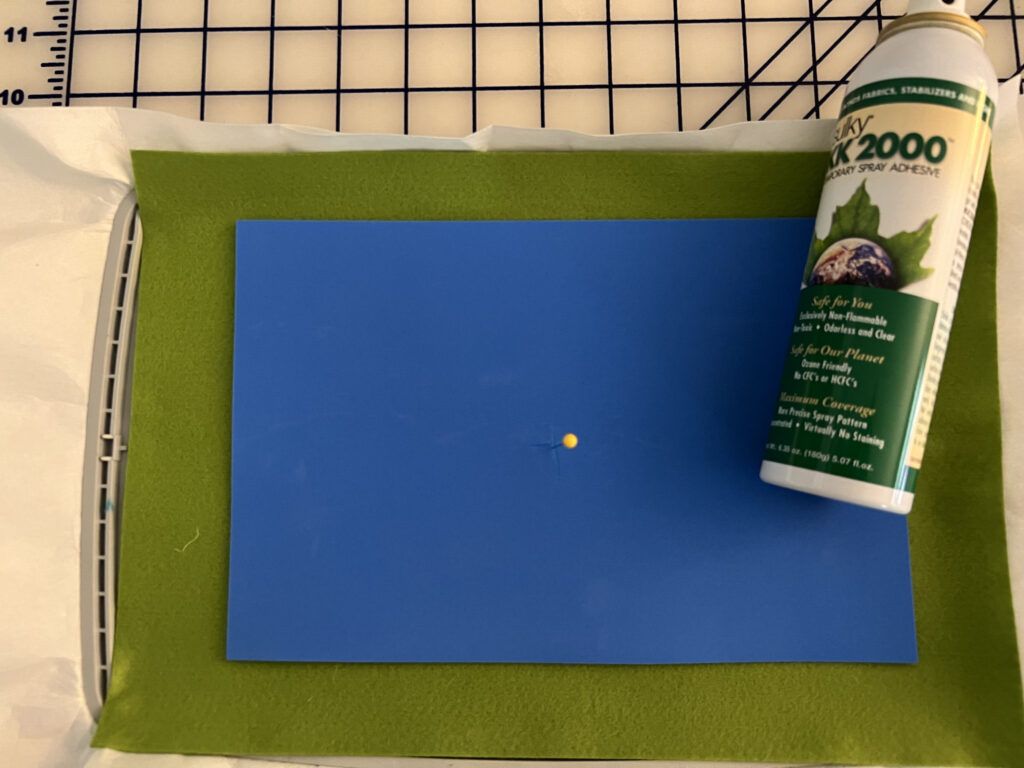
Unless you have a magnetic hoop, it’s not recommended to hoop Sulky Felty to avoid hoop burn, which is what happens when the tightness of the hoop mars the fabric irreversibly. Instead, hoop the stabilizer only, and then adhere the Felty to the stabilizer using Sulky KK 2000 Temporary Spray Adhesive.
First, install a 90/14 Topstitch needle for this project, and thread it with Sulky 40 wt. Rayon Thread.
Then, hoop a layer or two of Sulky Cut-Away Plusâ„¢ Stabilizer, and mark the center cross marks, using the hoop markings as a guide. Also mark the desired design center on the Felty right side, using a removable fabric marker. This will aid in design placement.
Next, spray the Felty with KK 2000, and then center it on the stabilizer.
Place the hoop onto the machine. Decide which areas (if not all) of the design you’d like to “puff” with Sulky Puffy Foam. In this case, for Puffy lettering, each letter has Puffy Foam underneath it. However, in other designs you may wish to only have an outline or one portion of the design “puff” up. So you’ll only place the Puffy over those areas of the design, before that color stop.
Place the Puffy Foam sheet over the Felty, like a topper. If desired, use a pin to denote the Felty center in order to match it with the Felty center marks. Use KK 2000 to secure the Puffy in place.
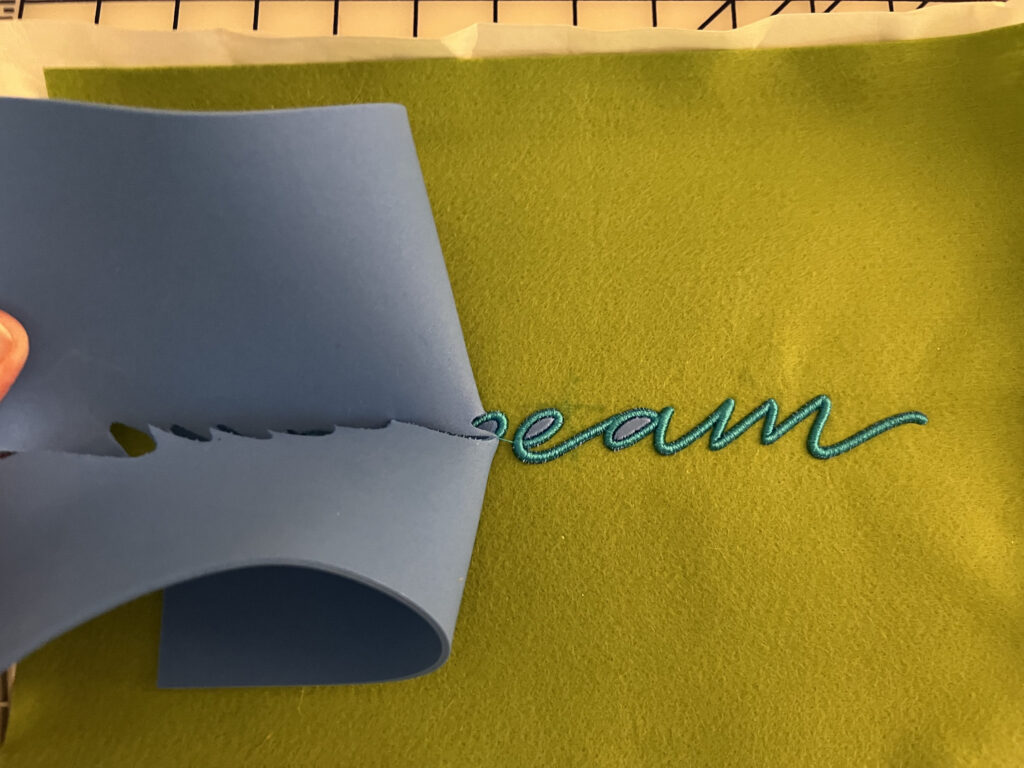
Embroider the design. After embroidering the Puffy areas, tear away the Puffy carefully along the stitching lines.
If small bits remain, use a seam ripper or sharp scissors to grab them and gently pull them away.
Then, construct the pillow by following the pattern instructions.
Create another shelf pillow using “mom” and gift it for Mother’s Day to a special someone! Add fun buttons and baubles from your stash for a sweet touch. To adequately stabilize the Felty for such wide satin stitching in the featured design below, use two layers of Cut-Away Plus Stabilizer in the hoop.

