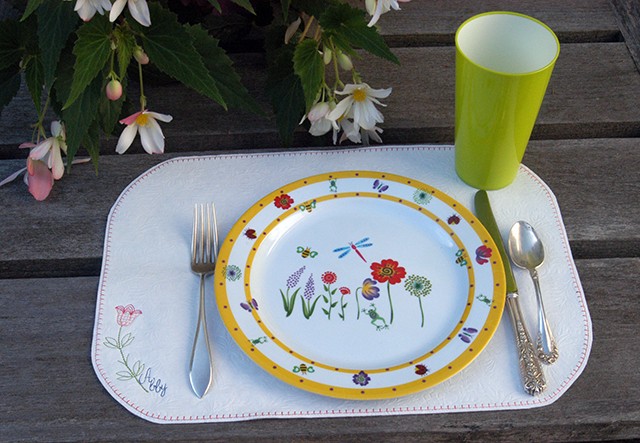
As an added bonus to our Machine Embroidery Series, Pamela Cox has designed this wonderful tutorial for a quick and easy vinyl placemat. If you have never tried machine embroidery on vinyl, check out Pam’s blog post here and then try this great project.
Quick and Easy Vinyl Placemat
Materials:
- 12-1/4” x 17-1/4” piece of textured vinyl, Usually sold by the yard with the intention of being used as a tablecloth, this type of vinyl will have a fuzzy, very thin, batting/backing. (1/2 yd. of 54” wide vinyl will yield 4 placemats)
90/14 Leather Needle - Thread: Sulky® 40 wt. Rayon or Poly Deco™ 40 wt. embroidery thread – your choice of colors for your design
- Sulky Blendables® thread – choice of color for the accent border
- Stabilizer: Sulky® Sticky +™ – 1 yd. pack (#551-01) or precut sheets (#551-02) for small hoops
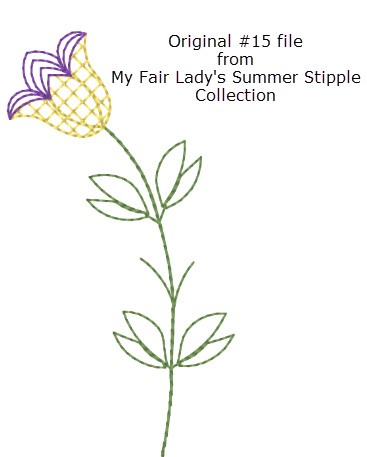
- Embroidery Design: Flower accent from My Fair Lady’s Summer Stipple Collection-#15
- Personalize name created using Ultra Premier+™ software from Husqvarna-Viking (or your software)
- Painter’s tape
Plan a personalized design (here’s what I did):
In your software editing program, open design #15 from My Fair Lady’s Summer stipple collection:
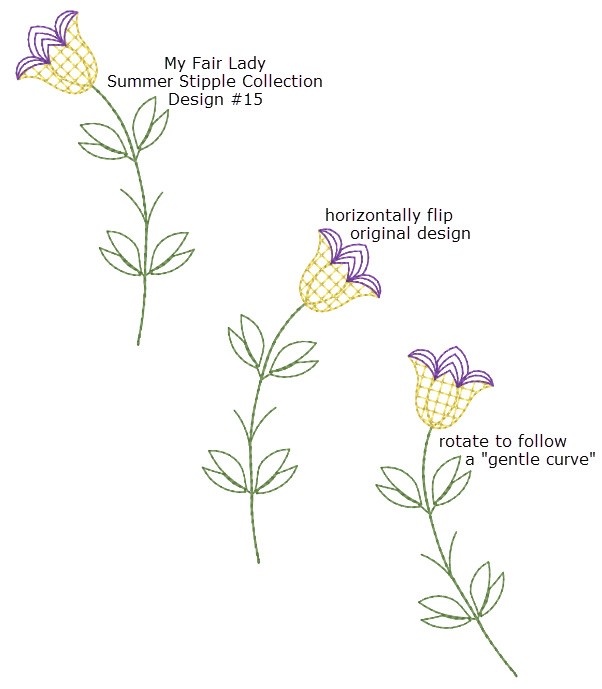
Horizontally flip it and then rotate it to the left about 25°. The goal is a “gentle curve” which works well on its own. However, when combining the design with a name or phrase, the design “rotation” might be better presented at a slightly increased angle.
If an individual name or phrase is to be added, use your editing software or incorporate lettering available on your embroidery machine. Please note that the following instructions are based on using Ultra Premier+™ created by Husqvarna Viking. Although steps may vary slightly depending upon your editing software, the concept remains the same:
In the lettering program, choose a simple line “Script” font: like “Valentina”.
Although this very sophisticated editing program offers many “word shapes”, by choosing to bring each letter in individually, to a design, exact rotation and placement is under your control.
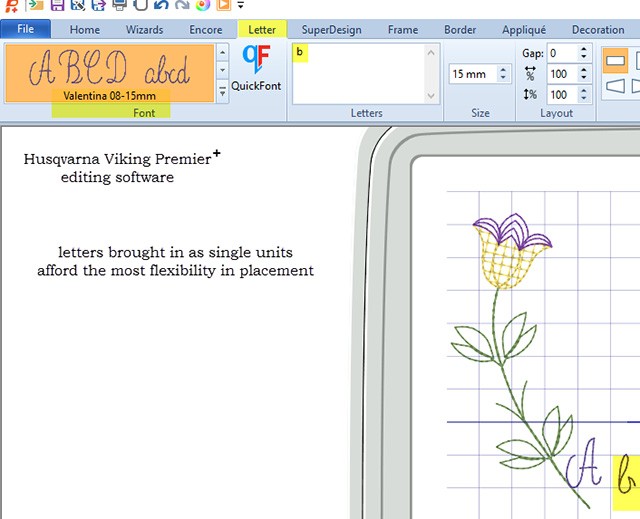
The end result is that “Abby” follows the contour of the design. Even though the “stem” ends before the name does, the last letters within the name continue to follow the contour of the placemat.
Directions:
Square-cut a piece of textured vinyl 12-1/4” x 17-1/4”
Lightly sketch the rounded edge of the placemat in the lower left corner. Document the personalized design size.
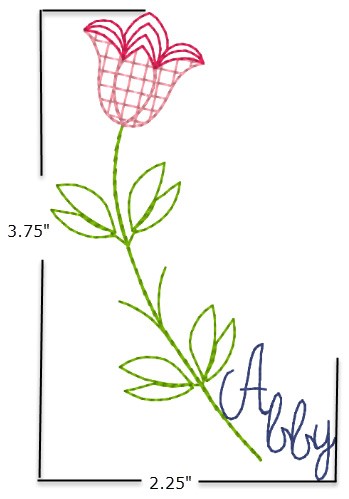
Mark a “+” on a piece of painter’s tape. Mark the design center measuring “in and up” from the lower right corner of the cut vinyl, taking into consideration the marked curve. “Exact” placement is not a necessity, but rather a more approximate placement. Final cuts are done after stitching, so there is a bit of “wiggle room”. However, make sure to factor in space for a decorative edging stitch (if desired). This means that if the total design measures 2-1/4” x 3-3/4”, divide that in half, and add about 1/2” to “half the width and height”. For instance, halved it would be: 1-1/8 + 1/2″ = 1-5/8” and 1-7/8″ + 1/2″ = 2-3/8” when marking the center of the design.
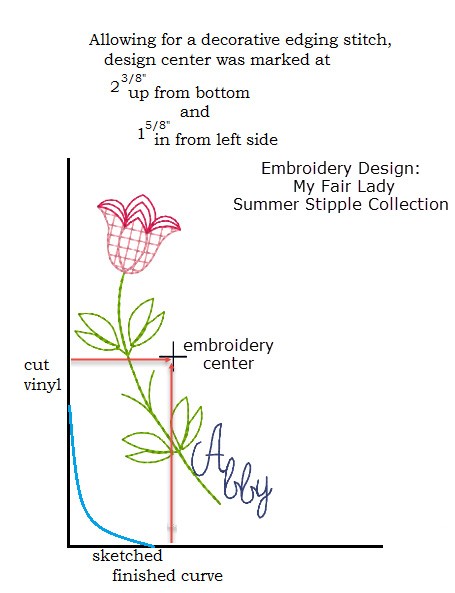
Measure in and up from penciled curve of placemat to locate design center based on individualized measurements. Place the marked painter’s tape.
Hoop Sulky® Sticky+™, “tight as a drum” with the gridded paper side facing up in a hoop size which is larger than required for the design. Slightly score the paper with a pin inside the hoop’s frame, remove and discard paper. First match design center to hoop center as closely as possible. (AN IDEA: You could also use a piece of Sticky Fabri-Solvy for this marking. Then if you forget to remove it before starting to stitch, no problem, it just washes away.)
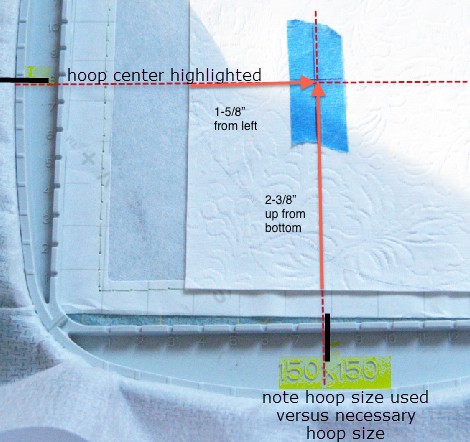
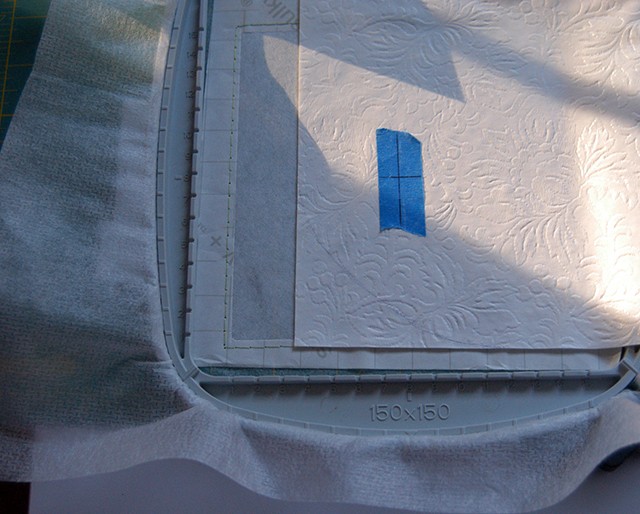
Then attach the hoop to the machine and adjust the needle center position to the design’s center. Once satisfied, remove the painter’s tape.
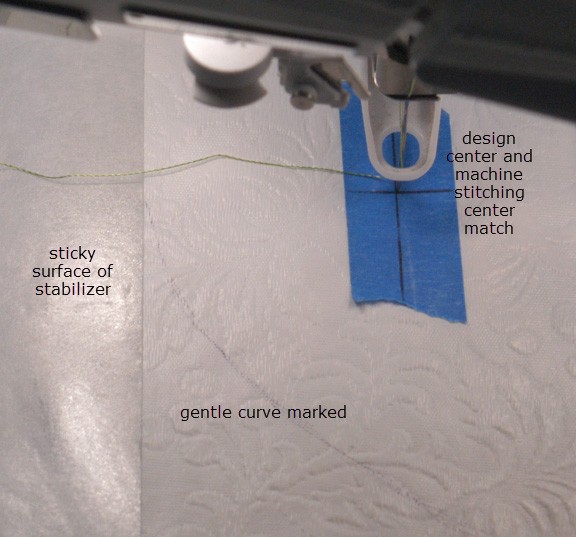
Slow the machine speed down by at least half and stitch the design. Remove from hoop and trim any excess stabilizer deemed necessary. Remember, this is a fun, party or summer project, the backside is not terribly important. Normally, Sulky Sticky+™ is extremely easy to remove and “tear-away”. However, that fuzzy vinyl backing which is truly great for adhering to the stabilizer and great for actual embroidering pretty much negates the easy removal of the Sticky+ from the backside of the project. Square cut the placemat to fit the stitched design – vinyl has no grain, and although the design was “centered” as accurately as possible, it now becomes more important that the design shows as “squared”
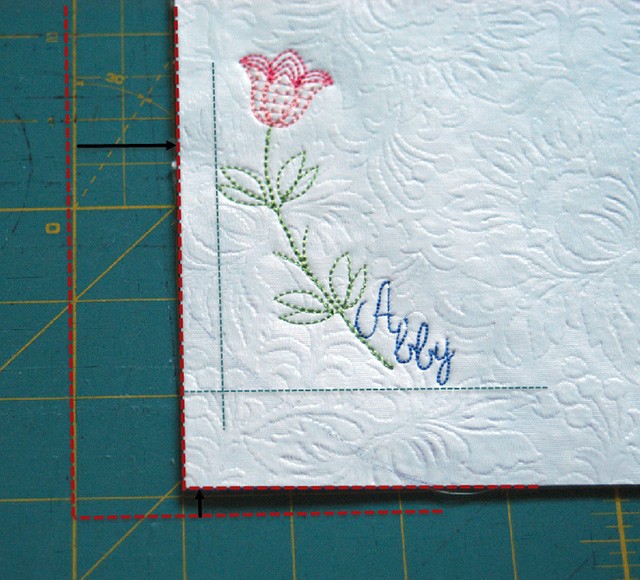
Round off each corner: Create a template by tracing an appropriately curved object, such as a cereal bowl to insure that each corner will mirror-image another. (Hint: You can measure diagonally from the point of the corner to your first curve to help you be more accurate on your other 3 curves.)
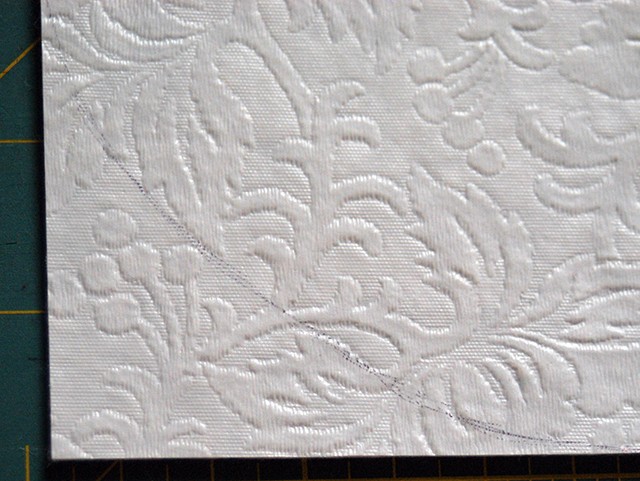 Select a decorative stitch from those available on individual machines, to provide a “finished” look to the vinyl cut edge
A Sulky Blendables® – 30 wt. Cotton Thread adds a wonderful variation to any decorative stitch
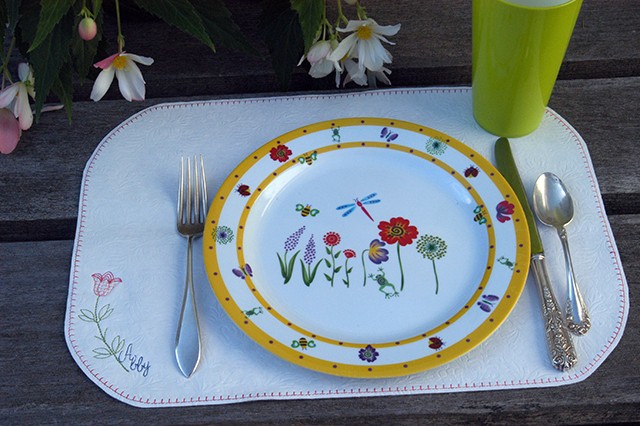
How quick and easy is this project? How special would this be for a little girl’s birthday party when the guests are presented with their personalized placemat to take home?
Very special memories for all.

