Quilted Welcome Sign with Machine Embroidery
Create a quick and easy quilted Welcome Sign with machine embroidery to usher in springtime with stitches. The featured design includes background quilting that add texture and interest to the finished piece. This sign is completed in two hoopings, to include those quilting stitches on both the front and back of the project.
- Welcome Spring Machine Embroidery Design by Sulky
- Sulky 40 wt. Rayon Thread
- 60 wt. Bobbin Thread
- Sulky 50 wt. Cotton Thread
- (2) 12″ squares of Sulky Soft ‘n Sheer Stabilizer
- Sulky KK2000 Temporary Spray Adhesive
- (2) 12″ squares of low-loft batting
- 10″ square of backing fabric
- 10″ square of Sulky Felty (check out our assortment packs!)
- 2 1/2″-wide x 54″-long fabric strip (binding & ties)
- Sulky Multipurpose Turning Tool
- Organ Needles: size 70/10 Universal (construction), size 75/11 Embroidery
WELCOME SIGN MACHINE EMBROIDERY
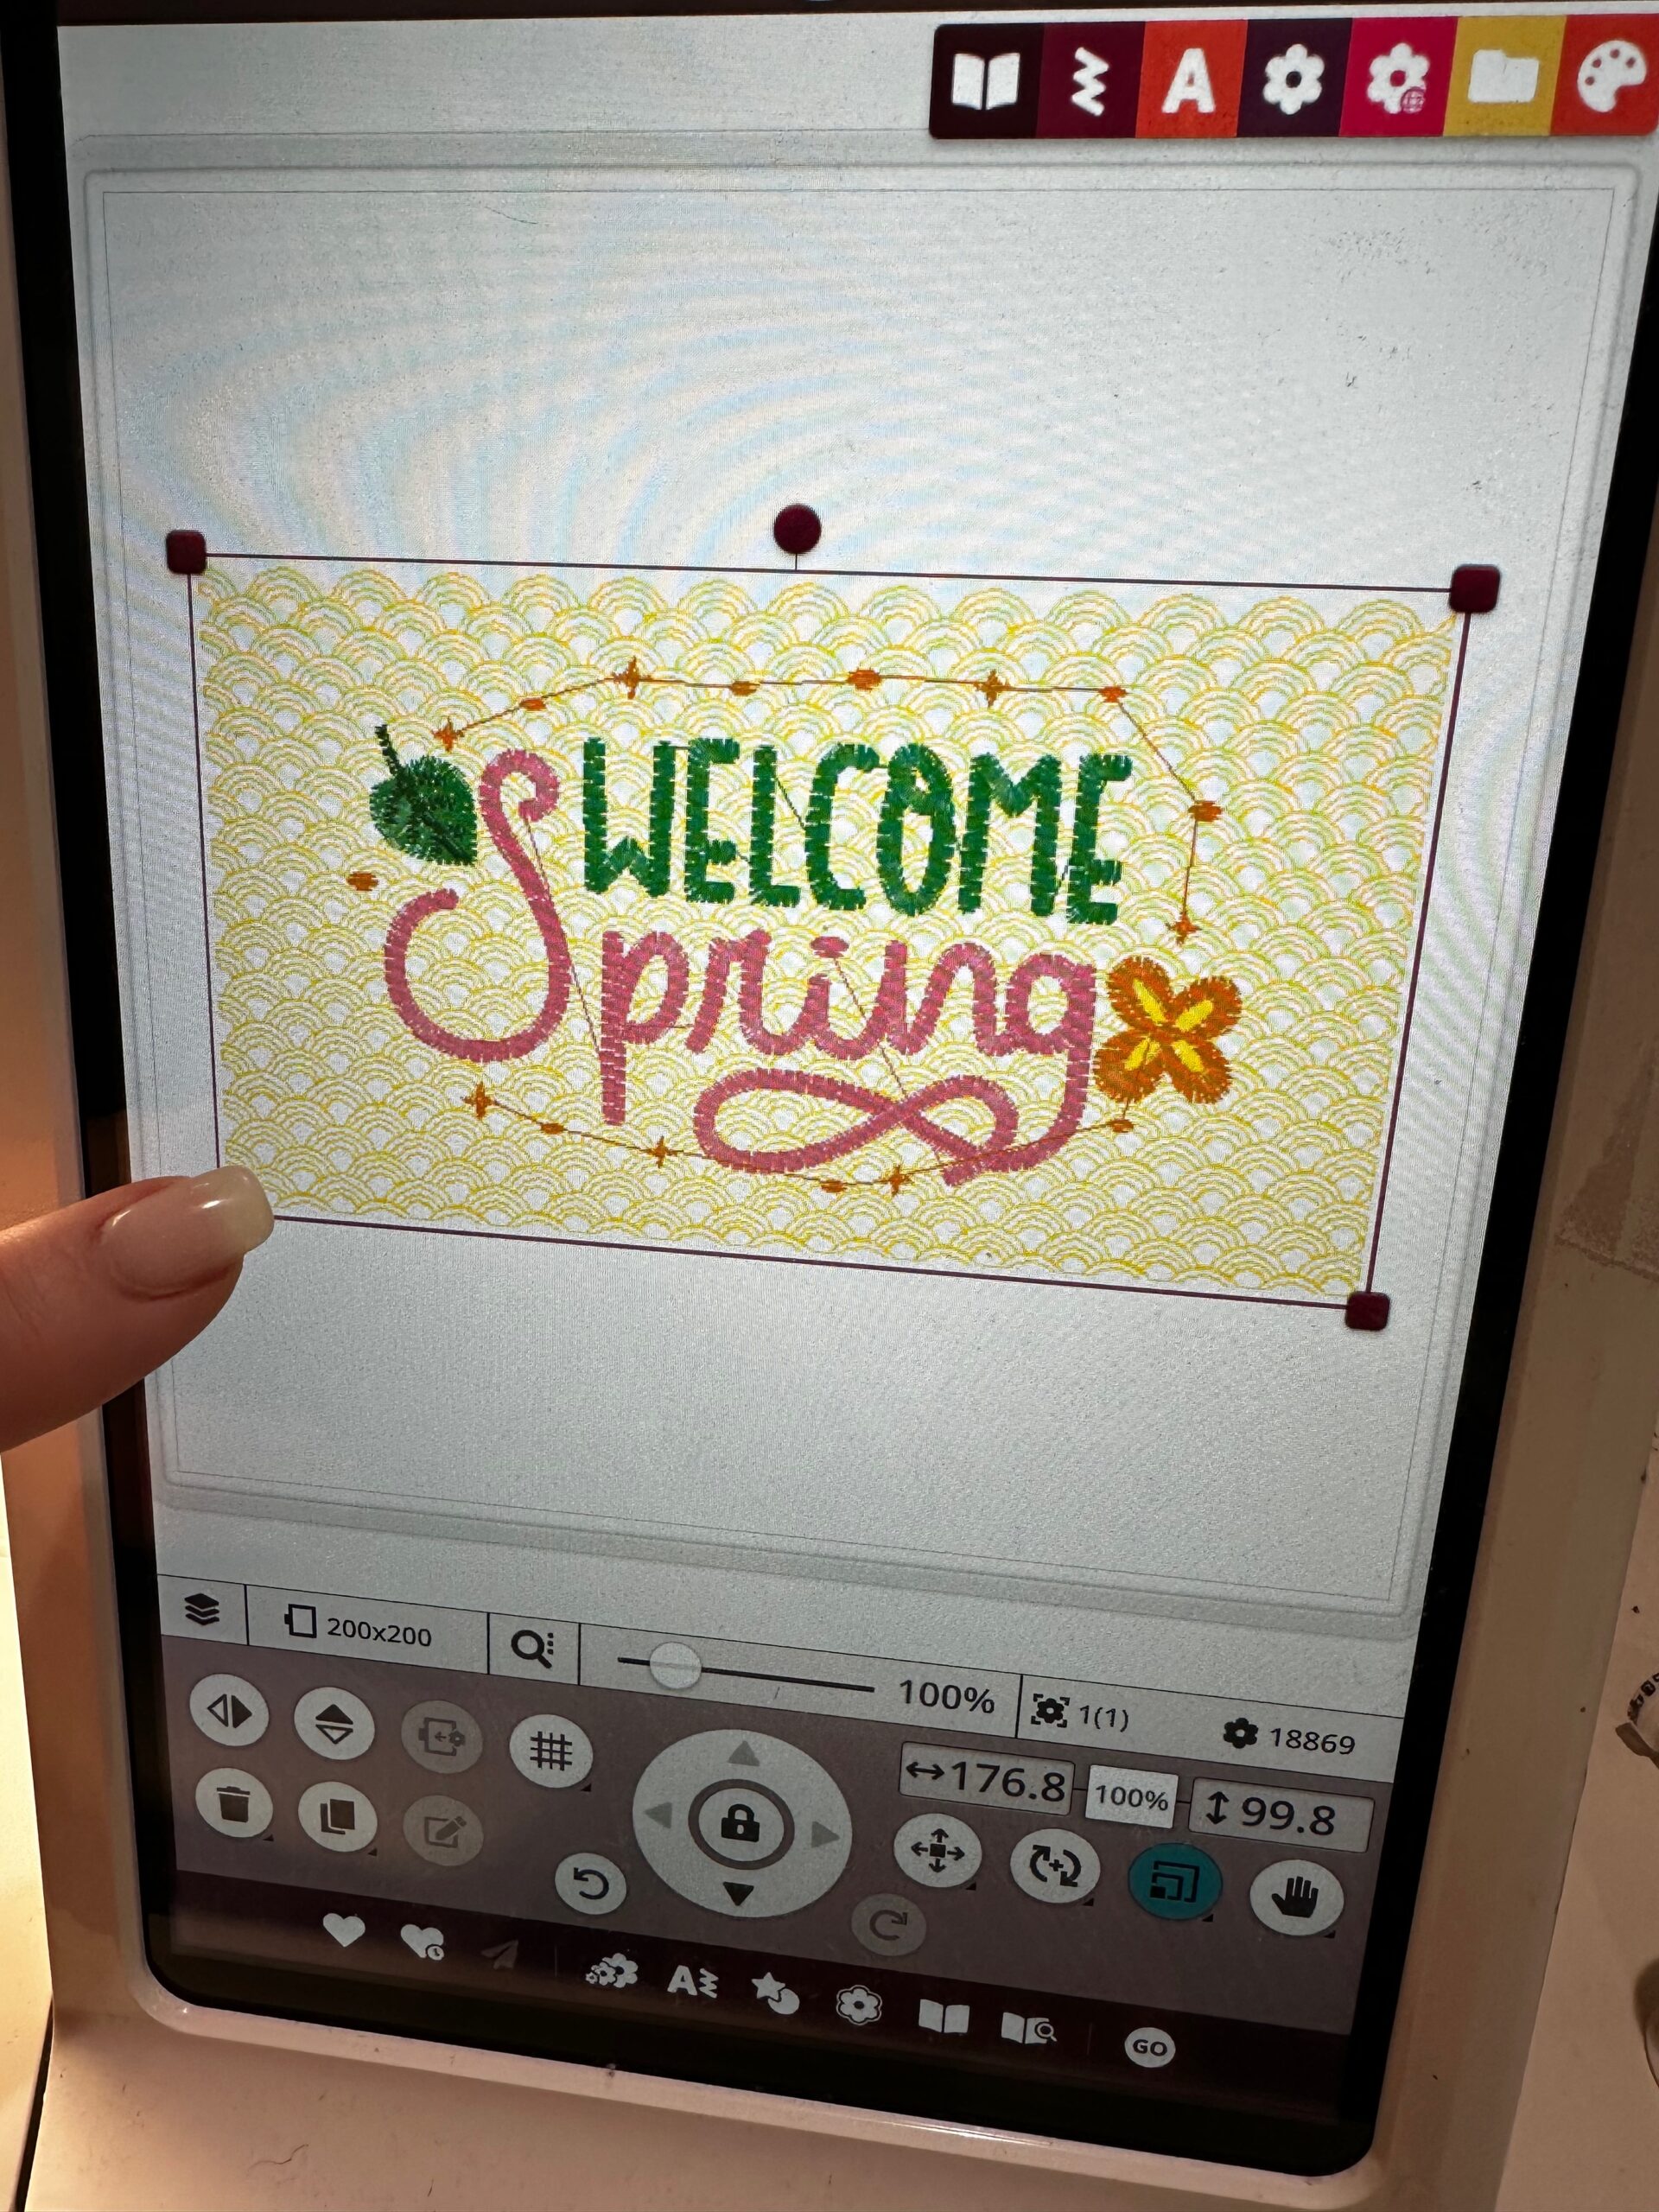
If desired, enlarge the largest design size by 20%. (The largest size of this design is suitable for an 8×8 hoop. After I enlarged the design 20% on my machine screen, it still fit within an 8×8 hoop.)
Hoop a piece of Soft ‘n Sheer Extra.
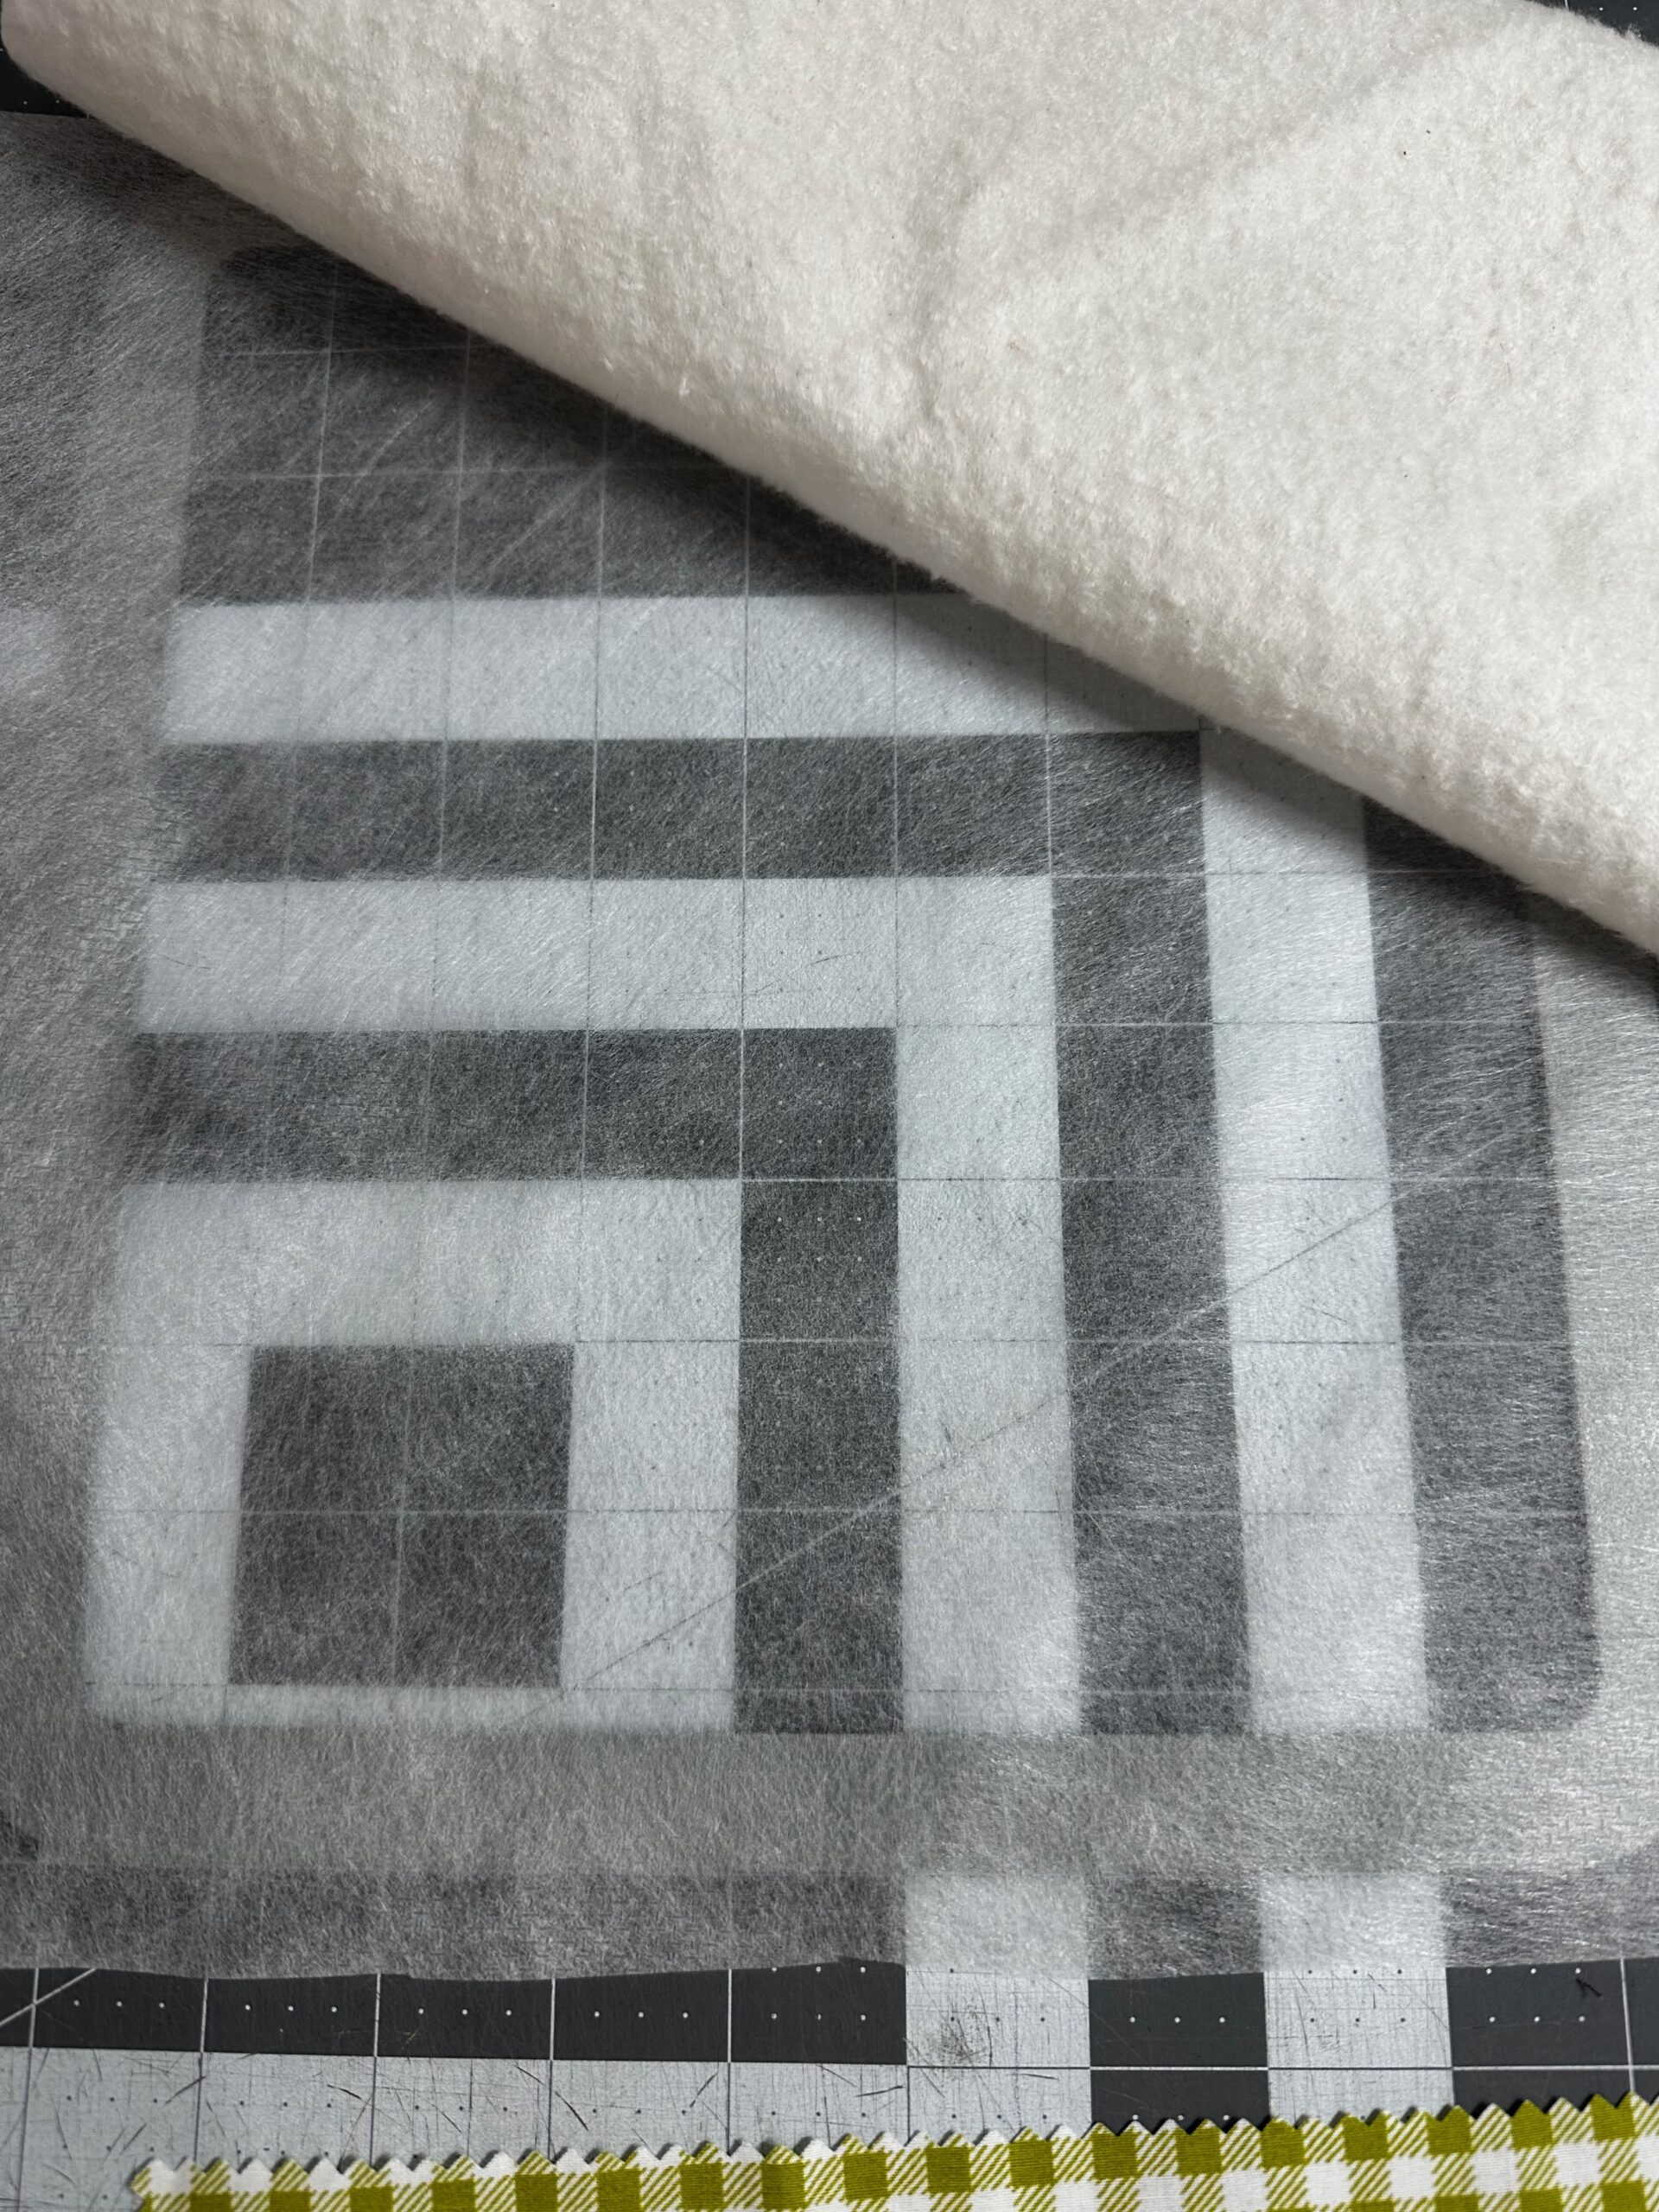
Then, center a piece of batting over the hooped stabilizer.
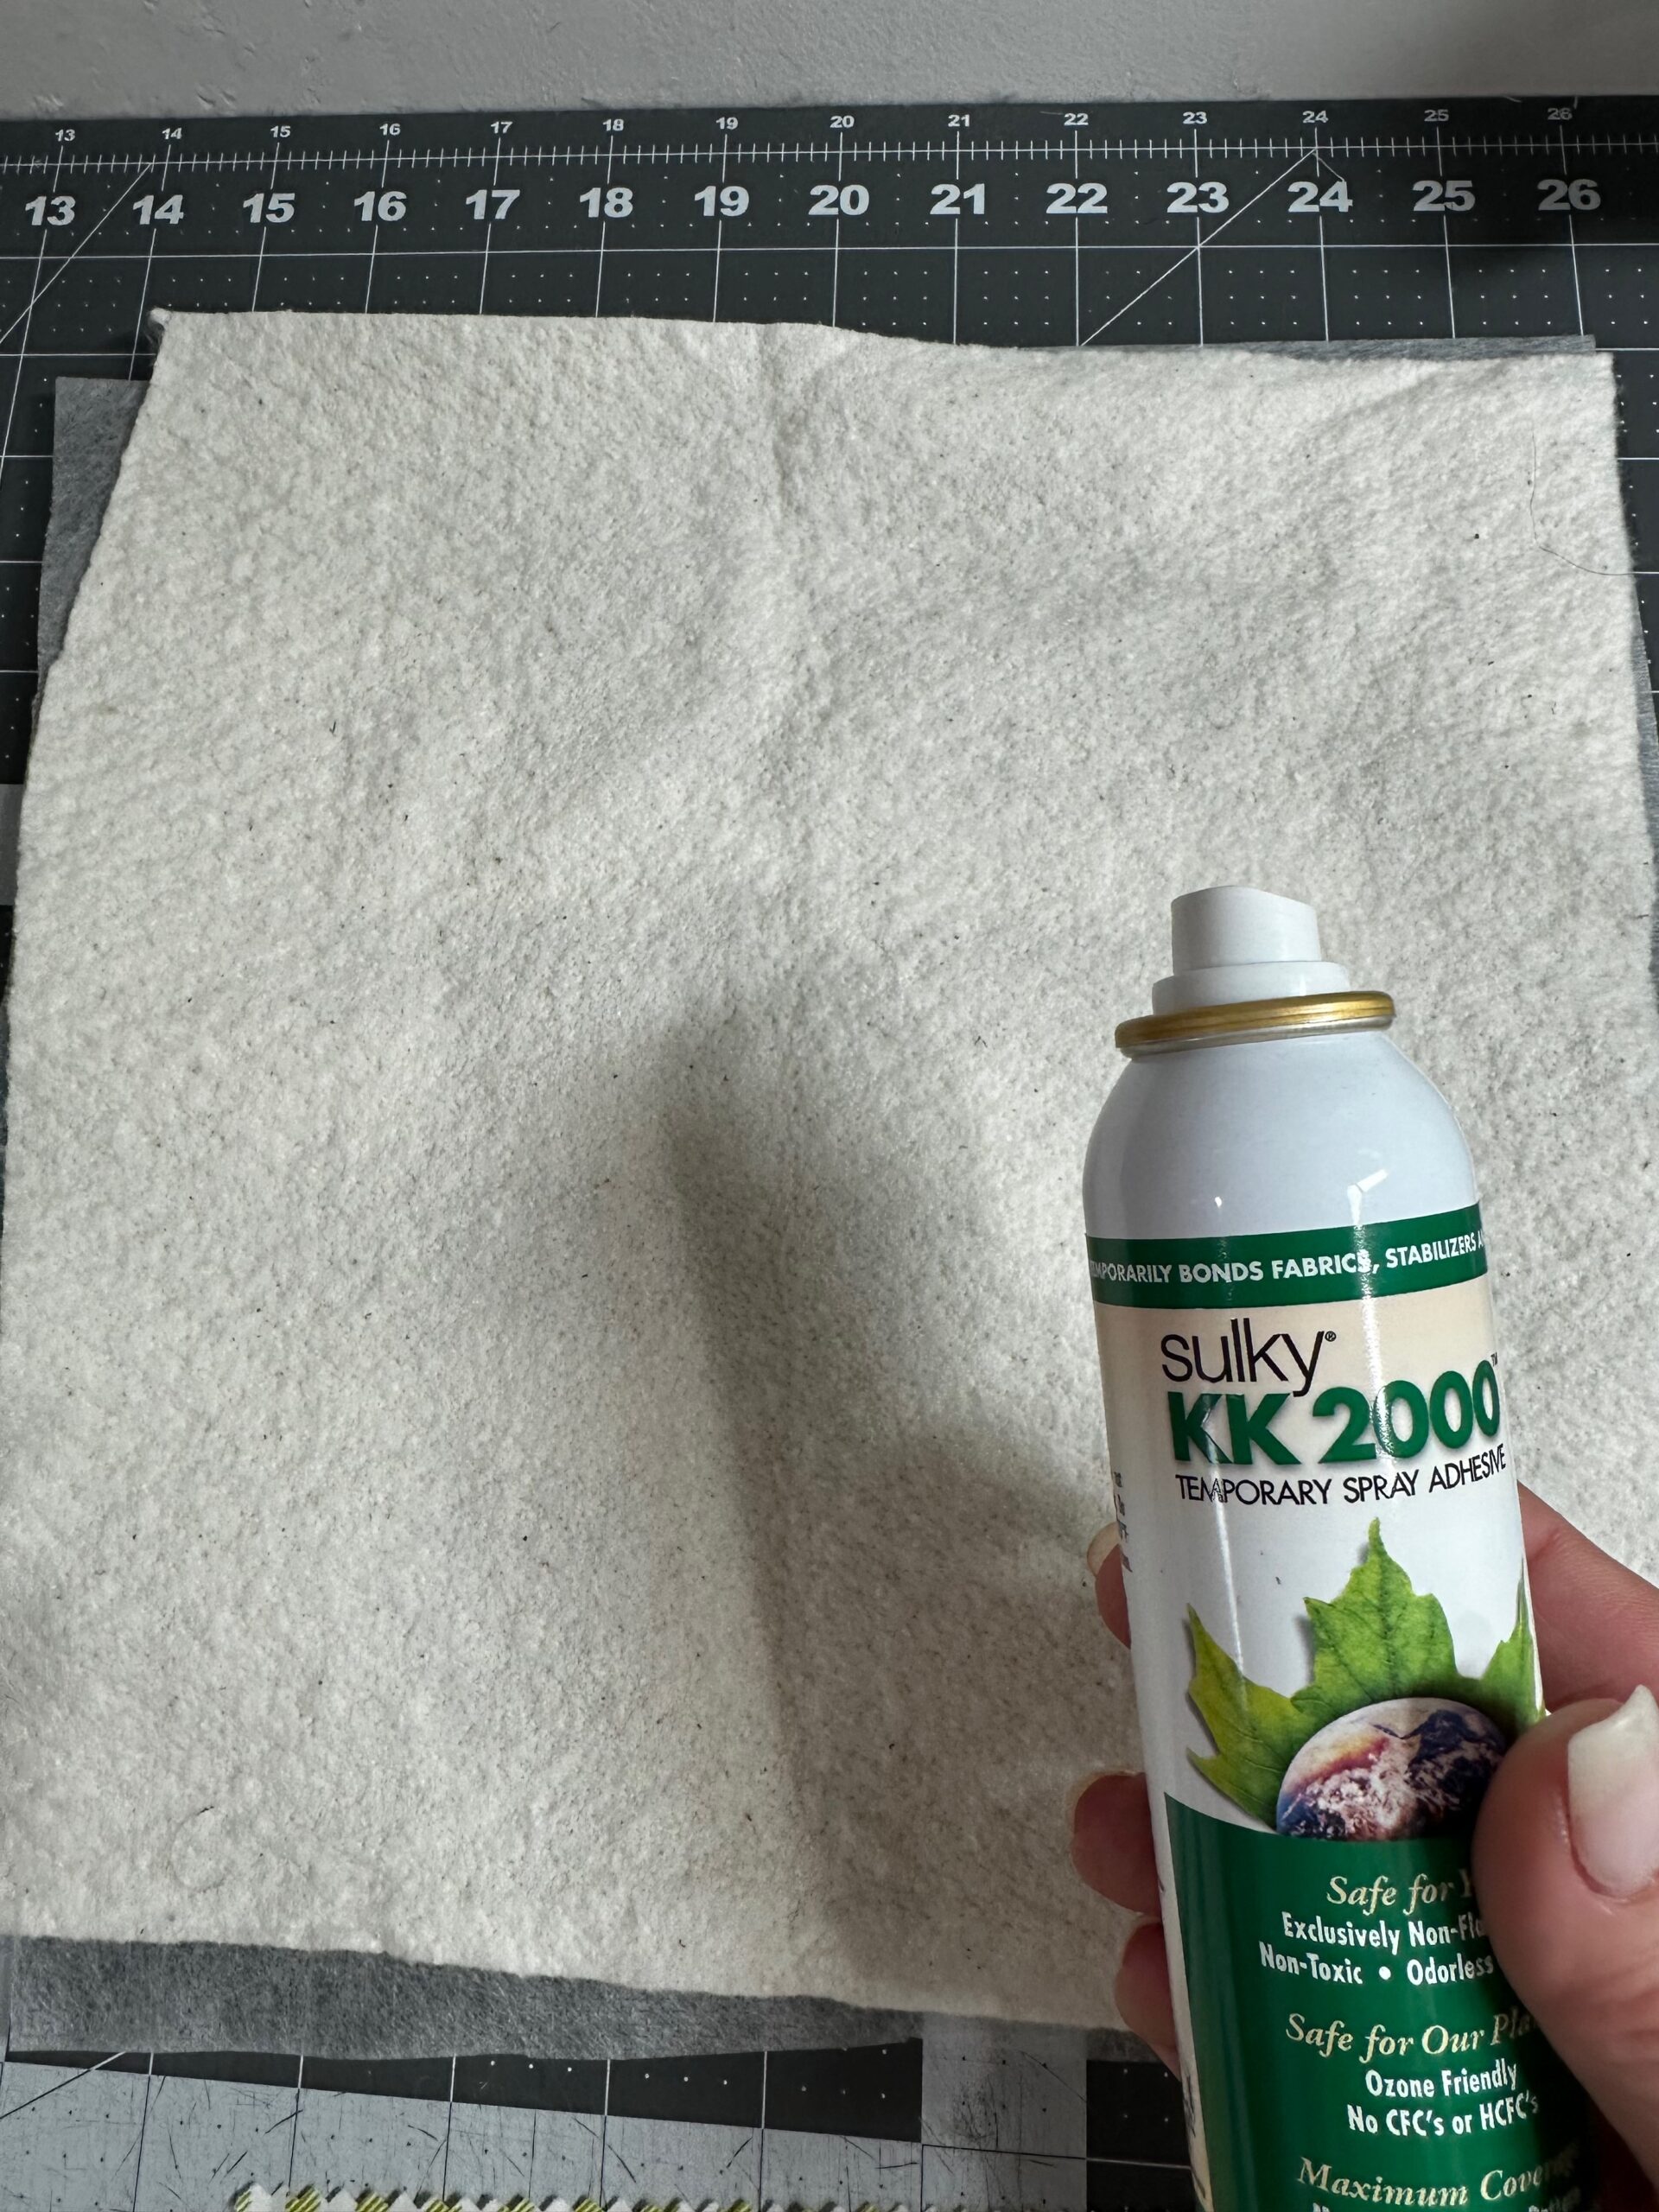
Then, center the backing fabric over the batting. Use Sulky KK2000 Temporary Spray Adhesive to secure the layers. TIP: If using a magnetic hoop, you can hoop all three layers together.
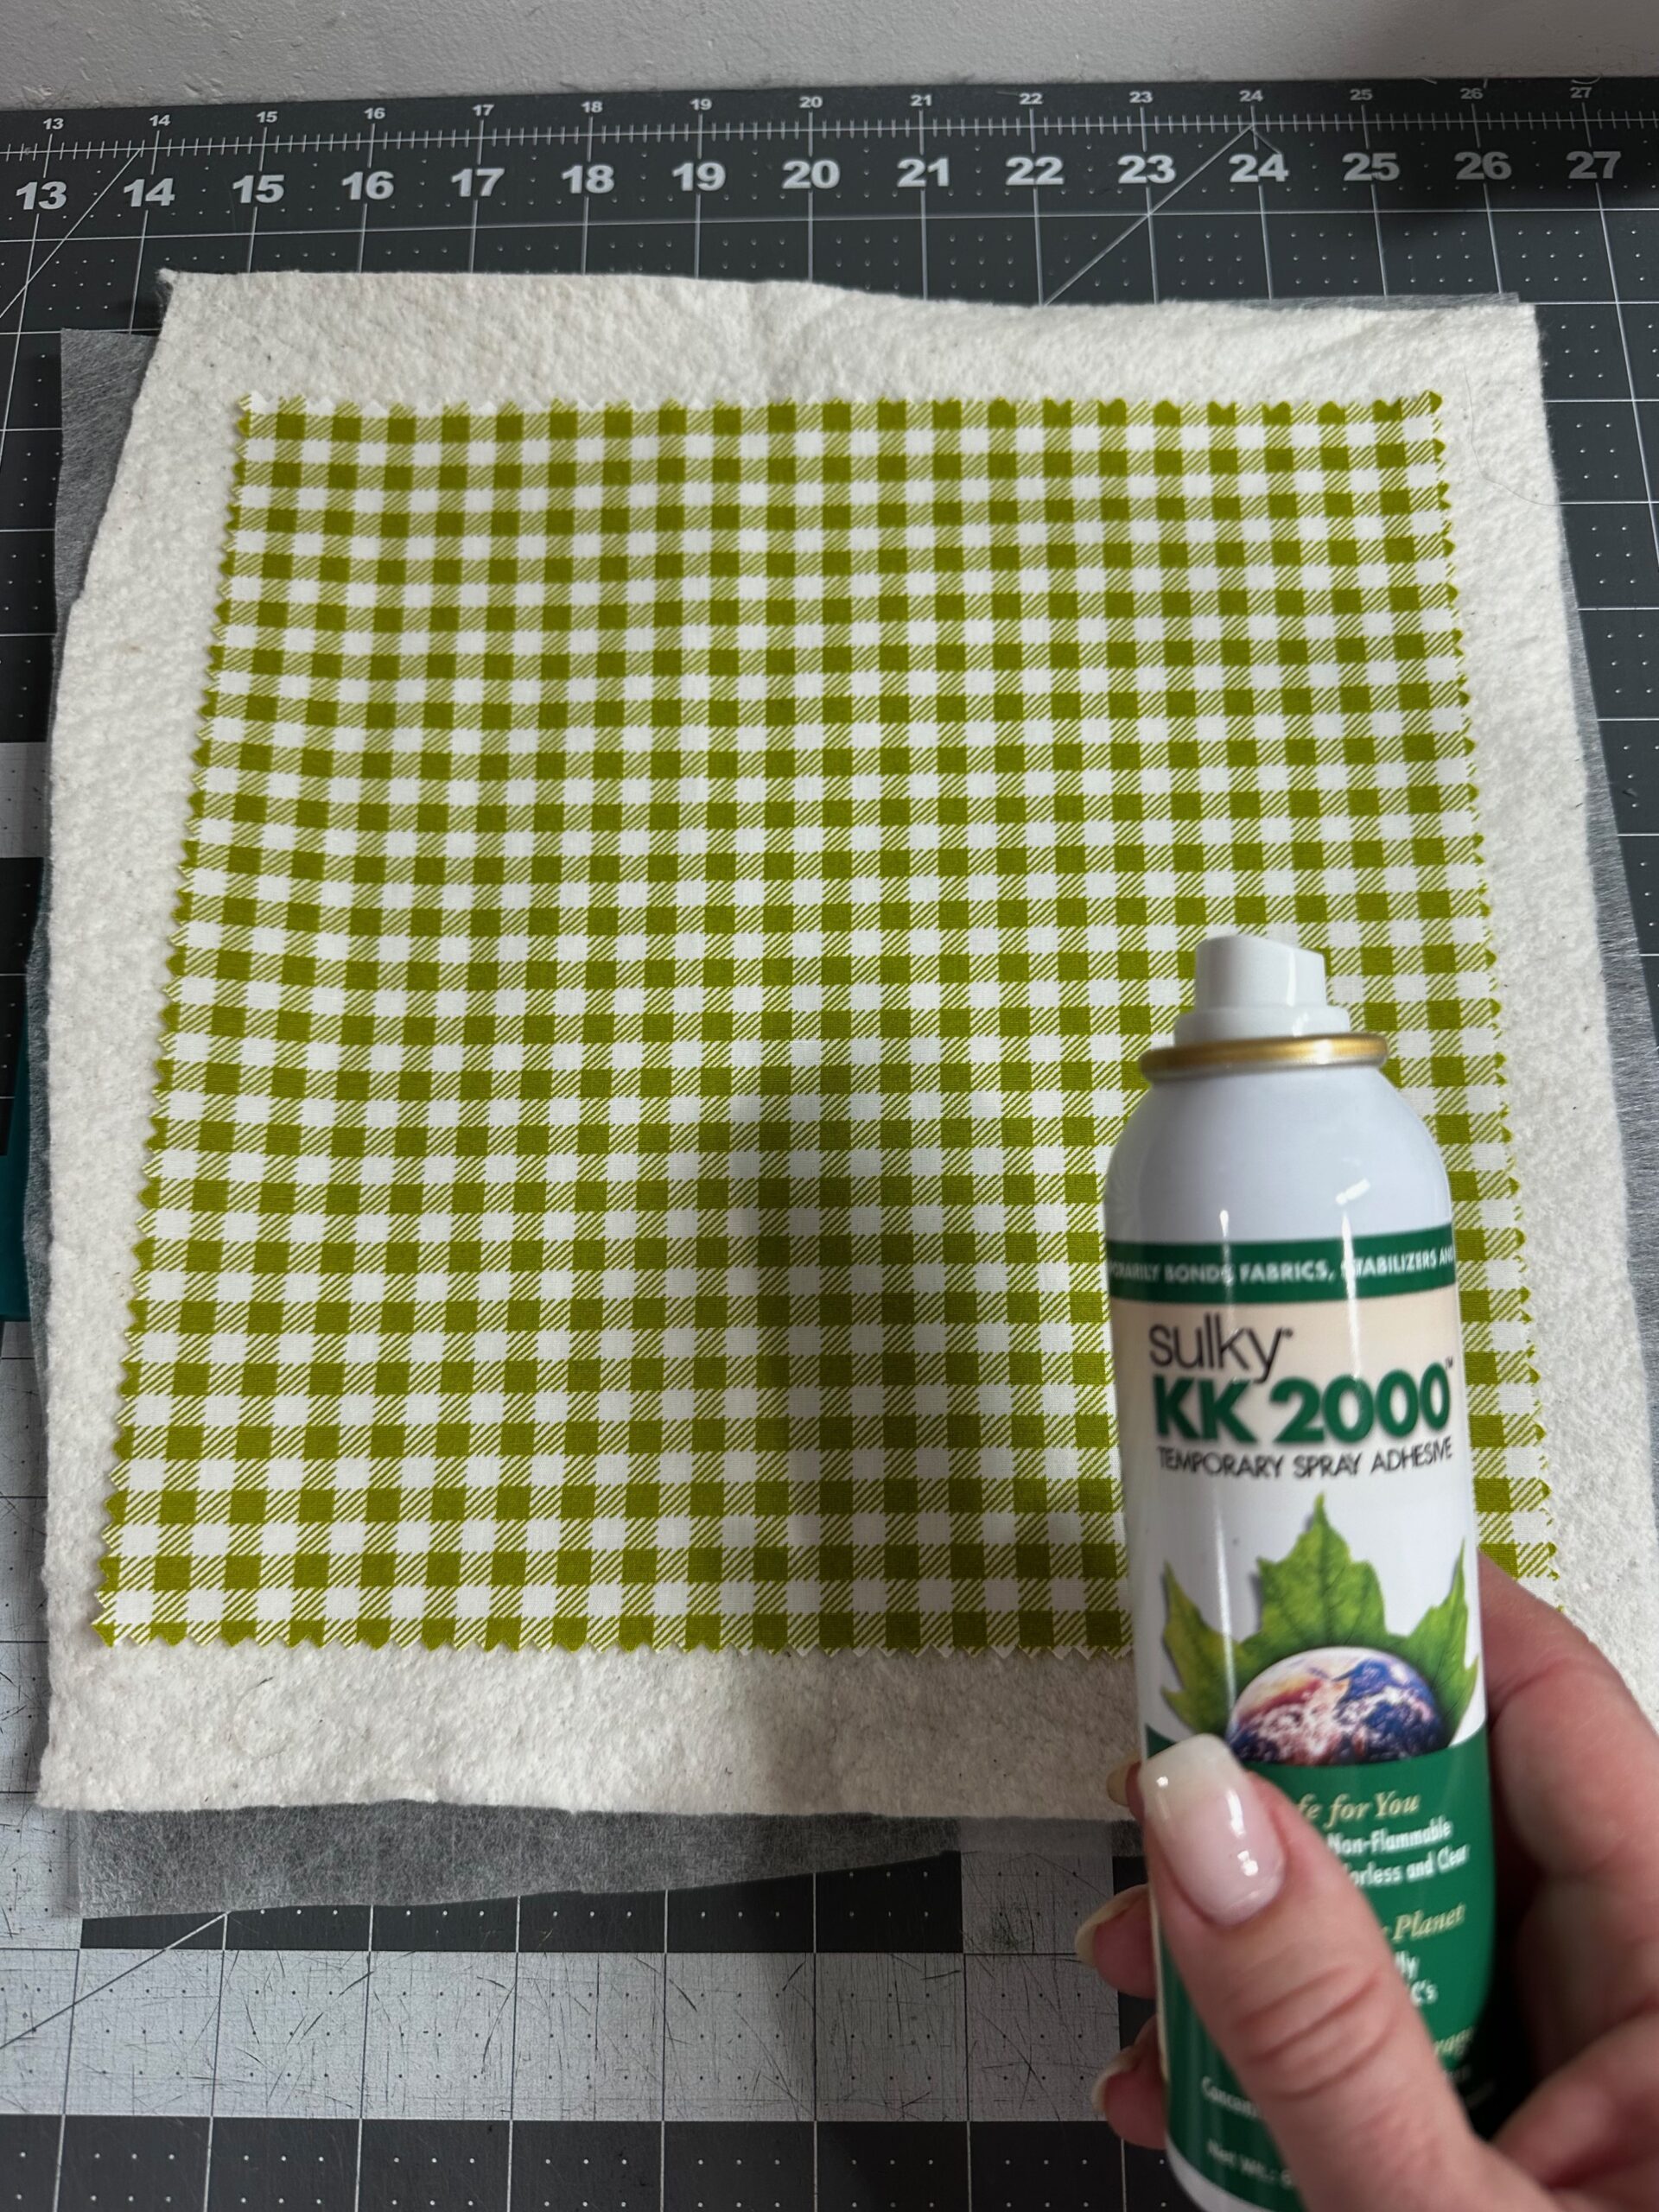
Embroider only step 1 onto the backing fabric, which are the quilting stitches on the Welcome Sign. Use Sulky Rayon Thread in a size 75/11 Embroidery Needle and Bobbin Thread in the bobbin.
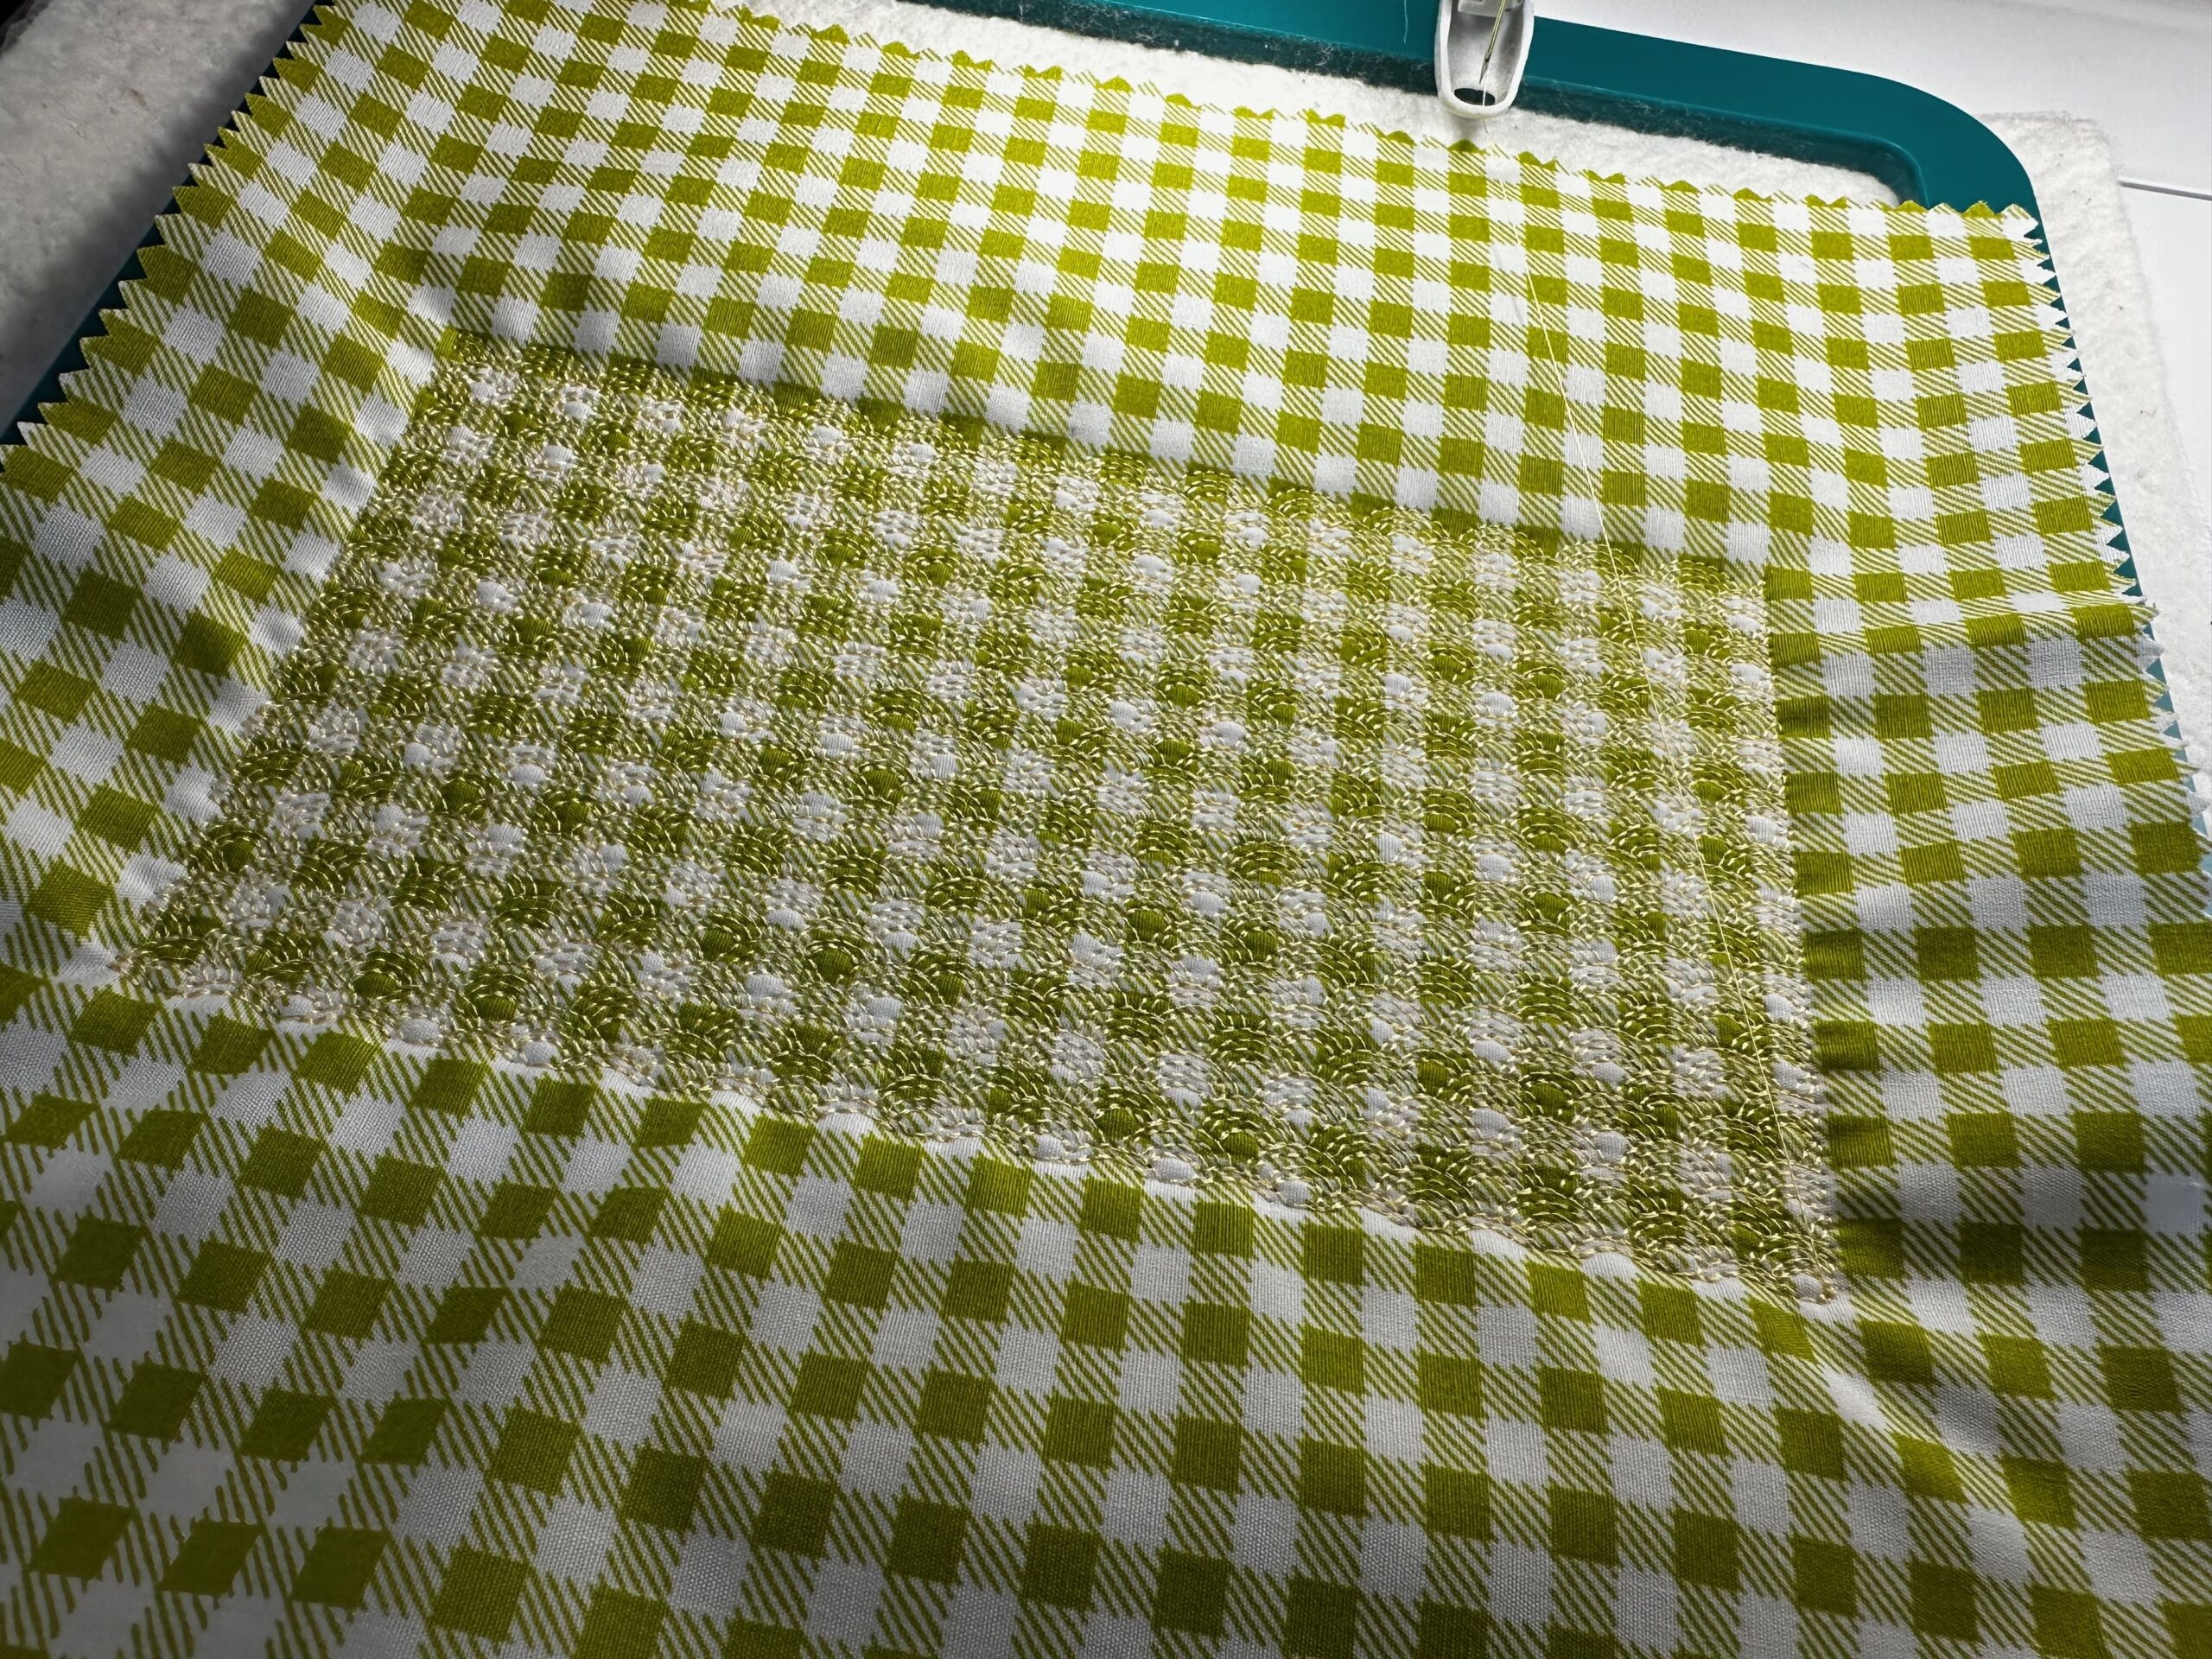
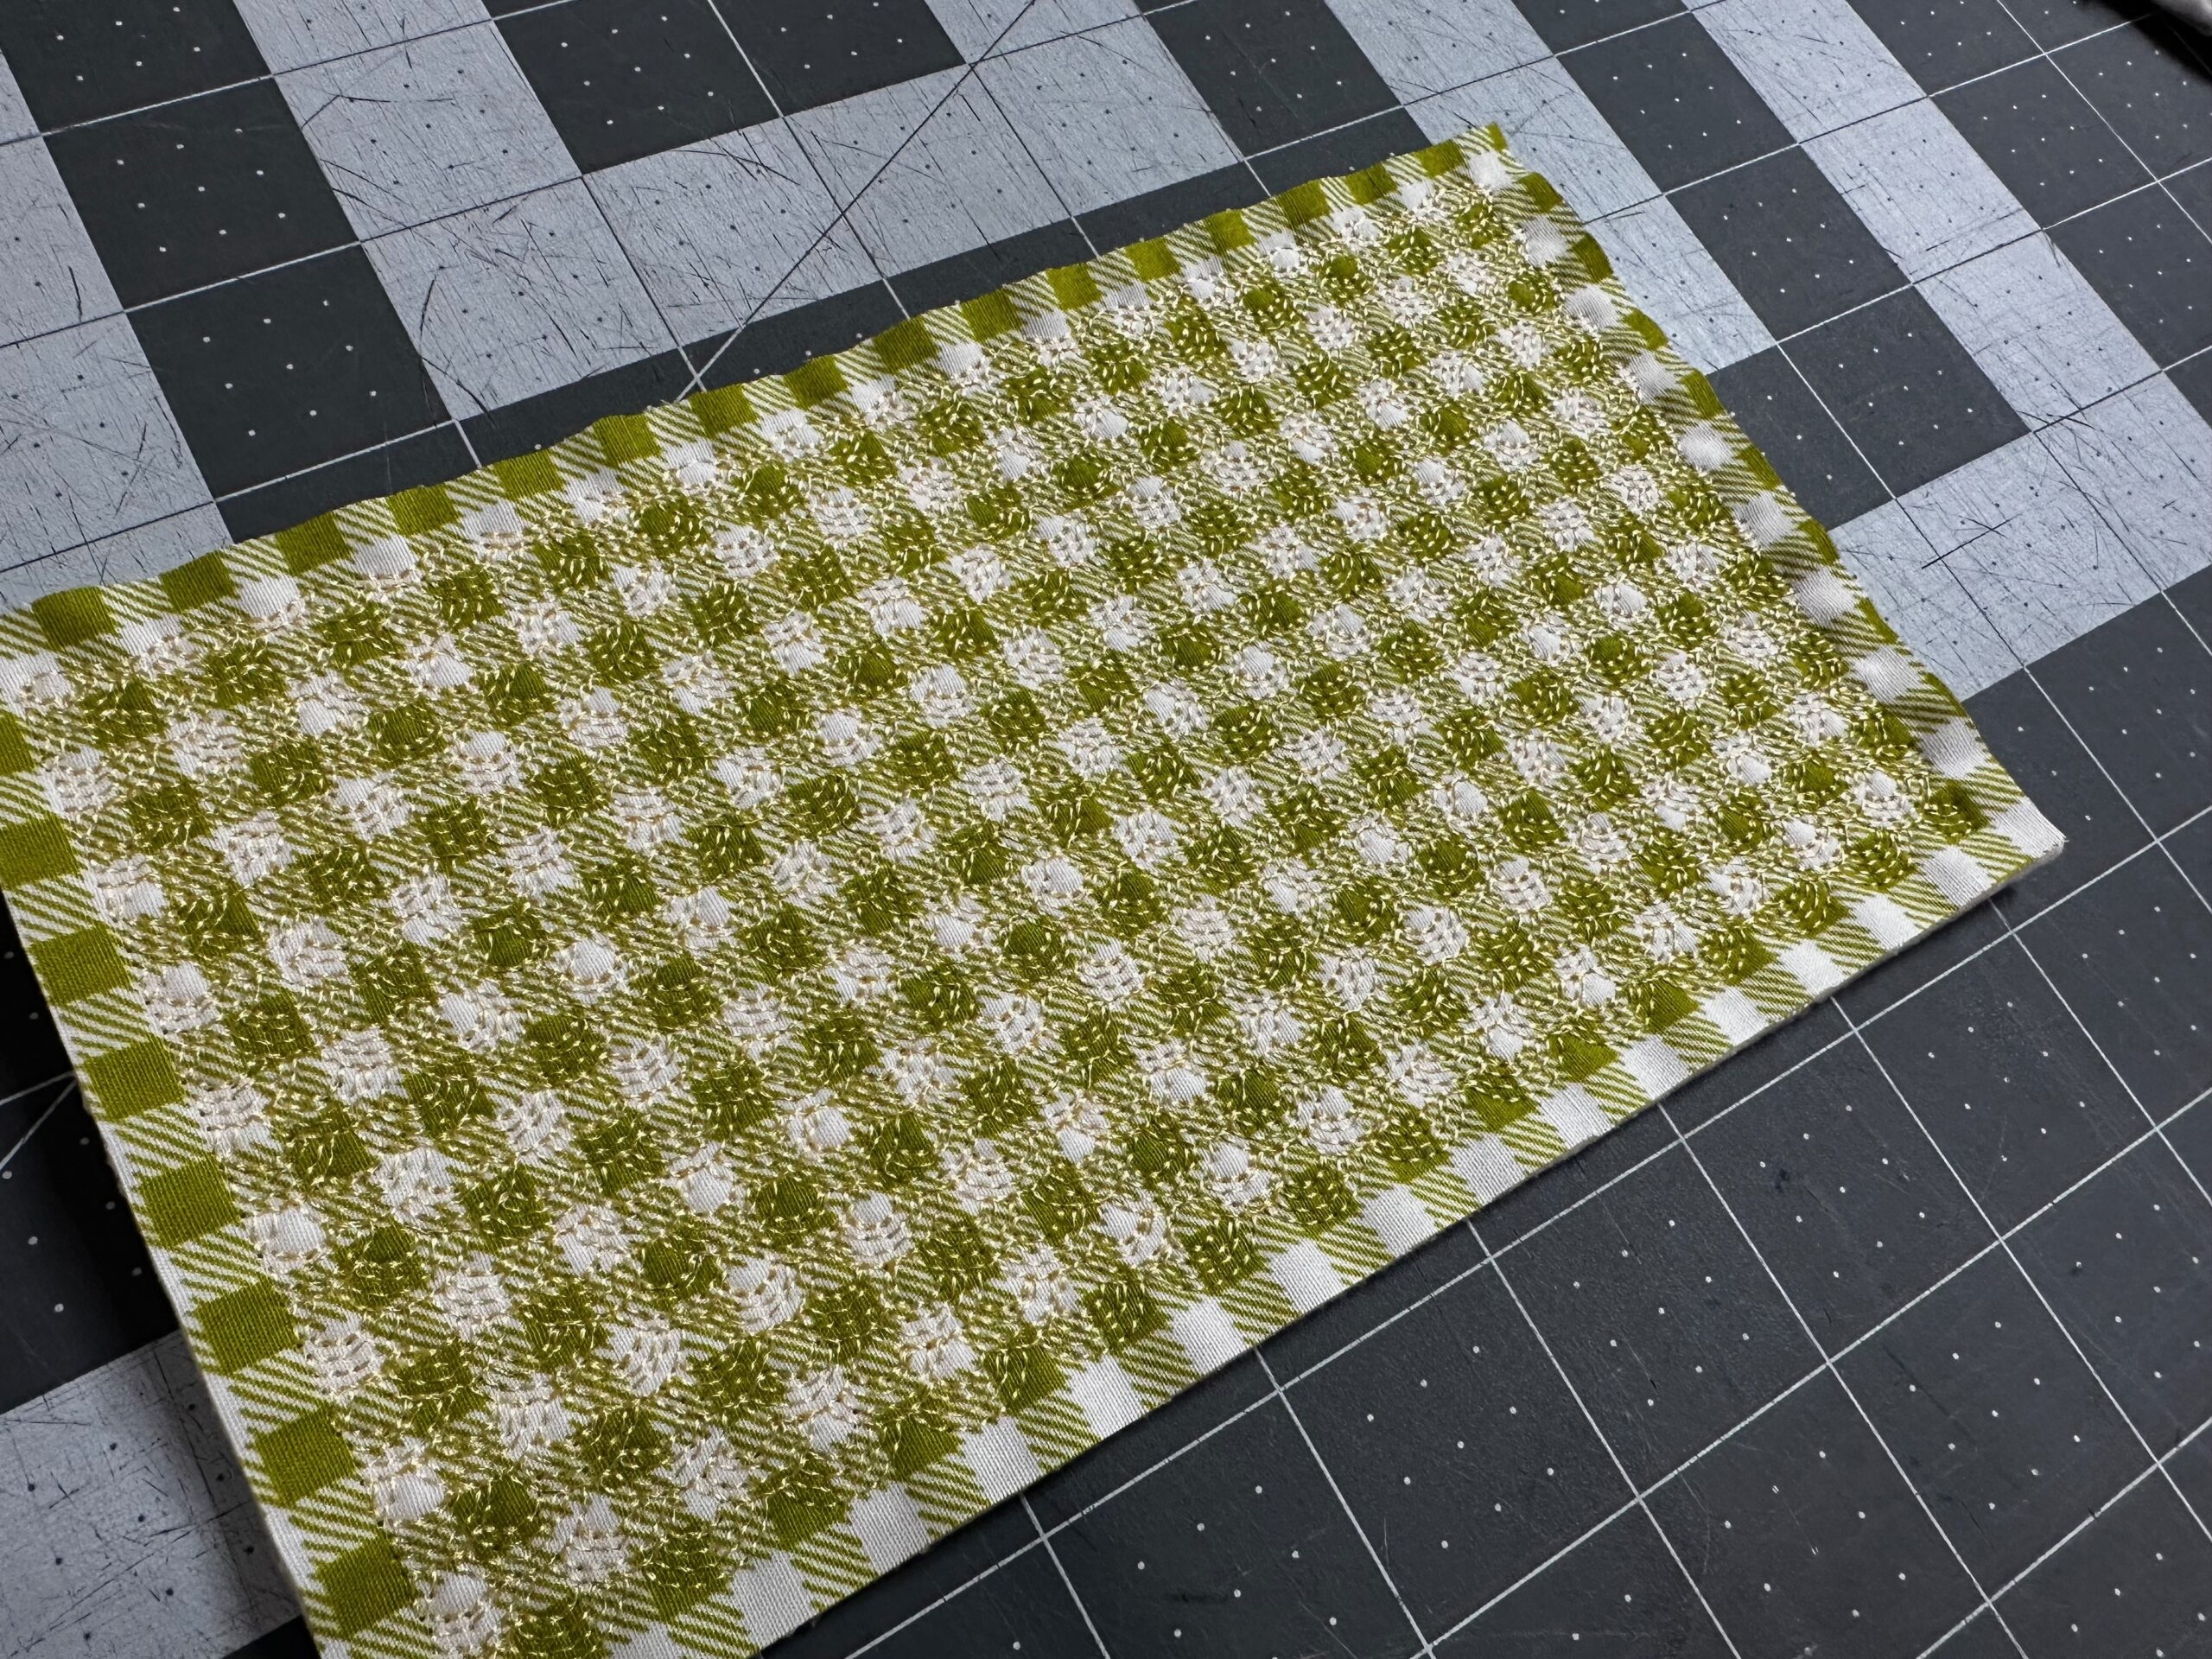
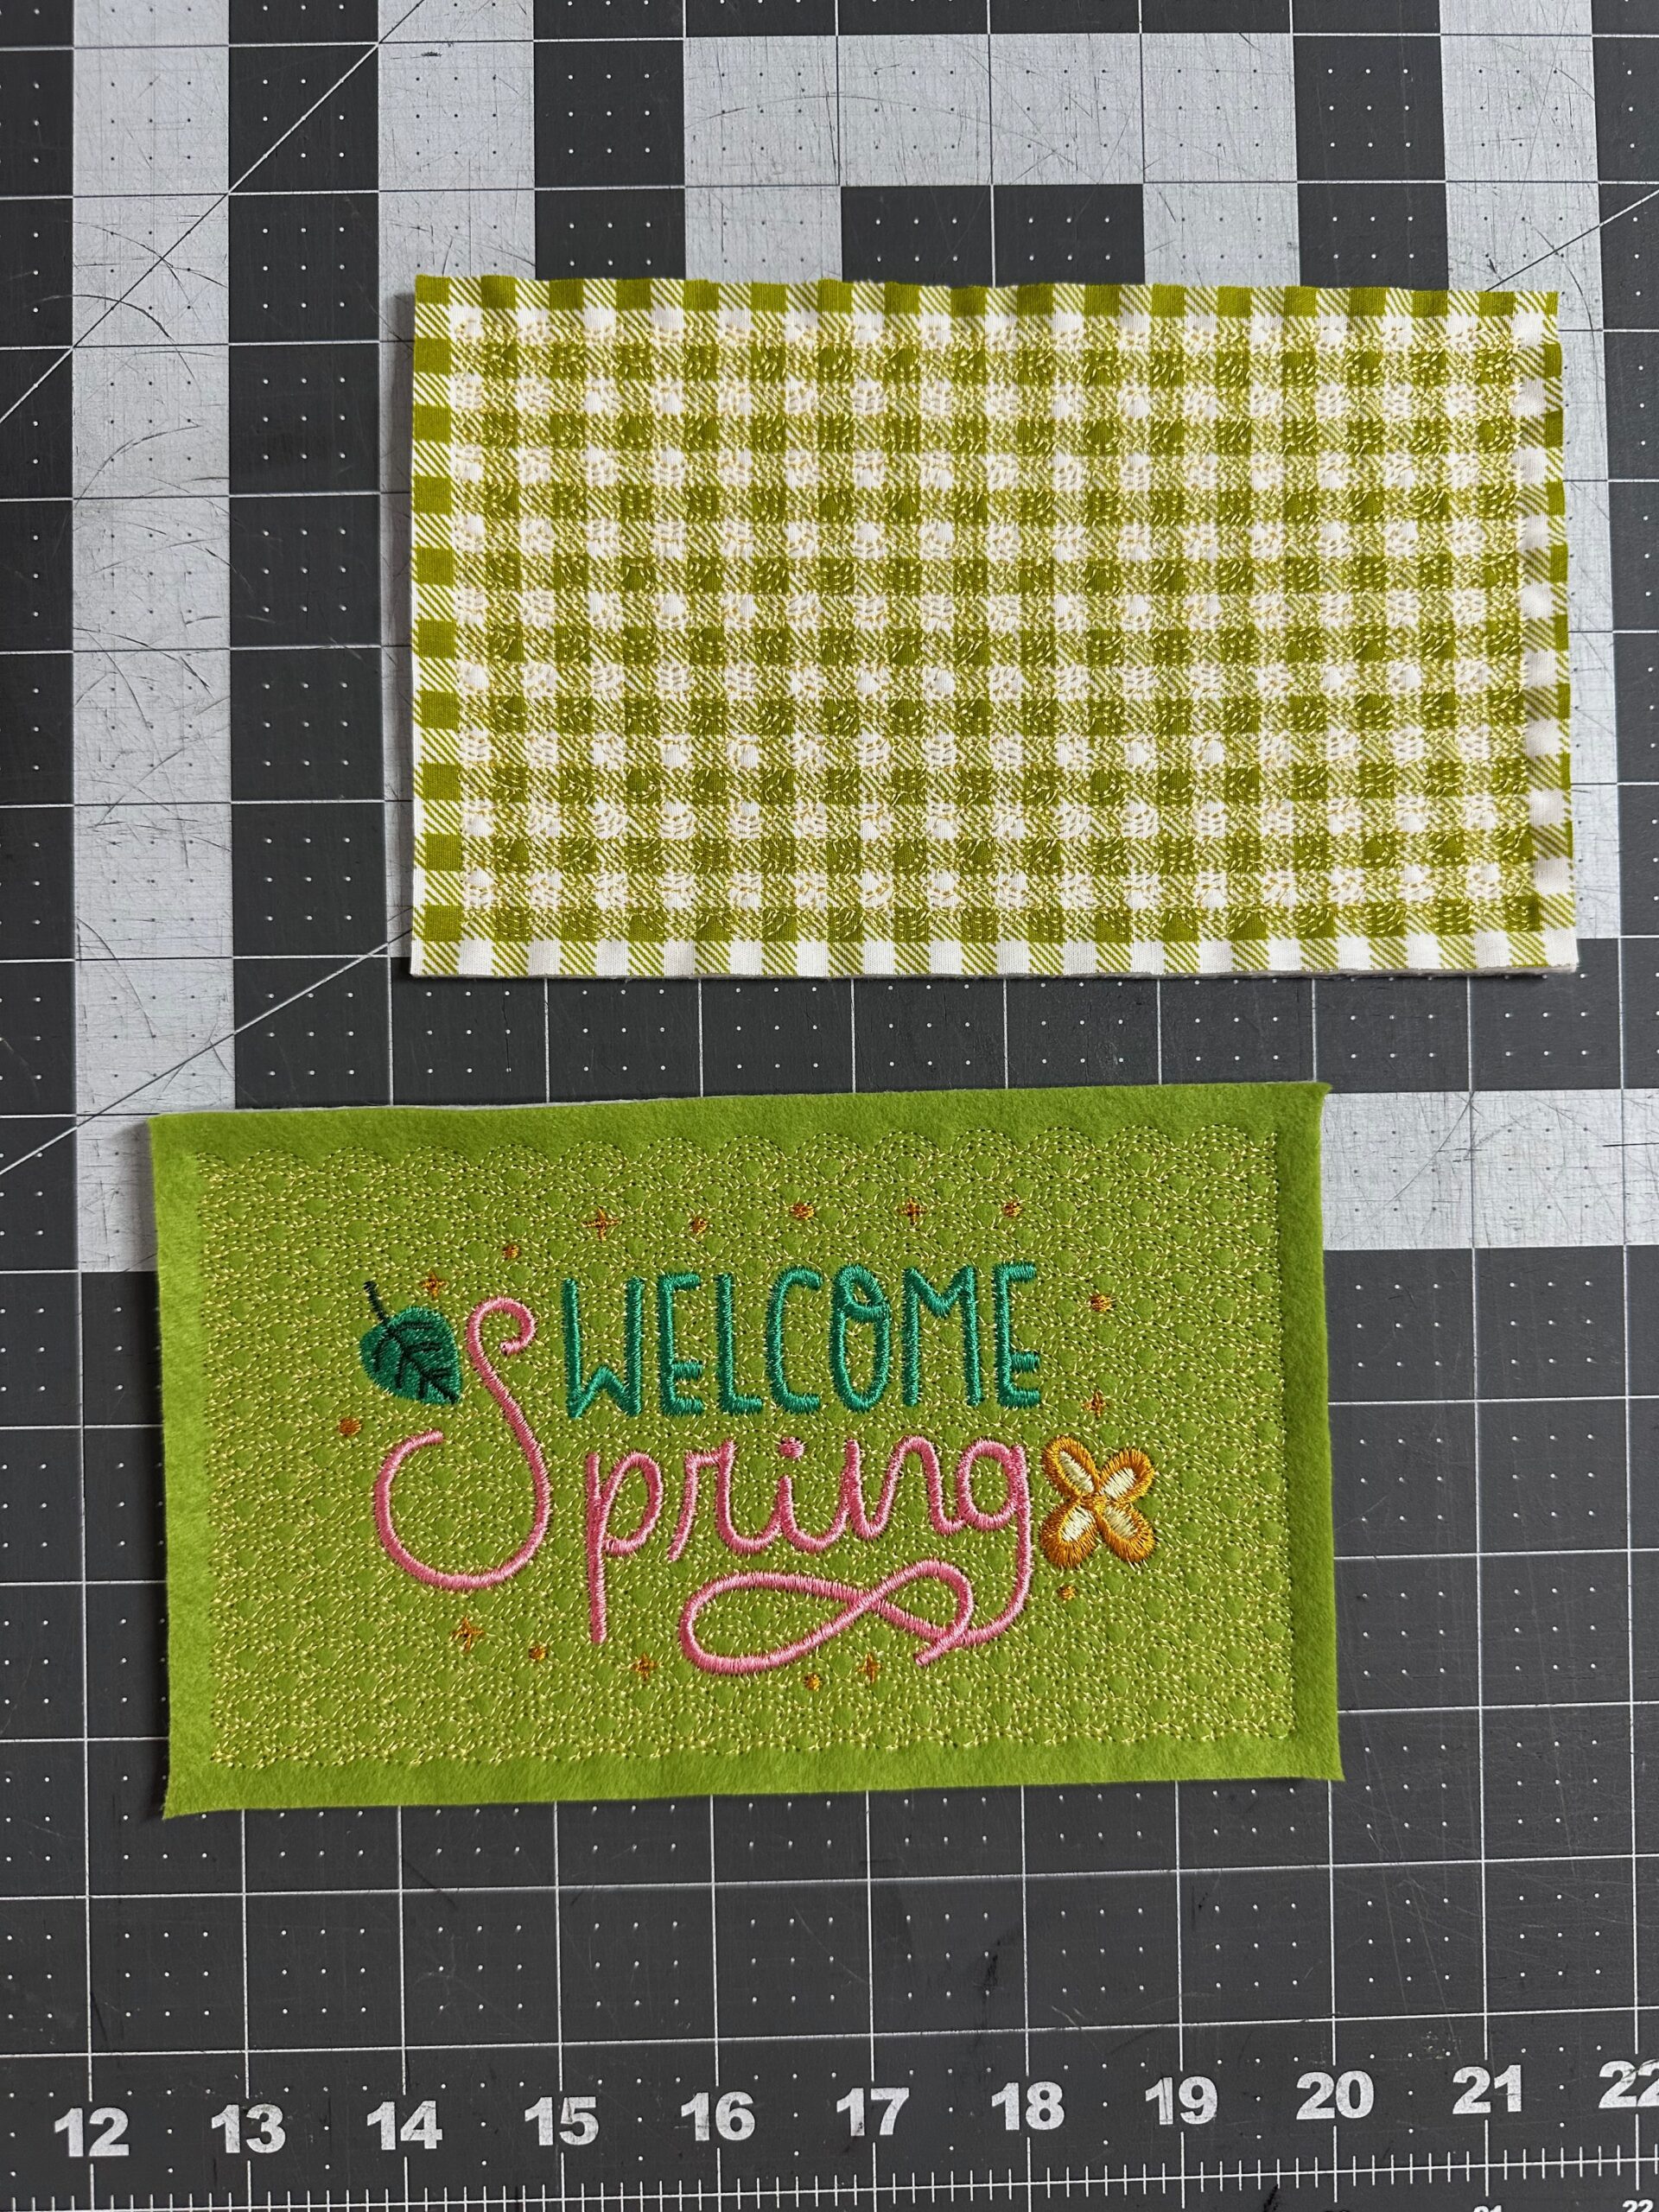
When step 1 is complete, remove the hoop from the machine and the fabric from the hoop. Trim the fabric layers 1/4″ beyond the outer quilting stitches. Then, set aside the backing.
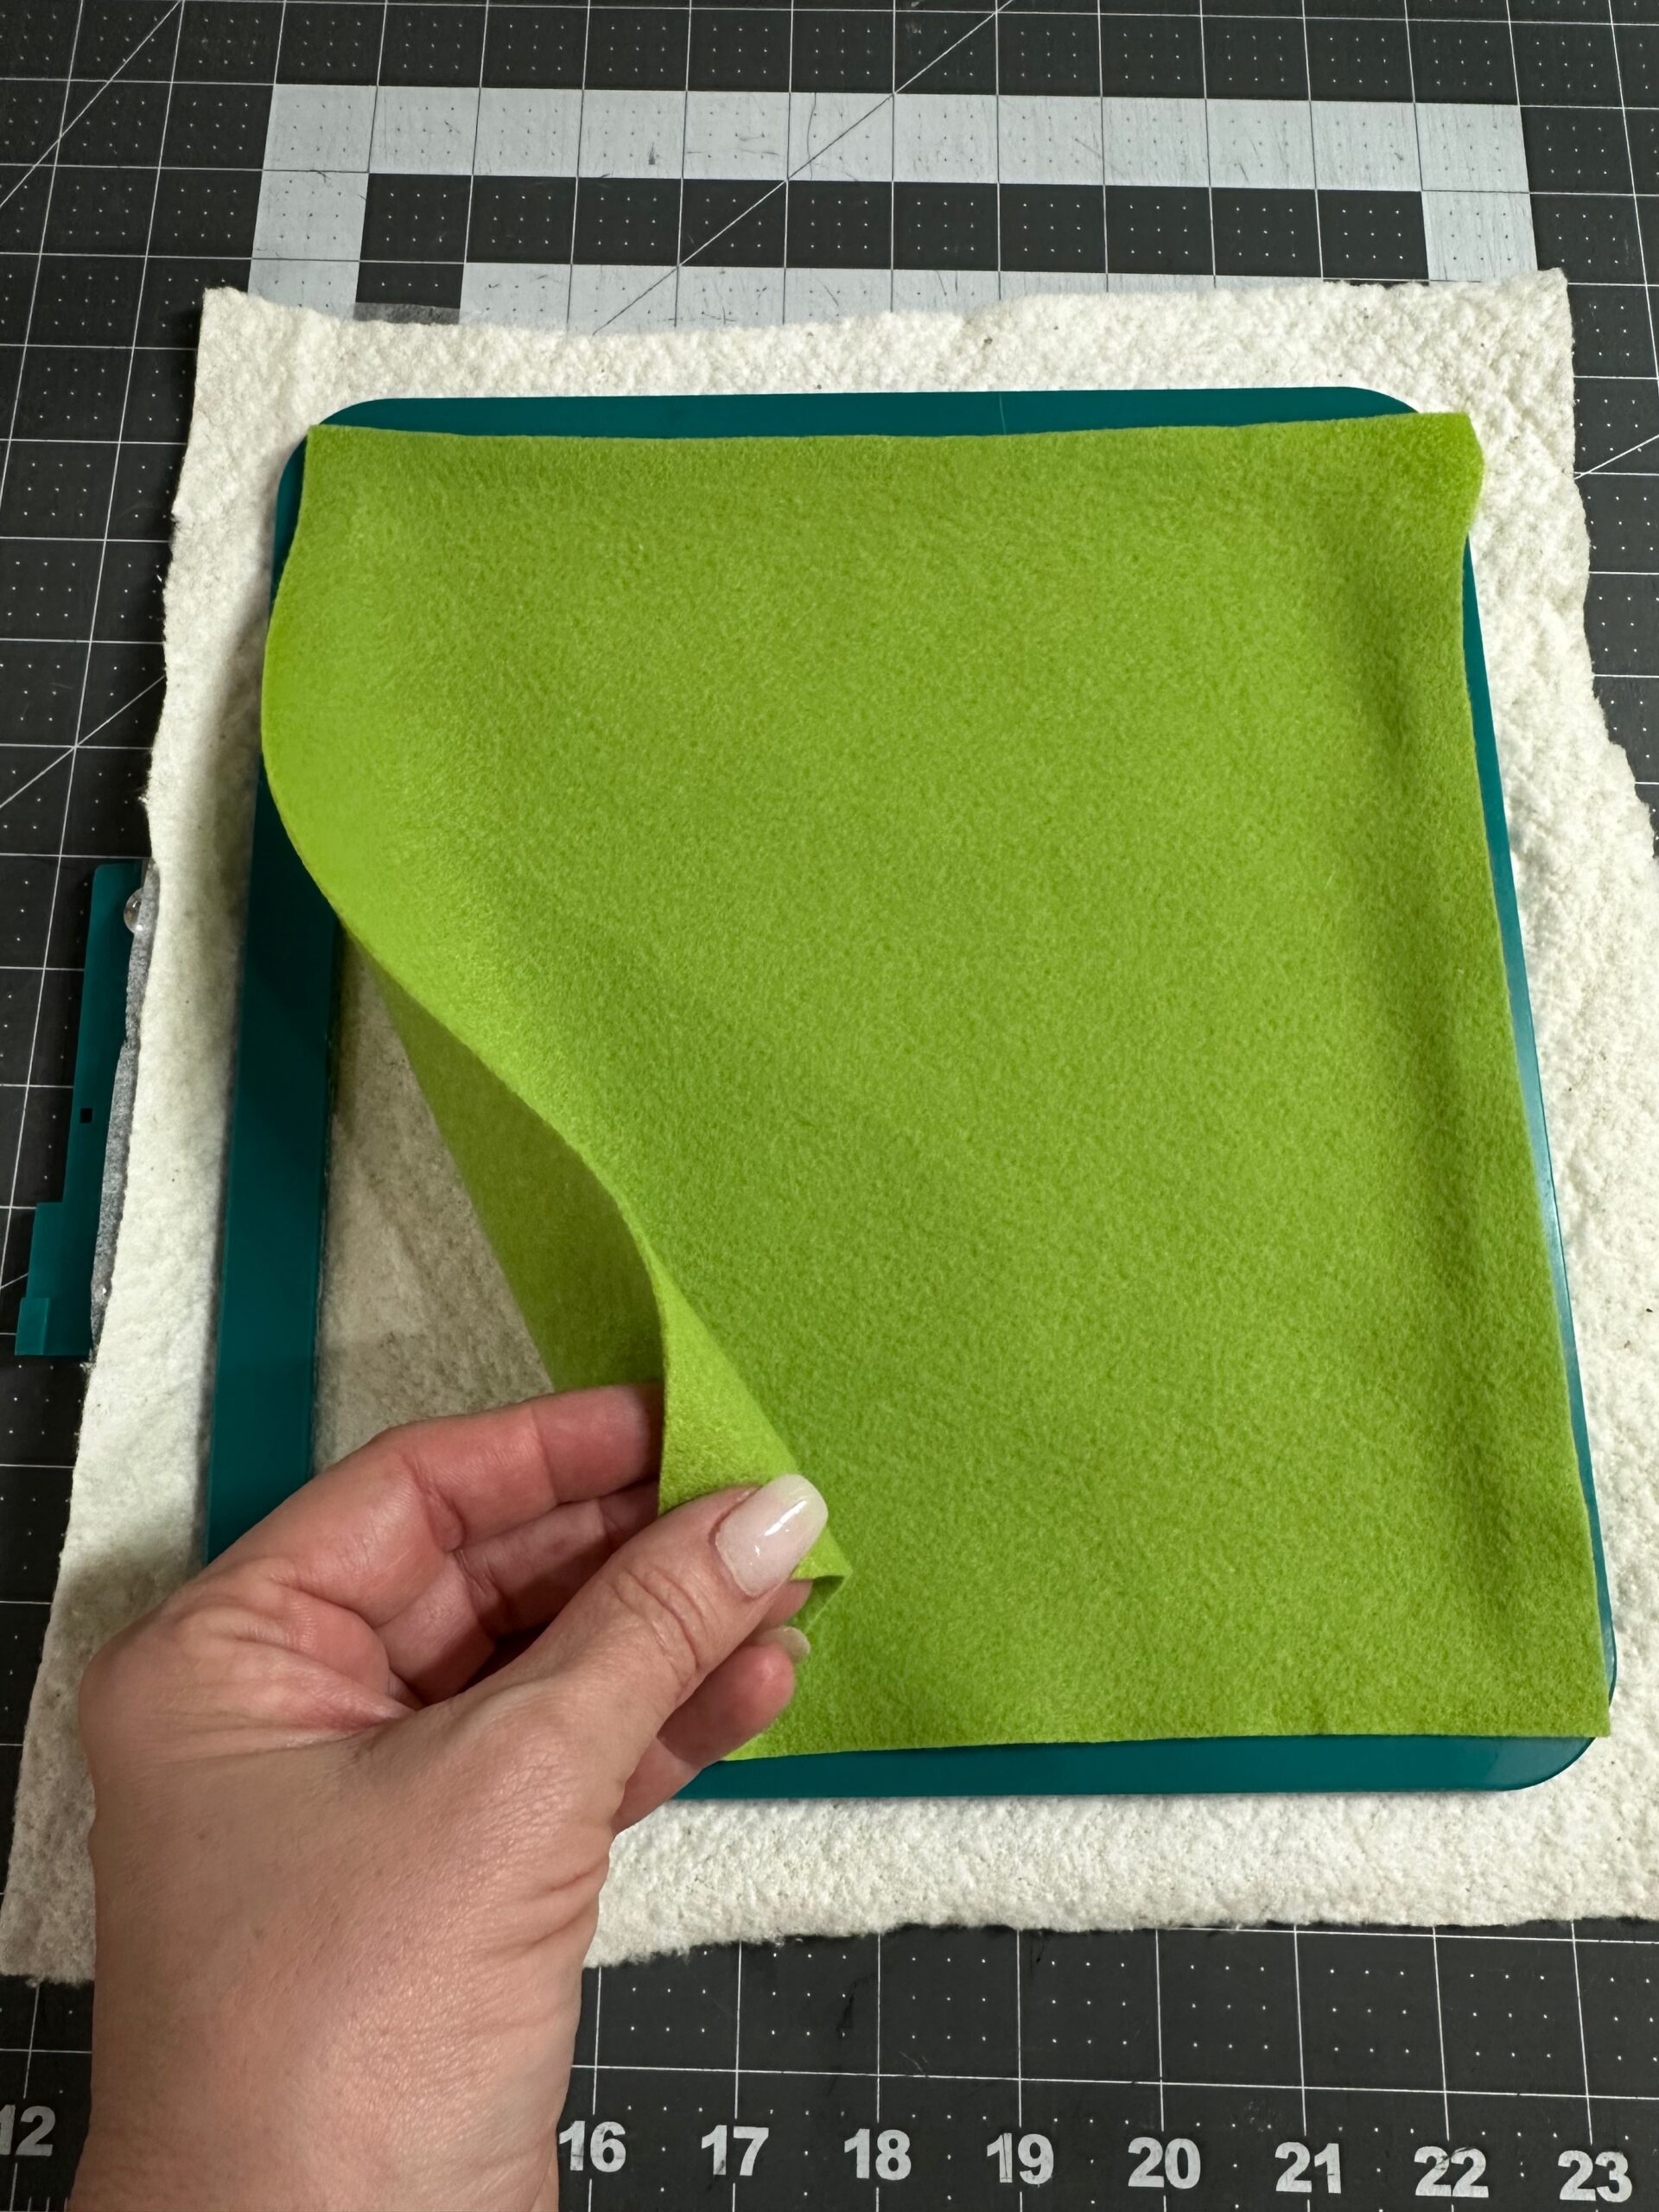
Next, hoop another piece of Soft ‘n Sheer Extra. Then, center a piece of batting over the hooped stabilizer. Then, center the Felty over the batting. Use Sulky KK2000 Temporary Spray Adhesive to secure the layers.
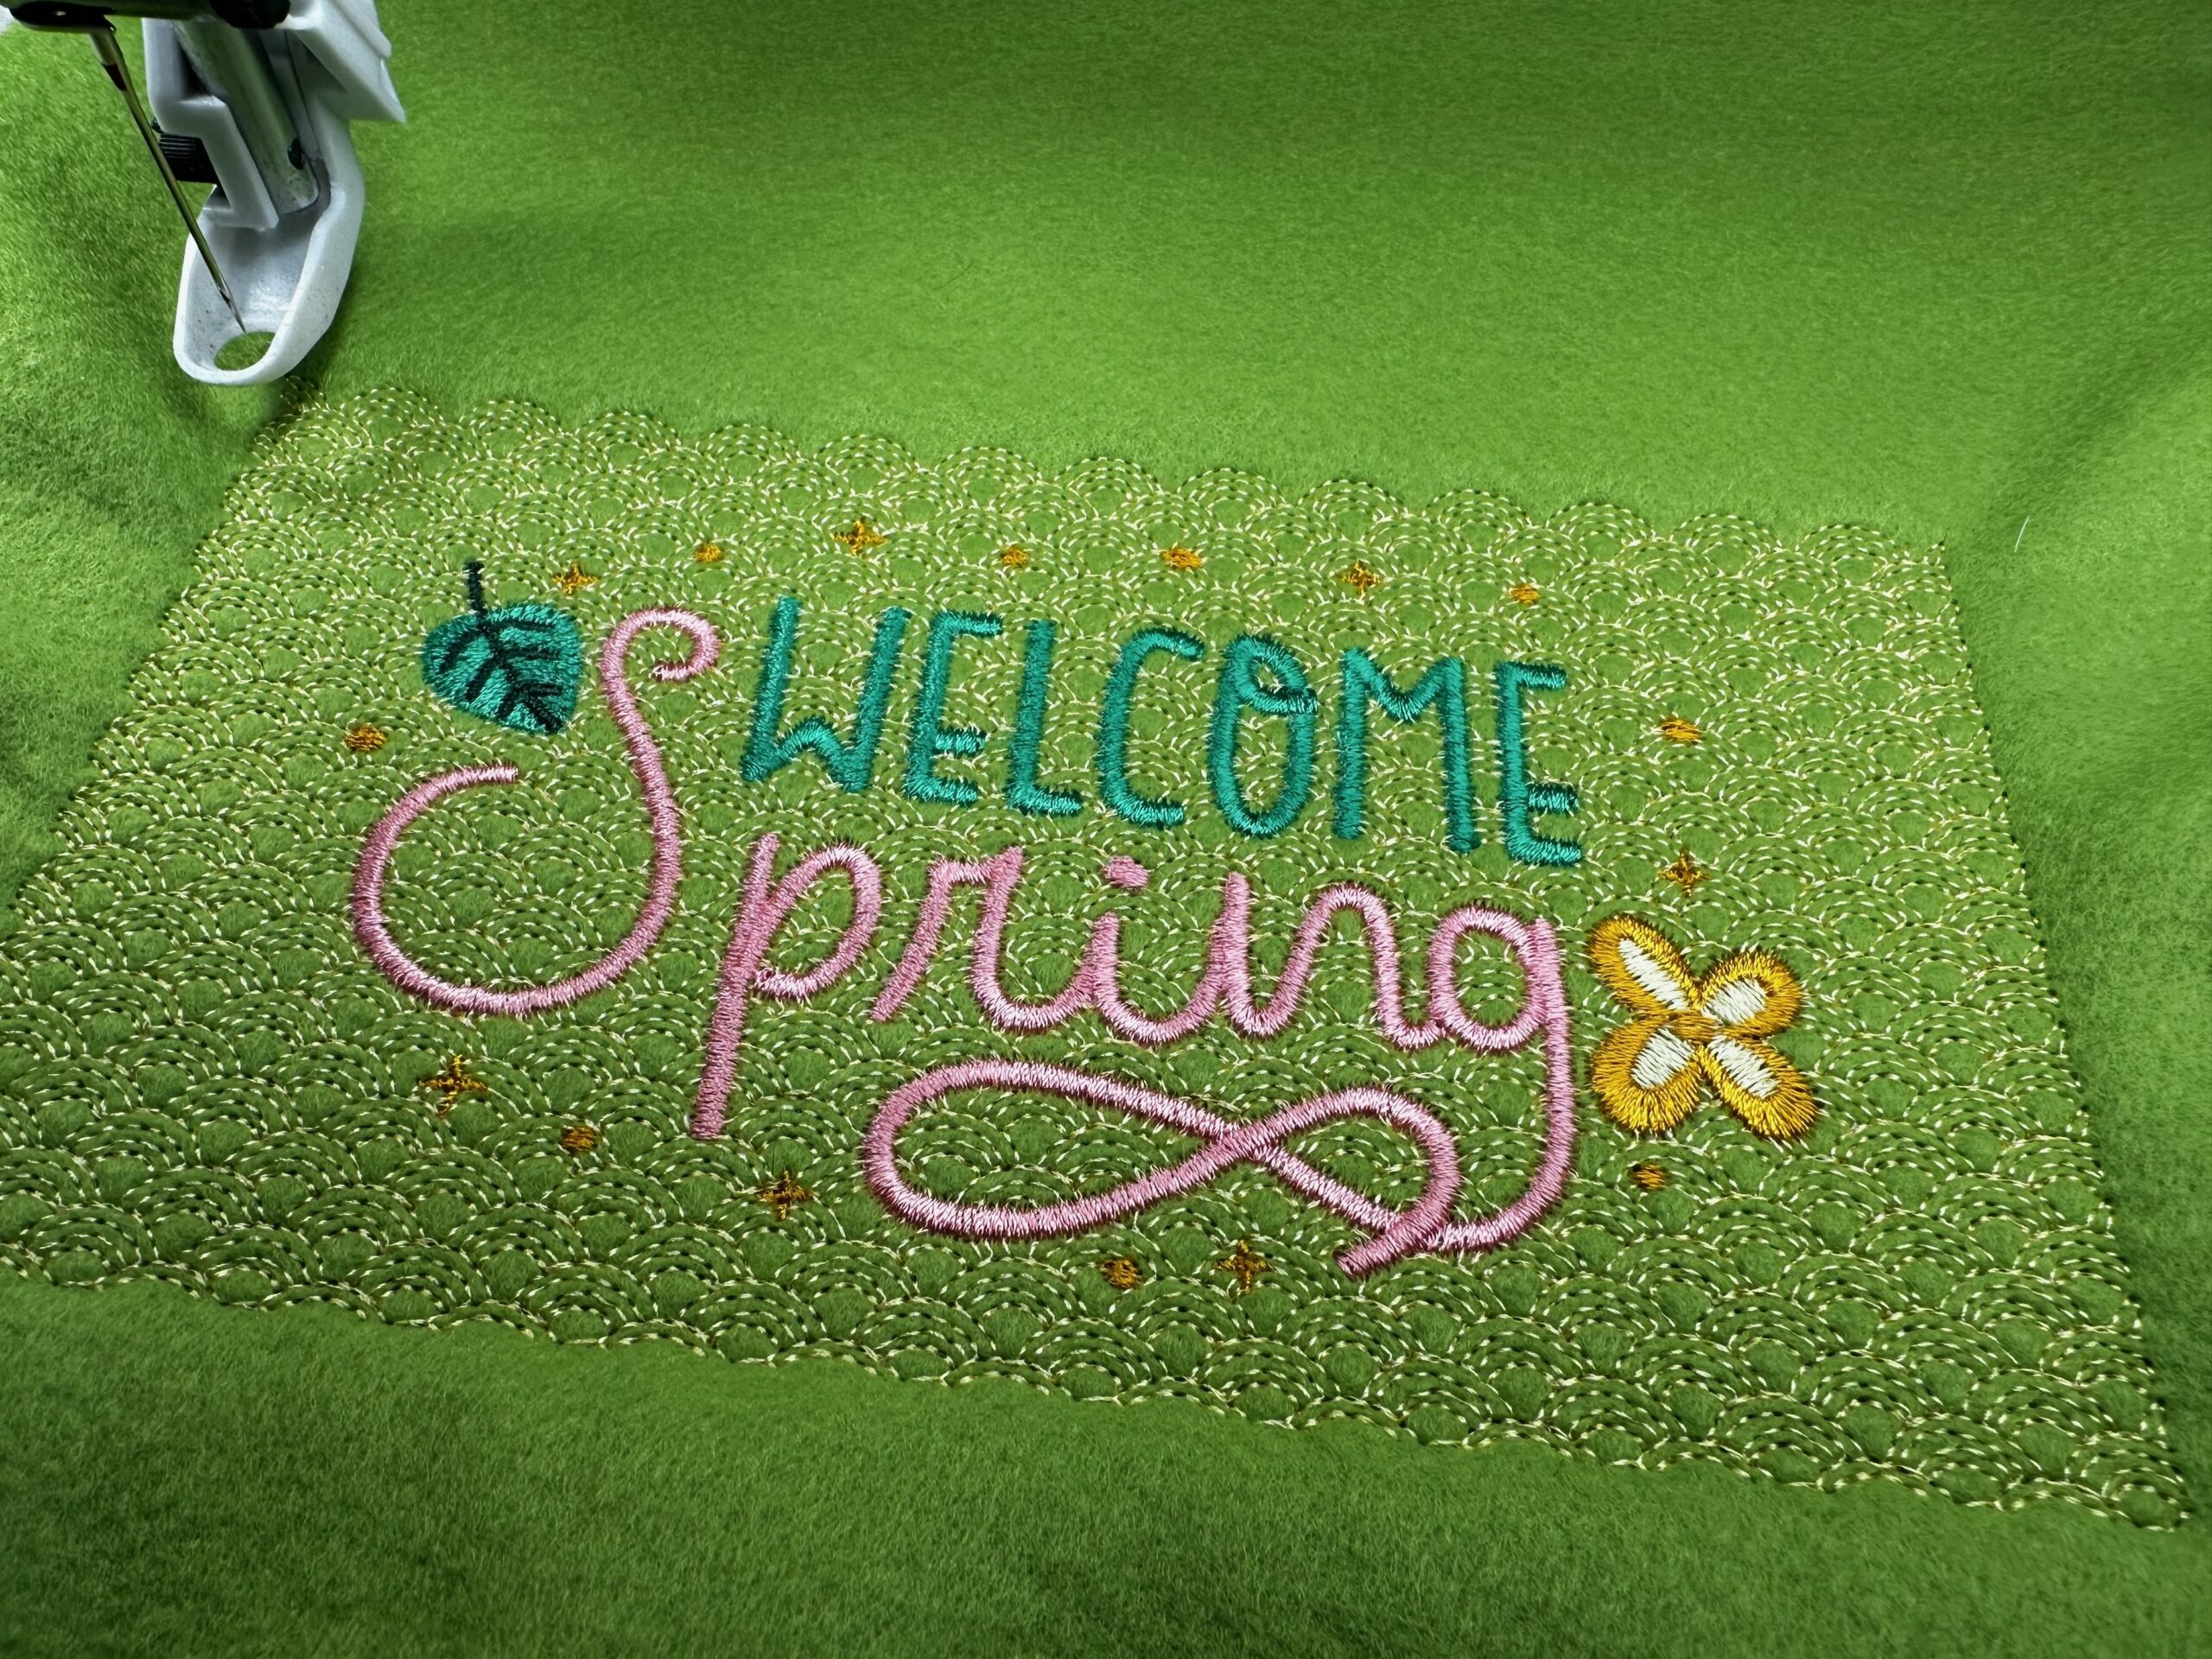
Embroider the entire design, swapping colors either as directed by the color chart or according to your preference.
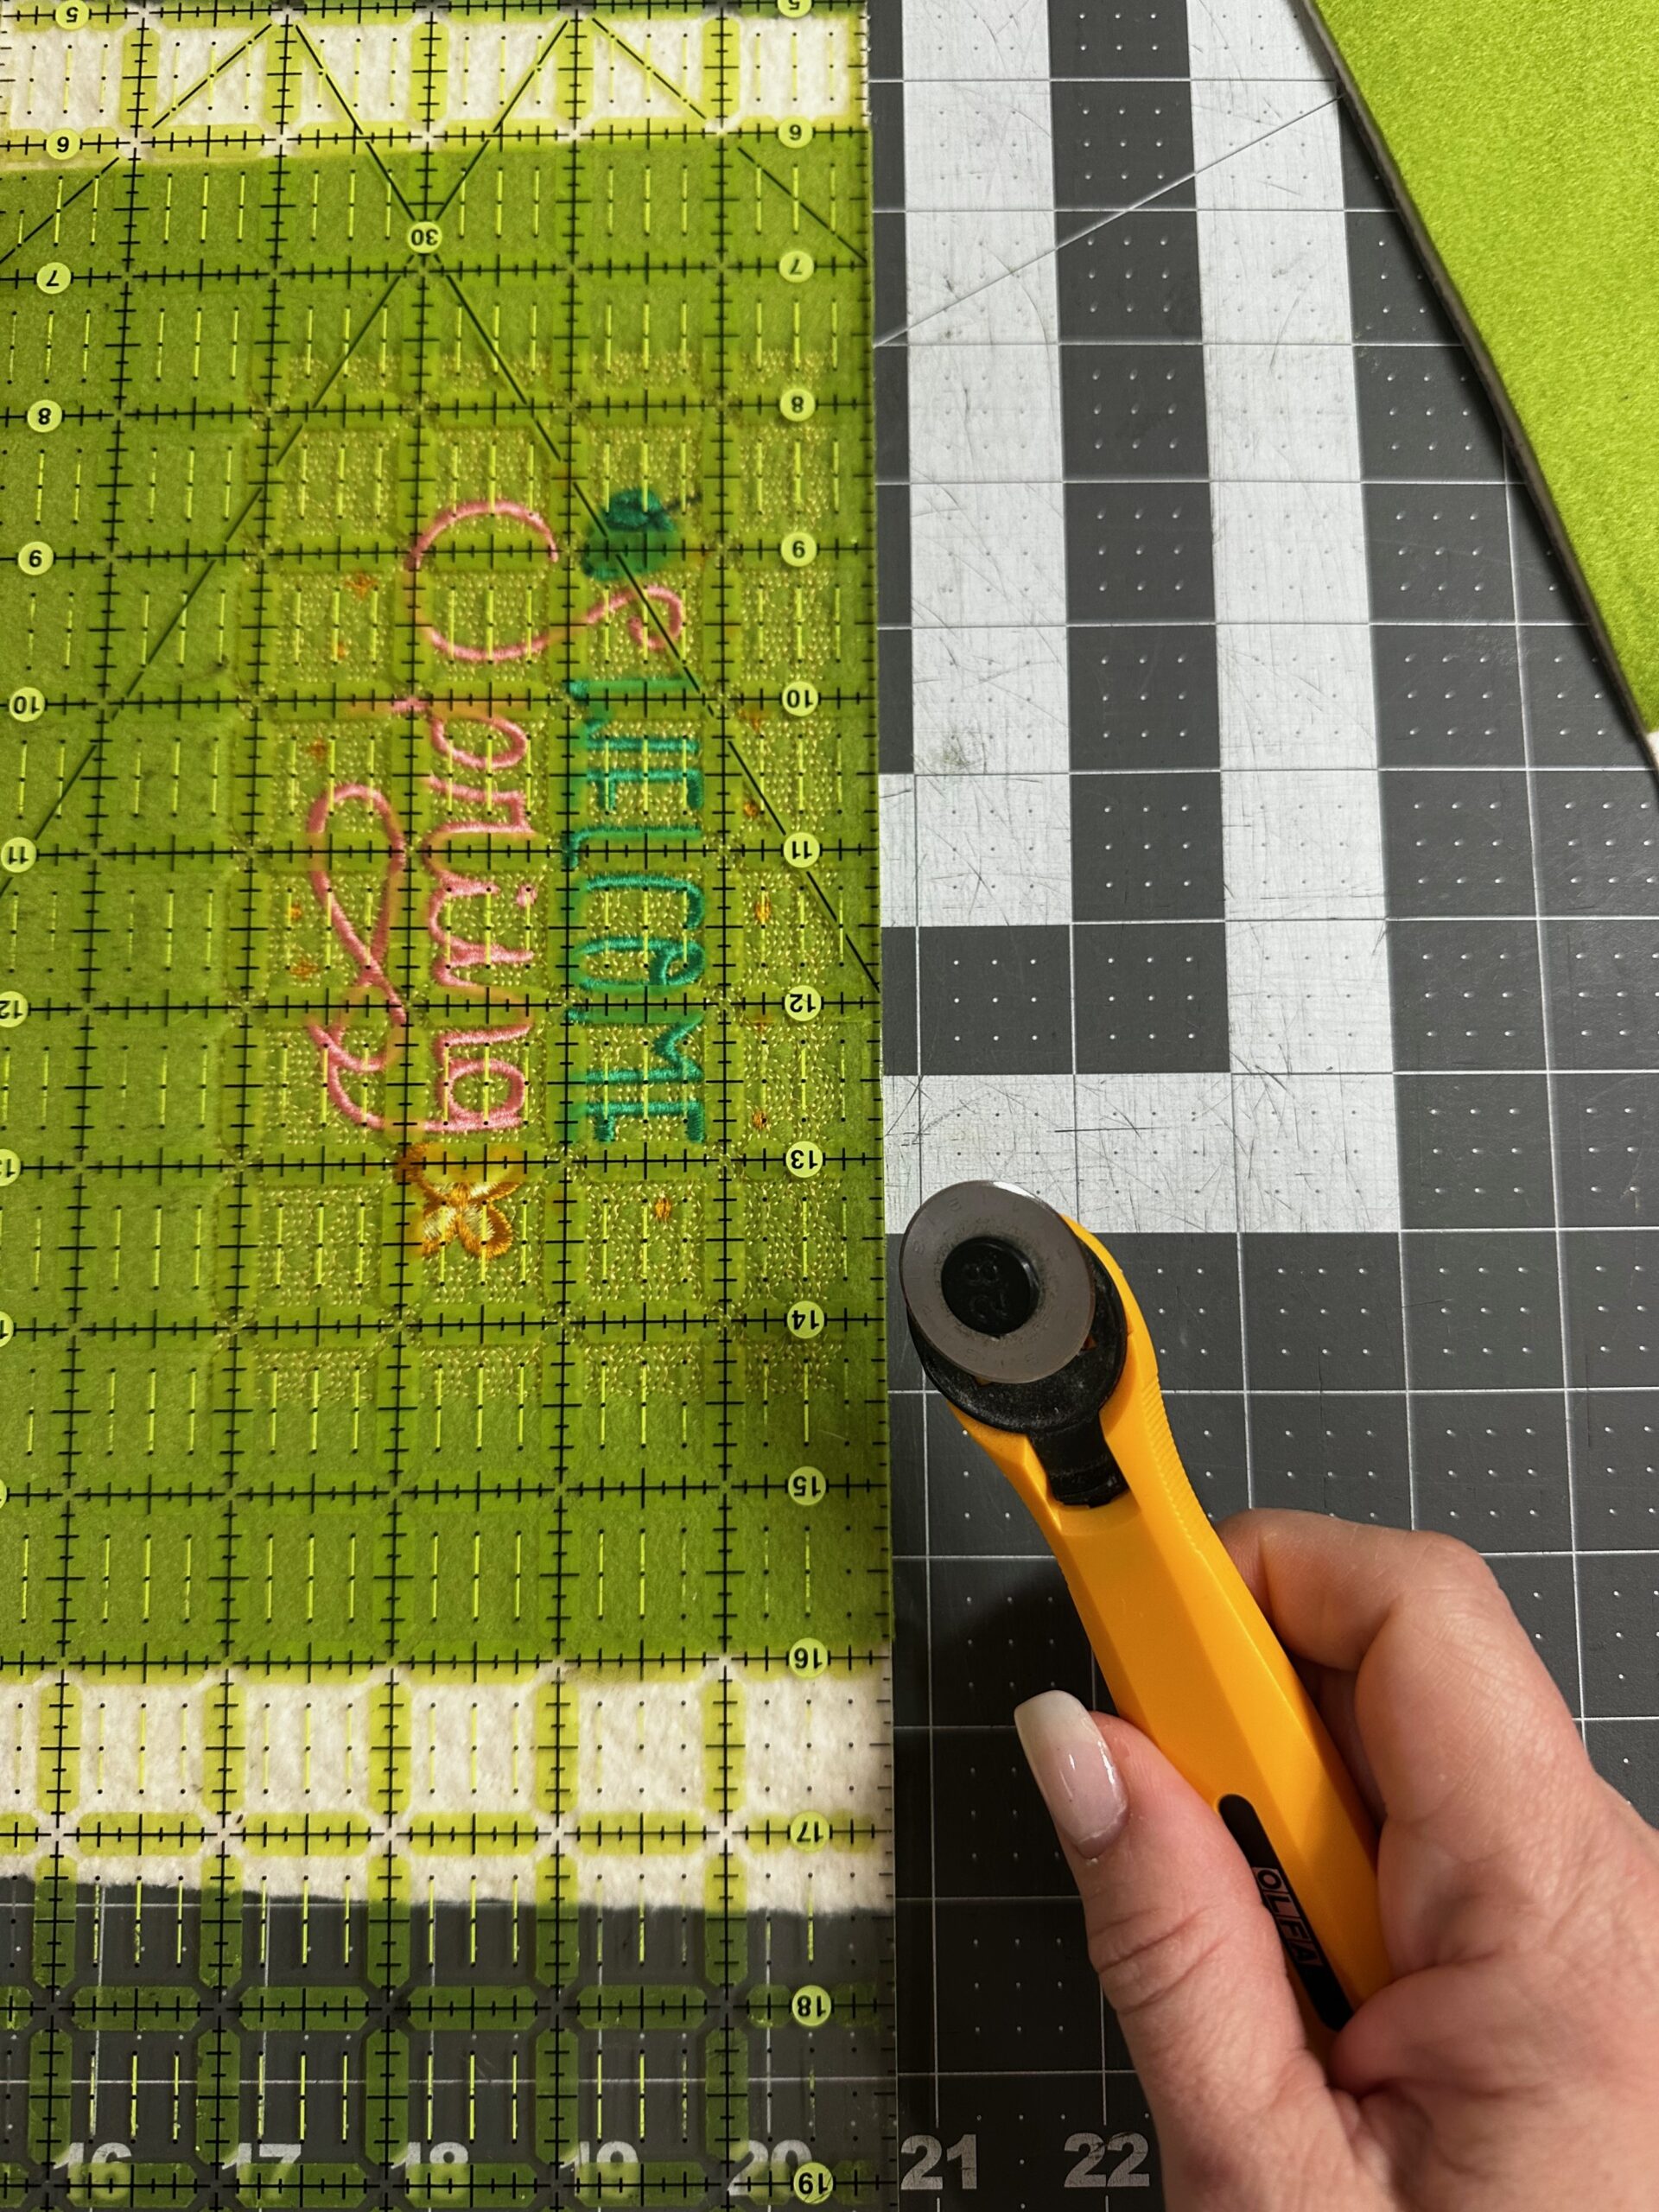
When the embroidery is complete, remove the hoop from the machine and the Felty from the hoop. Trim the layers 1/4″ beyond the outer quilting stitches. Then, set aside the sign front.
BINDING & TIES
Set up the machine for sewing. Install a size 70/10 Universal Needle. Thread the needle and bobbin with 50 wt. Cotton Thread.
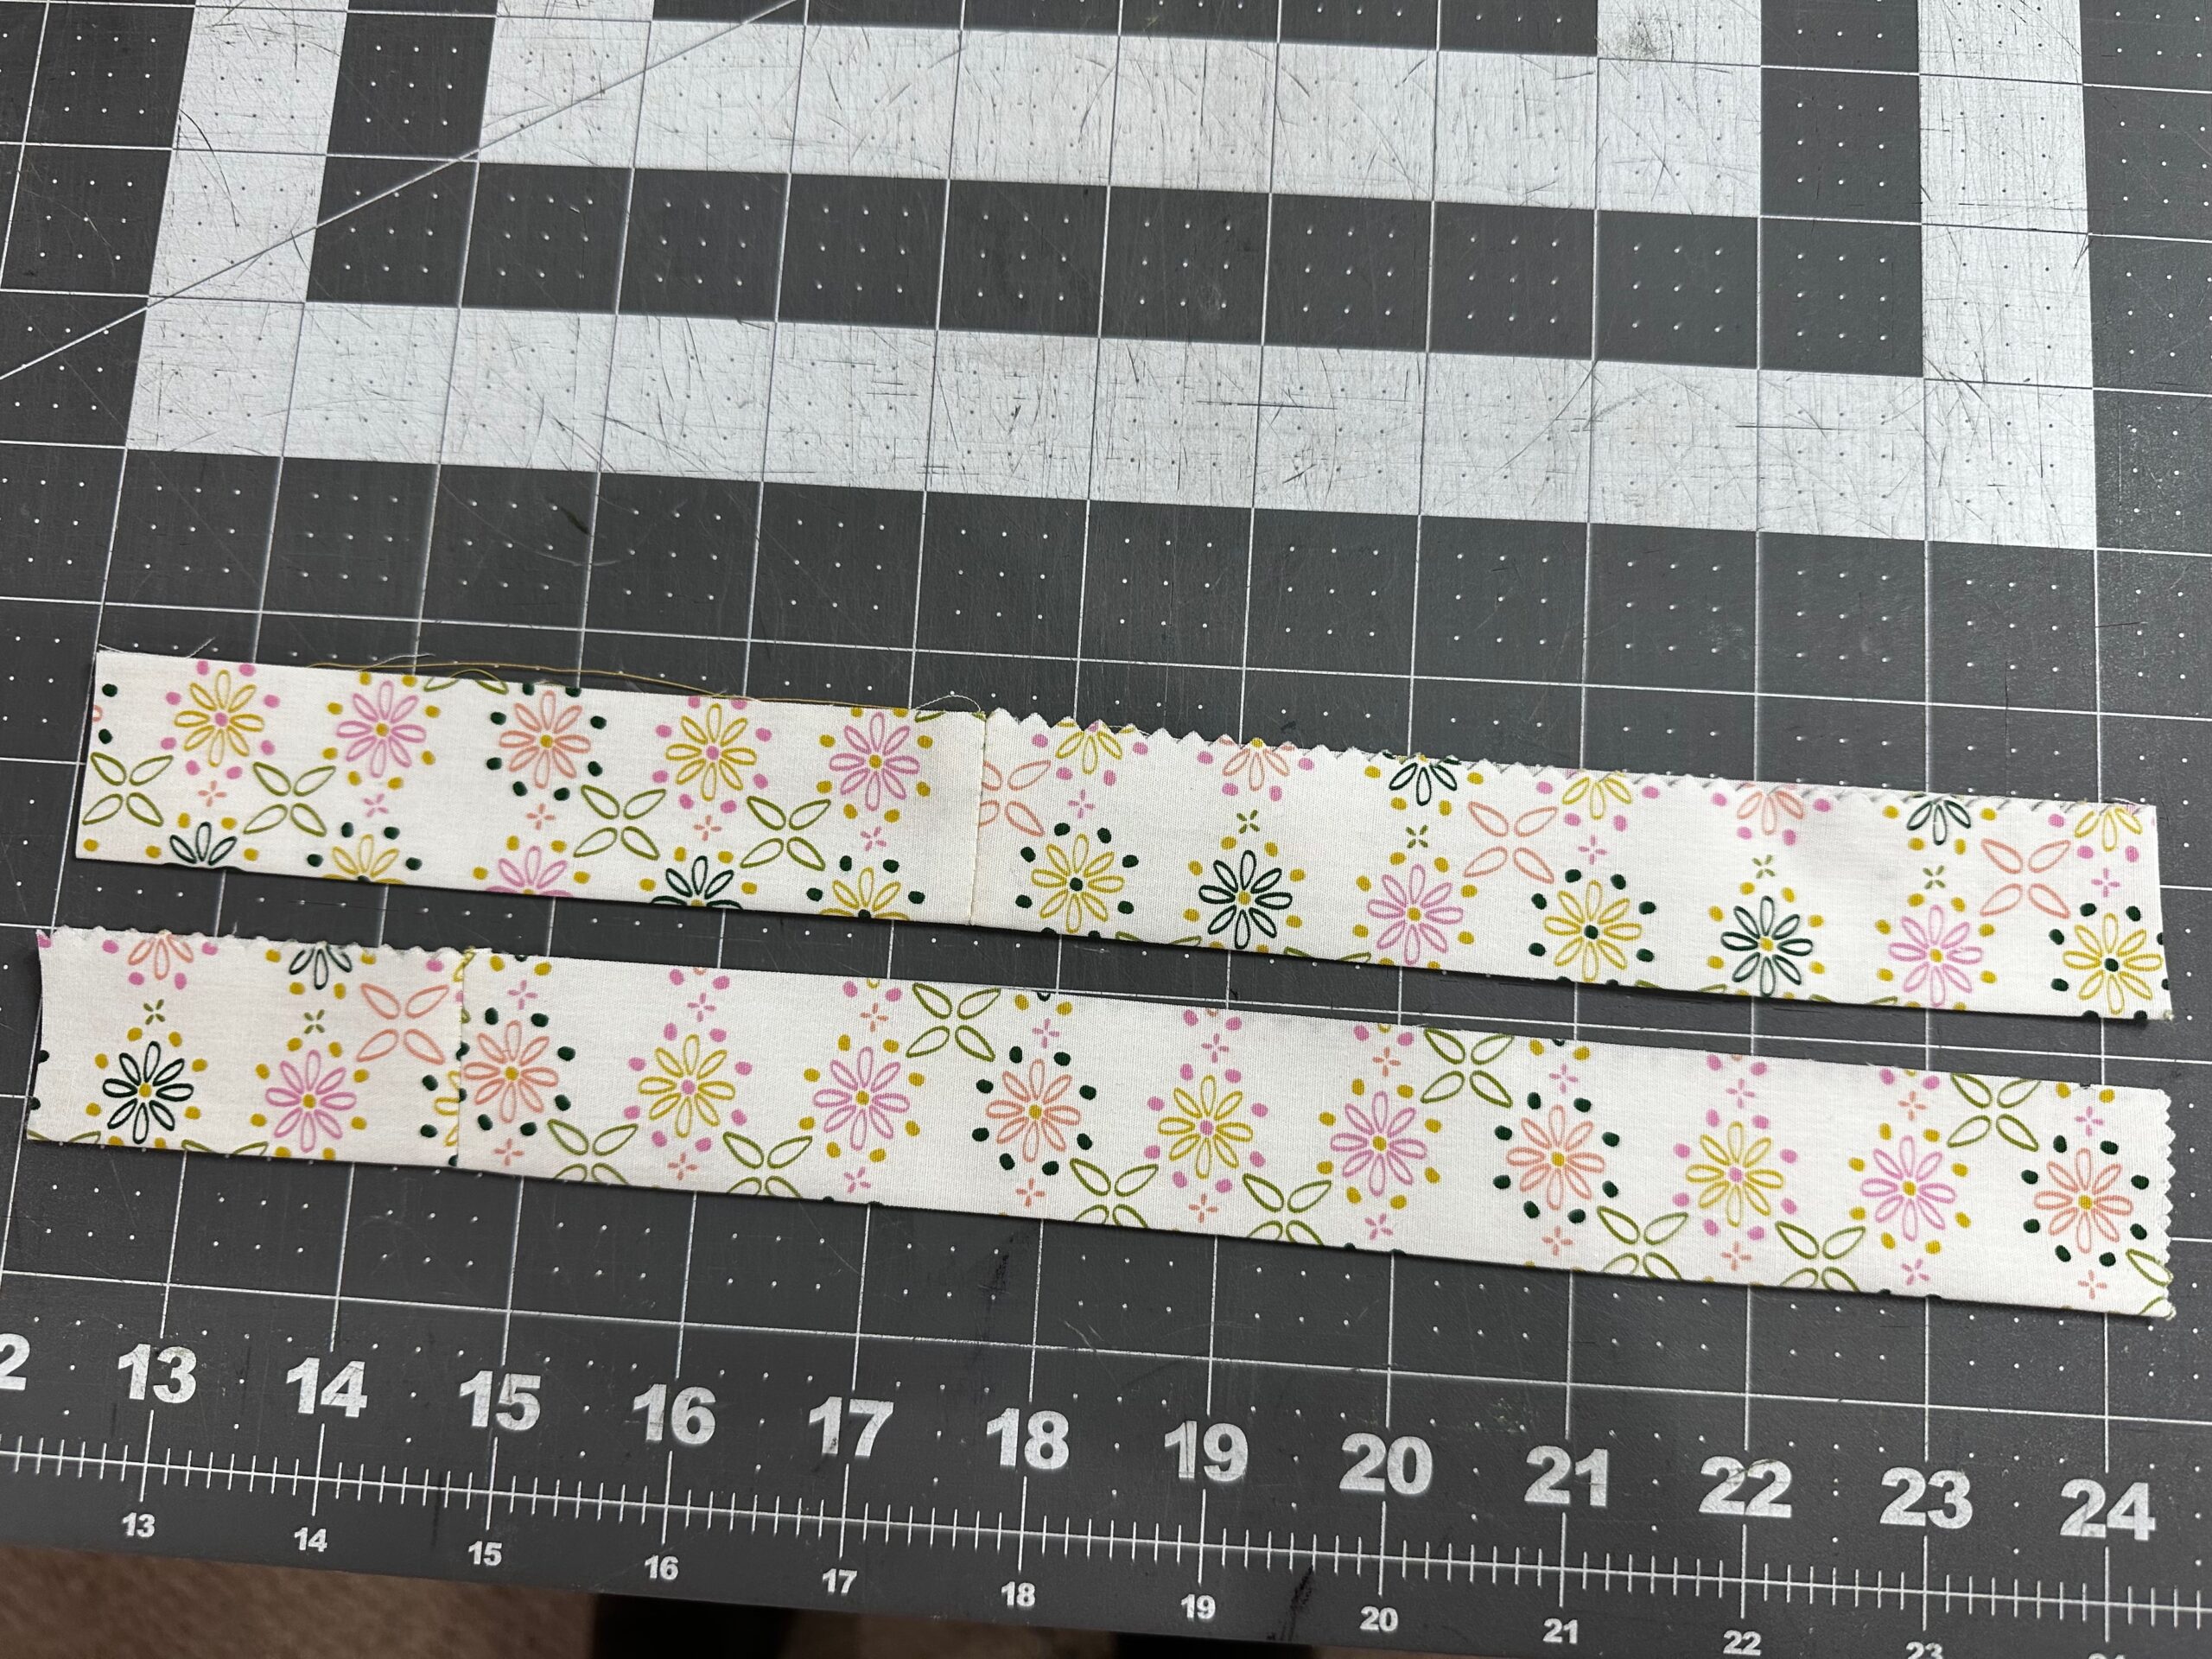
If needed, piece together enough binding strips to achieve at least a 54″ length. Fold the binding strip in half lengthwise with wrong sides together; press.
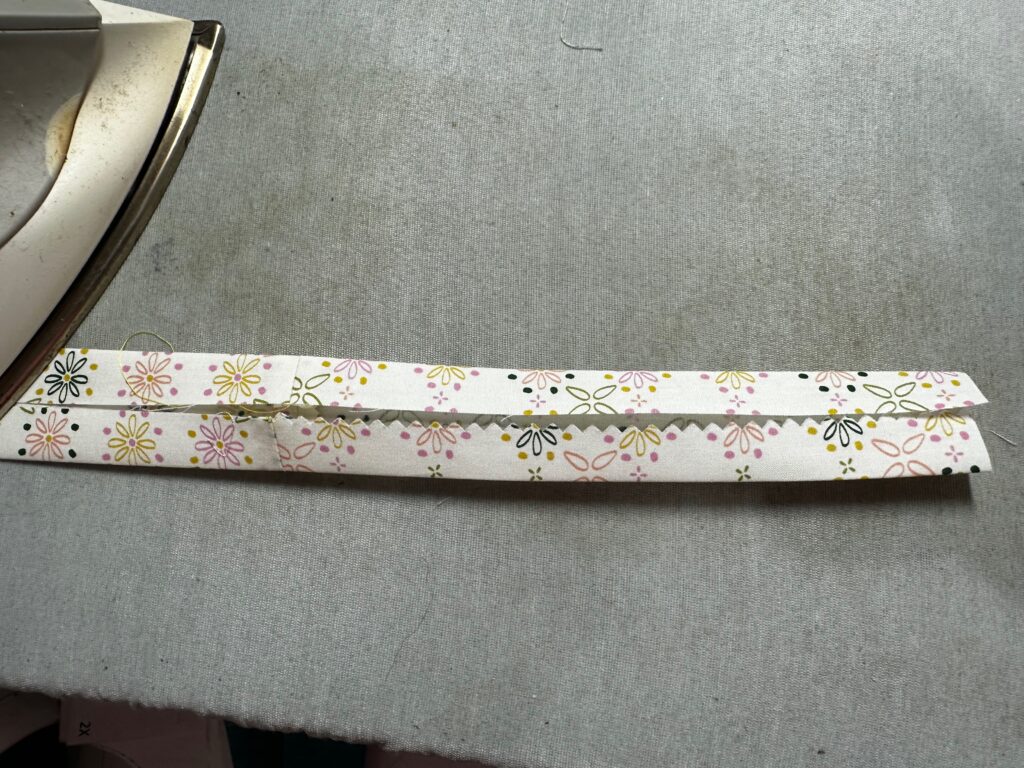
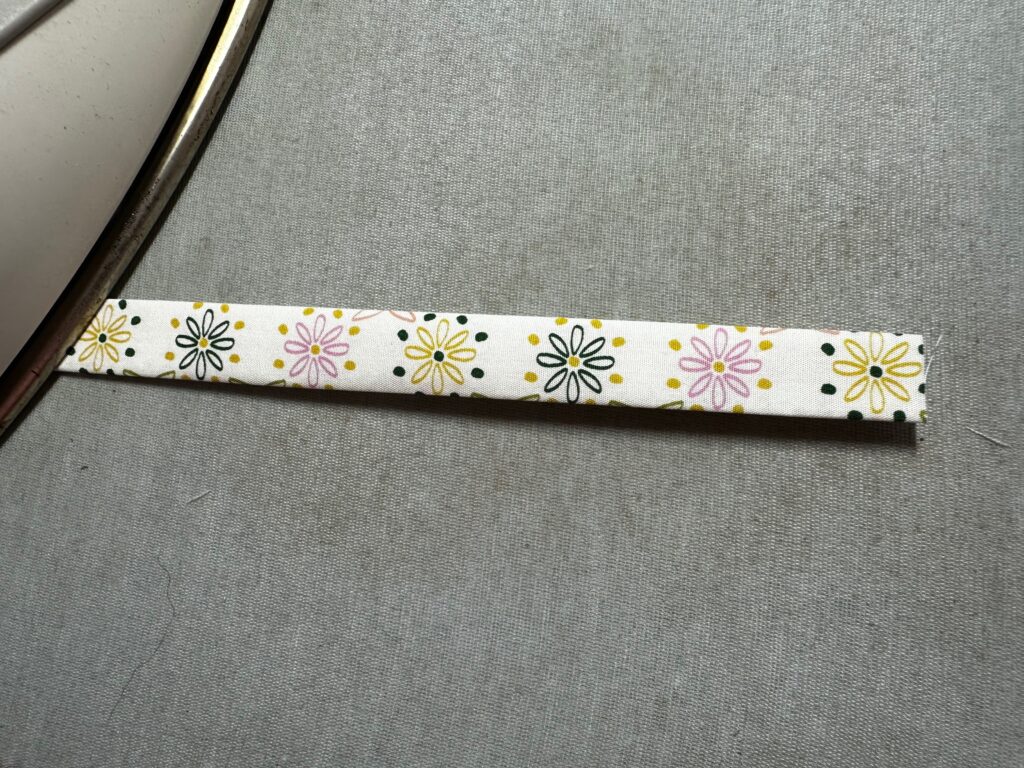
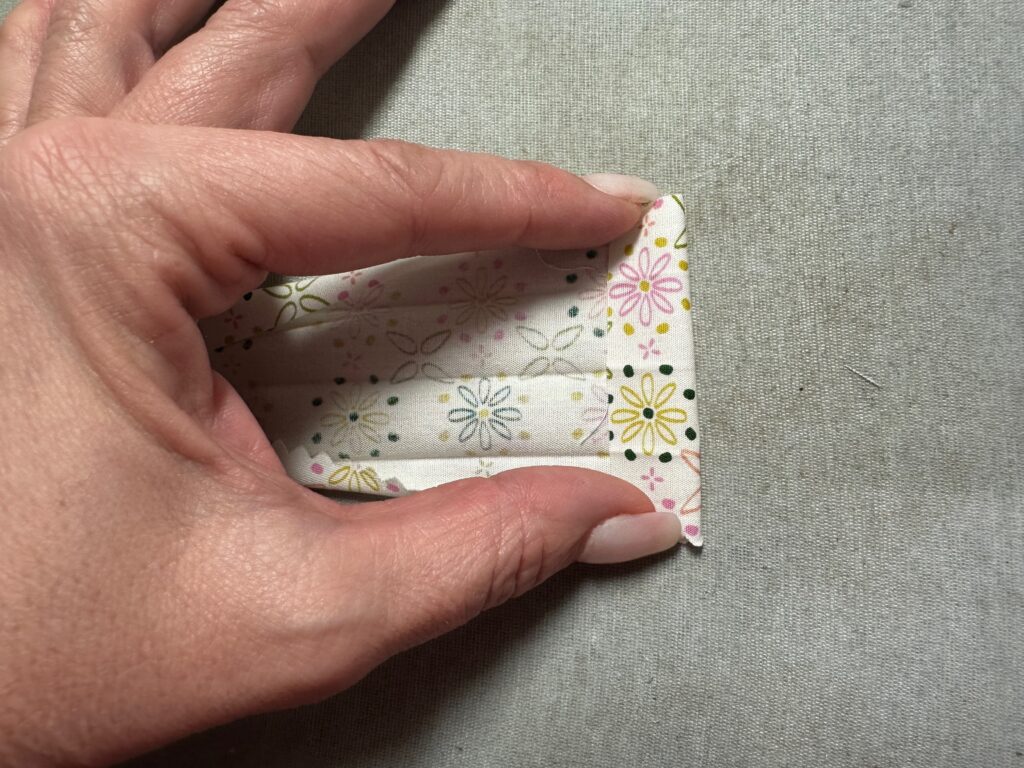
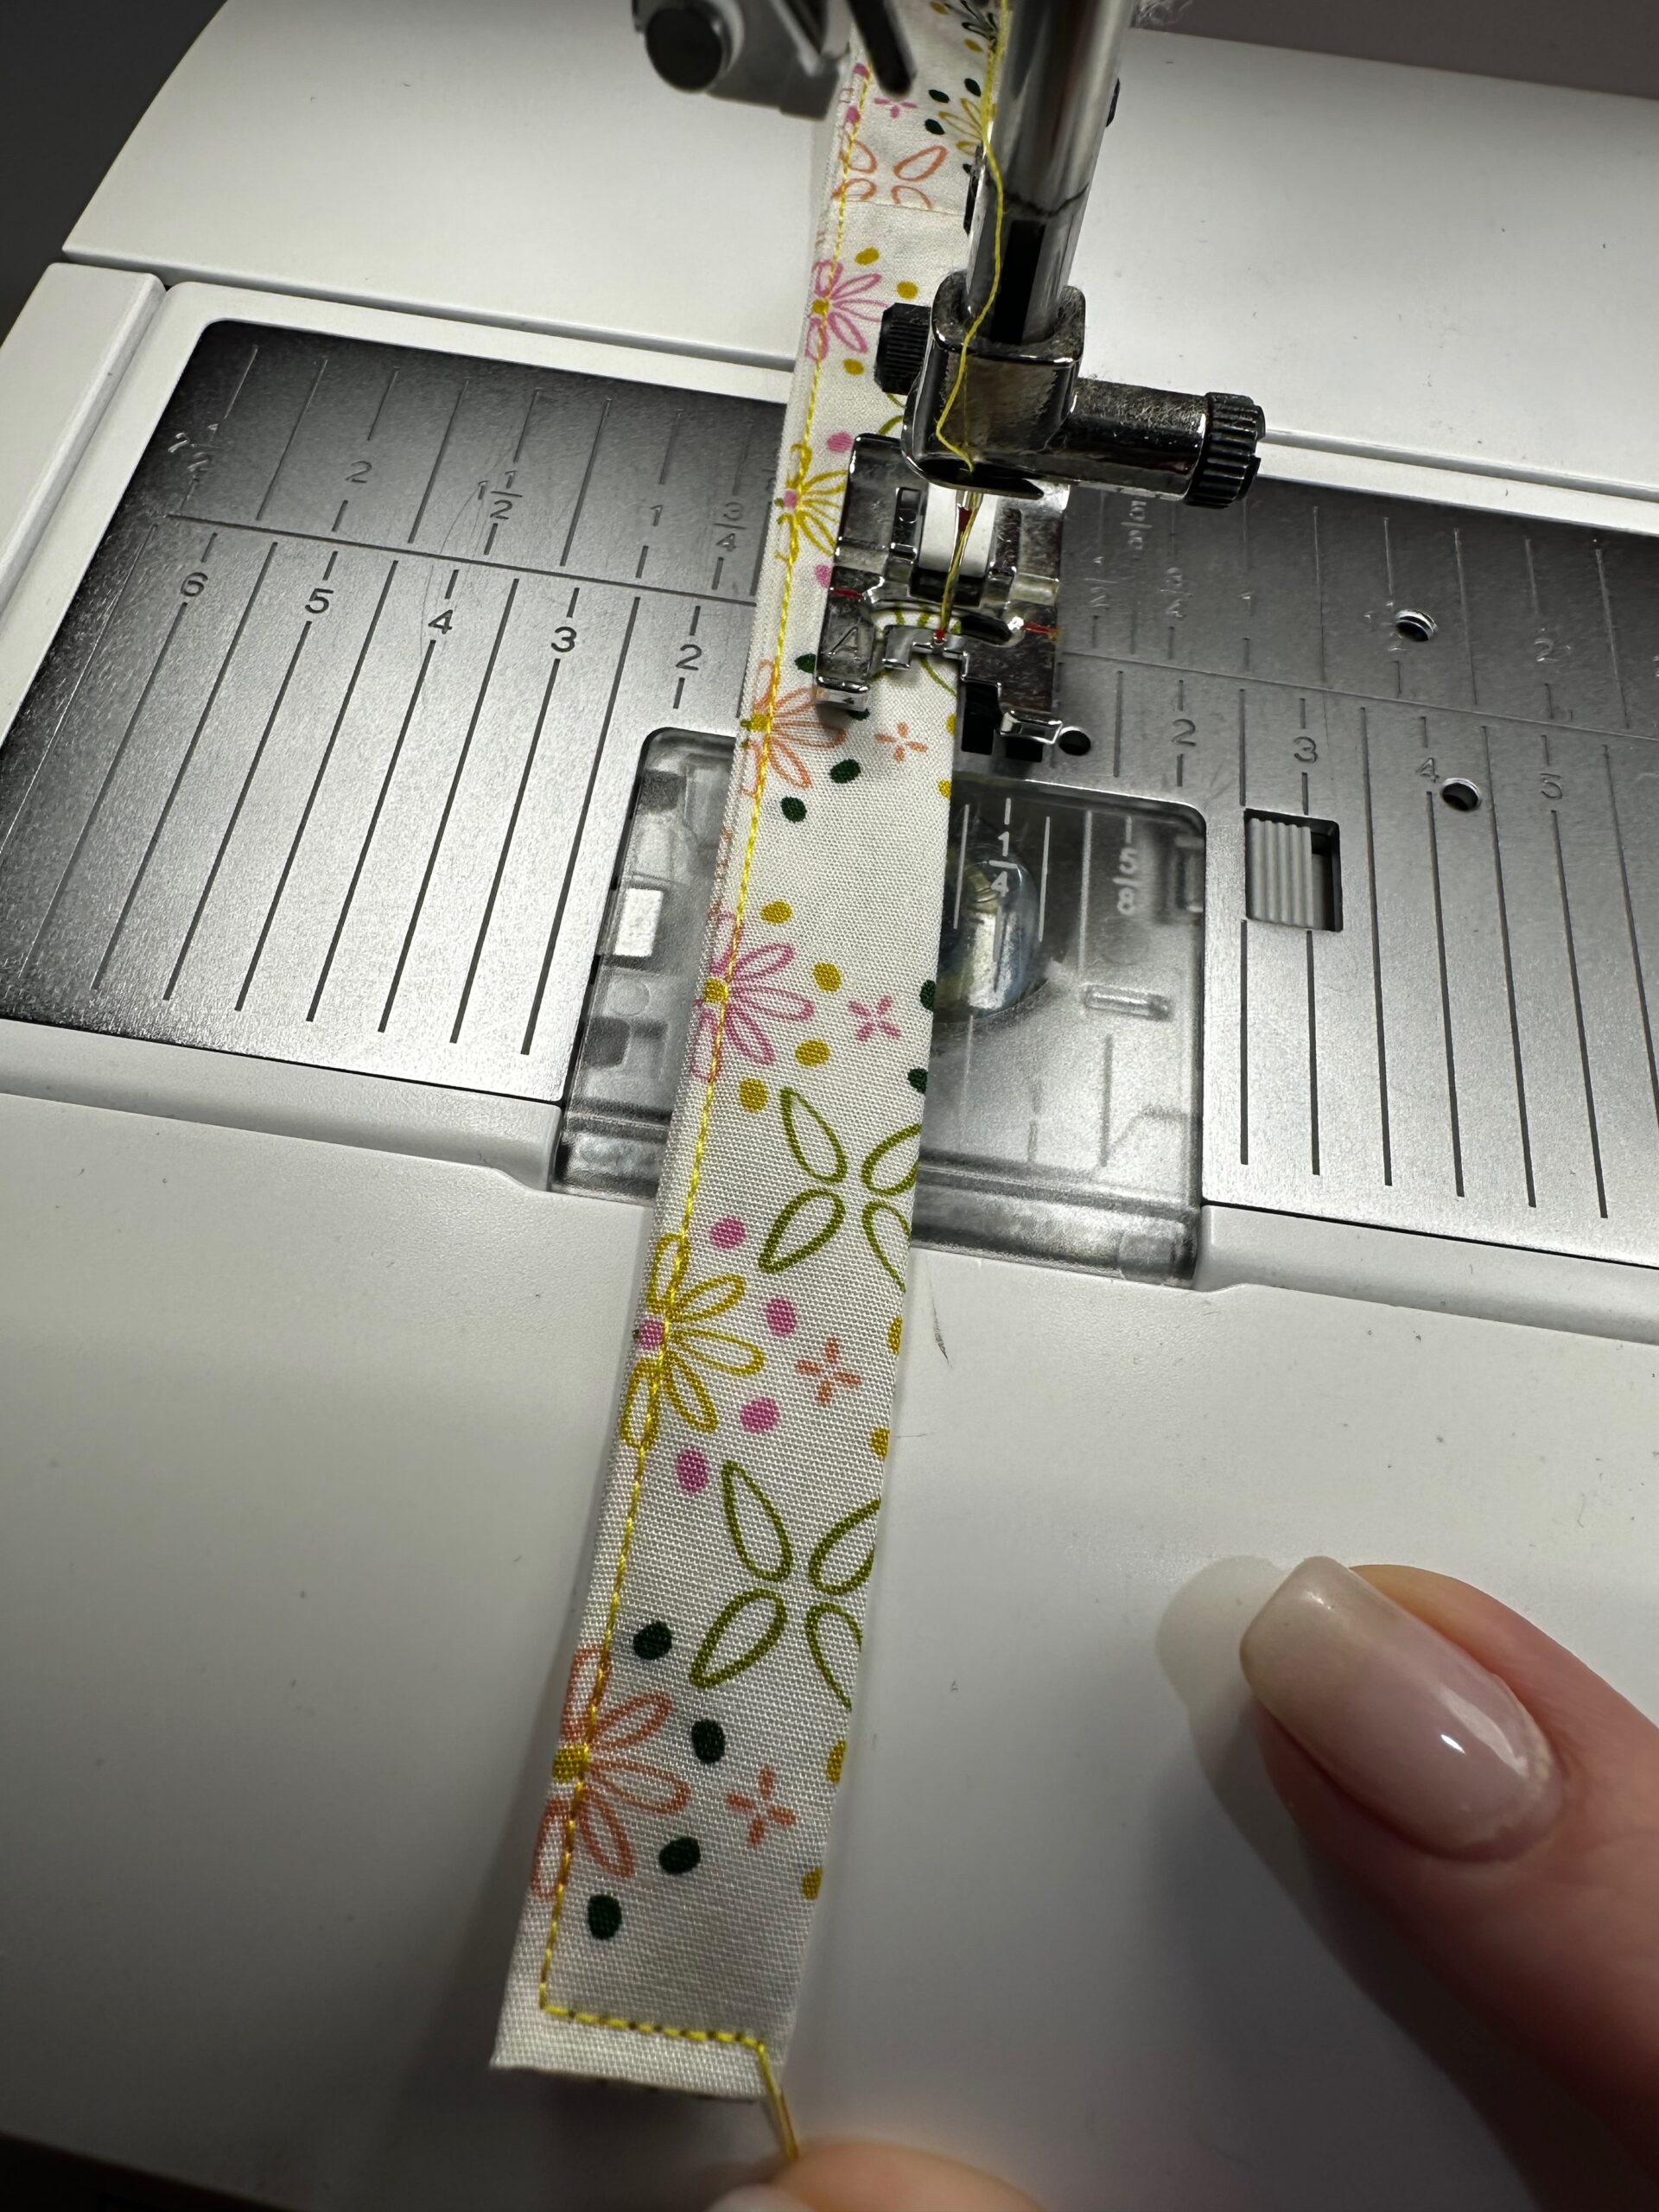
From the prepared binding strip, cut two 12″ lengths for the ties. Unfold the strip, and then fold each long edge to meet along the center foldline; press. Unfold each tie along one end. Fold the raw end 1/2″ toward the strip; press, and then refold along the previous foldlines. Topstitch along both tie long edges and the folded end of each tie.
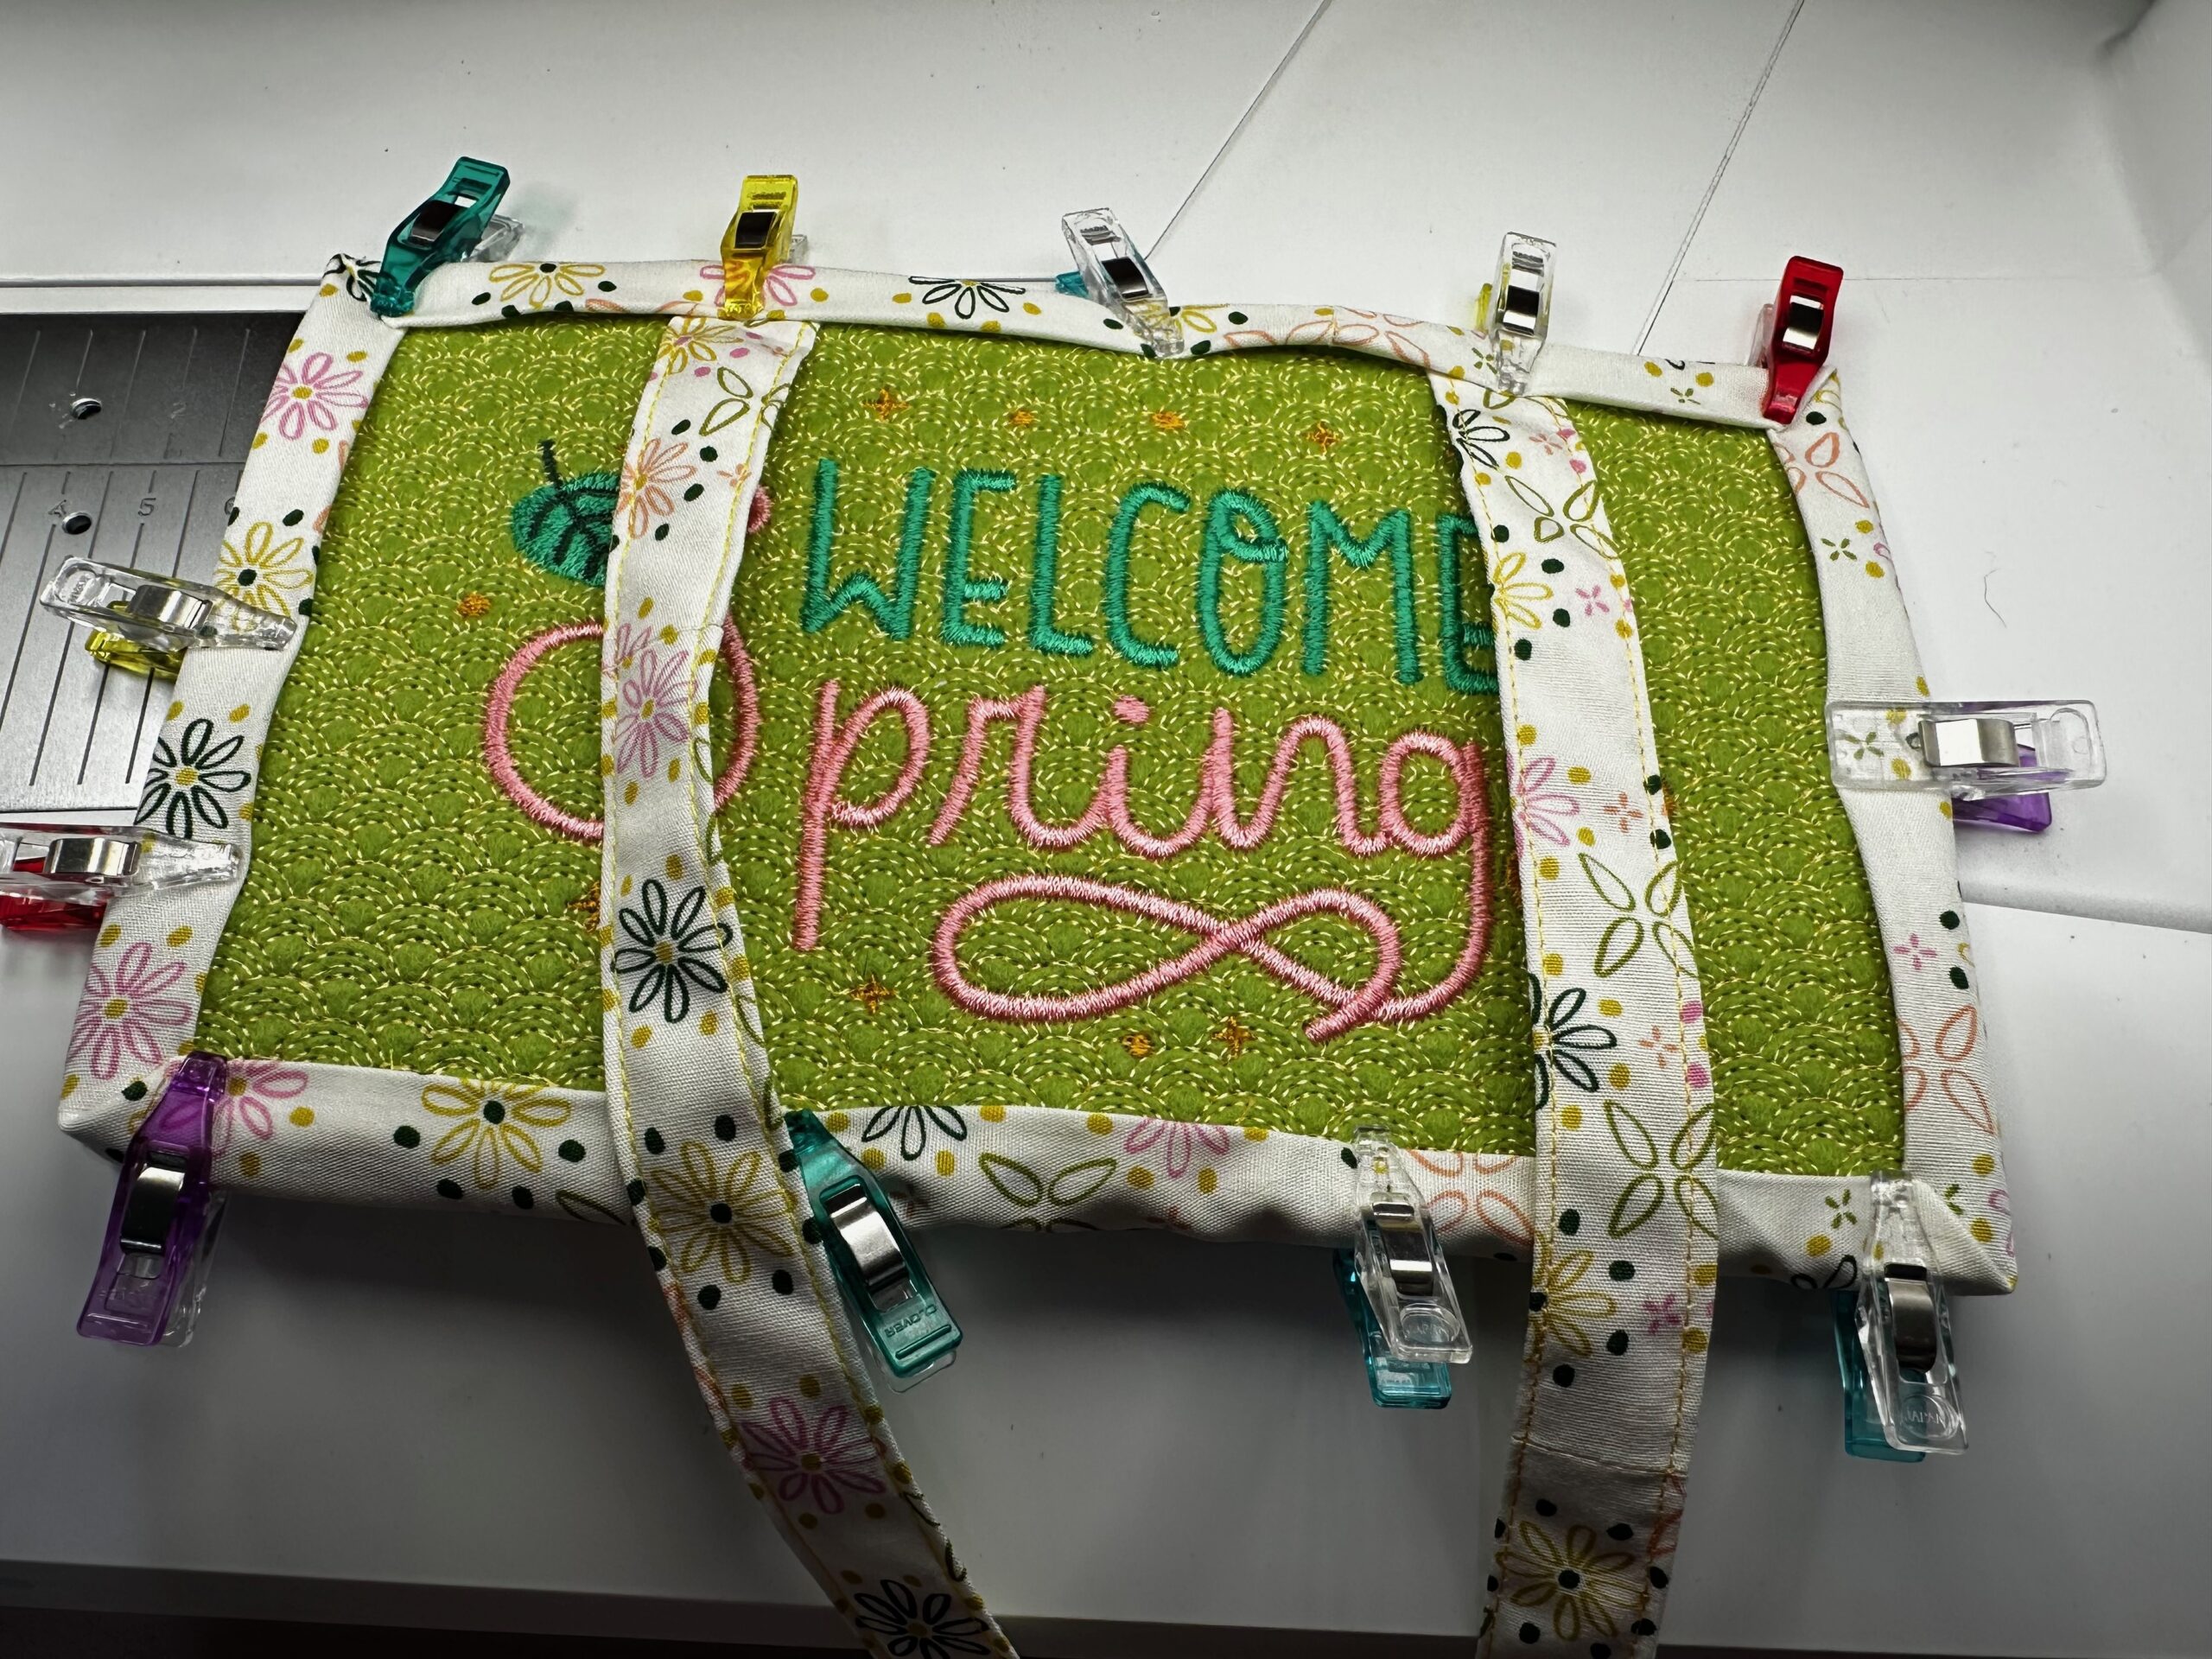
Position the end of one tie raw end 1 1/2″ from the front upper-left corner; clip in place. Position the raw end of the remaining tie 1 1/2″ from the opposite front upper-edge corner; clip in place.
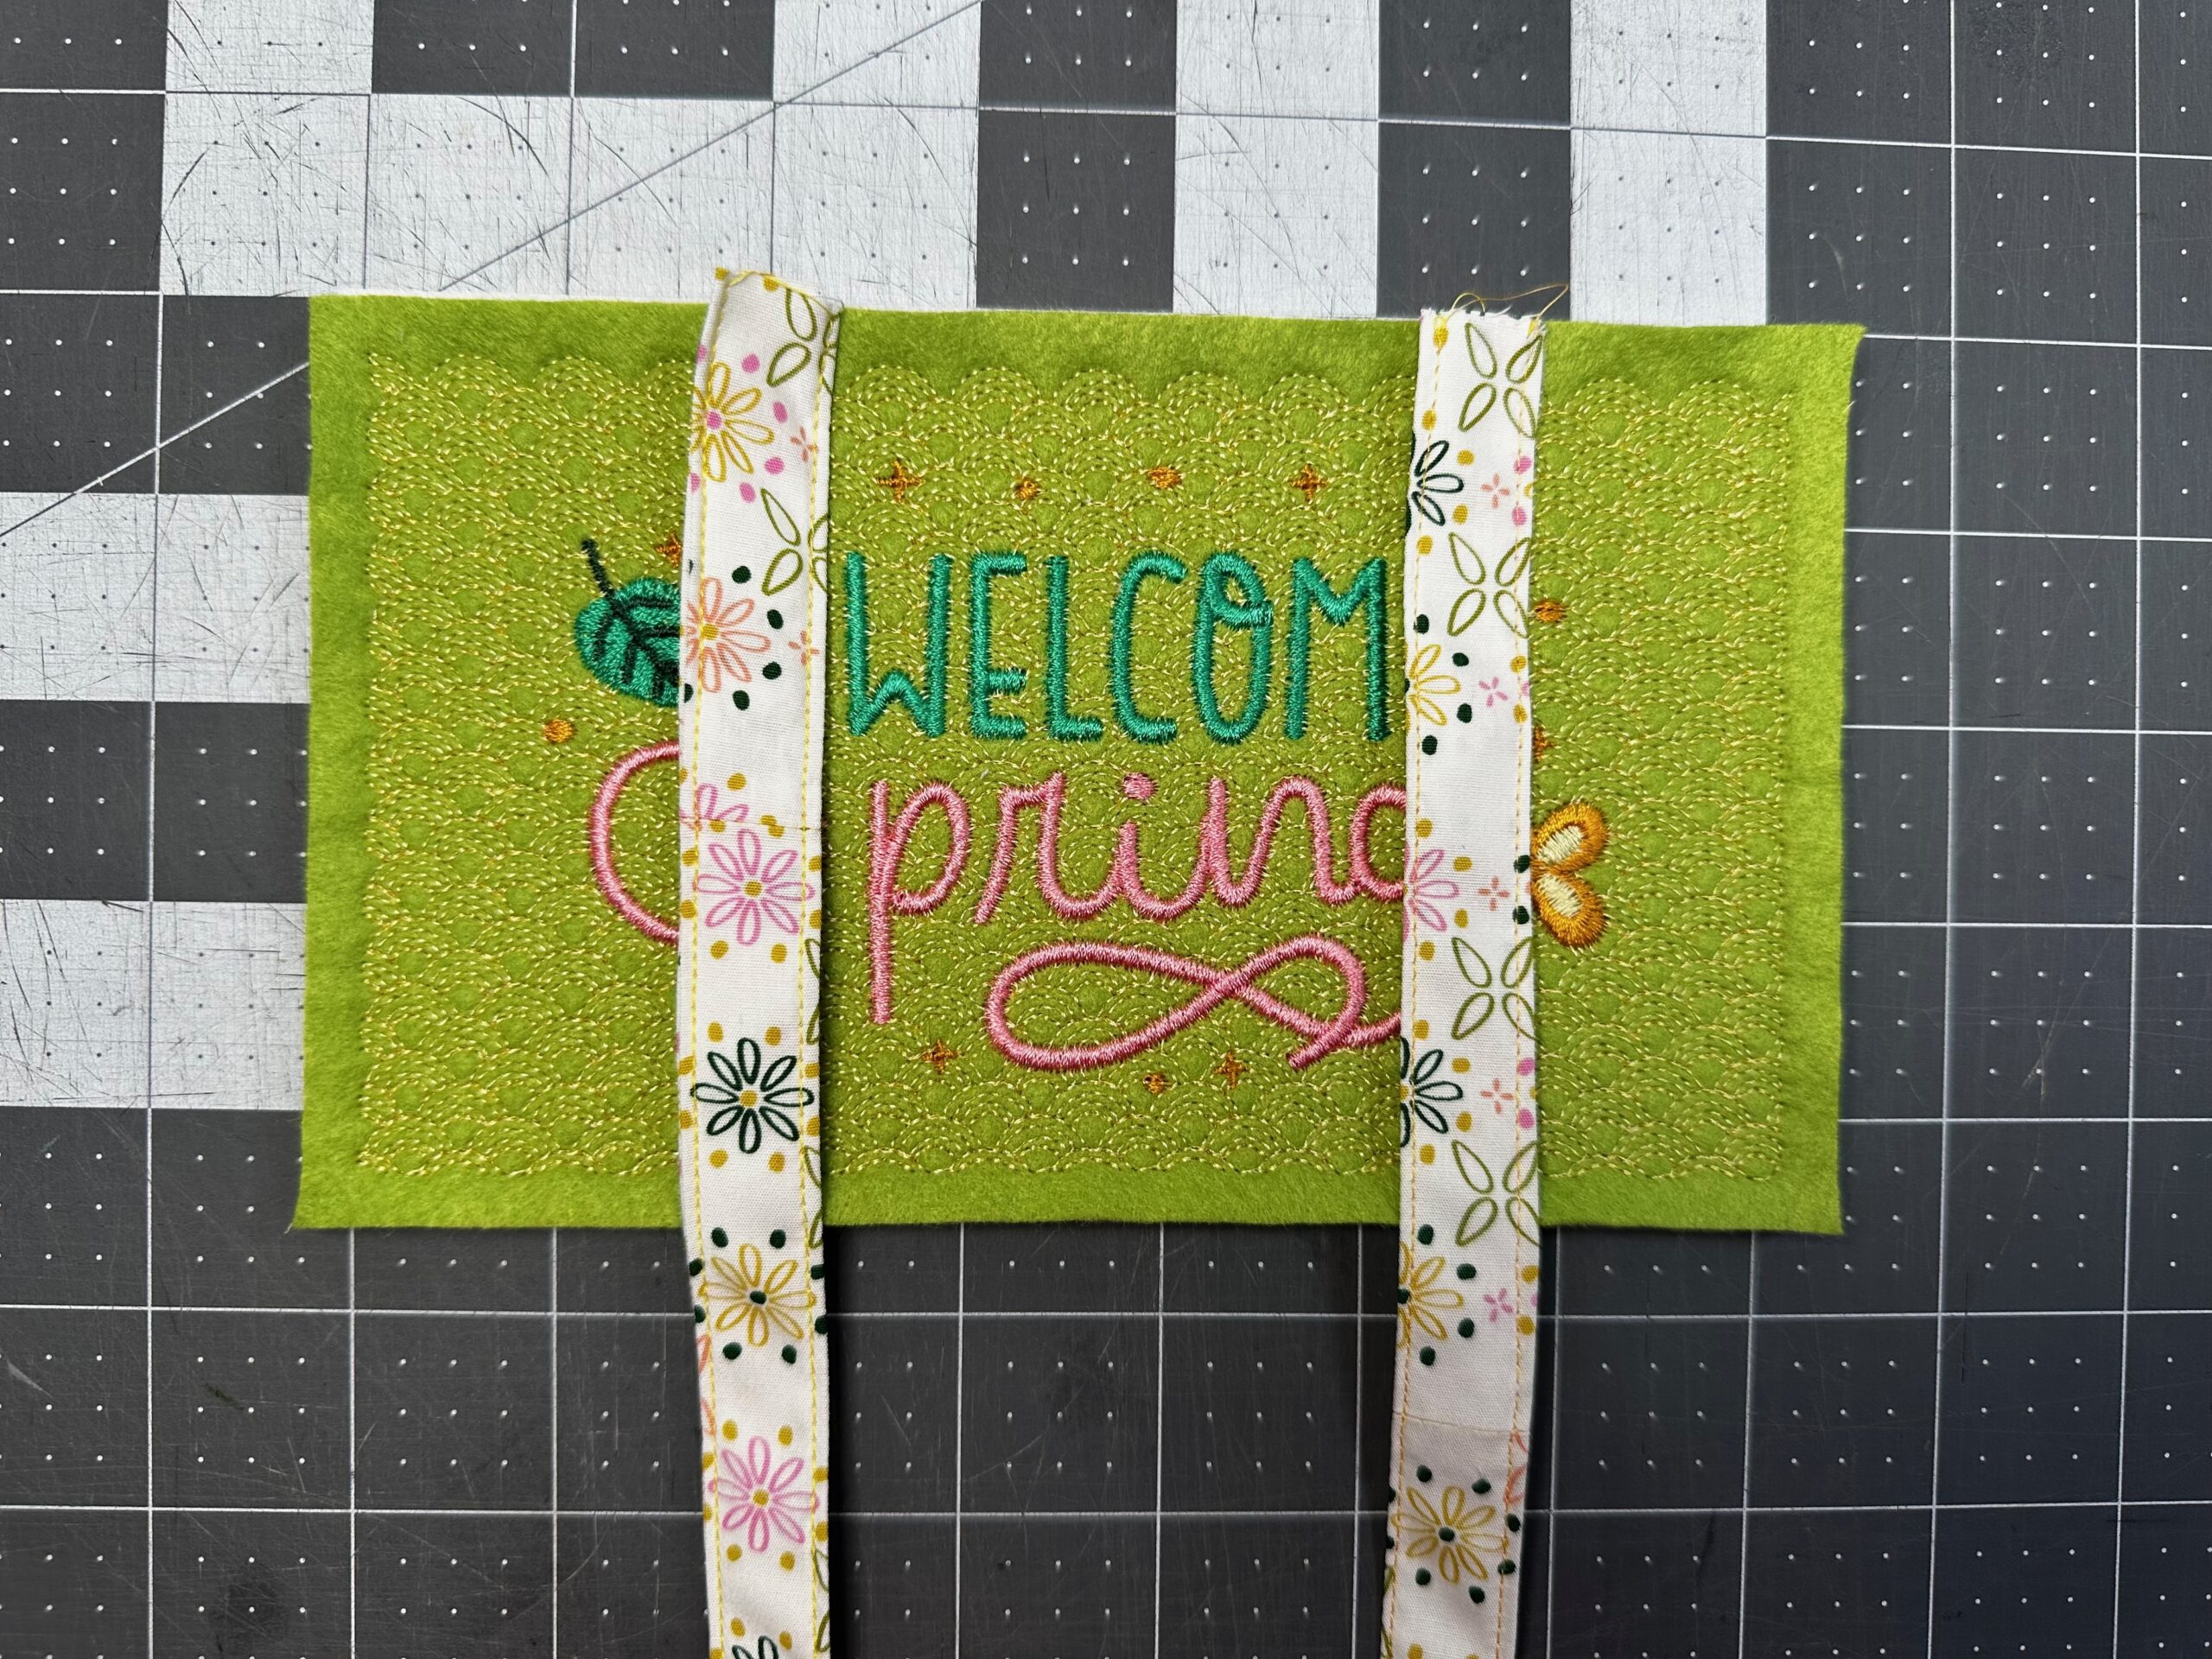
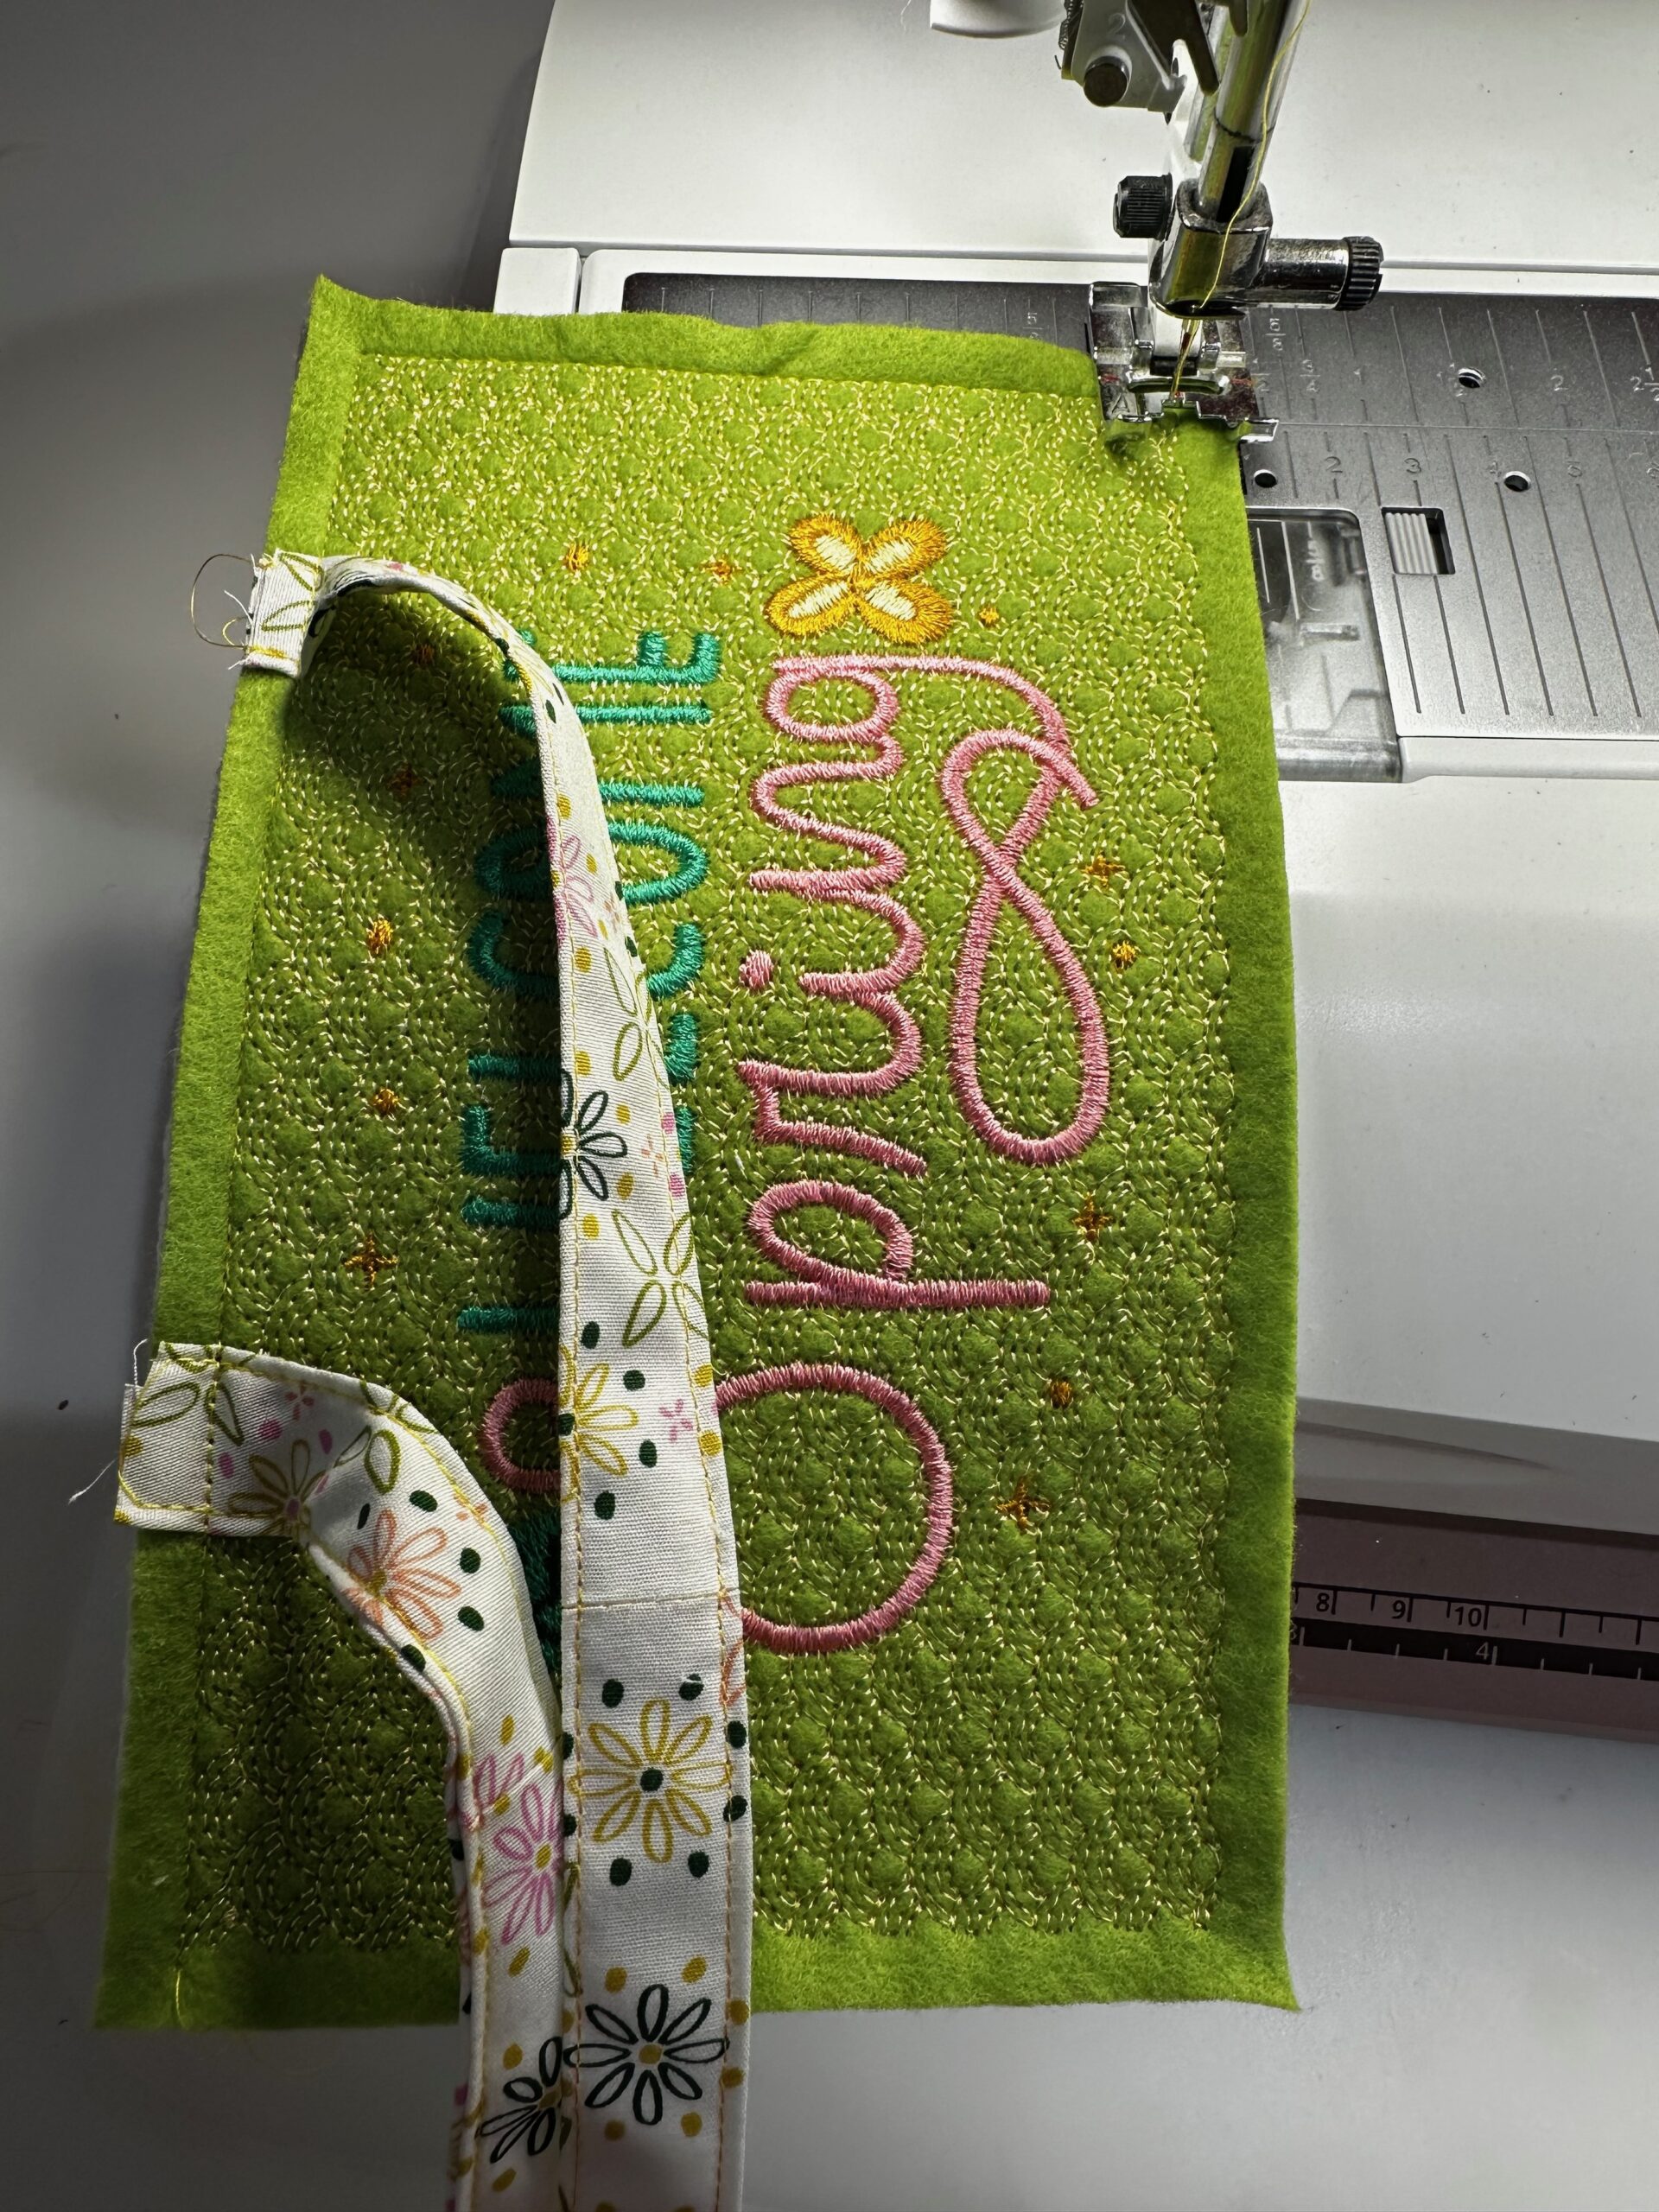
Center the sign front right side up over the back, with the tie raw edges extending past the sign perimeter.
Stitch the Welcome Sign perimeter, using a 1/4″ seam allowance.
WELCOME SIGN FINISHING
Using the binding strip, bind the Welcome Sign using the method of your choice.
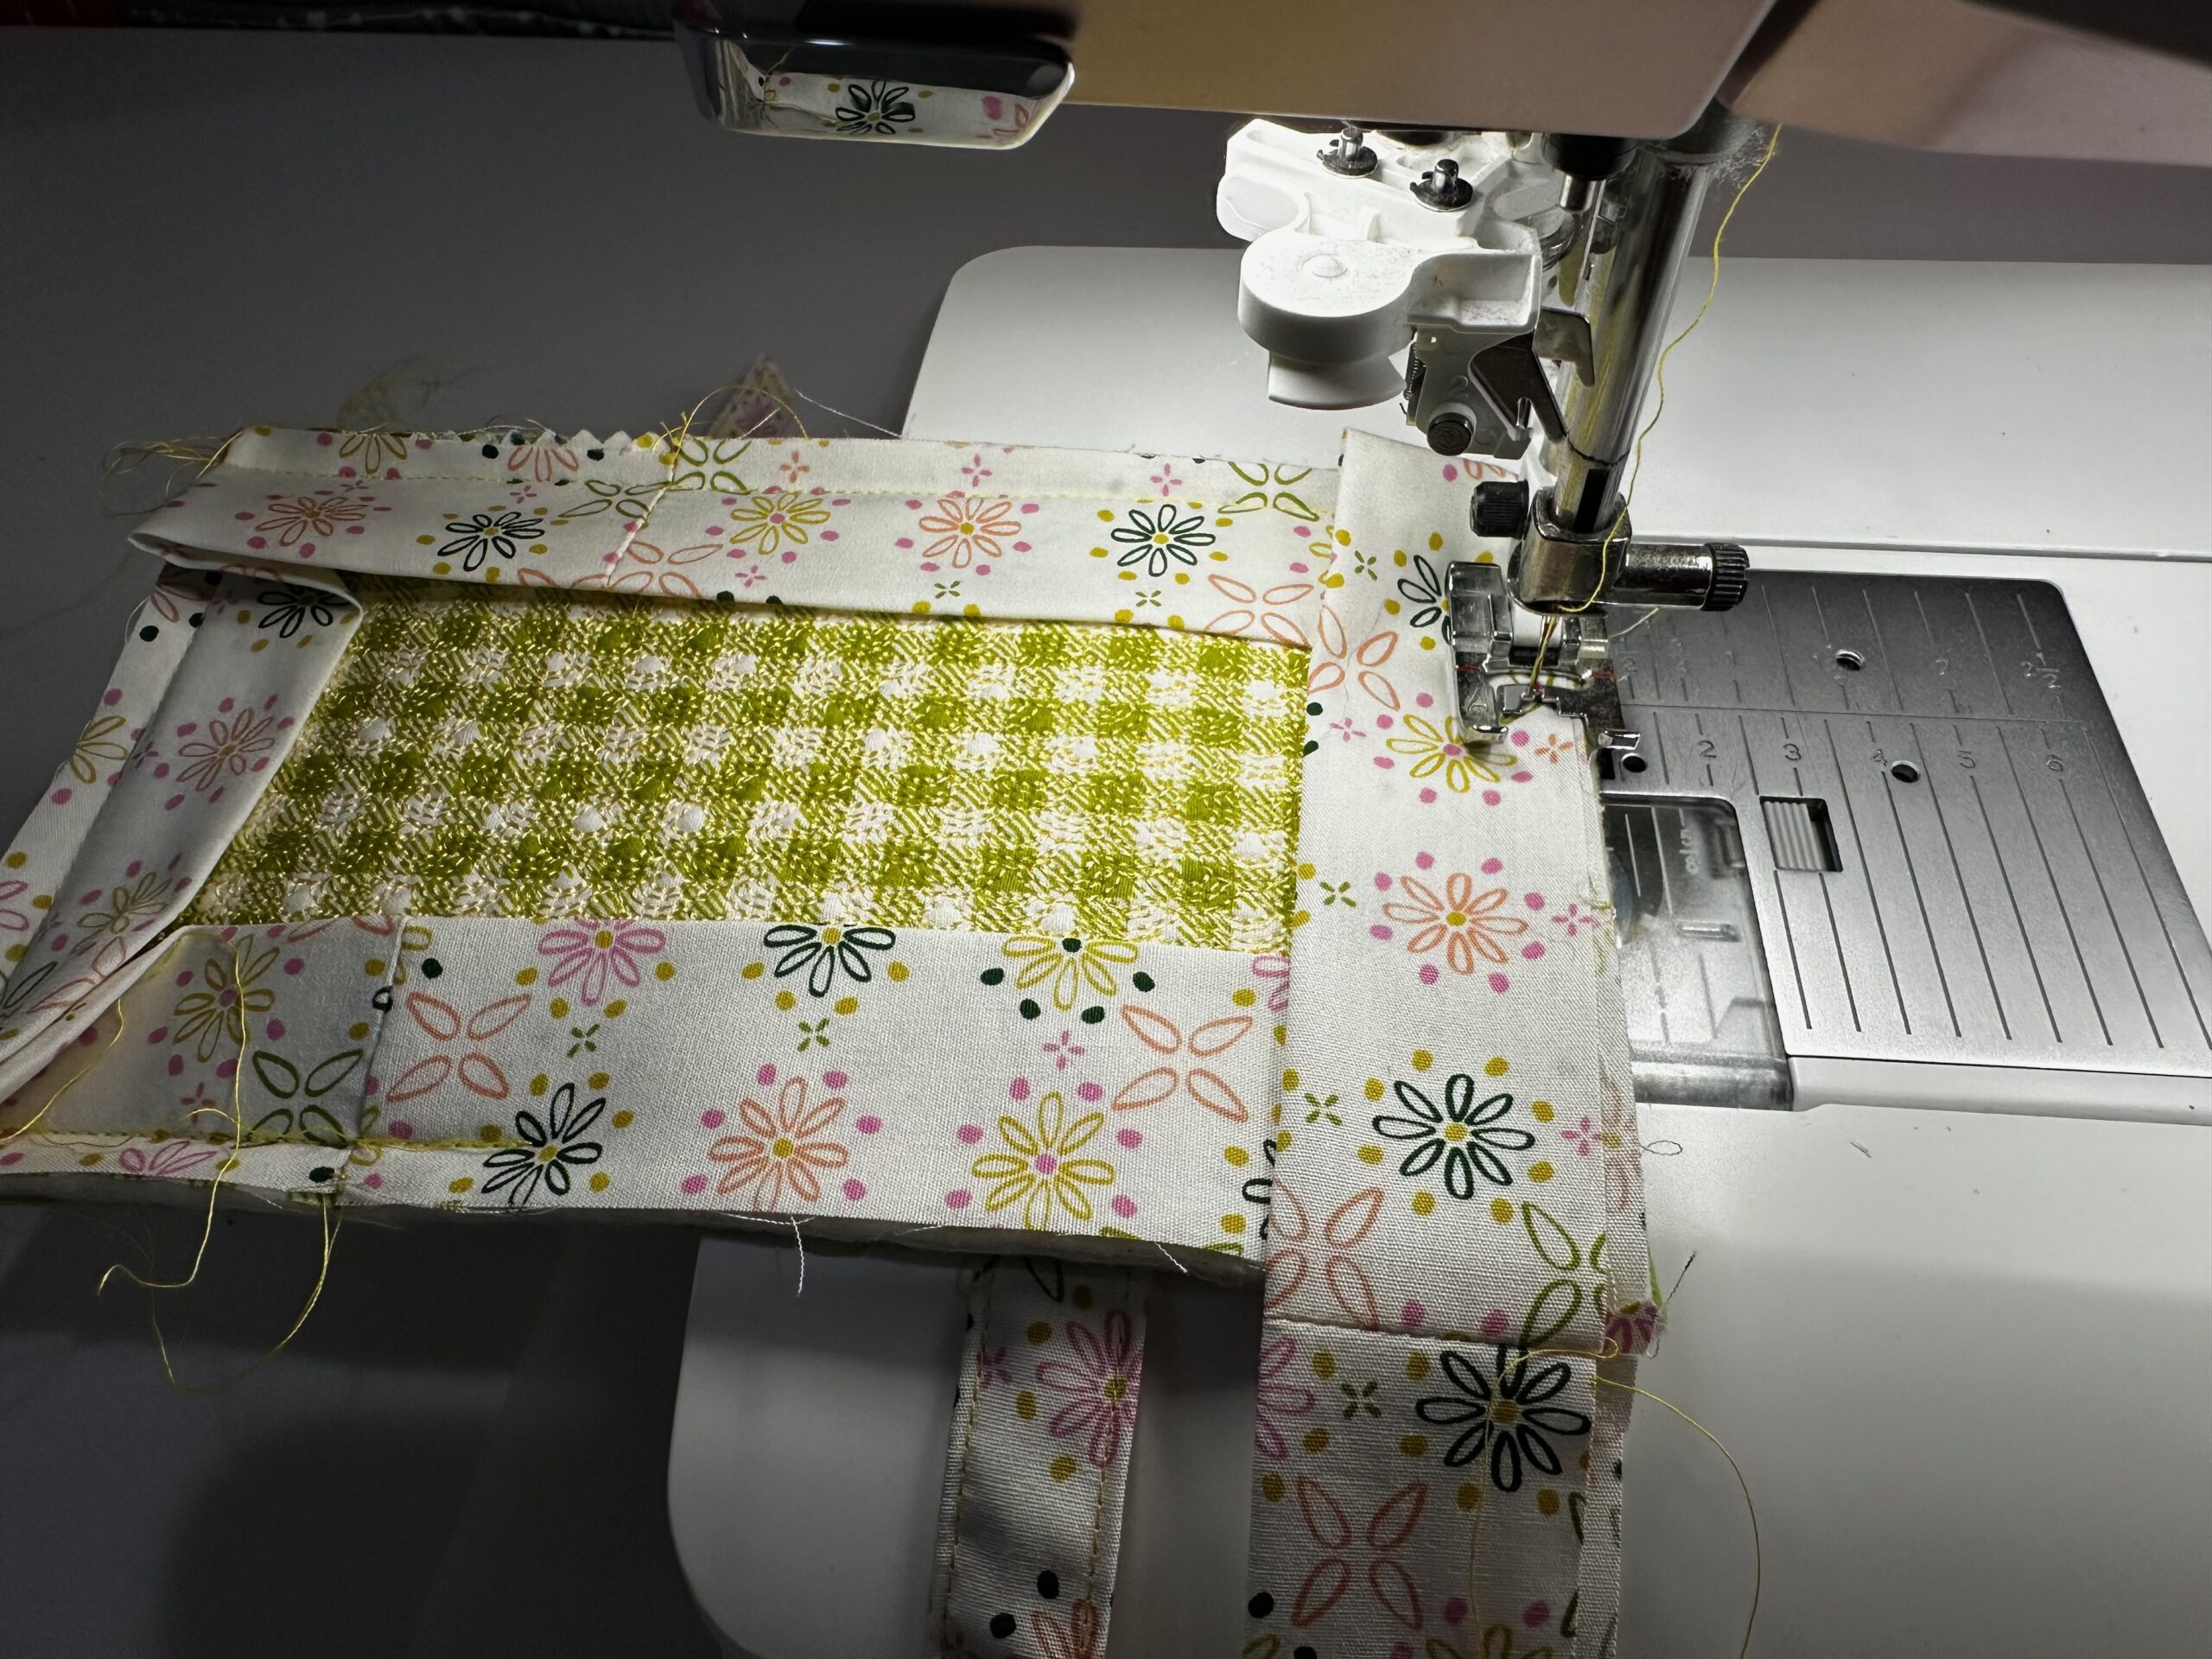
For the featured sign, I first stitched the binding to the Welcome Sign back, and then wrapped the binding around the sign raw edge toward the front. Then, I machine stitched along the binding long-edge fold, mitering the corners as I reached them.
After the binding is complete, move the ties up and away from the Welcome sign. Stitch the ties down along the previous binding seam.


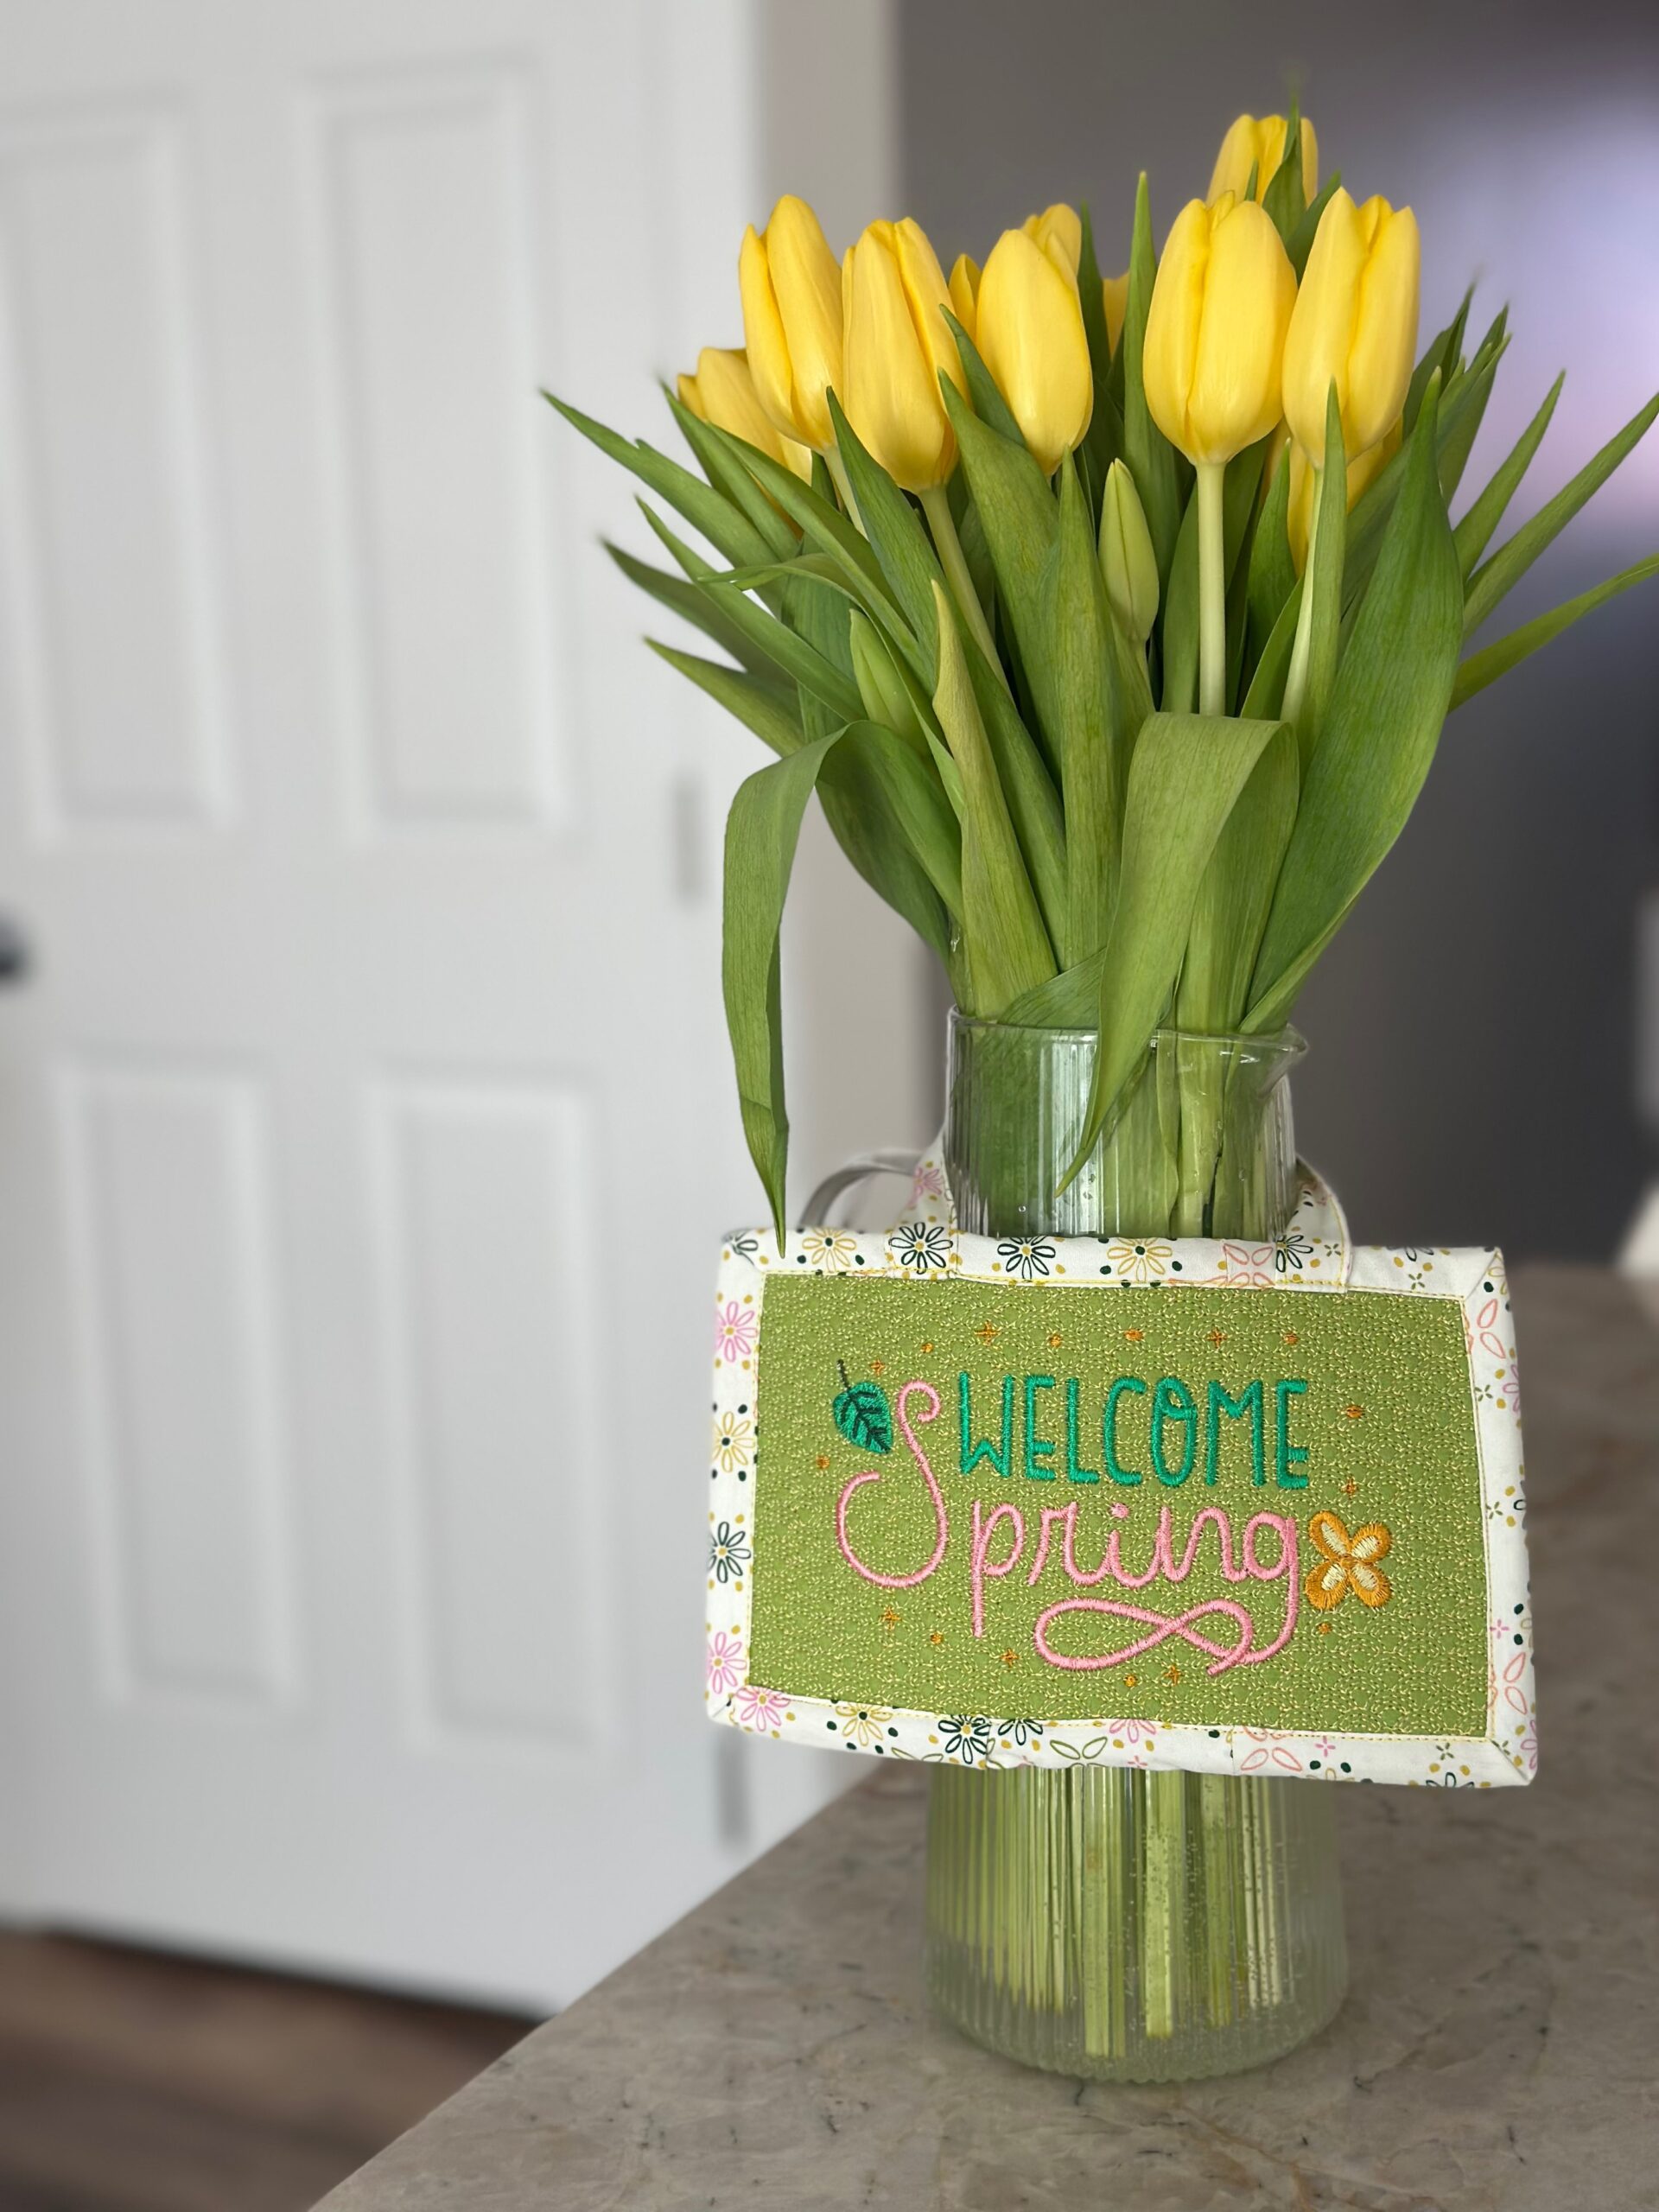
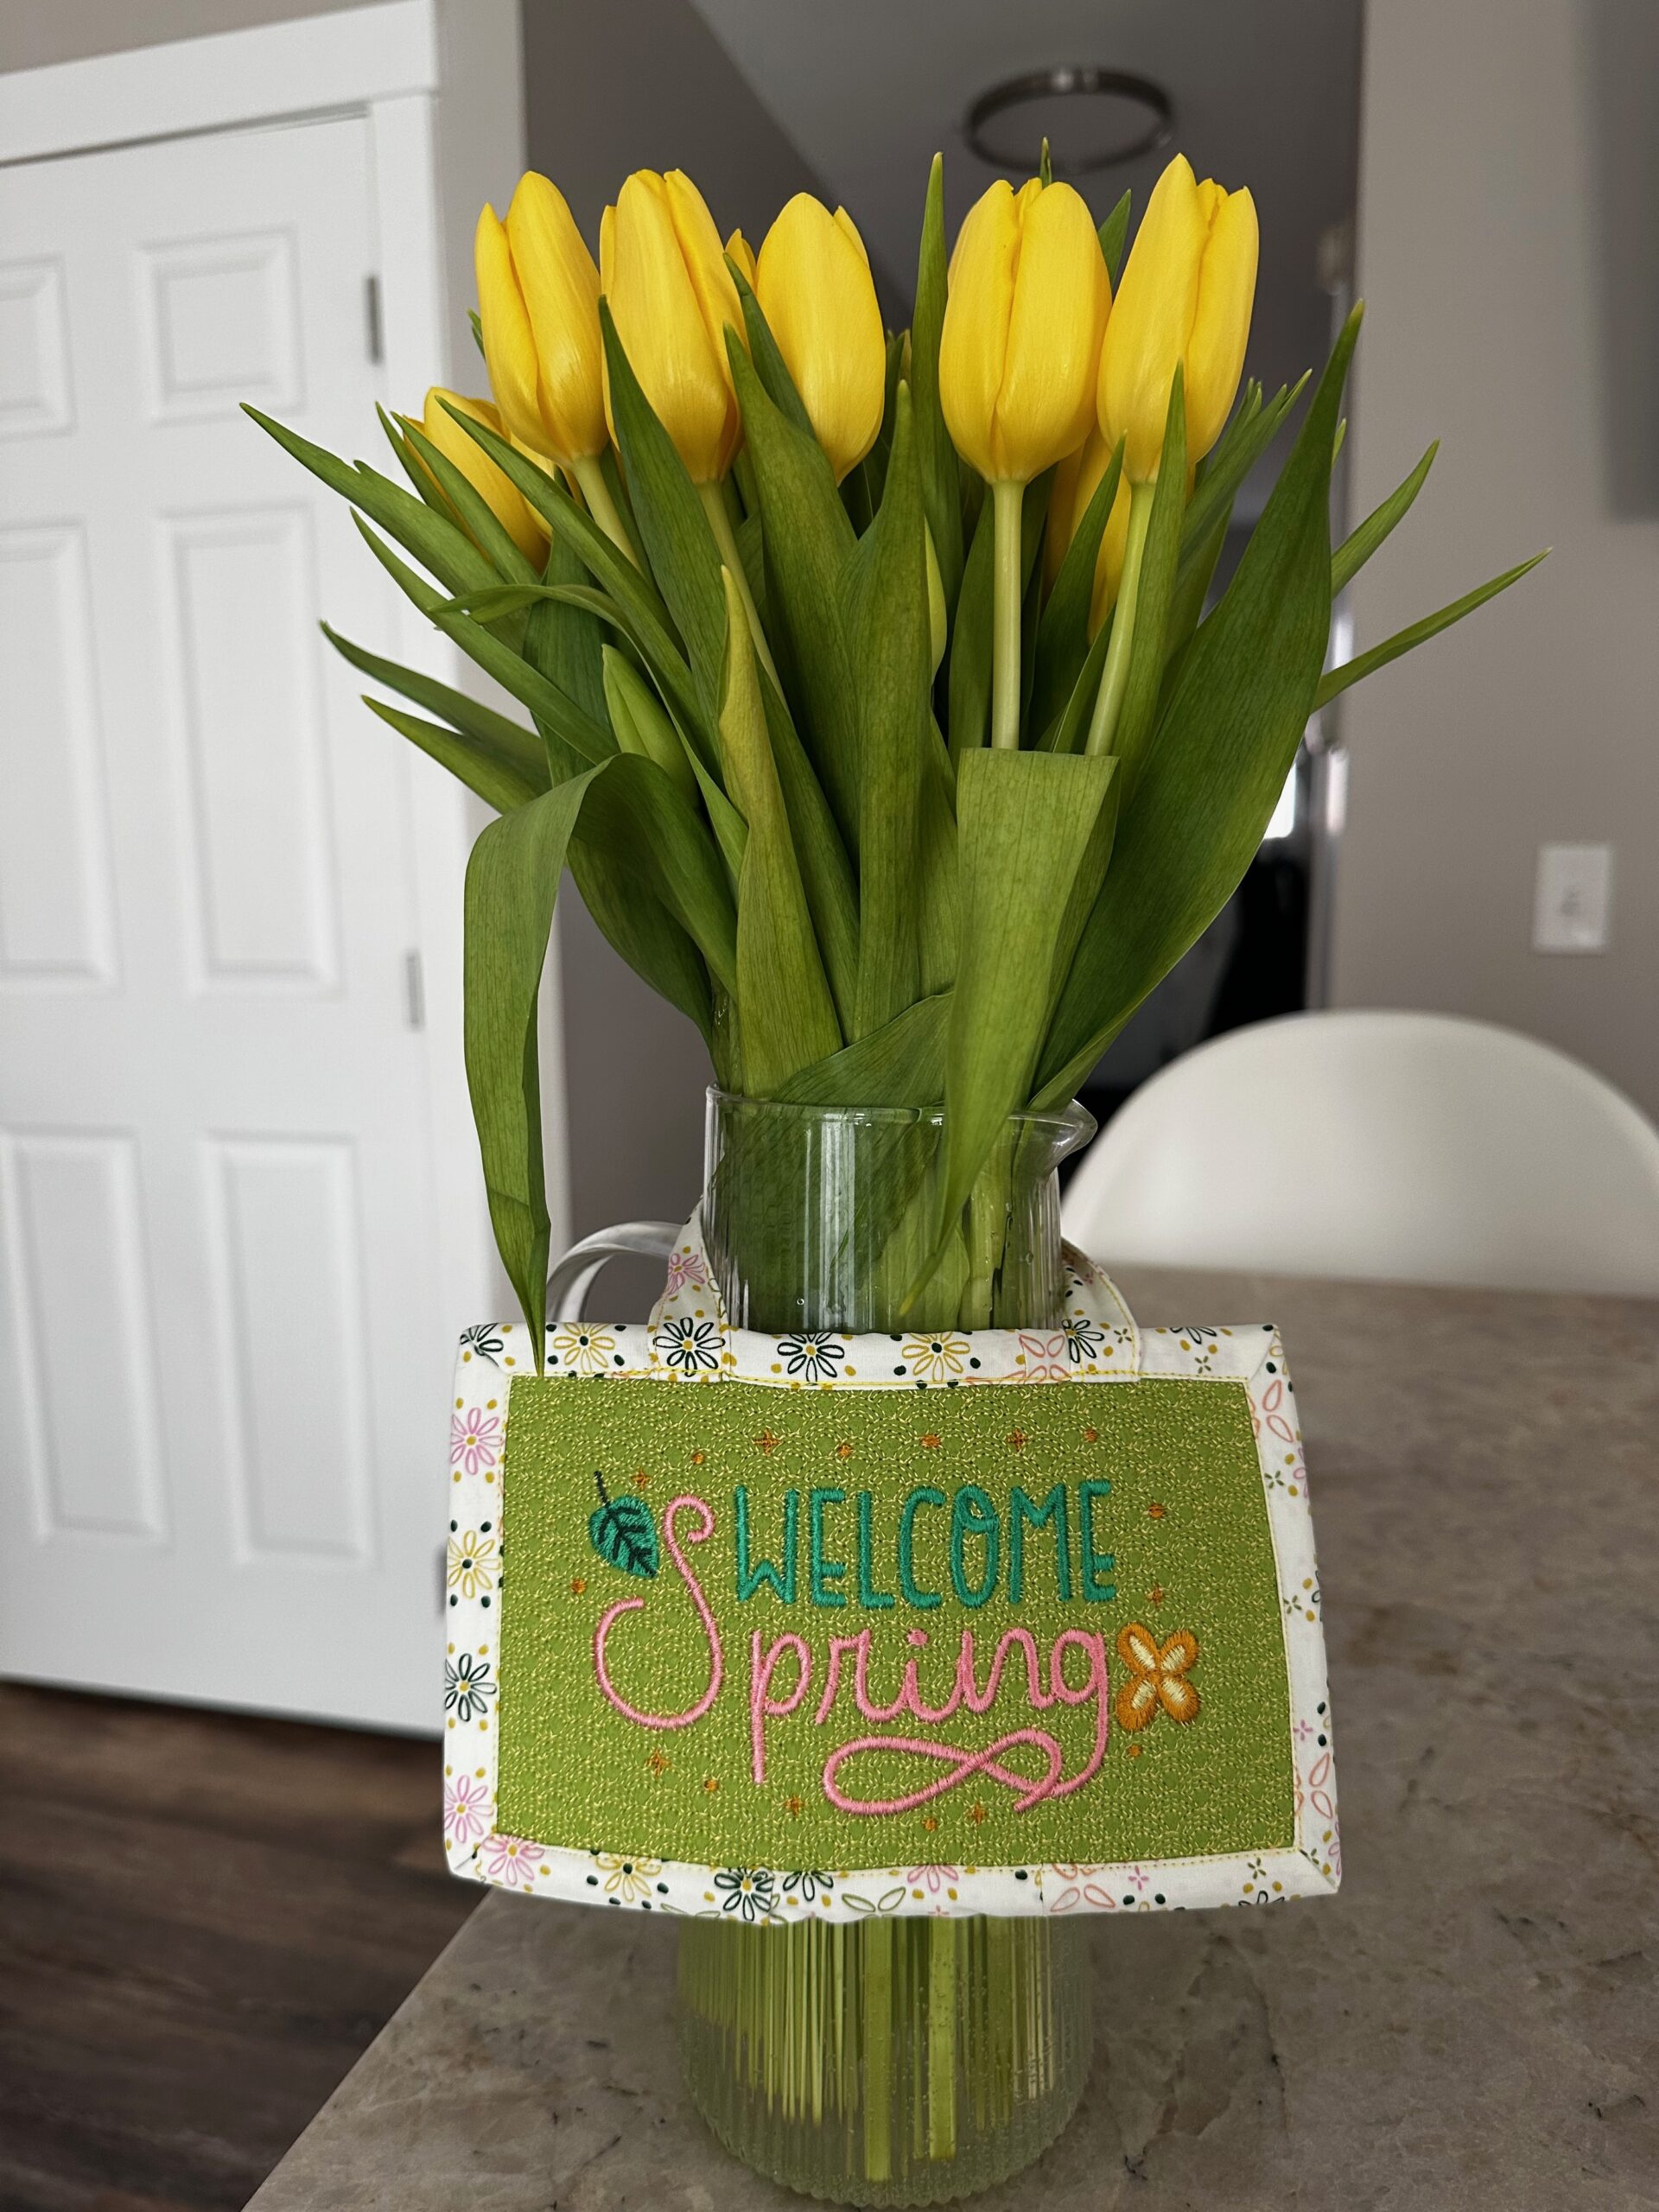
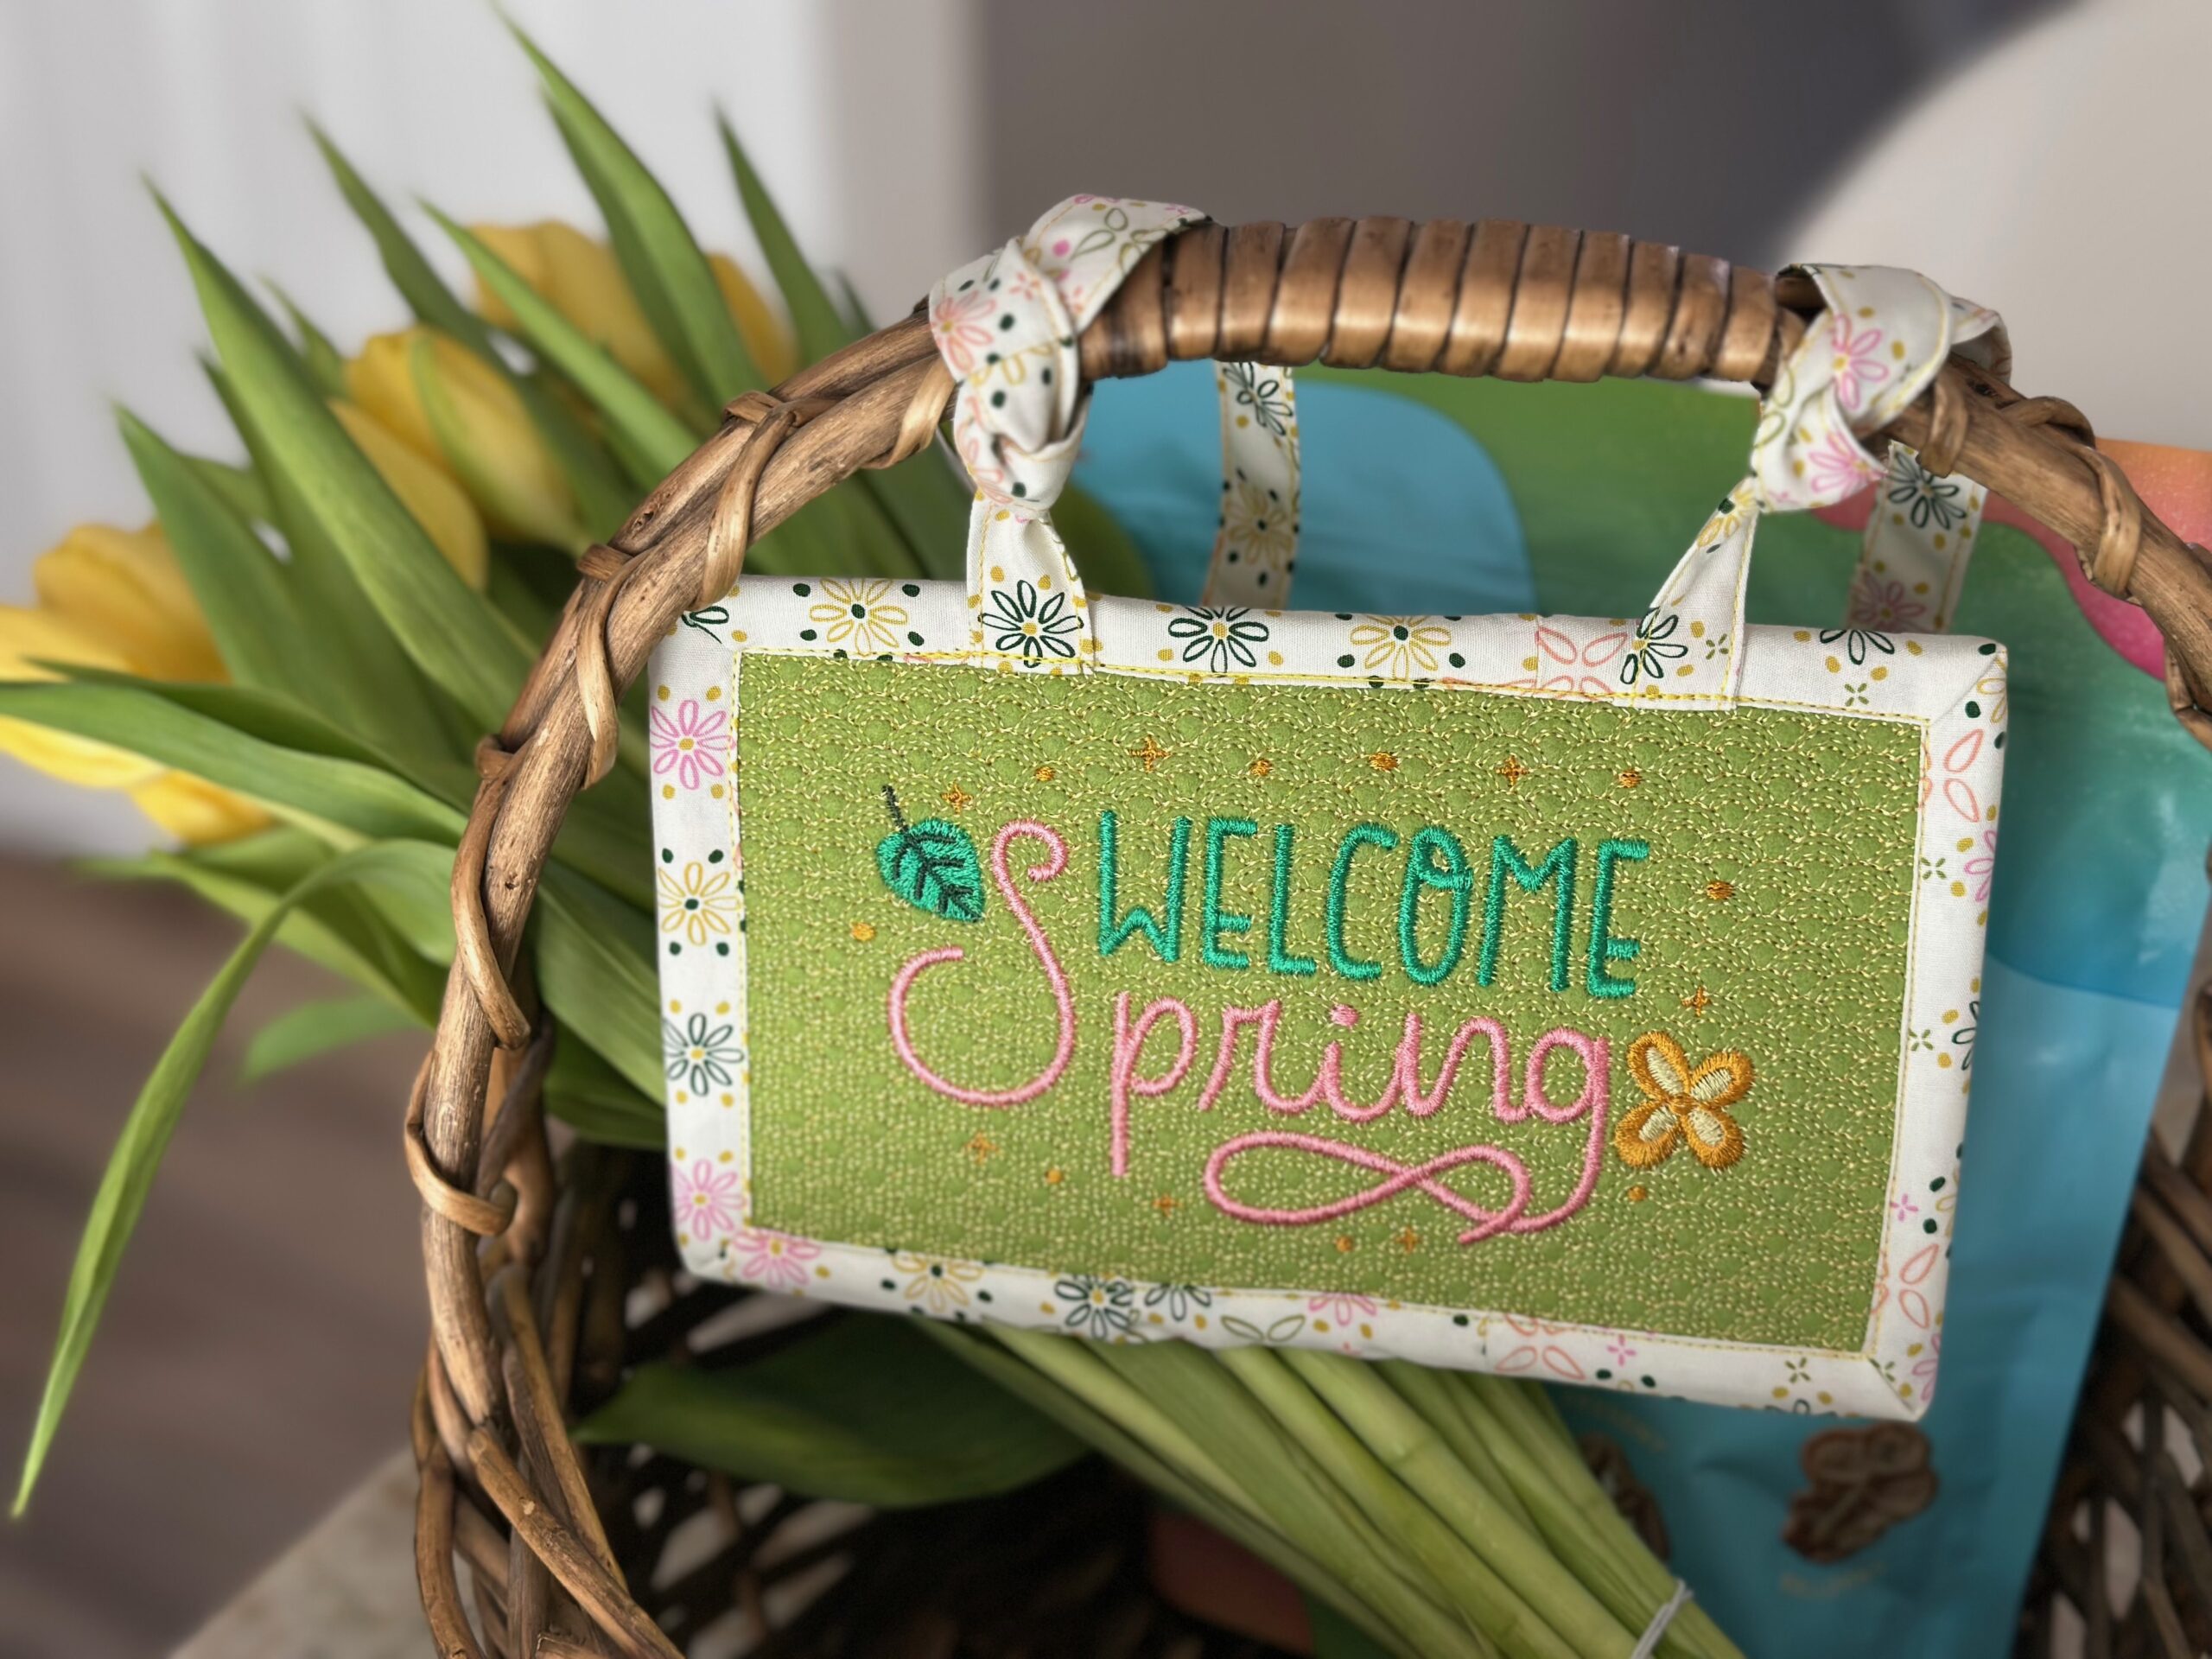
Use the ties to hang the sign on a decorative hook, magnet or hanger. The Welcome Sign also looks adorable tied to the top of a gift basket. Fill the basket with tulips and goodies for a special friend or neighbor.
Both Welcome Spring sign sizes also look great tied around a vase full of spring flowers.