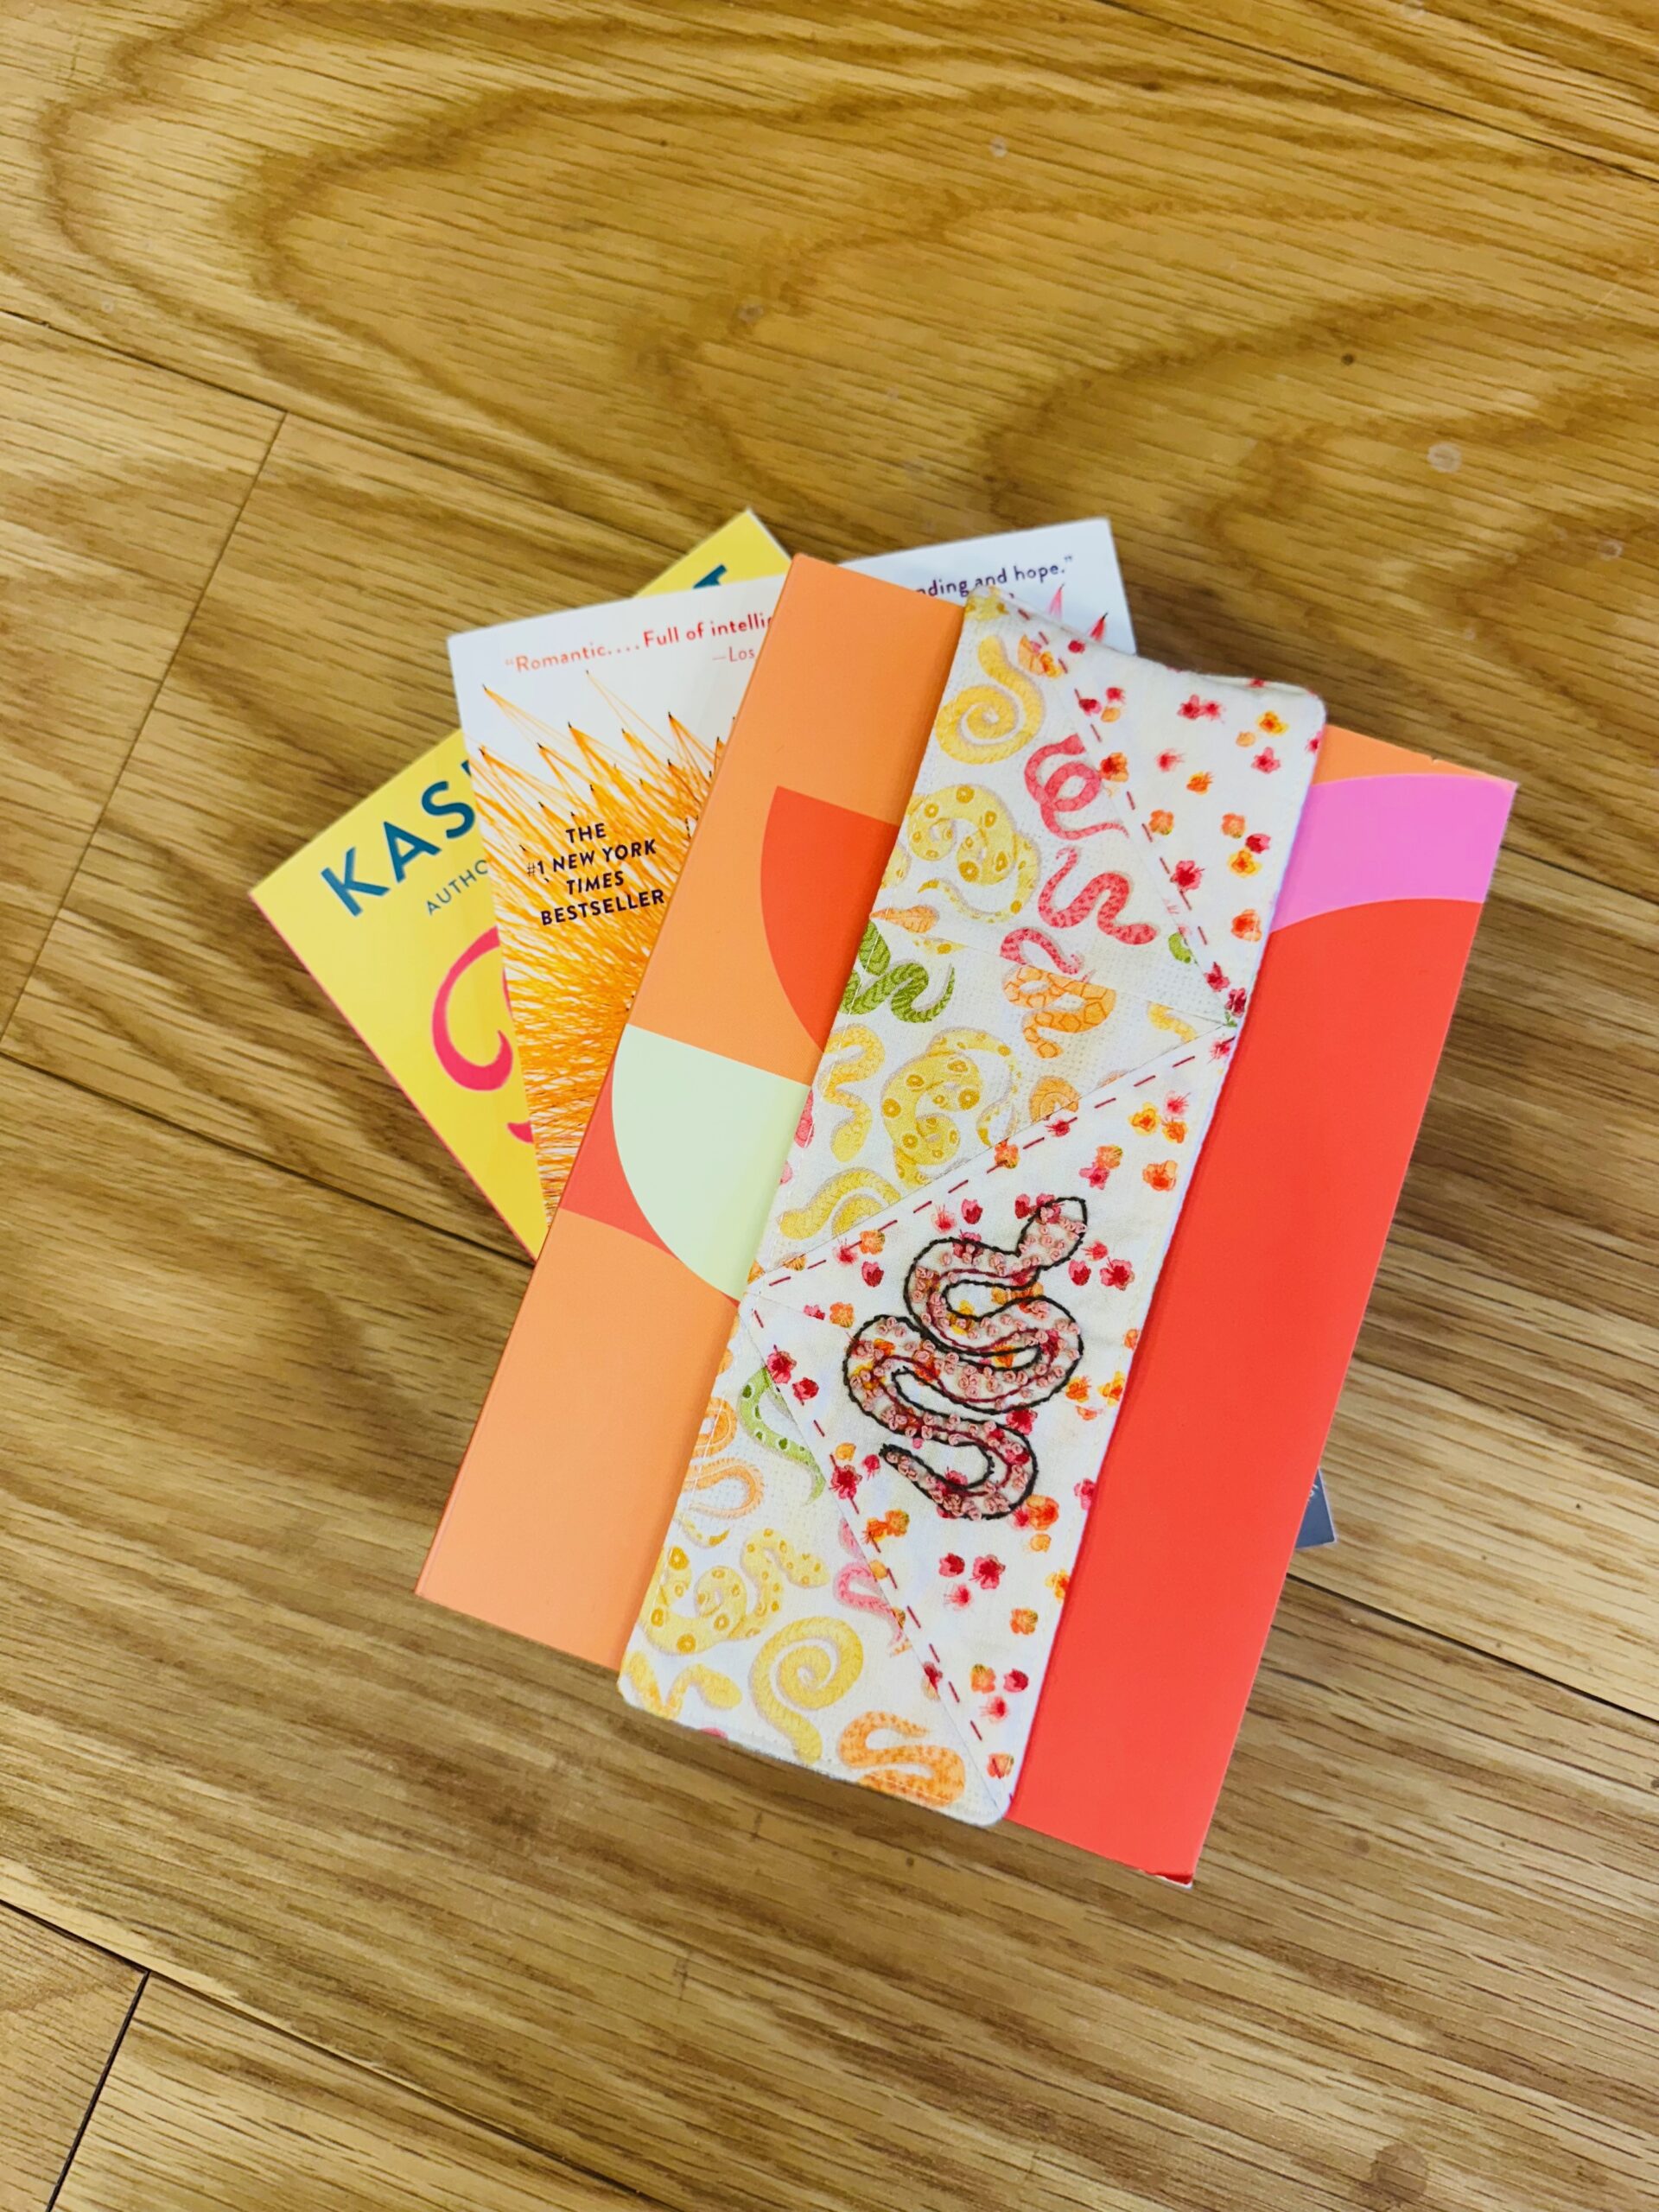
Quilty Bookmark

It’s National Quilting Month! Dip your toe in the “quilty waters” and try your hand at a quilty bookmark. Made of small half-square triangles and quilted with Sulky thread, this bookmark is a great scrap-buster for leftover fabric and elastic bits. Add beads, sequins or buttons if desired! This makes a great gift, paired with a favorite book, for Mother’s Day, graduation or a birthday.
FINISHED SIZE: 3″ x 9″
Quilty Bookmark Supplies
- Sulky 50 wt. Cotton Thread (piecing & construction)
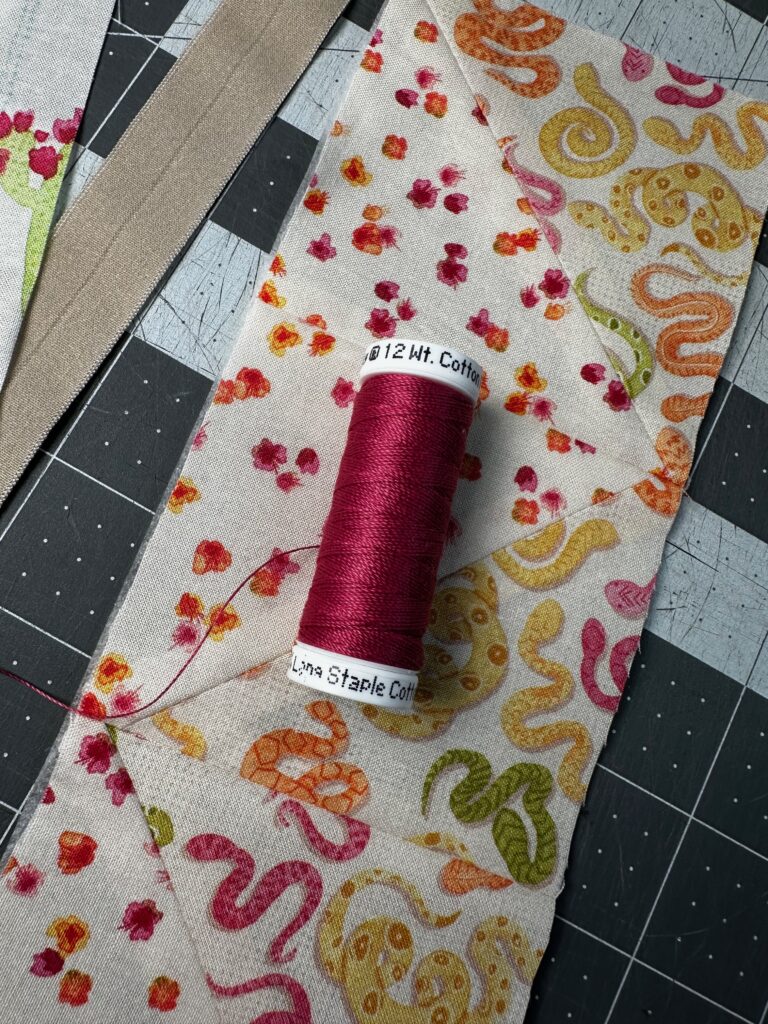
- Sulky 12 wt. Cotton Petites Thread (big-stitch quilting)
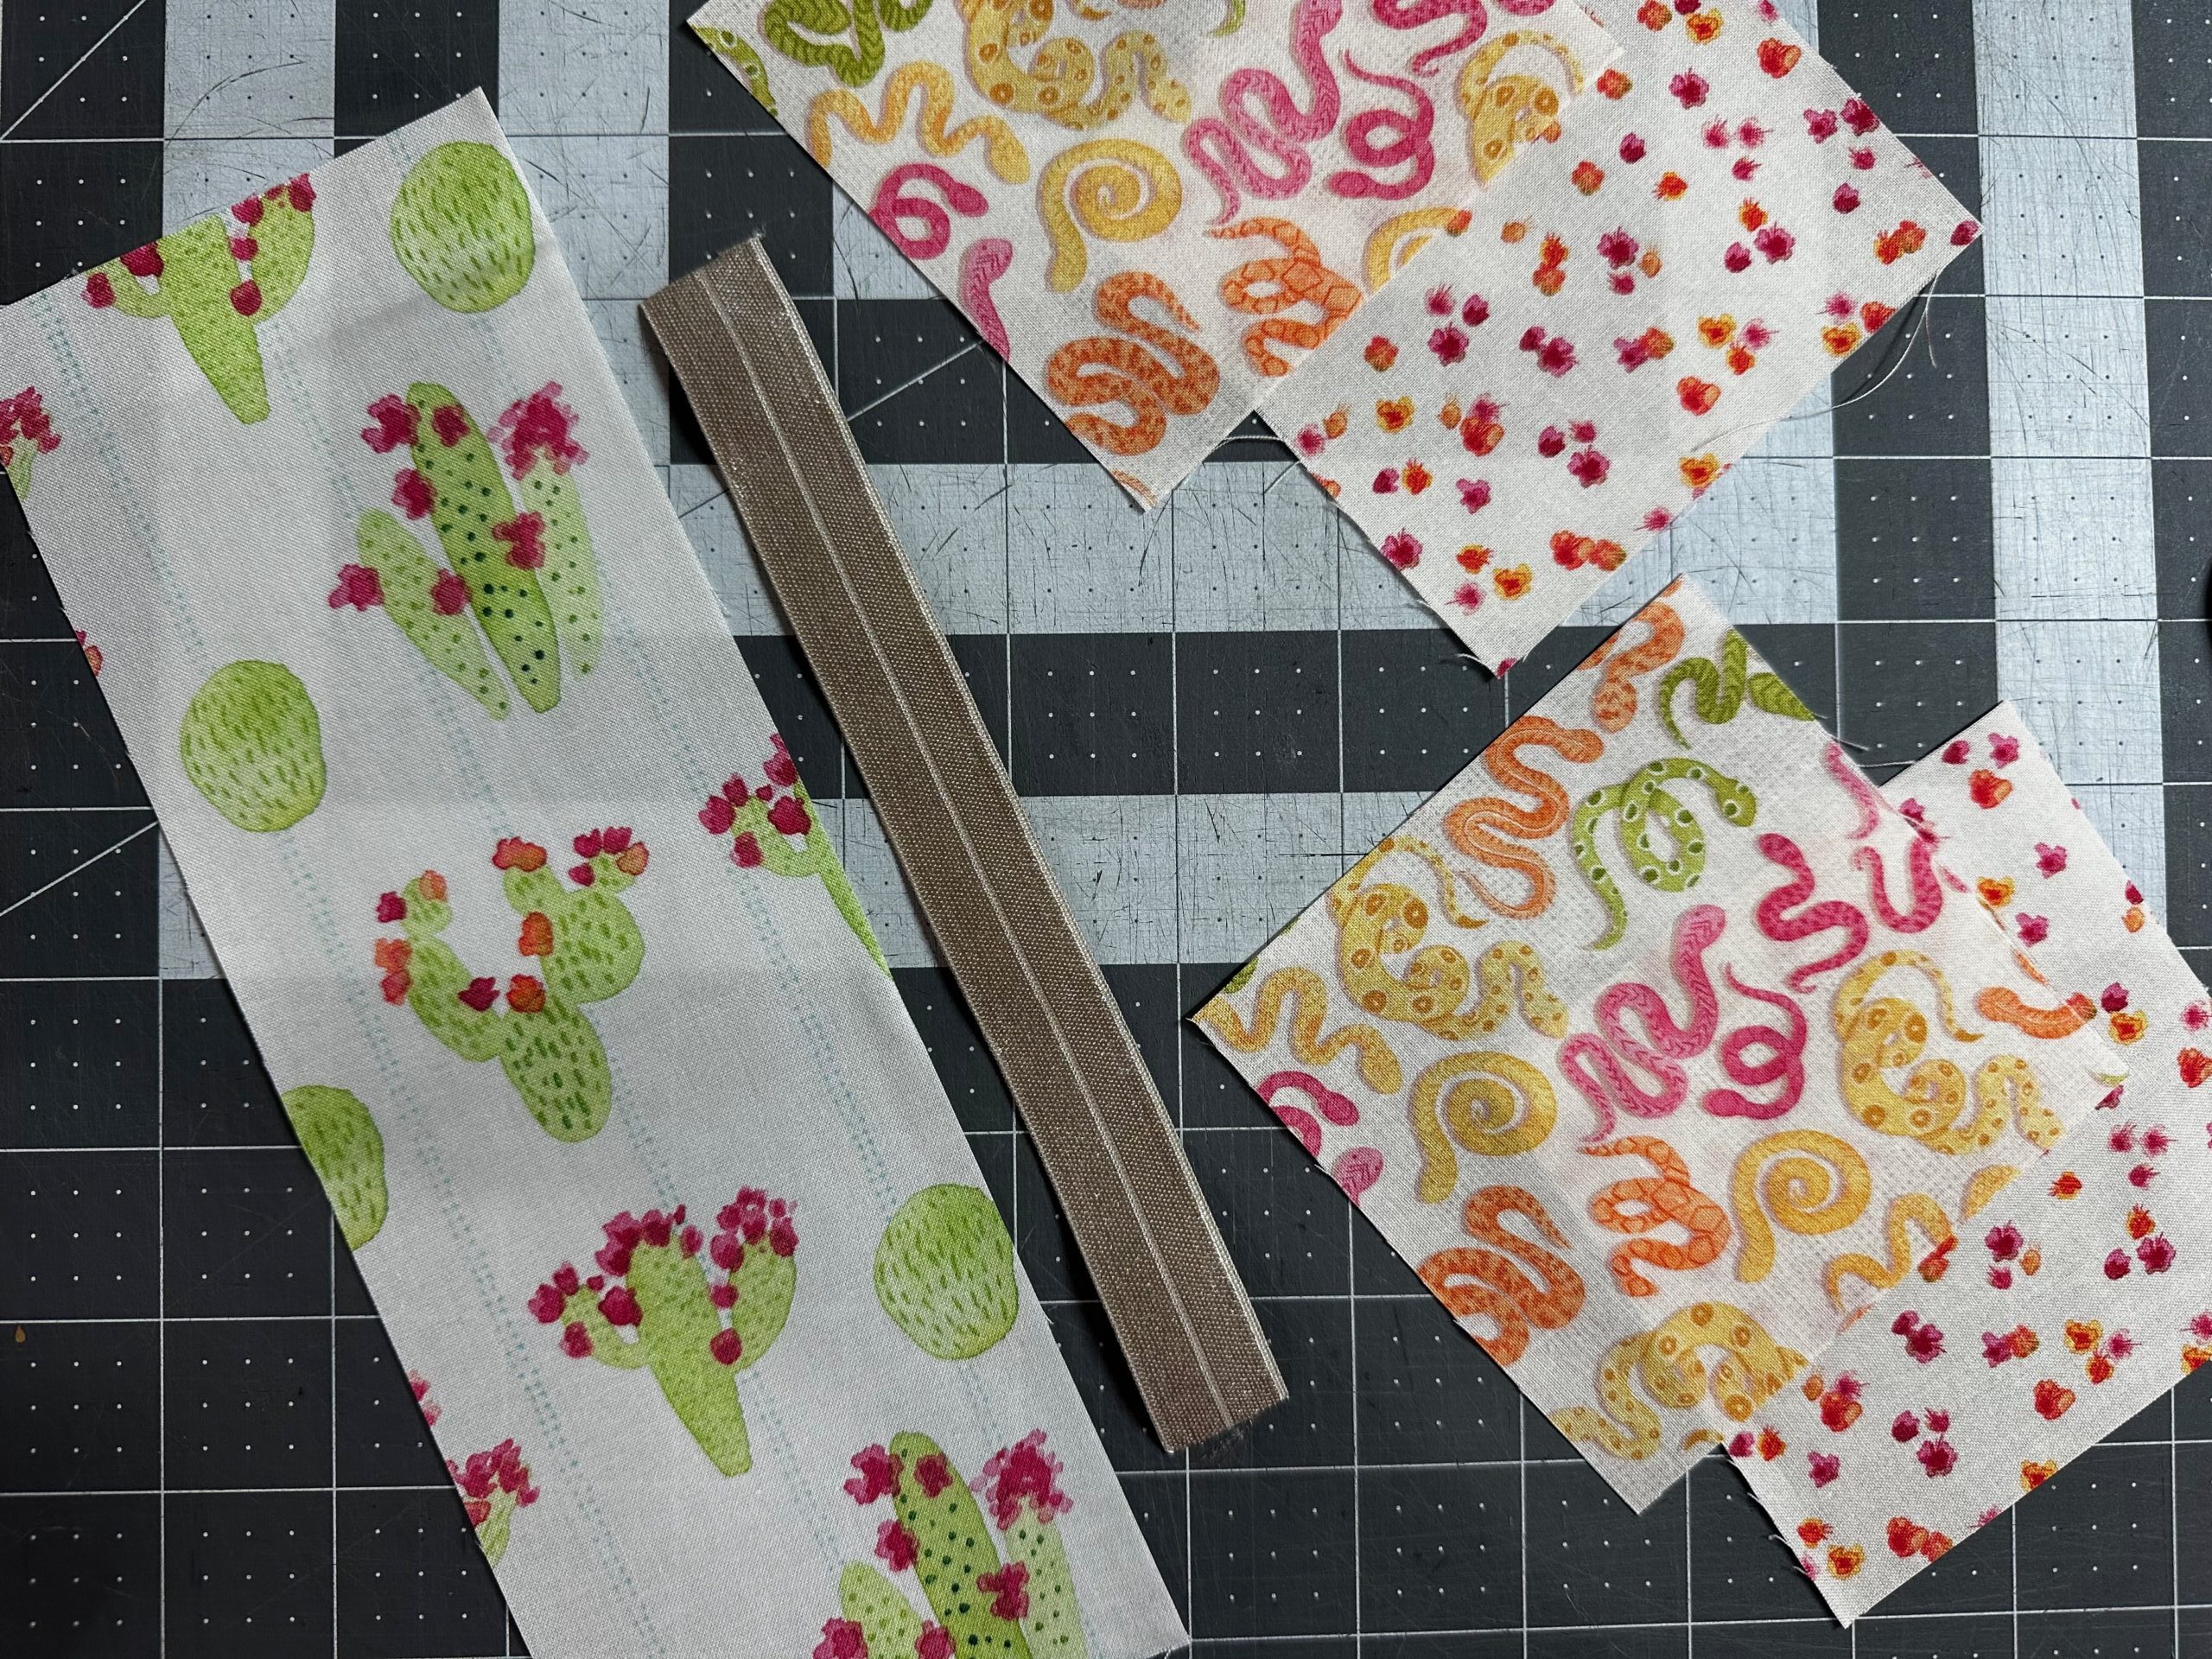
- (1) 3 1/2″ w x 9 1/2″ rectangle each of quilting cotton fabric (back; featured fabrics form Cactus Rose Rodeo collection by QT Fabrics) & Sulky Soft ‘n Sheer Extra Stabilizer
- (4) coordinating 4″ squares of fabric (use 3 of one fabric and 3 of another or all different)
- 8″ length of coordinating foldover elastic (FOE) or 3/4″-wide flat elastic
- Removable fabric marker or chalk
- Sulky Stick ‘n Stitch Transfers (optional; if adding hand embroidery)
Bookmark Front
From the four fabric squares, you will get four half-square triangles (HSTs). You will only need three for this project, so you can create multiple bookmarks to use the leftovers or discard the last one. But this method is the simplest and most efficient way to create HSTs, so the minimal waste may be worth it for you. Or, create a longer bookmark to use all four HSTs. Just cut the backing rectangle to size after piecing. You may want to also adjust the FOE measurement, depending on the book size.
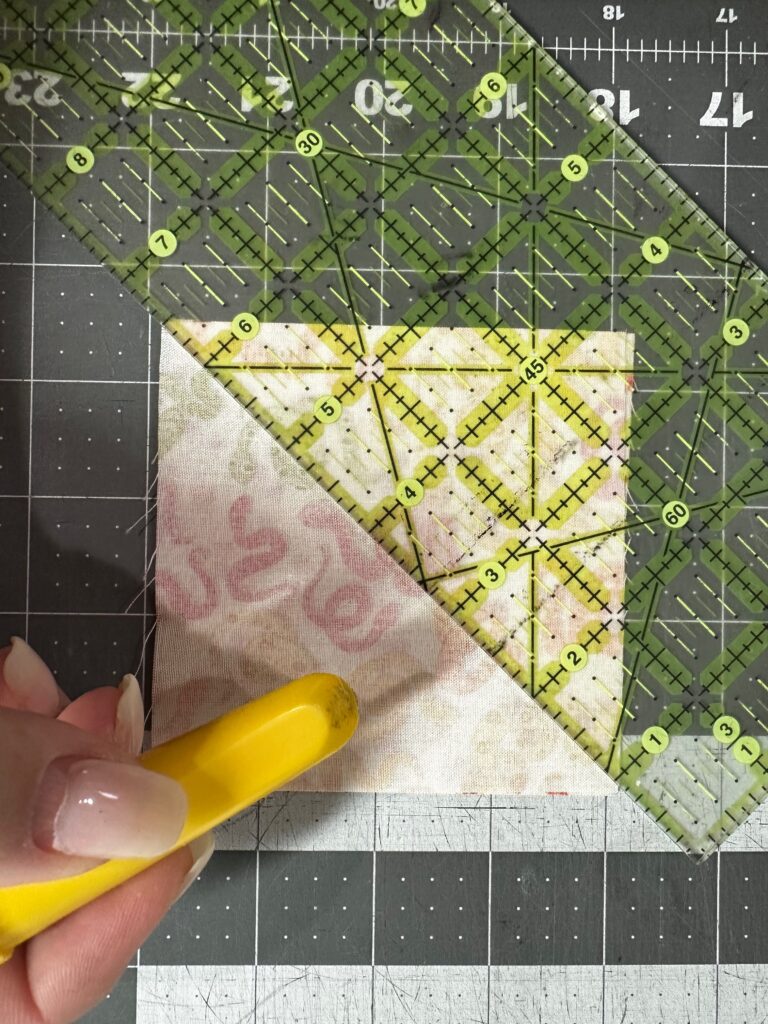
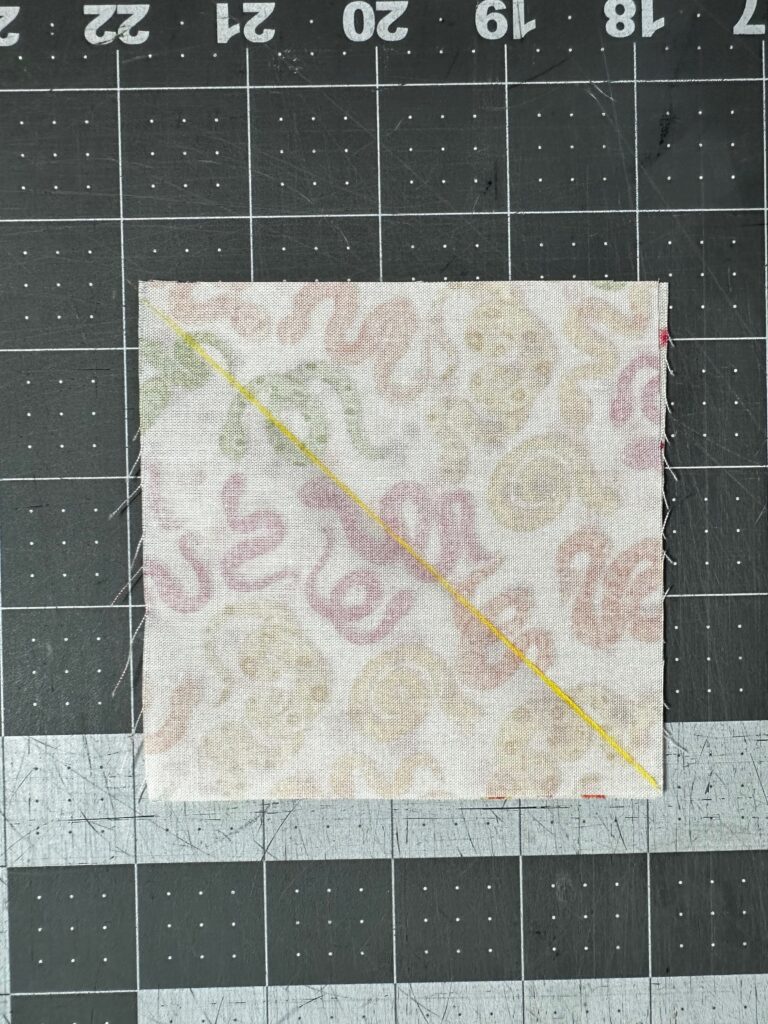
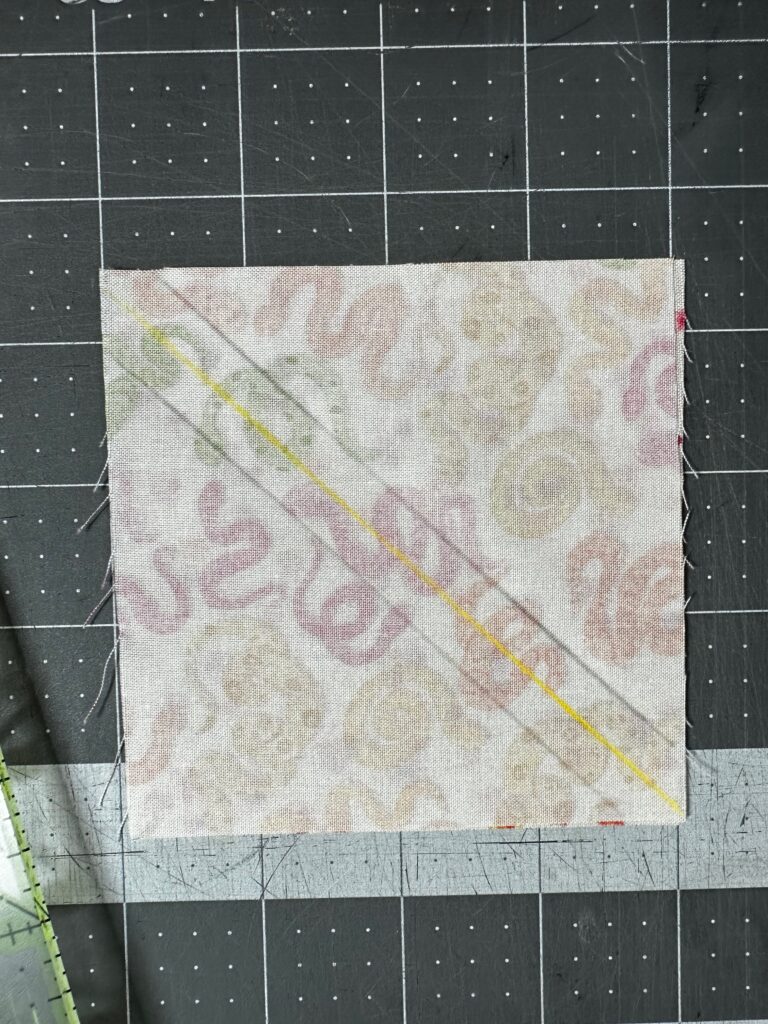
Place two fabric squares right sides together, aligning all edges and corners. Using a removable fabric marker or chalk, draw a diagonal line from one upper-edge corner to the opposite lower-edge corner. Then, draw a line 1/4″ away from the line on both sides. (It may be helpful to use one chalk color for the centerline (cutting line) and another for the stitching lines).
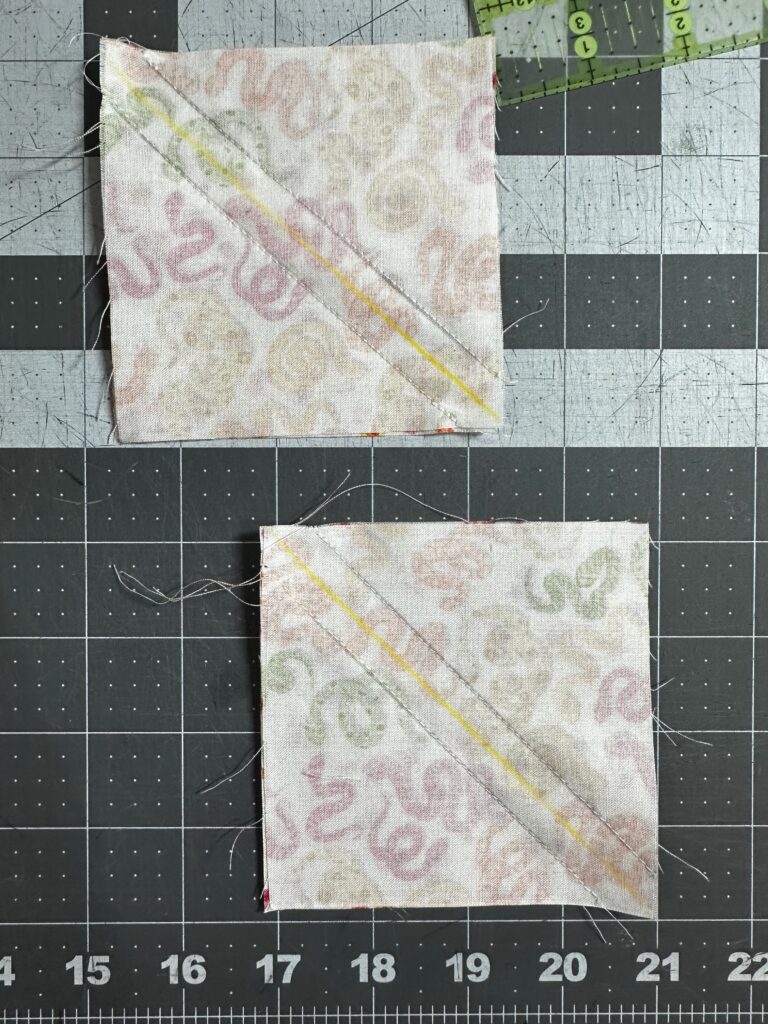
Using Sulky 50 wt. Cotton Thread and a size 70/10 or 75/11 Needle, stitch along the outer lines.

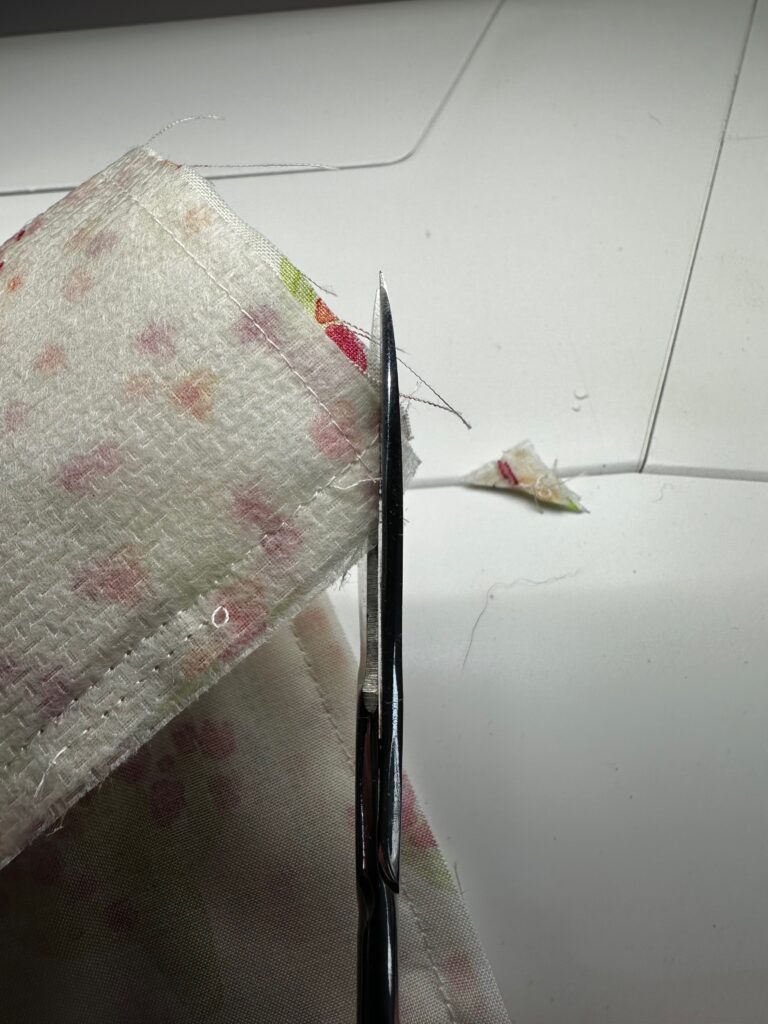
Then, cut along the center cutting line.
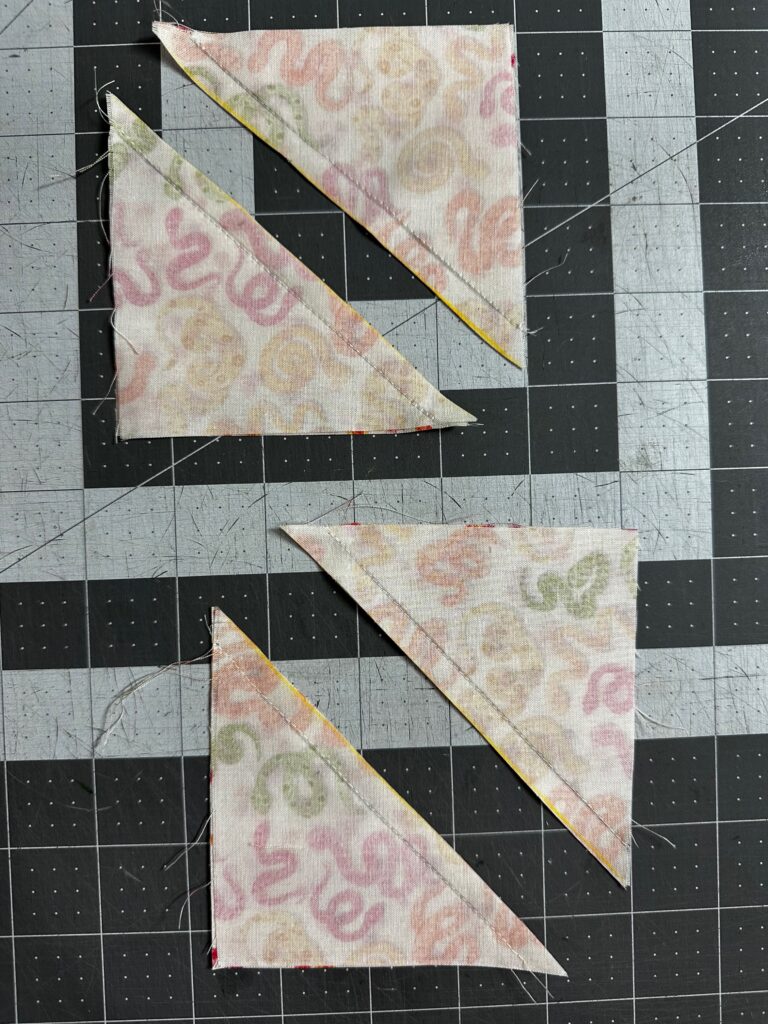
Press the seams open.
Repeat to stitch the remaining two fabric squares together to create two HSTs.
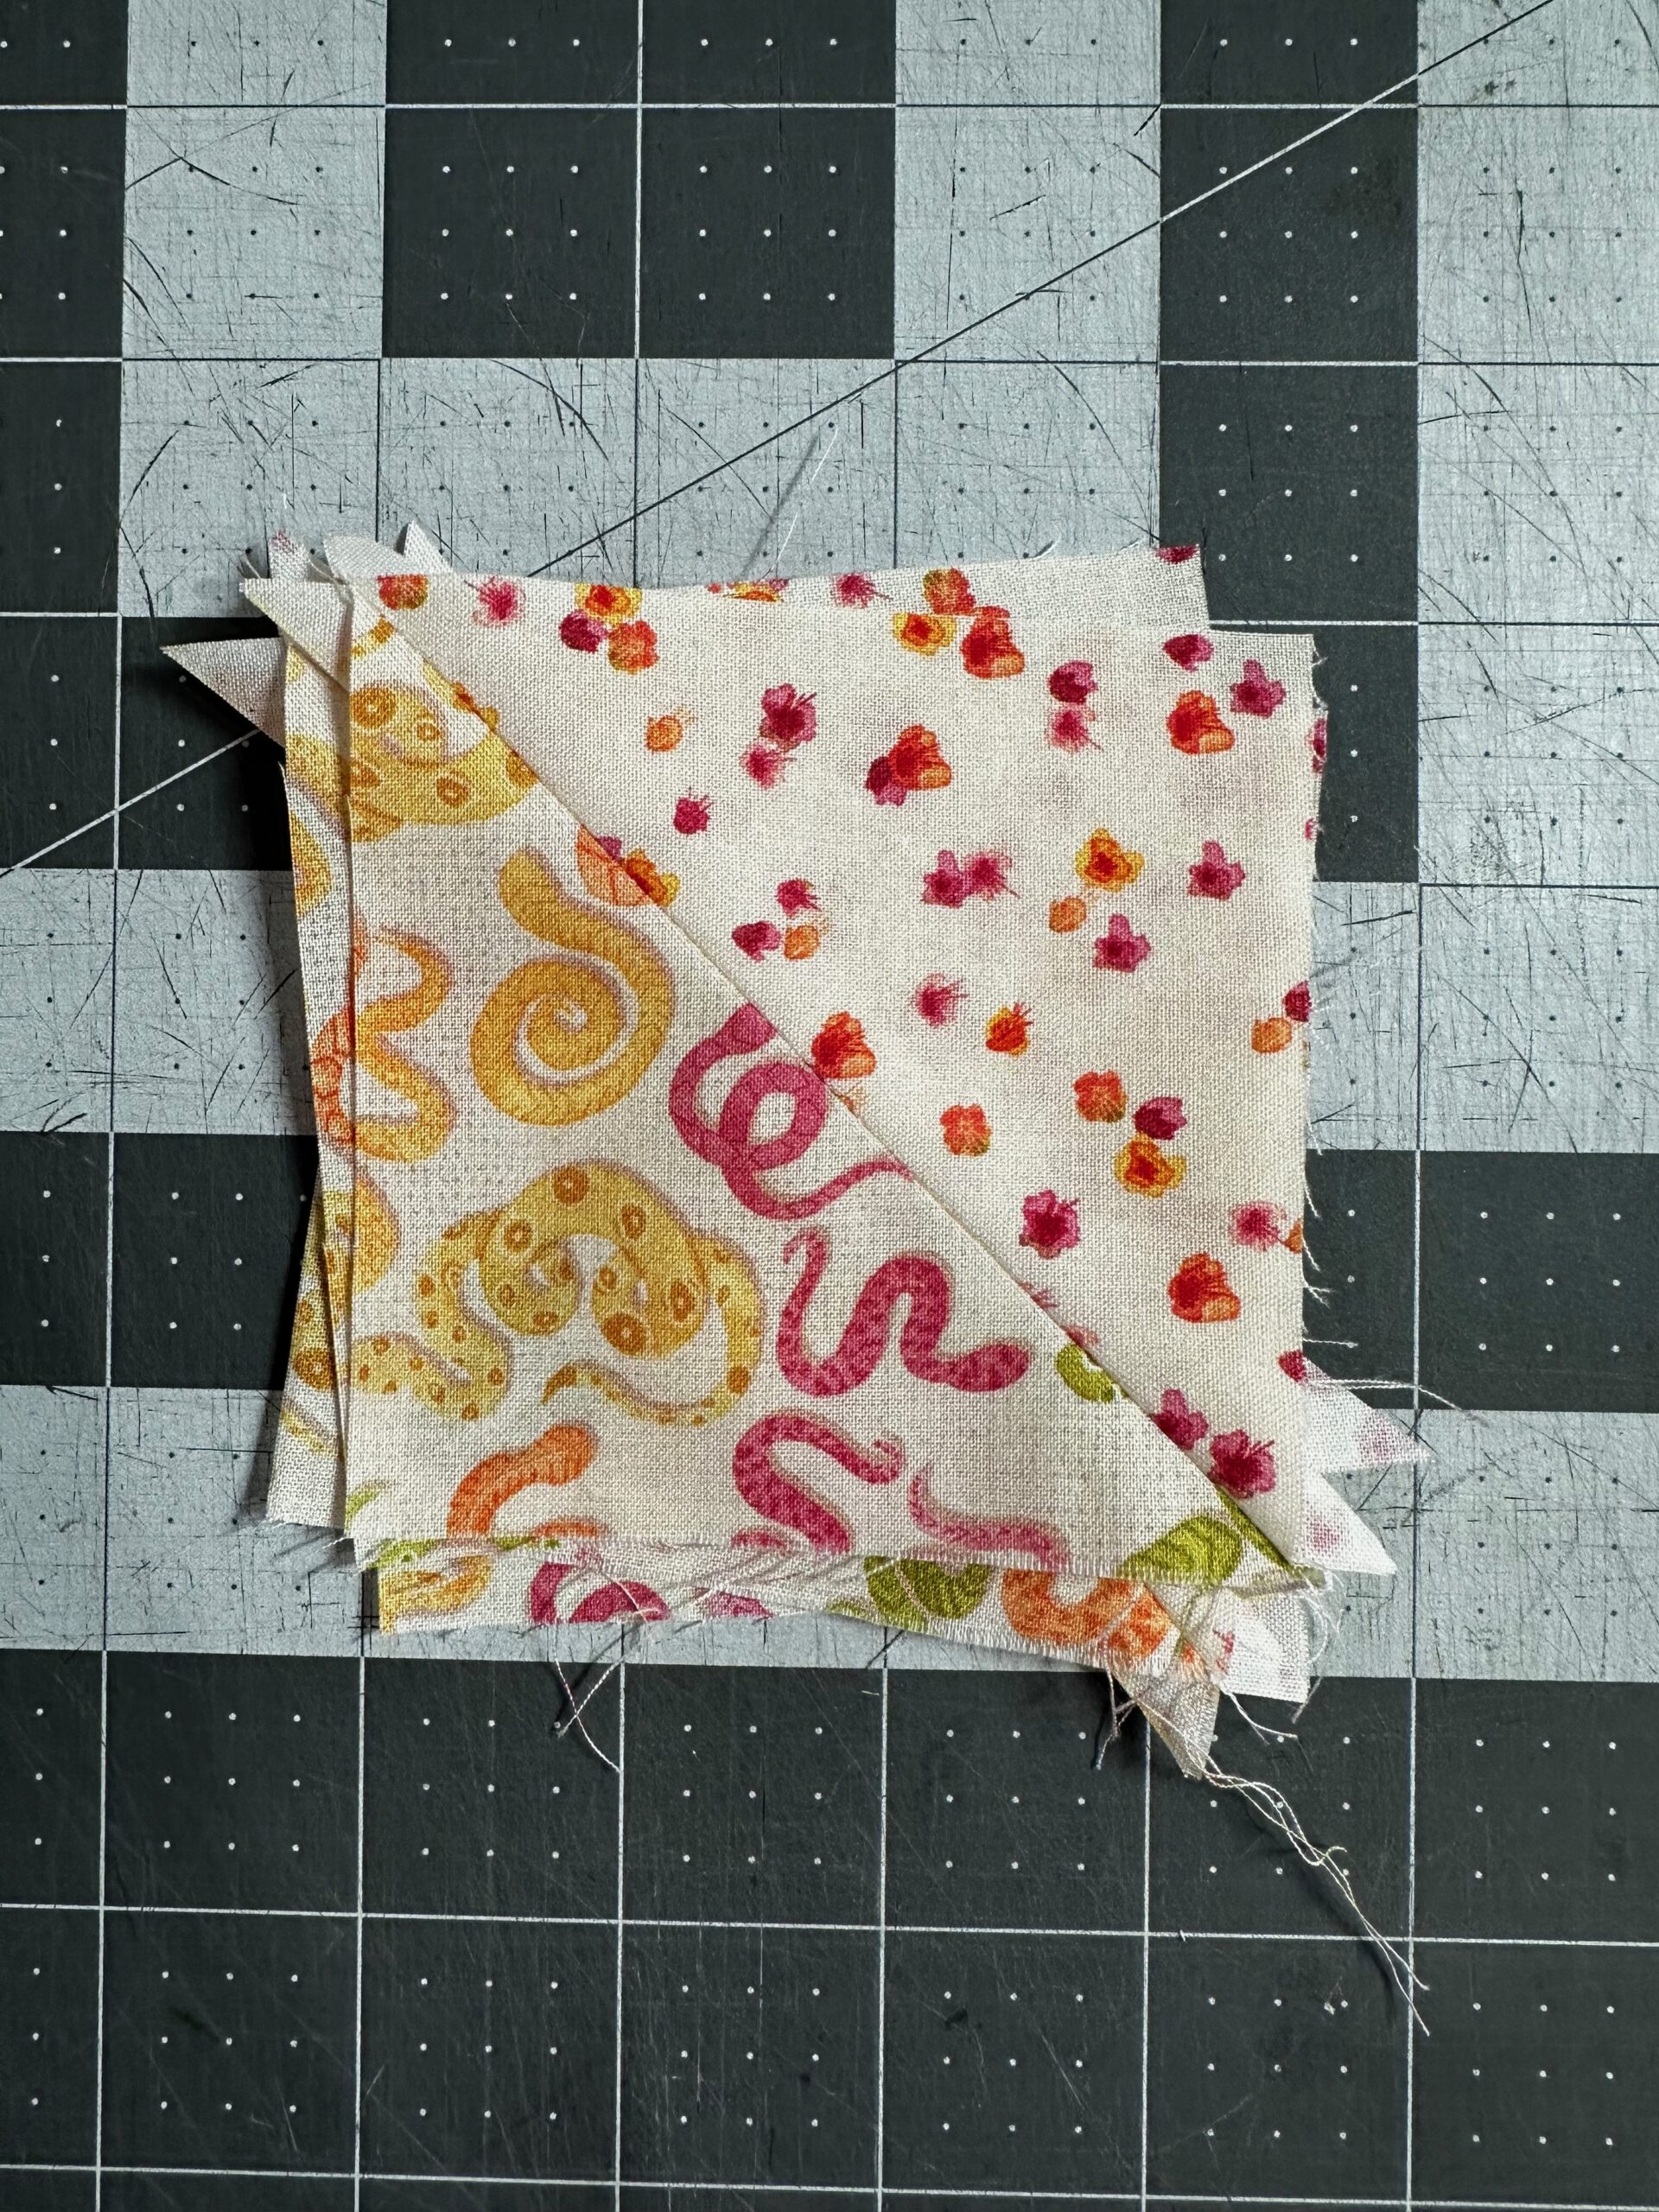
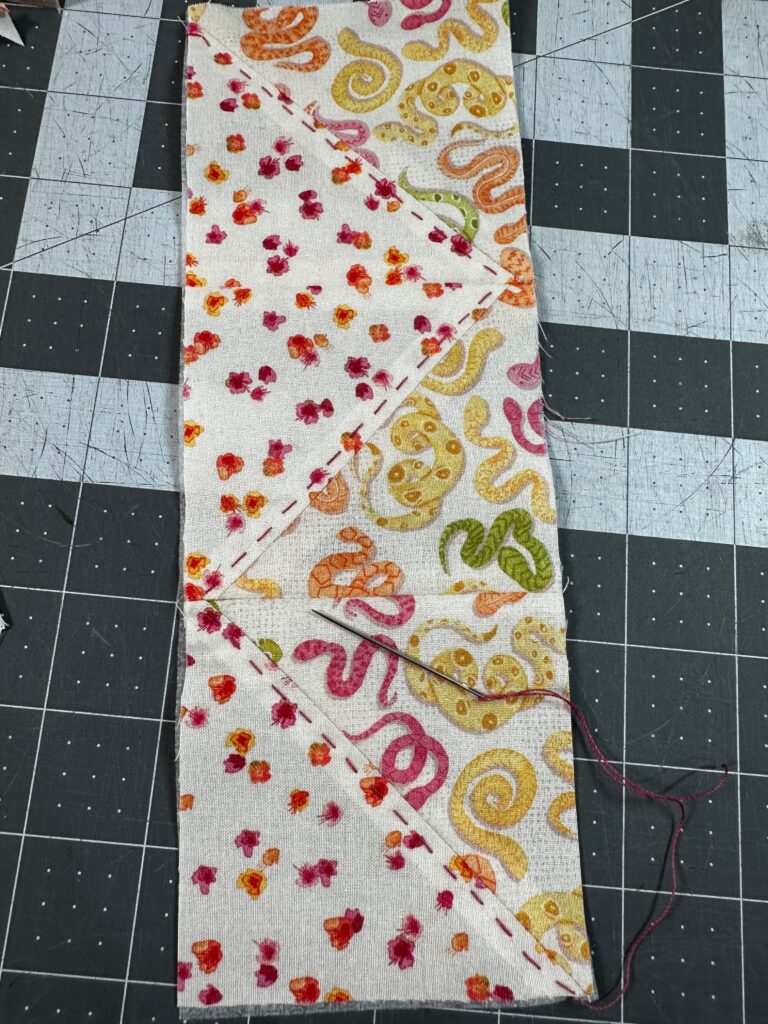
Arrange three HSTs end for end to create the Bookmark Front. Experiment with the fabric direction and colors, if applicable, to determine the most pleasing arrangement.
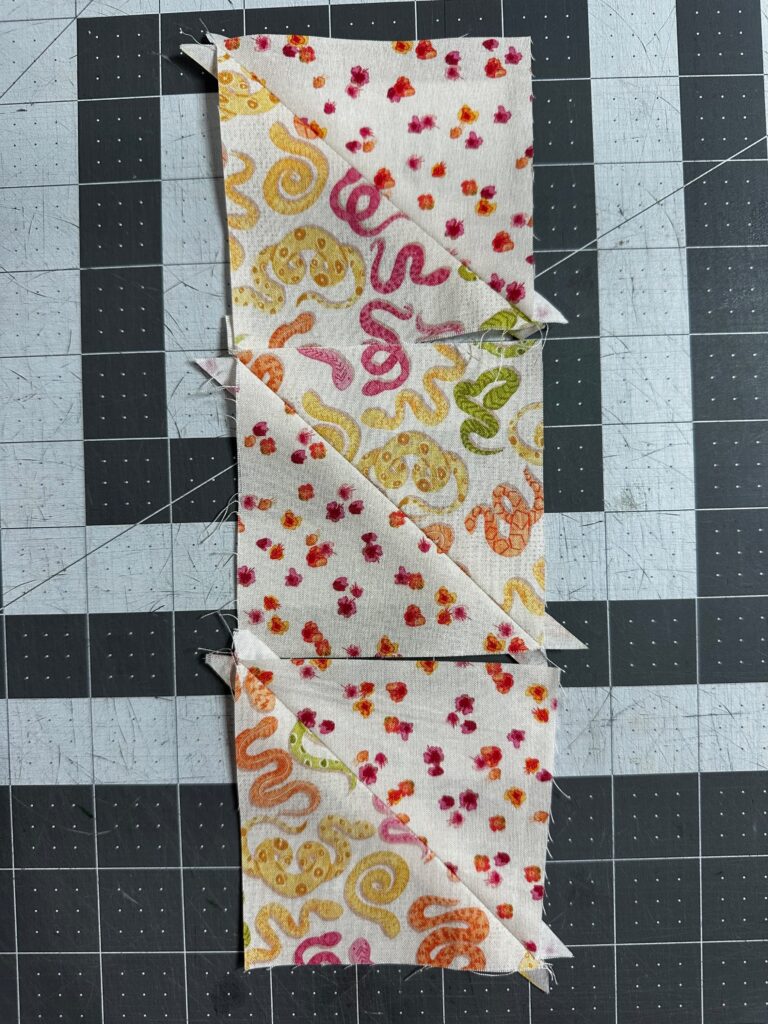
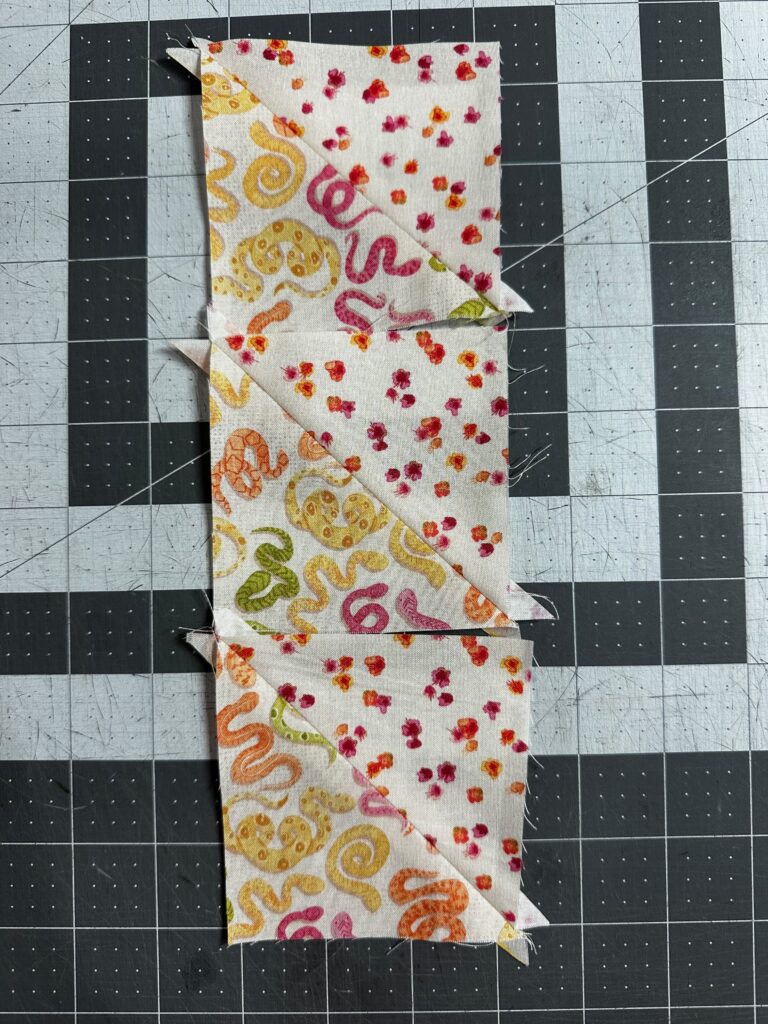
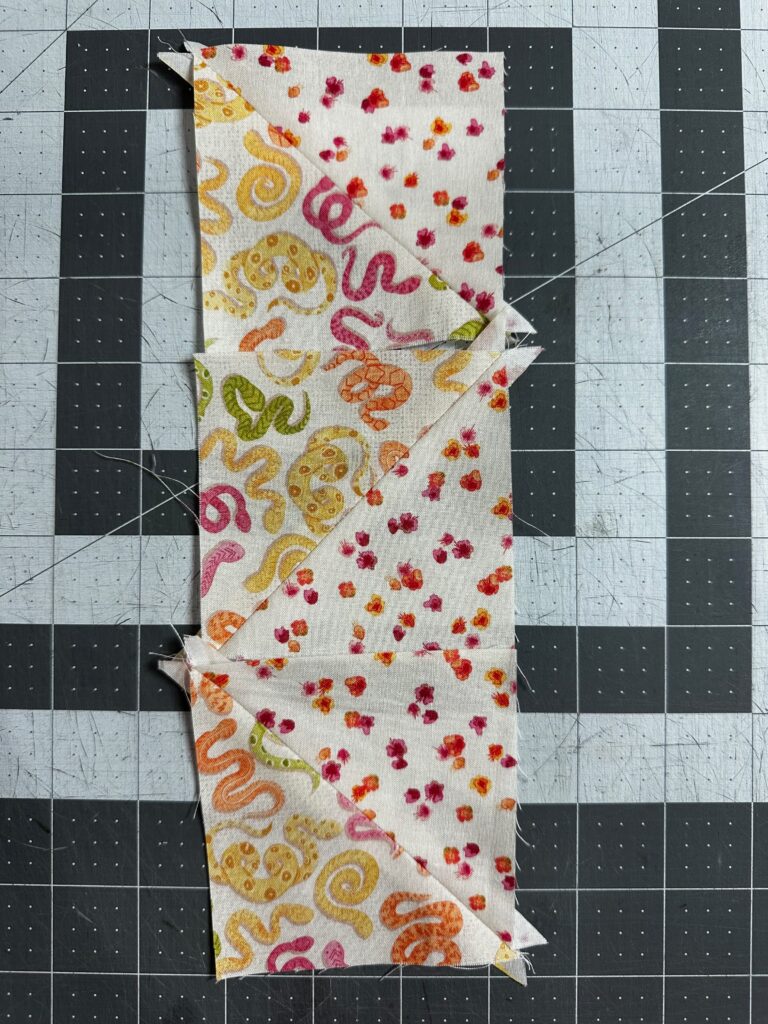
When satisfied, stitch the HSTs with right sides together along the adjoining sides. Press the seams open.
Trim the Bookmark Front to 3 1/2″ x 9 1/2″.
Big-Stitch Quilting
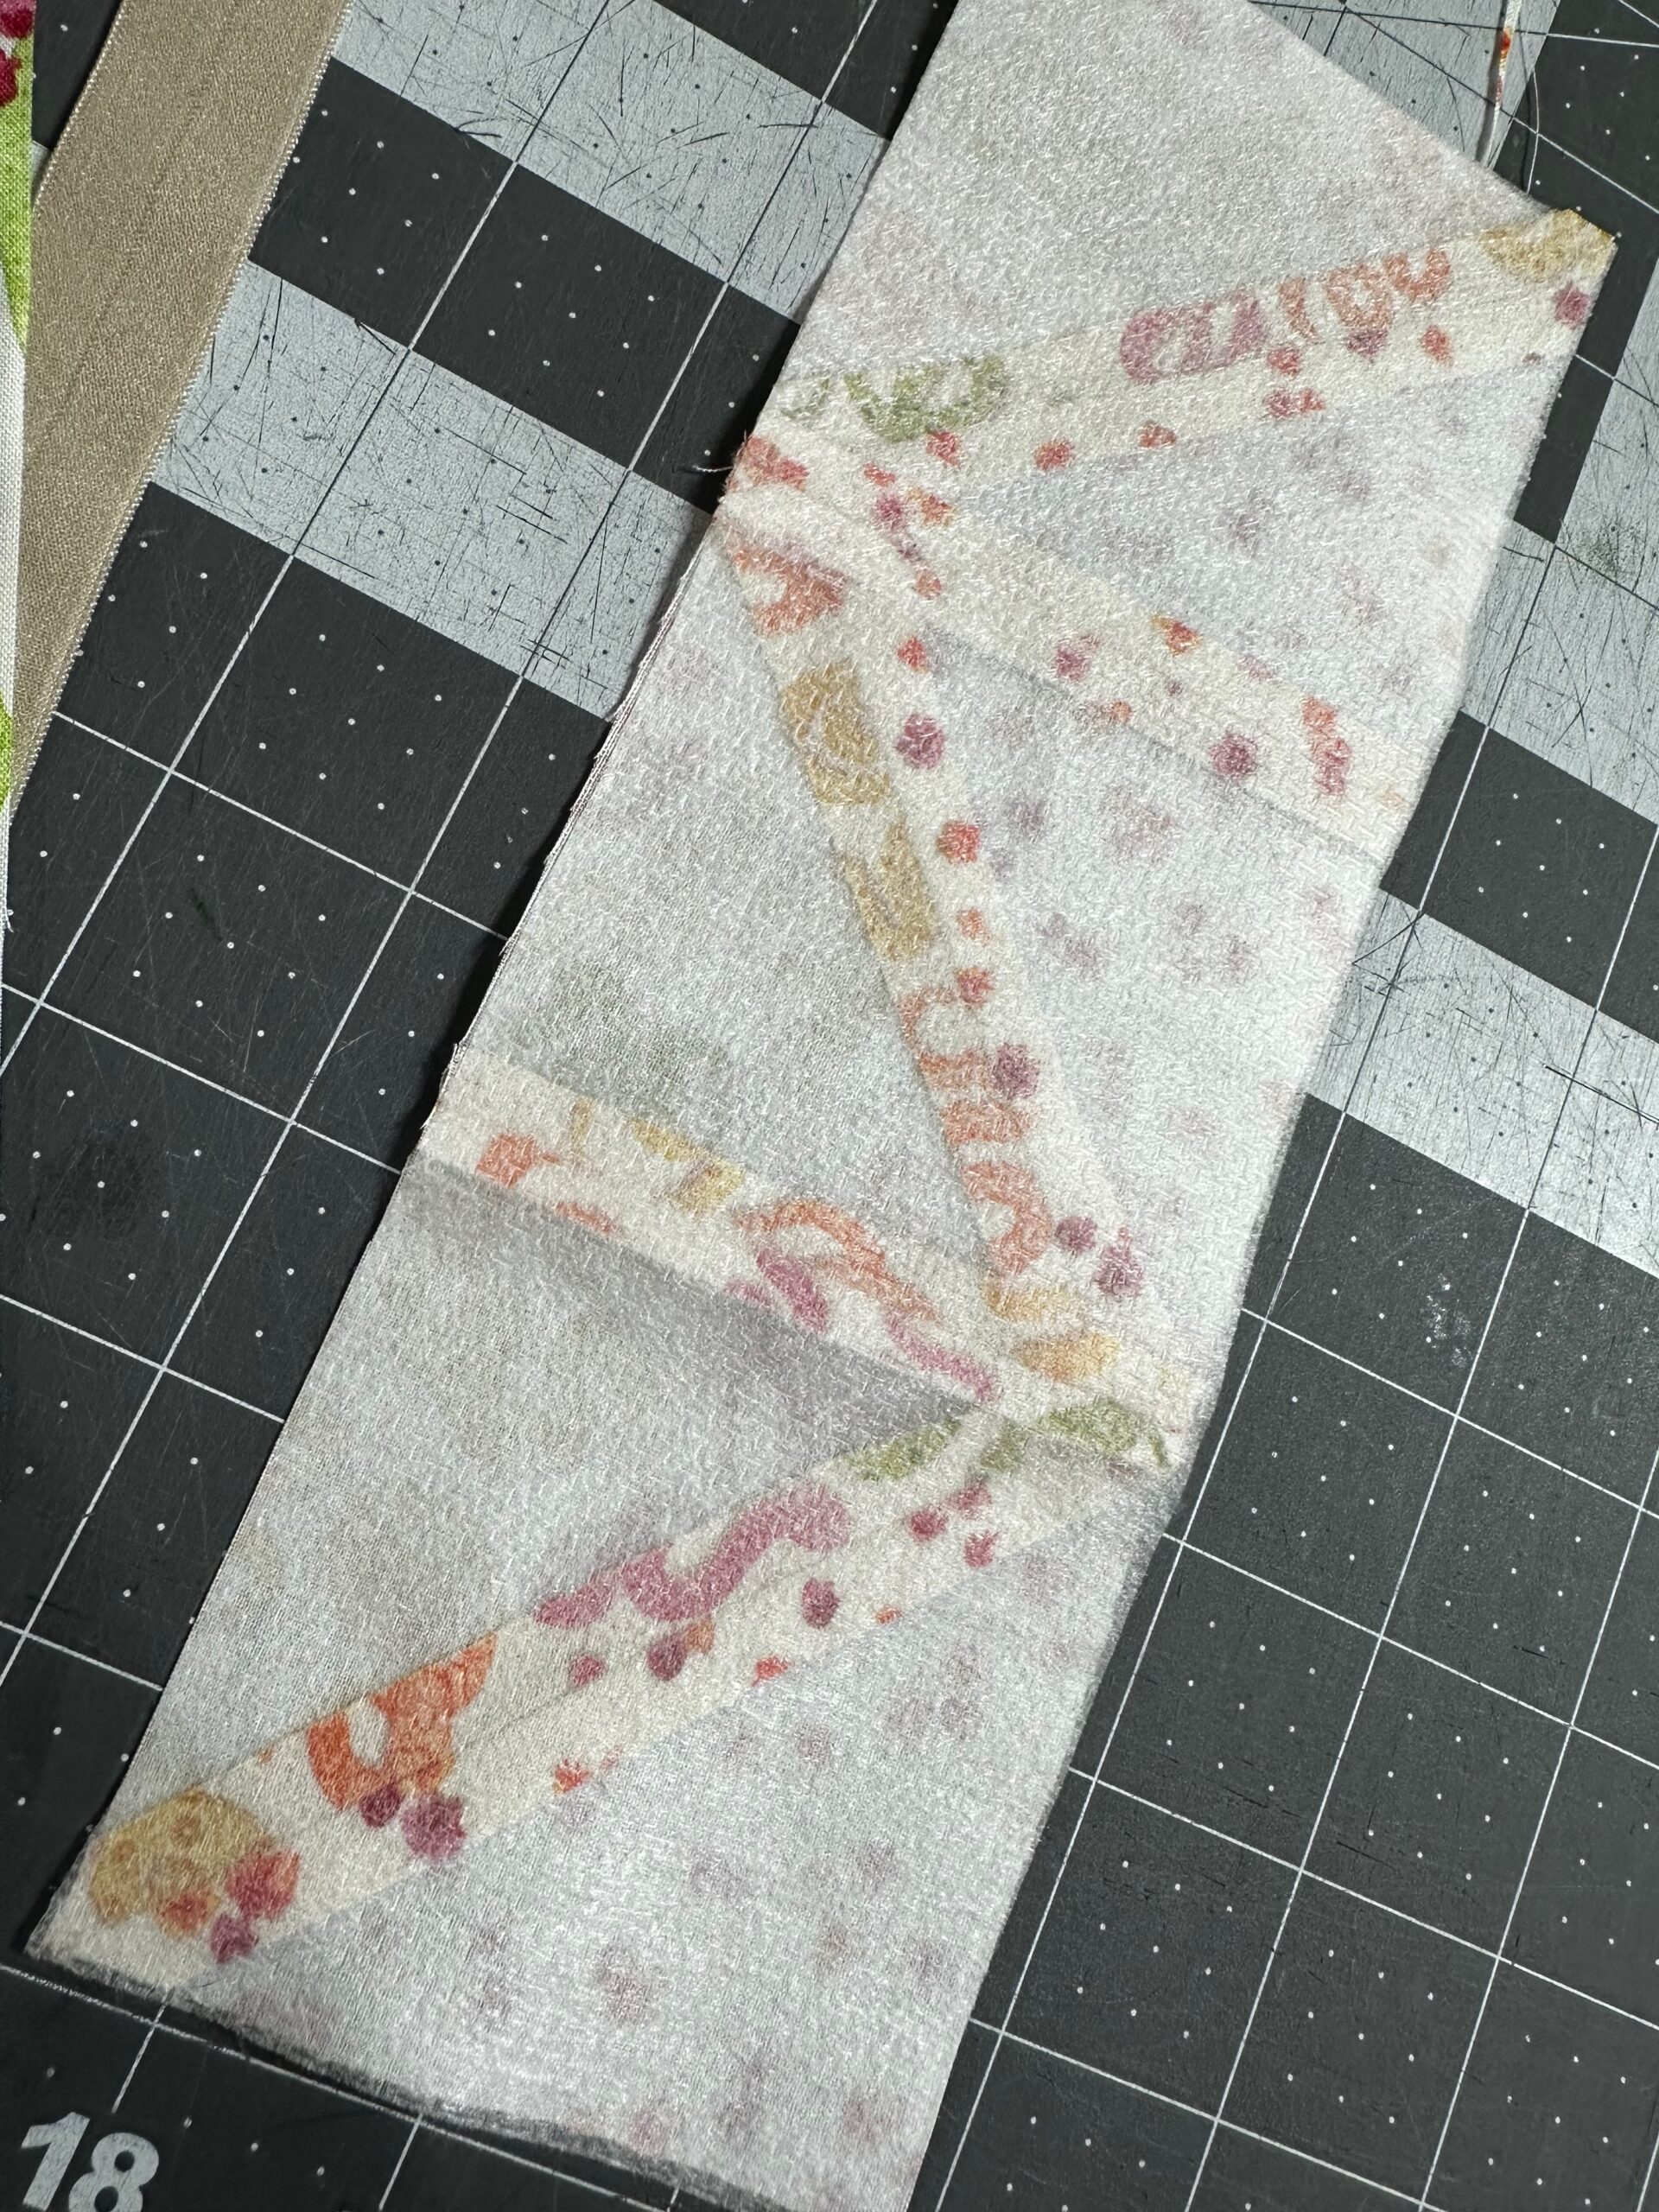
Apply Sulky Soft ‘n Sheer Extra Stabilizer to the Bookmark Front wrong side.
Thread a hand sewing needle with one strand of Sulky 12 wt. Cotton Petites Thread. Using long running stitches, quilt along either HST seam. Or, quilt in the manner of your choice.
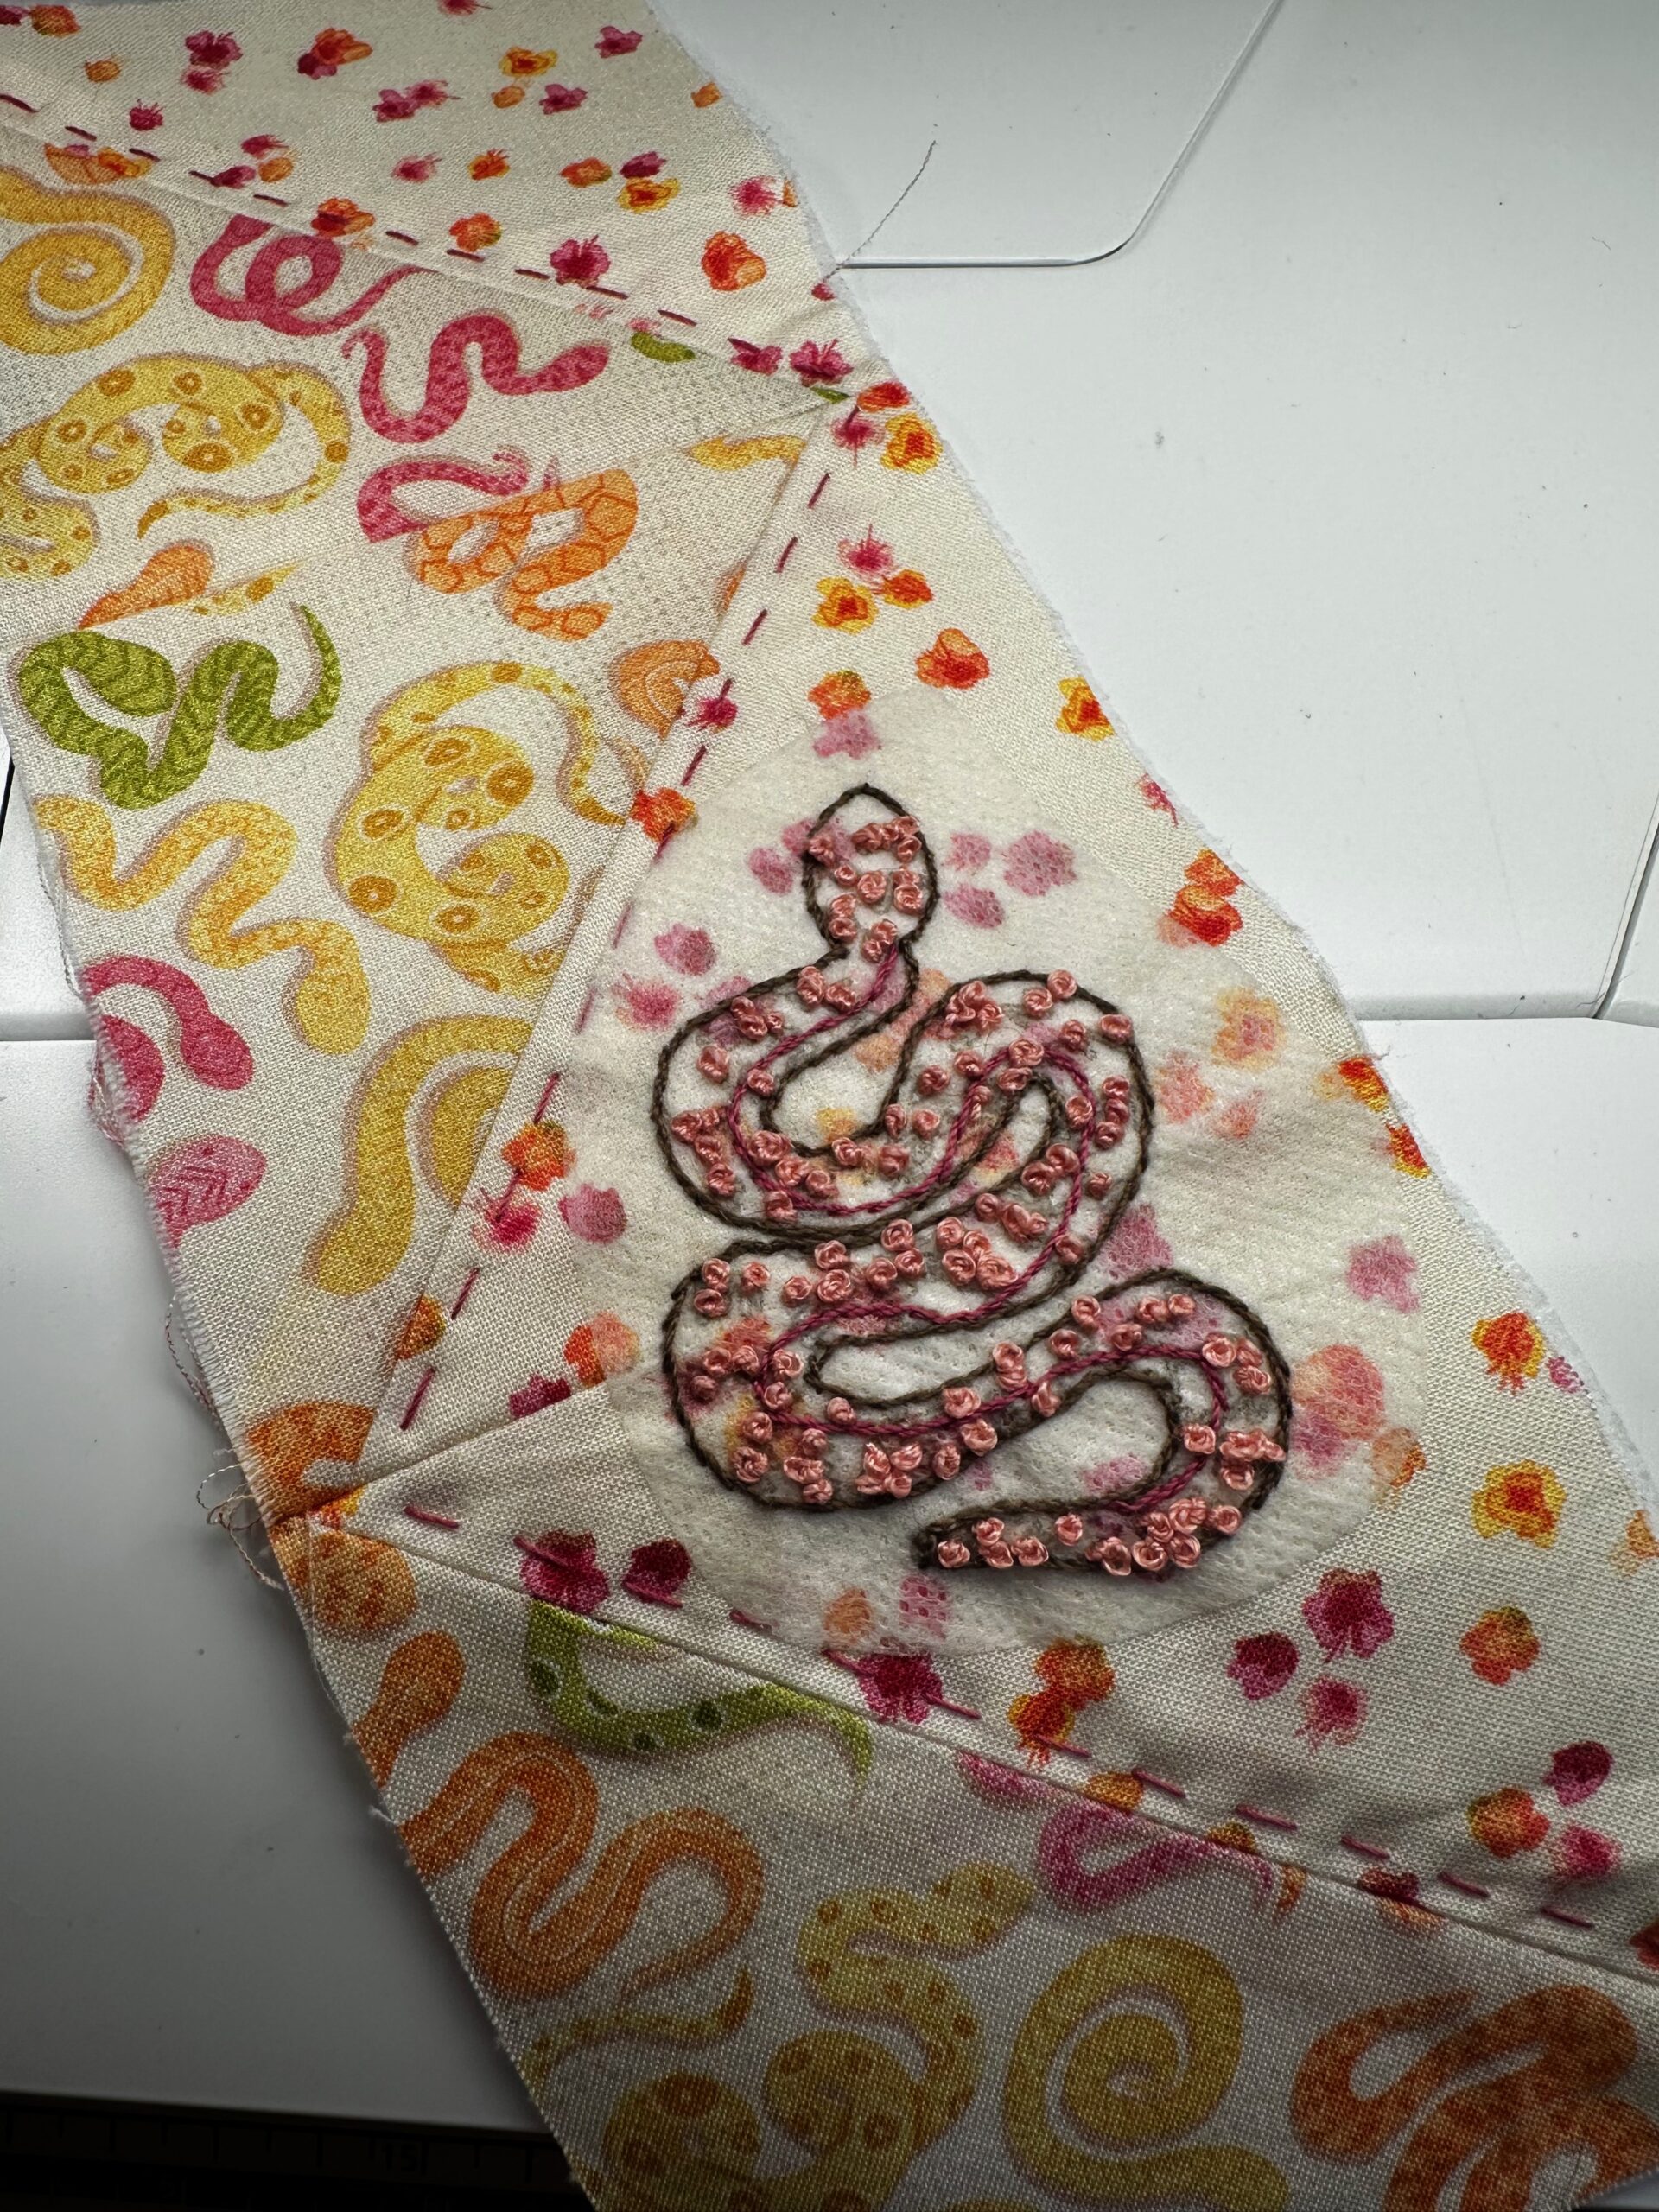
Optional Hand Embroidery
This is also a great project to incorporate hand embroidery!
If embellishing with hand embroidery, use one of our Stick ‘n Stitch Transfers (these are also available with Sulky 12 wt. Cotton Petites Thread, too).

Determine the desired design from the transfer sheet and cut it out, leaving a bit of a border.
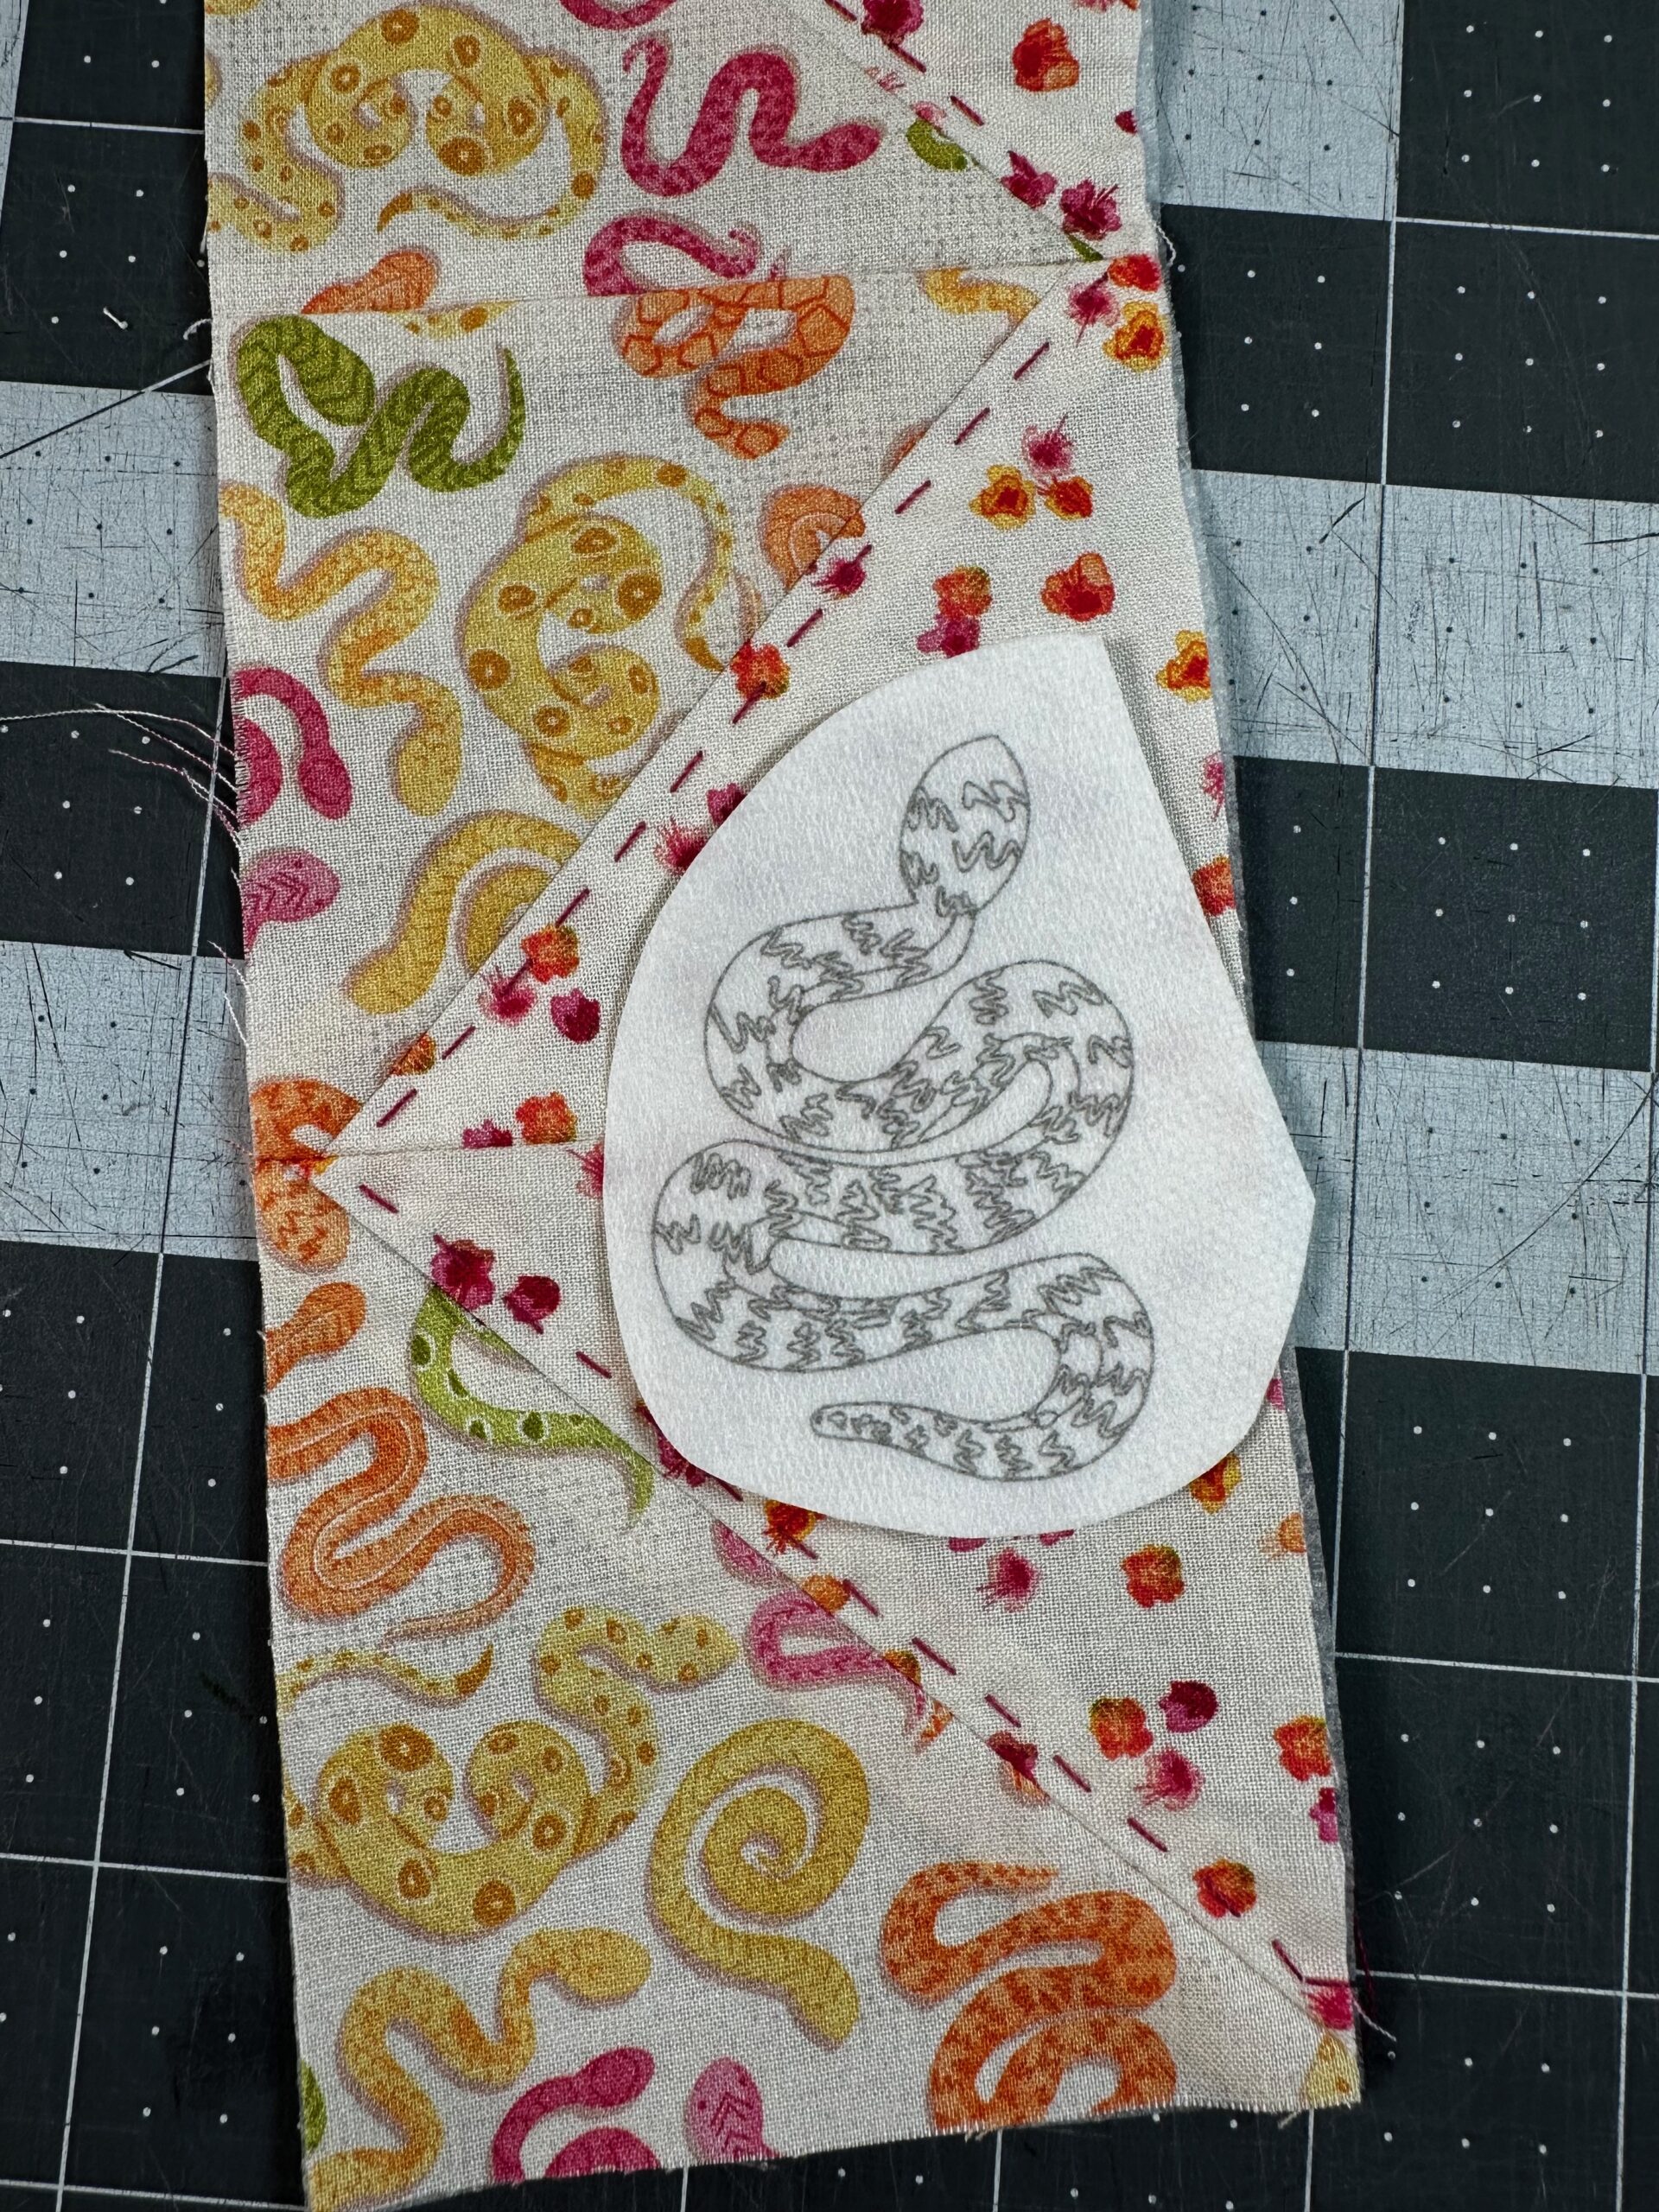
Place the transfer sticker right side up on the Bookmark Front where desired.
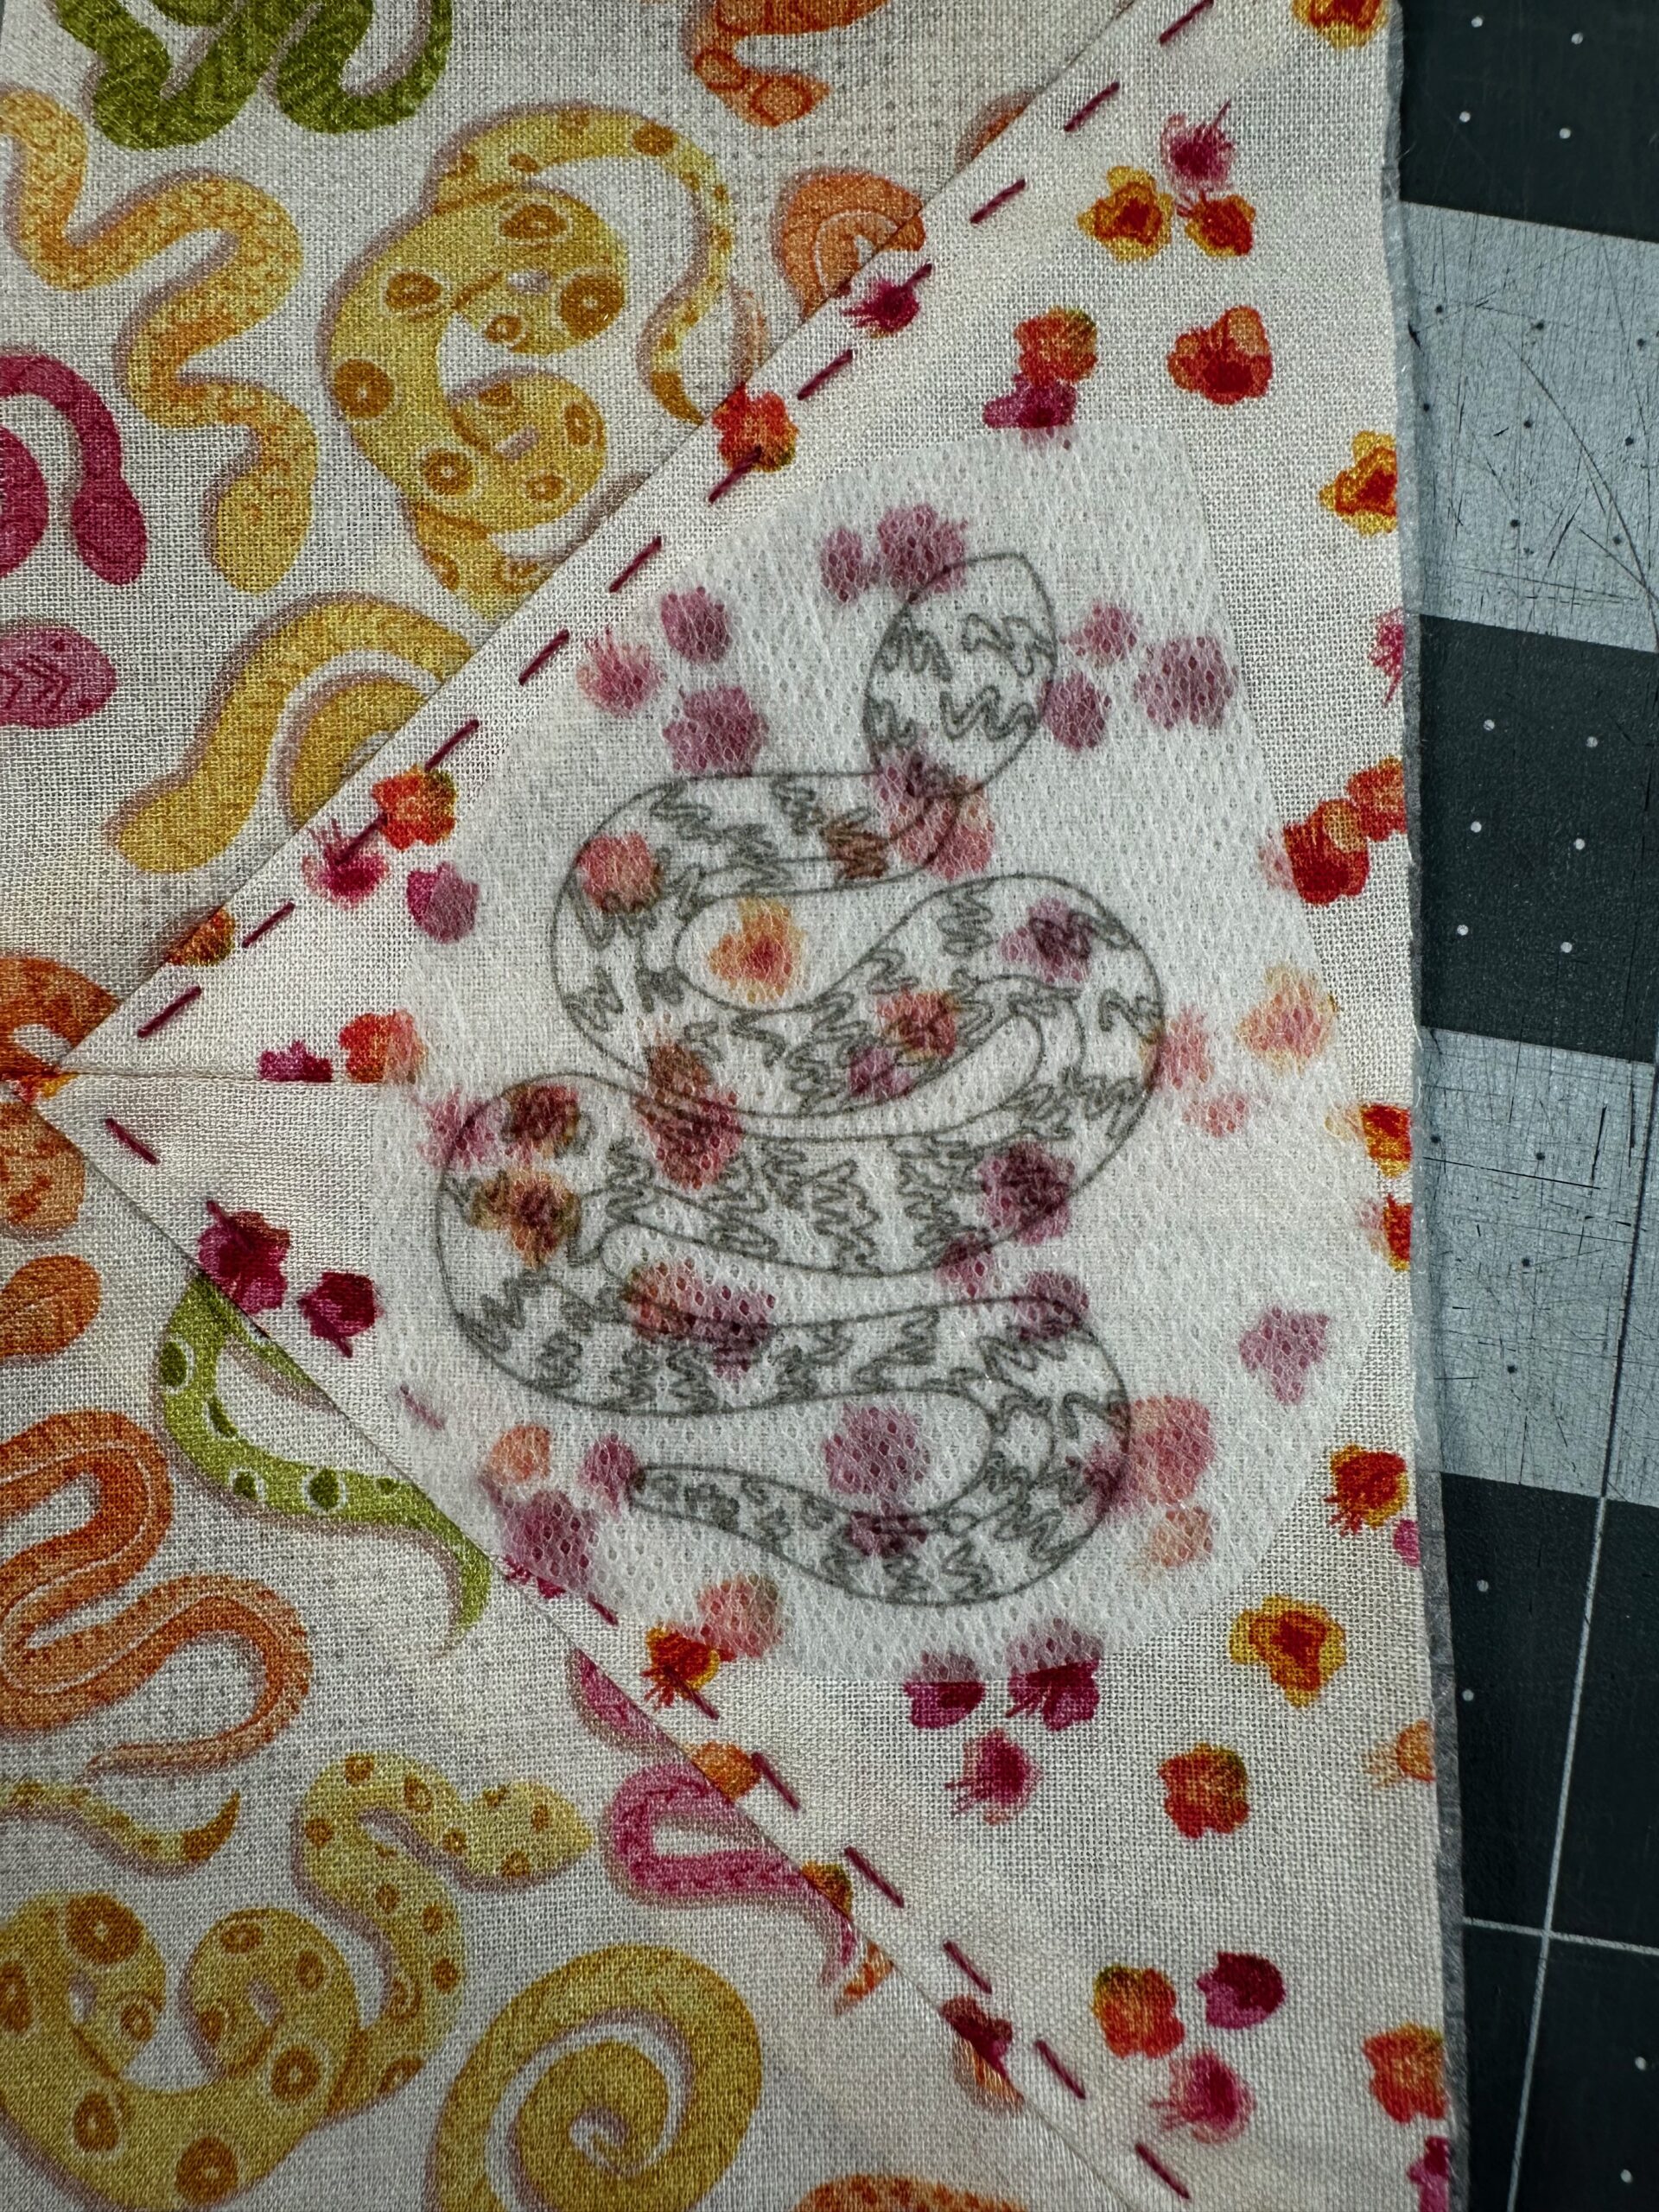
Hand embroider the design, following the transferred design and swapping thread colors as desired. Note: one strand of Sulky 12 wt. Cotton Petites Thread equals two strands of traditional embroidery floss.
When the embroidery is complete, leave the transfer intact until the Bookmark is complete.
Bookmark Finishing
Center one end of the FOE along the Bookmark Front upper edge; then, pin or clip in place. Center the opposite FOE end along the Bookmark Front lower edge; then, pin or clip in place. Make sure the elastic isn’t twisted. The elastic is slightly smaller than the Bookmark, so it will curve slightly when not stretched.
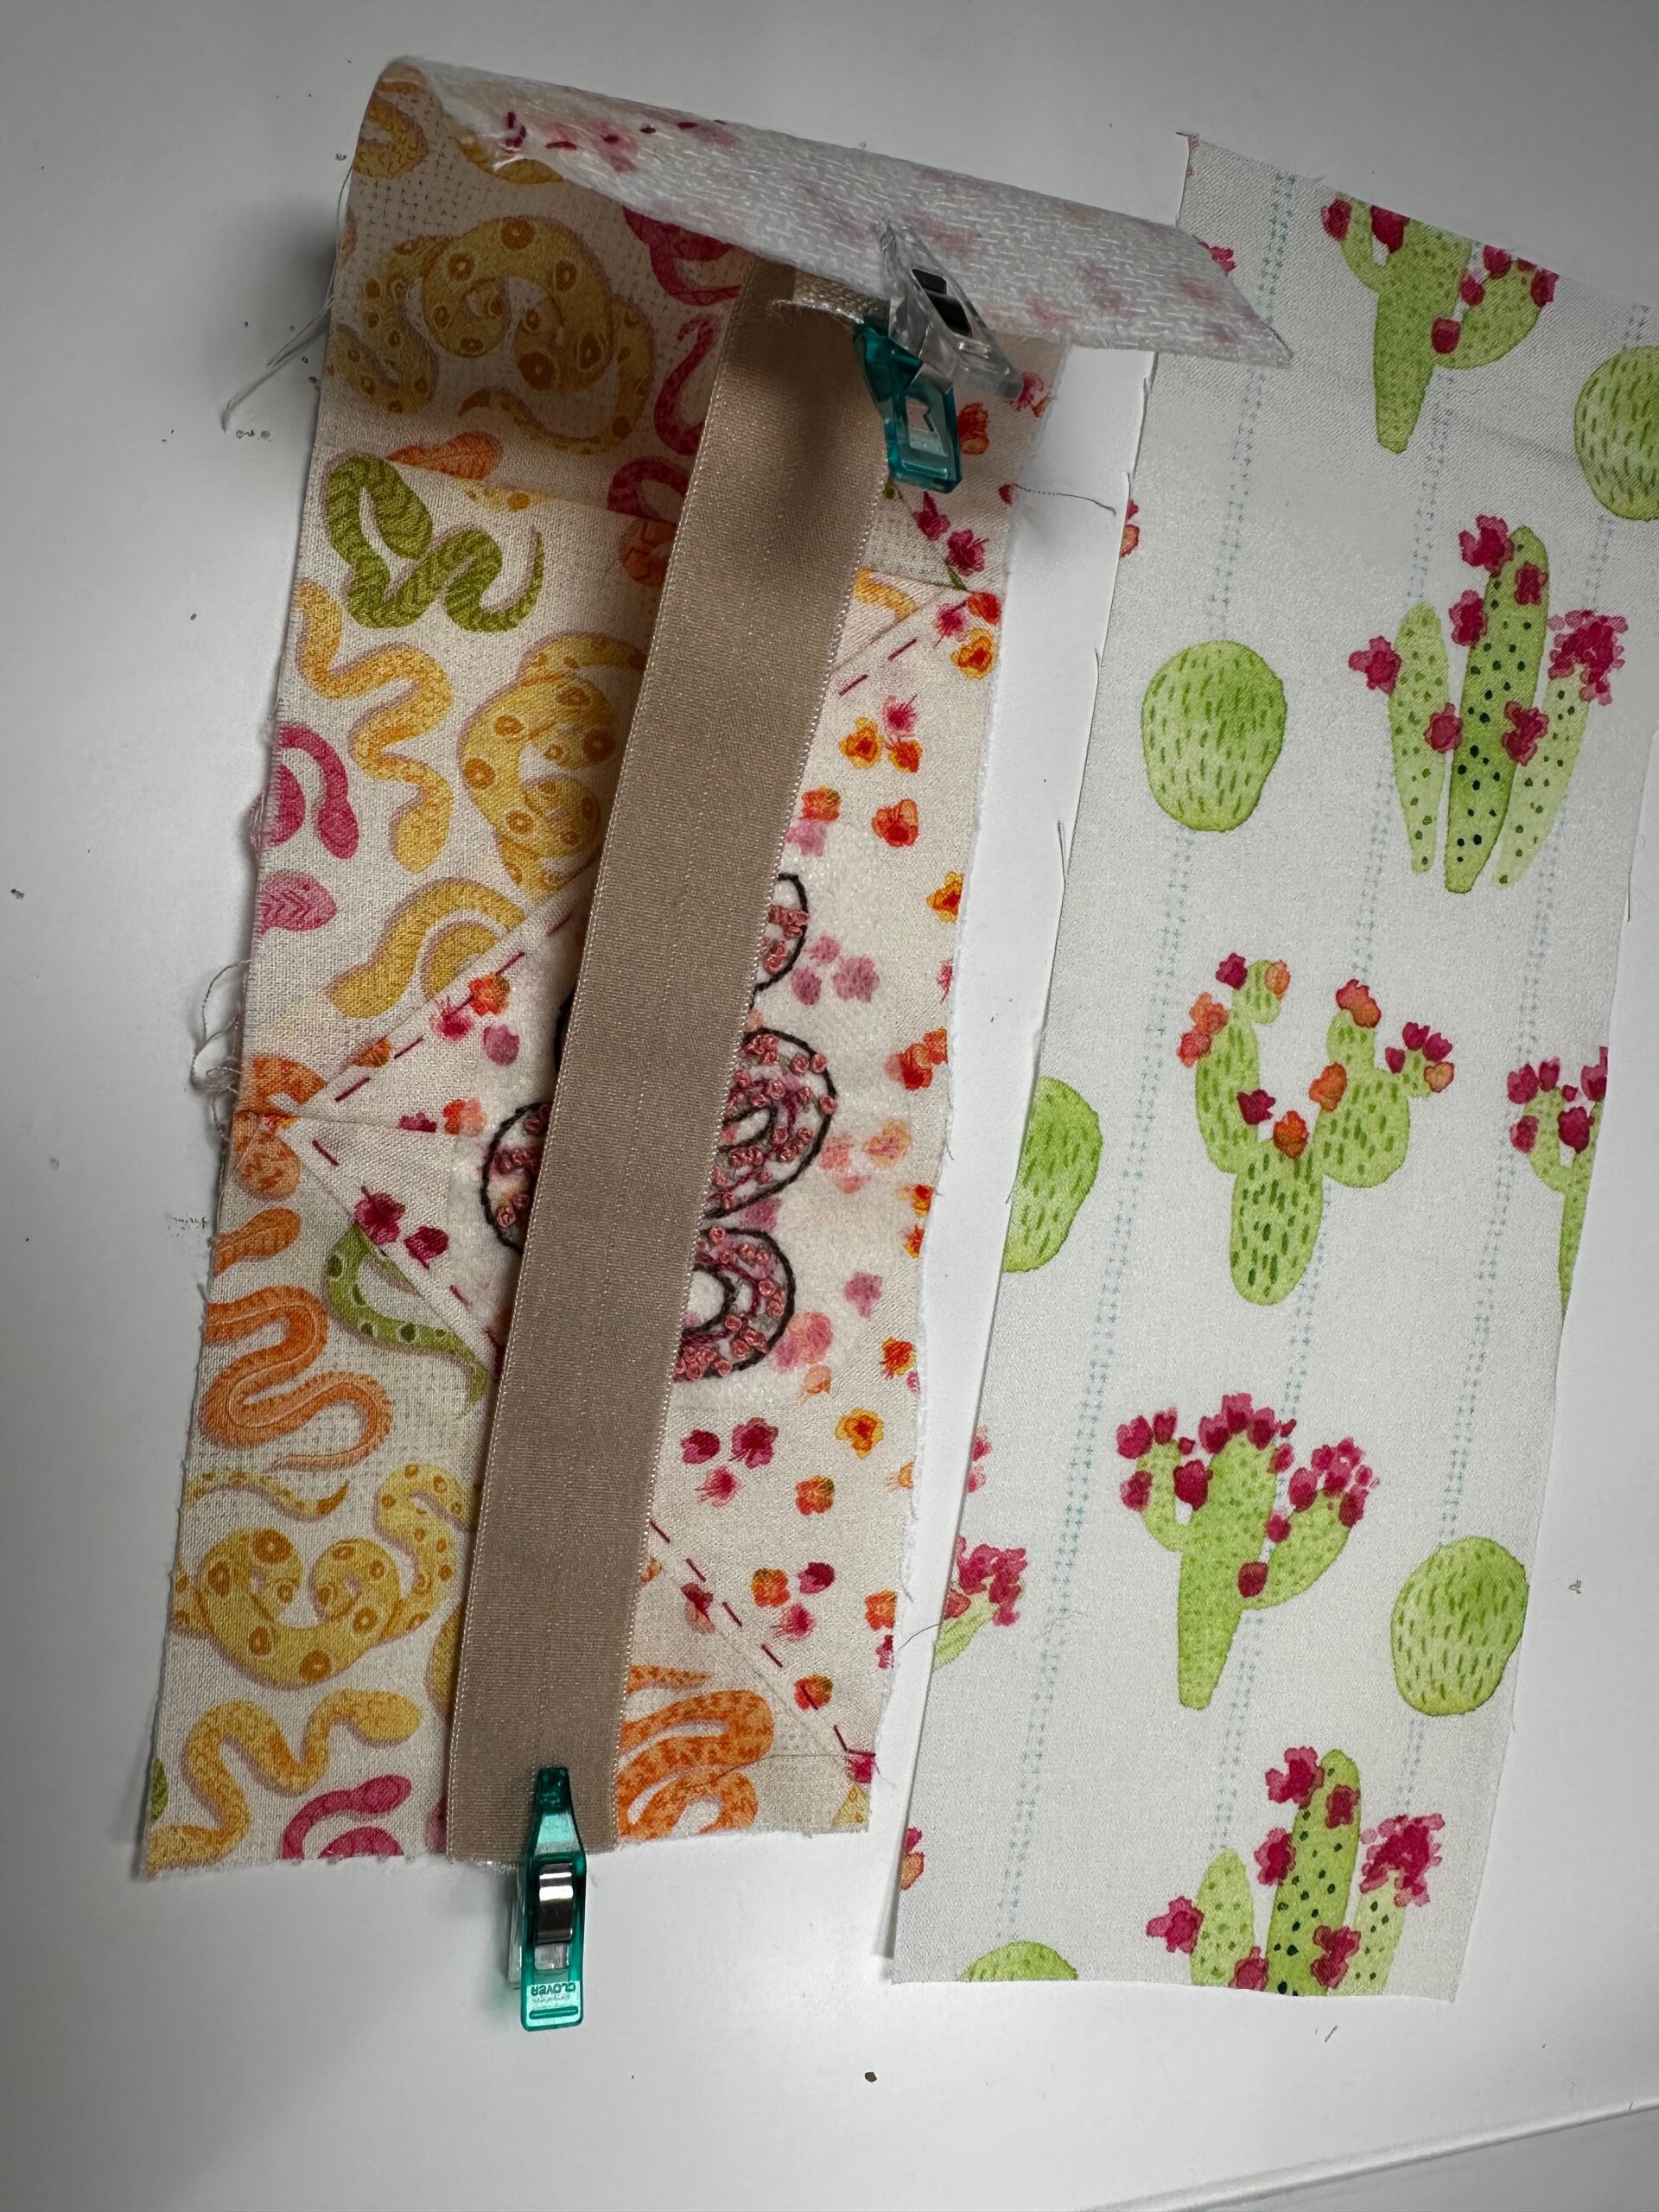
Next, place the Bookmark Back wrong side up over the Bookmark Front right side. Pin or clip the Bookmark perimeter.
First, stitch the short Bookmark ends to secure the elastic.
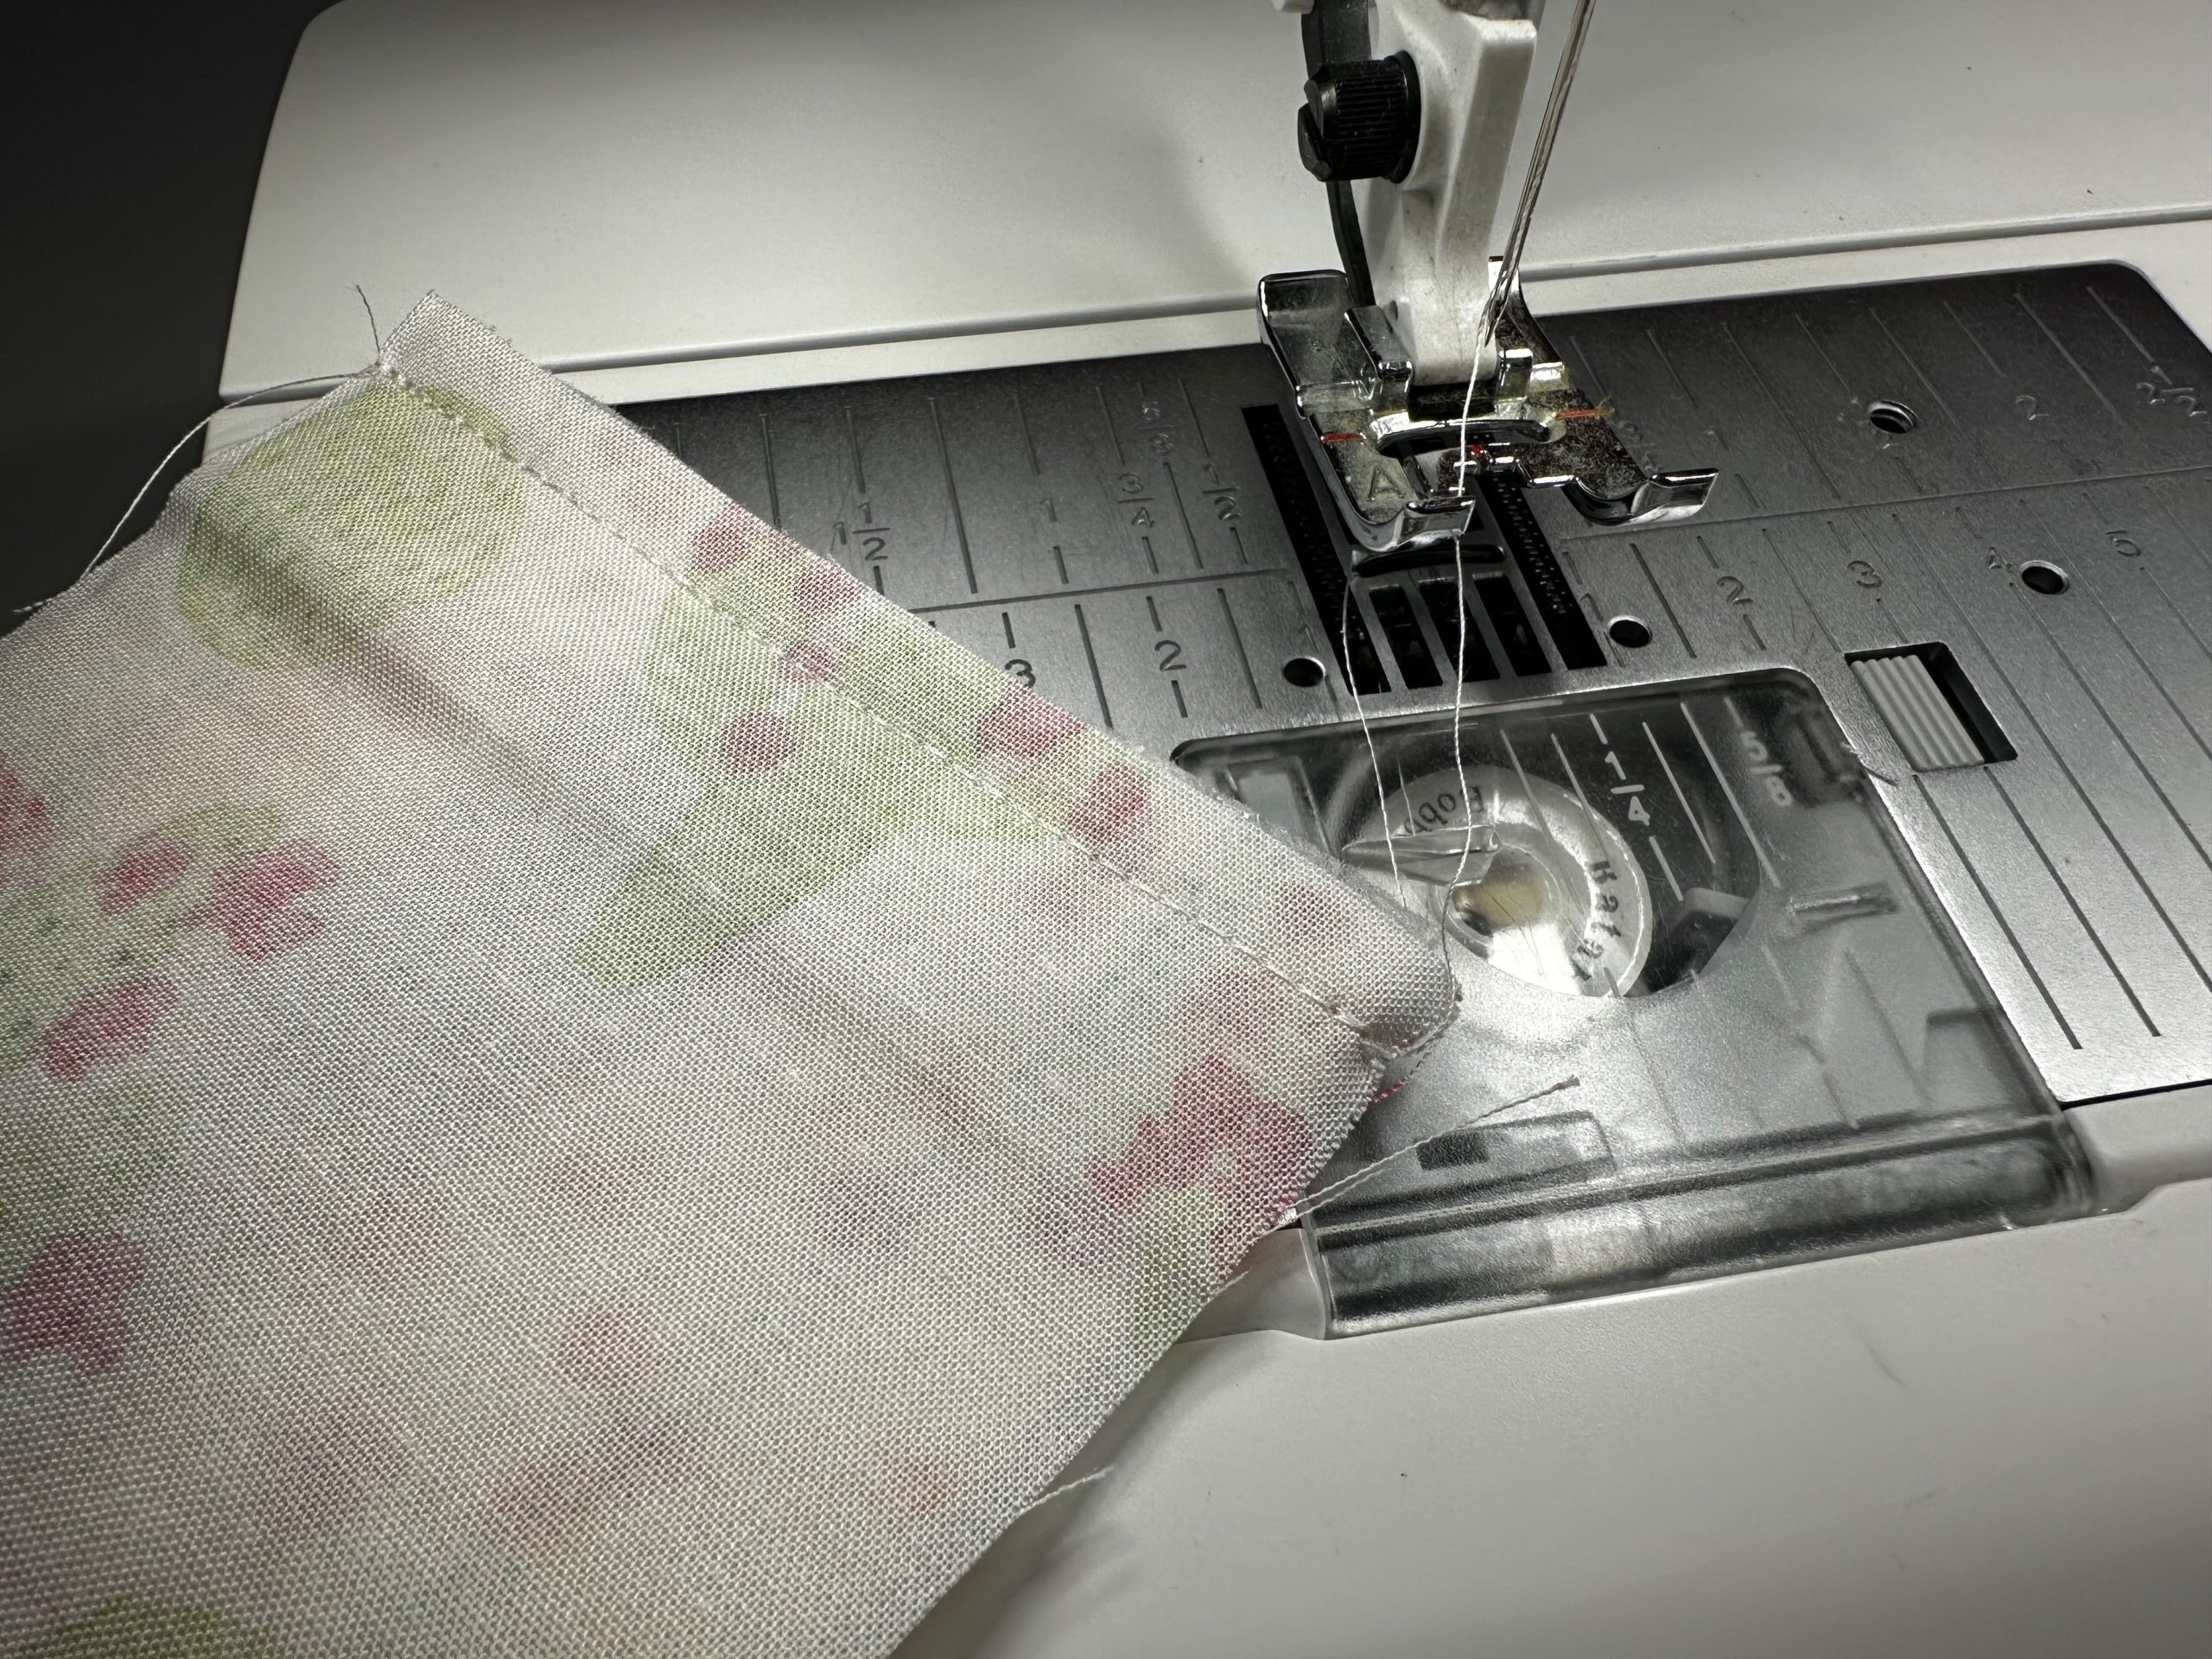
Then, stitch each long edge, stretching the elastic to fit. Leave a centered 3″ opening along one long edge for turning. Clip the corners up to, but not through, the stitching.
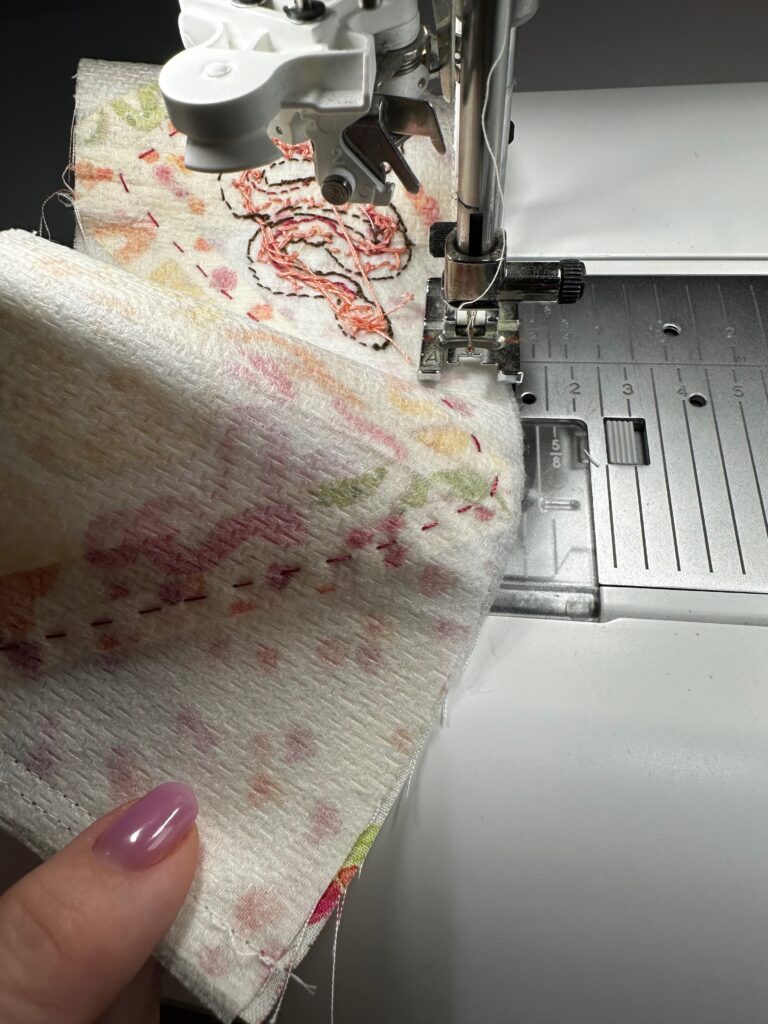
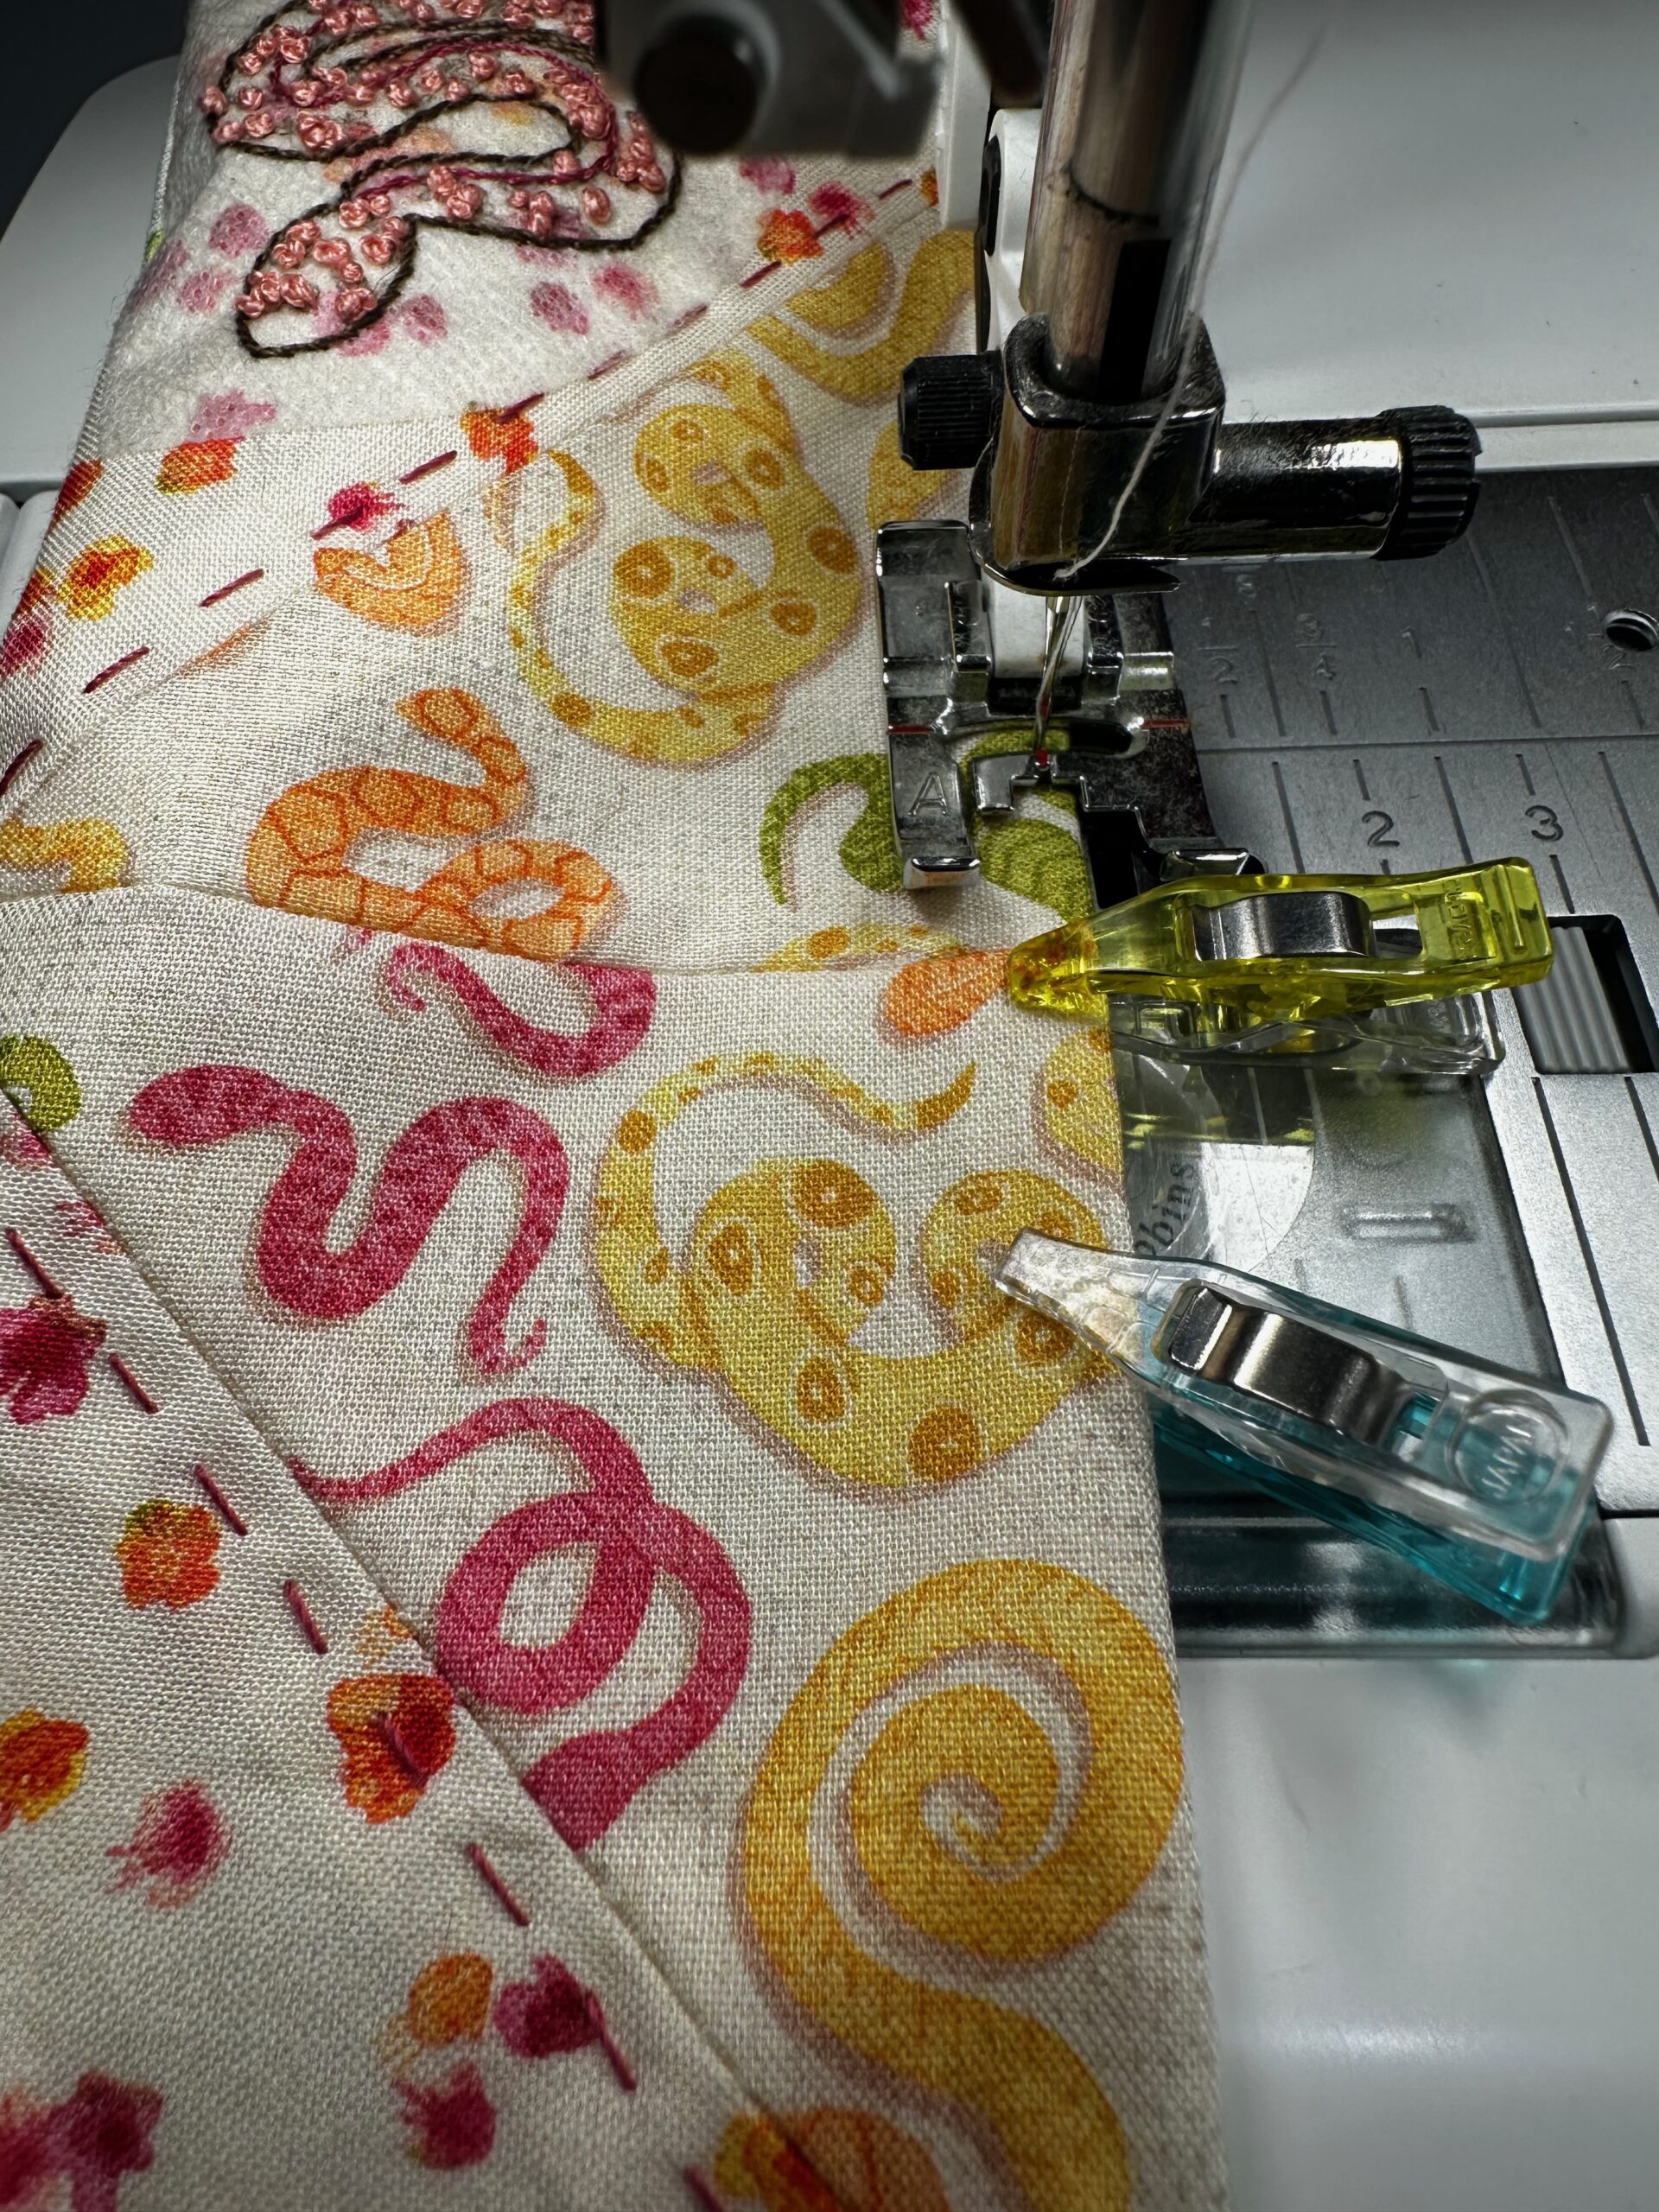
Turn the Bookmark right side out through the opening. Fold the opening seam allowances toward the wrong side; press. Be careful to NOT touch the leftover Stick ‘n Stitch Transfer with the iron, if using. Next, topstitch the quilty bookmark perimeter. You’ll need to stop and start and straighten the edge as you go because the elastic will pull the bookmark to one side. You may want to move the elastic ends out of the way of the topstitching as well (I did not, but wished I had).
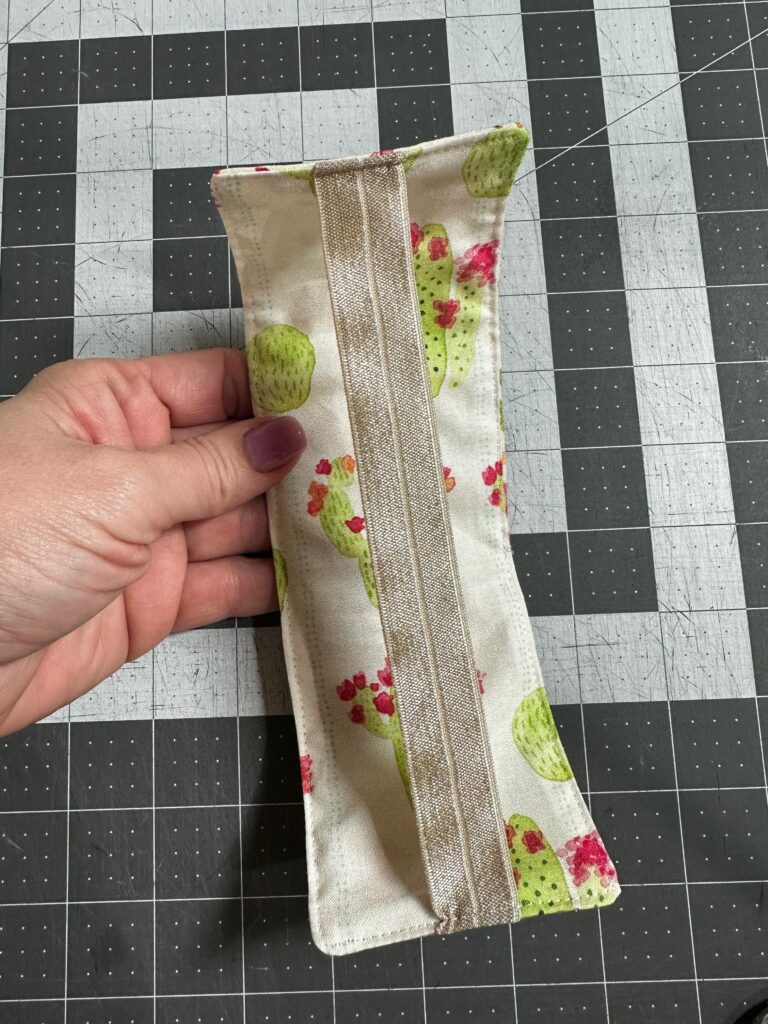
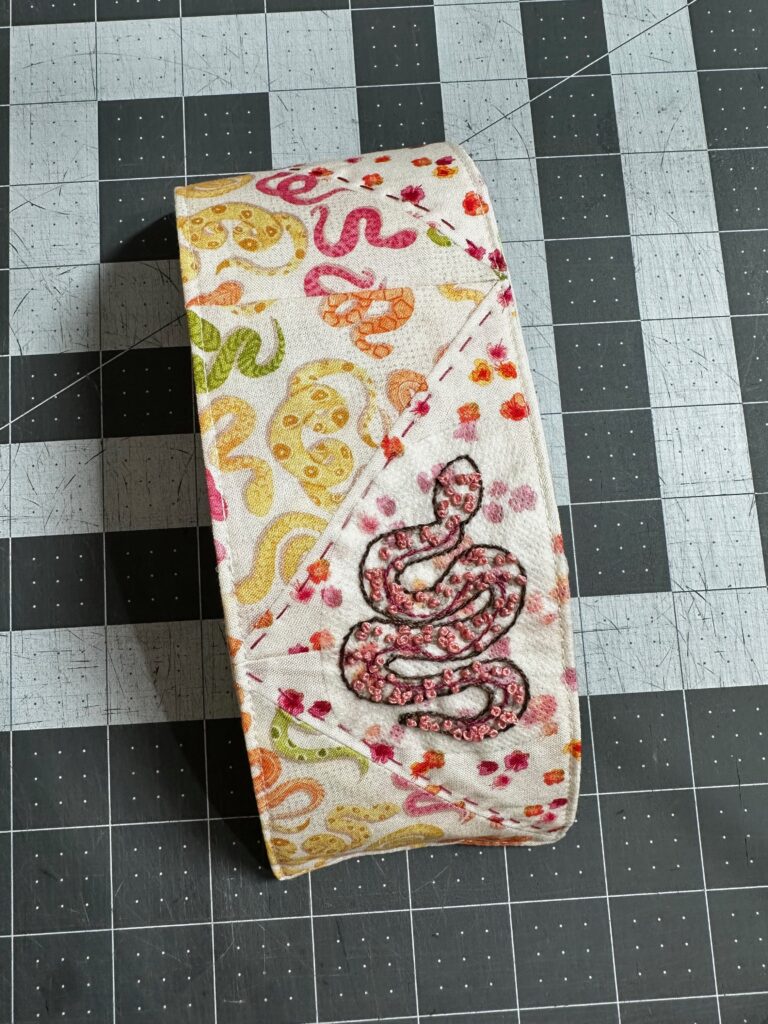
When the stitching is complete, the bookmark will look like this (back and front).
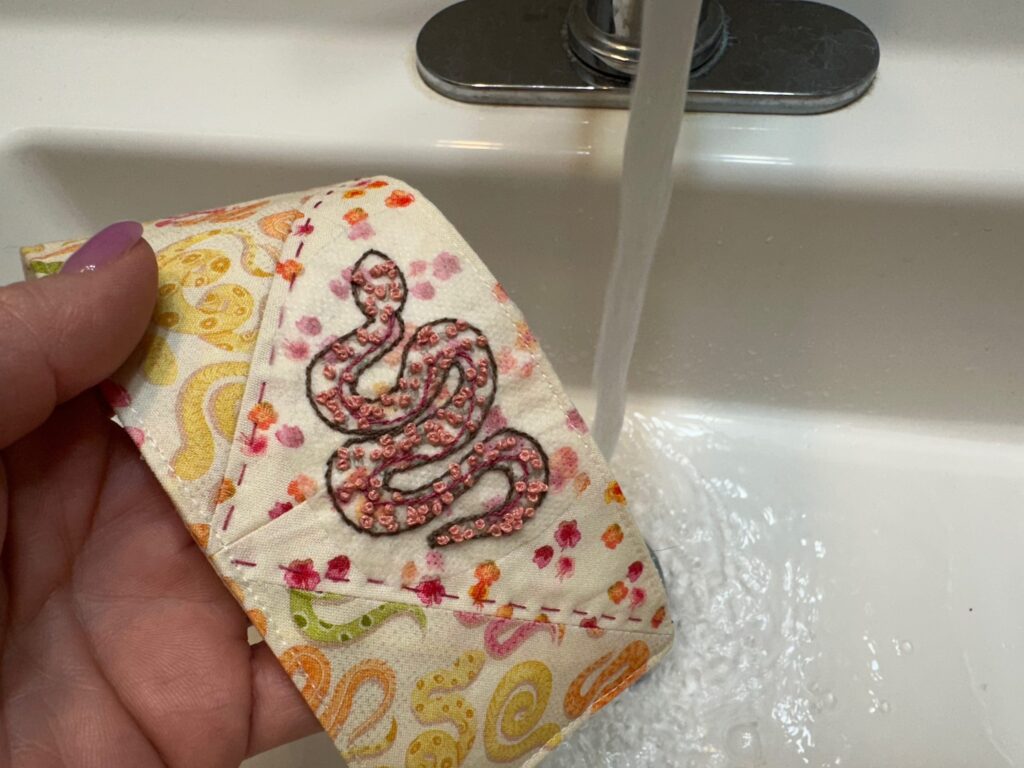
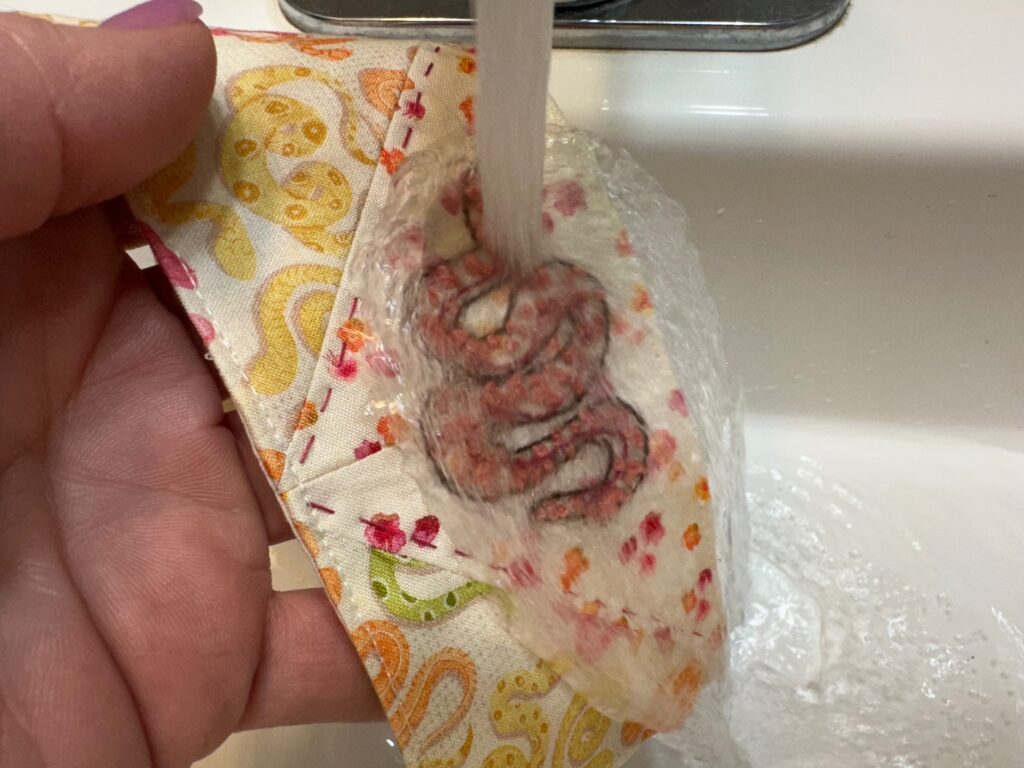
Remove the remaining Stick ‘n Stitch Transfer, if using, by running the area under warm, running water.
Then, let the bookmark dry on a towel.
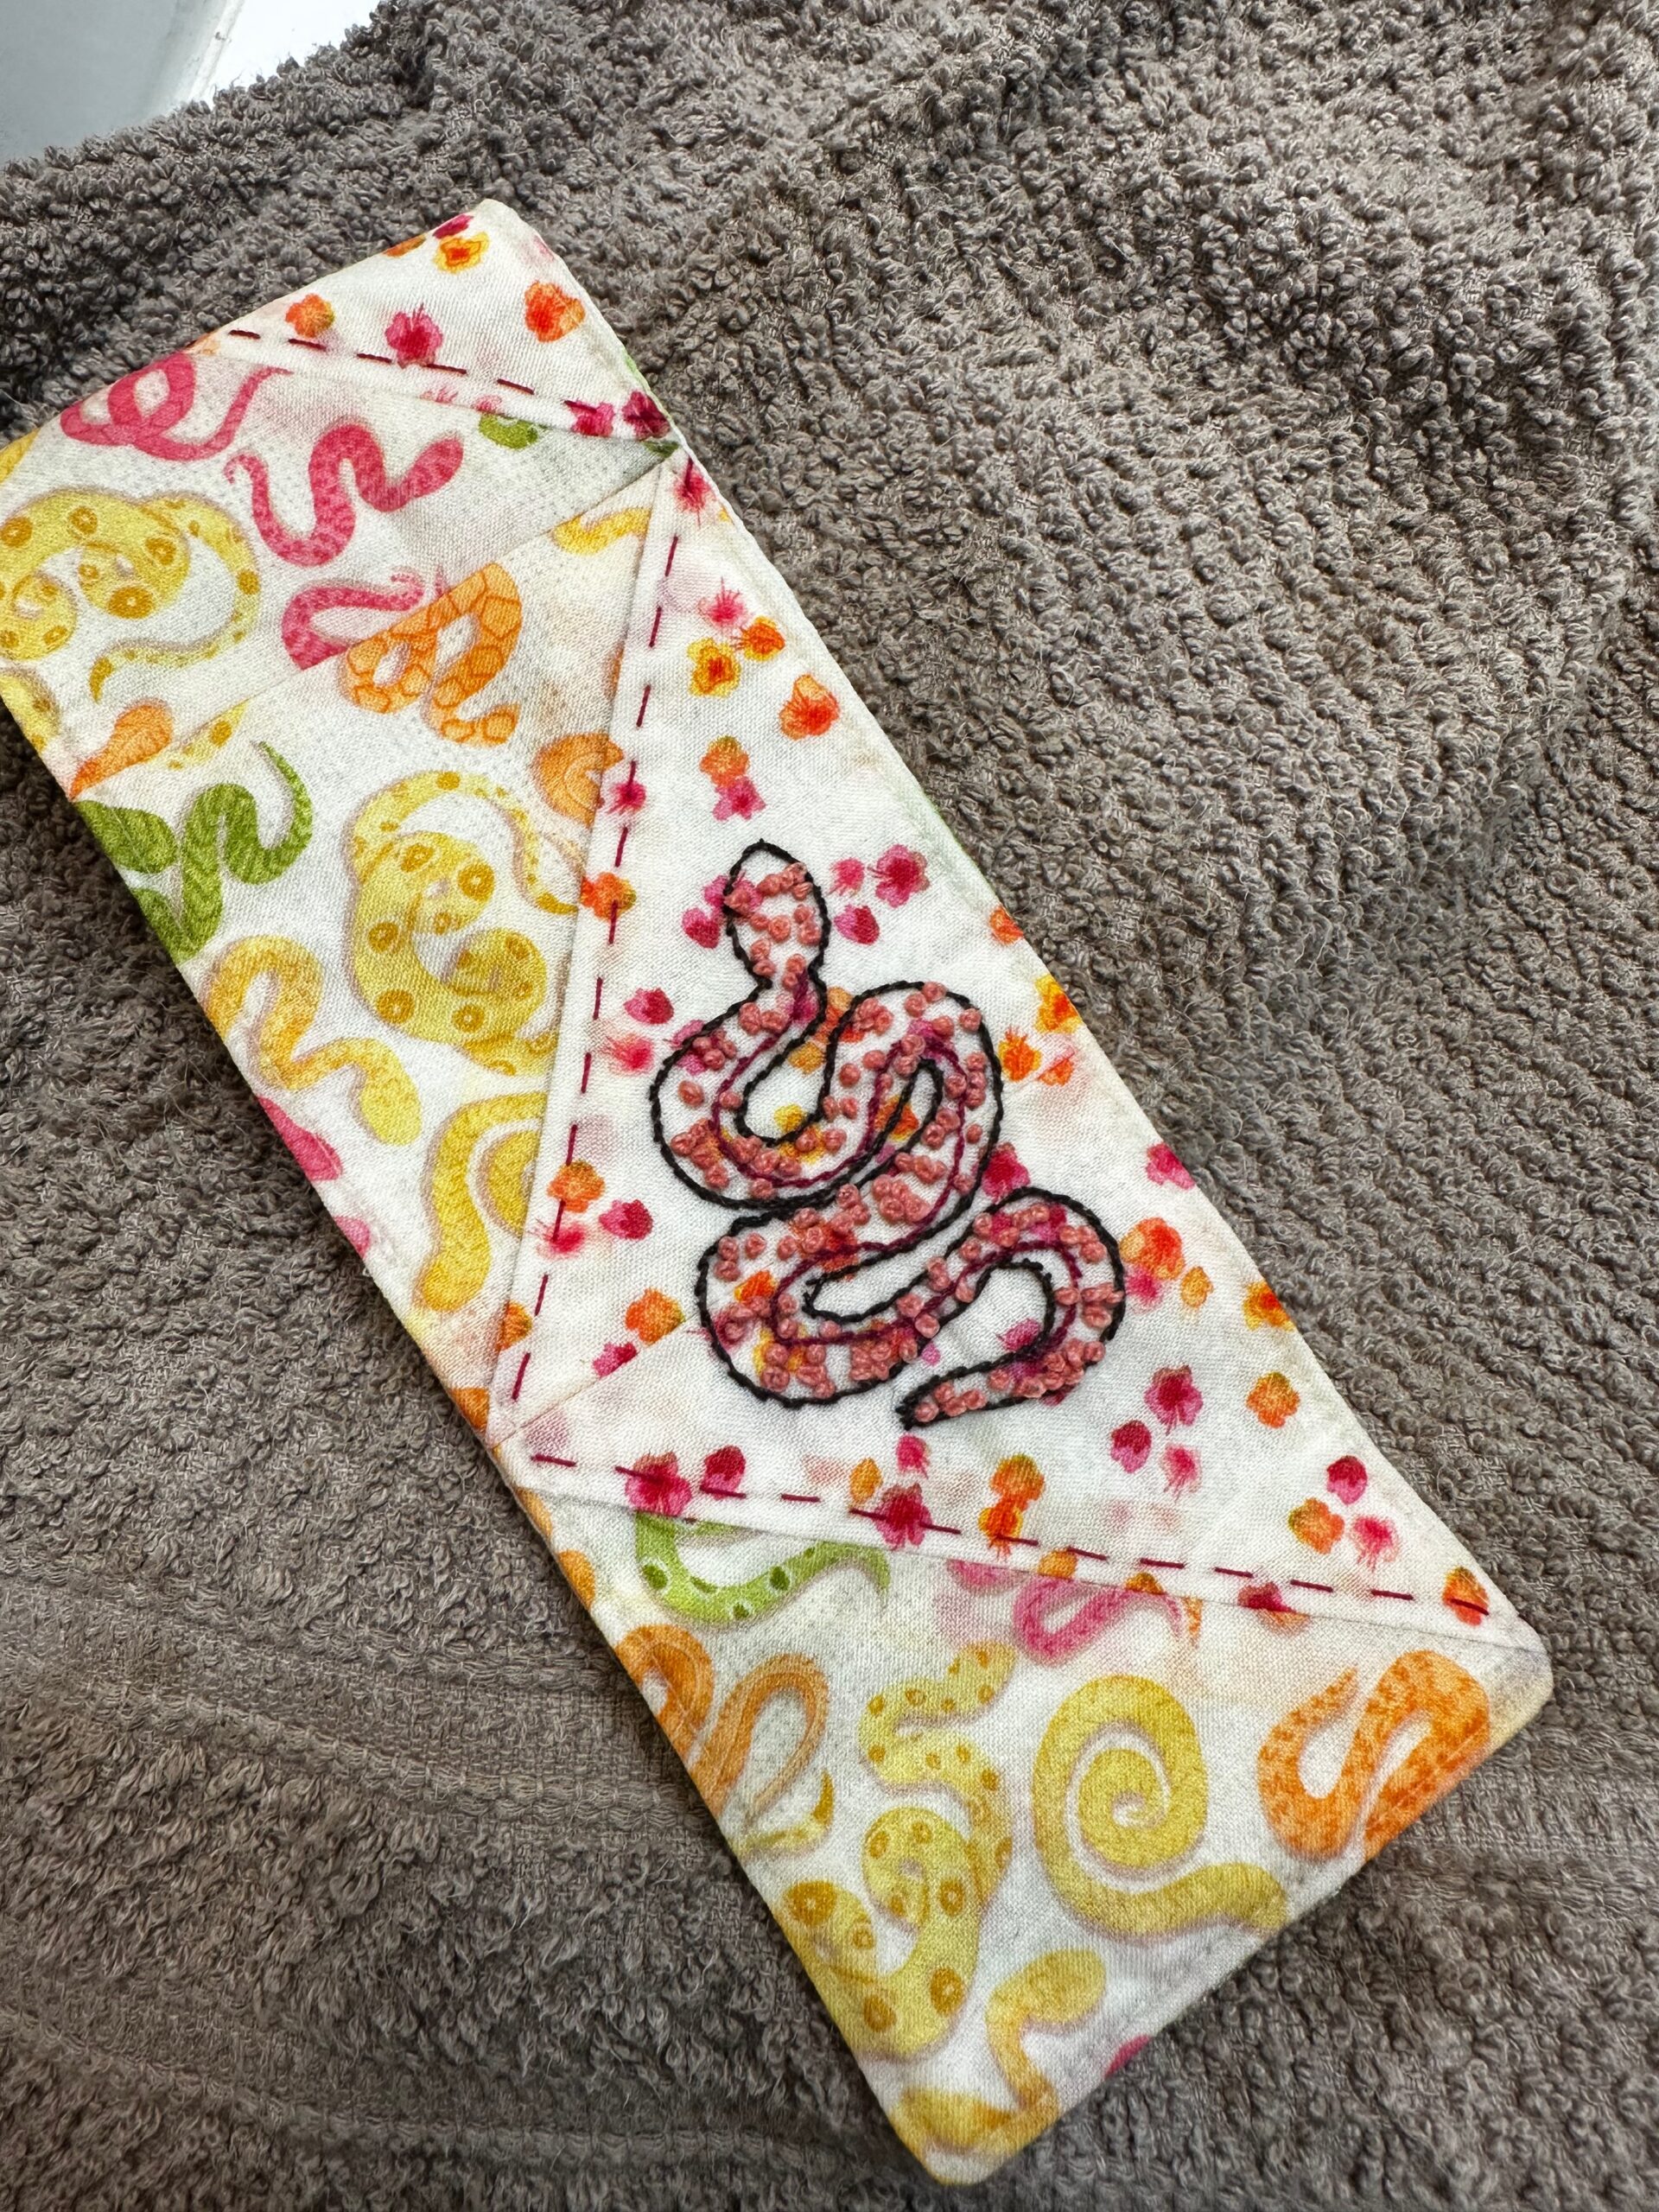
To use, wrap a book with the quilty bookmark, placing the elastic inside the book on the page you left off reading.