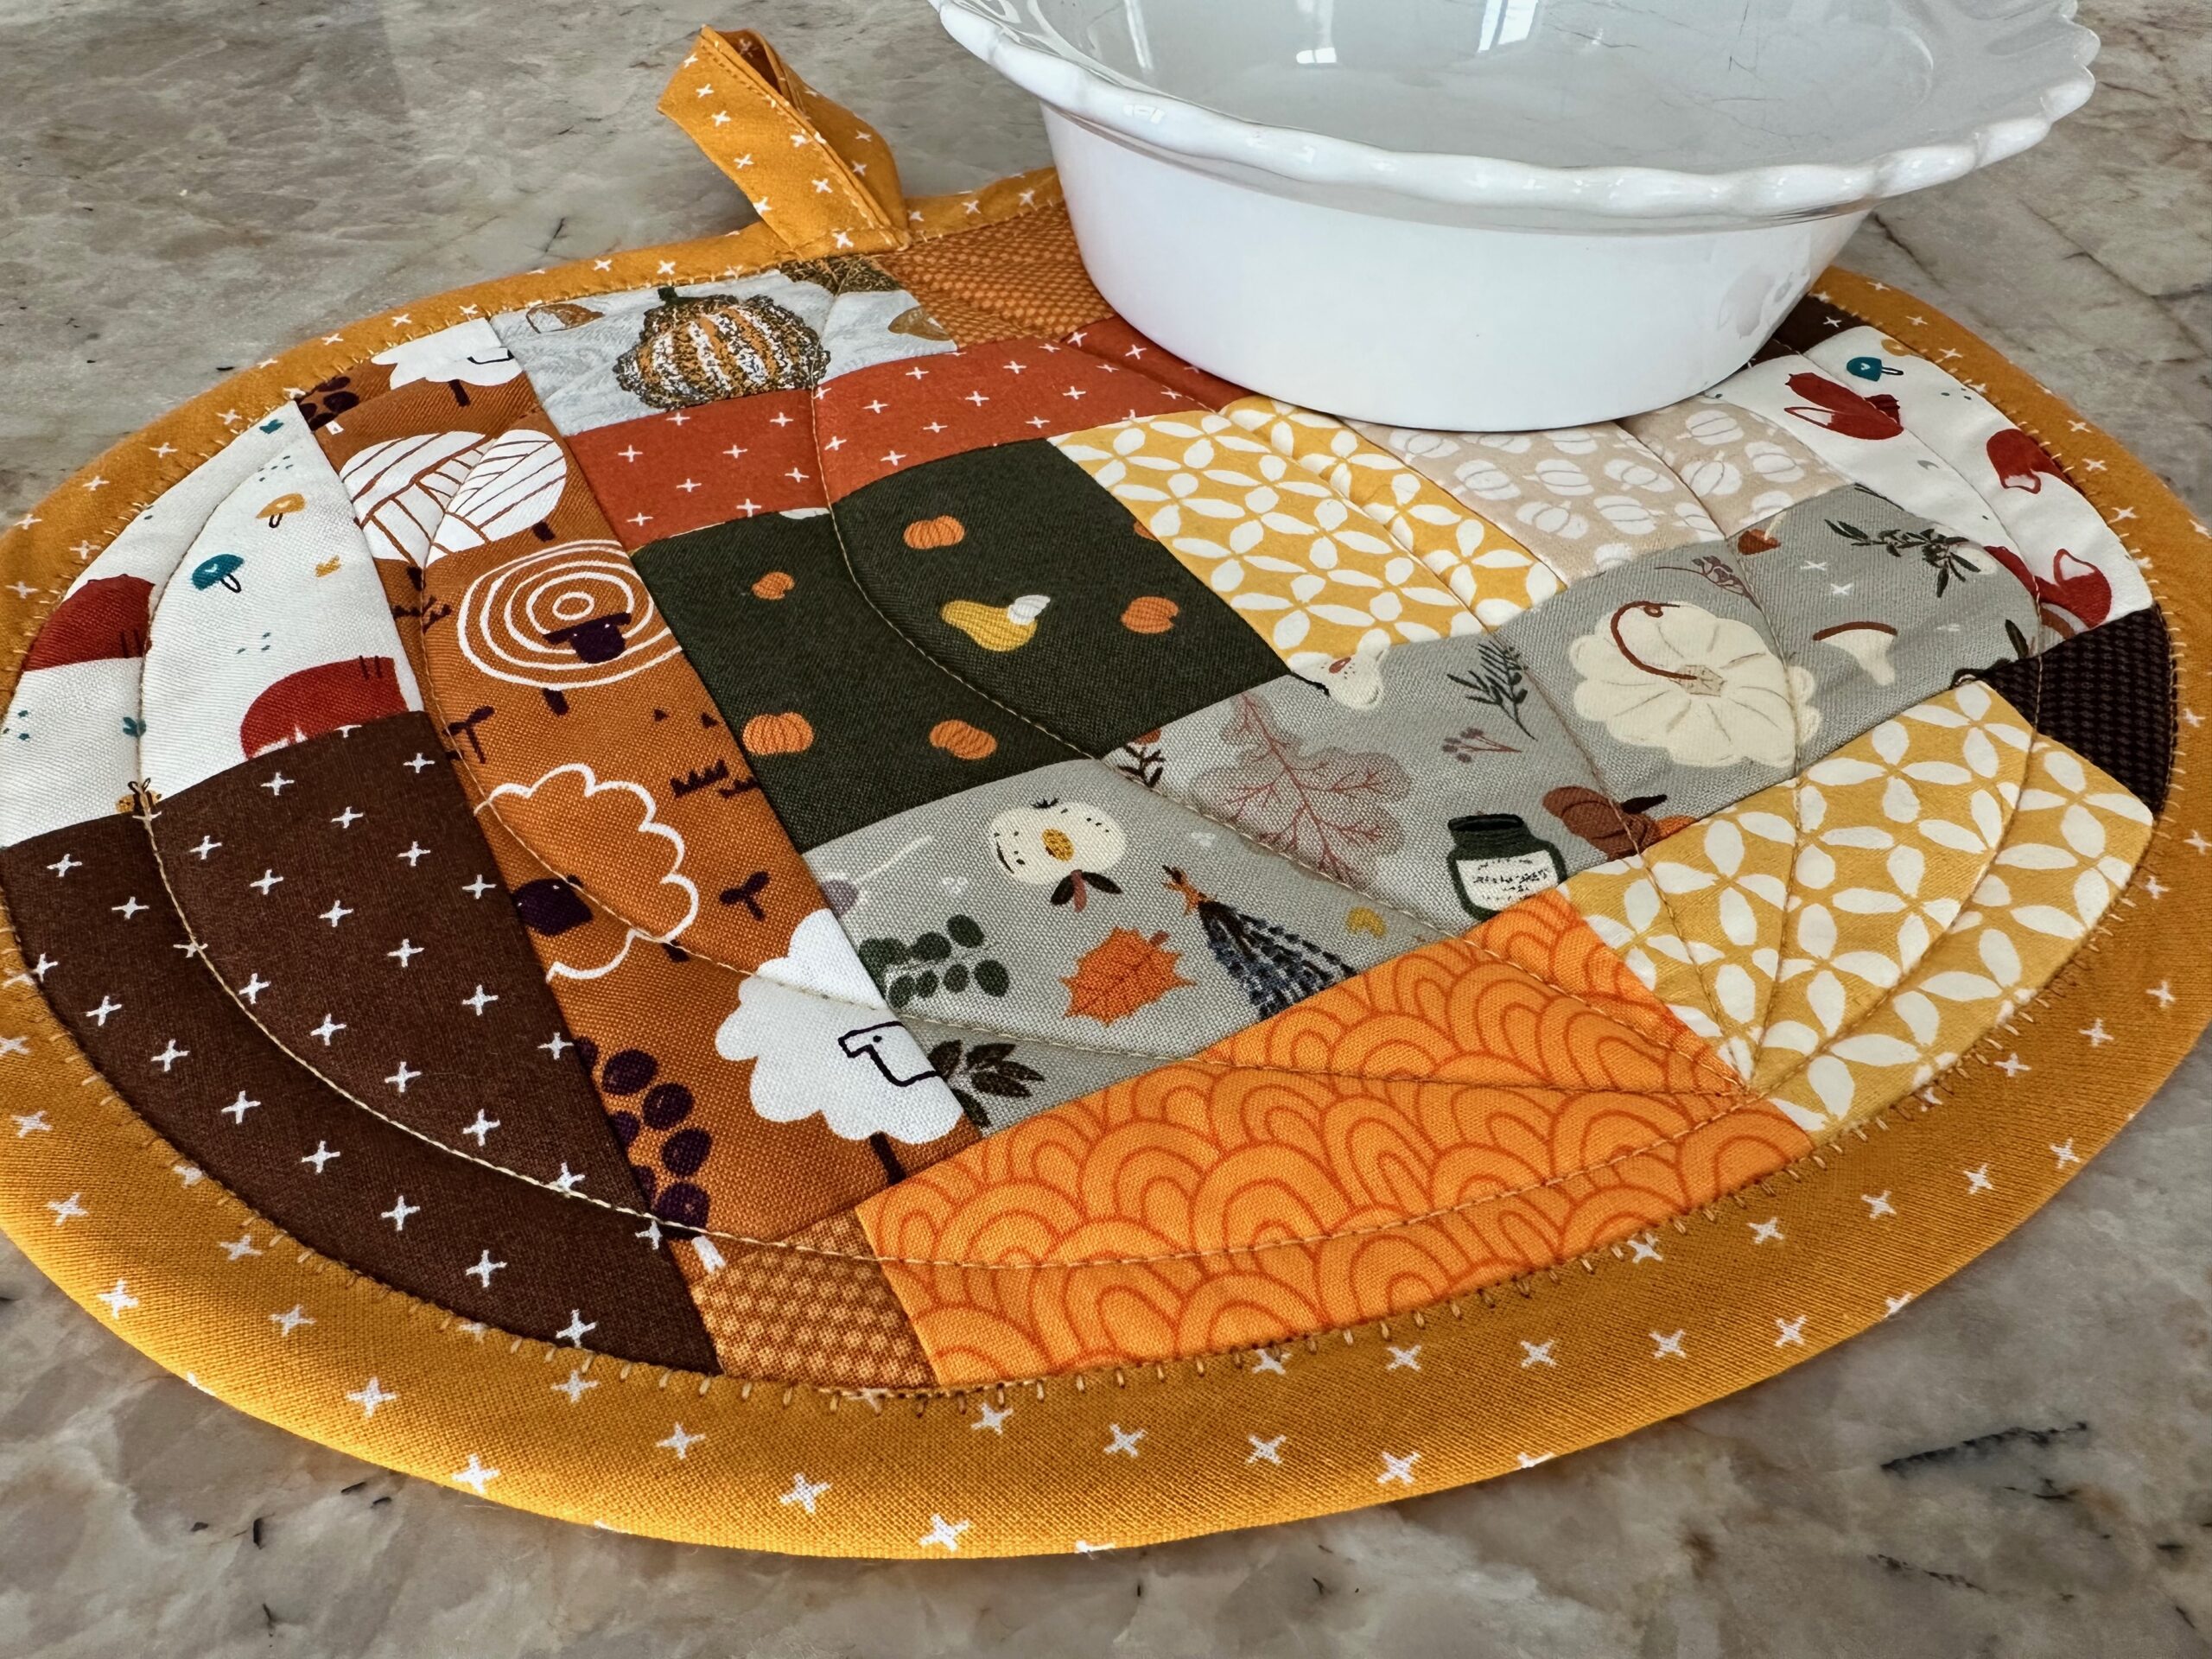
A Scrappy Pumpkin Potholder is just what you need to usher in pumpkin spice season! The best part of this pumpkin potholder project is that it’s totally customizable. Either make it scrappy, as shown, or add jack-o-lantern appliqués to a solid fabric to turn this scrappy pumpkin into a carved masterpiece fit for Halloween.
PUMPKIN POTHOLDER PATTERN DETAILS
This pattern was designed by Stacy Lee Creative, who offers the pattern template free on her website. She also has a great YouTube tutorial, showing how it’s done.
Dive into your fabric scrap bin and find some like colors in fall hues. Or, create both the top and backing from one solid fabric and showcase some fun appliqués. Simple triangles can transform this pumpkin into a jack-o-lantern. Just don’t forget the Sulky Perfect Appliqué Fusible Web!
It’s best to use the recommended insulated batting if you plan on using this as a traditional potholder, which keeps your surface safe from hot pots. If you plan to use this as a place mat, however, you can use low- to medium-loft batting.
THREAD CHOICE
I decided to have a go at this fun project, using Sulky 50 wt. Cotton Thread for the construction and piecing and 30 wt. Cotton Thread for the quilting. Rayon Thread also looks nice for quilting, giving the project more of a sheen. But for items that I wash frequently, I prefer to use 30 wt. Cotton or 40 wt. Poly Deco instead.
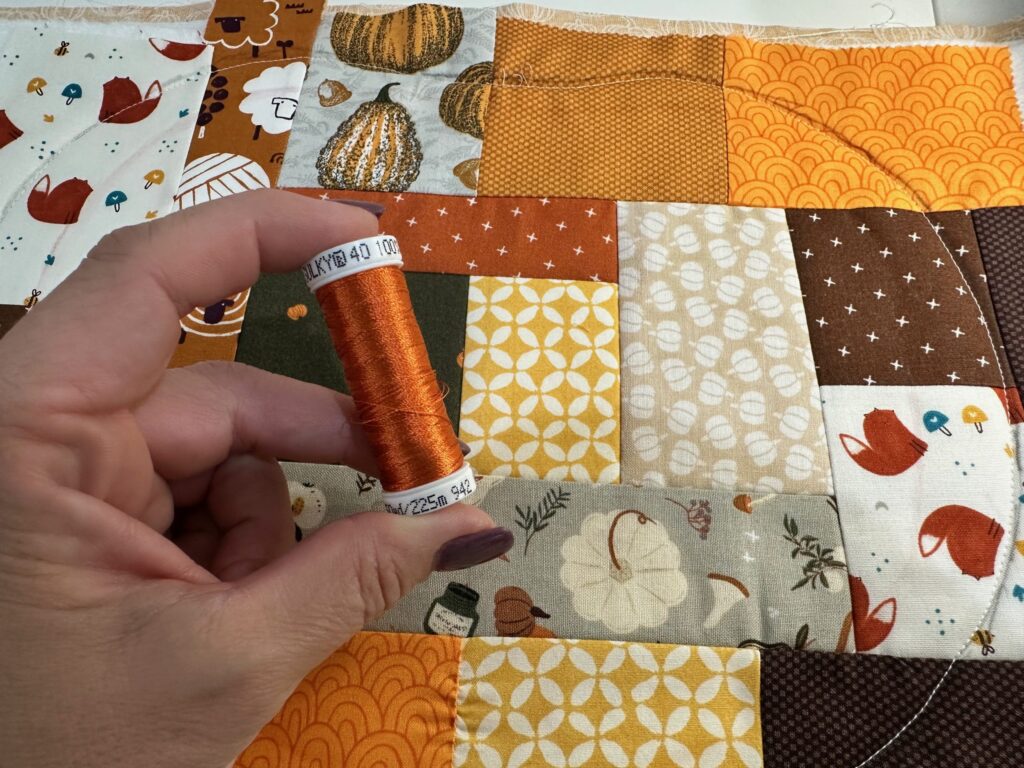
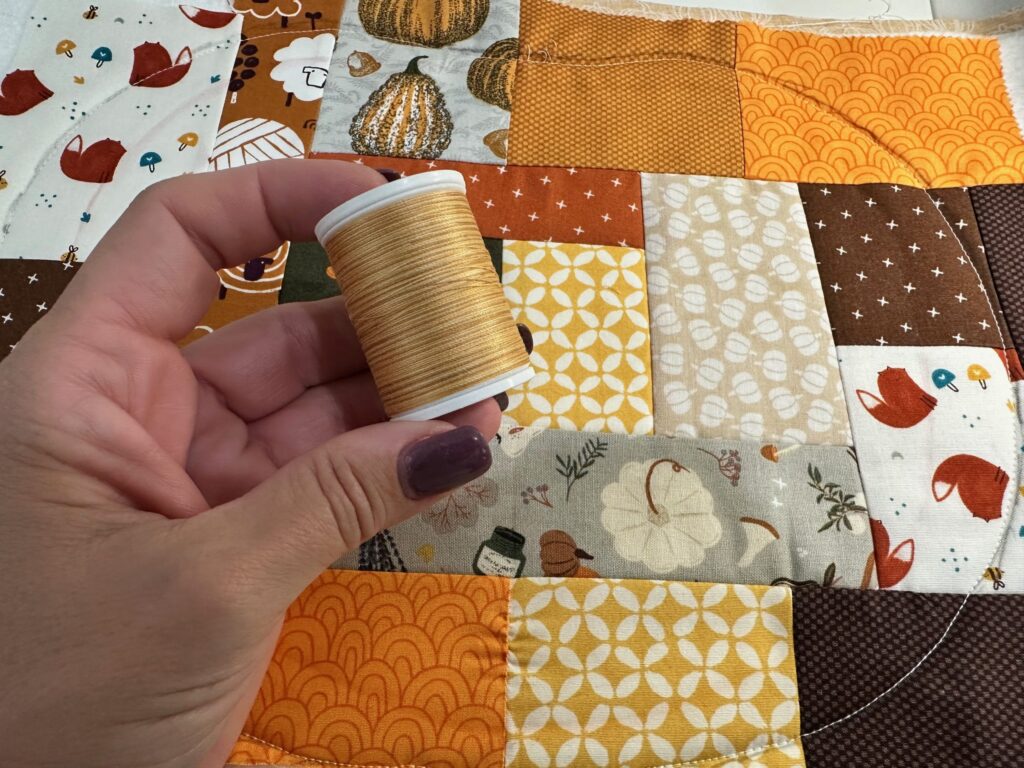
Something to note – if you plan to switch from 50 wt. to 30 wt. Cotton Thread, be sure to have a pack of needles on hand in assorted sizes. You will need a size 70/10 needle for the 50 wt. Thread and a size 90/14 needle for the 30 wt. Thread.
This came together in under two hours with mostly items I had on hand!
PATTERN TIPS & HINTS
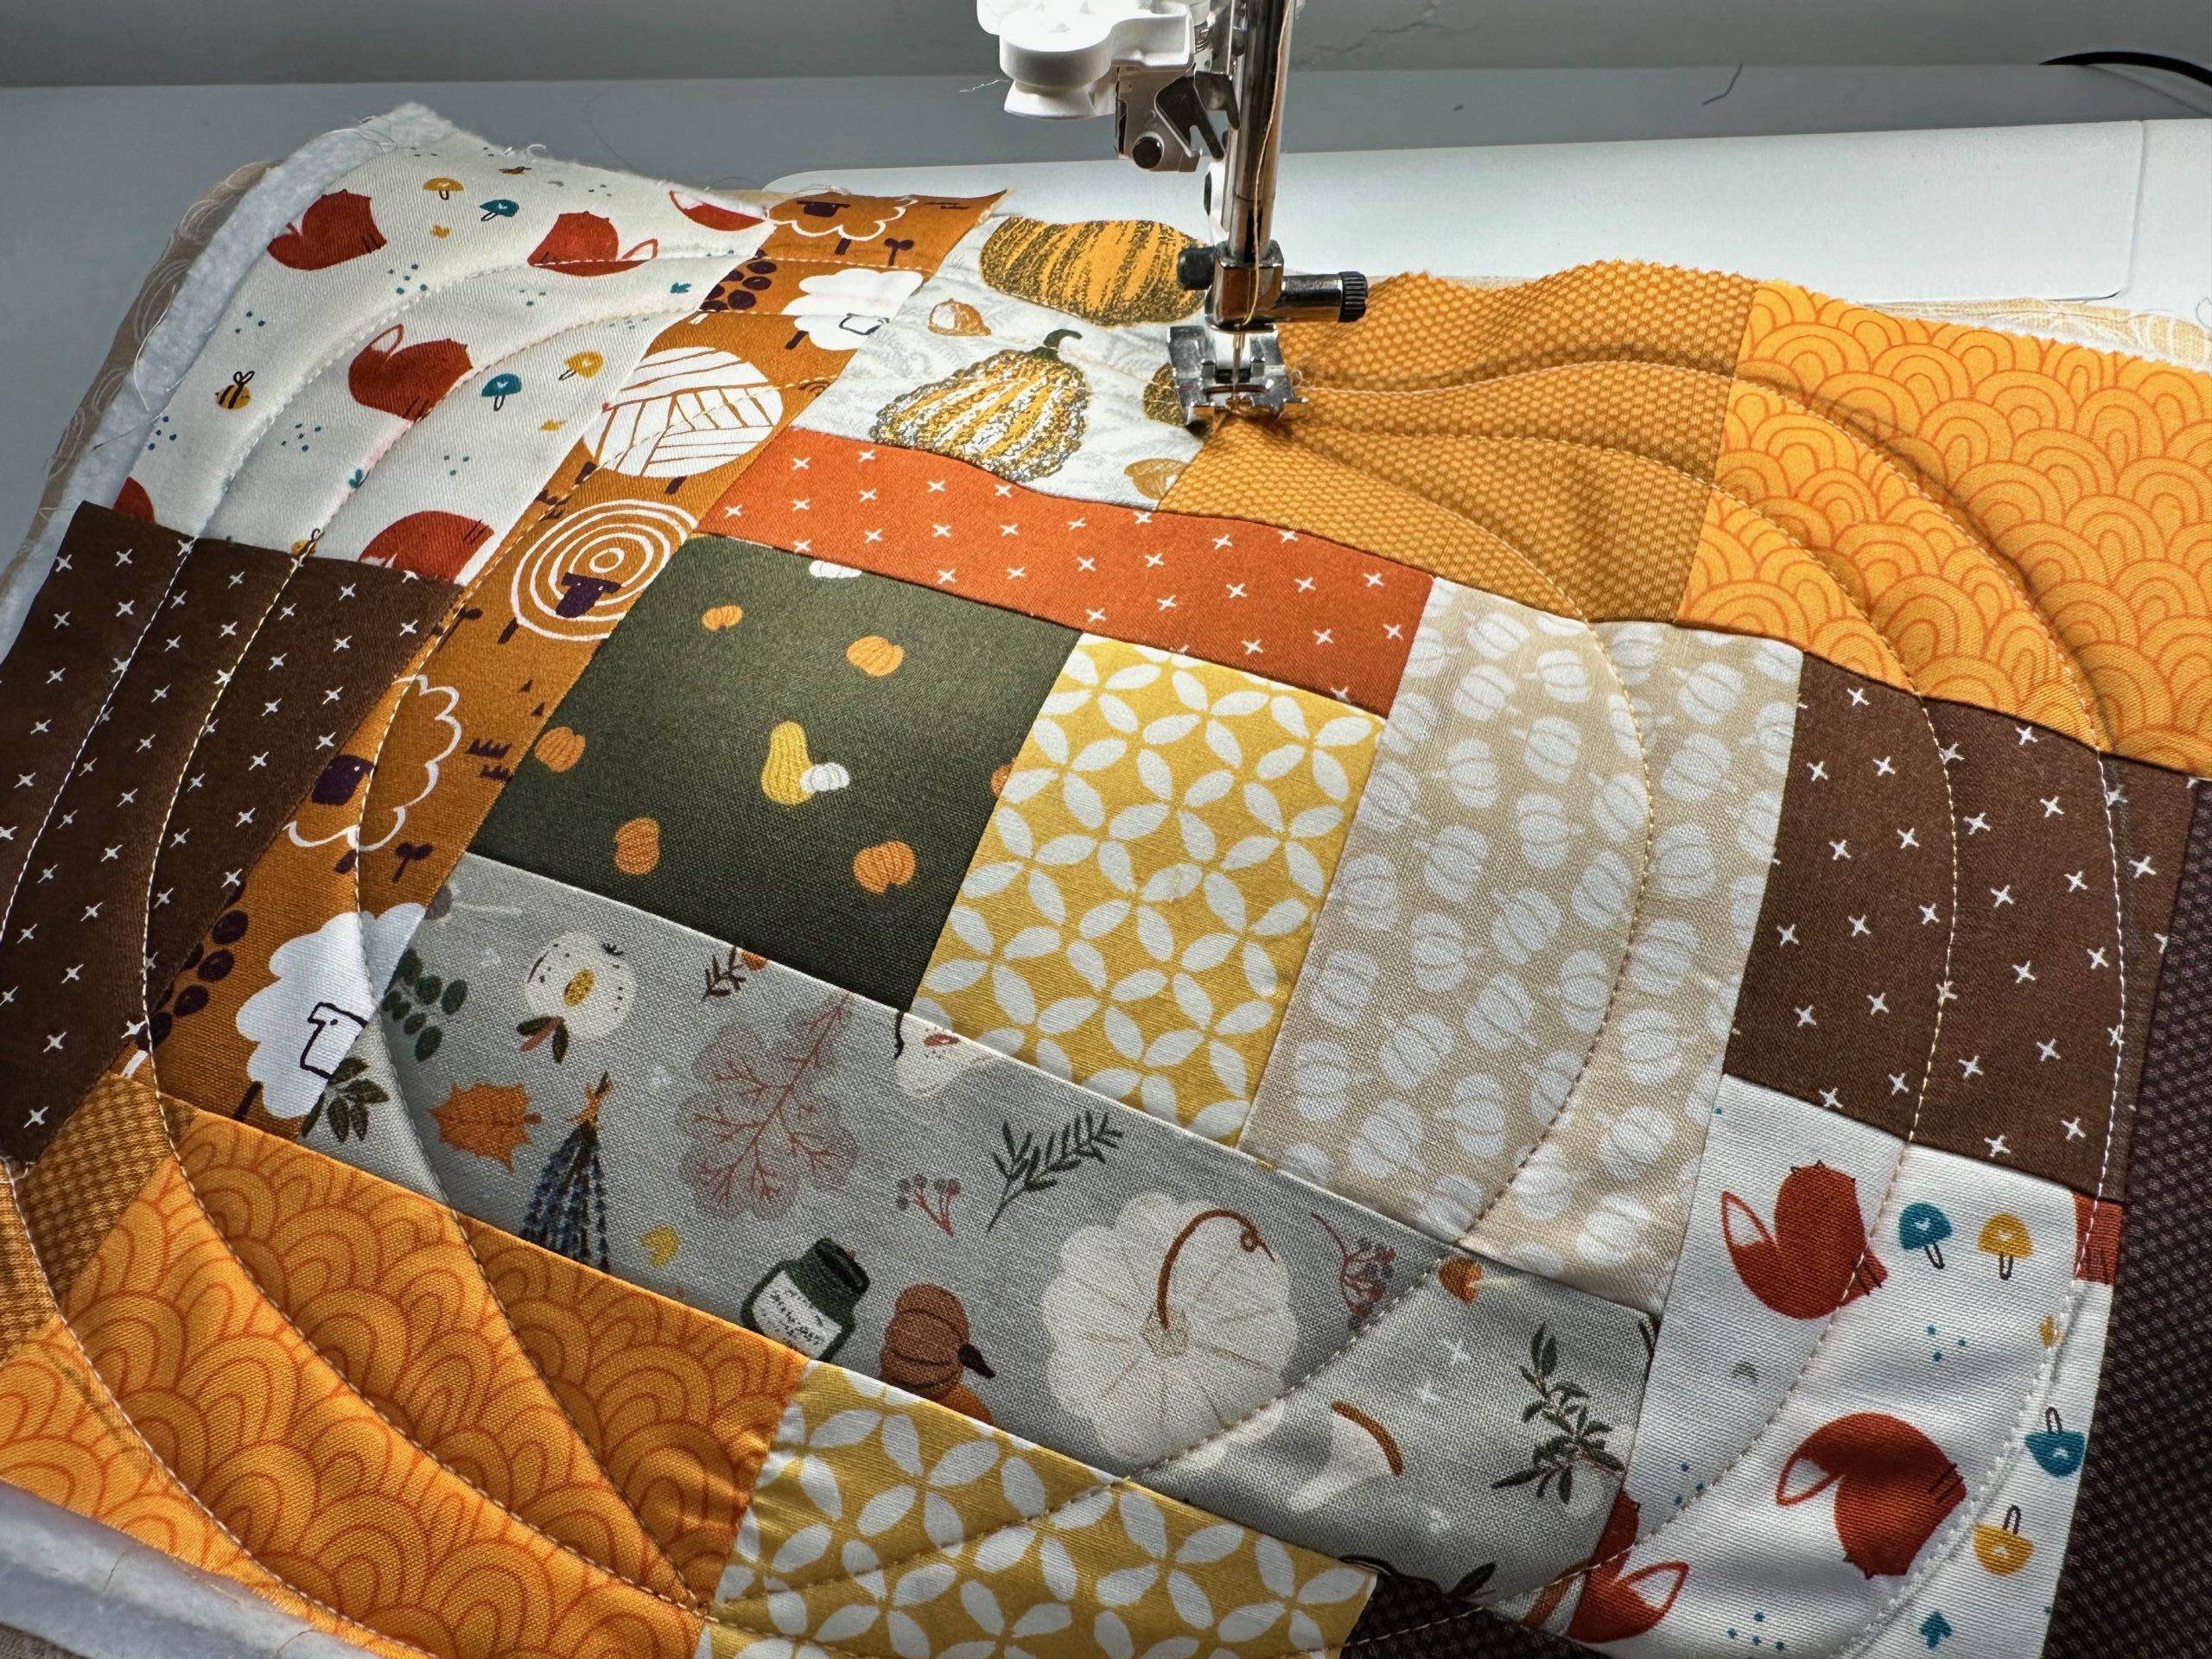
For scrappy piecing, it’s best to work your way out from center, trimming fabric pieces as you go. (This is done similarly to our “Casserole Hot Pad,” which is also a free pattern from Sulky.)
You can also showcase a small quilt block in the center of the potholder or fussy cut a motif to showcase.
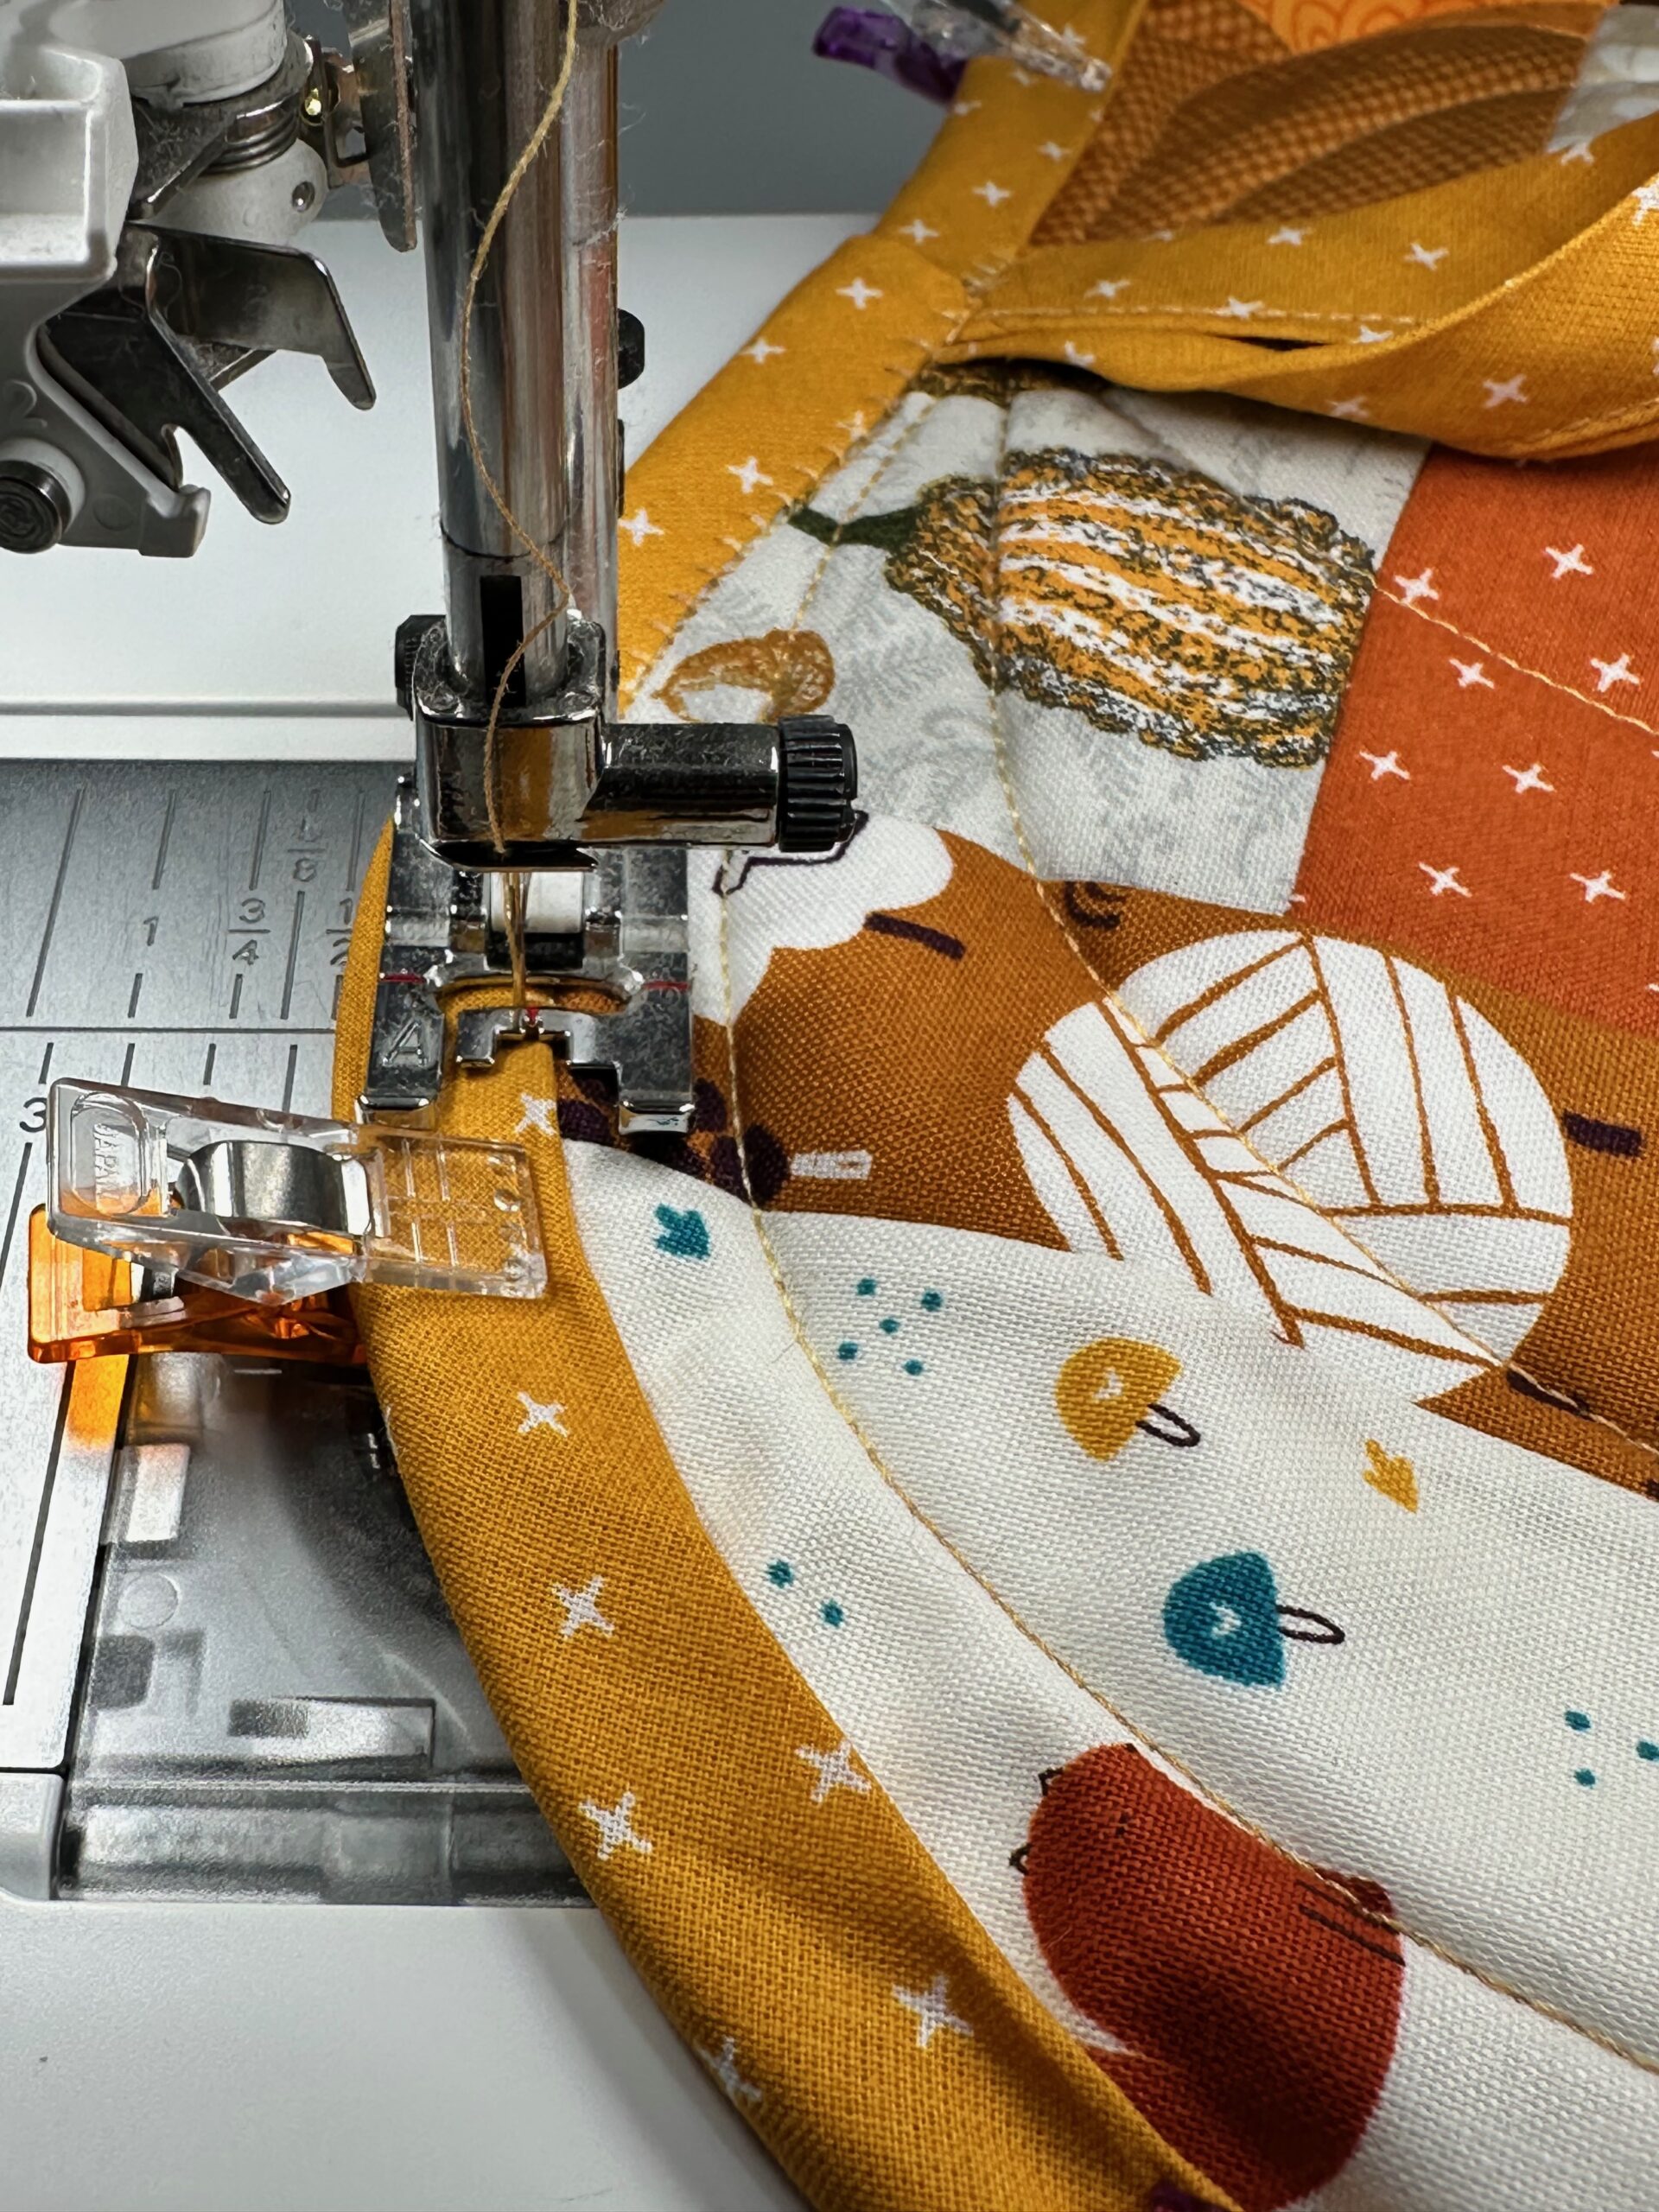
I made my own bias binding for the project; however, I almost think it’s easier to use packaged double-fold bias binding (as suggested). The finishing touch of creating a loop at the pumpkin upper edge is much easier if you’re working with those factory foldlines!
If machine sewing the binding, choose a decorative stitch, such as a blanket stitch or zigzag stitch, so you’re sure to catch the binding fold in the stitching.
Grab the pattern from Stacey Lee Creative and get stitching!

Thank you!