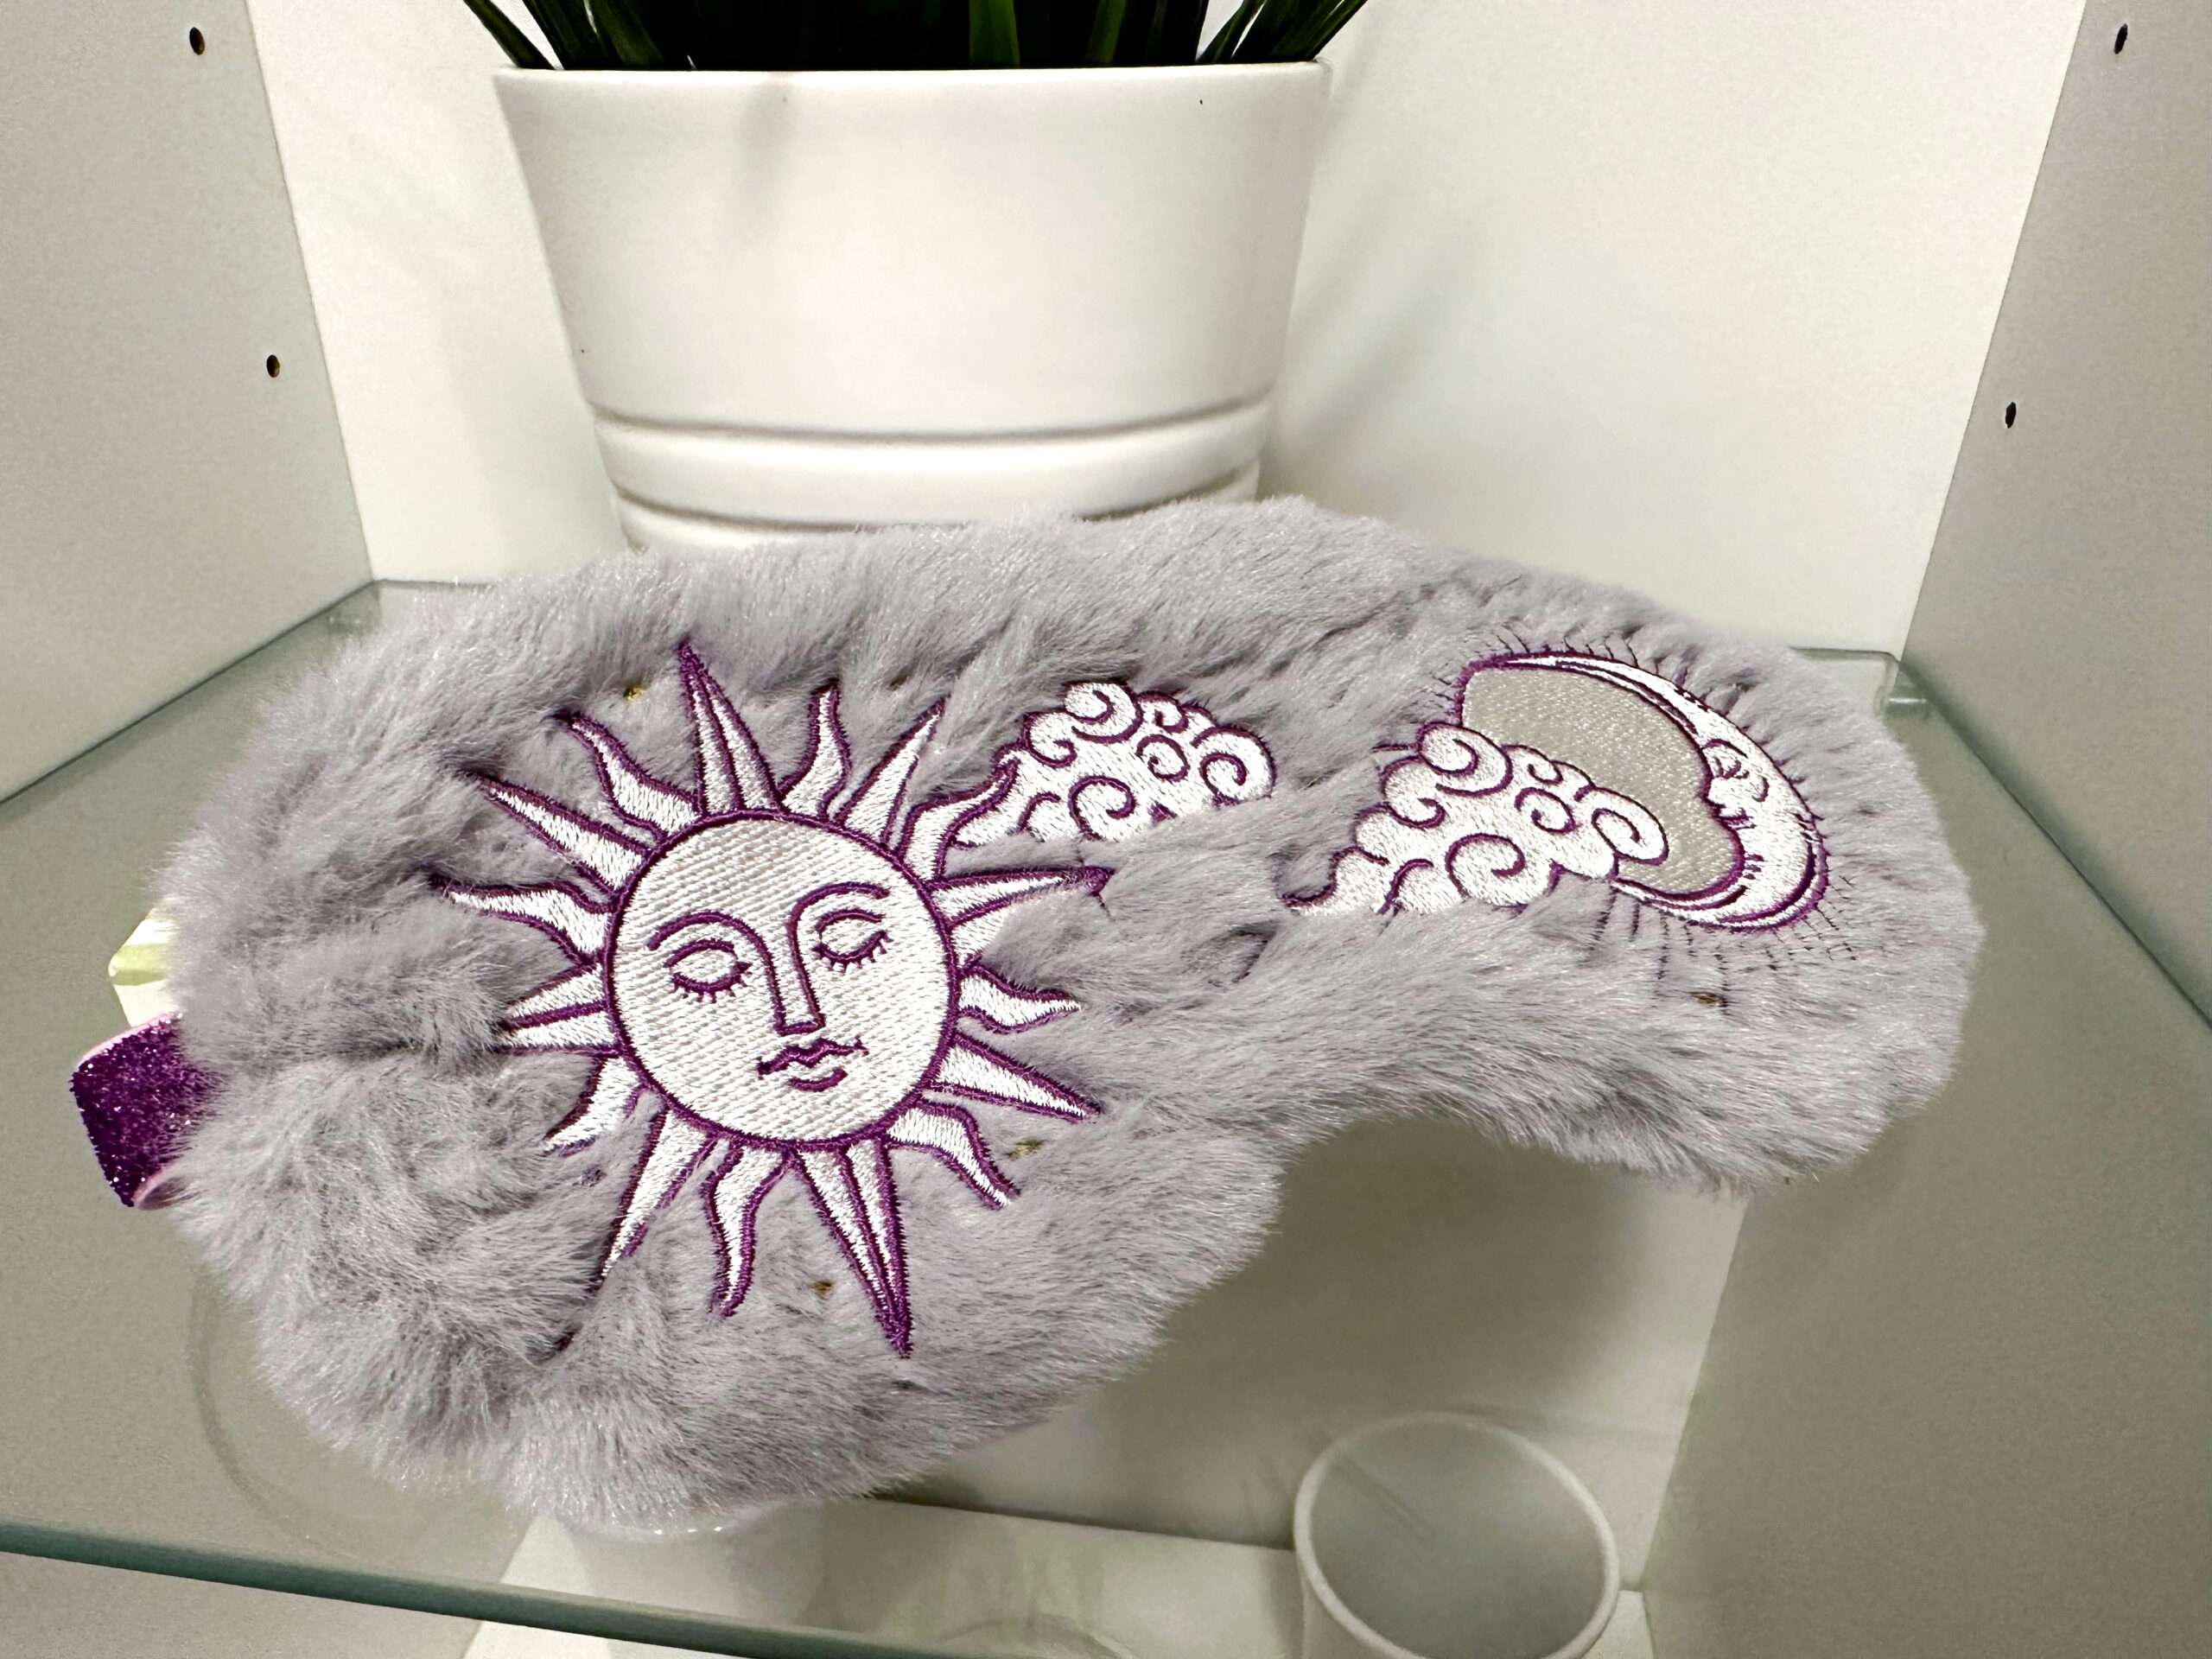
Spa Day Eye Mask
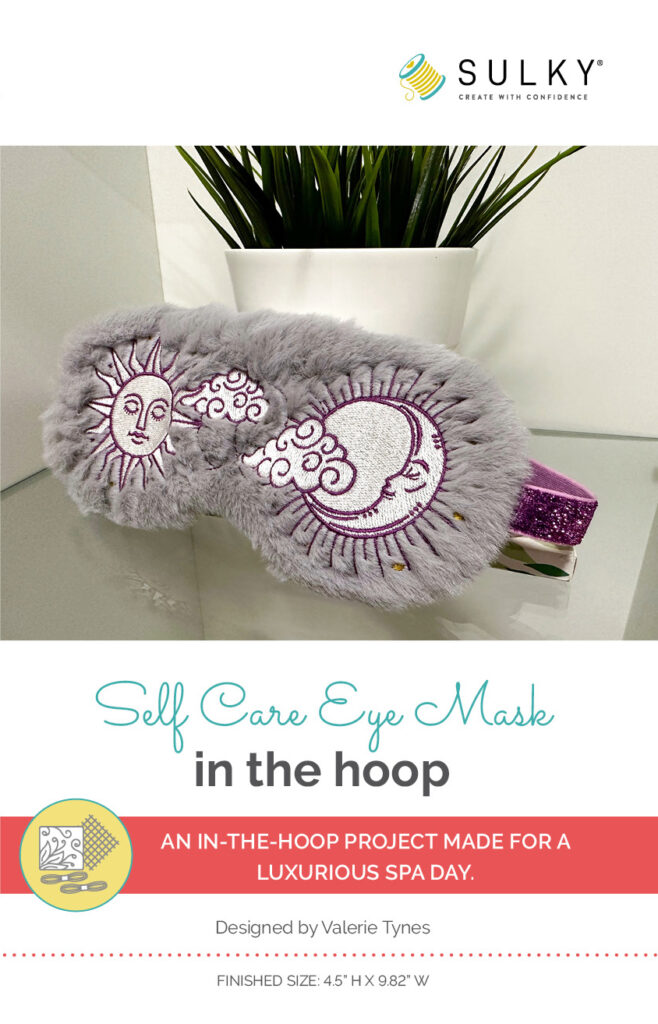
an in-the-hoop project from Sulky
Create a luxurious spa day eye mask, made of Luxe Cuddle and Satin fabrics, to help calm your mind, body and spirit. This eye mask pattern is done entirely in the hoop of your embroidery machine. The spa day eye mask is adjustable for different head sizes, simply by shortening or lengthening the elastic. Choose a glittery elastic to add some glam and get to sleep in style.
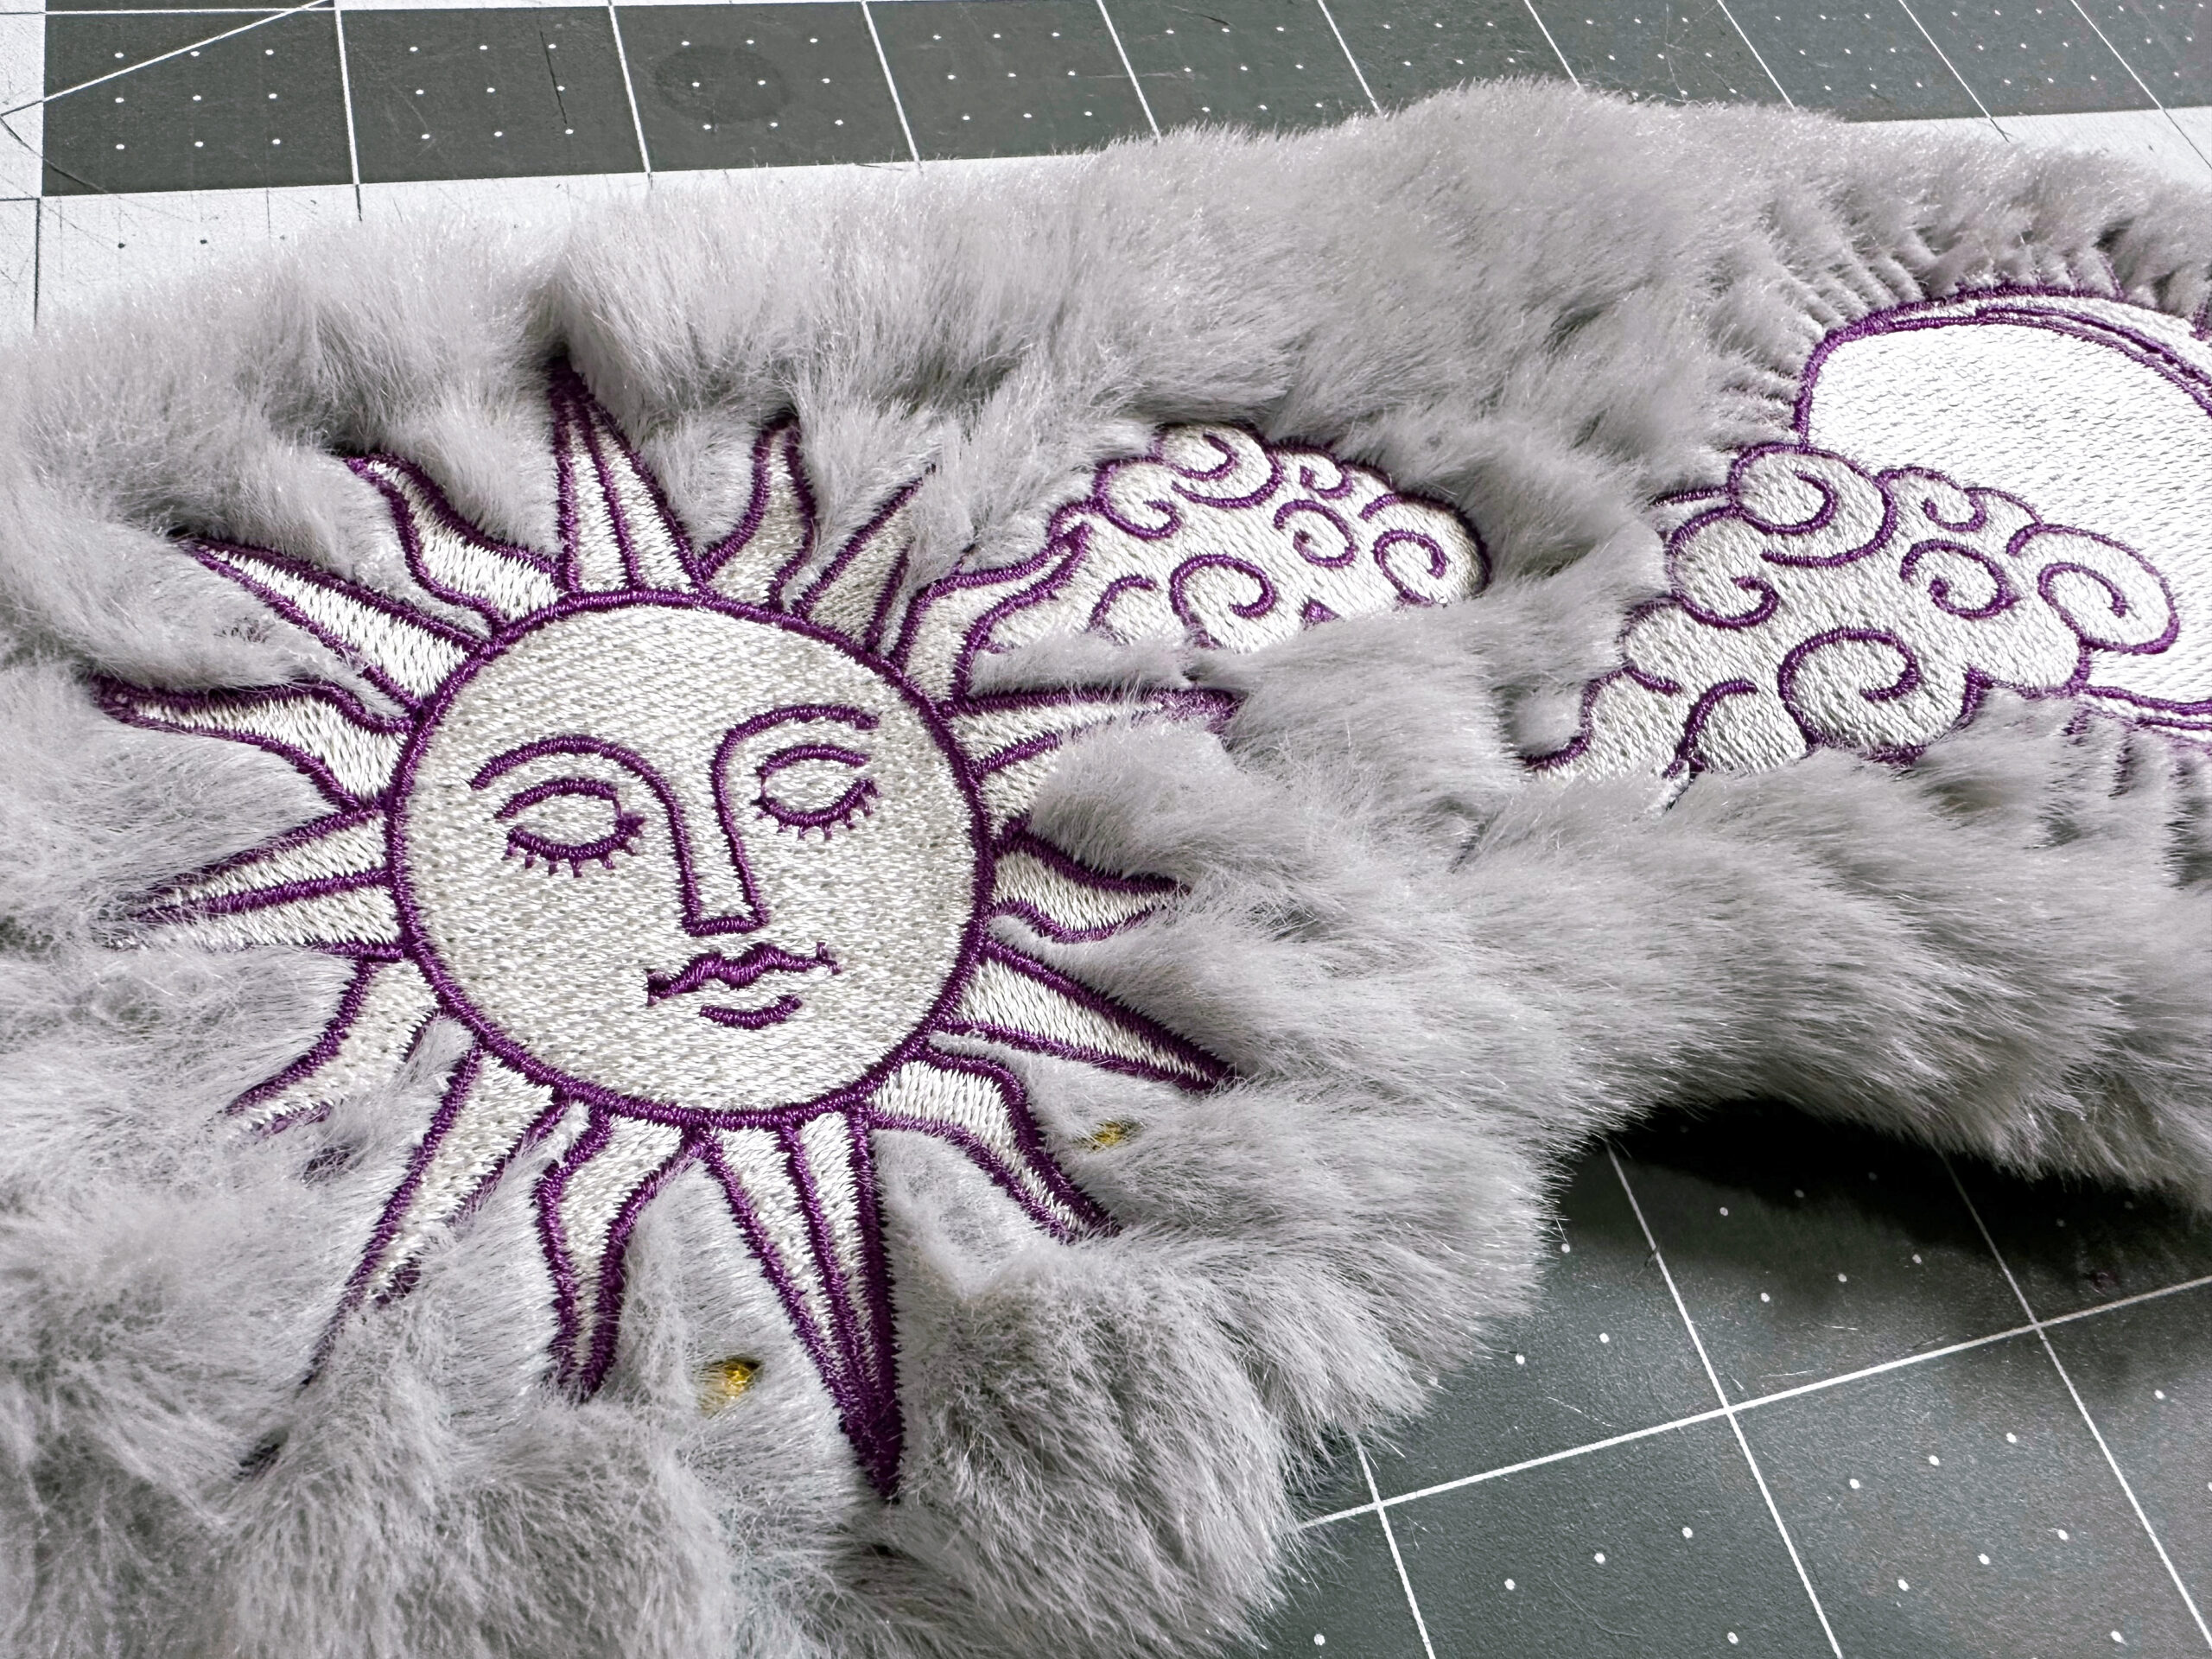
The Luxe Cuddle is a very plush fabric. By sandwiching it between two stabilizer layers, the nap is controlled so even super dense embroidery pops off the surface to add fun embellishment.
If you purchased our Self Care Mystery Box, this project was featured and curated for that box! Inside the box are 22 items that go with the “Self Care” theme, mostly due to the calm, serene hues inside. The soft lilac, gray and ivory threads and fabric give a calming vibe, making you feel relaxed and ready to recharge. It’s a great feeling to pass to someone on Mother’s Day, for a birthday or any time of year. Grab a Self Care Mystery Box to have the fabrics, threads, needles and stabilizers you need for this project (and many others) packaged neatly in one convenient place. Not only will you get all the materials, but also the design files for this ITH project, too!
Finished size: 4.5” H x 9.82” W
SPA DAY EYE MASK SUPPLIES
- Self Care Eye Mask ITH Design
- 6” x 11” rectangle each of Luxe Cuddle fabric (front), Satin fabric (lining) & low-loft batting
- Sulky Thread
- Poly Deco™ (construction & embroidery; featured colors: Off-White, Dk Orchid, Temple Gold)
- PolyLite™ (bobbin; featured color: Steel Gray)
- Organ® size 75/11 Embroidery Needle
- ½ yard of 5/8”-wide glitter elastic
- Sulky Stabilizers
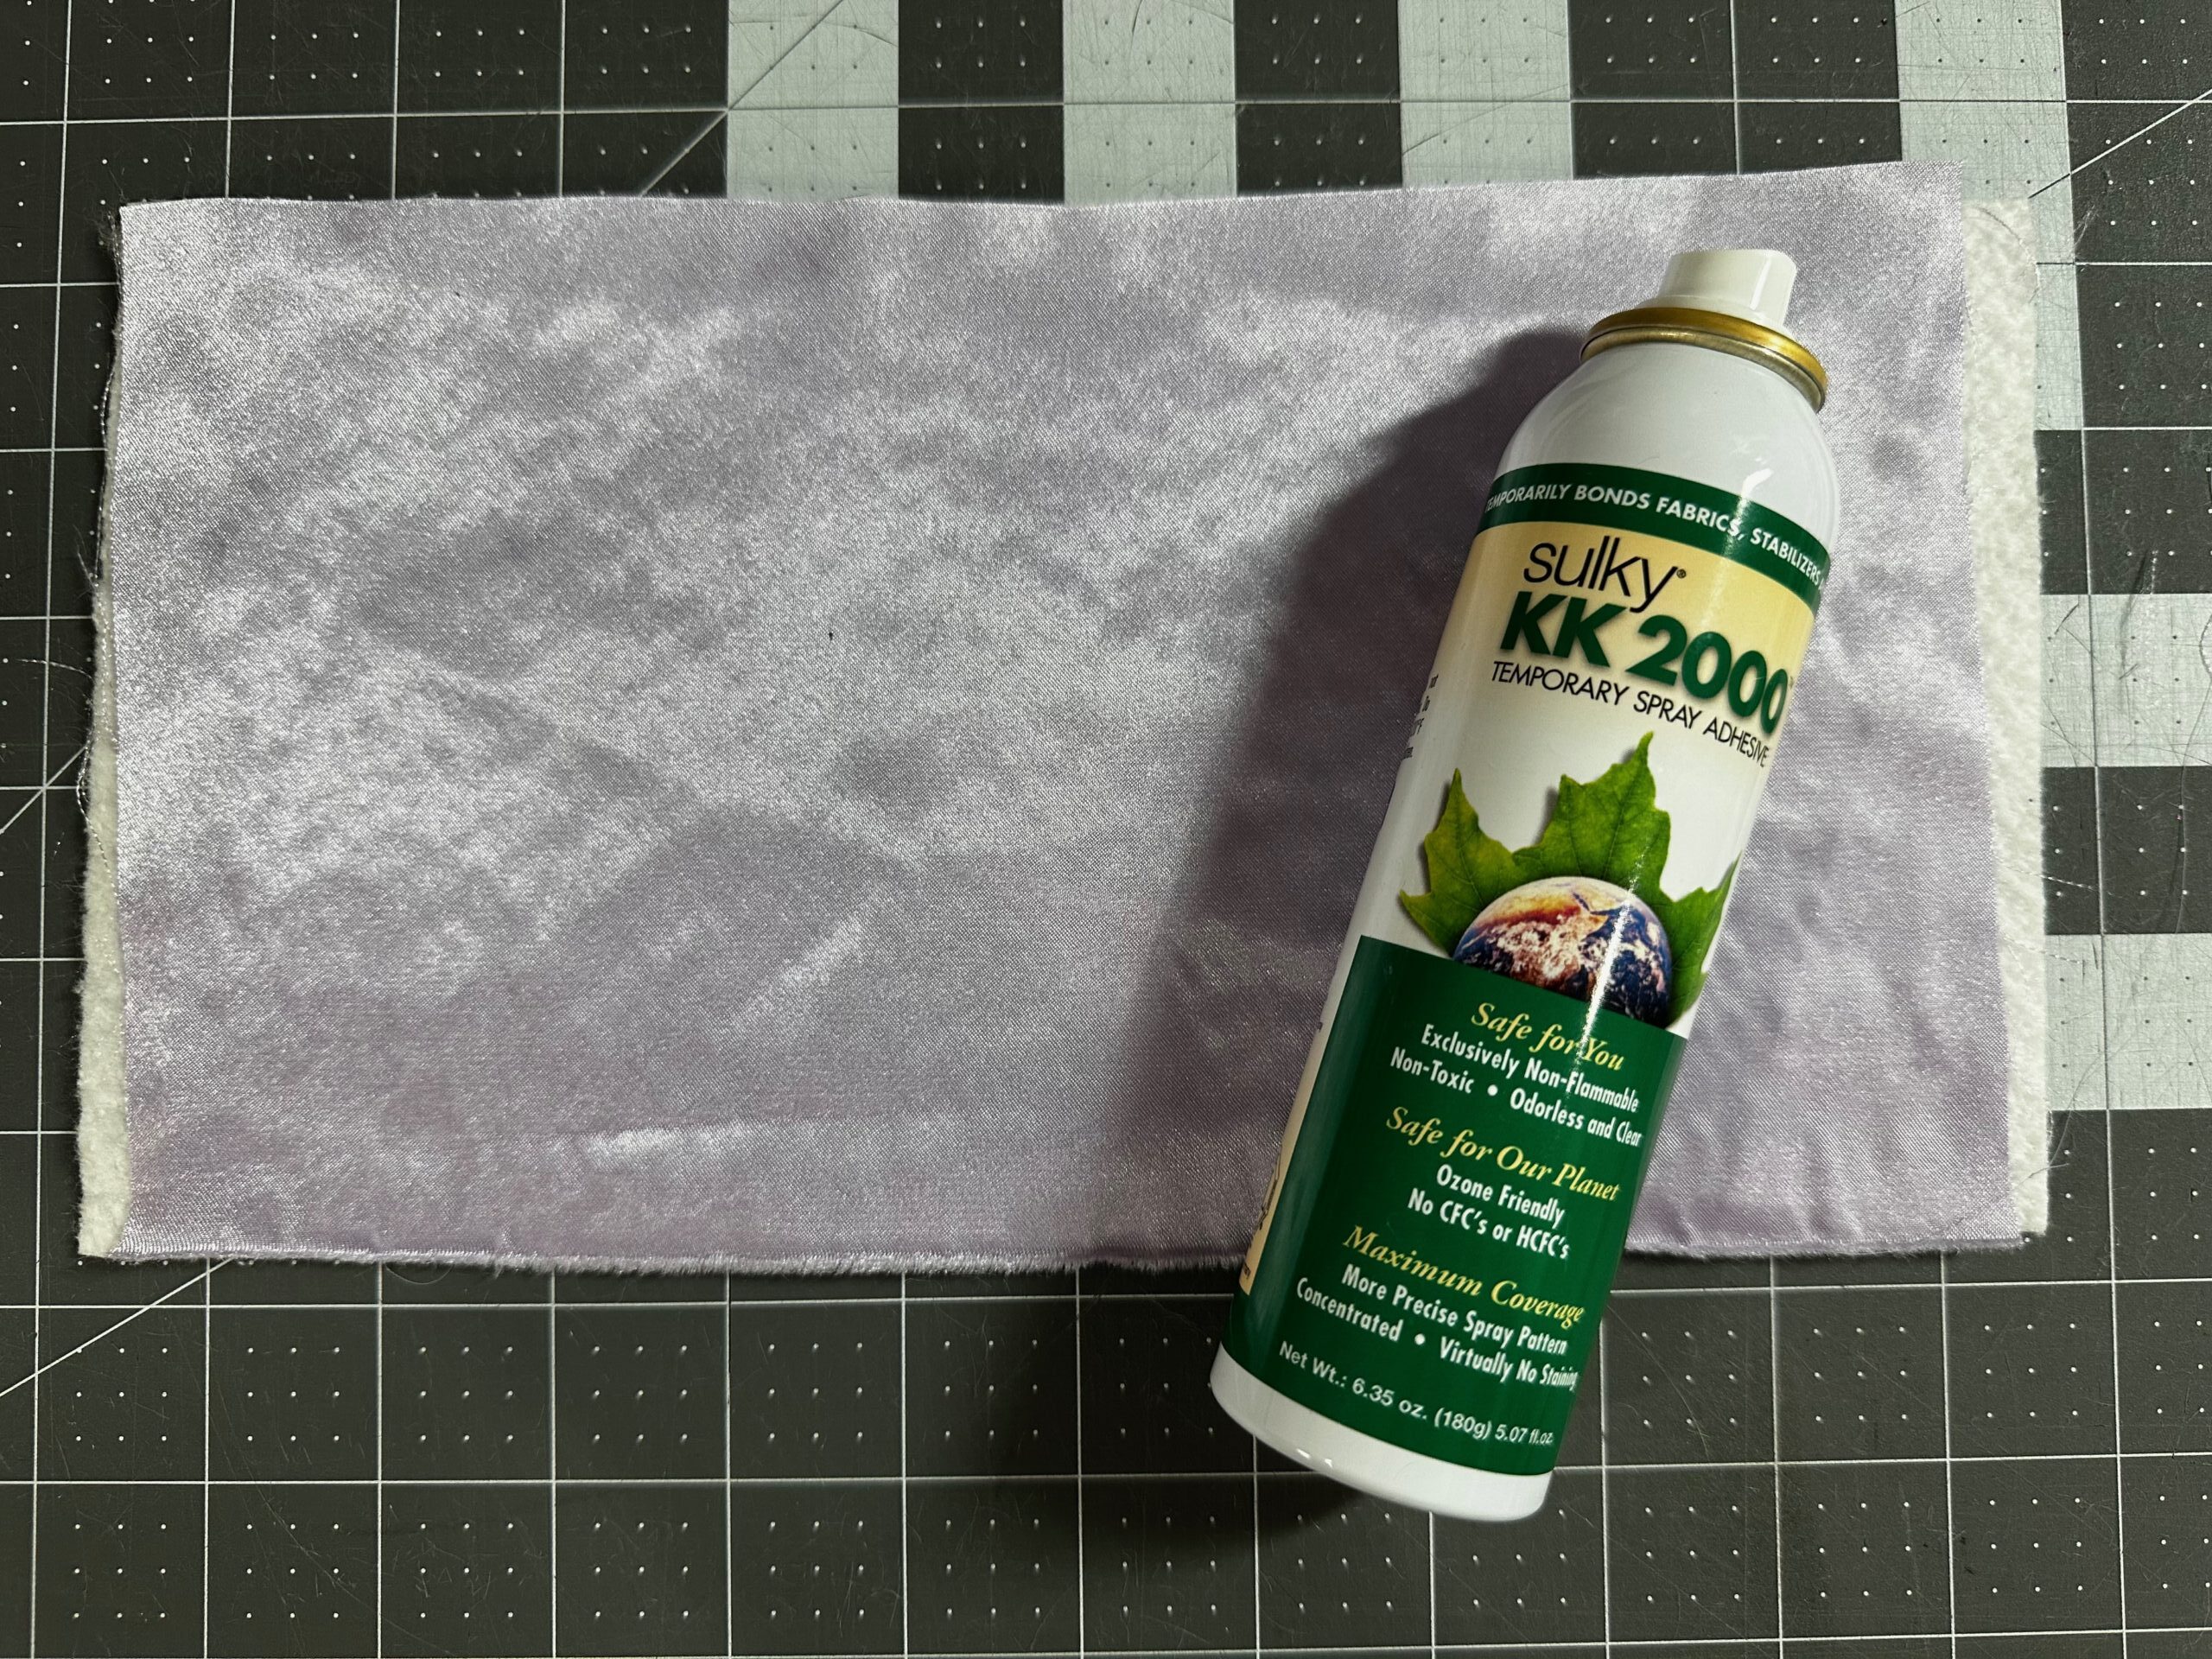
- Sulky KK 2000™ Temporary Spray Adhesive
- Clover® Wonder Clips or sharp pins
- Sulky Clear Embroidery Tape
- Hand sewing needle
- Sulky Multipurpose Turning Tool or chopstick
PREPARE
Measure your head from ear to ear around the back of your head. (This is best done with a helper!) Keep in mind, the elastic is stretchy so an approximate measurement will likely suffice. Cut the elastic to this length, depending on the desired mask tightness. (This will likely be around 15” for an adult-size head.) Then, set aside the elastic.
Install a size 75/11 Embroidery Needle and thread it with the first Poly Deco Thread listed on the color chart that comes with the design files. Wind a bobbin with PolyLite Thread.
Center the batting rectangle over the lining rectangle wrong side; use KK 2000 to secure the layers (this is the back).
EMBROIDER
Note: The featured Silky Satin Fabric by Shannon Fabrics is 100% polyester and machine washable. If using a different satin-type fabric, check to ensure it can withstand water before applying any moisture to remove the Solvy.
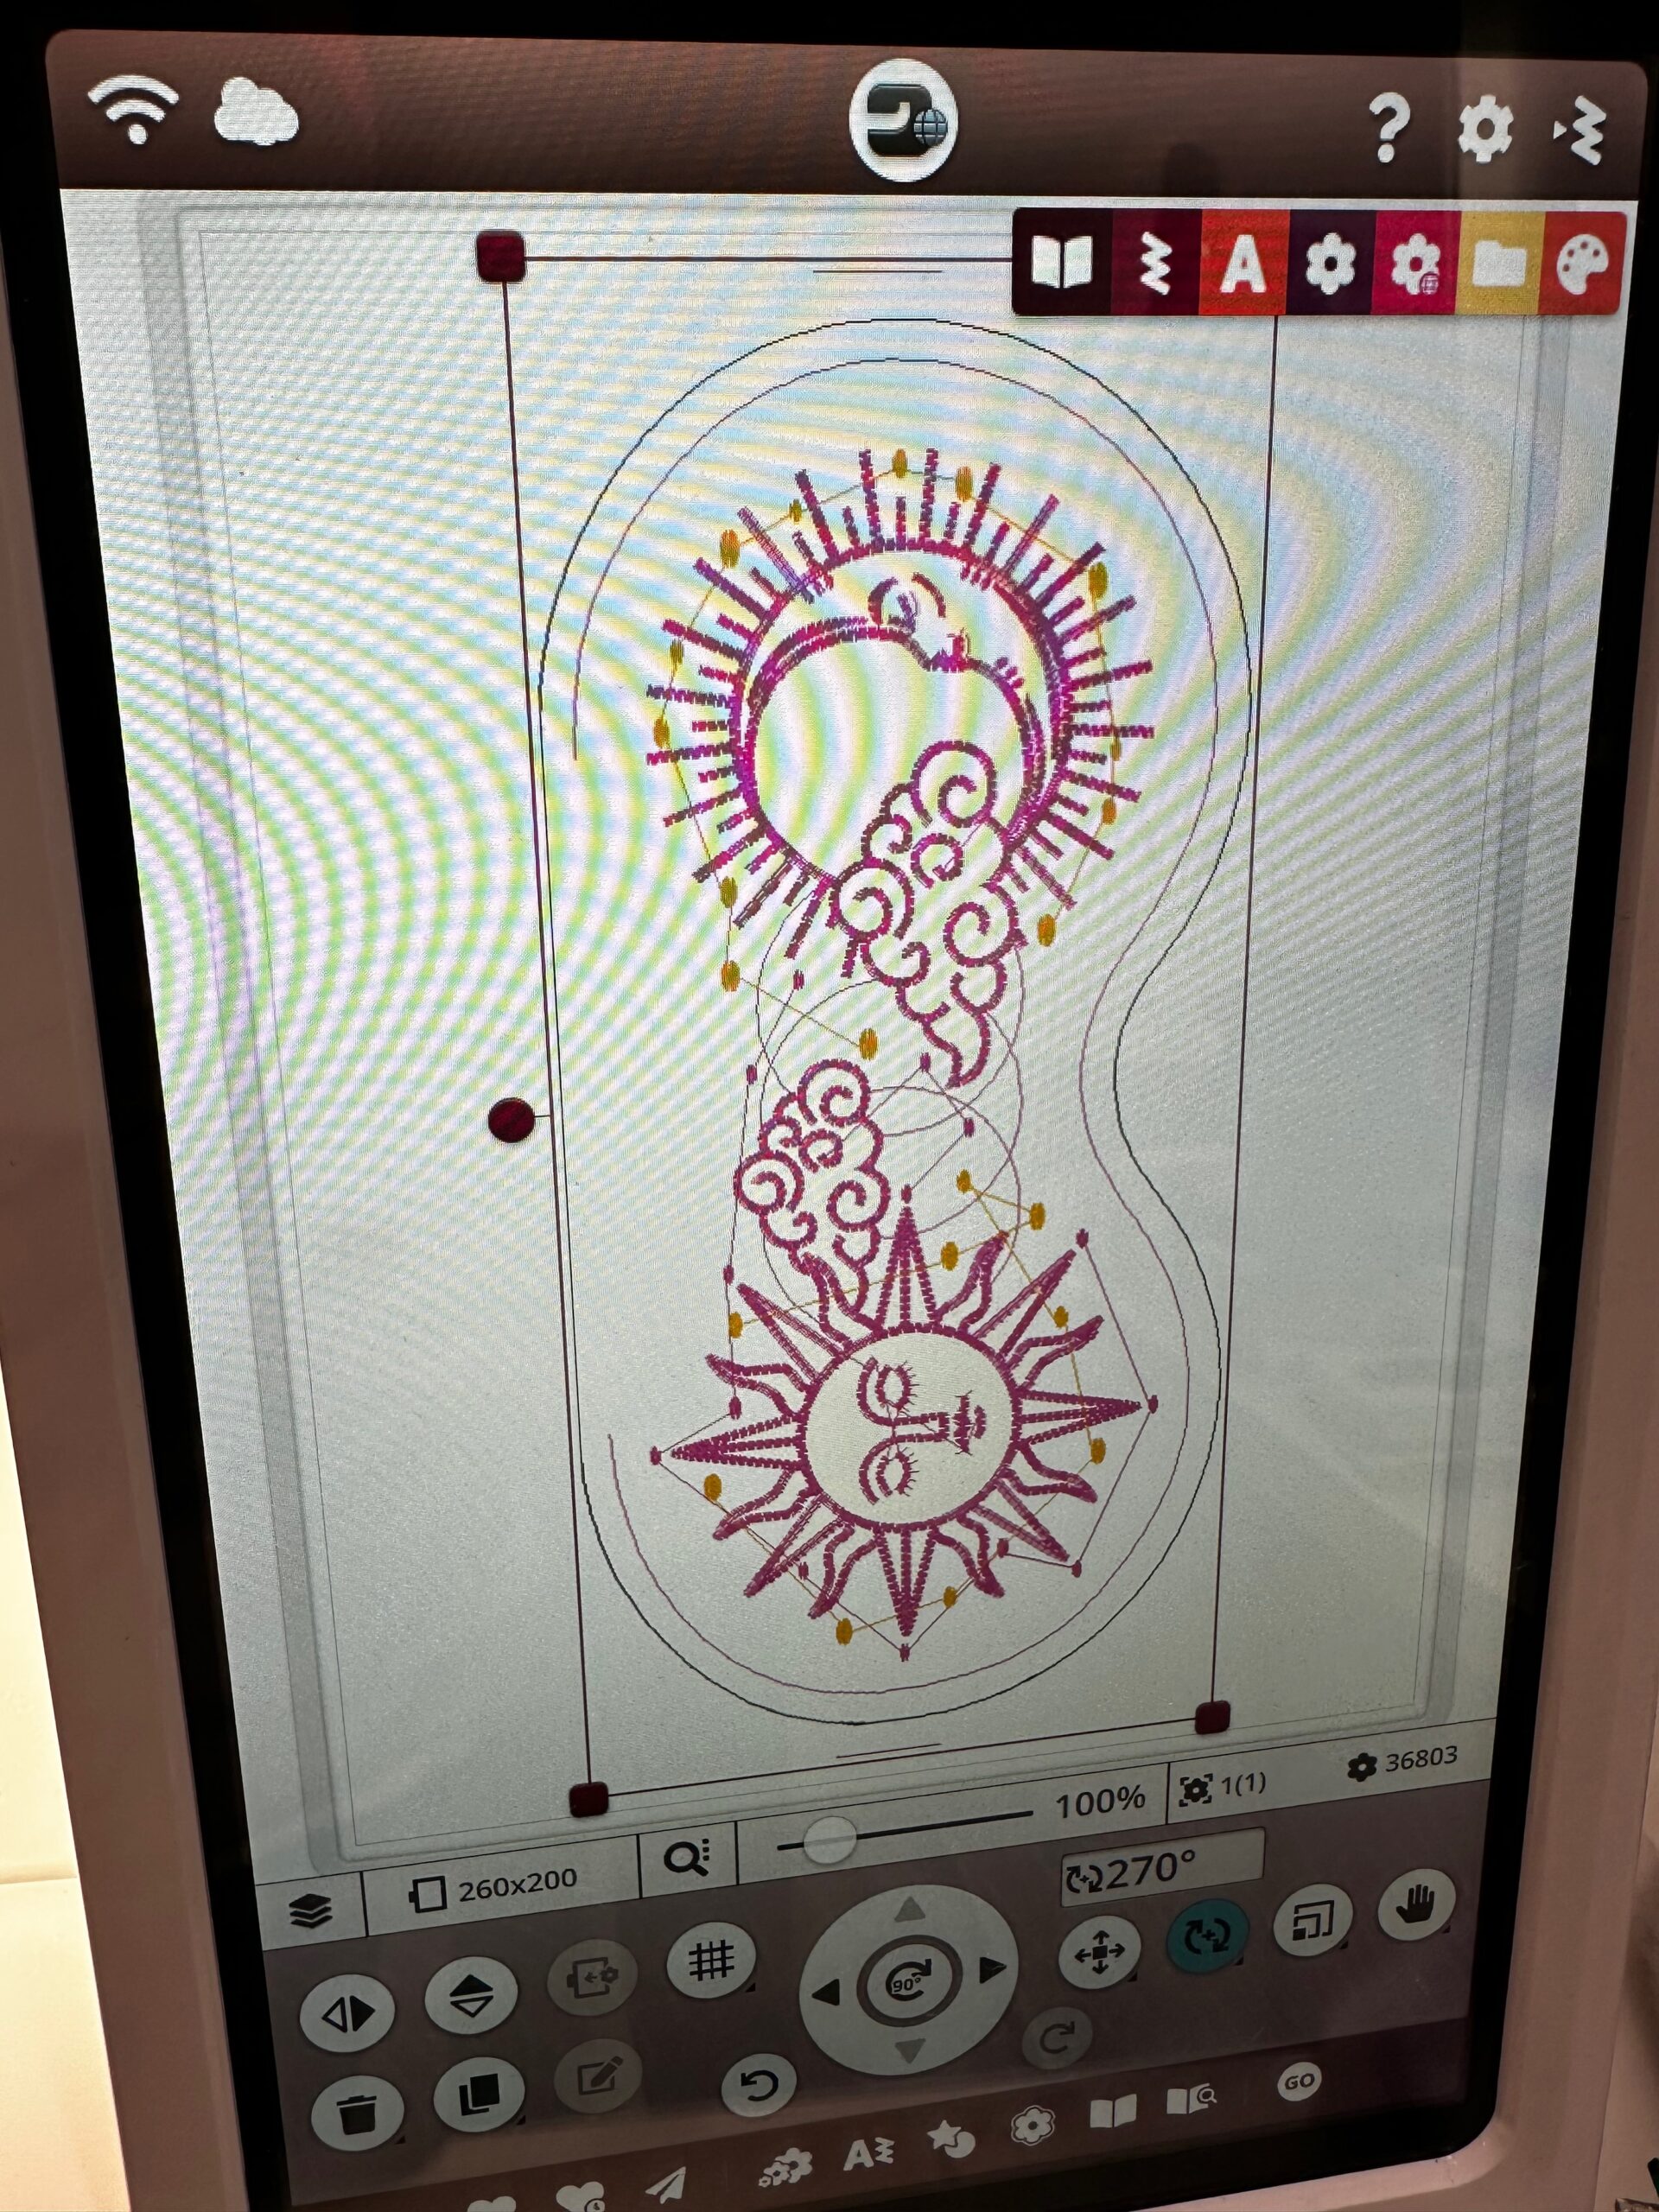
Load the Self Care Eye Mask design into the machine.
Hoop a piece of Soft ‘n Sheer Stabilizer.
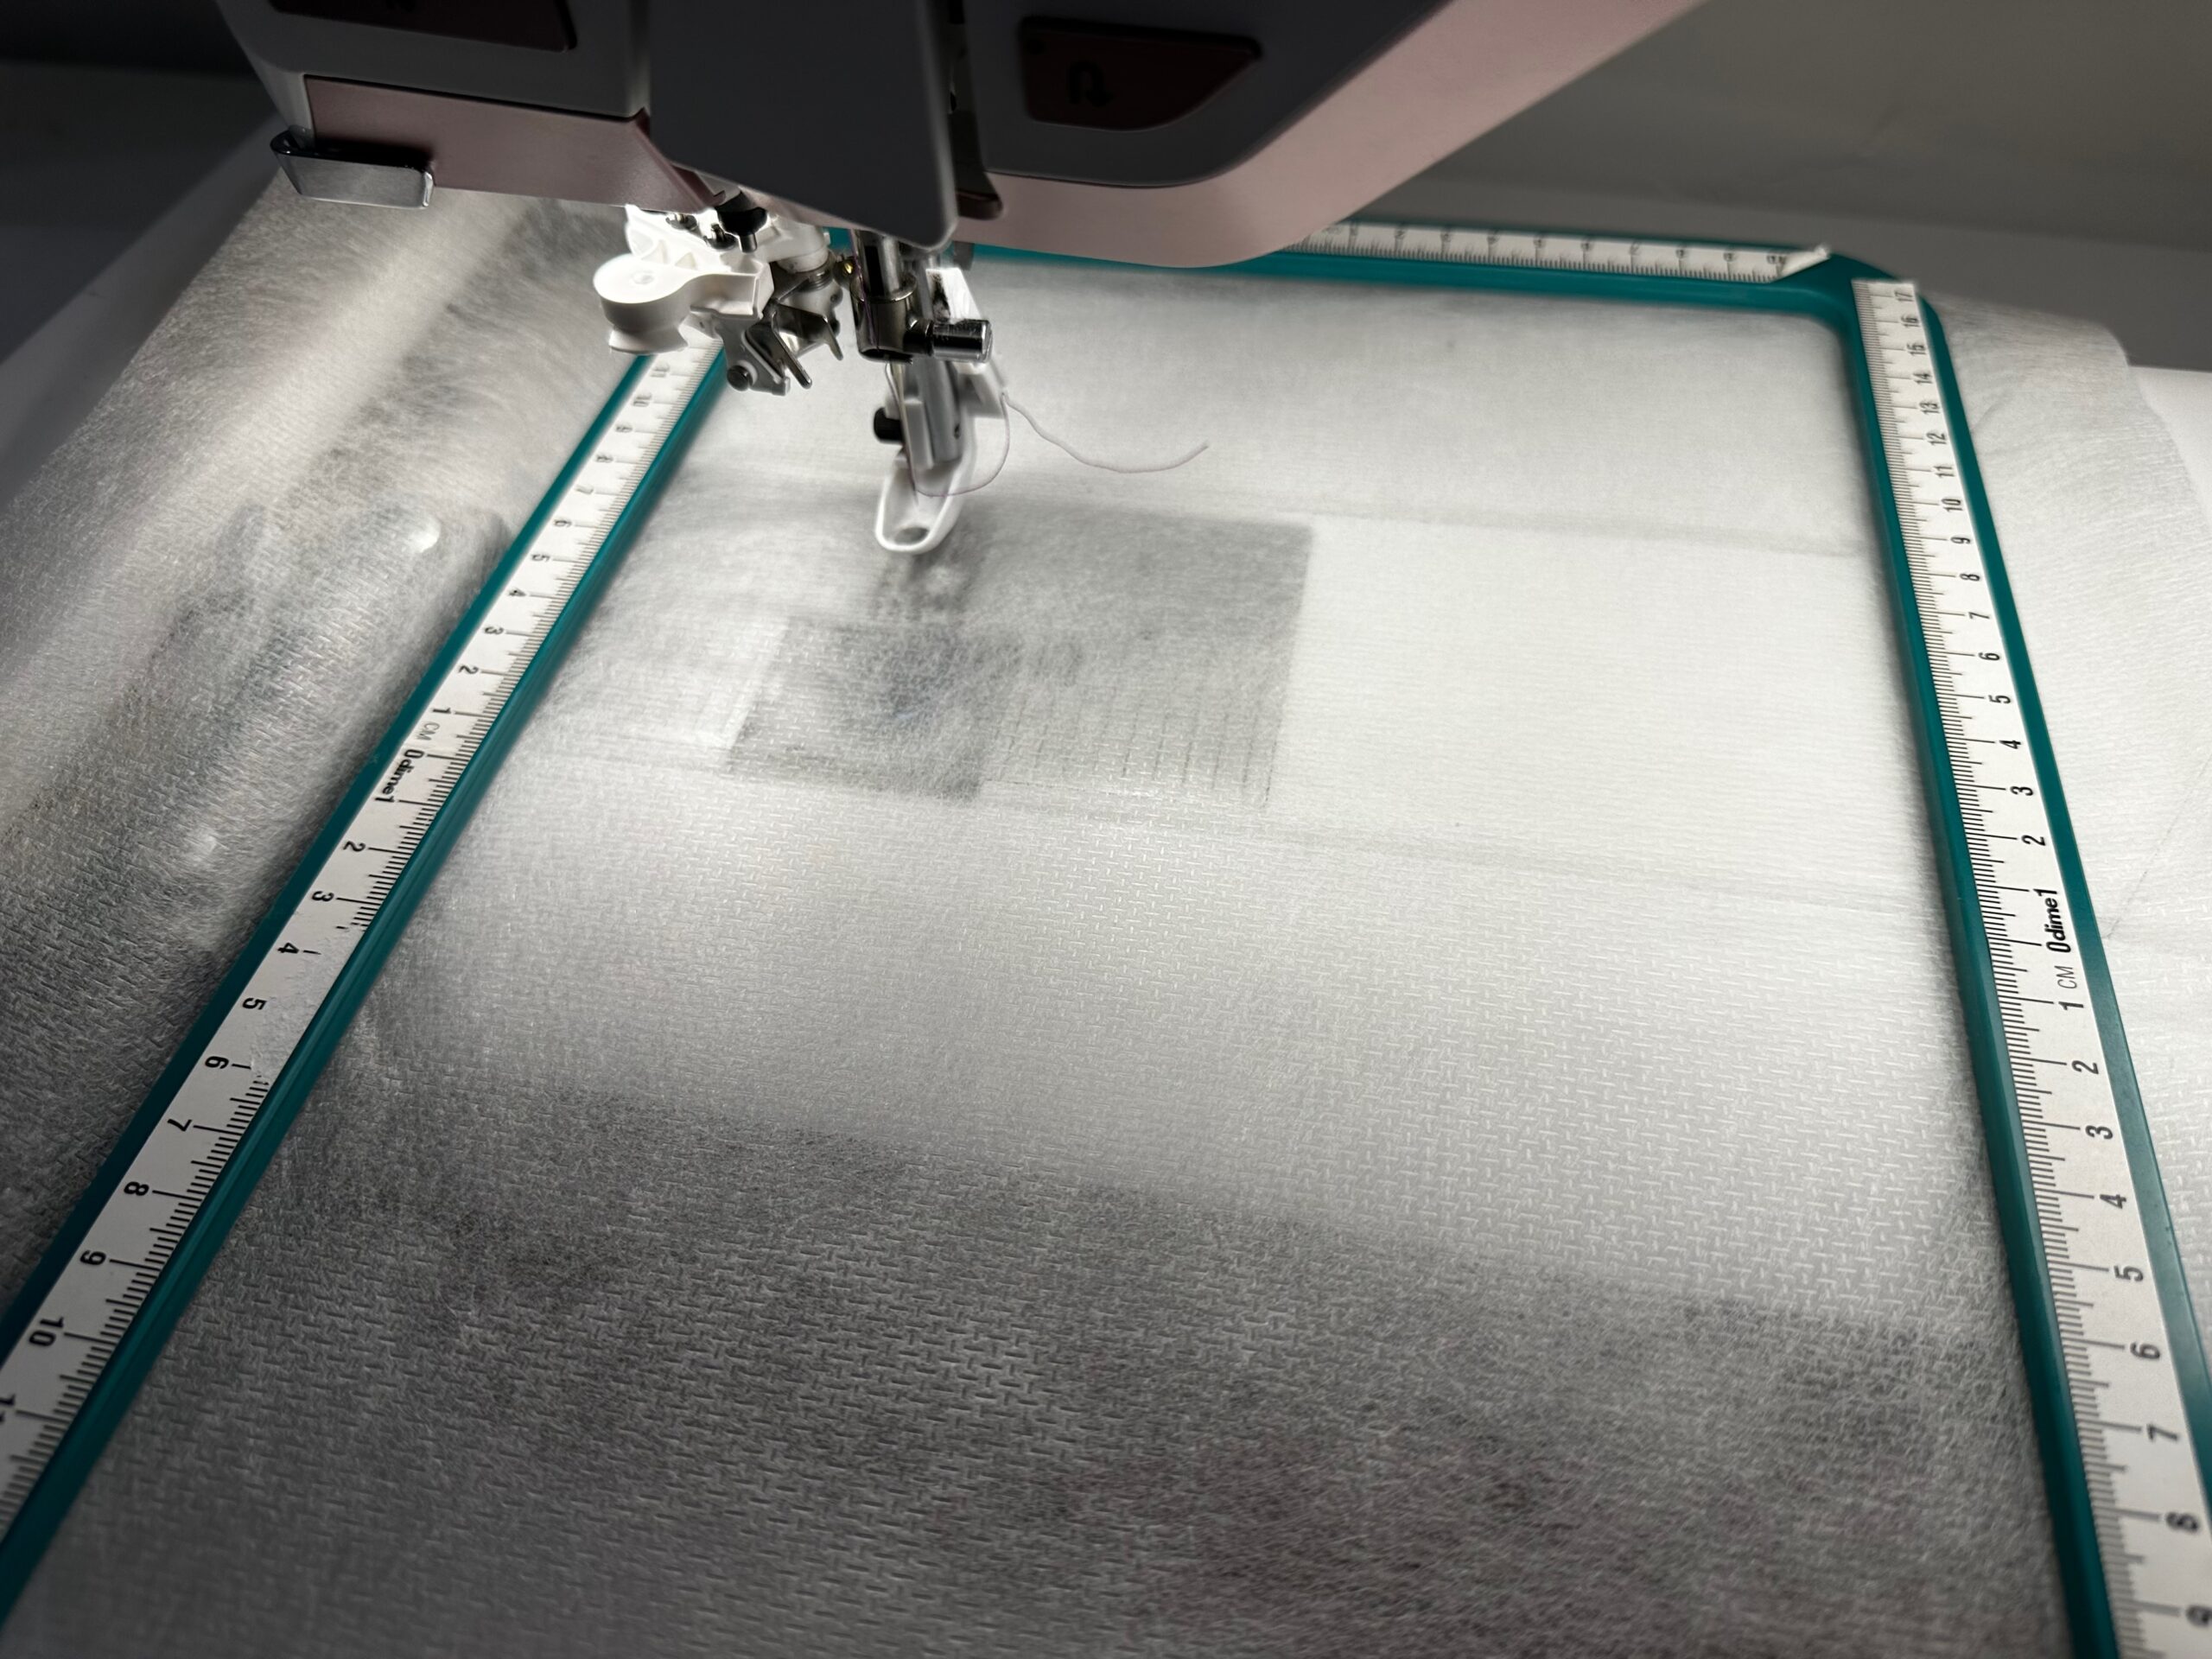
Stitch color stop 1, which are the placement lines for the front fabric and elastic.
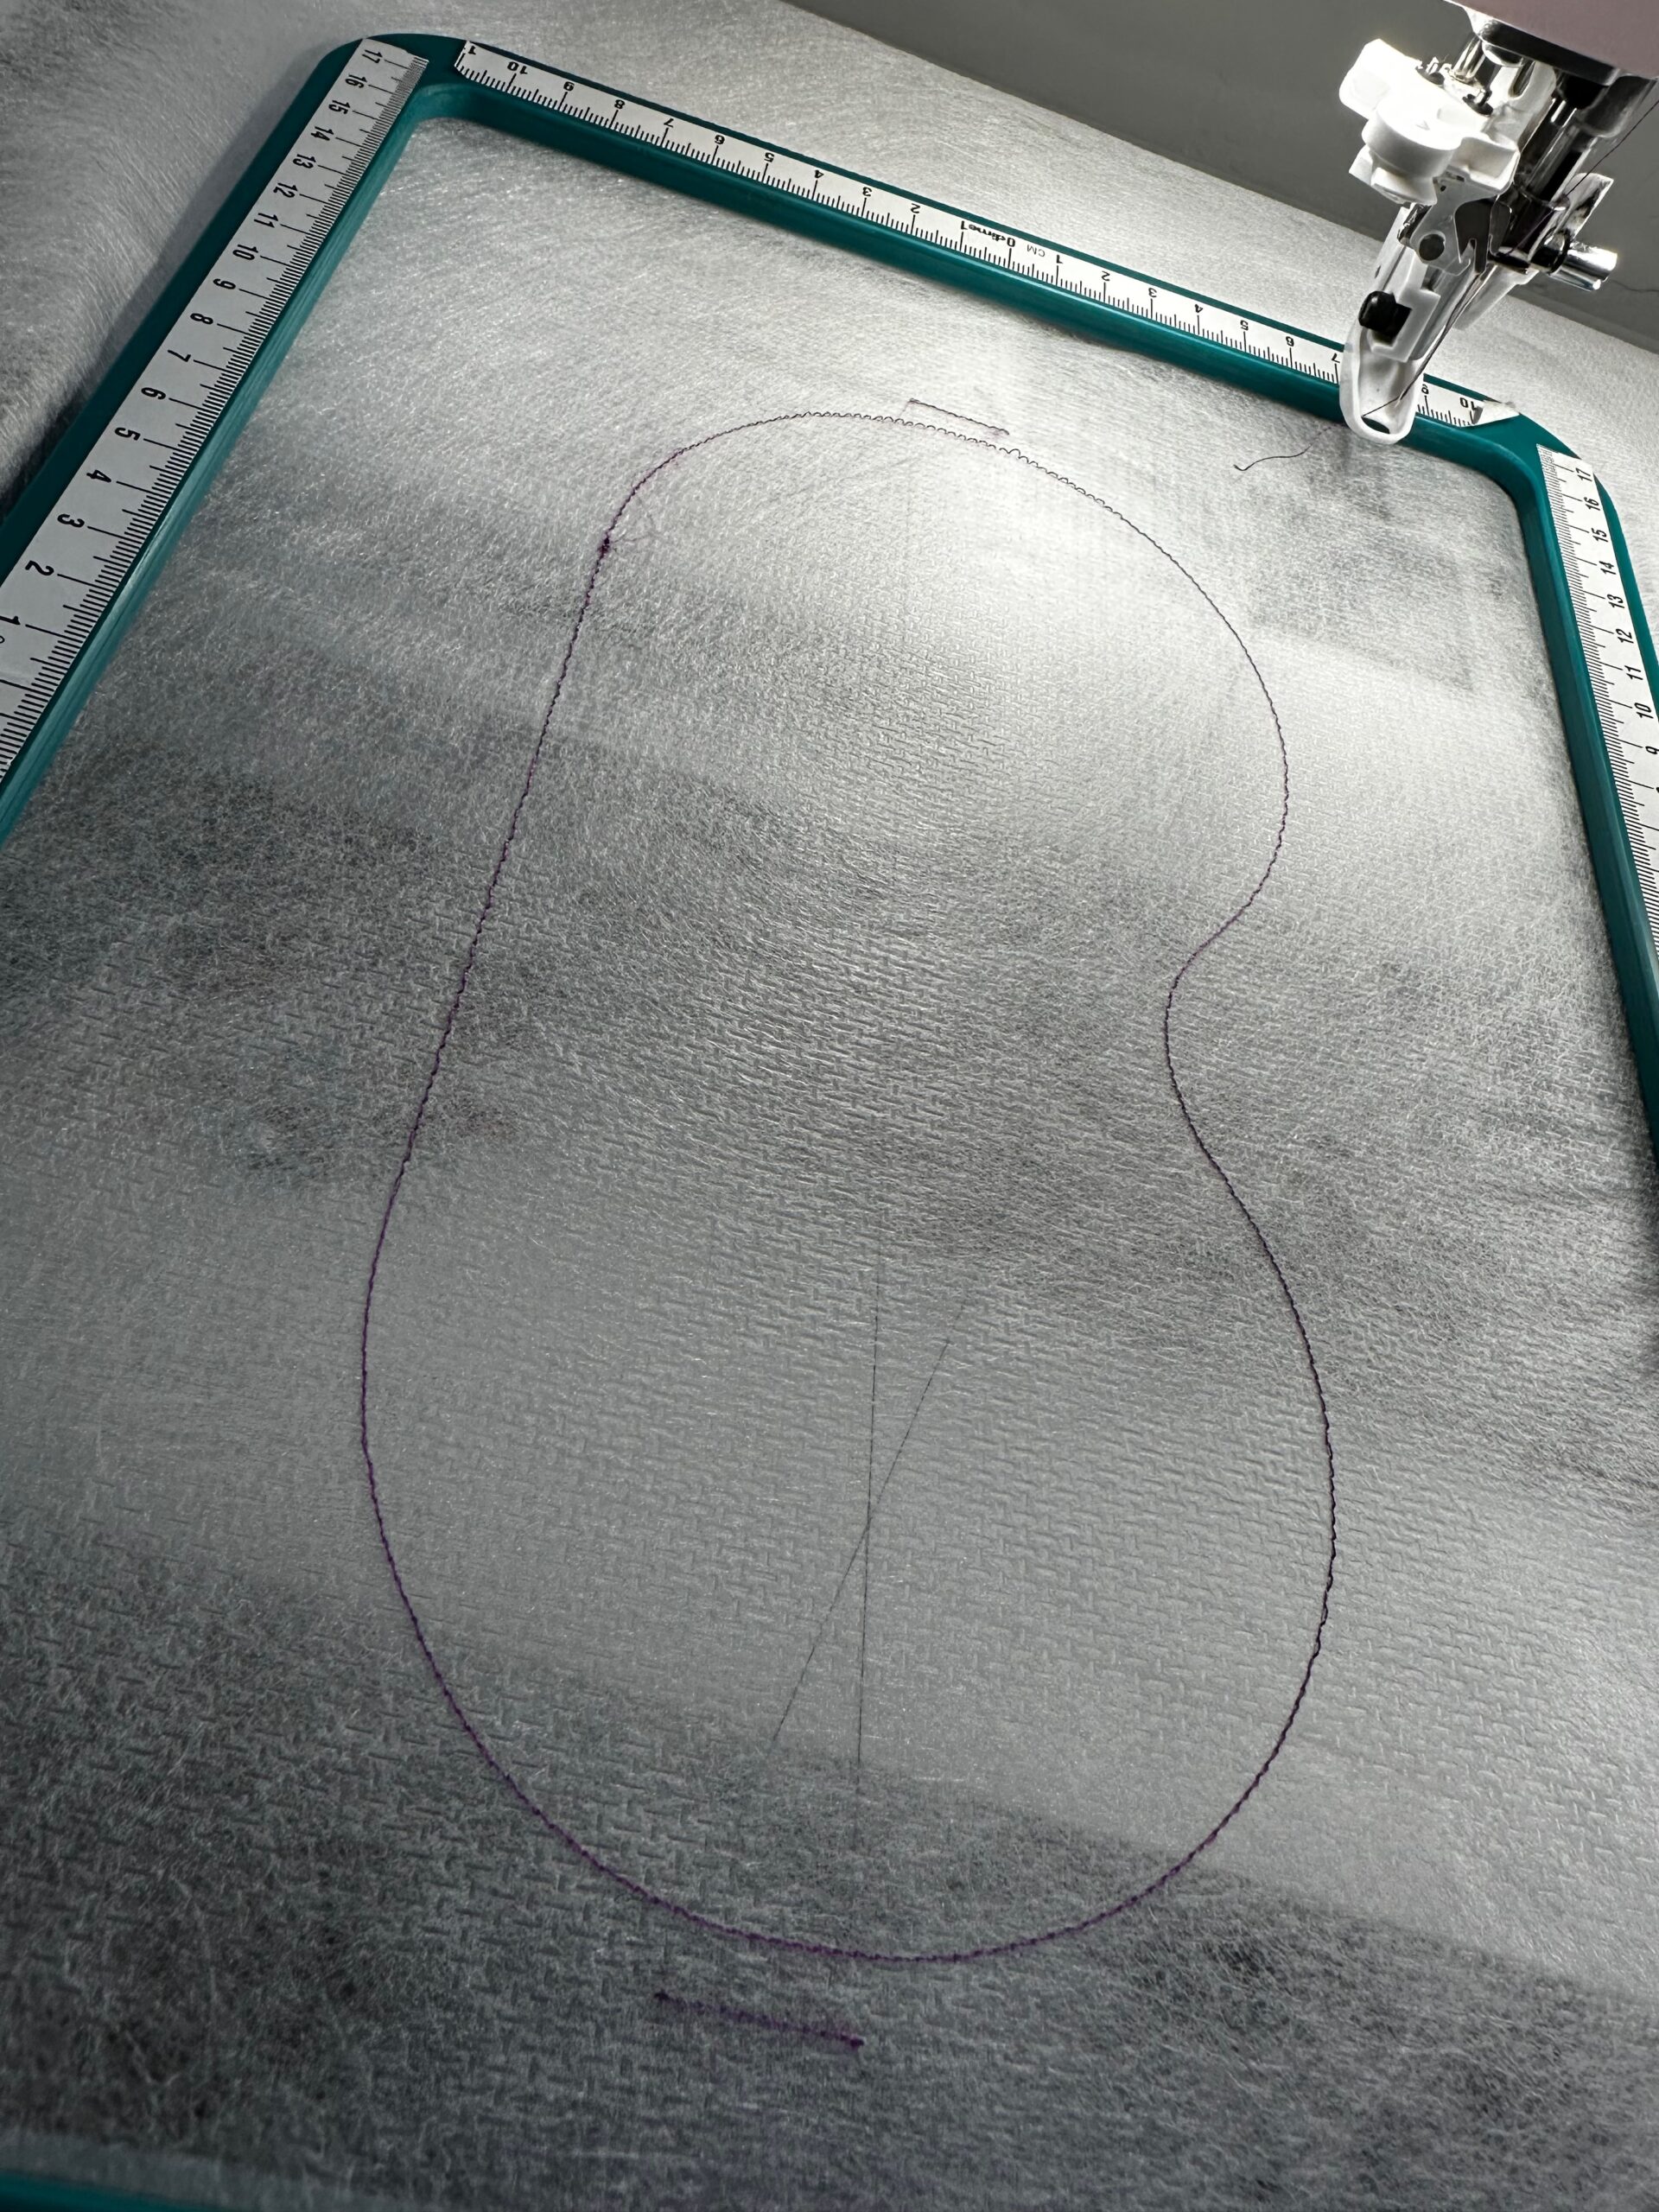
Remove the hoop from the machine or direct it to move to the “trim” position.
Center the front fabric right side up over the placement stitches; use KK 2000 to secure. Place a piece of Solvy over the fabric, using more KK 2000 to secure.
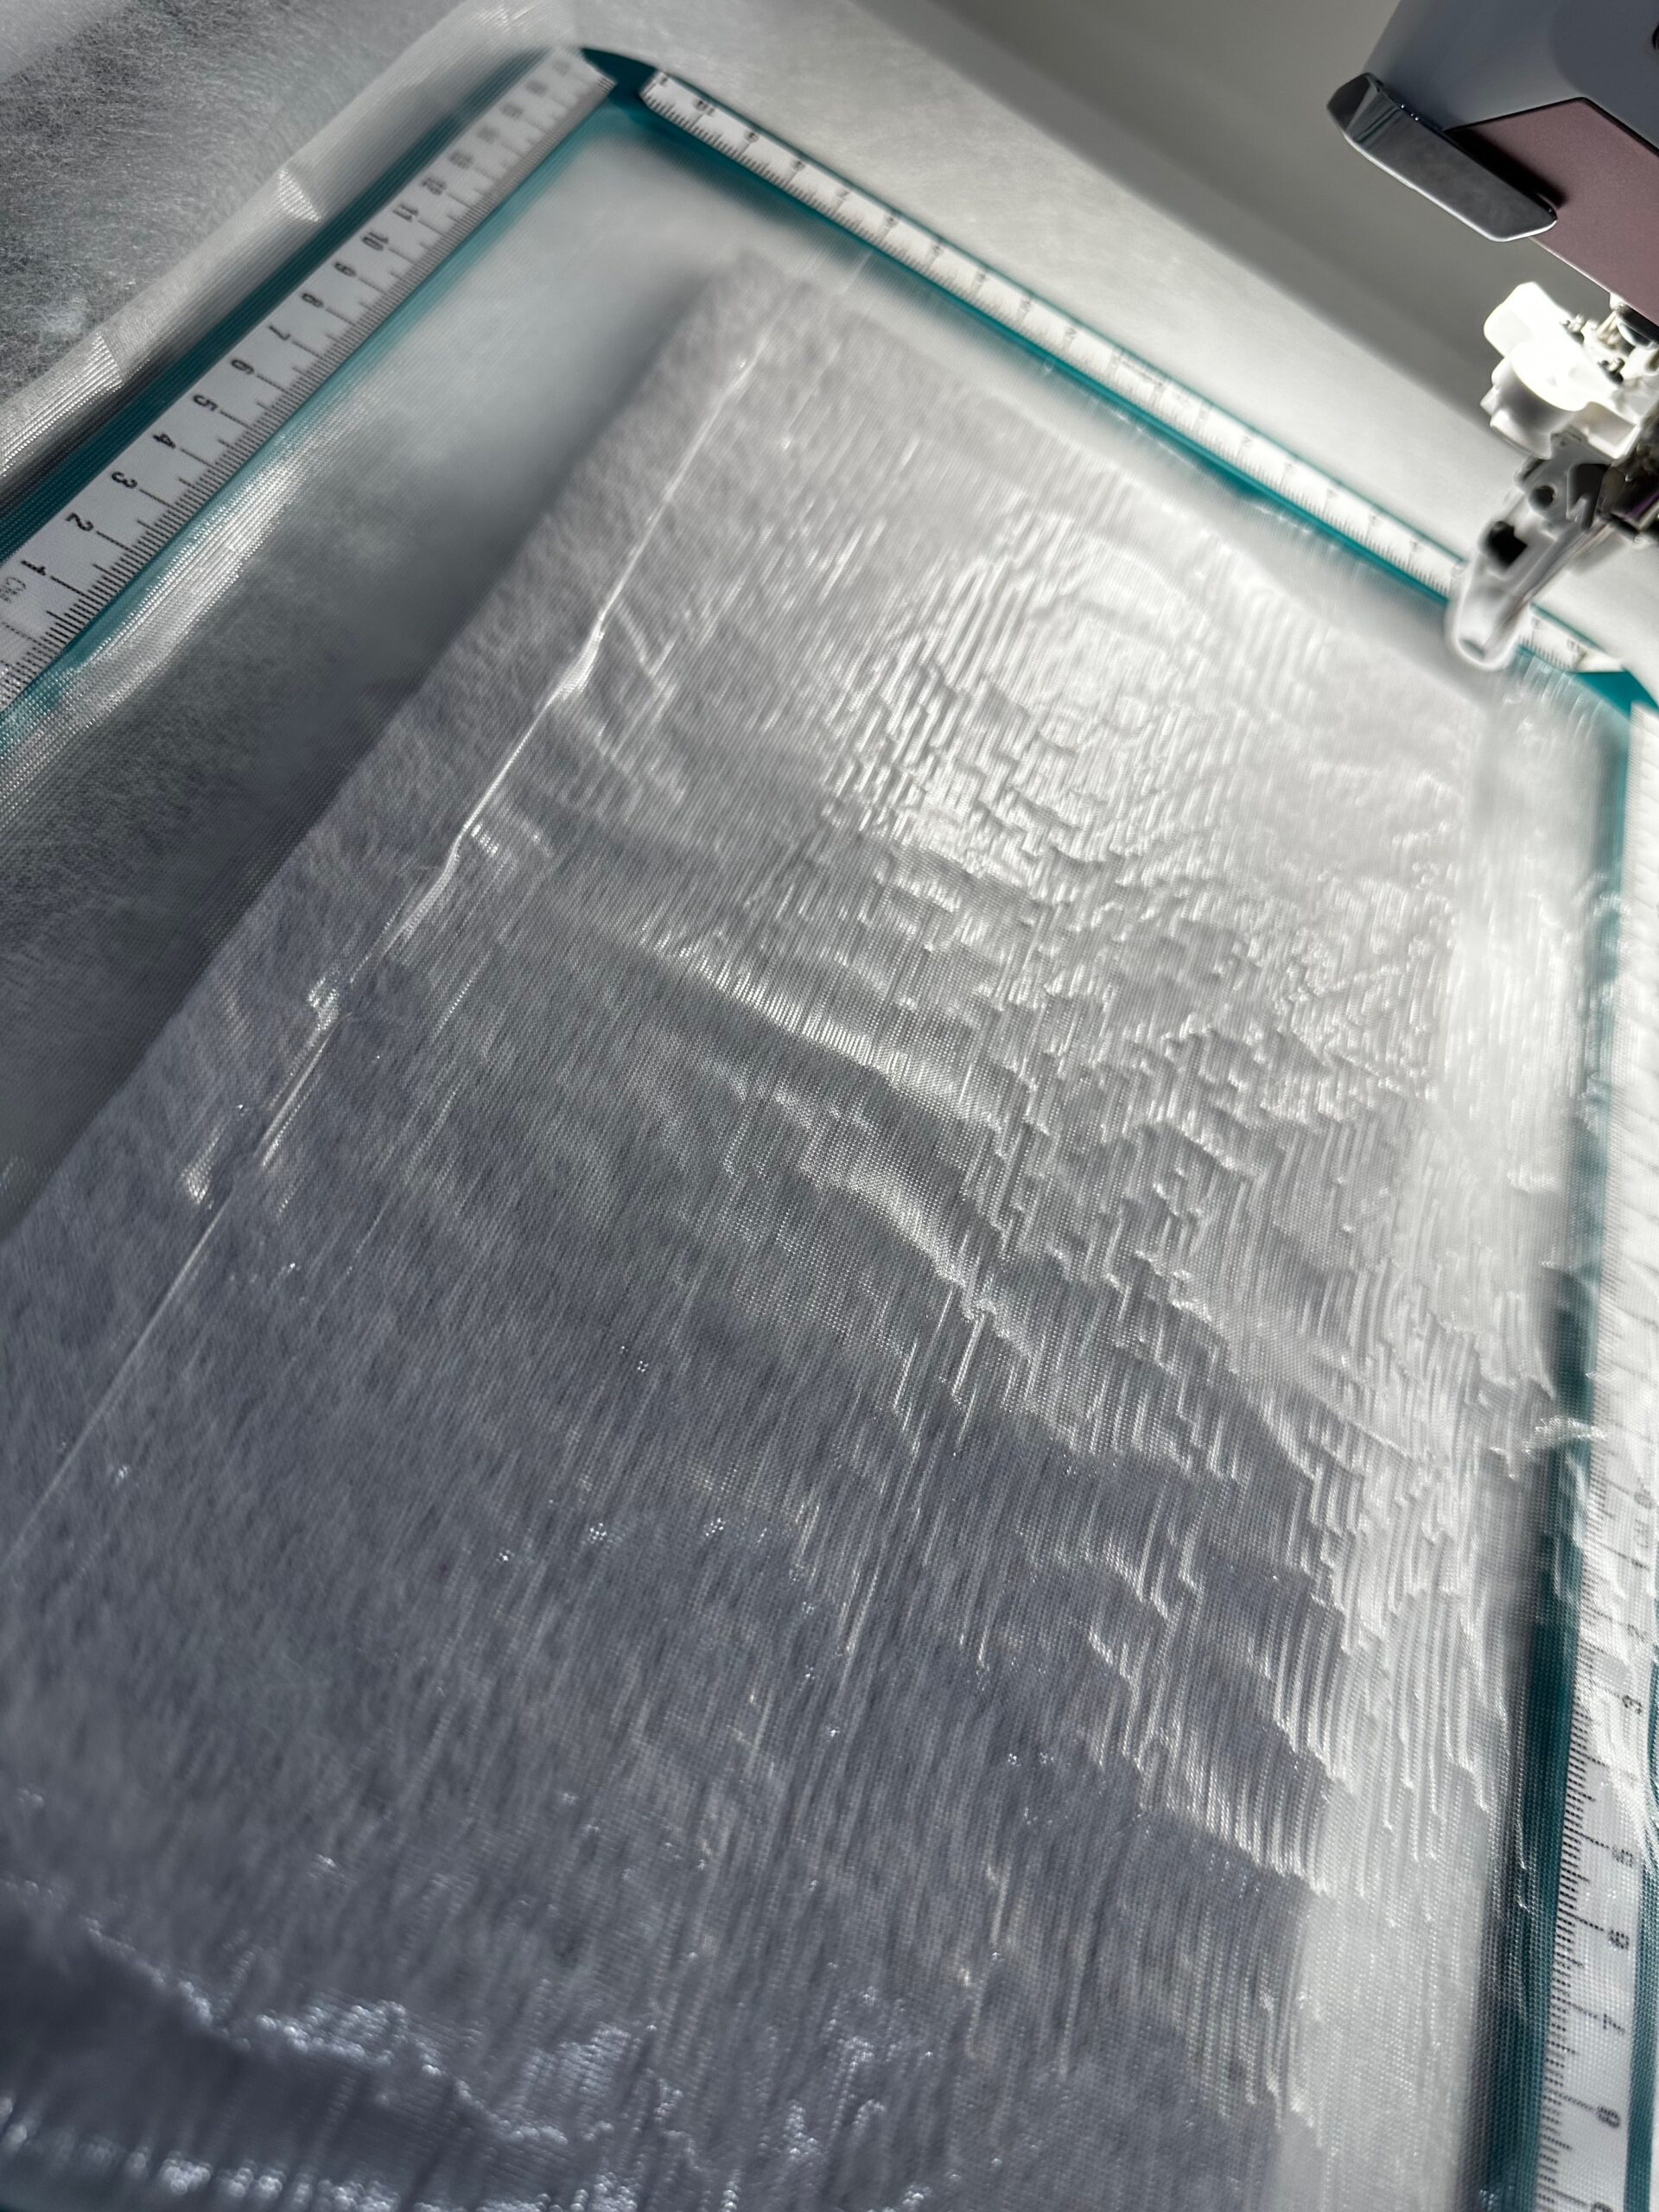
Stitch color stop 2, which tacks the front and Solvy to the stabilizer.
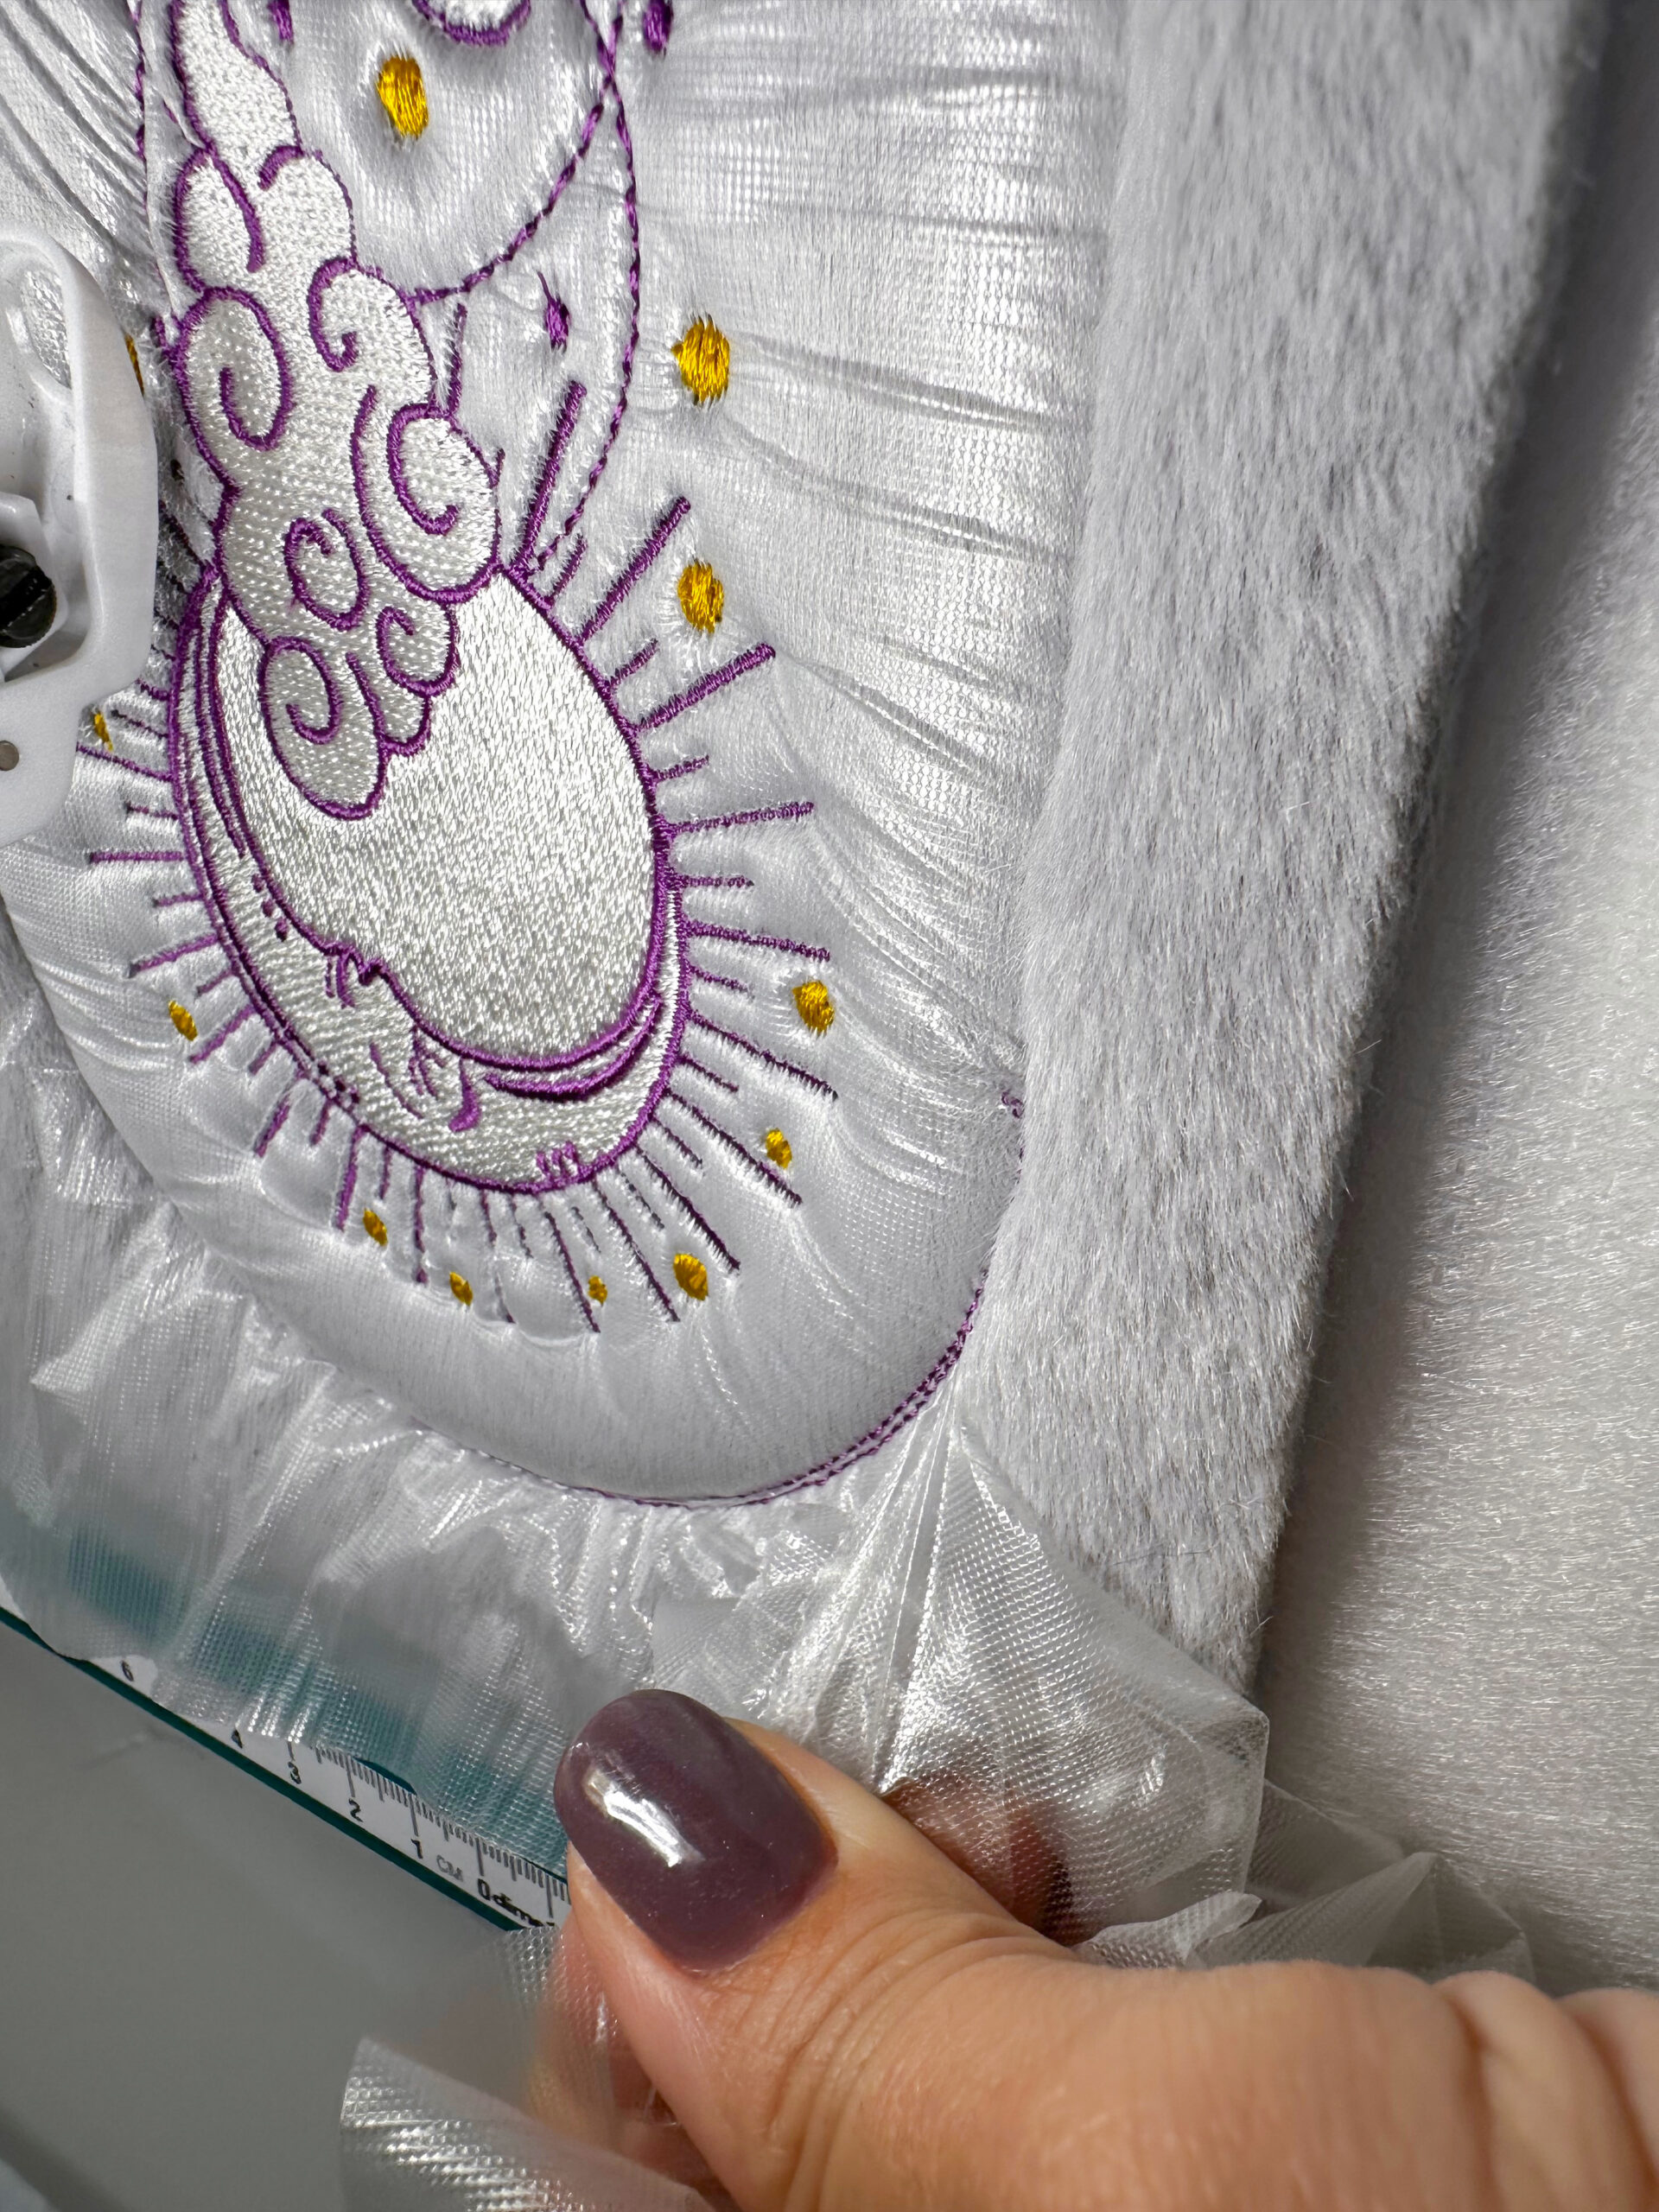
Stitch color stops 3-8 to embroider the design details. Clip jump threads with each thread change.
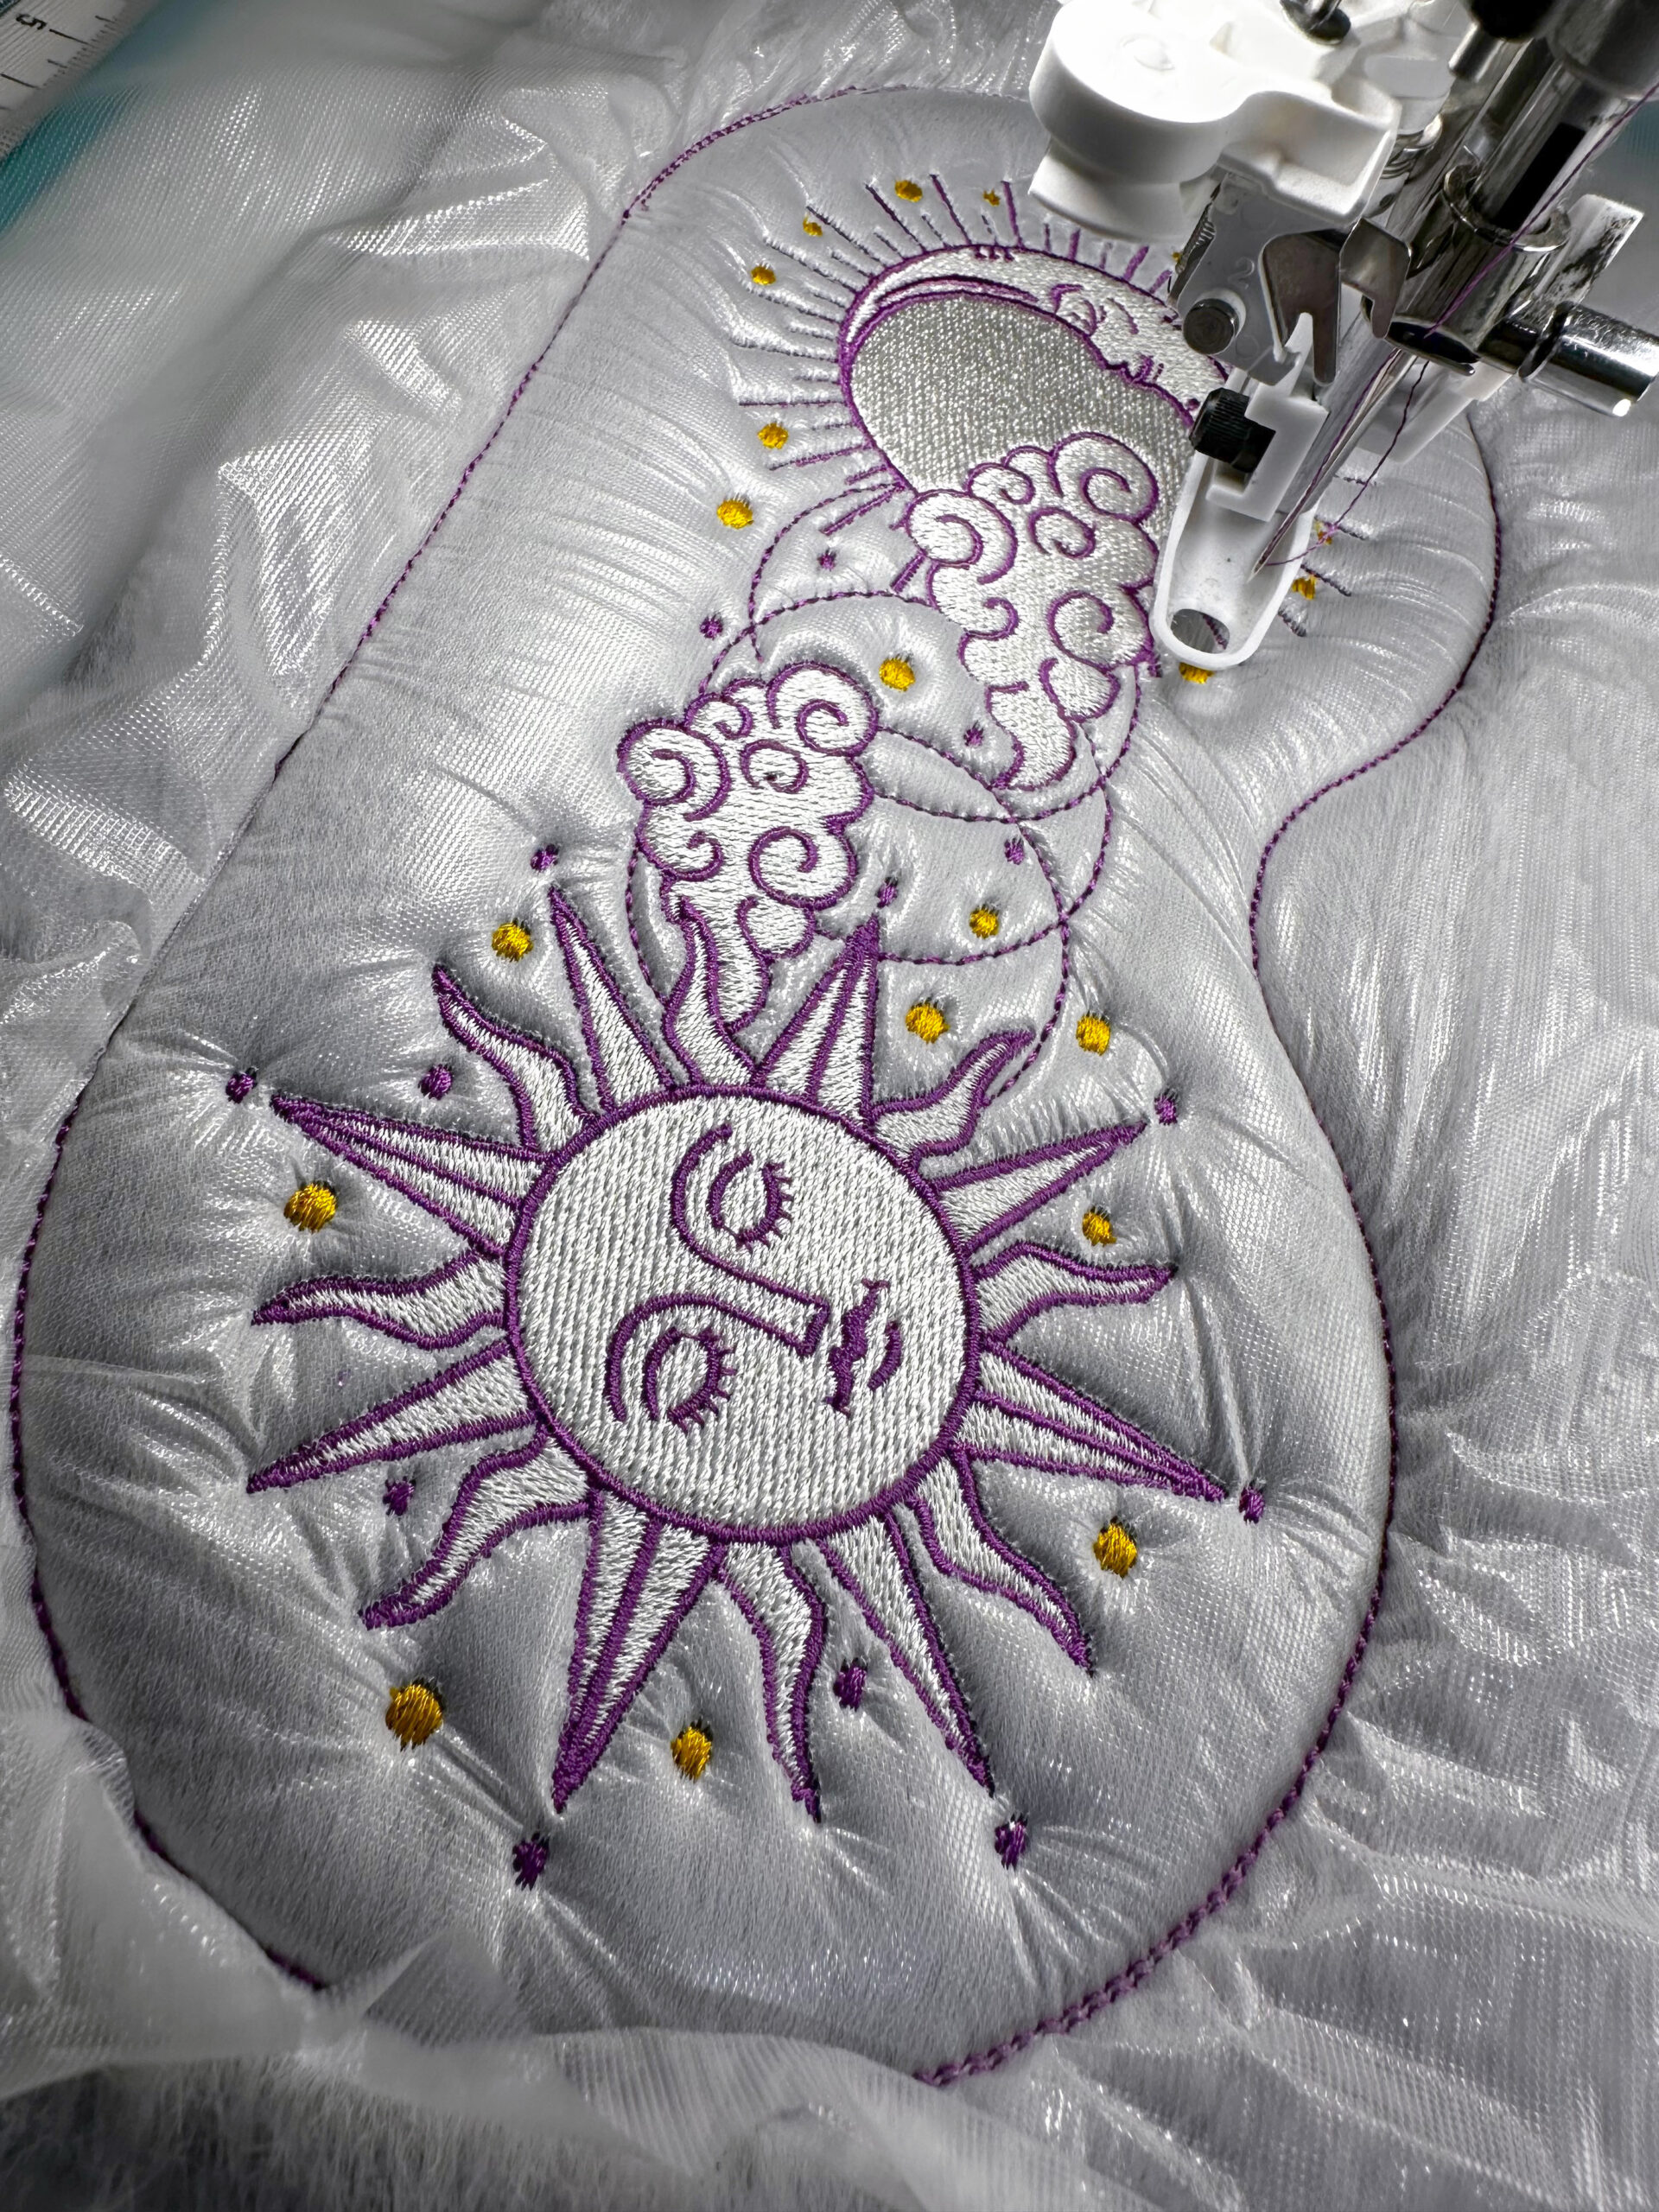
Before the final two color stops, remove the hoop from the machine or direct it to move to the “trim” position.
Tear away as much of the Solvy as possible from inside and outside of the perimeter stitching.
Place the elastic ends along the elastic placement marks, making sure the elastic isn’t twisted and is wrong side up. Tape the ends securely.

Stitch the next color stop, which tacks the elastic ends in place.
Remove the hoop from the machine or direct it to move to the “trim” position.
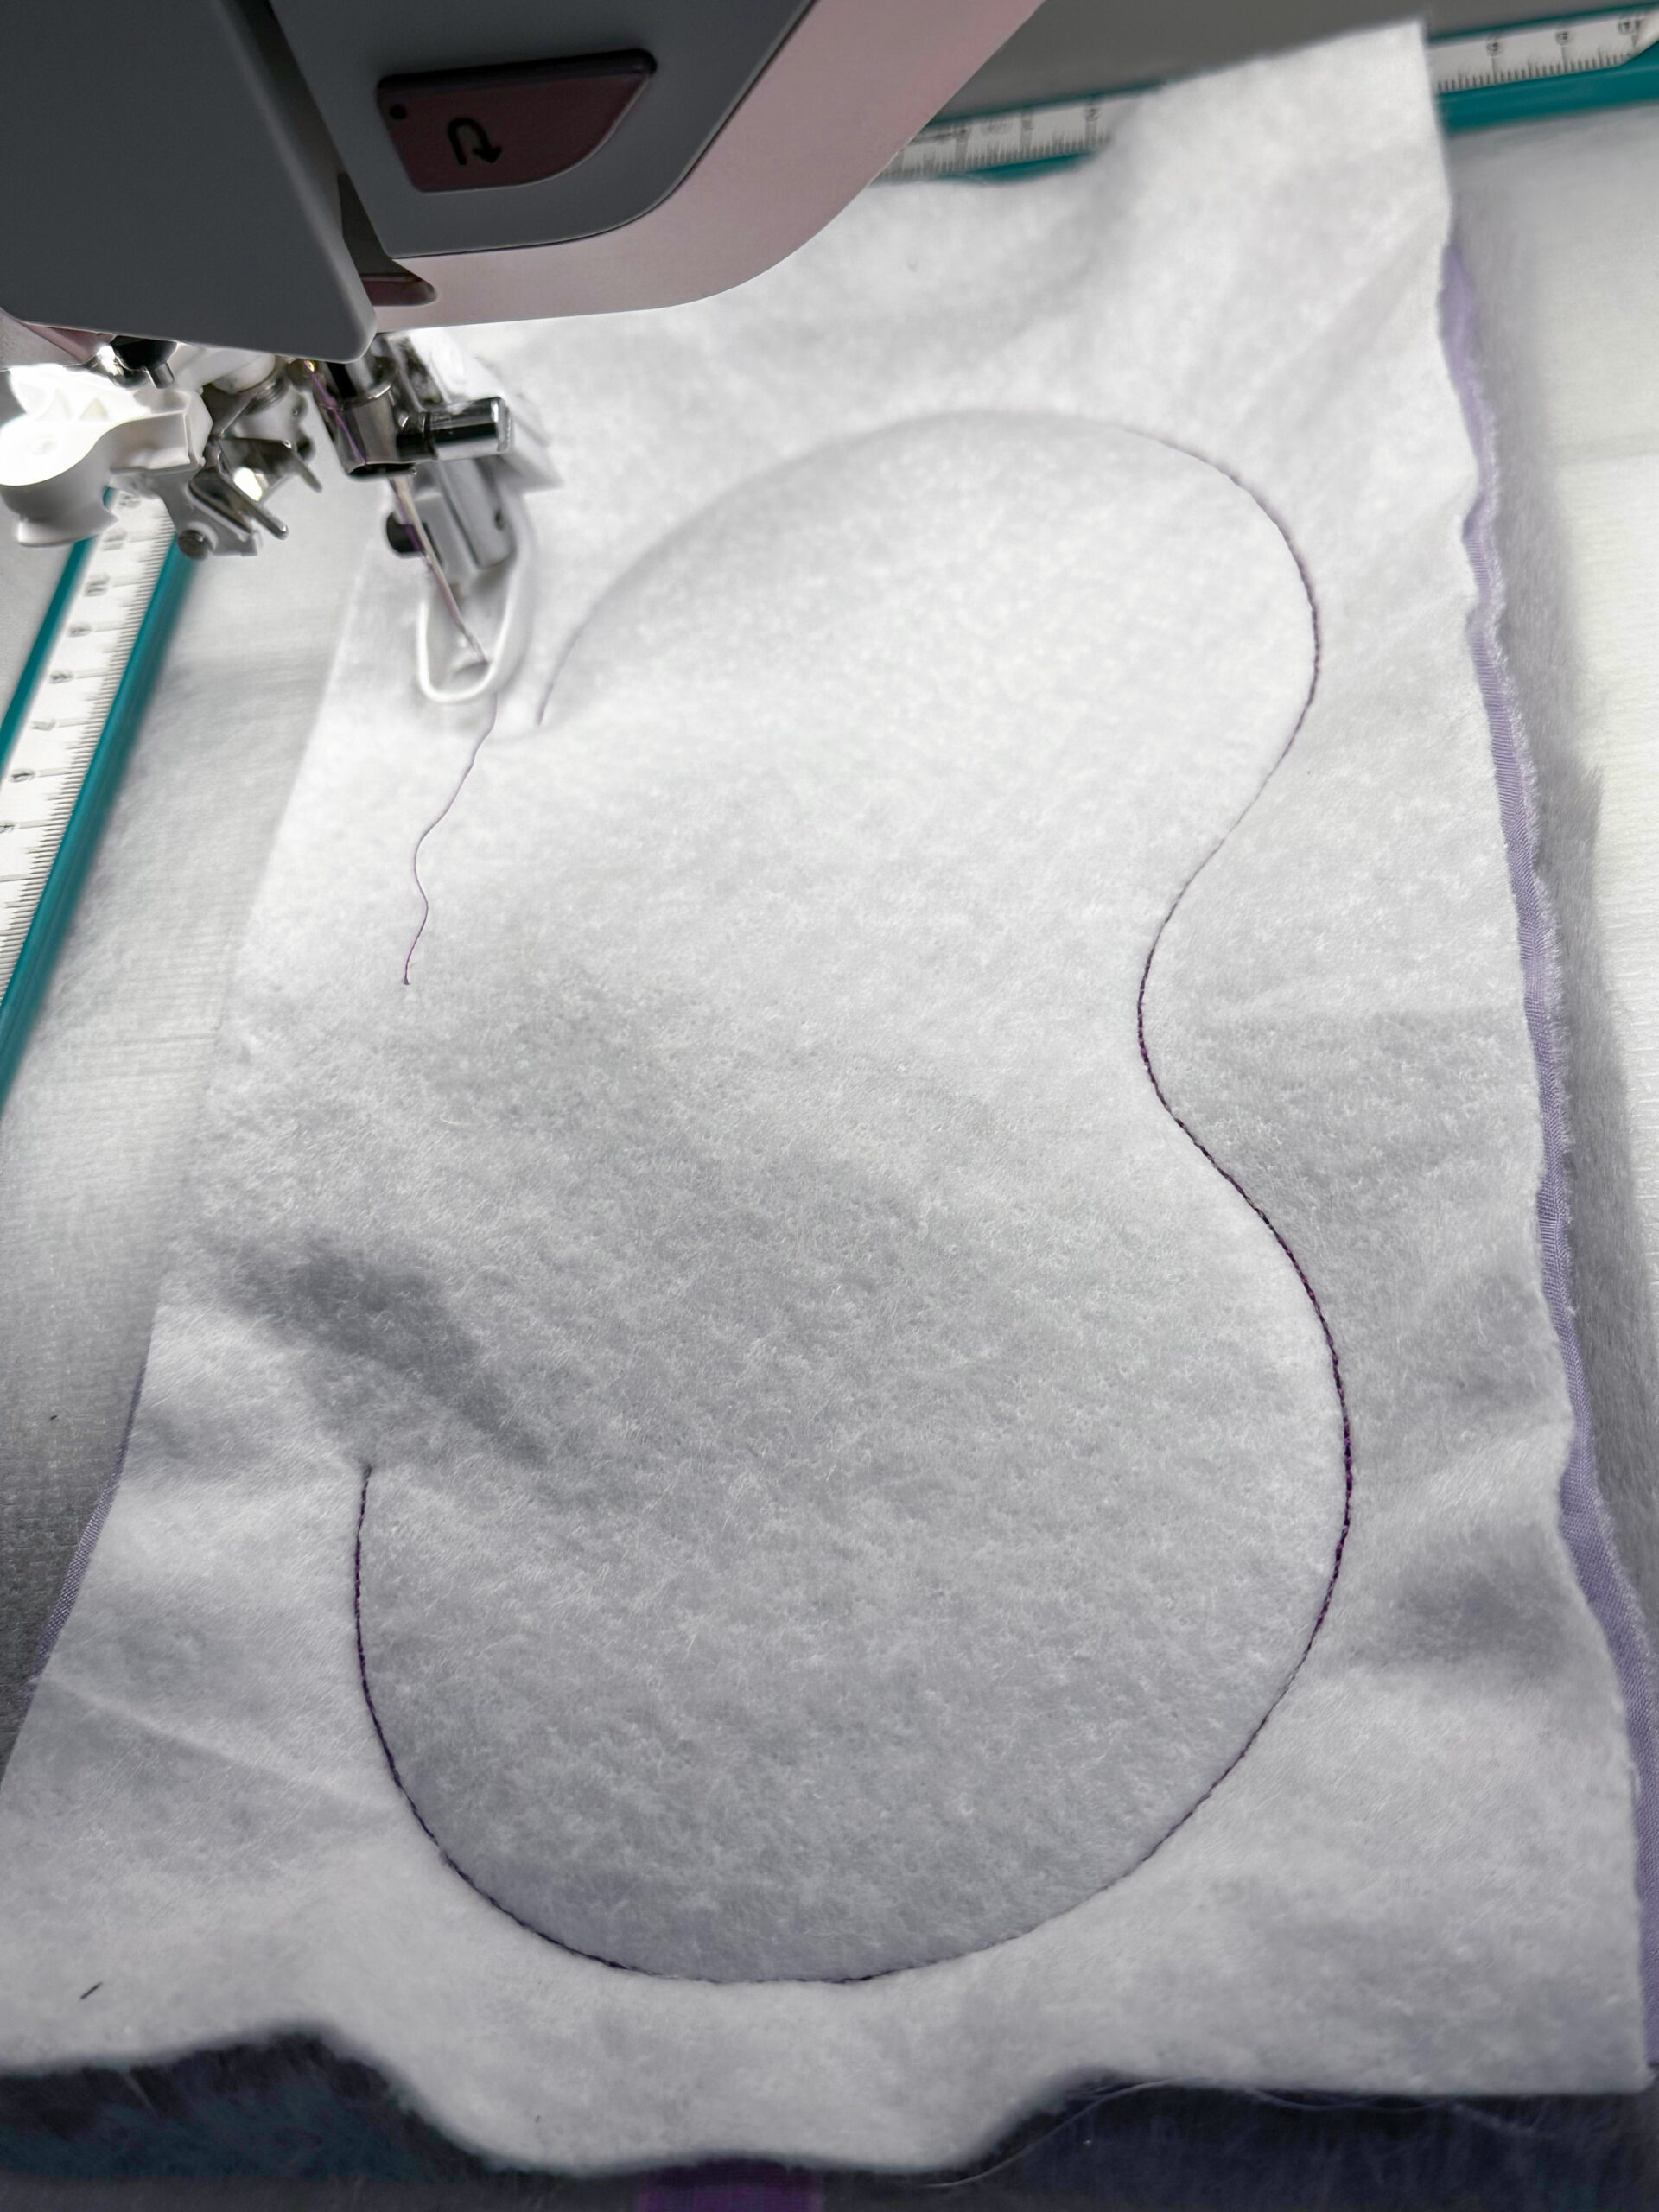
Center the eye-mask back over the front, with the wrong (batting) side facing up.
Tape the perimeter to the stabilizer beneath. Make sure the bulk of the elastic remains between the fabric layers and away from the outer seam.
Stitch the final color stop, which stitches the eye mask perimeter and leaves an opening along the upper edge for turning.
EYE MASK FINISHING
Remove the hoop from the machine. Remove the stabilizer from the hoop.
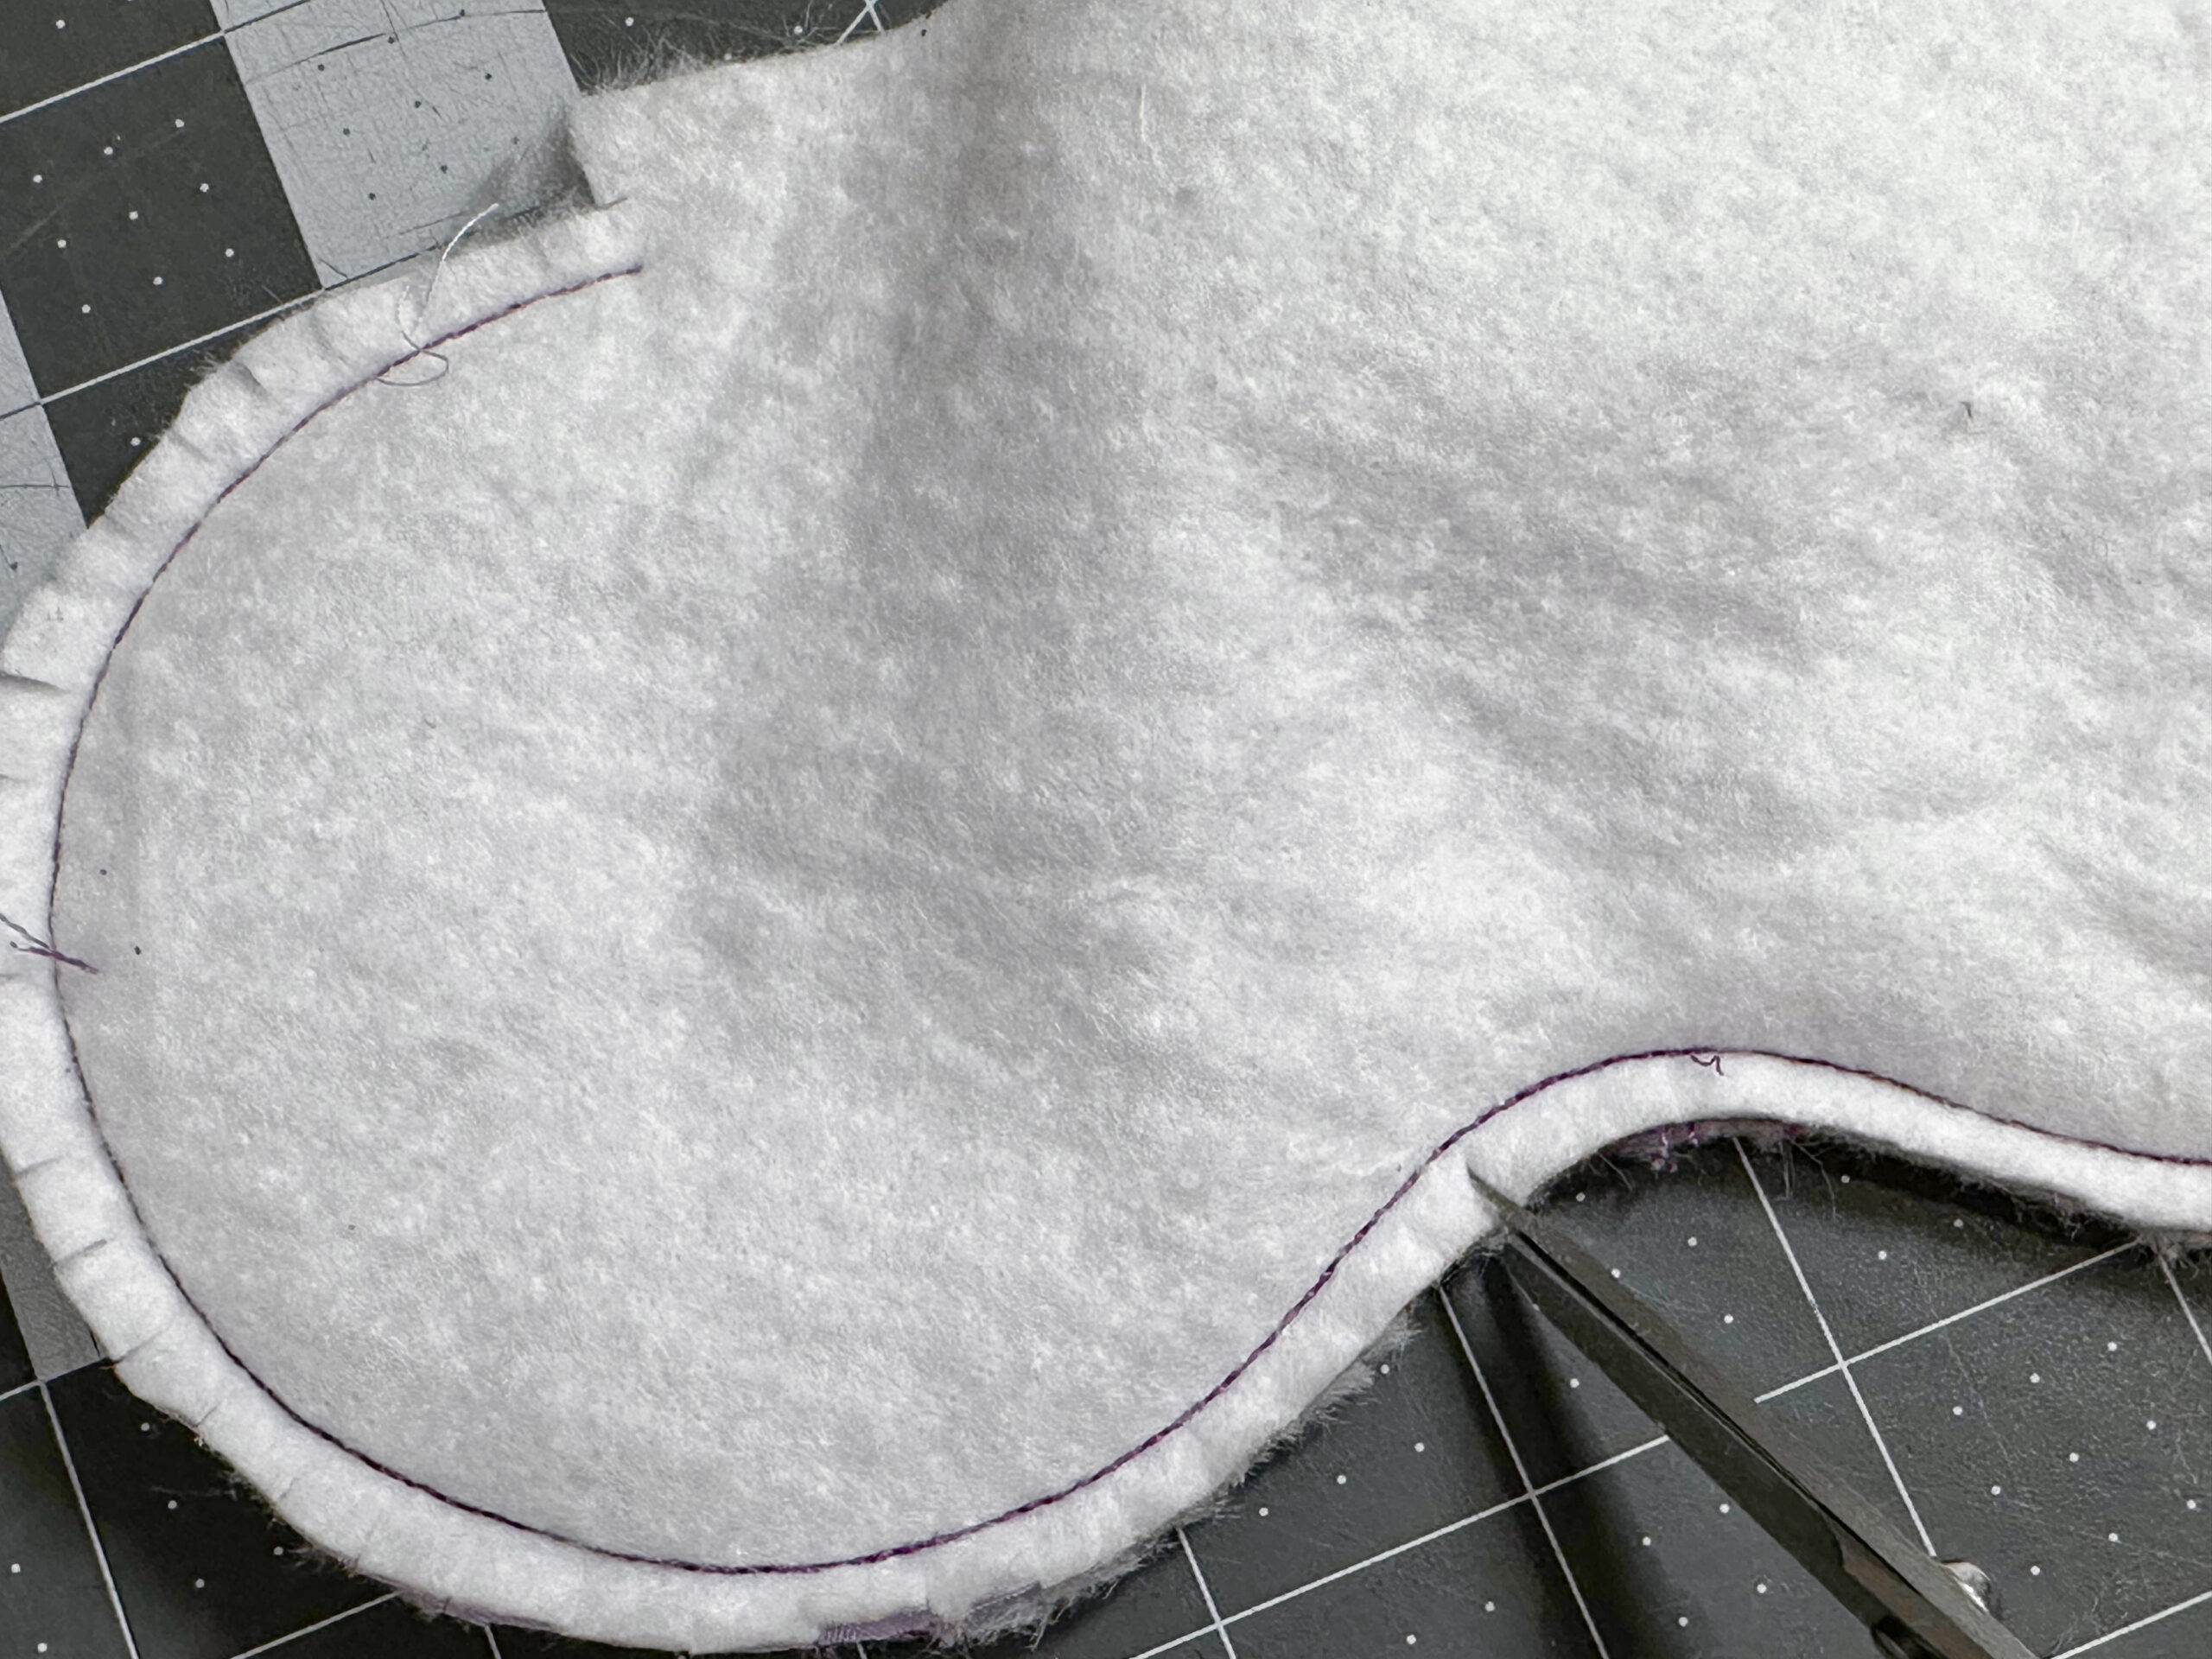
Trim the eye mask ⅛” to ¼” beyond the outermost perimeter stitching, except for the opening edge. Trim the opening seam allowance to ½”. Clip into the seam allowance every ½” along the curved edges.
Turn the eye mask right side out through the opening. Run the Sulky Multipurpose Turning Tool, chopstick or the like along the seam.
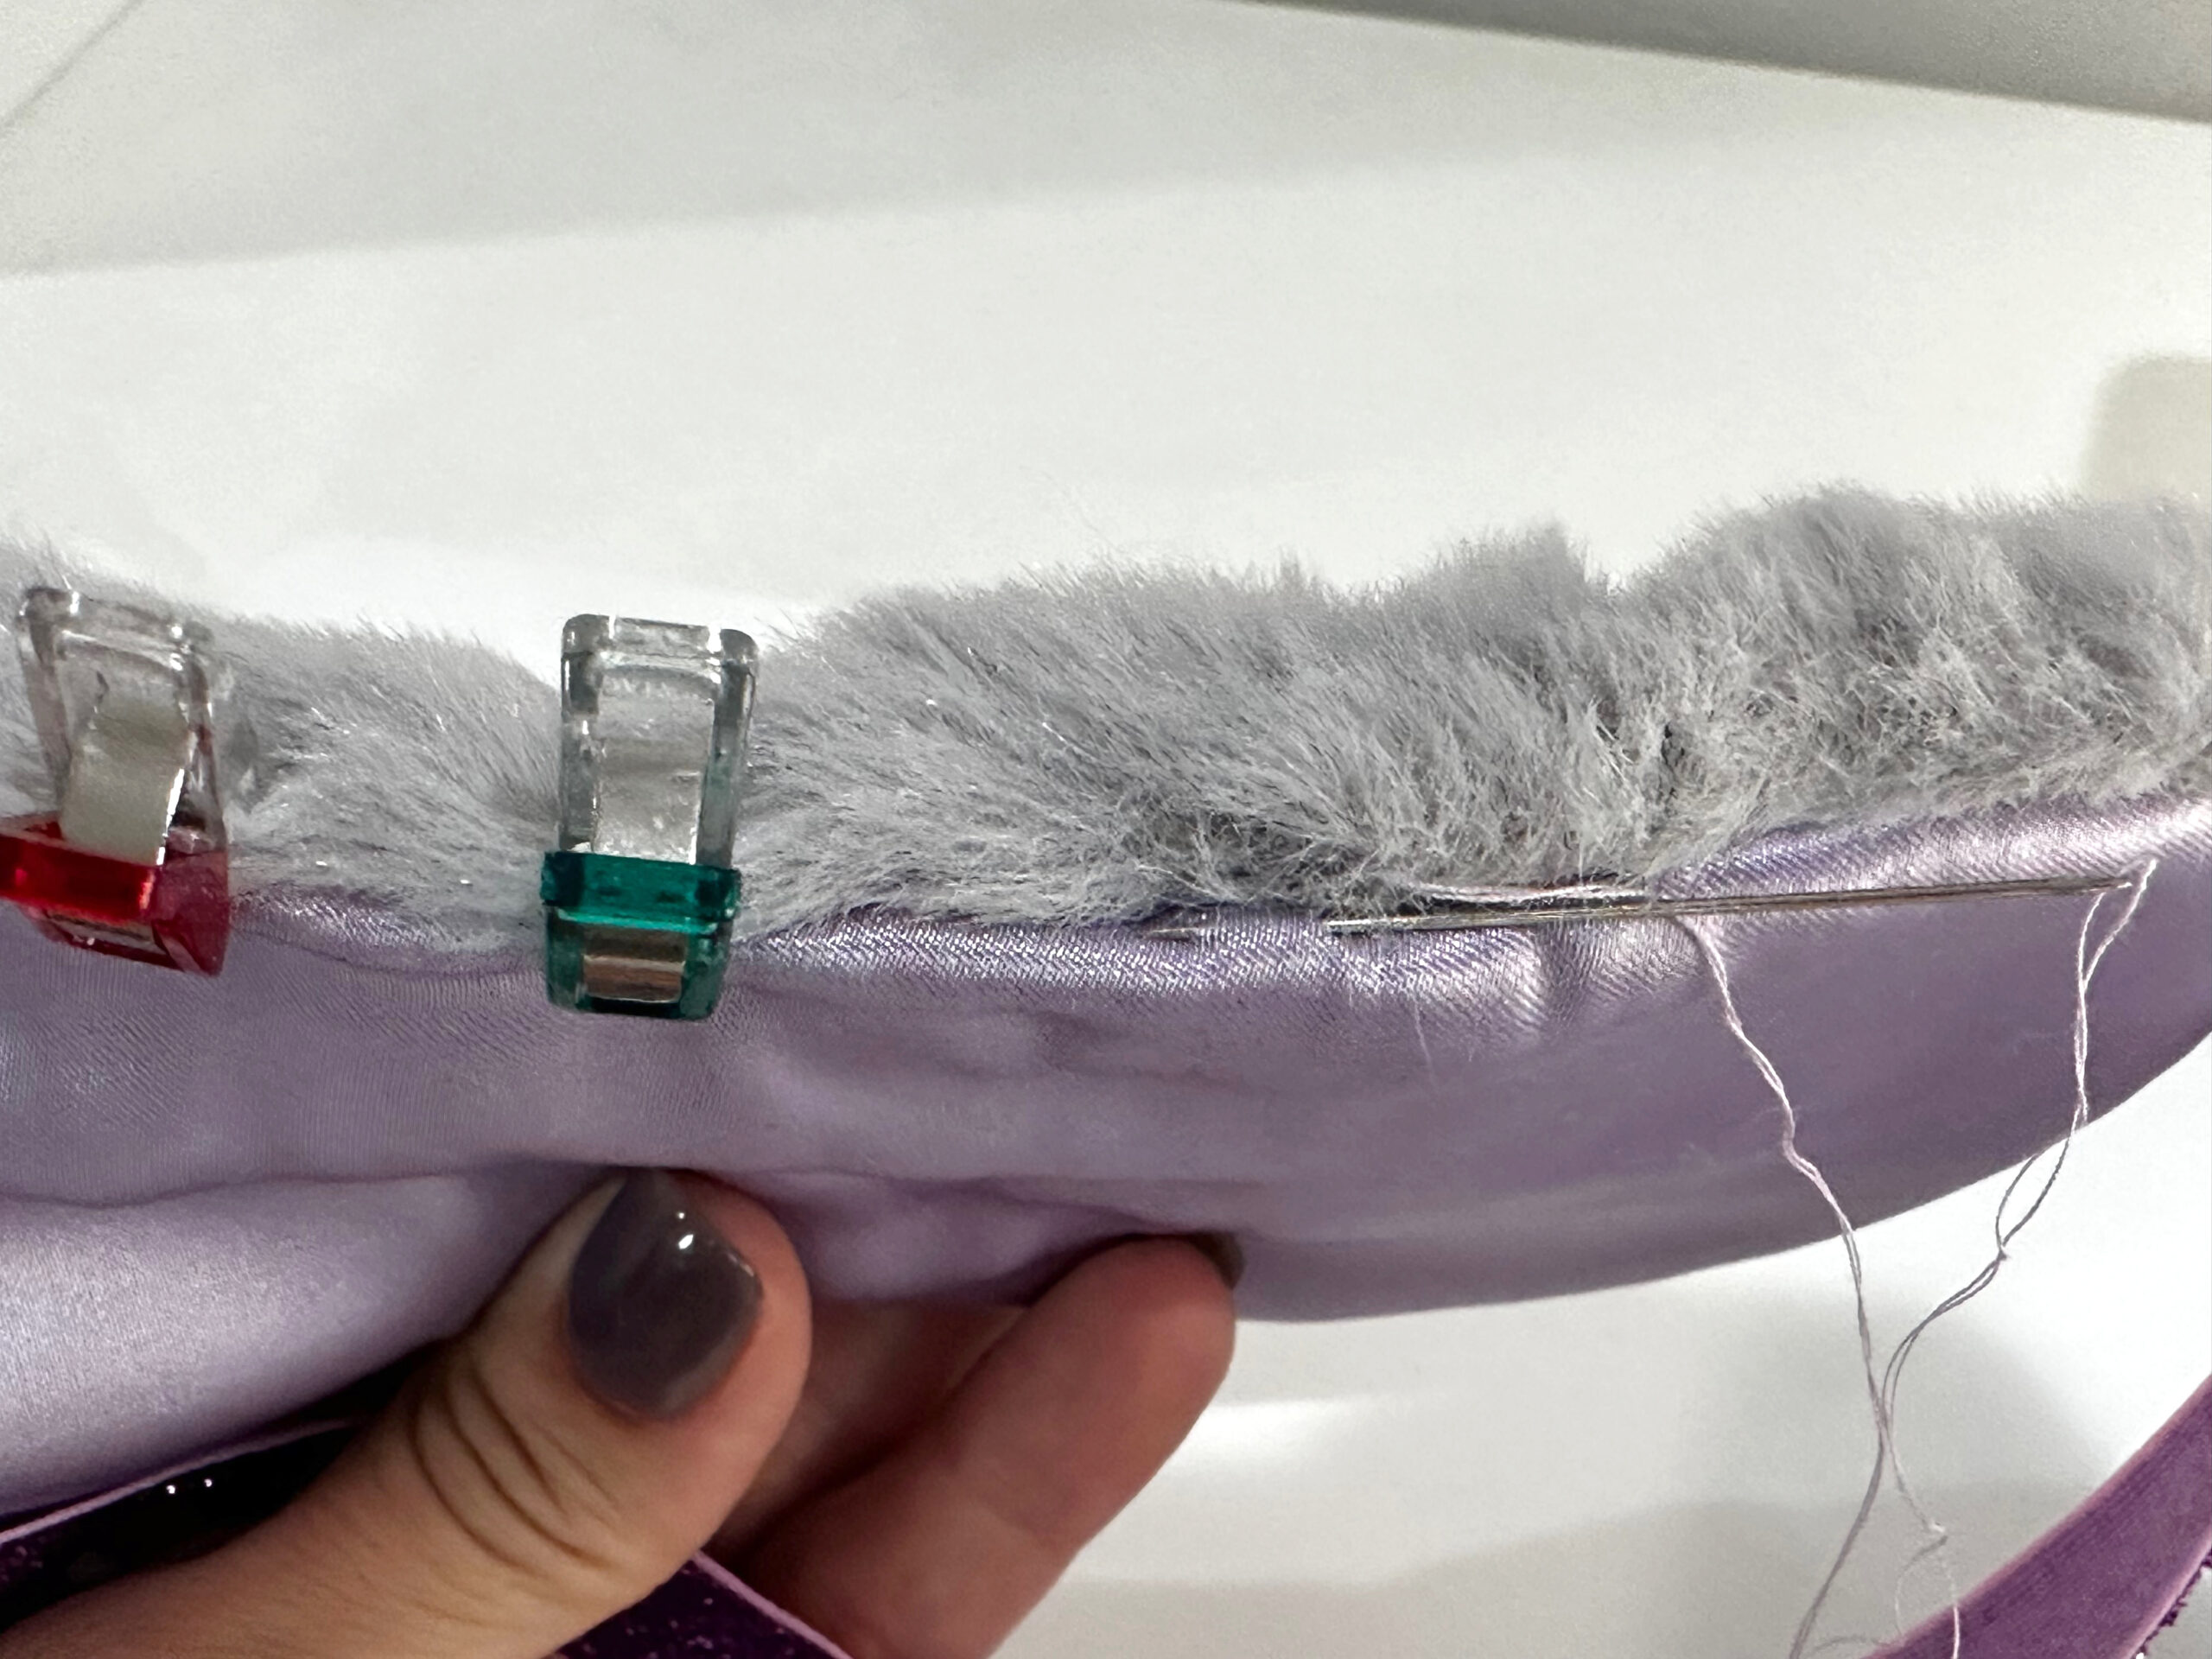
Turn the opening seam allowances toward the wrong side; use clips or pins to close the opening.
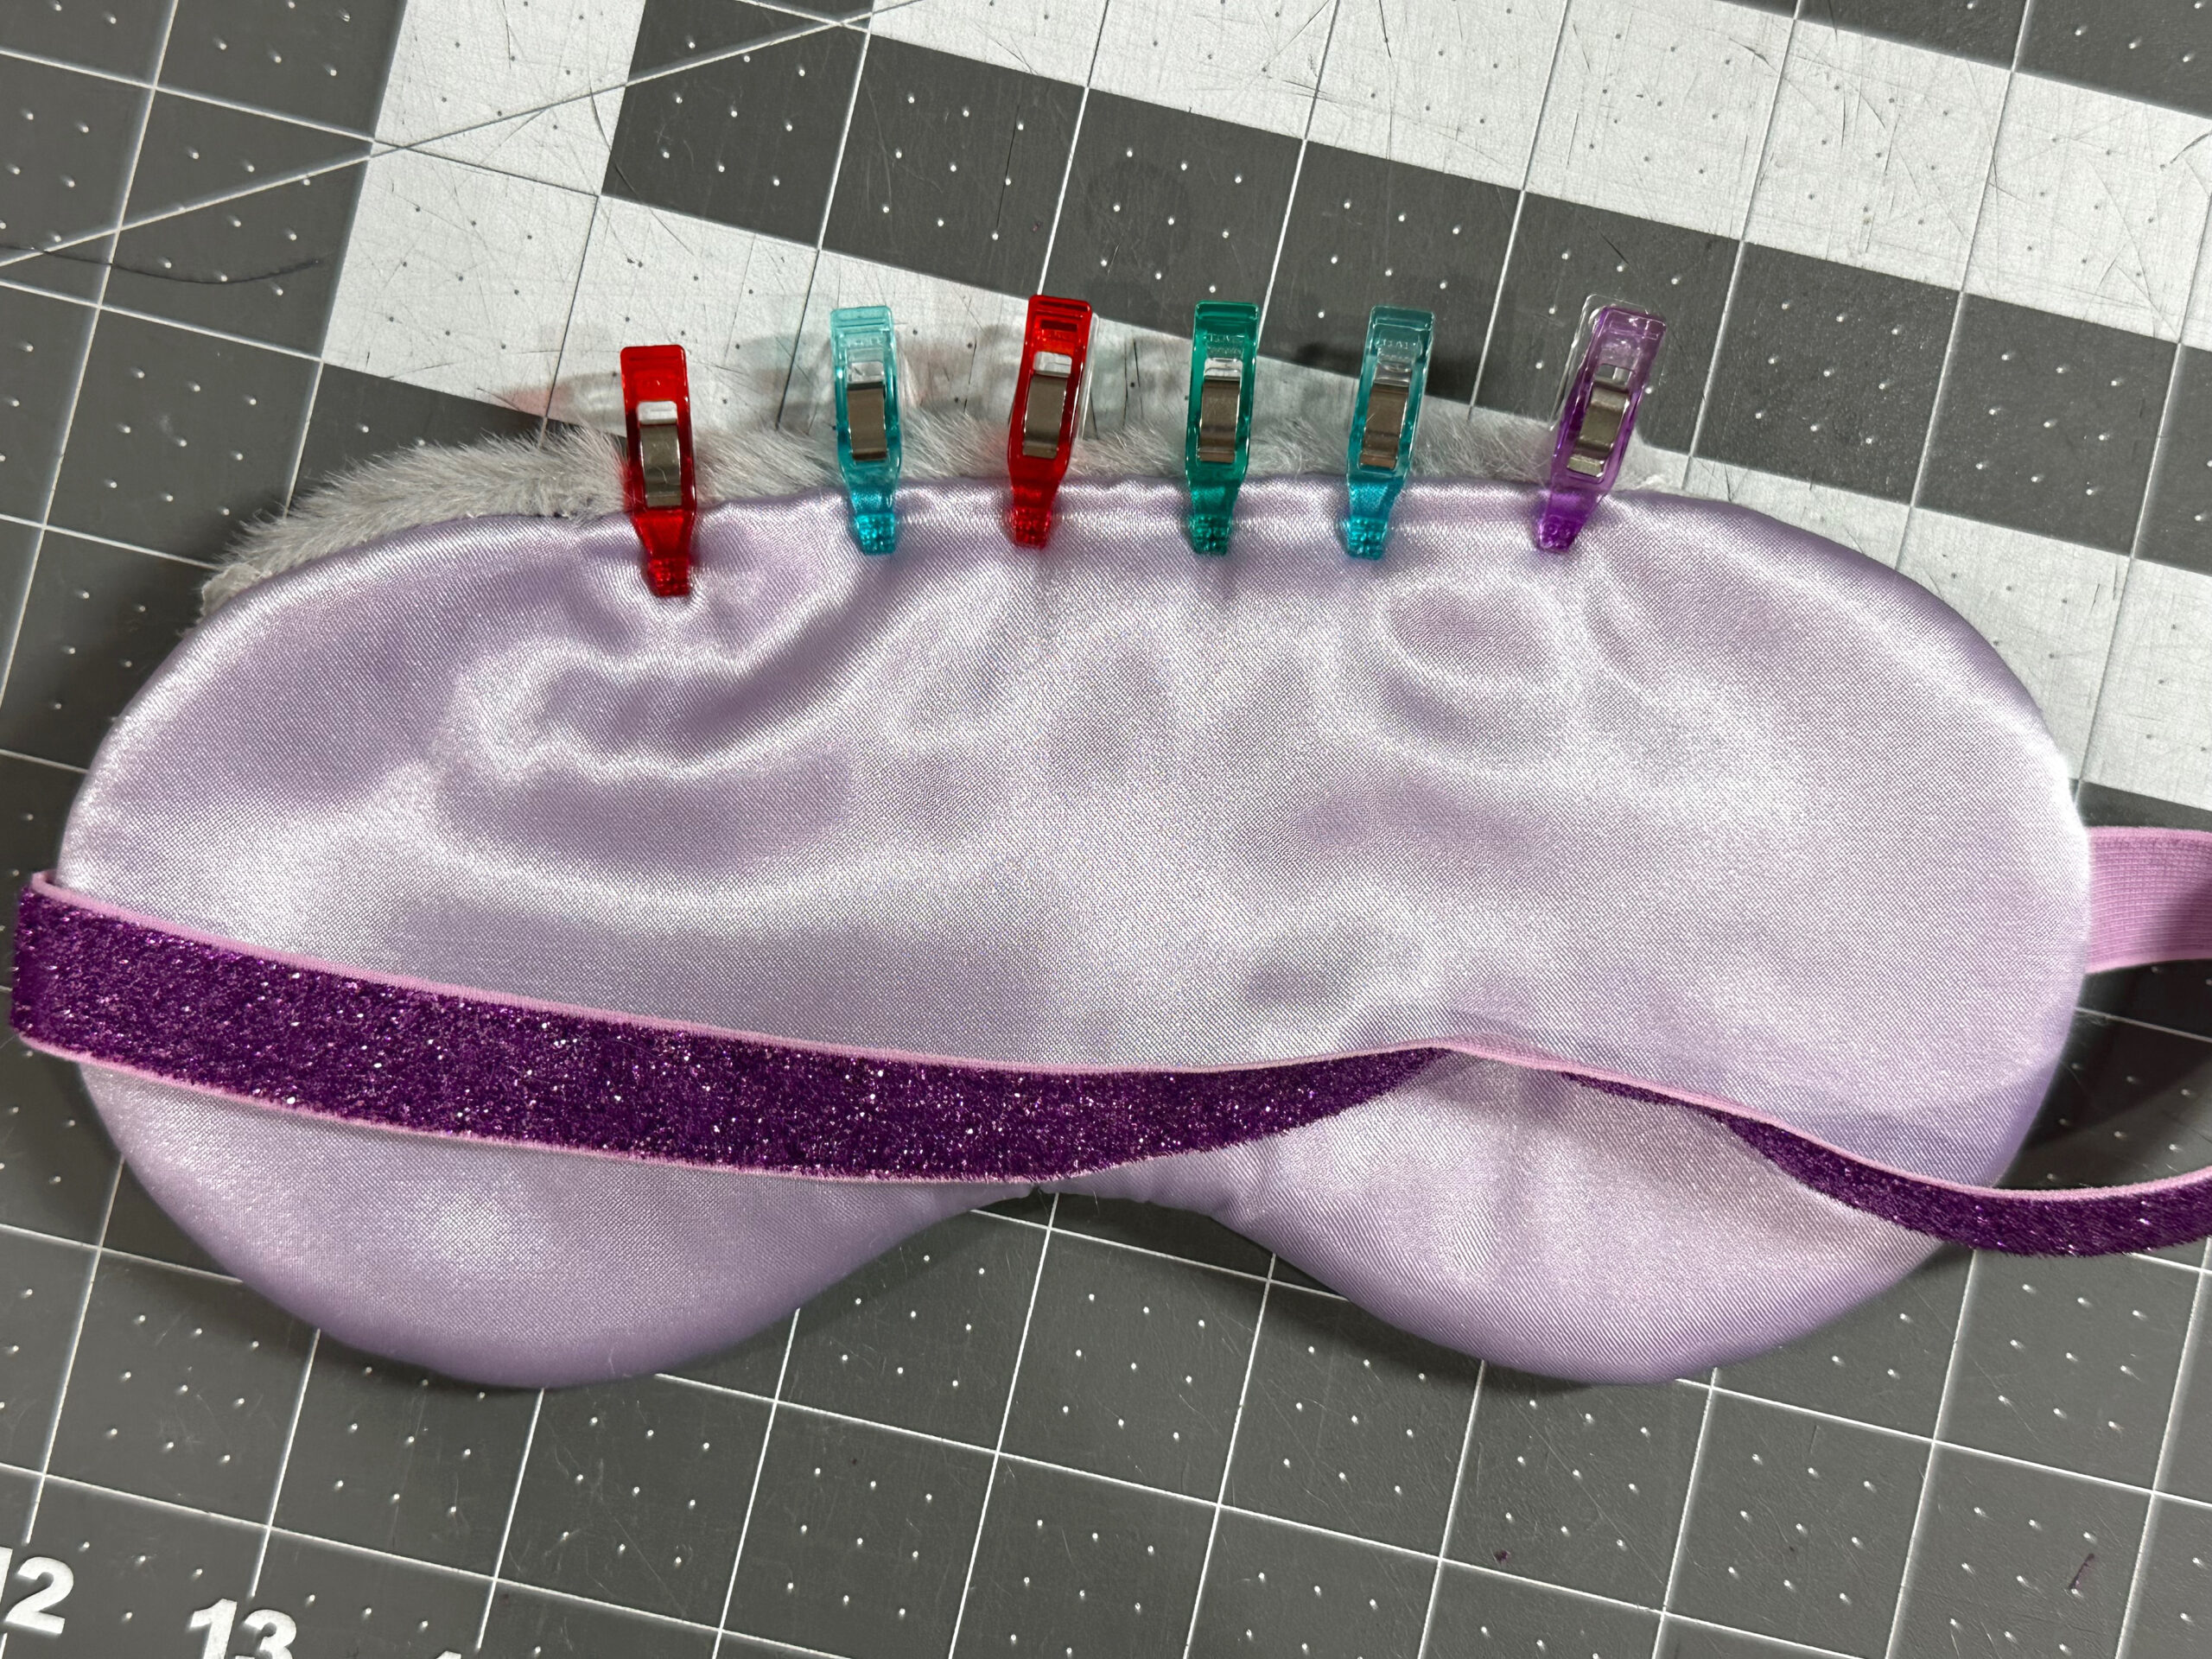
Then, hand sew the opening shut.
Remove any excess stabilizer on the eye mask front by rinsing under running water. Let the eye mask dry thoroughly.
Wear the spa day eye mask for a relaxing nap or gift it to someone special.
Grab this in-the-hoop eye mask design at sulky.com!
