Spooky Solvy Spider Web in 10 Easy Steps
This blog post is written by Eric Drexler,
Sulky National Educator
I first experimented with this project making large Easter Egg decorations in fun colors. You can view that blog here.
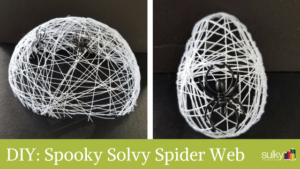
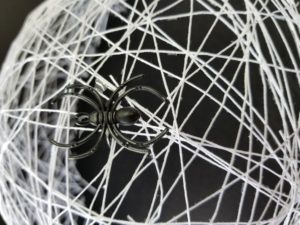
Recently I saw a Halloween decoration on the internet that looked a lot like my eggs. They were really cool spider webs with spiders on them. Oooo CREEPY.
So I wanted to try it out for myself!
Supplies:
- First, find water balloons (This turned out to be the hardest part of the project).
- Then, gather the web material. For the Easter eggs I used Sulky’s 12 wt. Cotton Blendables Thread. You can also use kite string for a heavier look.
- Wide paint brush (1/2″ bristles)
- Clear Acrylic
- Fake spiders!
Directions:
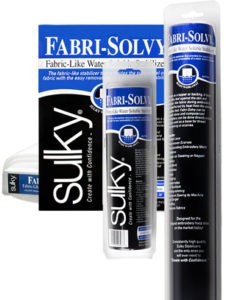
- Microwave water. For every 1 cup of water, microwave 30 seconds. Slowly add 1 yard of dry Fabri-Solvy Stabilizer to the heated water (If you are like me, you save scraps and can use those!). Mix until a thin, almost watery, paste is formed. Let the mixture sit until you are ready to apply, then try to work out all of the clumps.
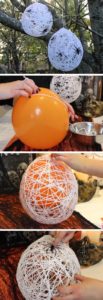
- Inflate balloon, but not all the way. Tape down the belly button so it is flat.
- Wrap Sulky 12 wt. Cotton Solid or Blendables Thread around the balloon, starting at the top or bottom. Turn the balloon on its axis as it is being wrapped so that a star burst pattern is formed. Be careful to stay in the center of the balloon as you wrap so it doesn’t slide off the side. This is easy to do since you are wrapping and turning at the same time. Try: turn, wrap, turn, wrap to gain more control.
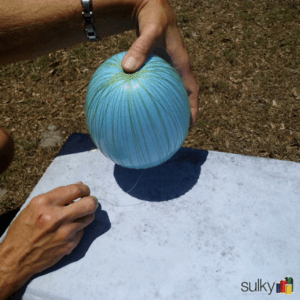
- Turn on its side, and start wrapping from the center and repeat the turning motion until another star is formed. Keep wrapping to fill in empty spaces.
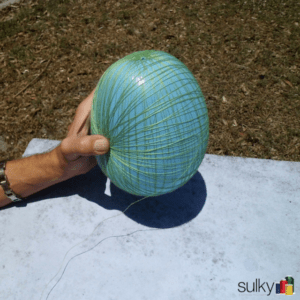
- Find the other open areas and make another star burst there till you are happy with the thickness. (Light and Lacy is nice, but more fragile. If wrapped thicker it will absorb more liquid Solvy) For a jaw dropping look, add a coordinating Sulky Holoshimmer with the Cotton or Blendables Thread.
- Use a wider paint brush (like ½” bristles) to apply the liquid Solvy over the outside of the wrapped balloon. Let it soak in and make sure to cover every inch. If too much is applied it will drip.
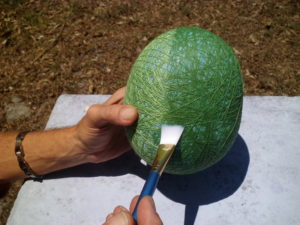
- Find a small plastic or glass bowl to set the egg down on for drying. They dry quicker in the sun or with a fan on them. Make sure to turn them over from side to side and top to bottom to avoid the liquid Solvy migrating to the lowest point. Every 15 to 20 minutes should be sufficient.
- When the egg is dry, apply another layer of Liquid Solvy. Repeat a third time for a super strong egg.
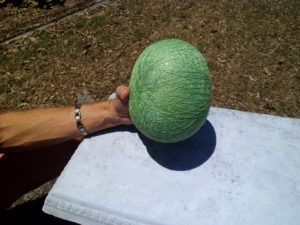
- When the egg is COMPLETELY dry, put a pin in the balloon. If you are not going to cut it open you can remove the balloon with a dental pick through one of the holes.
- Spray with Clear Acrylic to seal and strengthen.
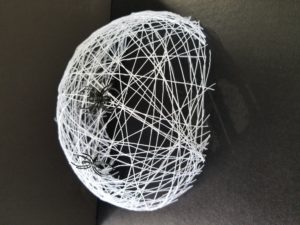
If you are making webs, an egg can be cut in half to make 2 webs. Small slivers of painter’s tape (2” X ¼”) help to pre-plan where you are going to cut.
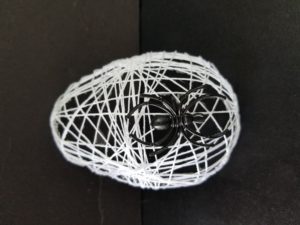
Finally, glue a few fake spiders to your web and find fun a spot for your new, spooky Halloween decoration!
Show us your Halloween creations! Follow us on Instagram and Facebook and tag us with #SulkyThreads 🙂




Definitely on my list, Halloween is my favorite holiday.