T-Shirt Embroidery with Great Results
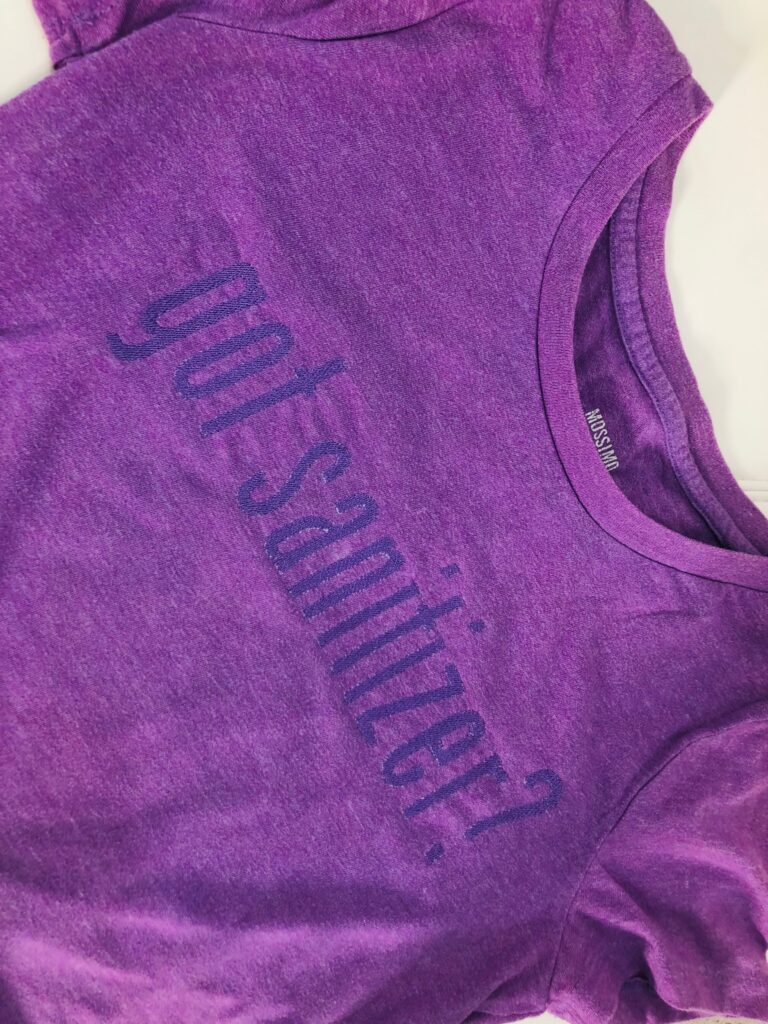
T-shirt embroidery is super fun and a great way to personalize a gift. Add any phrase you like, be sweet or cheeky, and decide from a number of available fonts either built into your machine or by using software.
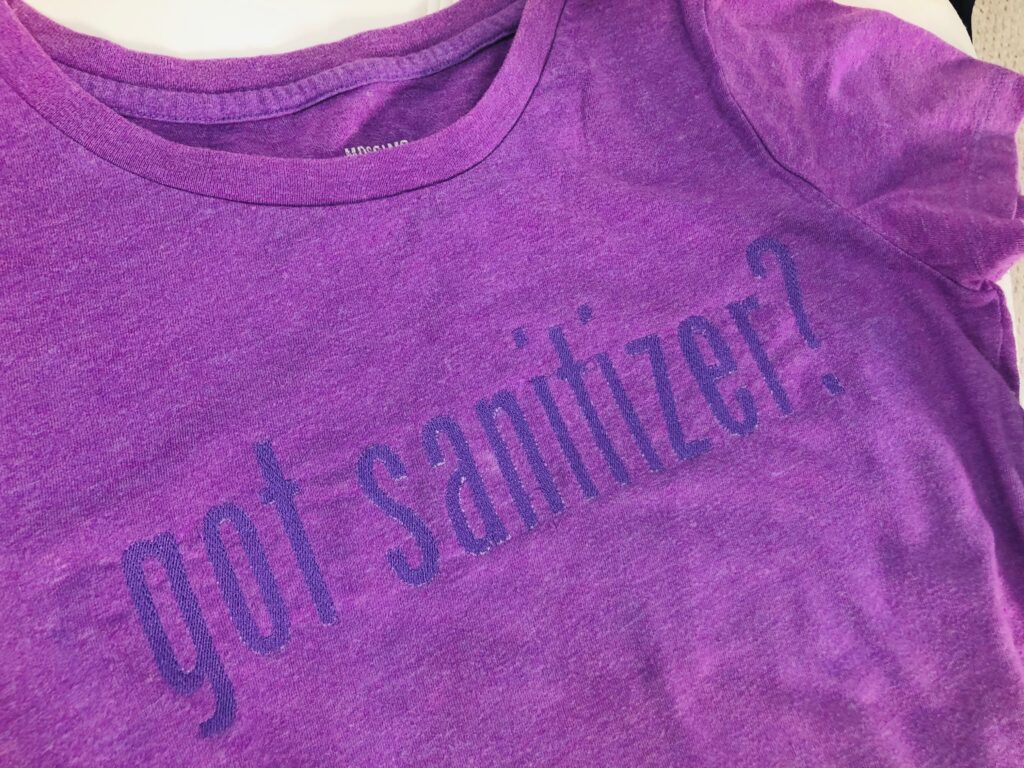
The featured “got sanitizer?” design was created using Drawings 10 software. It was digitized with each letter as a separate “color,” yet stitched in the same thread color. This is to ensure you move the T-shirt fabric out of the way of the next letter as you work your way through the design.
“Got Sanitizer?” is provided to all of you readers for free if you’d like to simply download the format of your choice. (NOTE: Not all design formats are available. If the format you need for your machine isn’t listed, create a similar design by combining letters and/or words using a built-in font in your machine. Or use software, such as Creative DRAWings XI to create a phrase.)
If creating your own design, be sure to choose a phrase in a font that is large enough to read yet small enough to fit on a hoop that will fit the shirt front without stretching.
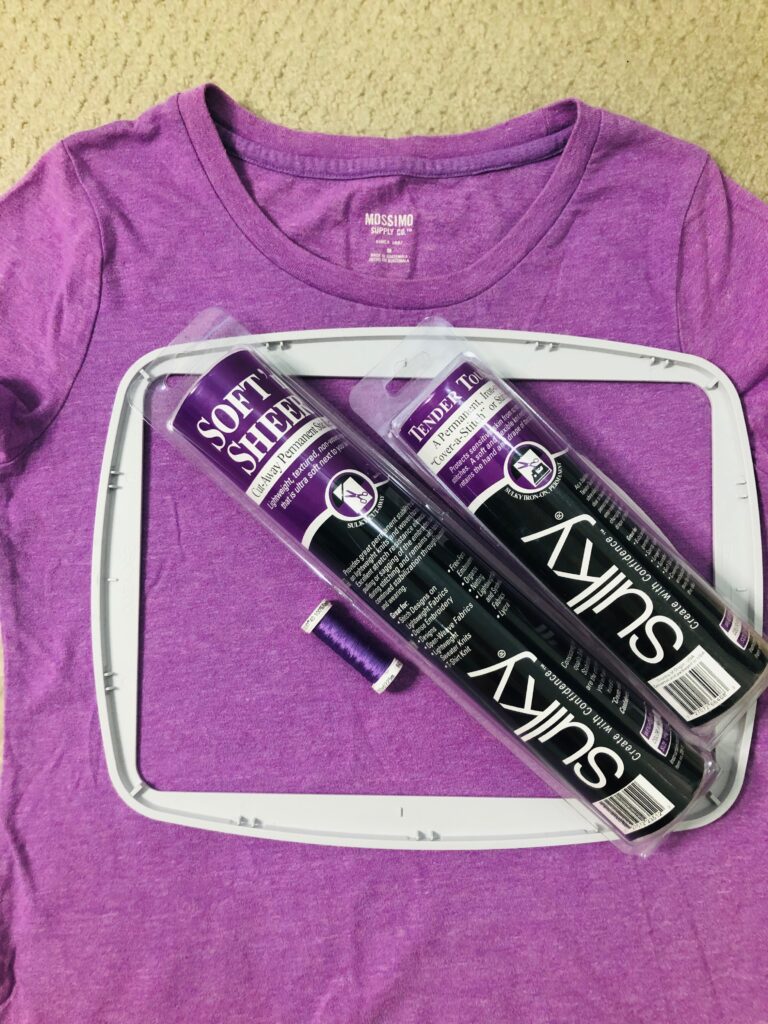
T-SHIRT EMBROIDERY SUPPLIES
- T-shirt of your choice
- “got sanitizer?” machine embroidery design
- Sulky 40 wt. Rayon thread (color(s) of your choice
- KK2000™ Temporary Spray Adhesive
- Soft ‘n Sheer™ & Tender Touch™ stabilizers
- Totally Stable™ stabilizer OPTIONAL (for heavier weight knit)
- Sulky Bobbin thread
- Organ 75/11 embroidery needle
- Removable fabric marker
PLACEMENT & PREP
First, prewash and press the T-shirt. Placement for T-shirt embroidery is key to a successful result.
Next, print a template of the design and audition it on the shirt front.
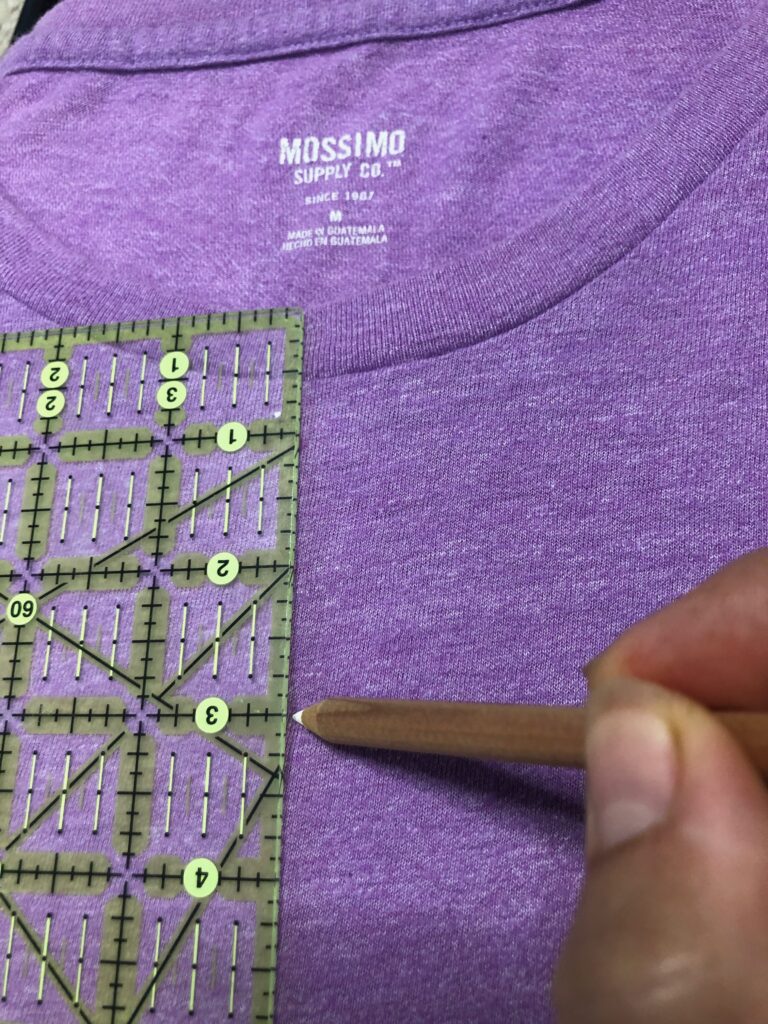
When the desired placement is achieved, mark the design center cross-marks using a removable fabric marker. The featured design was centered between each armscye seam with the tallest letter upper edge placed 3″ below the collar.
Turn the shirt right side out.
Then, apply a rectangle of Soft ‘n Sheer stabilizer to the shirt wrong side using KK2000, ensuring the stabilizer placement accommodates the design dimensions.
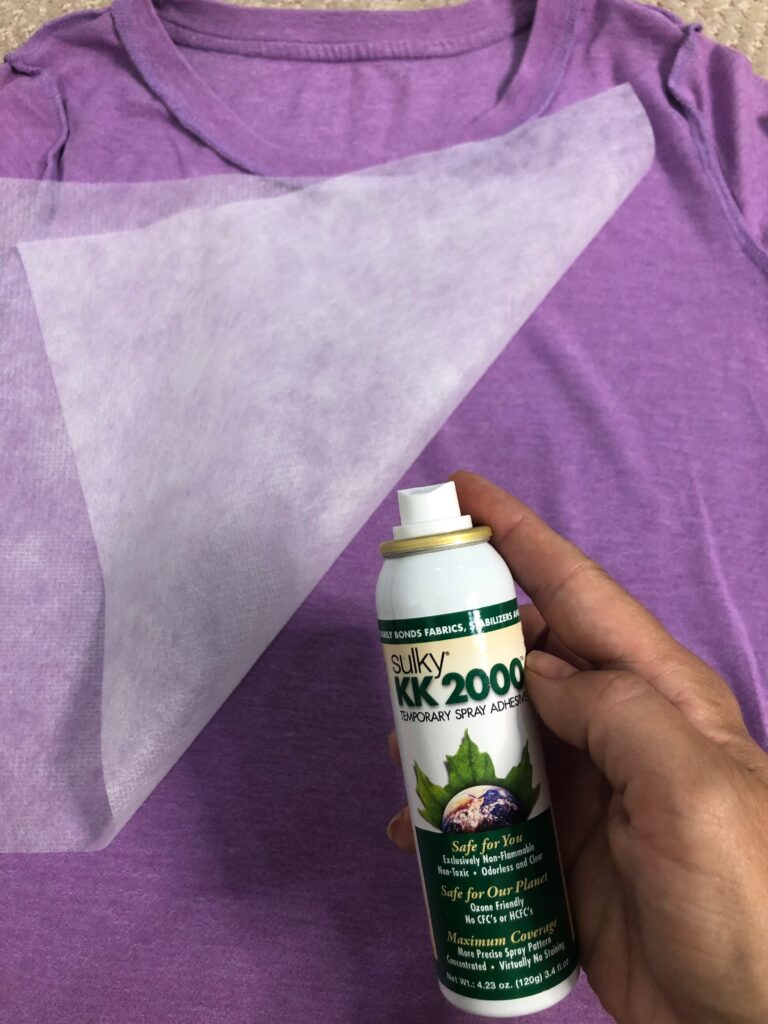
If using a heavier weight knit (the featured T-shirt is medium- to heavyweight), apply an additional layer of Sulky Totally Stable stabilizer with KK2000; do not fuse it in place so it’s easily removed after embroidery.
Wind a bobbin with Sulky bobbin thread. Then, install a size 75/11 Organ embroidery needle.

Thread the needle with the desired Sulky 40 wt. Rayon thread color.
T-SHIRT HOOPING
First, turn the shirt right side out.
Place it on a flat work surface with the shirt front facing up.
Then, slide the outer hoop ring inside the shirt. Next, hoop the shirt with the inner ring, centering the design cross marks in the hoop.
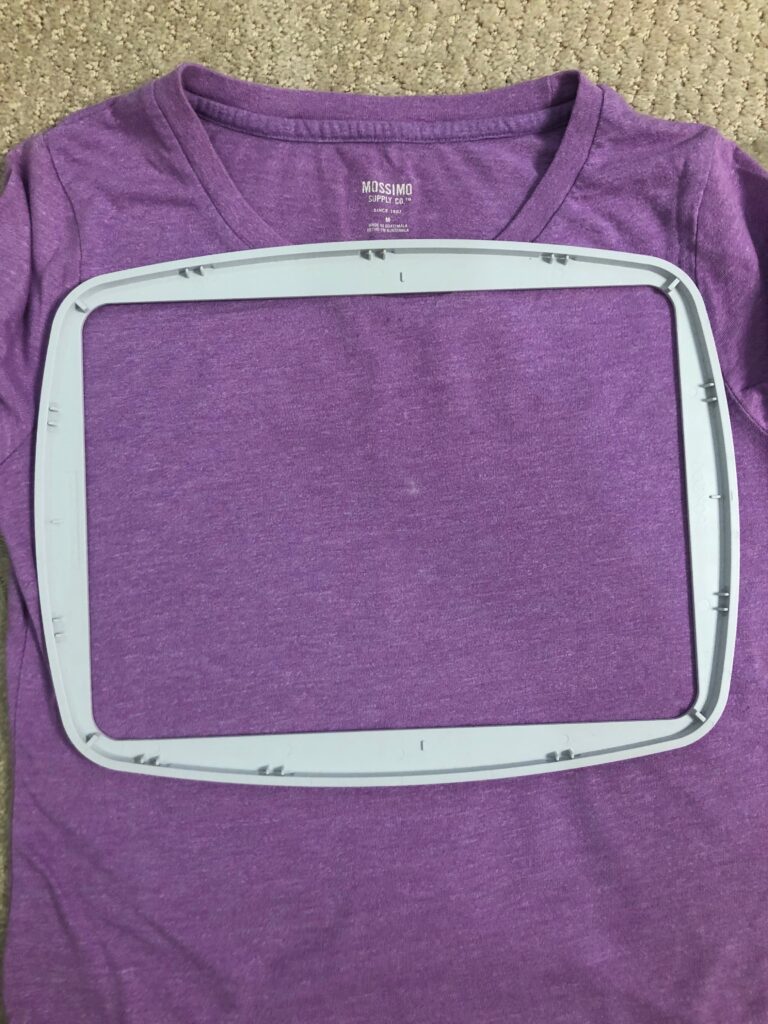
FInally, maneuver the T-shirt fabric almost inside out, creating a “tube” to stitch through.
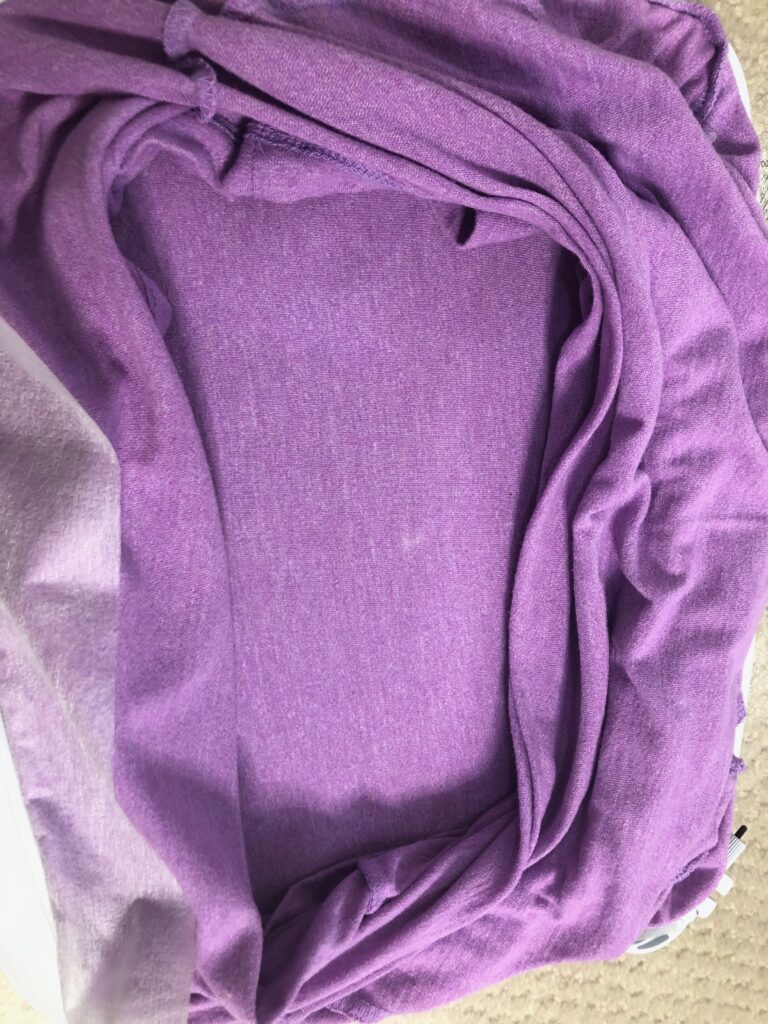
Clip the excess fabric to the hoop, if desired and able to do so without stretching the outer T-shirt fabric.
T-SHIRT EMBROIDERY
Embroider the design, shifting the excess T-shirt fabric out of the way of each letter as the design advances.
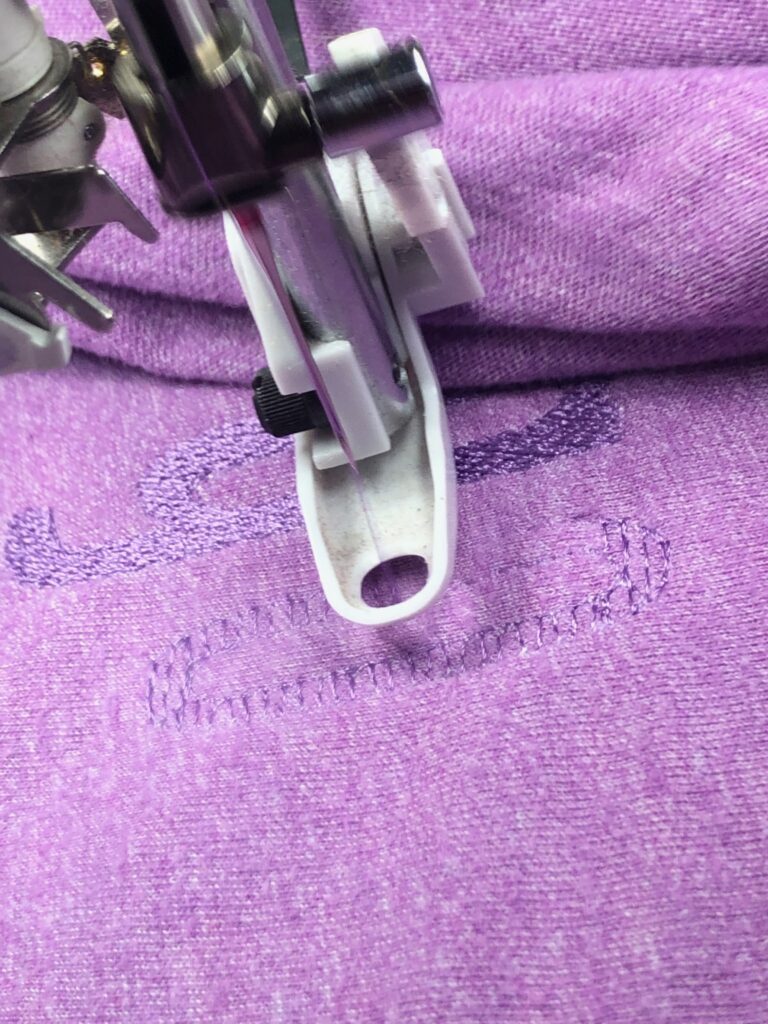
When the design is finished, remove the hoop from the machine.
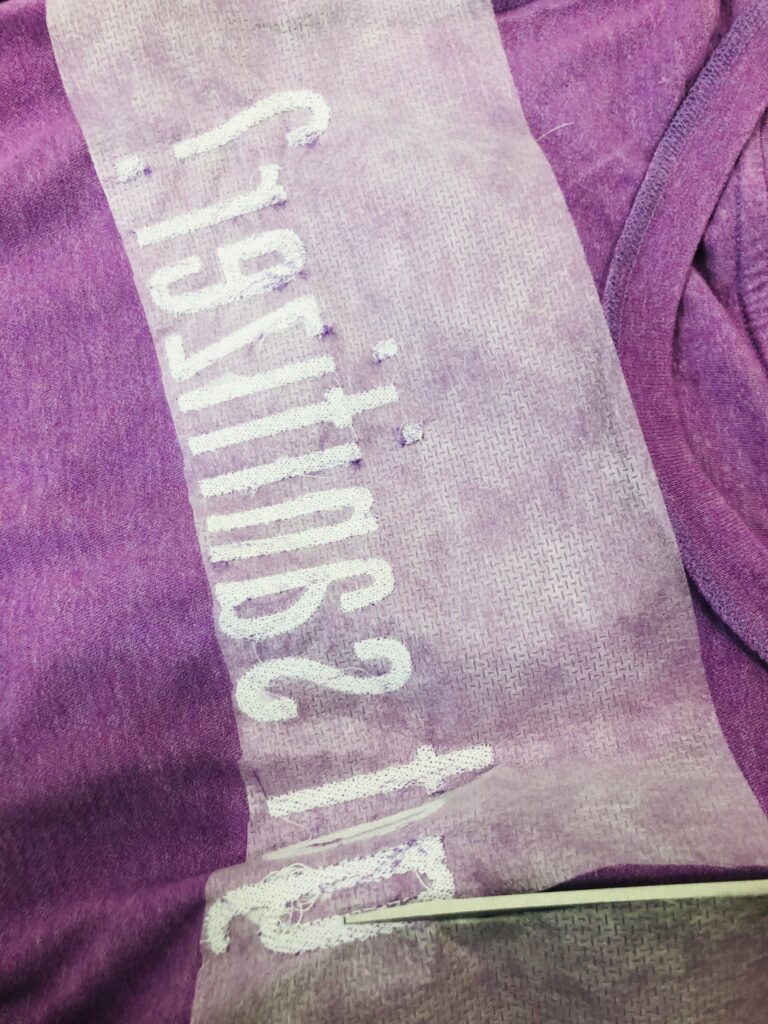
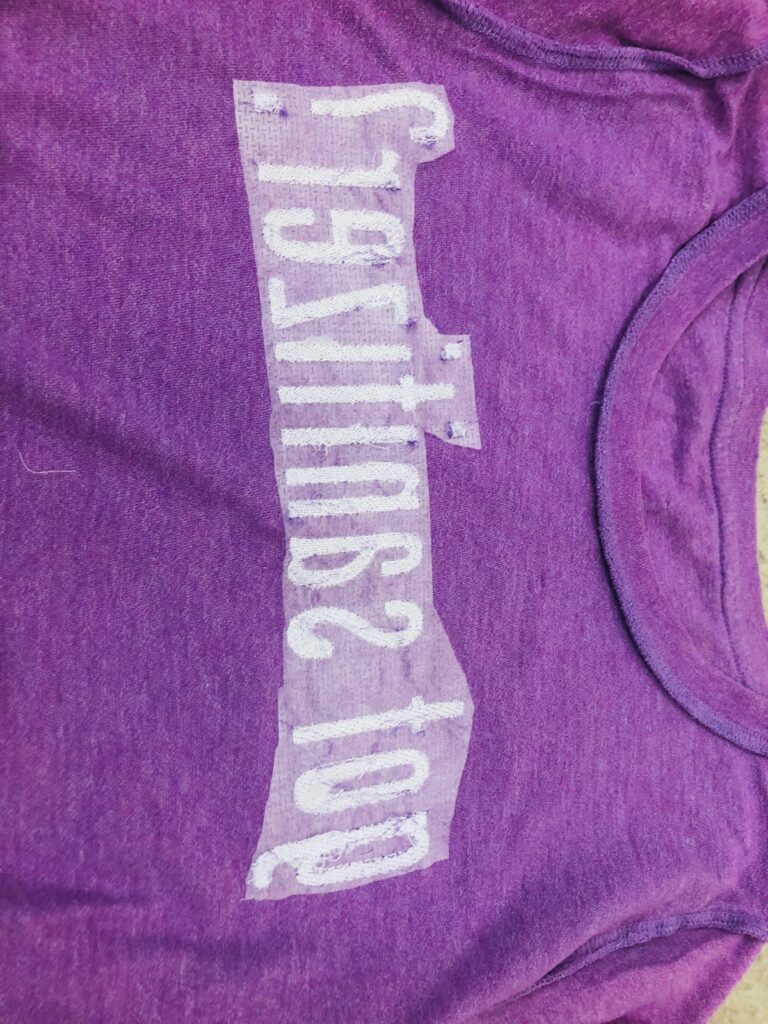
Next, clip any jump threads from the right and wrong side of the T-shirt embroidery. Then, remove the T-shirt from the hoop.
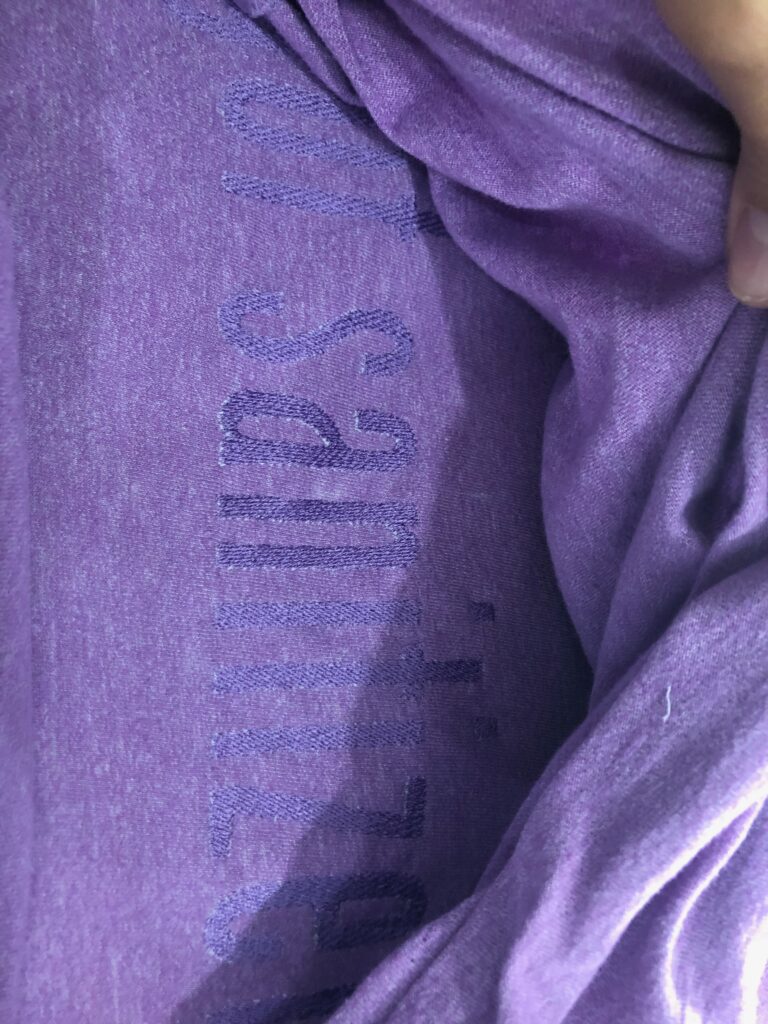
Finally, gently tear away the Totally Stable stabilizer beyond the stitching (if using). Carefully trim the Soft ‘n Sheer about 1/2″ from the design perimeter.
FINISHING
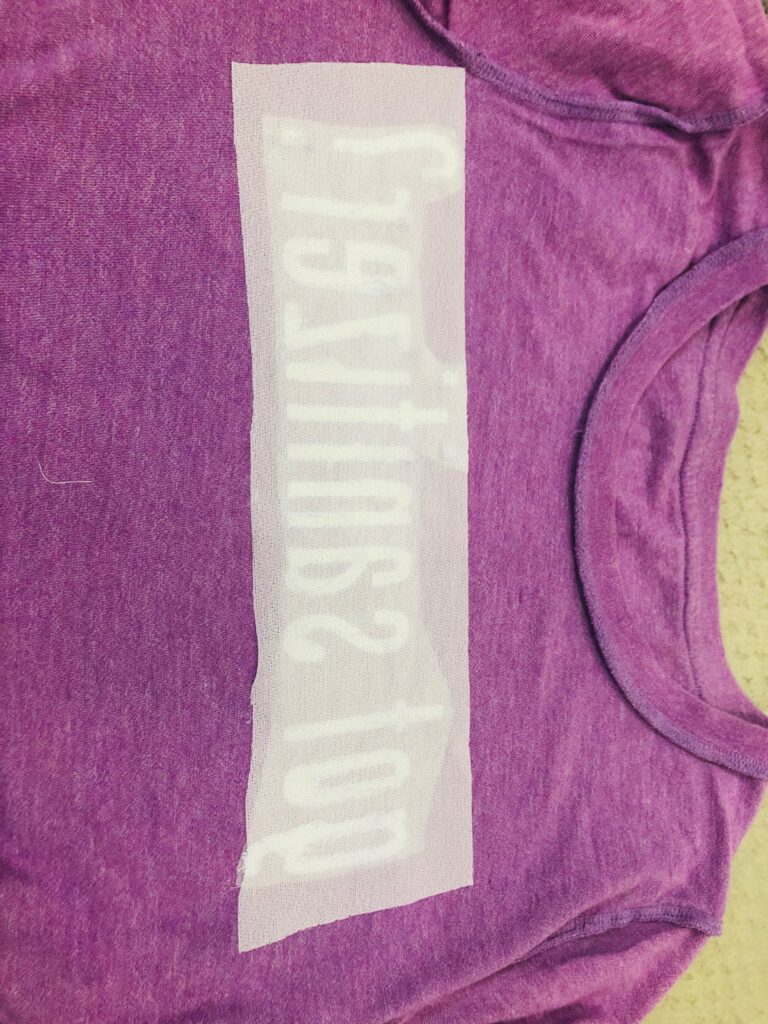
First, cut a piece of Tender Touch slightly larger than the design.
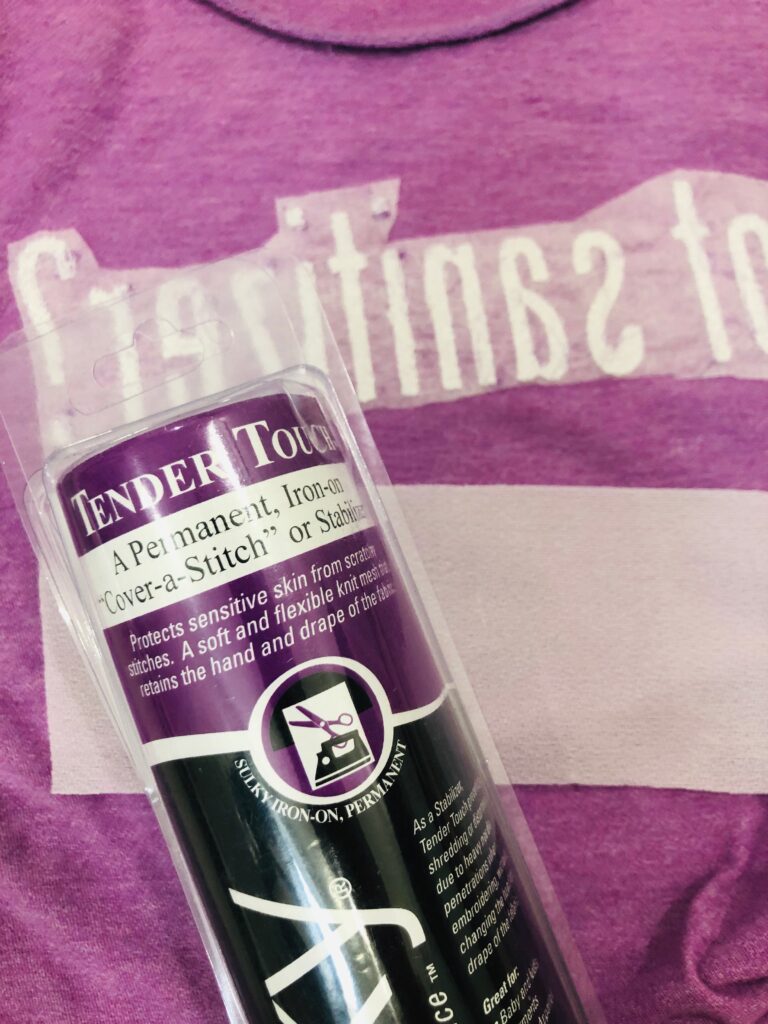
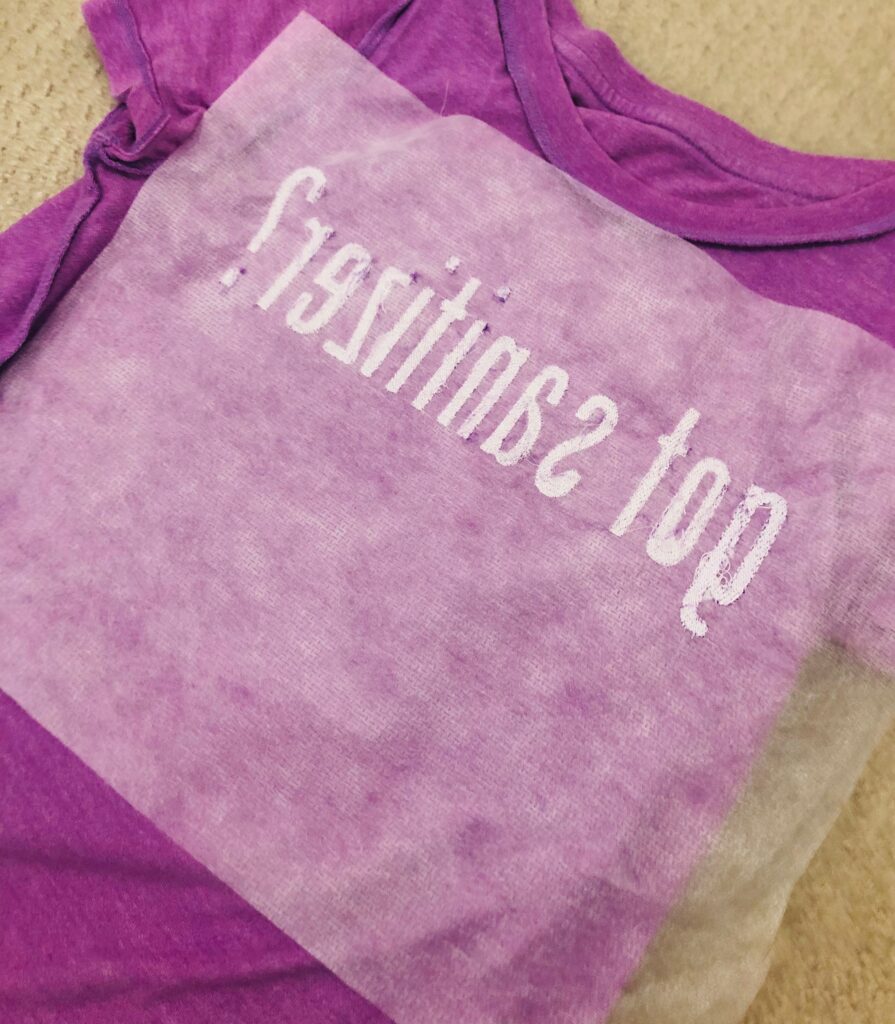
Then, fuse the Tender Touch to the T-shirt embroidery wrong side. The Tender Touch seals the stitching and creates a protective barrier from the wearer’s skin and the embroidery wrong side.
Finally, turn the shirt right-side out. Wear it or gift it with pride!


It would be helpful if we could print these instructions.
Thank you Linda! You should be able to print from your browser window. Email us if you need assistance: info@sulky.com.
I would love to receive a copy of the above instructions in order to make a similar t-shirt! How beautiful! Phyllis
Phyllis, there is a feature to the blog so you can print or convert any blog post into a pdf. If you click on the post you will see an icon at the top of the post for pdf or print. I hope this helps!